|
|
| Diamond Plate Corners Installation |
| |
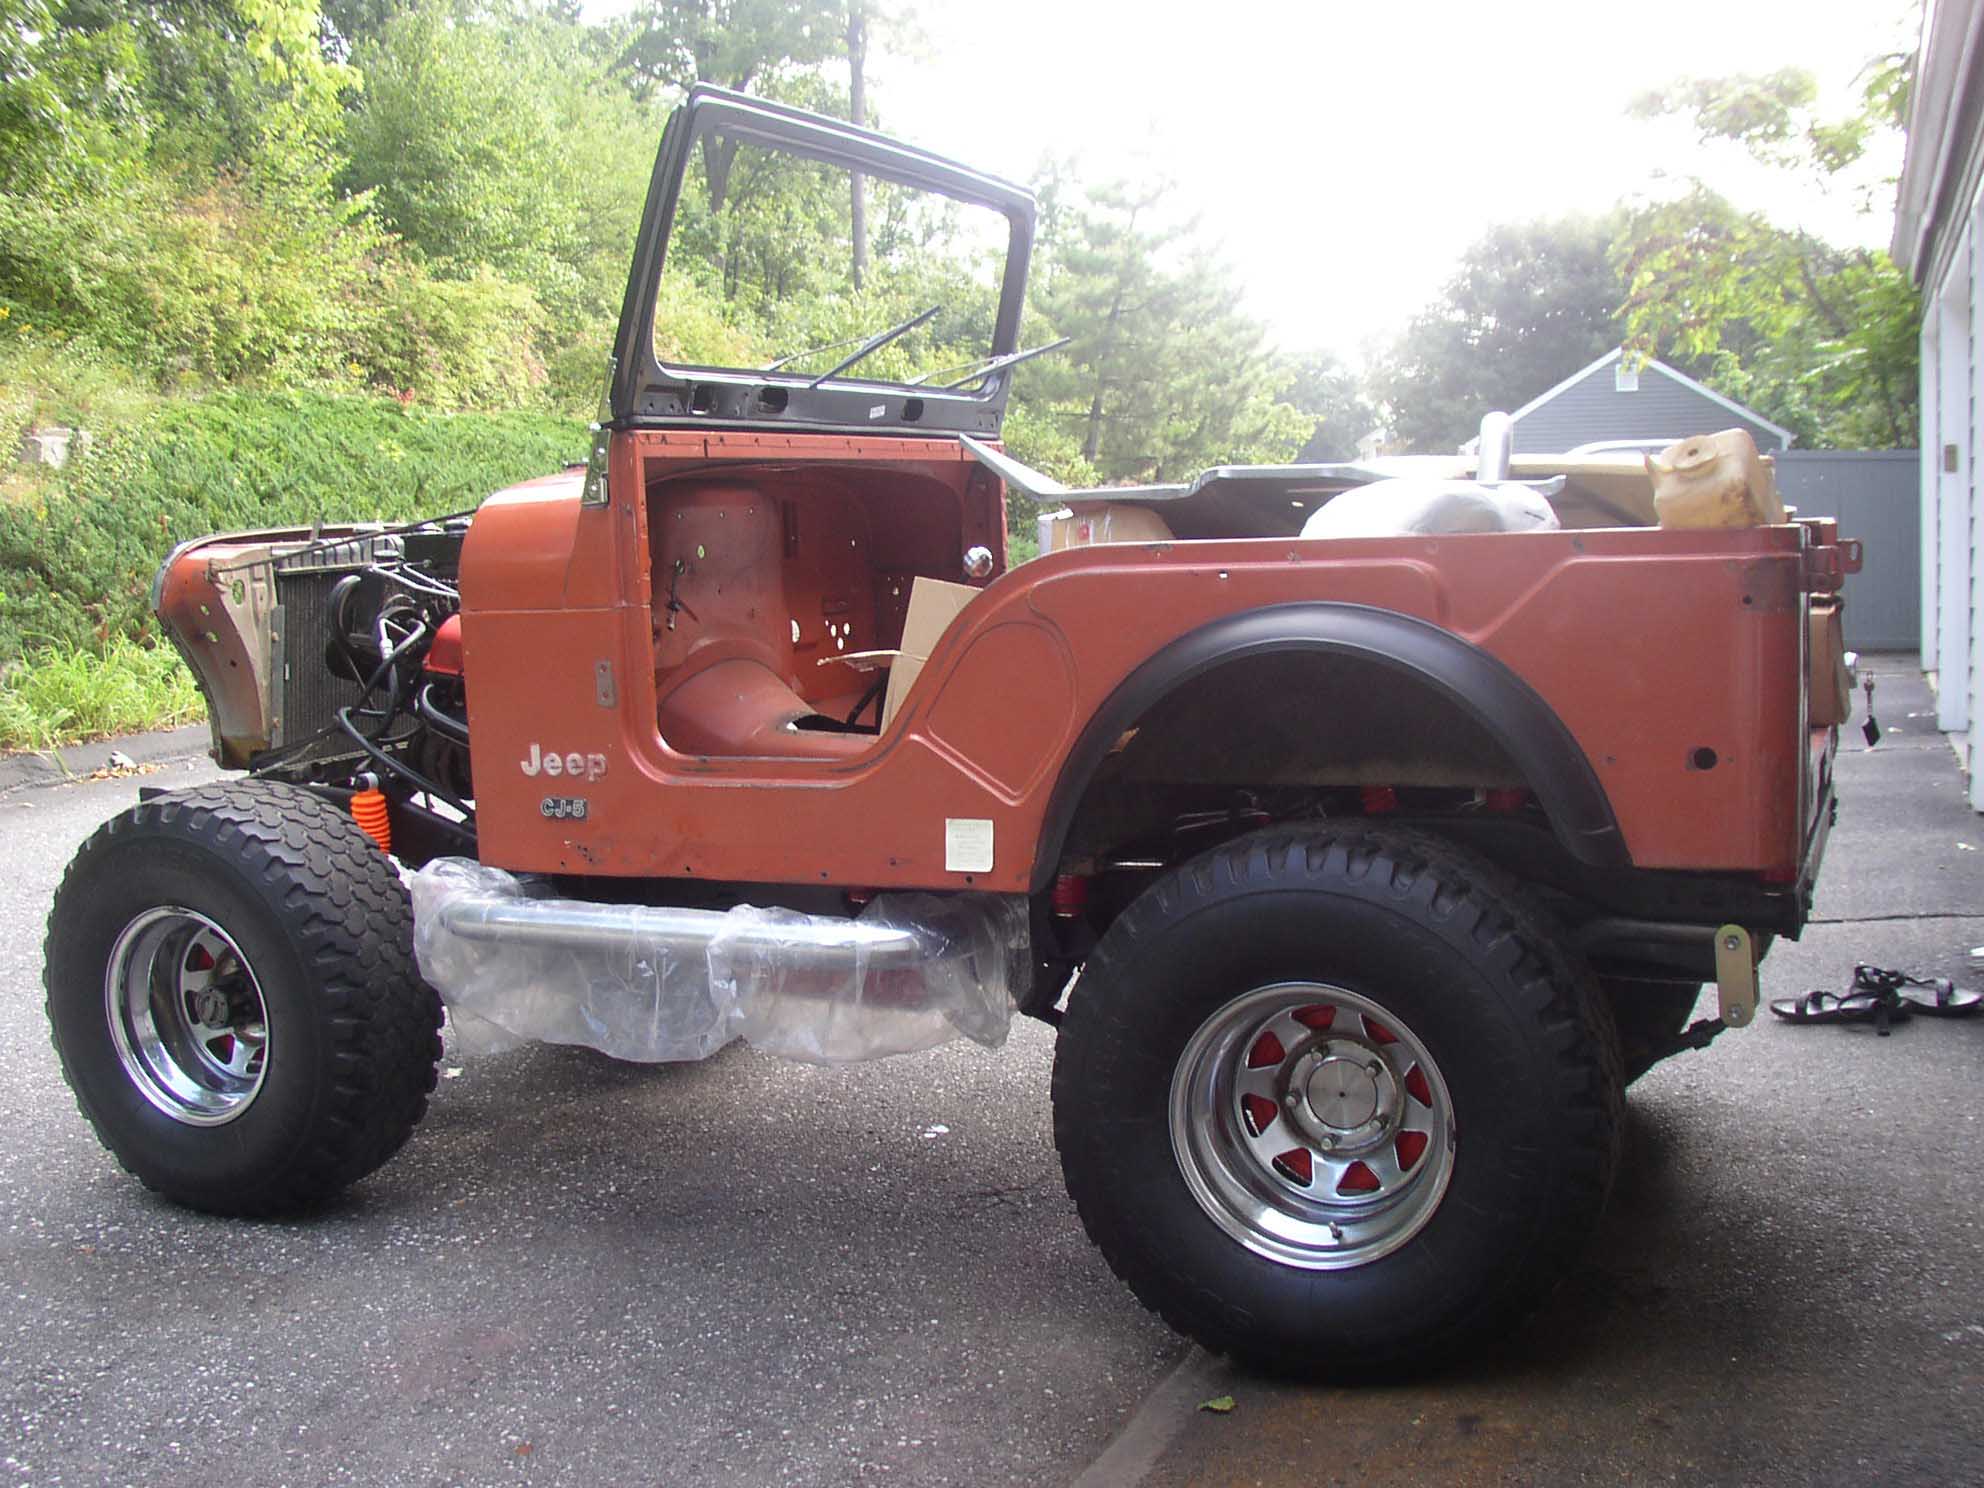
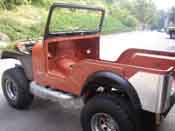
| In order to add a little protection to the body as well as add a little style
and contrast to the all orange body, I decided to add diamond plate corners to the rig. I liked the look and
figured it would be a straightforward and relatively easy installation. Good thing I think well, it was.
|
| |

|
|
| |
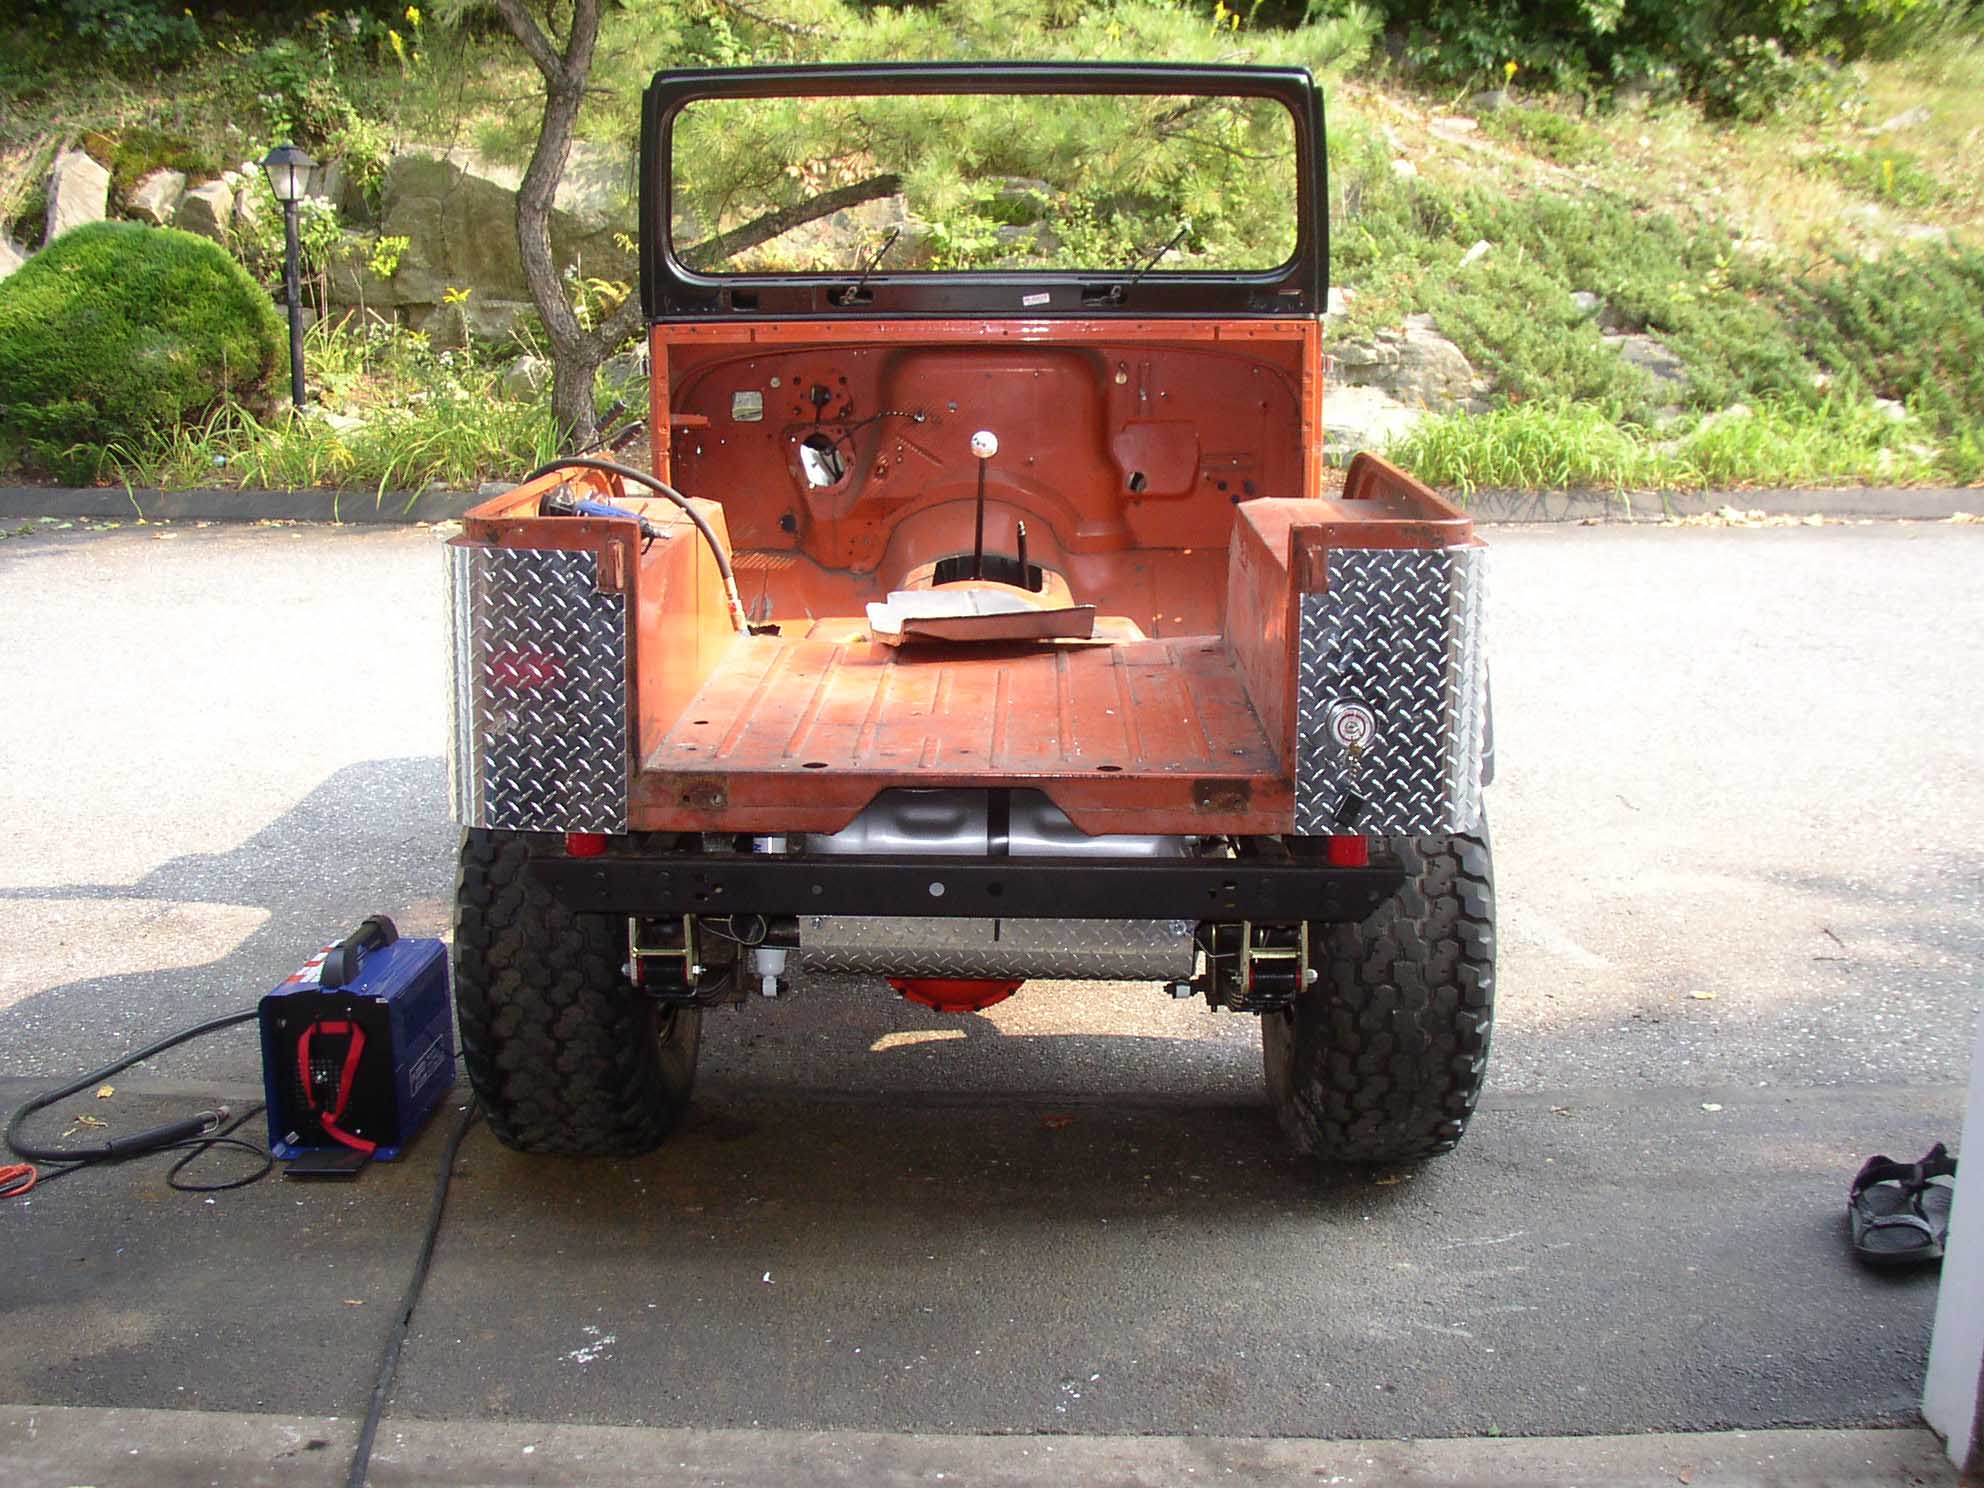
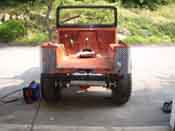
I removed all the lights that were on the vehicle in the rear corner section.
This included the rear taillights and the rear marker lights. I also removed the license plate bracket. One
thing that I have on this Jeep in particular that most don't is a gas filler nozzle that sticks out instead of
the rectangular piece that is cut in. Either way, this will have to be accounted for when the cutting and
shaping of the diamond plate corners commences.
I test fit the corners and they seemed to fit well. I marked out the locations of the gas filler nozzle as well
as the light holes and cut them out with a drill and file. Once everything line up and fit the way it was
supposed to, I then C-clamped them into place and laid out where I was going to drill holes for the rivets. Did
I say rivets, yes I did, and that is how these are held in place.
|
| |
|
|
| |
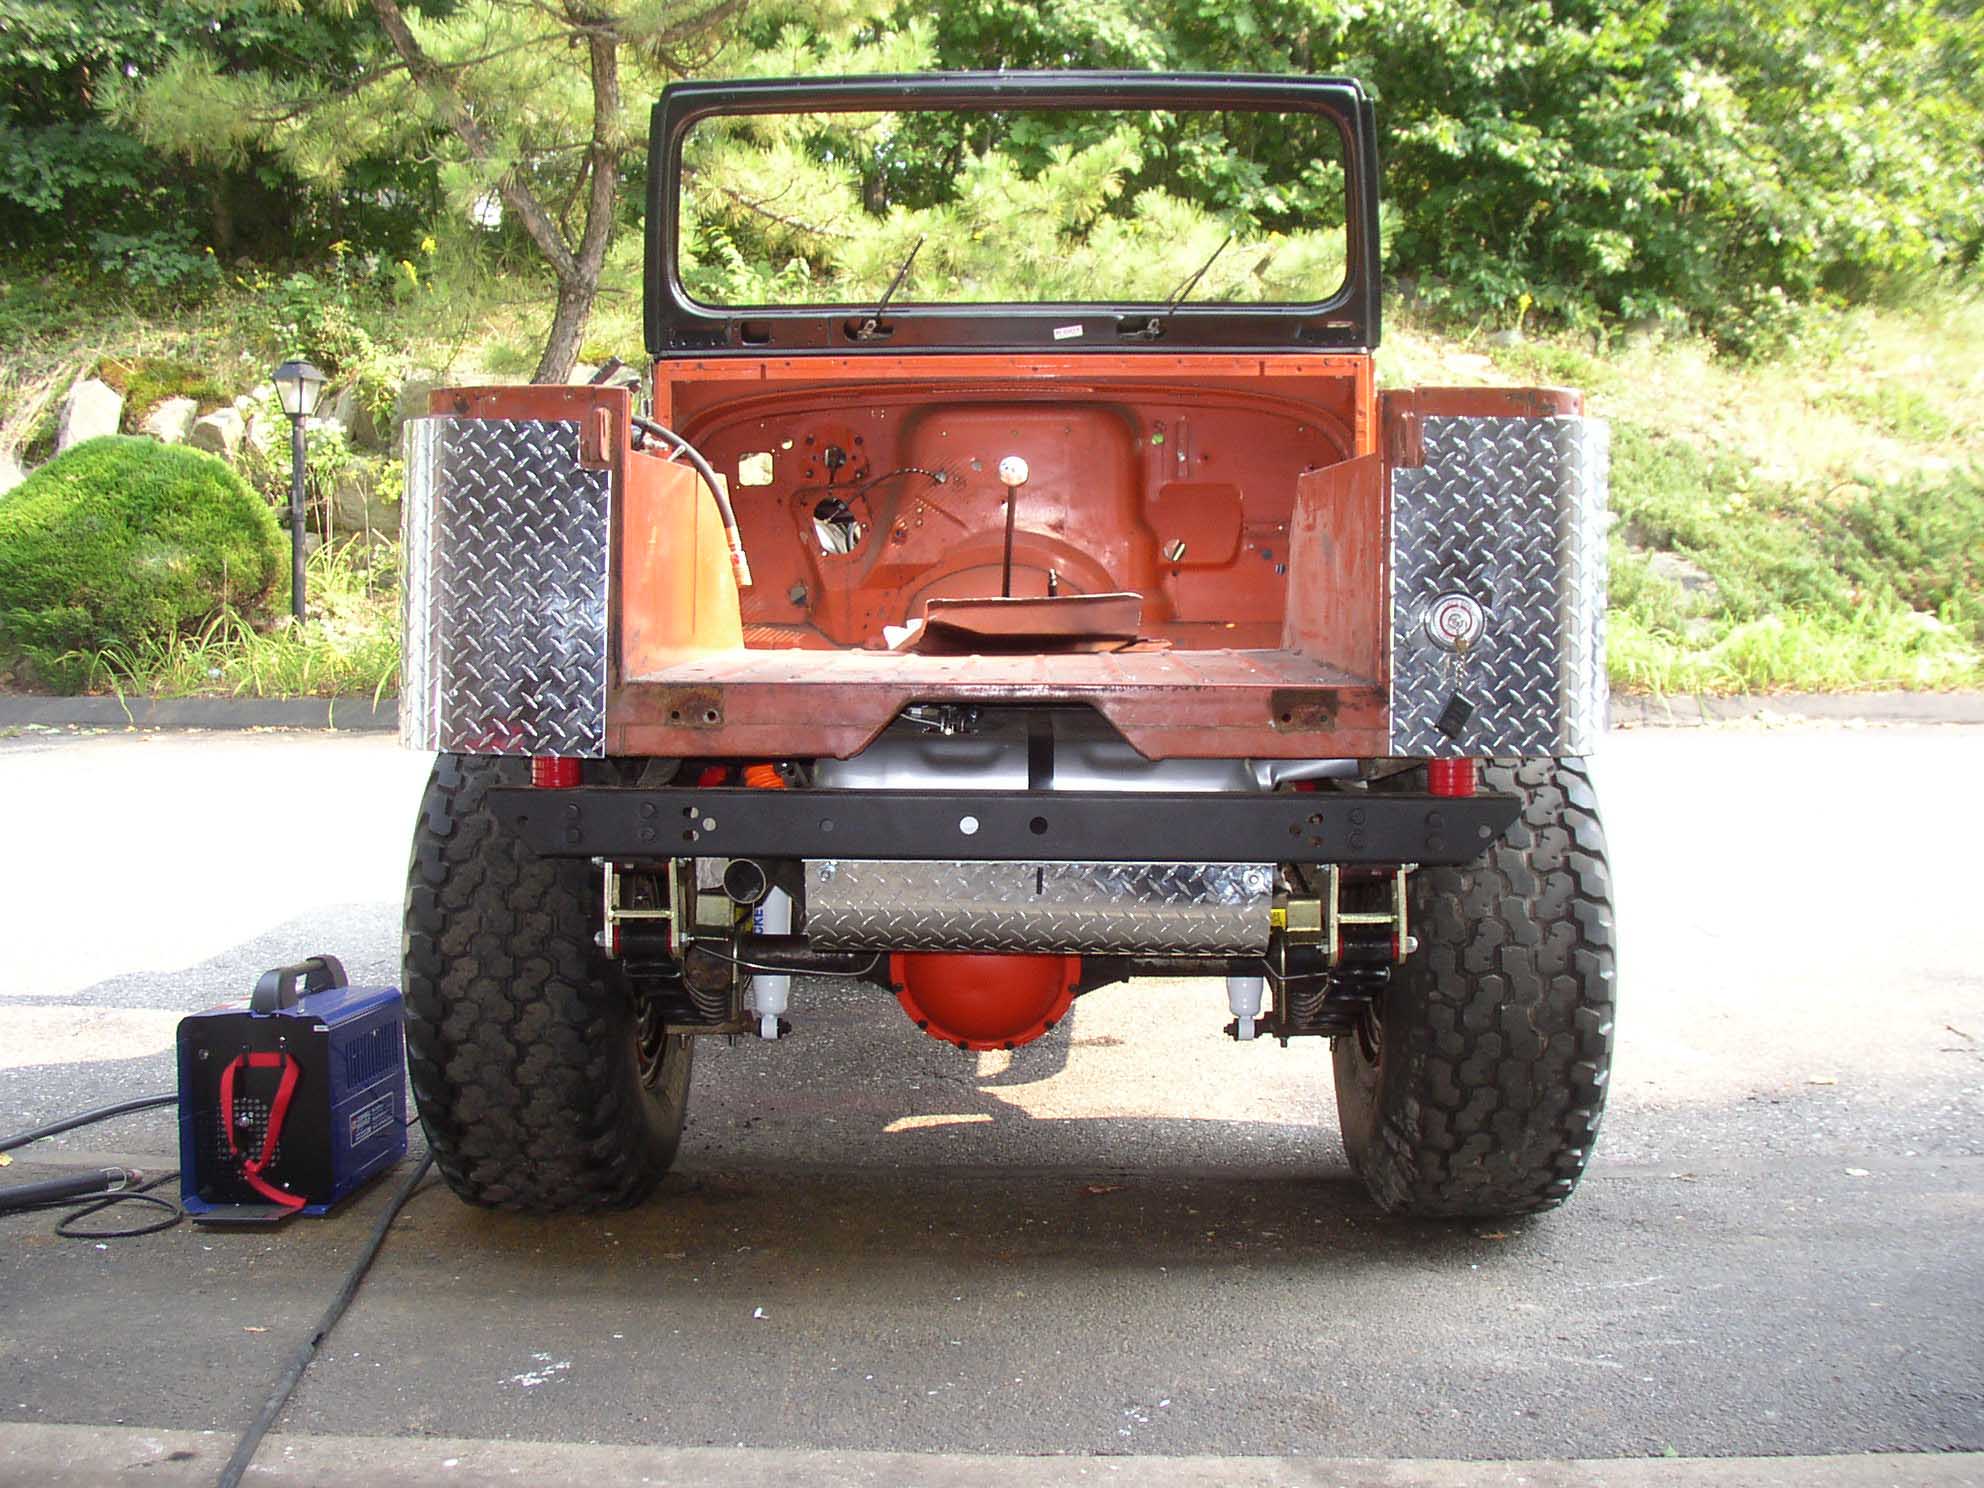
Holes were drilled with the correct dimensions for the supplied pop-rivets. Yours
may or may not come with pop-rivets. No matter if they do or don't, just get some aluminum ones in the right
size with a corresponding drill bit and go to town. Once a hole is drilled on the rear corner working towards
the front of the Jeep, put a rivet in and secure it. Check the fit and re-secure the C-clamp accordingly
working out any fit issues. Don't be afraid to use a soft hammer to help it along. Don't use a rubber hammer
on the bare aluminum, as it will leave marks. Don't ask, I just know. Once the process is done from rear to front,
repeat on the other side.
You don't have to remove the fender flares for this part of the project, which is nice because mine are a PITA
to get on and off. My hands just don't work that way I suppose.
|
| |
| Lessons Learned the Hard Way |
| |
So, my lessons learned here would have to be that having the right cutting
tools is really helpful in reducing the amount of time cutting and shaping are done on the holes where the
lights come out on the sides and in the back. Also, if you plan on putting in LED circular style lights, take
this into account now instead of later. It is far easier to cut holes in the body first, draw a pattern on the
backside of the diamond plate and then cut and shape that. Trying to do the two together assembled on the Jeep
was a PITA.
I ended up buying a die grinder set later on in the project that would have worked wonders during this part of
the build-up. A metal rasp and muscle power will get the job done in a BFI (Brute-Force-Ignorance) type of way,
however, a drill and some bits on the end for metal filing would have cut the job time dramatically.
|
| |
| Conclusions |
| |
| This is a pretty easy thing to do for a nice clean look to the Jeep, but keep in
mind if you are buying a Jeep that already has this done to it, it might be covering up hidden damage or rust.
Sometimes these are used for trail protection, sometimes for appearance purposes, and sometimes for covering up
things that you don't want the potential buyer to see. This should not be put in place of damaged areas. Do
yourself a favor and fix the damage first, then put these on. If you don't fix the problem, it will only get
worse underneath the aluminum covers. Remember, aluminum doesn't rust, but the metal underneath will.
|
|