|
|
| TKH Fab Front Bumper Installation |
| |
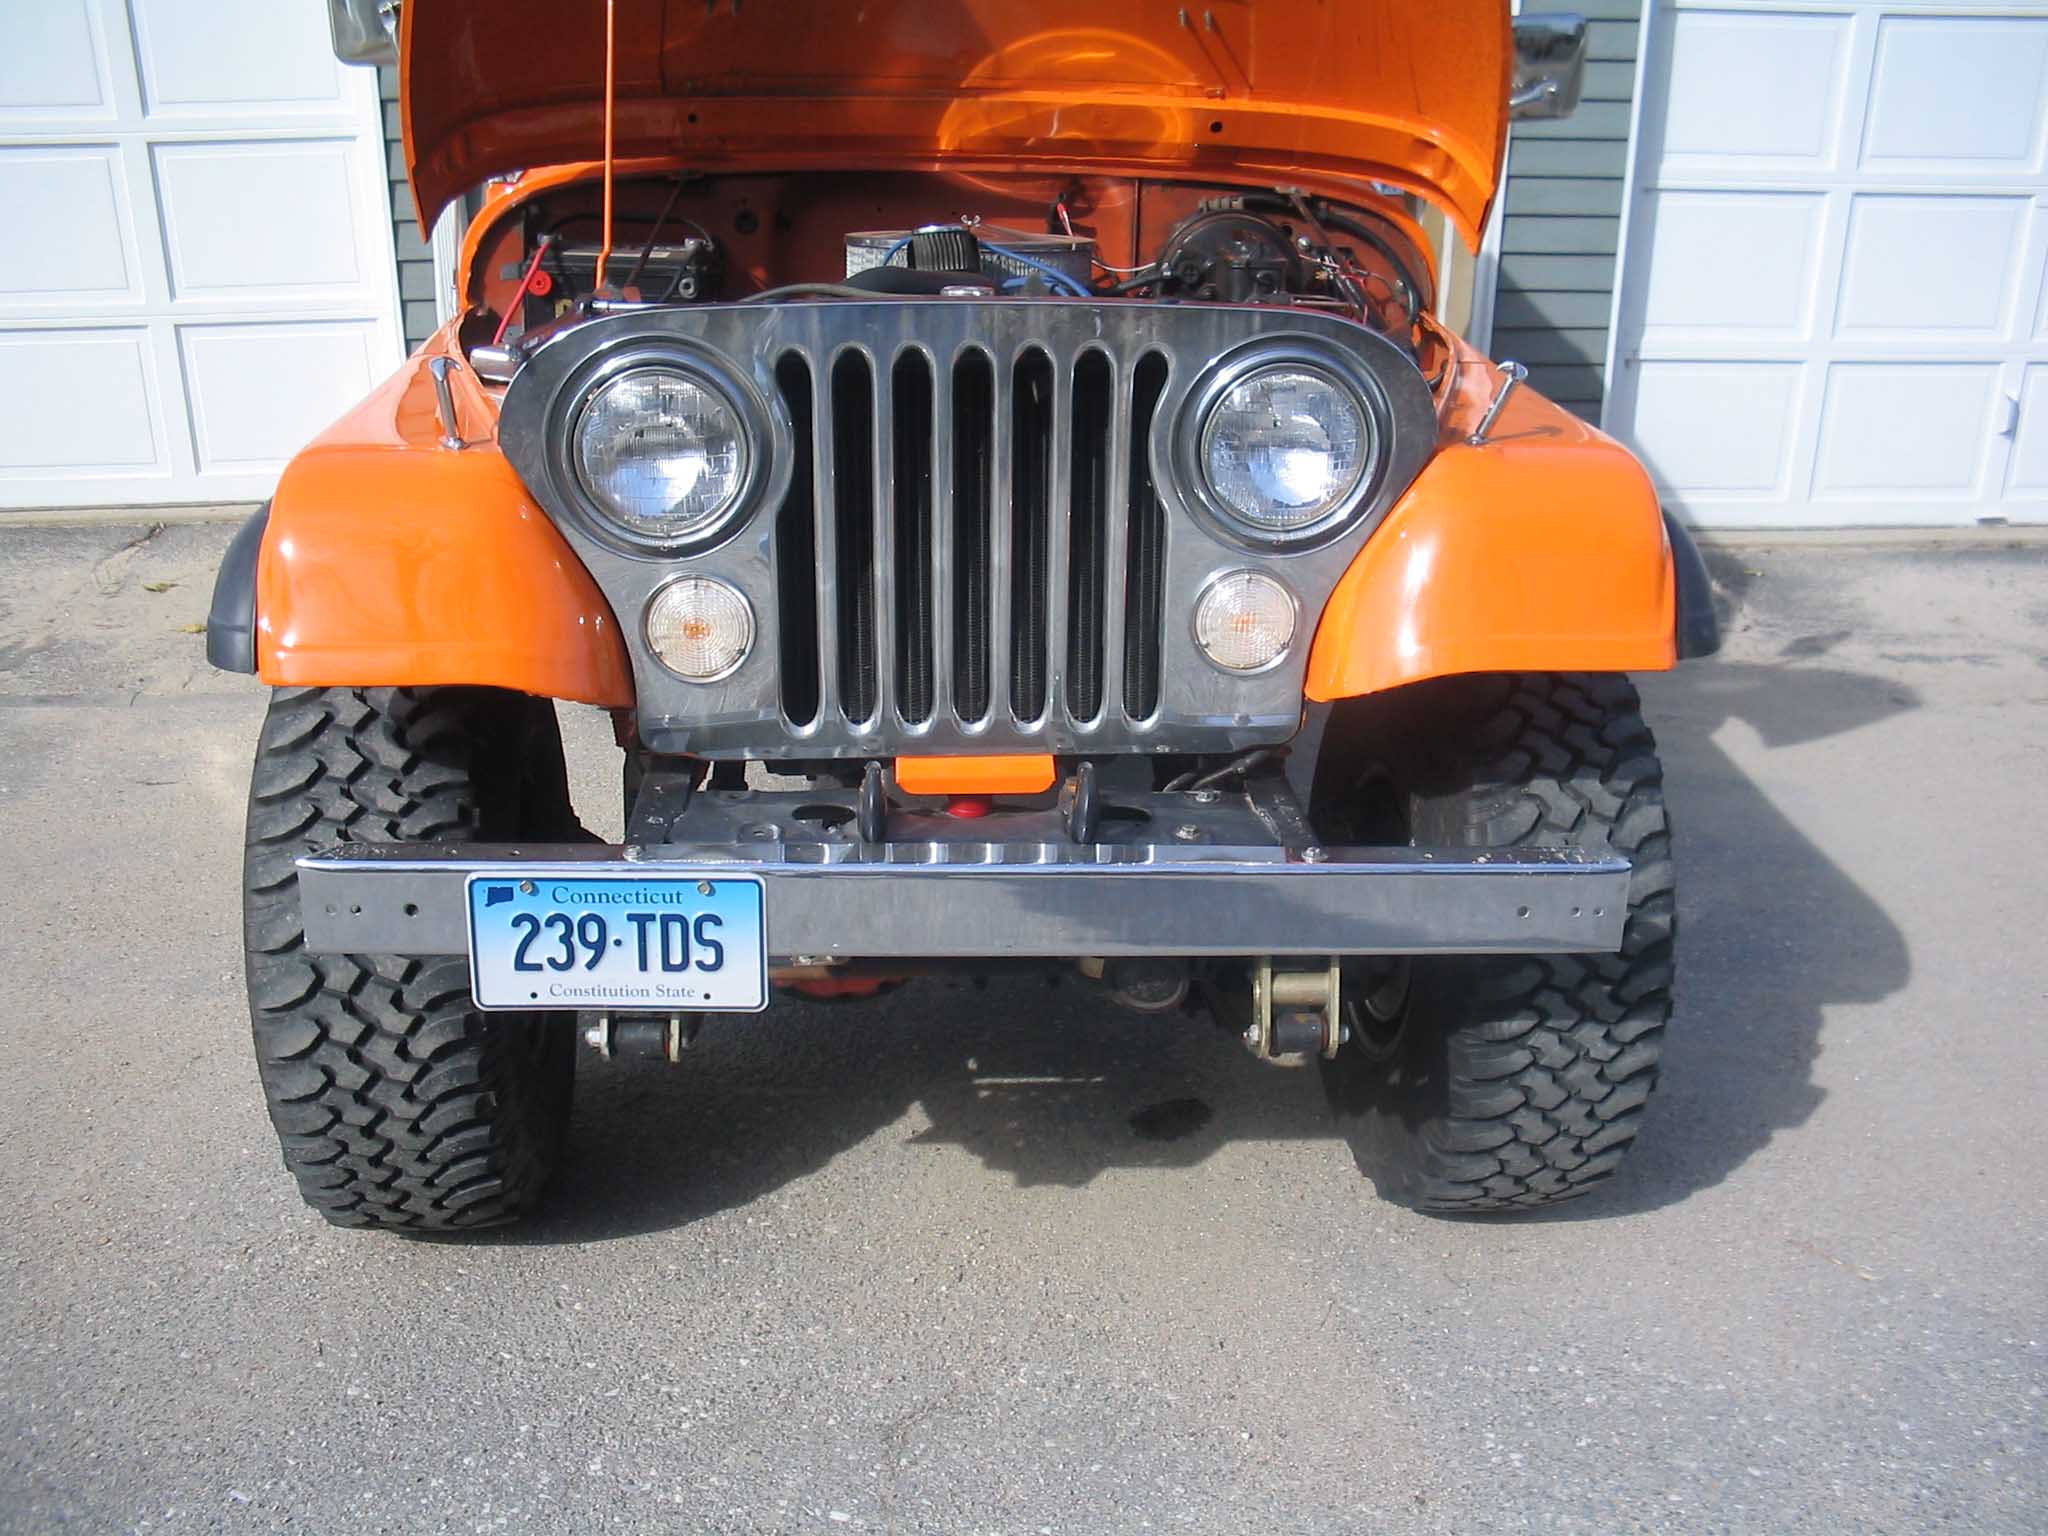
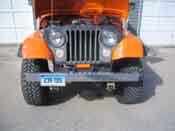
After seeing the stylish yet wussy chrome front bumper I had, I realized I
needed a more heavy-duty bumper, especially since the winch was coming in and I wanted a little protection
for it as well. The original front bumper that was on there was for looks I suppose. I opted for a heavy-duty
front bumper with the D-ring mounts and a tube hoop that will allow for some protection for the winch.
The guy that fabricated the front bumper for me also has a mount for the winch that he fabricates up, so for a nice
package deal, I got the front bumper, the winch mounting plate, and some D-Ring's to go in the tabs that are
welded to the bumper. There are also 4 light tabs on the bumper I ordered up.
When looking for this bumper, I looked through catalogs and the forums and saw that on eBay there was a bunch
of guys that made bumpers for far less then the WARN rock krusher bumpers and such, so I opted to purchase one
from one of these vendors. It worked out great and I have had no problems with it yet. They also have a great
return policy. If you break one, they will replace it, no questions asked. I got the front bumper
here
|
| |

|
|
| |
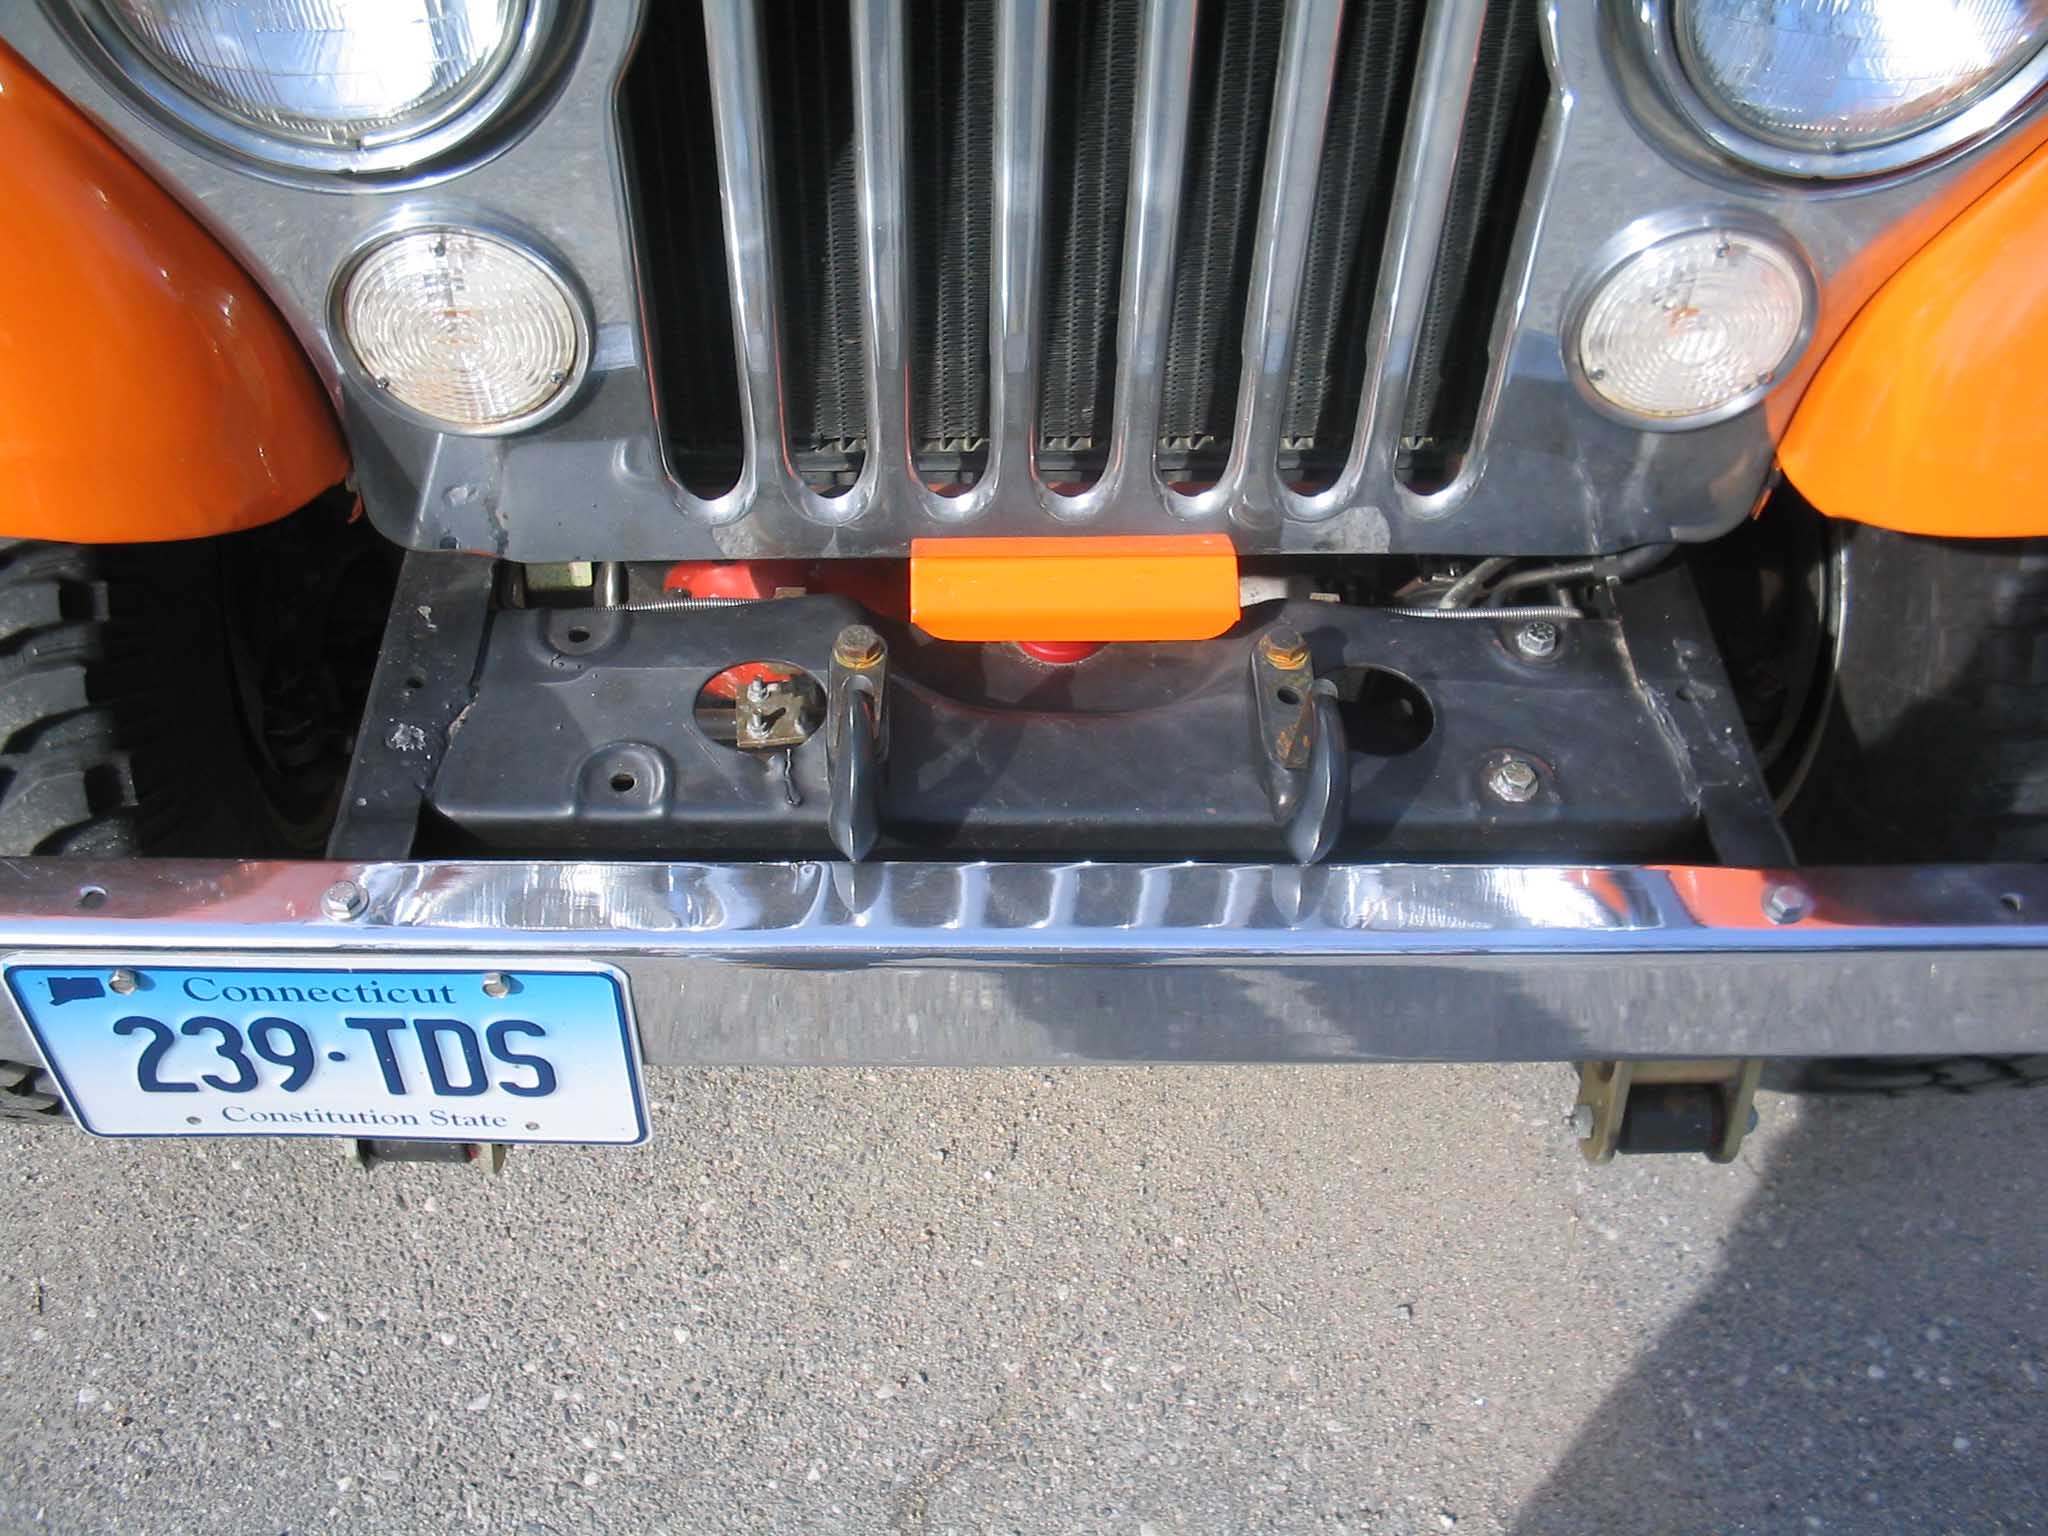
| Installation was very easy; first the removal of the old bumper is necessary.
There are 4 bolts per side. Once the old one is out of the way, bolt on the new one using new grade 8 hardware.
This is very important. I know you will be tempted to reuse the existing bolts, but they are very old and are
probably grade 5. Opt for the few extra bucks and bolt it on the right way with the correct hardware.
|
| |

|
|
| |
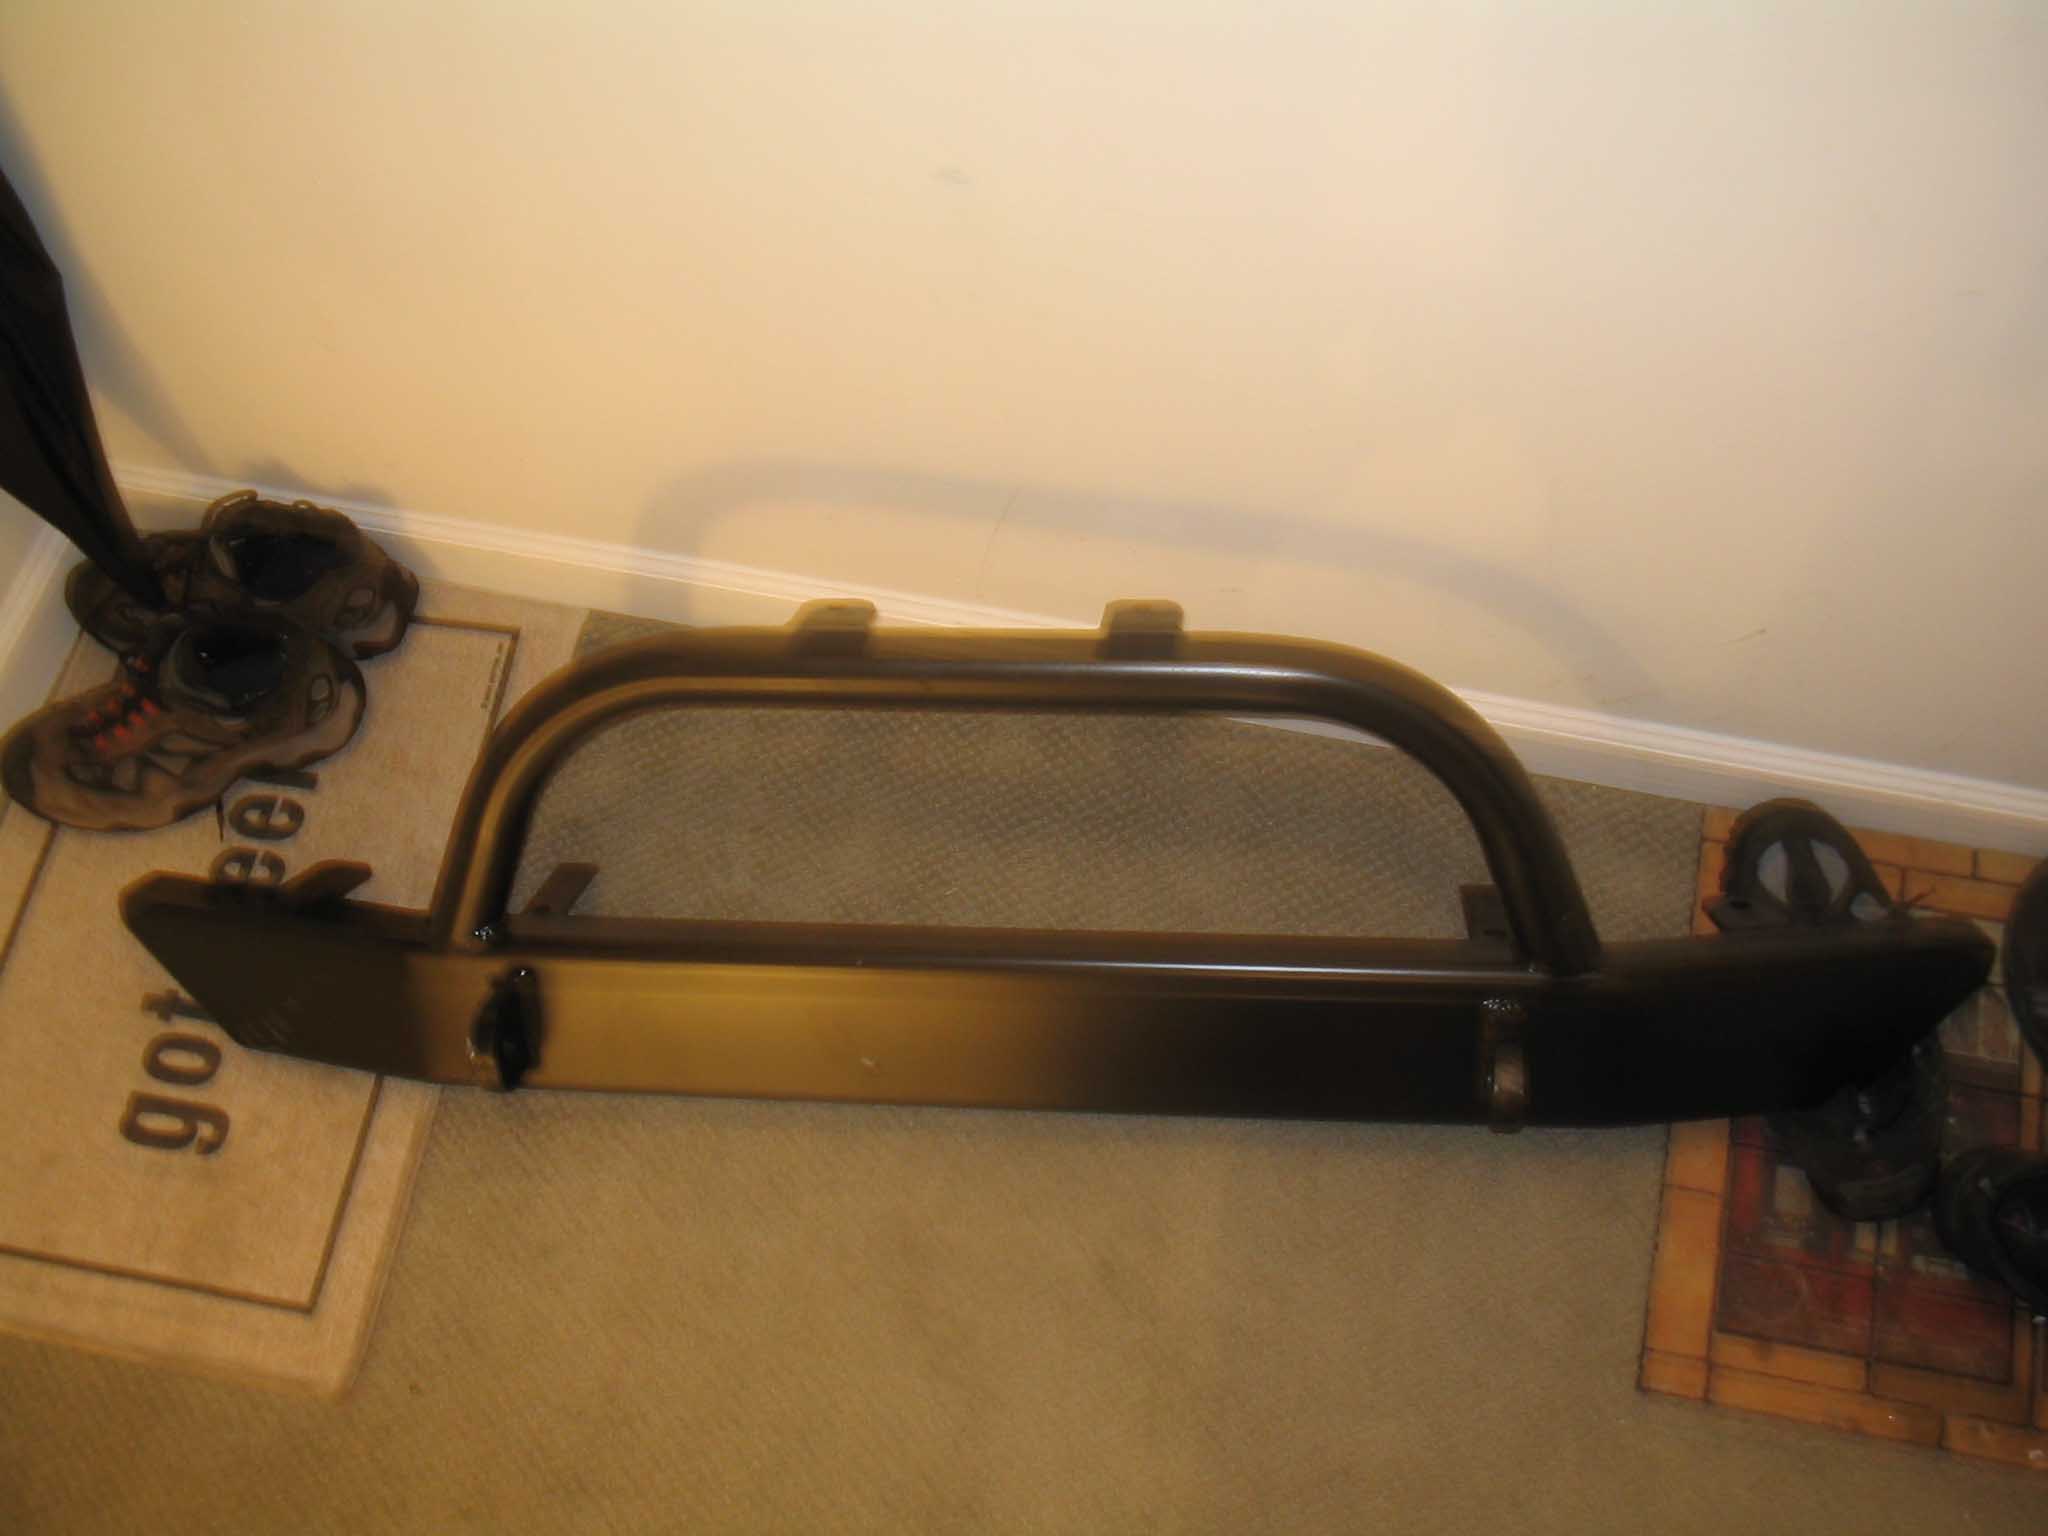
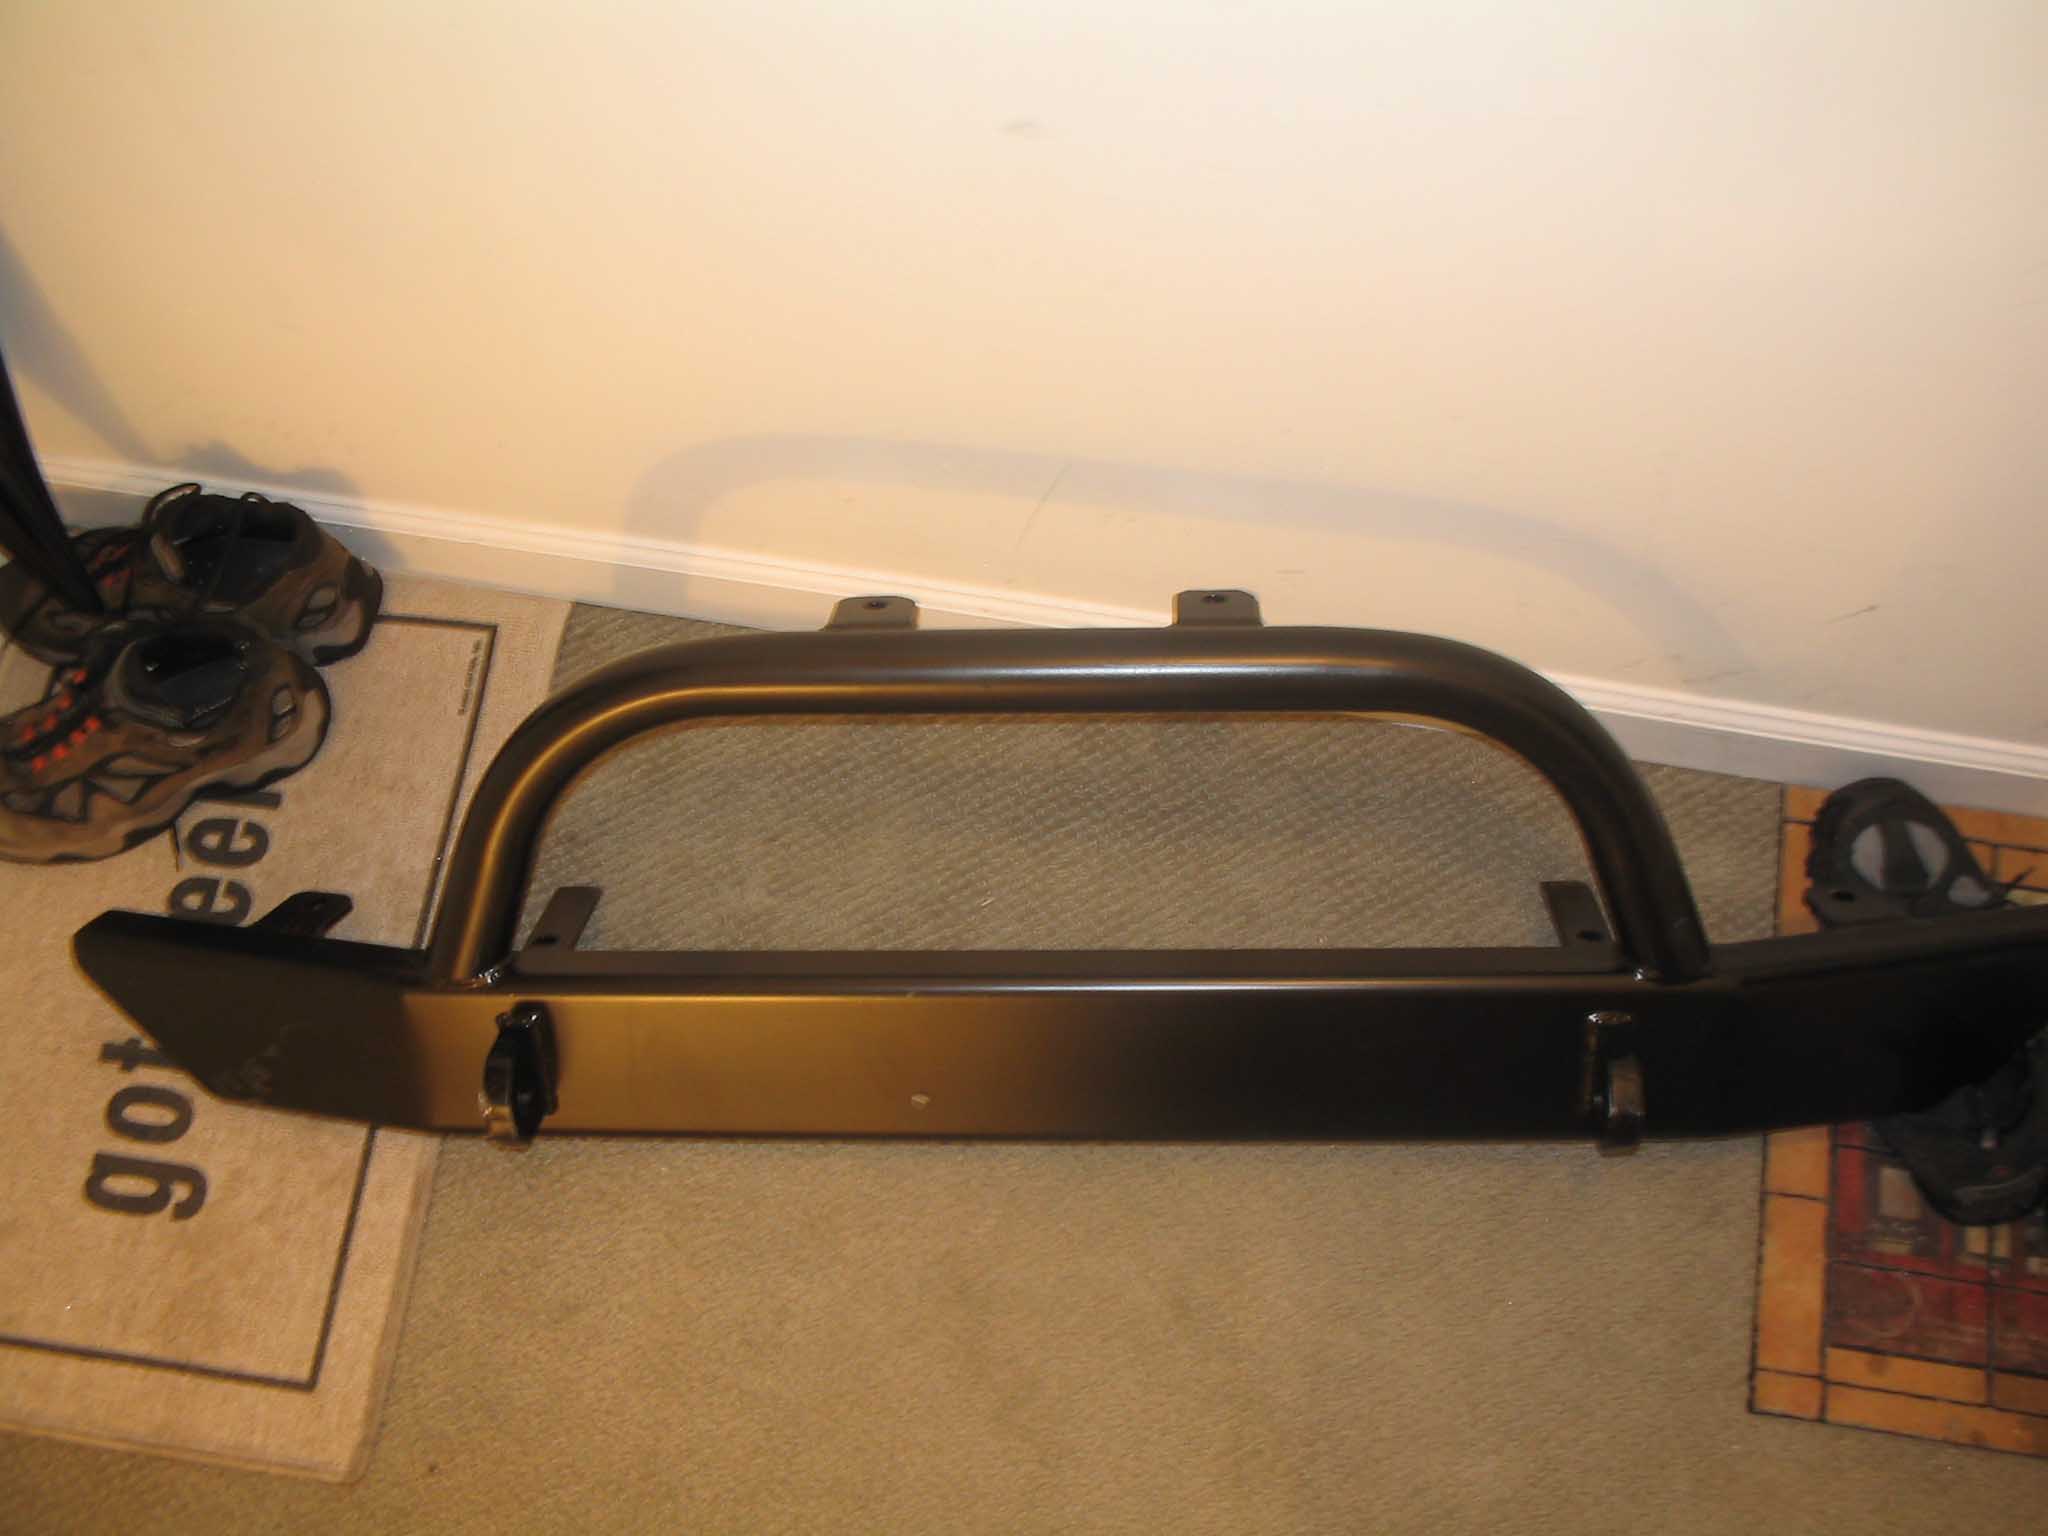
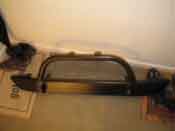
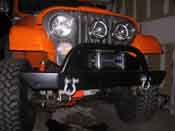
| I finally got a few more pictures of the bumper that is going to go on. I got it
out of the packaging and snapped a few photos of this. The bumper looks incredible and with the winch plate and
D-rings it will be more then enough for what I am planning to do with it.
|
| |
|

|
|
|
| |
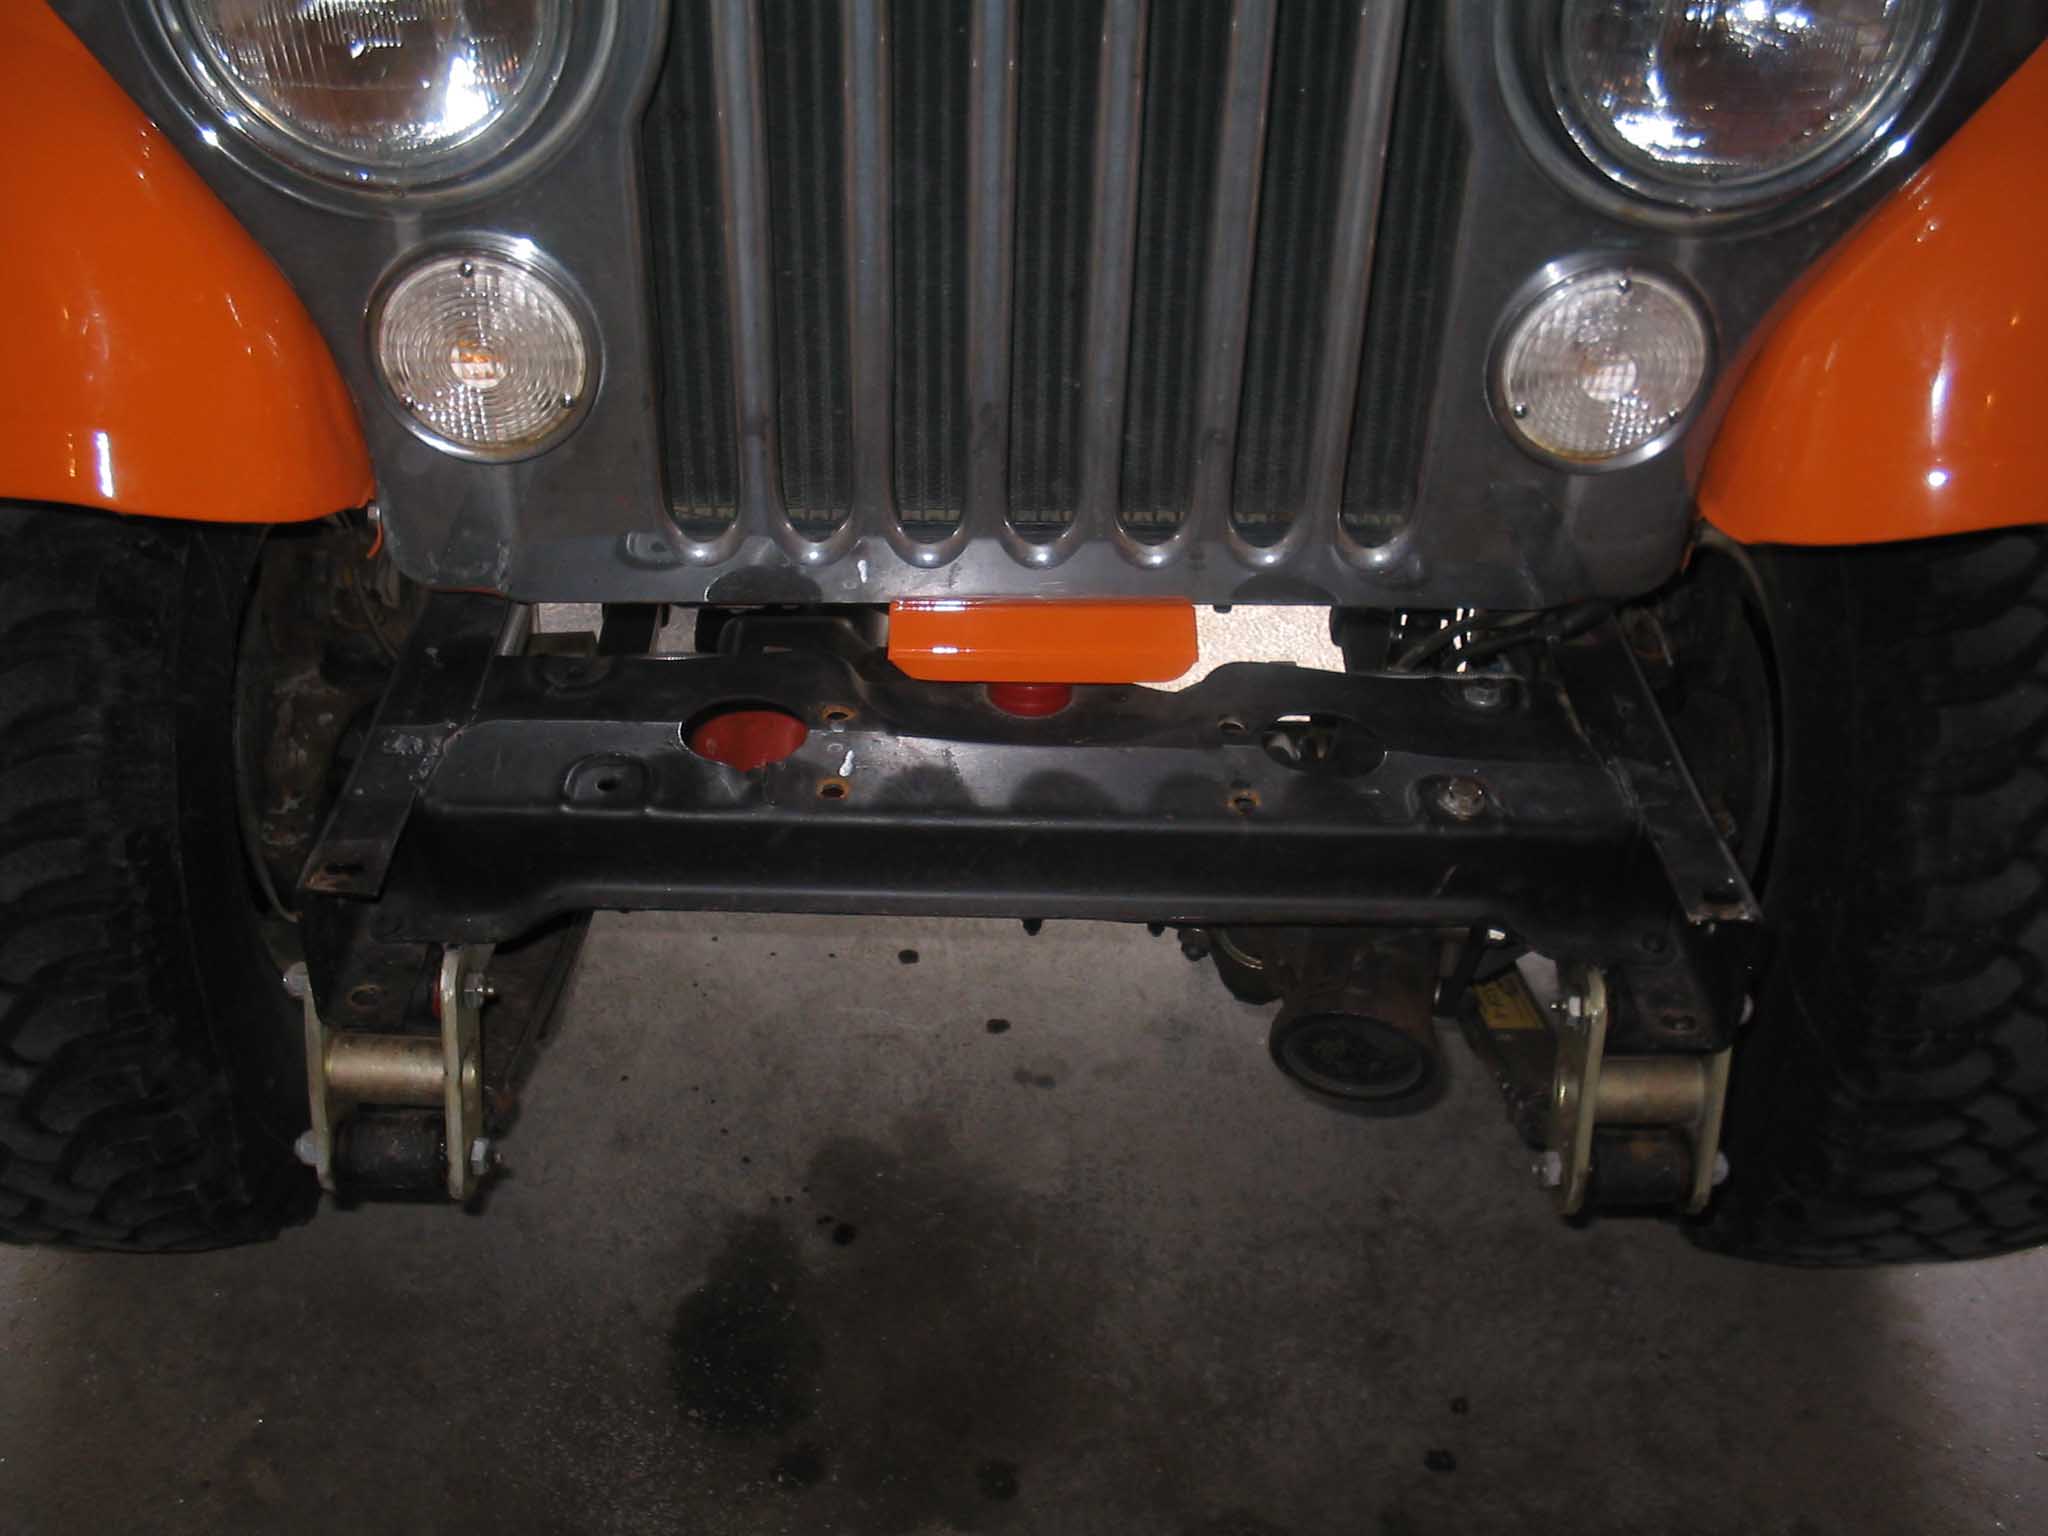
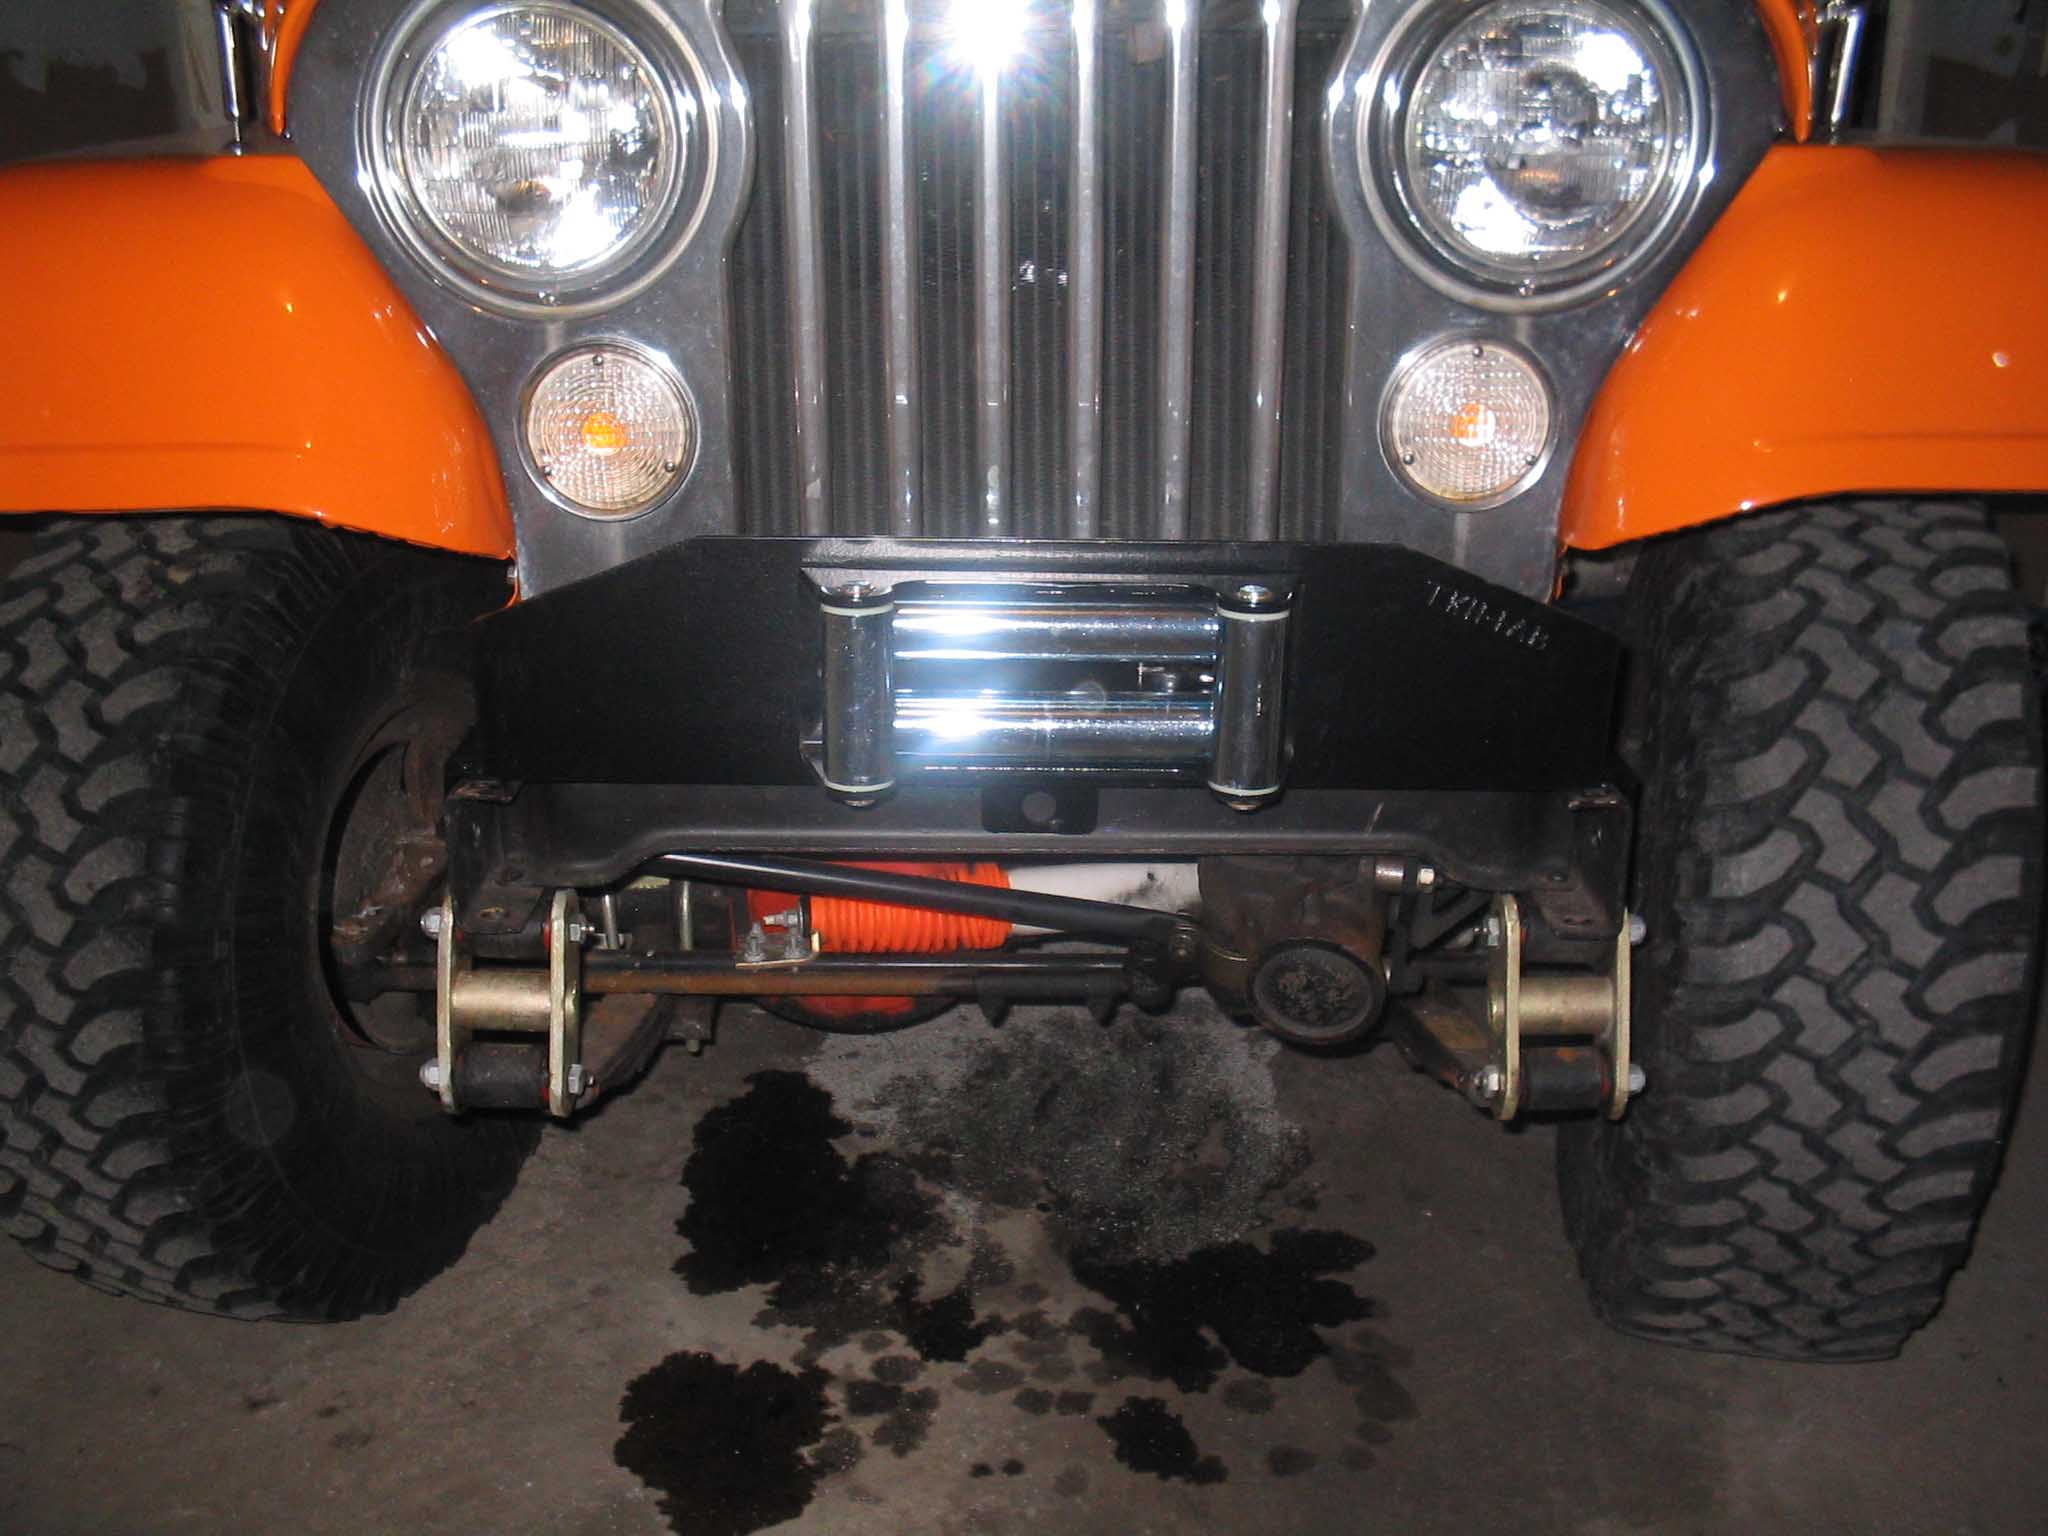
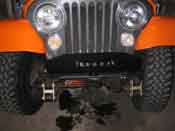
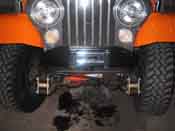
The first step was to make sure that everything fit where it was supposed to. I
test fit everything and found that the bumper mounts that go inside the frame rails were rubbing a bit, so out
came the grinder and the ends that were rubbing and not fitting perfectly were ground down to fit. The roller
fairlead was test fit as well to make sure it worked well with the winch mounted in the winch mount plate.
Everything checked out, so the installation began. After all the 4 bolts were installed for the winch to mount
to the winch plate, they were tightened down. The 2 bolts on the winch plate front were tightened down with the
roller fairlead. Make sure you do this last, as it will cause problems trying to put the front 2 winch bolts
in. Don't ask, I wasn't thinking very well when I did this.
|
| |
|
|
| |
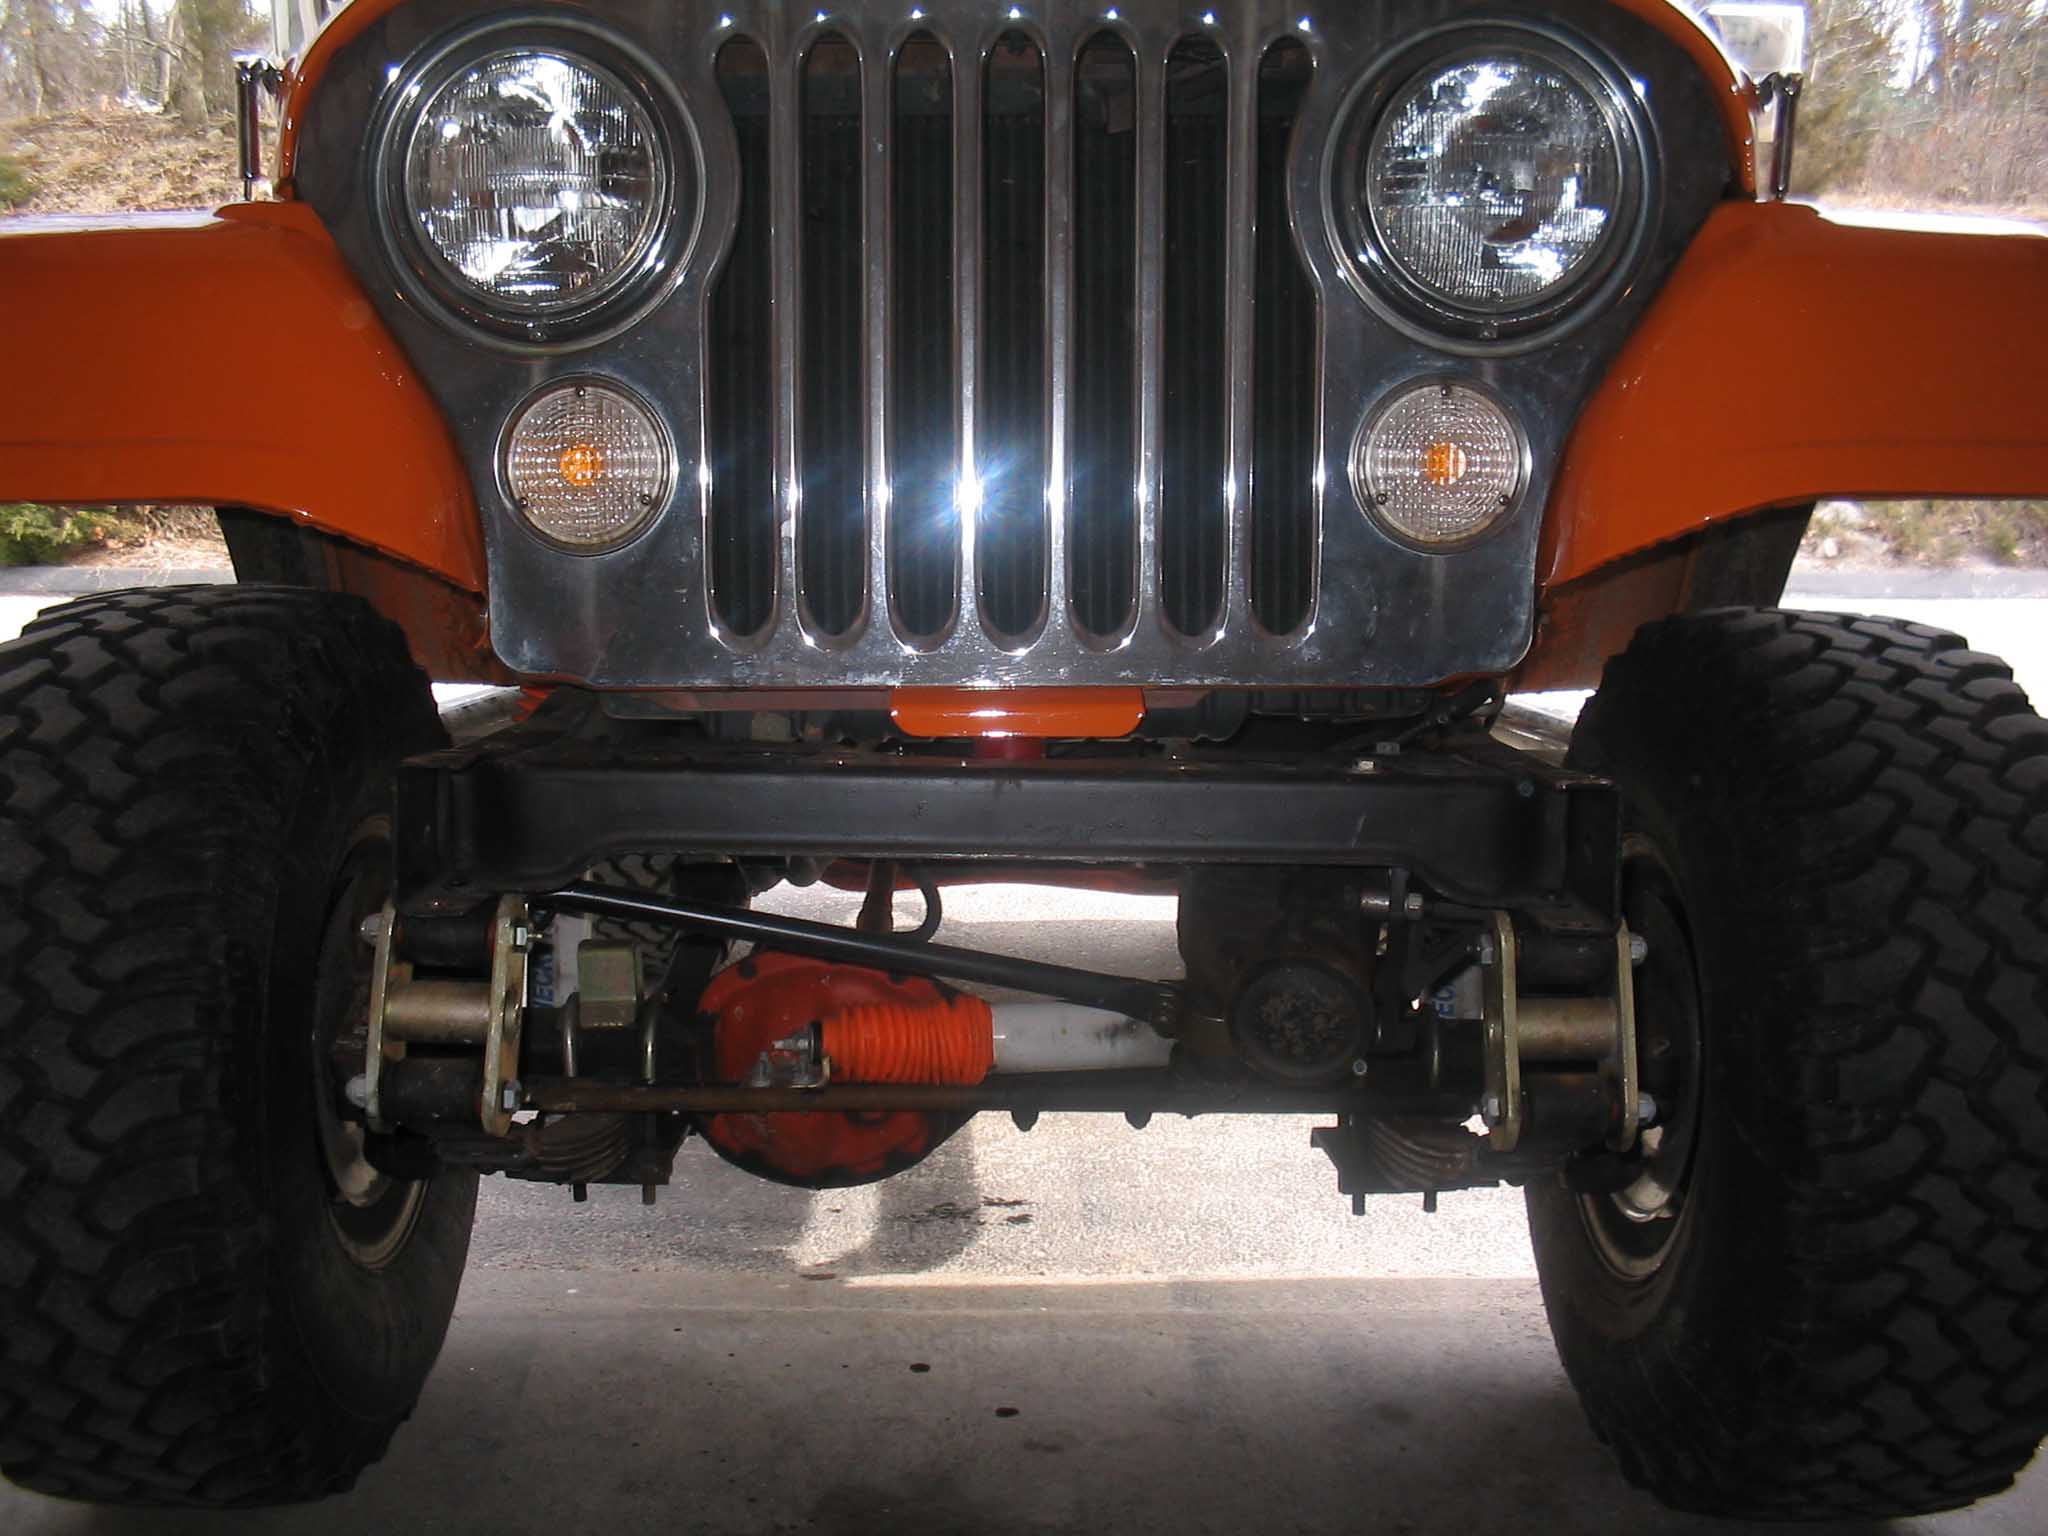
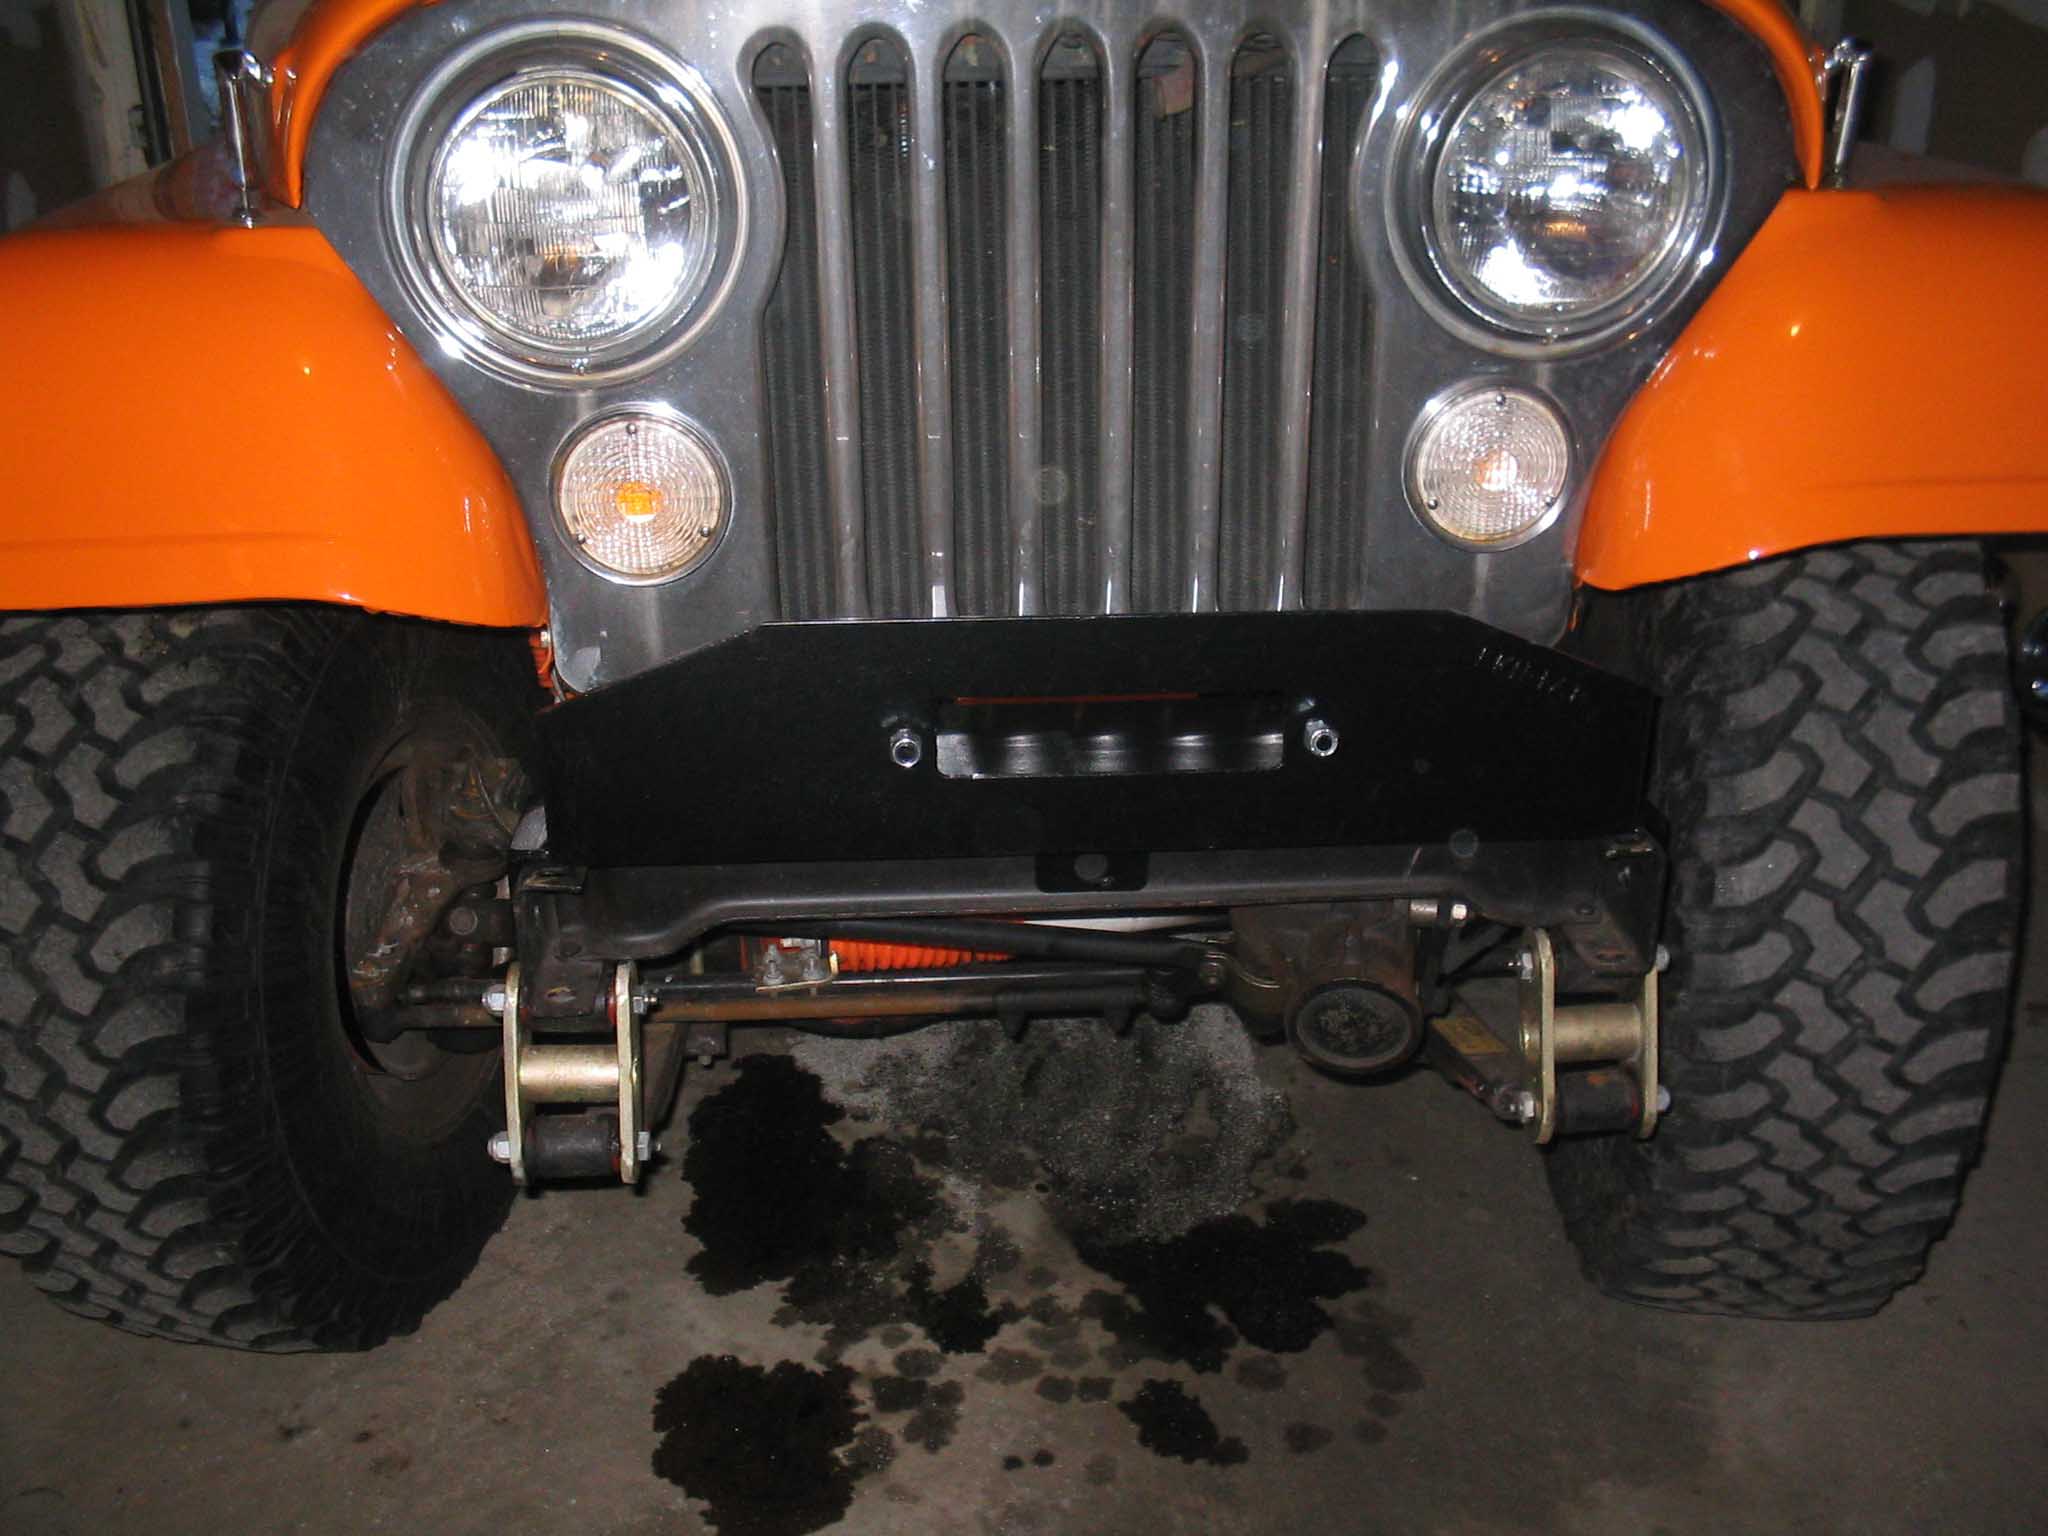
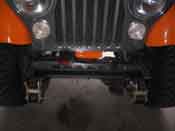
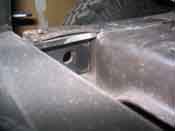
| After this was all installed, the bumper was put in and 4 bolts, 2 on
the top of the frame rails and 2 on the bottom of the frame rails were put in and installed. Hardware wasn't
included with the bumper, so these bolts were grade 8 bolts I had lying around. There are also 3 more bolts that
need to be installed to hold the winch plate in place. These bolts are on either side of the frame rails and
one that bolts to the front of the front frame cross member. You need to drill a hole for this one and the other
2 are already there. Make sure everything lines up and torque these bolts down. I didn't have any 11/16" bolts,
so I had to go out and get them along with washers and lock washers. Once this was done, everything was in place.
I put the lights on the tabs and the project was done.
|
| |
| Lessons Learned the Hard Way |
| |
So, my lessons learned here would have to be that I waited too long to get this
new bumper. It looks great and is very well made. It looks like it can handle quite a bit of abuse and would
terrorize anything out there, plus it has the light mounts as well as winch protection. What else could you ask
for?
I also mentioned above that you will need hardware for this; make sure that you get this after the test fitting.
I had to grind down some of the edges for it to fit perfectly. I made sure that the holes lined up and then I
installed all the hardware. It turned out really nice.
|
| |
| Conclusions |
| |
This is a fairly easy upgrade that will give you a better way of getting out of
trouble or helping others out. What you want is some heavy-duty tractor style straps to go with these so you
can be snatched out of the mud. Also included is the added benefit of winch protection at the same time
offering up a place to mount some lights so you can light up the trail at night.
This took a bit of fitting, grinding and other tweaks to get it to line up perfectly, but it didn't take all that
long to do.
|
|