| Herculiner Application |
| |
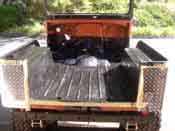
| After much reading online, we found out a lot of information on Jeep bodies and there...
lack of ability to fight rust, especially after 30 years. The project CJ was in quite good shape for the years, so it was
grinded down, floors replaced, and herculiner was applied.
|
| |
|
|
| |
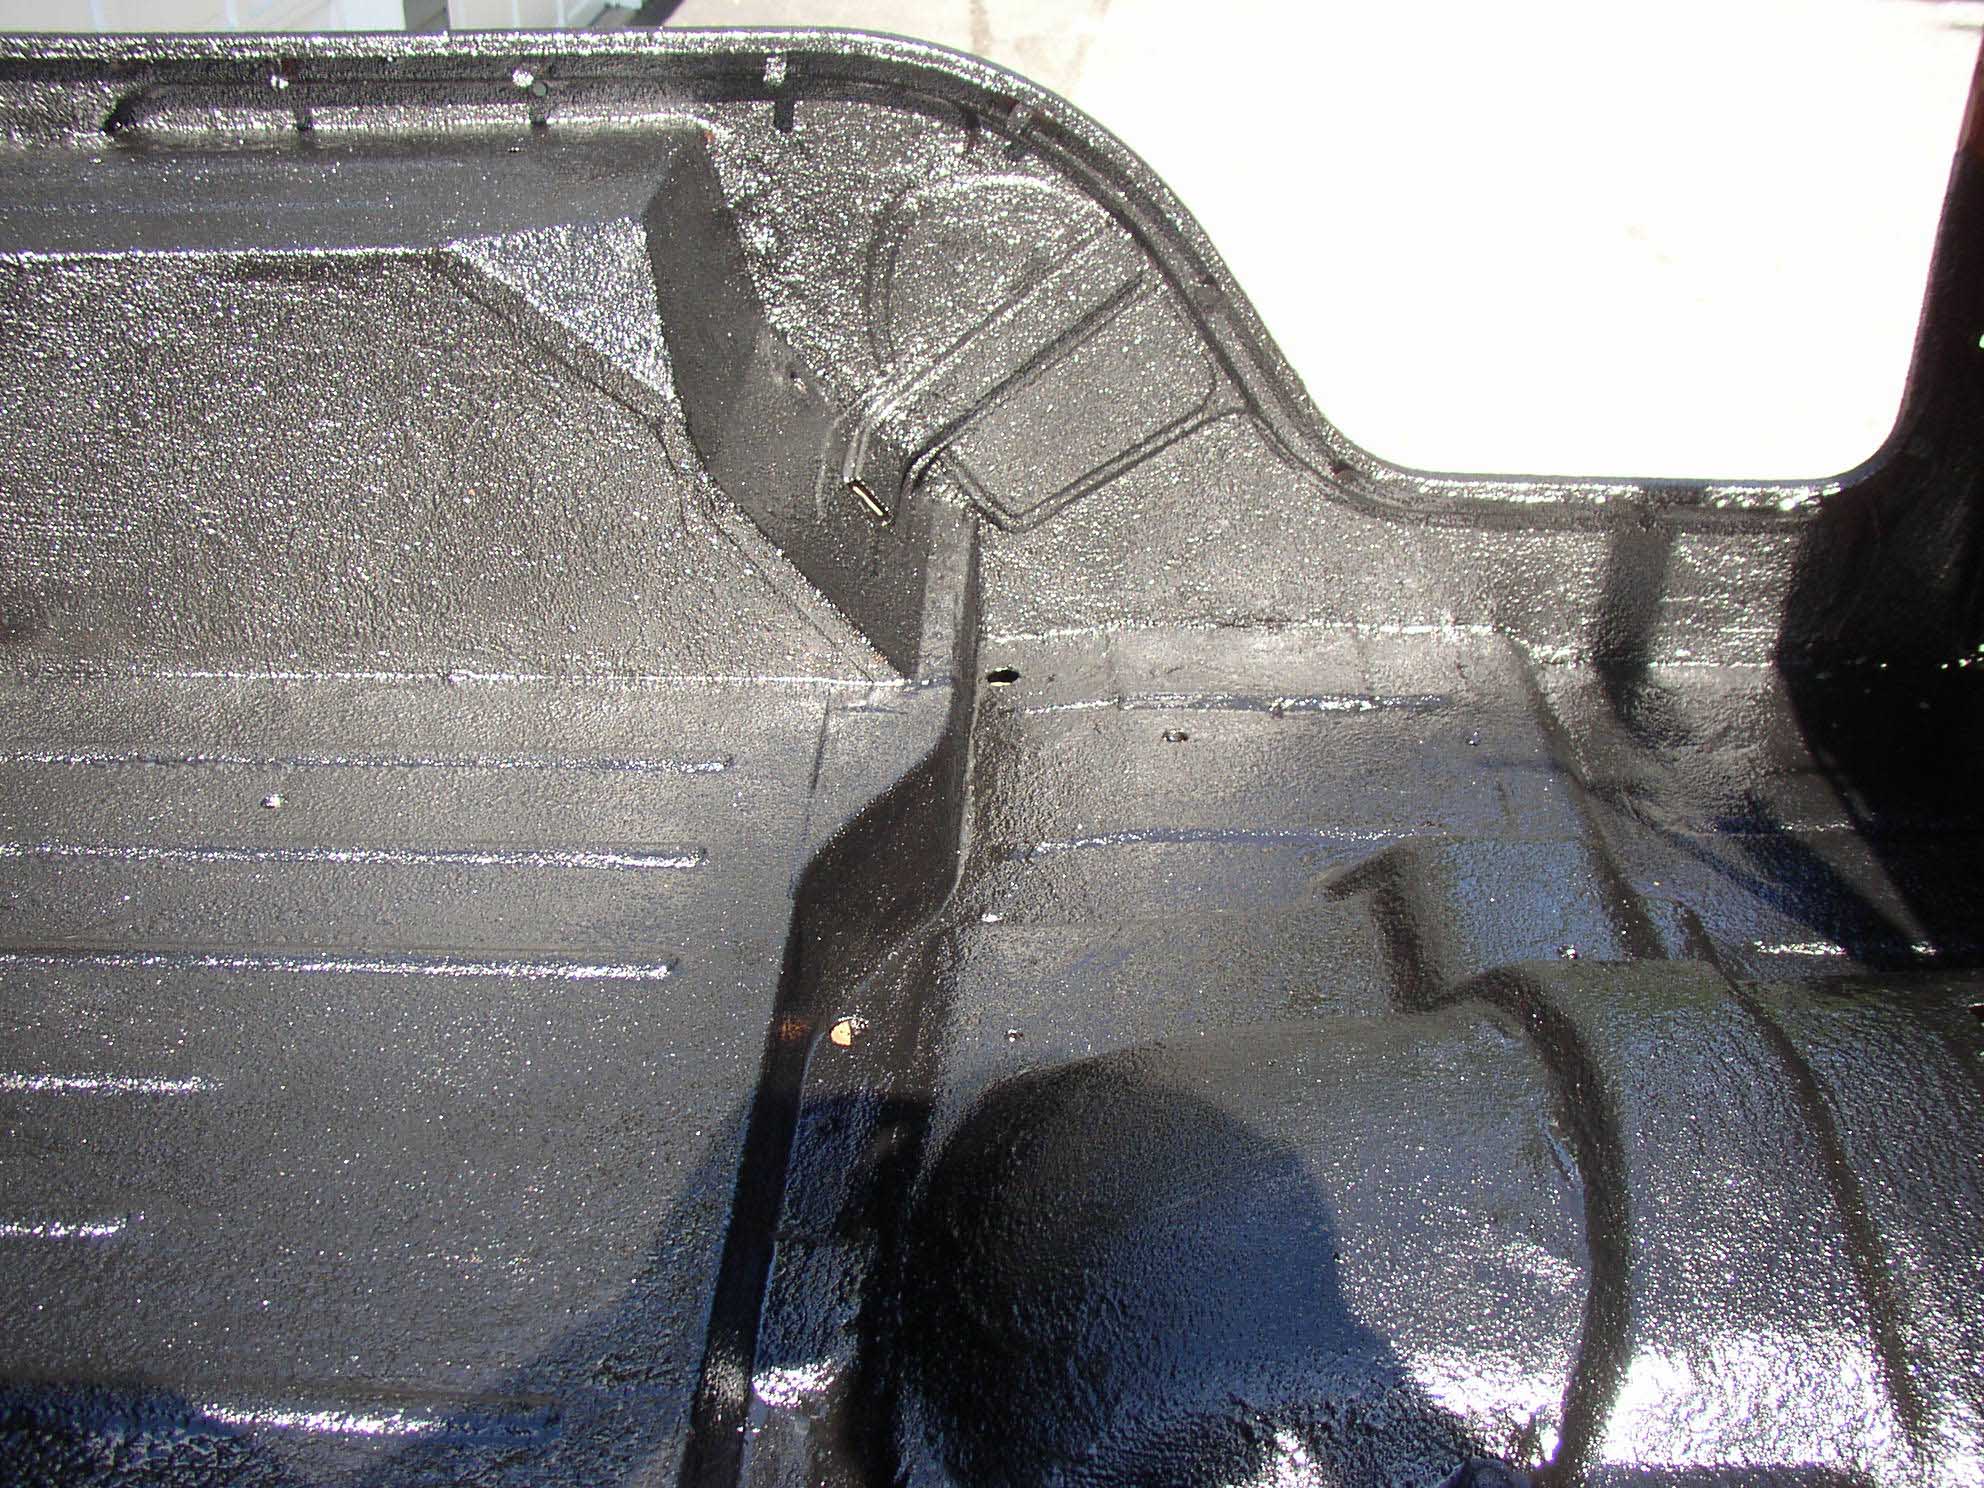
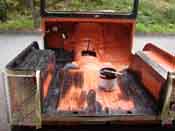
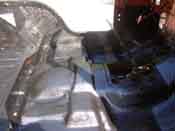
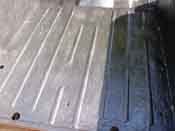
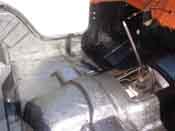
| After the floors were replaced by welding them in (don't pop rivet them, do it
right!) the entire Jeep was cleaned thoroughly with a wire brush, sander, and q-tips for the cracks, corners,
and crevices. The Jeep then was thoroughly washed with acetone and then the corners and edges were taped off
as to only apply the herculiner to where it was wanted and not to get any on the body or underside where it
would be difficult to get off.
|
| |
|
|
| |
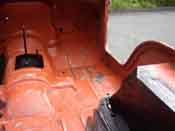
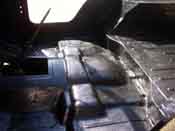
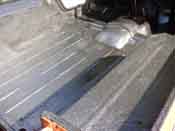
| After spraying out the body with compressed air, acetone was applied liberally
all over the Jeep and the entire surface was cleaned fully. This was now ready for the herculiner application.
|
| |
|
|
|
|
|
|
| |
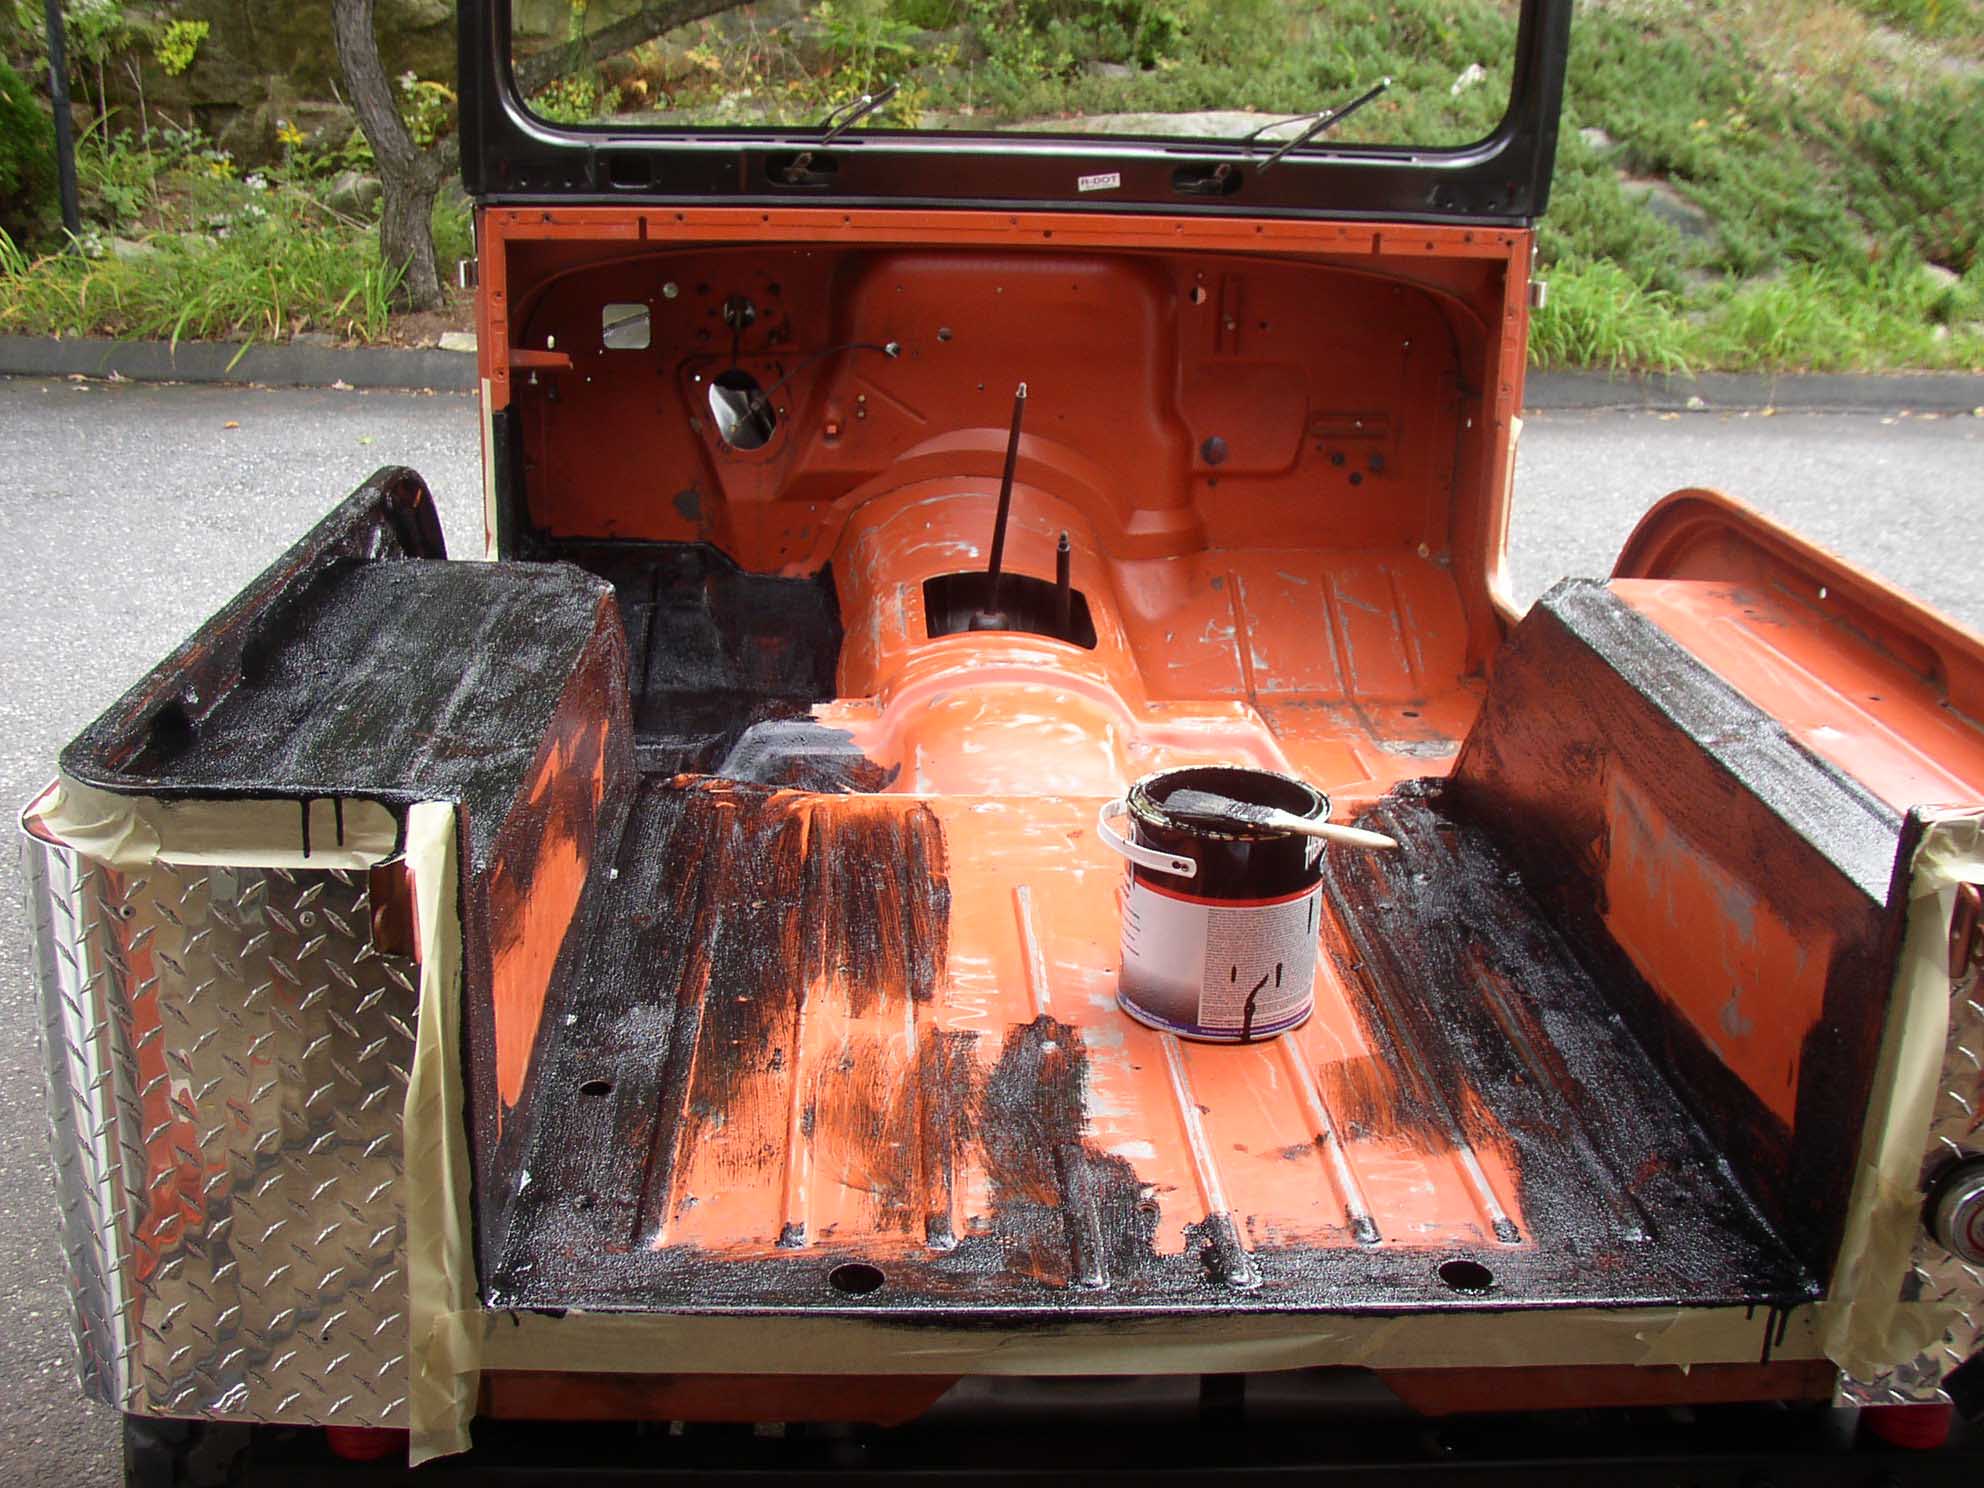
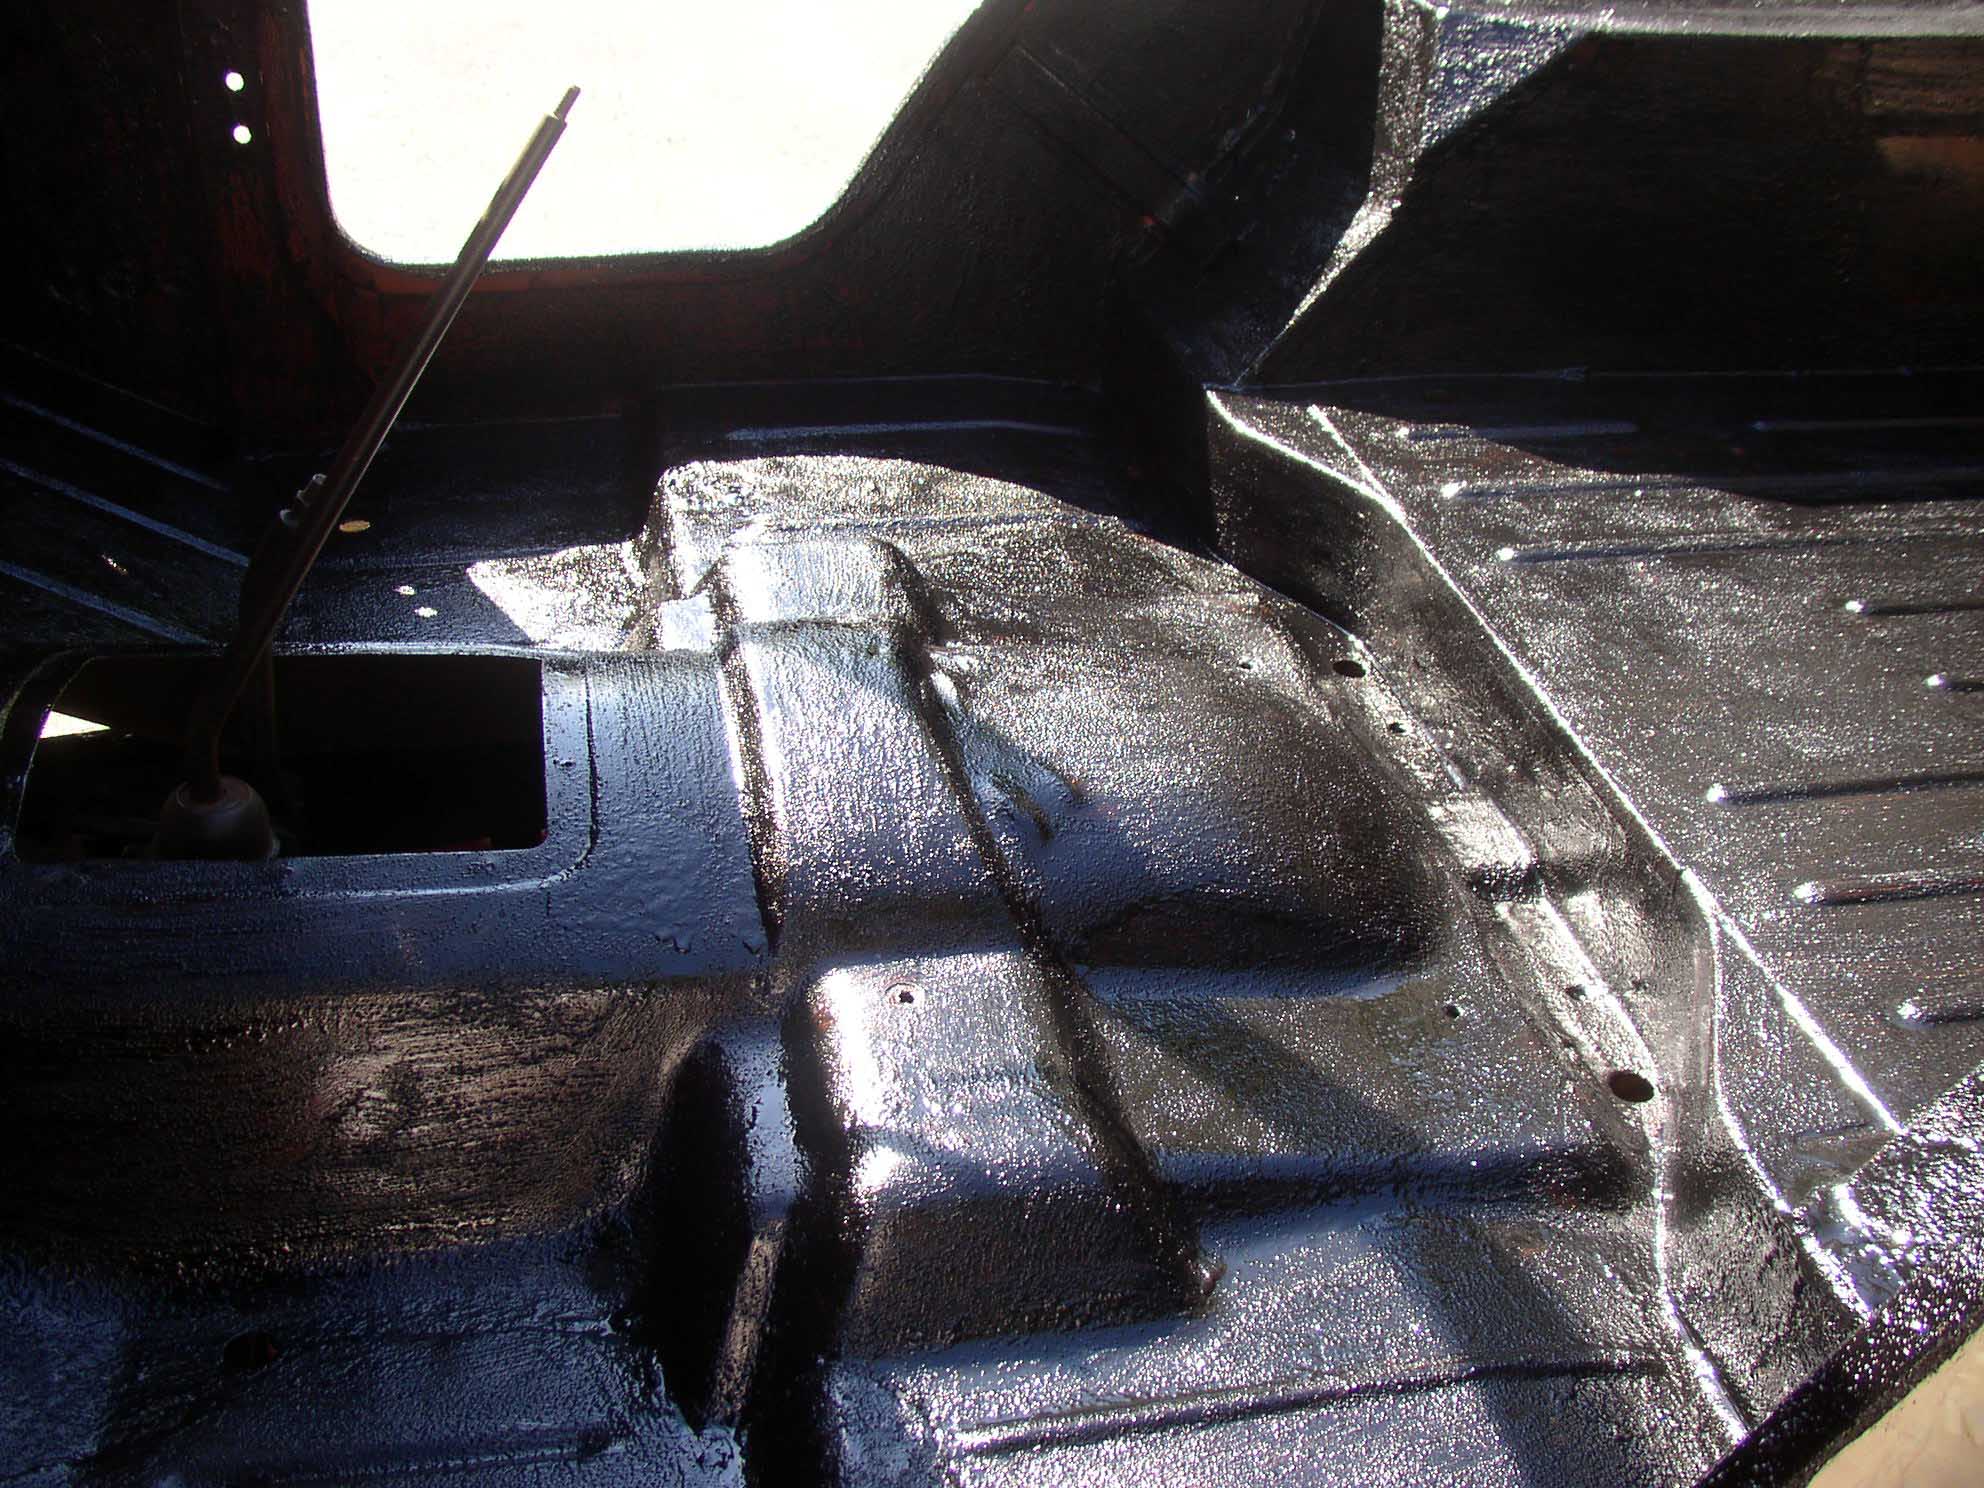
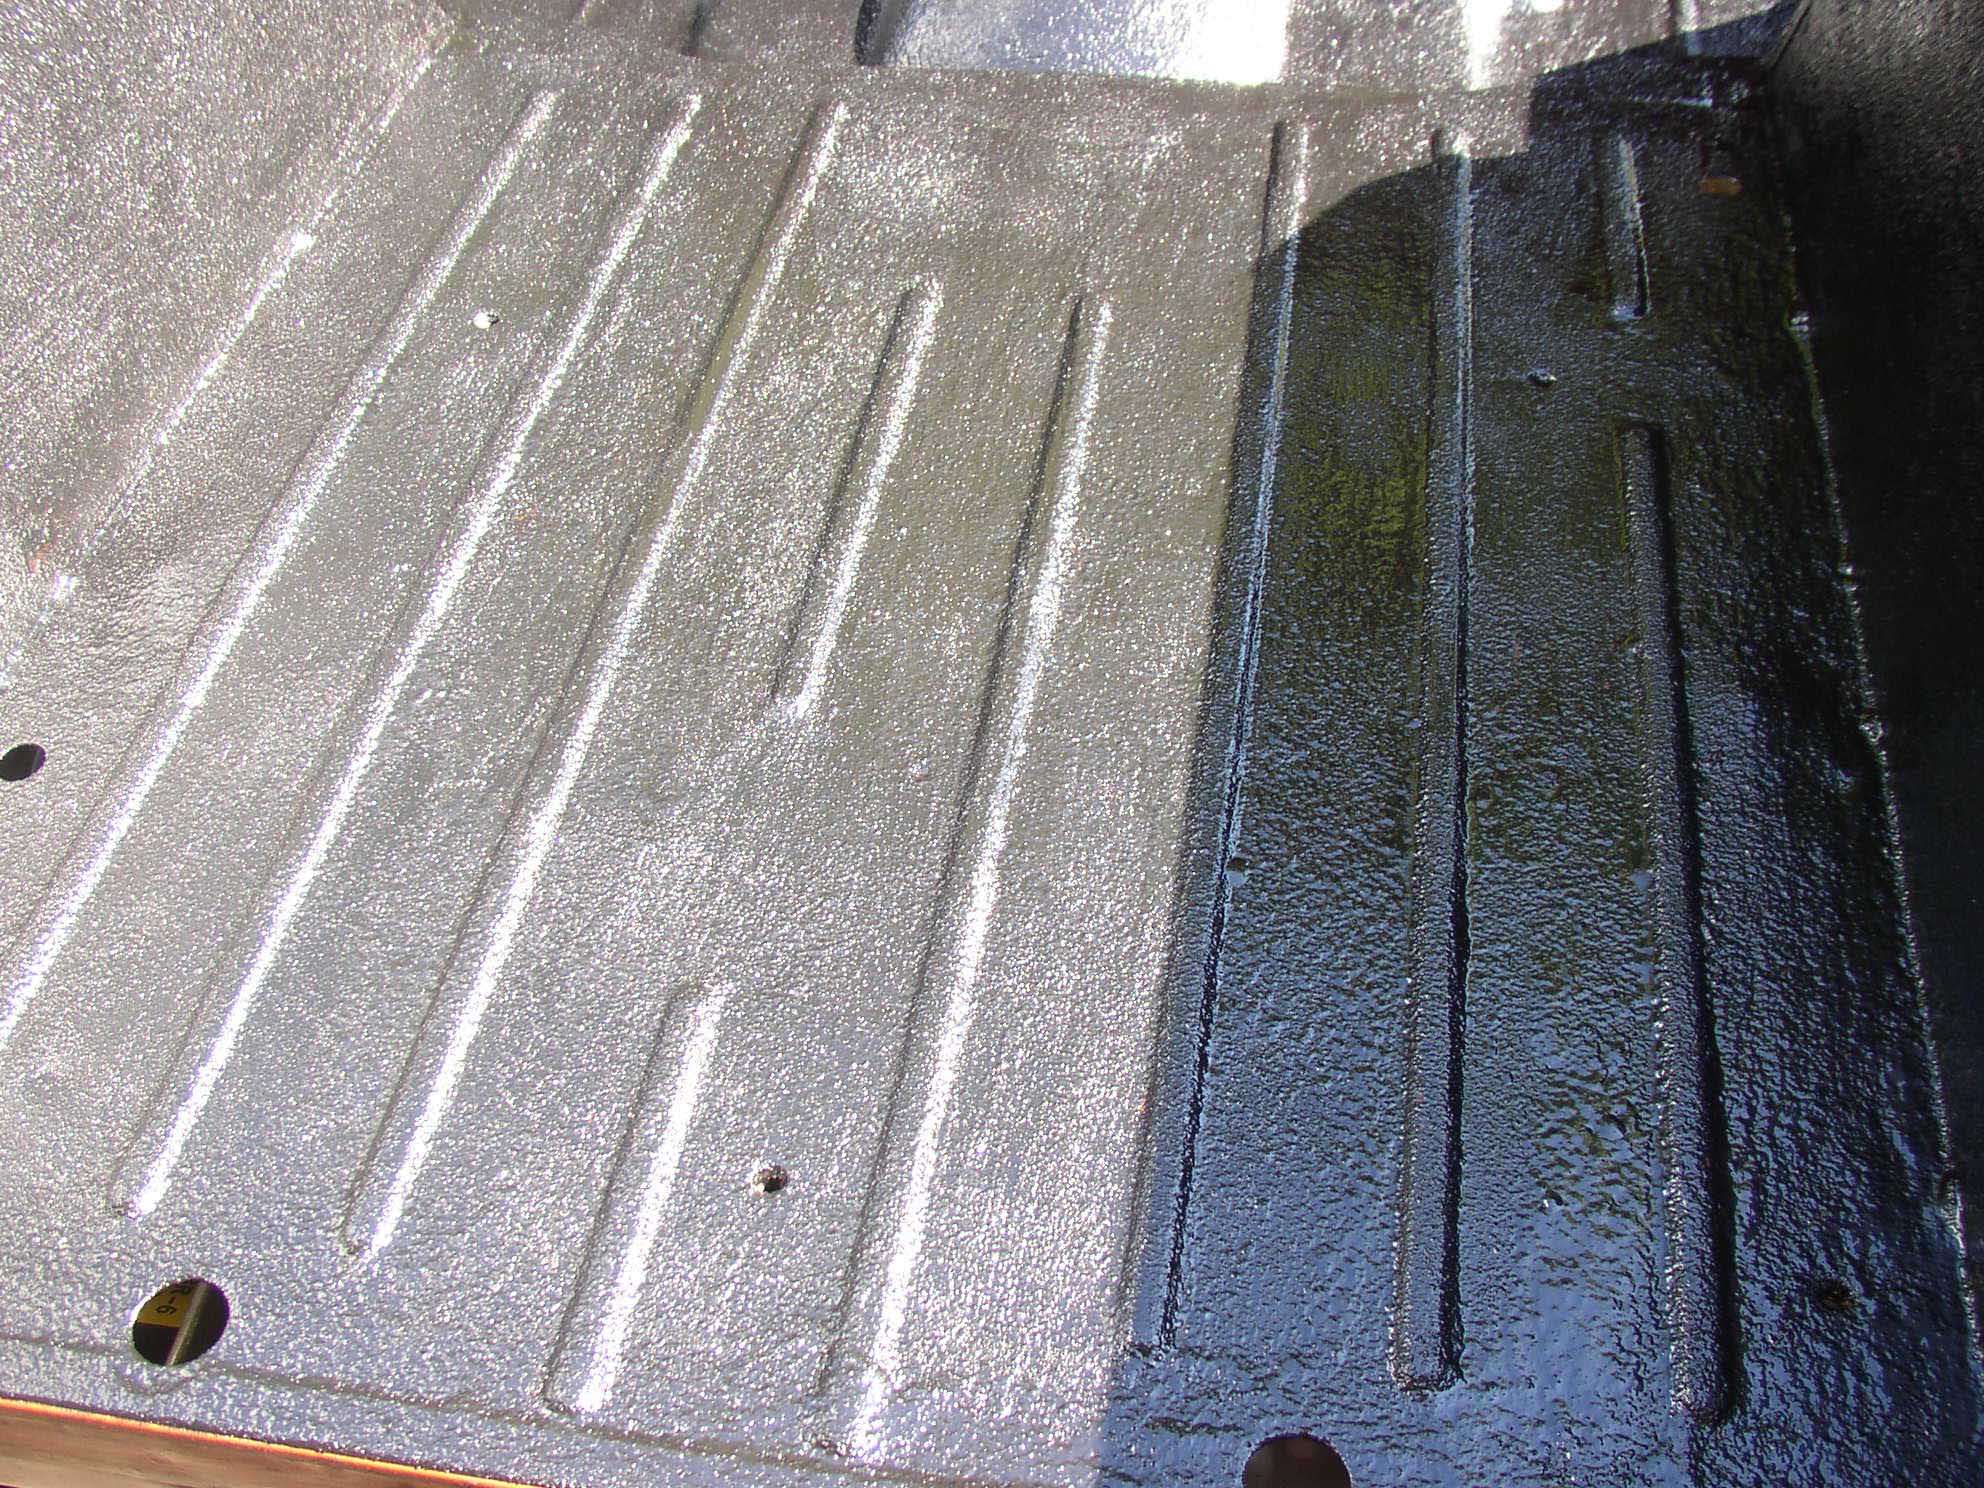
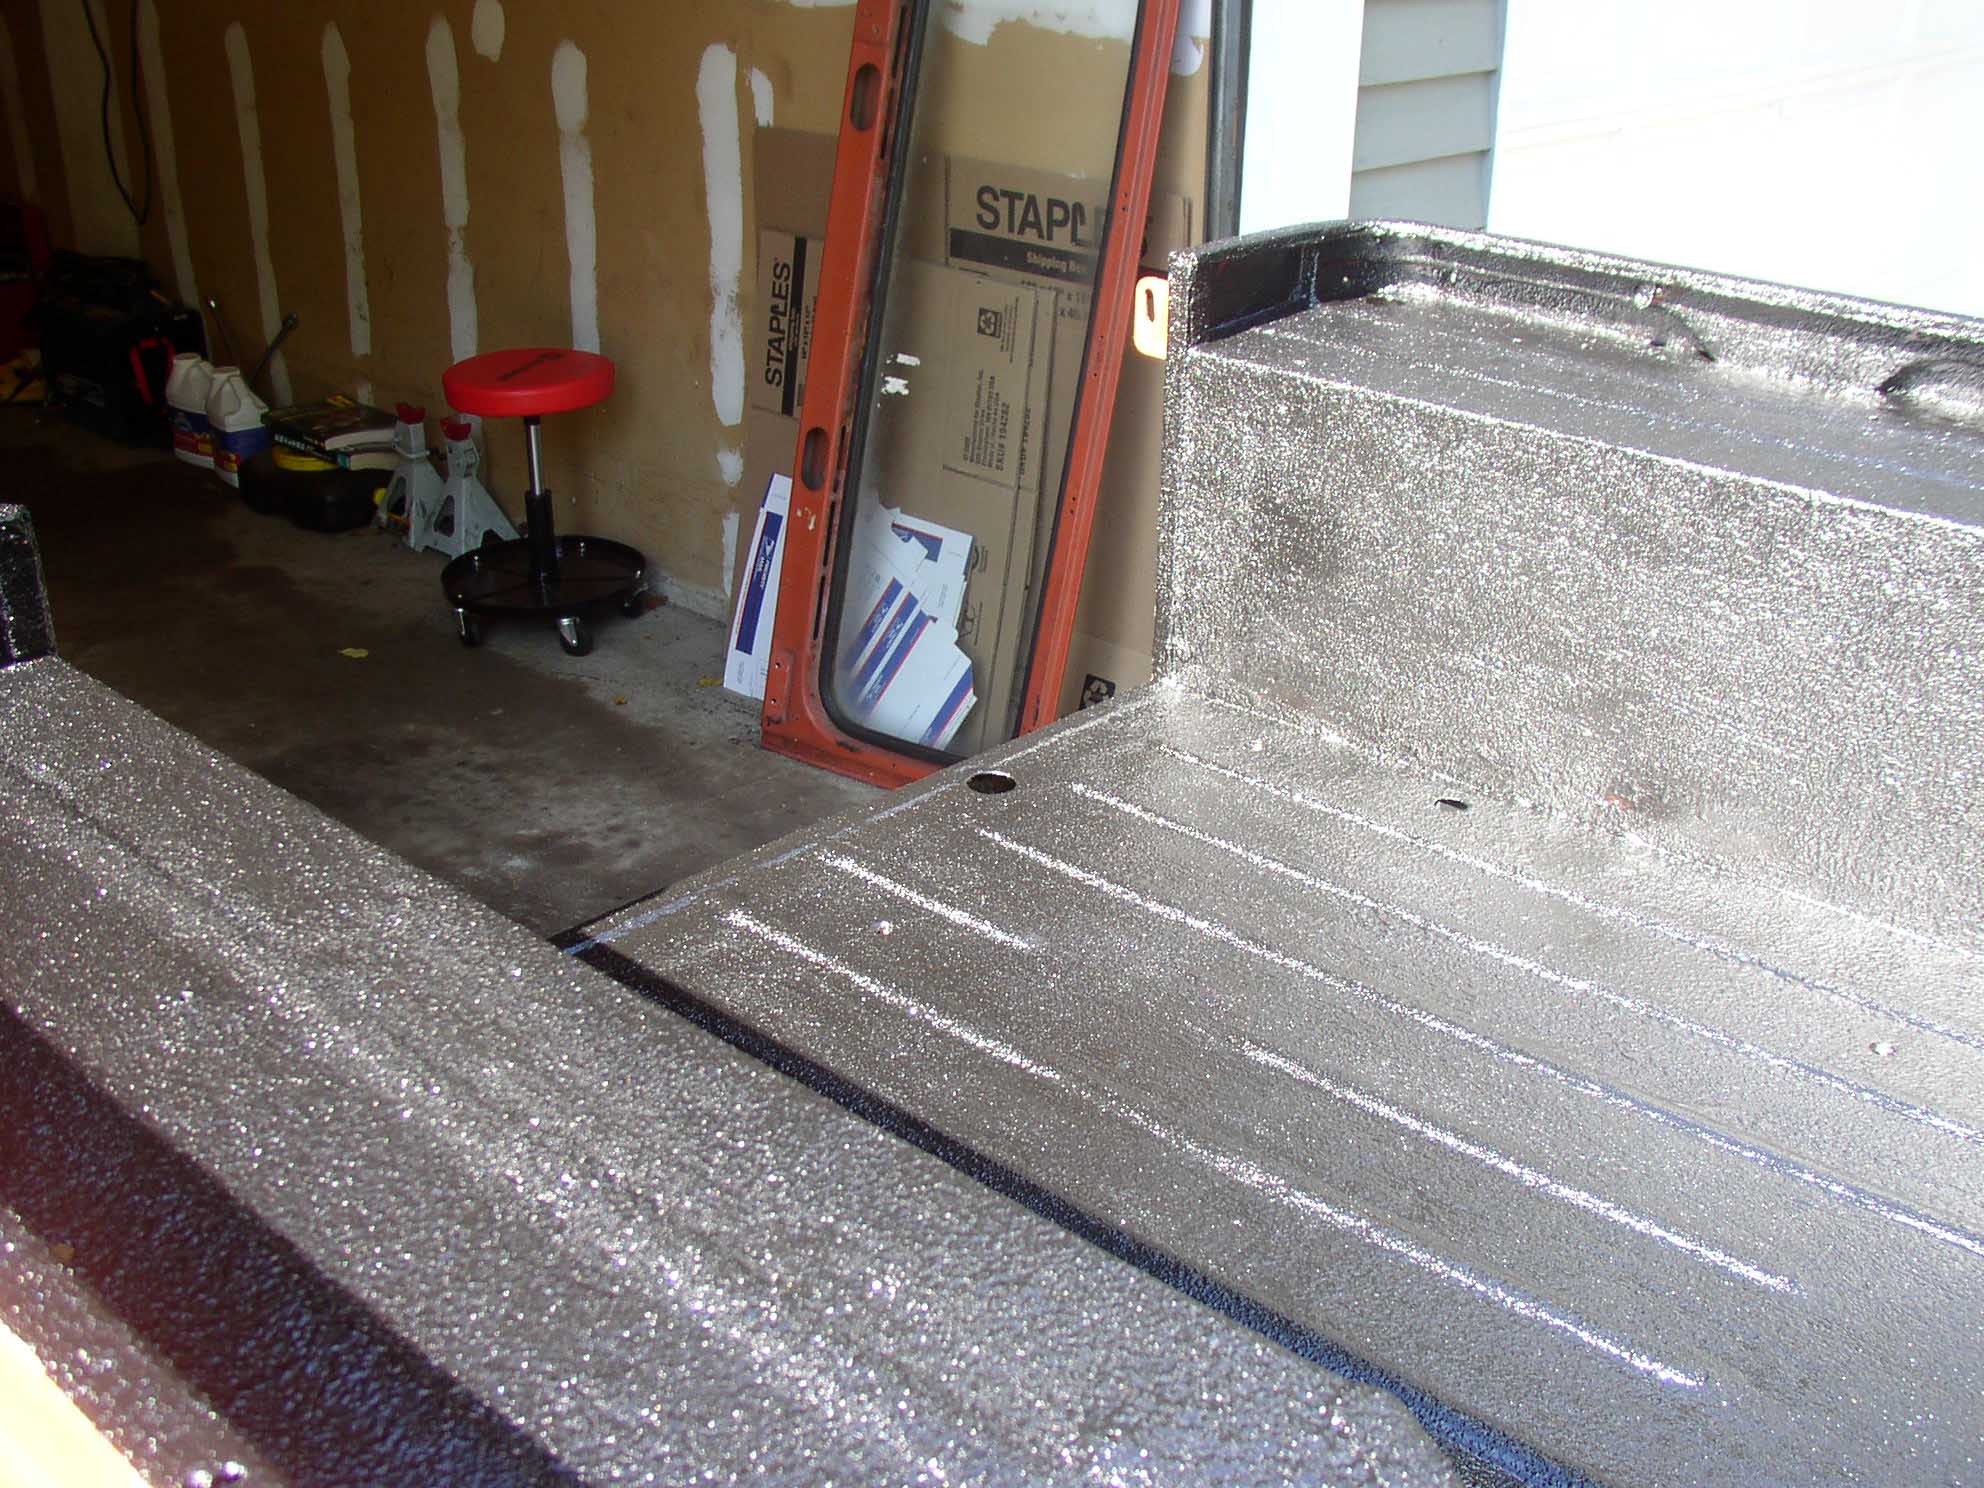
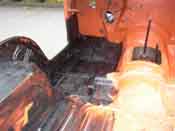
| Herculiner can be sprayed on or it can be painted. Both processes were used
during this application, but remember that if you use a sprayer, more then likely it is the last hurrah for that
sprayer. The herculiner is thick and in my experience it clogged my fine sprayer a lot so it took a lot of time
cleaning it out and becoming frustrated.
|
| |

|
|
|
|
| |
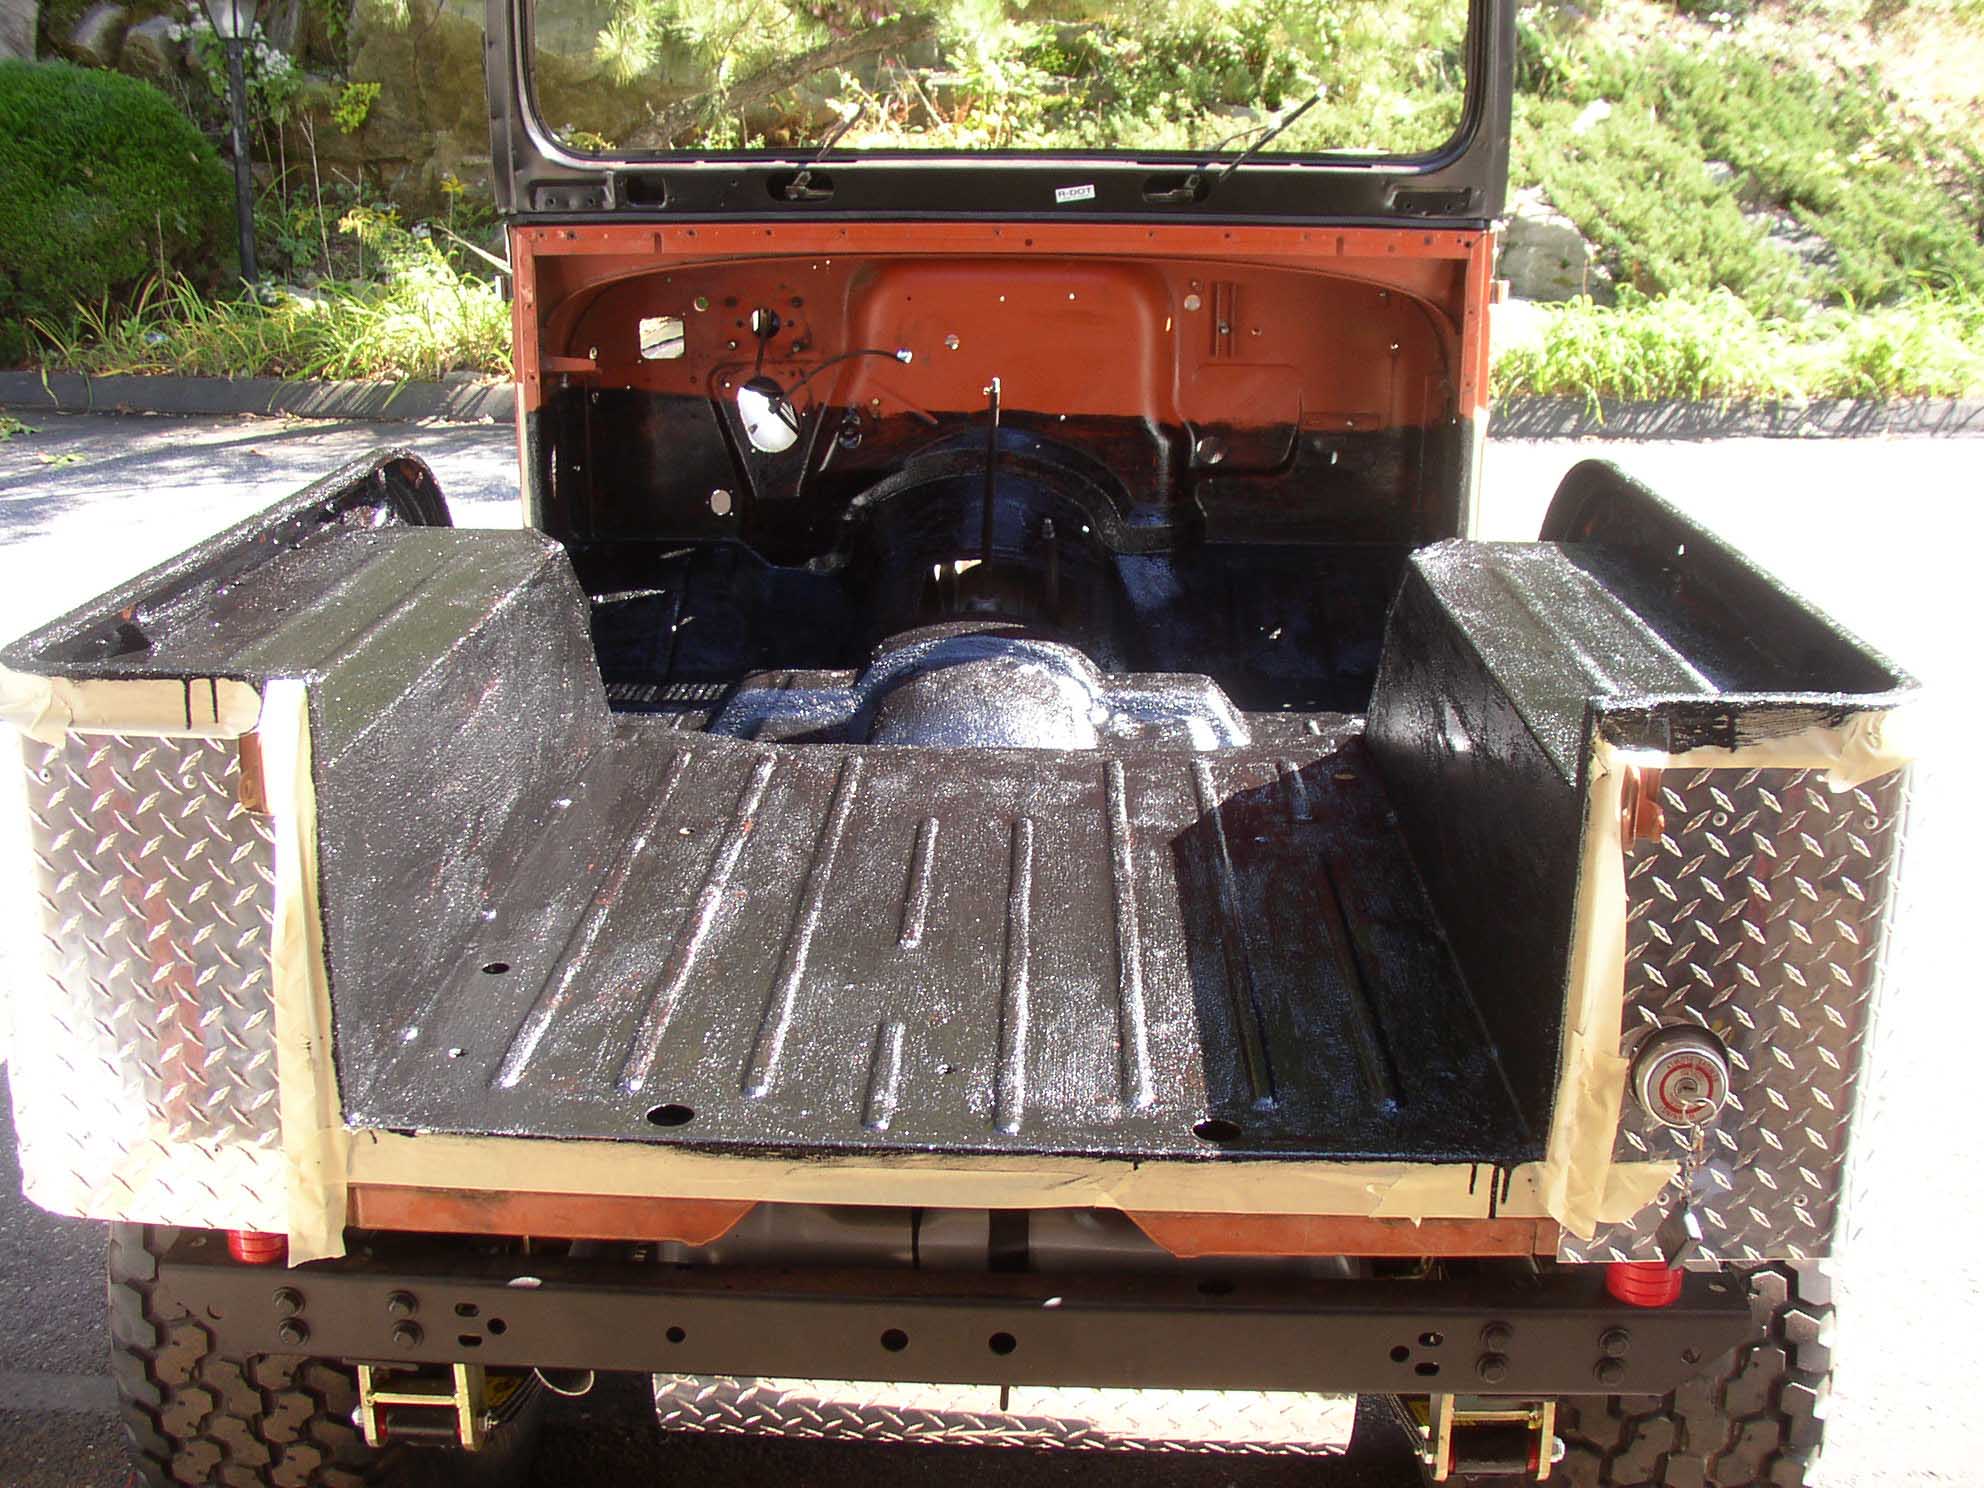
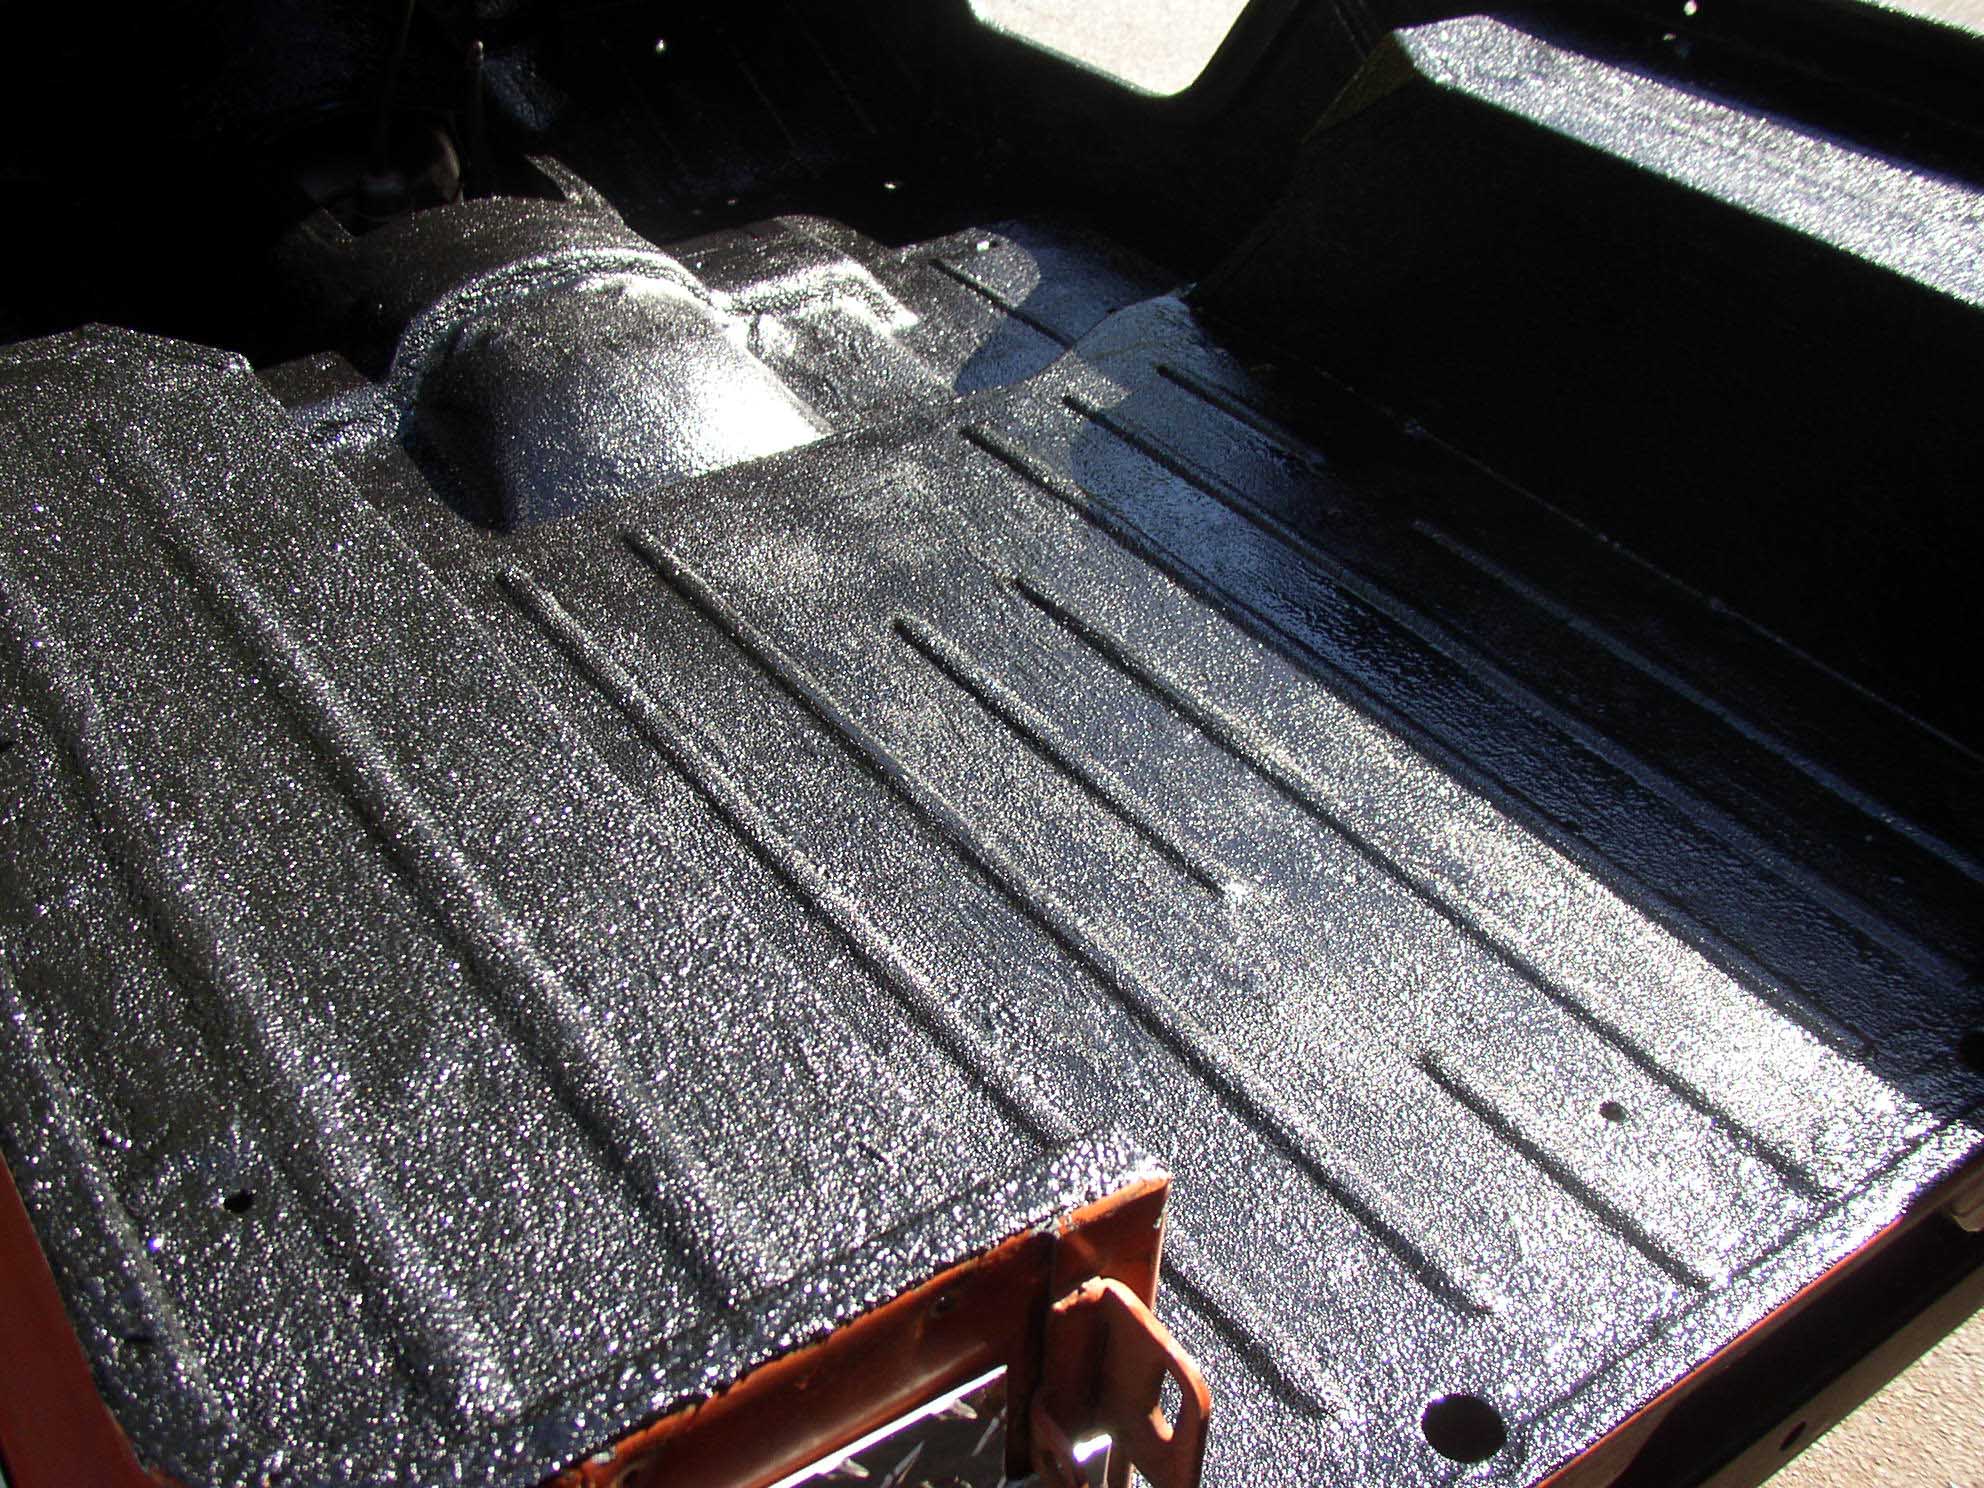
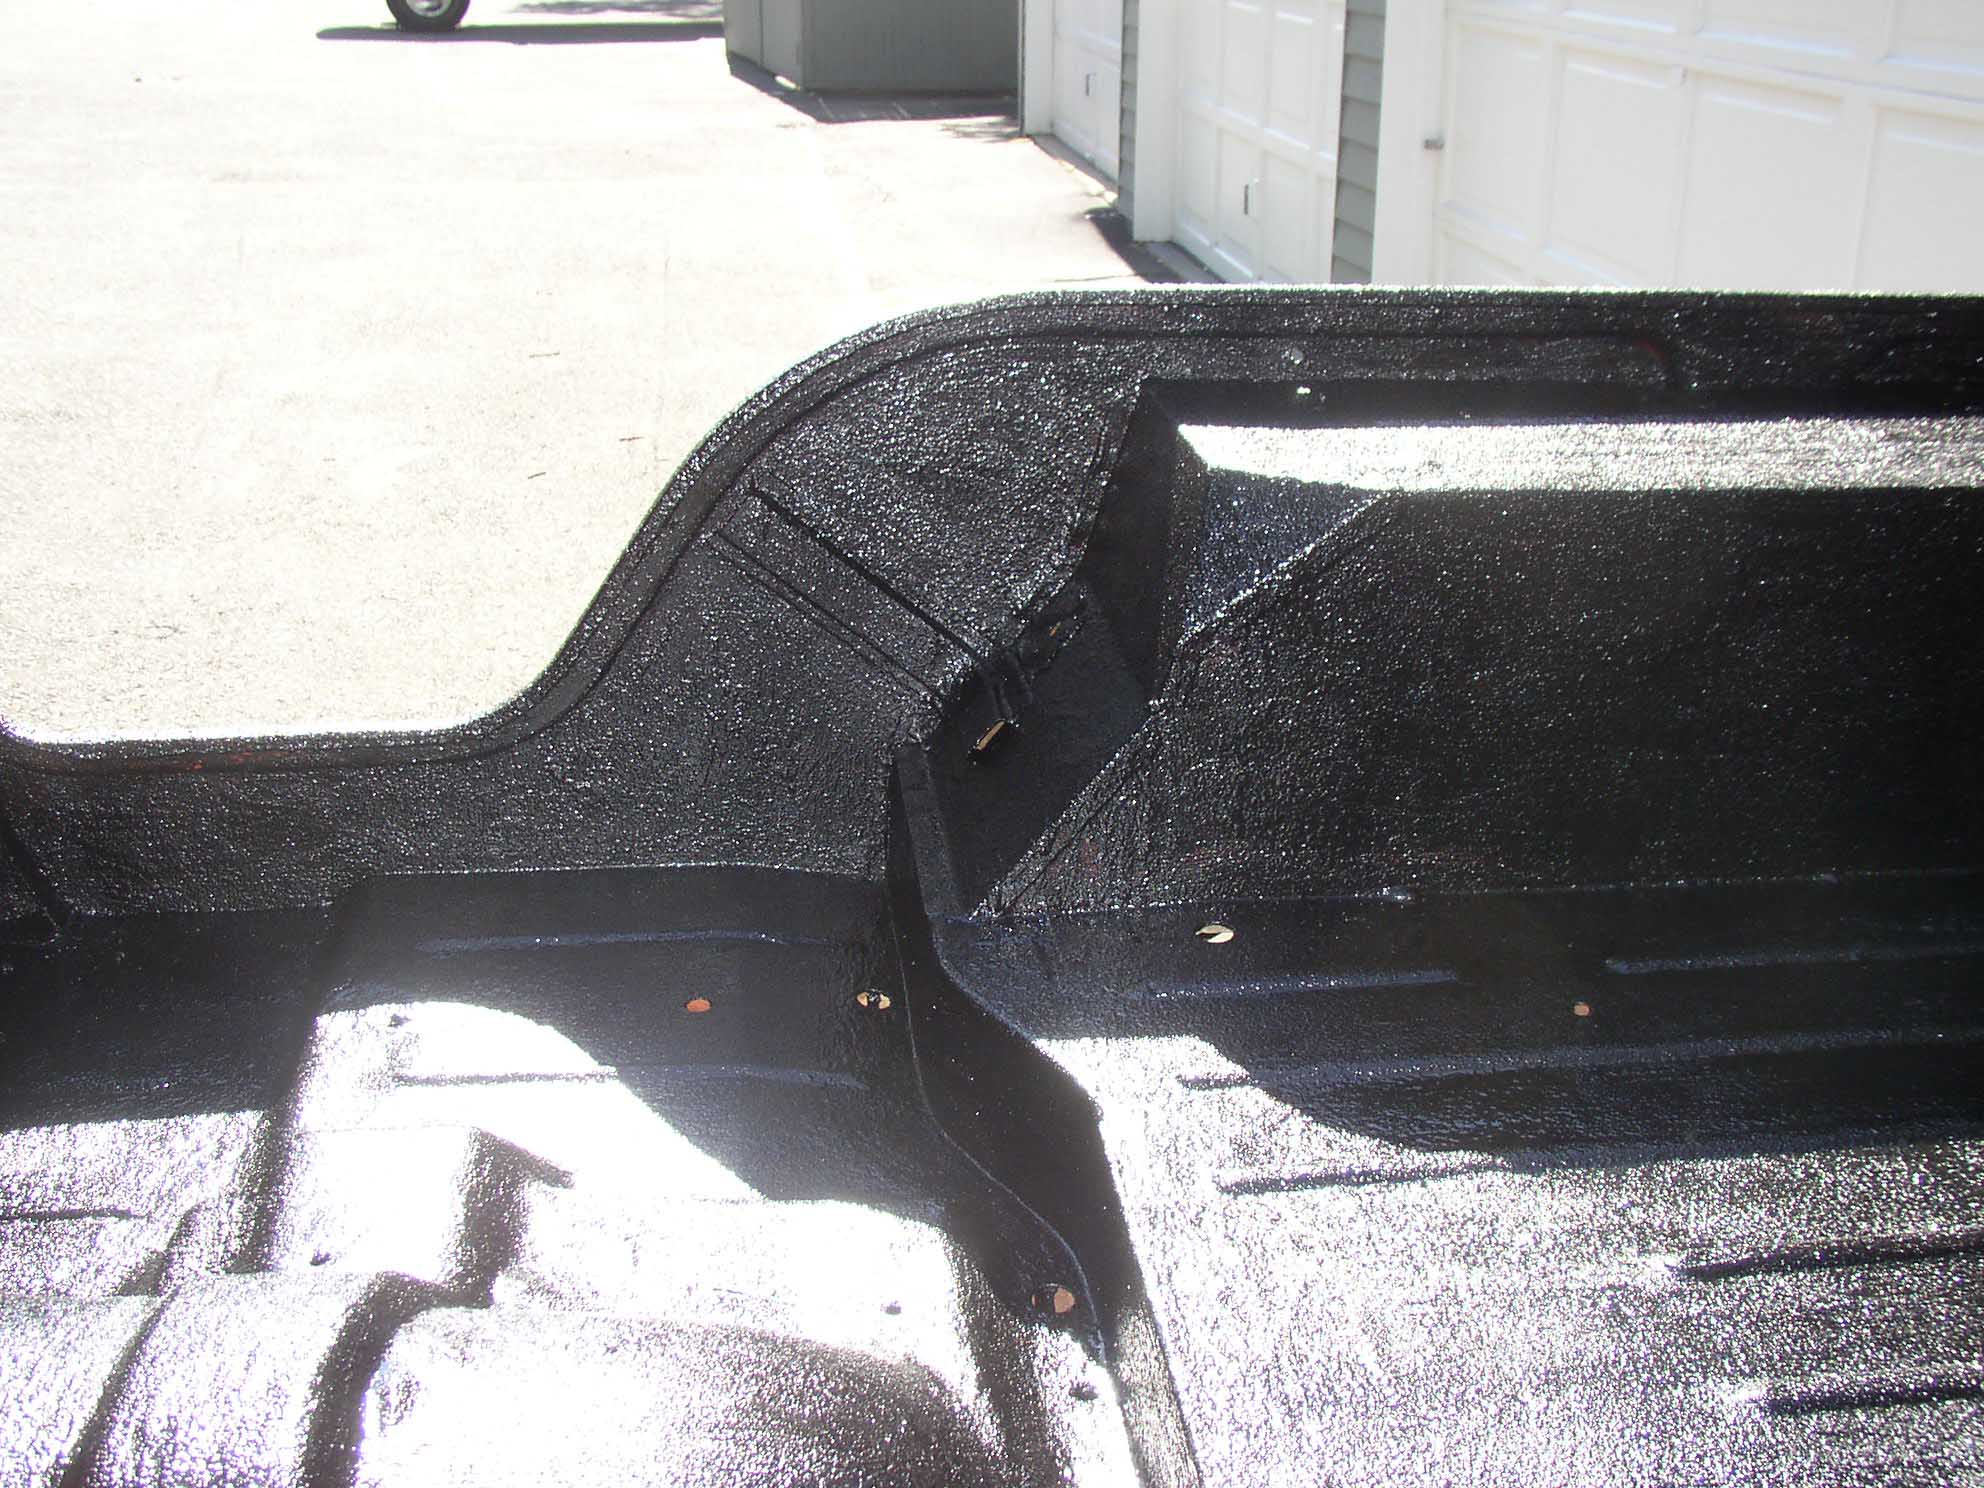
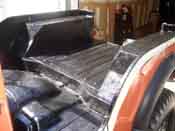
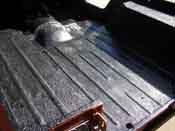
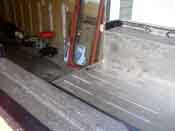
| The 1-gallon can is enough for 2 coats. You don't need to cover everything with
the first coat, just make sure it covers and that the surface is black. Once it sets up, about 20 minutes or
so, the second coat is applied and then you need to make sure it has full coverage. Once that sets up, remove
the plugs and tape as to not have them become permanent fixtures on the underside of your Jeep.
|
| |
|

|

|
|
| |
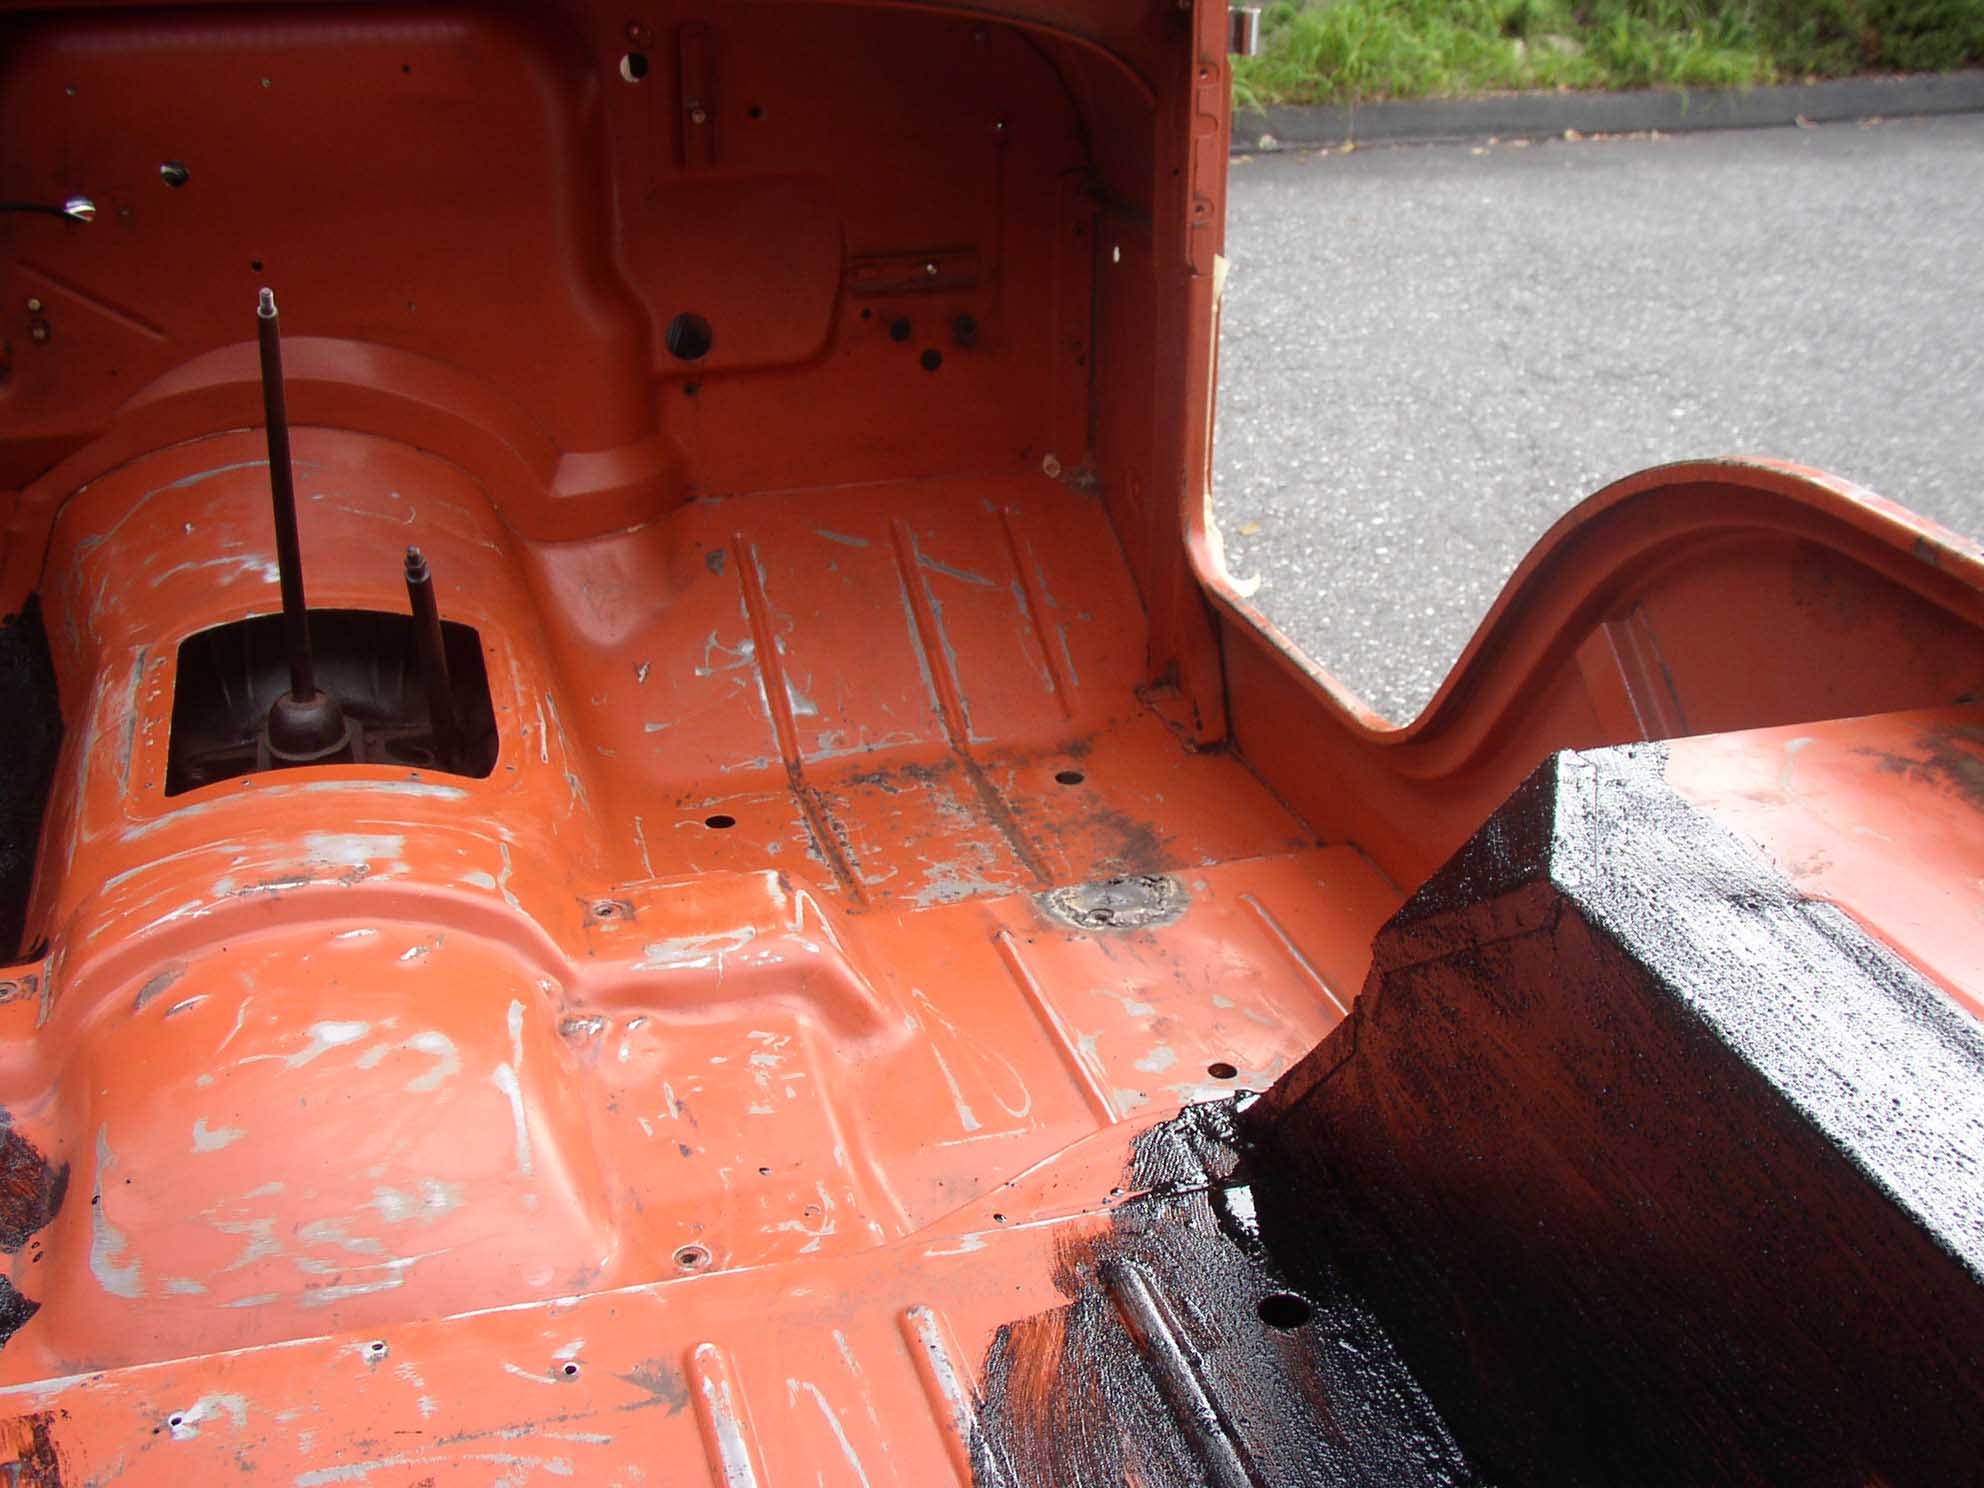
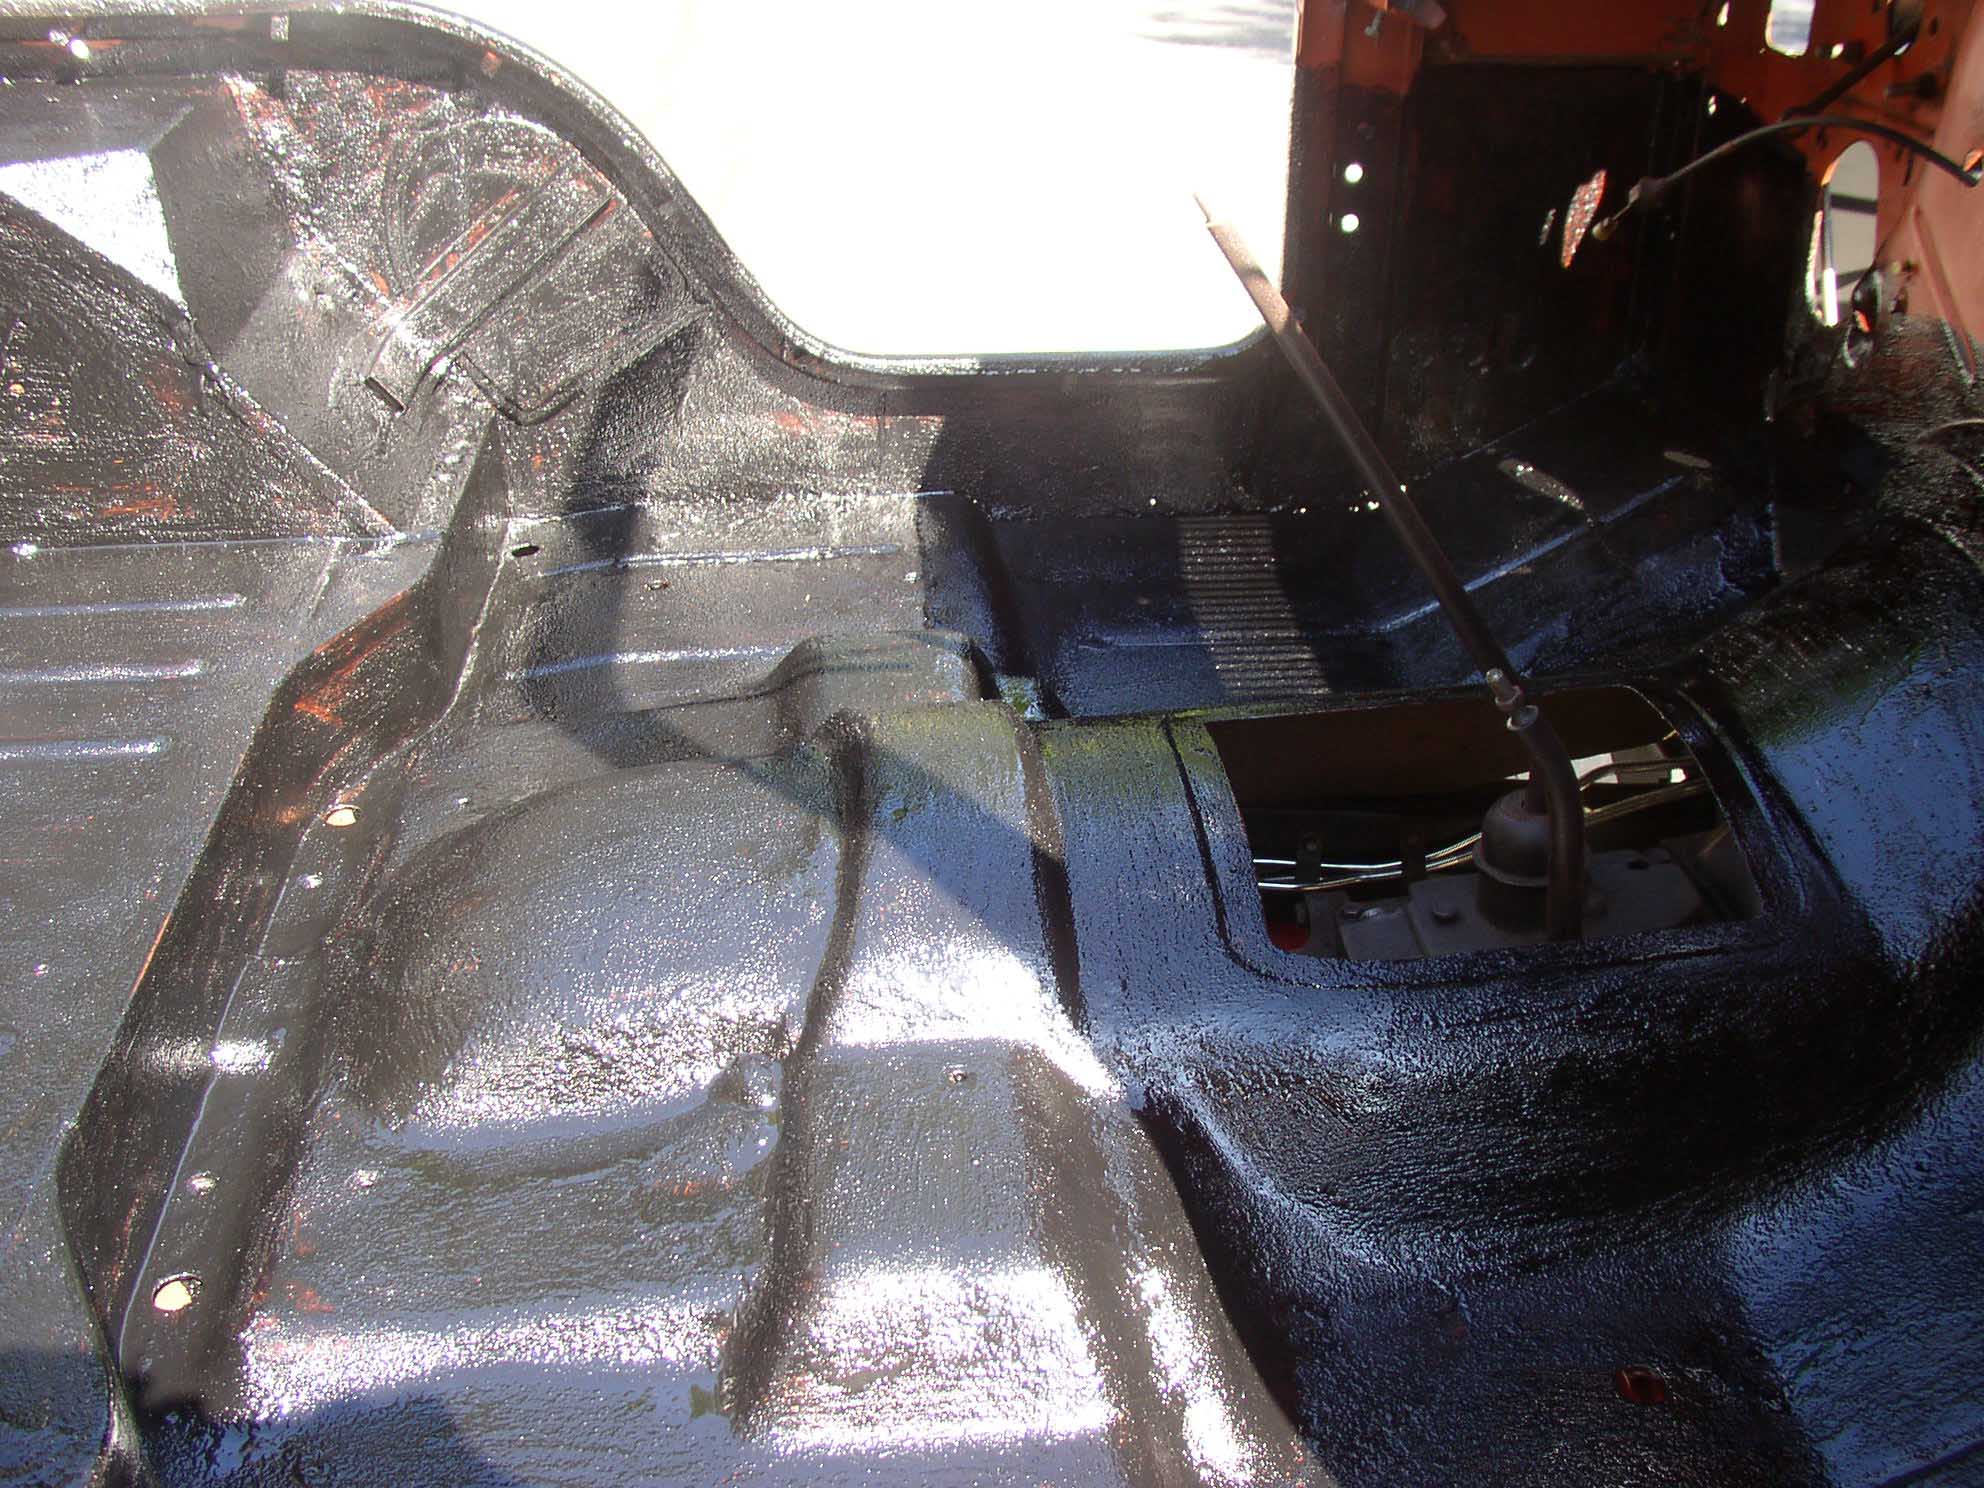
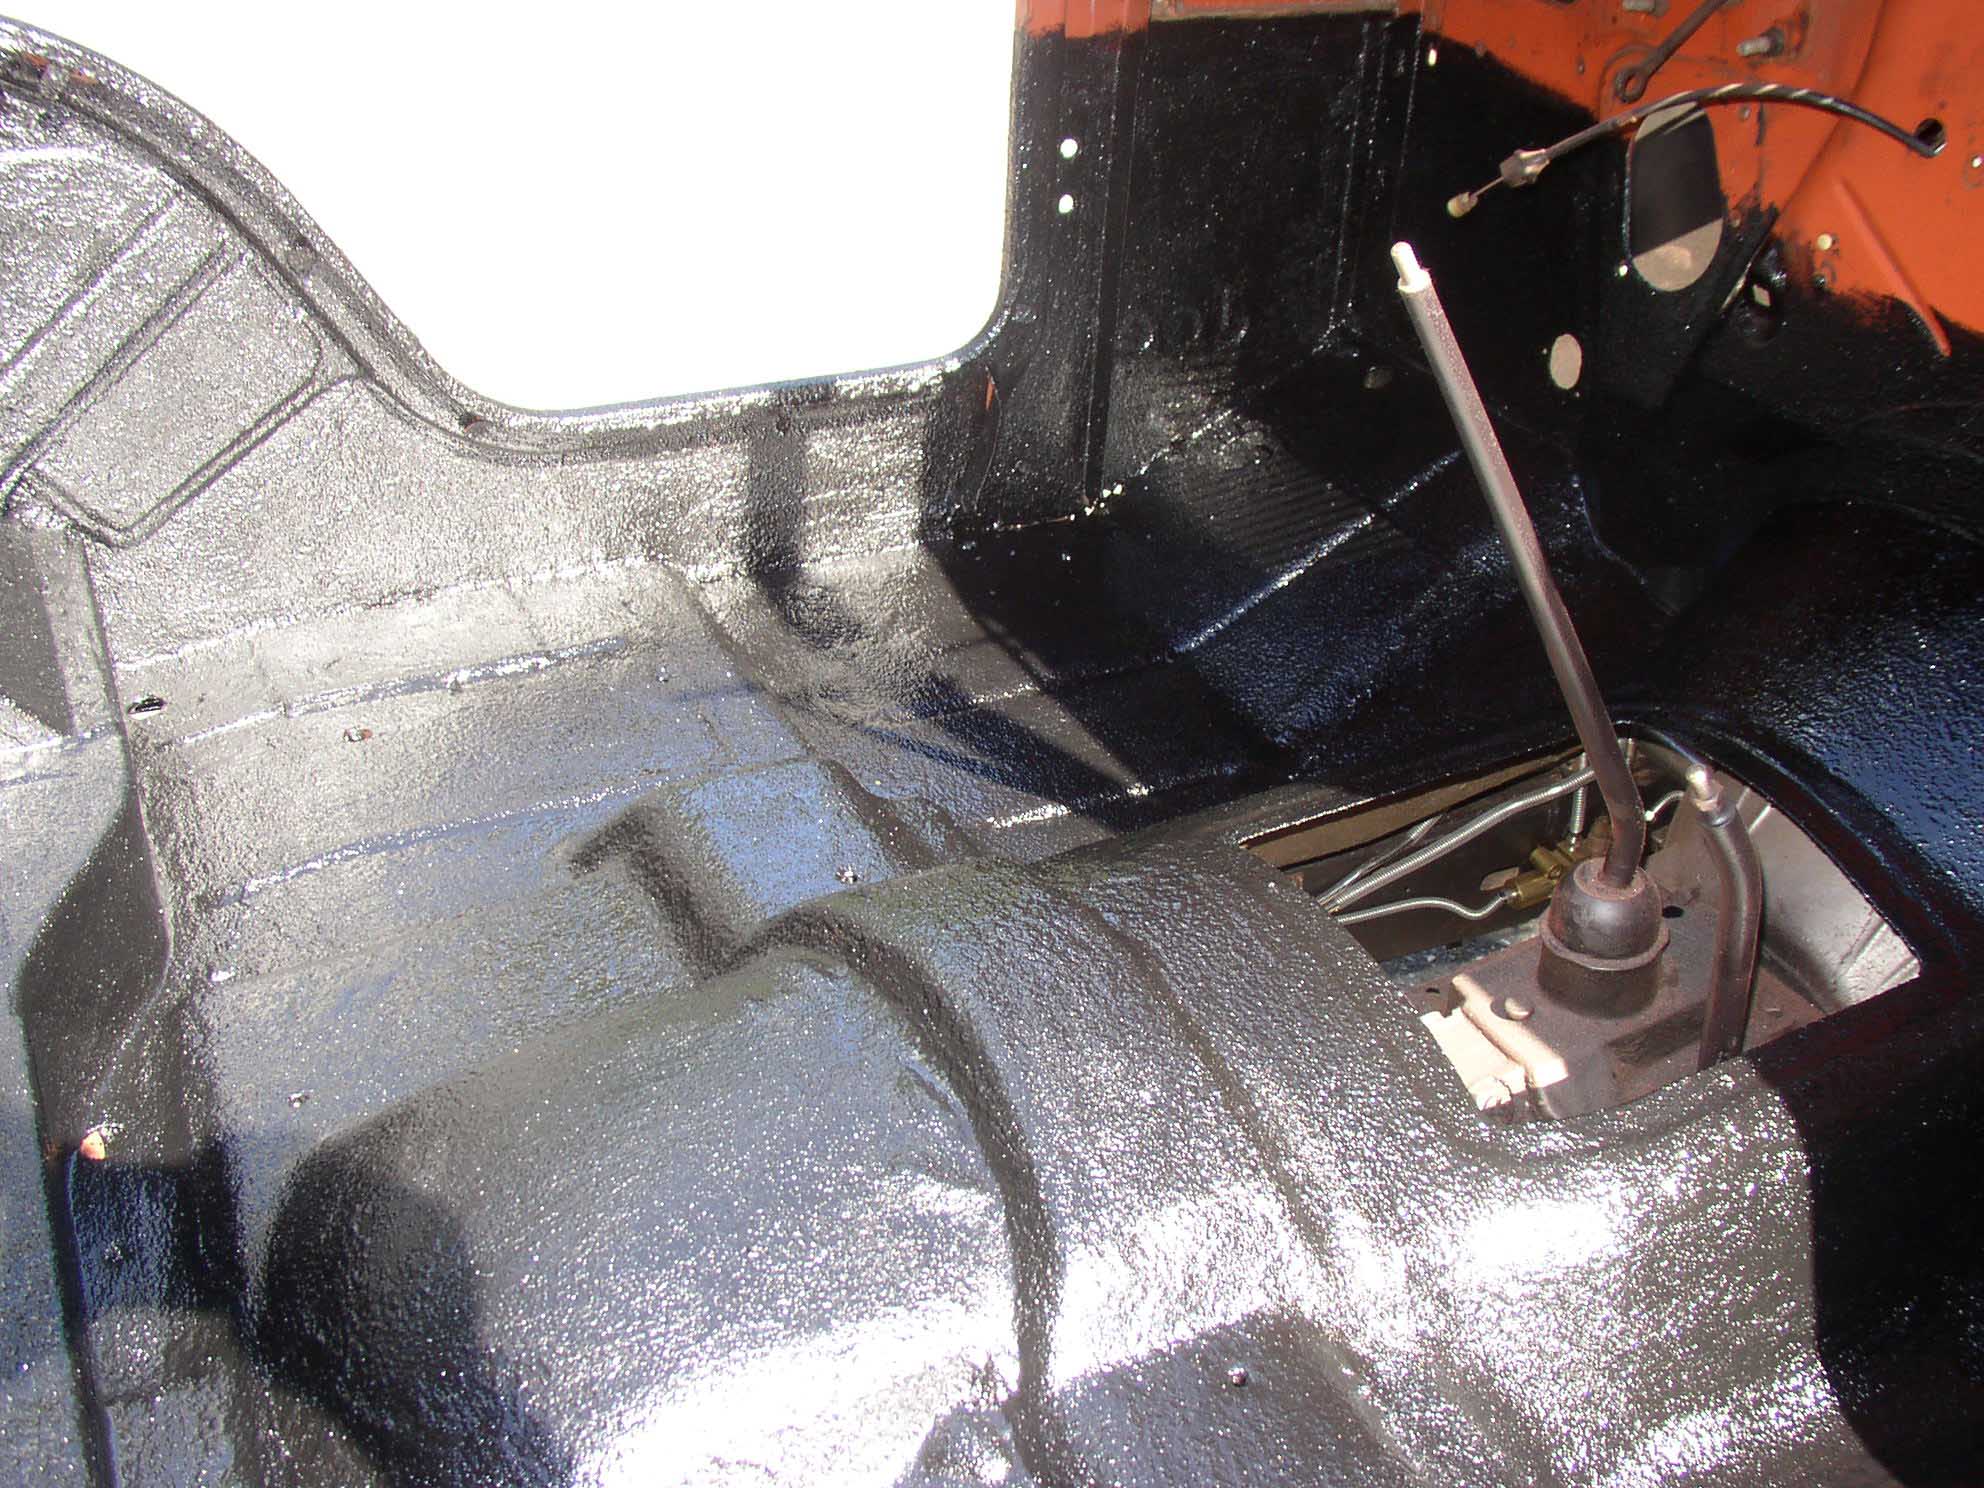
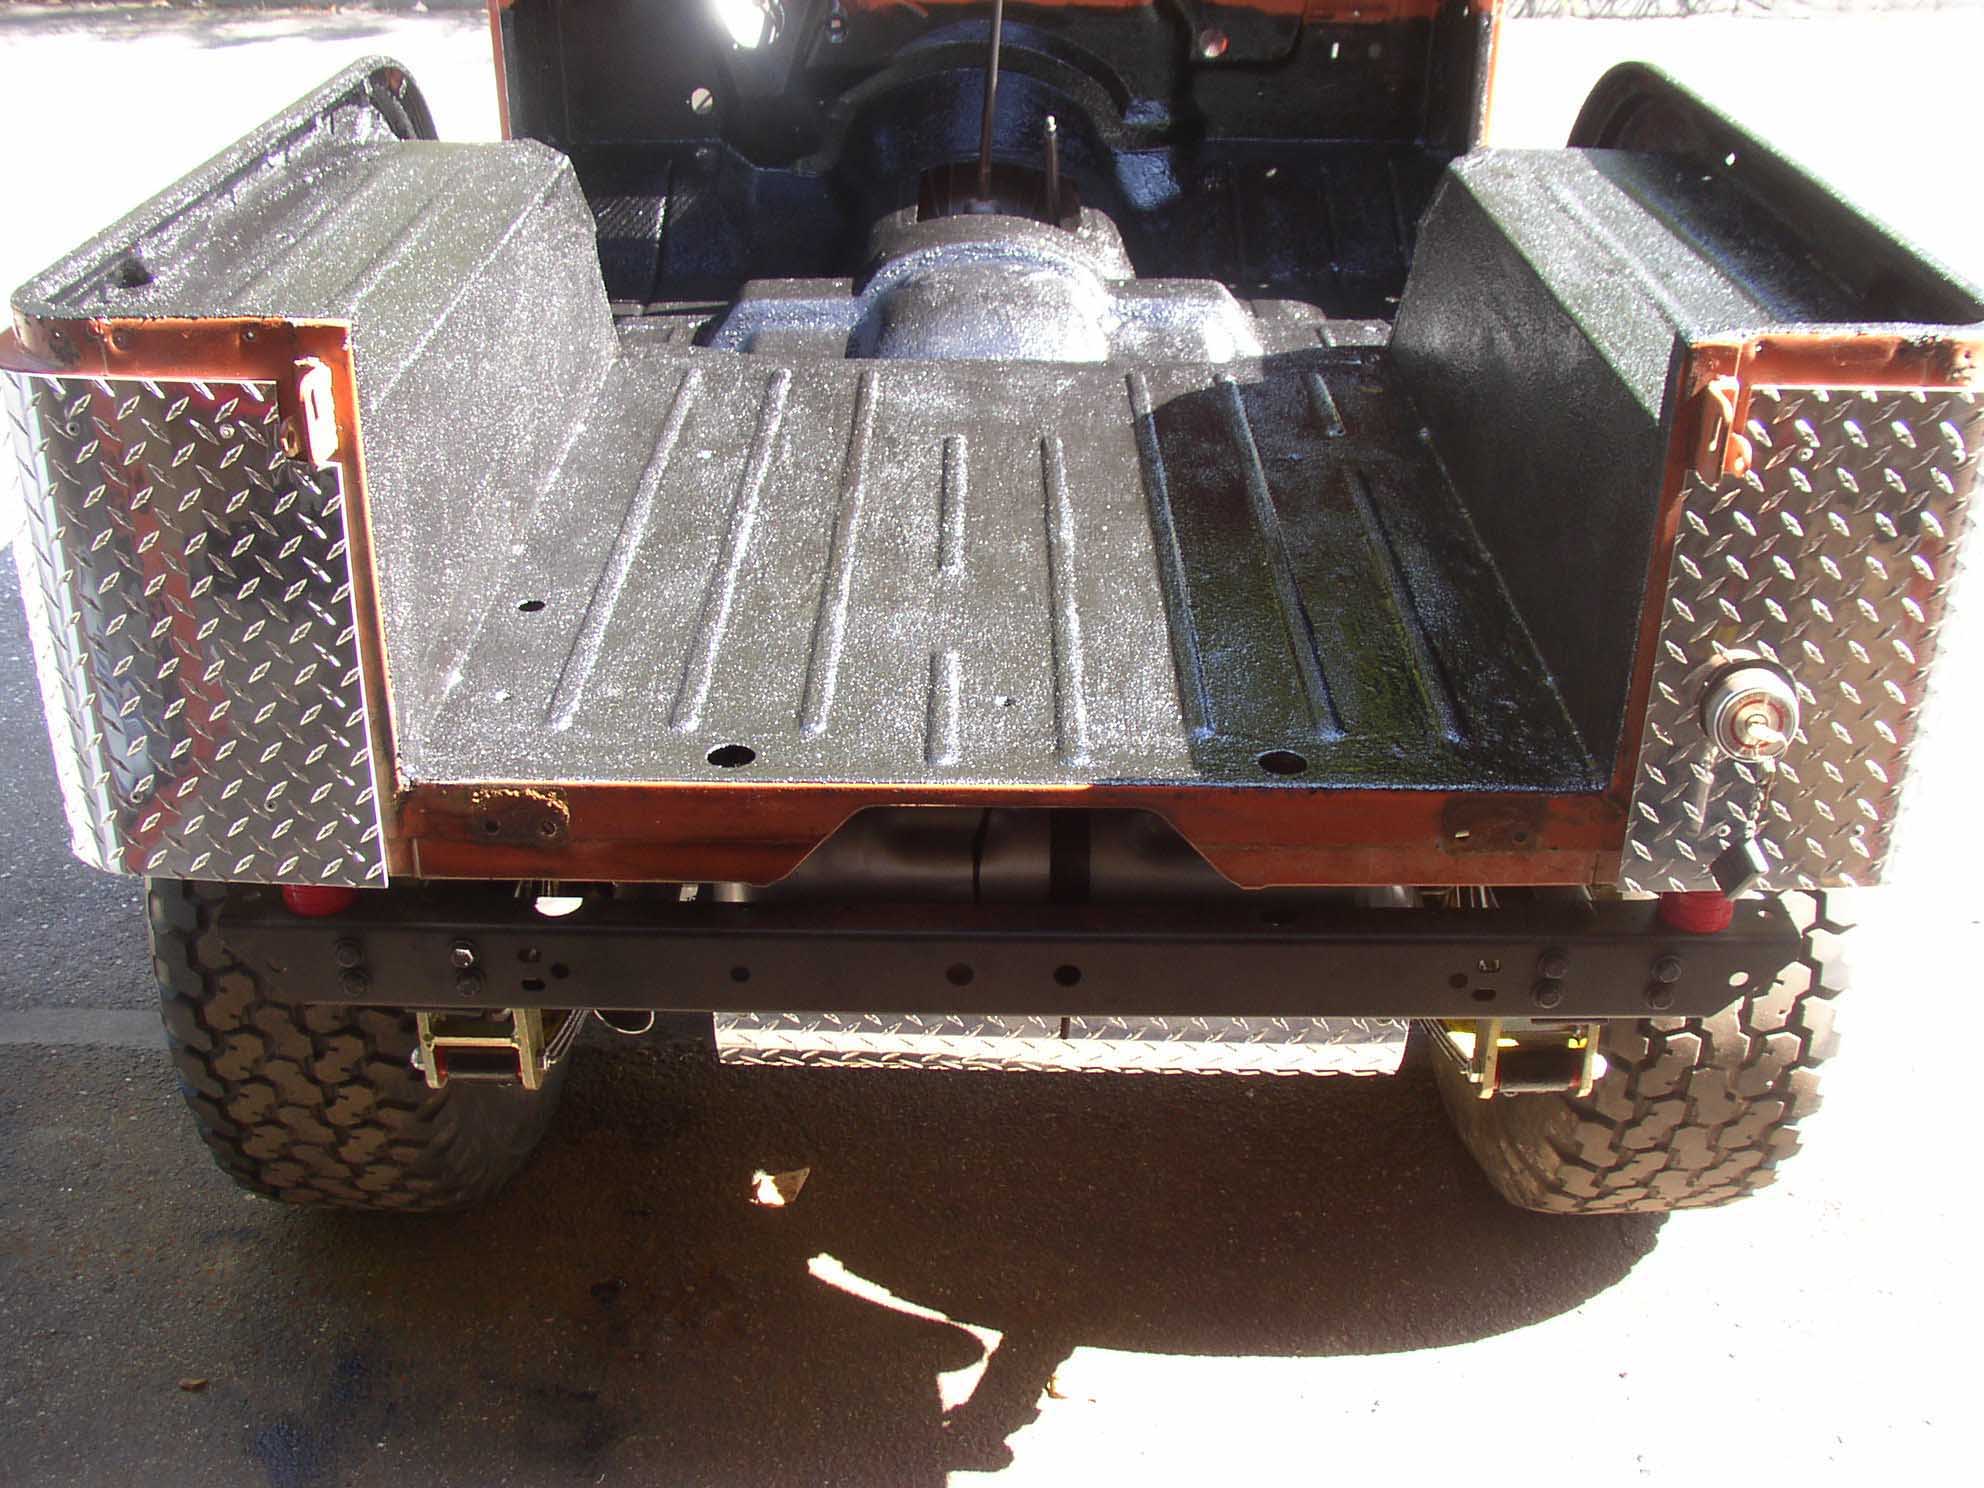
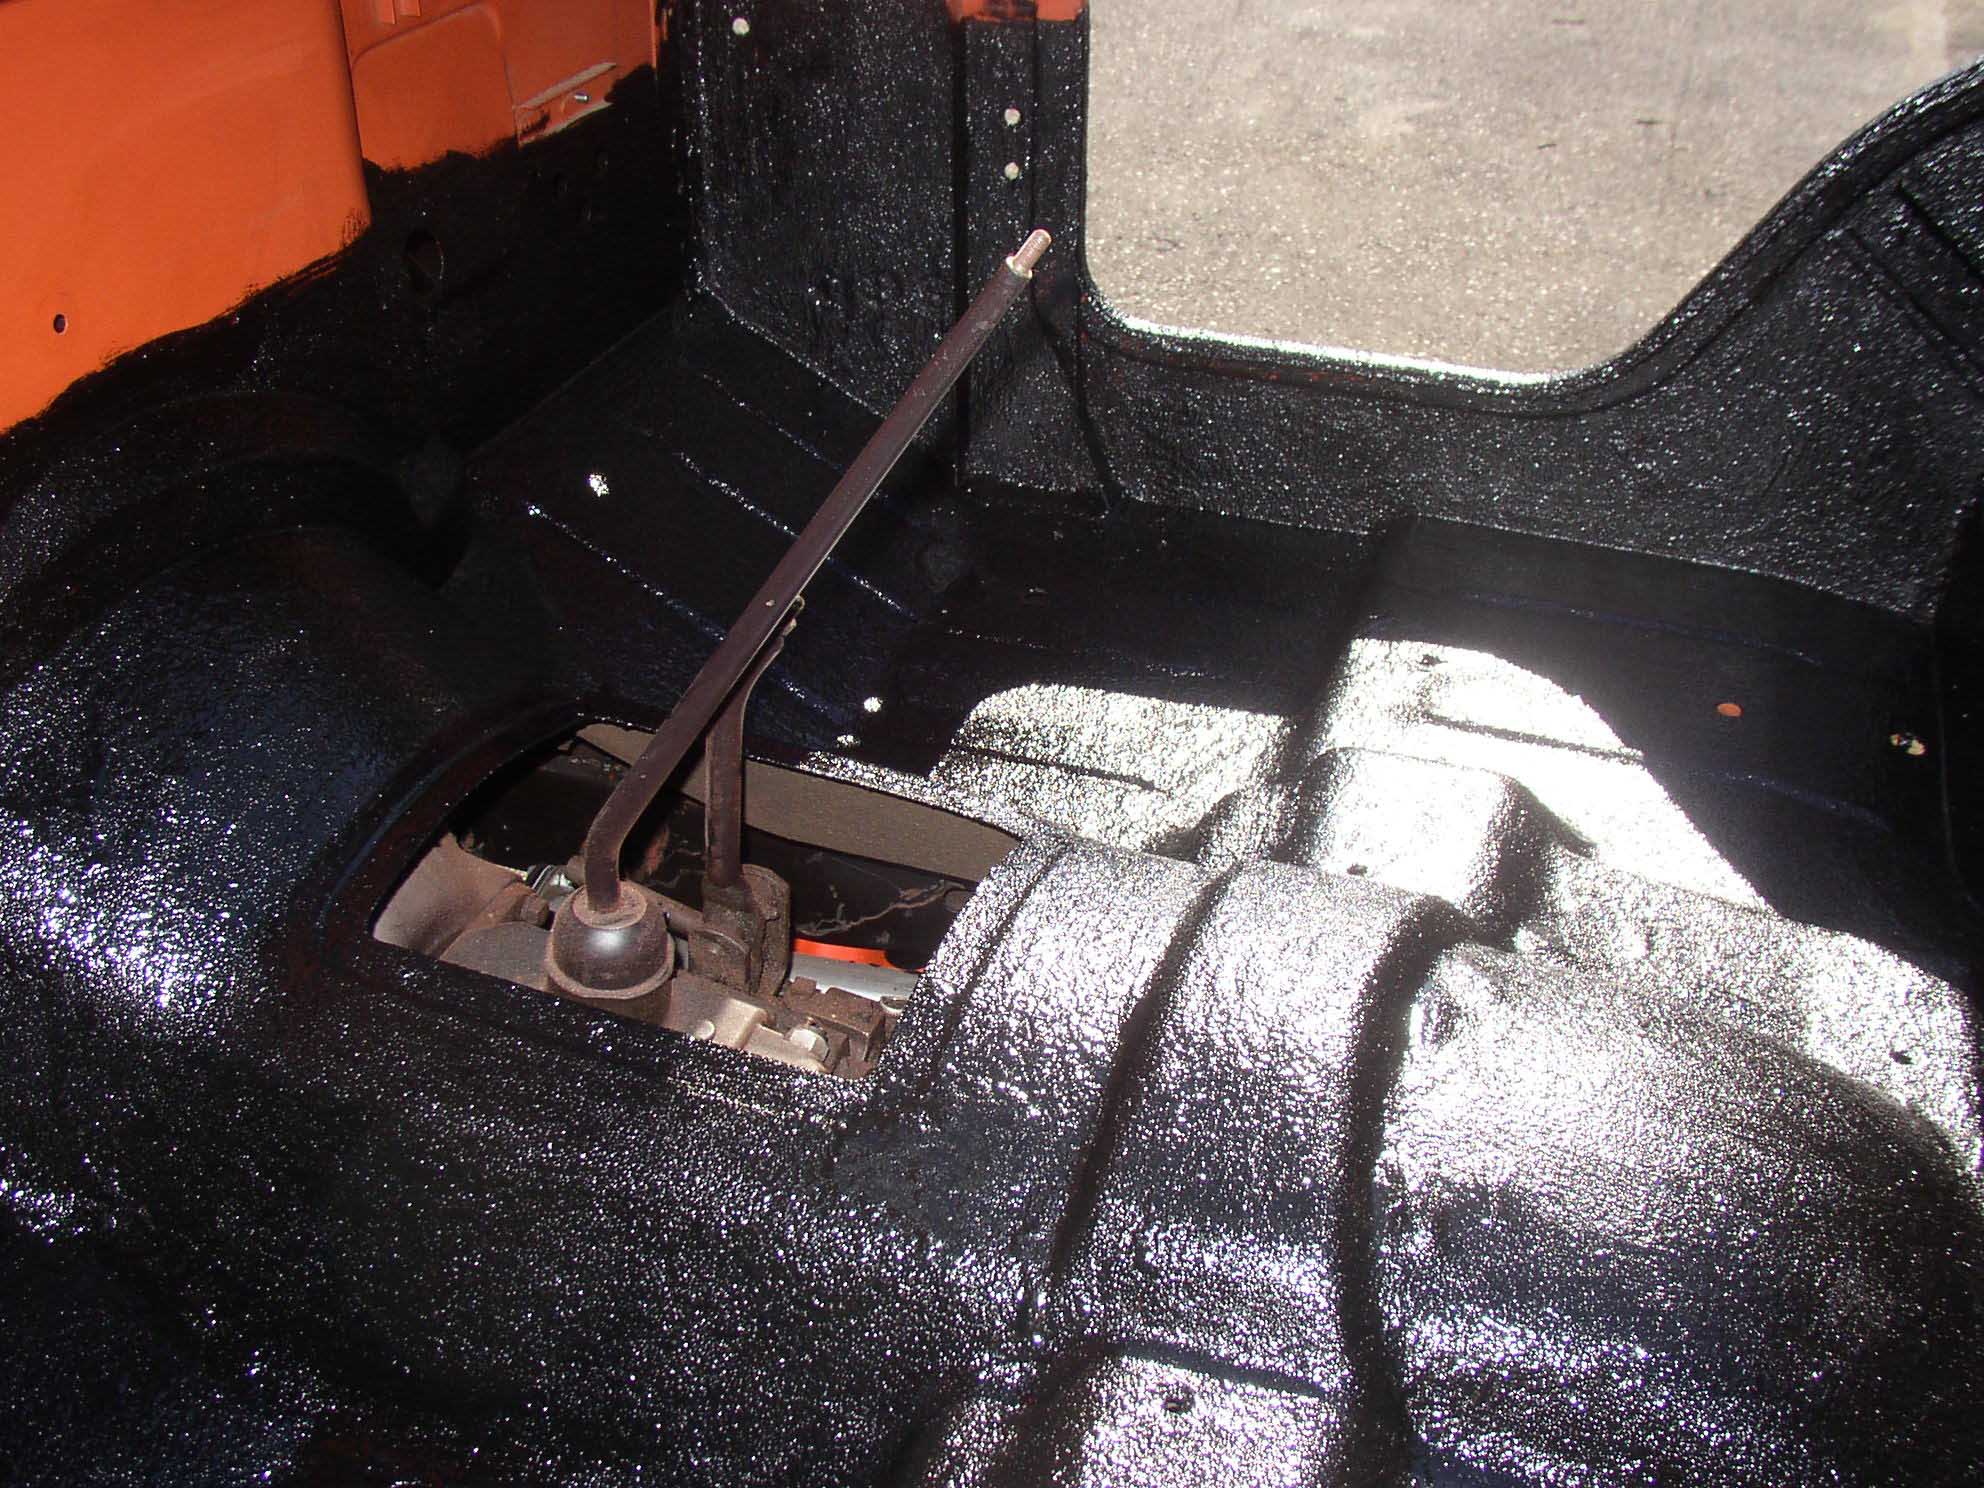
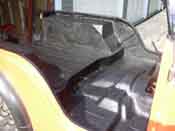
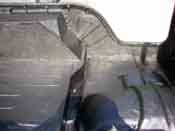
| I didn't end up going all the way up the firewall as the Jeep's dashboard will
cover that mostly and that area is not prone to rust as the floors and fender wells are. Also, when putting the
interior back in, you may need to tap a few of the holes with your tapset. Some of the holes had a little bit
of herculiner in them even with the plugs that were put in there. This is a time consuming process when you
want to put the interior in. Make sure the holes are plugged well and you won't have to worry about this step.
|
| |
| Lessons Learned the Hard Way |
| |
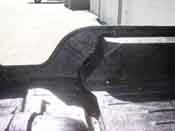
| So, my lessons learned here would have to be that you make sure you fill all the little
holes with tape or tape the undersides so herculiner doesn't drip down onto vital underside components. This is
a long process, but you will end up with a clean application and won't have any drips like mine does on the
gas tank. This is something that I wish I could go back and undo because removing dried herculiner is next to
impossible.
|
| |
| Conclusions |
| |
Number one, wear gloves, number two, wear long sleeves and pants. When I did this
it was August and not so comfortable to be entirely covered up. The flipside to this is that I spent 1 month
with black go on my arms and legs that didn't want to come off. It is almost like a tattoo. It doesn't just
wash off, even with acetone or any type of thinner.
Take your time and prep it well. If you do, your application will long outlast you and your time with your Jeep.
|