|
|
| Hi-Lift Jack Installation |
| |
I ventured out immediately upon starting up the vehicle to see how it ran. I
was pleasantly surprised that everything worked, as it should. There were a few things that had to be rectified
but once that was done, I was out the door to show it off. I started off to the farm that I grew up on and
started playing in the logging trails. I didn't end up getting stuck, but deep in the woods, I realized that if
I had gotten stuck, I had nothing to get myself out with and it was a long walk back.
So, I guess it was at this time that I realized that I at least needed a jack to help me out of any
high-centering encounters I might find myself in. I looked around and asked some questions and came back with
the same answer each time, Hi-lift was the way to go. I looked around on different sites and finally set my
sites on Quadratec to get me the Jack I needed along with an accessory pack.
|
| |
|
|
| |
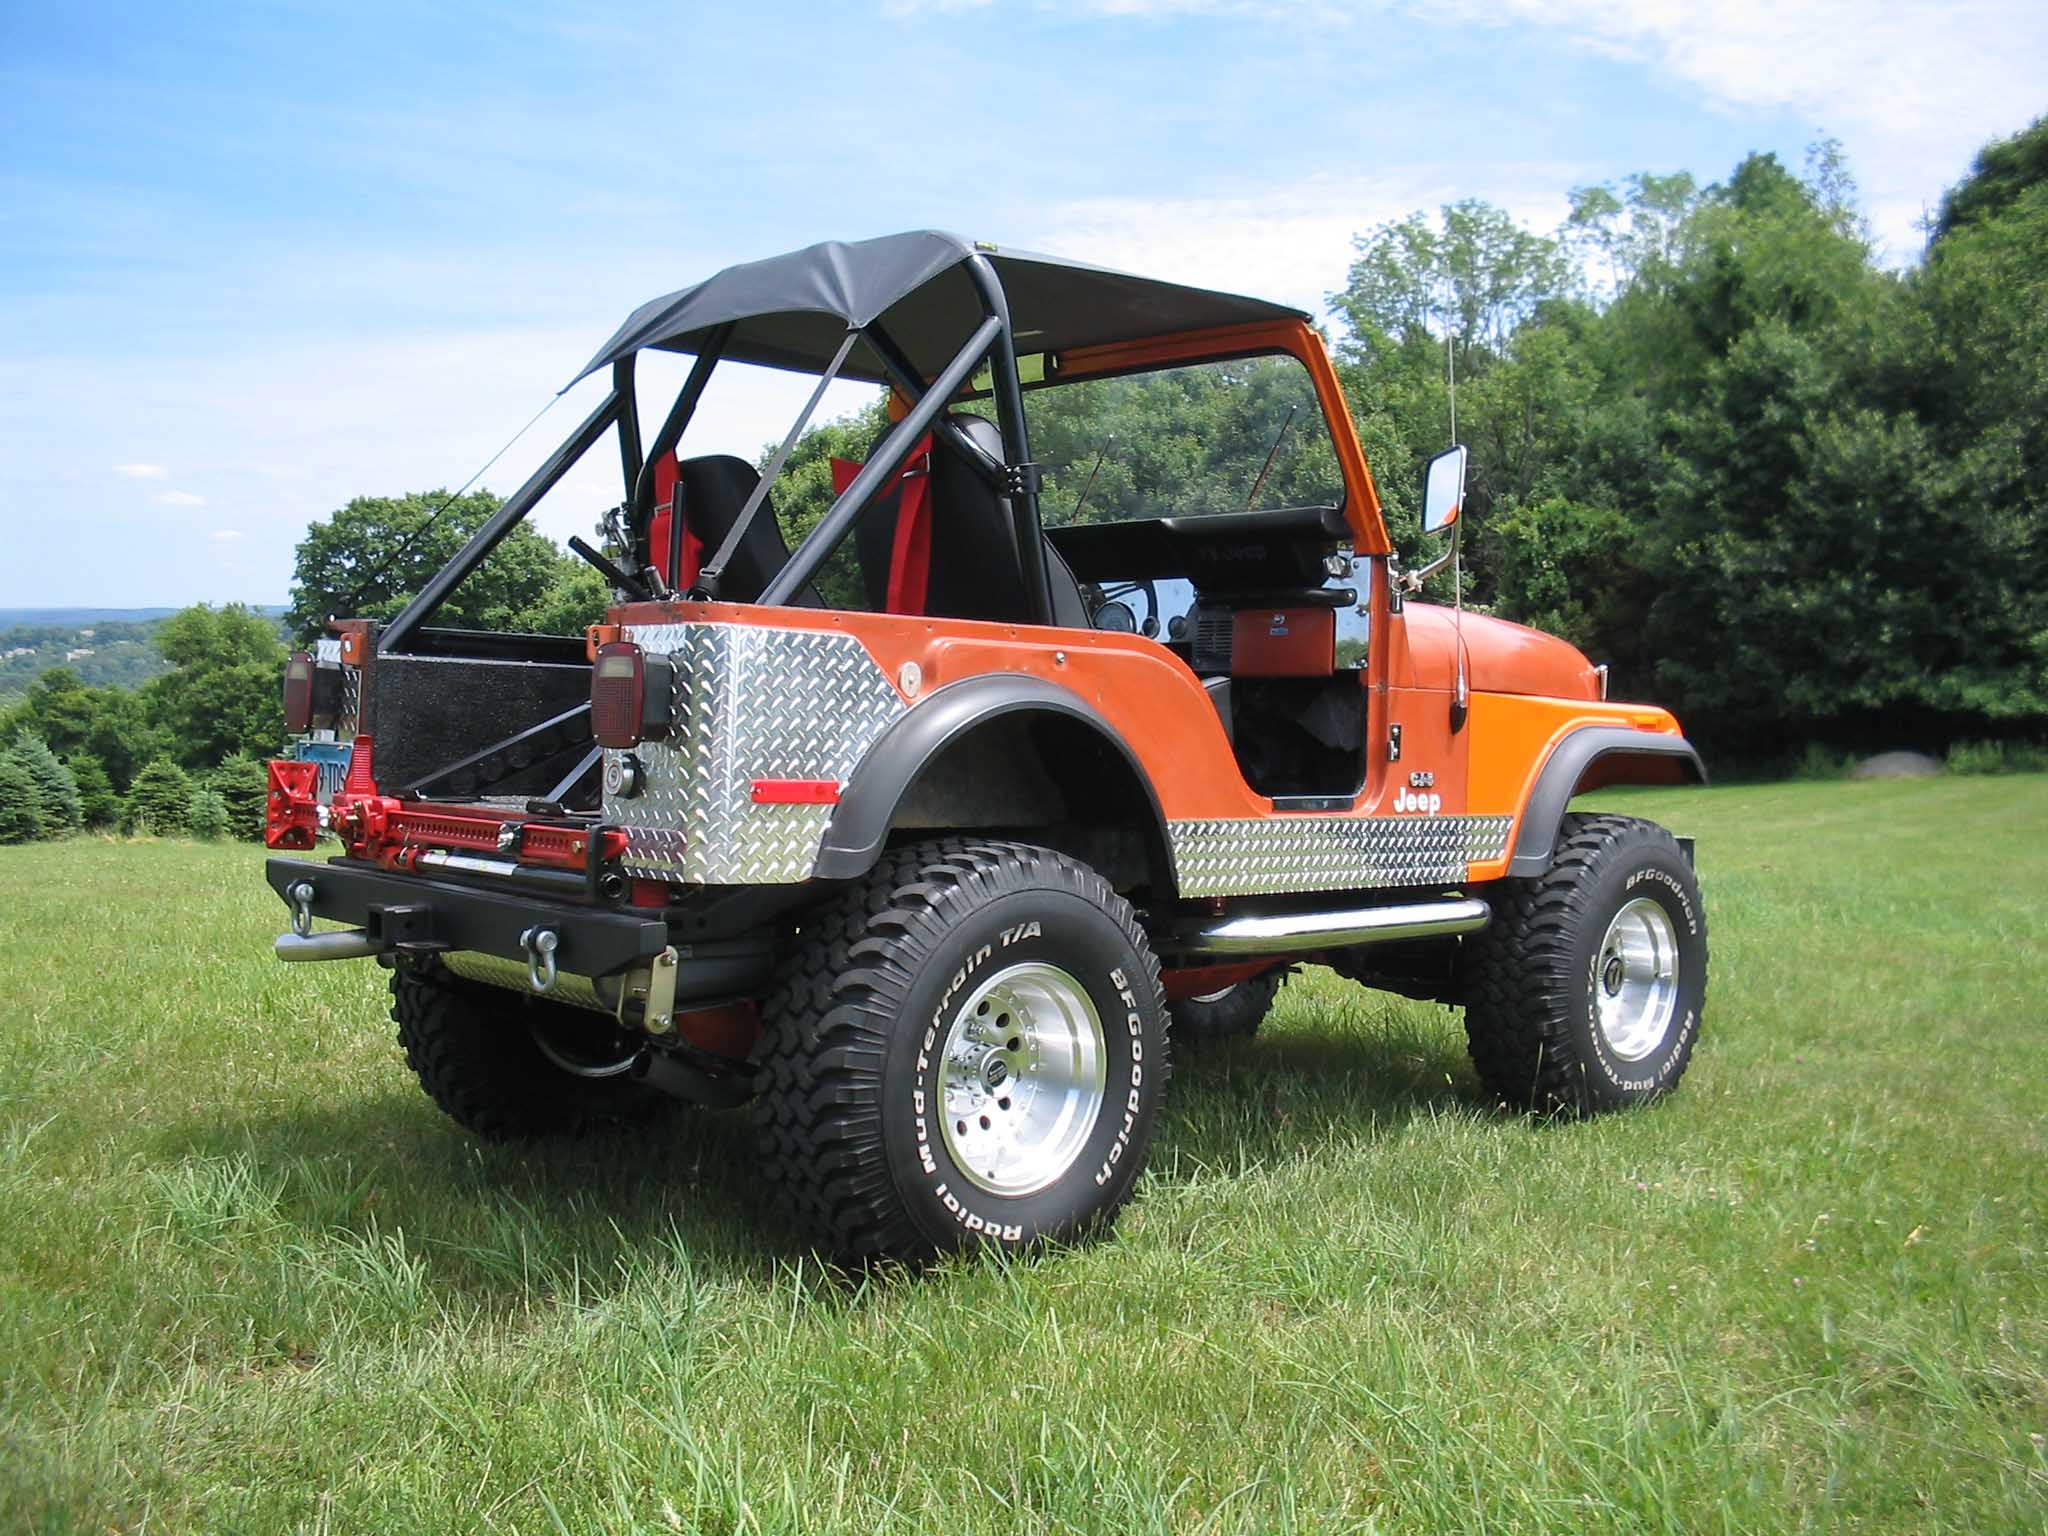
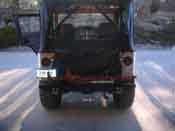
| I ordered up the Jack and it was here in 2 days. Now I had to figure out a
place to mount it. In the accessories that I ordered, I got some mounts for the Hi-Lift Jack. These mounts
allowed for me to mount this anywhere, in any position on the Jeep. Since I didn't run a tailgate, I figured
that above the bumper would be a good place. If I was to get stuck, I would be venturing to the back of the
Jeep more then likely, so having it there was a good place in my mind.
|
| |
|
|
| |
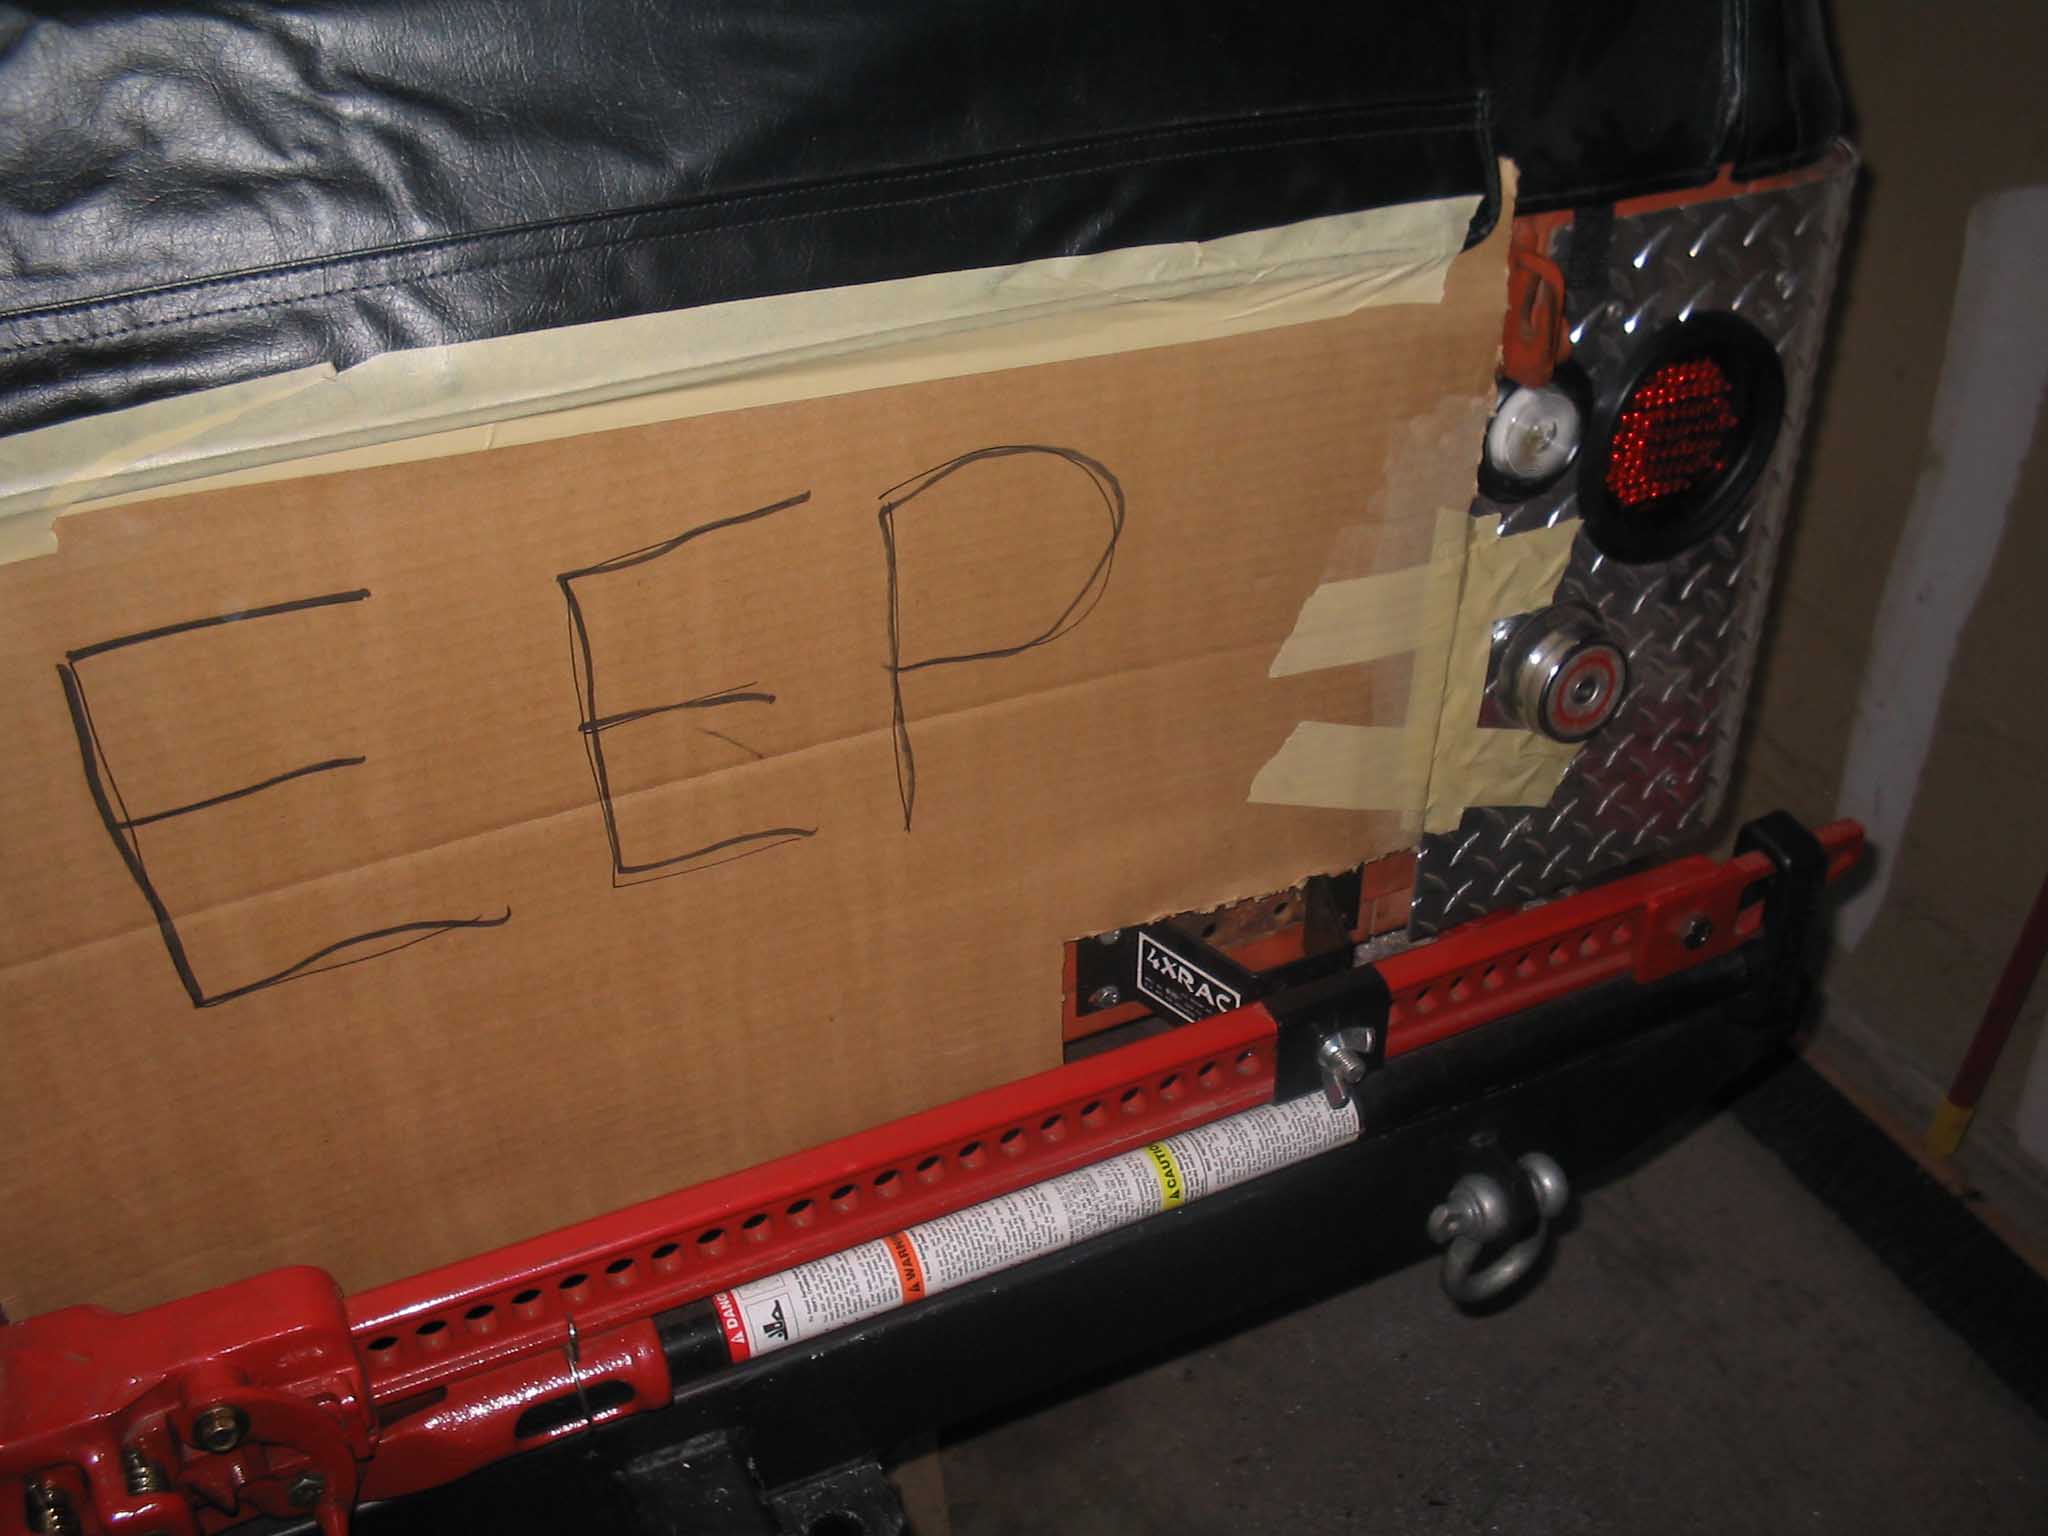
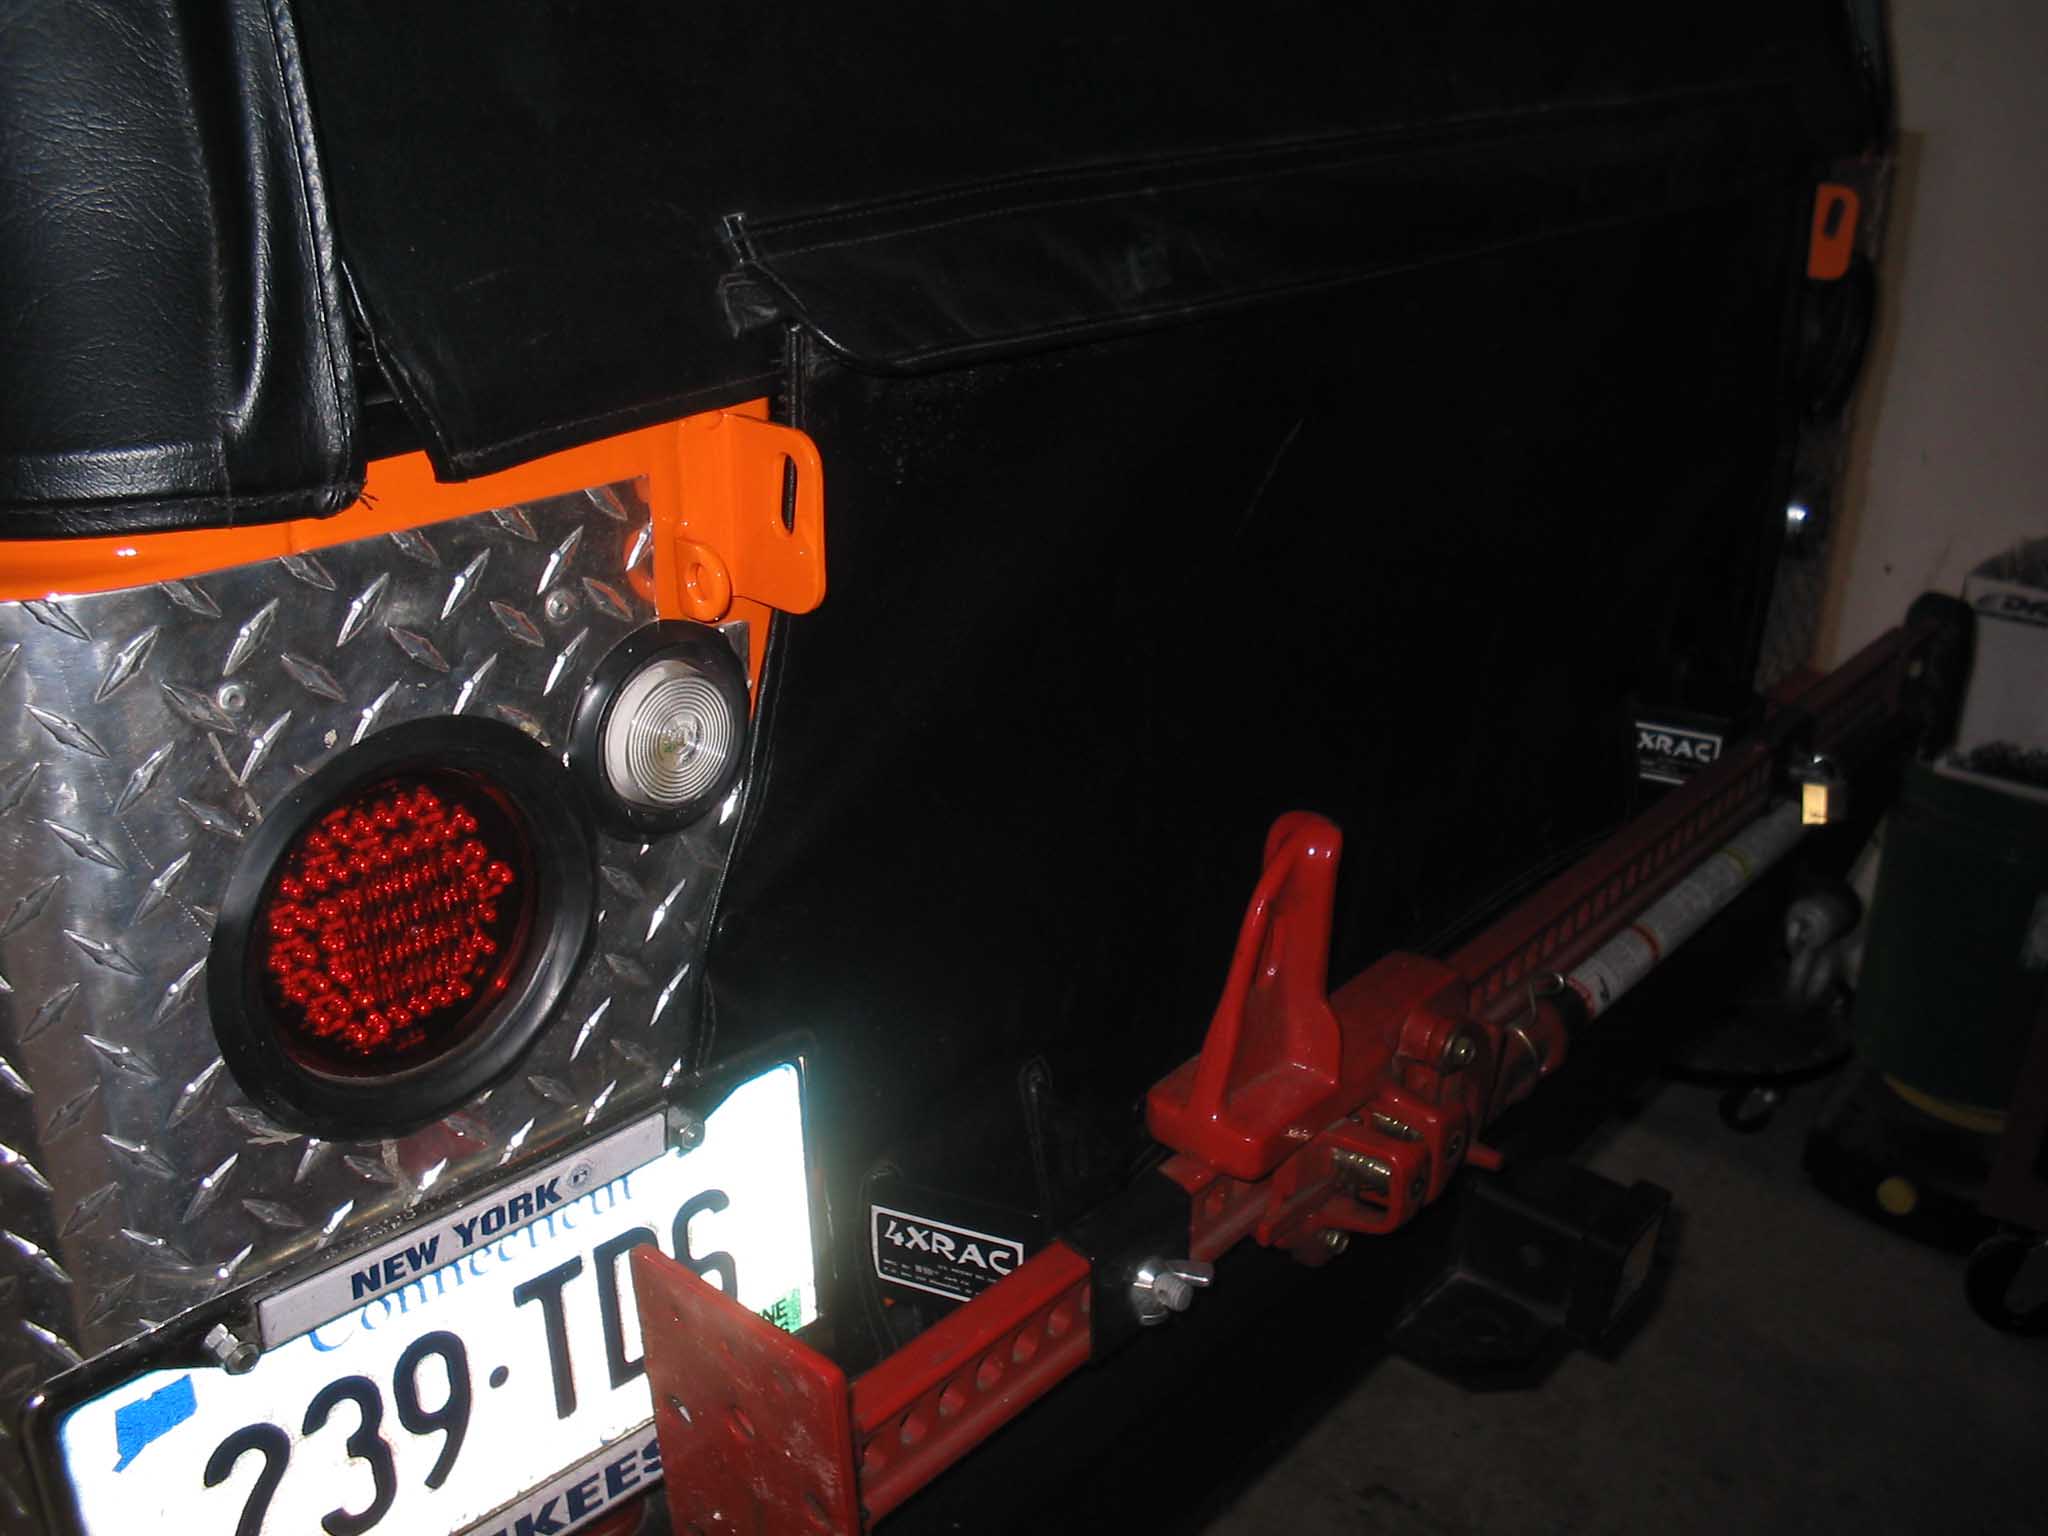
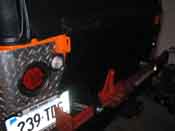
| I drilled up the 8 holes and then mounted the two 4XRAC mounts on the rear
valence under were the tailgate mounted to originally. This was about 2 inches above the rear bumper that
I had just previously put on. With the mounts in place, I put the Hi-Lift Jack on and secured it down with
the included wing nuts. I really liked the way it looked. A quick trip to the store secured me a lock so this
wouldn't grow legs and walk off on me.
|
| |
| Lessons Learned the Hard Way |
| |
So, my lessons learned here would have to be that I should have had the Jeep
painted first. When I finally got around to painting the Jeep, I had to take the 4XRAC mounts off as well as
the Hi-Lift Jack to have the area exposed to be painted. Other then that, everything went as expected.
Make sure when you mark and drill the holes that you don't go too far and go into the gas tank. This would be
very bad.
|
| |
| Conclusions |
| |
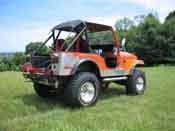
| This is a pretty easy thing to do for a nice place for mounting the recovery
equipment you will need out on the trail. It is easily accessible and quite functional. It has saved me a few
times and I recommend this as one of the first purchases prior to going out on the trails. A winch, D-rings,
and stout bumpers will also help, but this tool serves so many purposes, I can't imagine living without it.
|
|