|
|
| New Floors Installation |
| |
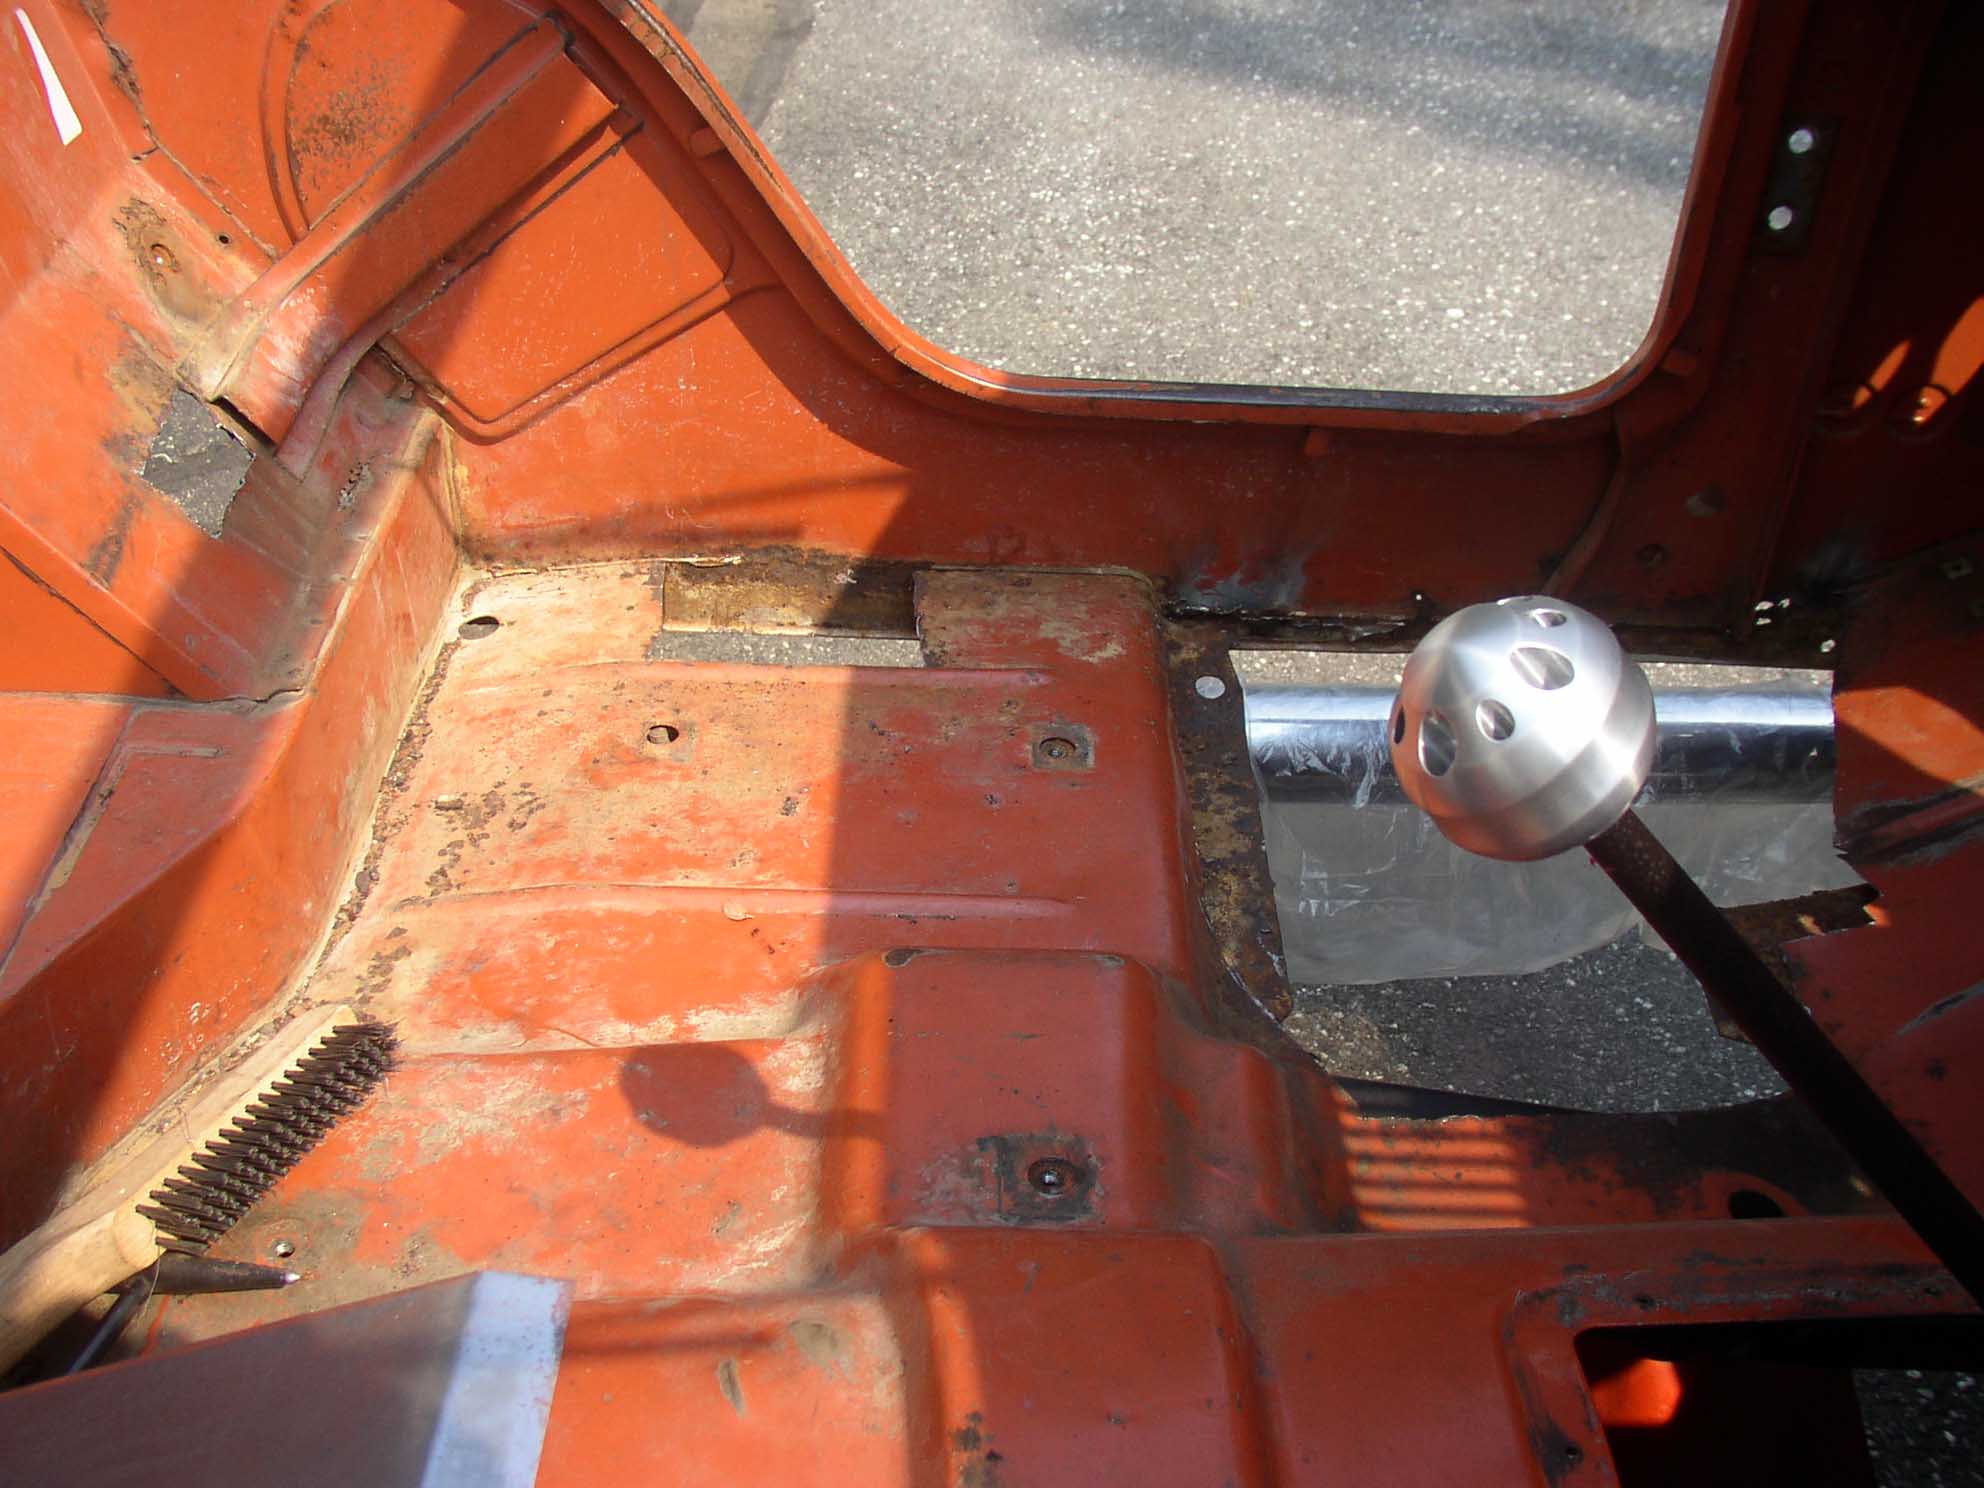
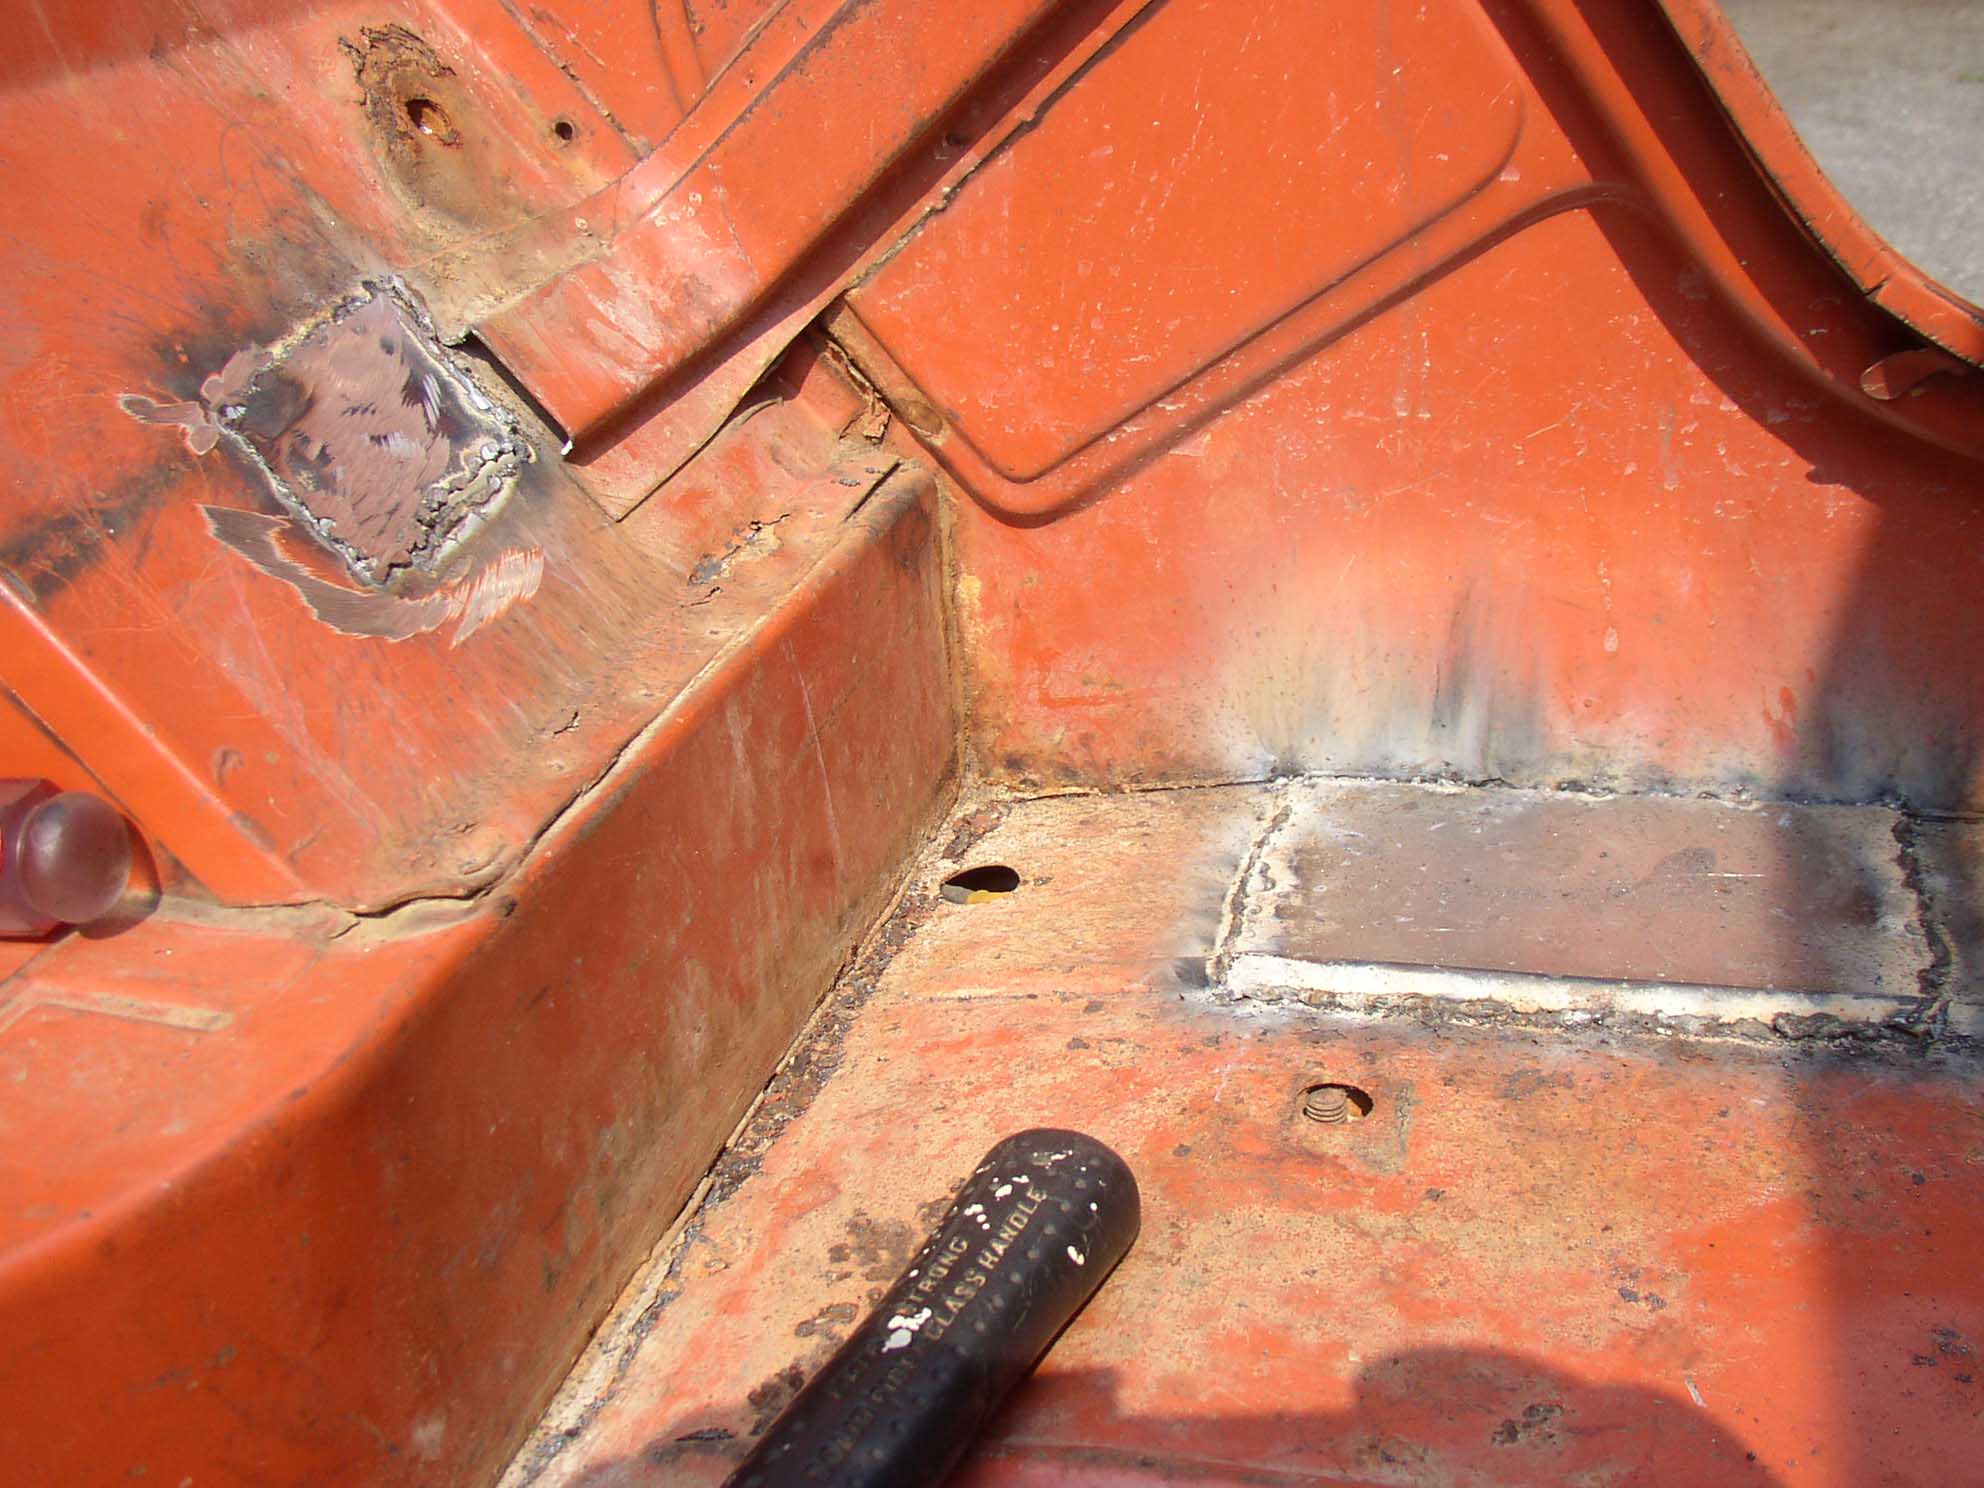
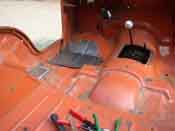
After smacking the floors with a hammer and poking them with a screwdriver, I found
the floors to be more holy then a church, so I figured I would replace them. I cut out the affected areas and
ground down the areas to make sure that all the rust was gone. I then set out to get some new floors.
So after a lot of questions asked in the forums and researching gauge thicknesses of comparable replacement part
companies, I ordered up the new floors from RigidSteel.
These guys were great and quite helpful. They shipped off my part to me right away and when it came in, I was
able to cut it up and use the pieces that I needed to repair the holes in my floors that I created by cutting
all the rust out.
|
| |

|
|
|
|
| |
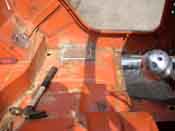
Let me be perfectly clear here that this Jeep tub was in very good shape. Also
let me let you know that aside from a stick-welding course at the local community college, I had never welded
floors in a Jeep before. It was something I was going to do and try and if it worked, great, if it didn't, I
would take it somewhere and have it fixed, no big deal. The floors were going to be covered with Herculiner
anyways, so prettiness didn't really much matter.
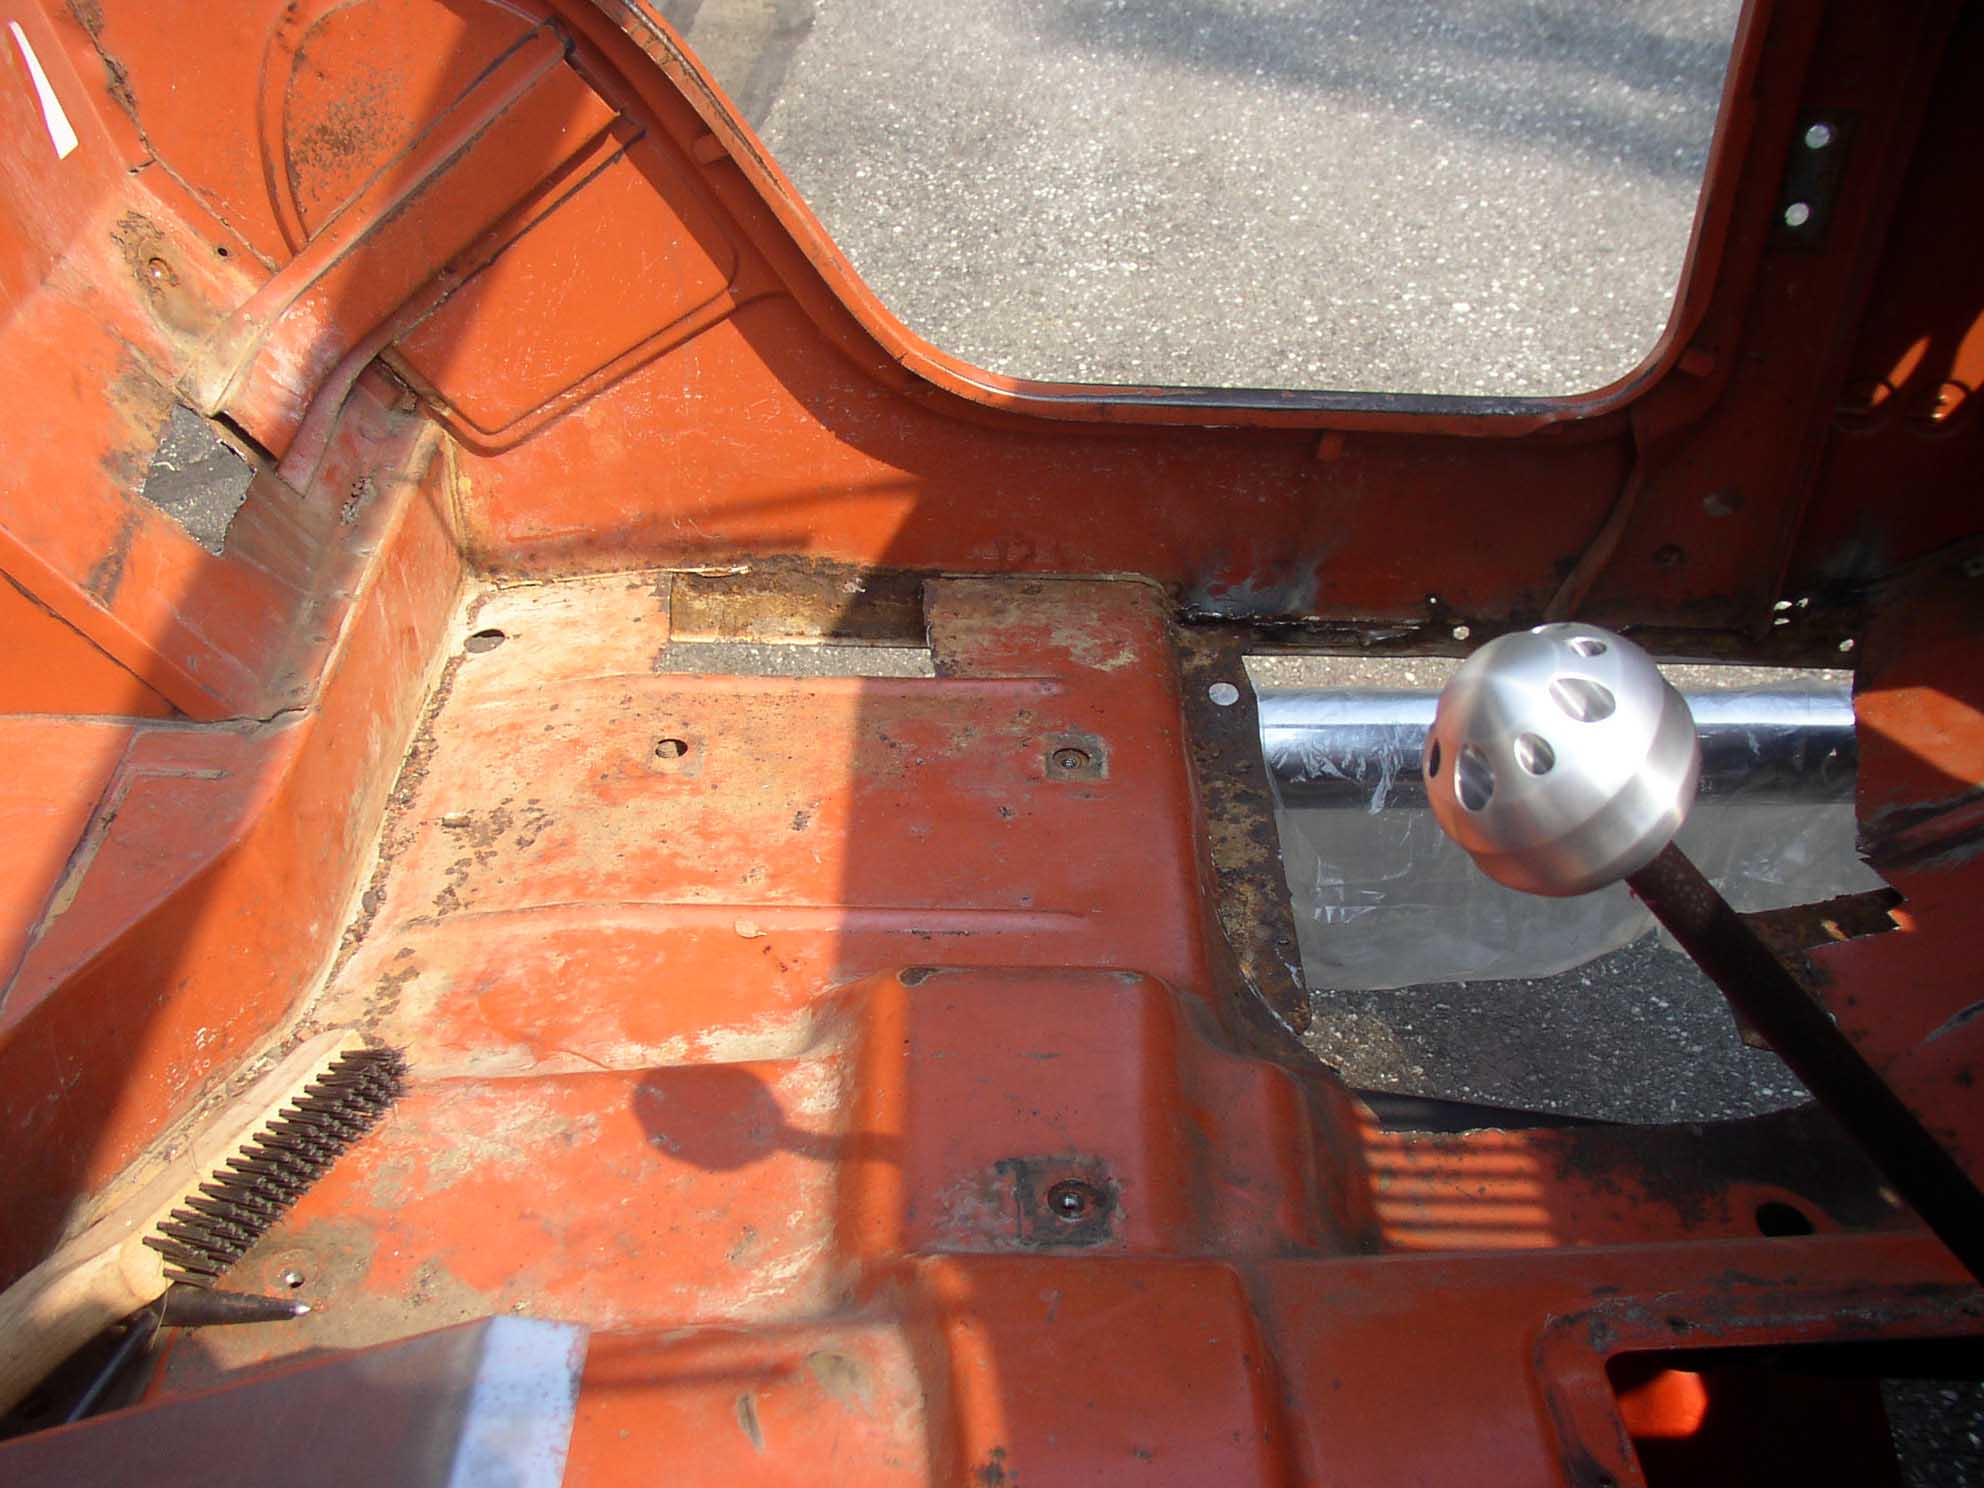
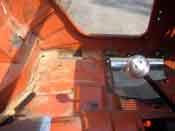
I didn't have the correct tools to cut metal, so I had to go out and get these tools. It took some time
and money to do this as well, but once I did, I was ready to go. I cut out a cardboard template of the two
smaller holes and transferred them to the replacement metal and cut them out. As for the floor pan, I simple laid
it in place and traced up from the underside of the Jeep. When I cut out the traced part, I cut an extra
1/4-1/2" larger so I could shape the metal when putting it in the Jeep. I just like to do things a little
bigger and shape, it doesn't hurt anything and you make sure you have enough material.
|
| |
|

|
|
|
| |
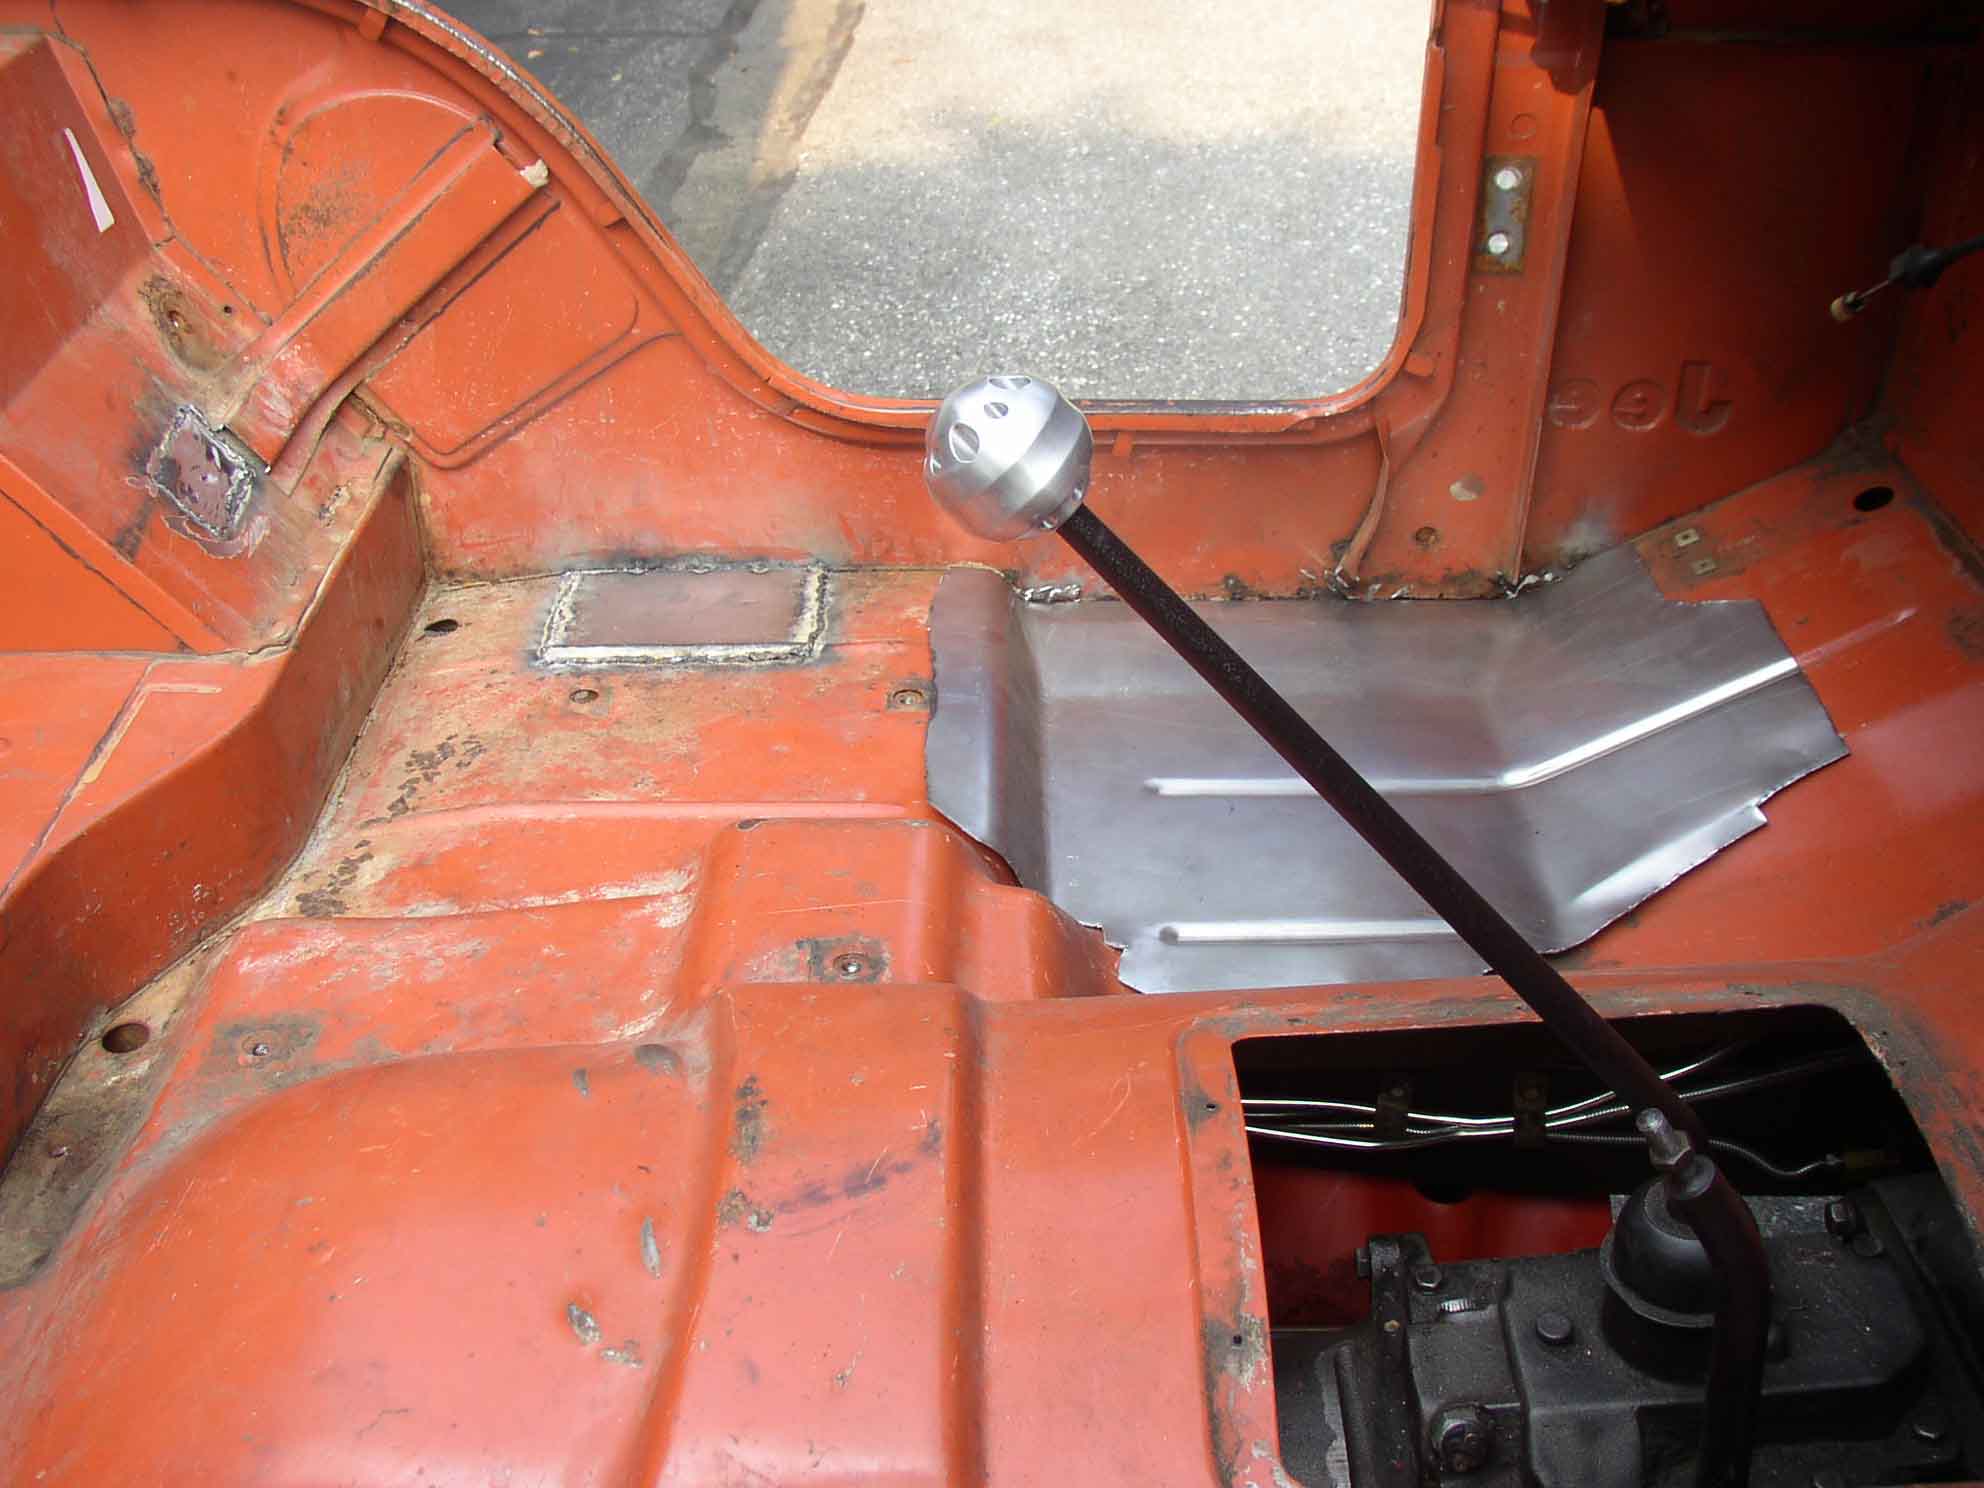
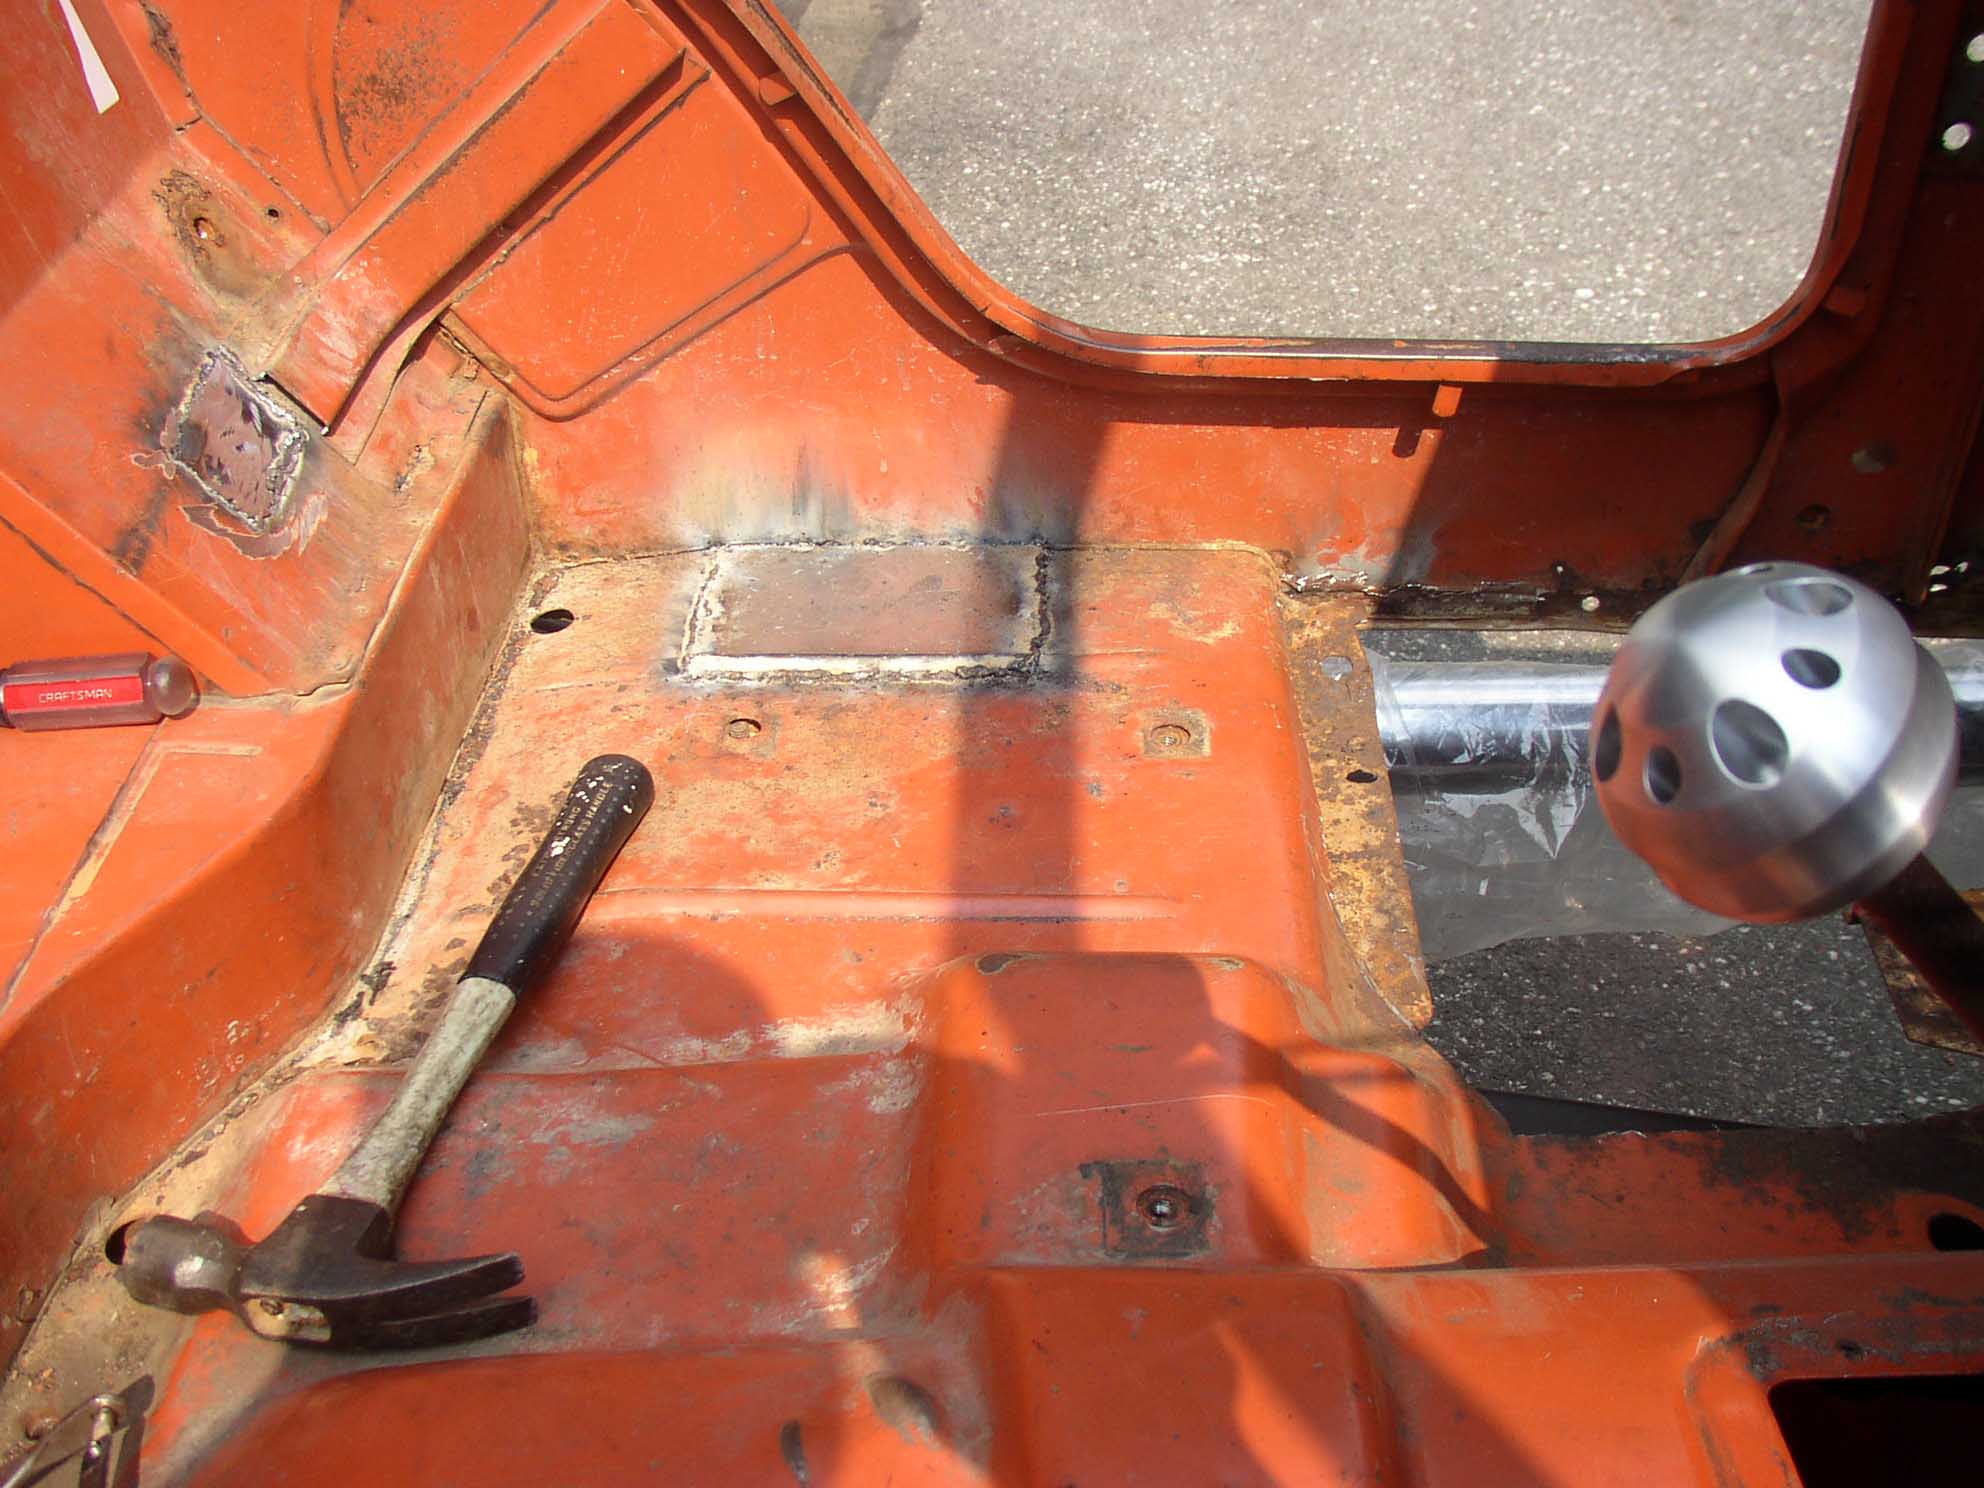
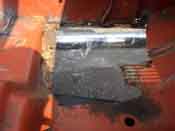
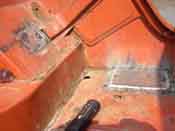
Once all the pieces were cut and fit into the openings, the pieces were sanded
down and cleaned up and the floors where grinded down so the welds would take better. I had a decent welder,
but it was flux core and didn't have a bottle (at the time) so the edges had to be perfectly clean for this
thing to work well. If you have a better welder, you don't have to worry as much about this step, but since
I got a good deal on the welder and it was fine for what I was planning on doing with it, I didn't worry and
went about my business.
I hope I don't have to say this, but Wear appropriate protection when welding. Especially eye protection and
hand/arm protection. Sparks hurt, protect yourself. Also, you want to keep your eyesight? Then wear the
appropriate level eyewear. With the welds finished up, the grinder came out and the welds were filed down. I
used a series of spot welds when I did the floors to help with avoiding warpage. This really made it come out
nicely and I didn't have any warping of the floor pans. I grinded everything down and hit it with a coat of
primer just to cover it until the herculiner went on.
|
| |
| Lessons Learned the Hard Way |
| |
My lessons learned here would have to be that you should have the appropriate tools to cut metal with and
if you are inexperienced with a mig welder, get some test metal to see how your welder works and at what
temperature and speed combinations best work out for you. If you can get a bottle as well, it will work better
then that of the flux core. Flux core worked in my case, but I have heard horror stories of others having
difficulties even getting the stuff to arc.
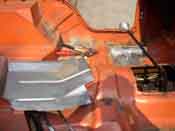
While welding in the floors, I burnt through the sides of the Jeep in a couple of places. I did this without
even realizing I had done so. This was because when I removed the old stuff, I had inadvertently pulled off
more along the sides of the Jeep and when welding in the new floor pan, I thought there was more material then
there was to weld to. It happens, just keep an eye on it.
|
| |
| Conclusions |
| |
Overall I would say that this project is pretty involved in that it takes a long
time to cut out the old stuff, shape the new panels and then clean everything up, weld them in, and then grind it
all down and make it look good. I did this in August too outside in the sun, not a lot of fun to wear a leather
welding jacket, but it beat getting my arms lit up with sparks.
I am quite pleased with the way the floors came out. They are not perfect by any means, but I did them myself and
they are sturdy and solid. They looked even better once the herculiner was applied. If you plan on herculining
the tub, then the prettiness of the welds aren't as much of an issue, if you plan on running carpet or floor mats,
then you have to plan and do this a little nicer and cleaner.
|
|