|
|
| New Authentic Mopar Grille Shell Installation |
| |
After reading about the certified Mopar reproduction parts, it was decided to get one and
try it out. Since the Jeep is a 1976 Jeep CJ-5 with the original grille shell painted a different color, it was decided
to try the upgrade parts and see how it worked out. It was ordered up and it was received a few days later.
After taking the engine out and seeing the condition of the chrome overlay onto the grille shell I had, it was determined
that I would give the old grille shell to the free jeep project and I would get a new grille shell for the Jeep. This was
for 2 reasons, first that I needed one that matched the color of the Jeep (the old one was a darker orange) and secondly,
I wanted to try out the new "Authentic Mopar Restoration Replacement Parts) to see how they stacked up to the original.
|
| |
|
|
|
|
| |
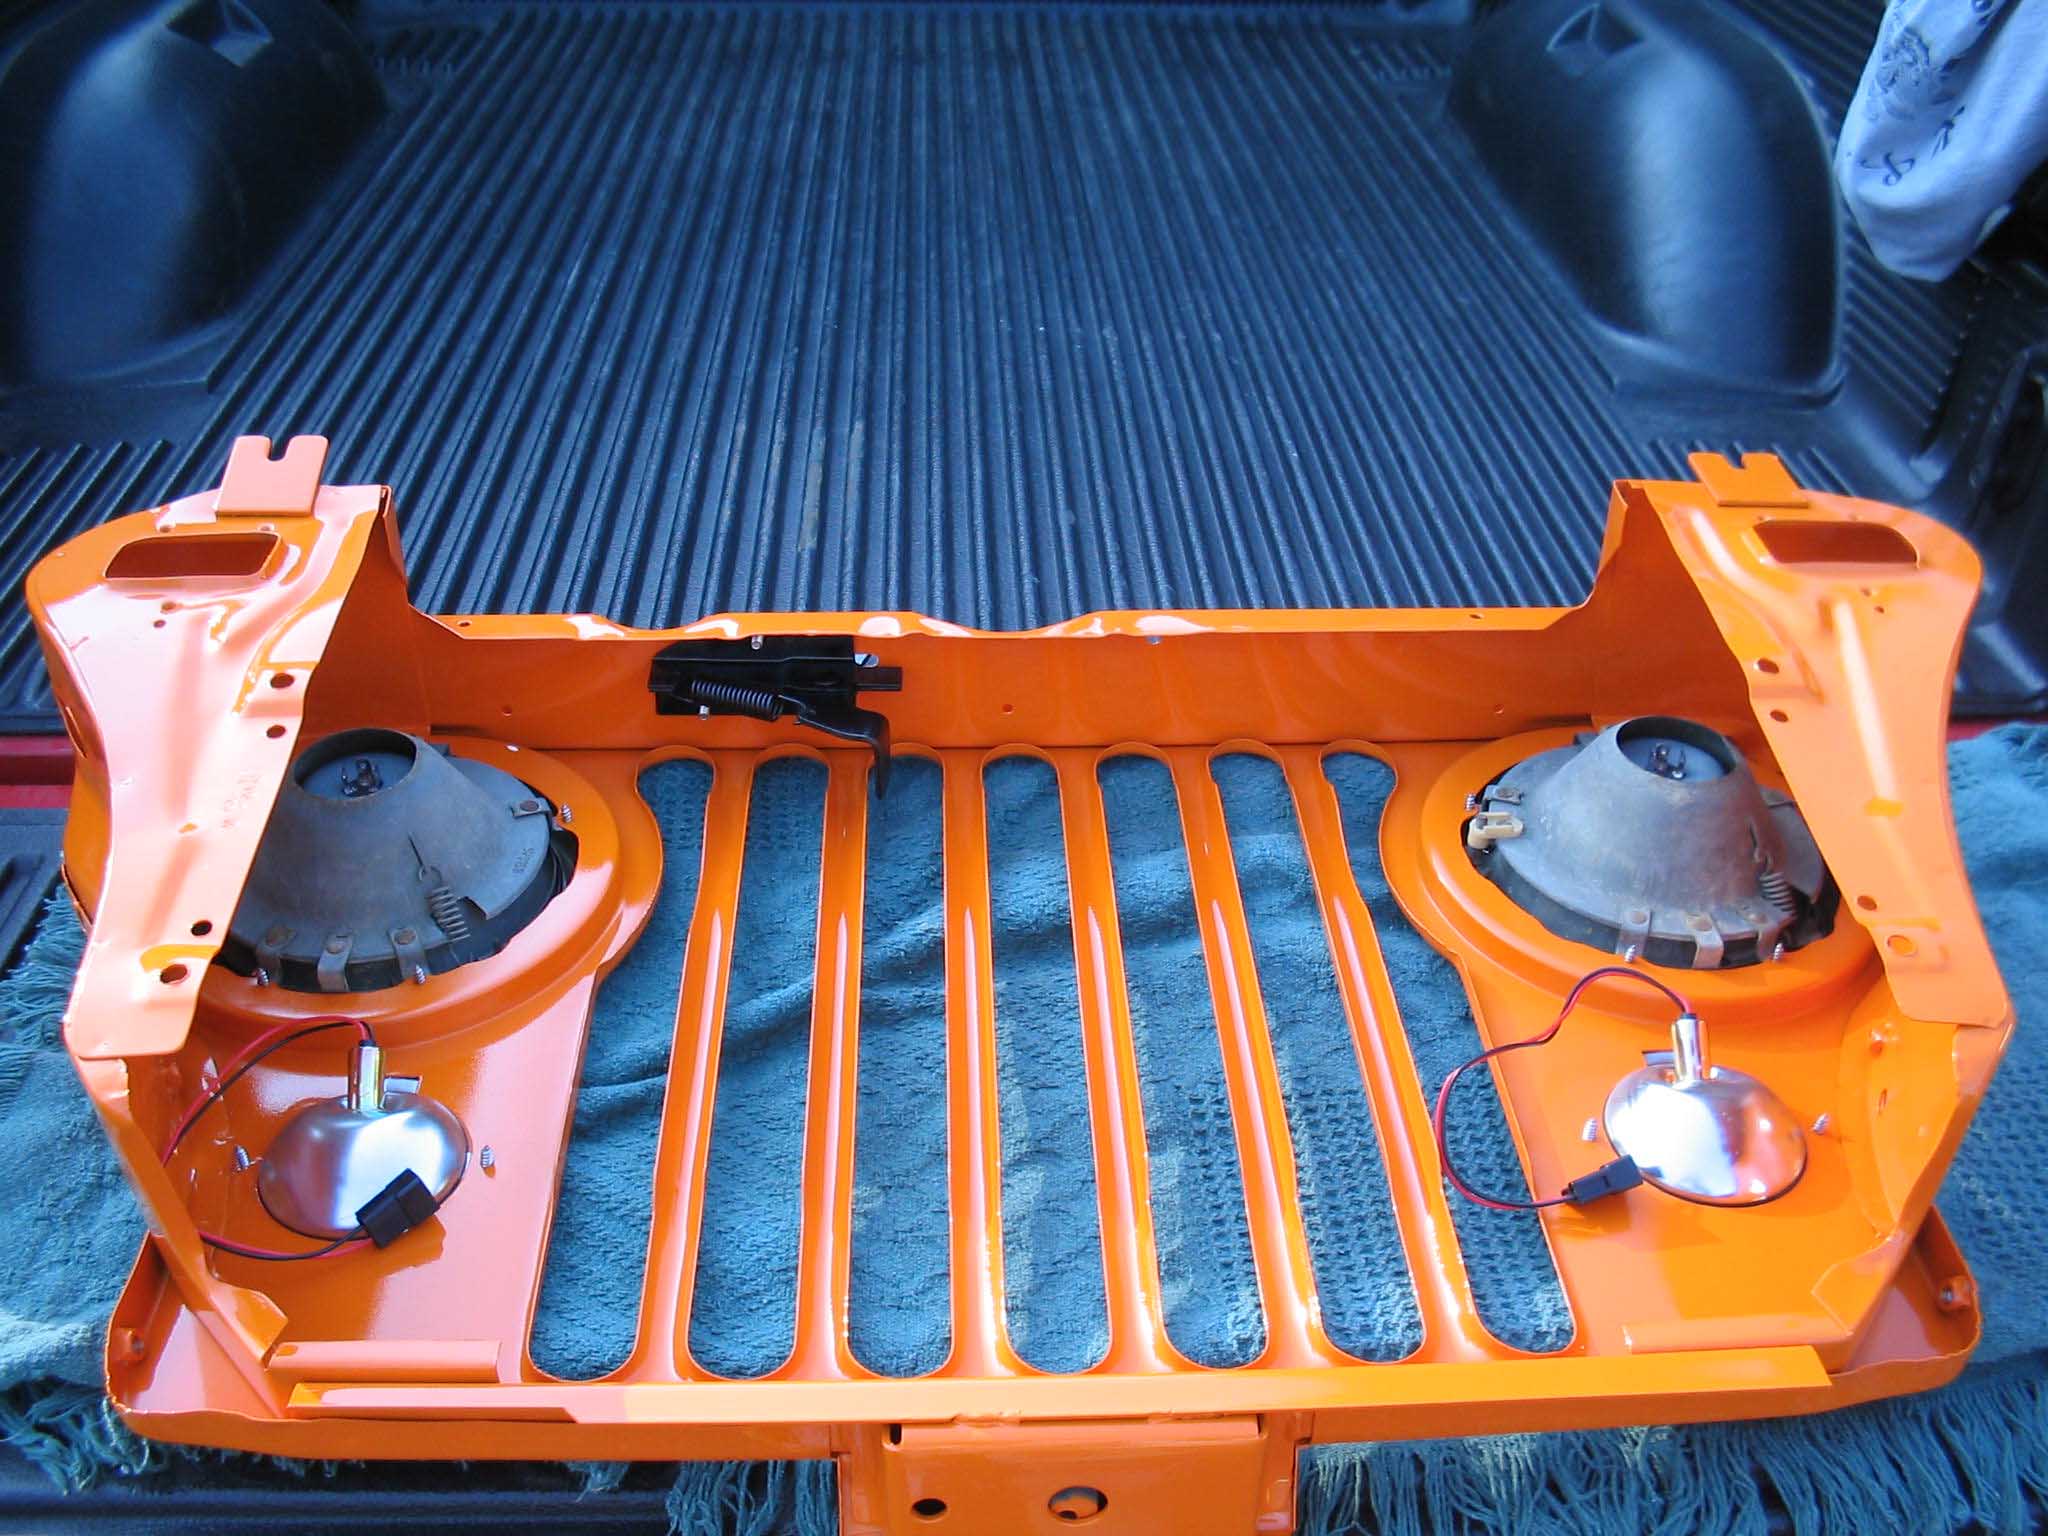
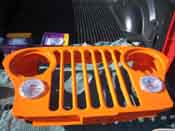
I was impressed by the quality of the grille shell (as well as the tailgate). They were both
of the same gauge steel as the originals and since they came pre-primered, all that was needed was a shot of sealer and paint.
I had the guys at the body shop fill in a few of the spot weld marks with some filler as they were a little deeper then I
would have liked, but all in all, it didn't require much in the way of body work to get to the paint stage.
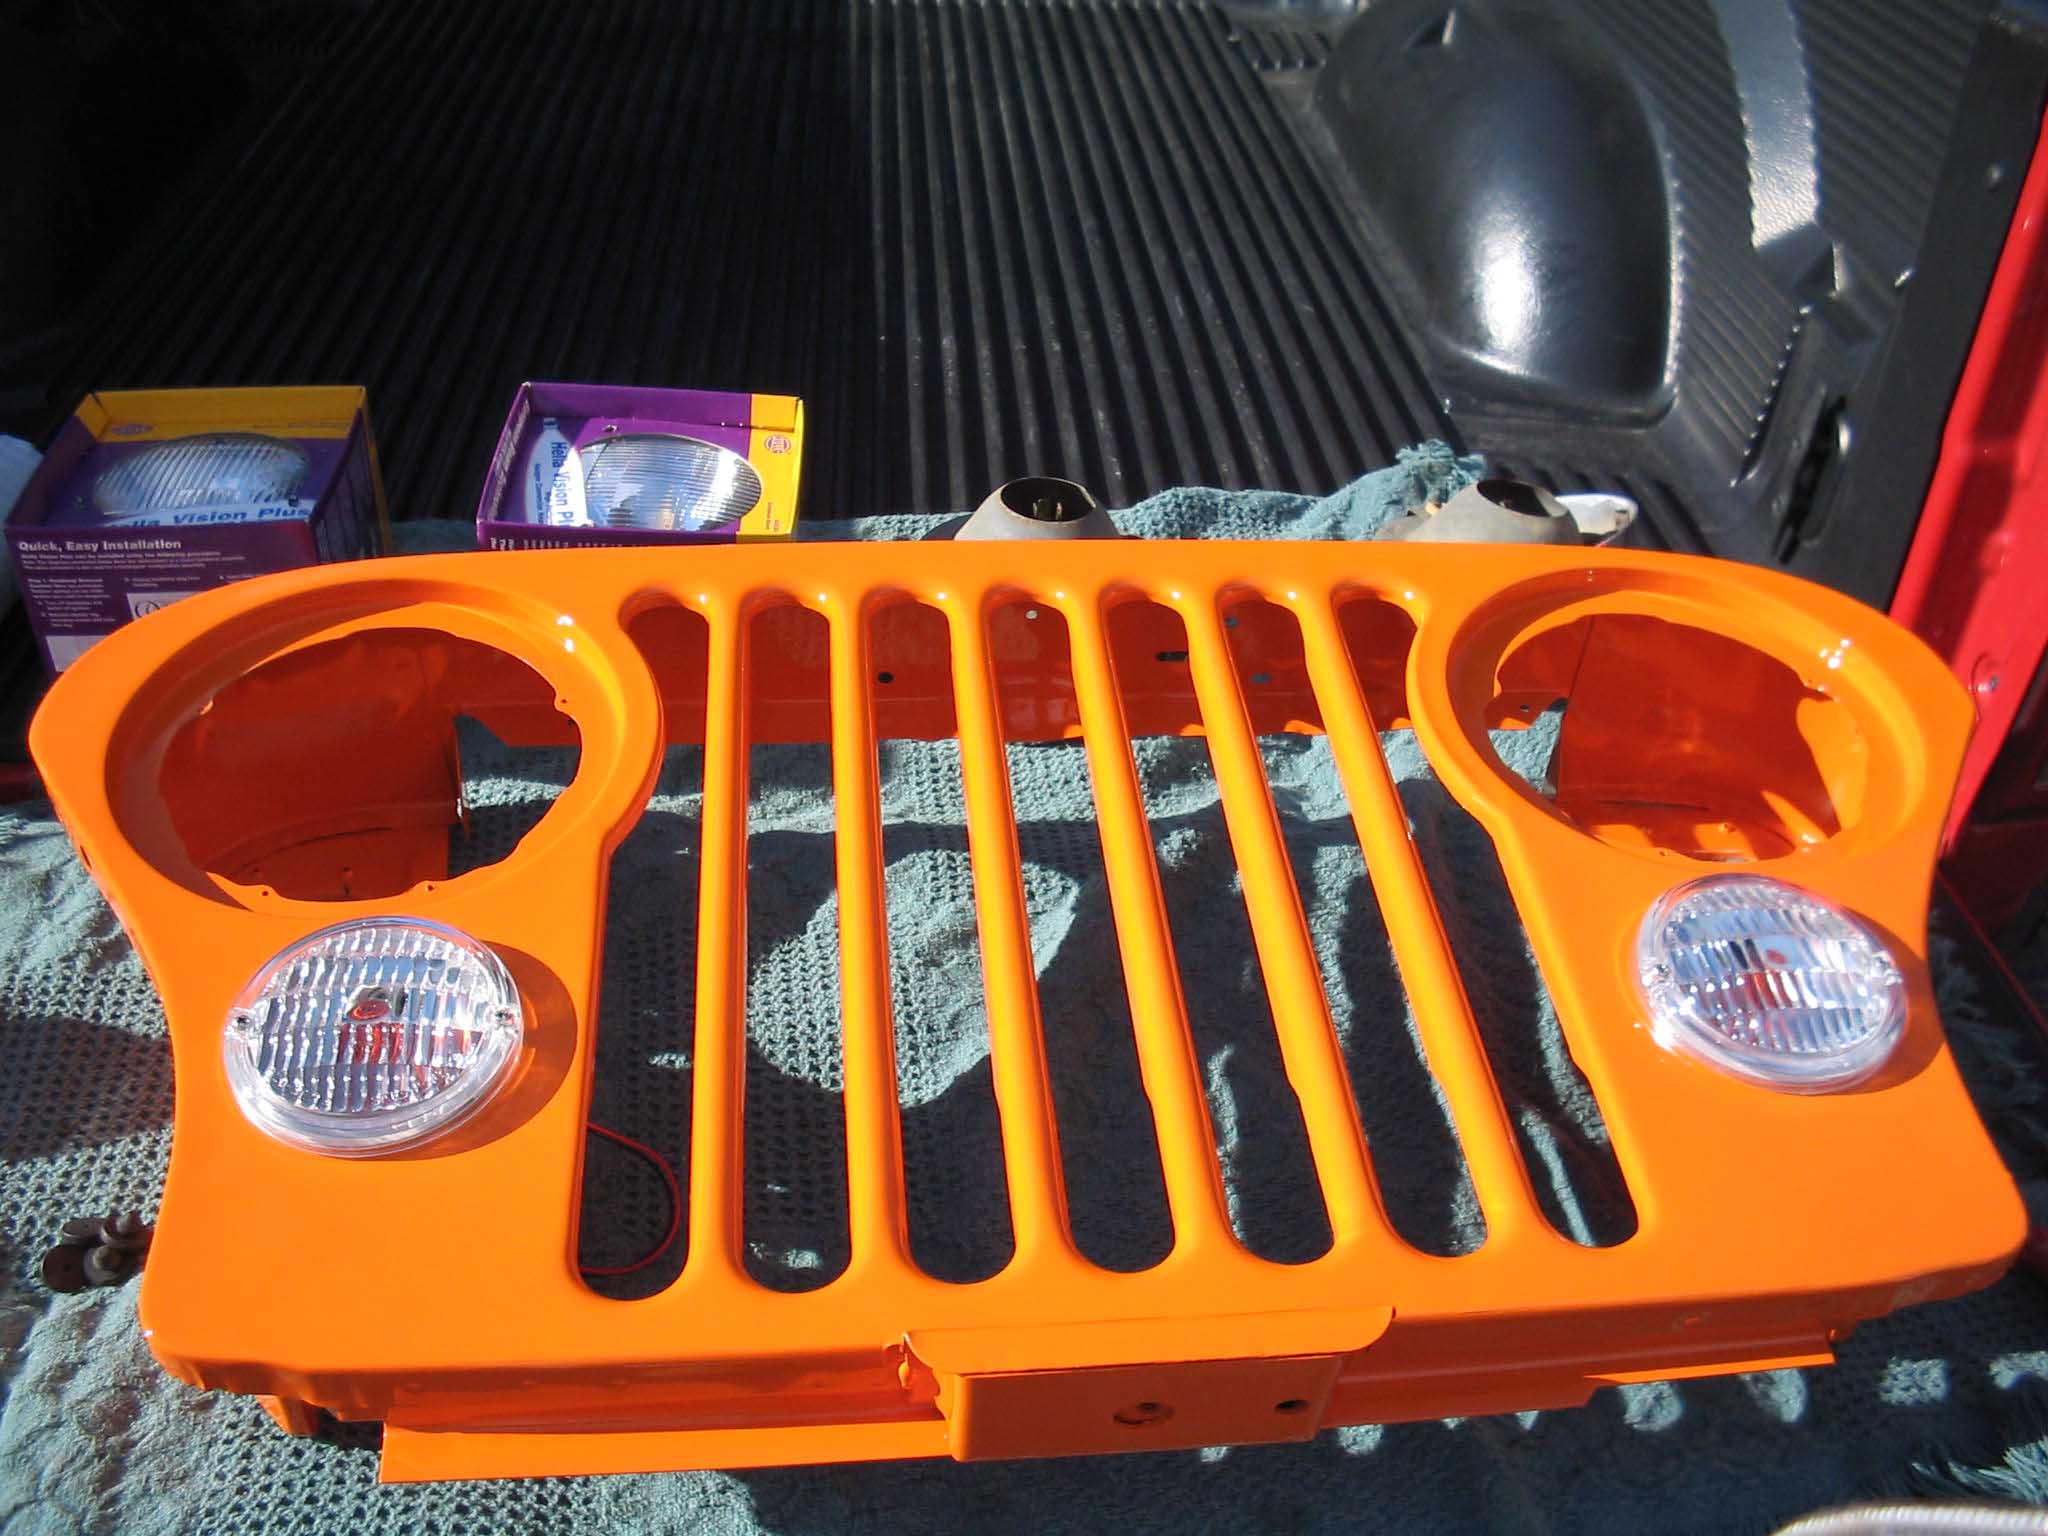
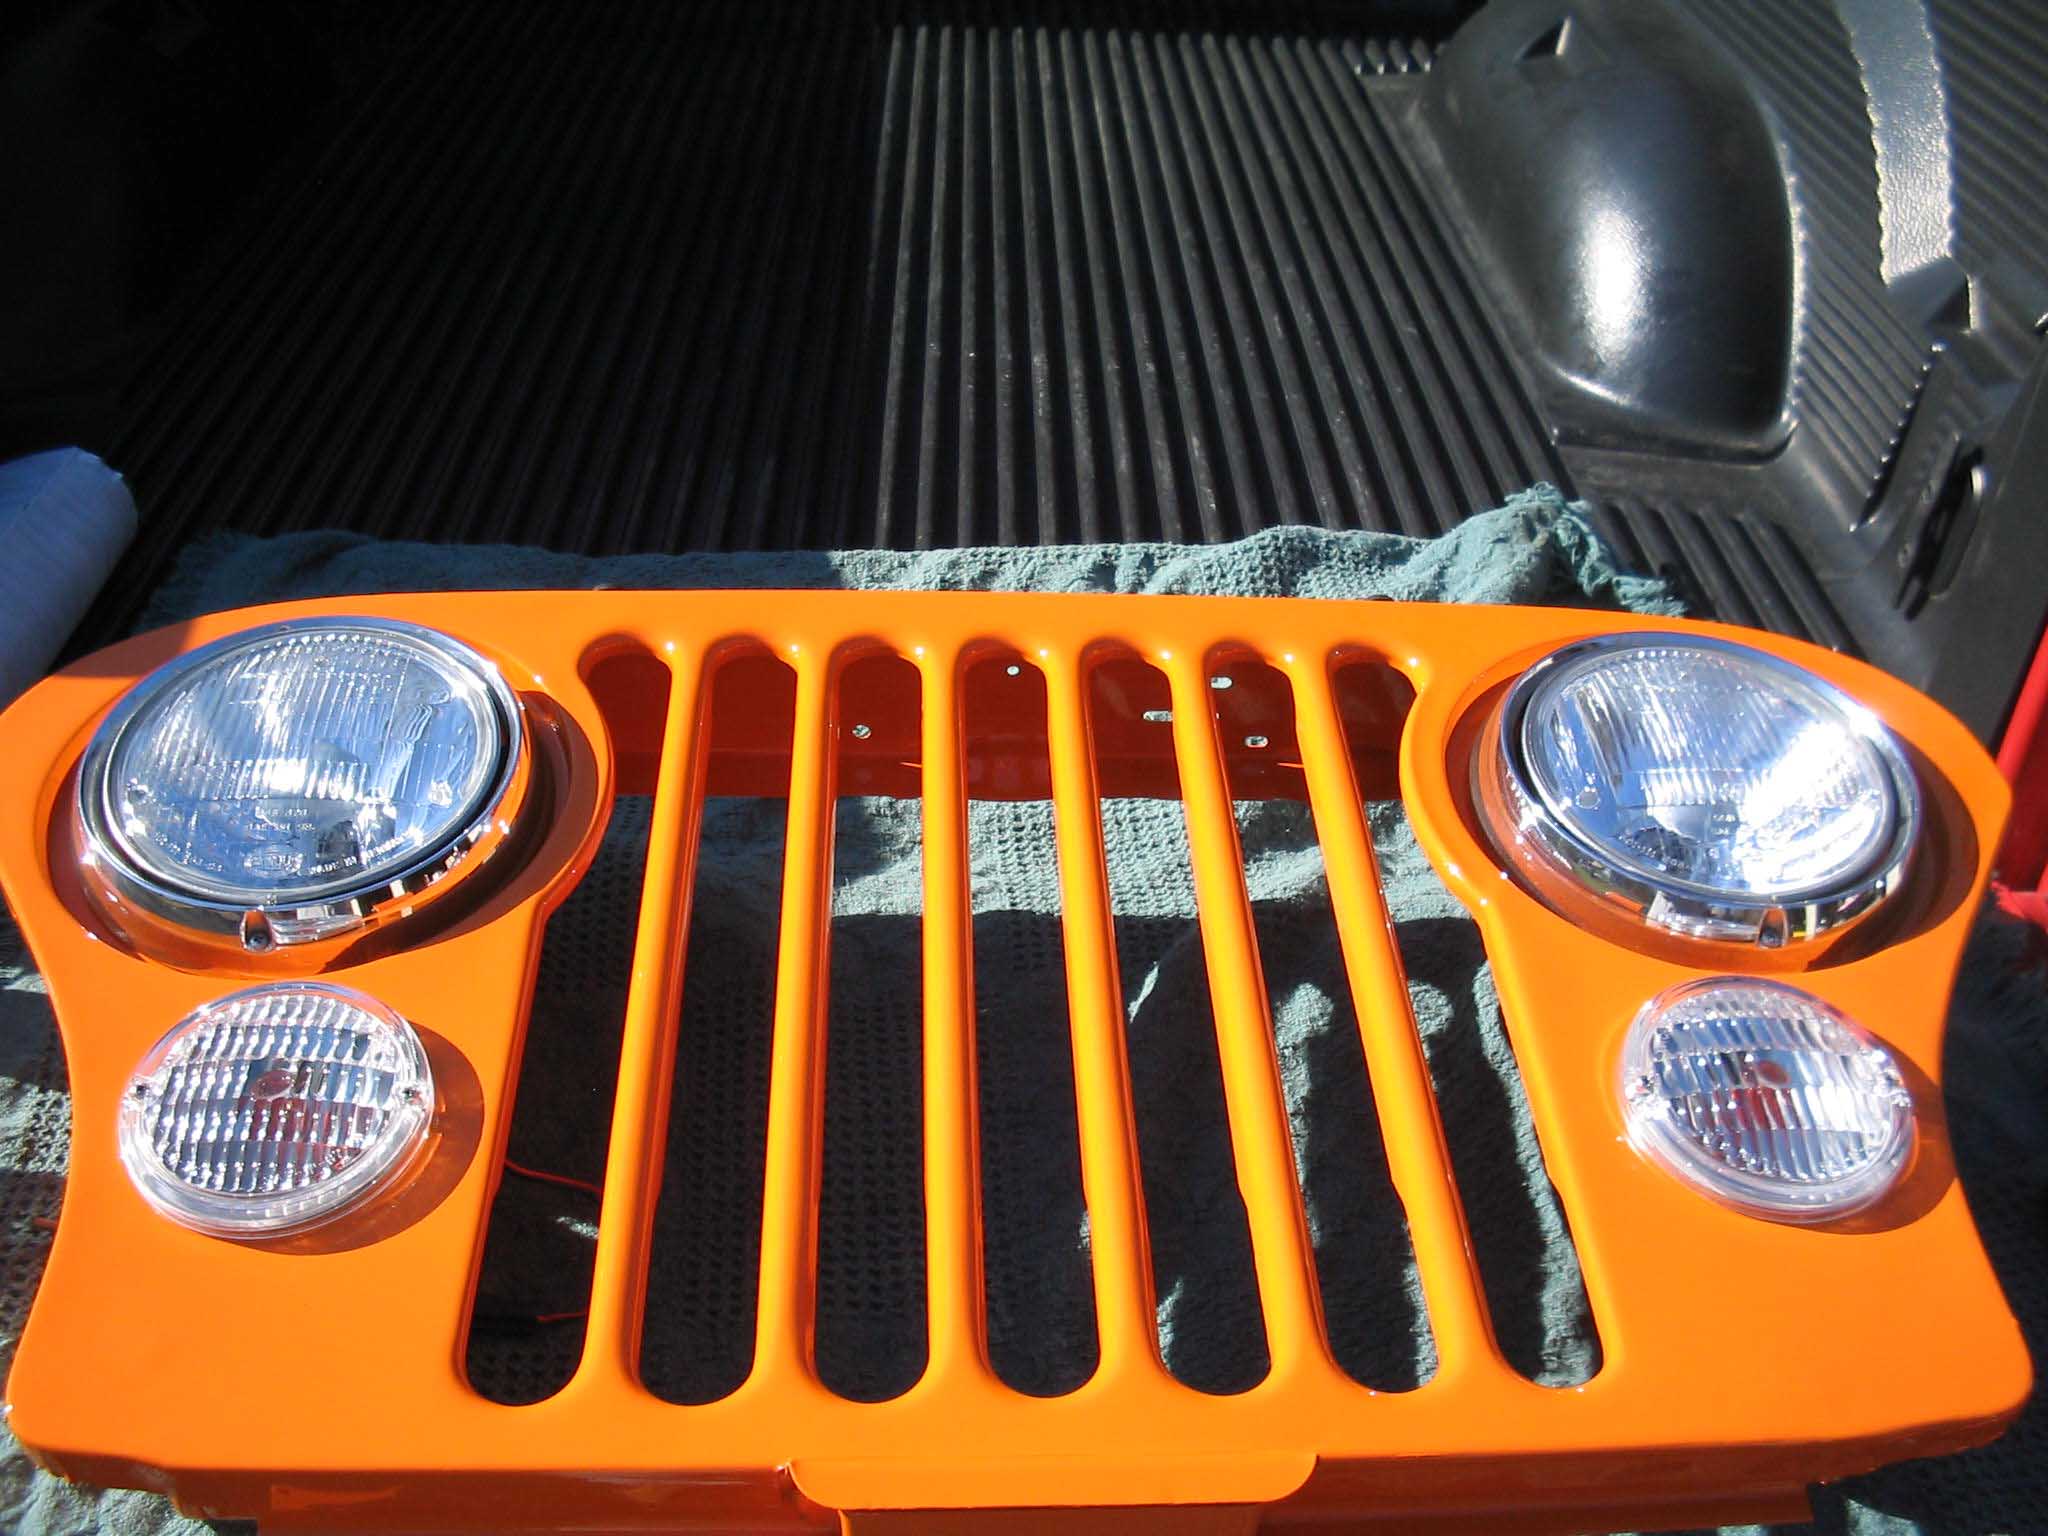
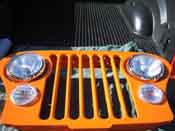
It took a couple weeks at the body shop to do the painting, but when I got it back I went to
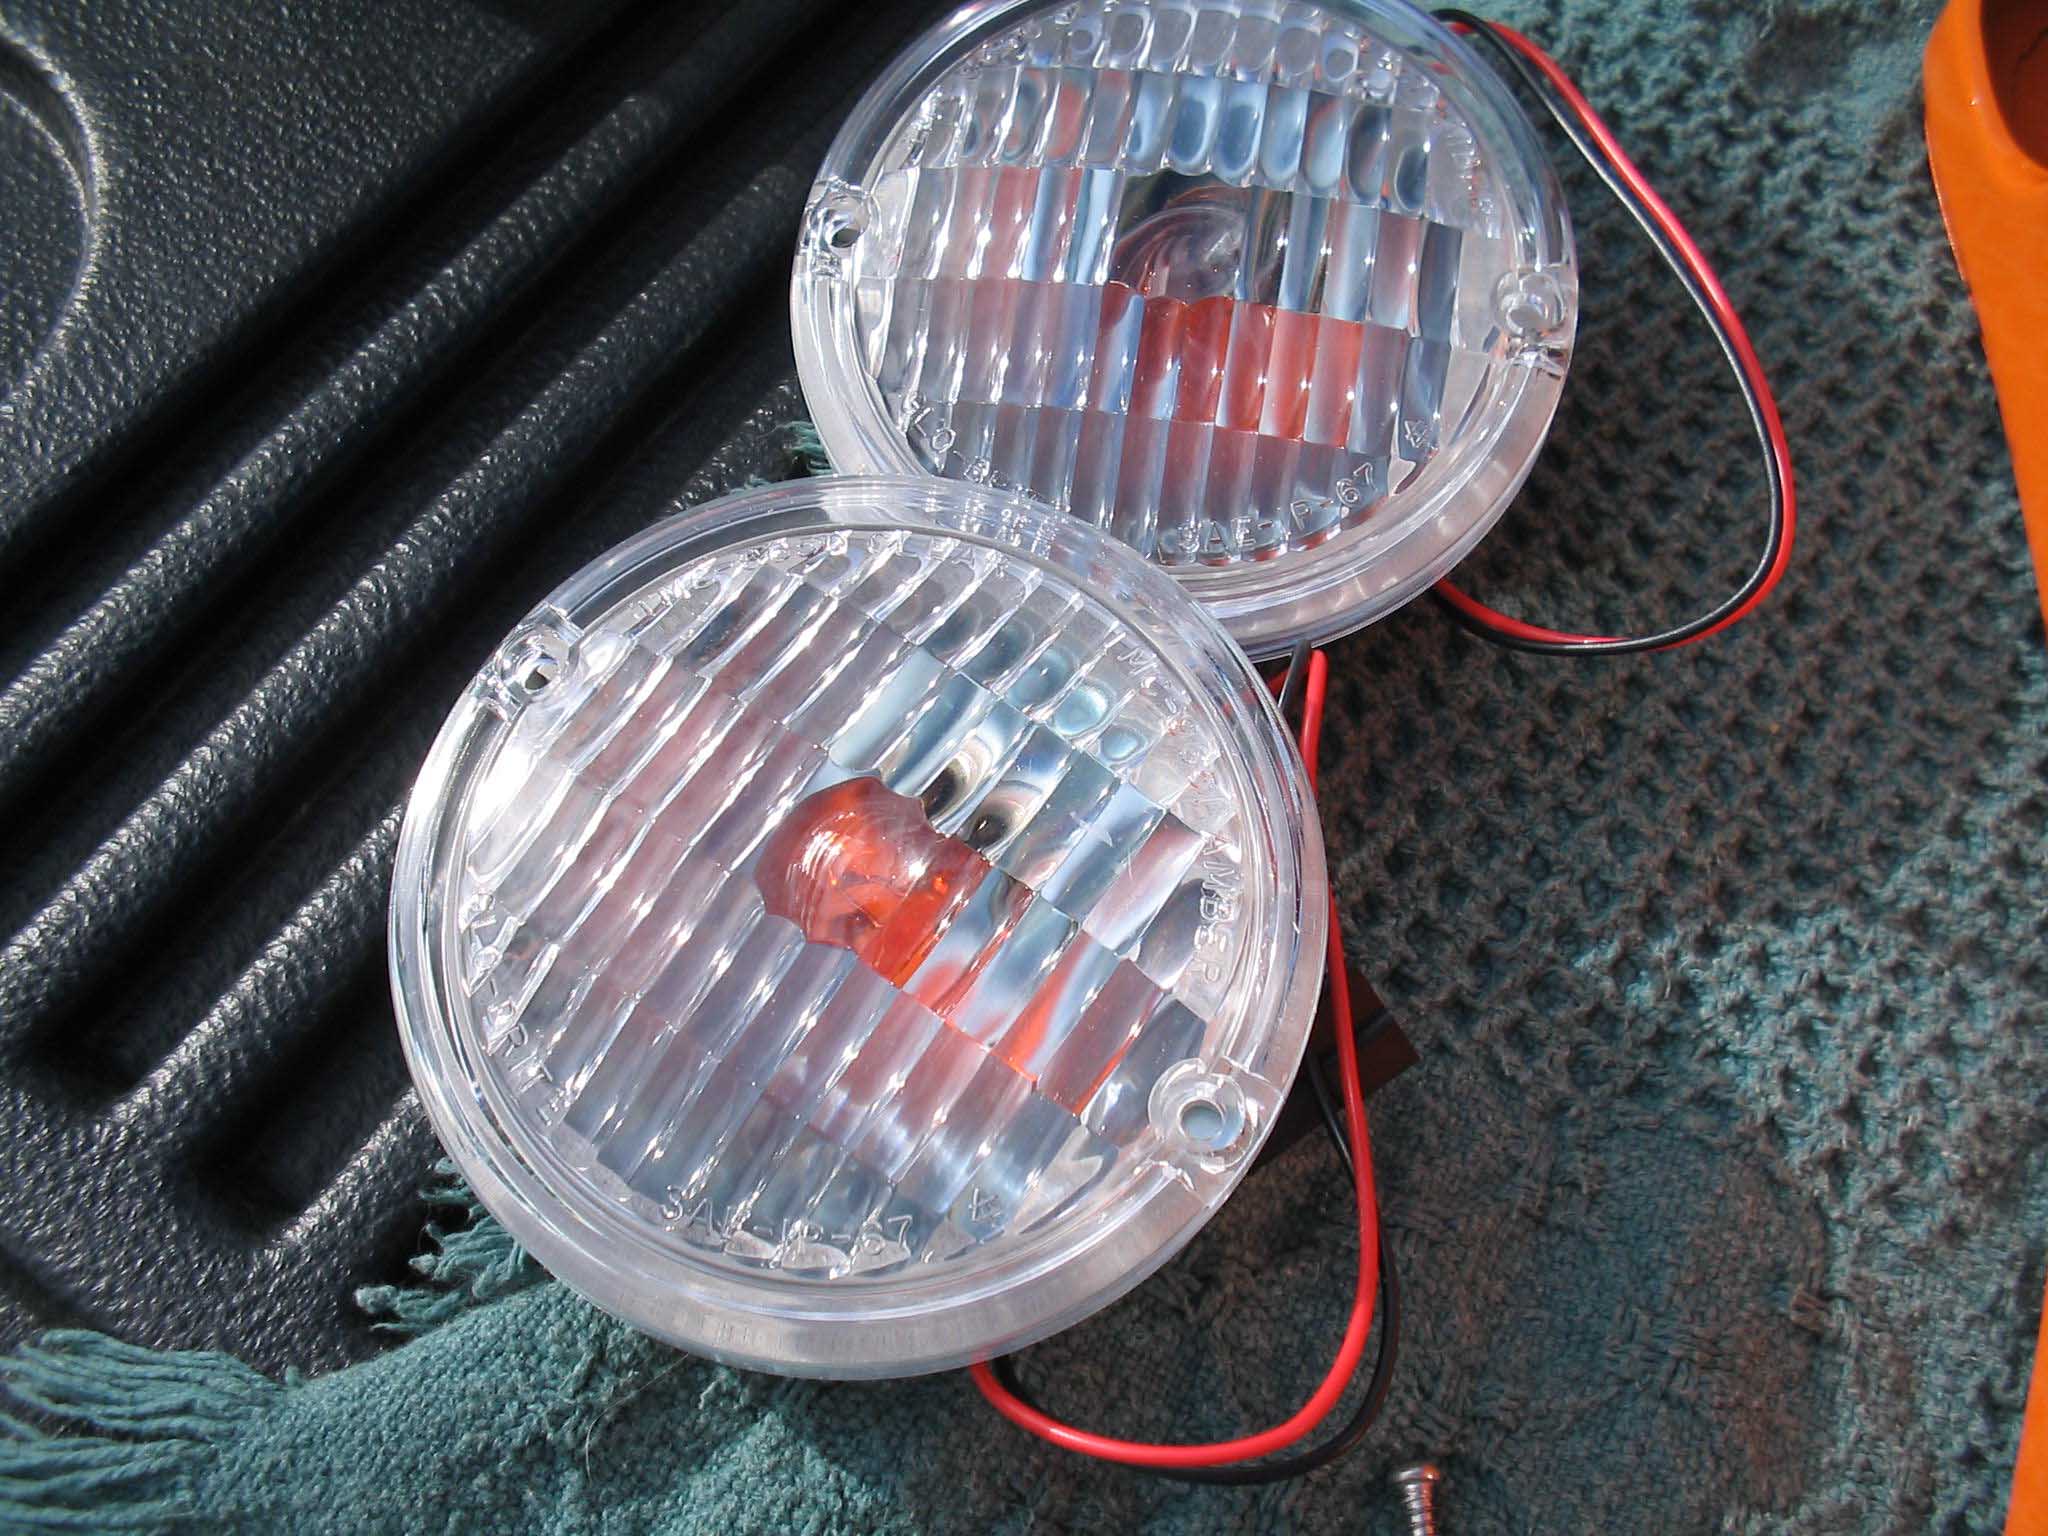
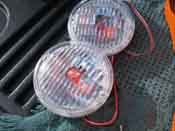
work installing it. I had to put all the lights back in along with all the other parts. In the light department, I ordered
up some new parking lights. Mine were old and not just the age, they were the pre-76 setups with the 3 holes to mount
instead of the 2. I ordered up a new set of lights and that got around that issue.
|
| |
|
|
|
|
| |
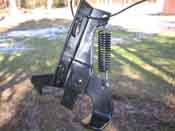
At the same time, I wanted to do a H4 Halogen head light upgrade. I was able to do this very
quickly and easily, you can see the write up here
Head light upgrade. I also had
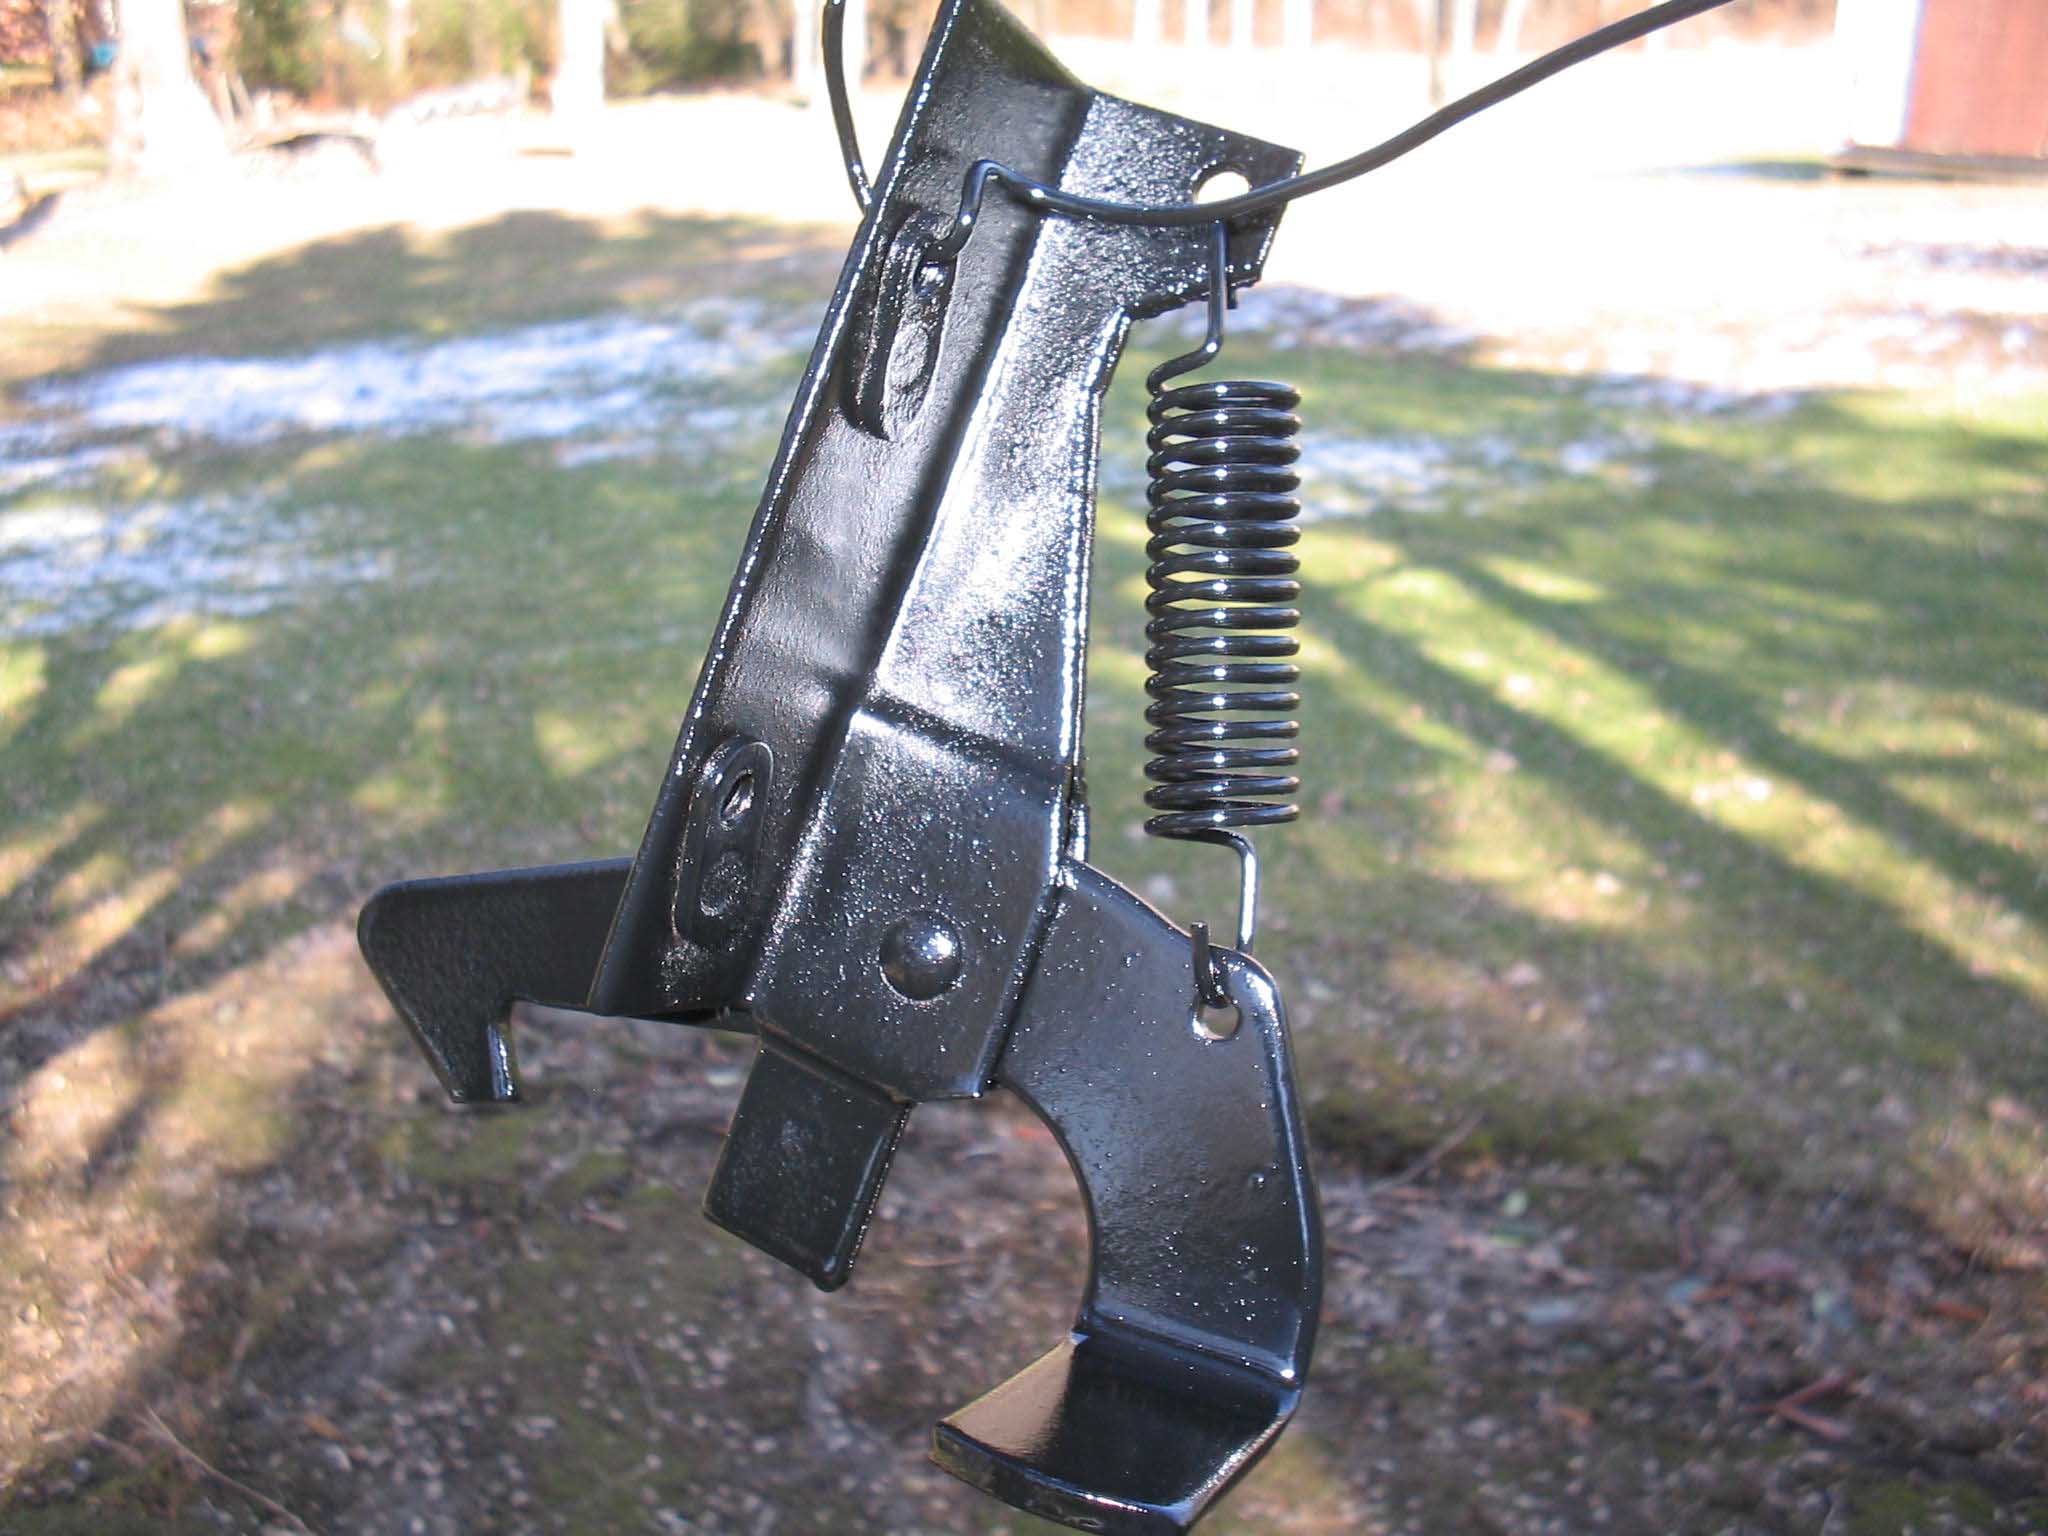
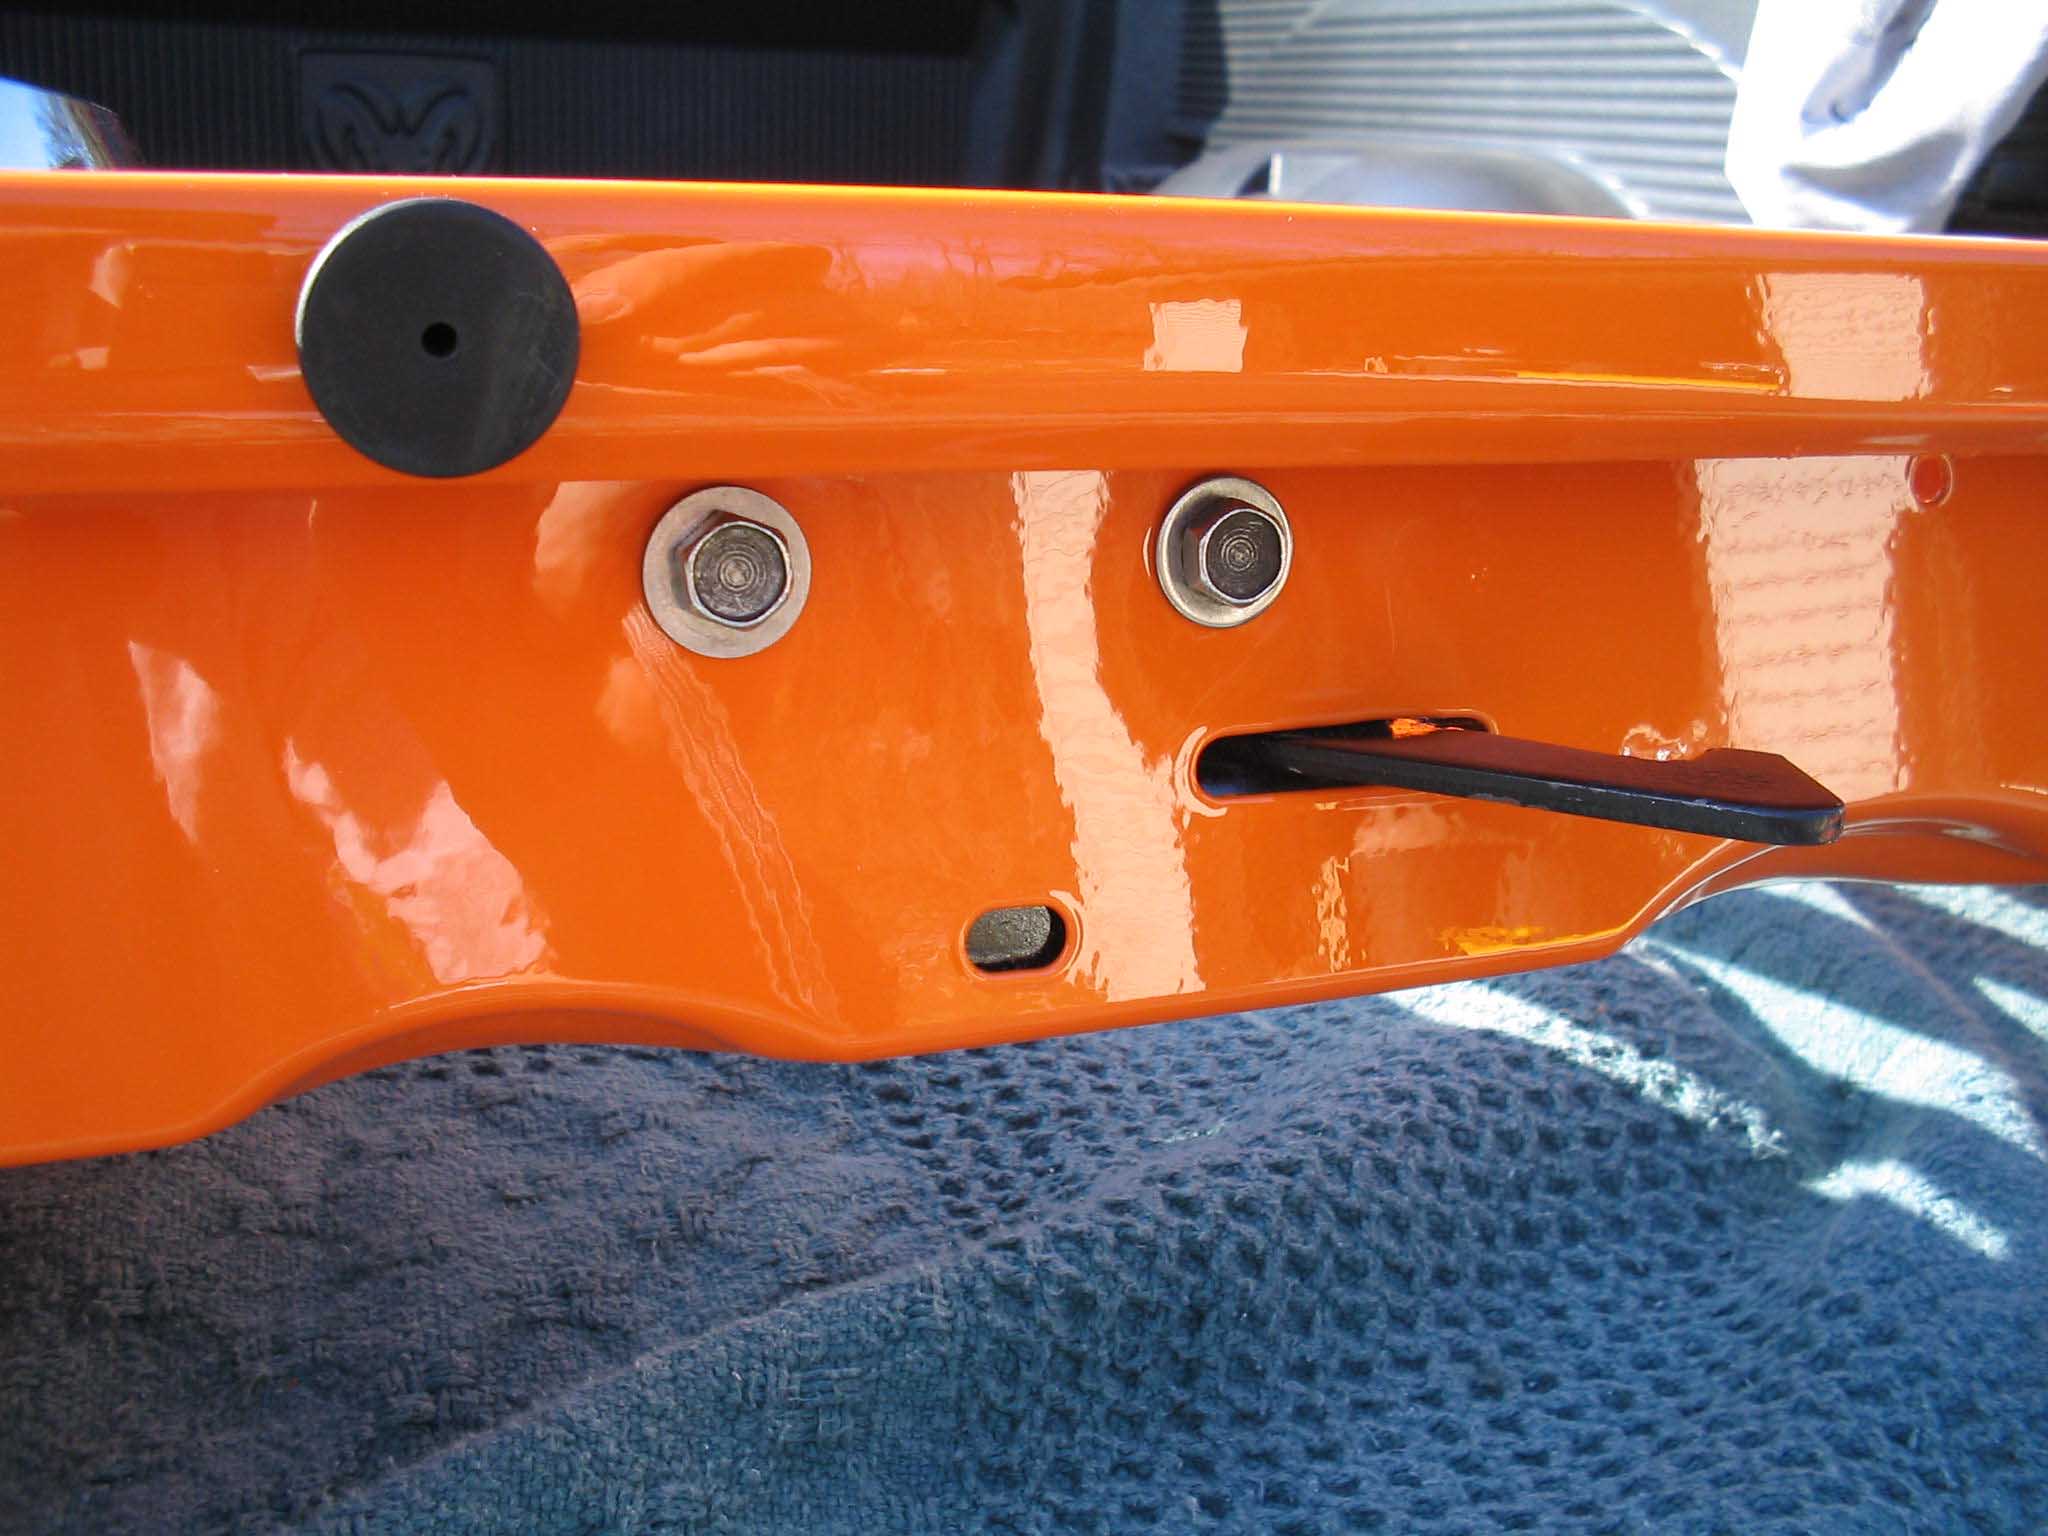
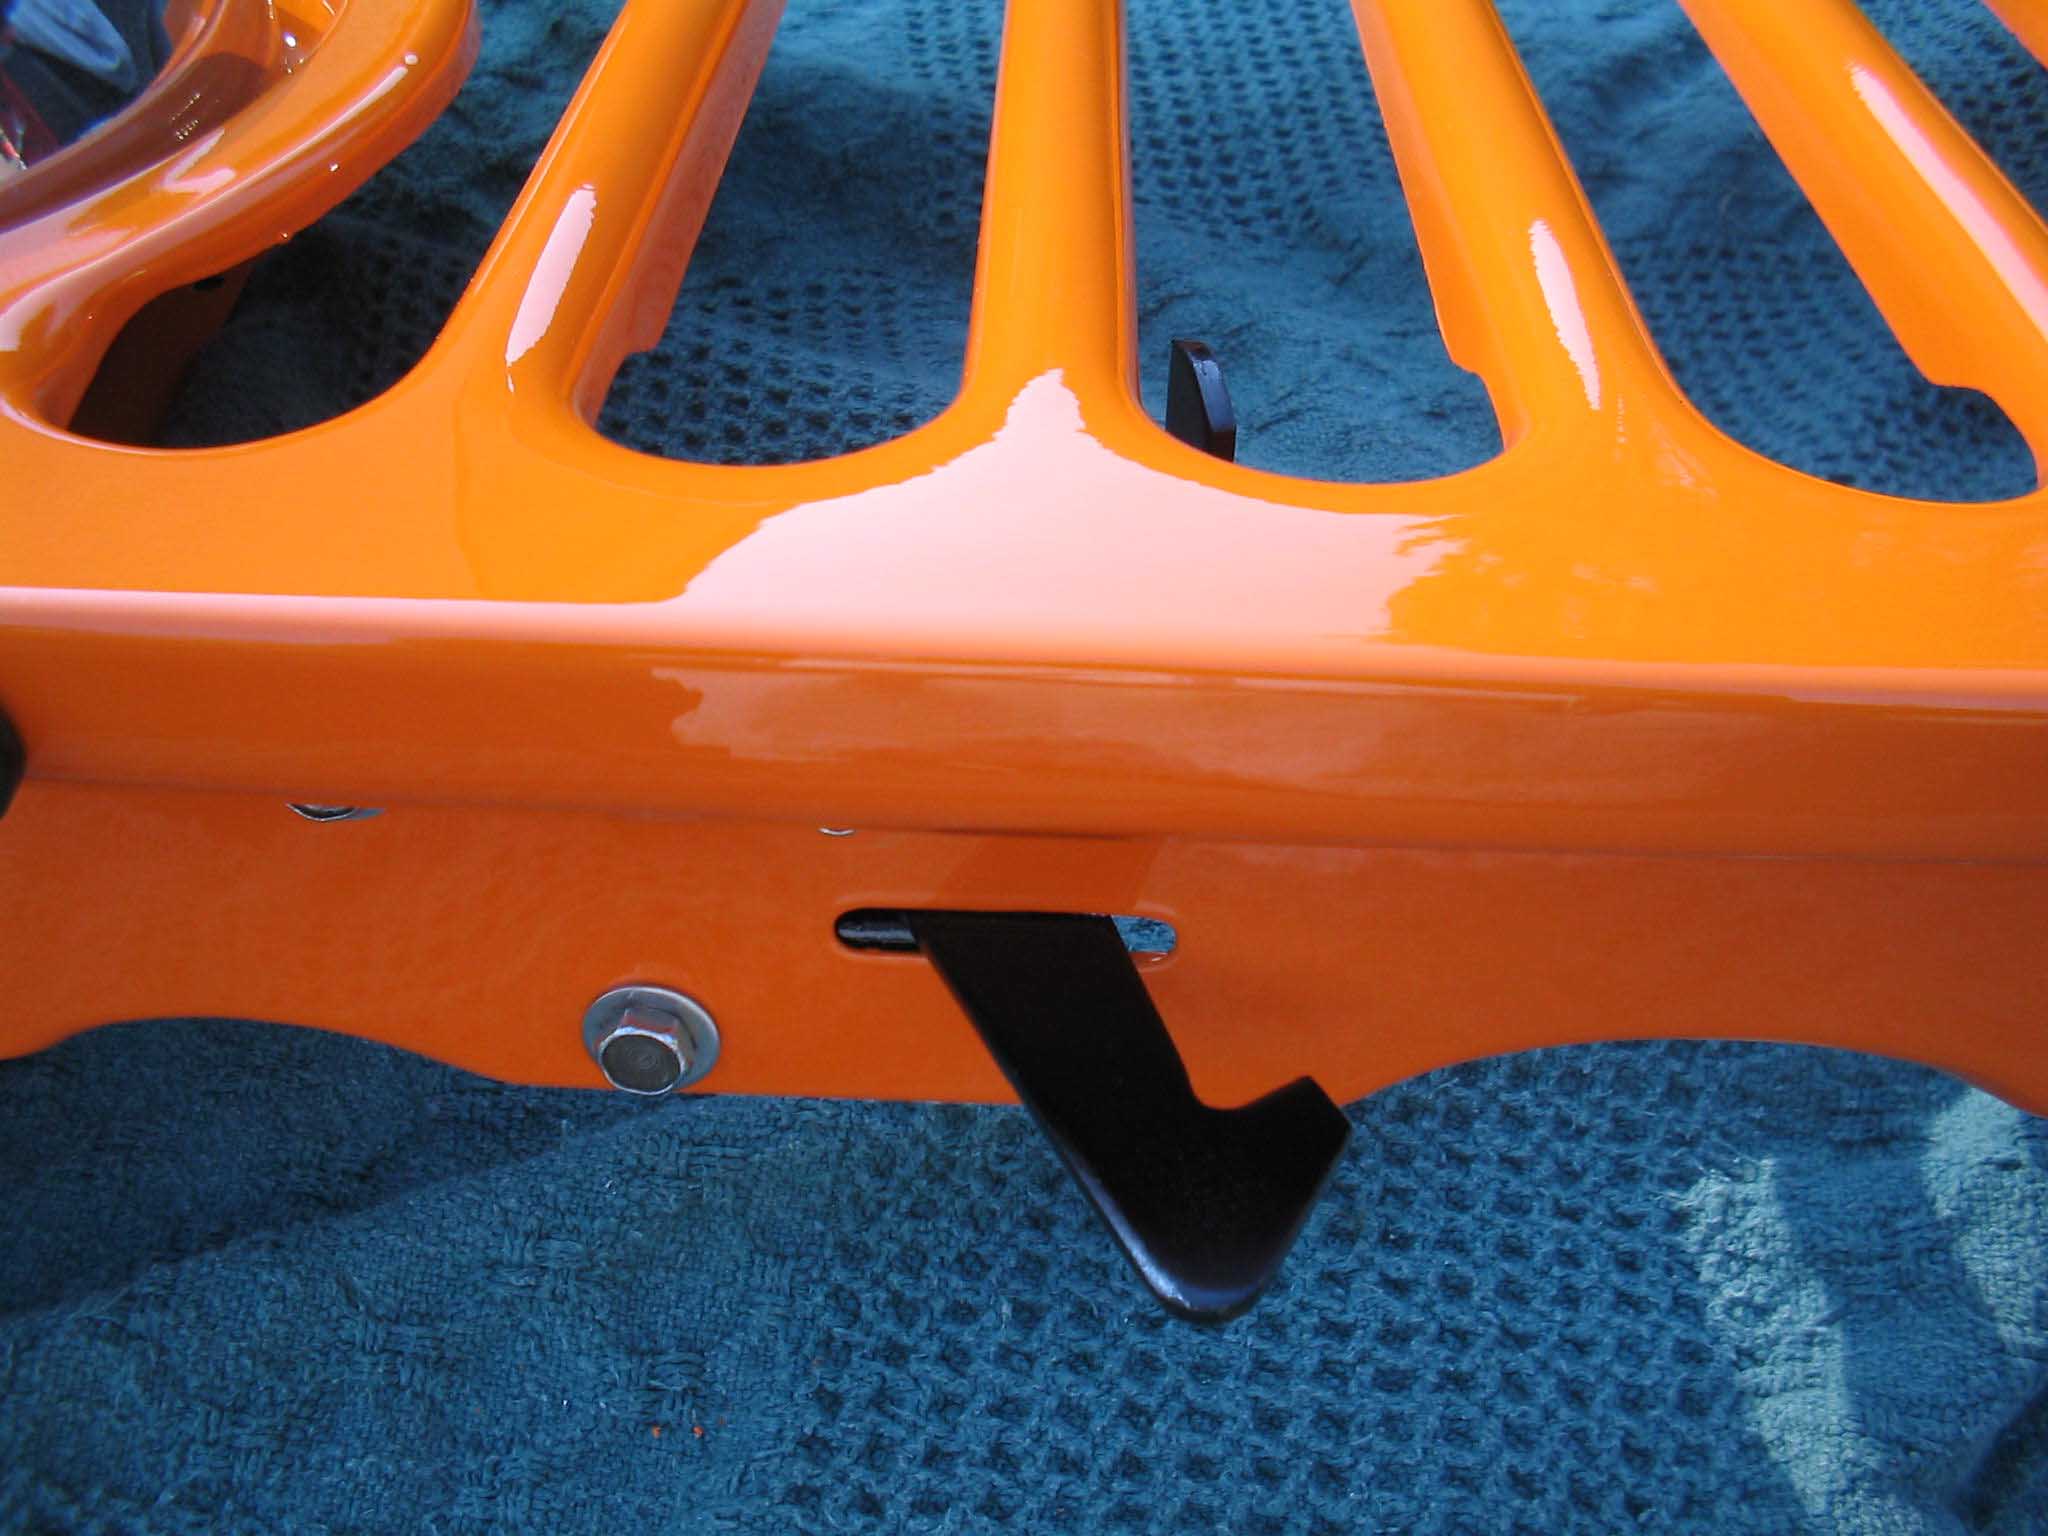
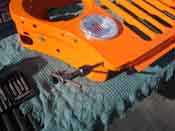
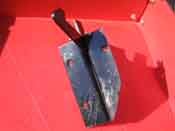
to get the hood latch to work correctly. The old style latch was completely rectangular and had holes that didn't match up
to the holes on the grille shell. So, a little trimming had to be done and a new hole drilled and tapped to work correctly.
This really should be done prior to painting the grille shell.
The parts were ordered up from
Krage Motor Sports as they were found to
have the best prices on the parts and shipping.
|
| |
|
|
|

|
| |
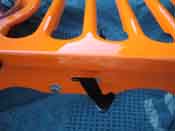
I ran a tap through all the holes as well to get the paint out. If you don't have a tap set,
it is a great investment. I can't even tell you how many times I have used this. It is a good thing I bought one for
Frank... and that I get to use it when I need to. I also installed the rubber stoppers for the hood when I put the latch
in, have to remember to do that.
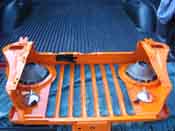
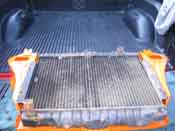
With everything in place, the radiator can go back in and that will complete the installation.
I opted for the radiator overflow bottle out of a hot rod to help to spice up the engine bay, but that is your own choice
and can be done with the regular plastic one as well.
|
| |
| Lessons Learned the Hard Way |
| |
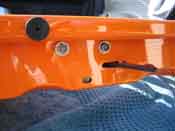
My lessons learned here would have to be that you should really test fit all the pieces that you
are going to use with your new grille shell prior to the piece going to the body shop for paint. I didn't test fit the latch
and because of that I had to do some work to get it to fit. This is an exact replacement as they say for 76-86, however, I
know now that my original grille shell was a bit different where the latch connects, where the parking lights go, and finally
where the connectors go for the 2 spreader bars that attach and hold up the grille shell to the body.
These items are easy to overcome with the purchase of new parking lights (or drilling 3 holes for the original lights if you have
the old style like I did), trimming down the latch to fit in the new recess, and finally adjusting the spreader bars. You just
want to make sure you do all this before there is a coat of paint on it that can be scratched or otherwise messed up.
|
| |
| Conclusions |
| |
Overall I would say that this project is pretty easy to do in an afternoon. I took my time
installing all the pieces and at the same time cleaning up the pieces to have new paint in order to make everything look
brand new. If I were going to do this again I would have sent the radiator out for pressure testing and a new coat of black
paint. I know the radiator is good as it was new when I bought the Jeep, however, it never hurts to get it tested for more
piece of mind.
The approximate build-up costs and installation time can be seen
here.
|
|