|
|
| Power Steering Conversion - 258 |
| |
| When I picked up the CJ-7, it had a non-tilt column and manual steering. Even
though it had 31" tires on it, it was no picnic to drive. The steering was loose and it wandered all over the
road. Now I knew from past experience with my CJ-5 that the ball joints and tie rod ends were probably shot,
but one of the best upgrades I put on the 5 was power steering. It allowed for turning the tires with 1 finger,
which really helped, in tight corners on and off asphalt.
|
| |
|
|
| |
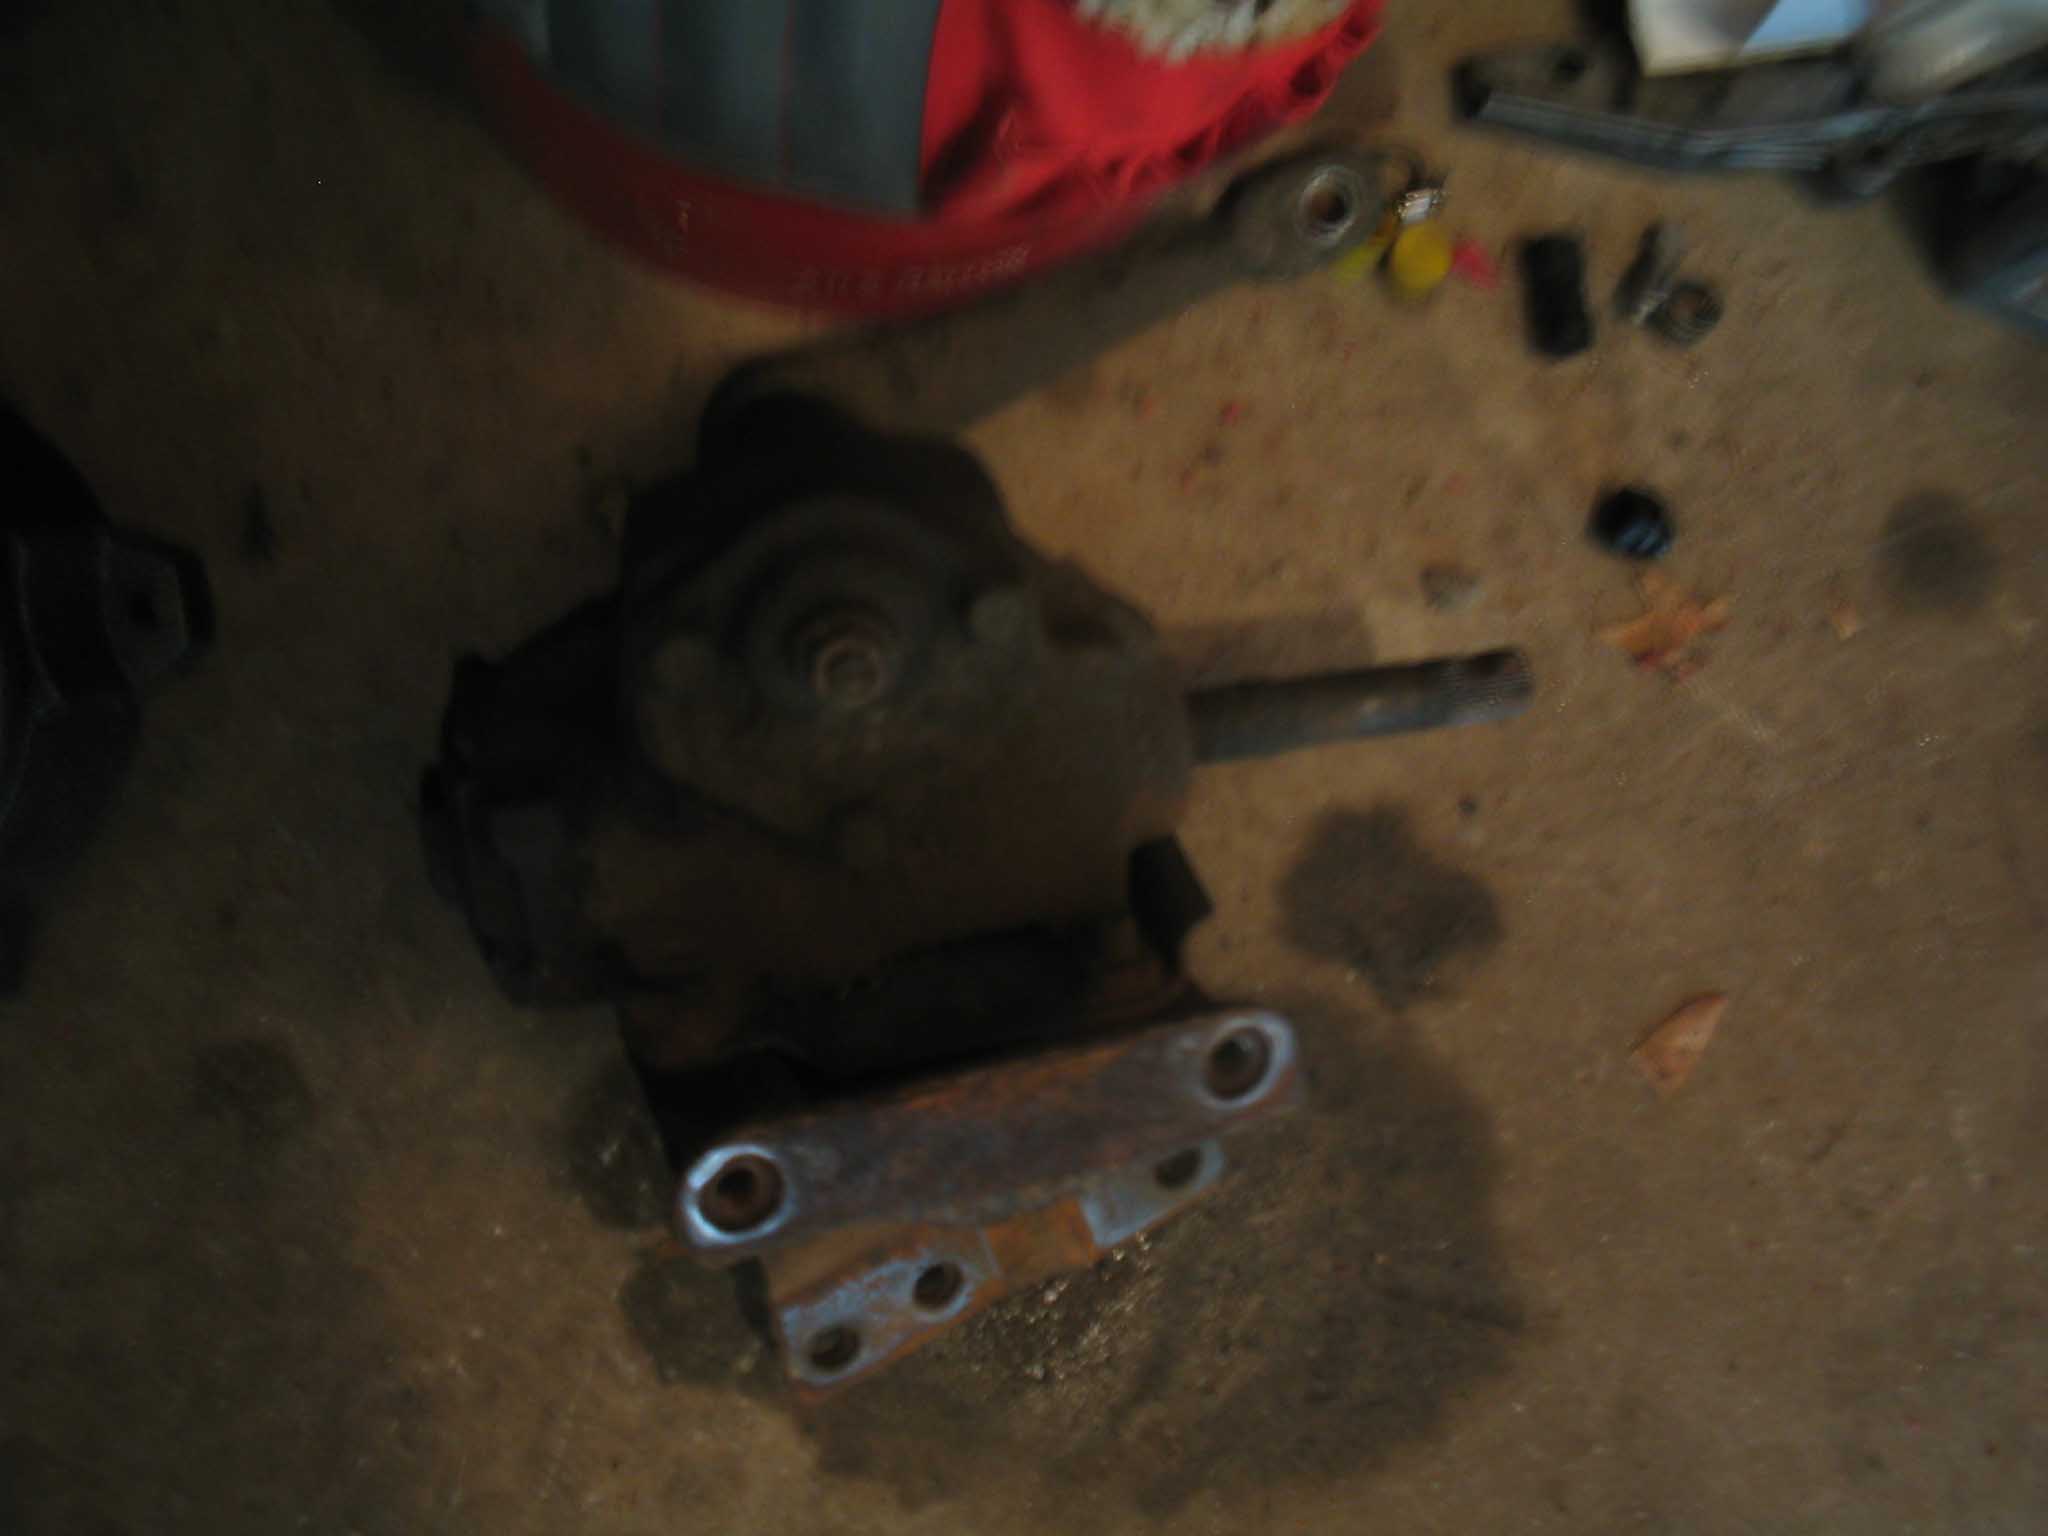
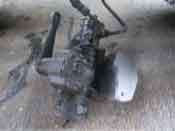
| The first step was to remove the old manual steering setup. This involved
dropping the manual steering box and the manual steering shaft. The old steering box had the original manual
steering mount on it that attached to the frame and the manual steering shaft had some play in the end. So the
search began on eBay
for a power steering pump, a double pulley that would replace the single pulley on the
crankshaft as to run the power steering pump, a power steering unit, some new hoses, a new bracket to attach the
new power steering box to the frame, and a brace that would hold the power steering unit in place by attaching it
to the opposite side frame rail. Wrapping up the search process was a Heavy Duty power steering shaft to attach
the steering column to the power steering gear.
|
| |
|
|
|

|
| |
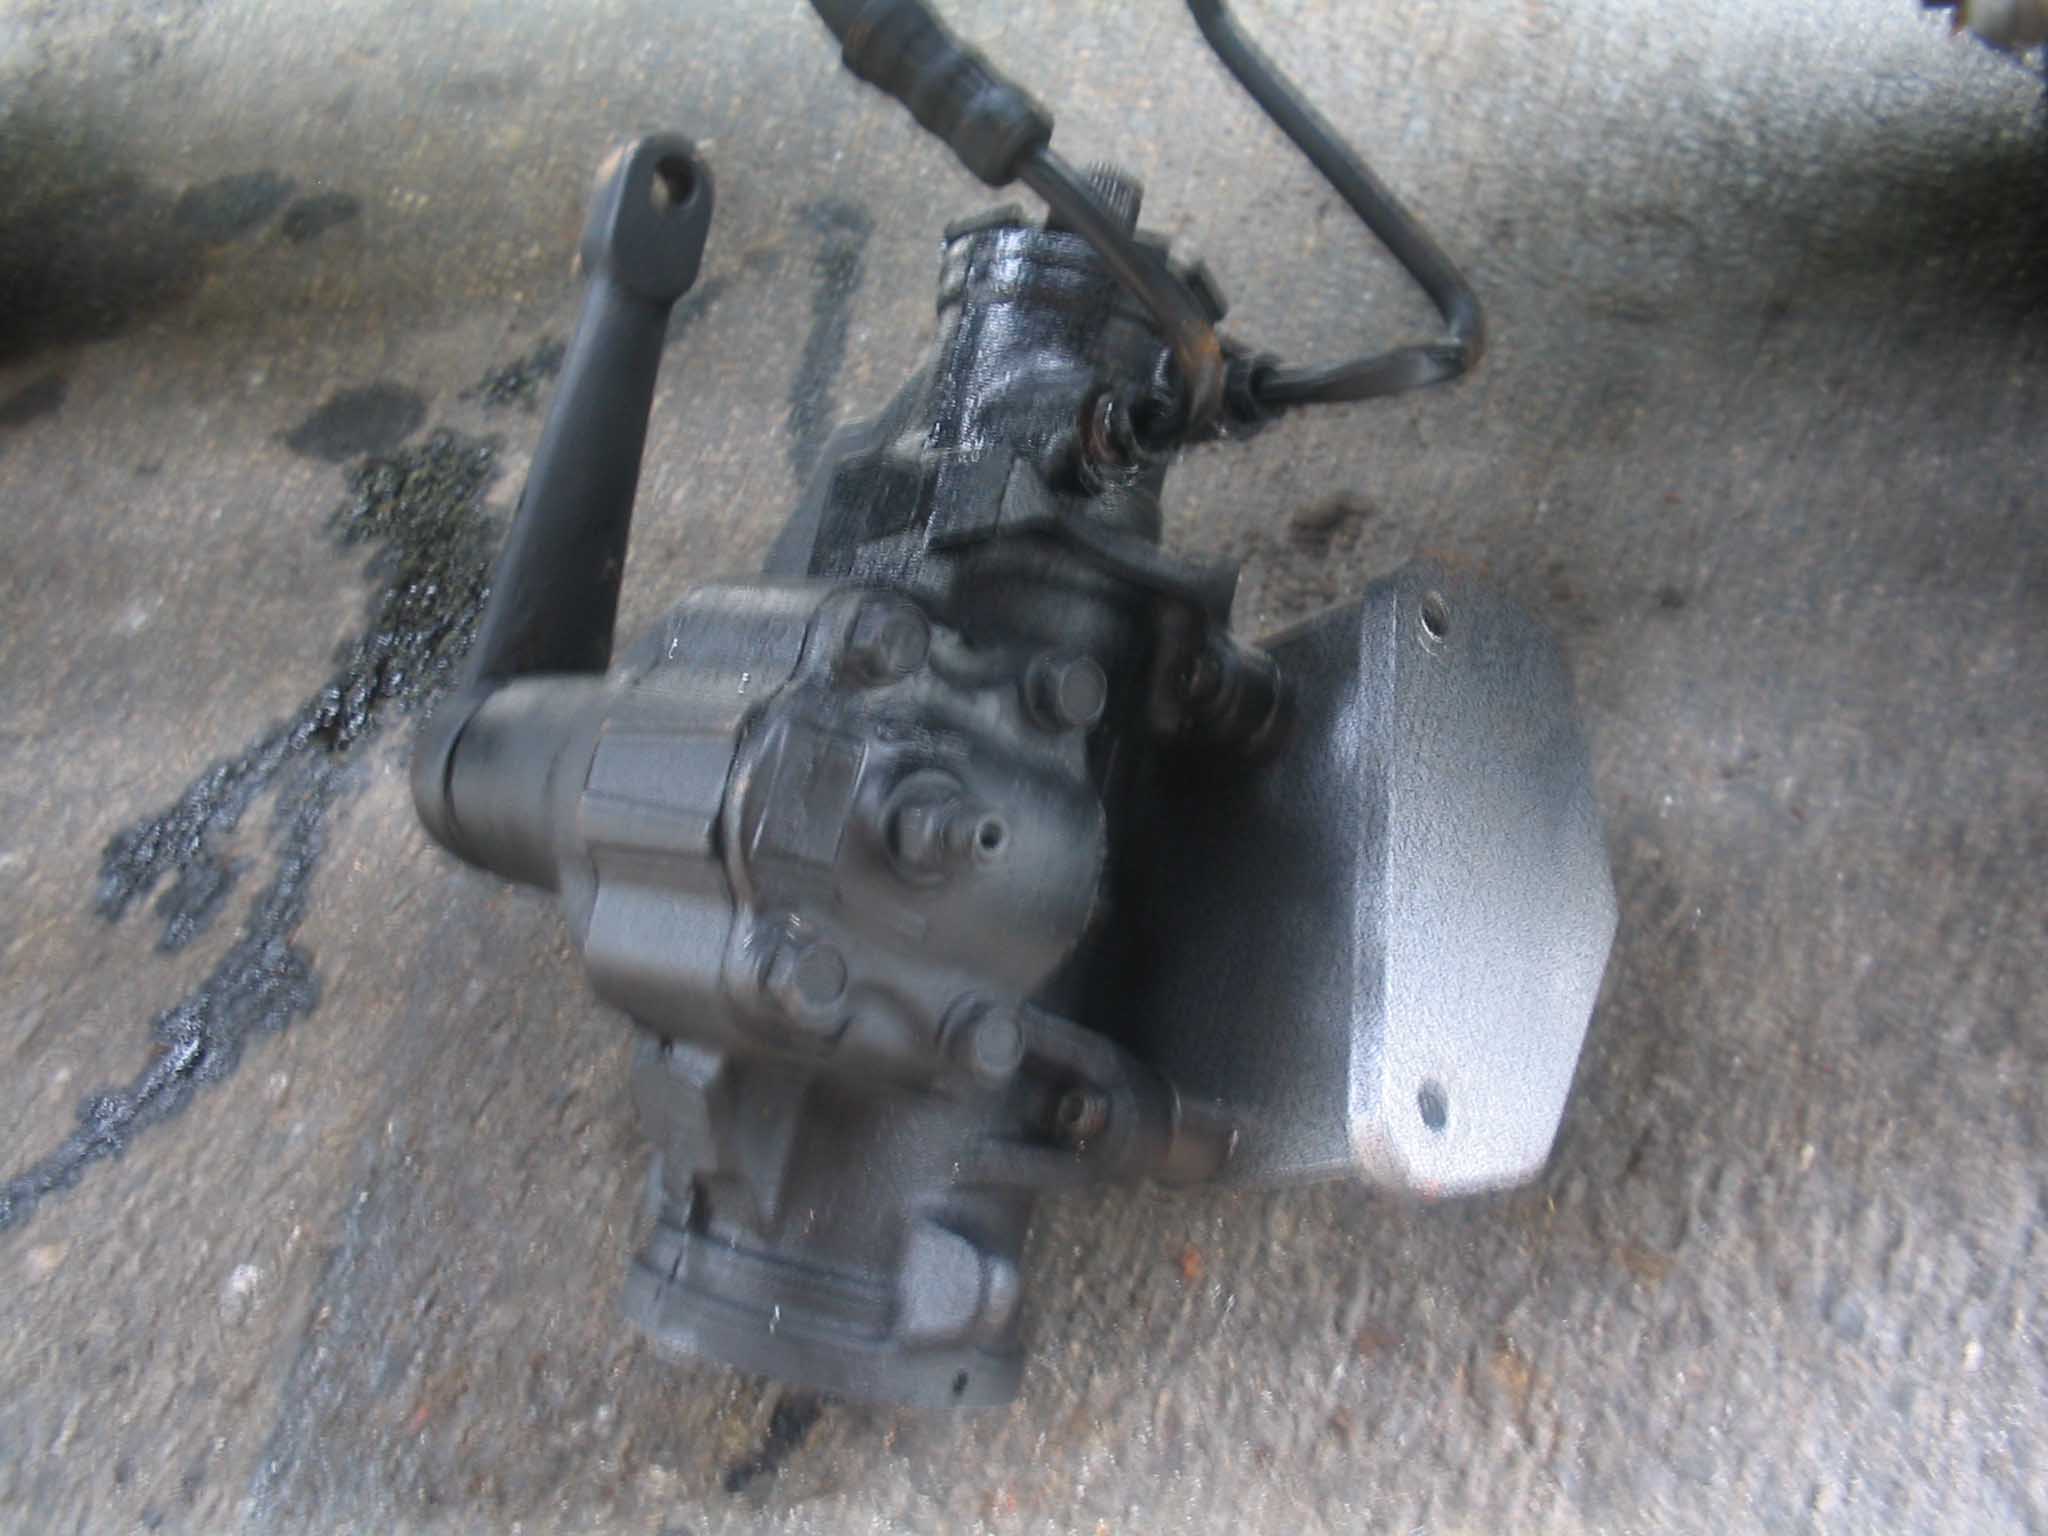
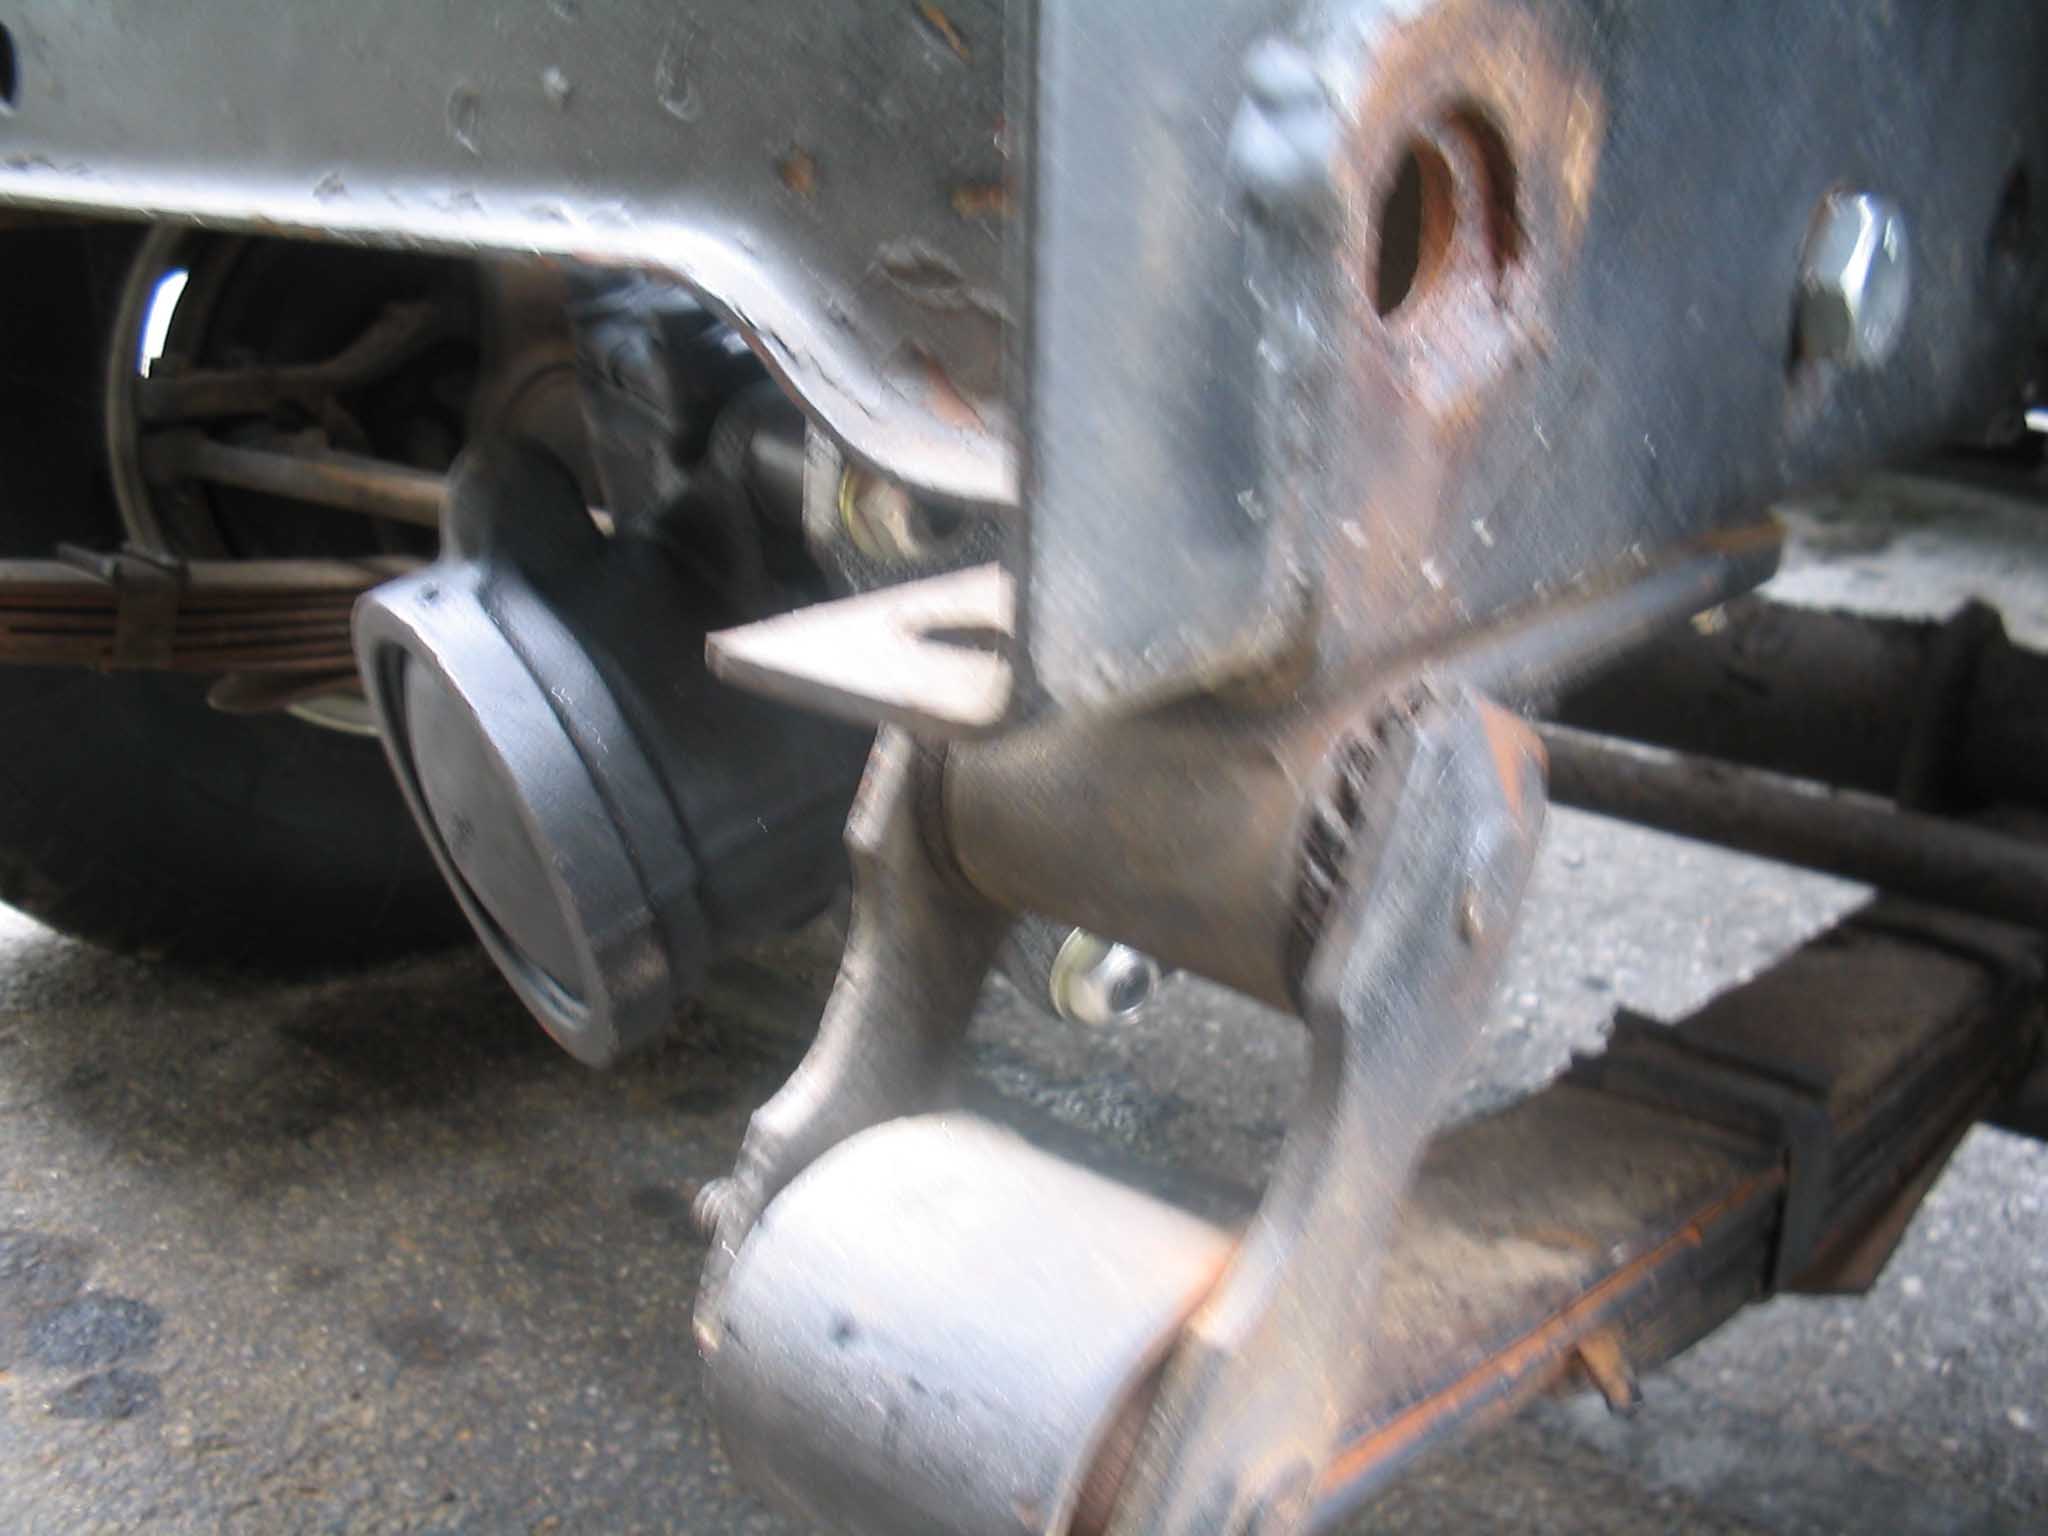
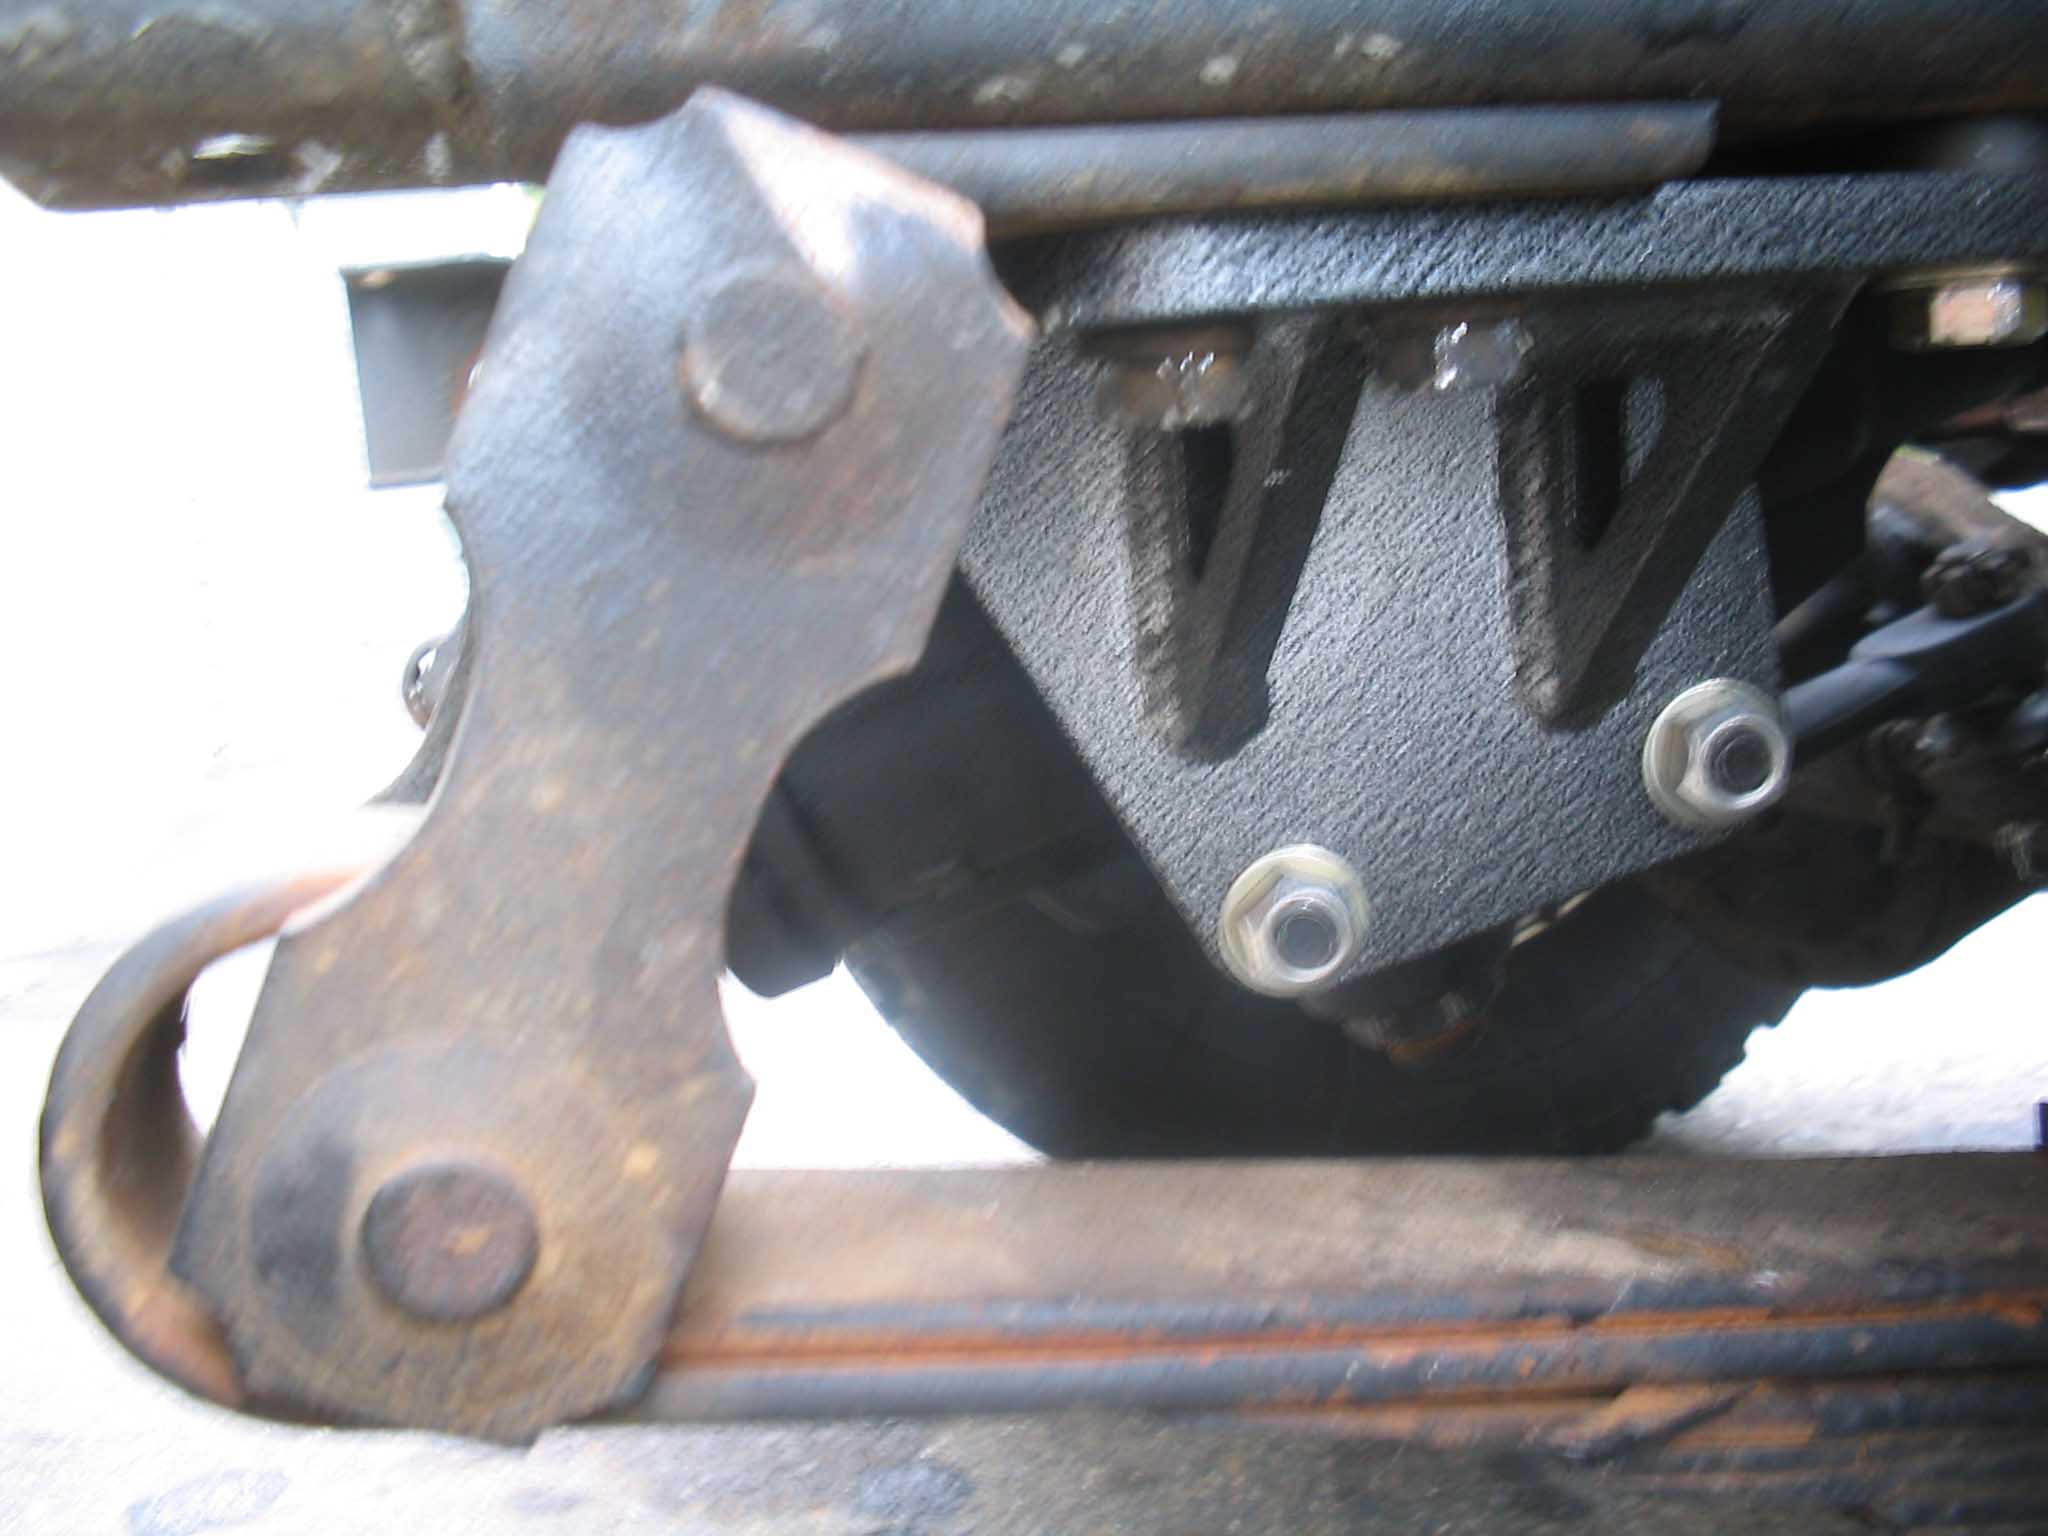
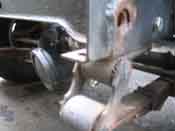
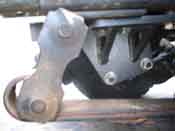
A Big Daddy
steering bracket was chosen as the bracket that would attach the steering gear to the frame and the
Steering Brace that
was chosen was the Currie Enterprise Brace that would attach that unit to the opposite side frame rail.
The Big Daddy bracket was attached to the steering gear and the bolted to the frame. This unit offers a big
bolt that goes through the frame and into the bracket for added stiffness. This is quite an upgrade over the
stock unit. The stock units are notorious for ripping through the frame when running larger tires because of
the torque that is applied to the frame since this was not the original intent in the design of the Jeep.
|
| |
|
|
| |
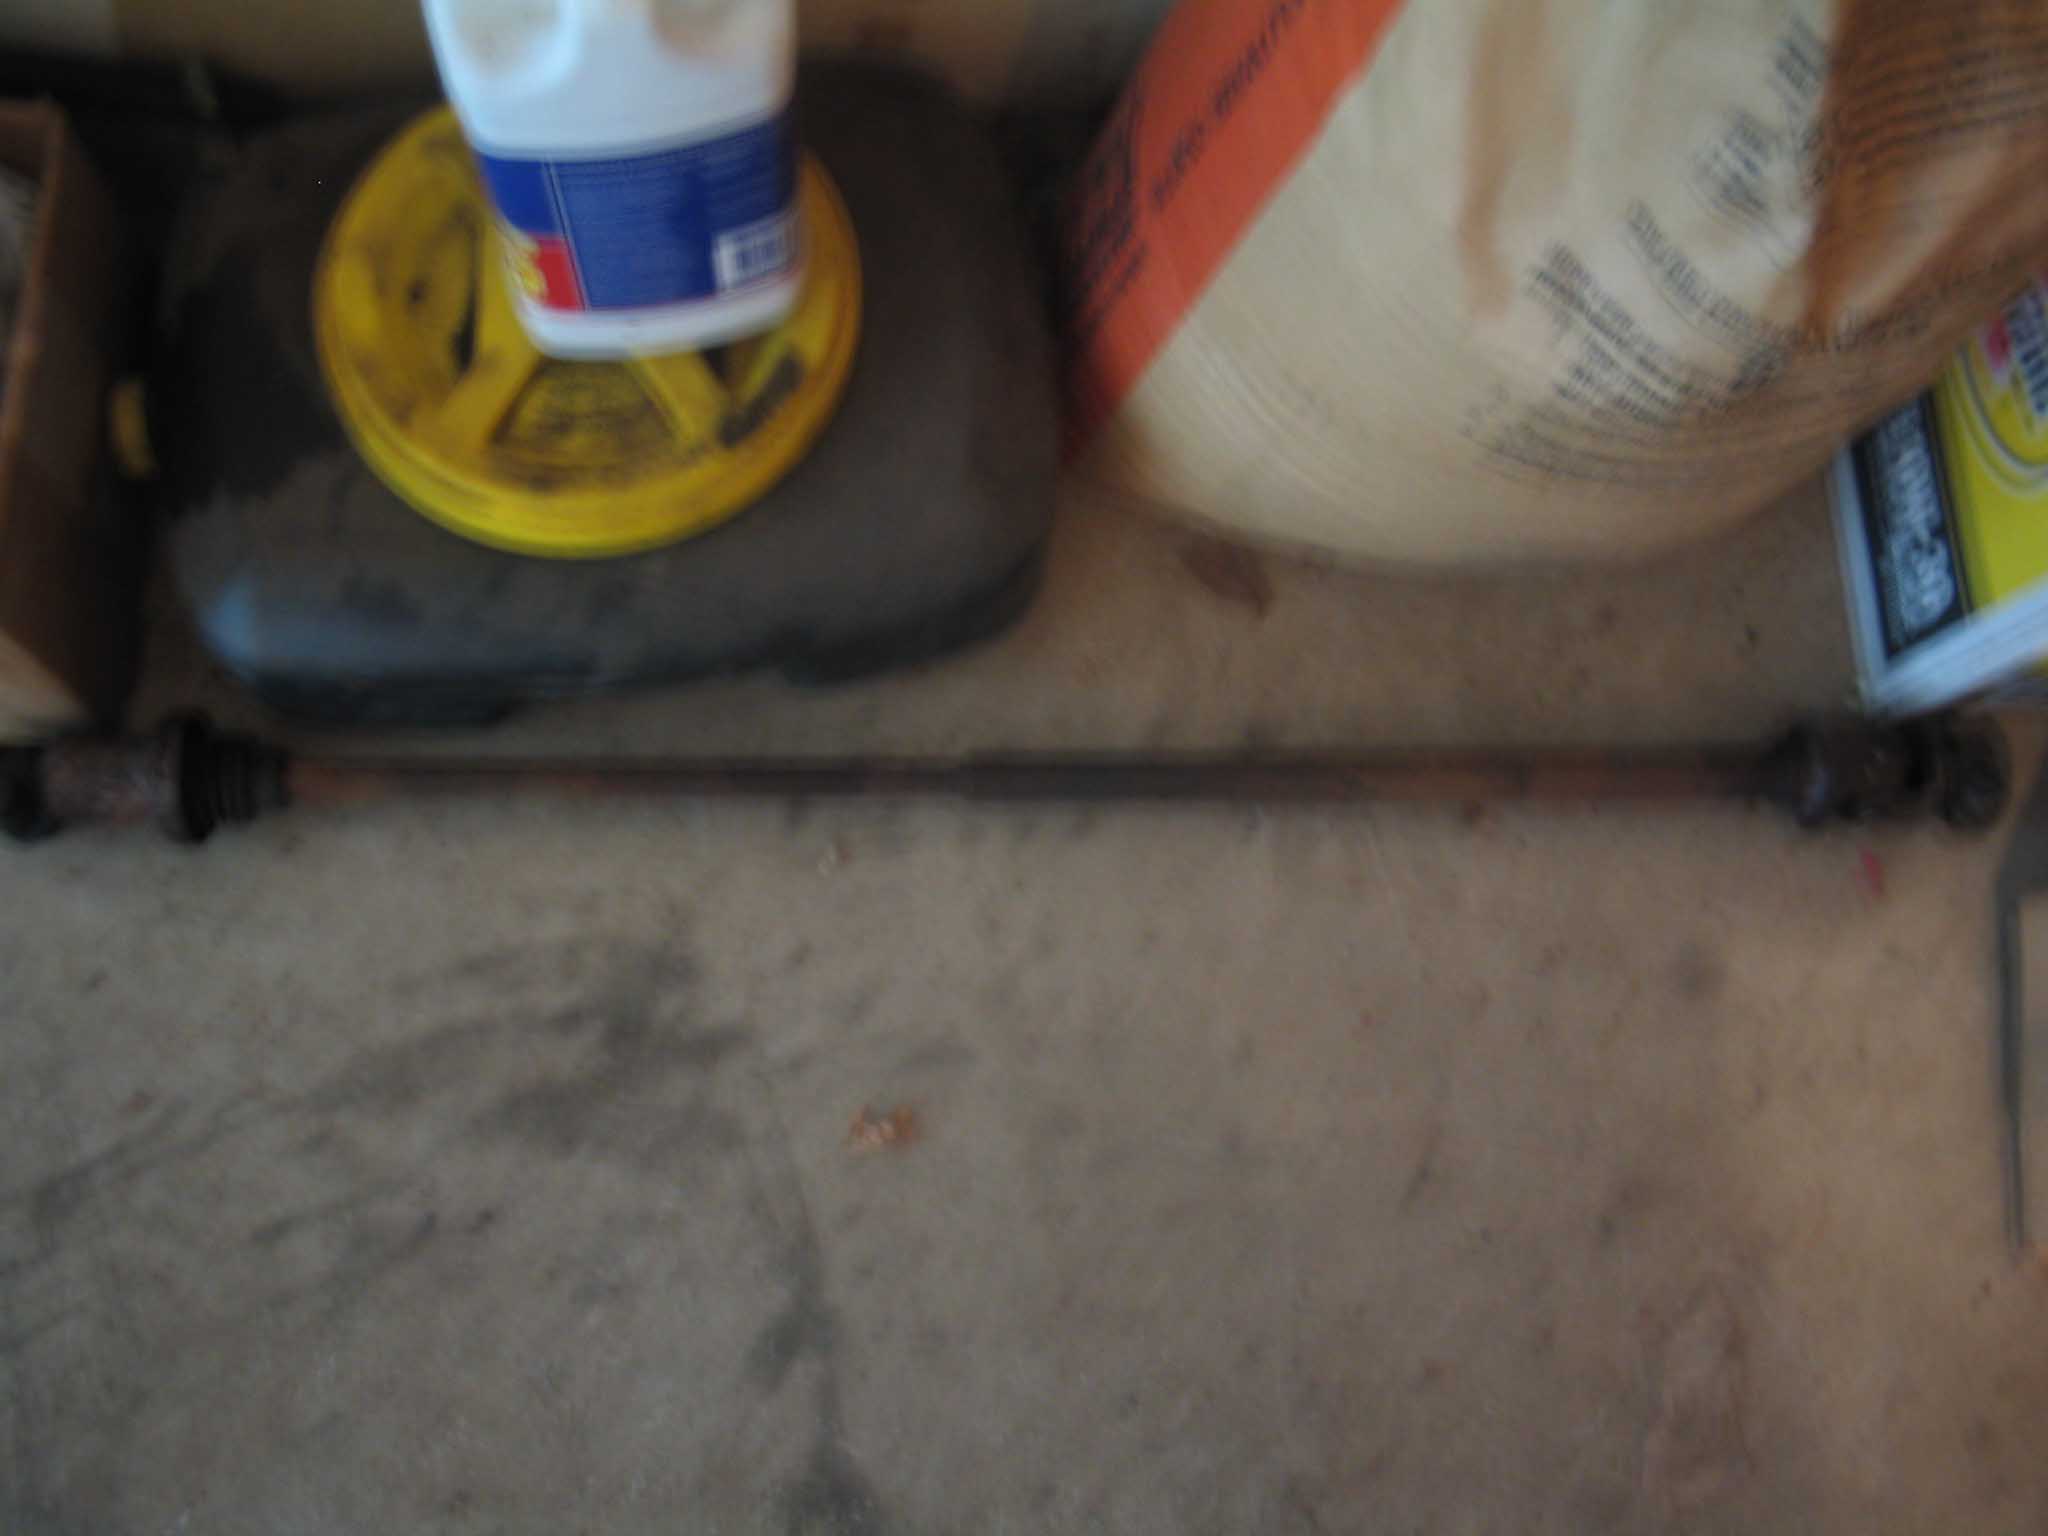
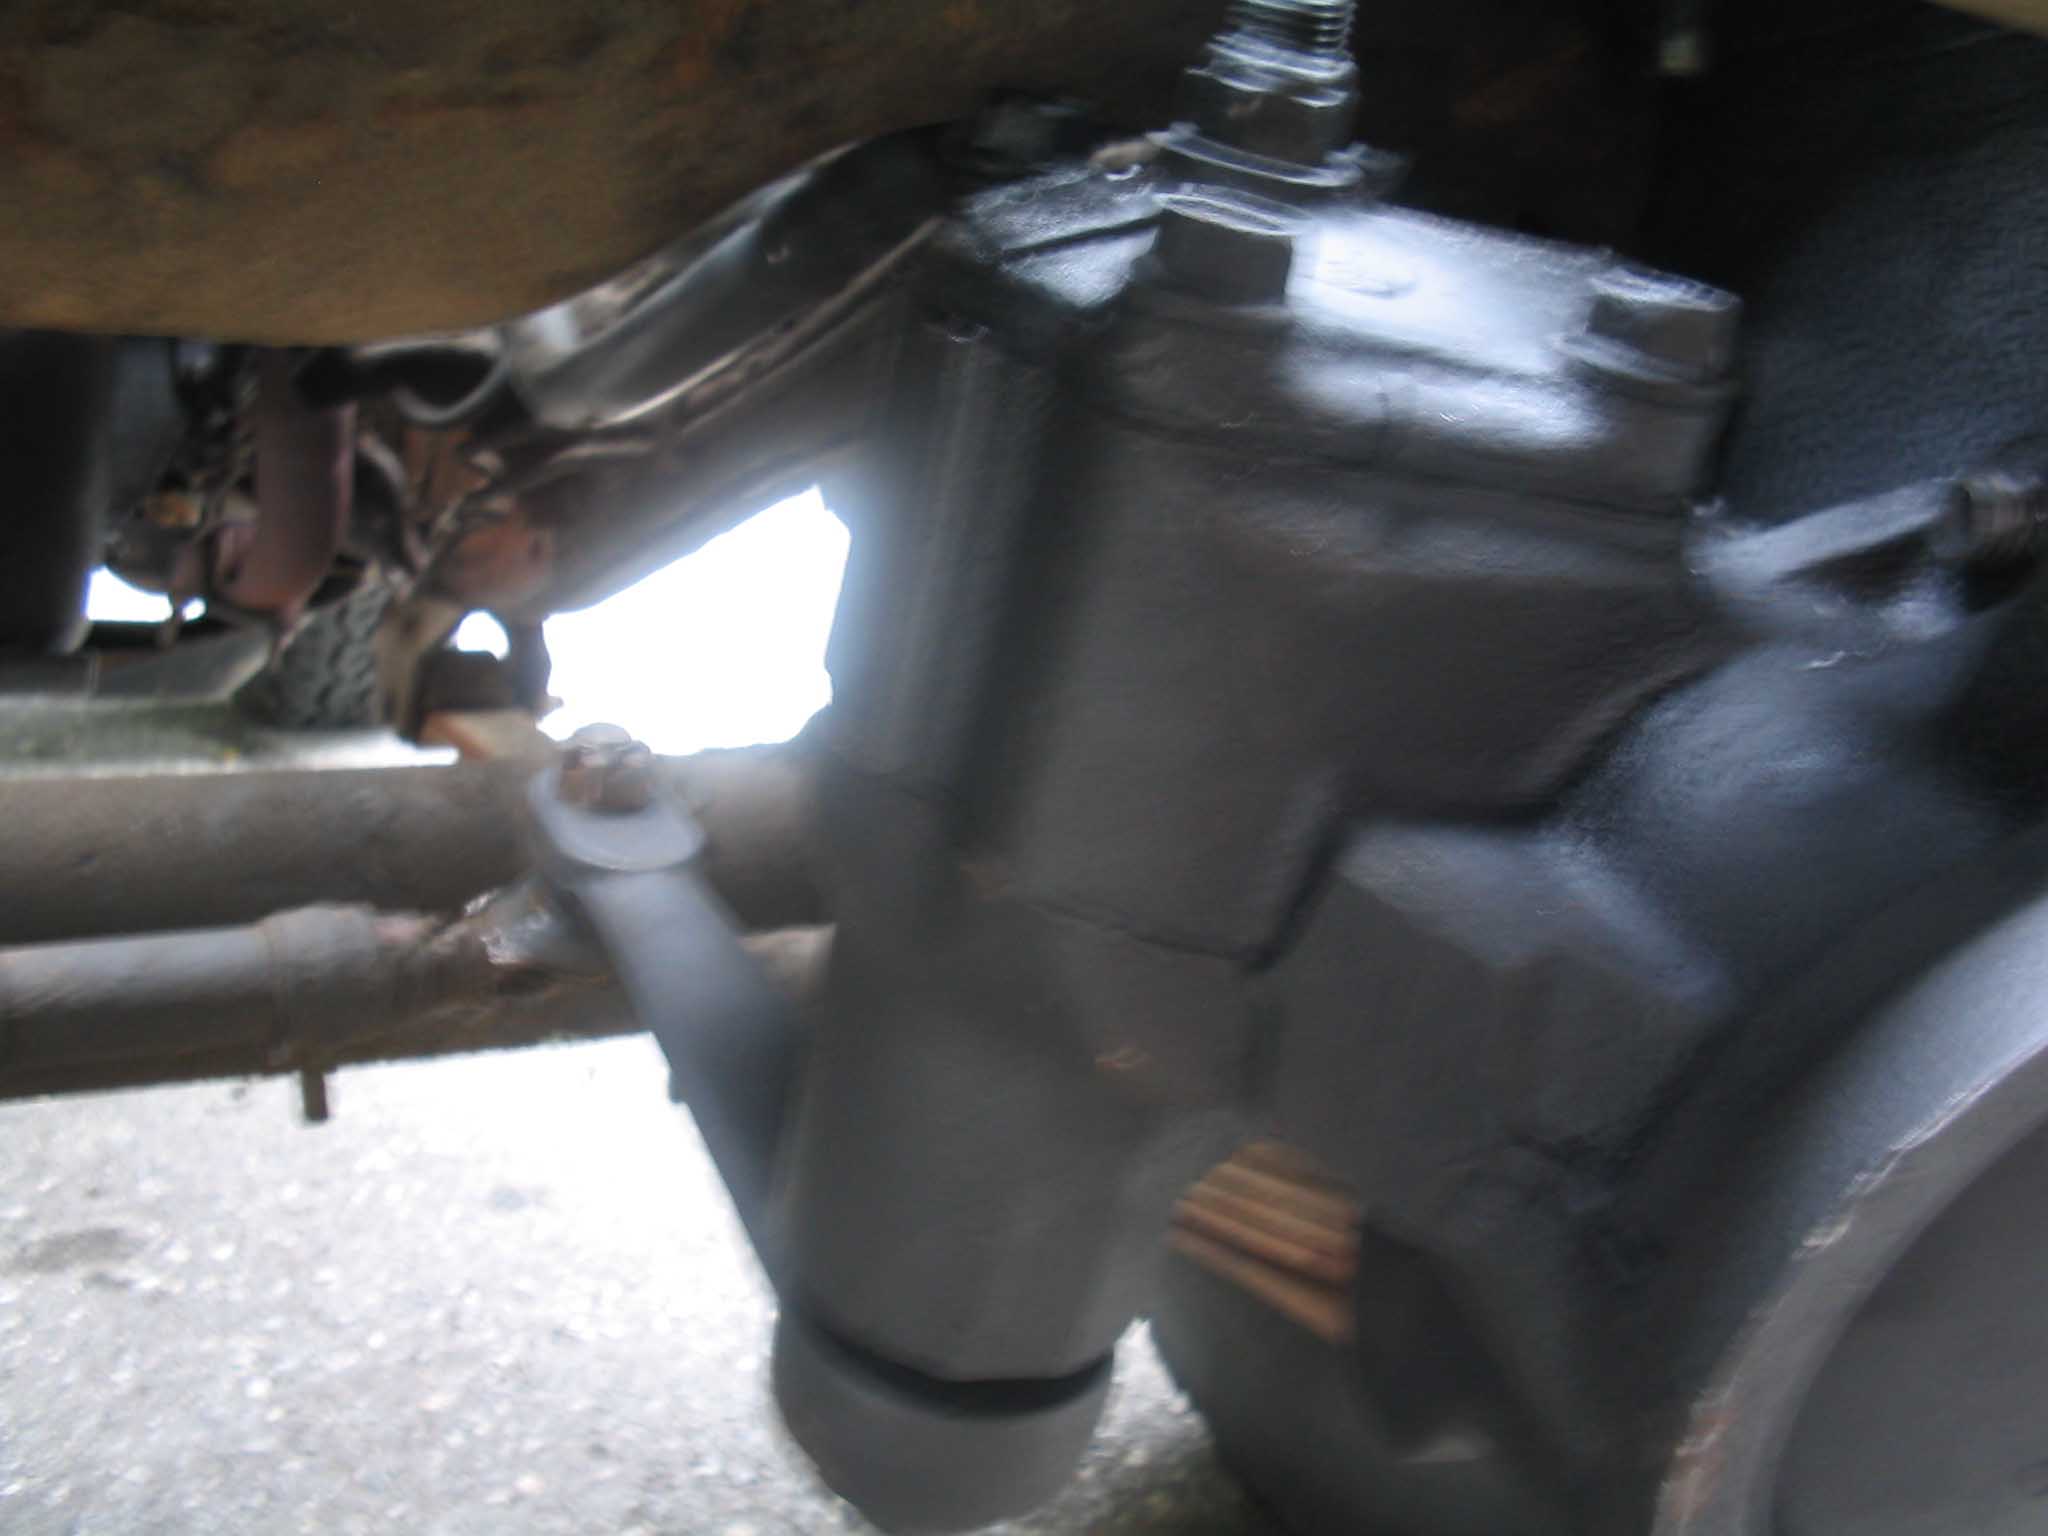
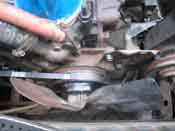
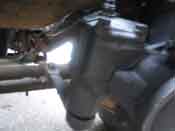
With the steering gear installed, the new Heavy Duty steering shaft that was
installed next. The manual steering shaft and power steering shaft are different in length and the end that
attaches to the steering gear. The new shaft was a slip-style shaft that will allow for crumpling in the case
of a head on collision.
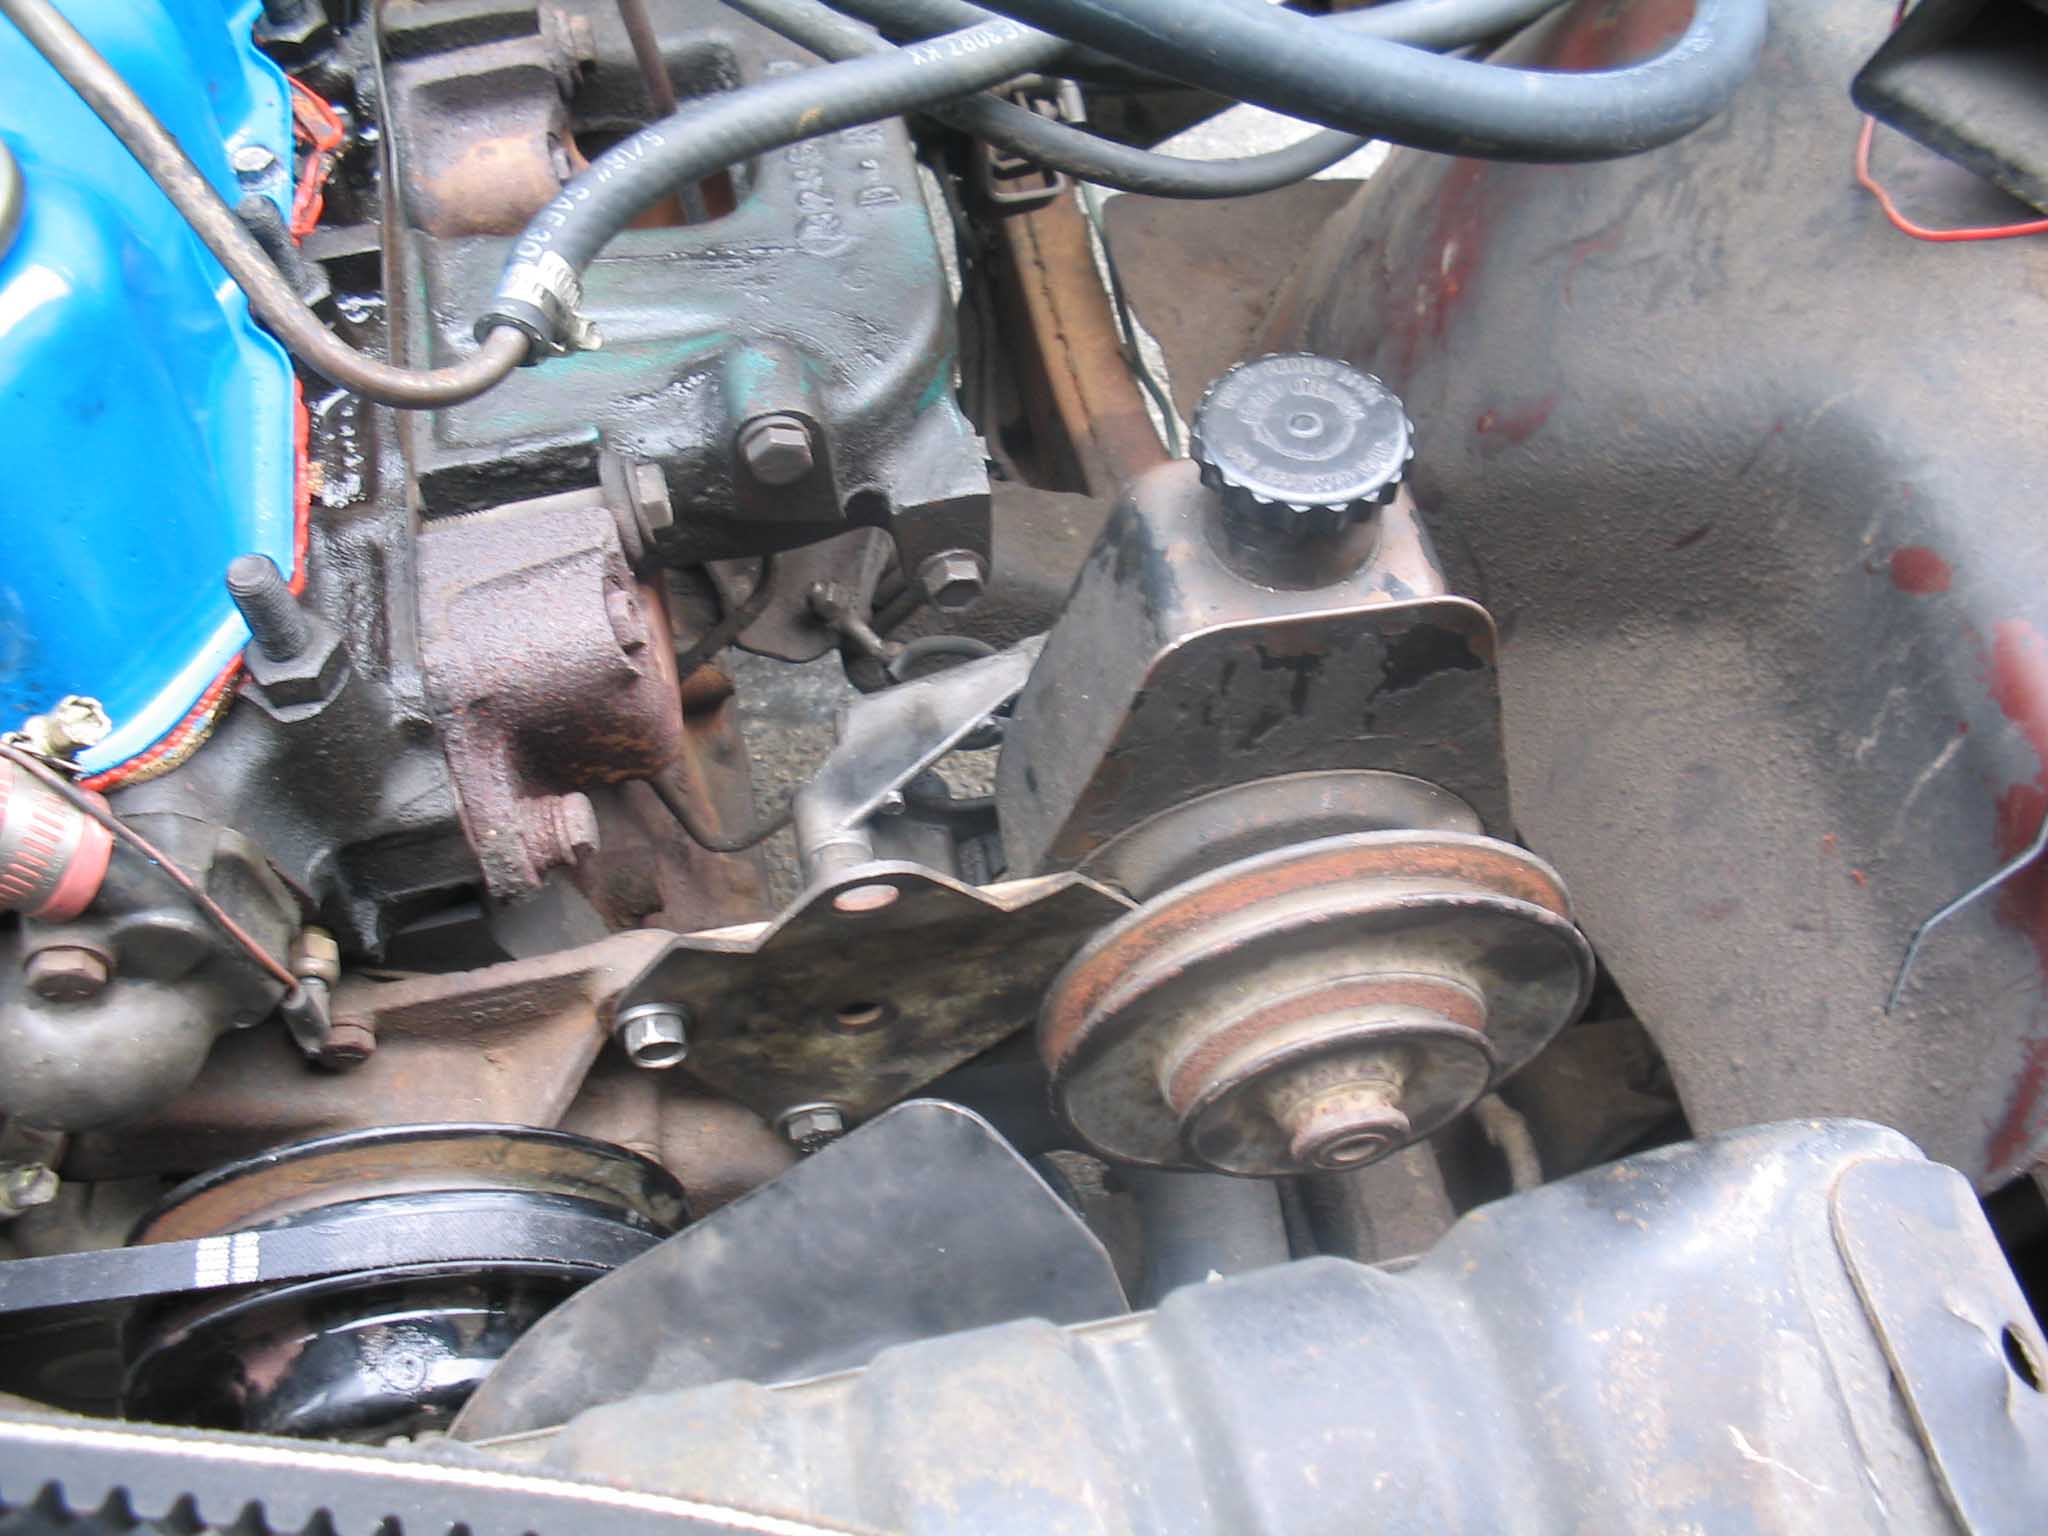
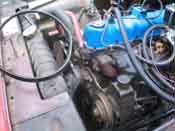
After this was completed, the engine bolt on began. The power steering pump bracketry was attached to the
engine and then the power steering pump was put in place. The power steering hoses were run and finally the
power steering belt was put in place. Once this was completed, the install was done and then the power steering
fluid was topped off and the system was about to be tested.
|
| |
|
|
| |
| The new hoses required that the system be bled. The easiest way to do this is
to fill up the reservoir on the power steering unit and leave the cap off. Jack up the front end so the wheels
are off the ground and slowly turn the wheels back and forth as to remove the air from the lines. You should
see the reservoir burp and gurgle a bit. Once this is done a few times back and forth to full lock of the
wheels, fill up the reservoir and then put the cap back on. With the wheels still in the air, remove the
distributor cap wire and crank the motor over. This will turn the power steering pump and allow you to see that
the belt is turning the pump over without the engine kicking in and revving the engine. Once operation is
established, make sure that the reservoir is full once again and then put the wire back on the distributor. The
front end is still jacked up at this point. Start the Jeep and make sure that there aren't any leaks with the
motor running. Make sure it is good lock to lock with the wheels a few times and then lower the Jeep back on the
ground. Check the reservoir once more, top off if necessary, check again for leaks and if all checks out, take
it for a ride around the block going slow. You should have power steering now.
|
| |
| Lessons Learned the Hard Way |
| |
So, my lessons learned here would have to be to attach the power steering
hoses to the power steering gearbox prior to lifting it into place. This would have saved a lot of time since
the hose fittings are hard to reach when they are stuffed up under the front frame shield.
The second lesson learned here is that when bleeding the system; keep the tires in the air. This lets off
additional pressure on the system by allowing the tires to turn freely. I didn't do this and ended up having to
replace the power steering pump with a new one since the old one had seen better days and couldn't deal with
the additional stresses with the wheels on the ground. After researching through the troubleshooting phase, I
found a write up on the "wheels in the air" to bleed the system and it worked very well the second time around.
|
| |
| Conclusions |
| |
This is a fairly straightforward bolt on conversion. If you get an entire setup
for a Jeep from the same year or so, it should go fairly easy. There is some finagling that has to be done to
get the power steering gear box into place as the frame may have developed warpage or bending due to running
larger tires with the manual gear box.
A power steering conversion is great when the engine is running. If you stall on the trail, you will lose
power steering capabilities, so be aware of this fact when attempting harder maneuvers.
|
|