|
|
| Power Steering Conversion - 304 |
| |
| When I picked up the CJ-5, it had a non-tilt column and manual steering. The
33x12.5x15 mud-terrain tires made it awfully hard to steering. Oh yeah, it didn't have brakes either, but that
is another build up story. Anyways, it was no picnic to drive. The steering was loose and it wandered all
over the road. Doing research, I figured the ball joints and tie rod ends were also probably shot, but one
of the best upgrades I could find in the forums was to put on power steering from a similar model CJ. This
allowed for turning the tires with 1 finger, which really helped, in tight corners on and off asphalt. The
build-up is relatively straight forward as well from what I had read, so I ventured out.
|
| |
|
|
| |
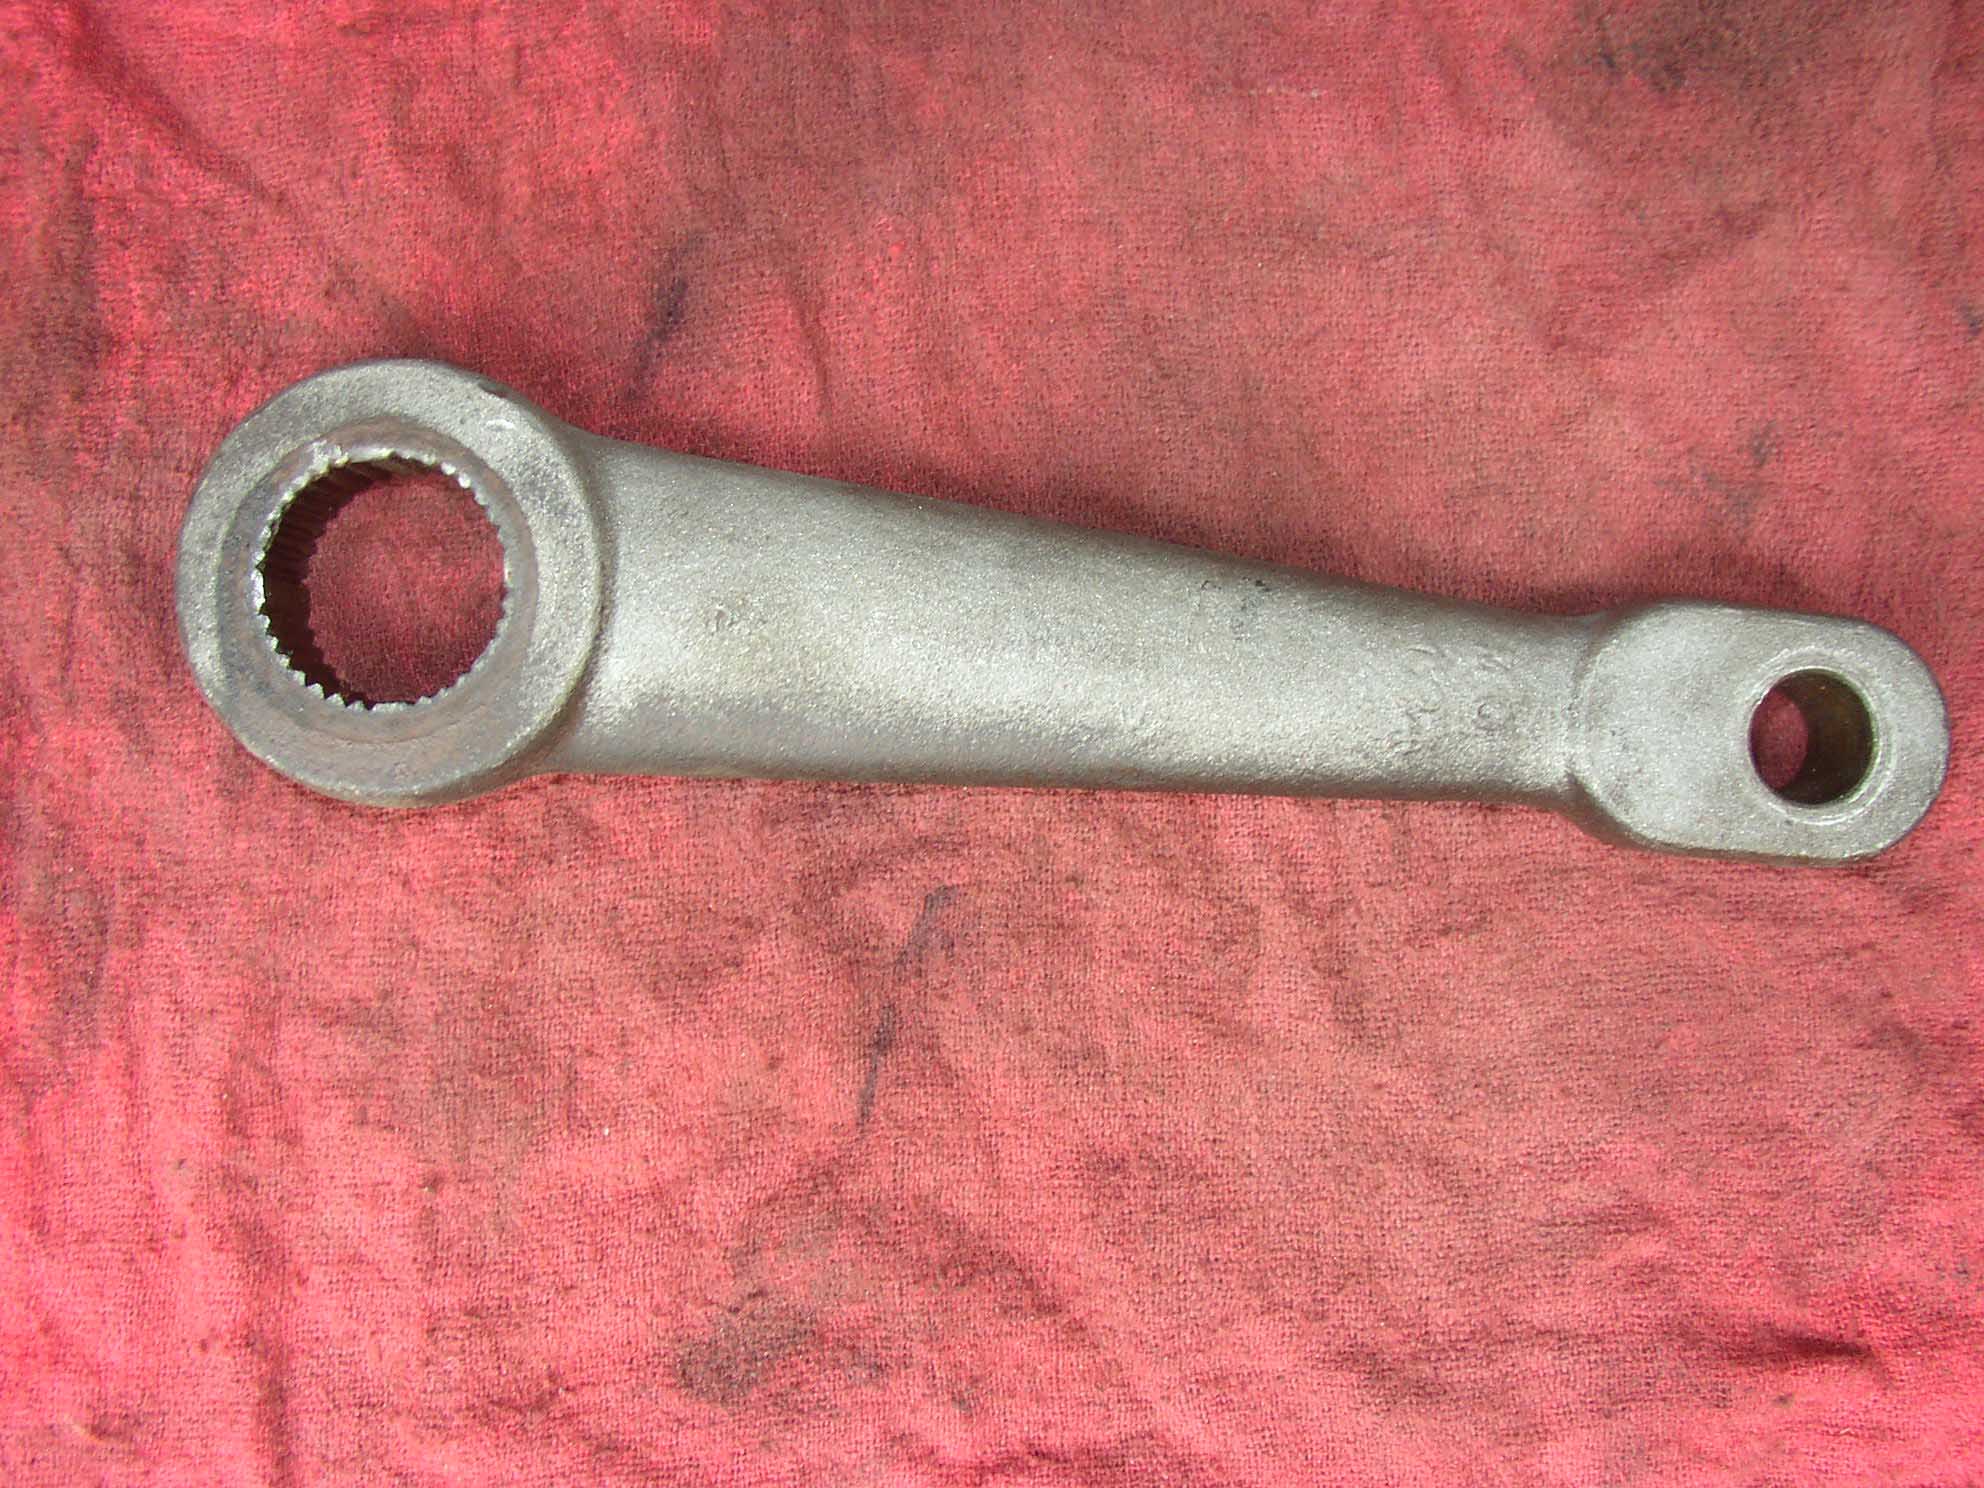
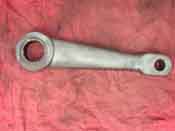
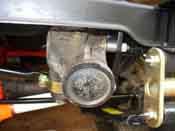
The first step was to remove the old manual steering setup. This involved
dropping the manual steering box and the manual steering shaft. Since I had already put a 4" suspension lift
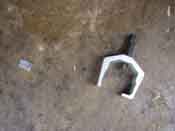
on the rig, the old pitman arm needed to be removed as well to make way for a new drop pitman arm. The pitman
arm puller was not up to the task as can be seen in the picture.
CAUTION: When removing the old pitman arm, remember that it has been on the input
shaft for an unknown amount of time. Apparently mine had been on since 1976 and was quite stubborn. I ended
up with a gash in my leg and hand because of the force applied on the breaker bar. Make sure you use caution.
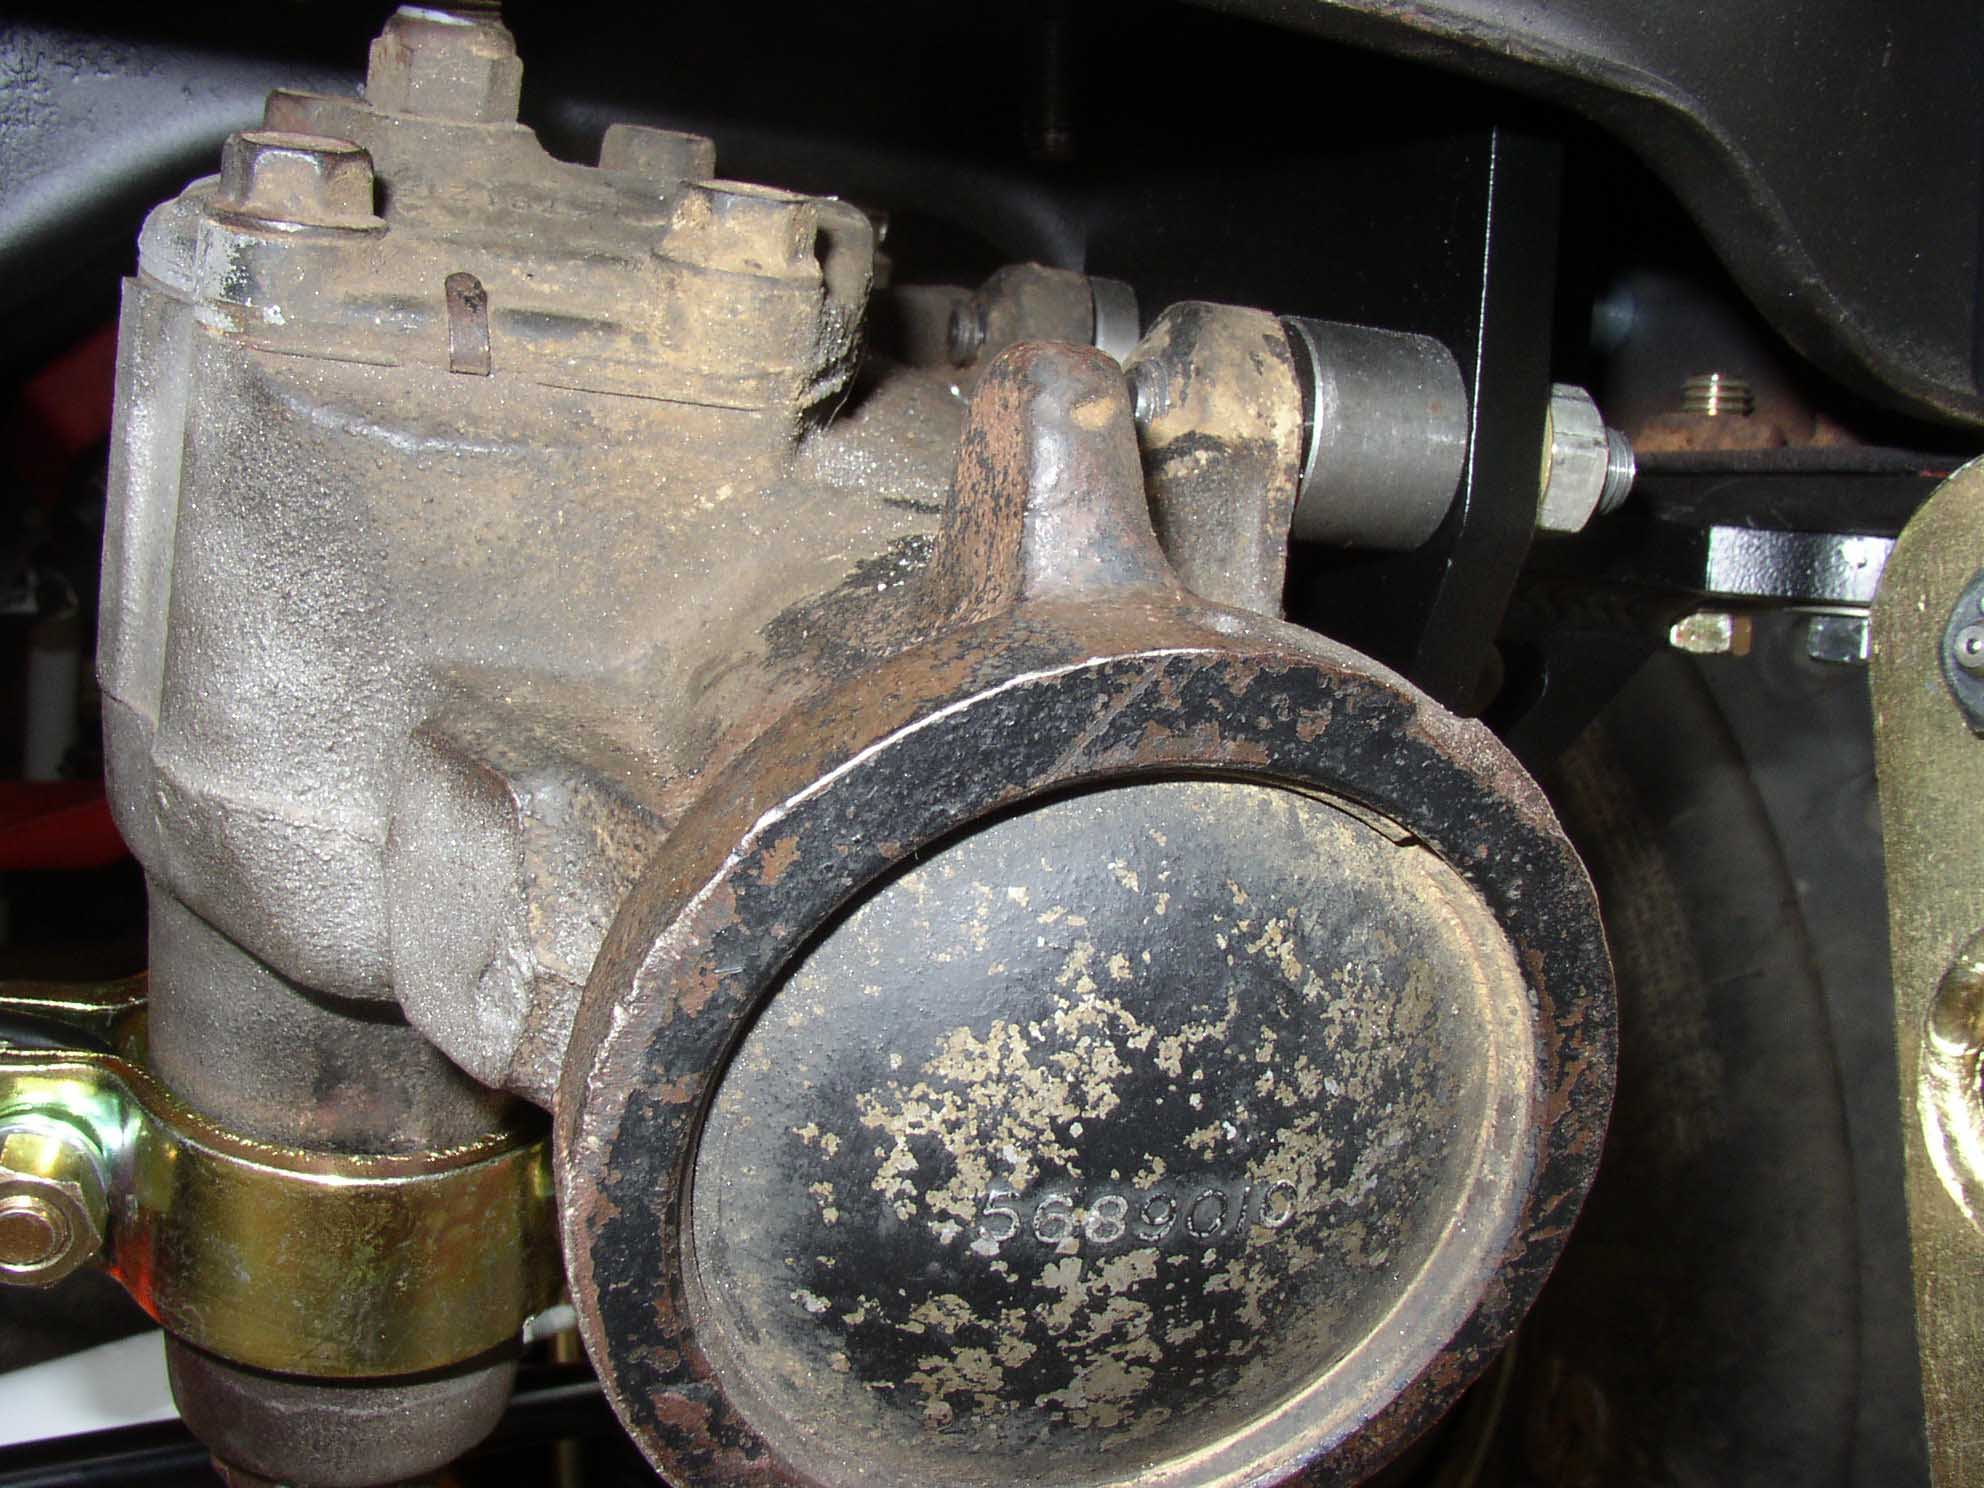
The old steering box had the original manual steering mount on it that attached to the frame and the manual
steering shaft had some play in the end. This needs to be replaced anyways since the shaft lengths differ, as
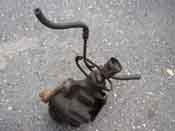
do the ends that attach to the power steering gear. So the search began on
eBay for a power steering pump,
a double pulley that would replace the single pulley on the crankshaft as to run the power steering pump,
a power steering unit, some new hoses, a new bracket to attach the new power steering box to the frame, and a
brace that would hold the power steering unit in place by attaching it to the opposite side frame rail.
Wrapping up the search process was a Heavy Duty power steering shaft to attach the steering column to the
power steering gear.
|
| |
|

|
|

|
| |
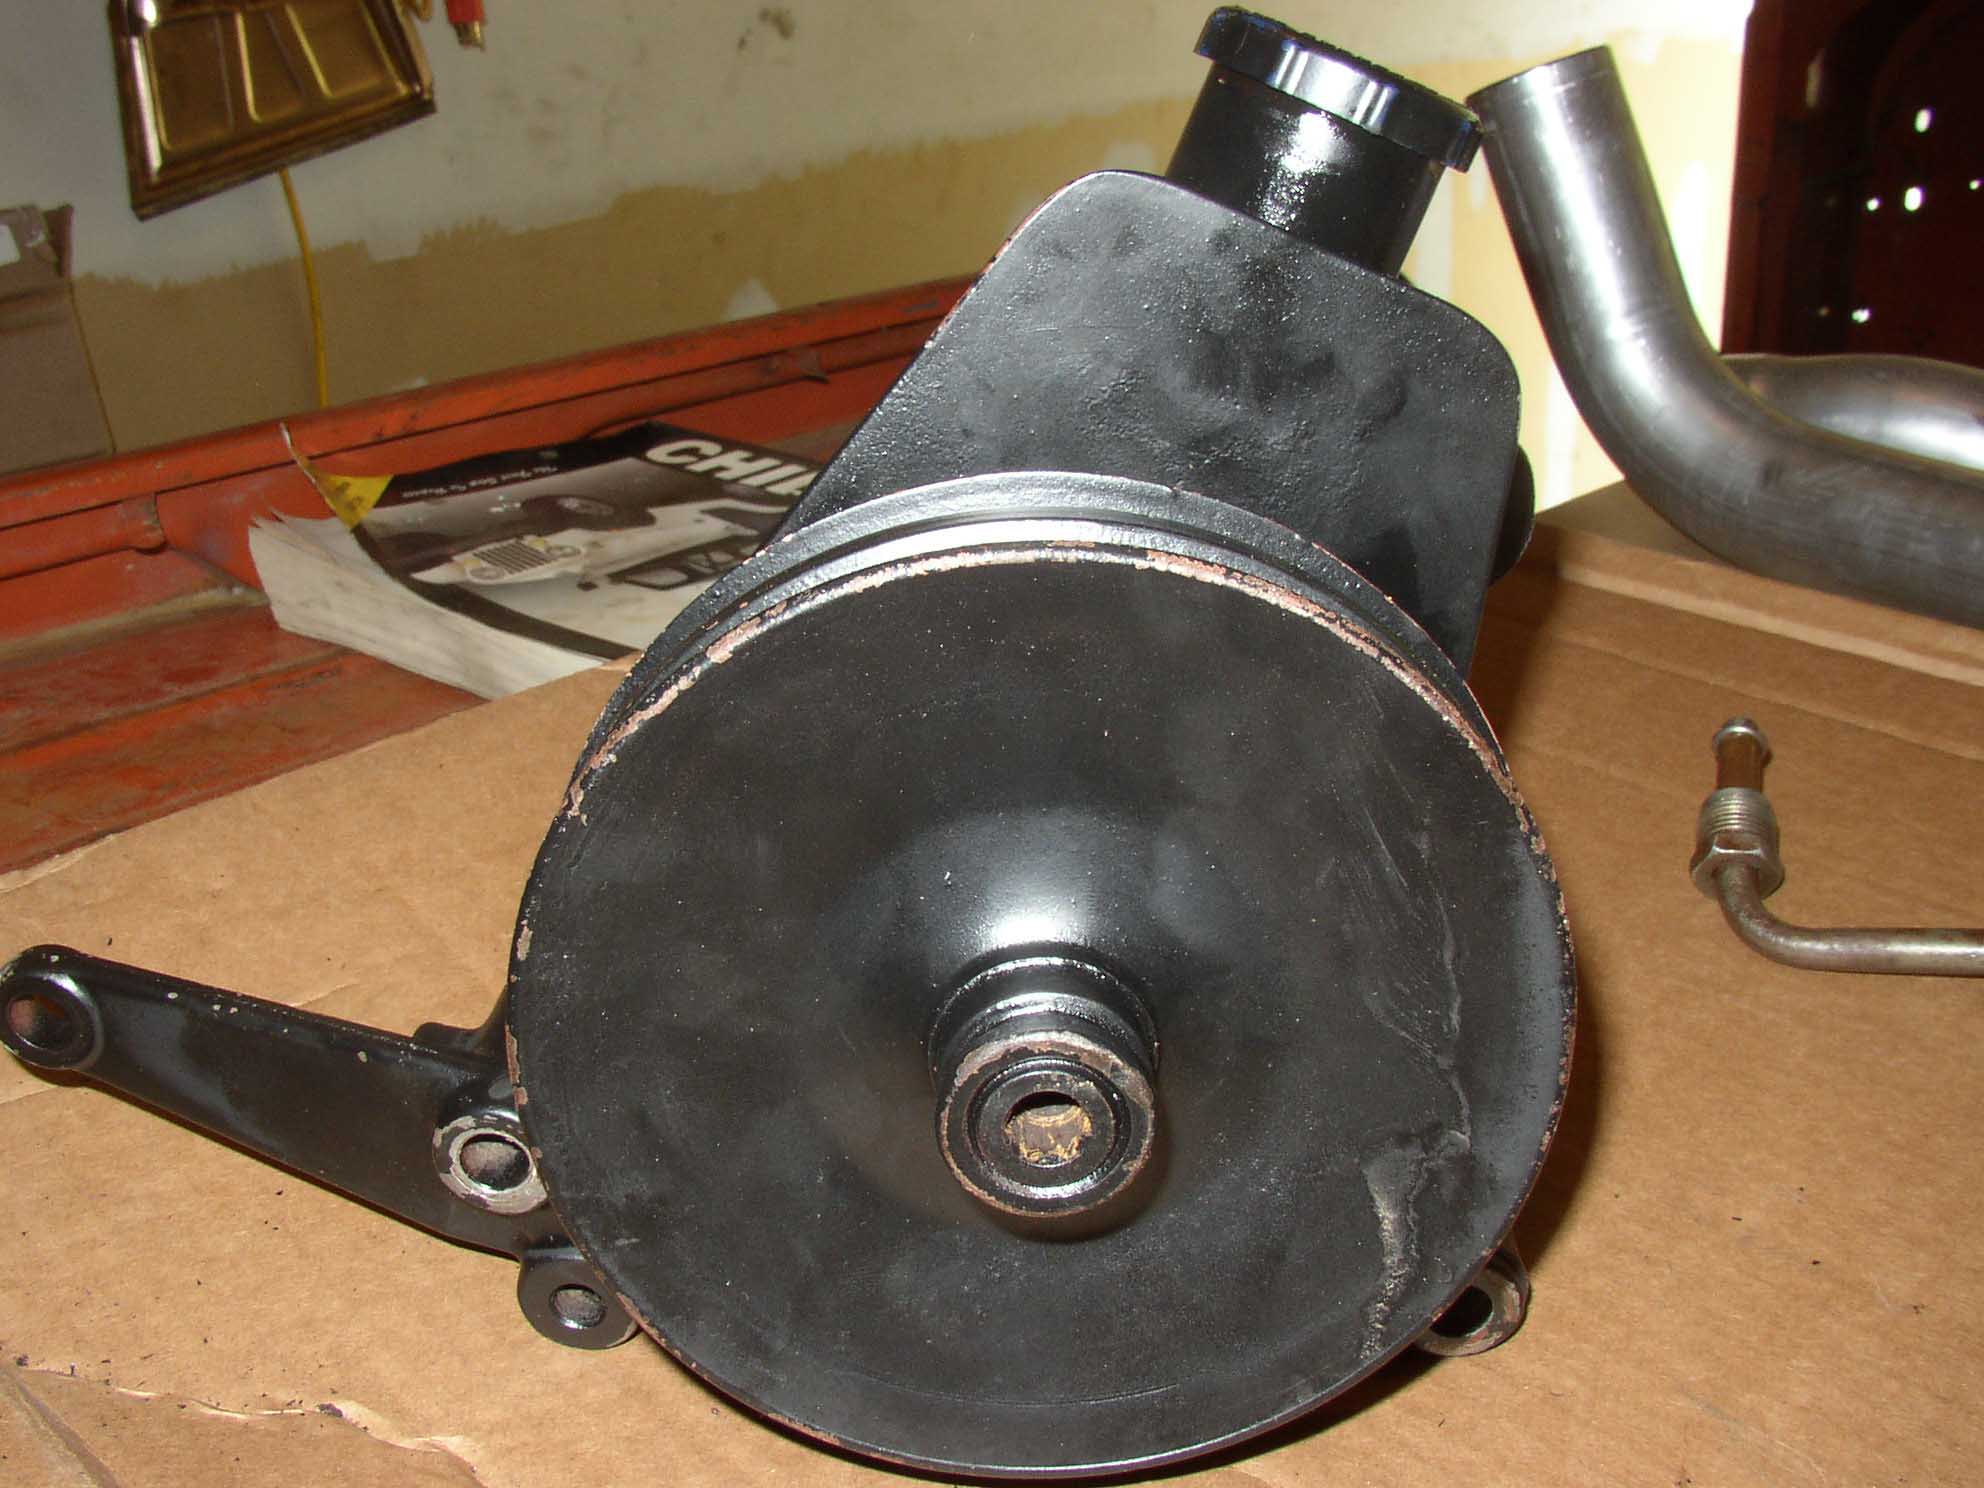
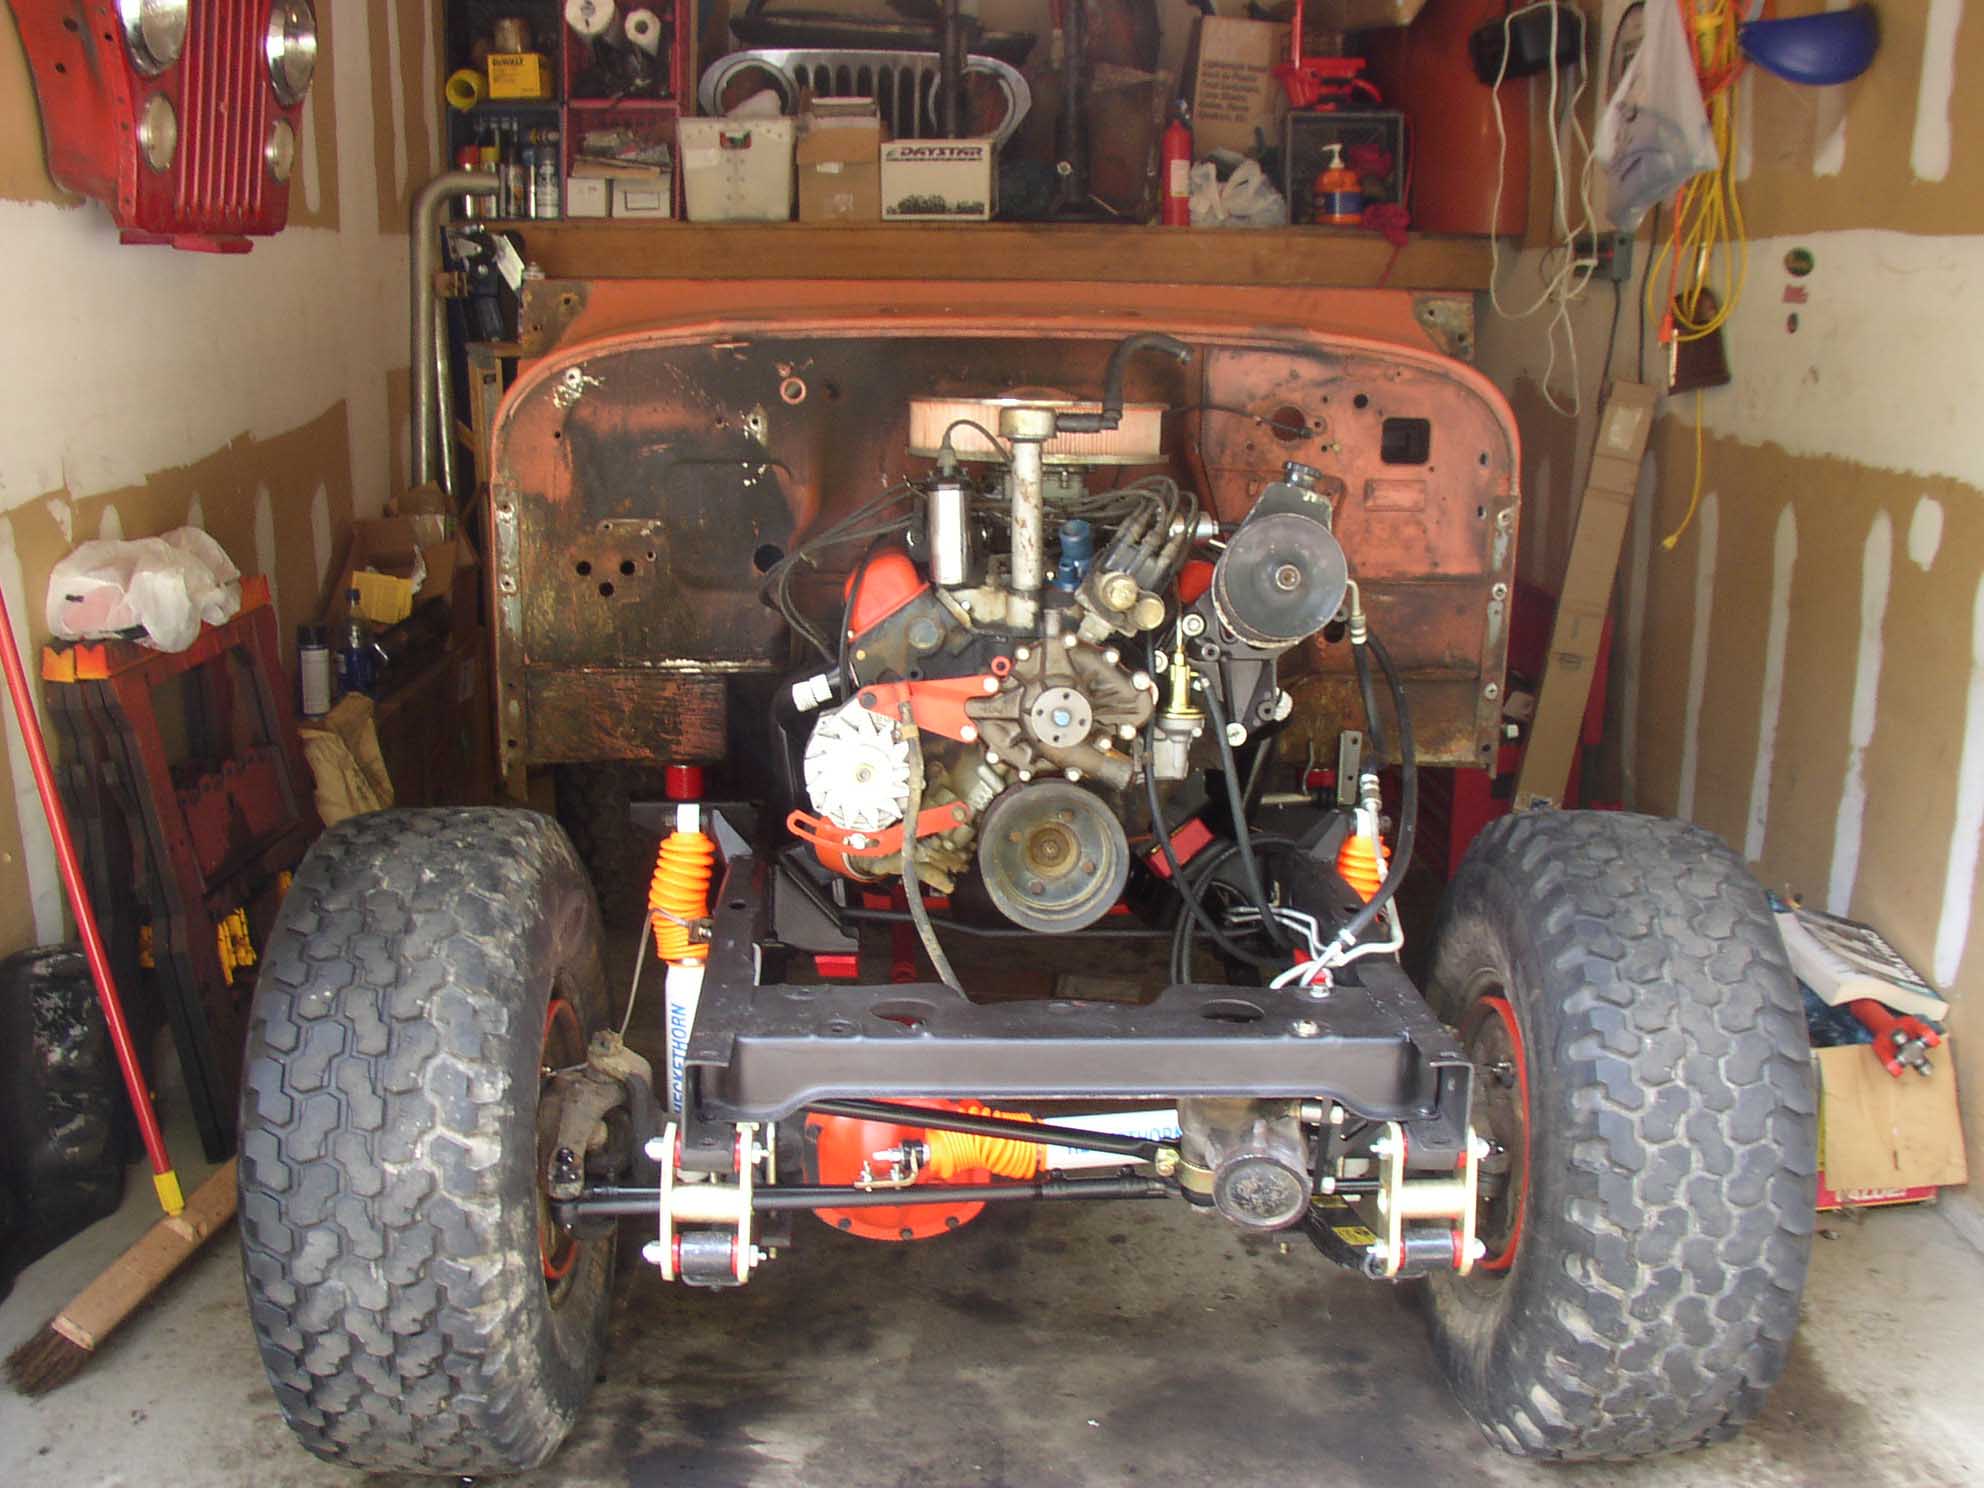
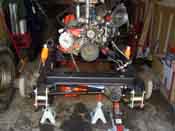
| With an entire setup attained from
eBay, the process of installing the power
steering conversion commenced. With the old stuff long gone from the frame cleanup project and reinstallation
of parts as well as the new 4" lift kit; the new power steering gear was hoisted into place with the new
steering box bracket and steering brace. A new motor bracket for the power steering bracket was acquired as it
was made out of aluminum and was lighter then the steel one that came with the setup that was purchased. It was
a better design and thus it was swapped in for the project.
|
| |
|

|

|
|
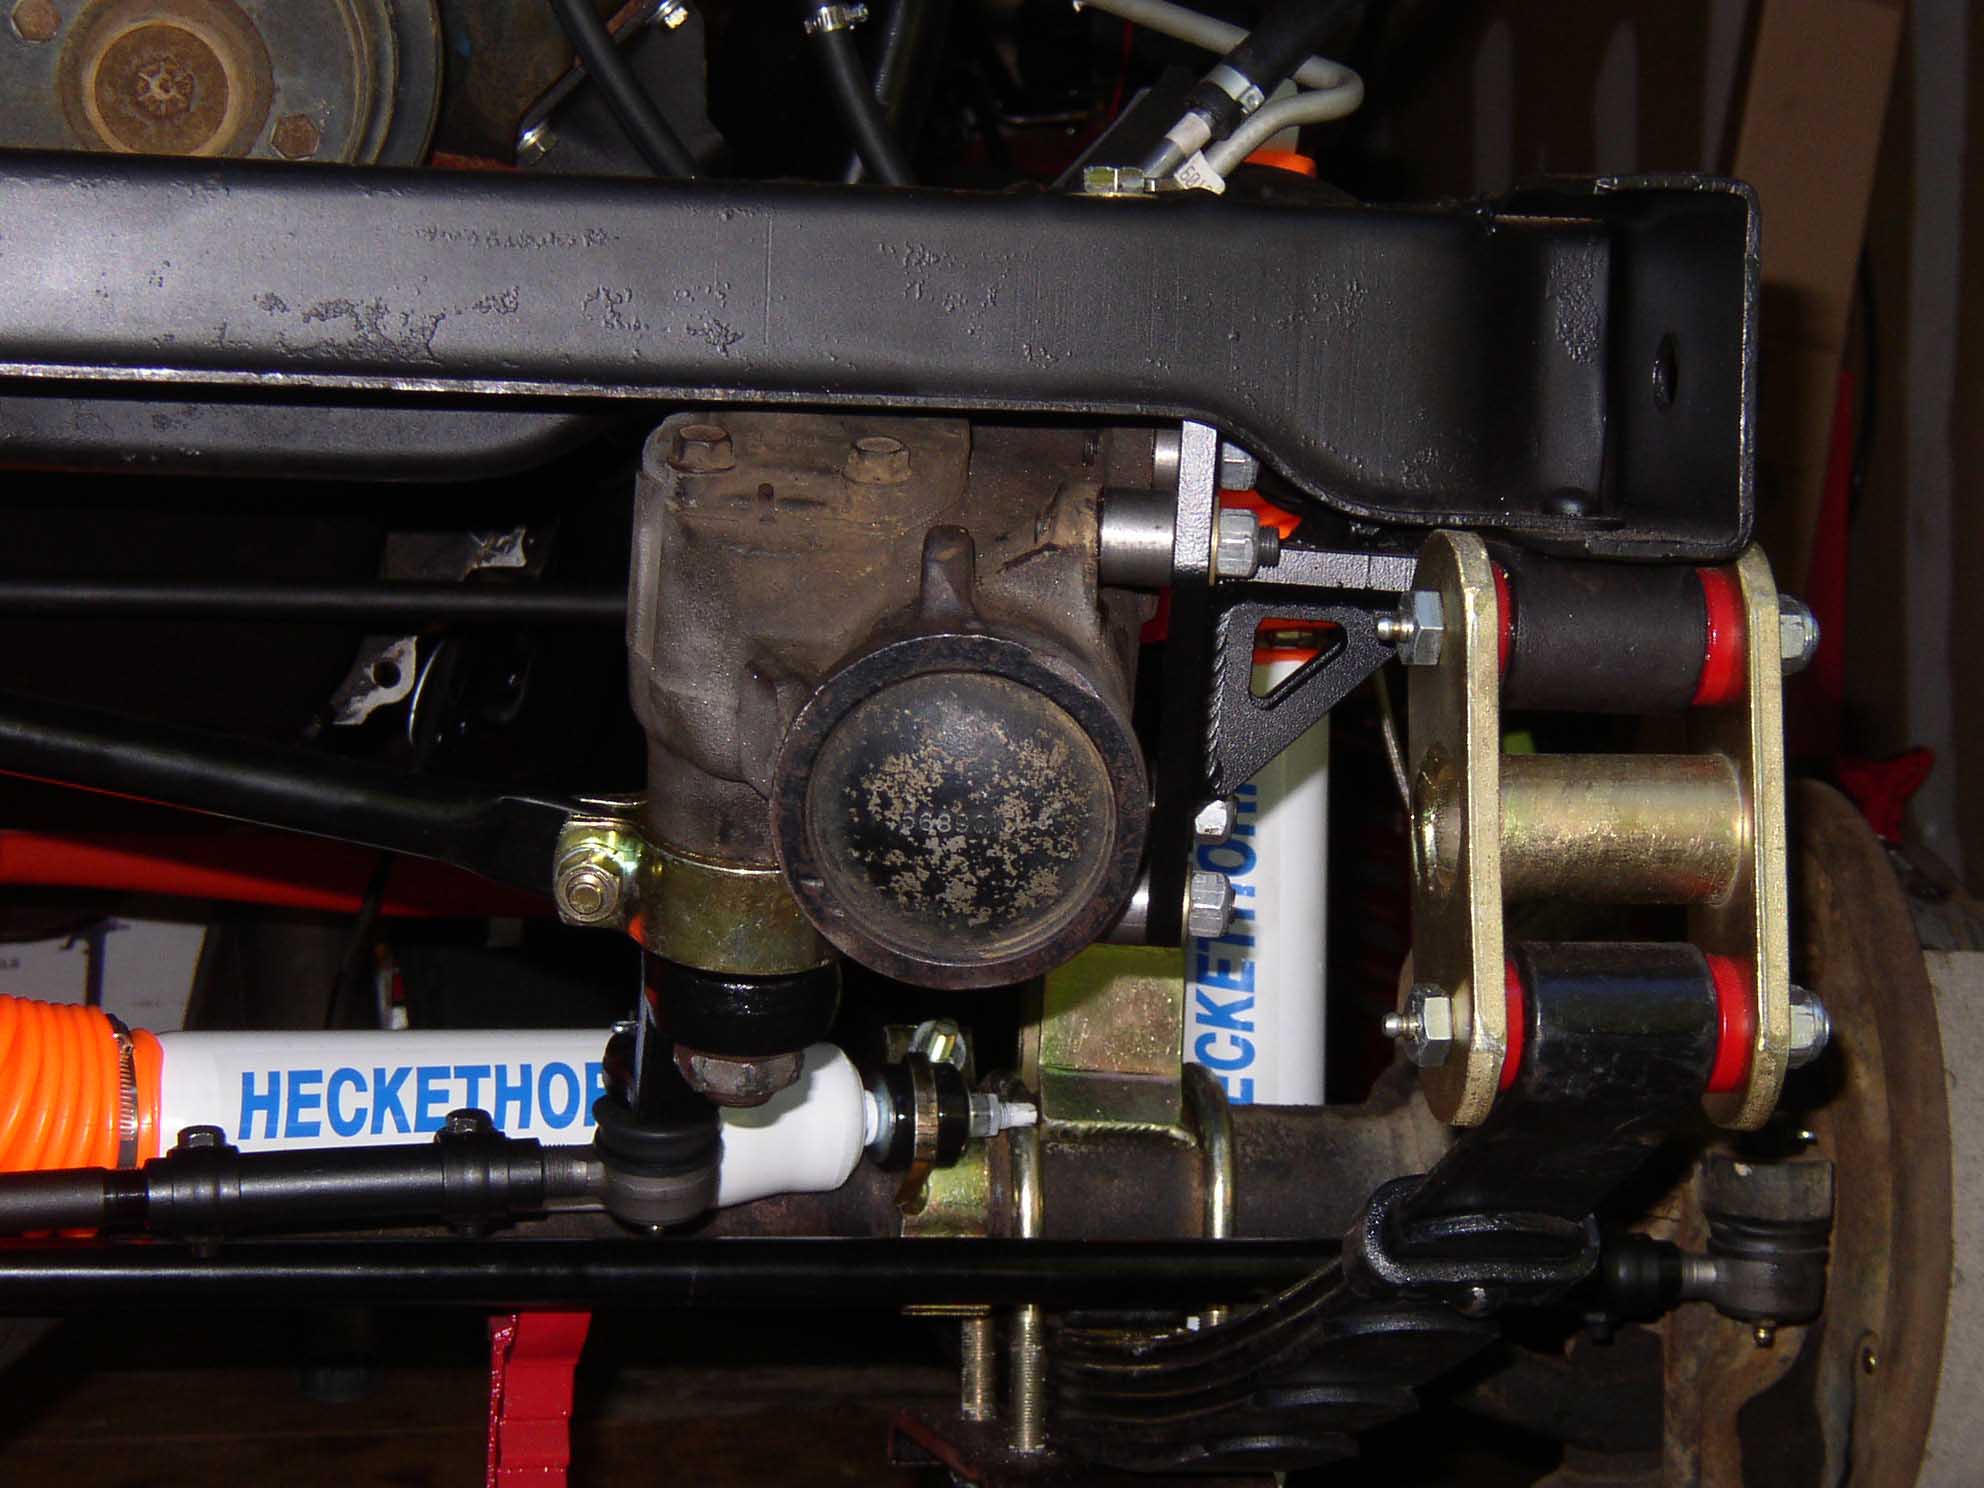
| |
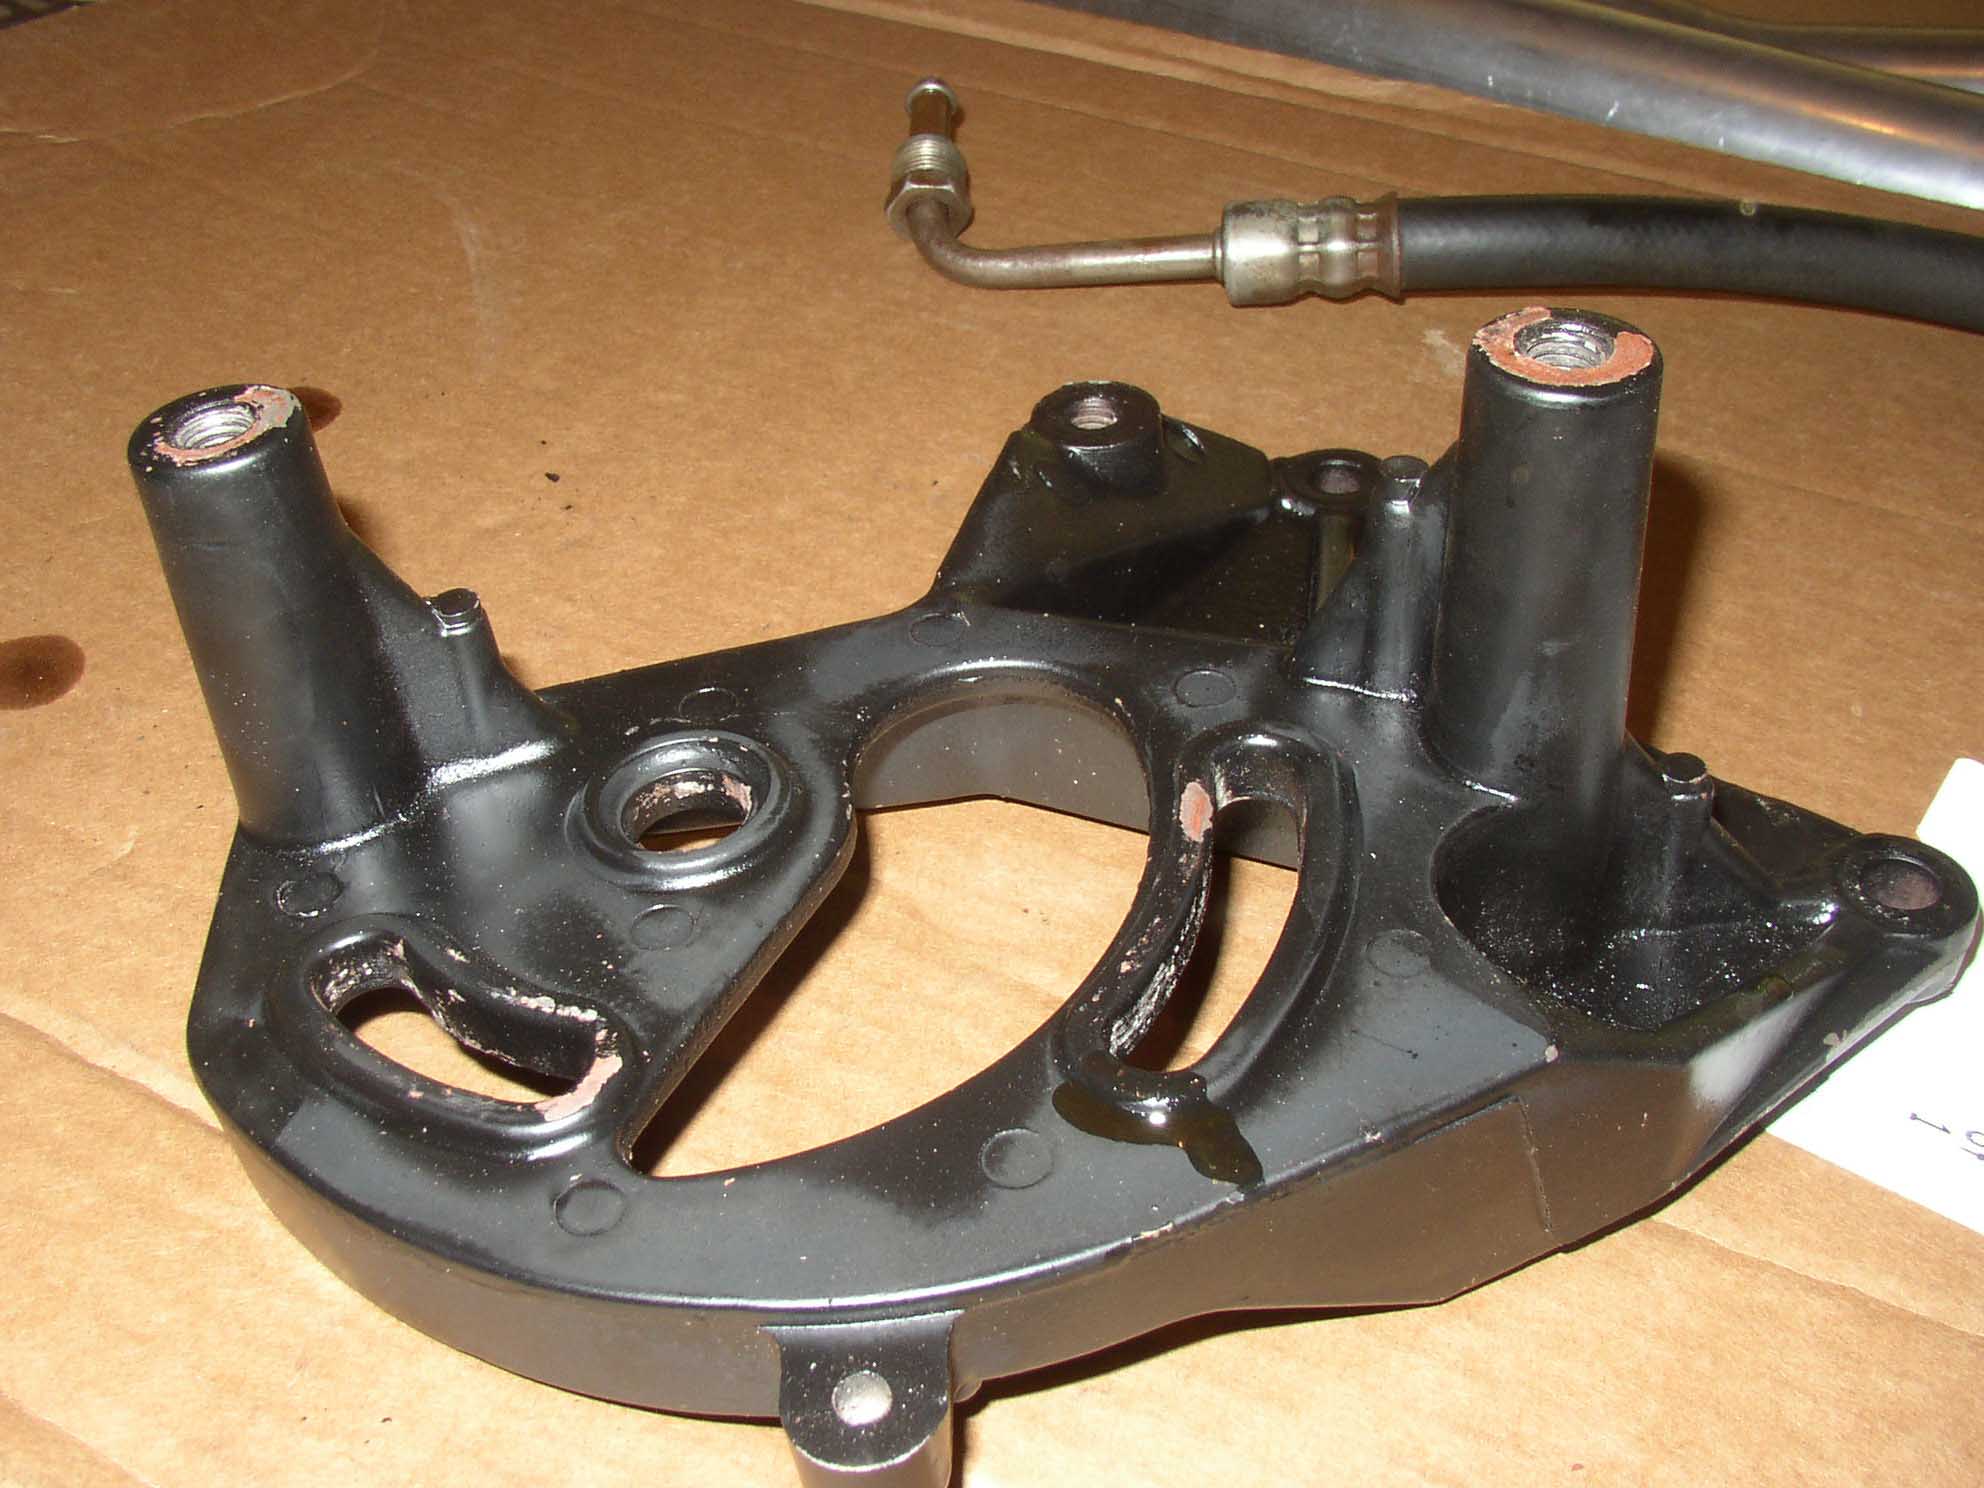
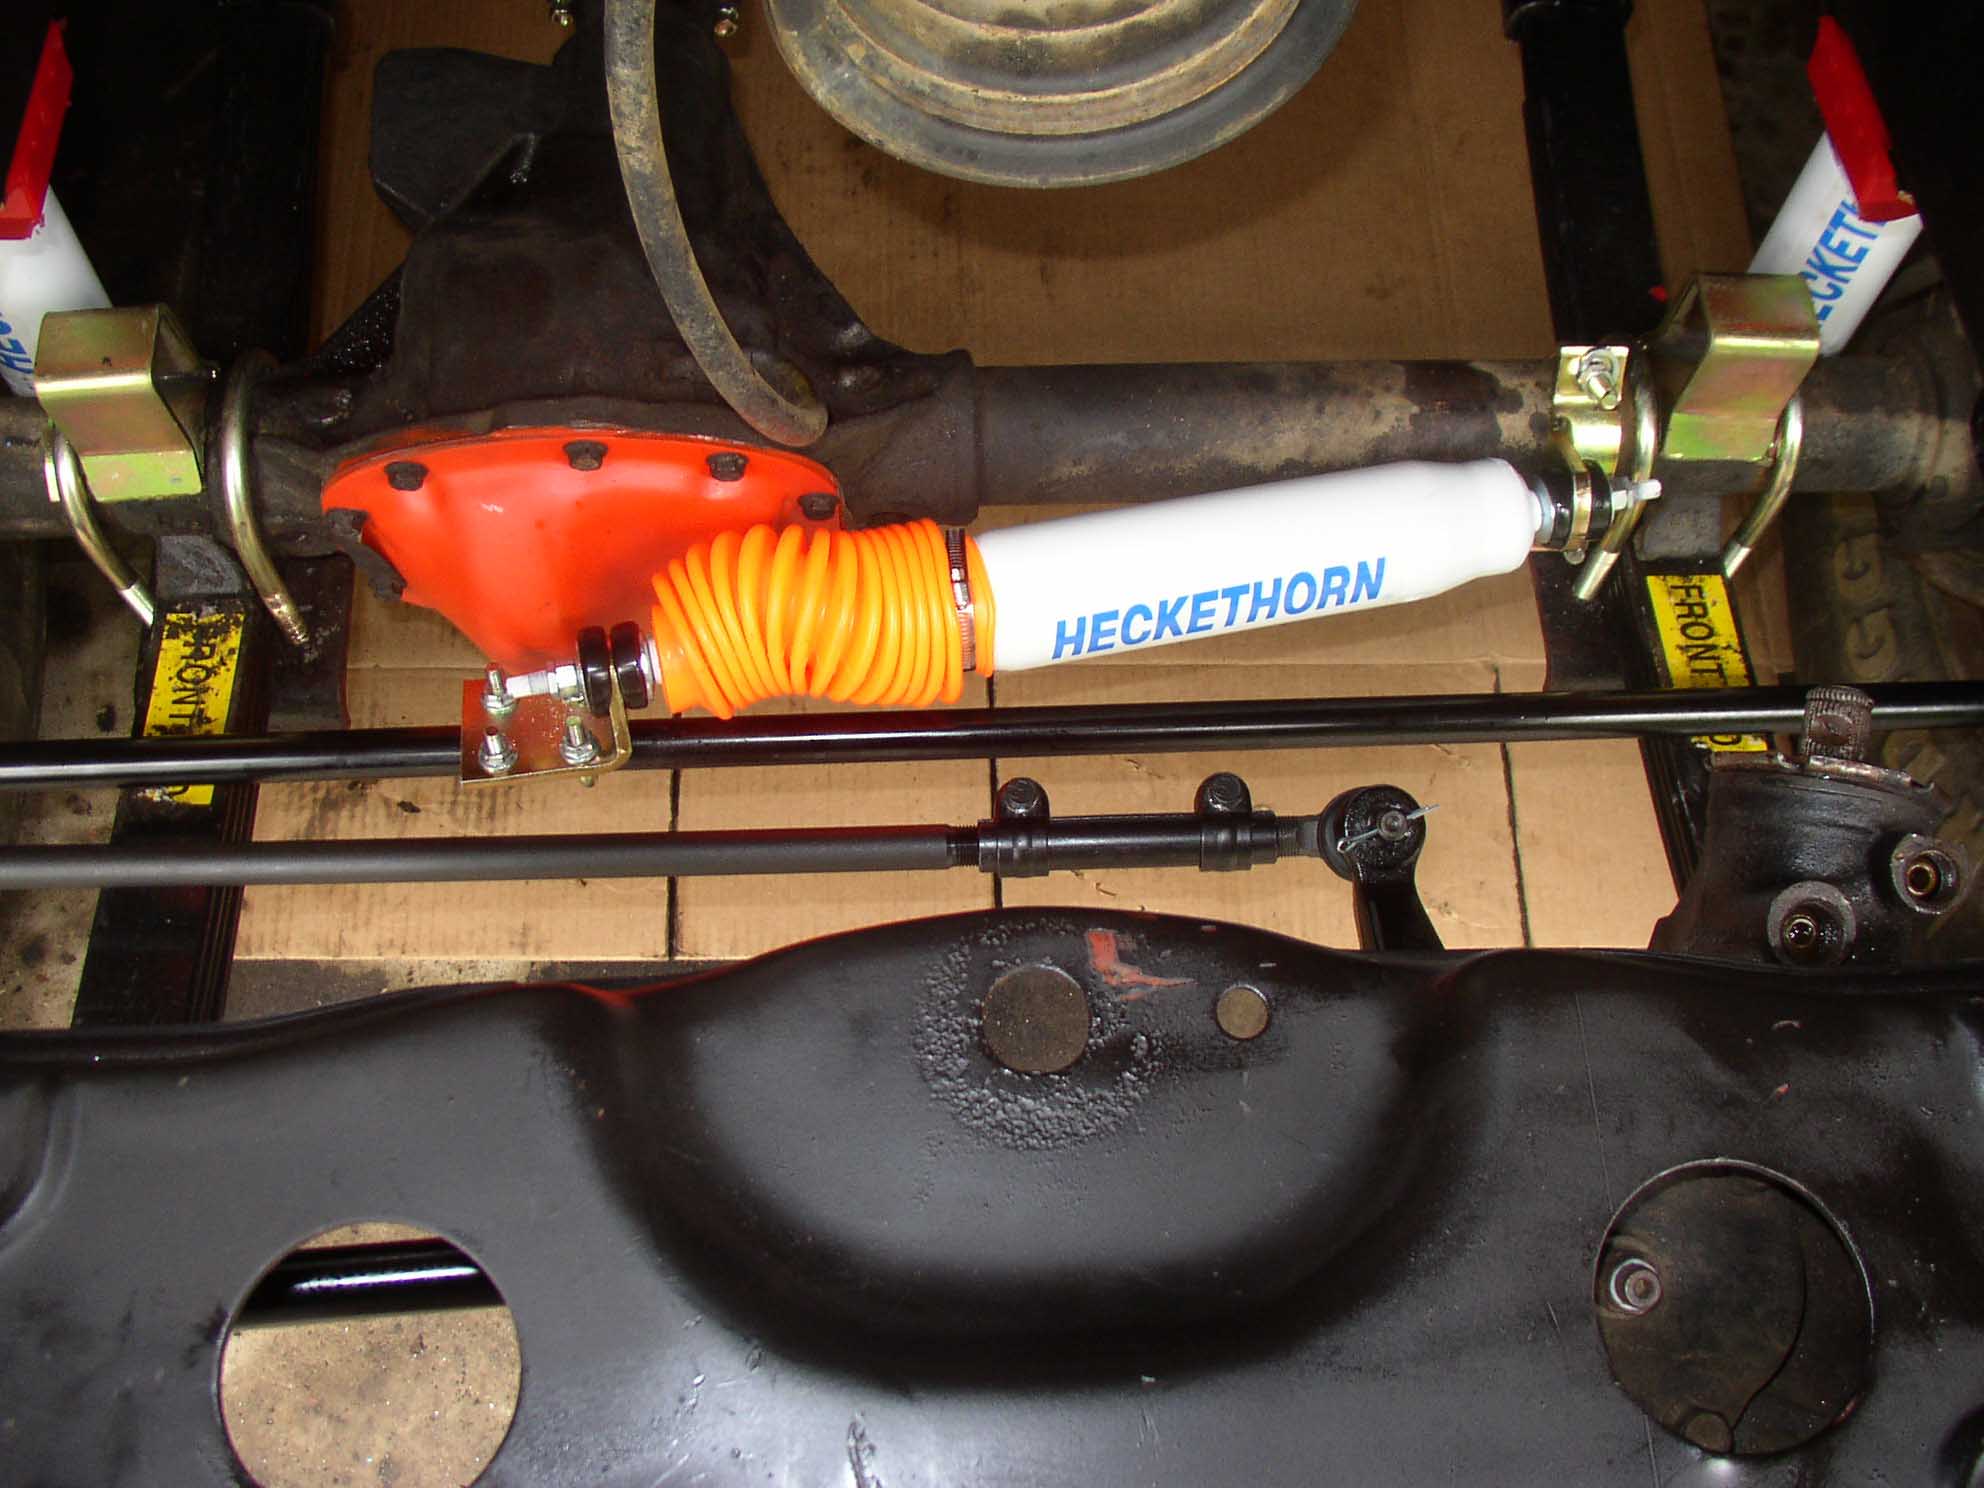
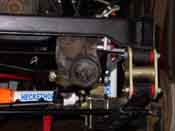
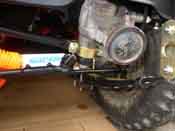
A Big Daddy
steering bracket was chosen as the bracket that would attach the steering gear to the frame and the
Steering Brace that
was chosen was the Currie Enterprise Brace that would attach that unit to the opposite side frame rail.
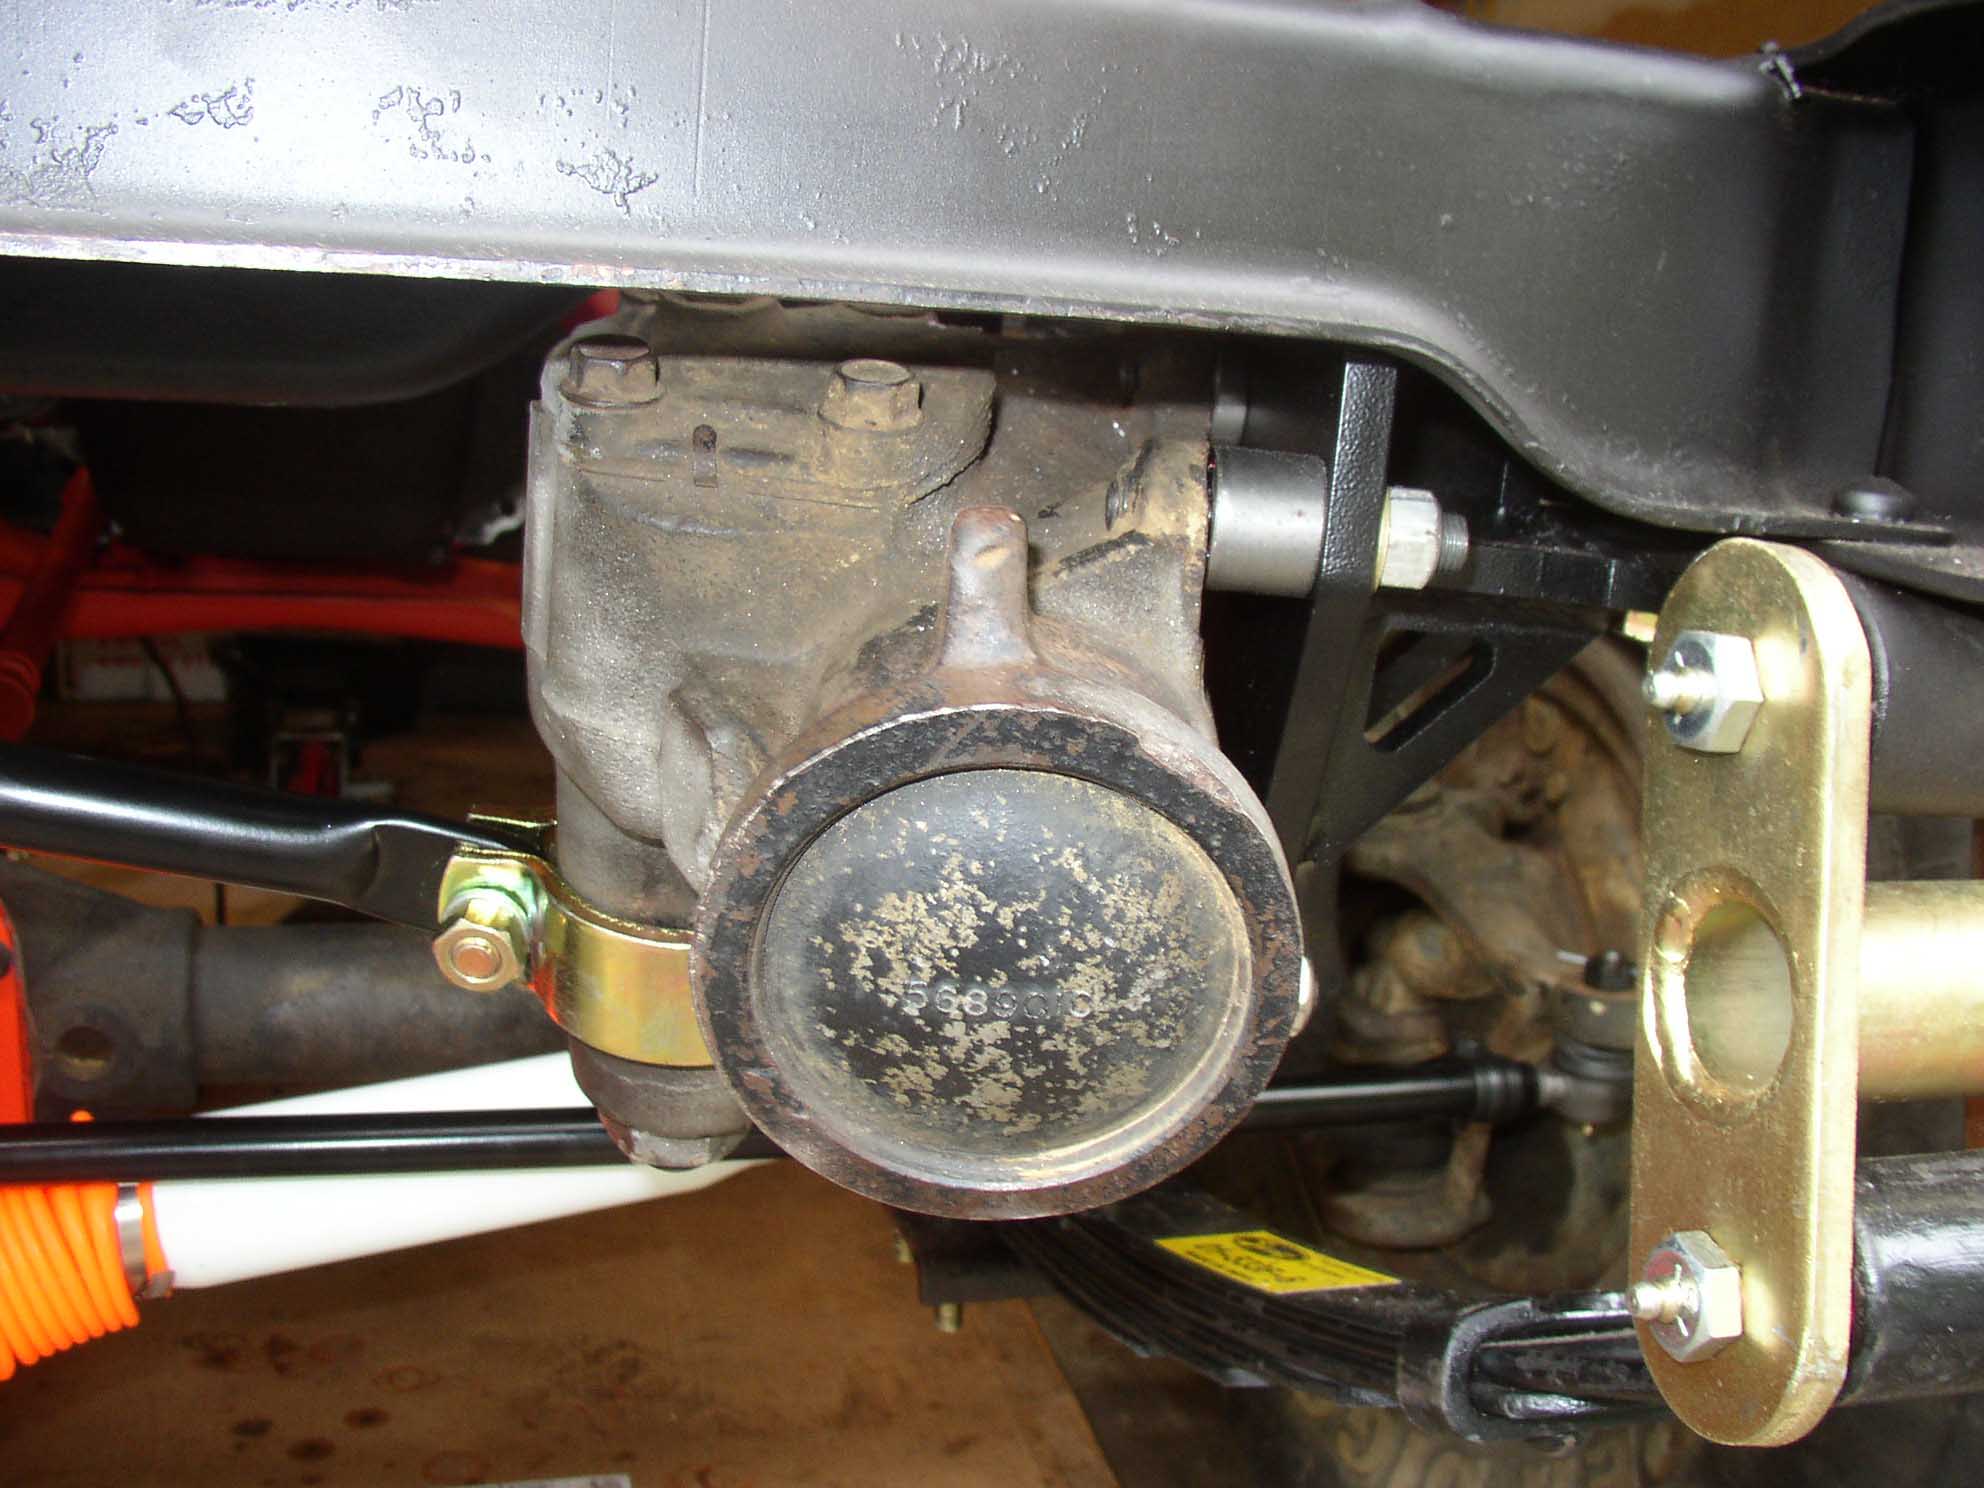
The Big Daddy bracket was attached to the steering gear and the bolted to the frame. This unit offers a big
bolt that goes through the frame and into the bracket for added stiffness. This is quite an upgrade over the
stock unit. The stock units are notorious for ripping through the frame when running larger tires because of
the torque that is applied to the frame since this was not the original intent in the design of the Jeep.
|
| |

|
|
| |
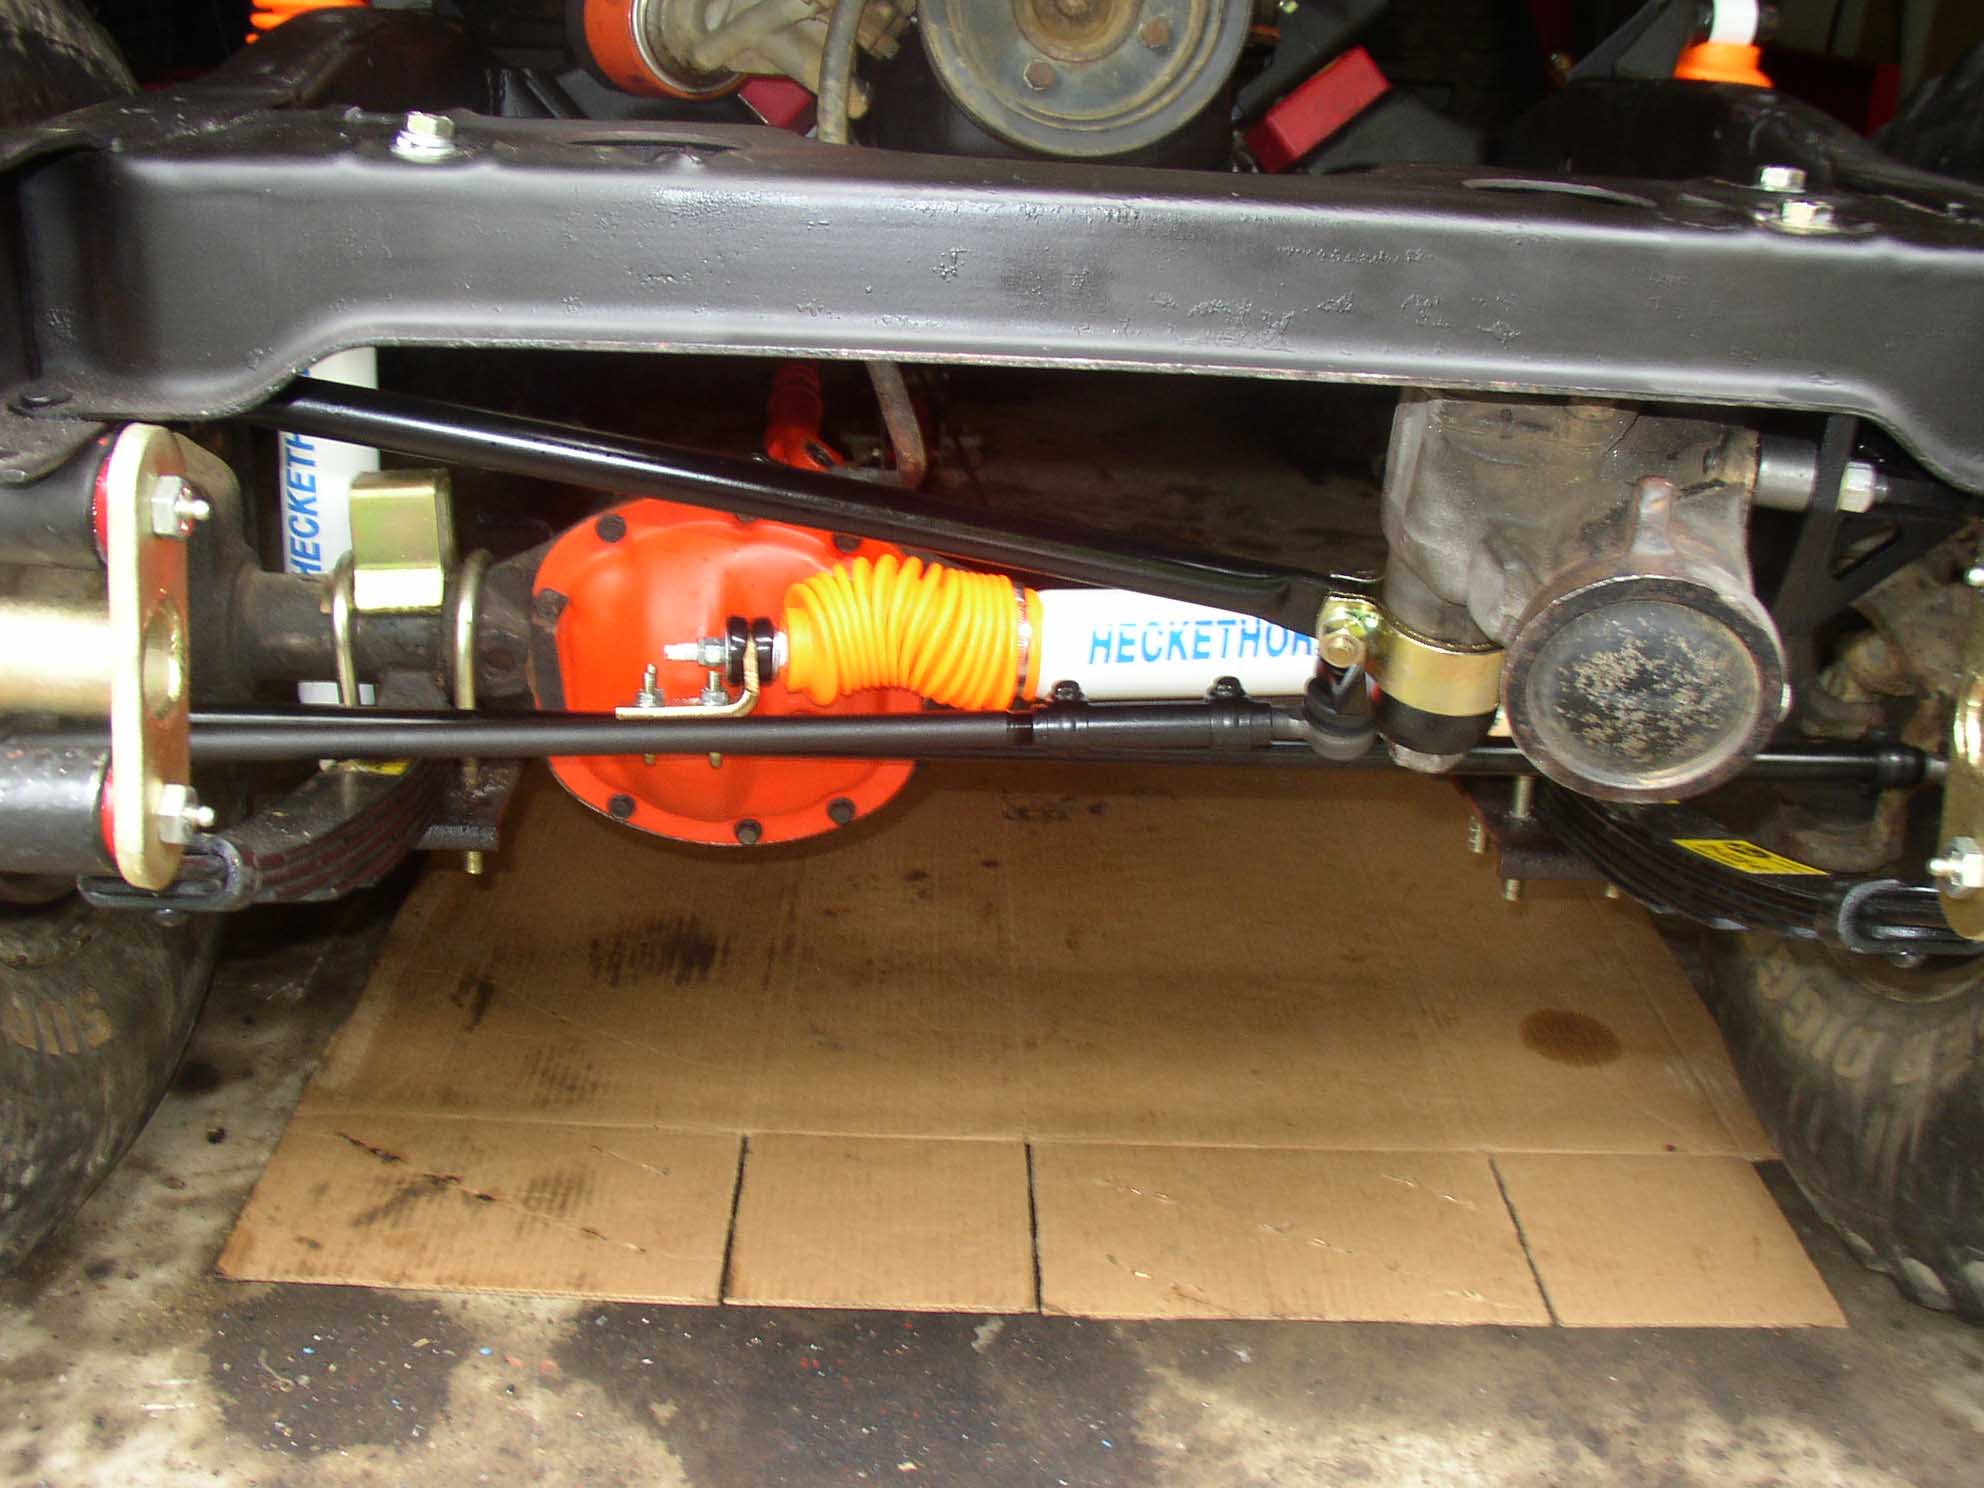
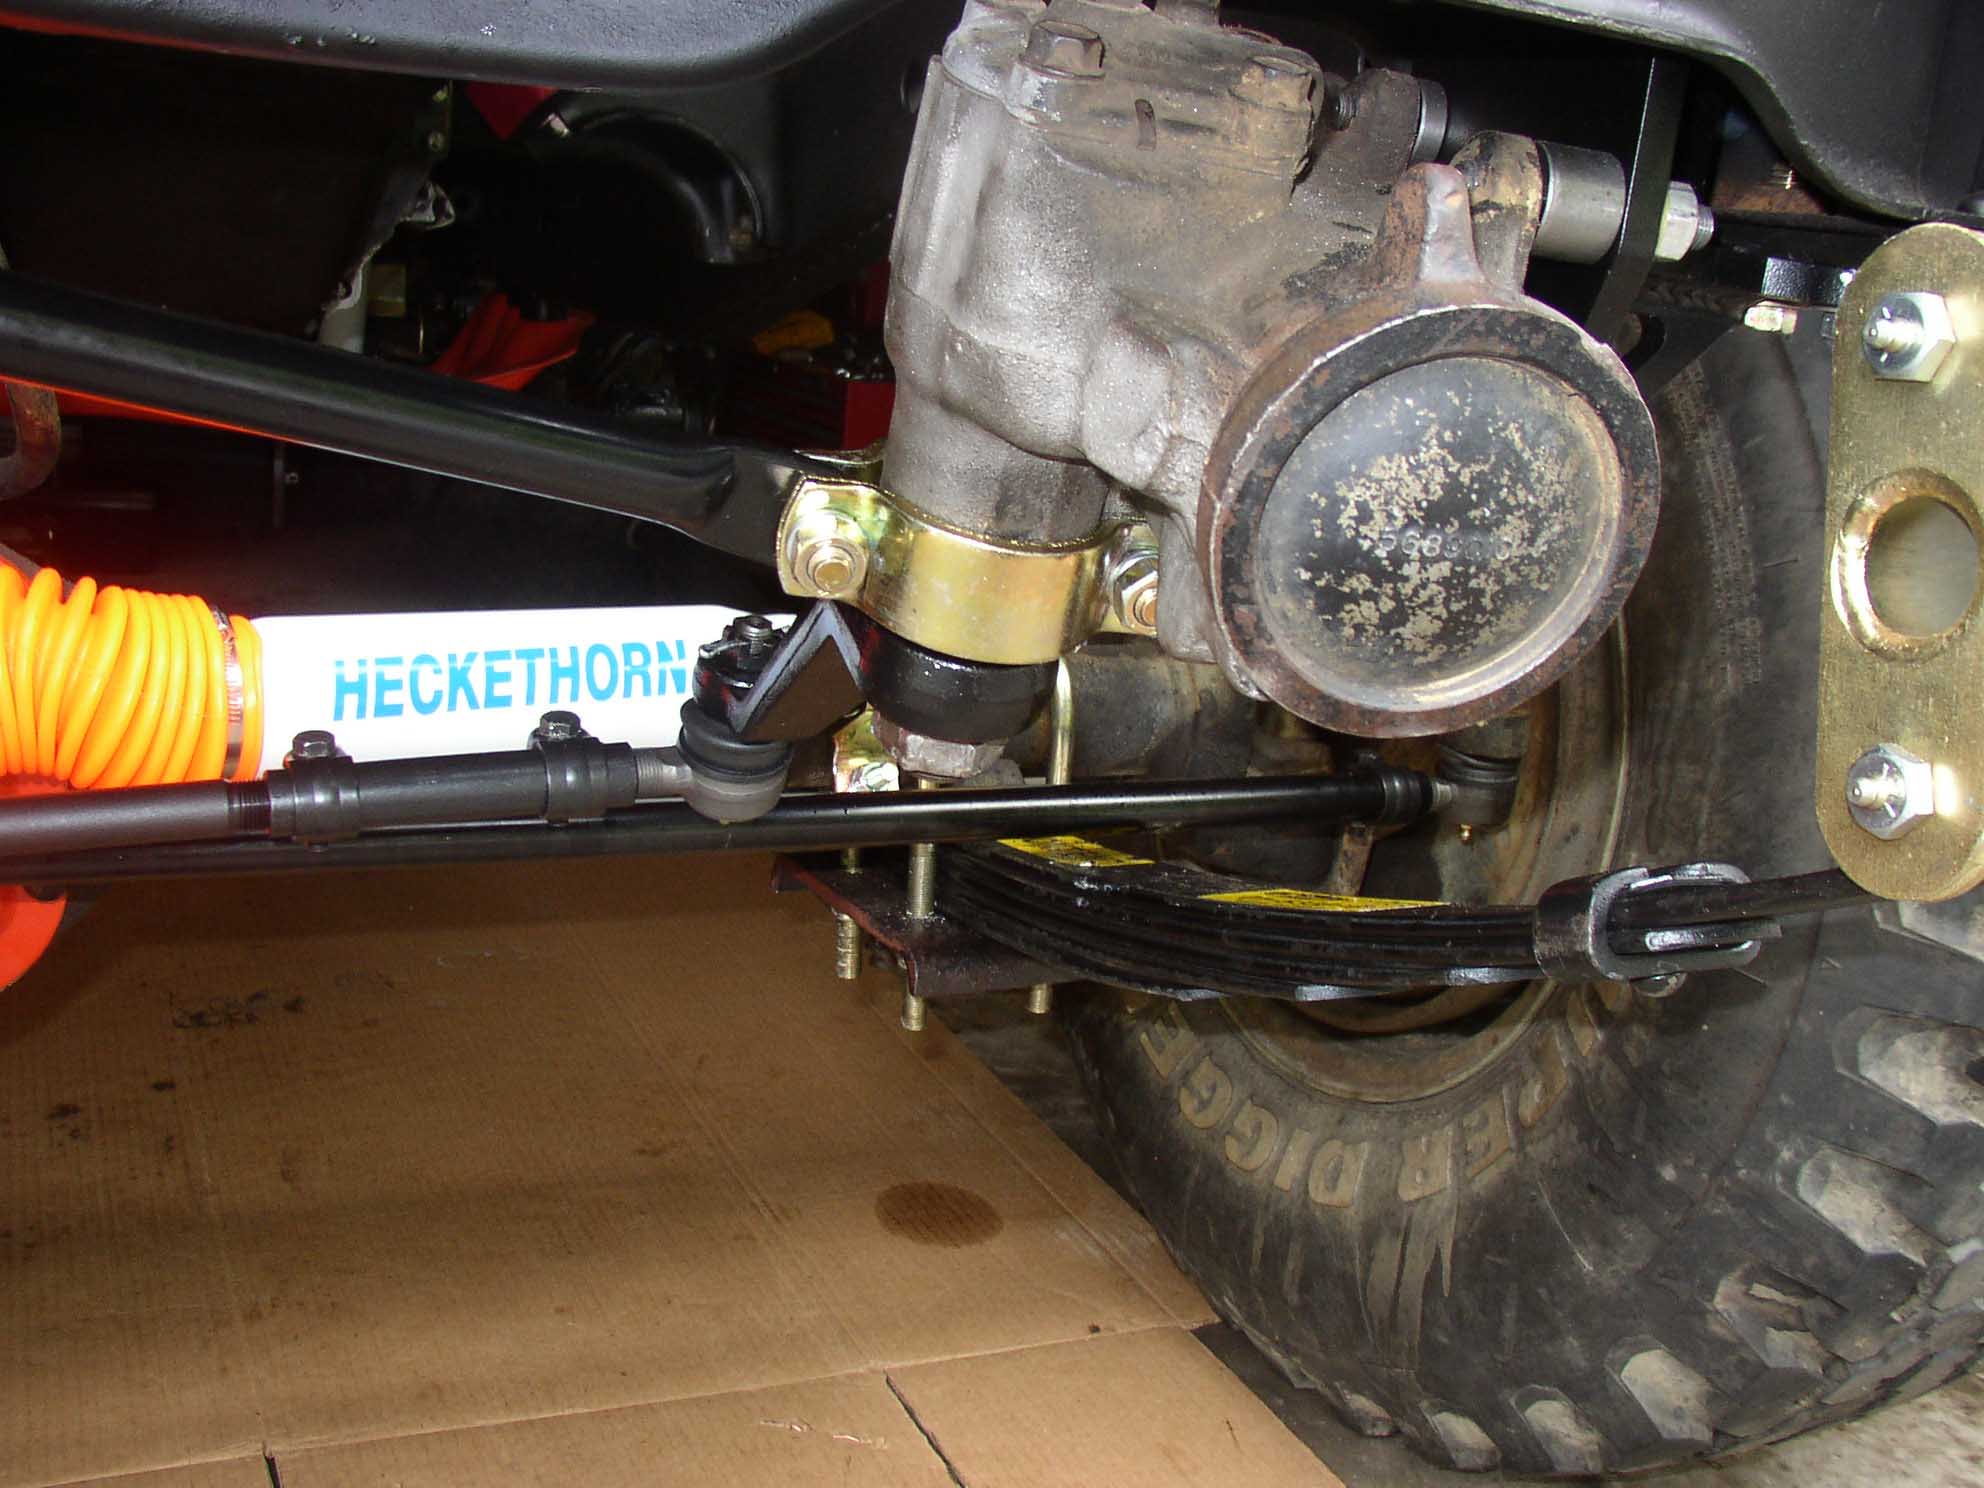
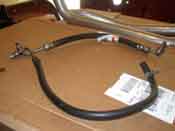
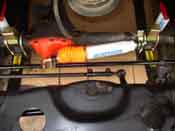
With the steering gear installed, the new Heavy Duty steering shaft that was
installed next. The manual steering shaft and power steering shaft are different in length and the end that
attaches to the steering gear. The new shaft was a slip-style shaft that will allow for crumpling in the case
of a head on collision.
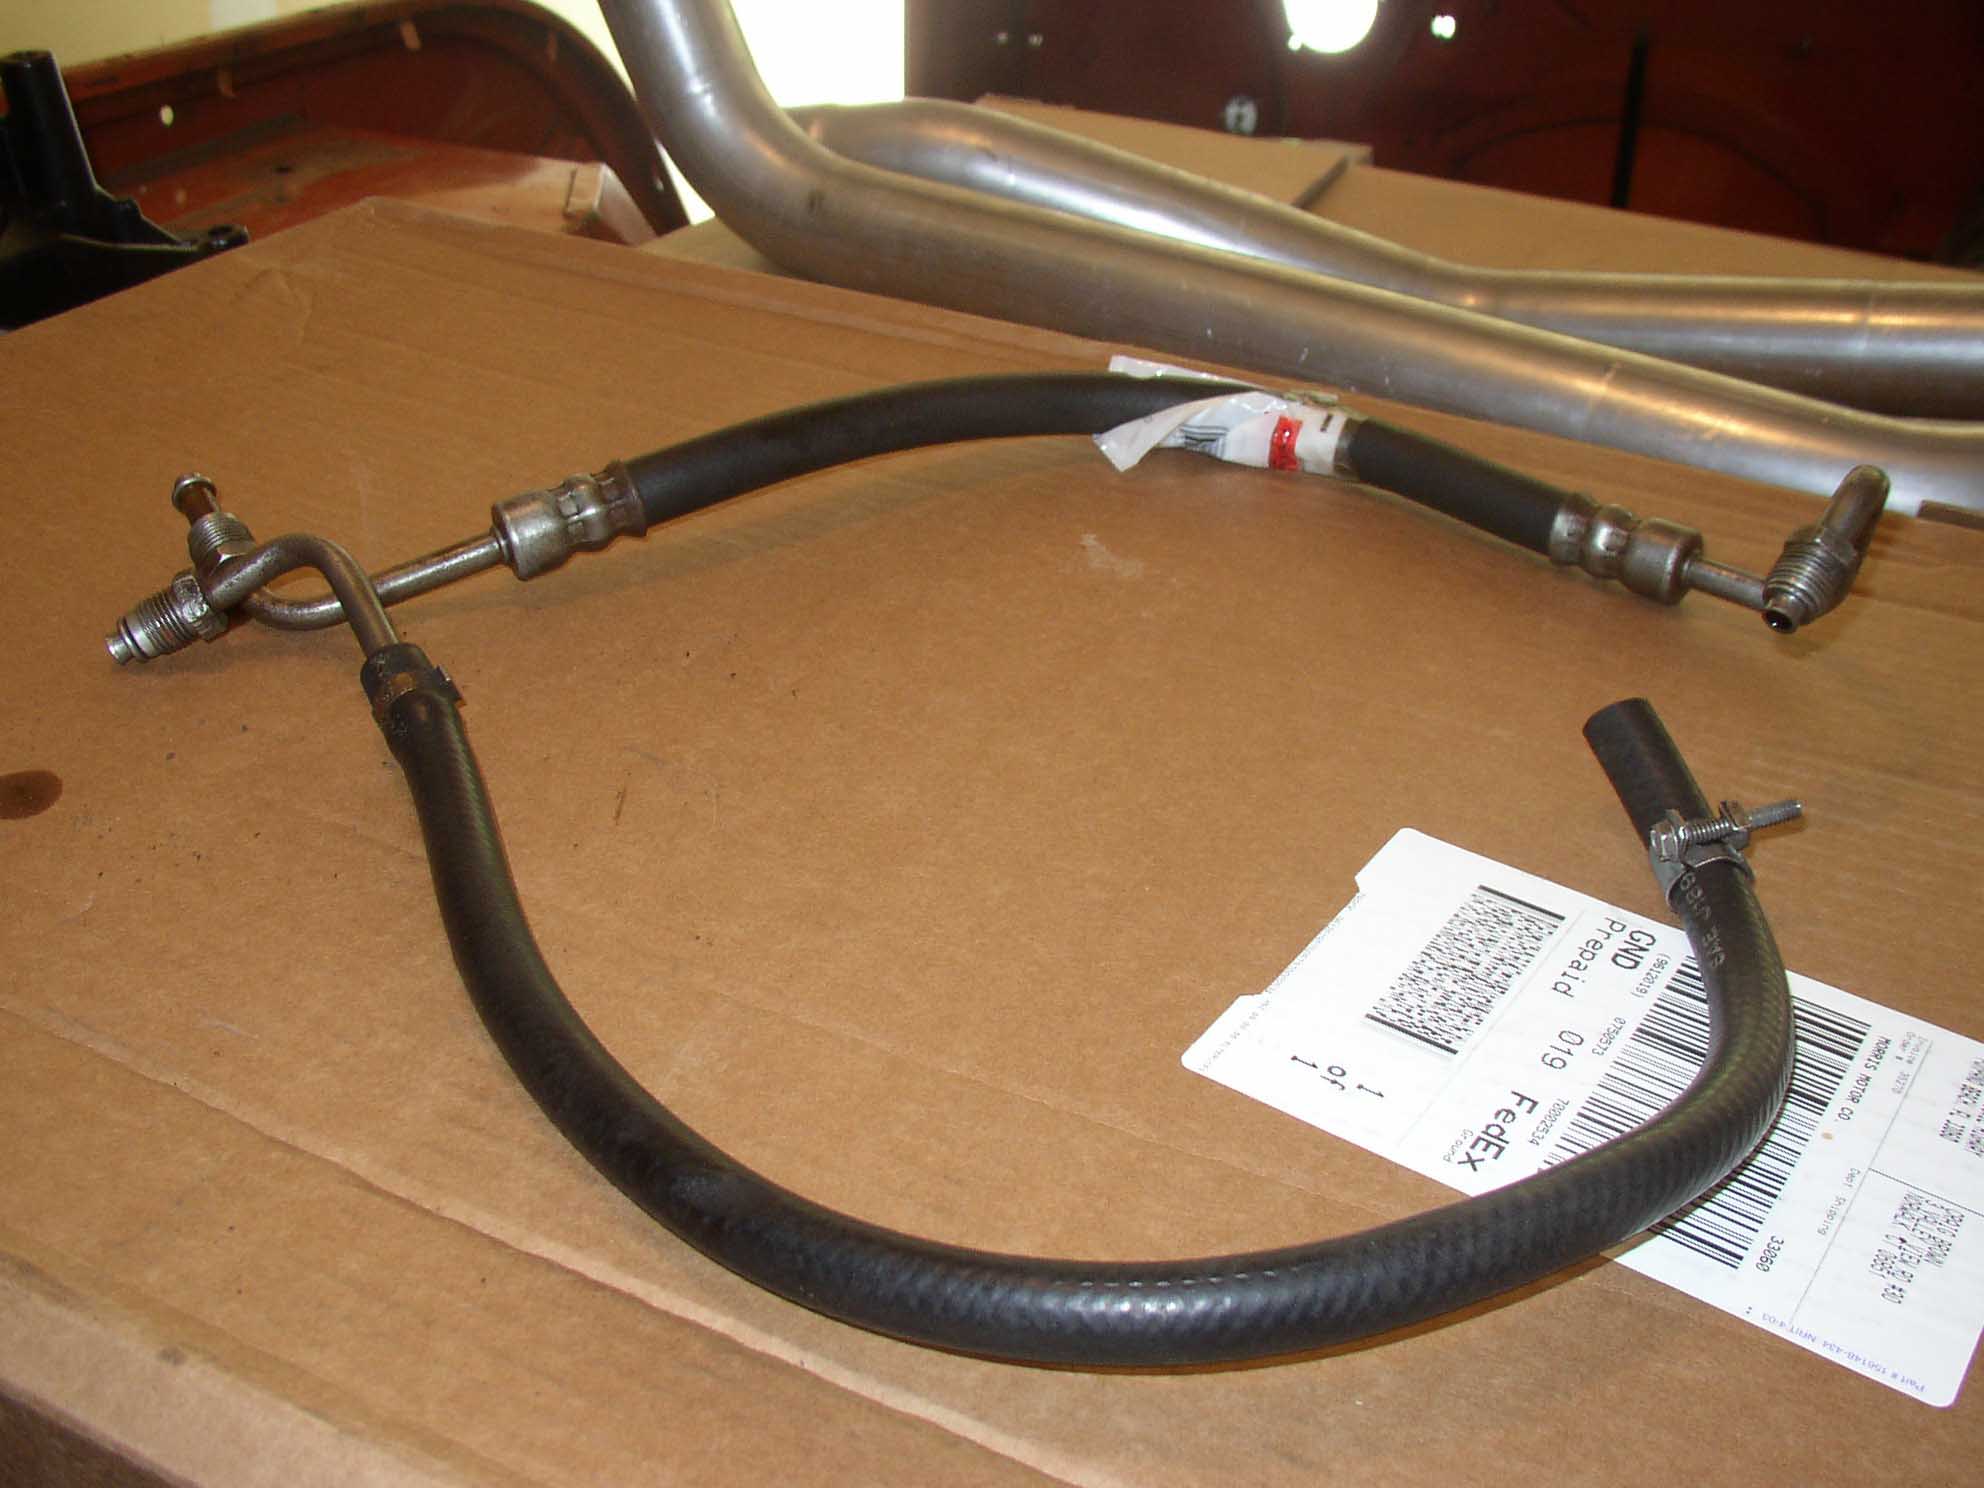
After this was completed, the engine bolt on began. The power steering pump bracketry was attached to the
engine and then the power steering pump was put in place. The power steering hoses were run and finally the
power steering belt was put in place. Once this was completed, the install was done and then the power steering
fluid was topped off and the system was about to be tested.
|
| |
|
|
| |
| The new hoses and empty power steering reservoir required that the system be
bled. The easiest way to do this is to fill up the reservoir on the power steering unit and leave the cap
off. Jack up the front end so the wheels are off the ground and slowly turn the wheels back and forth as
to remove the air from the lines. You should see the reservoir burp and gurgle a bit. Once this is
done a few times back and forth to full lock of the wheels, fill up the reservoir and then put the cap back
on. With the wheels still in the air, remove the distributor cap wire and crank the motor over.
This will turn the power steering pump and allow you to see that the belt is turning the pump over without
the engine kicking in and revving the engine. Once operation is established, make sure that the reservoir is
full once again and then put the wire back on the distributor. The front end is still jacked up at this
point. Start the Jeep and make sure that there aren't any leaks with the motor running. Make sure it is
good lock to lock with the wheels a few times and then lower the Jeep back on the ground. Check the
reservoir once more, top off if necessary, check again for leaks and if all checks out, take it for a ride
around the block going slow. You should have power steering now.
|
| |
| Lessons Learned the Hard Way |
| |
So, my lessons learned here would have to be to attach the power steering
hoses to the power steering gearbox prior to lifting it into place. This would have saved a lot of time since
the hose fittings are hard to reach when they are stuffed up under the front frame shield. Also, if you can
get a second pair of hands, the power steering gearbox is heavy and they will help as you try to put it into
place. If these can't be had, strapping the gearbox to the frame is another alternative, be creative so you
don't end up hurting yourself.
The second lesson learned here is that when bleeding the system; keep the tires in the air. This lets off
additional pressure on the system by allowing the tires to turn freely. I didn't do this and ended up having to
replace the power steering pump with a new one since the old one had seen better days and couldn't deal with
the additional stresses with the wheels on the ground. After researching through the troubleshooting phase, I
found a write up on the "wheels in the air" to bleed the system and it worked very well the second time around.
A few months after I ran this setup, the power steering gearbox started to leak like a sieve. What happened is
that the input shaft seal let go. I ended up having to drop the entire setup to take out the old seal and put
in the new seal. If there is time, I suggest rebuilding the power steering gearbox with new seals. This will
save time in having to redo all the steps in putting it in.
|
| |
| Conclusions |
| |
This is a fairly straightforward bolt on conversion. If you get an entire setup
for a Jeep from the same year or so, it should go fairly easy. There is some finagling that has to be done to
get the power steering gearbox into place as the frame that I had landed had developed warpage/bending due
to running larger tires with the manual gearbox over the years.
Make sure the parts you attained from your source are in good working shape. Mine appeared to be good on the
surface, but after a few months, they started to leak and had to be worked on. A seal kit for the power
steering gearbox as well as new hoses are cheap insurance to avoid this.
A power steering conversion is great when the engine is running. If you stall on the trail, you will lose
power steering capabilities, so be aware of this fact when attempting harder maneuvers.
|
|