|
|
| Bestop Seat/Tuffy Console/5-point harnesses Installation |
| |
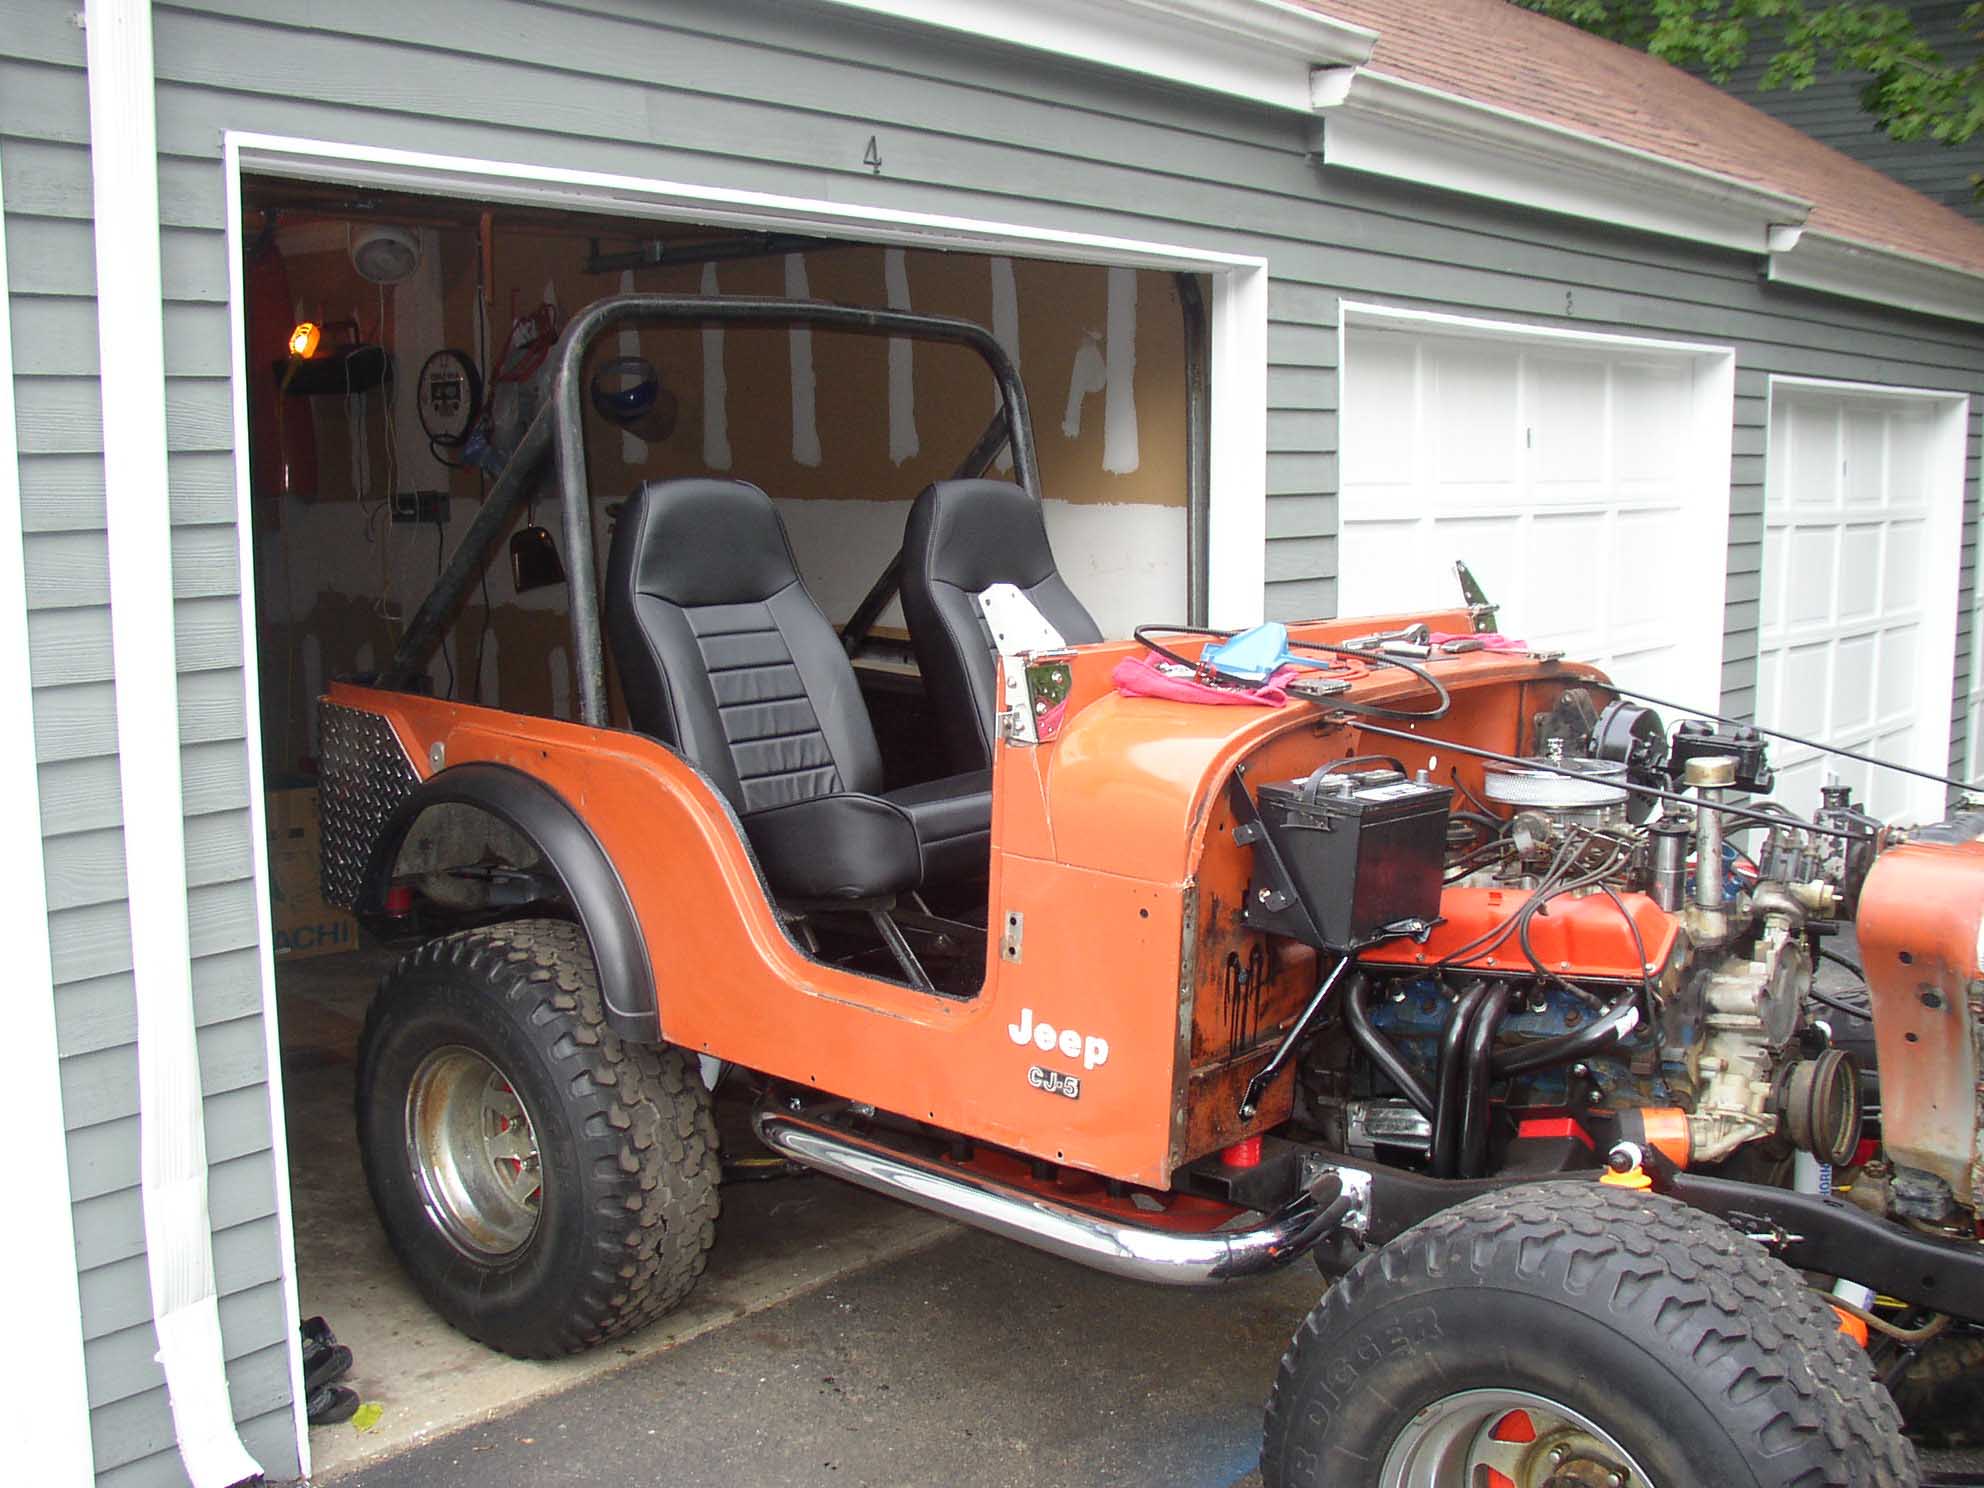
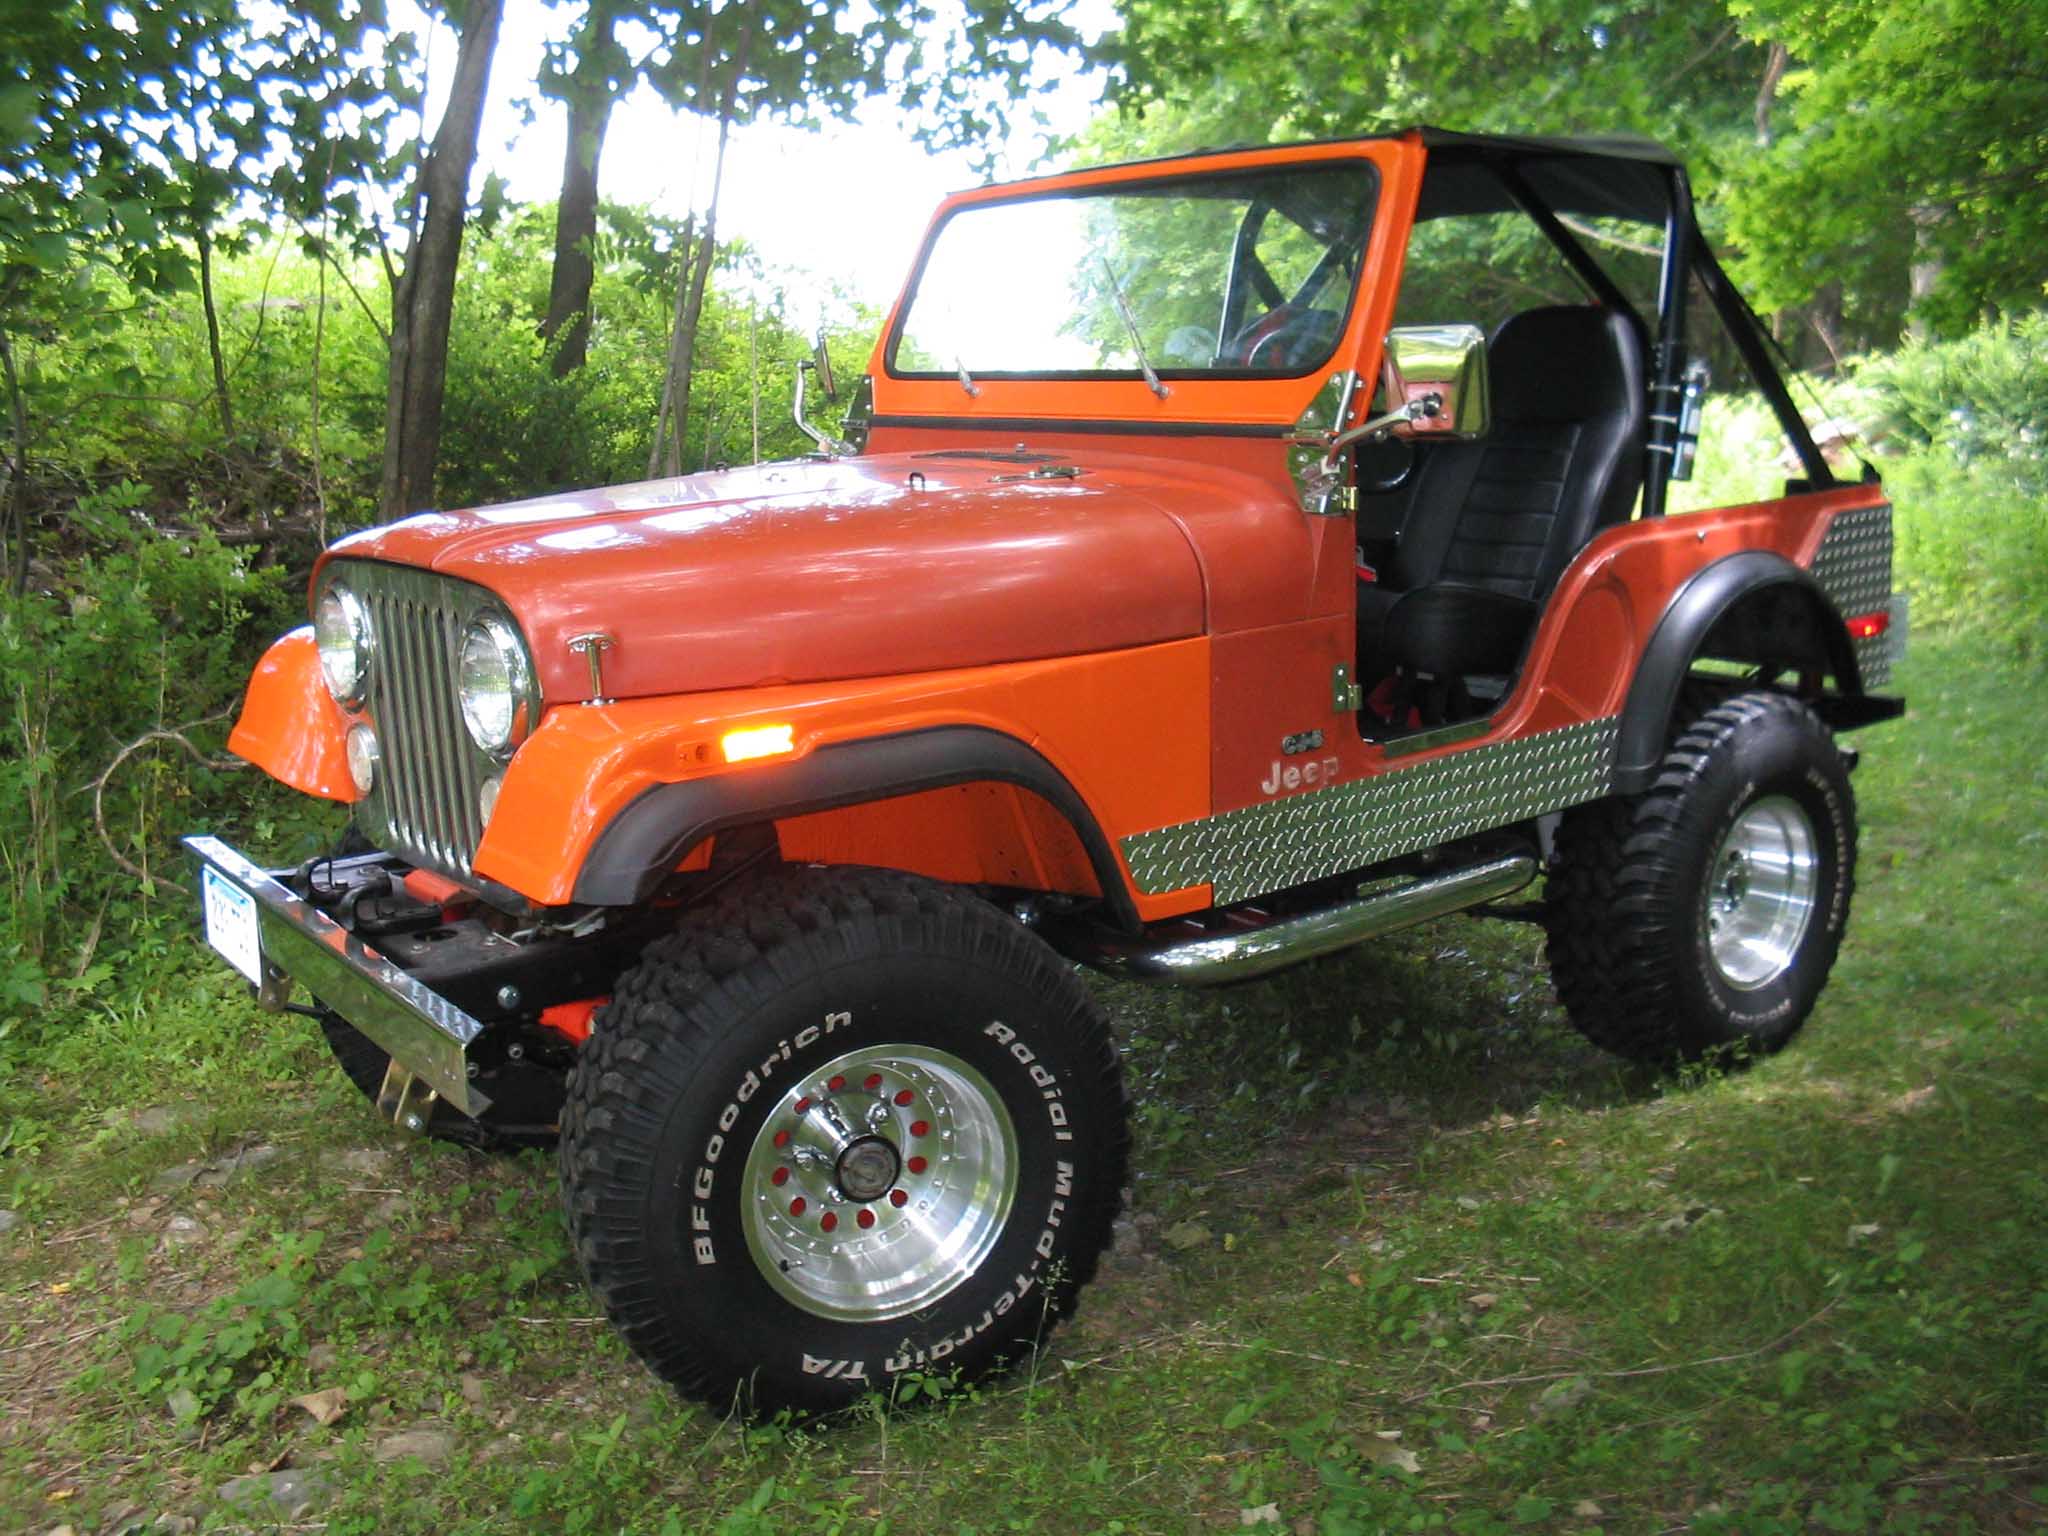
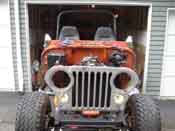
The Jeep project was coming along; I had just finished up putting in the herculiner
and was still dizzy from the fumes. I came down long enough to realize that I was going to need some new seats.
If you have read through the site, you will undoubtedly know that I had some mice issues and well as a smell
issue with the original seats. They were disgusting and weren't even worth saving, they ended up in the trash
bin.
I started researching seats and found that Bestop had the seats that I was looking for. Water resistant, cleaned
up quickly and nicely, and finally, they had a high backing great for my 6'1" 240 lb. frame. So, as luck would
have it, they were having a scratch and dent sale on
eBay. I snagged up a set and waited
for them to come in.
In the mean time I started doing some research as to how I was going to stay in those seats and more importantly,
how I was going to keep my drinks from spilling over and keep my papers where they should be.
|
| |
|
|
|
|
| |
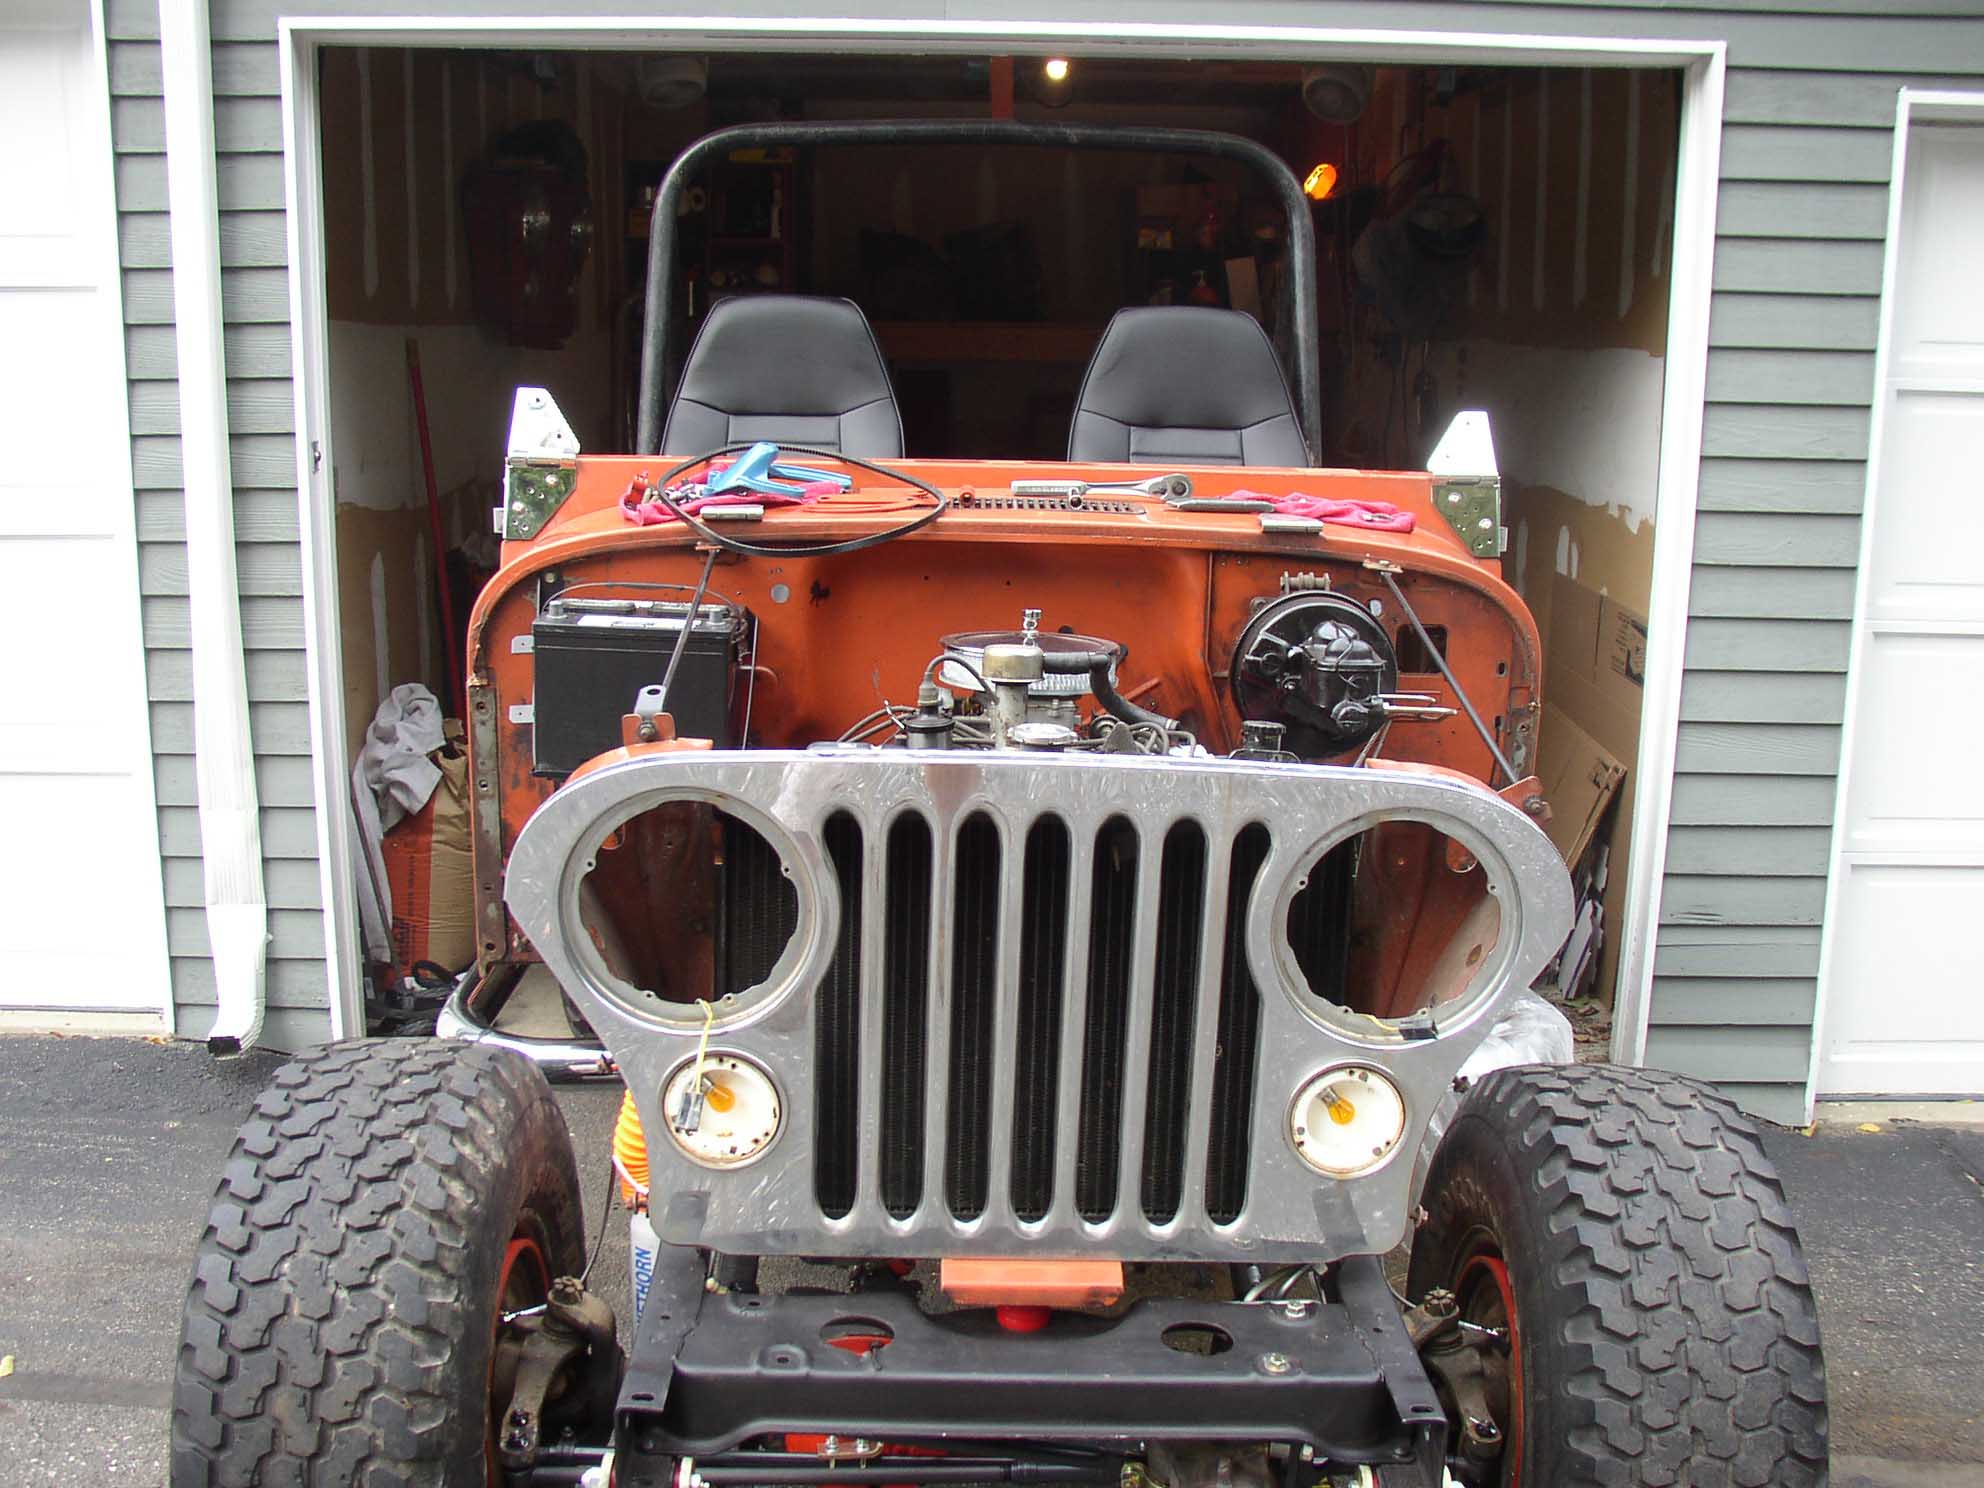
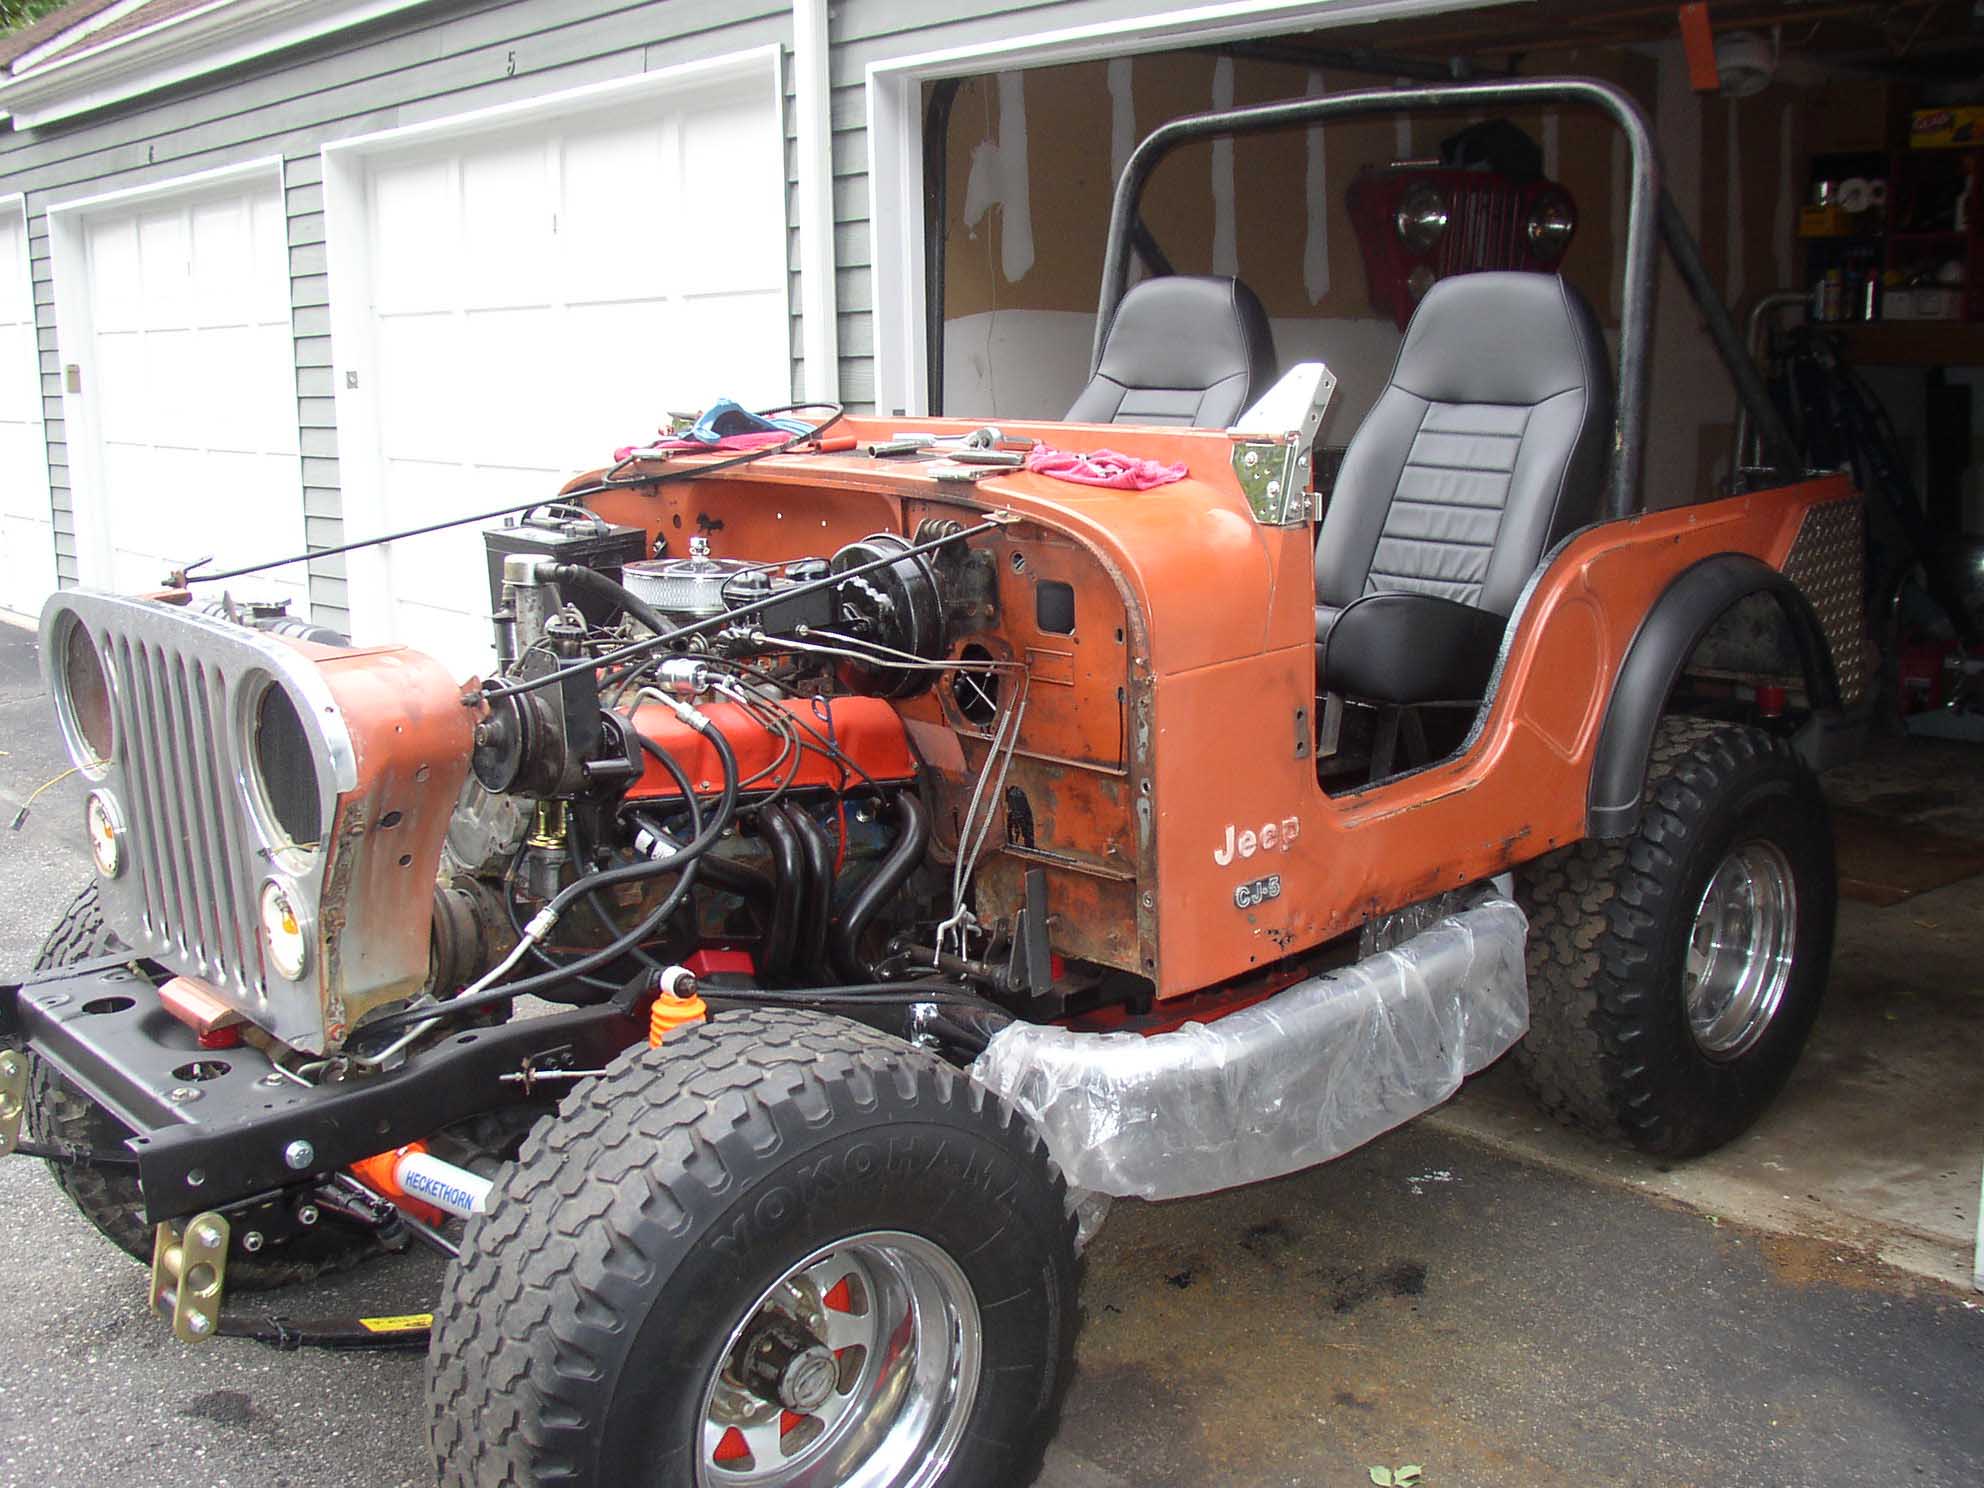
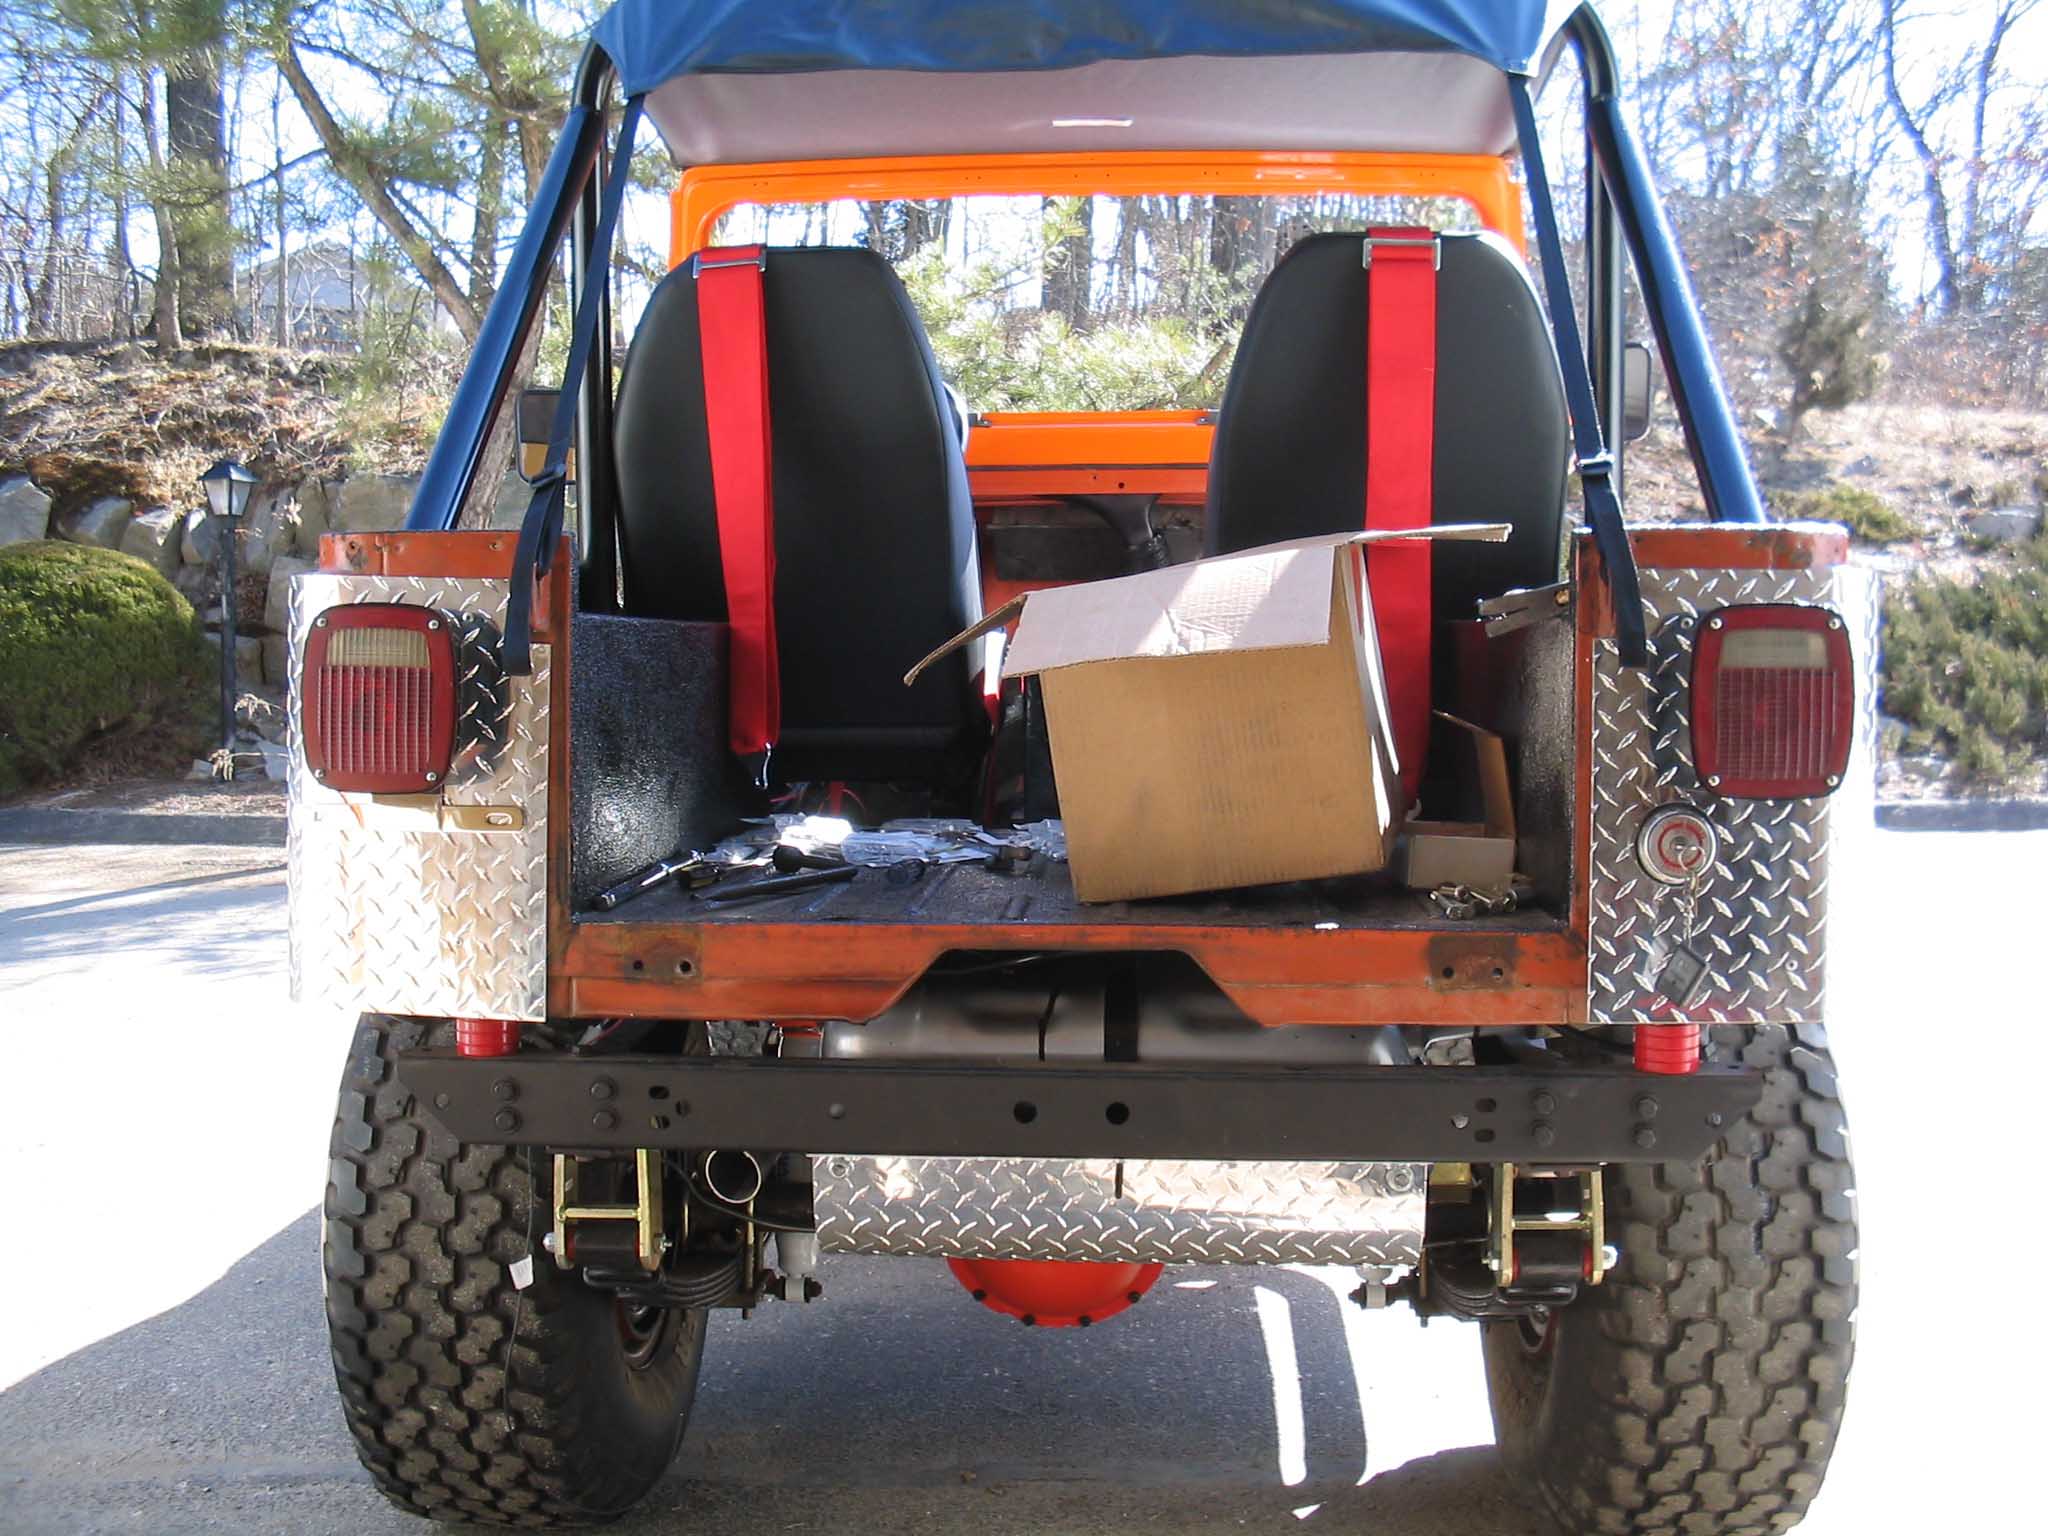
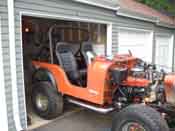
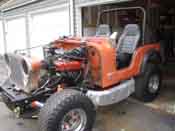
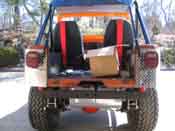
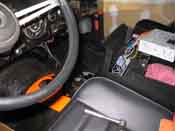
The seats came in and they had to be assembled. Hardware didn't come with mine, so
off to the hardware store I went. I was able to get the seats assembled and then put the seat riser mounts on the
bottom of them so I could bolt them in the Jeep. This went very smoothly and the seats were placed into the rig.
Four bolts held the riser to the seat and four bolts held the riser to the floor. I upgraded the bolts to grade 8
and torqued them down tightly. All the while, I was trying to fill the void between the seats.
As luck would have it, my neighbor came over with 2 boxes for me. I was quite surprised when he opened them and
showed me some 5-point harnesses. He had bought them for a racecar he had, but never used them. I kindly thanked
him repeatedly and then went on to find out information about mounting them.
|
| |

|
|
|
|
| |
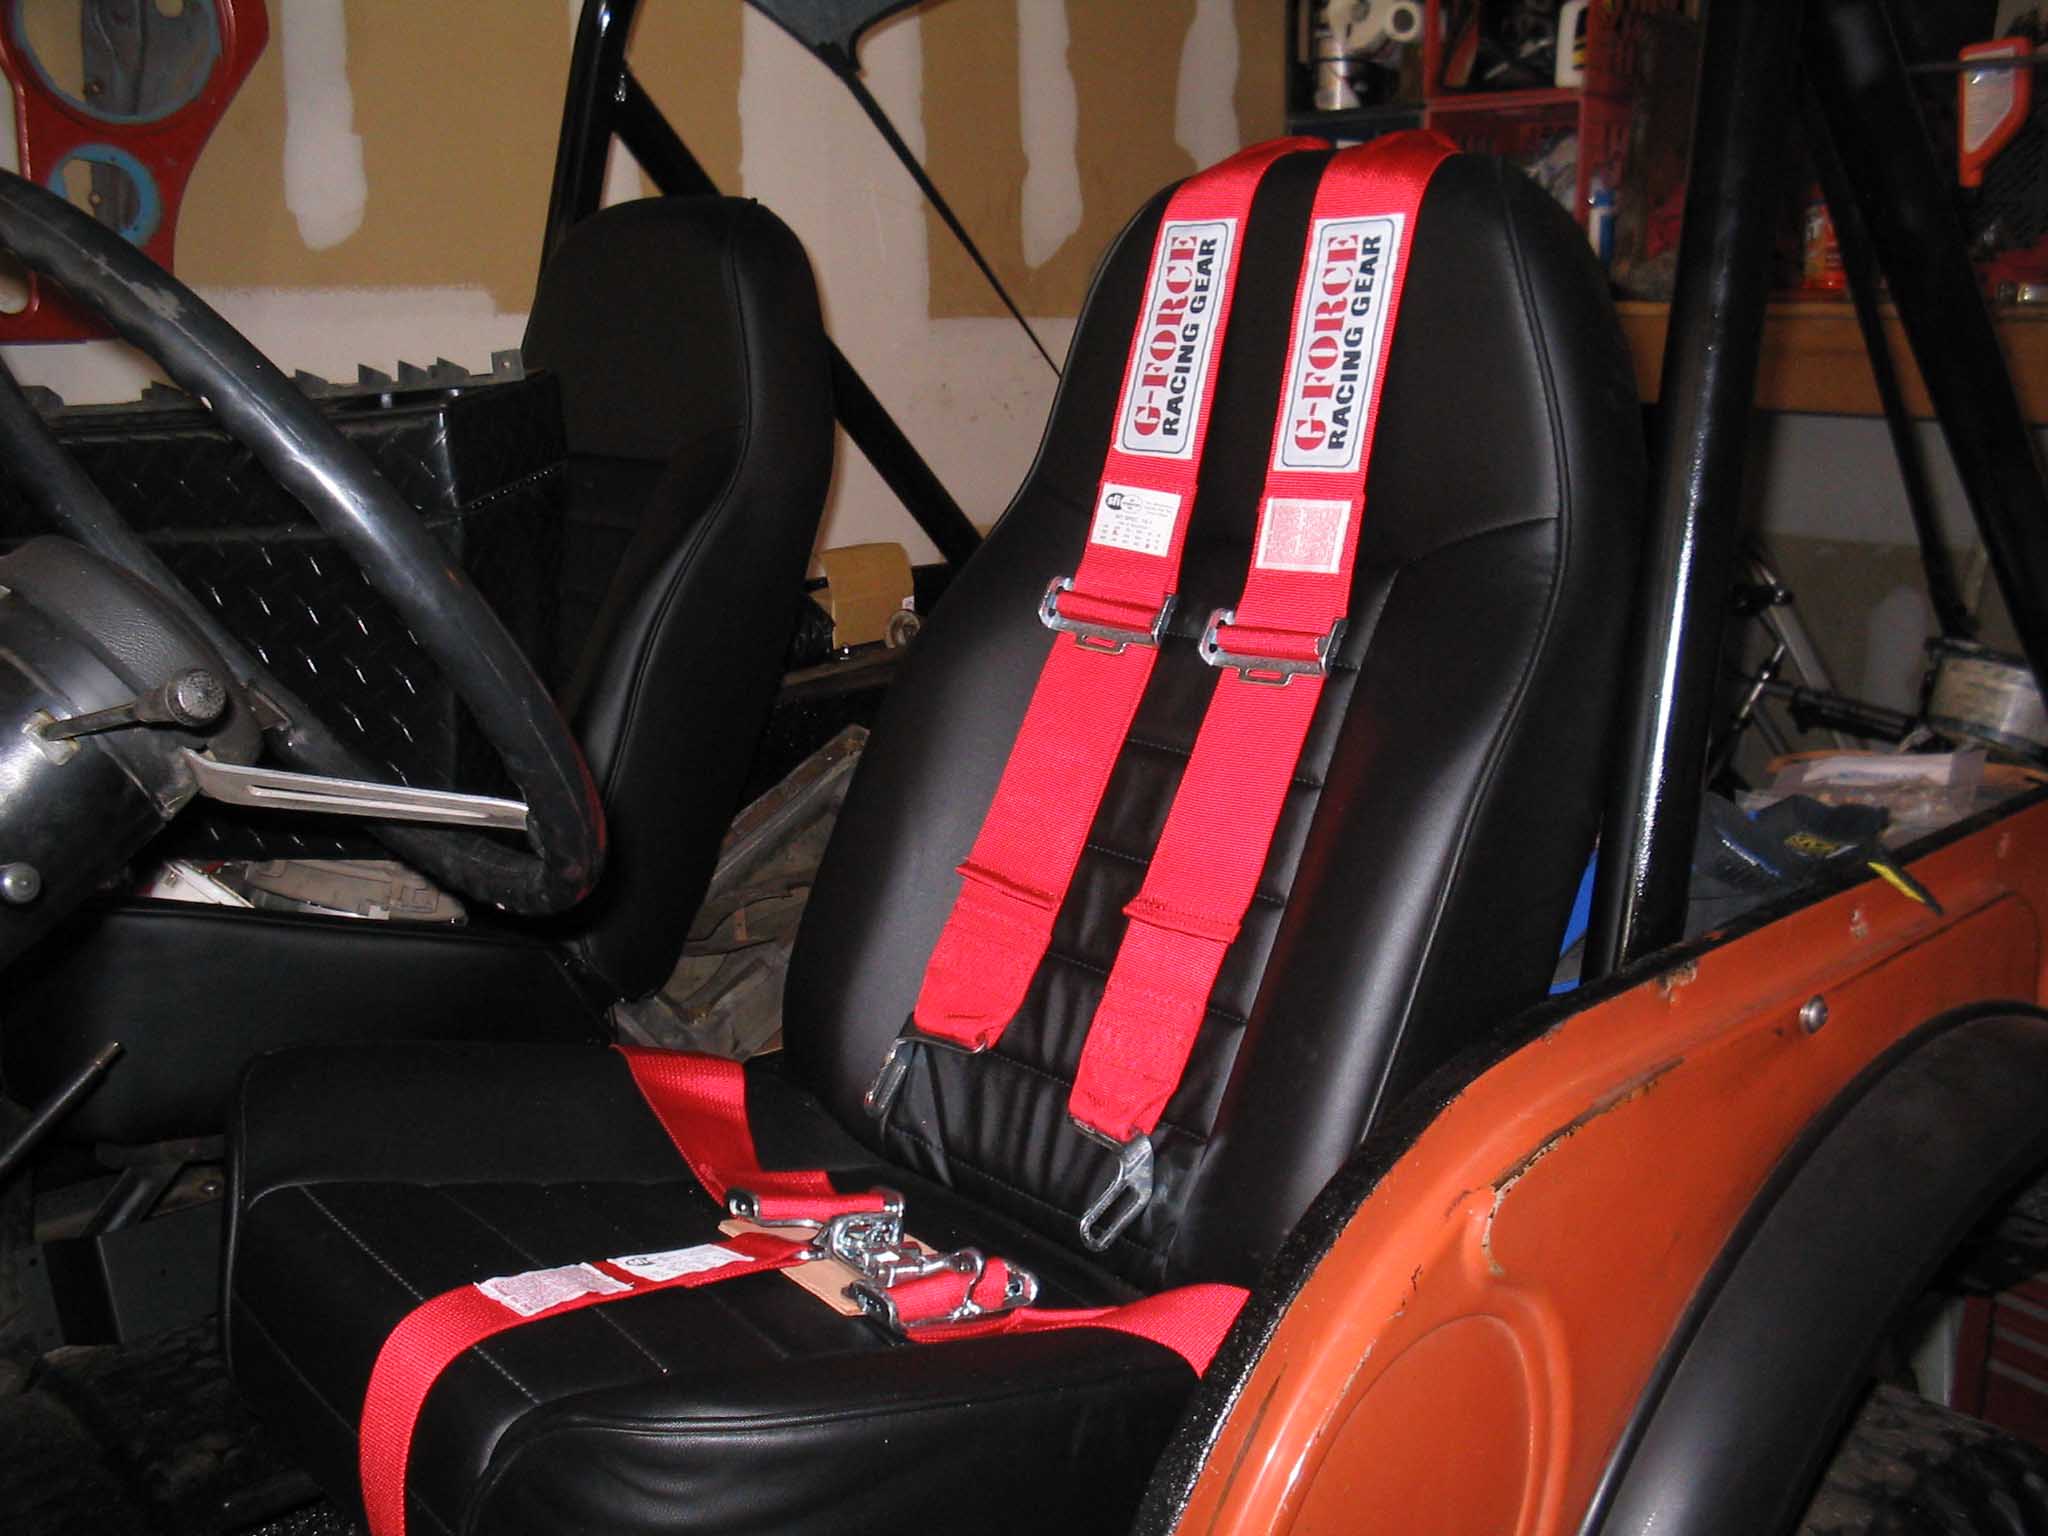
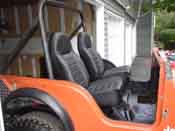
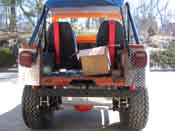
There are numerous write-ups out there as to how to attach 5-point harnesses. I
am not going to go into all of the physics of it, but if you attach the harnesses in a way that doesn't allow for
attachment or at the very least a pivot point more then a couple inches below the part it comes through or over
the seat, you stand the risk of compressing your spine in a head on accident. I did a lot of reading about this
and found it to be quite compelling.
Since I didn't want to end up mounting a bar across the Jeep that would limit access to the back, I came across
a company that built a product that allowed for a pivot point to be slightly above the seat back (this is fine
according to the write-ups). This product bolted to the existing roll bars and was quite heavy duty. The
pictures are a bit hard to see, but if you look at the bar mounted on the roll bar on both sides, it comes down
on a 45-degree angle.
There is a loop on the bar that allows for the seat belt to pass through it. I got these (they are unpainted
and unfinished) from a company called Rock Hard 4x4 Parts
. I highly recommend them. They were easy to work with and the product has worked out well for me thus
far.
|
| |

|
|
|

|
| |
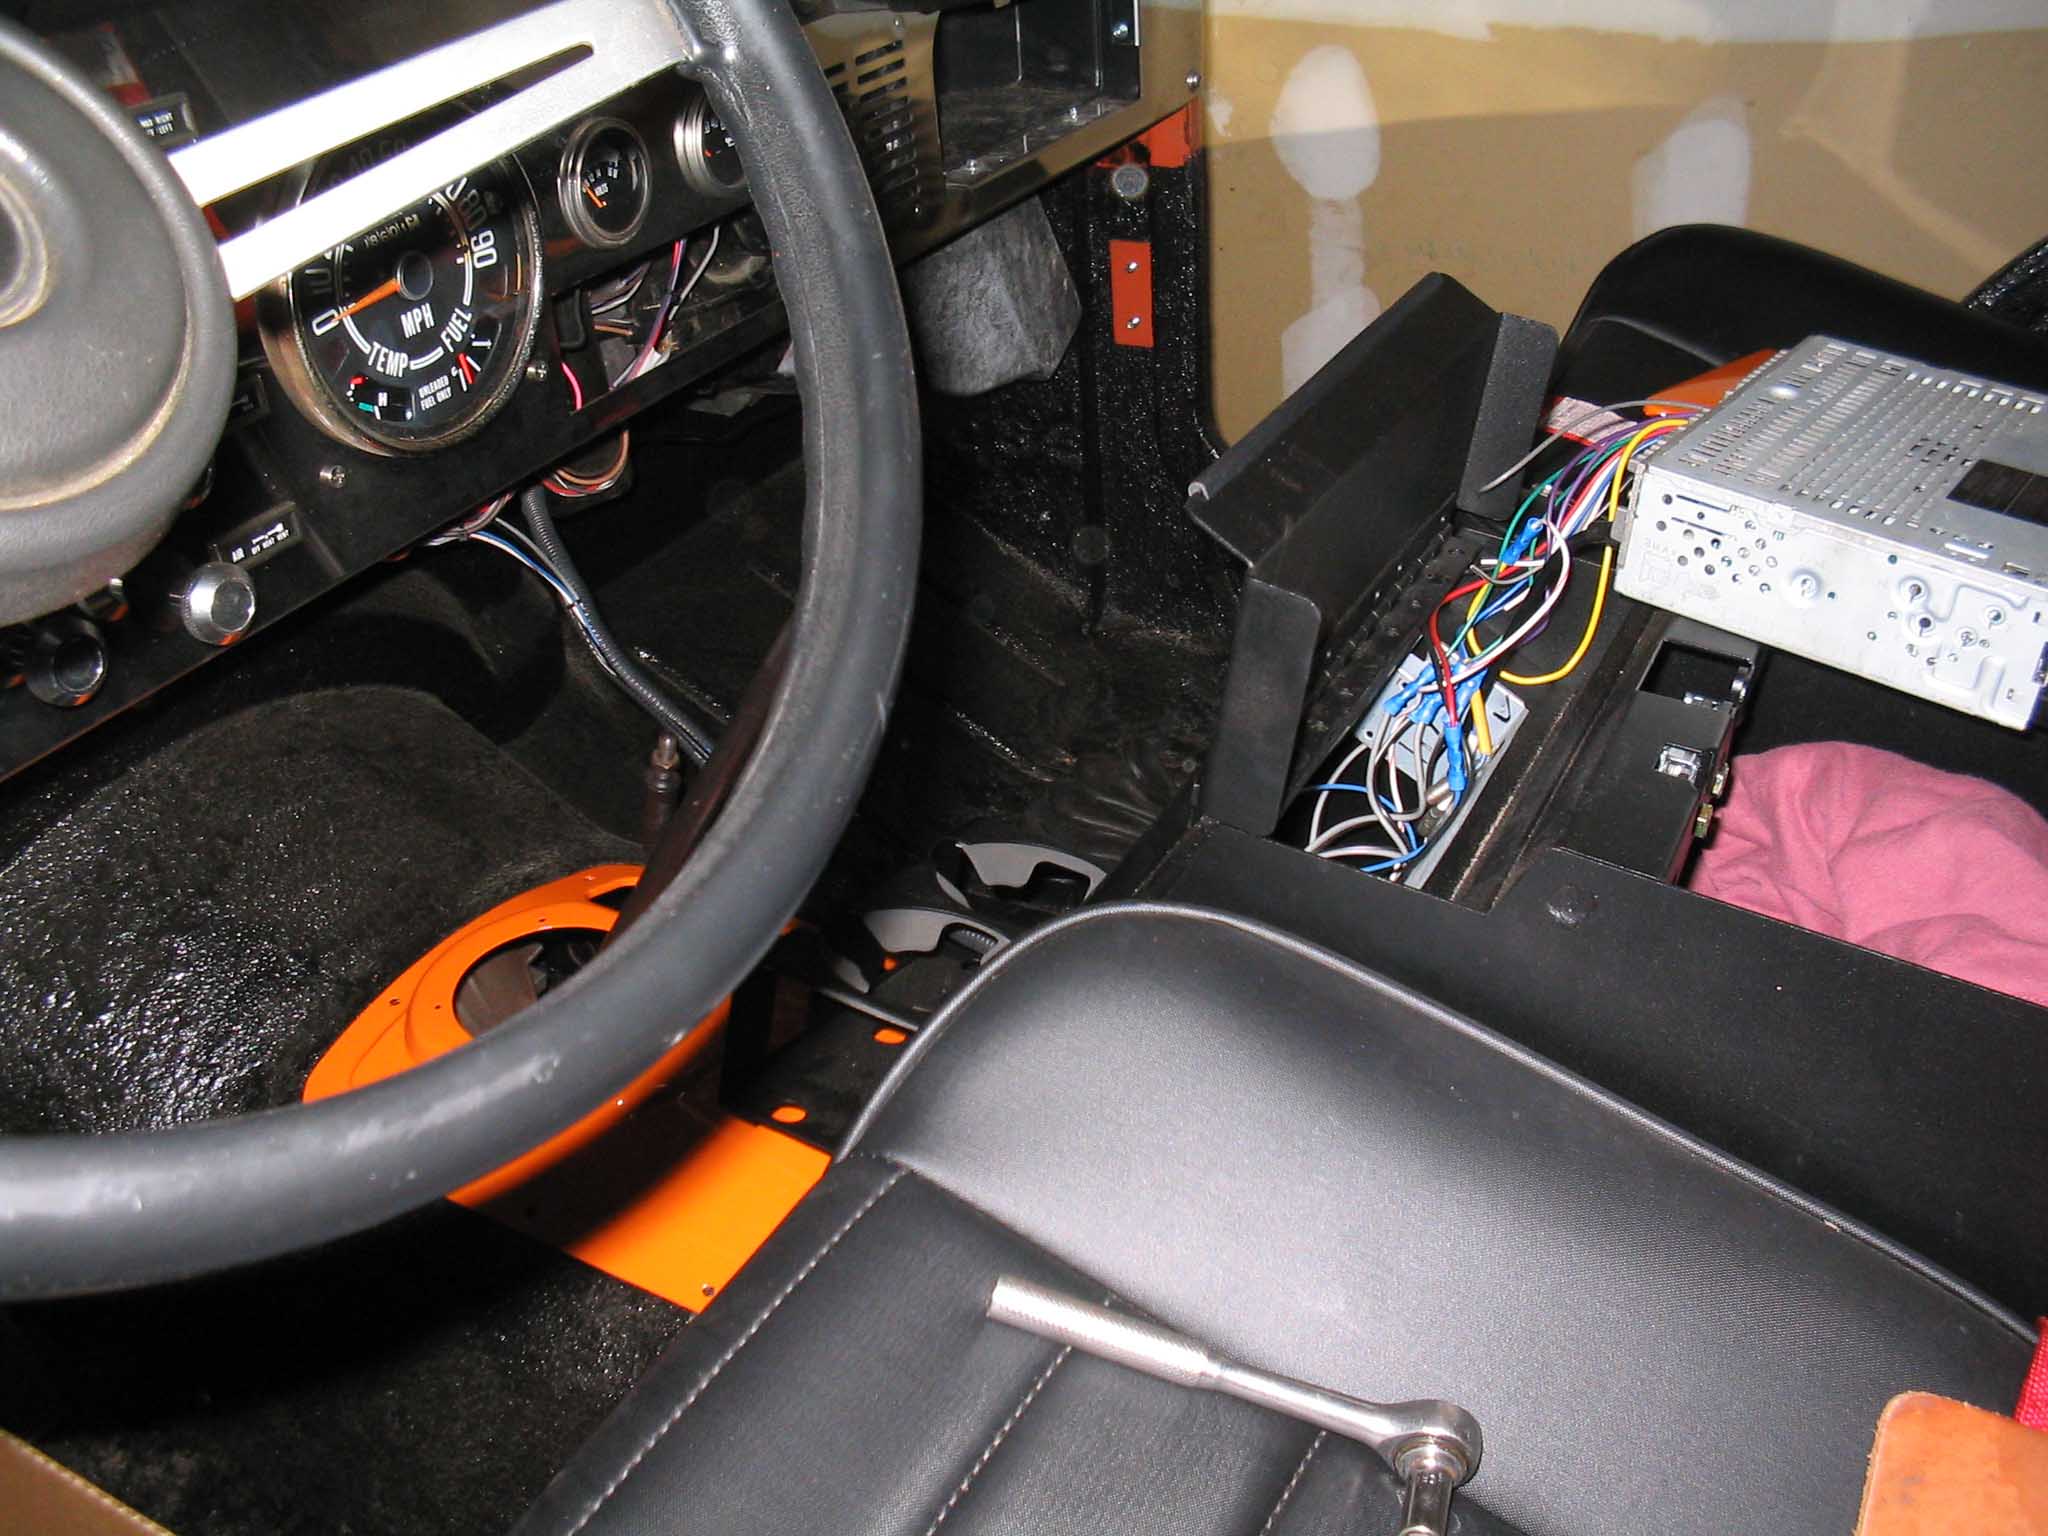
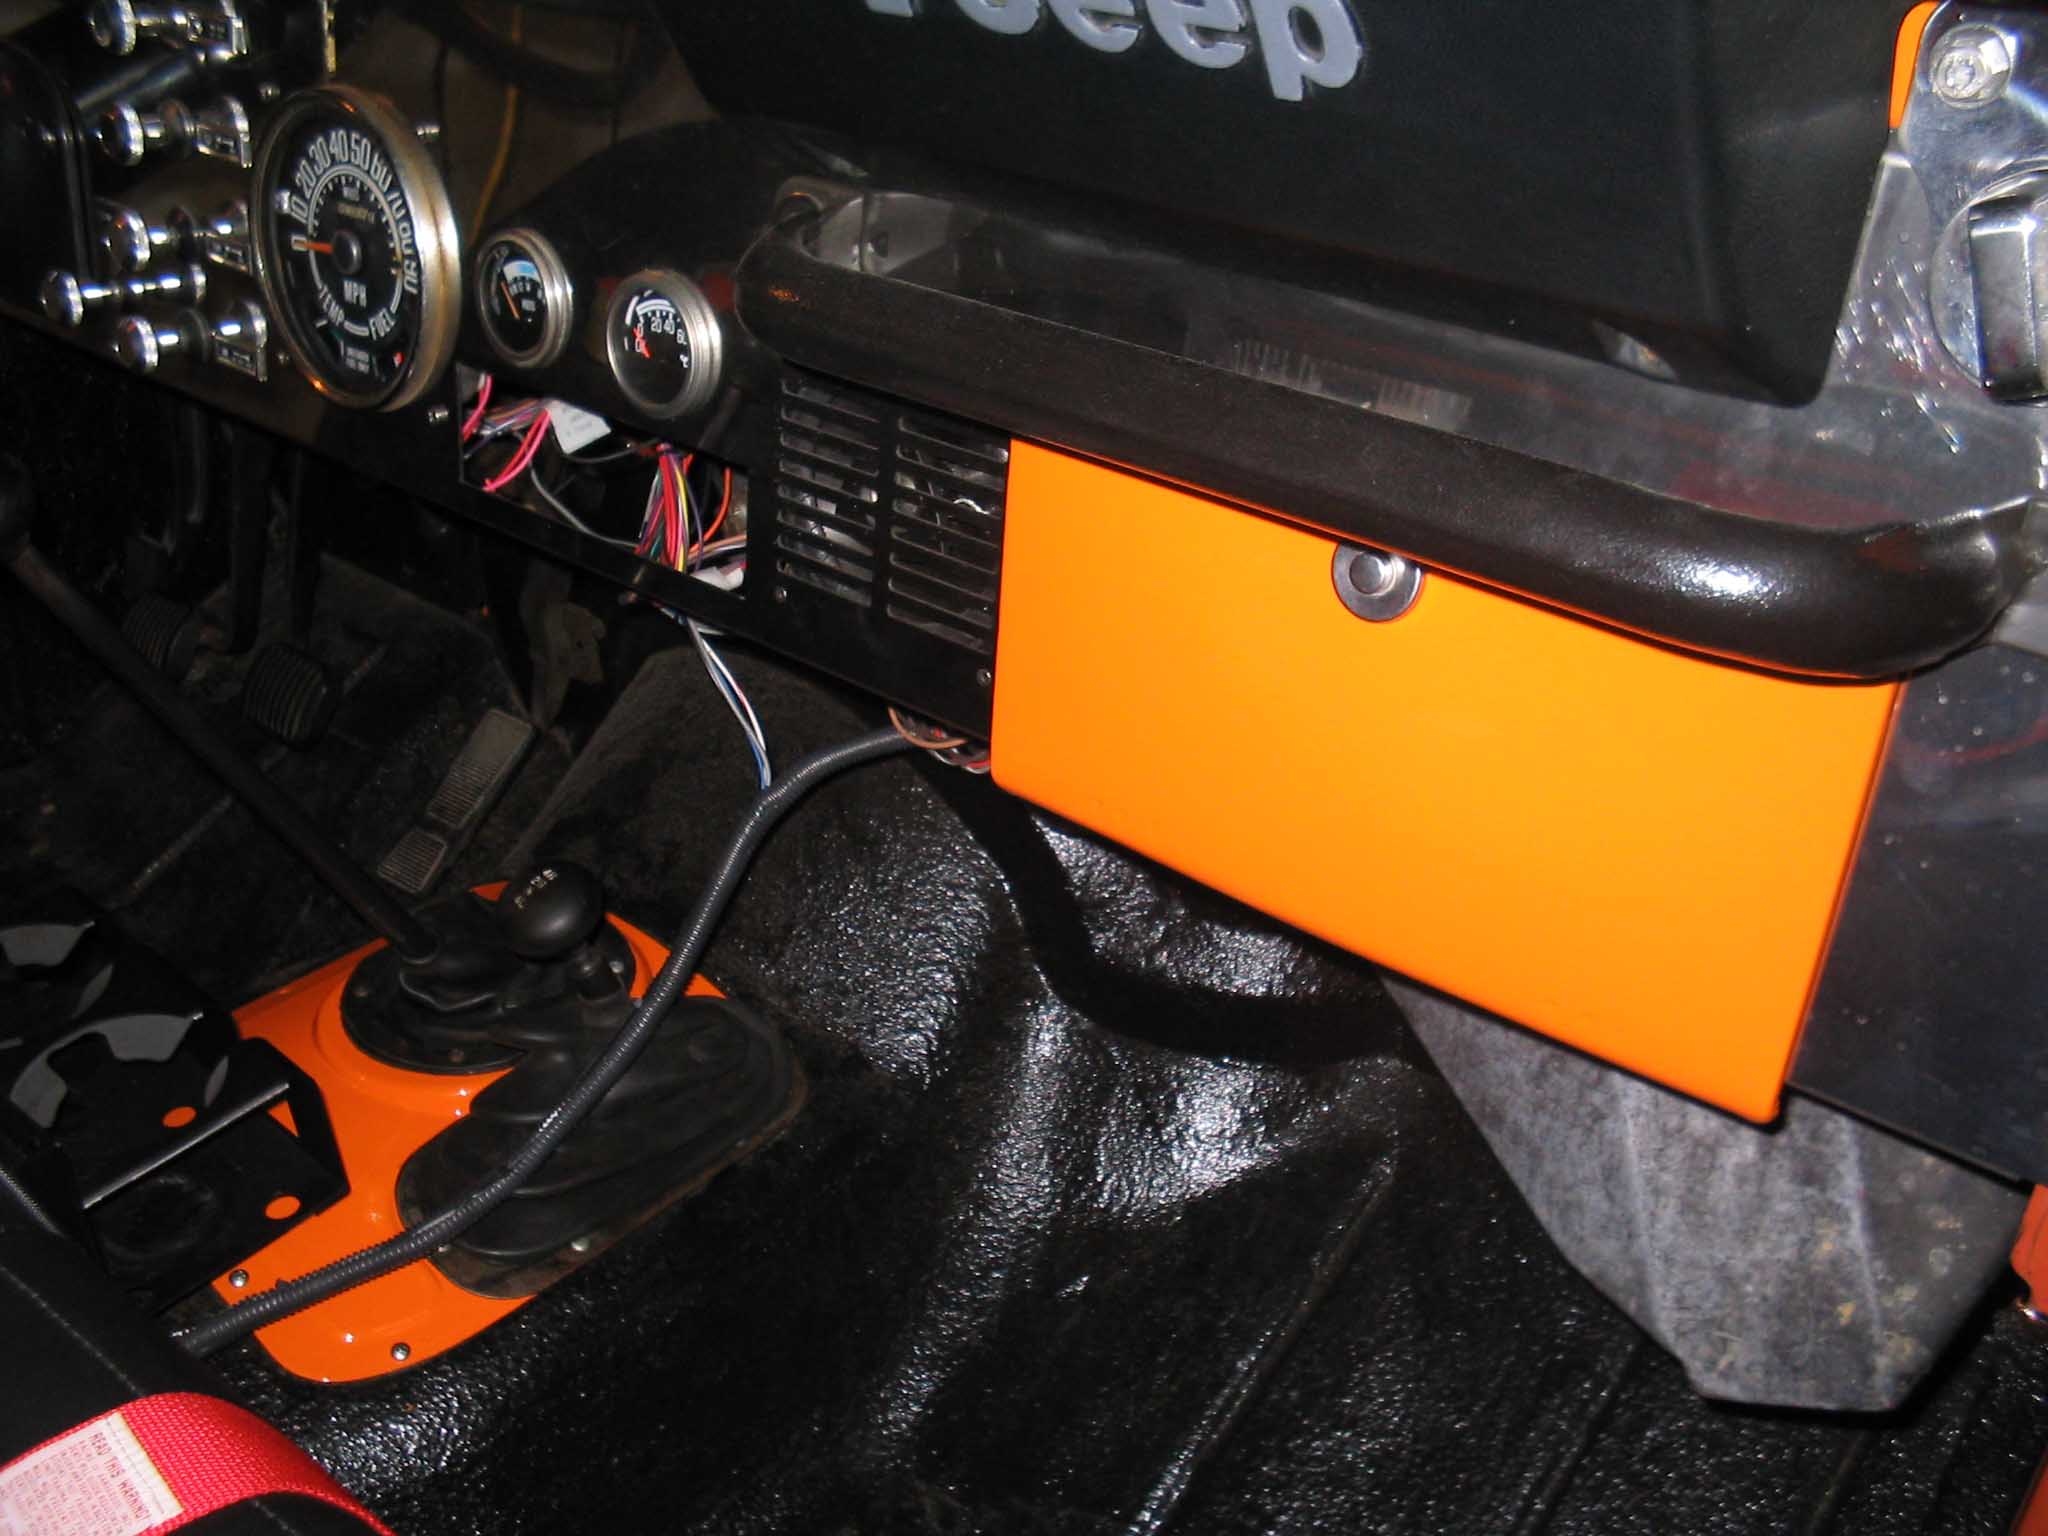
As luck would have it I was reading in
Quadratec about consoles
(part# 14028 01 07) and I came across the tuffy security console. This was the same one that I had read
about on the JeepForum that everyone had nothing but good things to say about. I did a little further research
and decided that this was the one that I wanted.
It came in the following day and I was ready to put it in when much to my chagrin, I needed to remove the seats
to get it in right. Note that for later, put the seats in, don't bolt them down, then take them out to put the
console in and then button everything up. It saves time.
|
| |
| Lessons Learned the Hard Way |
| |
So, my lessons learned here would have to be that you shouldn't put in the seats
fully until you have the console in place and secured down. Then, and only then, should you put in the seats.
When painting the shoulder harness mounts for the 5-point harnesses, you shouldn't do this in the rain. It
was drizzling out when I took the rattle can to them and I got a few bubbles. It was nothing that I couldn't
live with, but if you are building a show Jeep, then you don't want to make this mistake.
|
| |
| Conclusions |
| |
| This is a pretty easy thing to do for a nice clean look to the Jeep, that also
adds functionally to your everyday driving and off-roading safety. Having the new seats, the console, the
5-point harnesses and the attachment points were quite an upgrade to the interior of the Jeep. It took so
doing in ordering everything up and the expense was up there, but what I ended up with was a fully functional
interior that I am quite pleased with.
|
|