|
|
| Affordable Fuel Injection Installation - Part #1 |
| |
| After reading about many stories of people four wheeling with carburetors that
flooded out on steep inclines and declines, I decided that fuel injection might be a good idea for the Jeep. I
did a lot of research on the subject and came across a company called
Affordable Fuel Injection. They
had what seemed to be a good product at a reasonable price. I also checked out Howell fuel injection systems,
but in the end, I decided to go with Affordable.
|
| |
|

|
| |
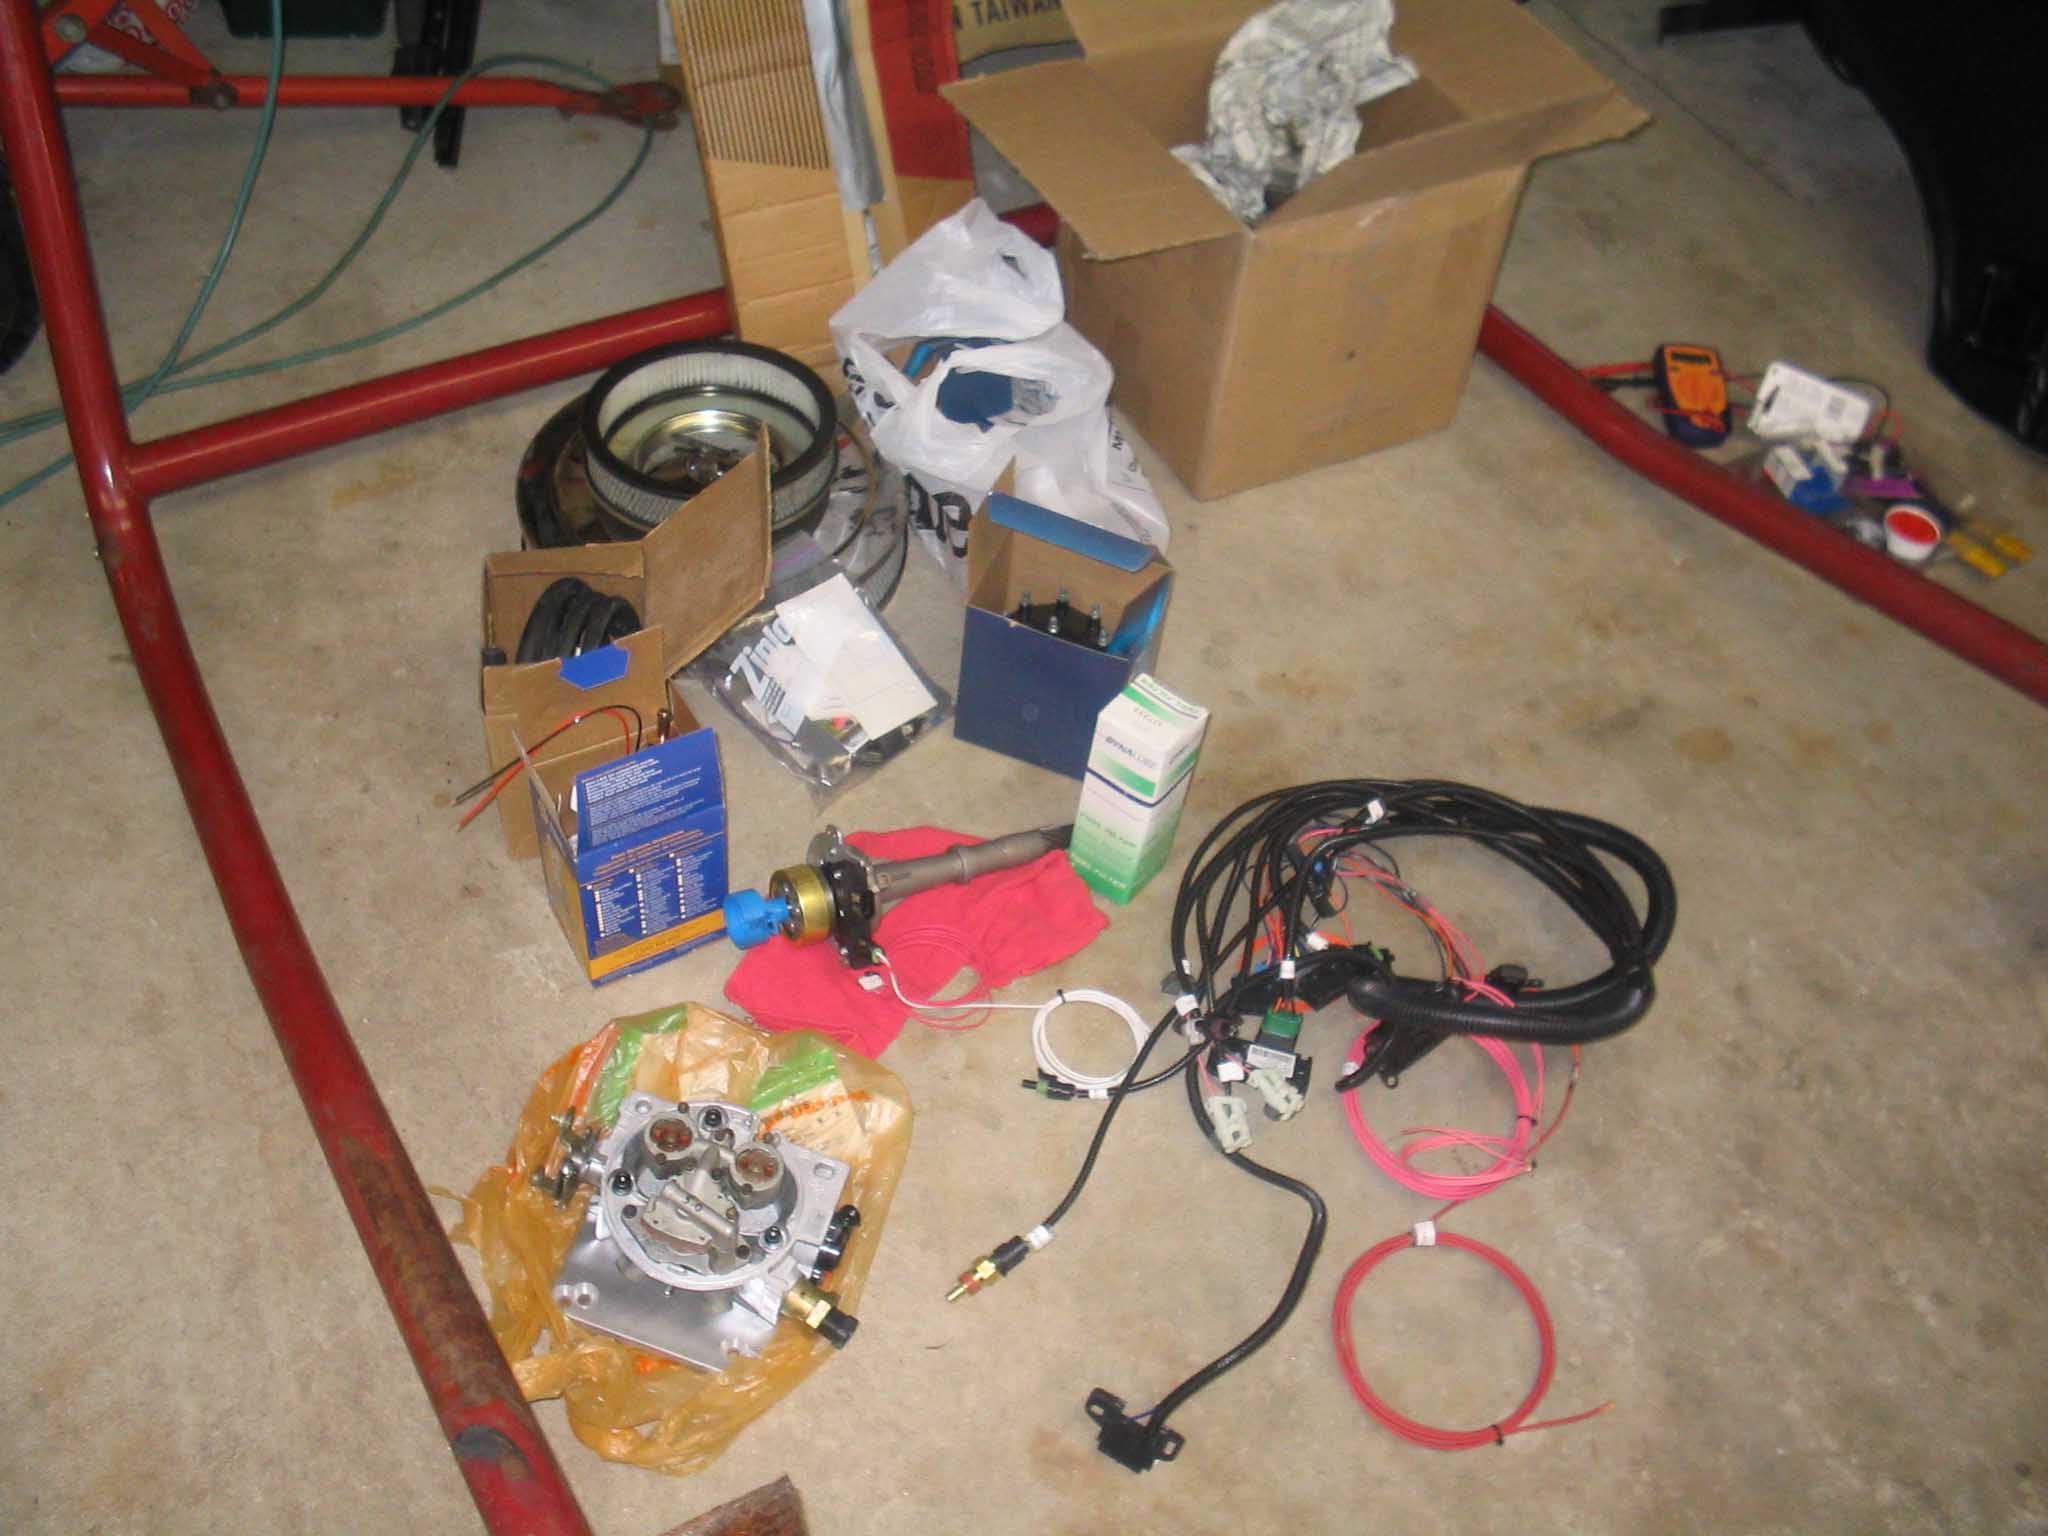
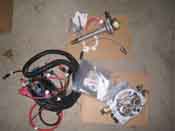
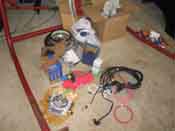
I ordered up the system and then got it a few weeks later. These are custom
made systems from GM systems. You can order simple setups all the way up to complete systems that come with
technical support. I opted to spend the extra money for a complete system since this was the first time I had
ever attempted to do fuel injection. Included in the kit is a complete instruction manual that I read many
times to familiarize myself with everything.
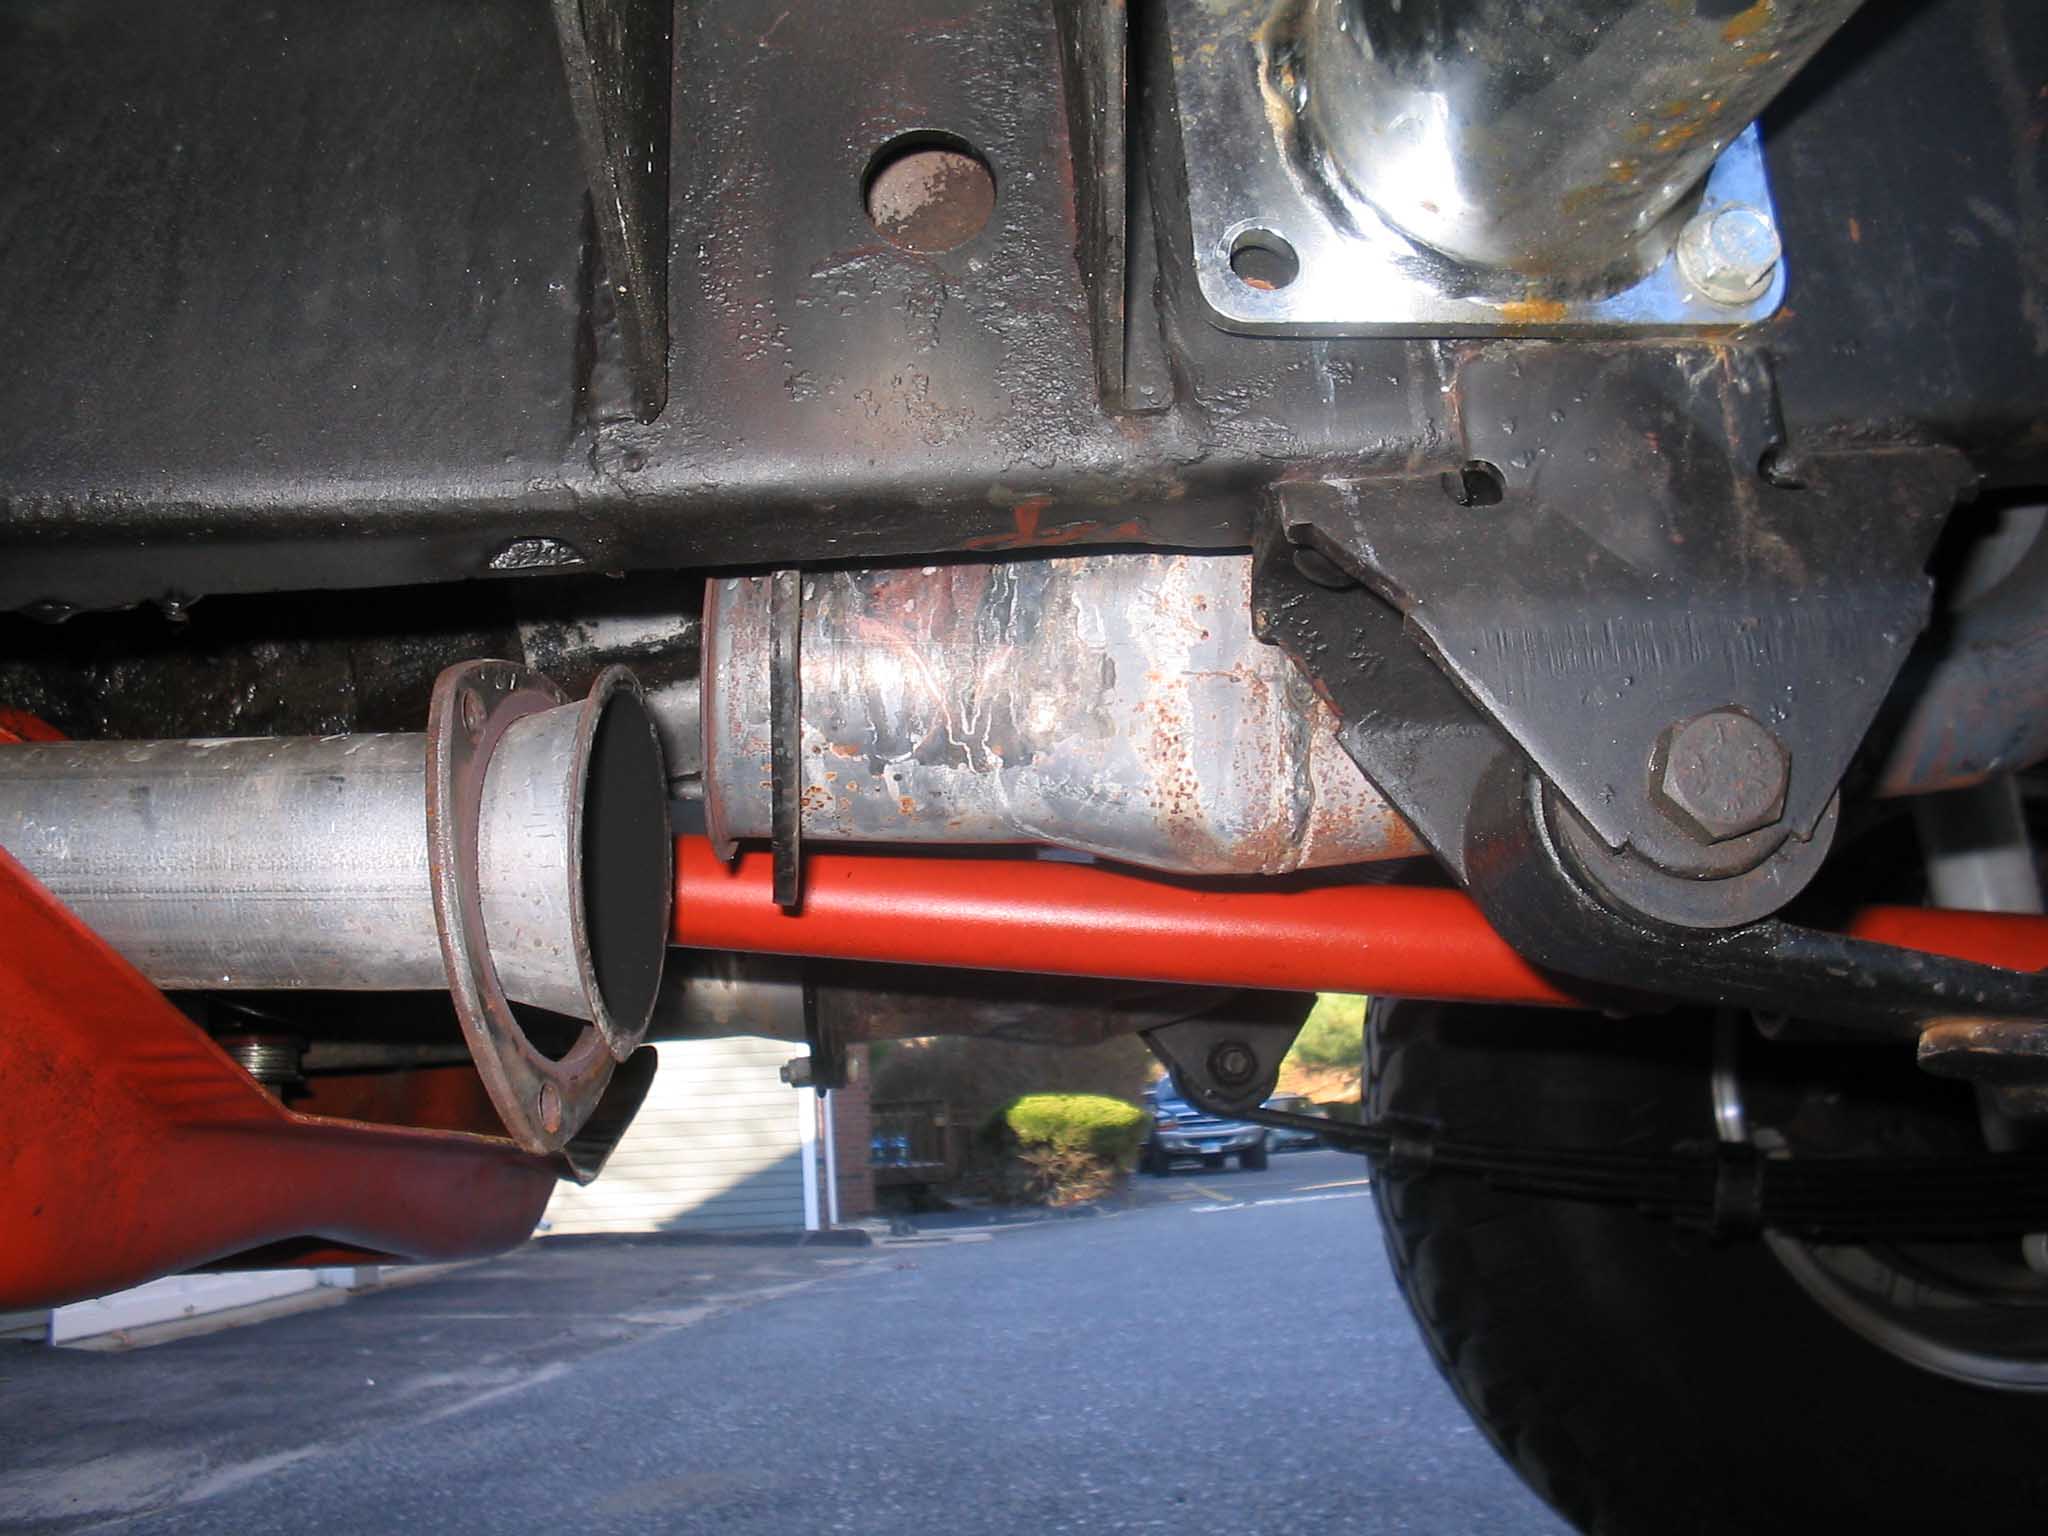
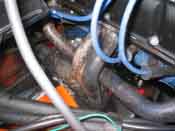
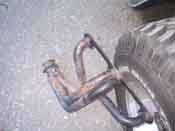
There was a lot of prep work to do, so I decided I would do some of this before the big day. The first thing
that I saw was that I had to add an O2 sensor or oxygen sensor to the collector of the header. Included in the
kit was the sensor as well as a "bung" that would need to be welded to the collector. I removed the header,
drilled a hole, and then welded in the bung and made sure the sensor fit in what will become its new home.
|
| |
|
|
| |
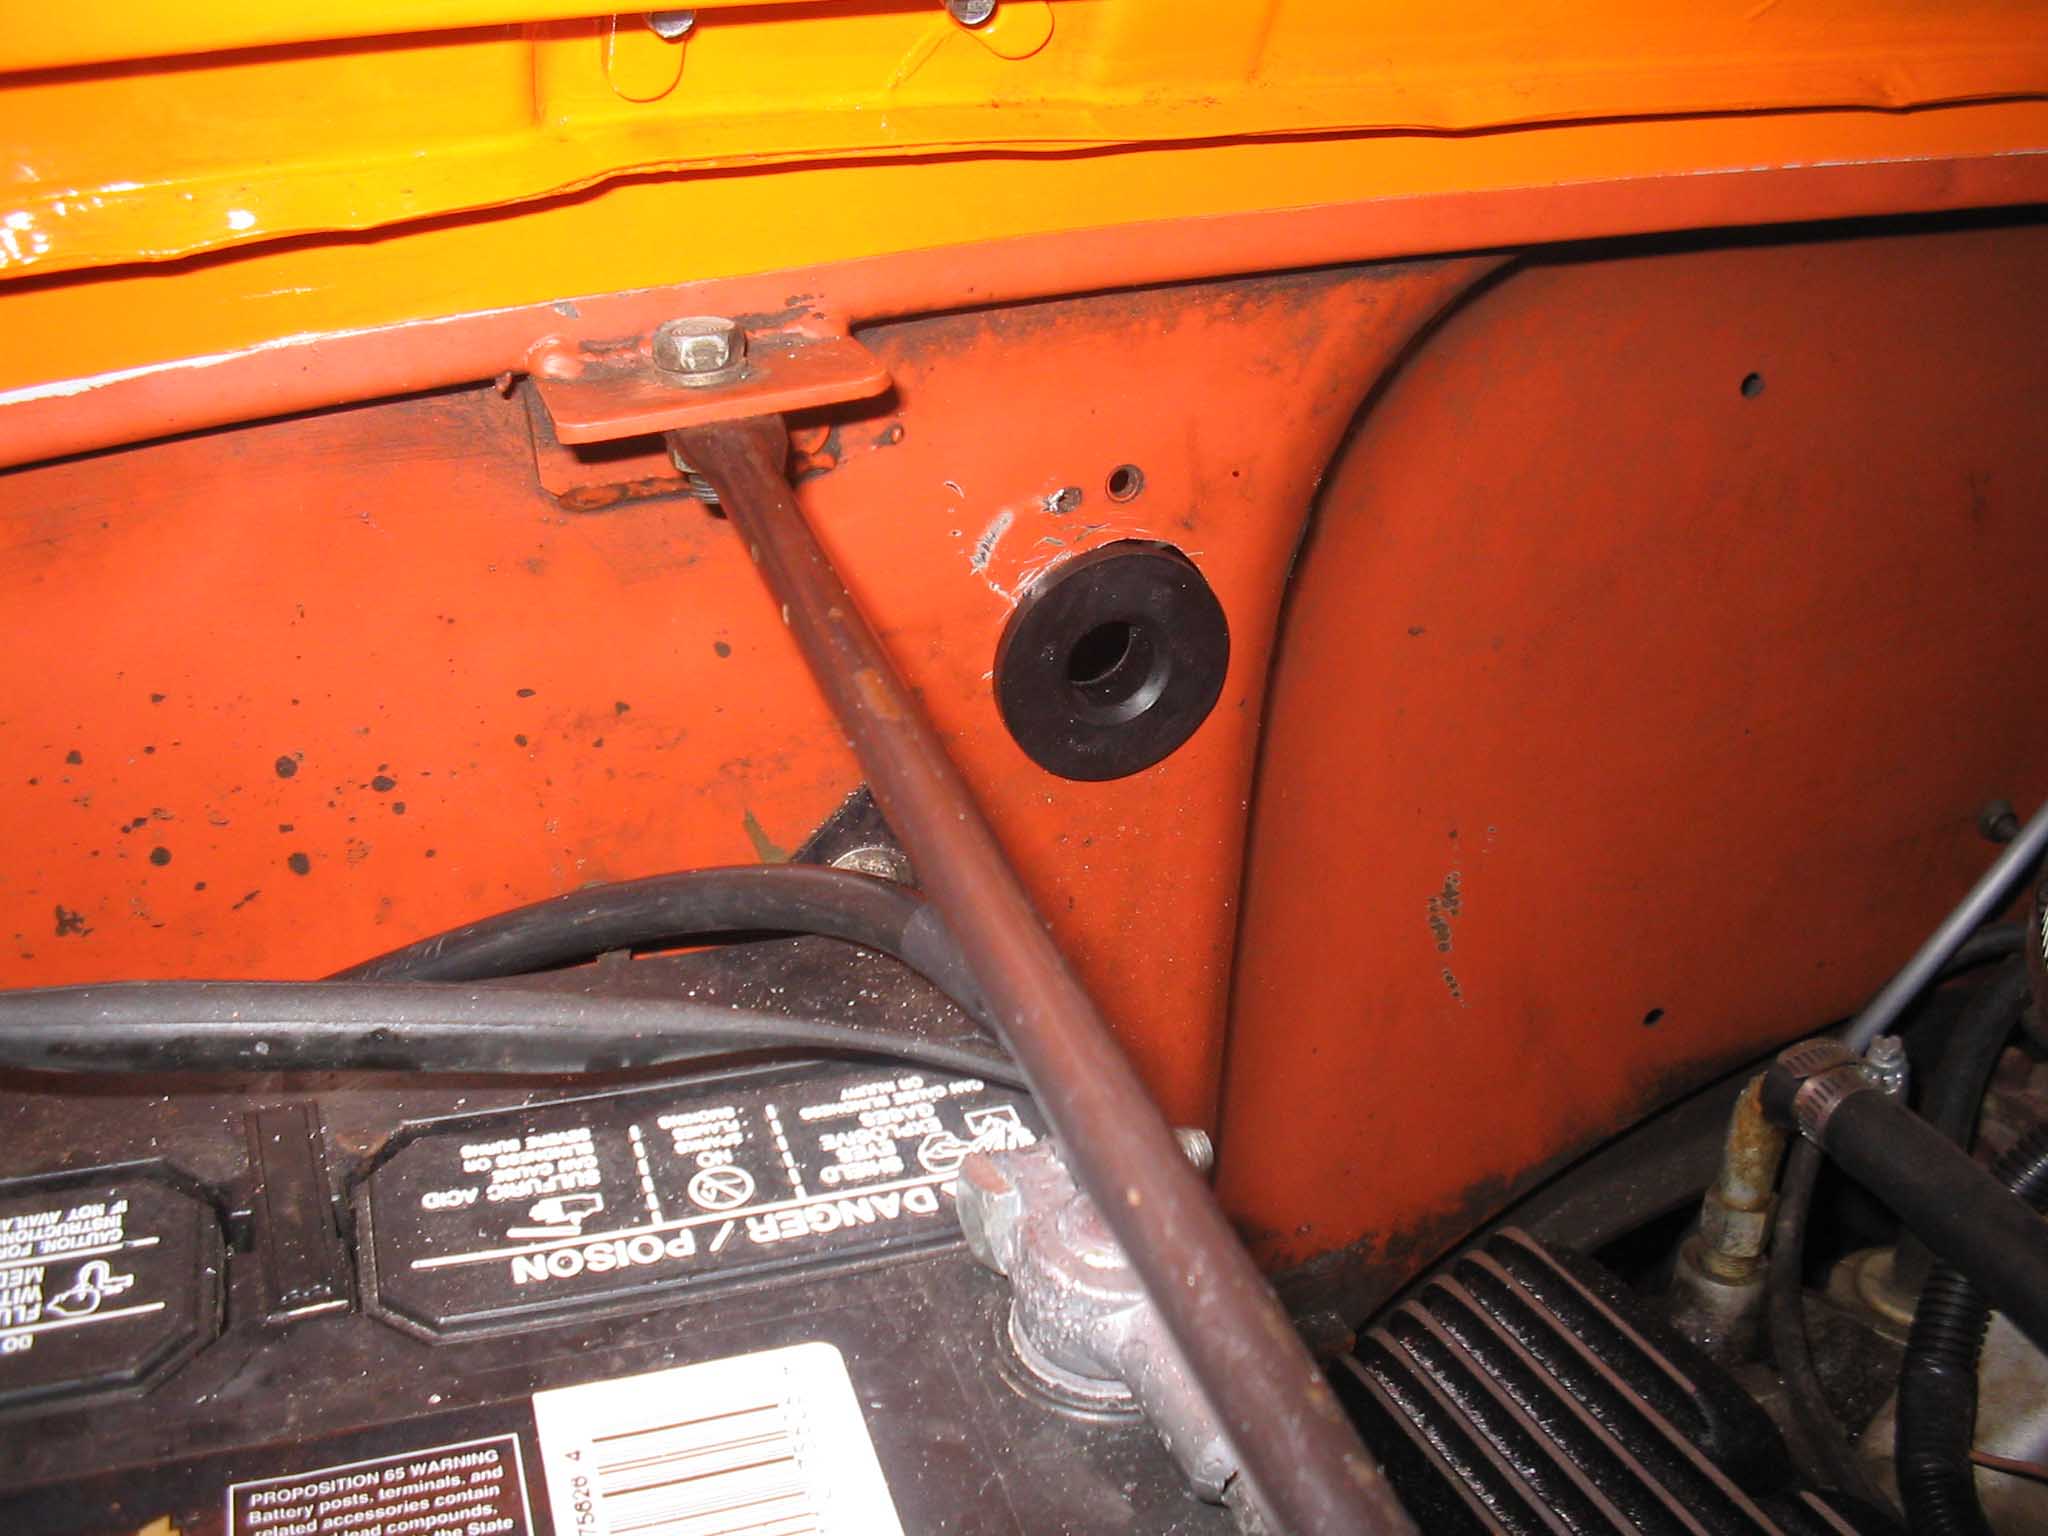
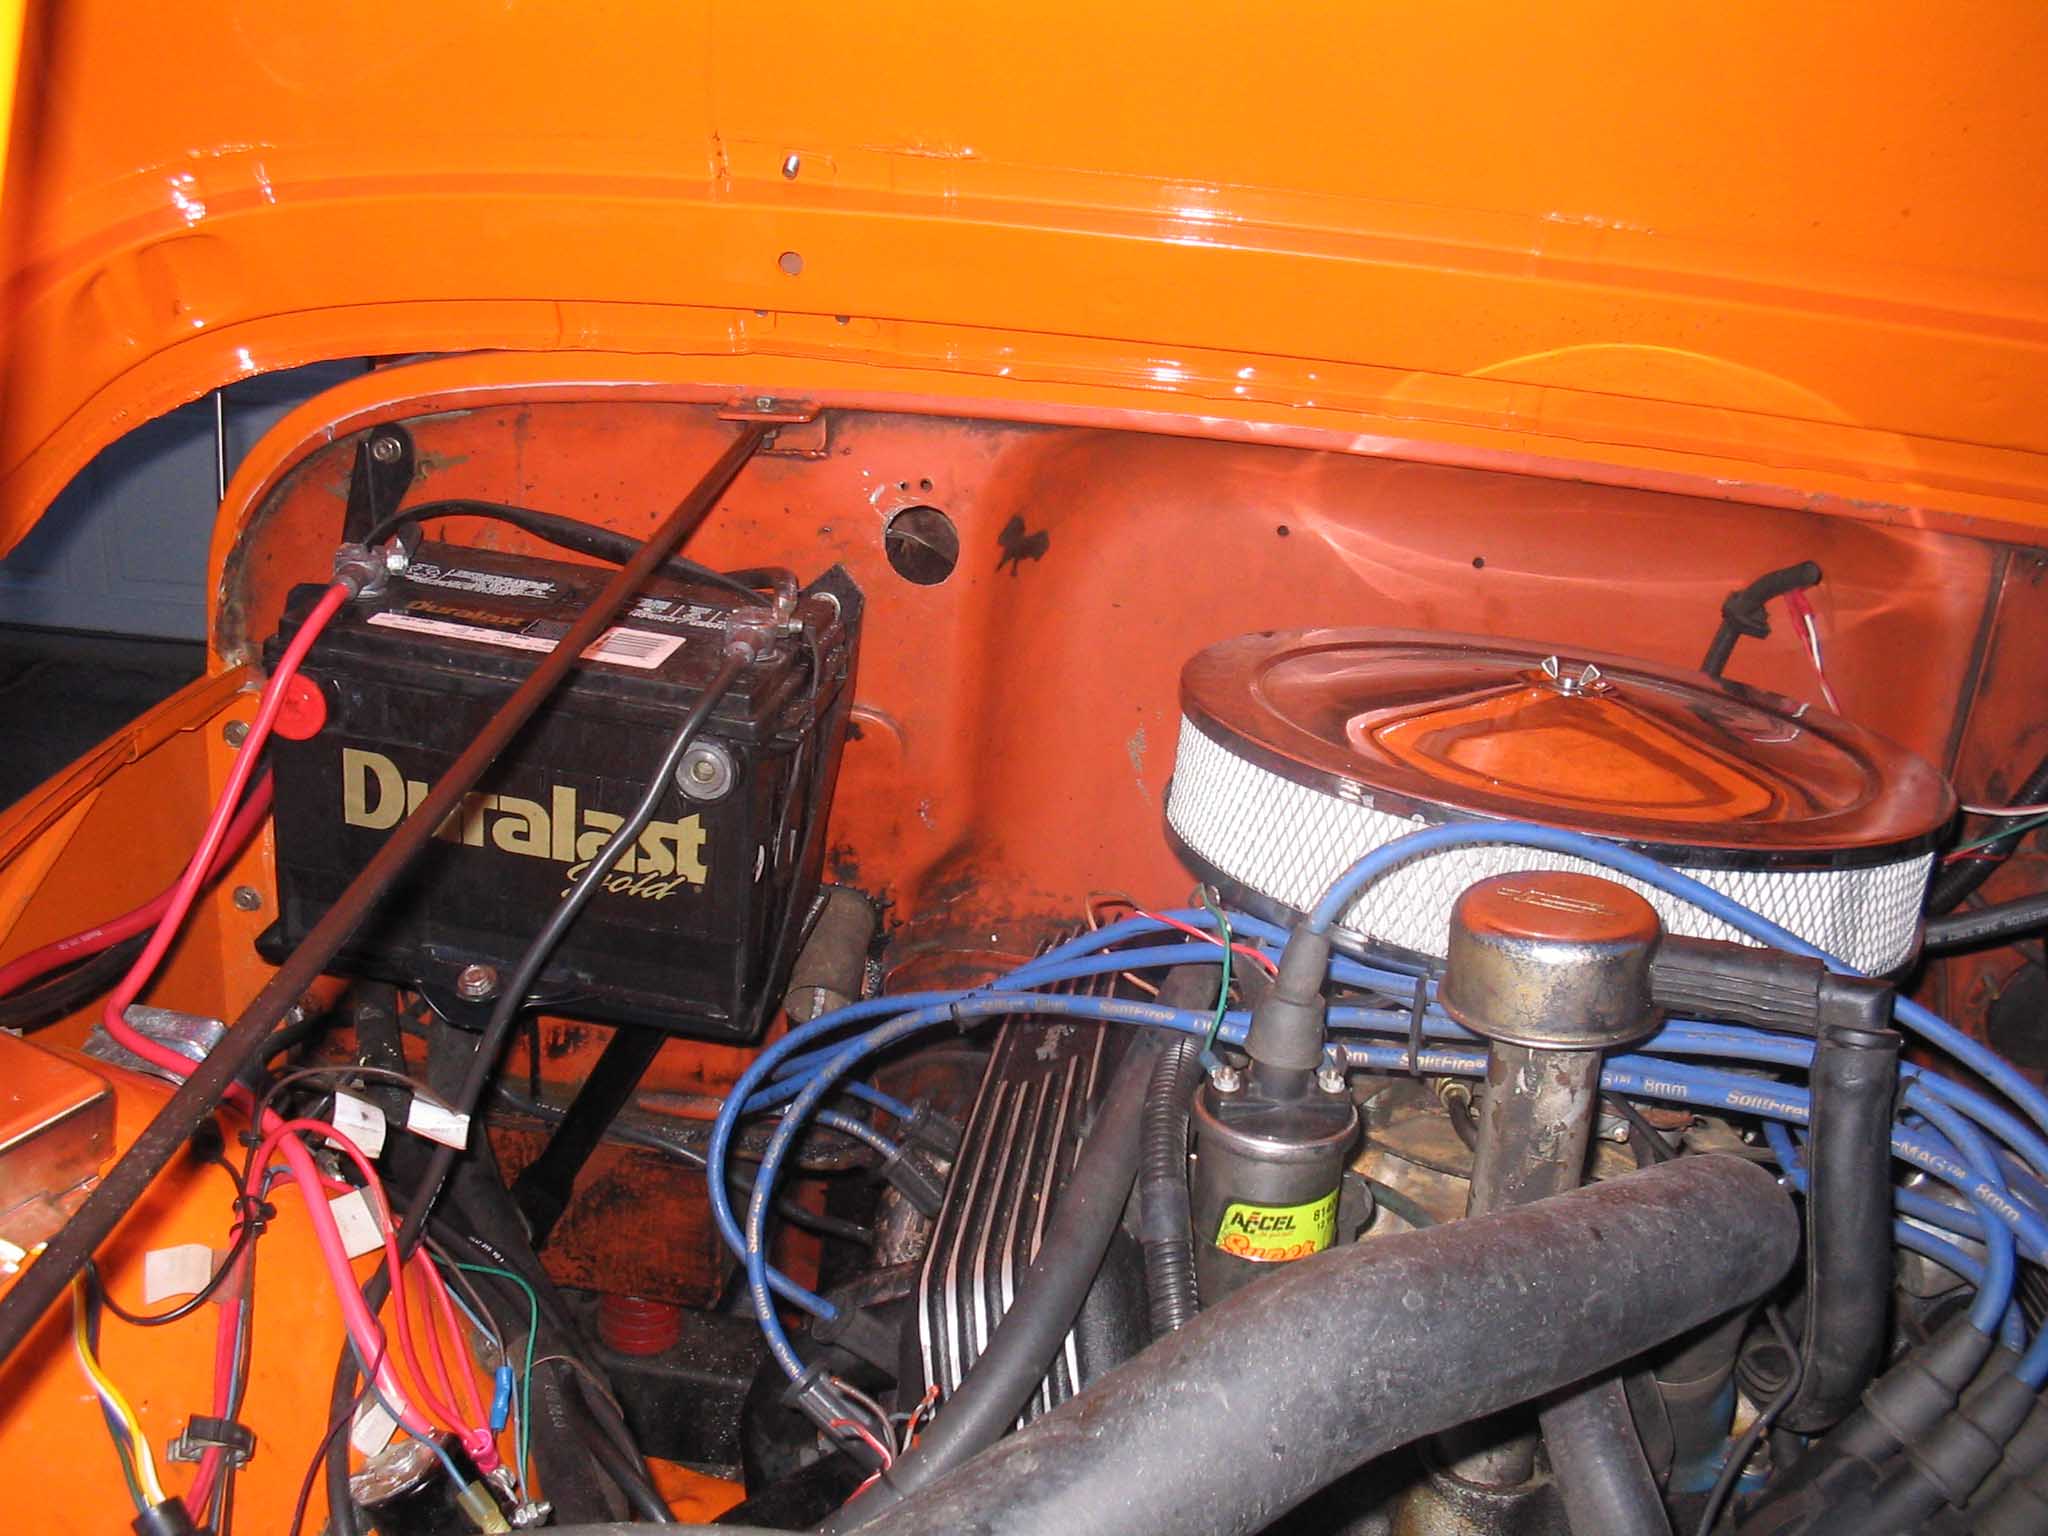
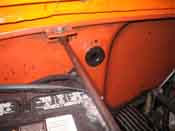
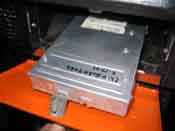
| After the O2 sensor bung was installed, my attention turned to the area of
a hole in the firewall to put the wiring harness through to hook to the computer that needs to be stored in a
dry place. I asked a few questions and it seemed like the glove box would be a great place to put the
computer. I cut the hole with a 1.5" hole saw and then grinded down the surrounding area. I tested to make
sure the wiring harness would fit in and then I was off to the parts store to get some Velcro so the computer
would stay still and also a grommet for the wiring harness so the wires wouldn't chafe when going through the
firewall.
|
| |
|
|
| |
| With the preparation work out of the way the best I could do, I took the Jeep up
to the garage to start working on the Fuel Injection installation. I didn't put the O2 sensor in, so it was
quite loud on the way up, it was funny. The hole in the firewall didn't help things either, that just made the
inside of the cab all that much noisier.
|
| |
| |
|
|
| |
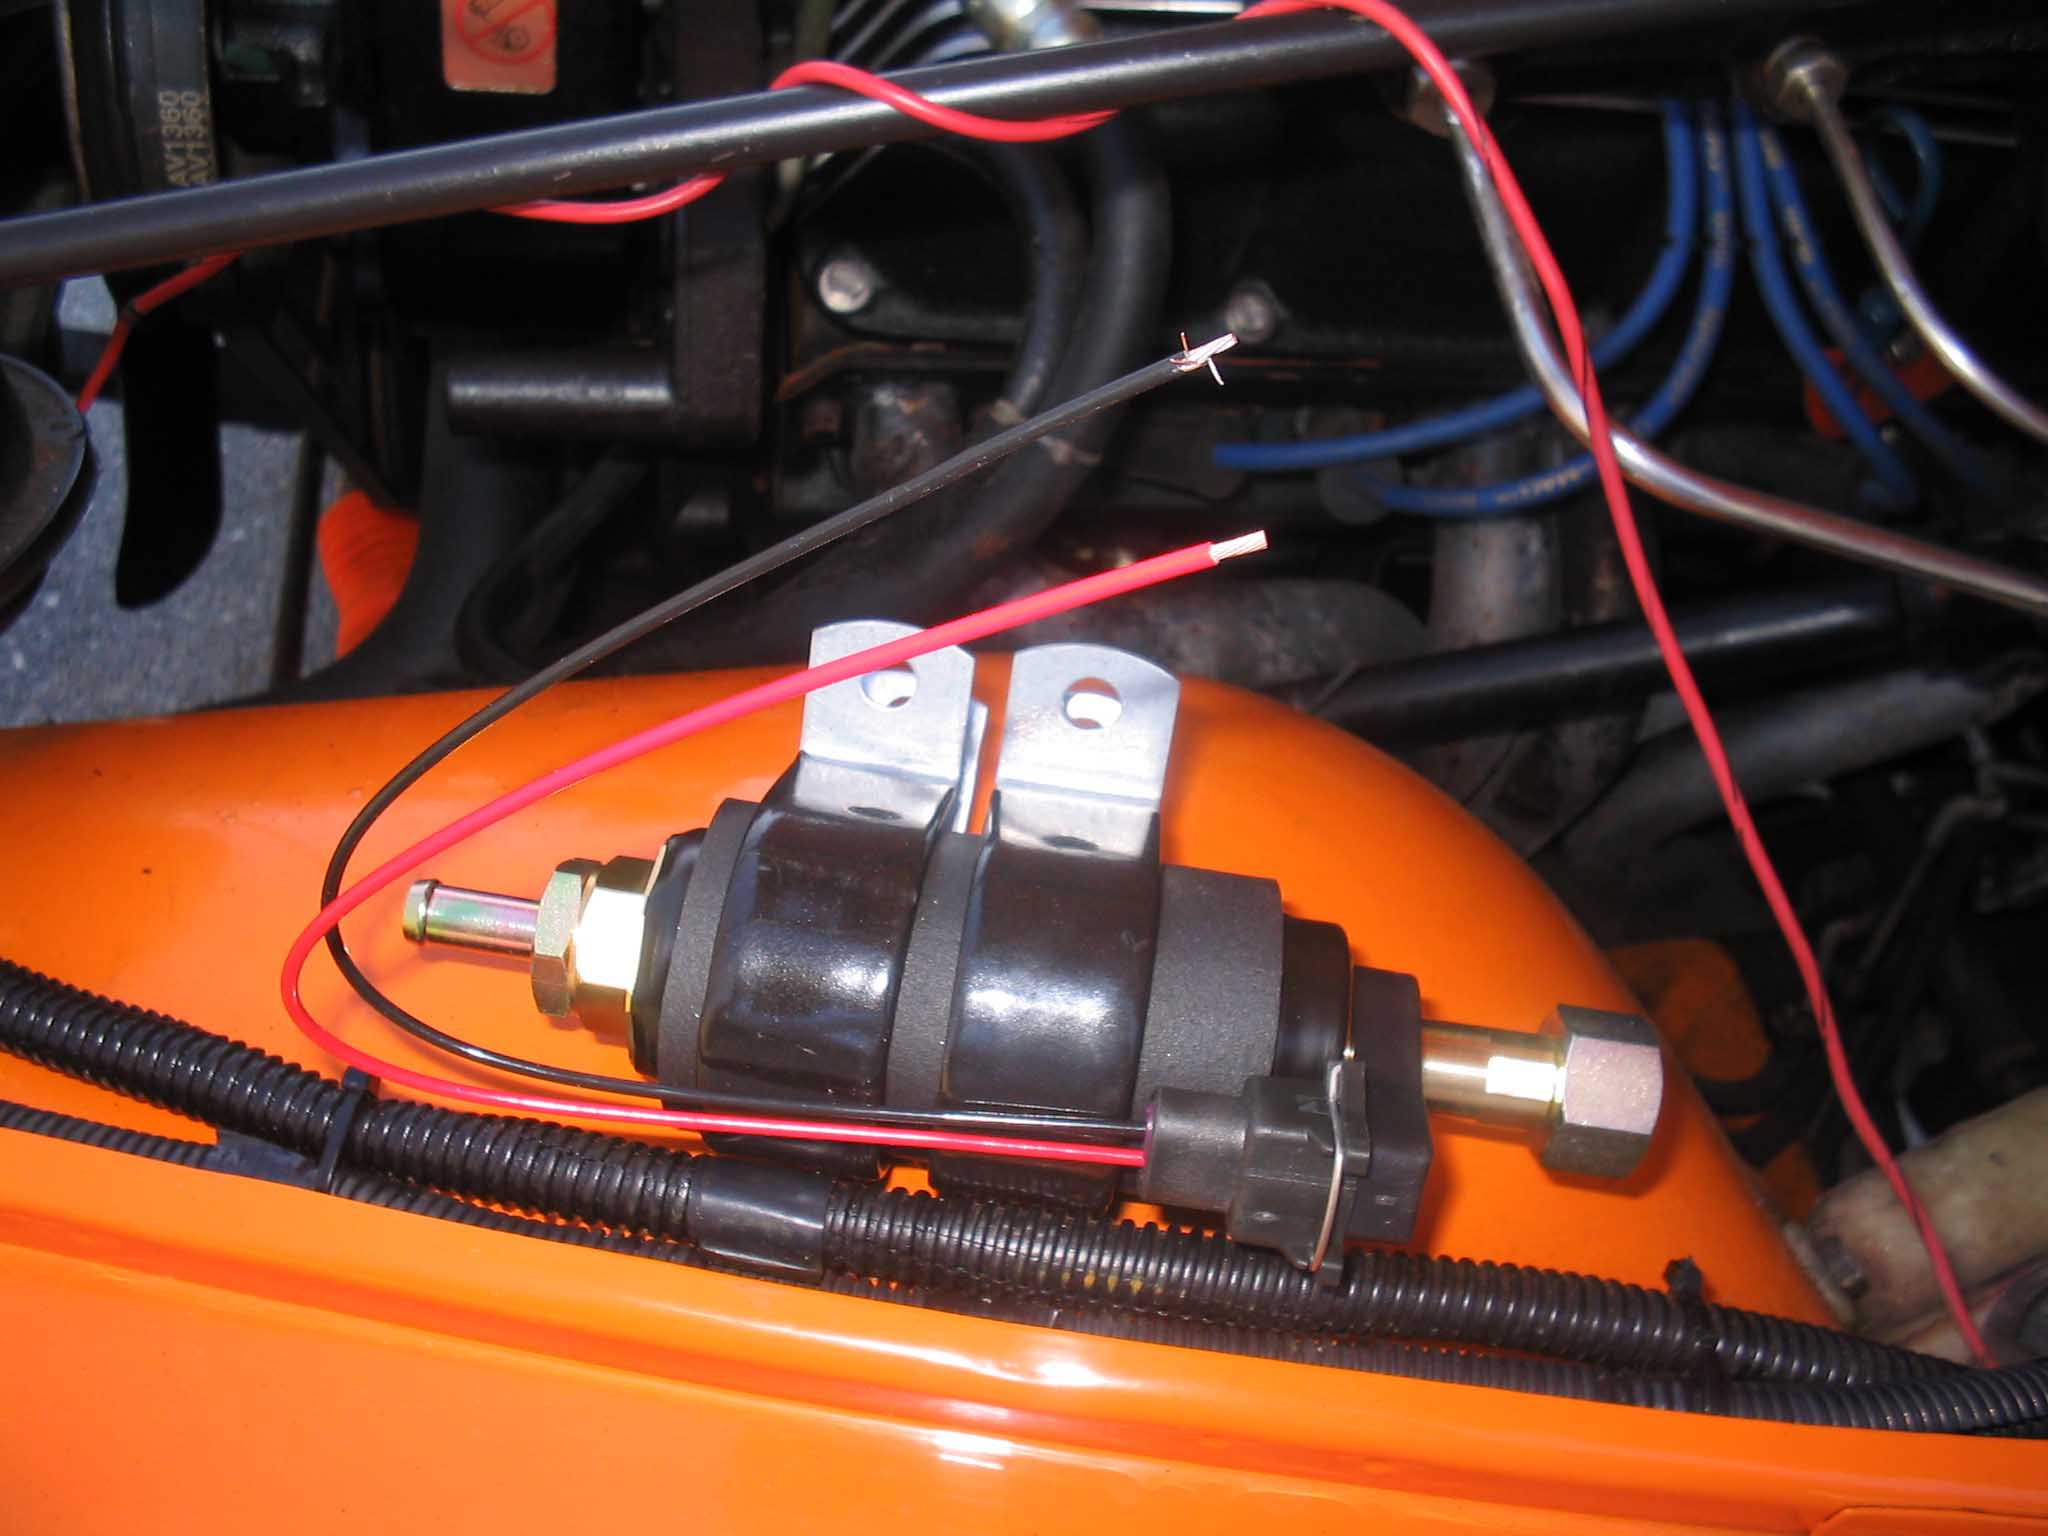
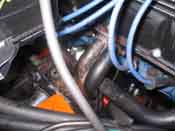
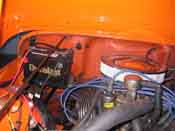
| Upon getting to the garage, I was able to get the heater hose disconnected to
put a T-fitting into the rear of the intake manifold, so the temperature sensor could be put in place. This
was accomplished for a couple of bucks at Home Depot. I put plenty of Teflon tape on the threads and everything
was secured down nice and tight. It looked great when it was done.
|
| |

|
|
| |
| Last |
Next >> |
|