|
|
| Affordable Fuel Injection Installation - Part #3 |
| |

|
|
| |
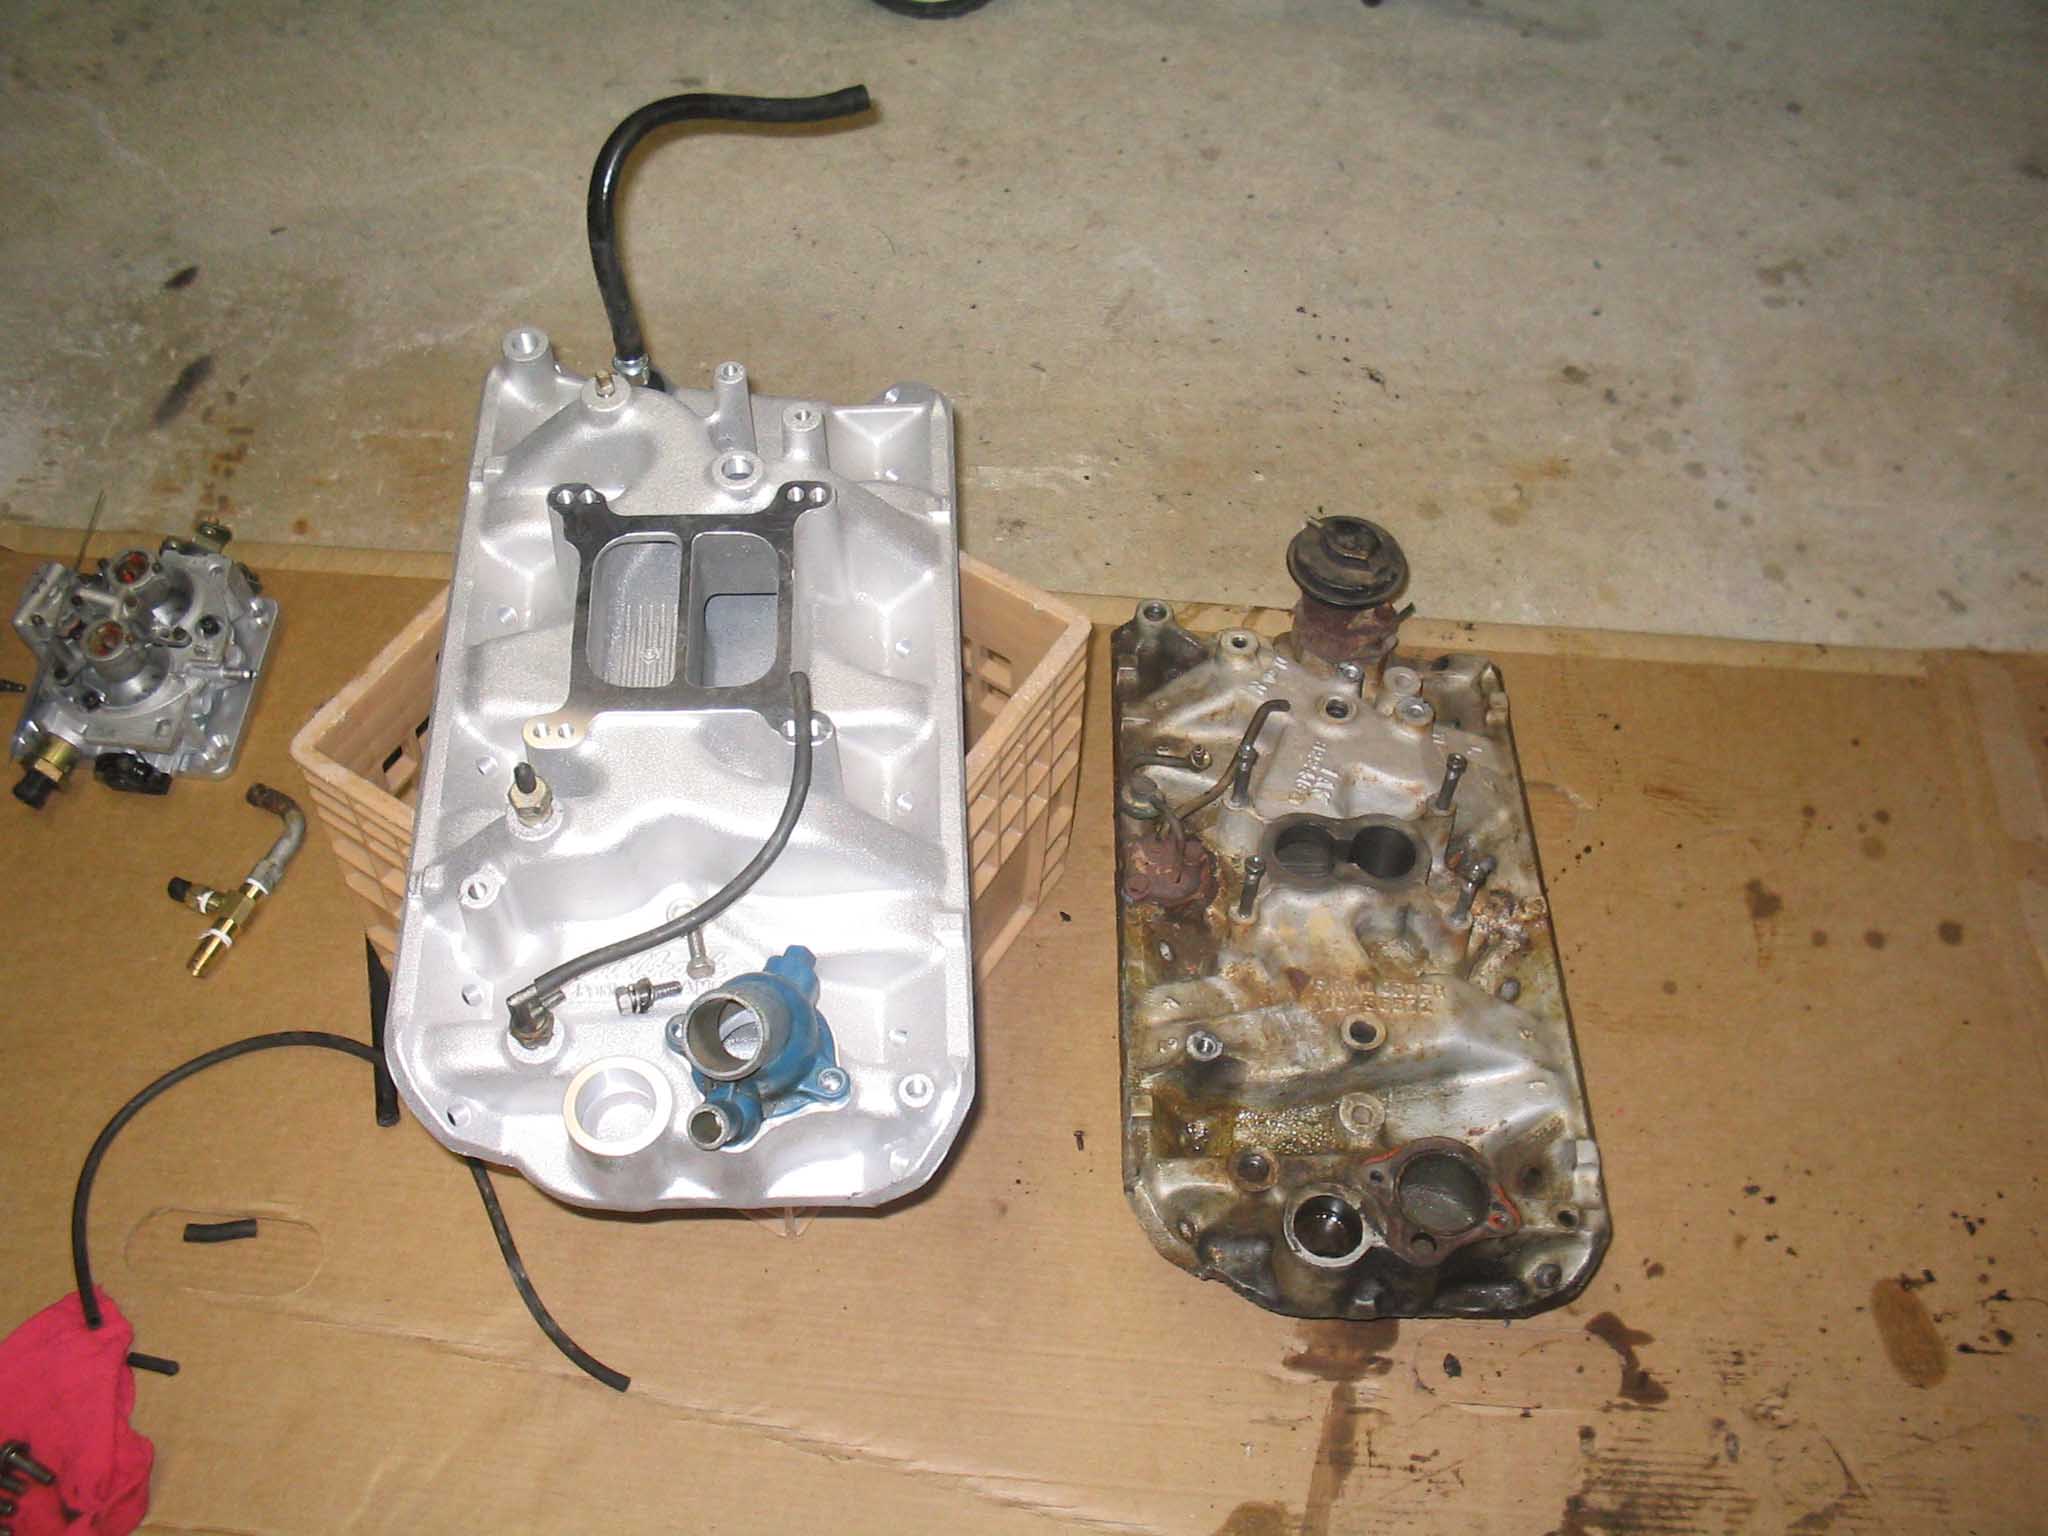
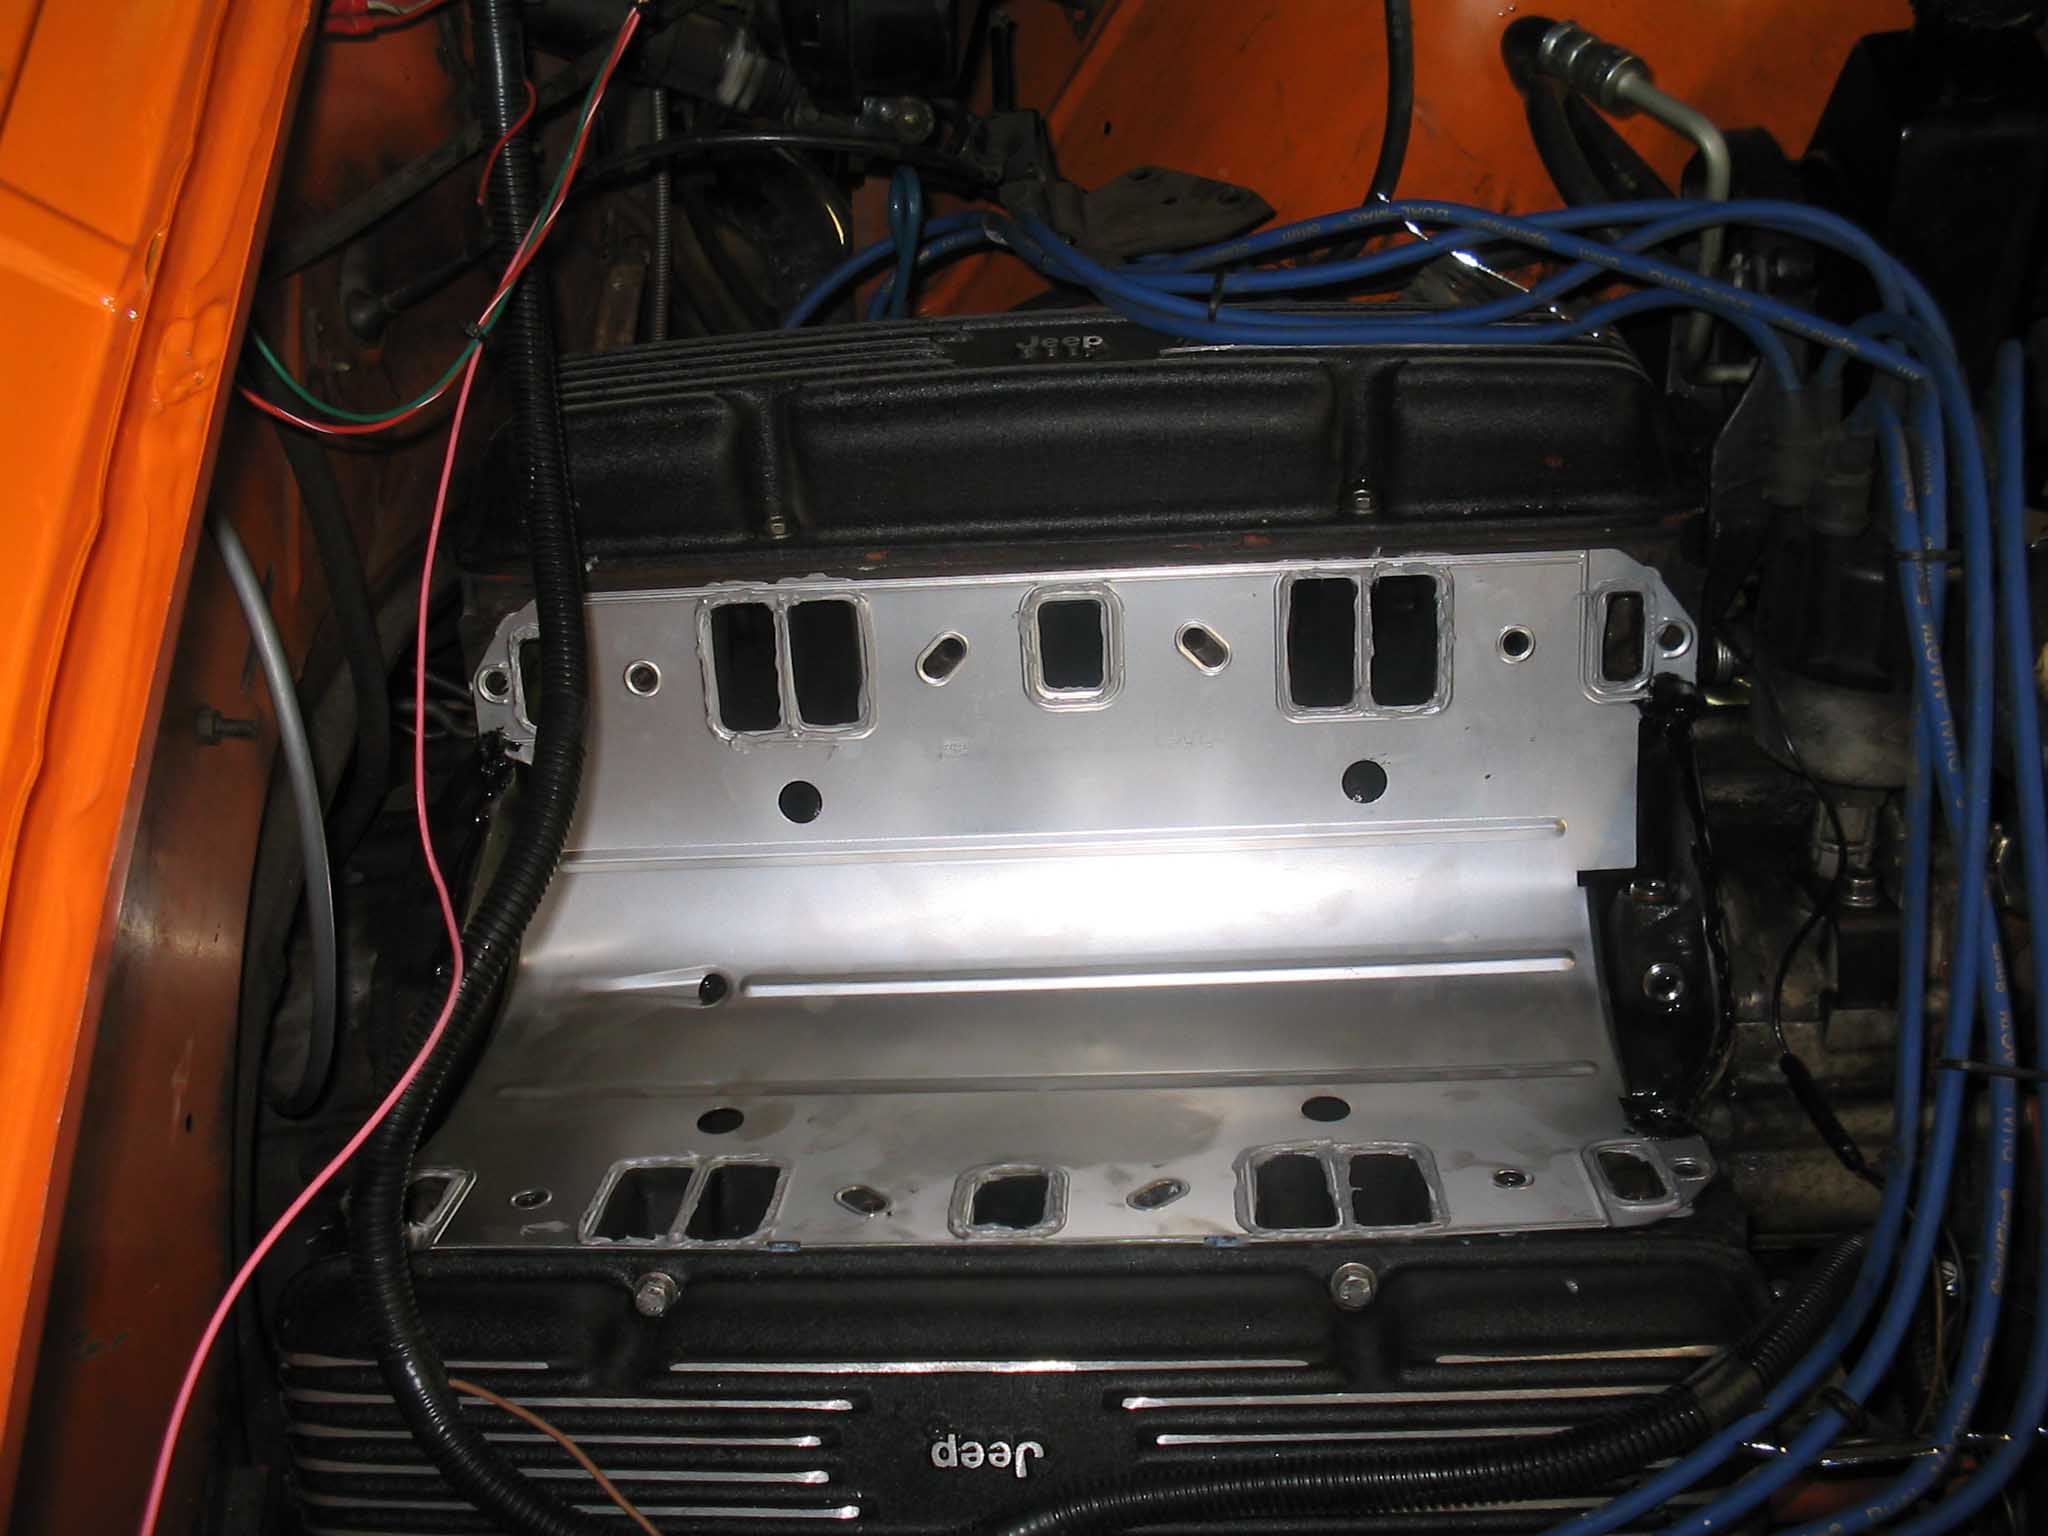
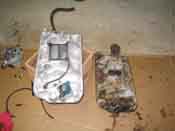
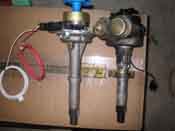
| Side by side comparisons and fitting were done with the new manifold and then
the weight test was done. I stepped on the scale with the old one and then with the new one. The difference
in the weight of the old one versus the new one is 43 lbs. That is crazy. The new one weighs in at 22
lbs. as it is, so just image how much extra weight that engine was carrying around. Combine this weight loss
with a better fuel management as well as a tighter sealed up engine breathing better with a new pvc valve and
that just spells out how I can't wait to fire this up and take it for a ride.
|
| |
|
|
| |
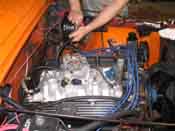
| So, the next few days were fun with putting the fuel injection on. I had been
foolishly thinking that this would take no time at all to do and boy was I wrong. So far at this stage, I had
put in about 15 hours of doing this not to mention the time it took to go to the store and get the parts and
other running around and finally waiting for the parts to come in.
|
| |
|
|
| |
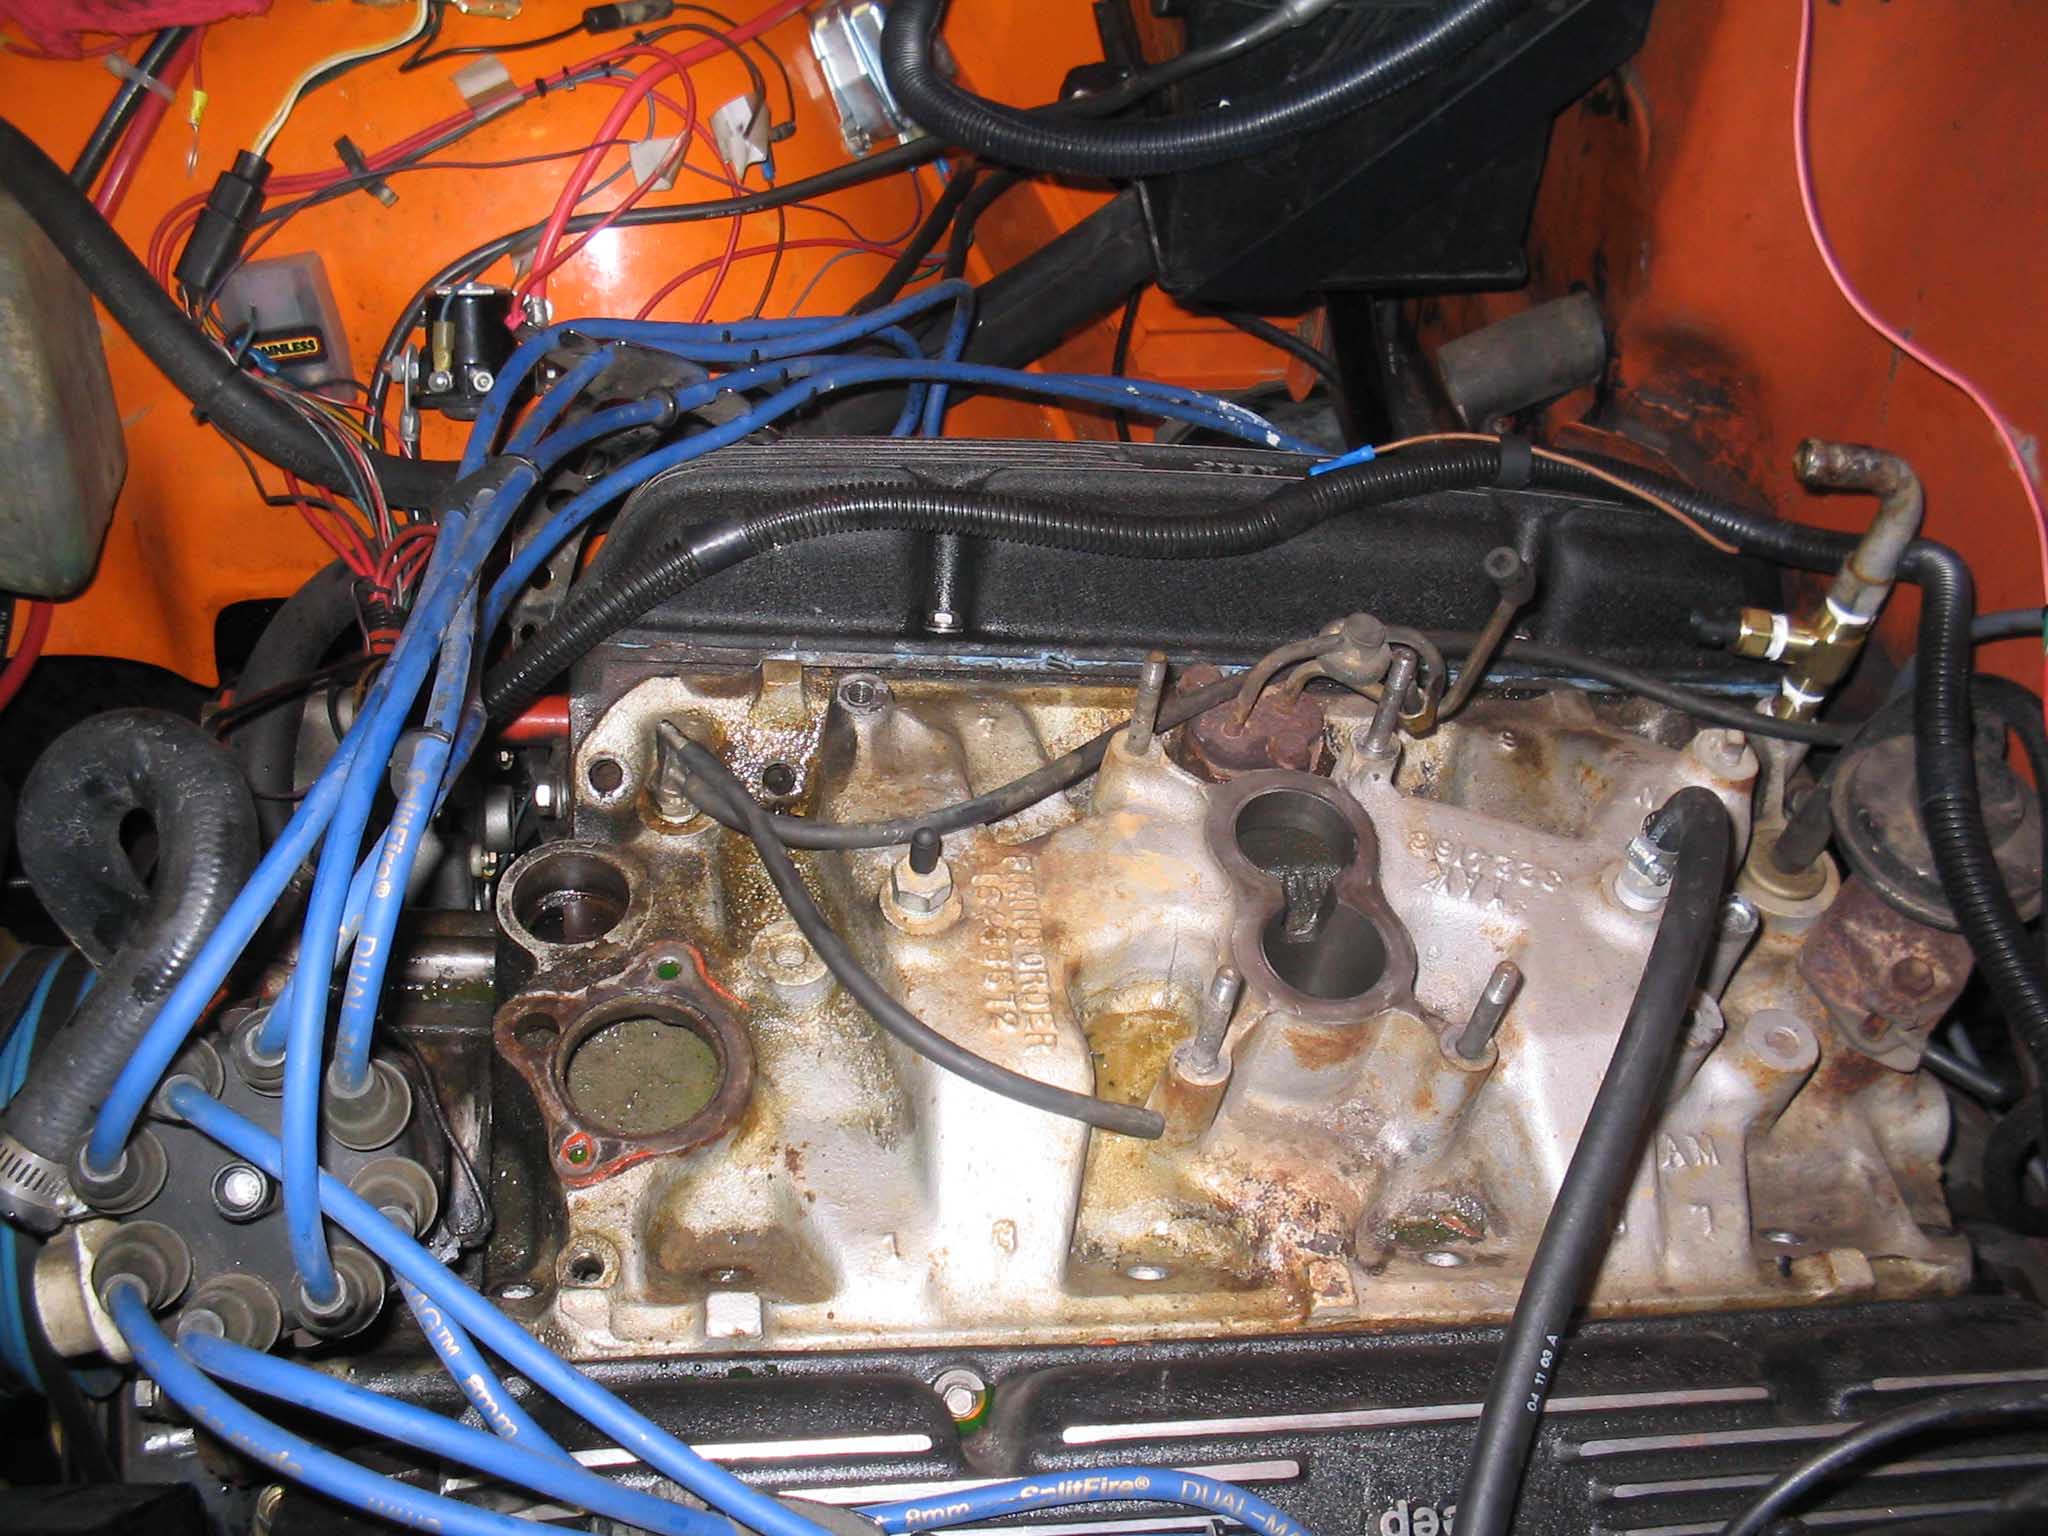
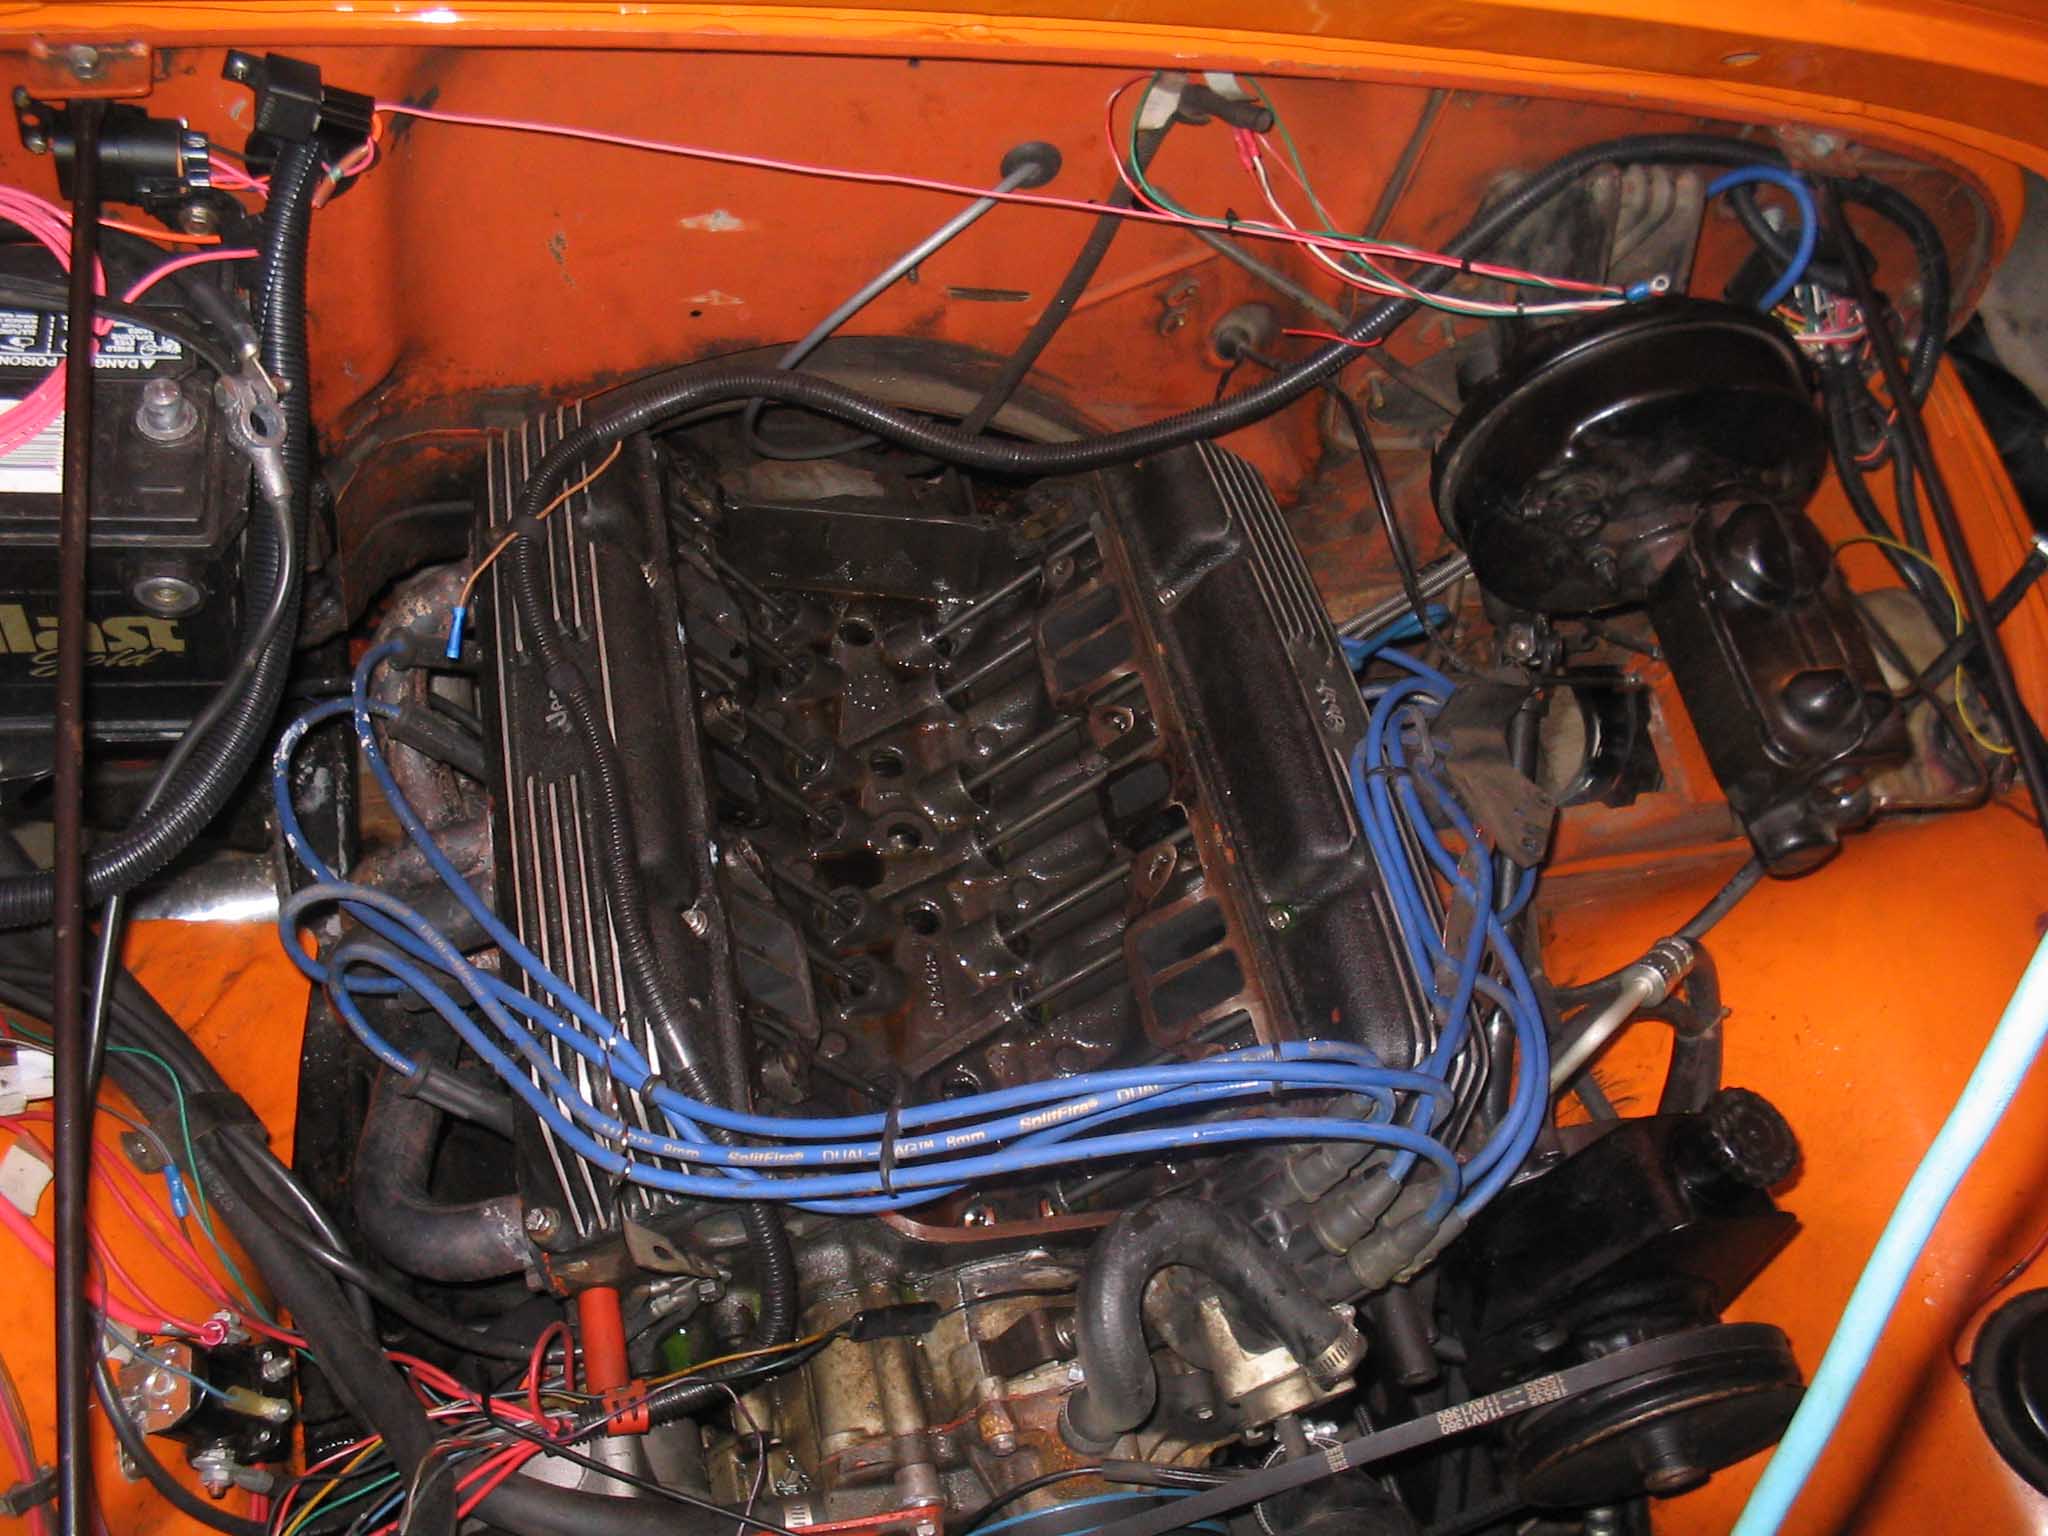
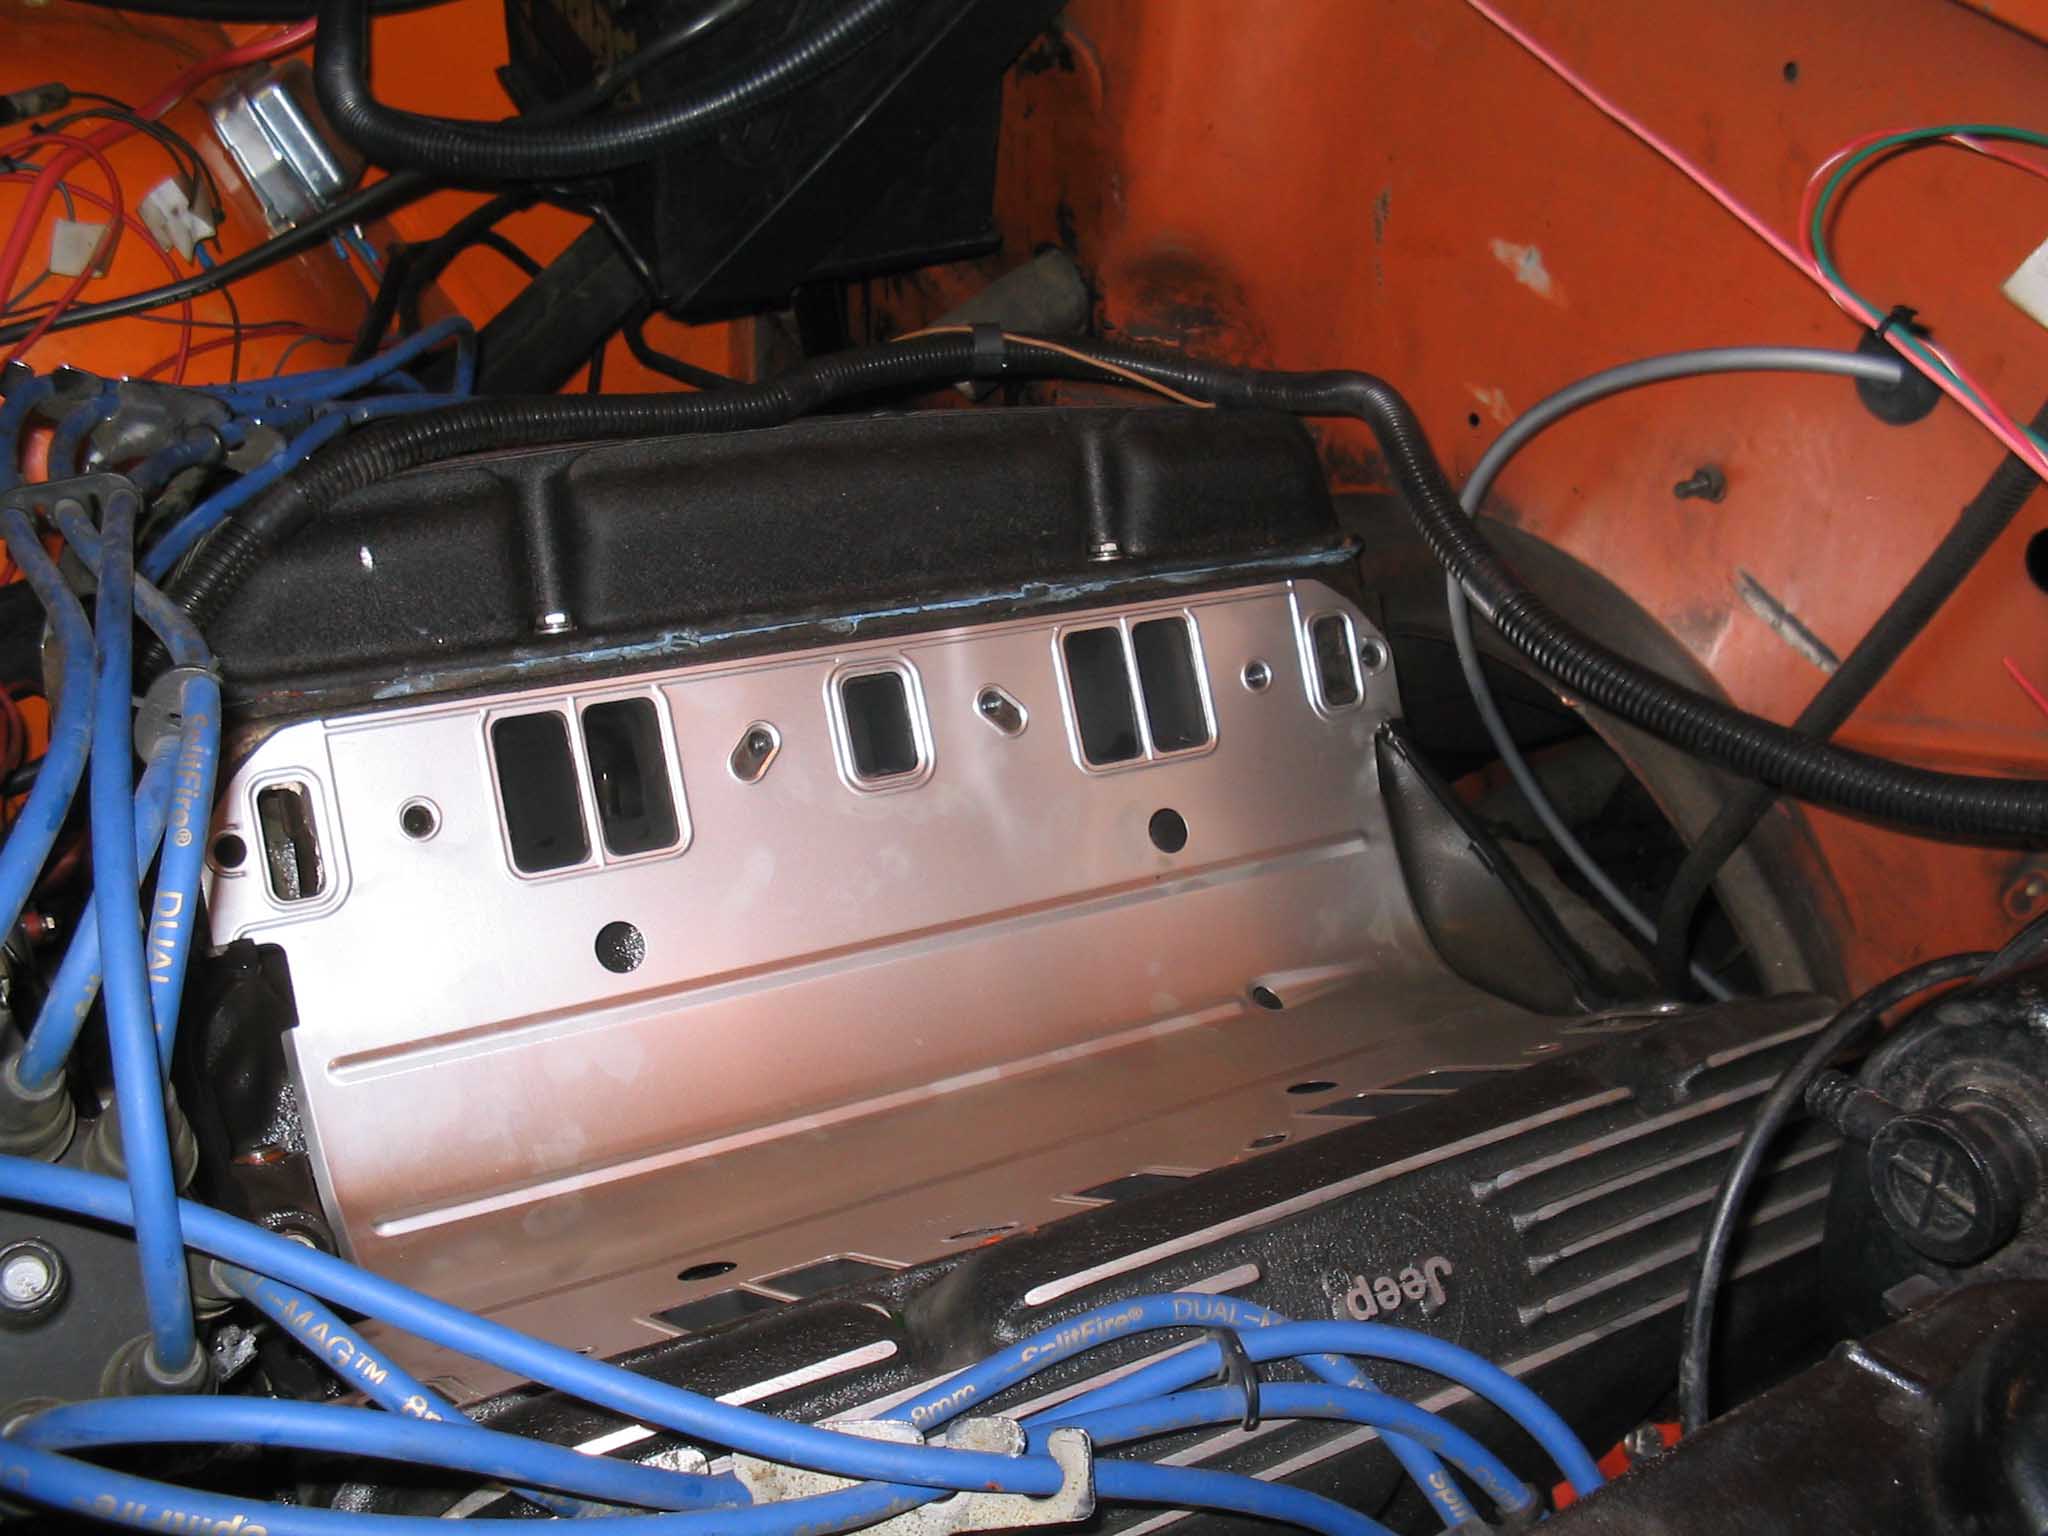
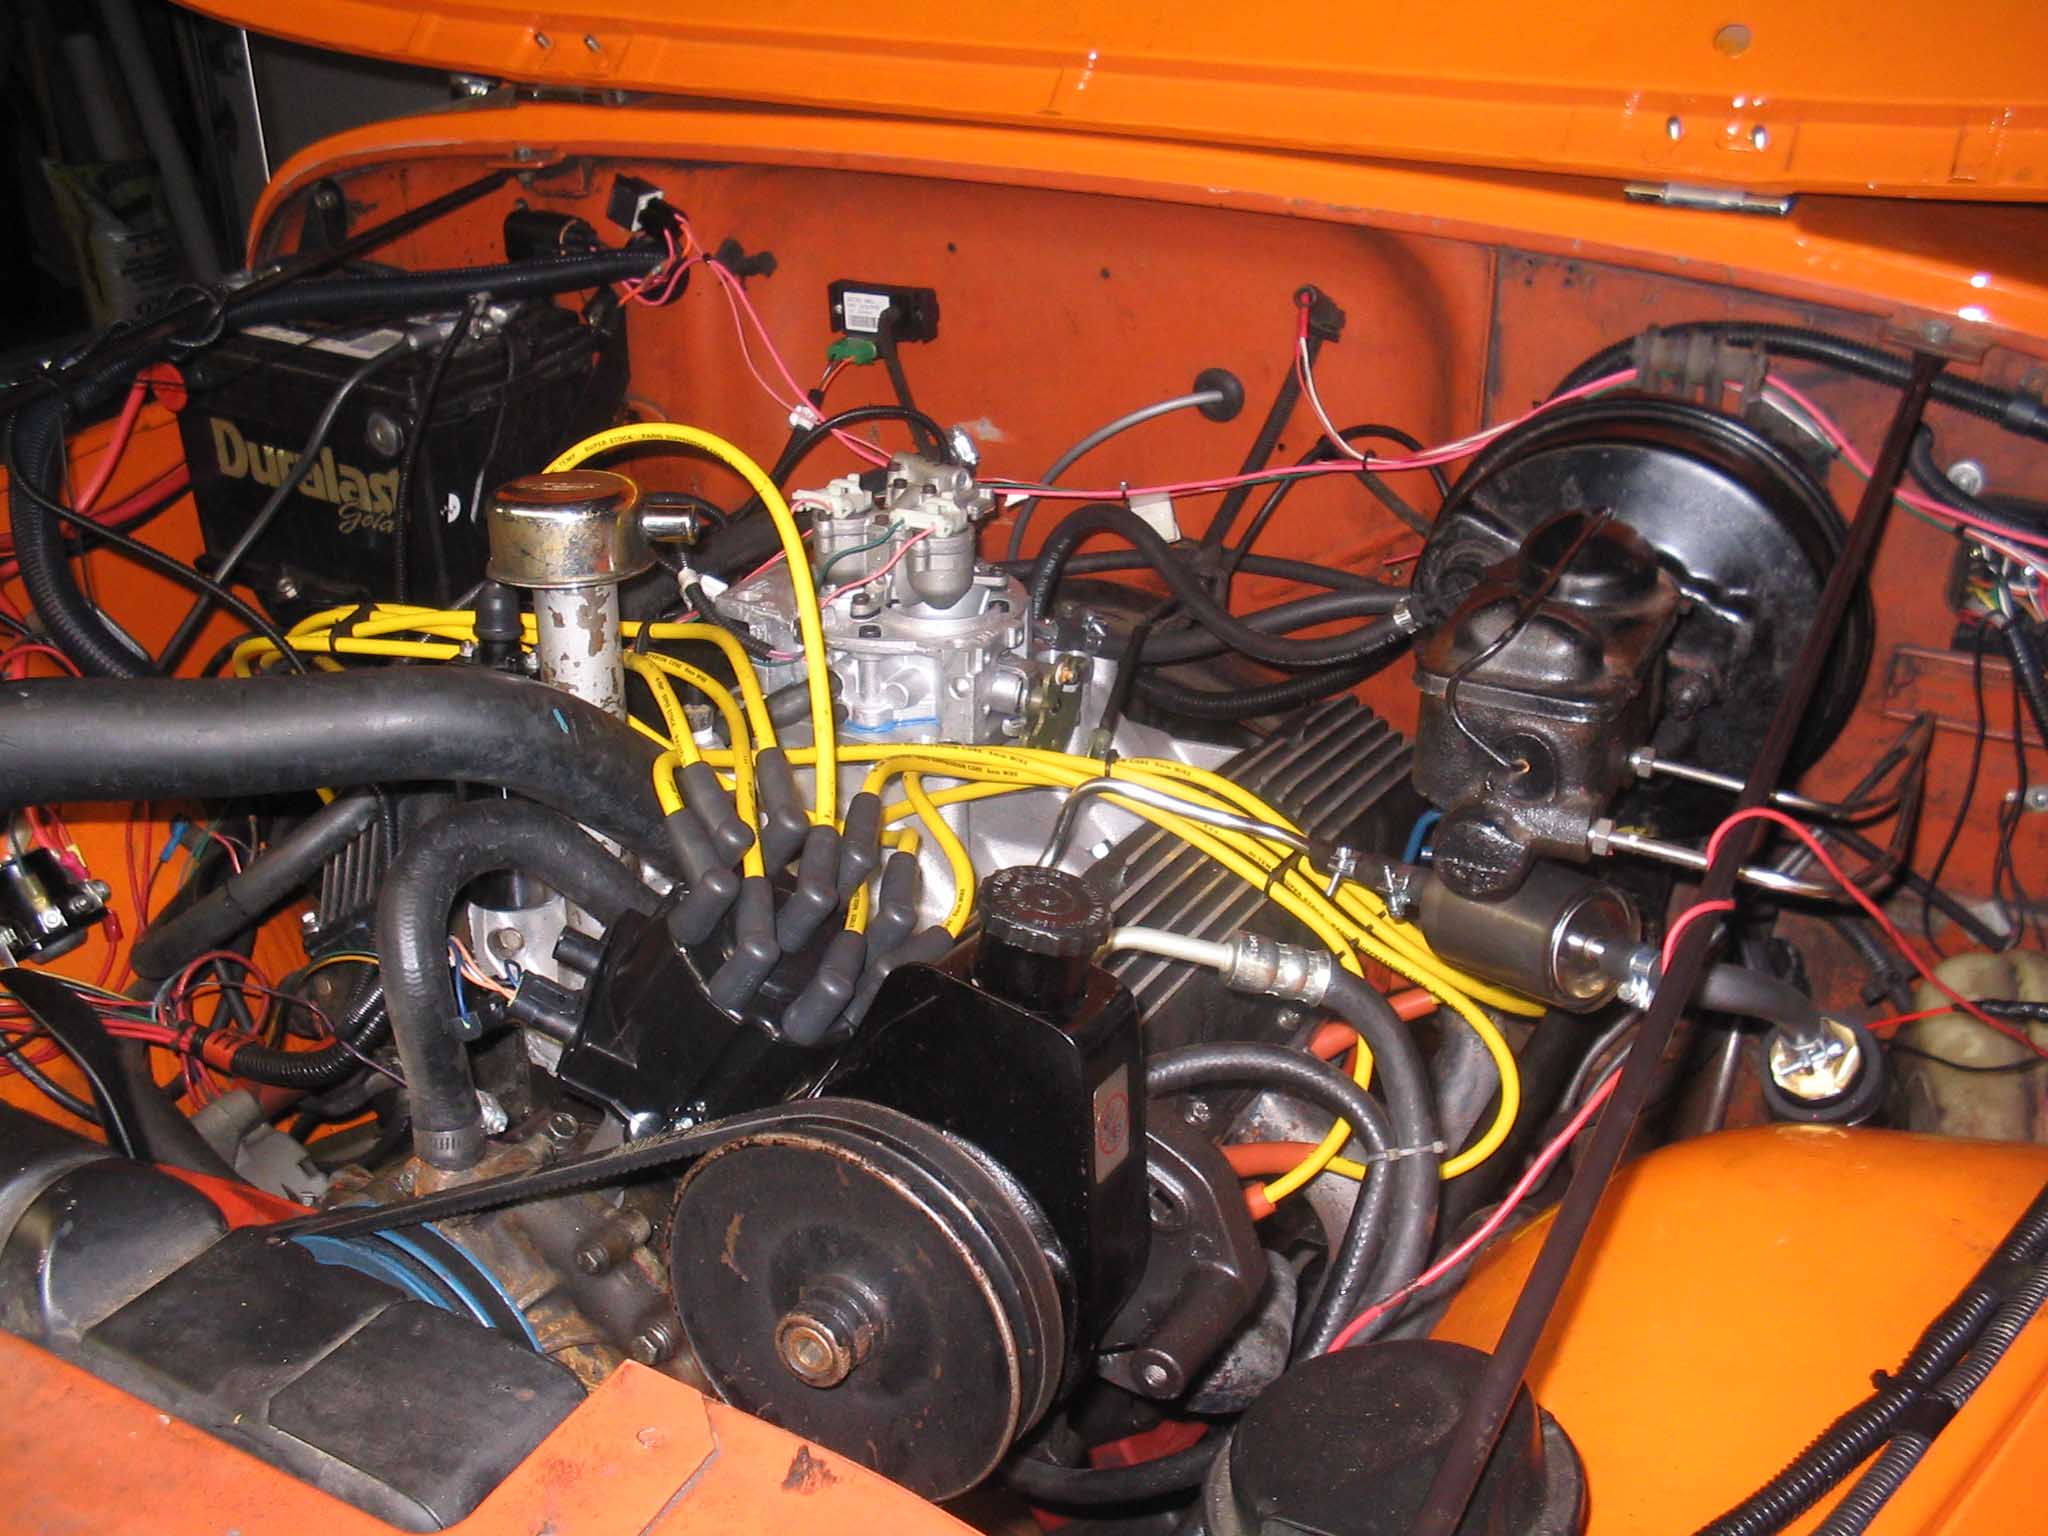
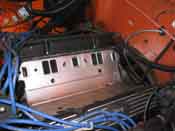
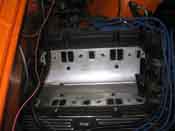
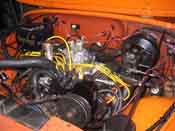
| As you can see in the pictures, I got the intake on with the new gaskets, I put
on the throttle body itself and then I laid out the wires and I made sure everything was where it was supposed
to be. I hooked up the wires as the directions said to and everything was almost set to go.
|
| |
|
|
| |
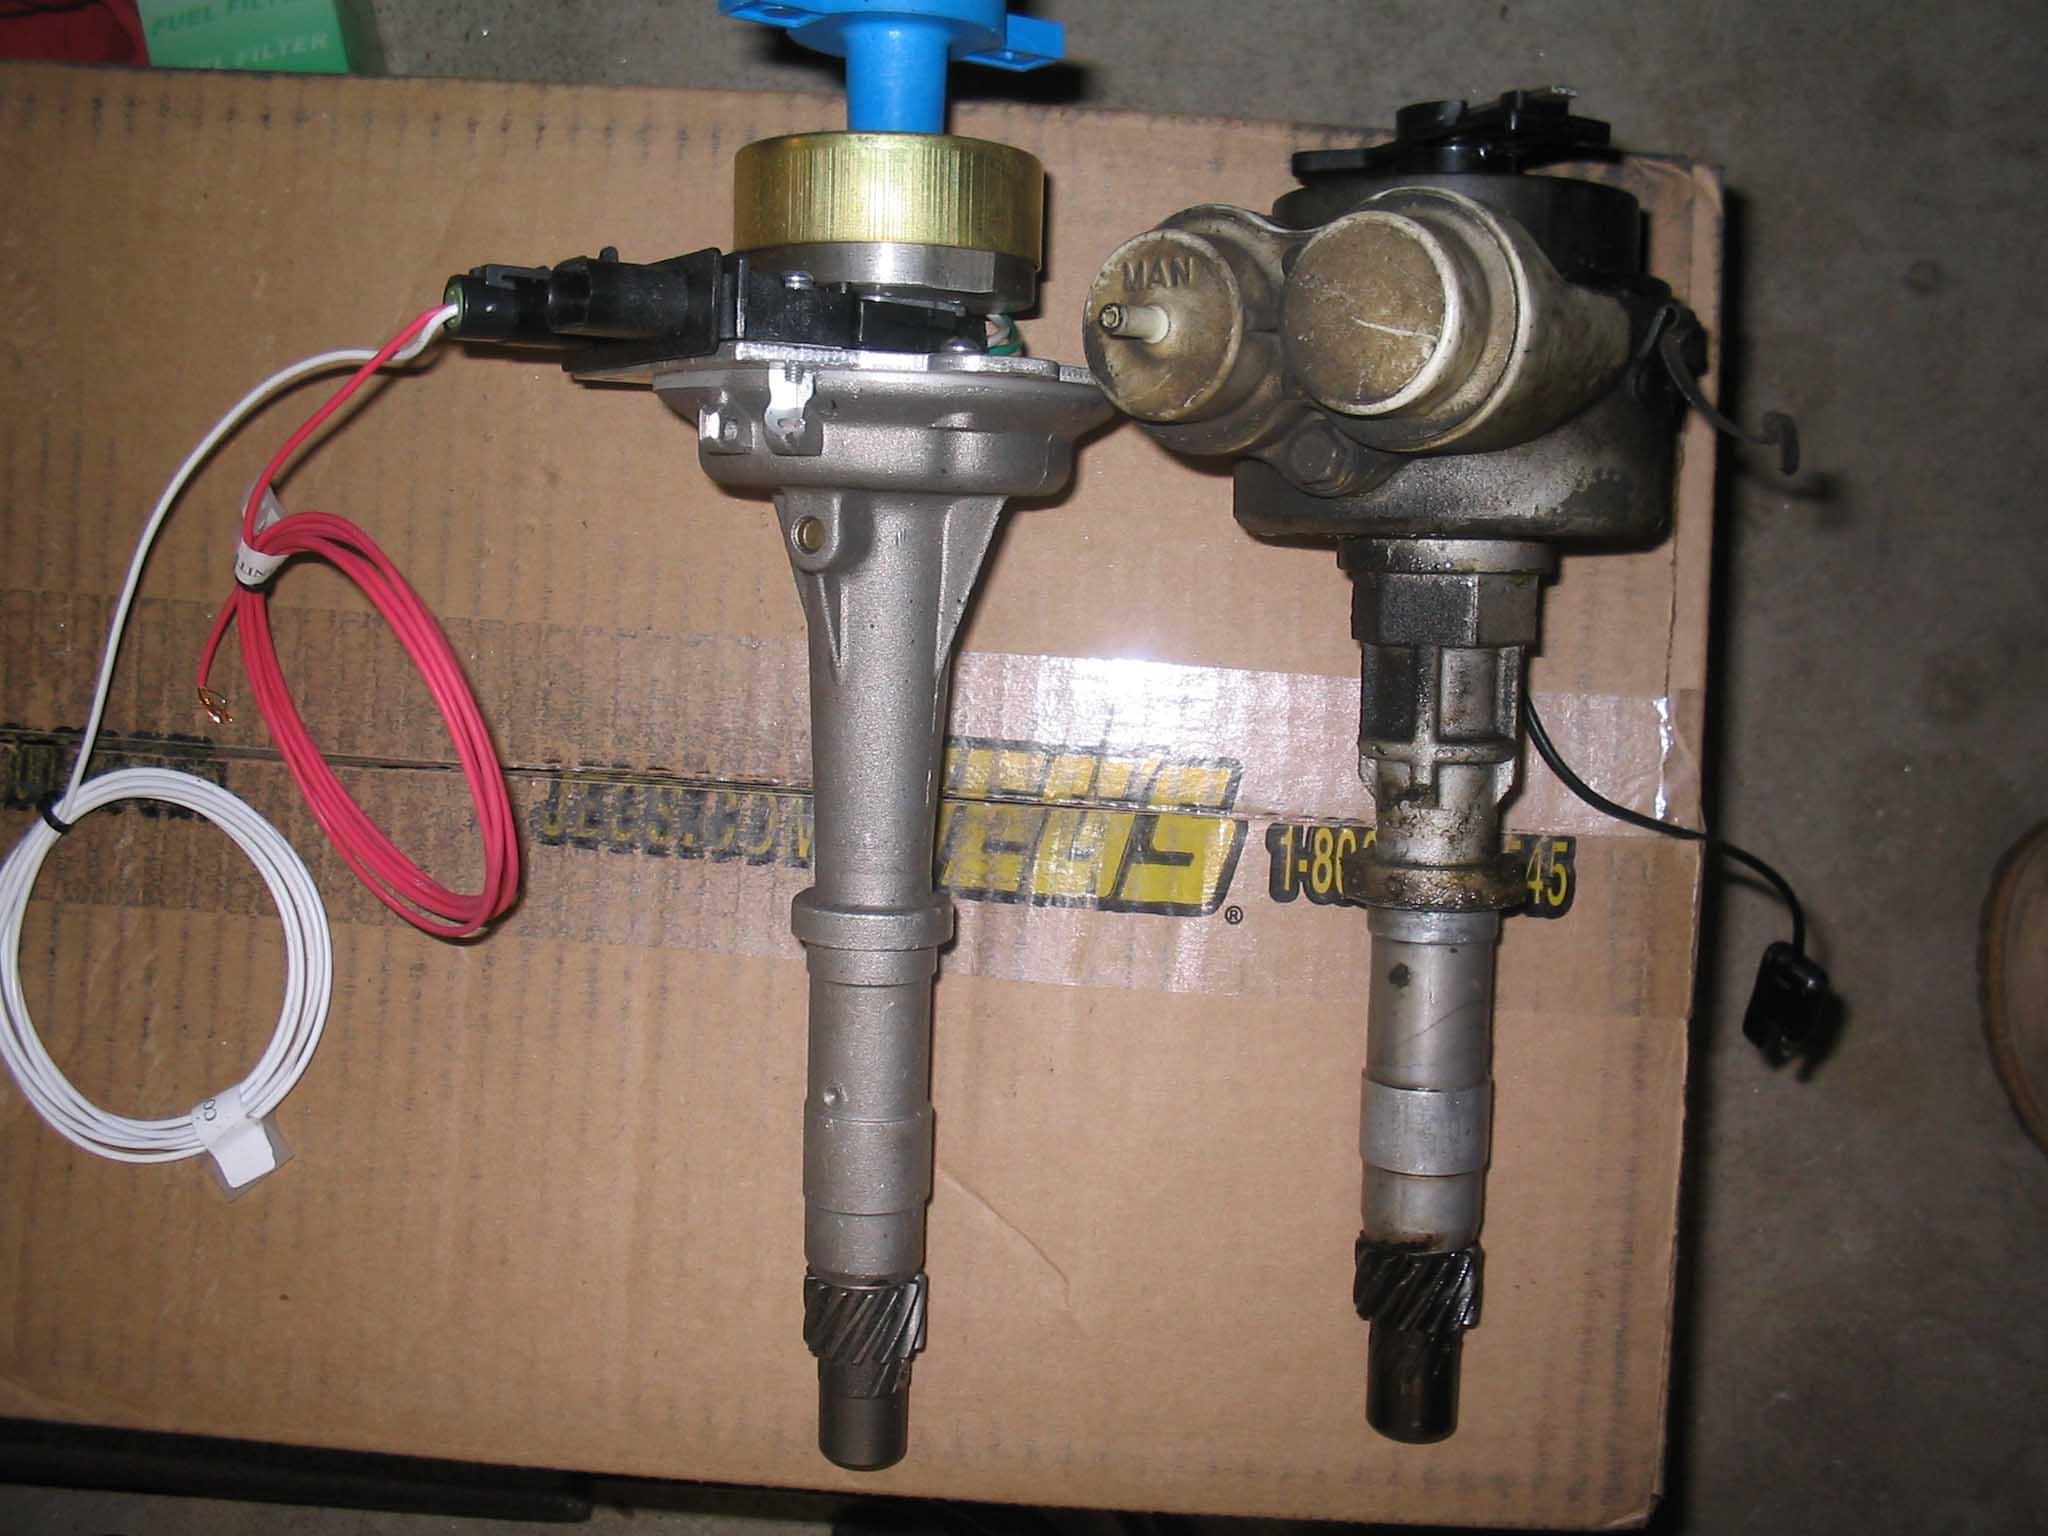
There was some confusion with a mislabeled wire as well as a couple of other things
that I had to email the guys back and forth to figure out because it wasn't clear to me in the instructions.
The write-up referred to the "small cap" distributor. Apparently GM has large and small cap type distributors.
The "large cap" has the coil in it whereas the "small cap" does not. I had a small cap, but didn't know it. Also,
the "coil -" white wire was labeled "coil" so that wasn't allowing feedback to the coil since I put it on the "+"
side. Once that was cleaned up, and I removed the "-" wire that was coming from the old ignition module, progress
continued.
The last thing I want to mention because it was confusing to me was the old ignition control module. This is no
longer needed, but was never mentioned in the write-up that you could eliminate it. This made logical sense to
me, but I would have liked to see it mentioned somewhere. This wasn't a big deal, just thought I would mention it
to anyone else that thought it may be used somewhere in the conversion process.
All in all, the guys from Affordable Fuel Injection
were very helpful and now I have fuel injection on my 30-year-old Jeep. I couldn't have done it without them;
they were a great help when it came to responding to emails.
|
| |
| Lessons Learned the Hard Way |
| |
So, my lessons learned here would have to be that you really need to know what
intake pattern you have on the manifold because if you don't know and order up the wrong one, your installation
will hit a snag really fast.
Also, when the price tag says it will cost $1400 for the conversion, make sure you account for everything. I
ended up having to buy a new manifold, new gaskets, a new accelerator cable, new carburetor stud, modify the
original air cleaner, get some wire connectors and a bunch of other odds and ends that made this conversion
a lot more expensive, but totally worth it when it was all done. The idle that this engine has now compared to
where it was is amazing.
|
| |
| Conclusions |
| |
This is a fairly involved process that takes a lot of preparation work. I was
able to get the hole drilled in the firewall, the computer fit into the glove box and finally the bung welded
into the O2 sensor with a few spare hours I had during the week. I was hoping that this would help ease the
installation on the weekend, but much to my dismay, that wasn't going to be the case. I really should have
taken the carburetor off before I started the work and found out what pattern I had.
Also, I had to run to a couple different parts stores to get the gaskets I needed as well as the parts to put
in the temperature sensors. This is all stuff that I should have done in one trip, but you live and learn. Next
time I tackle a project of this size, I will rip everything down and start with a basic understanding of what
I have and what is going to need to be replaced.
|
| |
| << Previous |
First |
|