|
|
| Howell TBI Fuel Injection Installation - Part #5 |
| |
|
1
2
3
4
5
|
| |
(03/19/06) We tried to finish up the Howell TBI installation on the Project Red
Jeep and here is what we found. After calling Howell directly and leaving a message on a Sunday, Troy Brown called me
back on Monday and we talked about what might be causing the flooding situation that we were seeing when we mashed the
throttle down on the Jeep. He said that without a constant 12 volts going to the ECM, the injectors go into "limp home"
mode. Since I attached the main power line to the ignition coil "+", the voltage was not constant. Under load, it can
go as low as 9v. This then tells the injectors to dump fuel into the throttle body since it senses an issue. This was
what the symptoms were, so we moved the power lead to a switched/cranking 12-volt source and the problem still was
there. We then put it to the 12-volt terminal of the battery to test it and we still had the issue.
After the body lift fiasco, we had a bent filler neck on the gas tank. We ordered up a new gas tank and we then had to
install it. We fitted the new gas tank with a new sending unit and saw where we had to attach the return lines as well
as the vent lines for our new setup. We purchased a new vent line and installed that and hooked it up to the proper place.
|
| |
|
|
|
|
| |
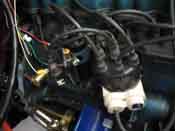
With all that taken care of, we were ready to fix the vacuum lines. I showed a nice color
picture of what the routing of the lines were supposed to be and that allowed us to get a new "T" fitting for the dual CTO
valve and then the installation was pretty much completed. We needed a little more vacuum line to complete the installation
and with that all said and done, we set out to time the Jeep to 6-8 degrees as indicated in the installation manual and we
were on our way to test it out.
We still had the issue of the Jeep loading up in 2nd and 3rd gear, so I called Howell again and they said that the
prestolite system should not be causing this issue as I described and we went over what a HEI upgrade would do and
finally talked about getting a fuel pressure gauge in line to see what the readings were. If this didn't fix it,
there is a place on the throttle body that can adjust psi so it was around 11-12 psi. I have to order up the parts
and hopefully we will see where we are at with that. There is one more thing to check and that is the square voltage
reading from the "-" terminal of the coil. This might also be the cause for if it isn't square and it more spiking,
then we could be getting a bad signal. We have lots to check out and I will have to do this when we get back from
Vegas. We are headed there for some R&R.
|
| |
|
|

|
|

|
| |
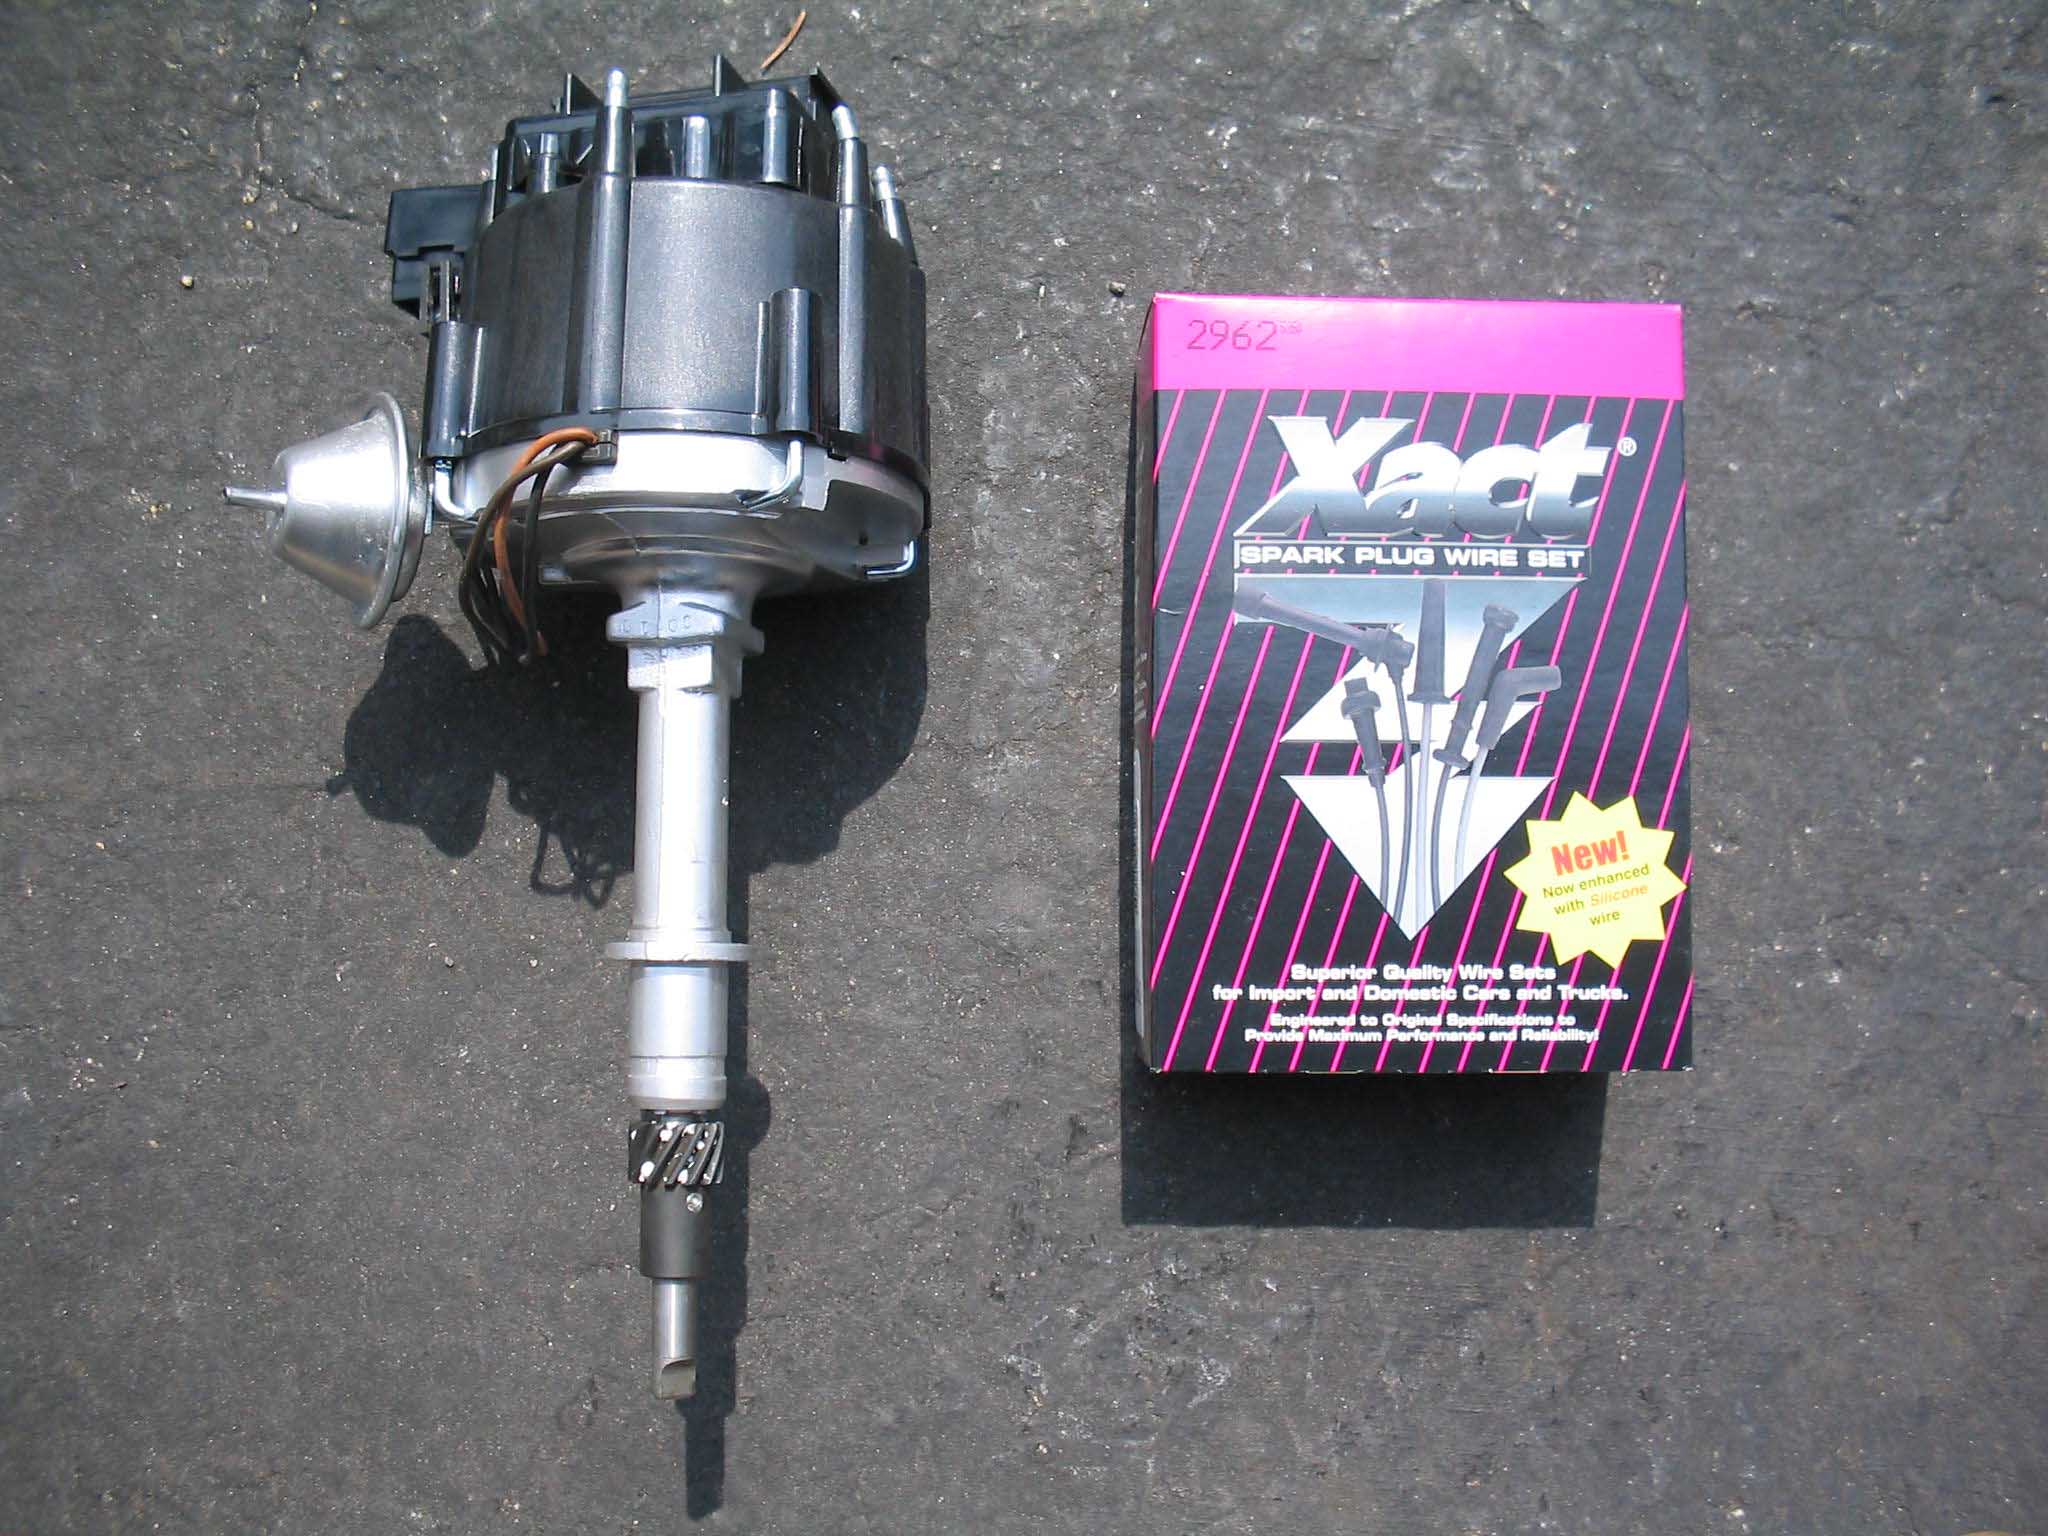
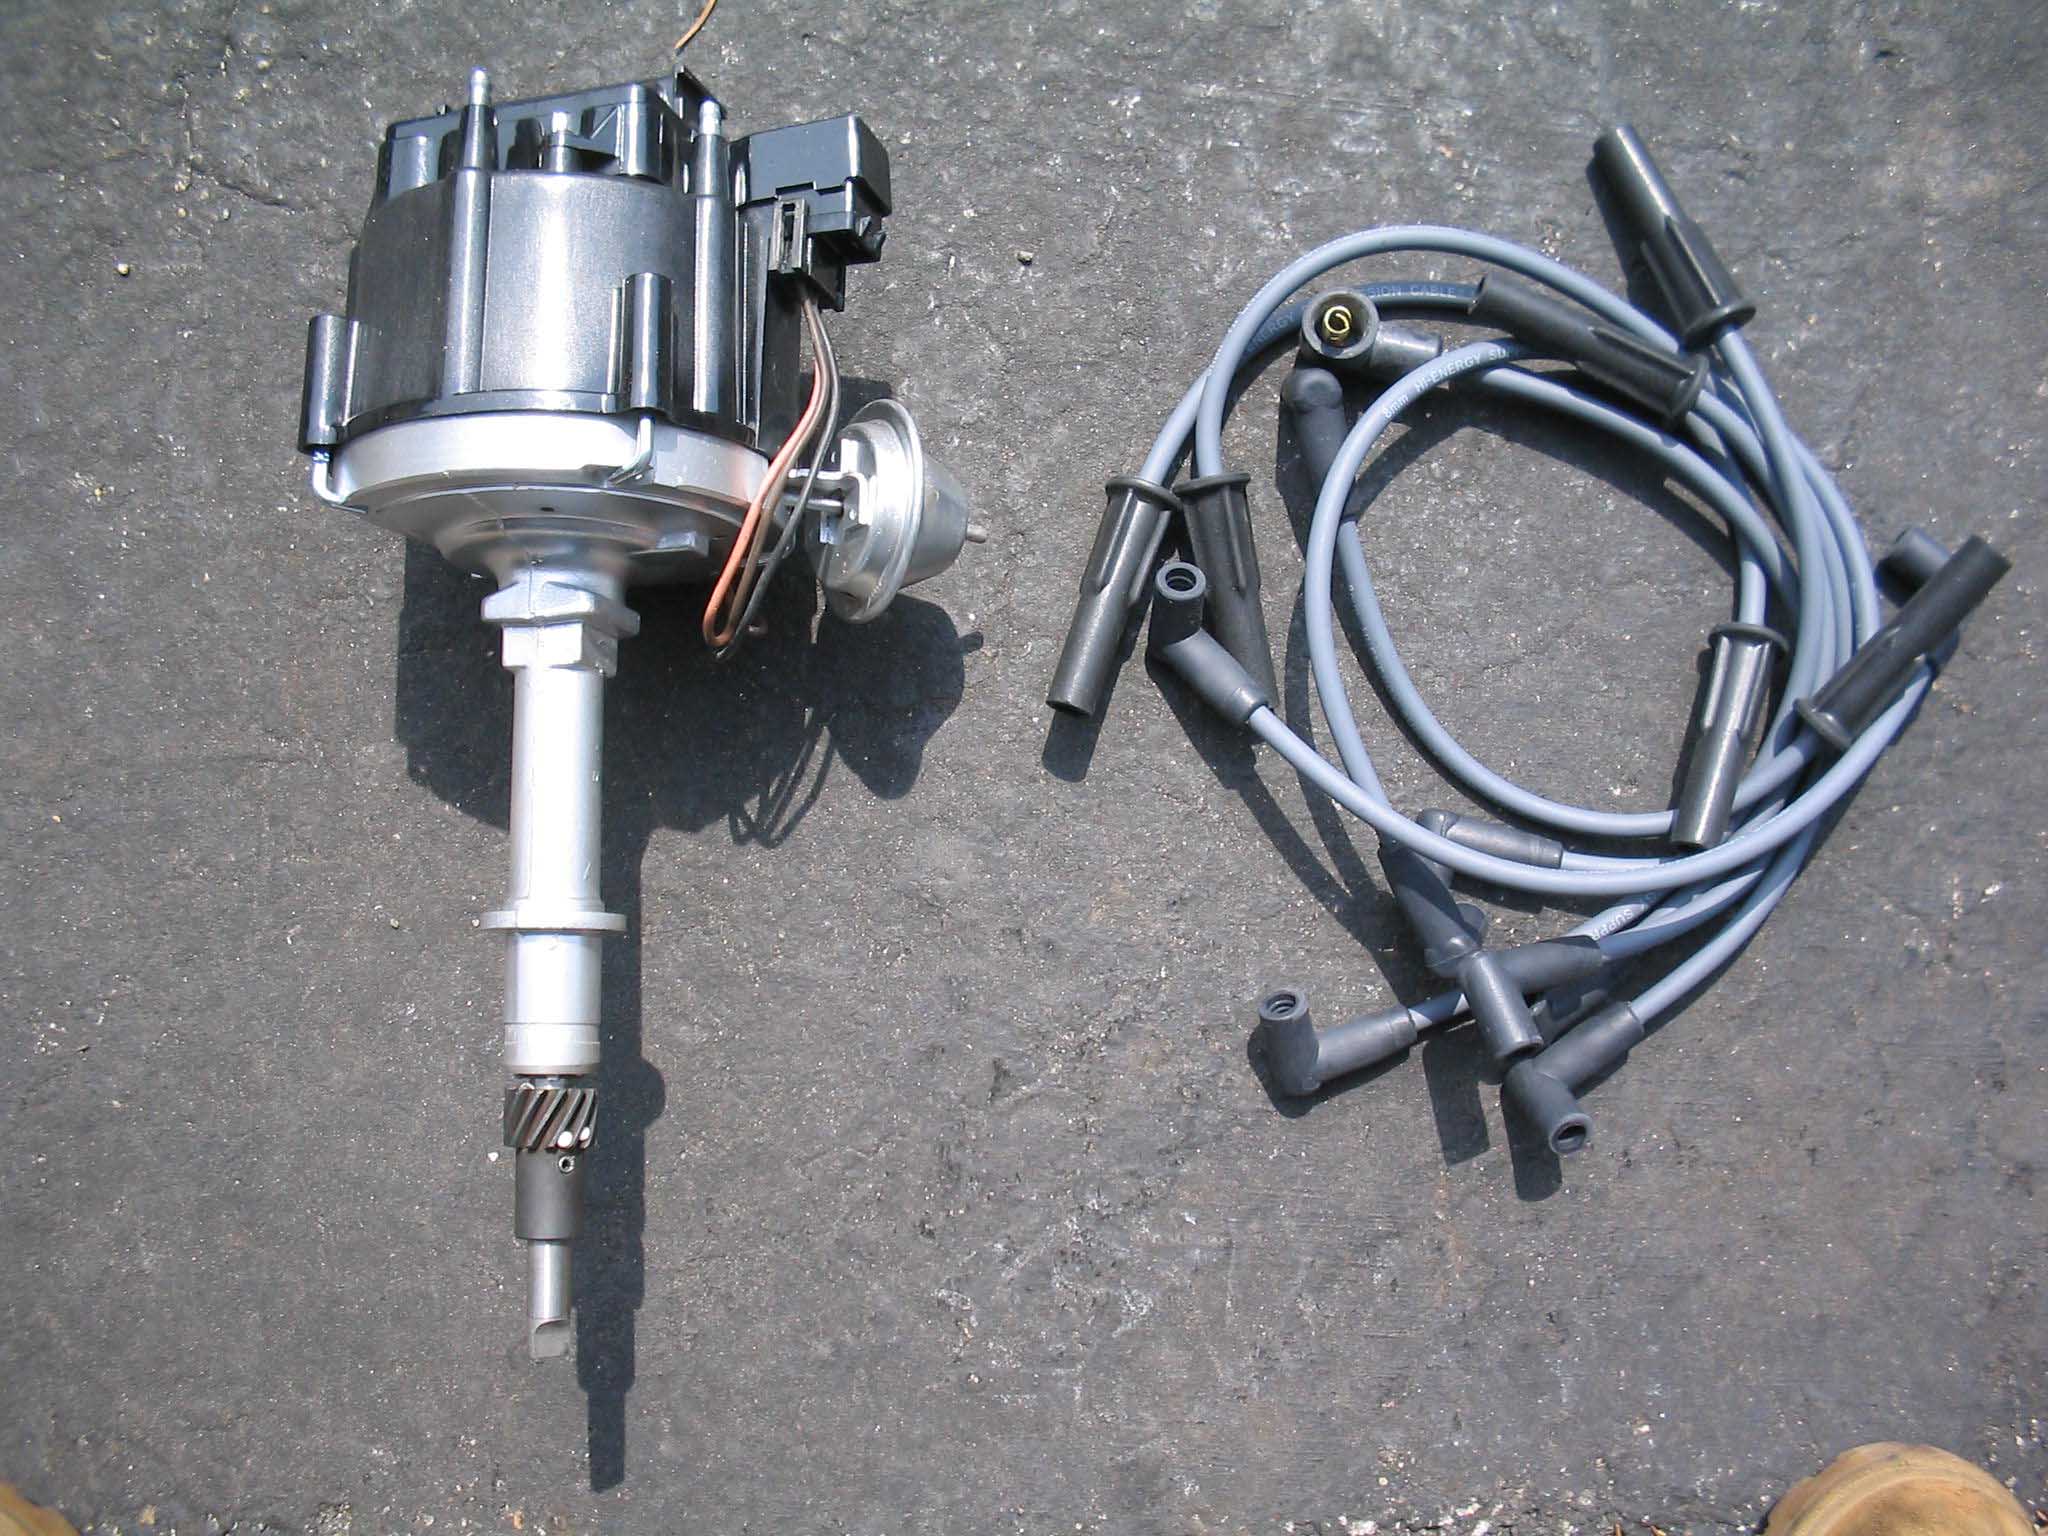
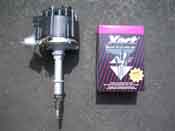
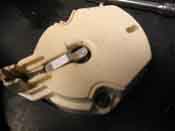
(04/01/06) We got back from Vegas and the parts came in while we were away, so we set
out to install the distributor and wires. I stopped by to get the wires this morning from the parts store. Everything
I read told me that a Ford Fairmont with the 6-cylinder engine in it would be perfect for the HEI upgrade. They wires
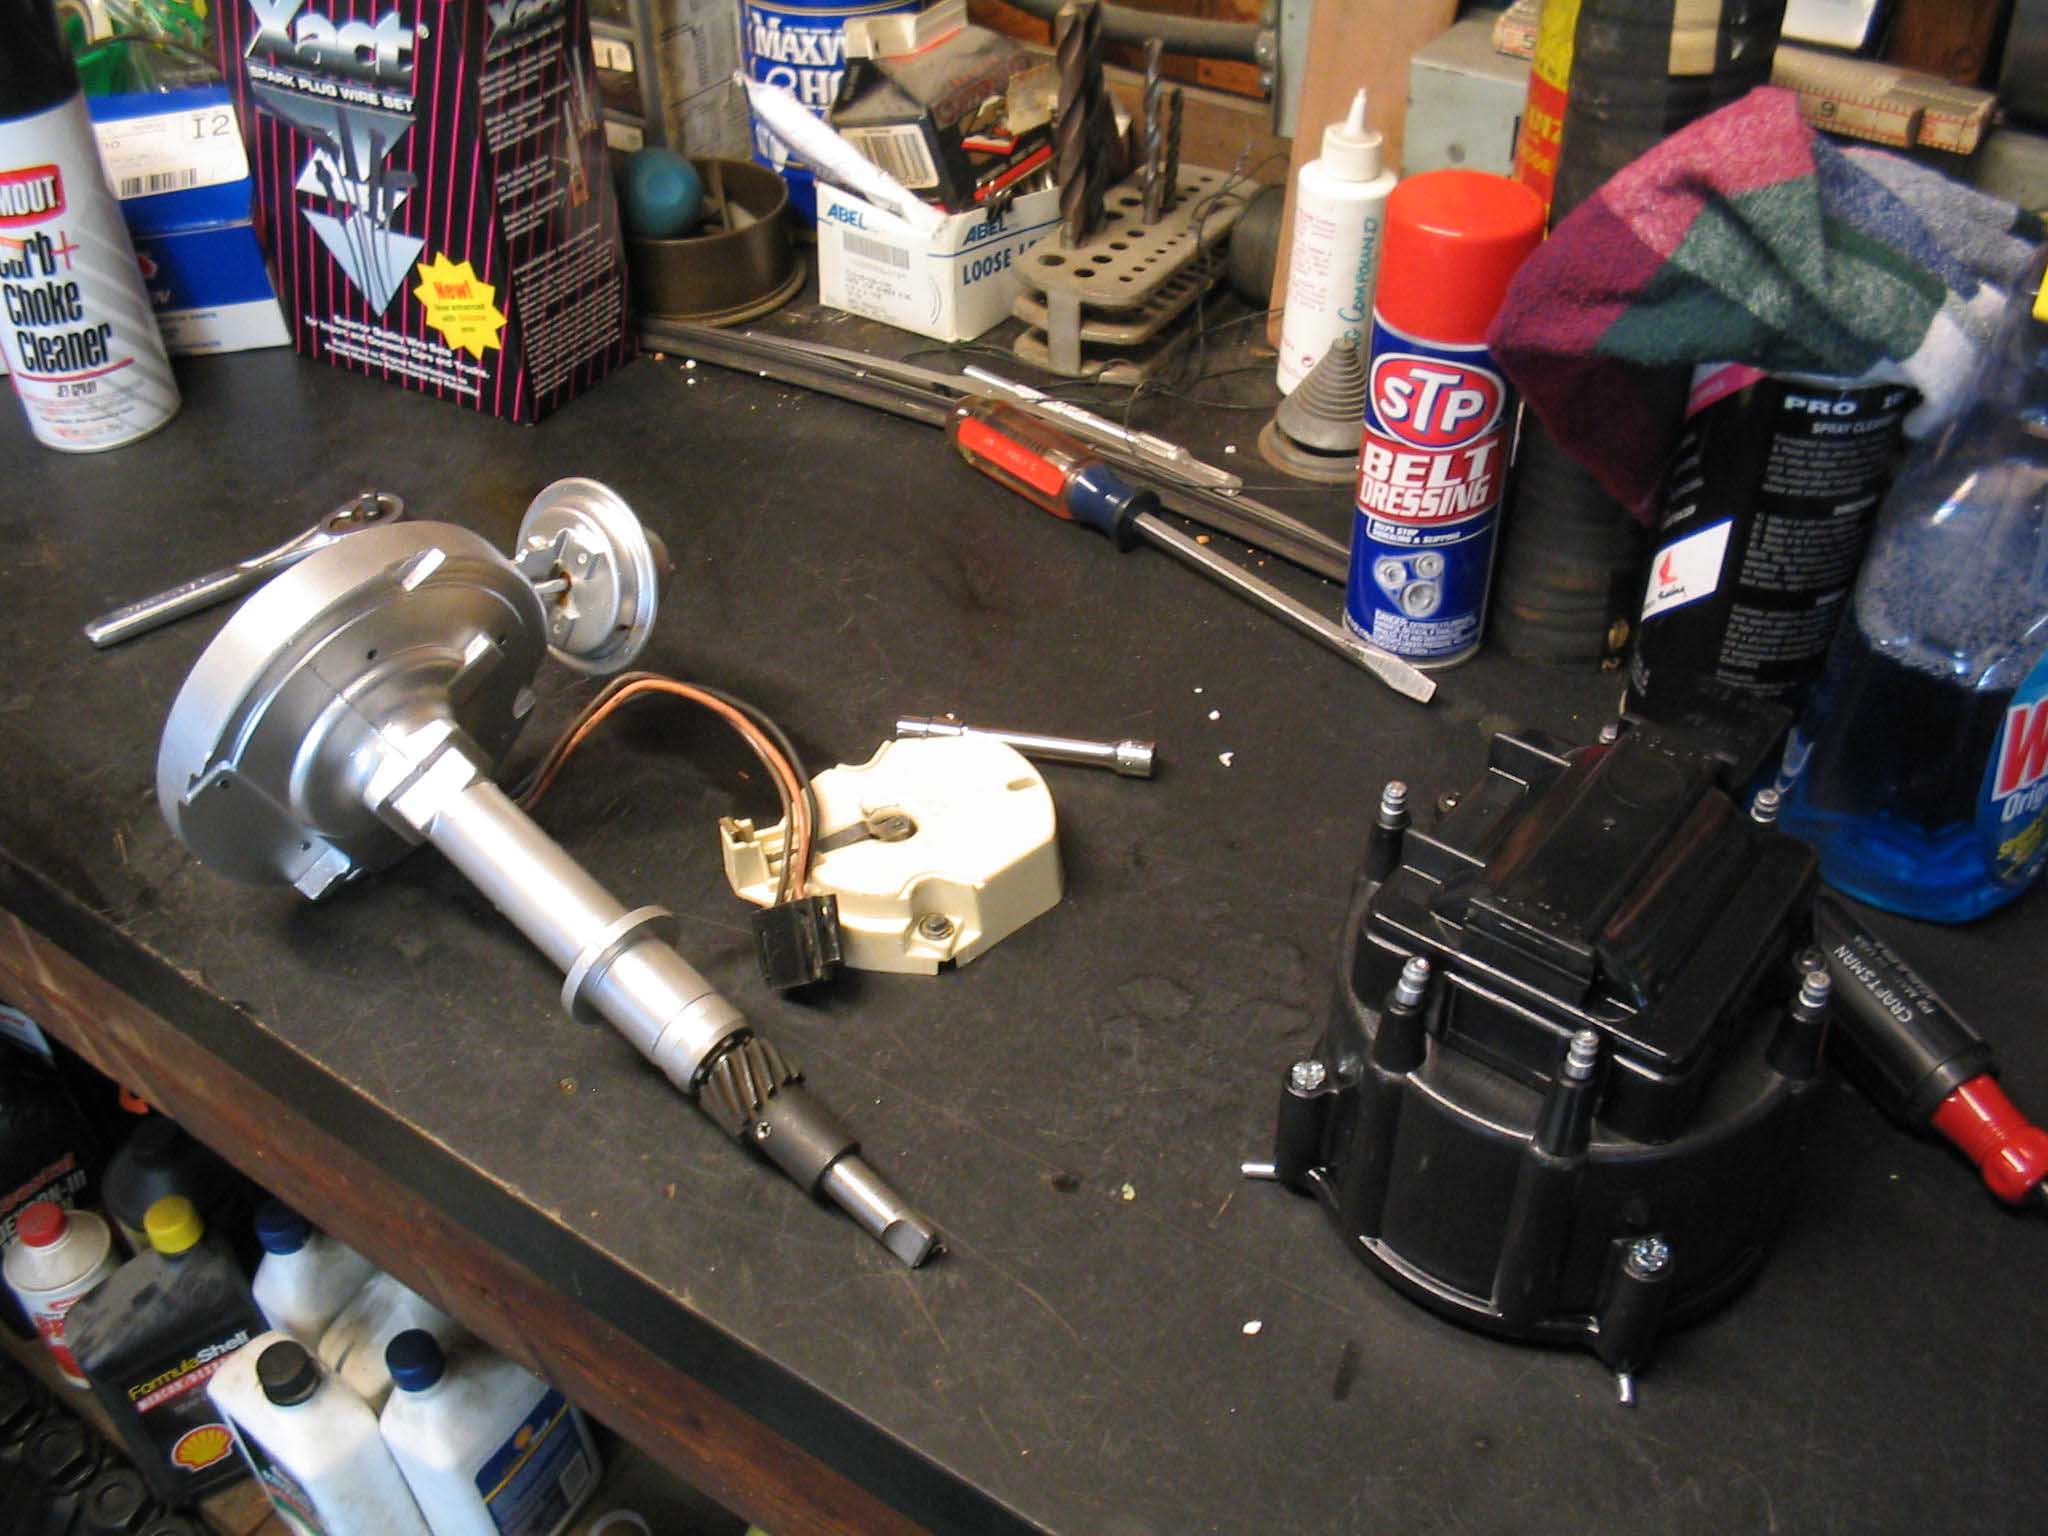
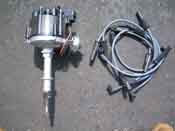
were like $25.00 and the wires were 8mm, 1mm larger then what was on the old setup. After removing the coil and the old
distributor, the new one was put in, TDC was found, the wires were laid out and installed and then we attempted to start
it.
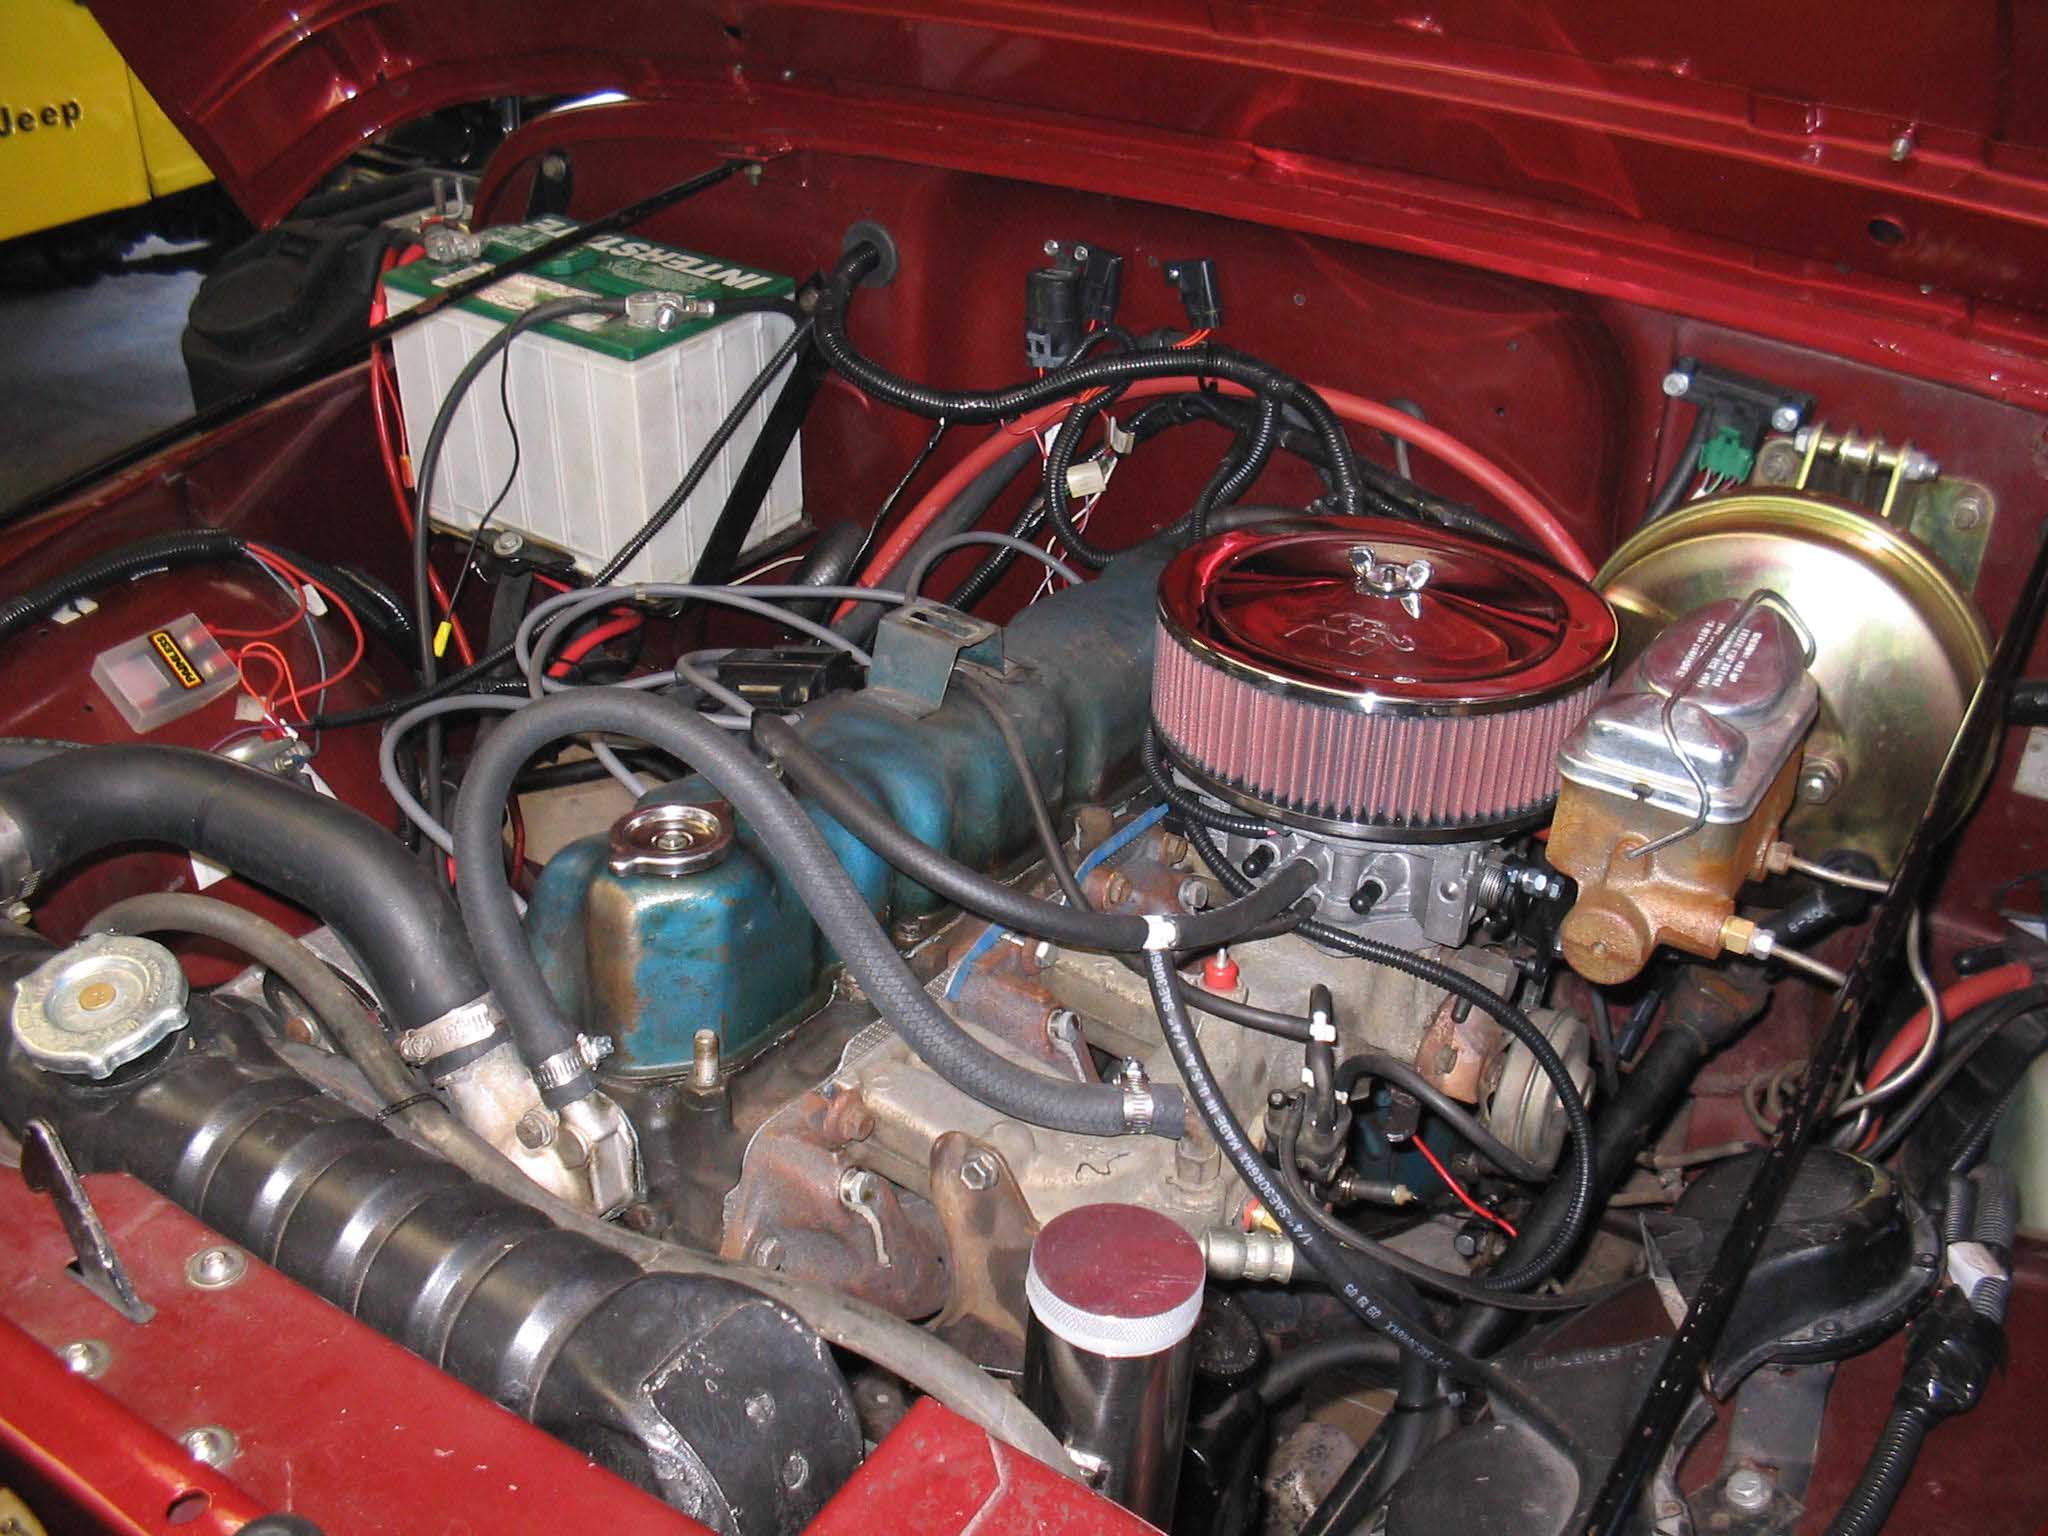
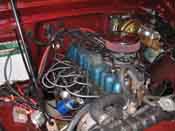
The sound of the engine turning over and starting was one that I have waited to hear for a long time now on this project.
The HEI upgrade really did the trick. The engine runs so smooth and it sounds great. We ran the wires and set the
timing to 6-8 degrees and with all this in place... WE ARE DONE with this installation. We drove it down to get some
gas and then for a little ride. The emergency brake was left on while leaving the gas station, but that is another story
for another time. Once we took it off, we had all the power we needed and then some!
|
| |
| Lessons Learned the Hard Way |
| |
My lessons learned here would have to be that you should really have a lot of knowledge
of what you are about to undertake when trying to put fuel injection on a 30+ year-old Jeep. I read a lot of articles
and searched the forums constantly, but in the end, I was still not educated enough about what the magnitude of this
project was going to be. This article hopefully illustrates what goes into a conversion of this size and hopefully will
allow you to learn from my mistakes and plan out what needs to be done a bit better then I did.
Also a major lesson learned here was the fact that the old ignition system simply was not up to the task of supplying the
new ECM with the correct readings. Once we got the new HEI setup, it was 100 times better. I highly recommend the
setup for anyone doing this upgrade.
|
| |
| Conclusions |
| |
This was a rather lengthy installation and it took a lot of extra trips to the store to get
some parts that we weren't really thinking were going to be necessary. These items included gaskets (intake/exhaust), hoses,
check engine light, clamps, and rtv. These don't add a whole lot to the cost of the build-up, but it is tedious to be in the
middle of the installation and then have to run out to get the parts.
The approximate build-up costs and installation time can be seen
here.
Take your time and good luck!
|
| |
| << Previous |
First |
|