|
|
| Project "Reclamation" a.k.a Project "CJ4C" - part #4 |
| |
|
1
2
3
4
5
6
|
| |
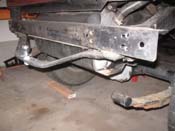
| (02.17.13) Time keeps ticking away and we keep getting a ton of stuff done on the
Reclamation project. All the important parts are in and I am waiting on some litle pieces and parts to finish
up the little things. The main thing is the shackels are off and the new ones are on... FINALLY!!! There were
some challenges, but all is complete and it is sitting back down on its own 4 tires and is off jack stands. Next
up is to get the 3" body lift off and get the 1" body lift on that just came in.
|
| |
|
|
|
|
|
|

|
|
| |
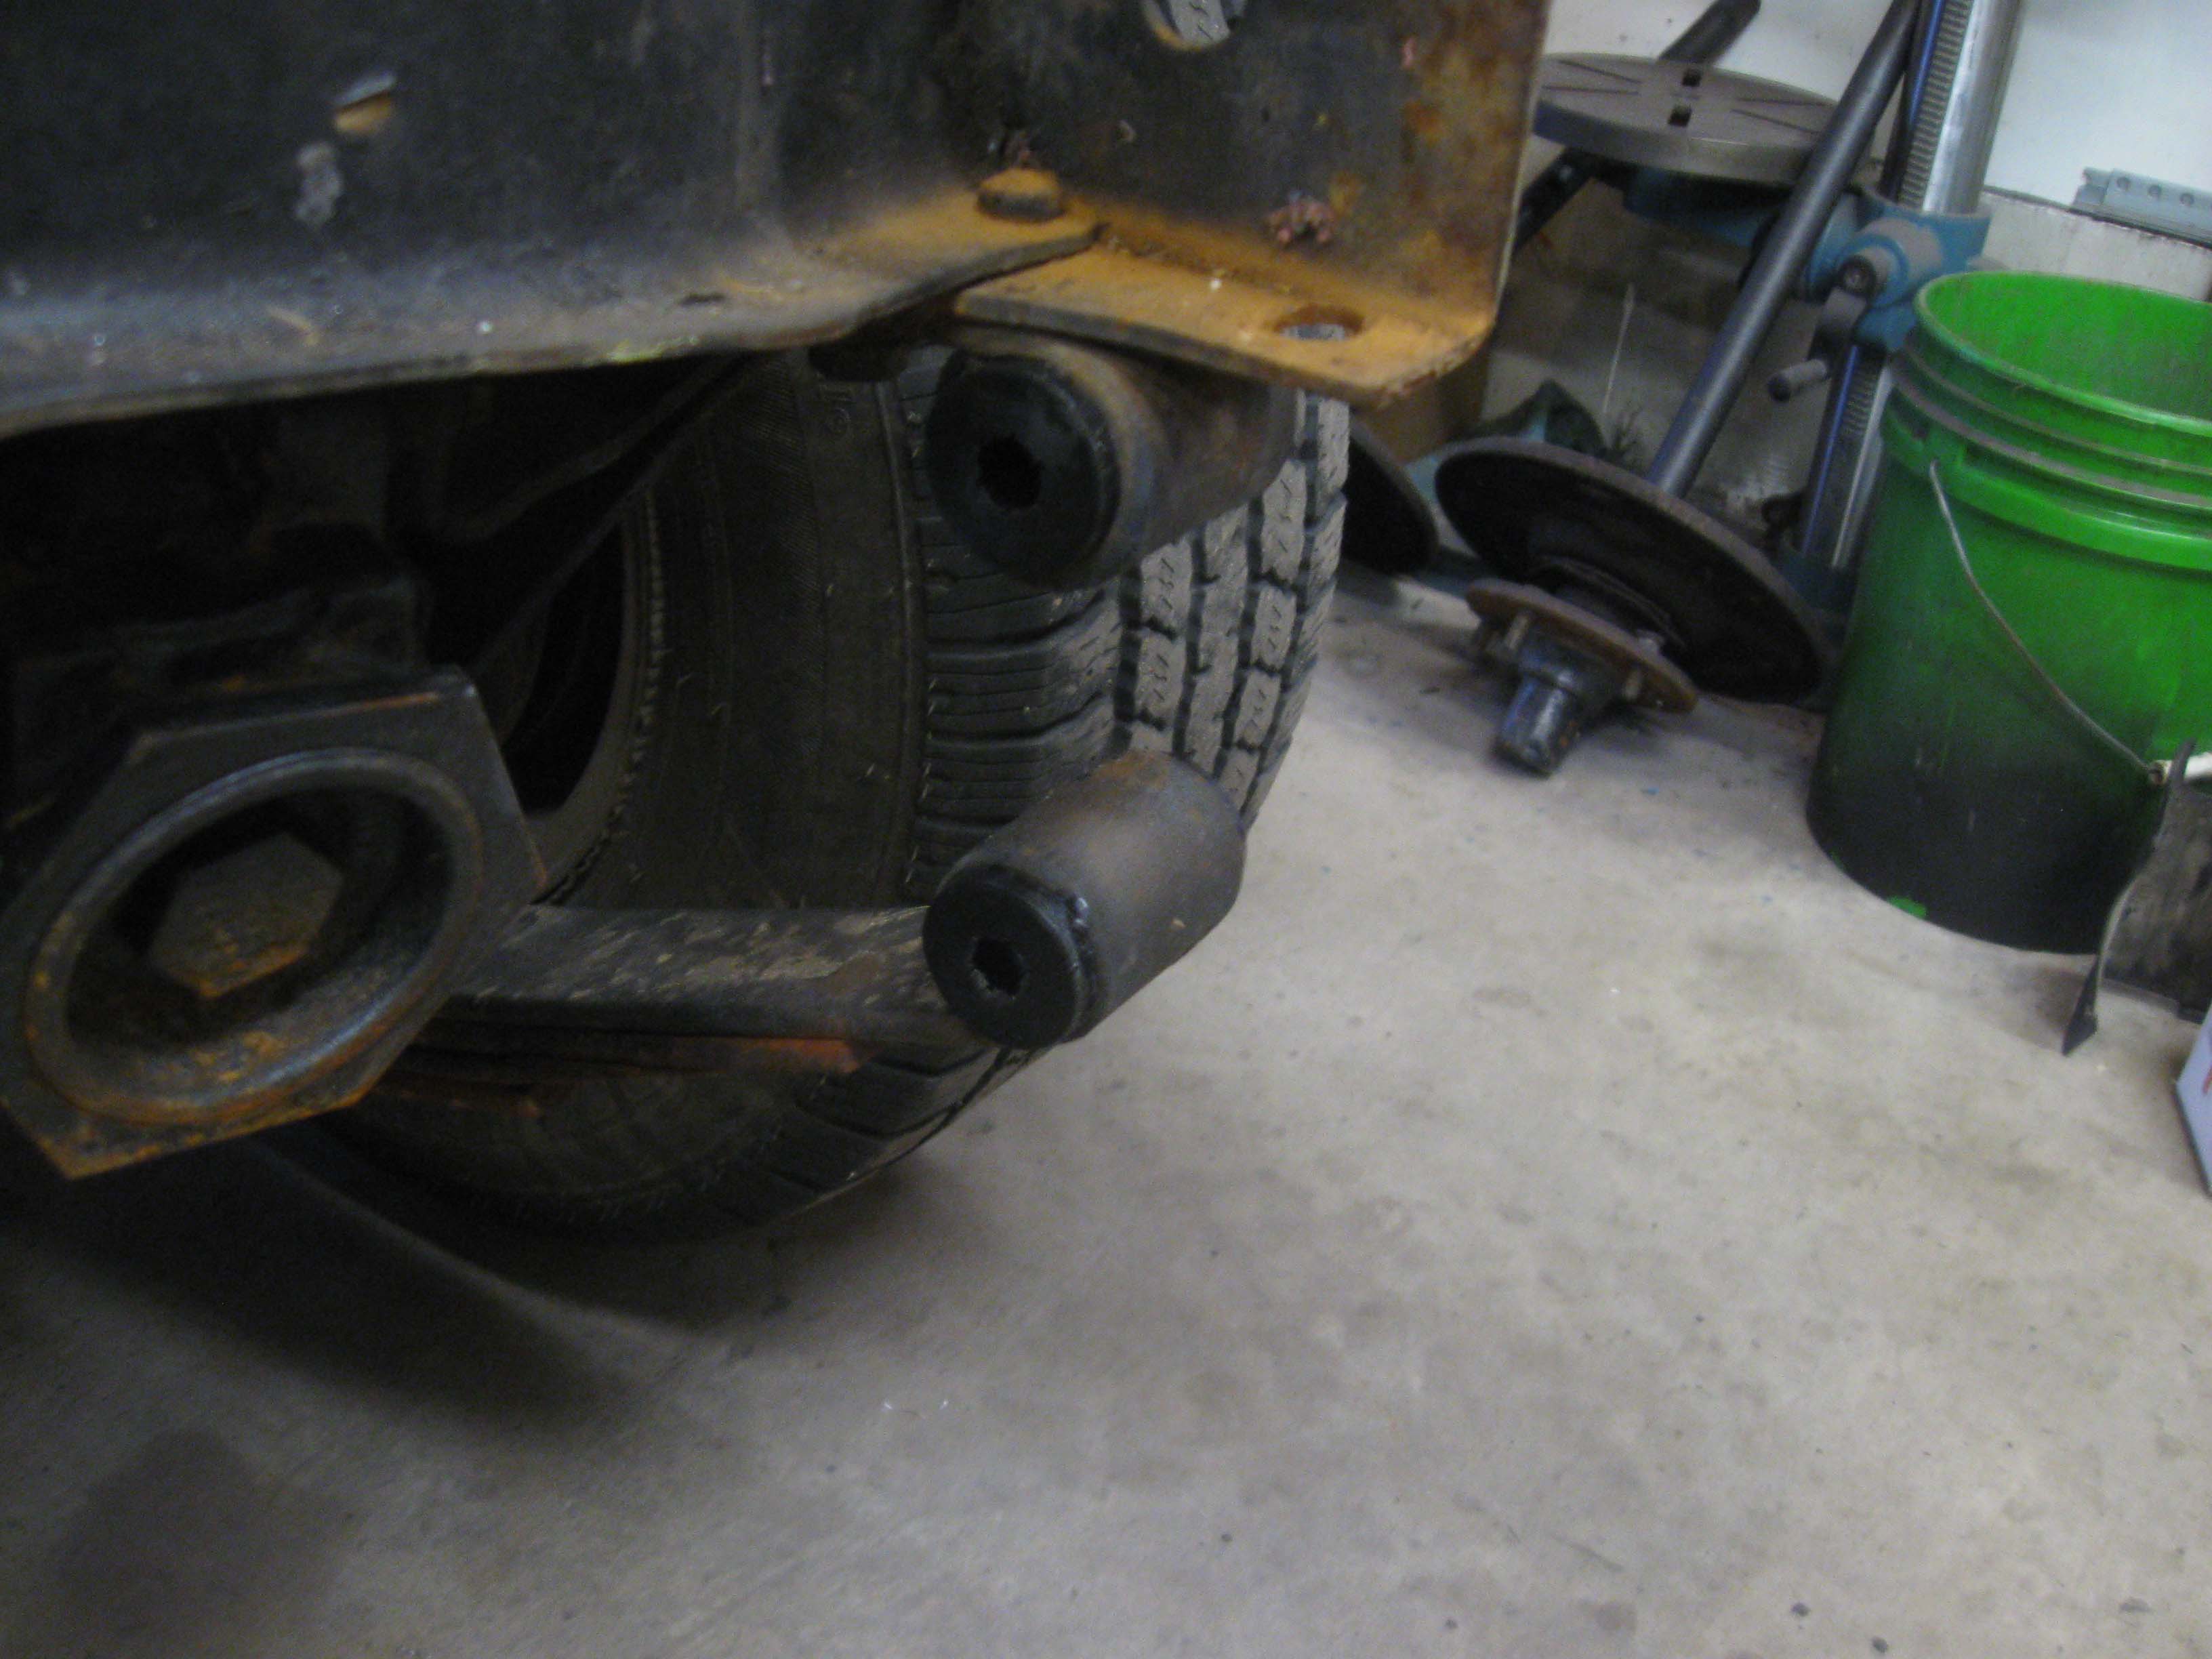
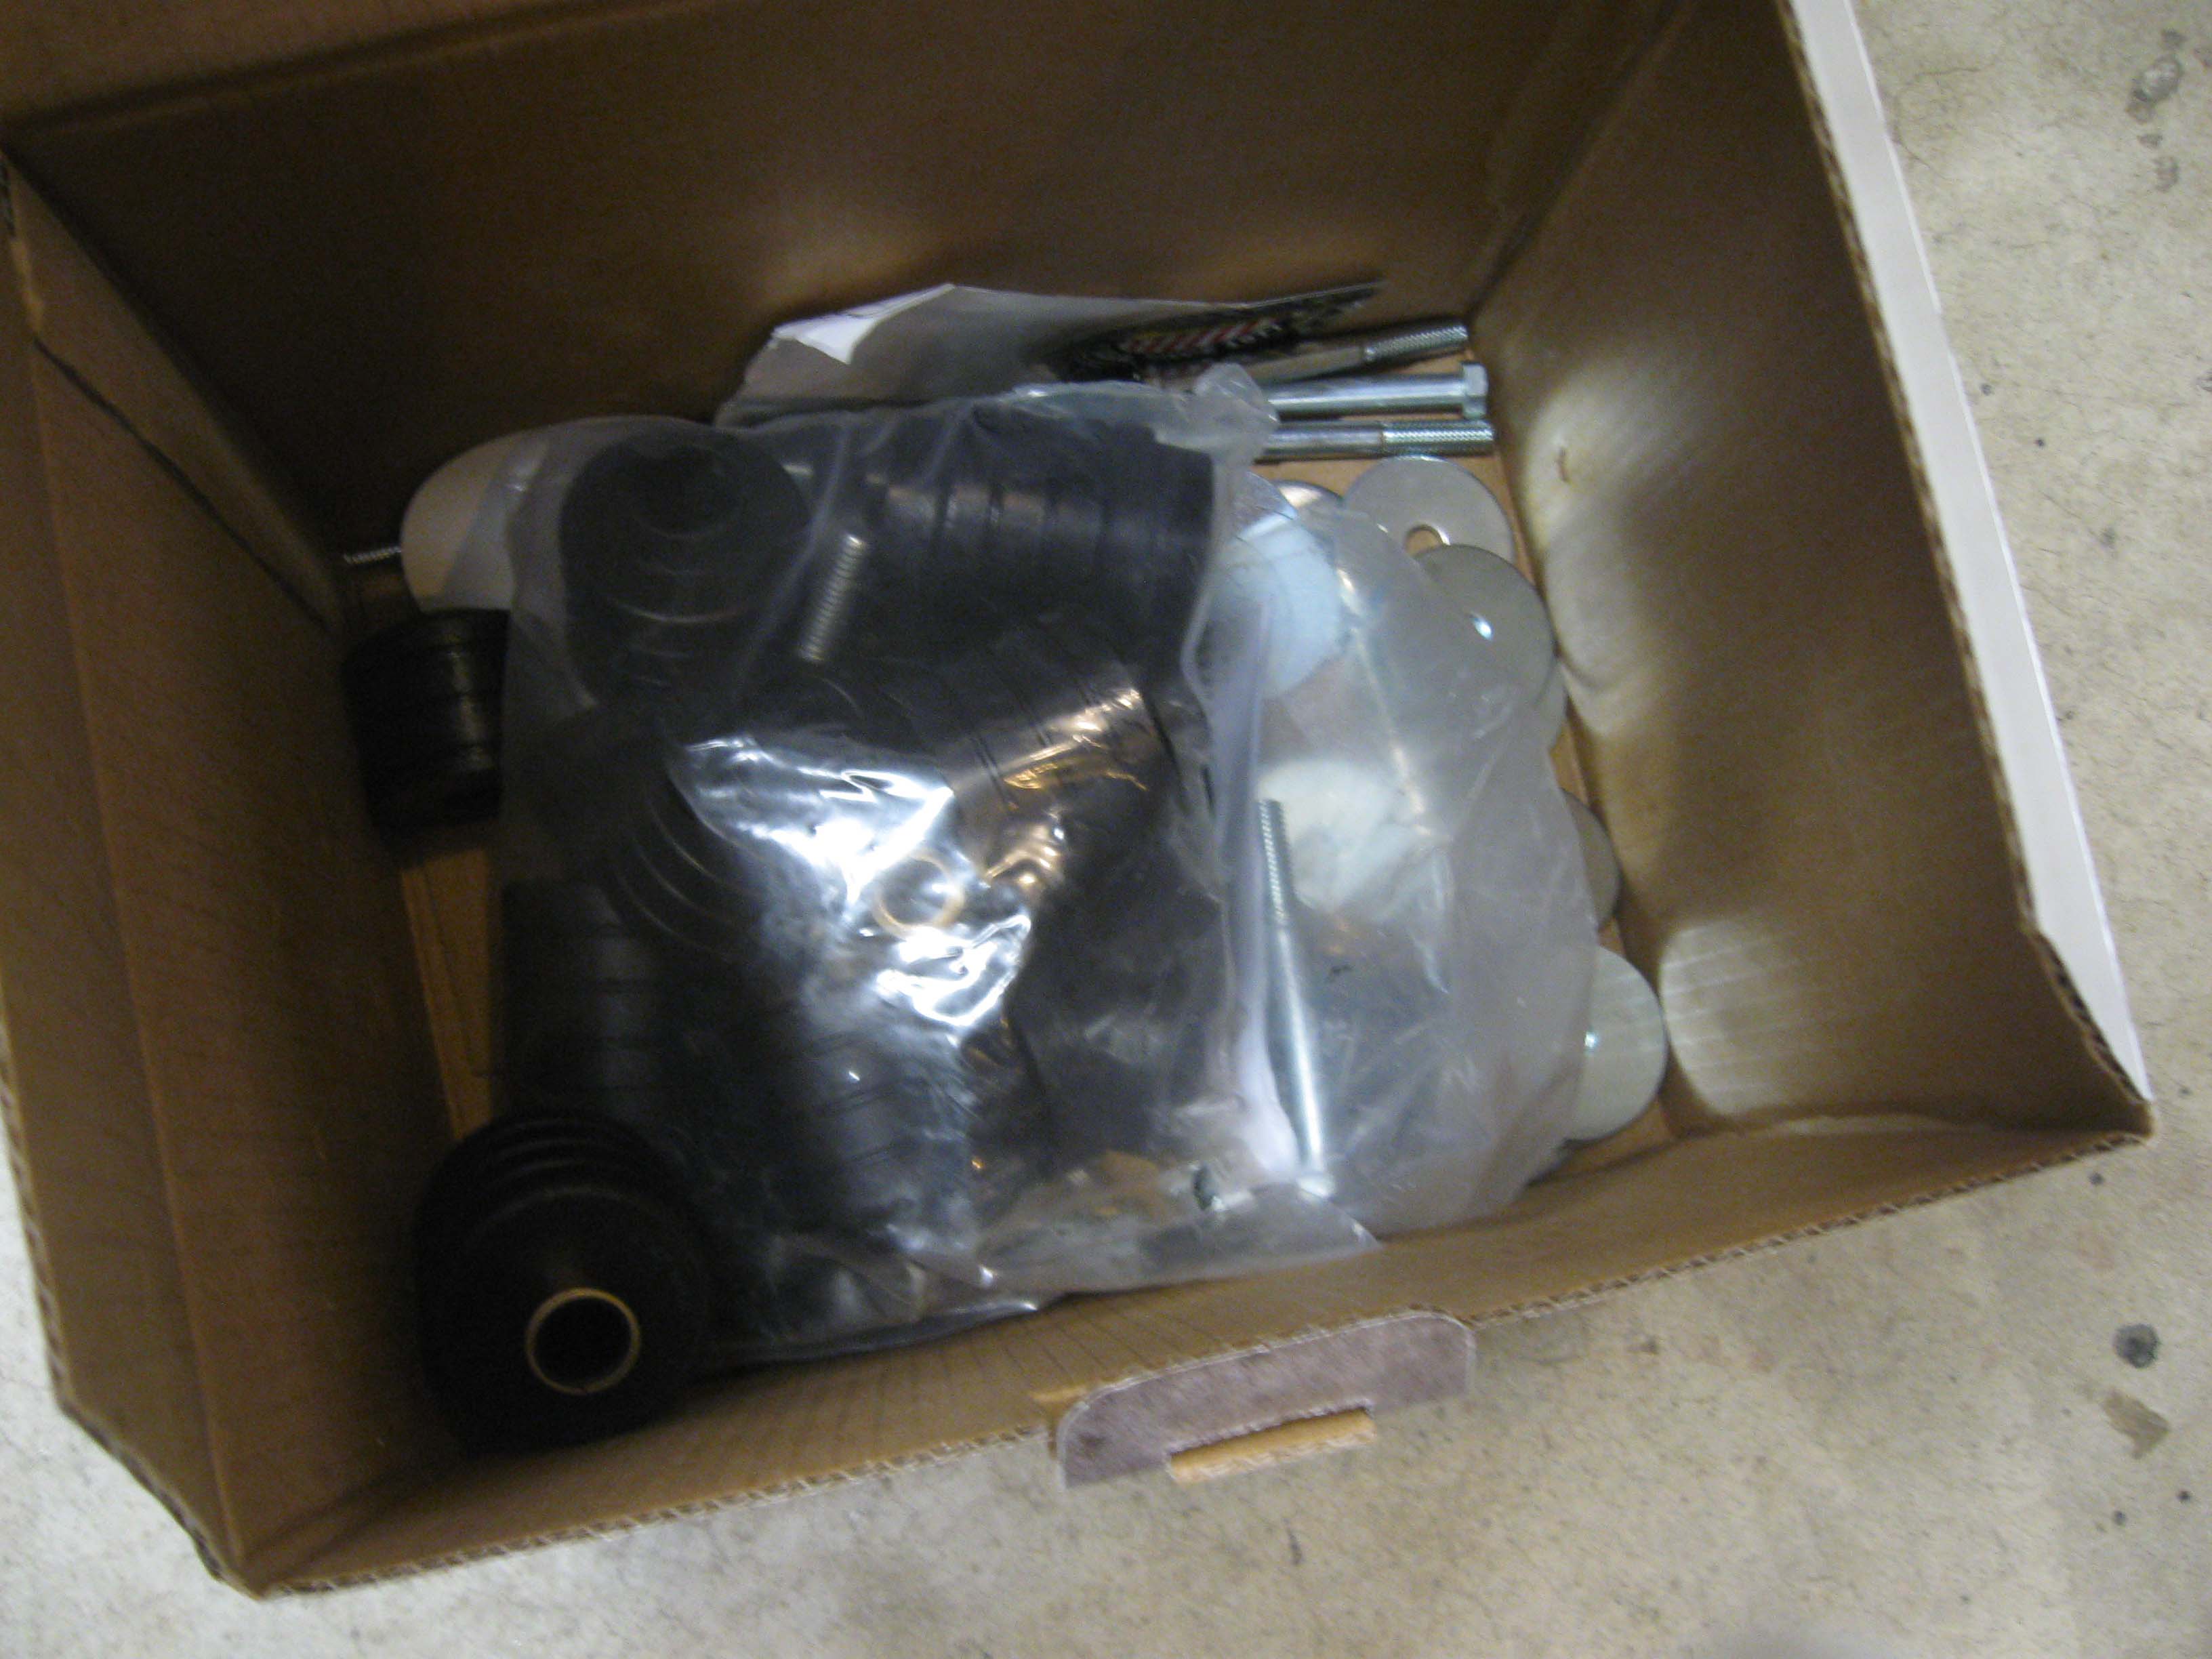
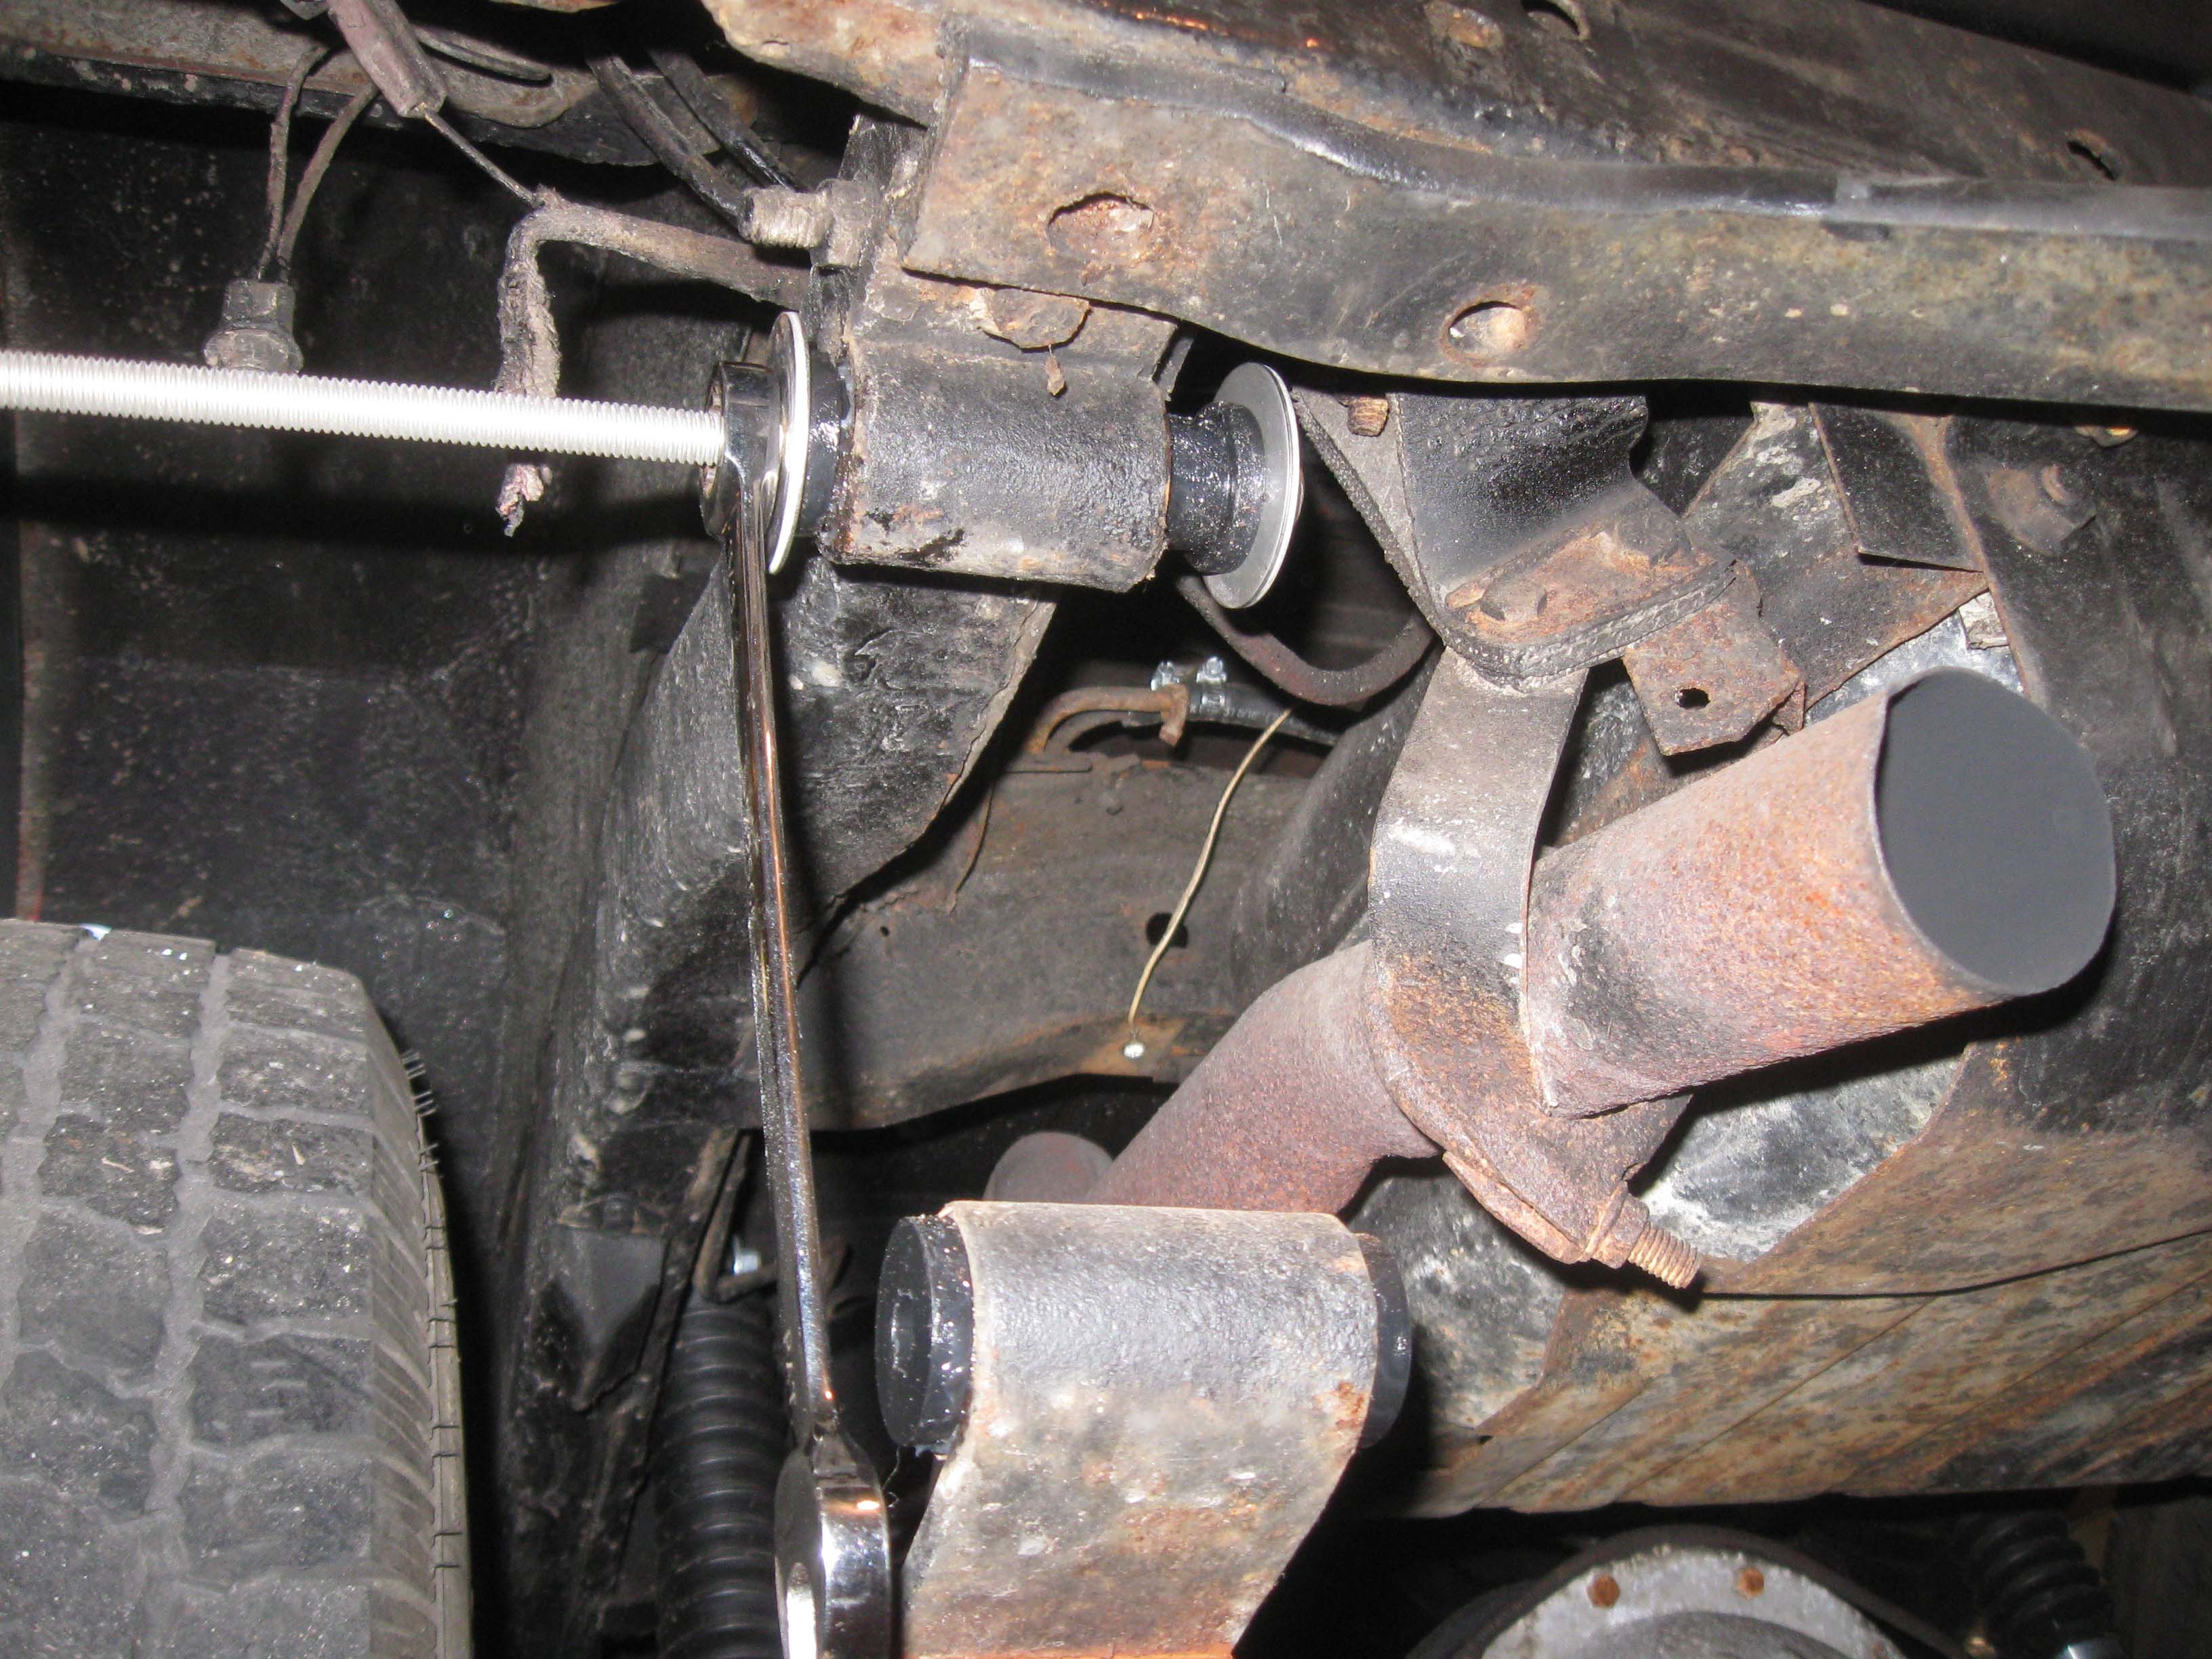
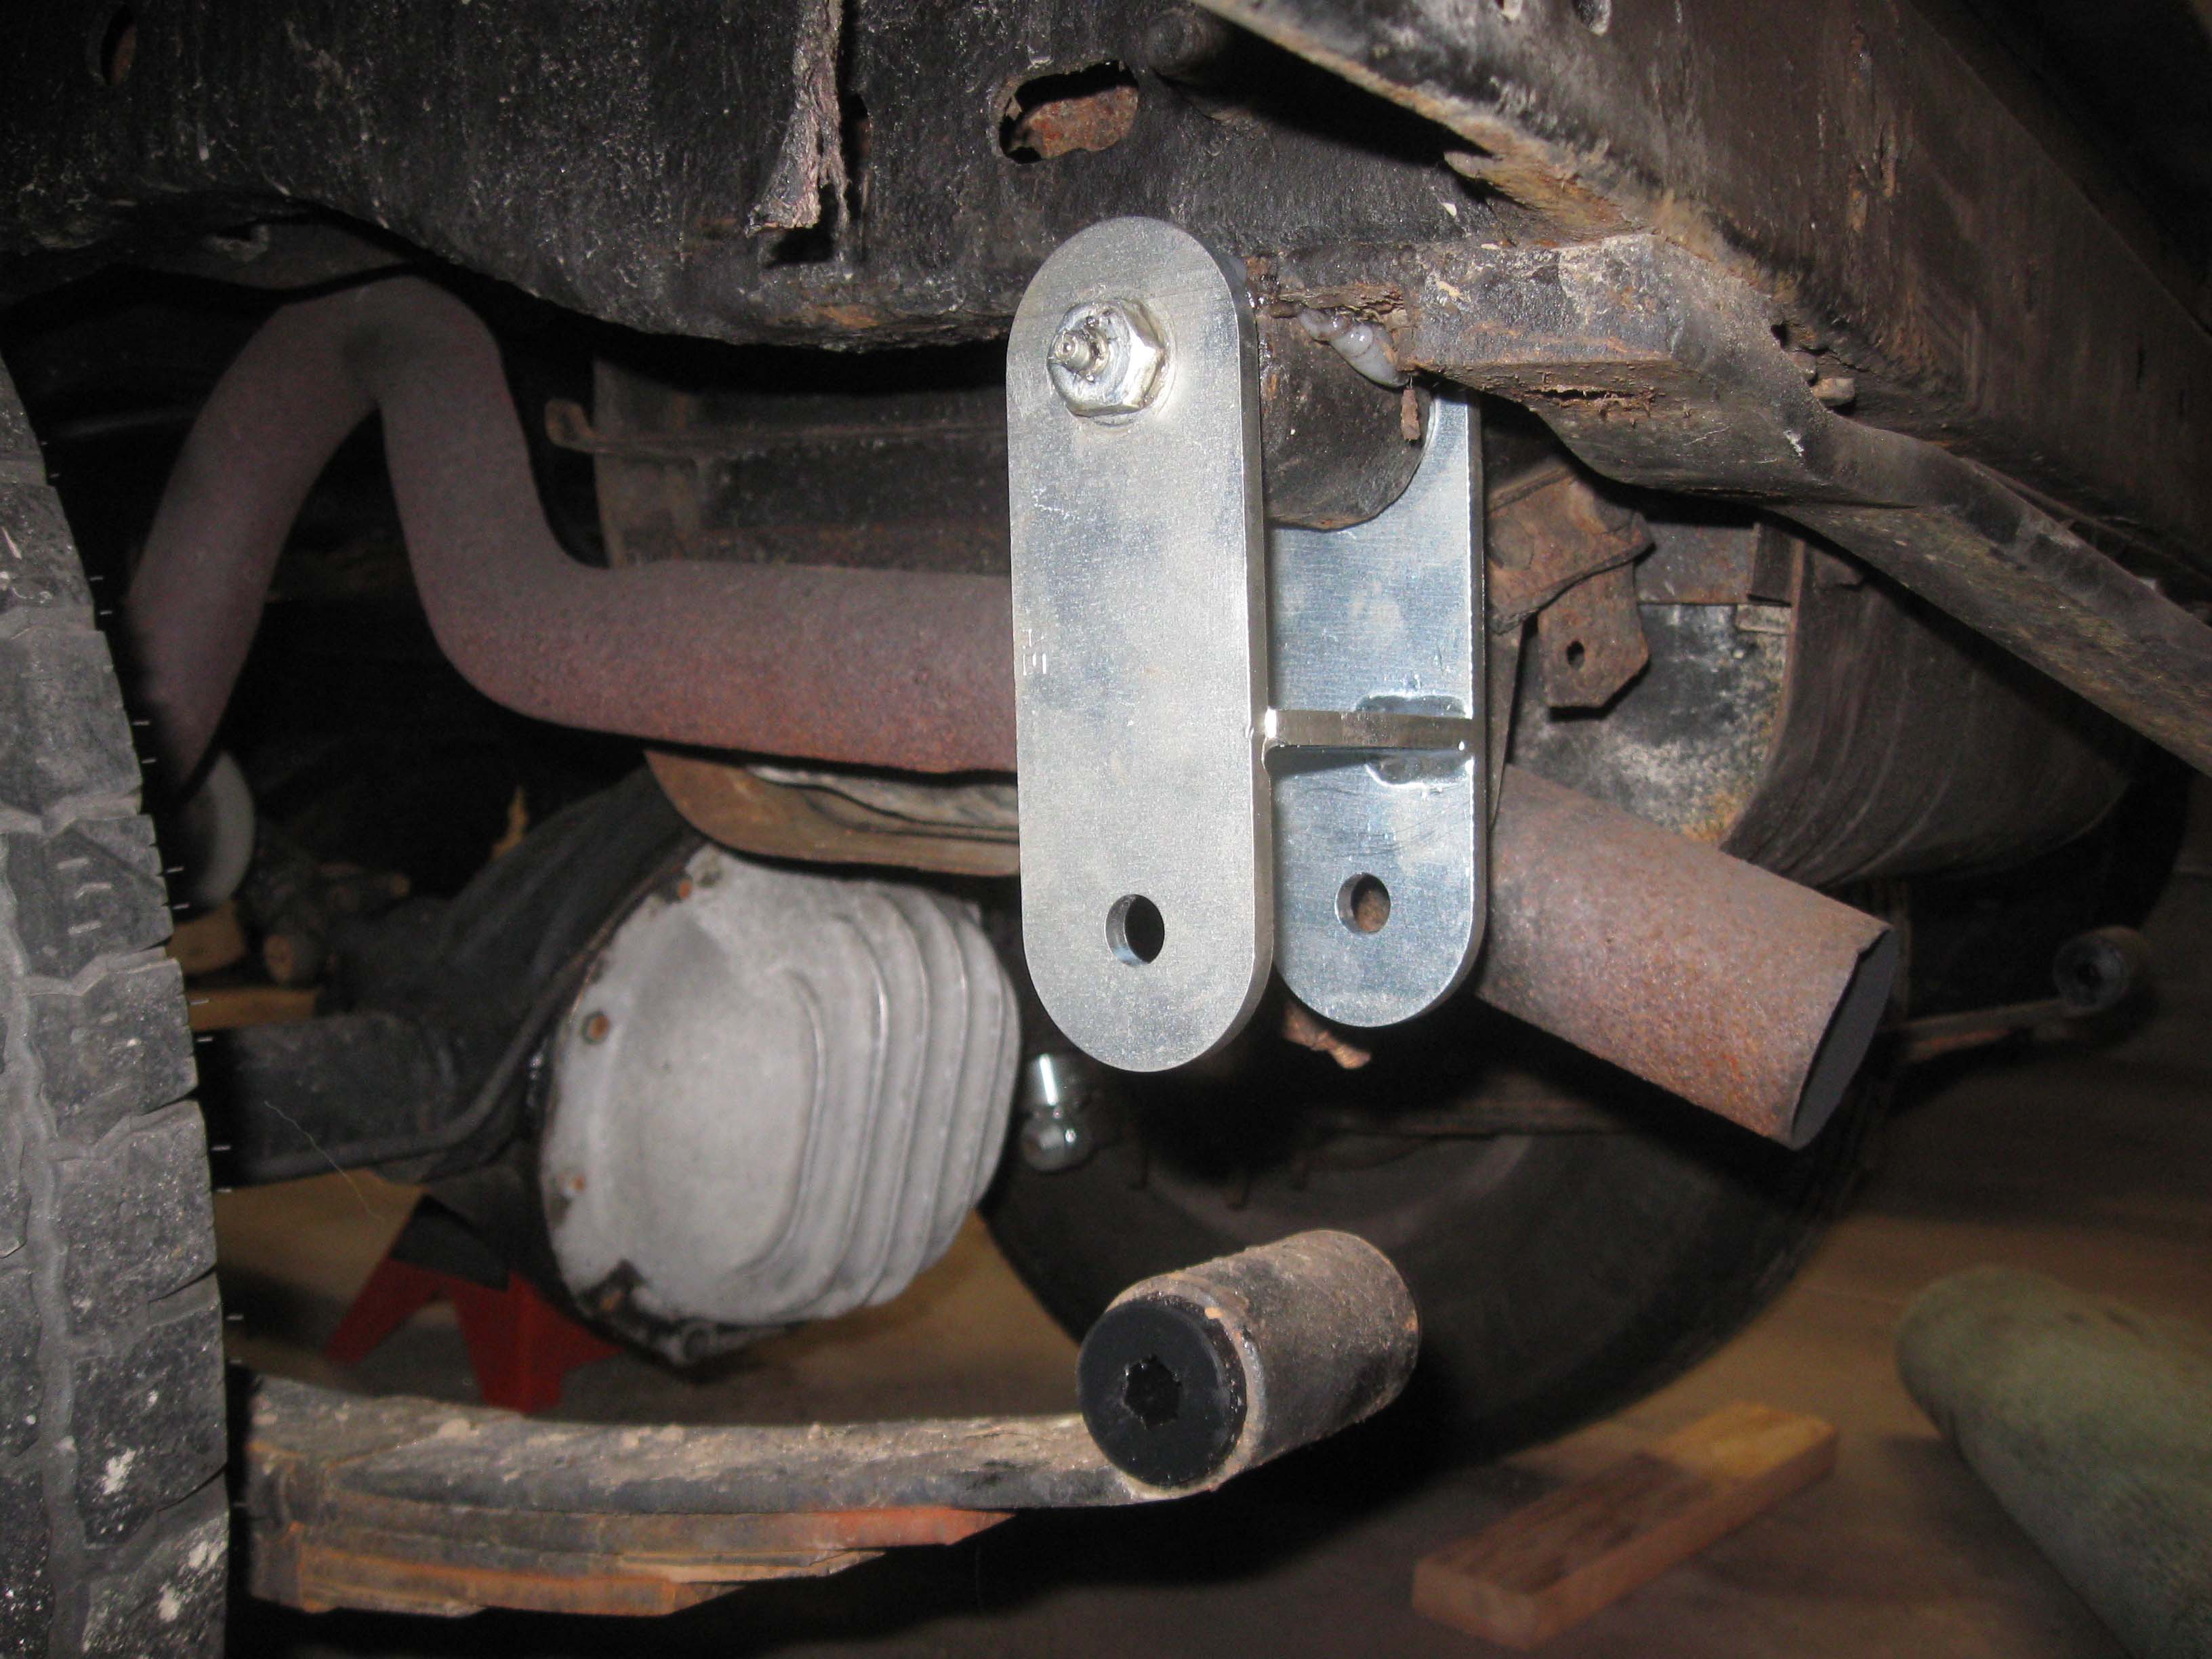
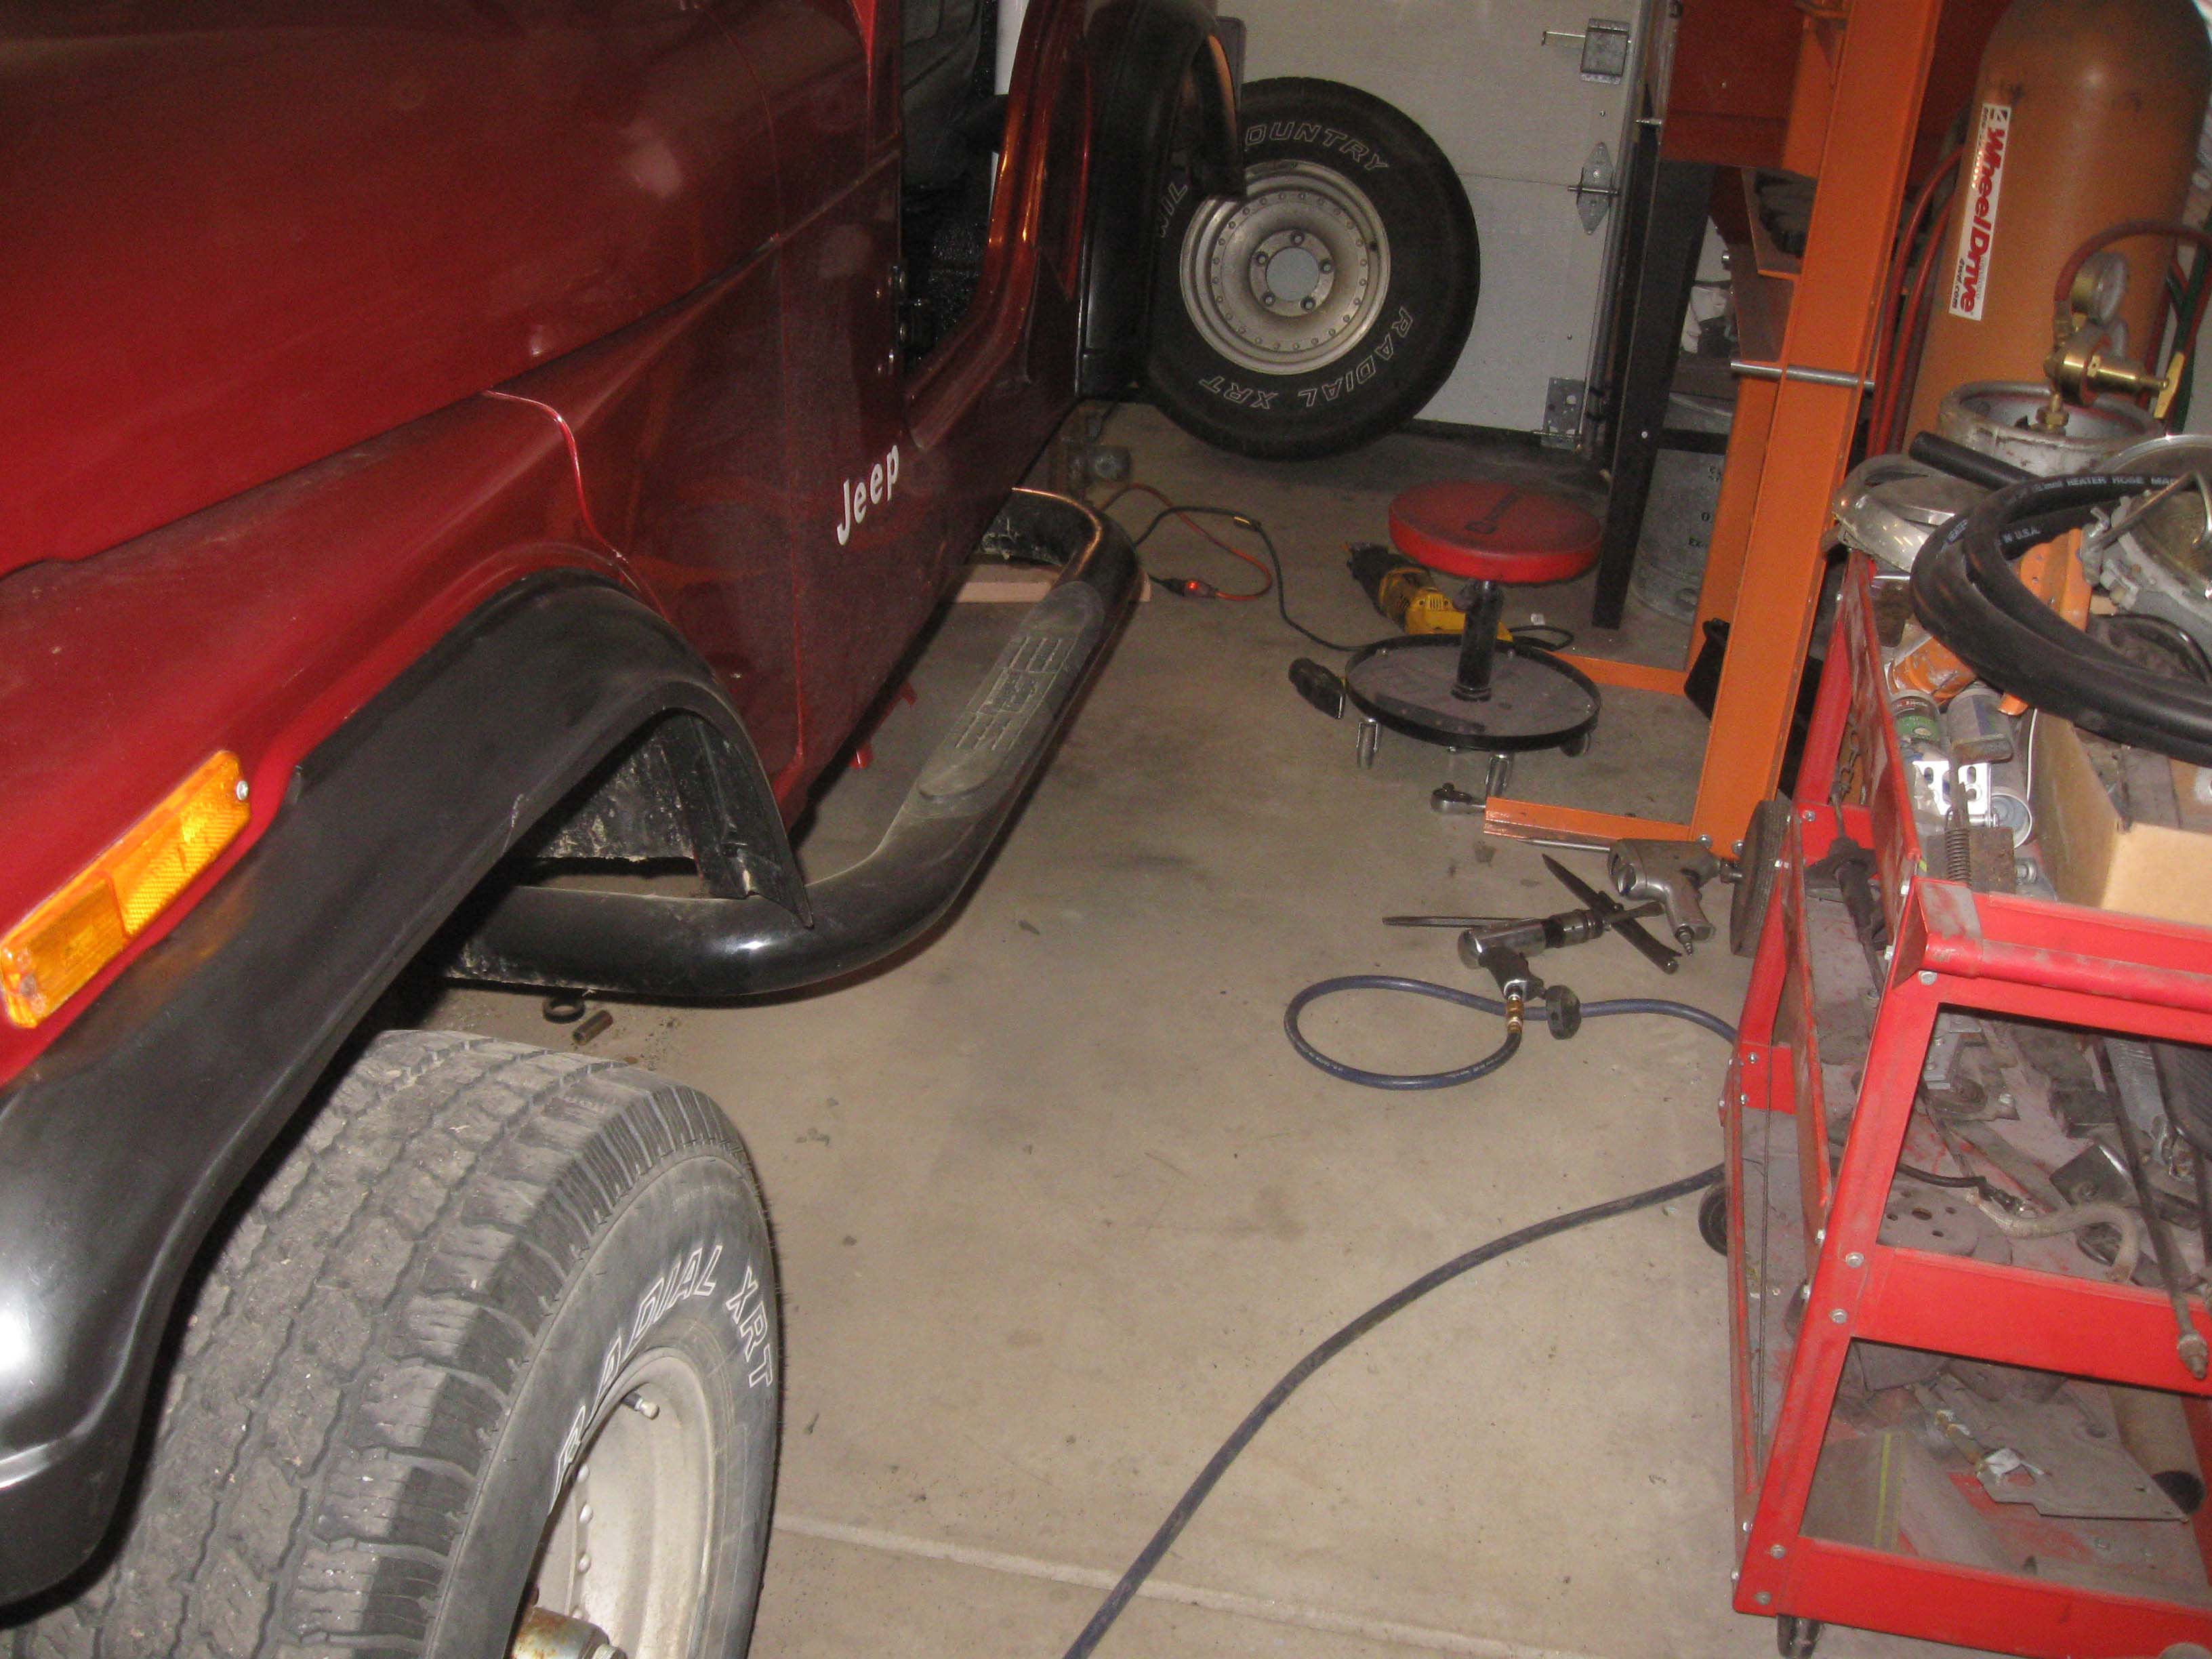
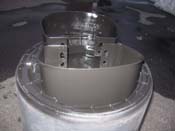
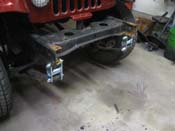
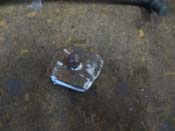
I had a lot of issues getting the rear shackles on due to the gas tank already
being installed. When you do a restoration, you don't have these issues, when you do a "Reclamation" you have
to get inventive to get the bushings in place that you can't hit with a rubber mallet. Also, they didn't go in
all the way with the threaded rod trick, so I had to spread the shackles a bit to fit the top and then clamp them
down. I was so angry and dirty when I did this I didn't have time to get the picture, but it is over now and
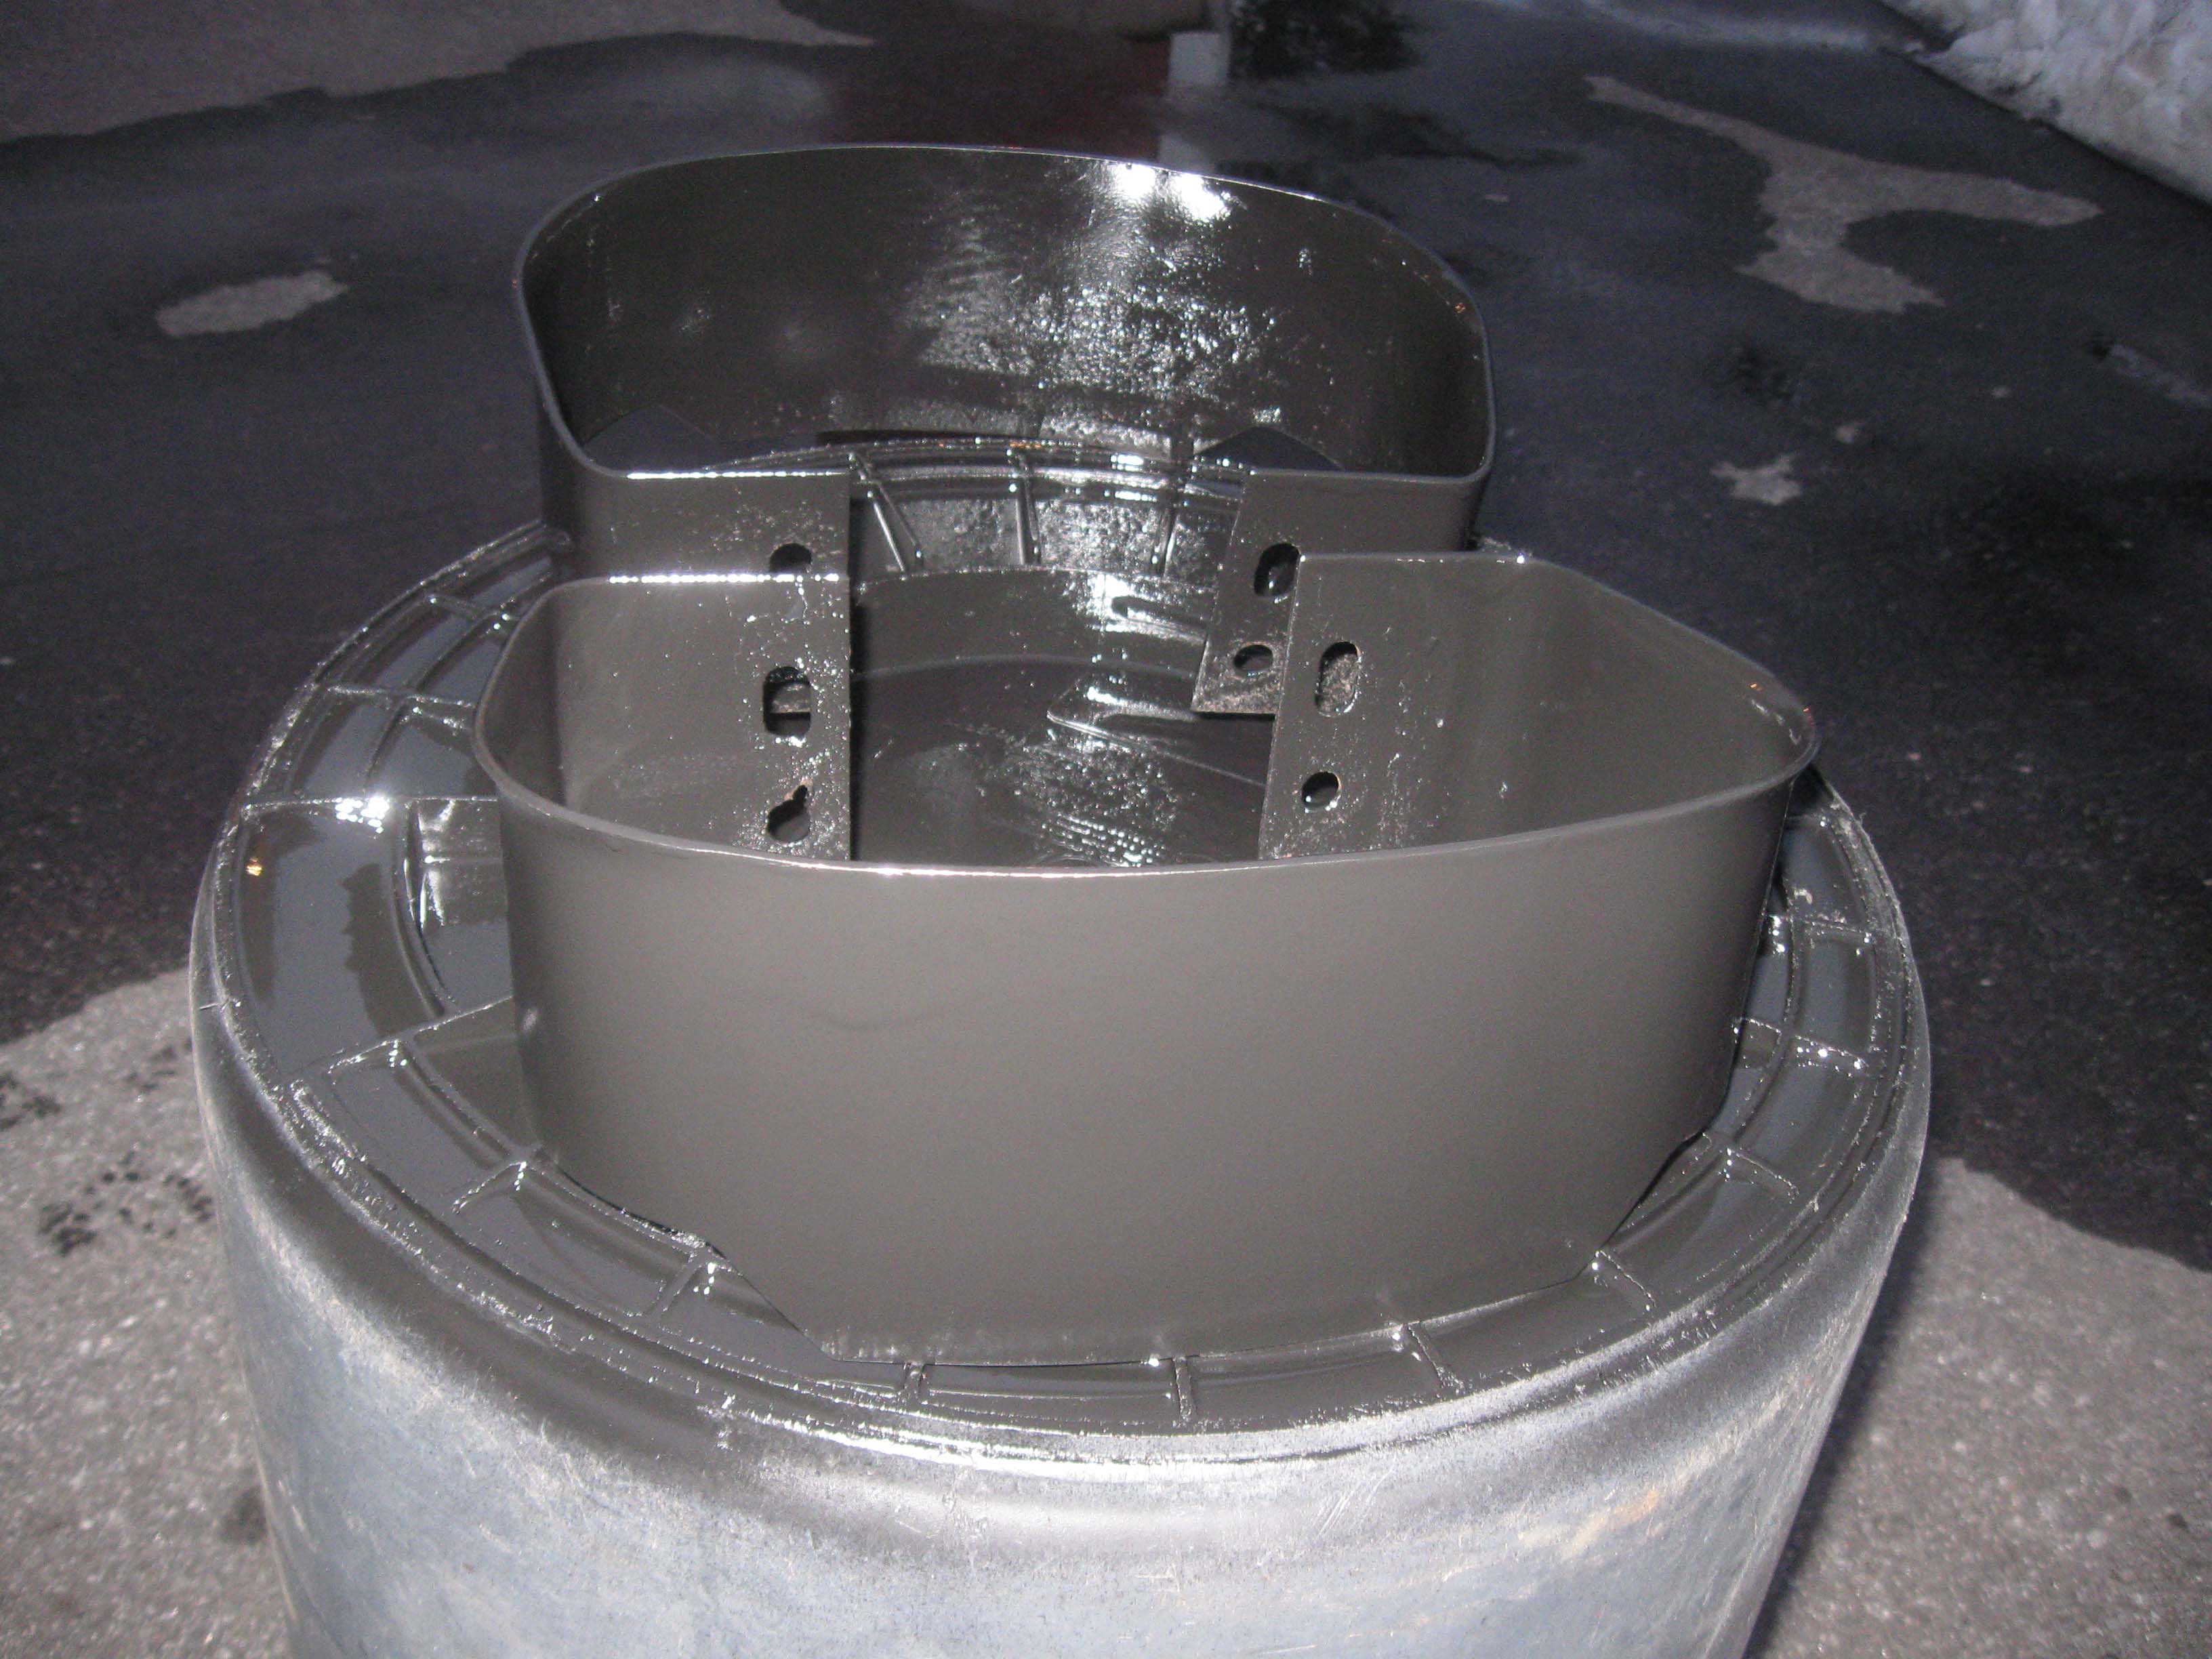
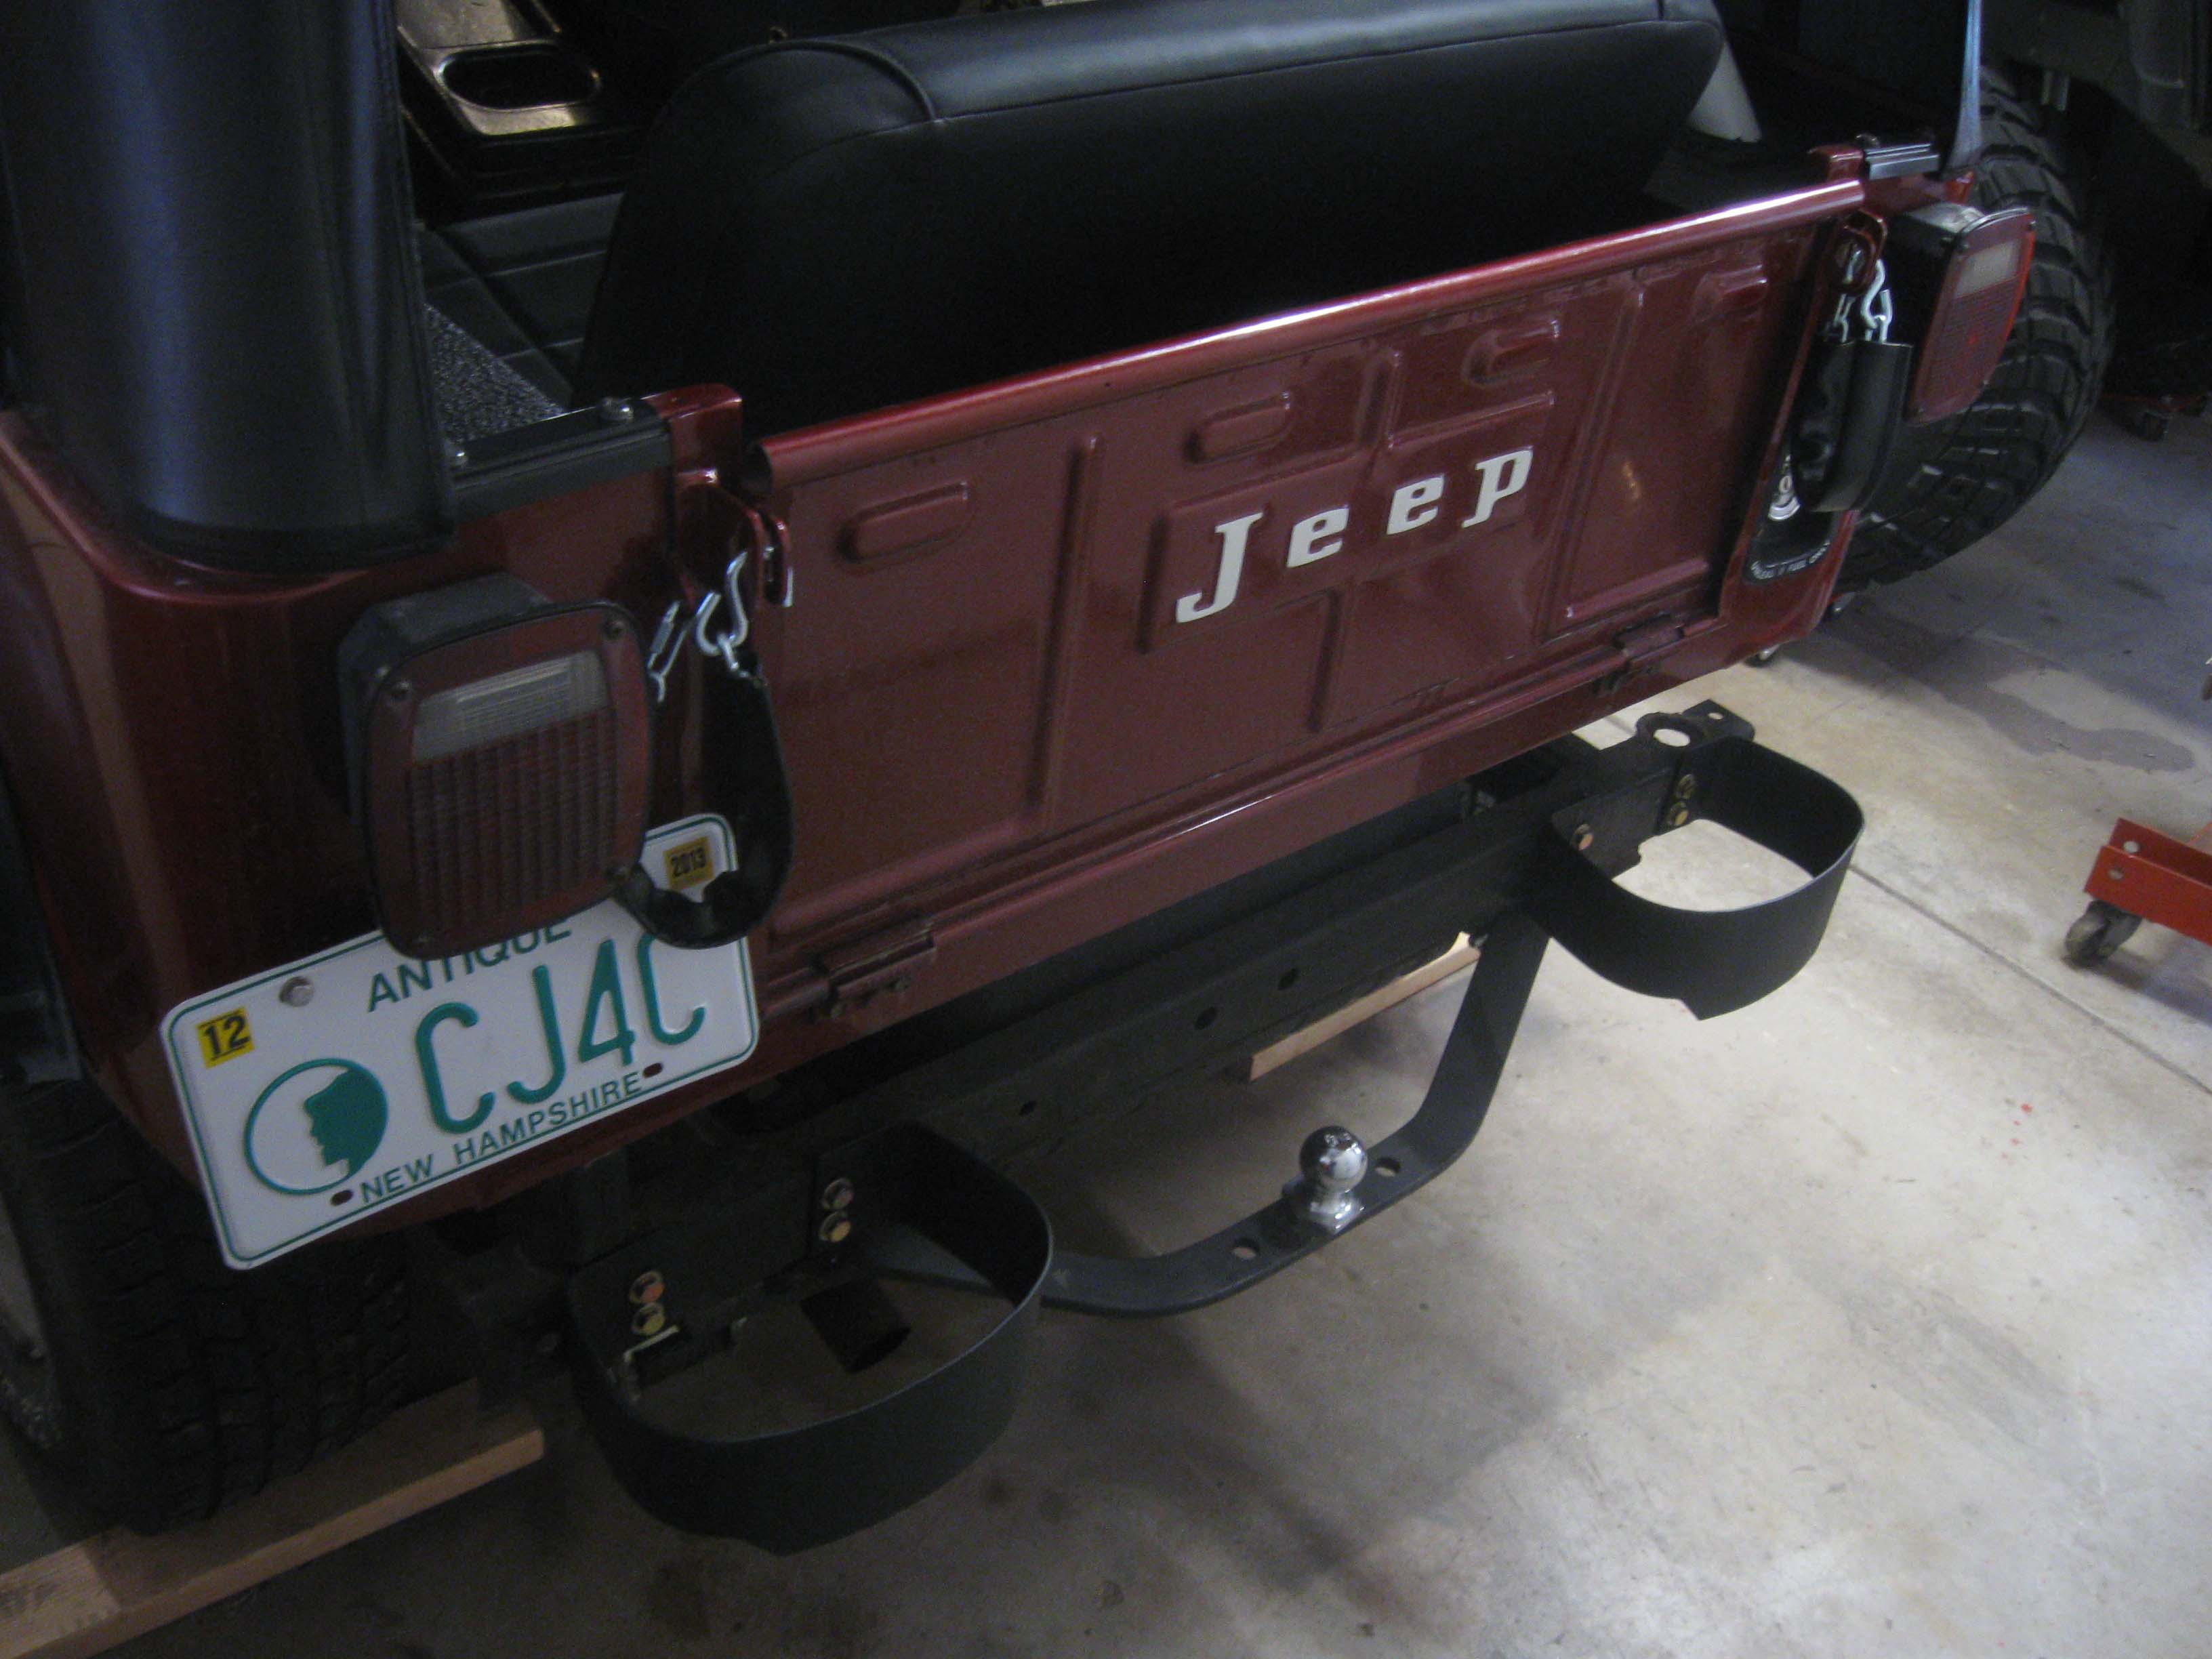
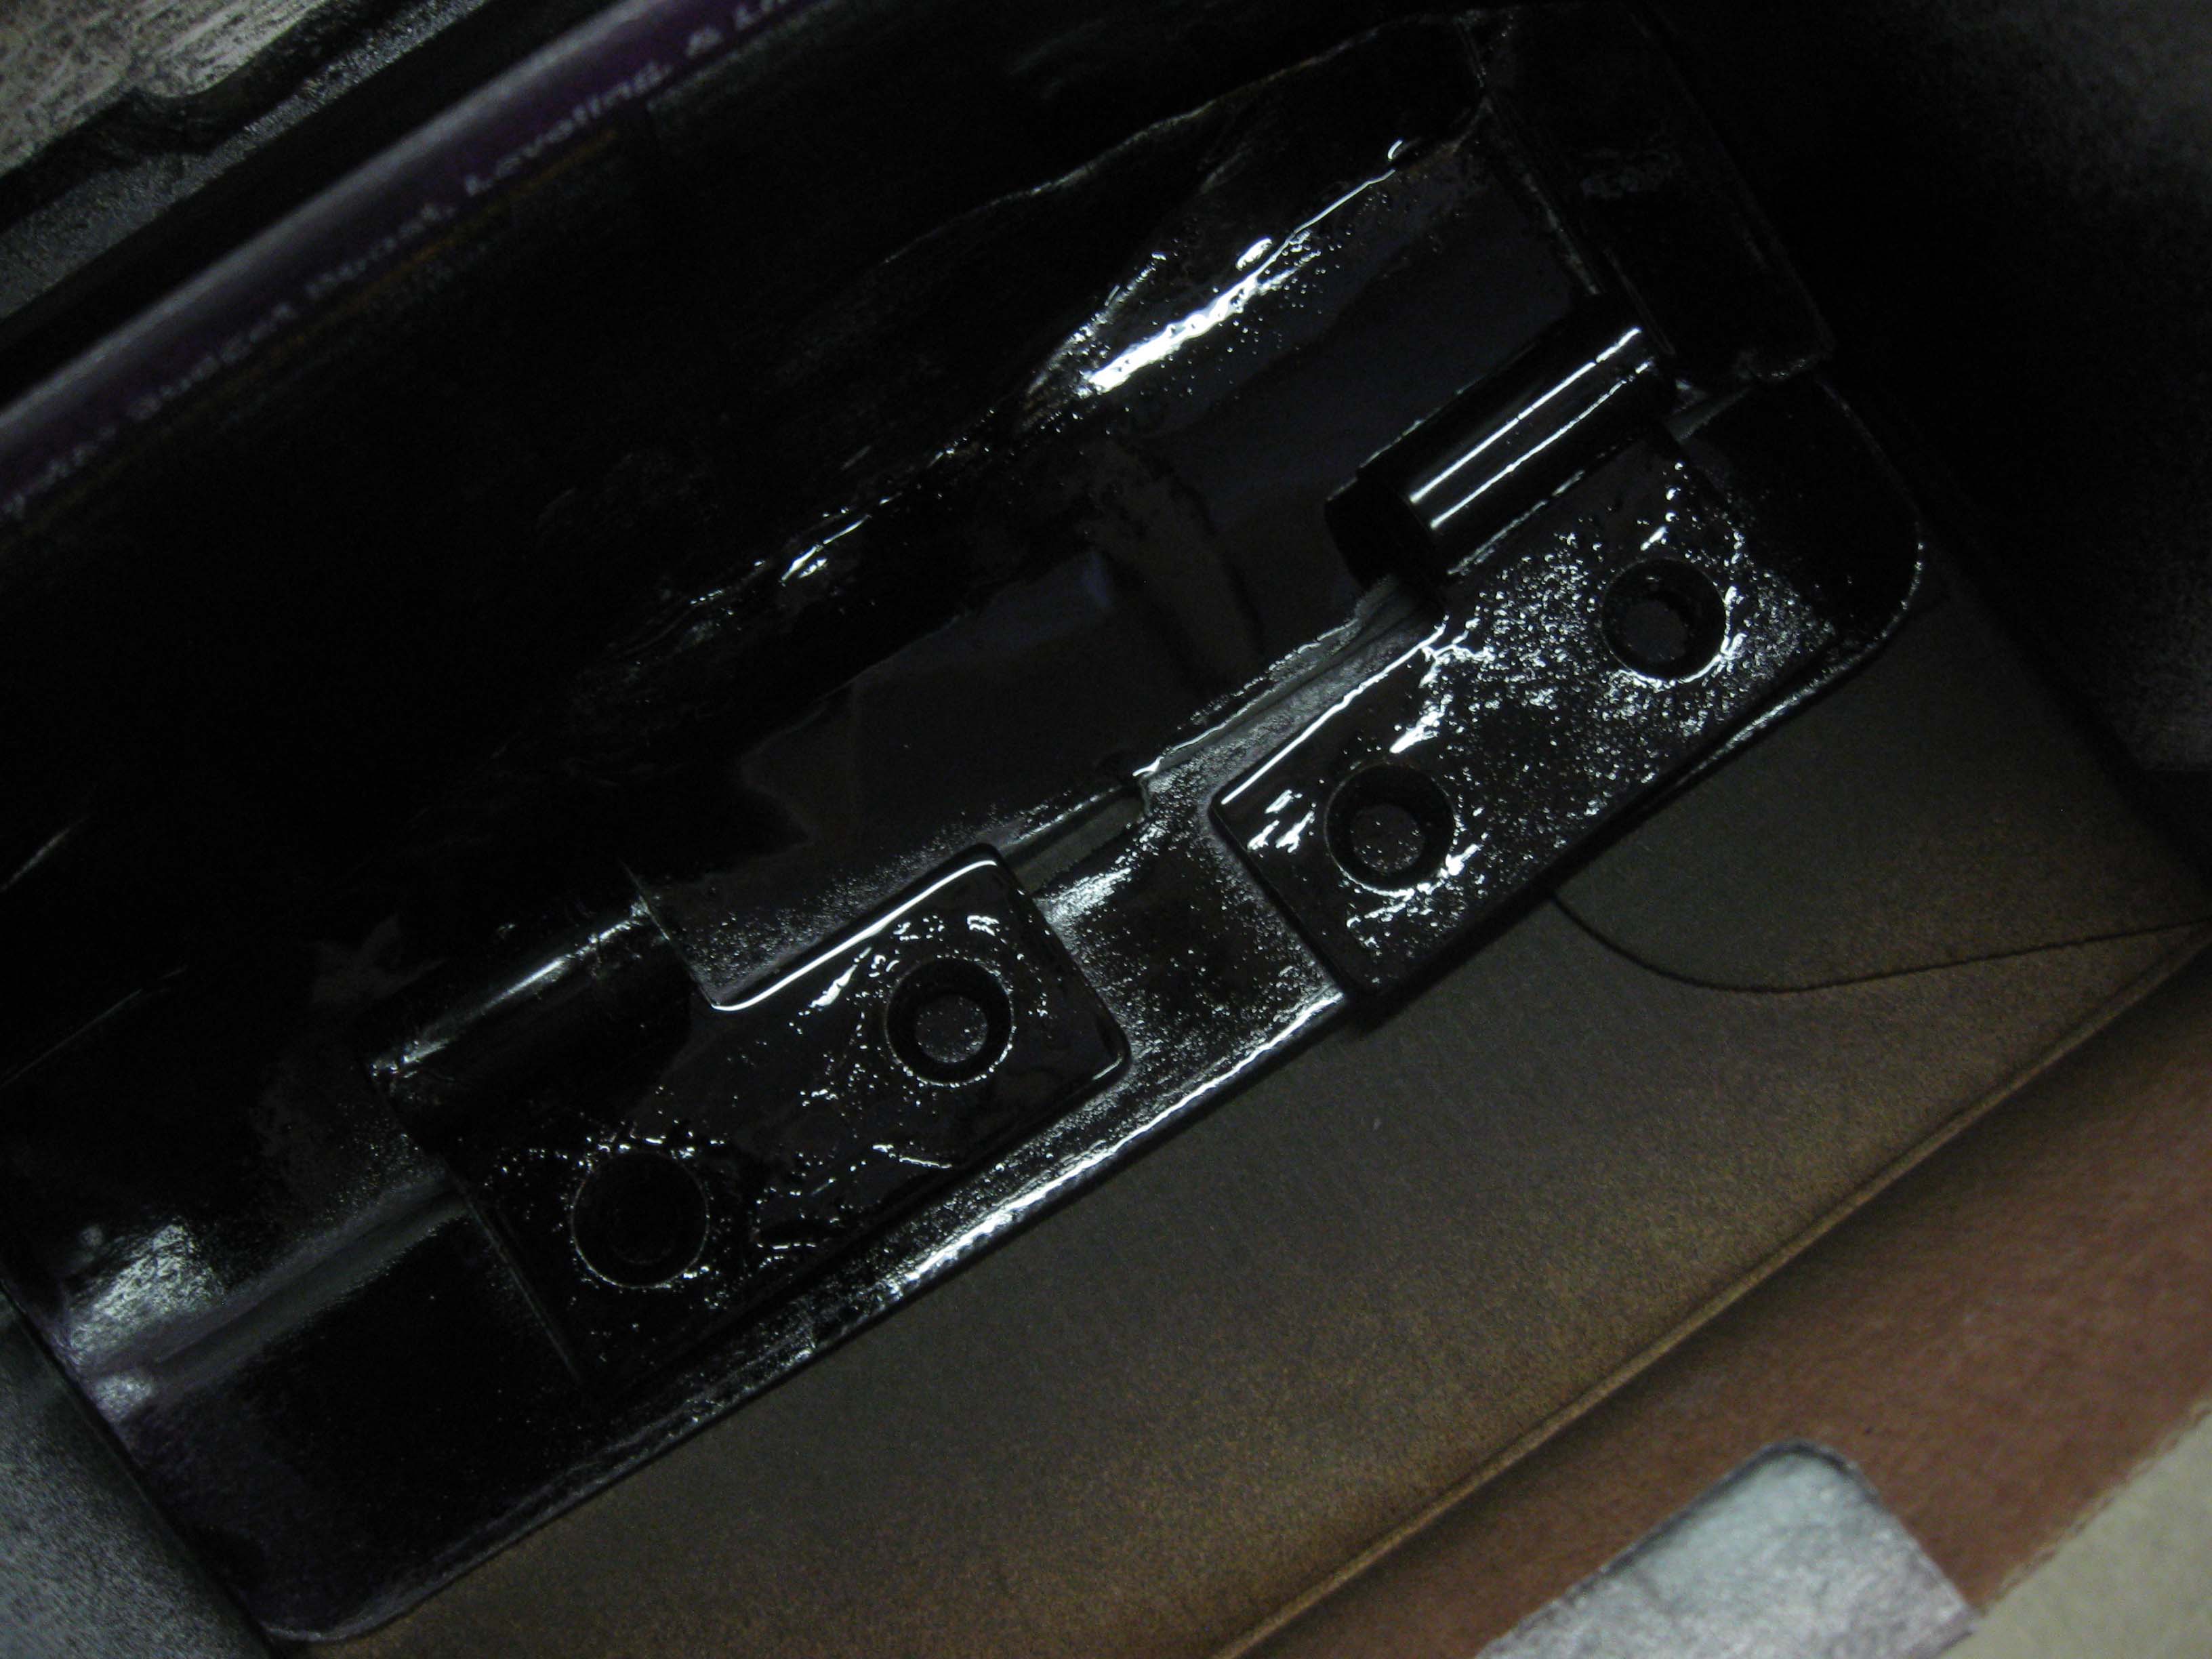
I have forgiven the Jeep ;) It was nice enough to me when I put the rear bumperettes on... that went smoothly.
NOTE: The bumperettes were quickly cleaned and hit with a scotchbrite pad and some black paint was put
on them. The labor is really racking up and I wanted to protect the new OEM parts, but didn't have time to finish
them completely, it will be done in the future when there is more time/money.
|
| |

|
|
|
|

|
|

|

|
| |
I hope to get to finishing up the rear seat belts, getting the body lift on (need
to remove the clutch linkage as it was extended to fit the larger lift and replace with the smaller setup I have
received in the mail) and finally address the broken bolt issue that is still in the body where the bolt snapped
off. I still have 2 more bolts to go as well... fingers crossed.
cb (02.17.13)
|
| |
|
|
|
|
|
|
| |
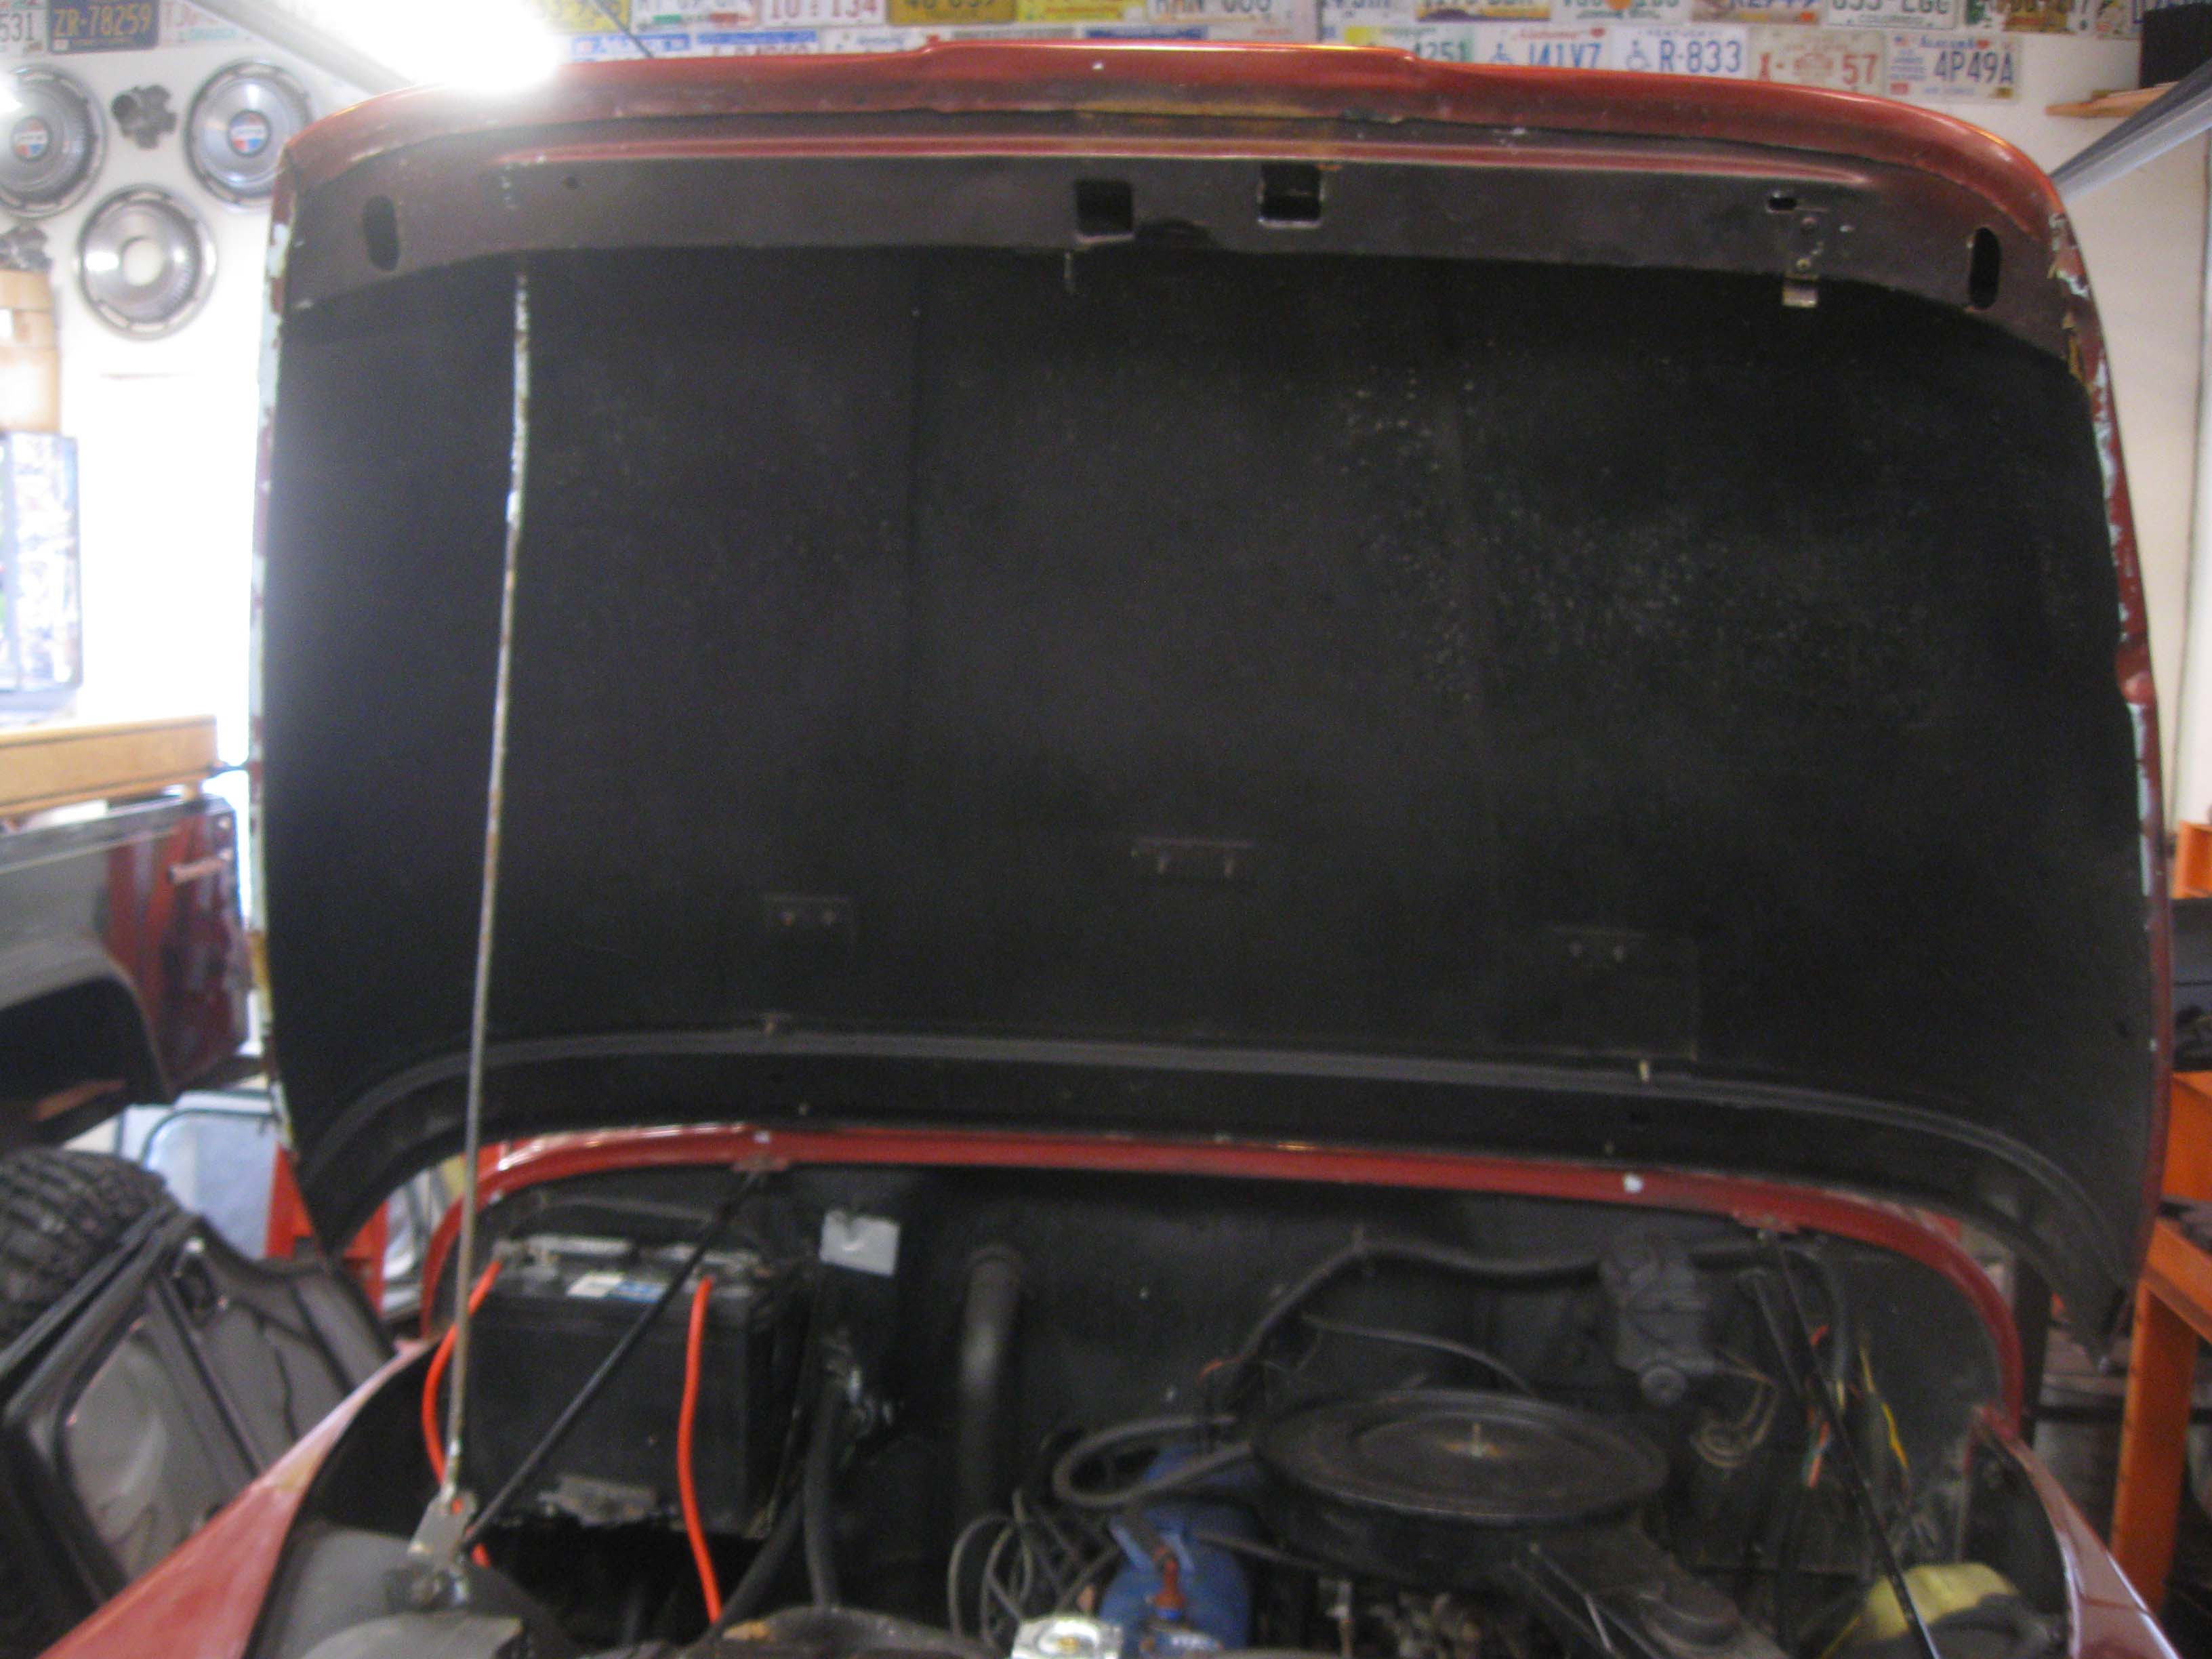
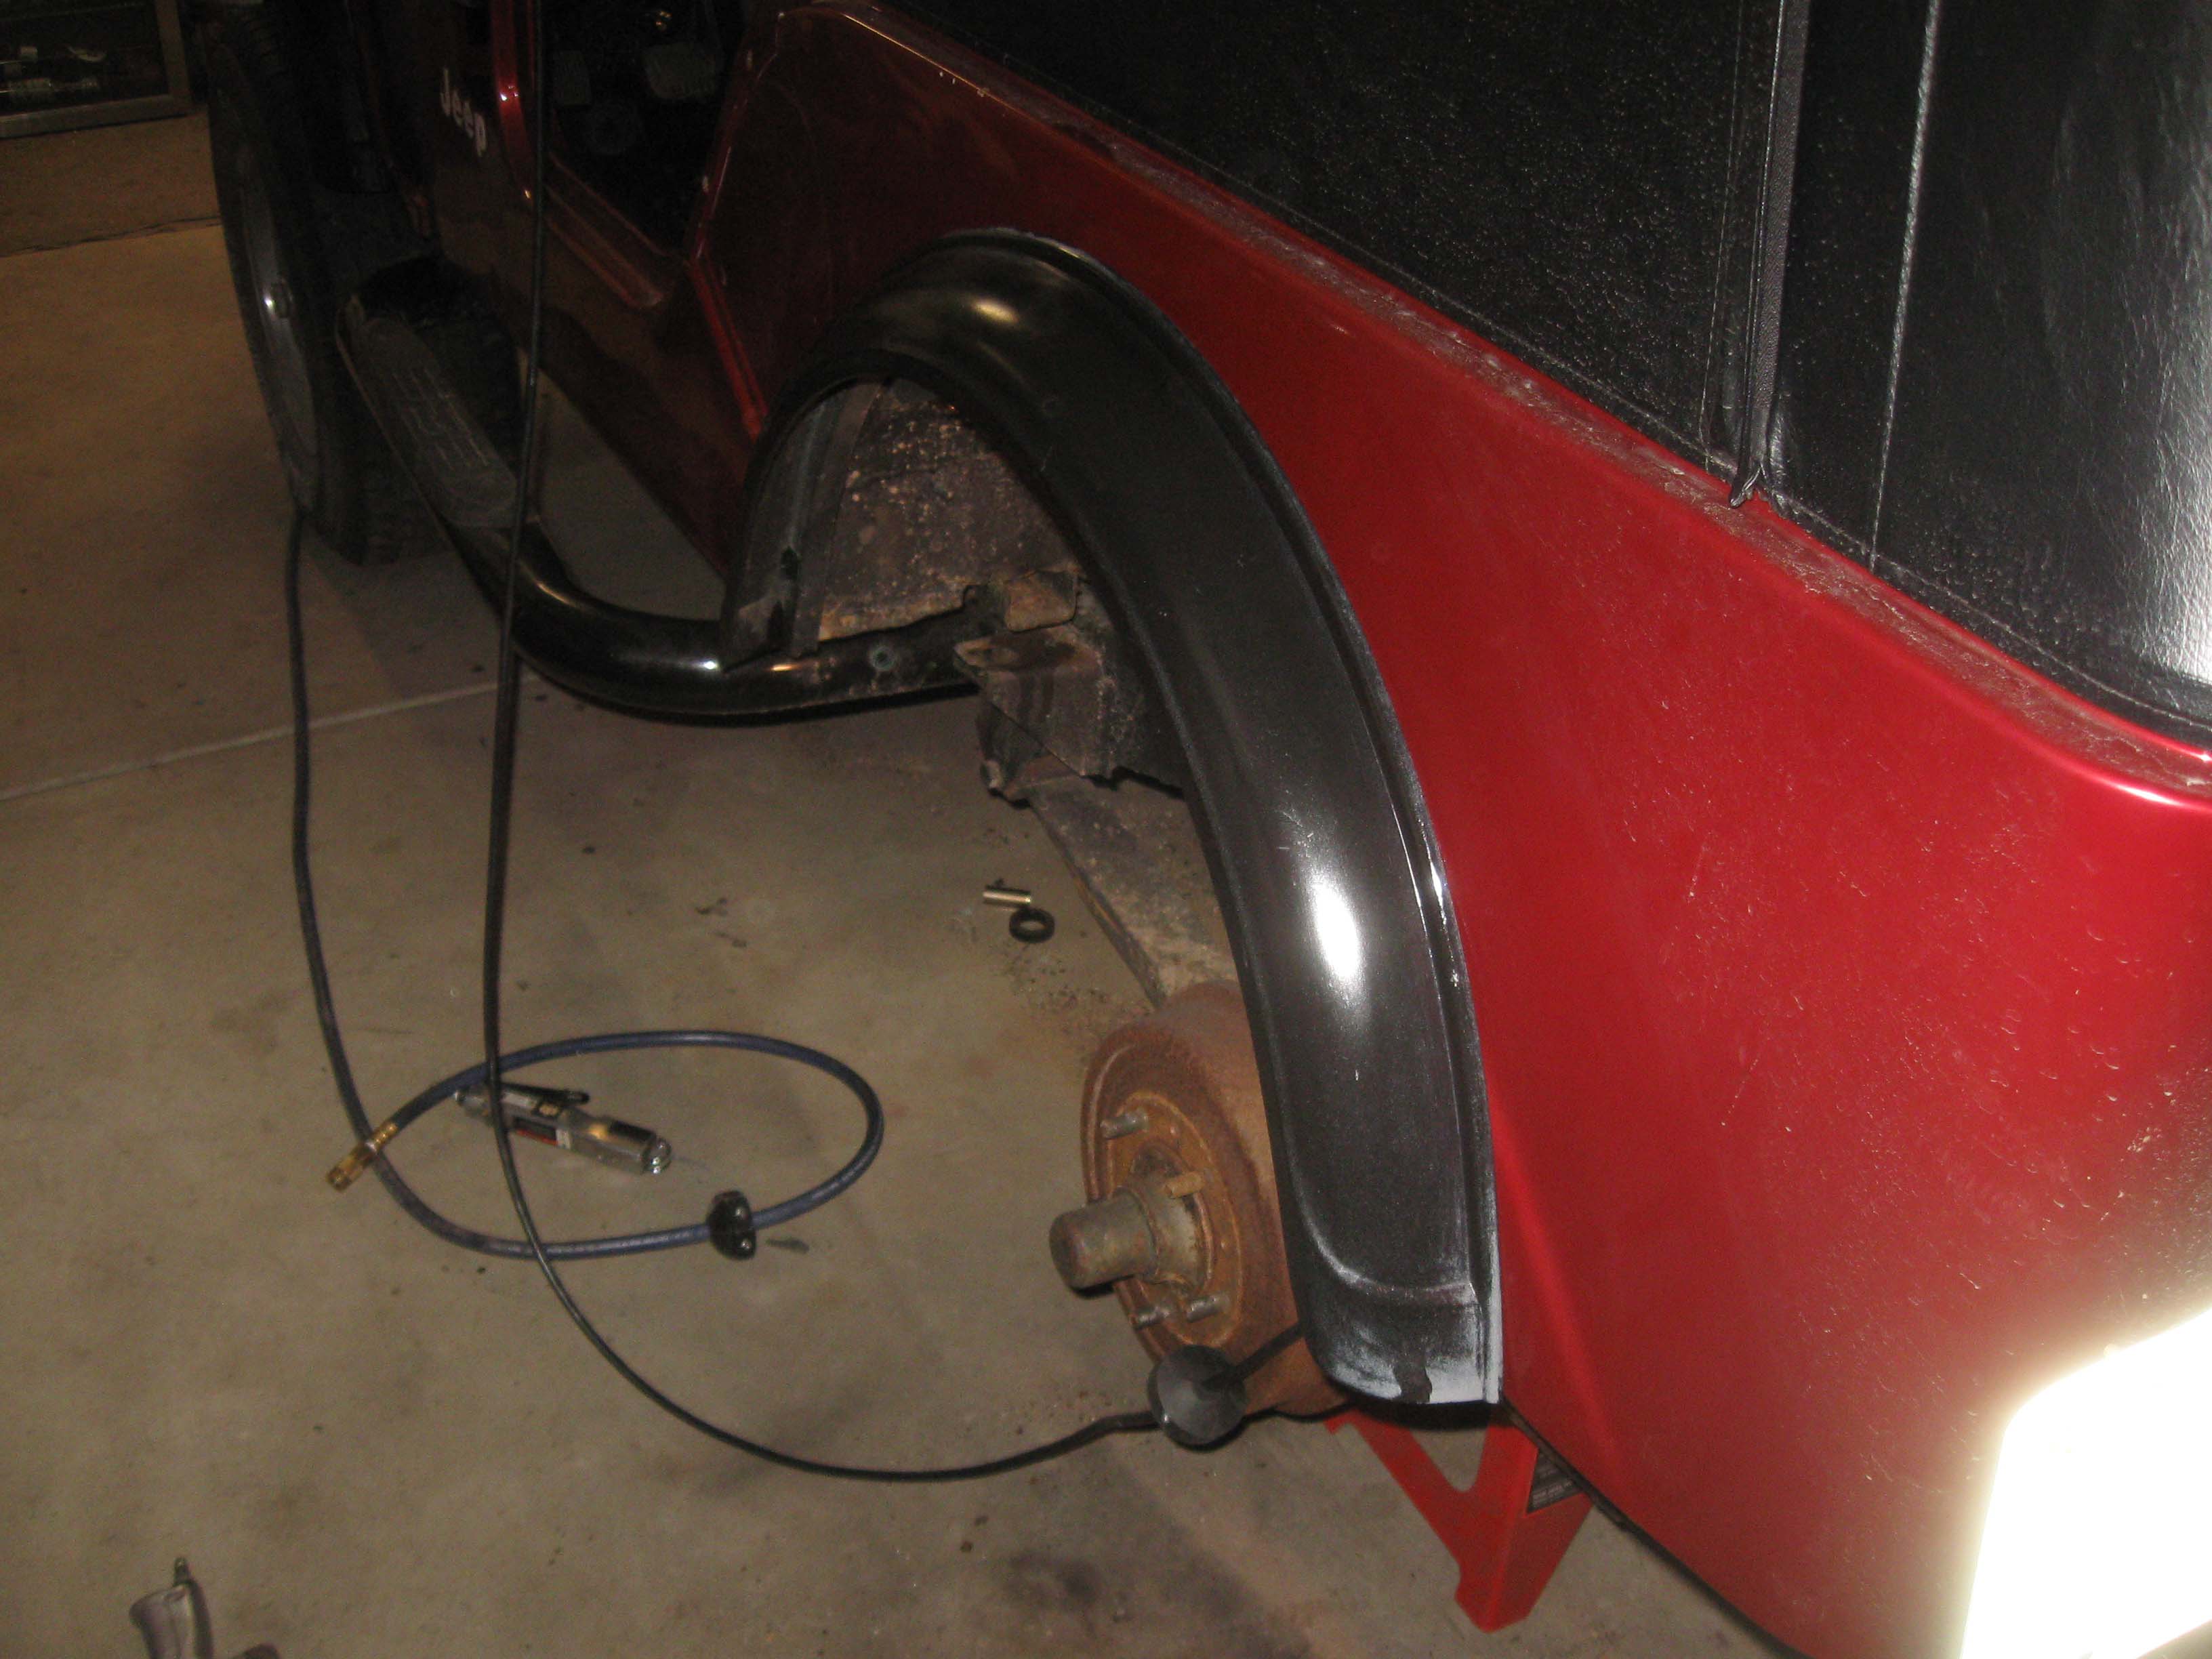
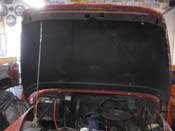
| (02.18.13) I made some really good progress yesterday. I was able to get the
hood fixed so it stands up on its own, but it really does need a new piece. I then moved onto painting the lower
door hinges after I stripped them. I will use stripper on the wheels as well once it gets a little warmer, the
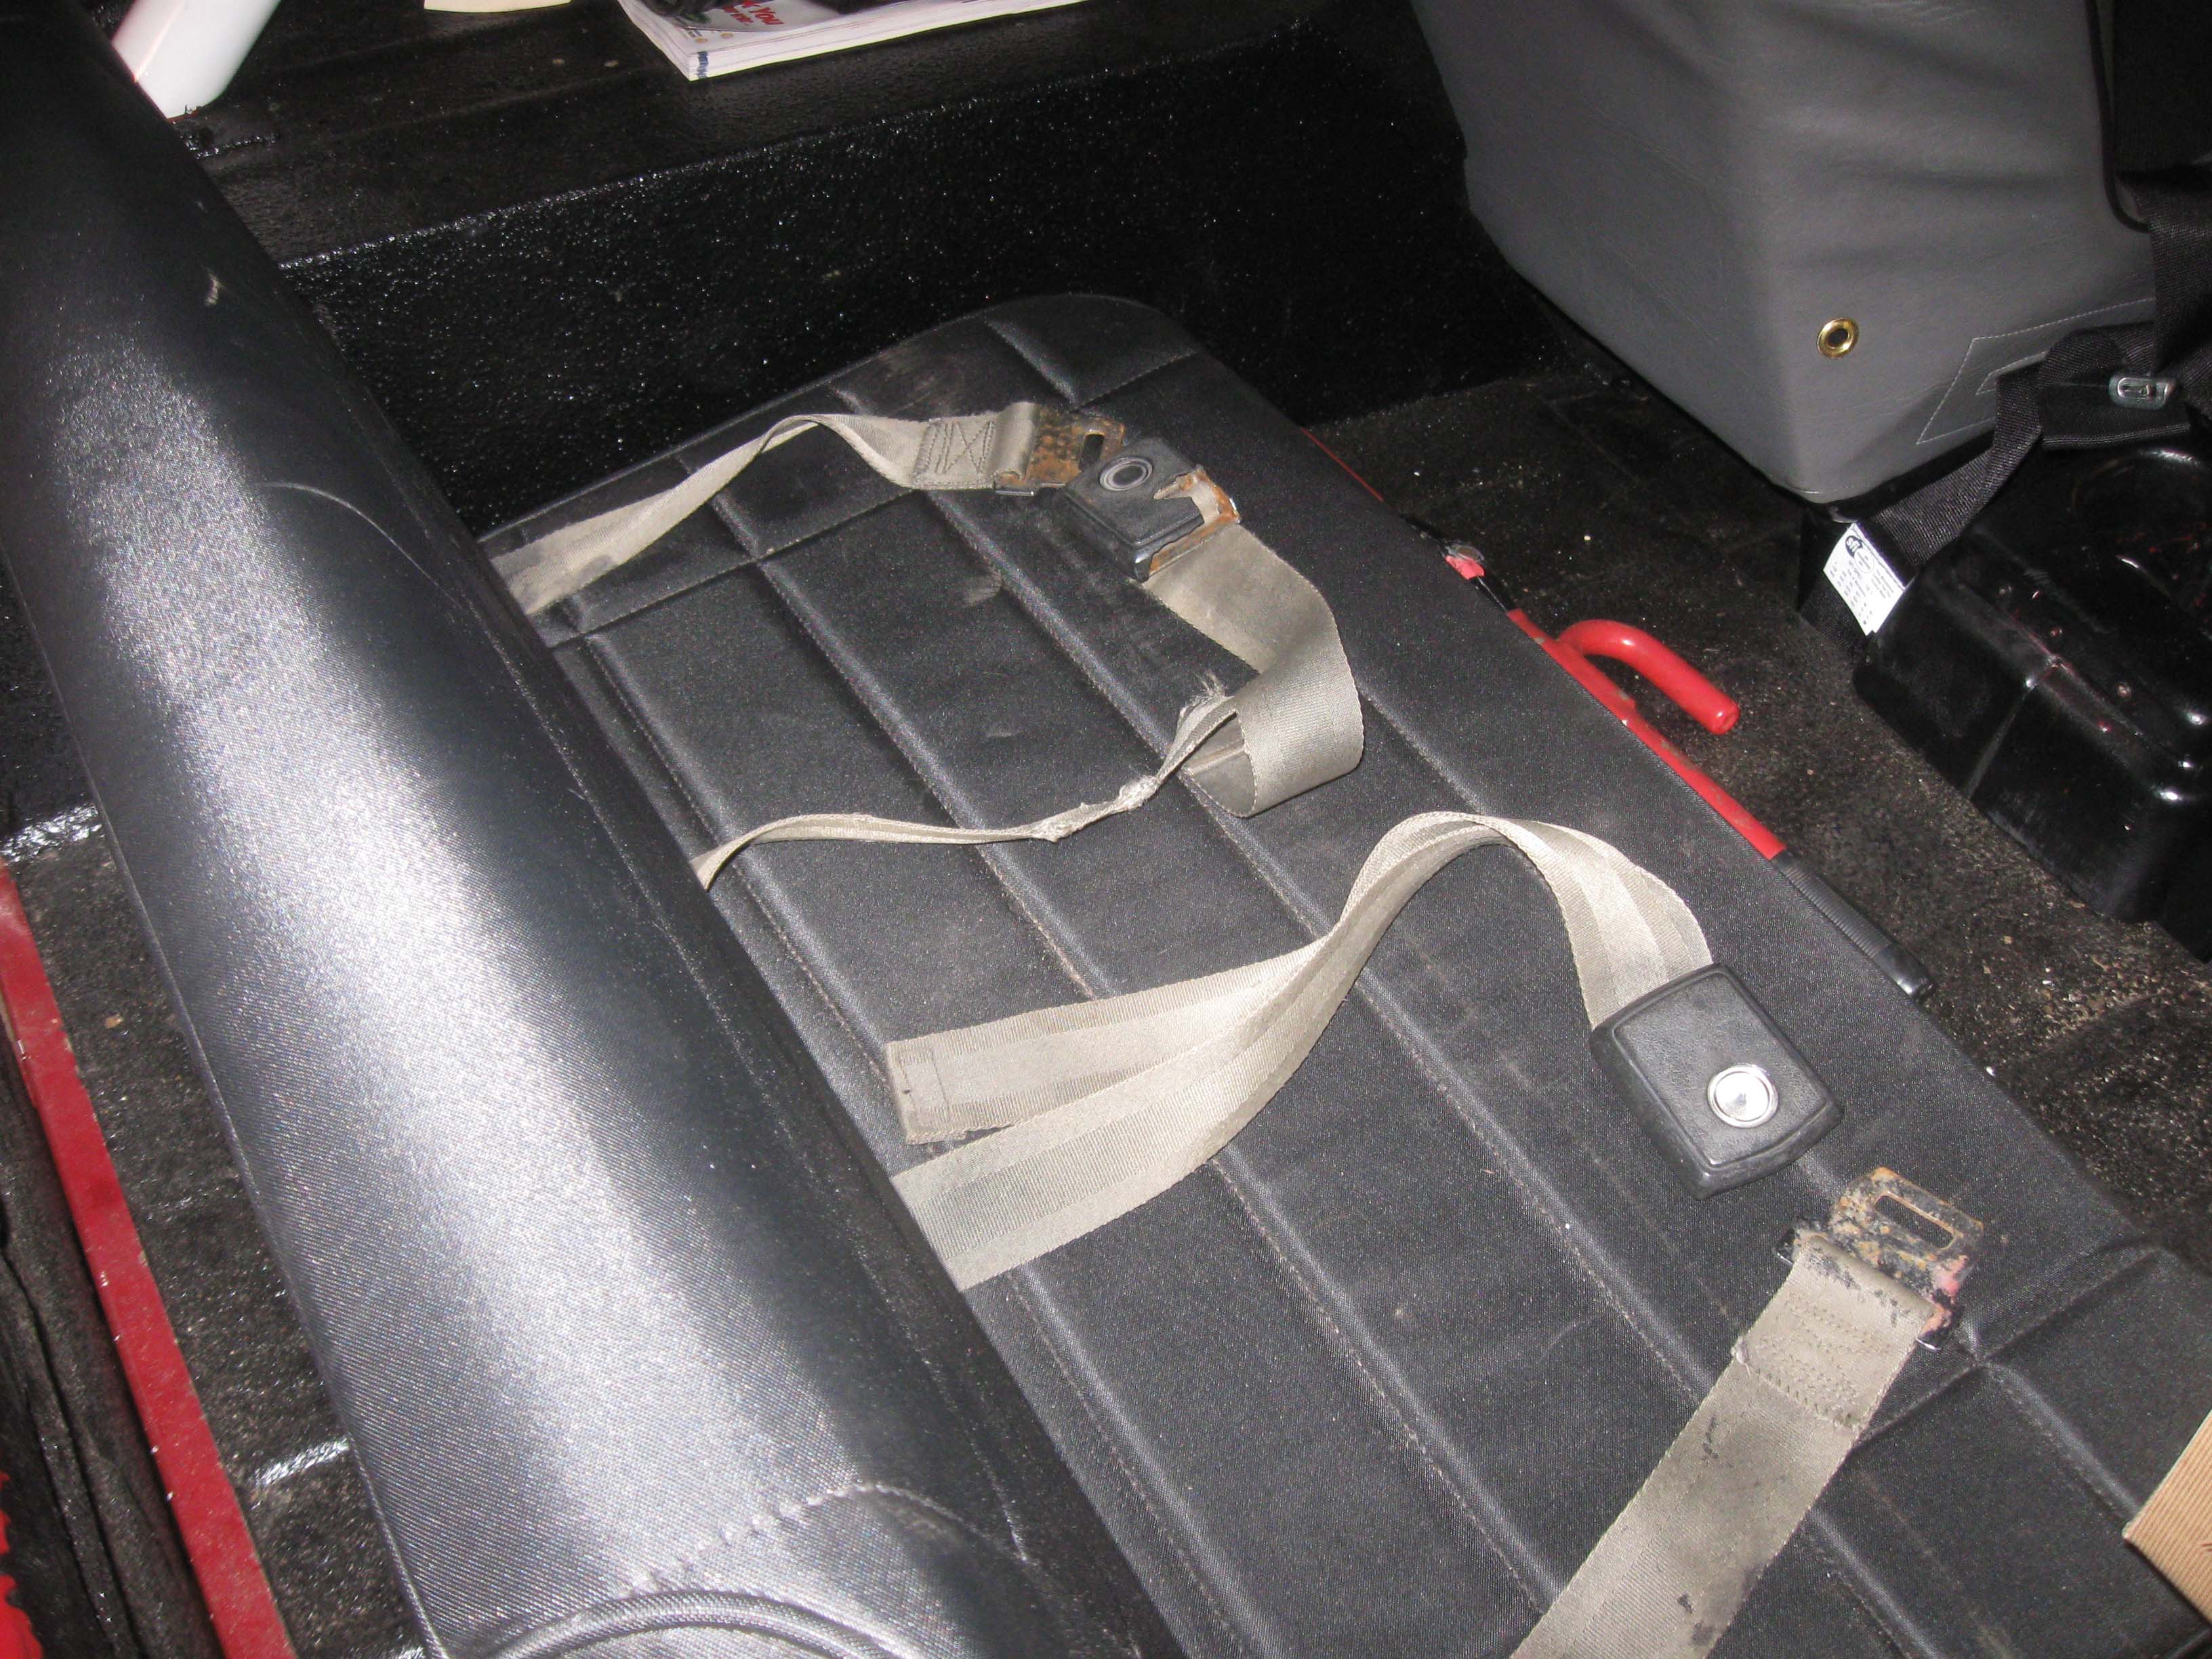
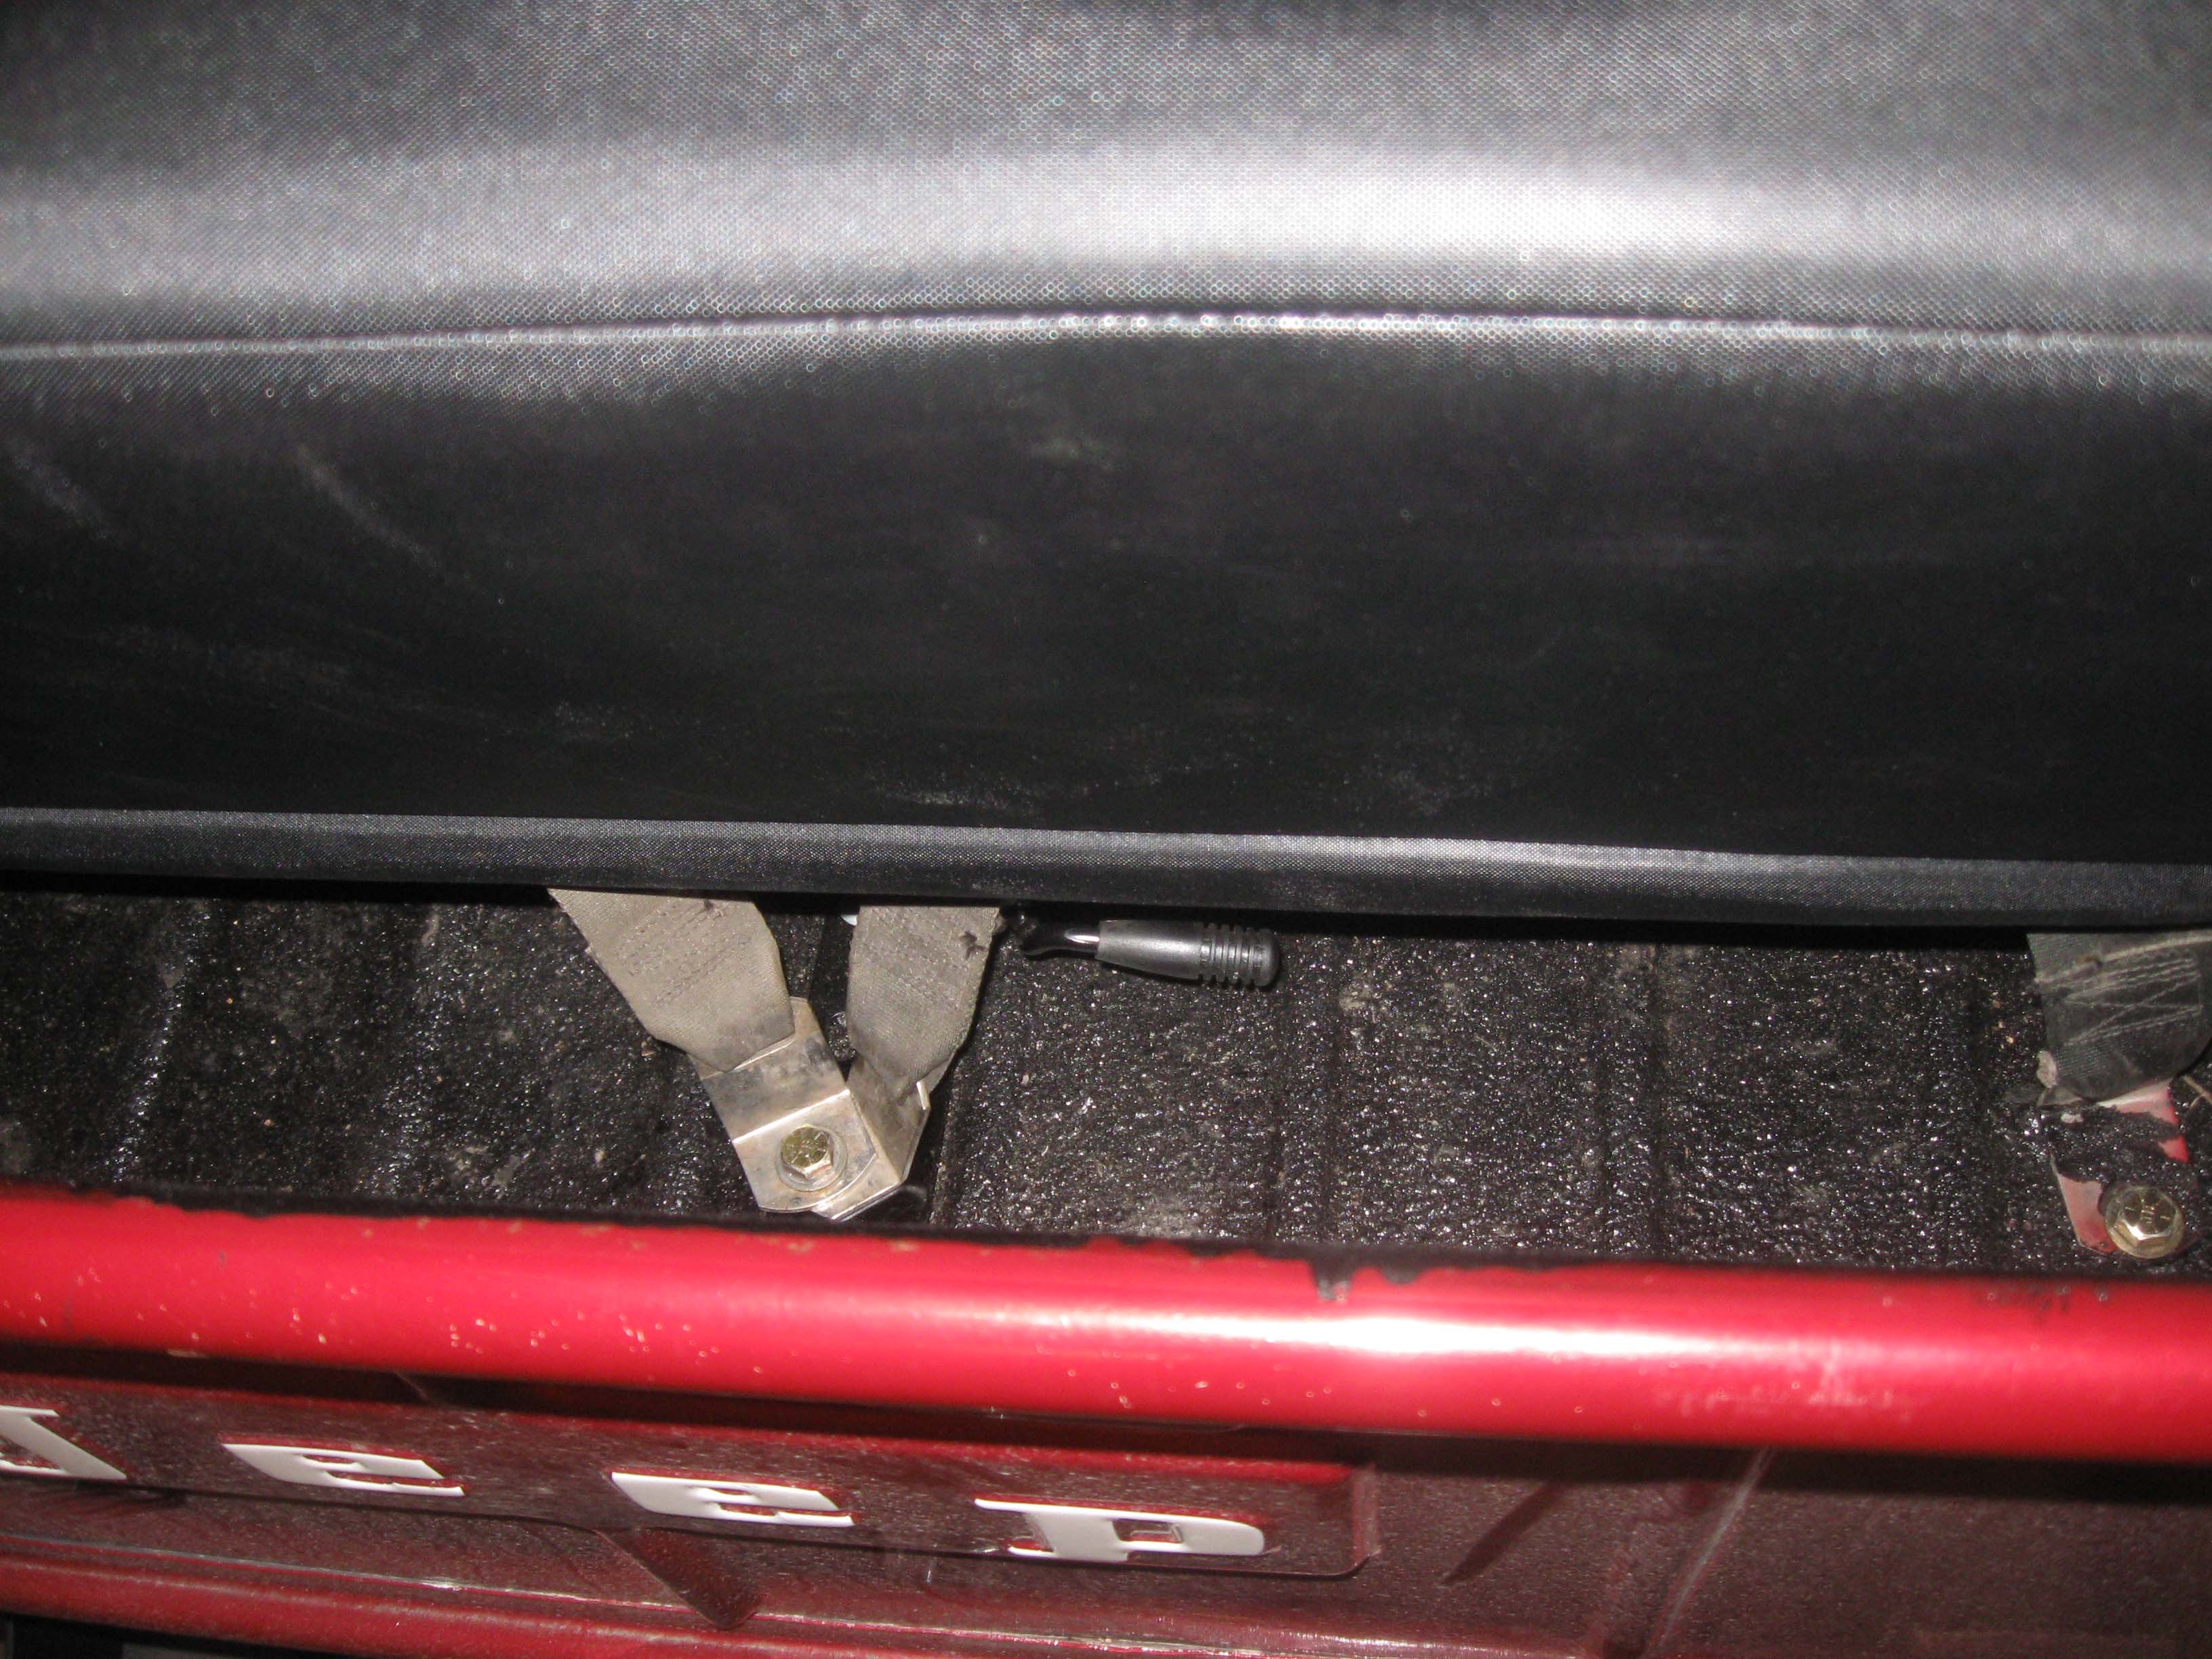
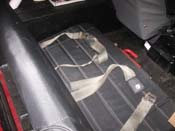
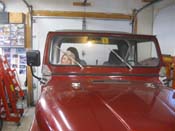
weather has been brutal for trying to get some of this stuff done. I then moved onto the rear seat belts and
was able to sort that all out so there is seating and some protection in the back now.
|
| |
|
|

|
|
|
|
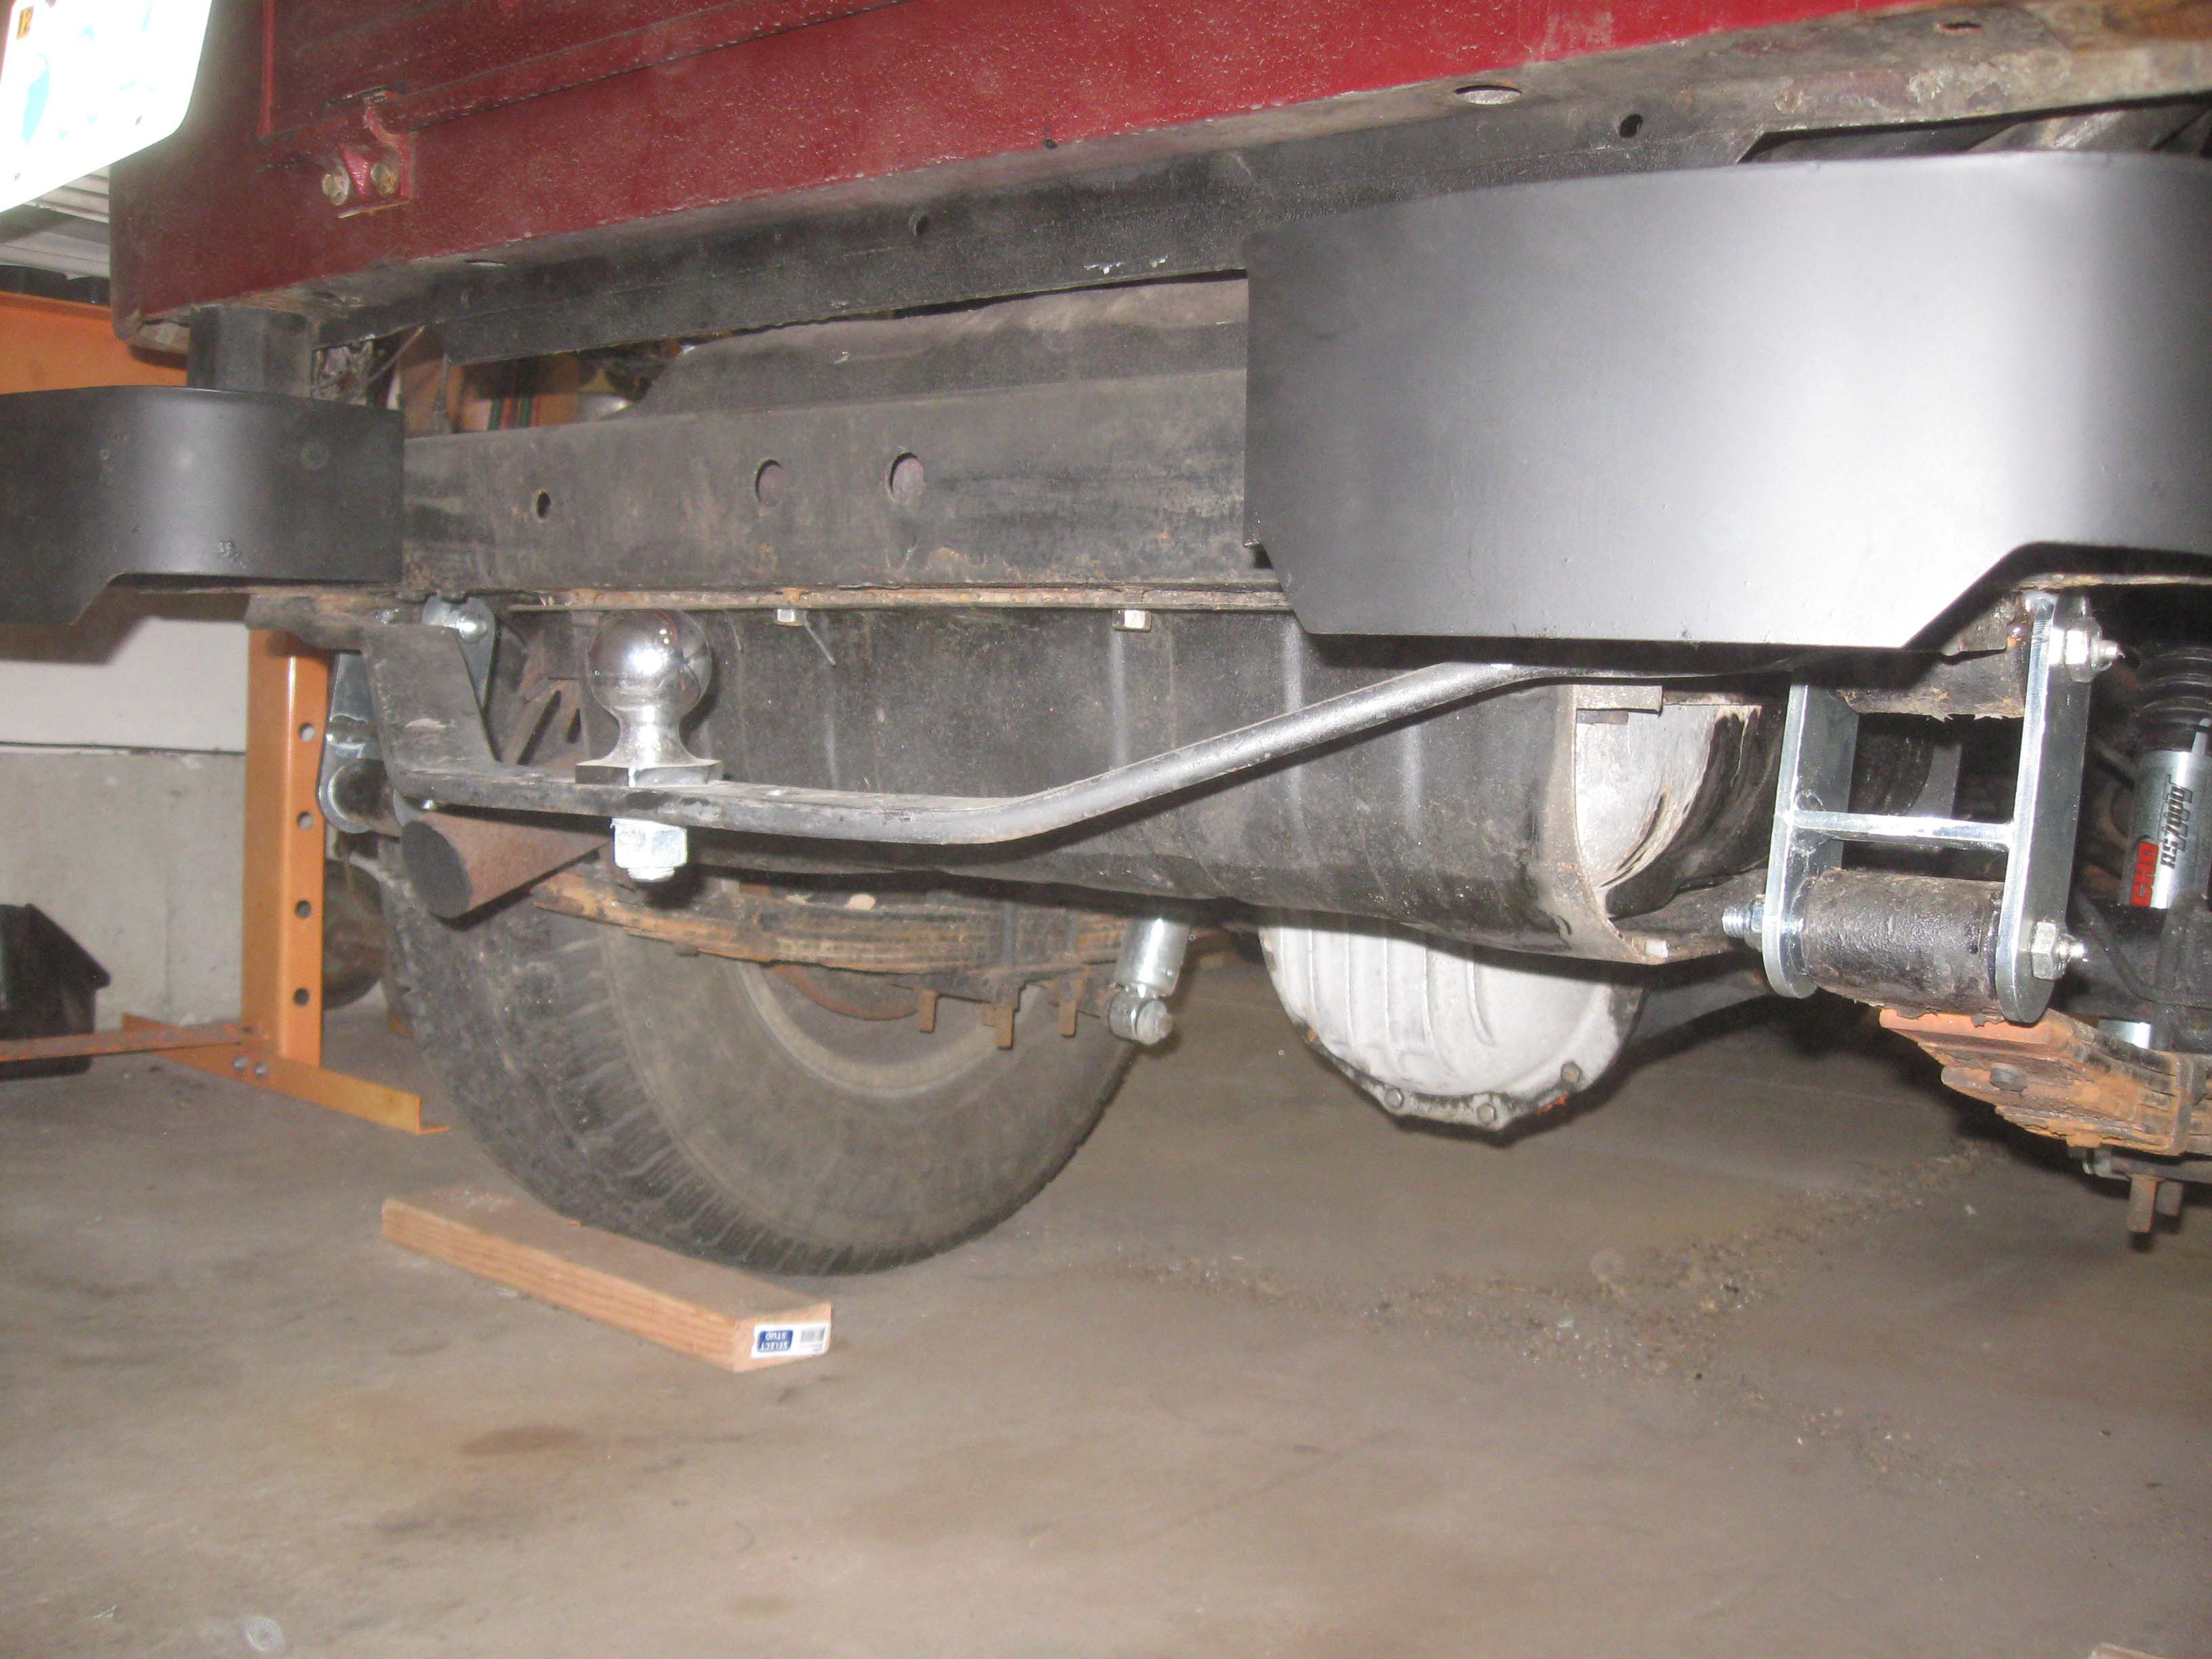
| |
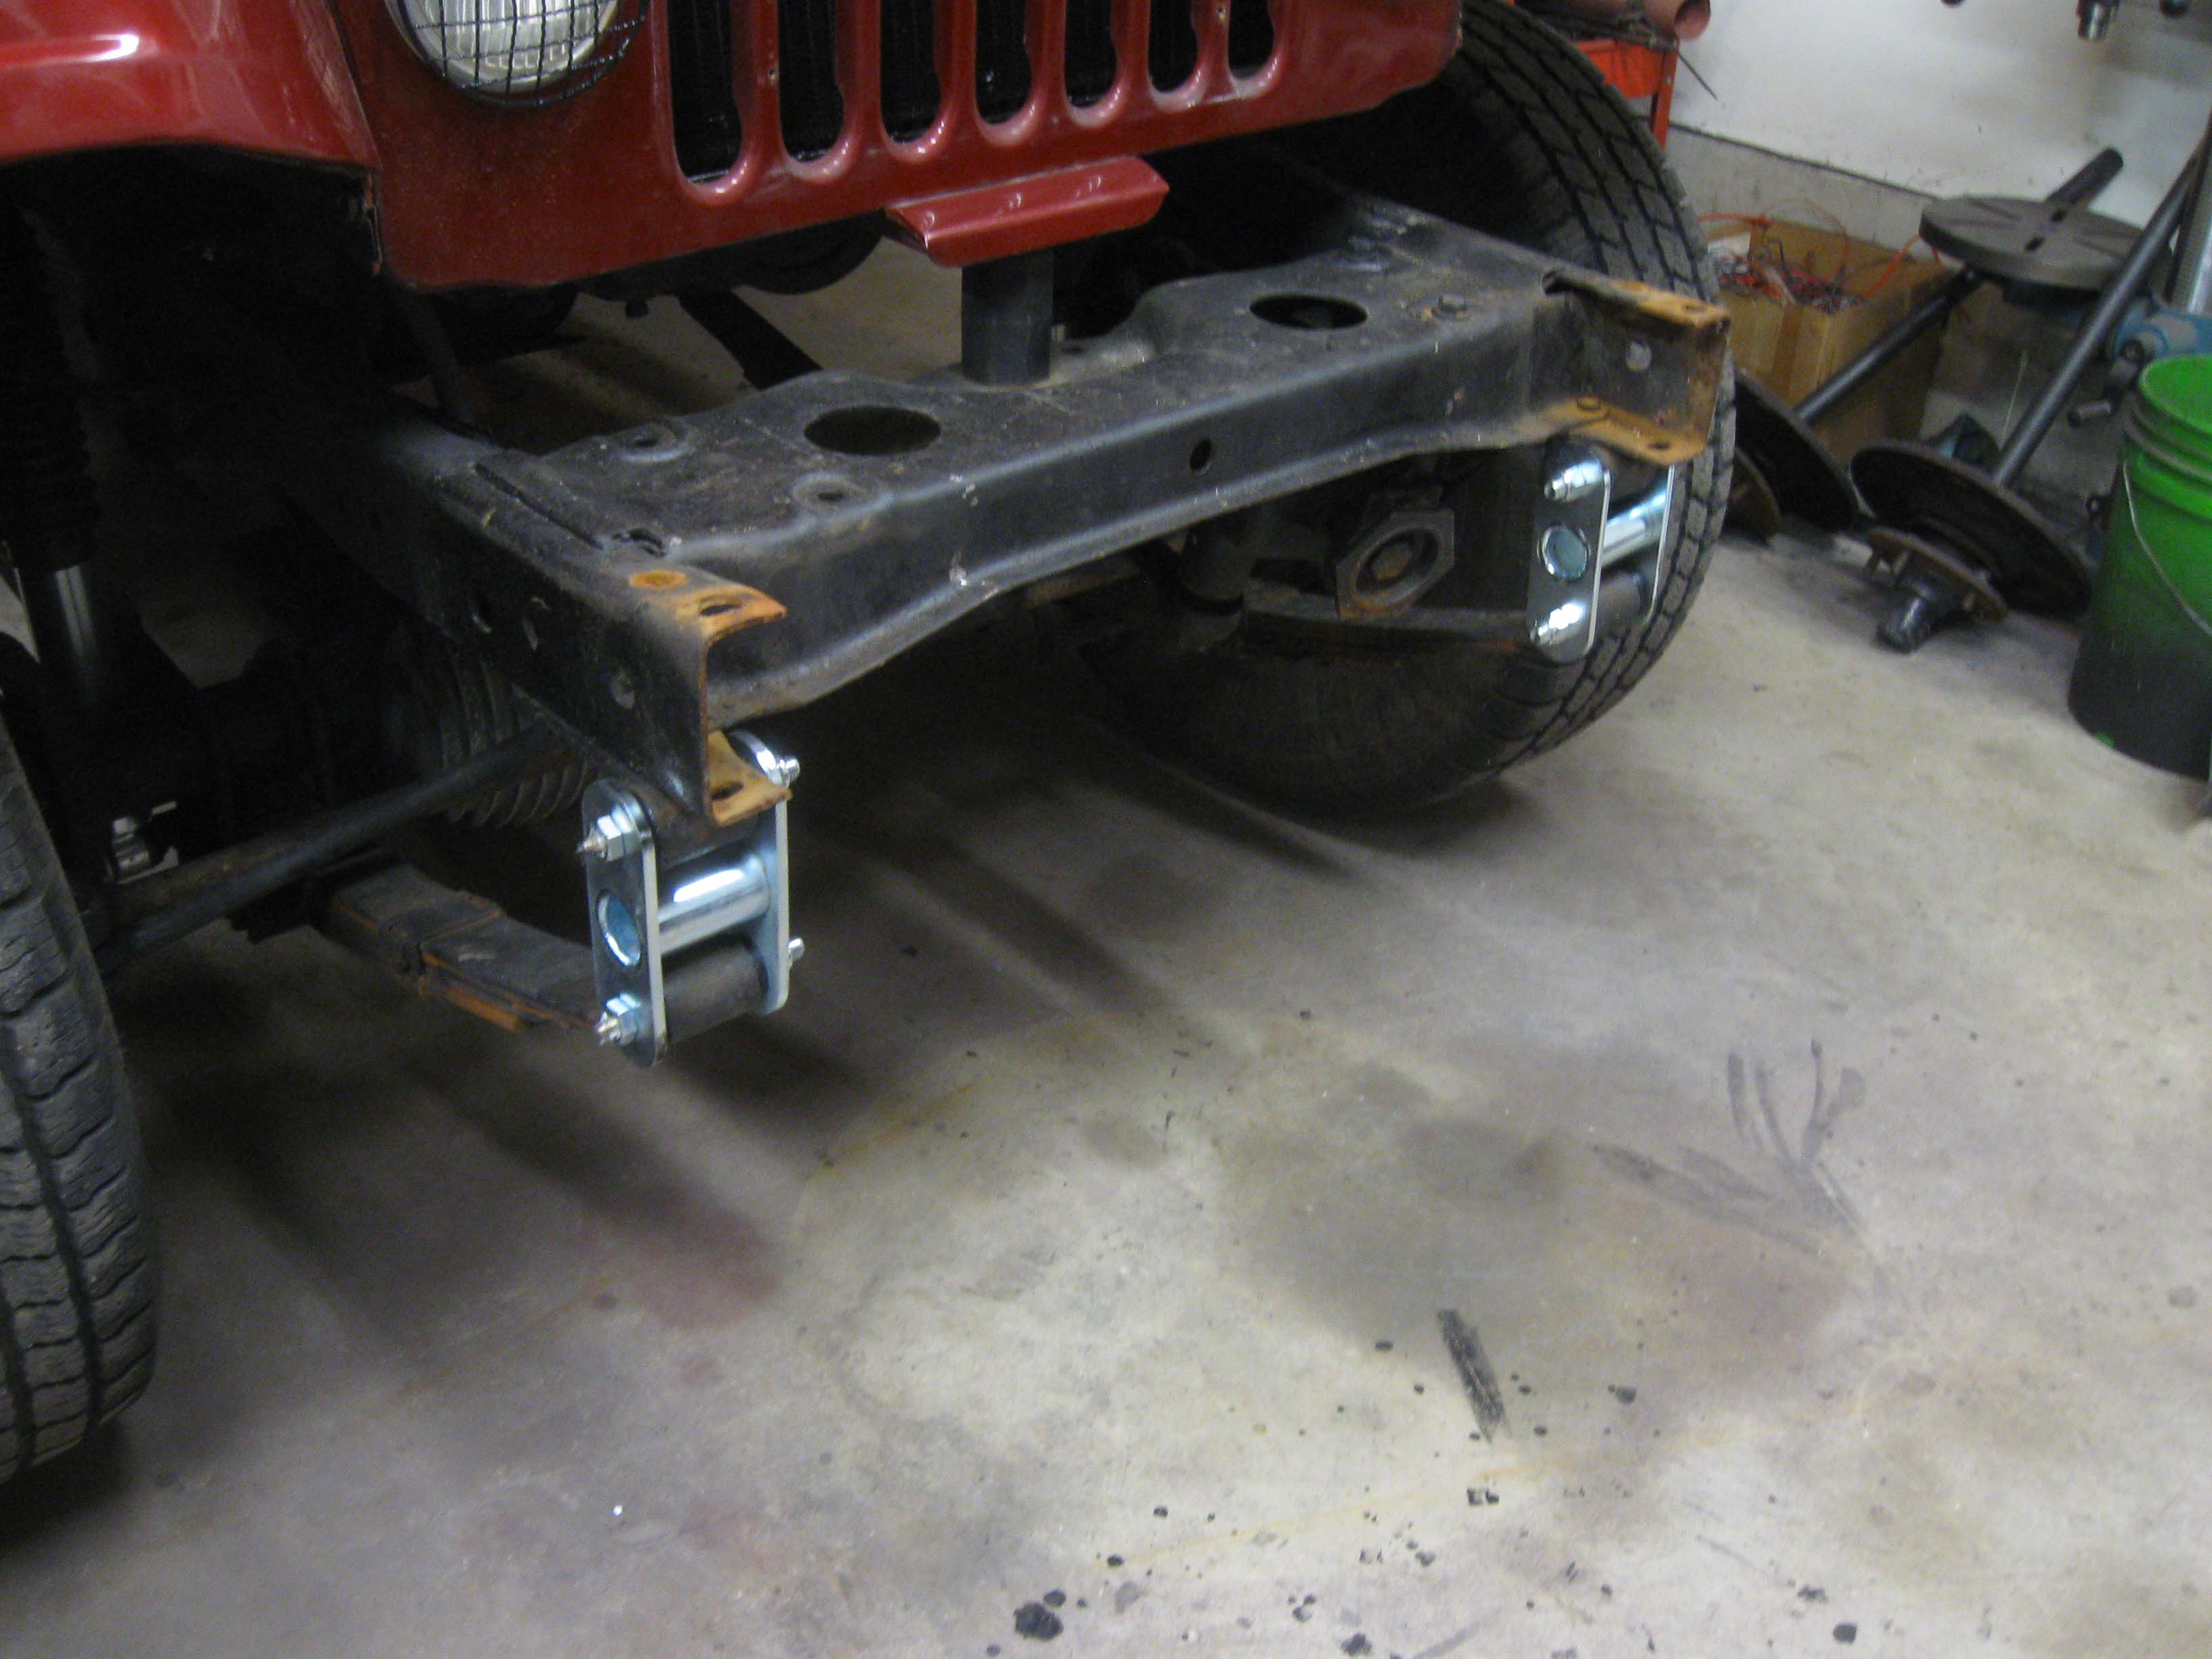
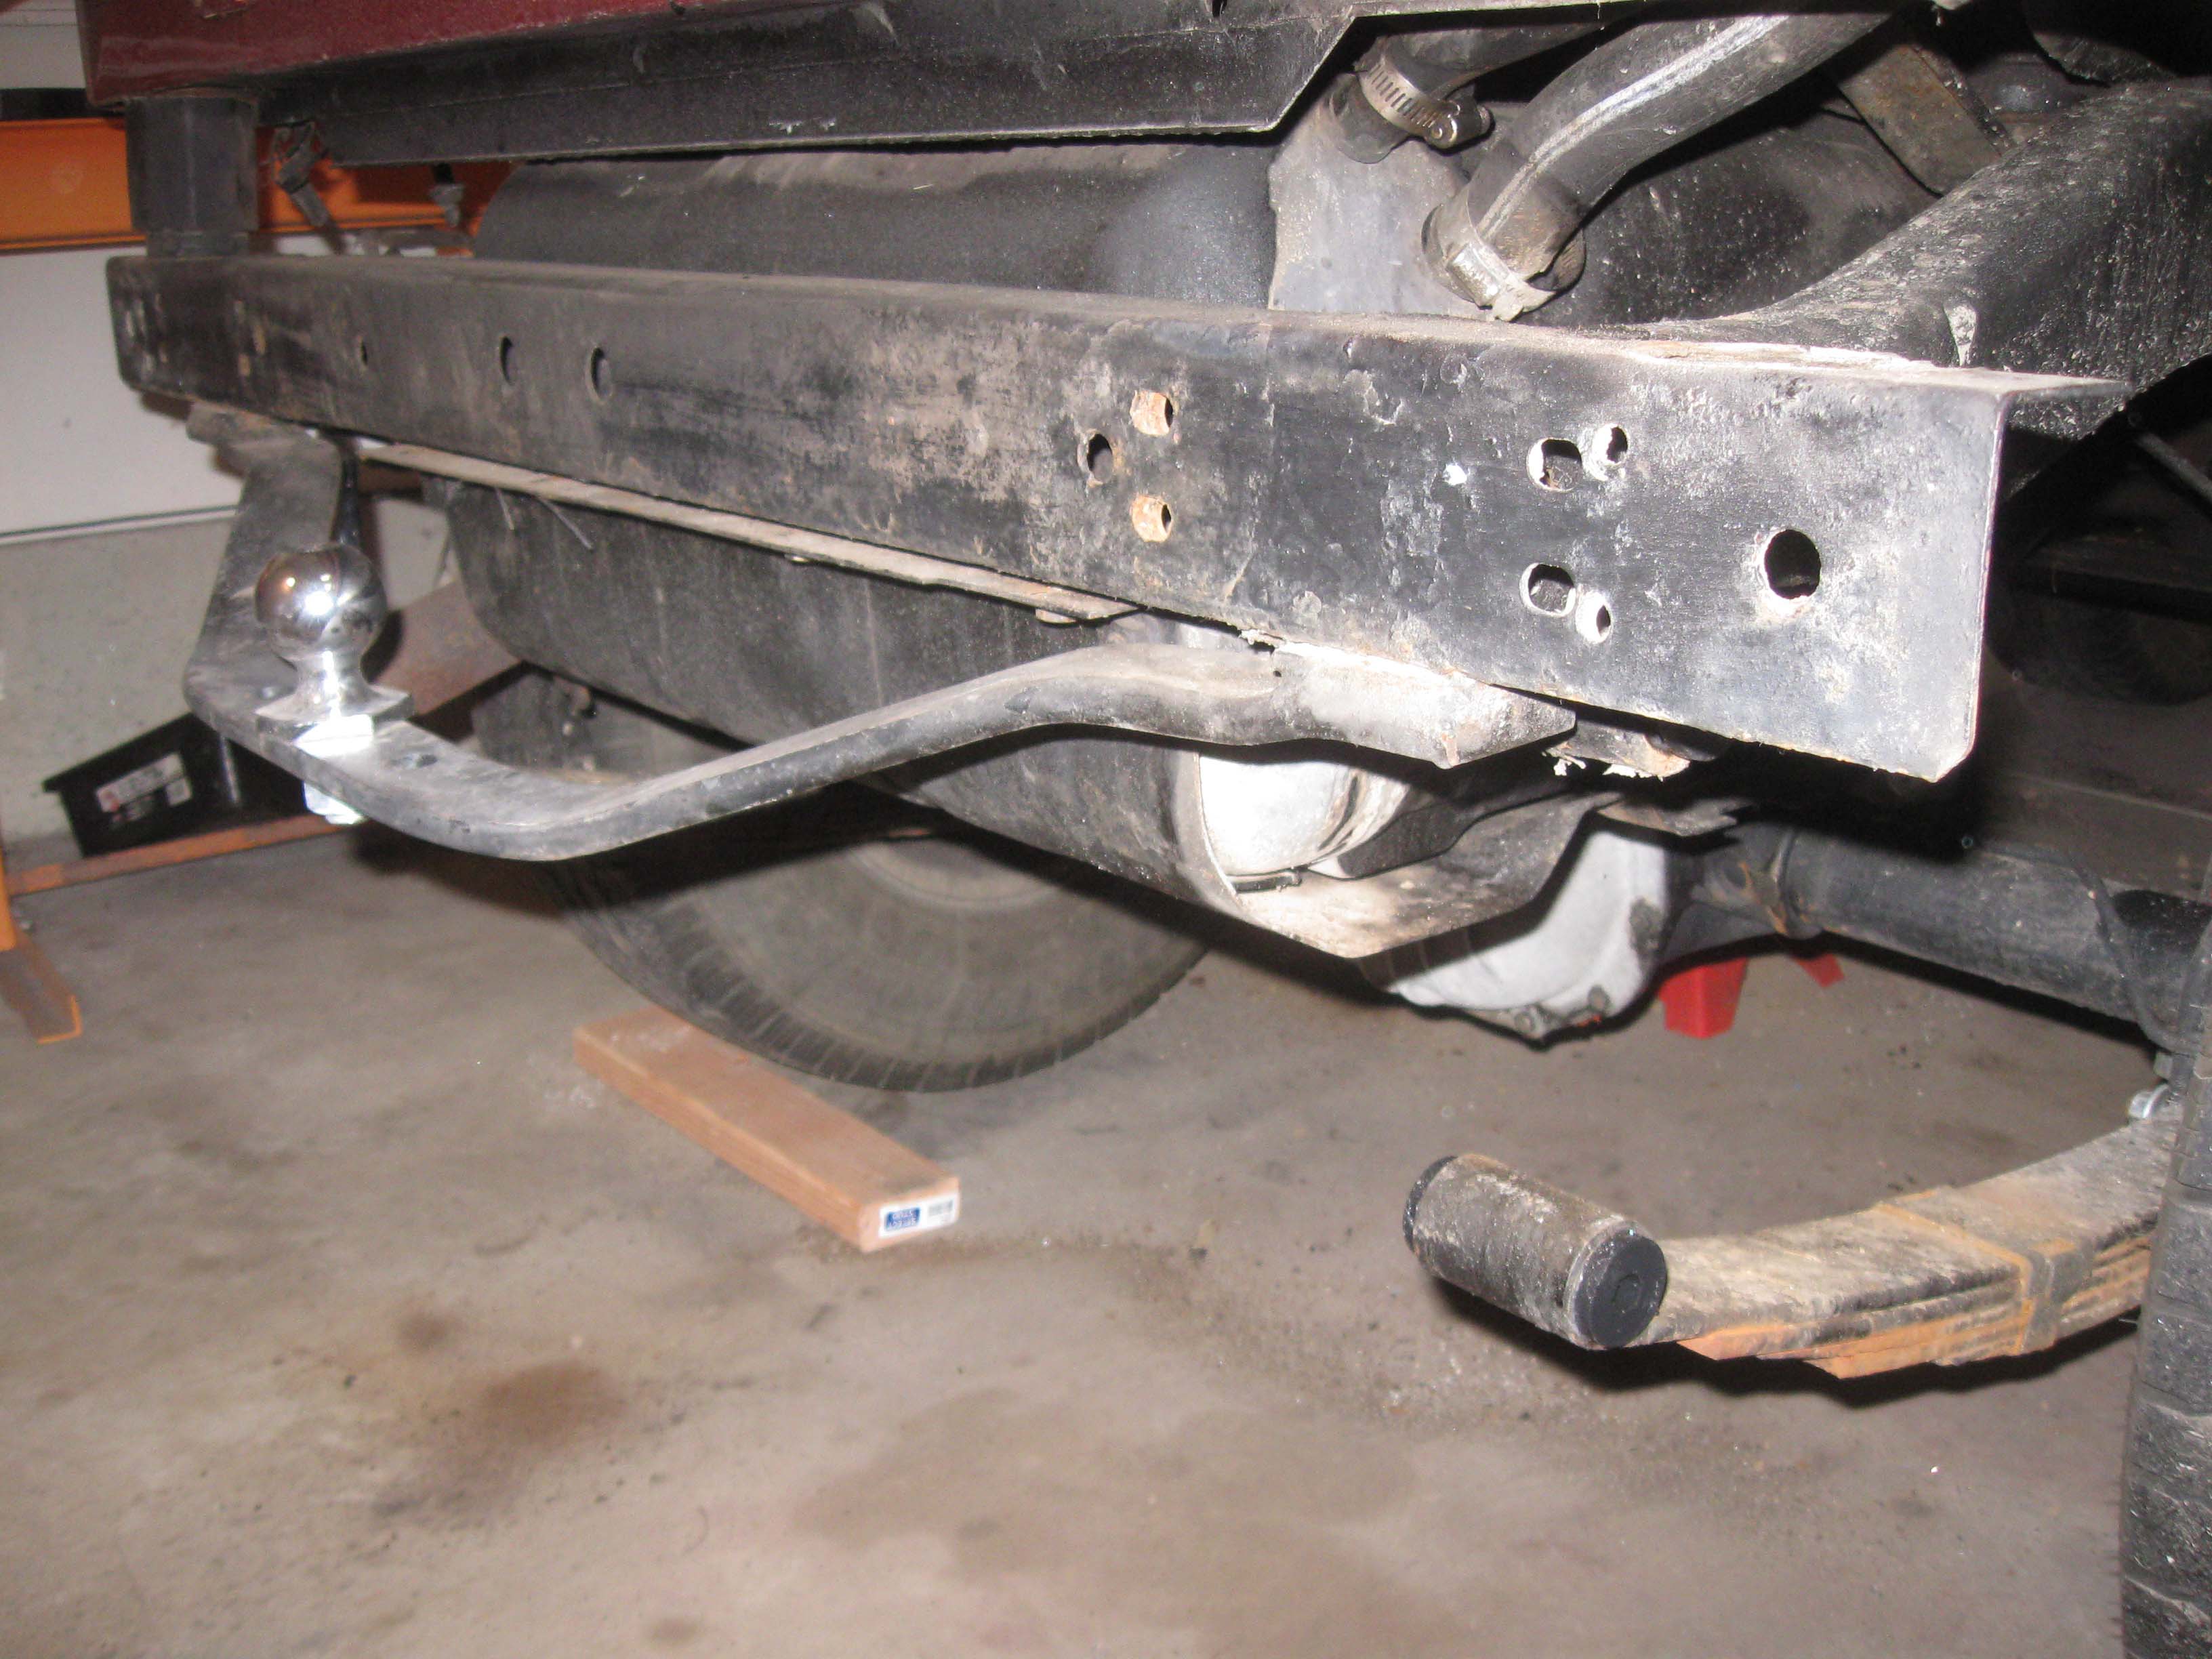
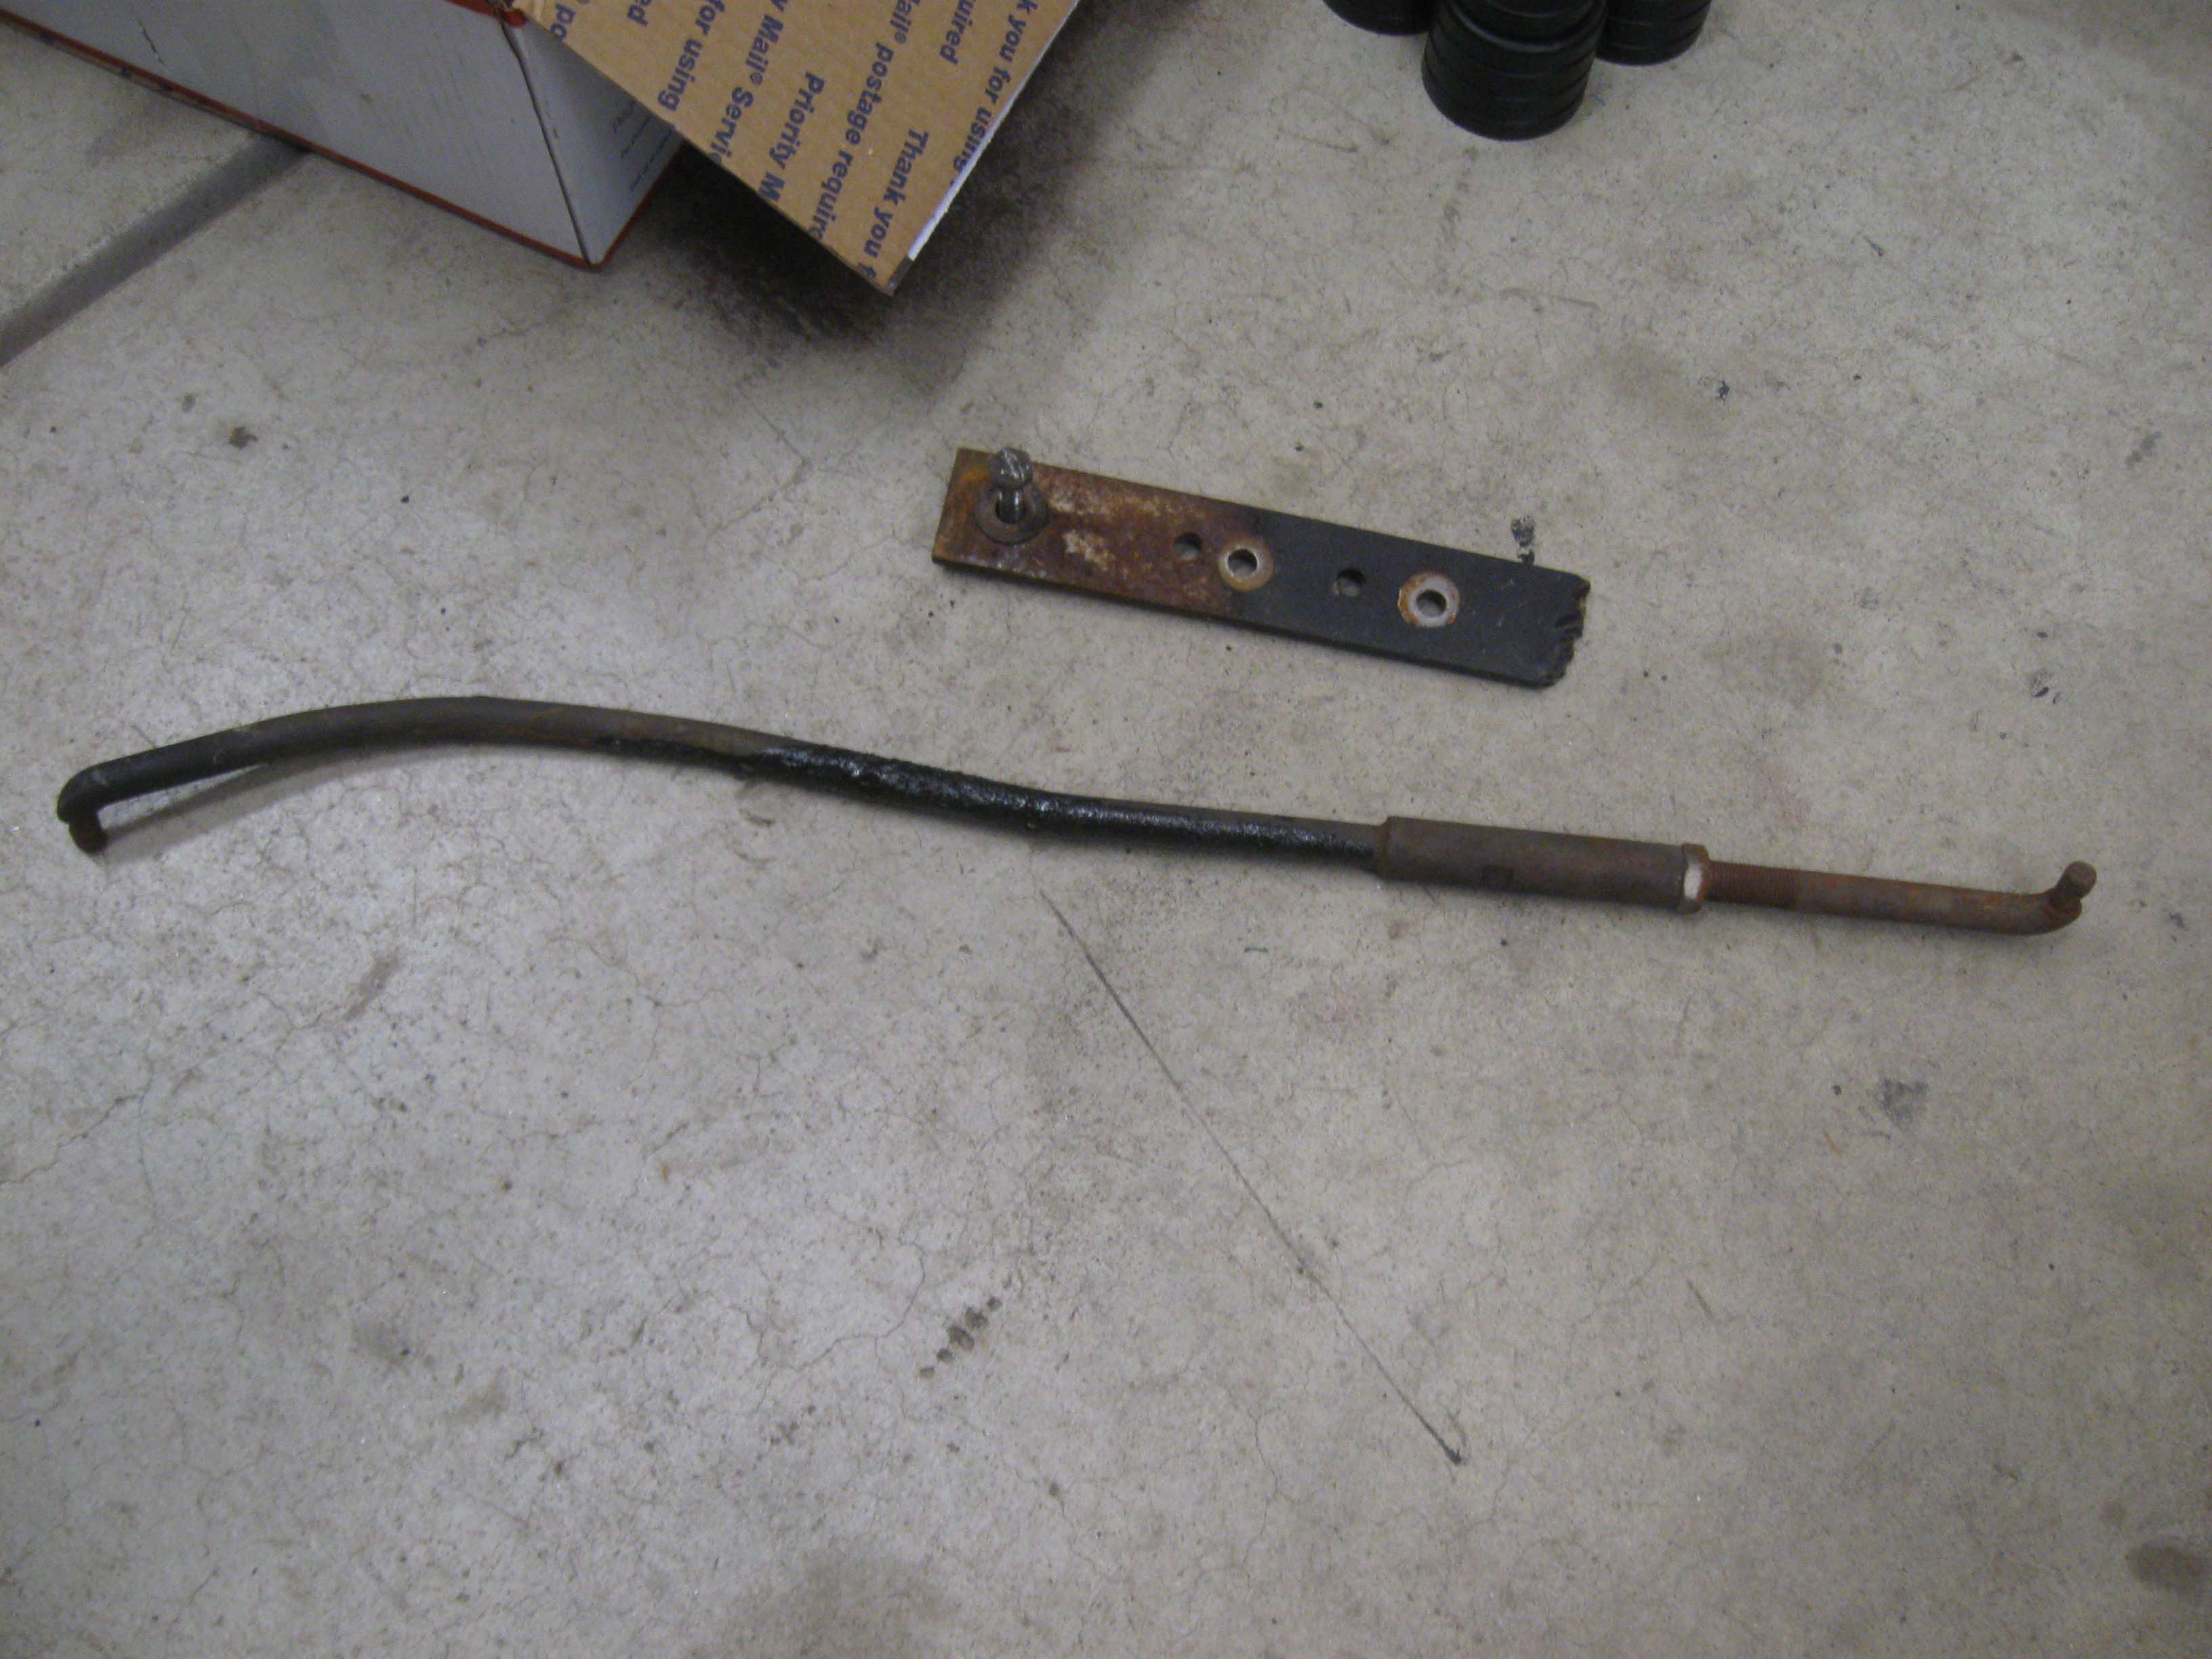
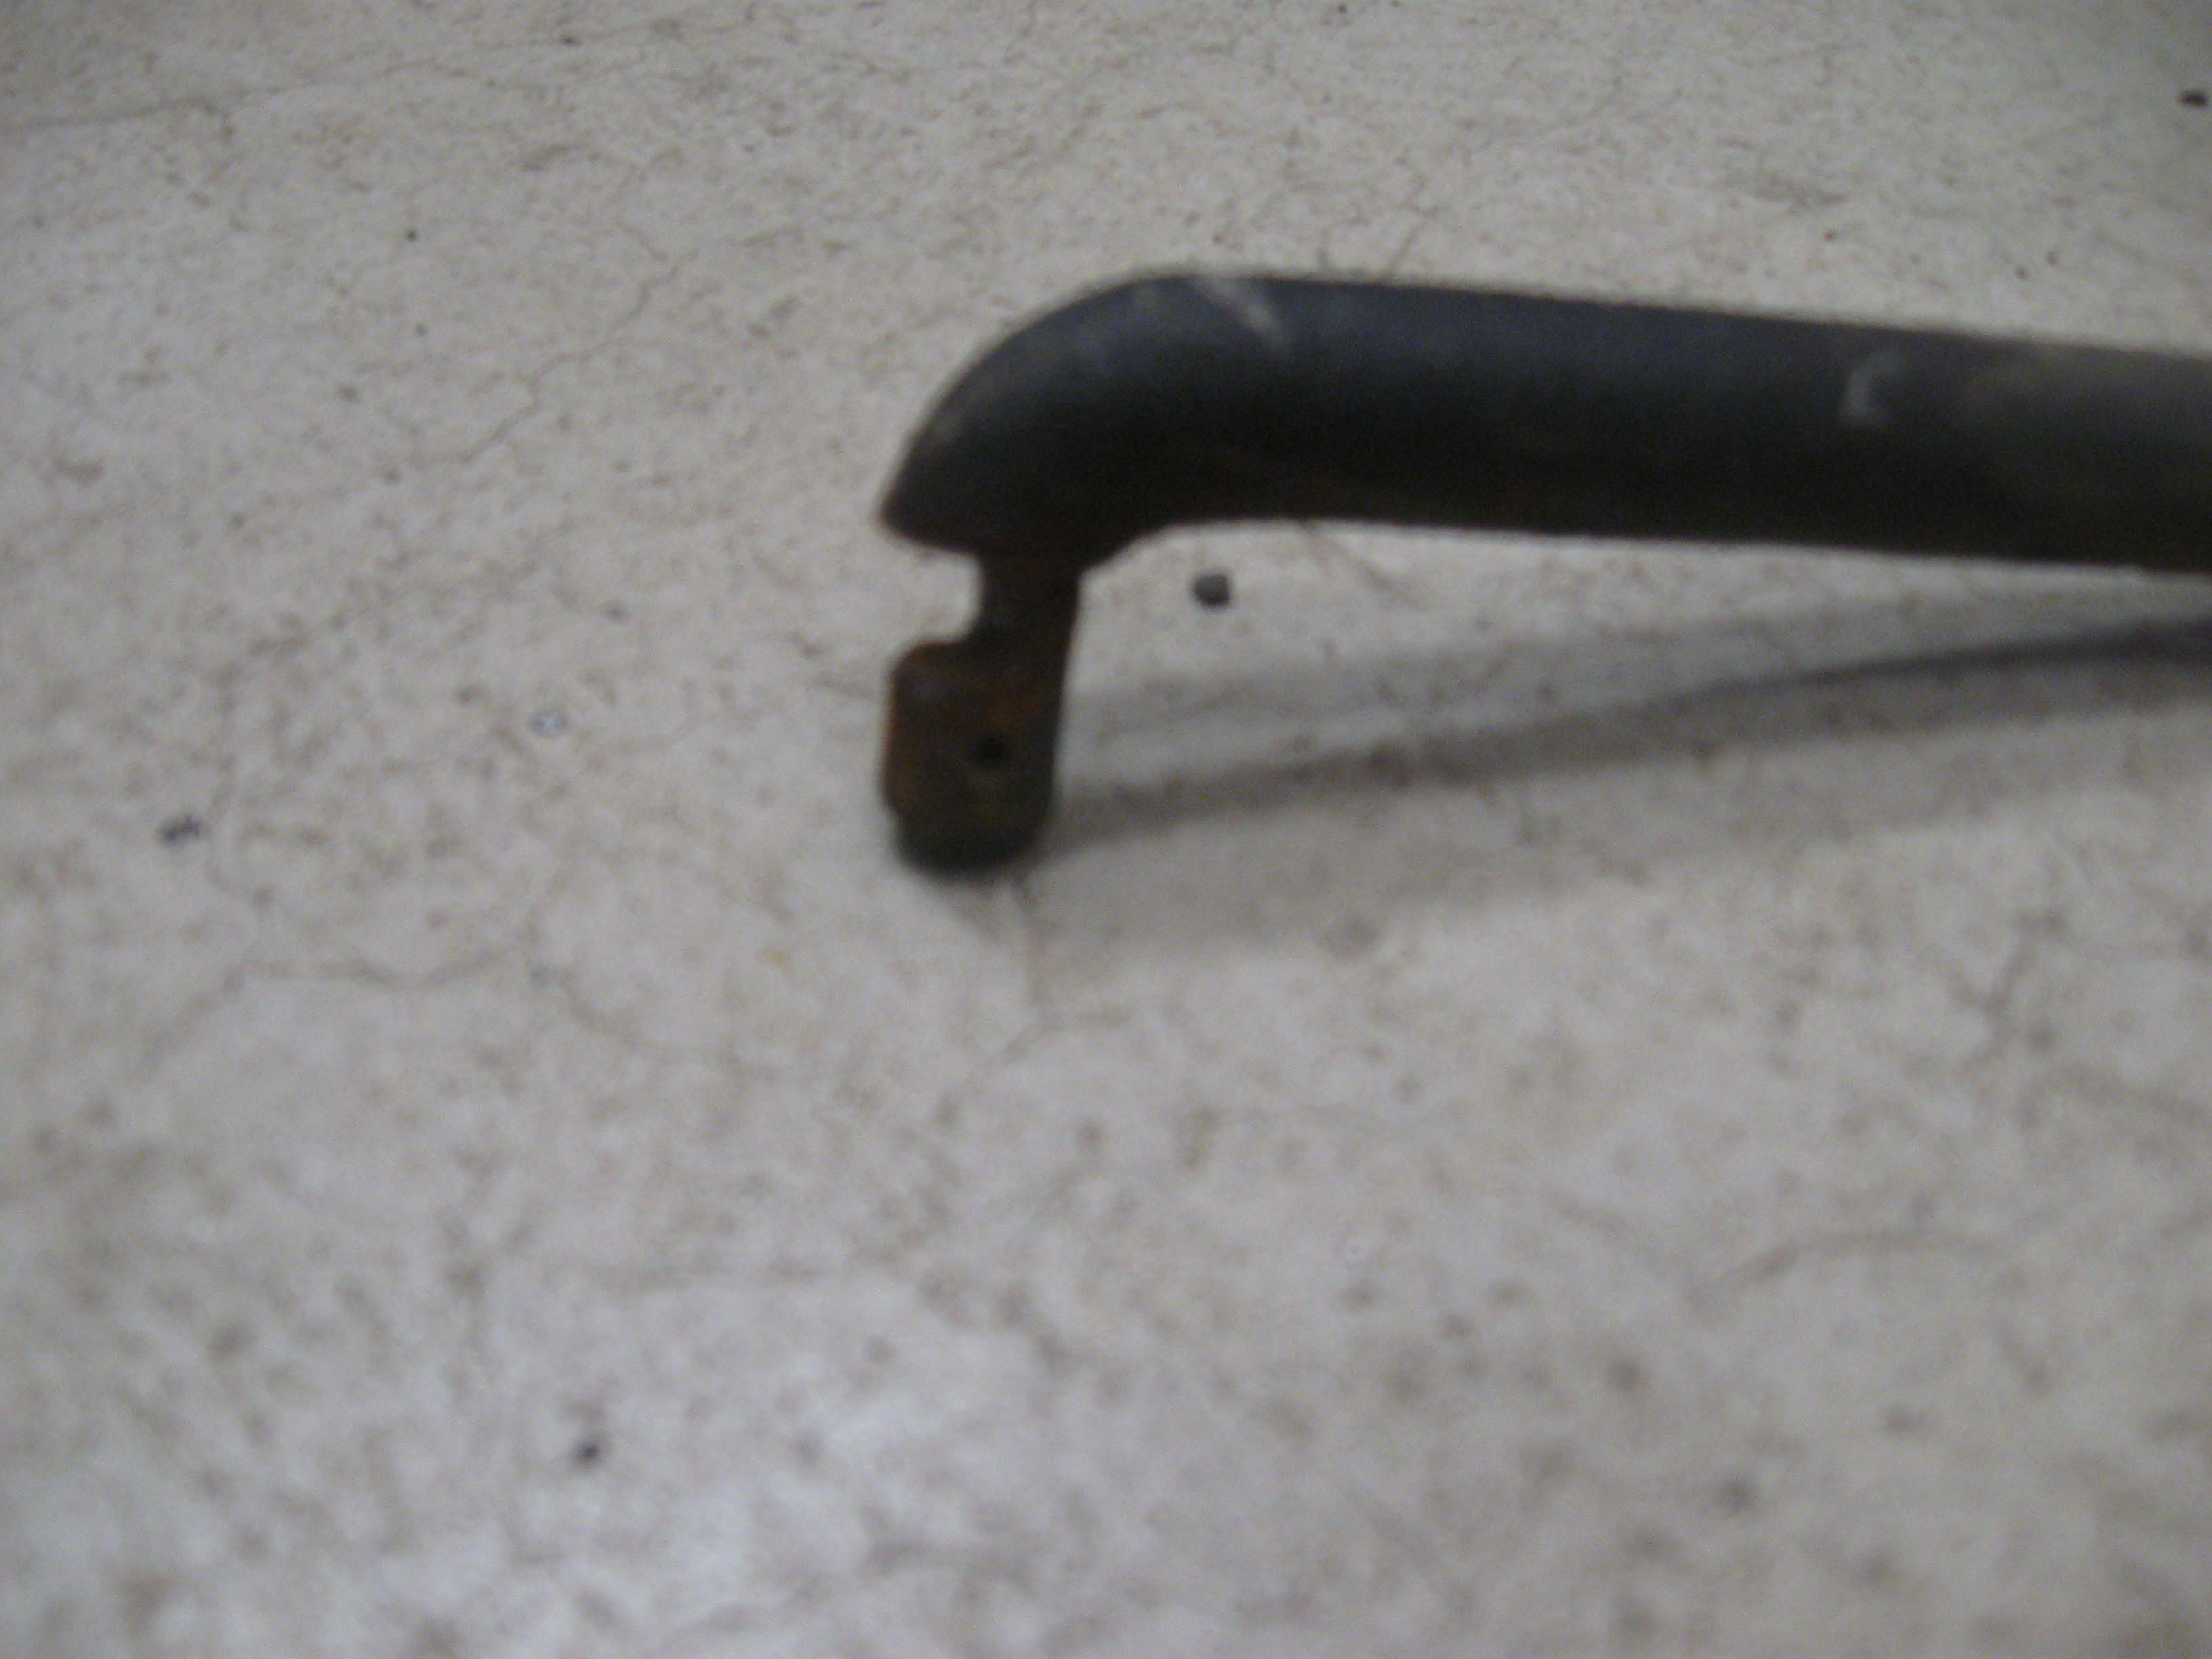
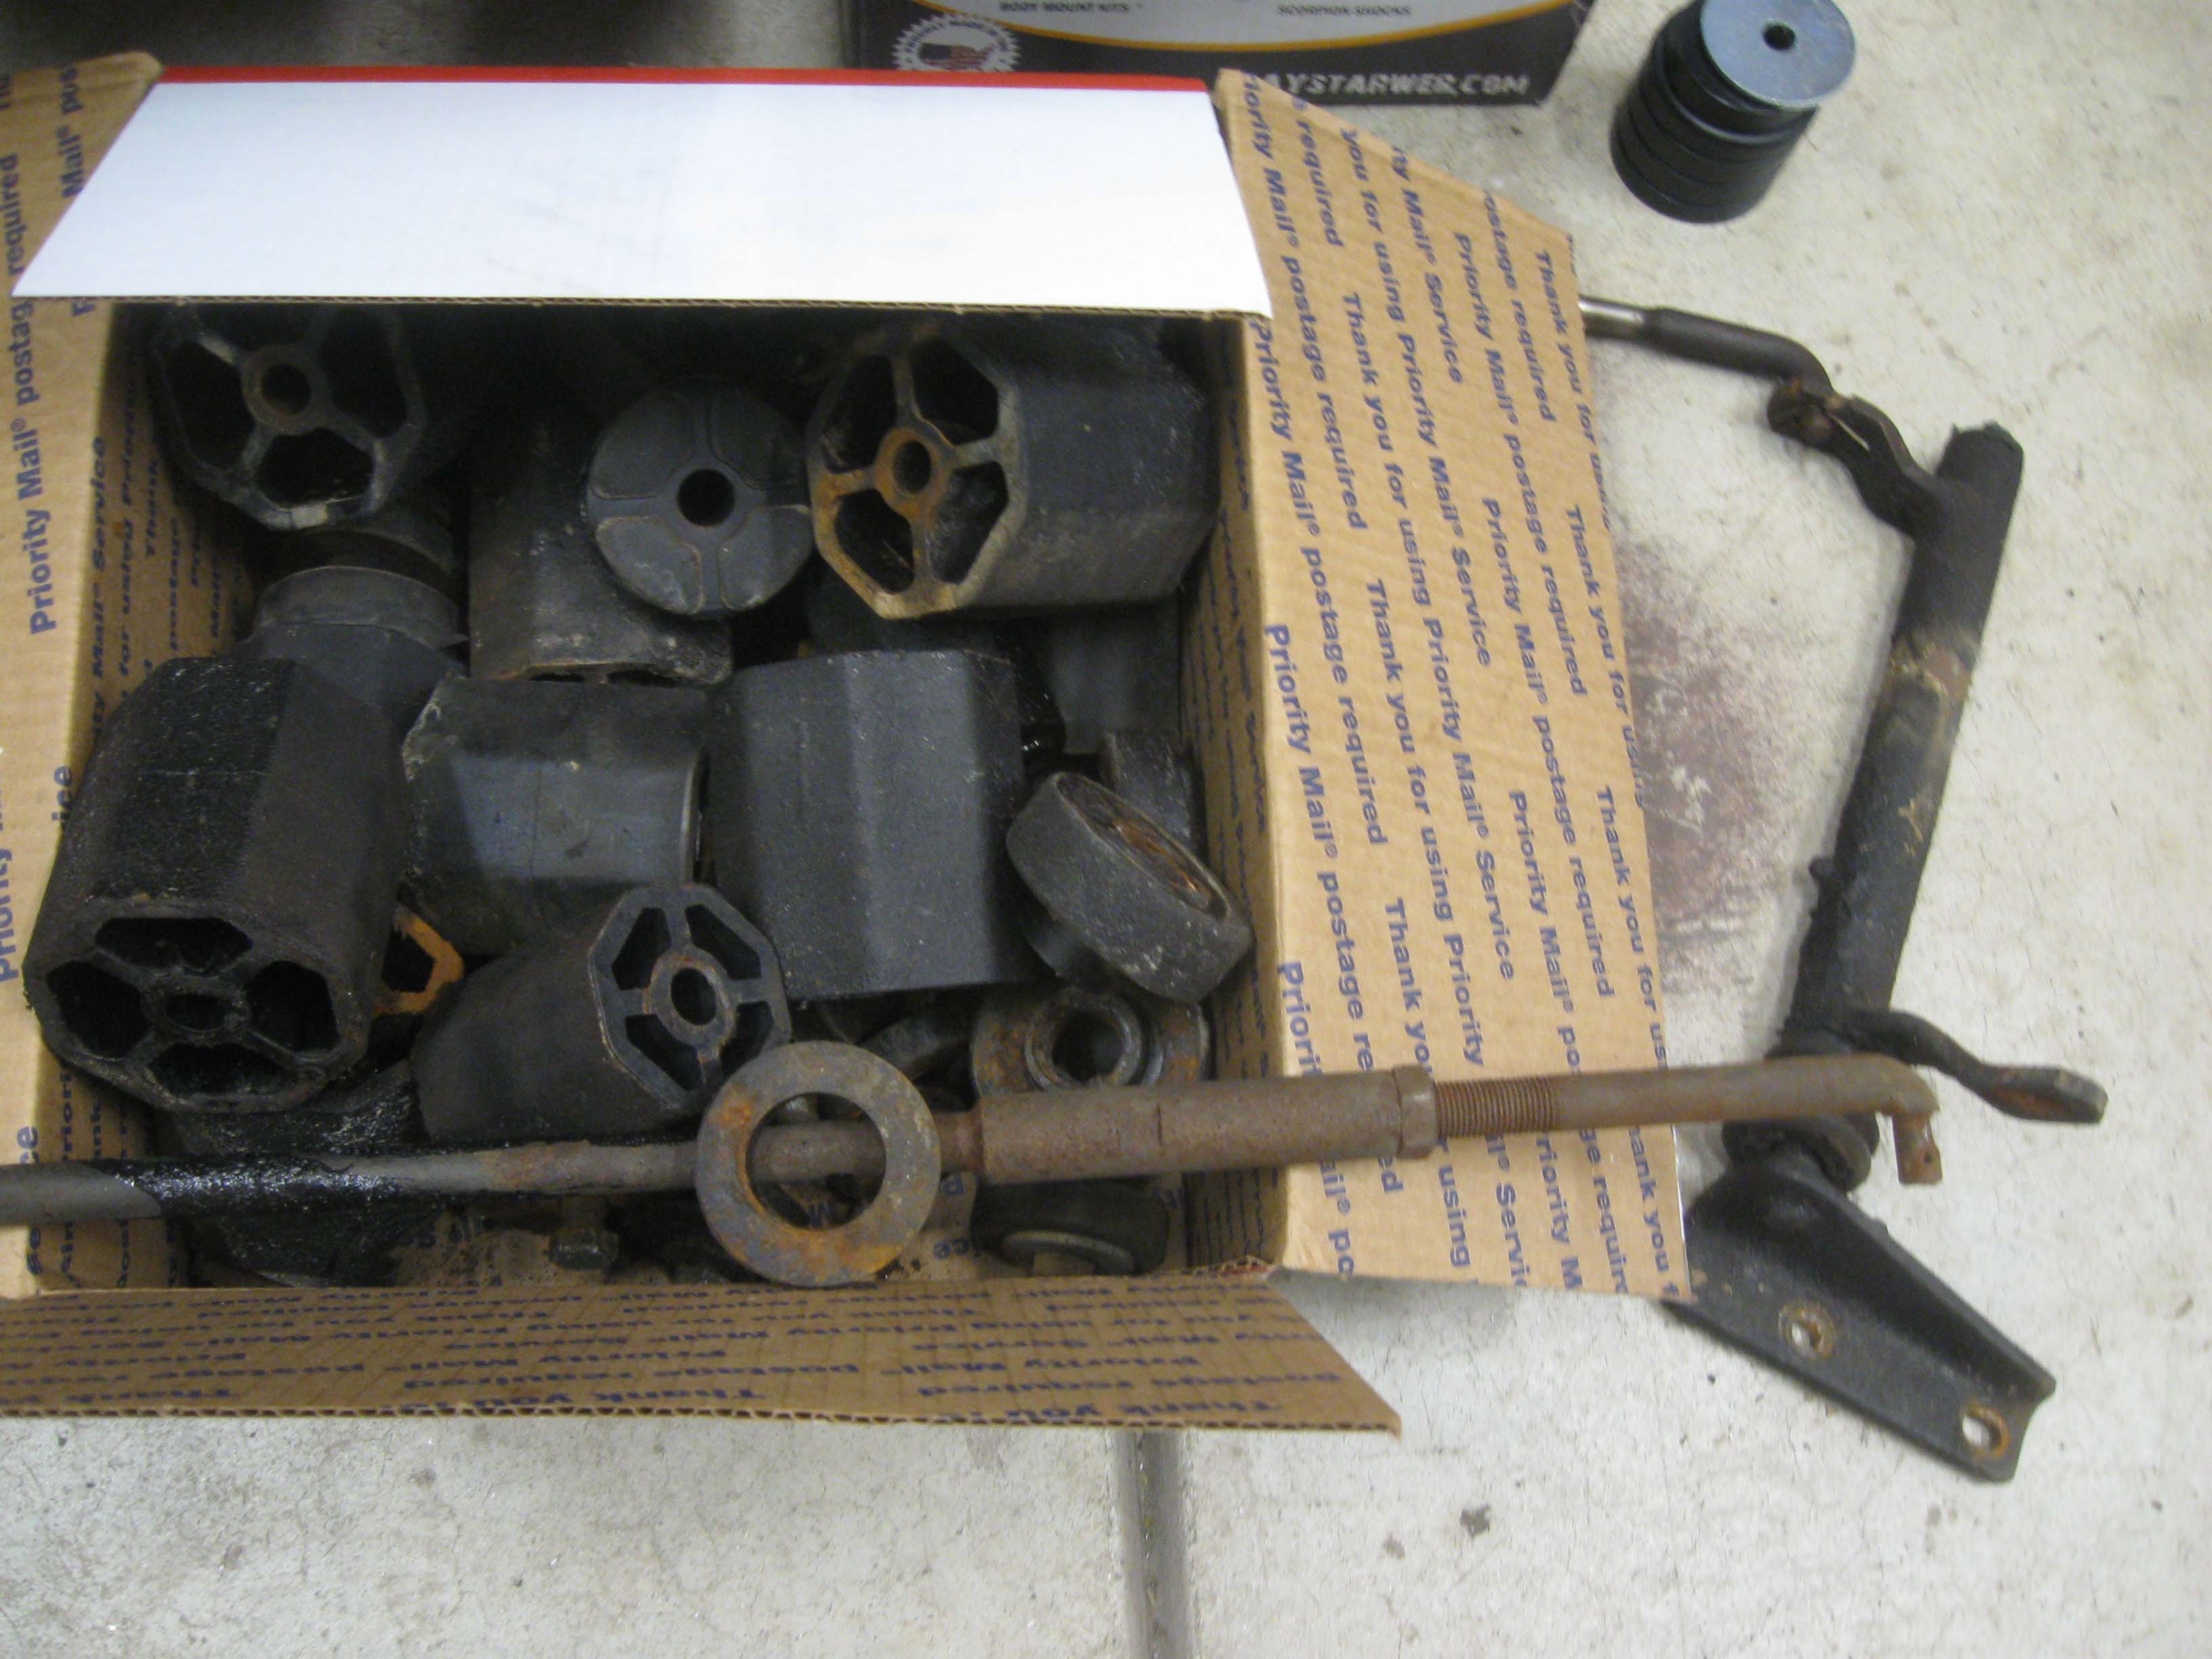
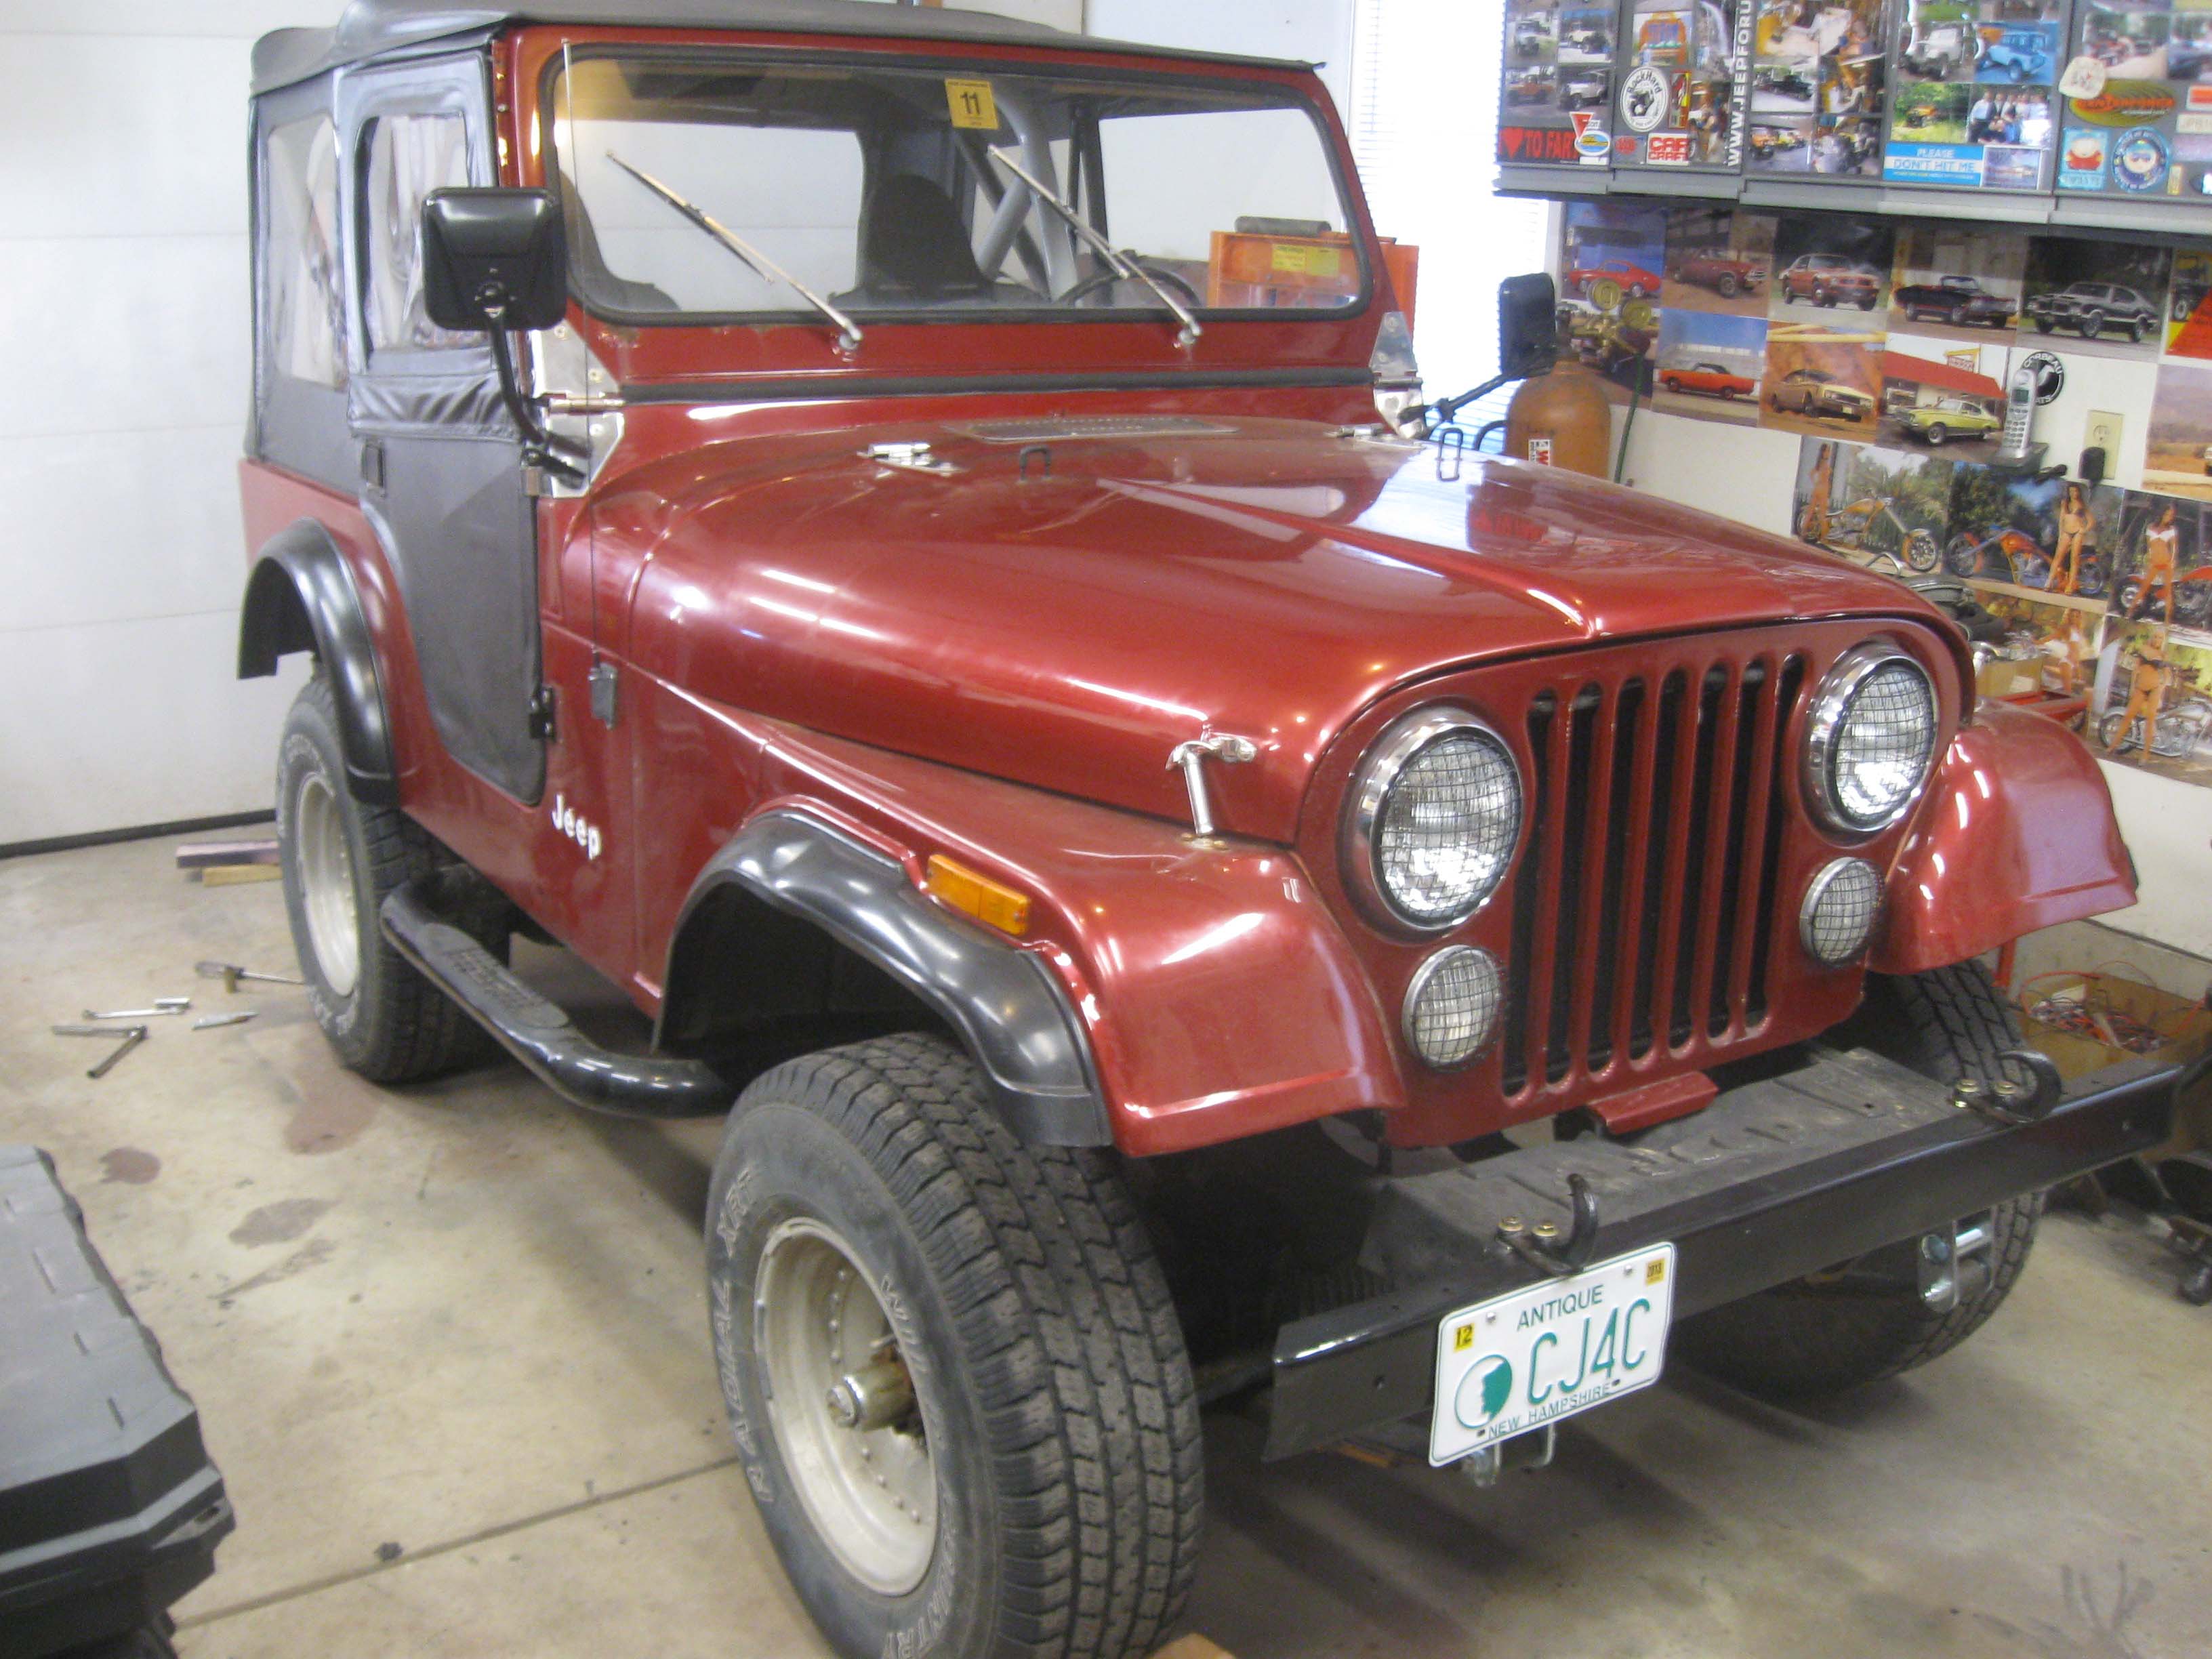
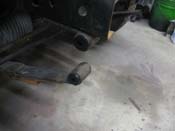
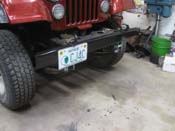
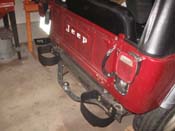
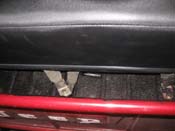
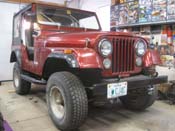
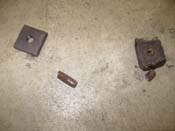
The pictures aren't the greatest as the camera was dying, but I wanted to show
that I got the whole 3" body lift kit out and now the 1" body kit is in place in 10 of the 11 spots. I still need
to get the one bad bolt out and when I tried yesterday it didn't work out so well. I will work more on that today.
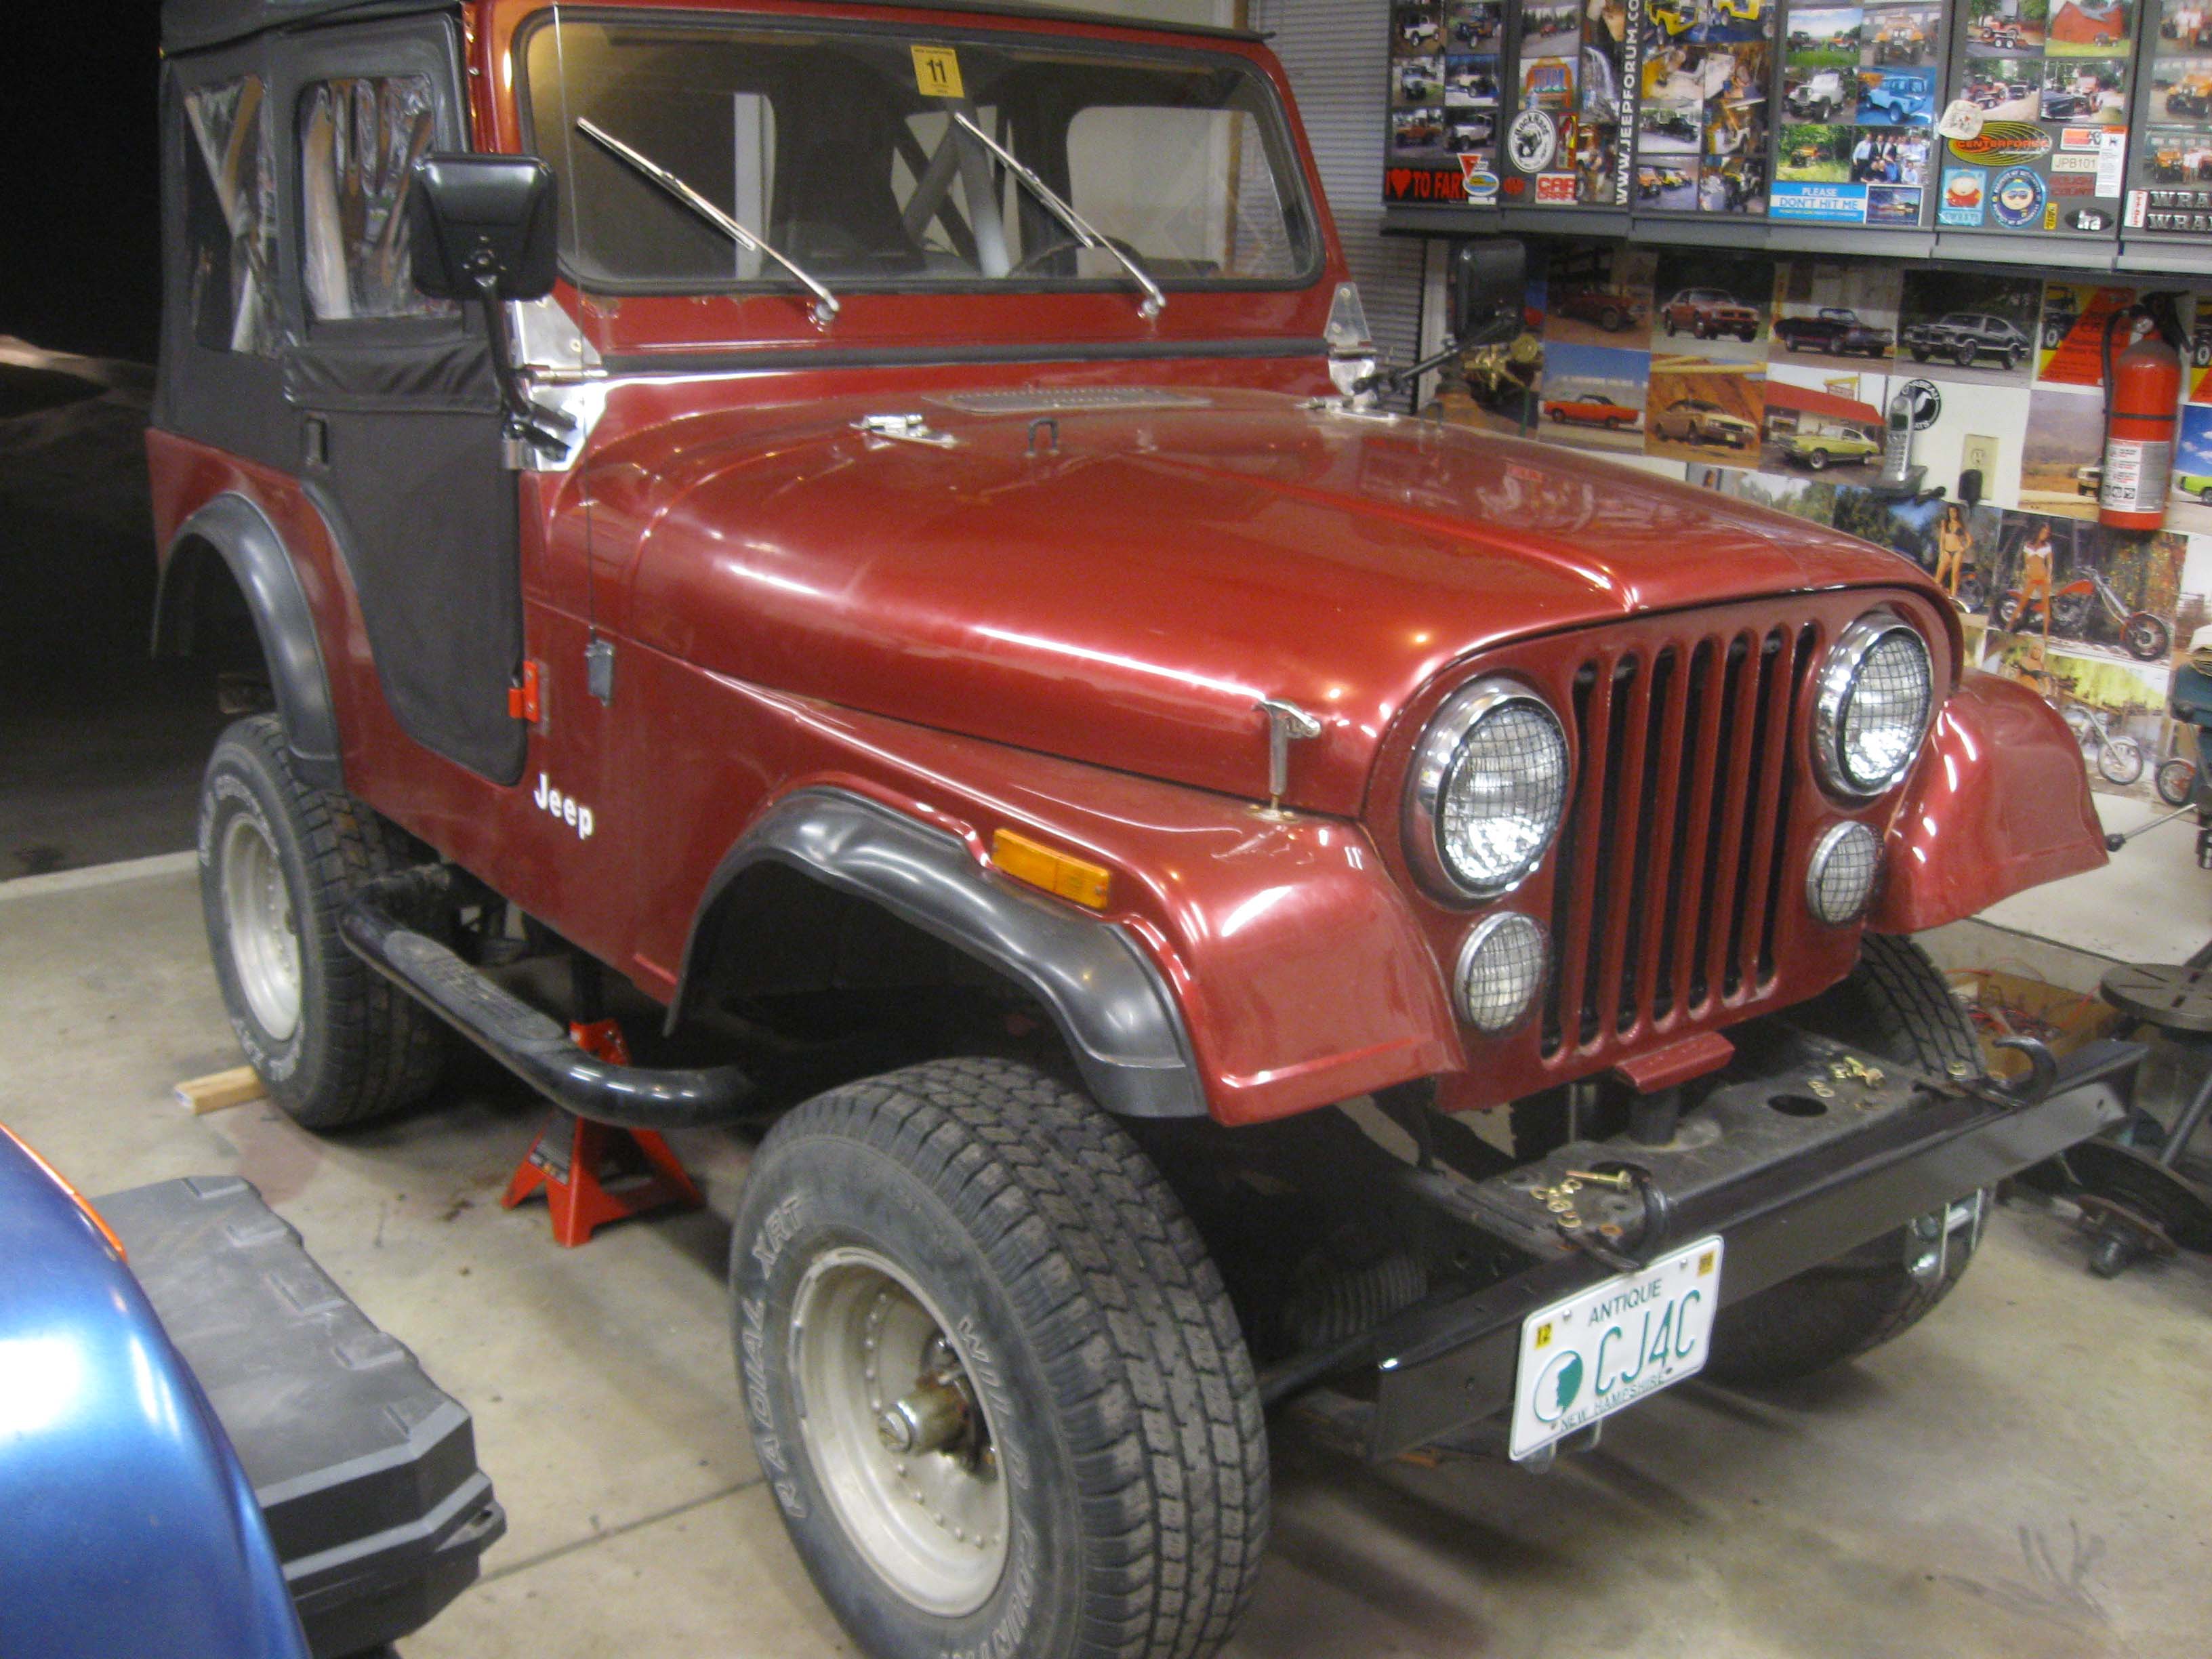
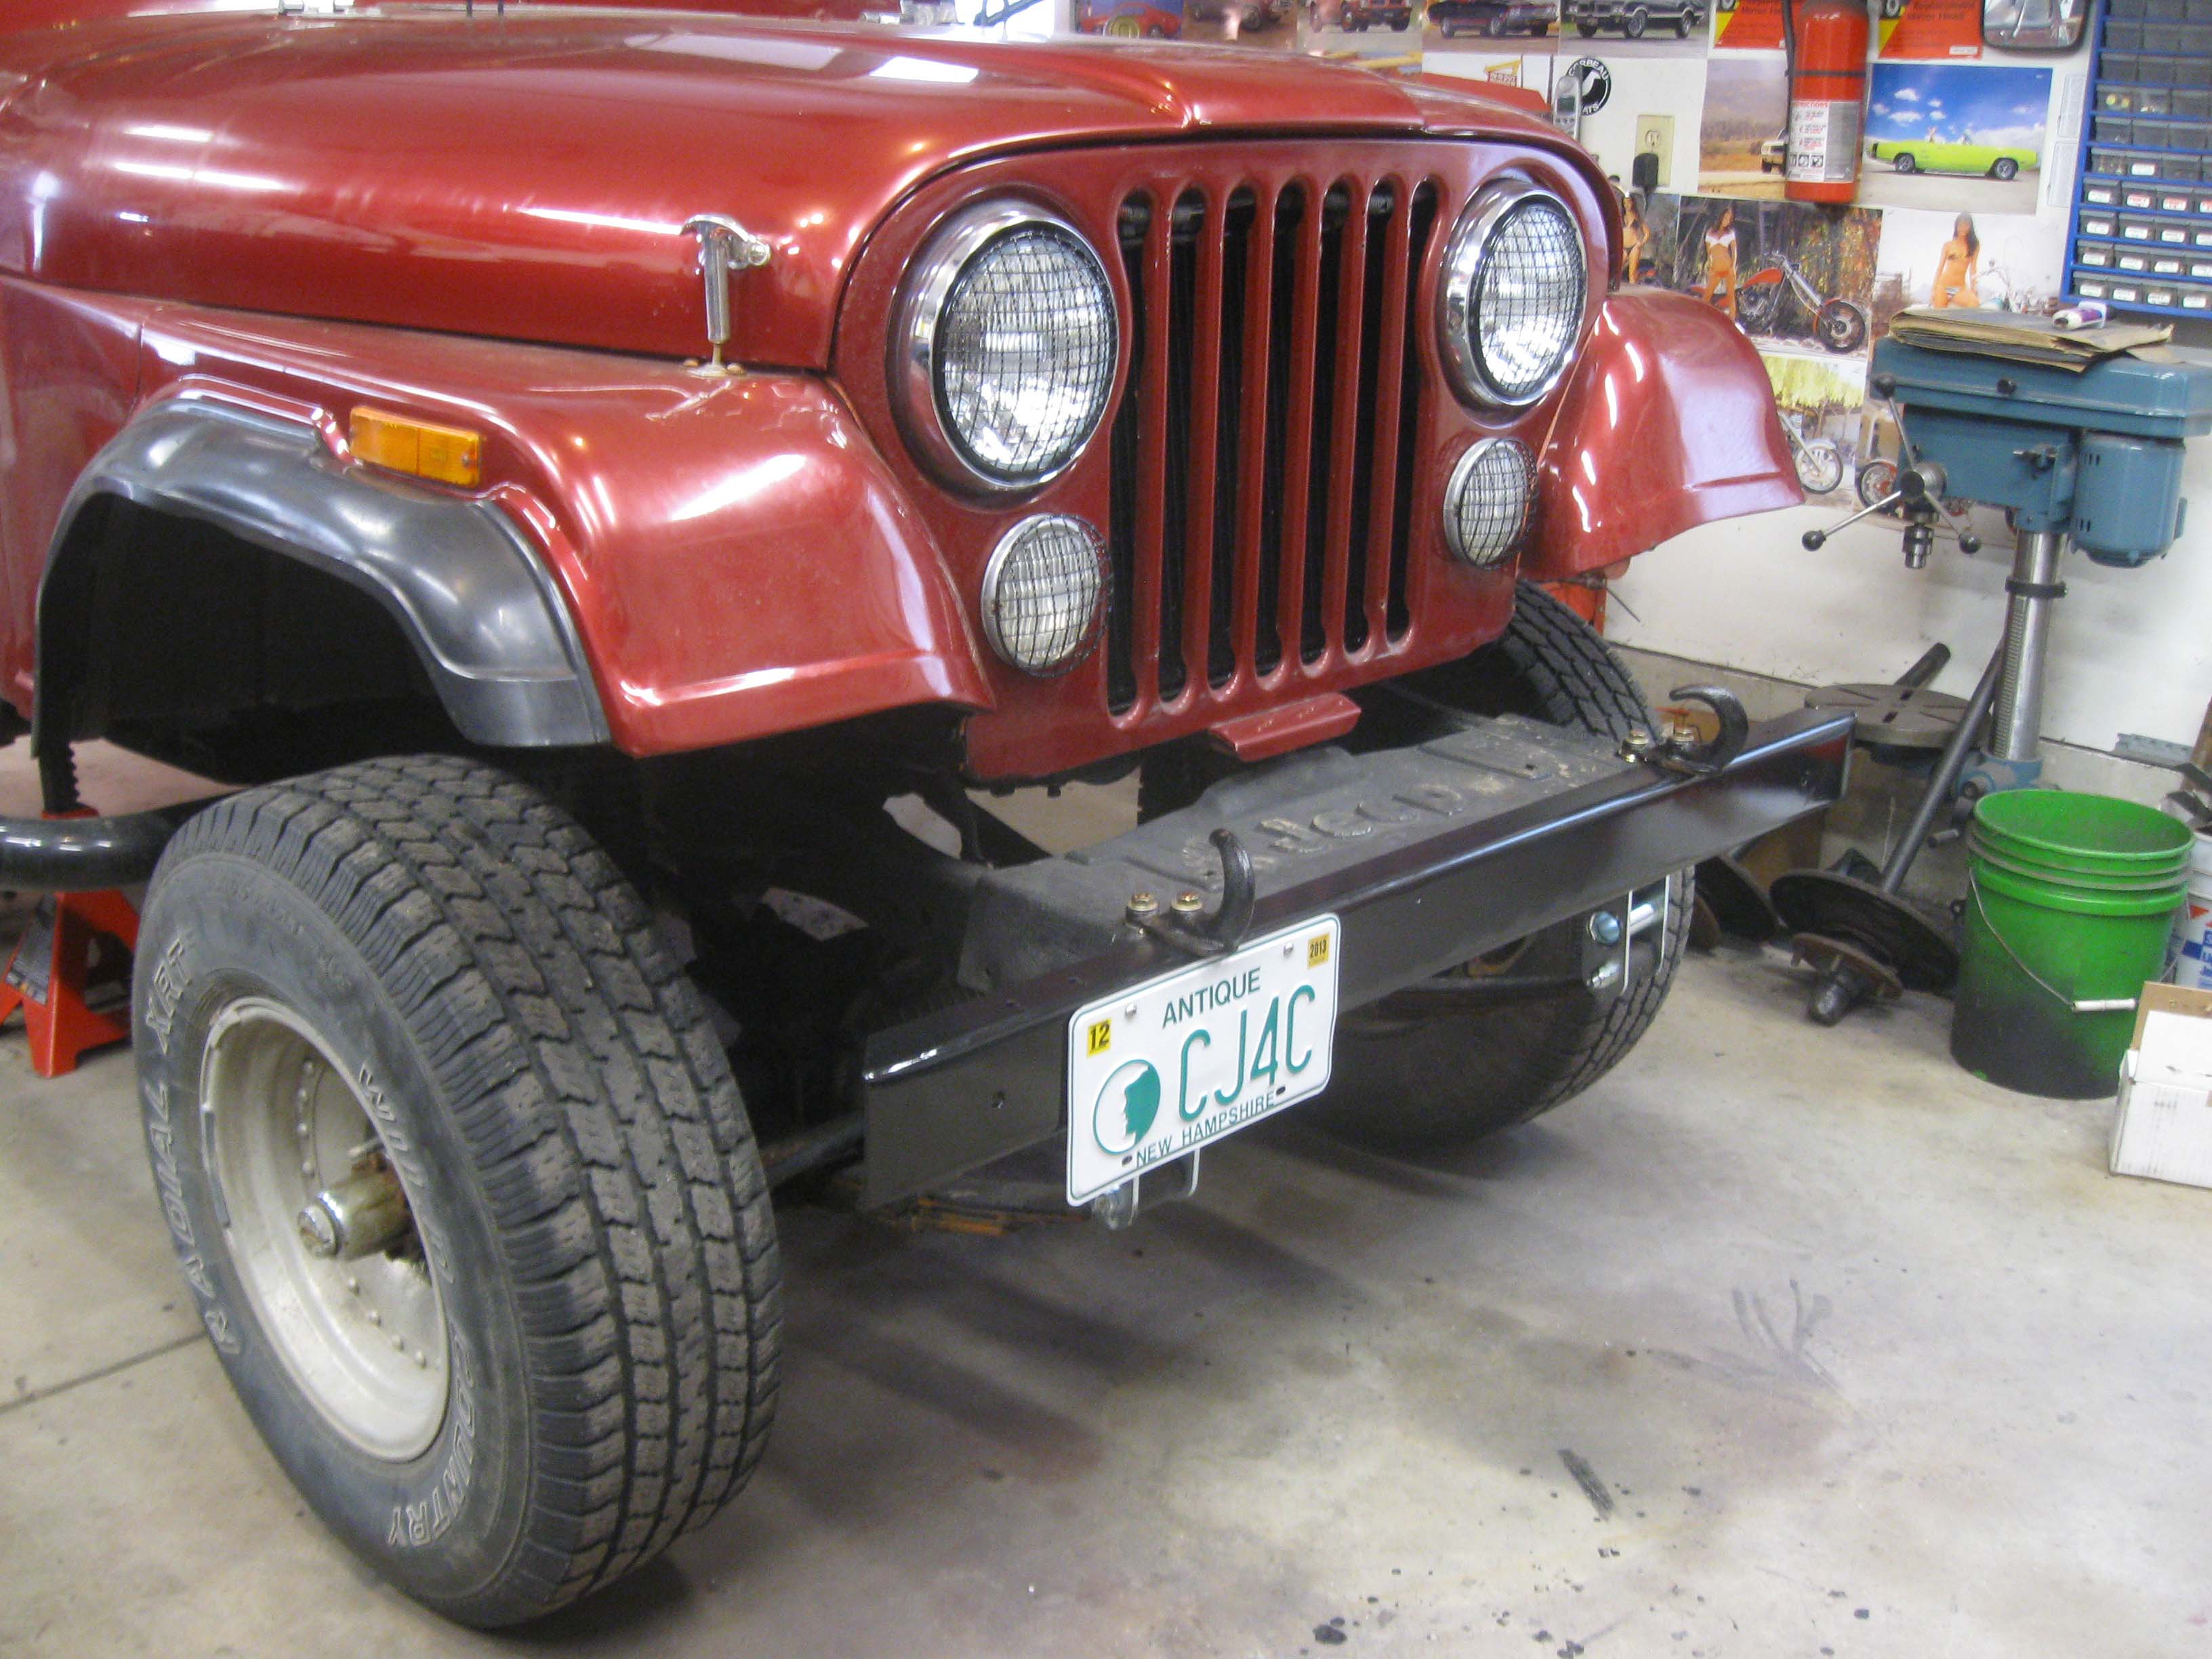
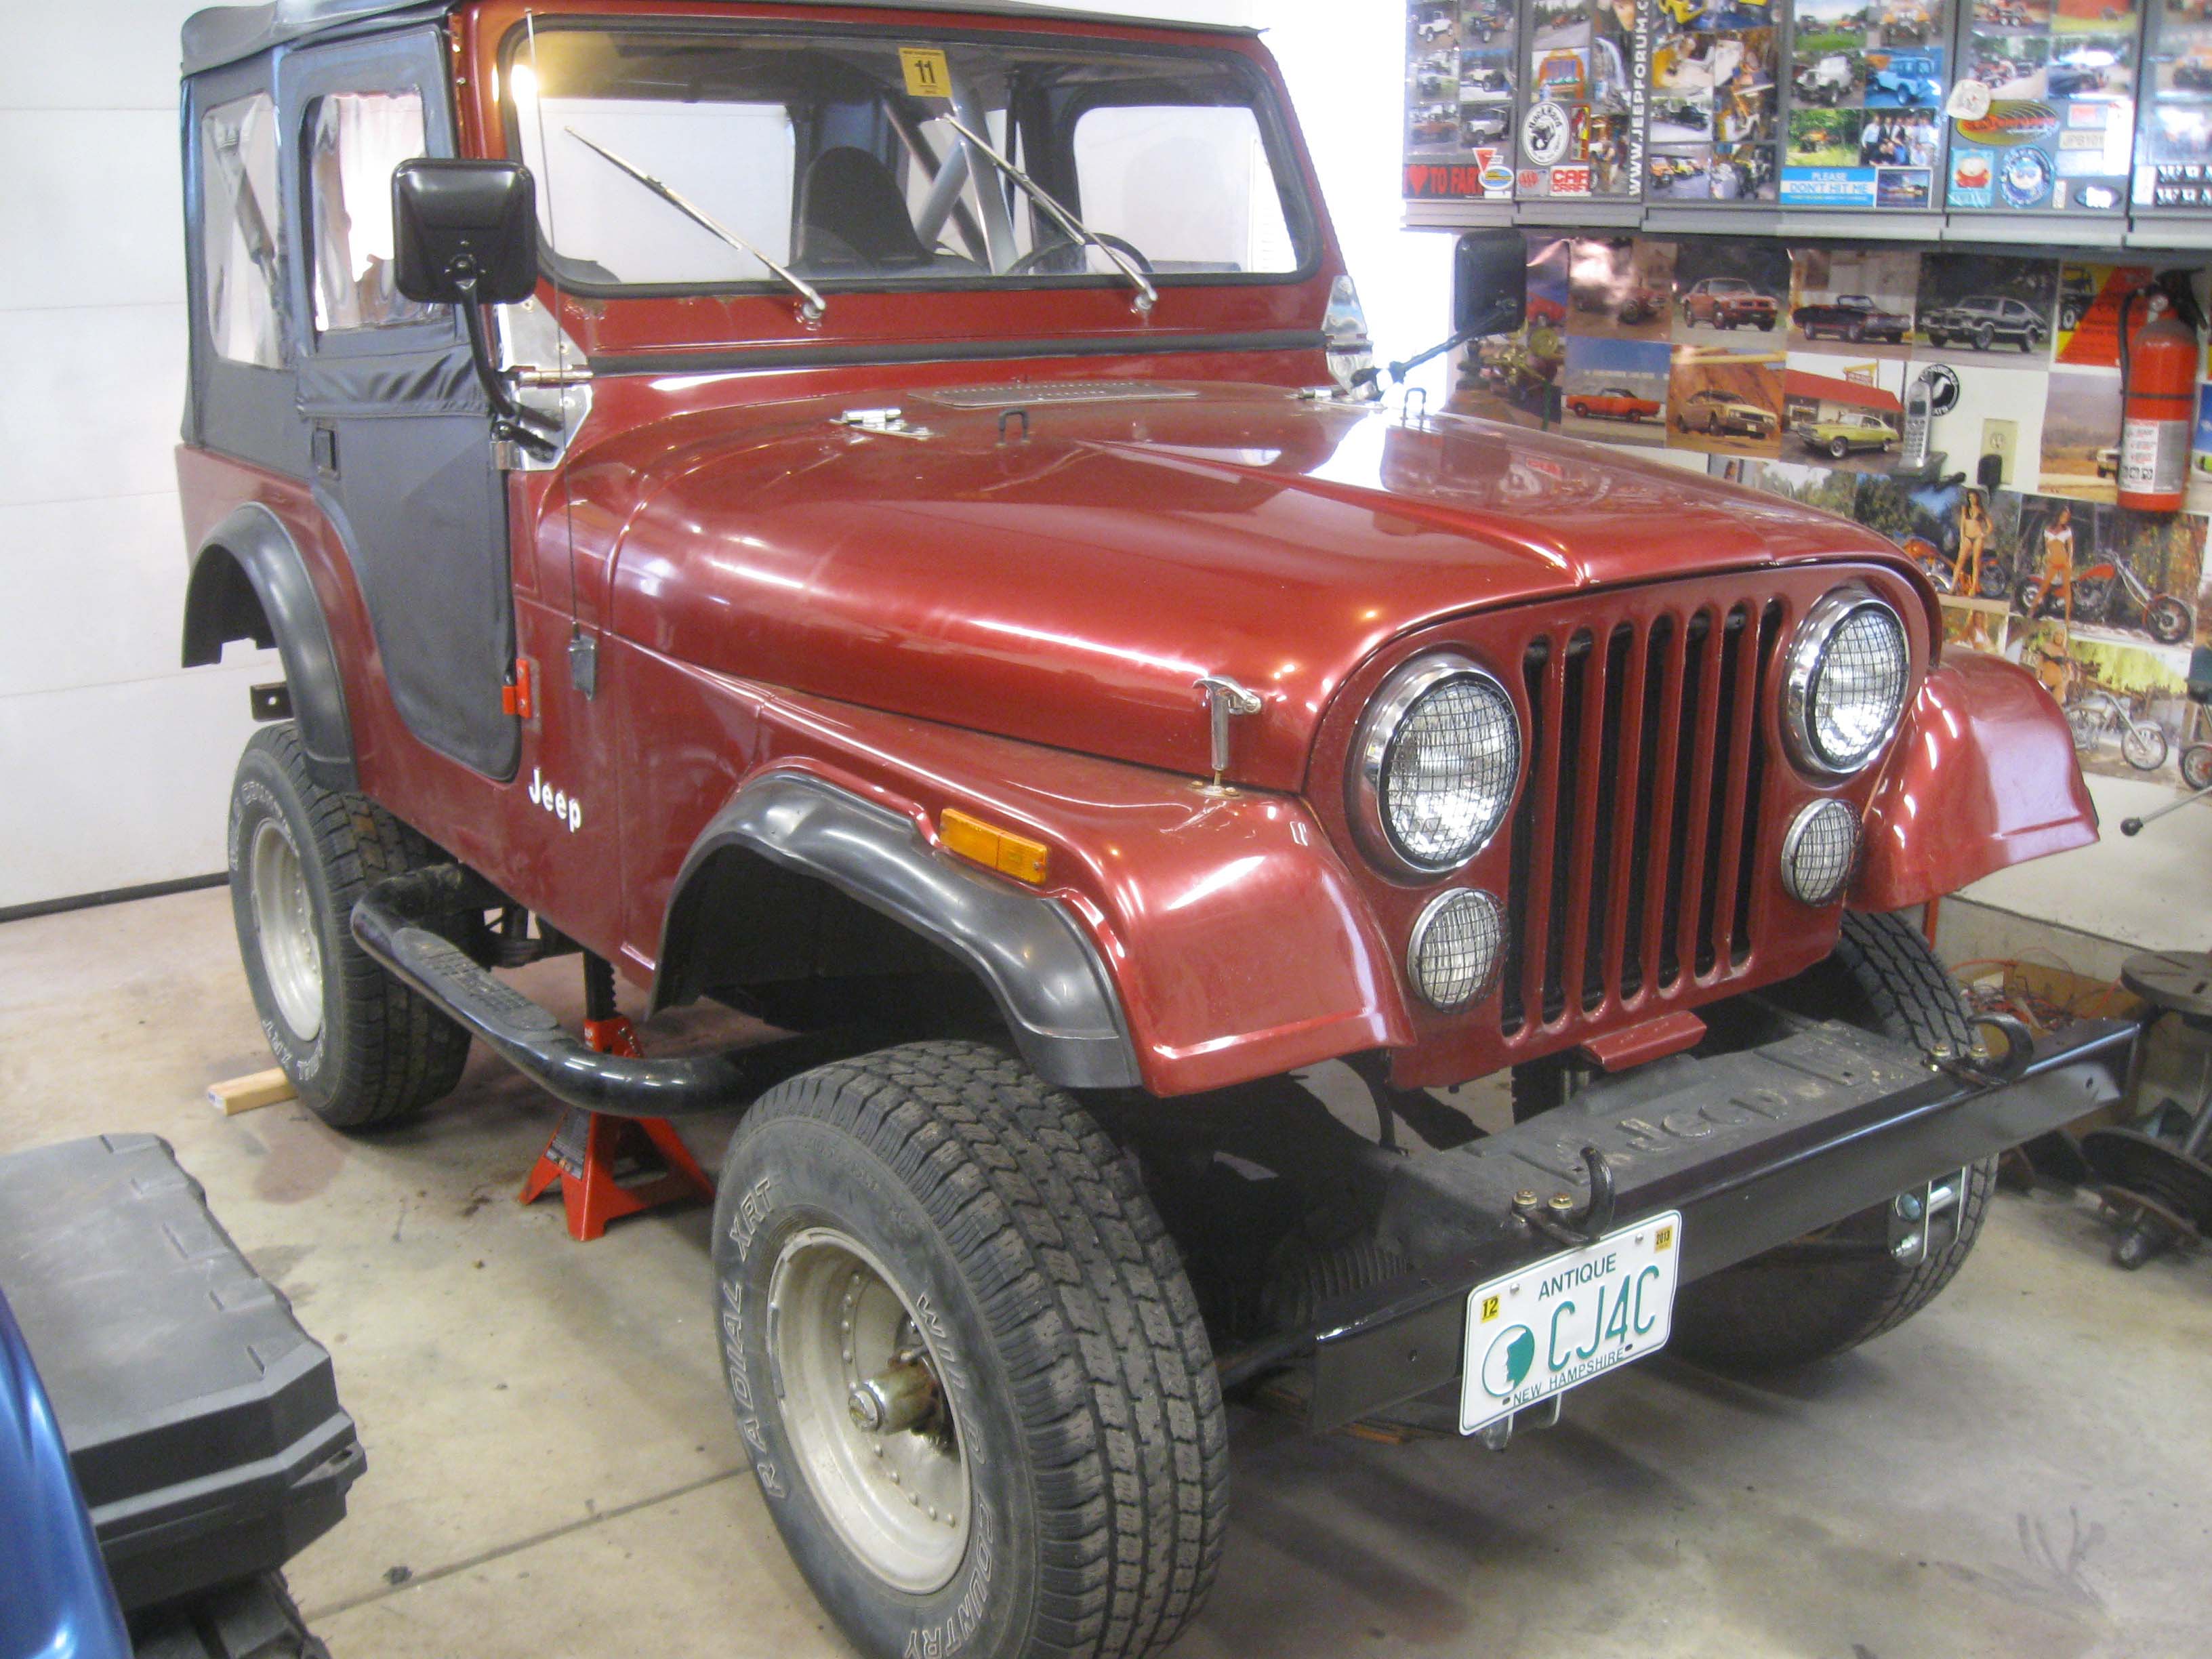
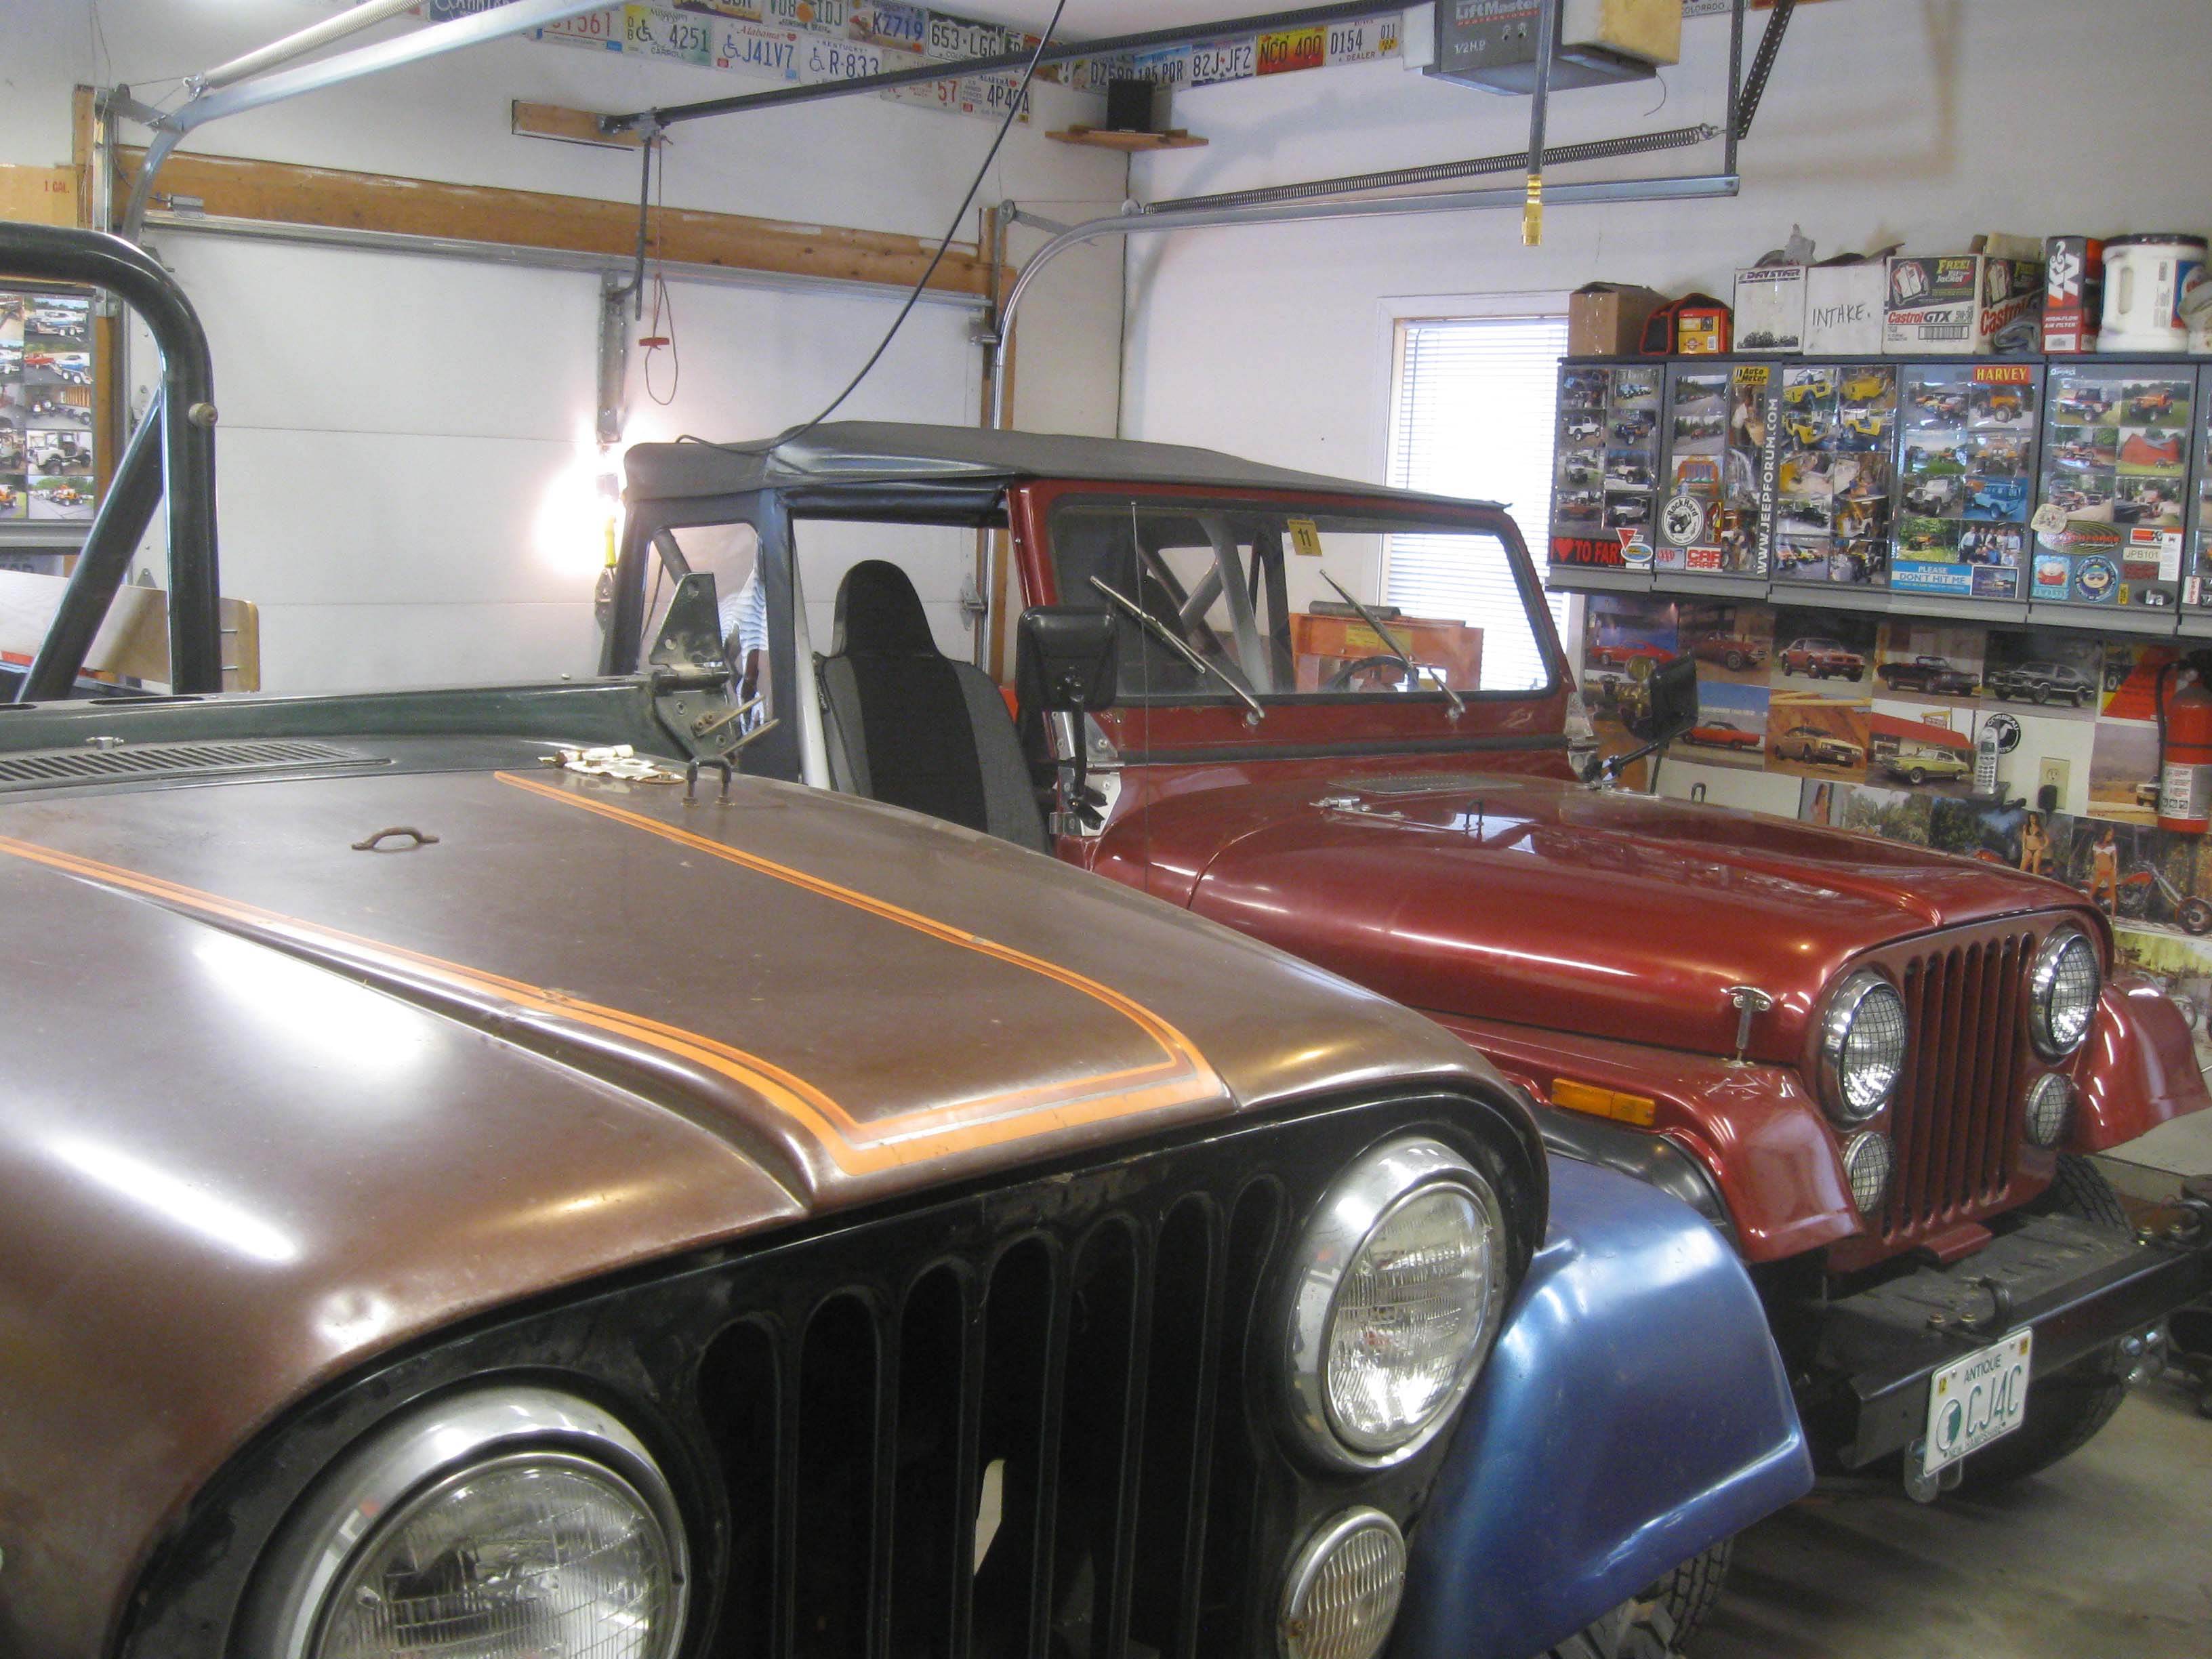
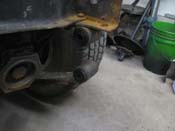
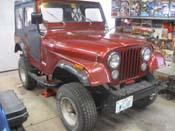
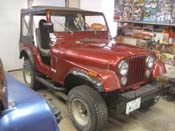
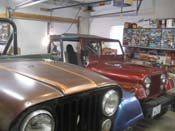
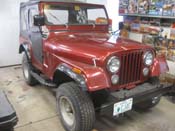
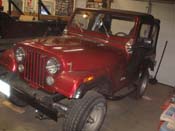
The other interesting thing to note is now in comparison to the big brother next to it, the Jeep is sitting where
we had discussed. With the 3" lift ouf of there and the shackles gone, the Jeep is sitting on what is essentially
7" less of lift. It does making getting in/out a whole lot easier.
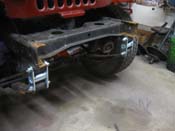
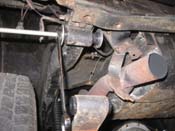
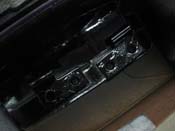
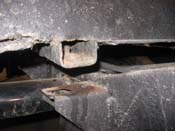
I have the day off today, so I hope to get out there and at least get the body lift sorted out, locked down, and
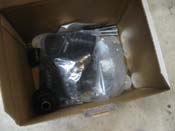
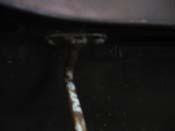
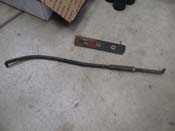
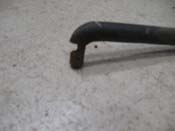
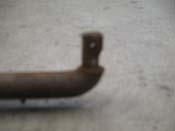
start to put back on the clutch linkage. In the pictures of the 3" extension pieces, you can see how worn out it
was. It was just a matter of time before that would have stranded them on the side of the road... not good.
cb (02.18.13)
|
| |
|
|

|
|

|
|
|

|
|
|
| |
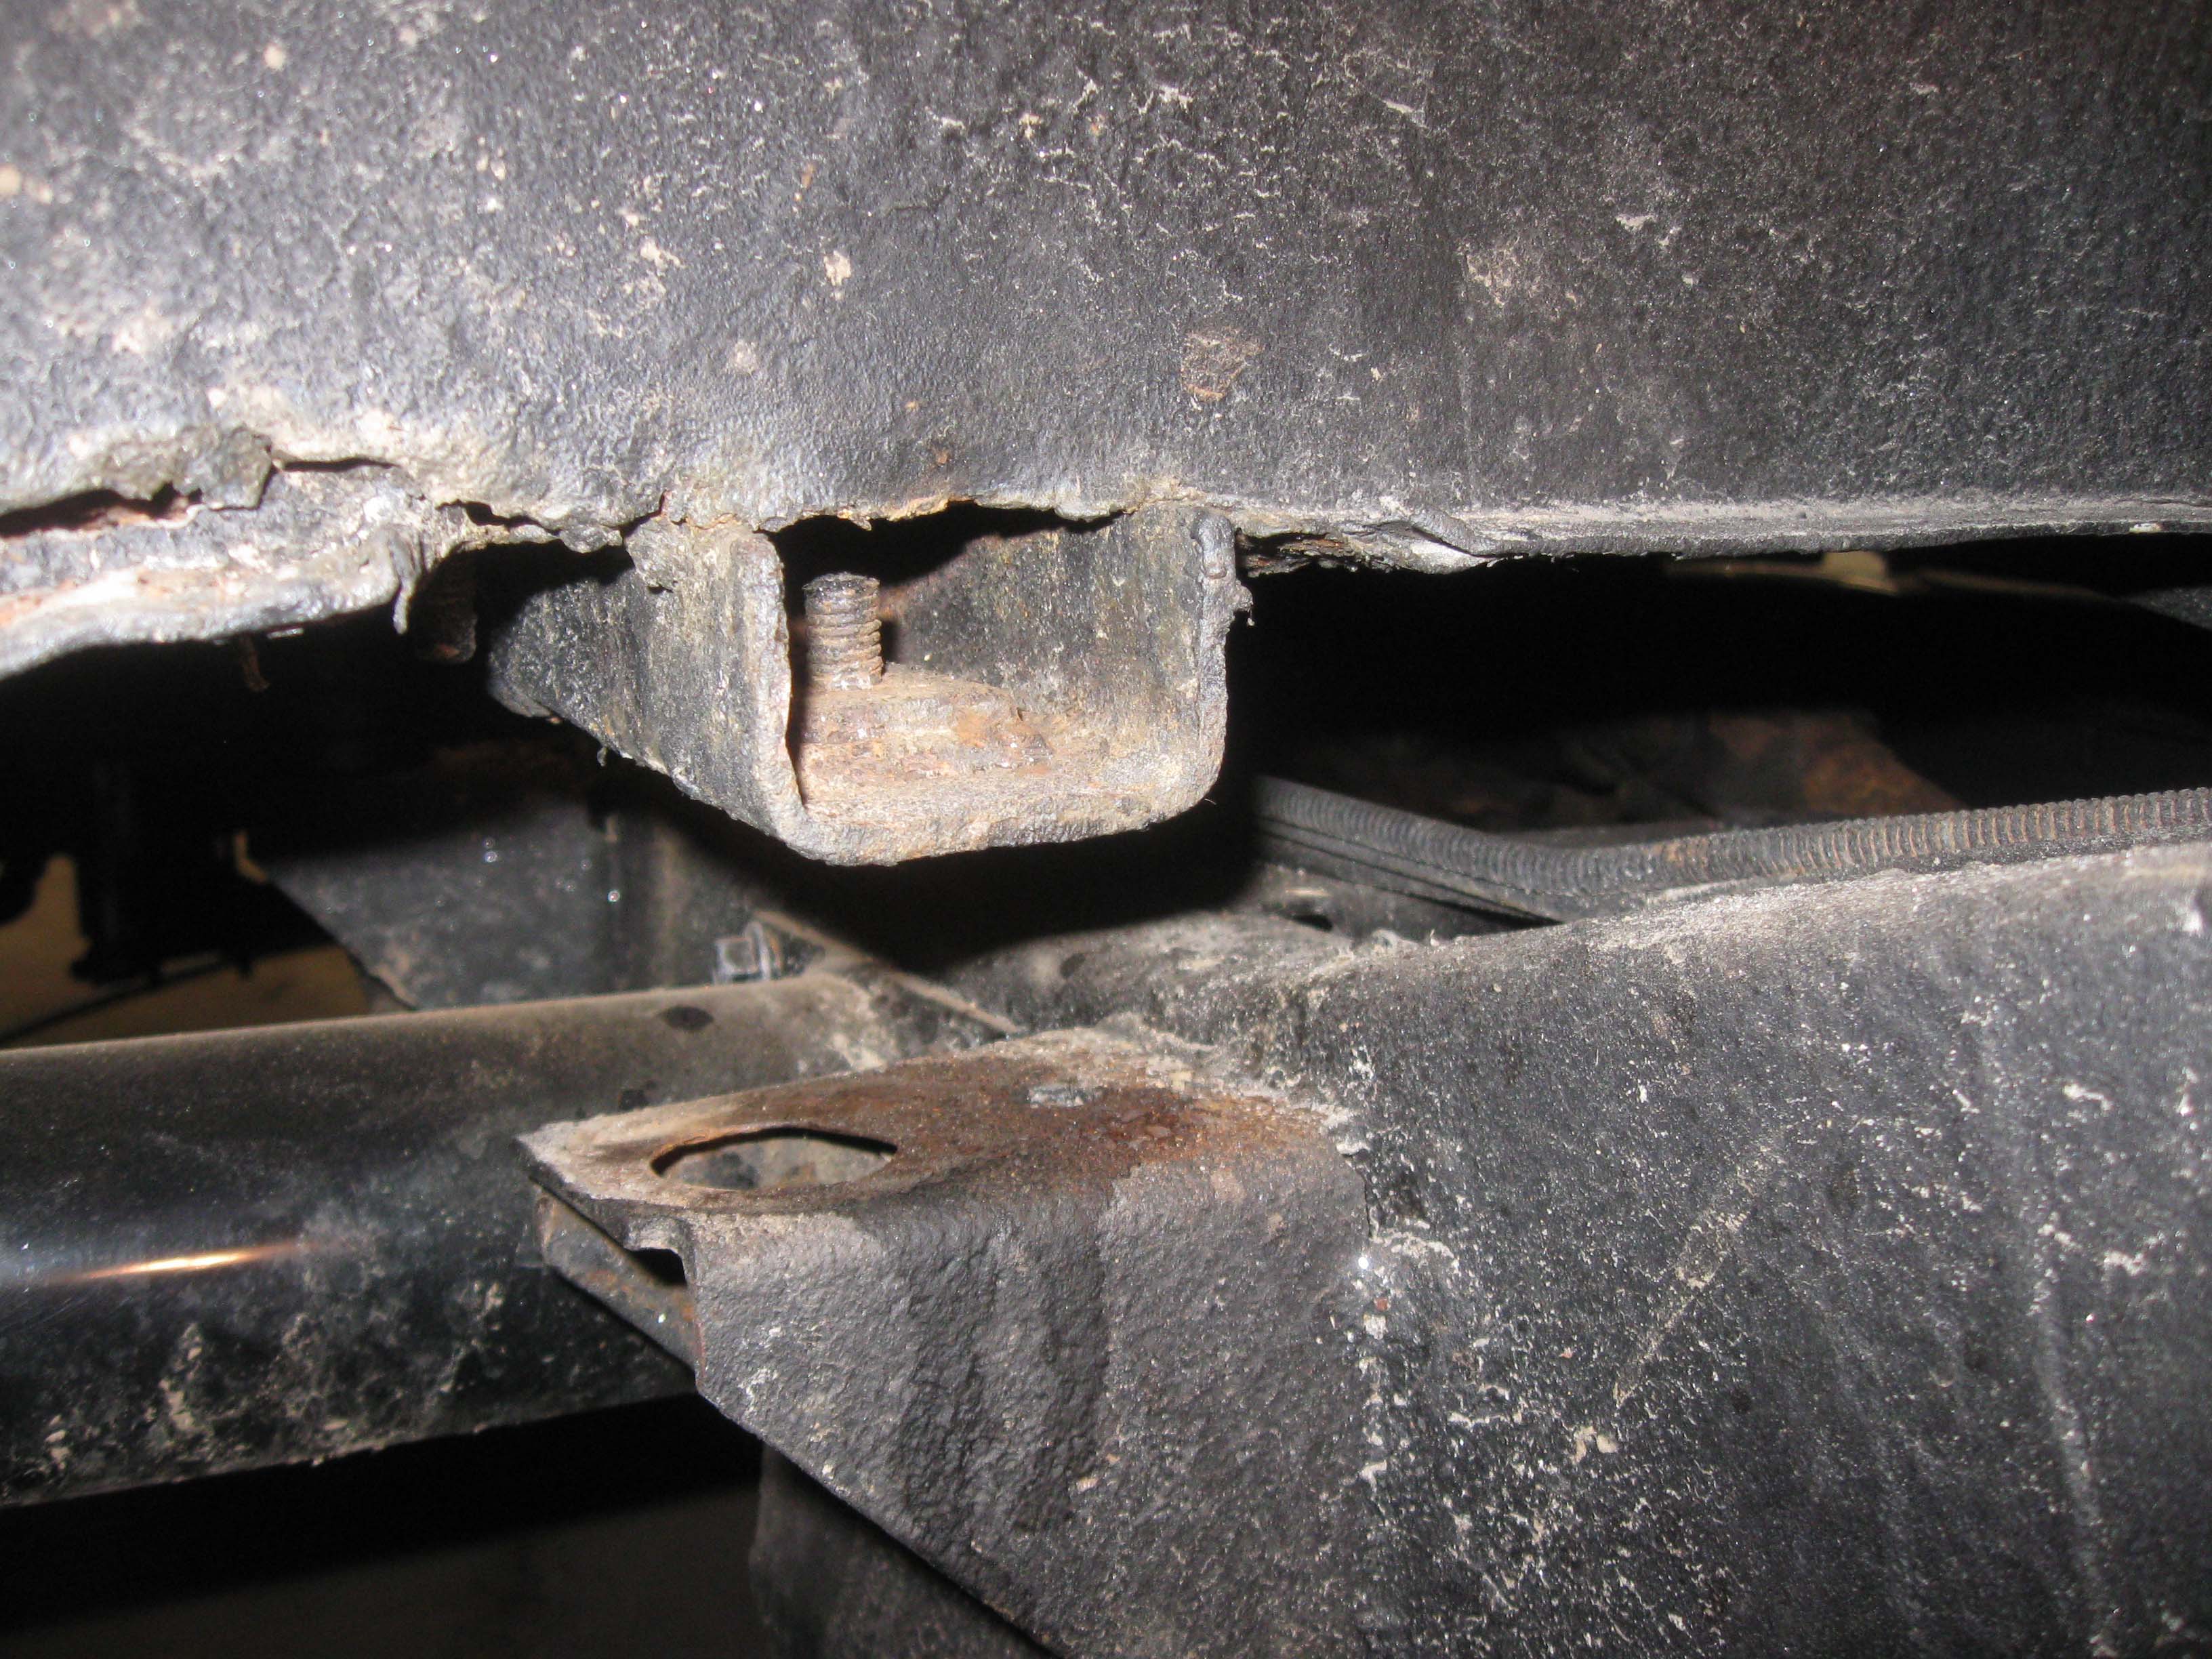
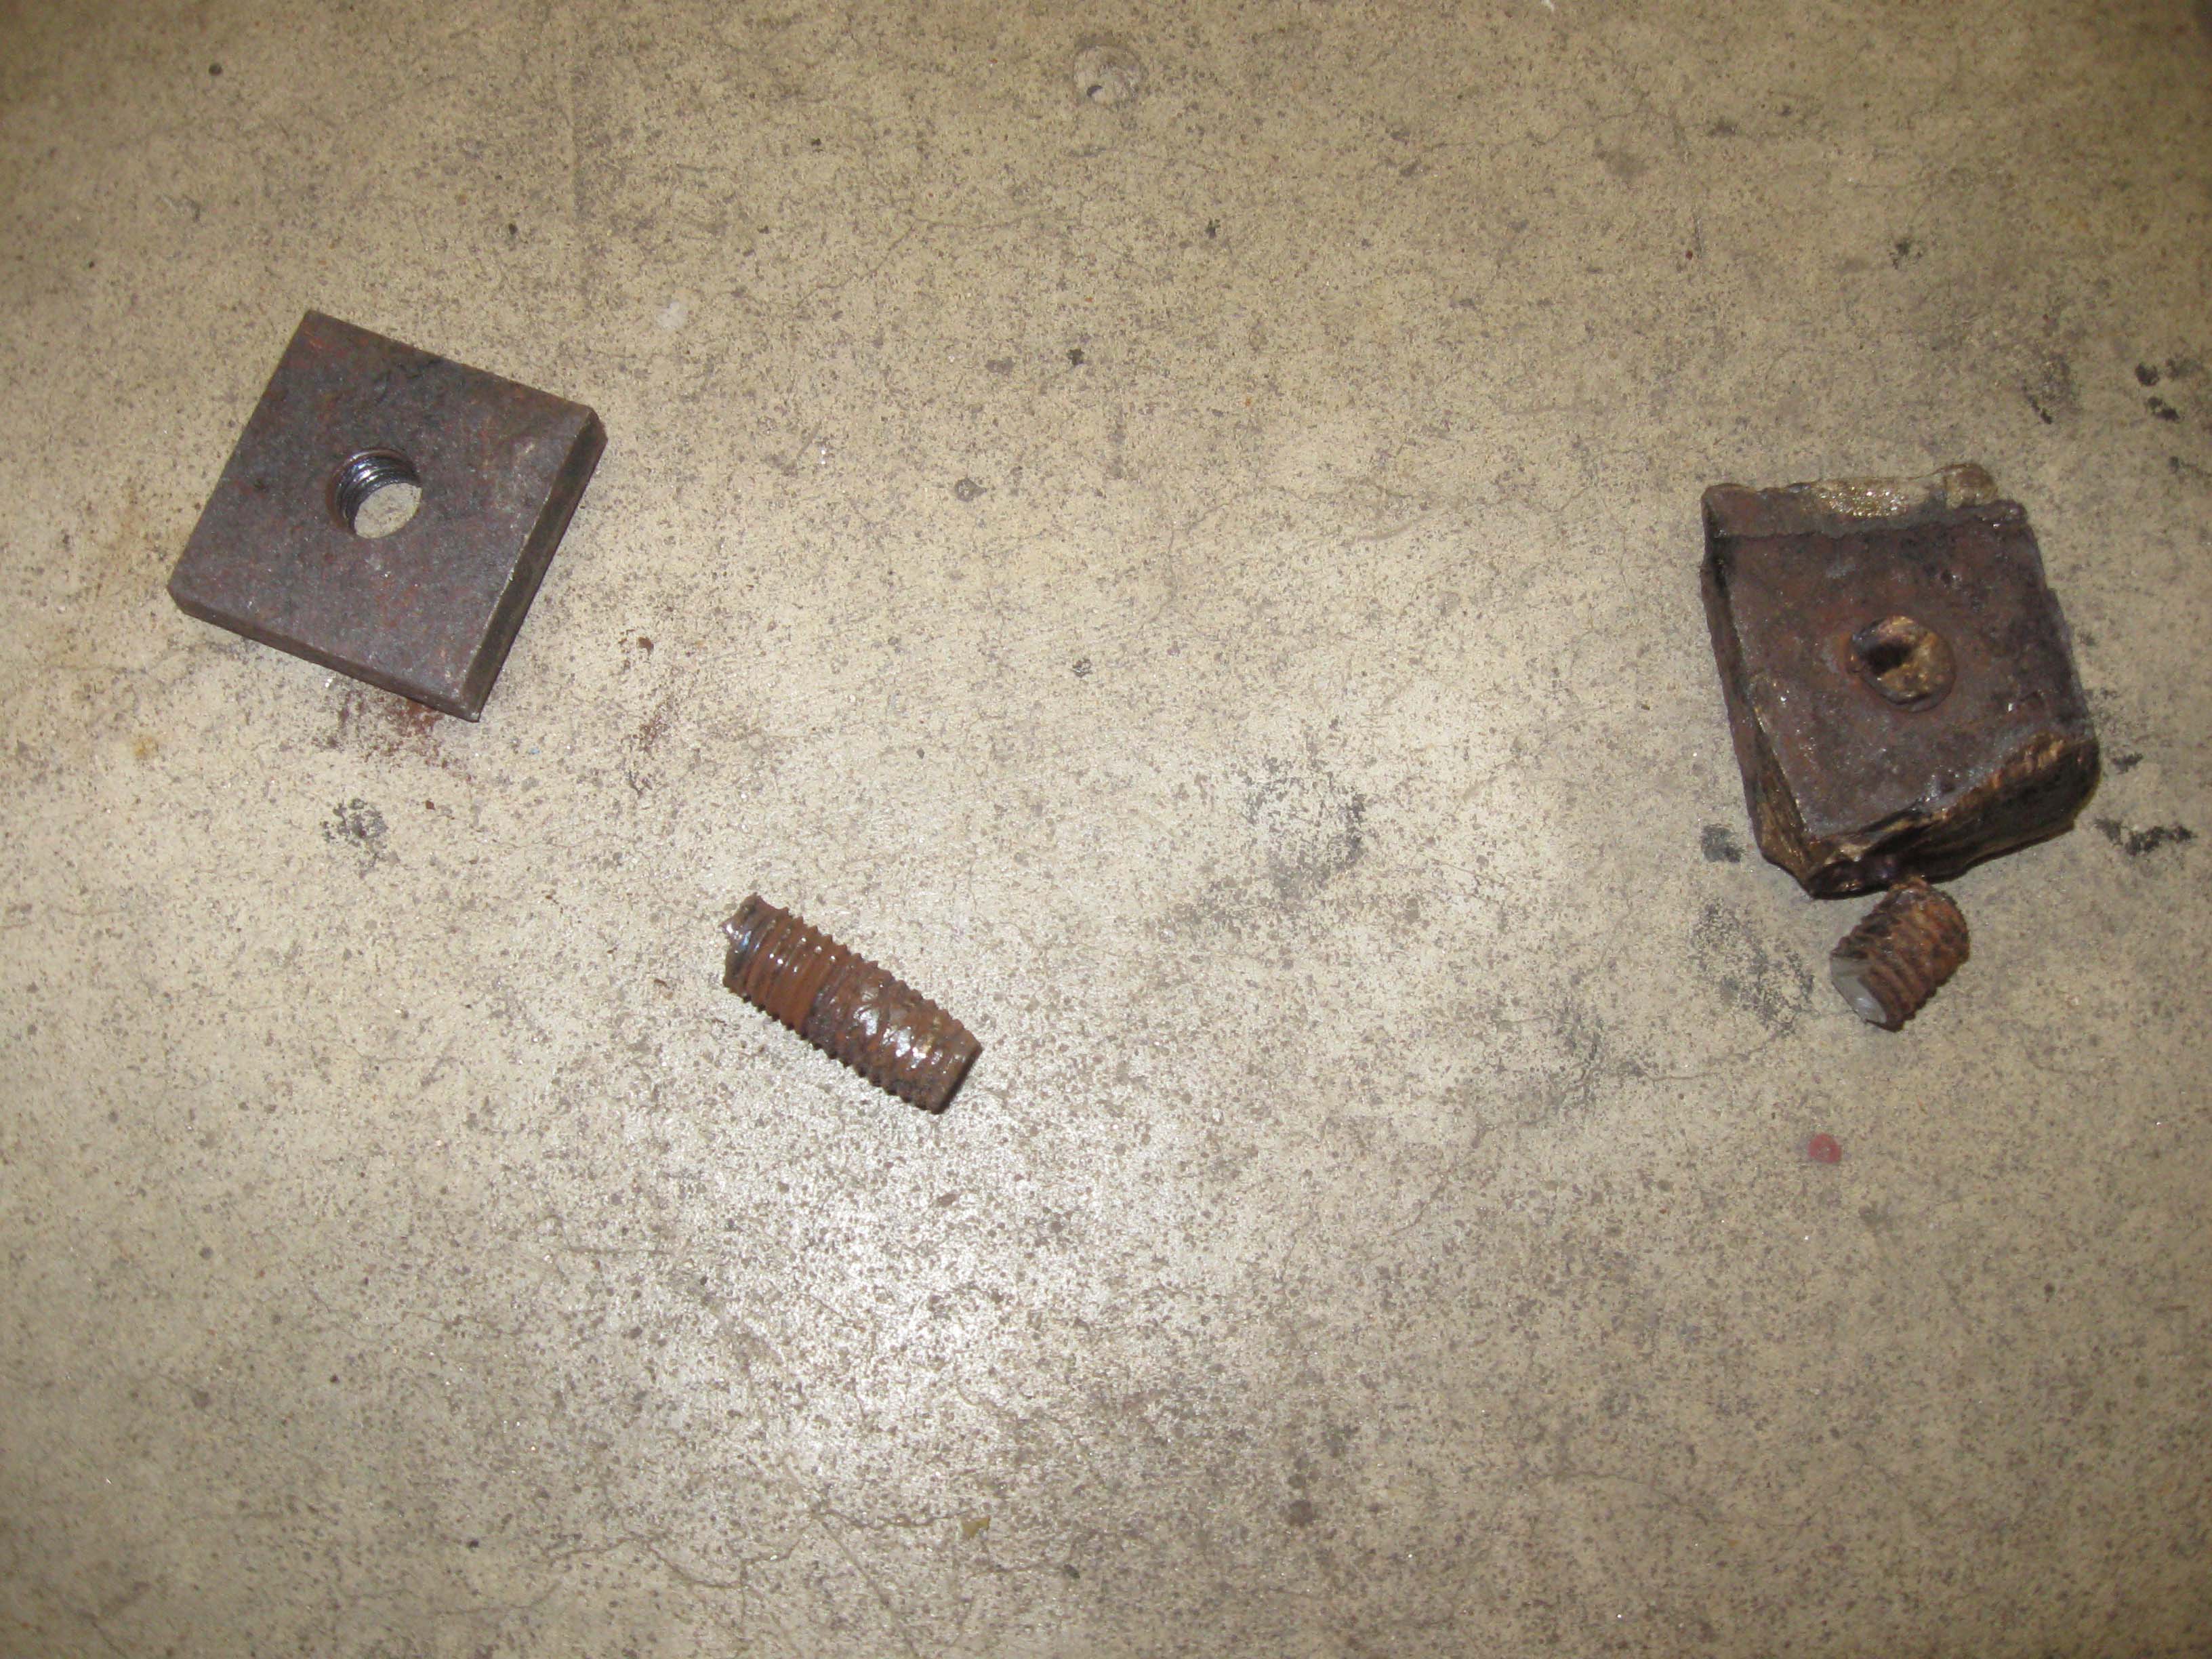
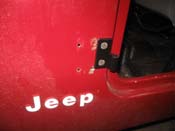
(02.19.13) The good news is that the body bolt that was stuck is out and a new one
is in place, the bad news is it took a while to get it all straightened out. This is the sort of stuff that eats
up a ton of time. The bolt that was in the body mount would not come out, so luckily I had another one from a
previous build that I was able to use. Once that was out and the new one was in place, I was able to get the body
positioned on the frame better and start to bolt things down. This is where another issue came. The previous
owner had welded the receiving nuts in place where normally there is a little room for slack. So it had to be
just right to get it in place. I got 8 out of the 11 bolts mounted, I will do more next weekend.
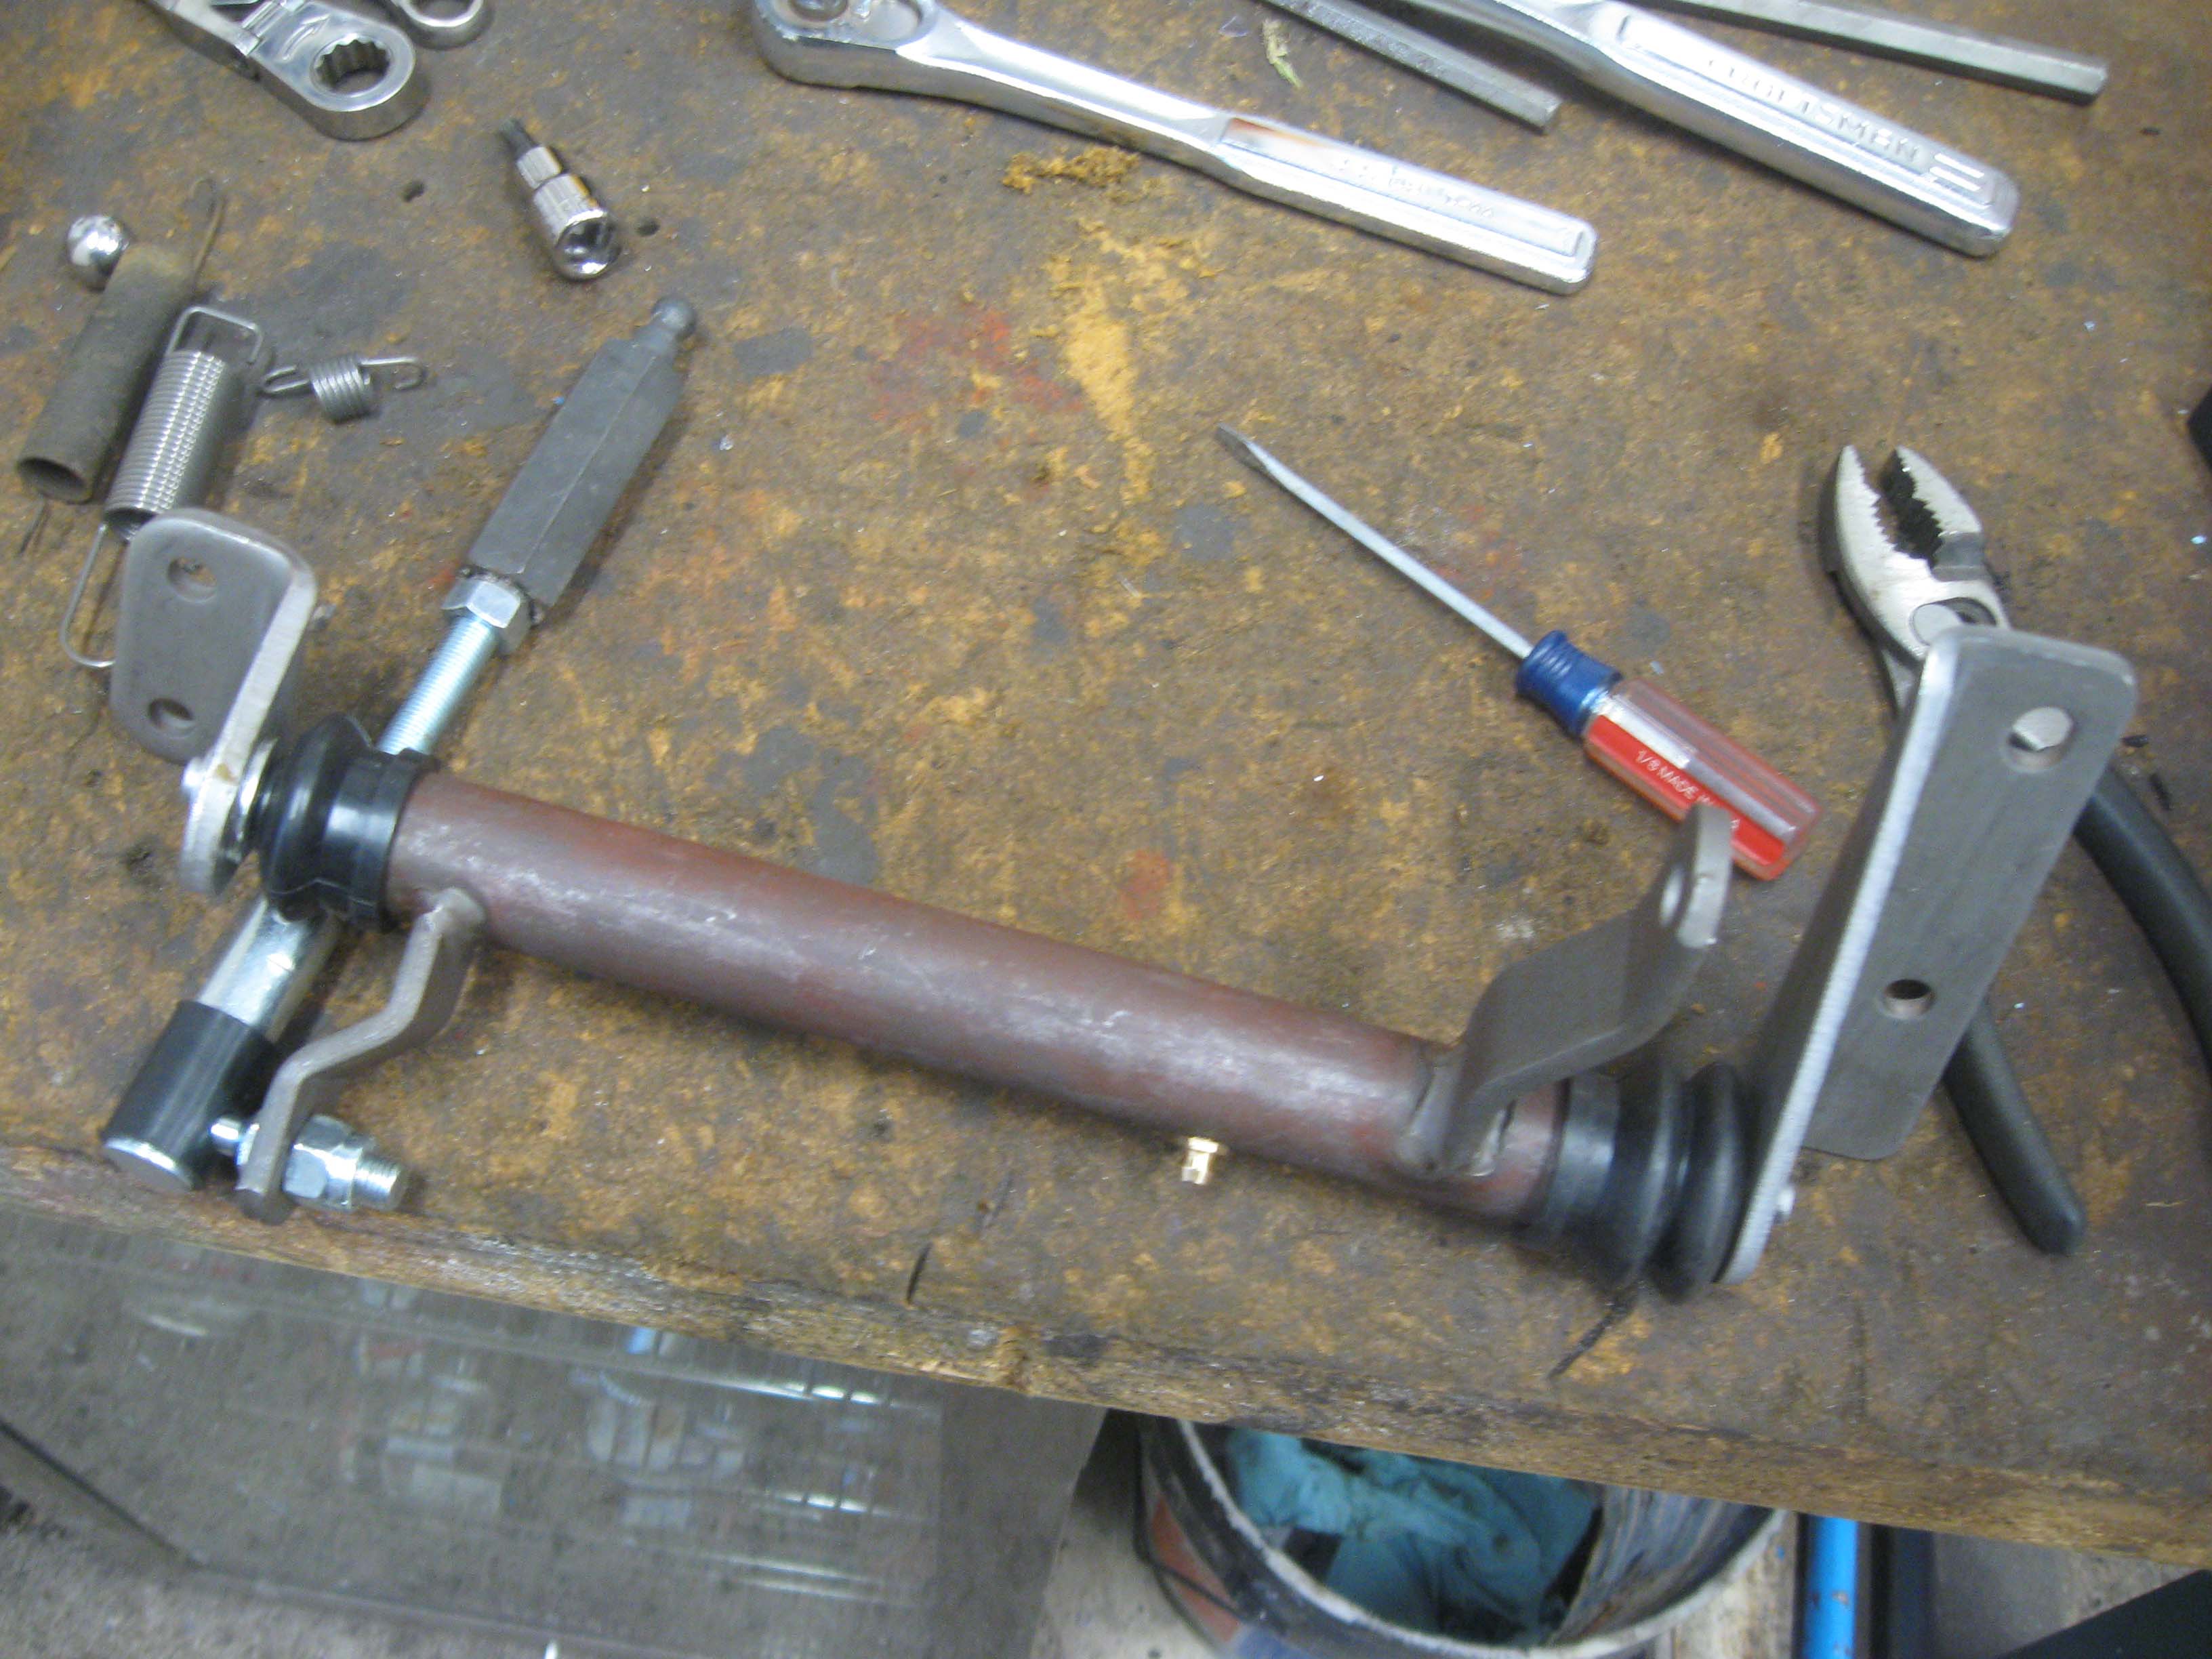
I was able to get the clutch linkage assembled as well. The old one was worn out badly and the rod was for a lifted
Jeep, so I got a new stock unit and put it all together. It didn't come with some of the nuts, so off to the store
to get a few more. Finally I put the door hinges that were painted black back on and my little helper came out
to remind me it was time to go sled riding. So, that was it for the day, another 4+ hours down and probably 5-6
more to go. I have to inish the body lift install, put the new clutch linkage in place, get it adjusted, get the
rear view mirror on and do the dash knobs and blinker... and the fuel pump gasket, keep forgetting about that one.
So this is just more labor, all the parts are here. It really does sit nice now. I am still in search of some
good 31" rubber for the CJ rims I have.
cb (02.19.13)
|
| |
<< Previous |
Next >> |
|