|
|
| Project "Sams Jeep" a.k.a Project "SJScrambler" - part #4 |
| |
|
1
2
3
4
|
| |
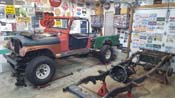
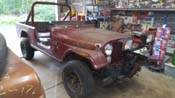
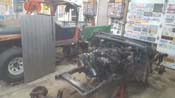
| (11/19/2018) I can't believe it has been almost a year since I have updated this thread. I have gone through quite a
few iterations of how the bed was going to be made... and now I think I have figured it out. I also have been doing quite a bit of tear downs on some
old Jeeps. Normally I take in 2-3 Jeeps for the year and tear them down, keep what I want and then part out the rest, and scrap all the unusable stuff.
This year I bought 7 full Jeeps and 2 torn down projects and have been very busy with that, as well as the normal day to day stuff. All in all, a ton of
good parts, met good people along the way and now it is turning colder and time to get back to the project.
|
| |
|
|
|
|
|
|
|
|

|
|
| |
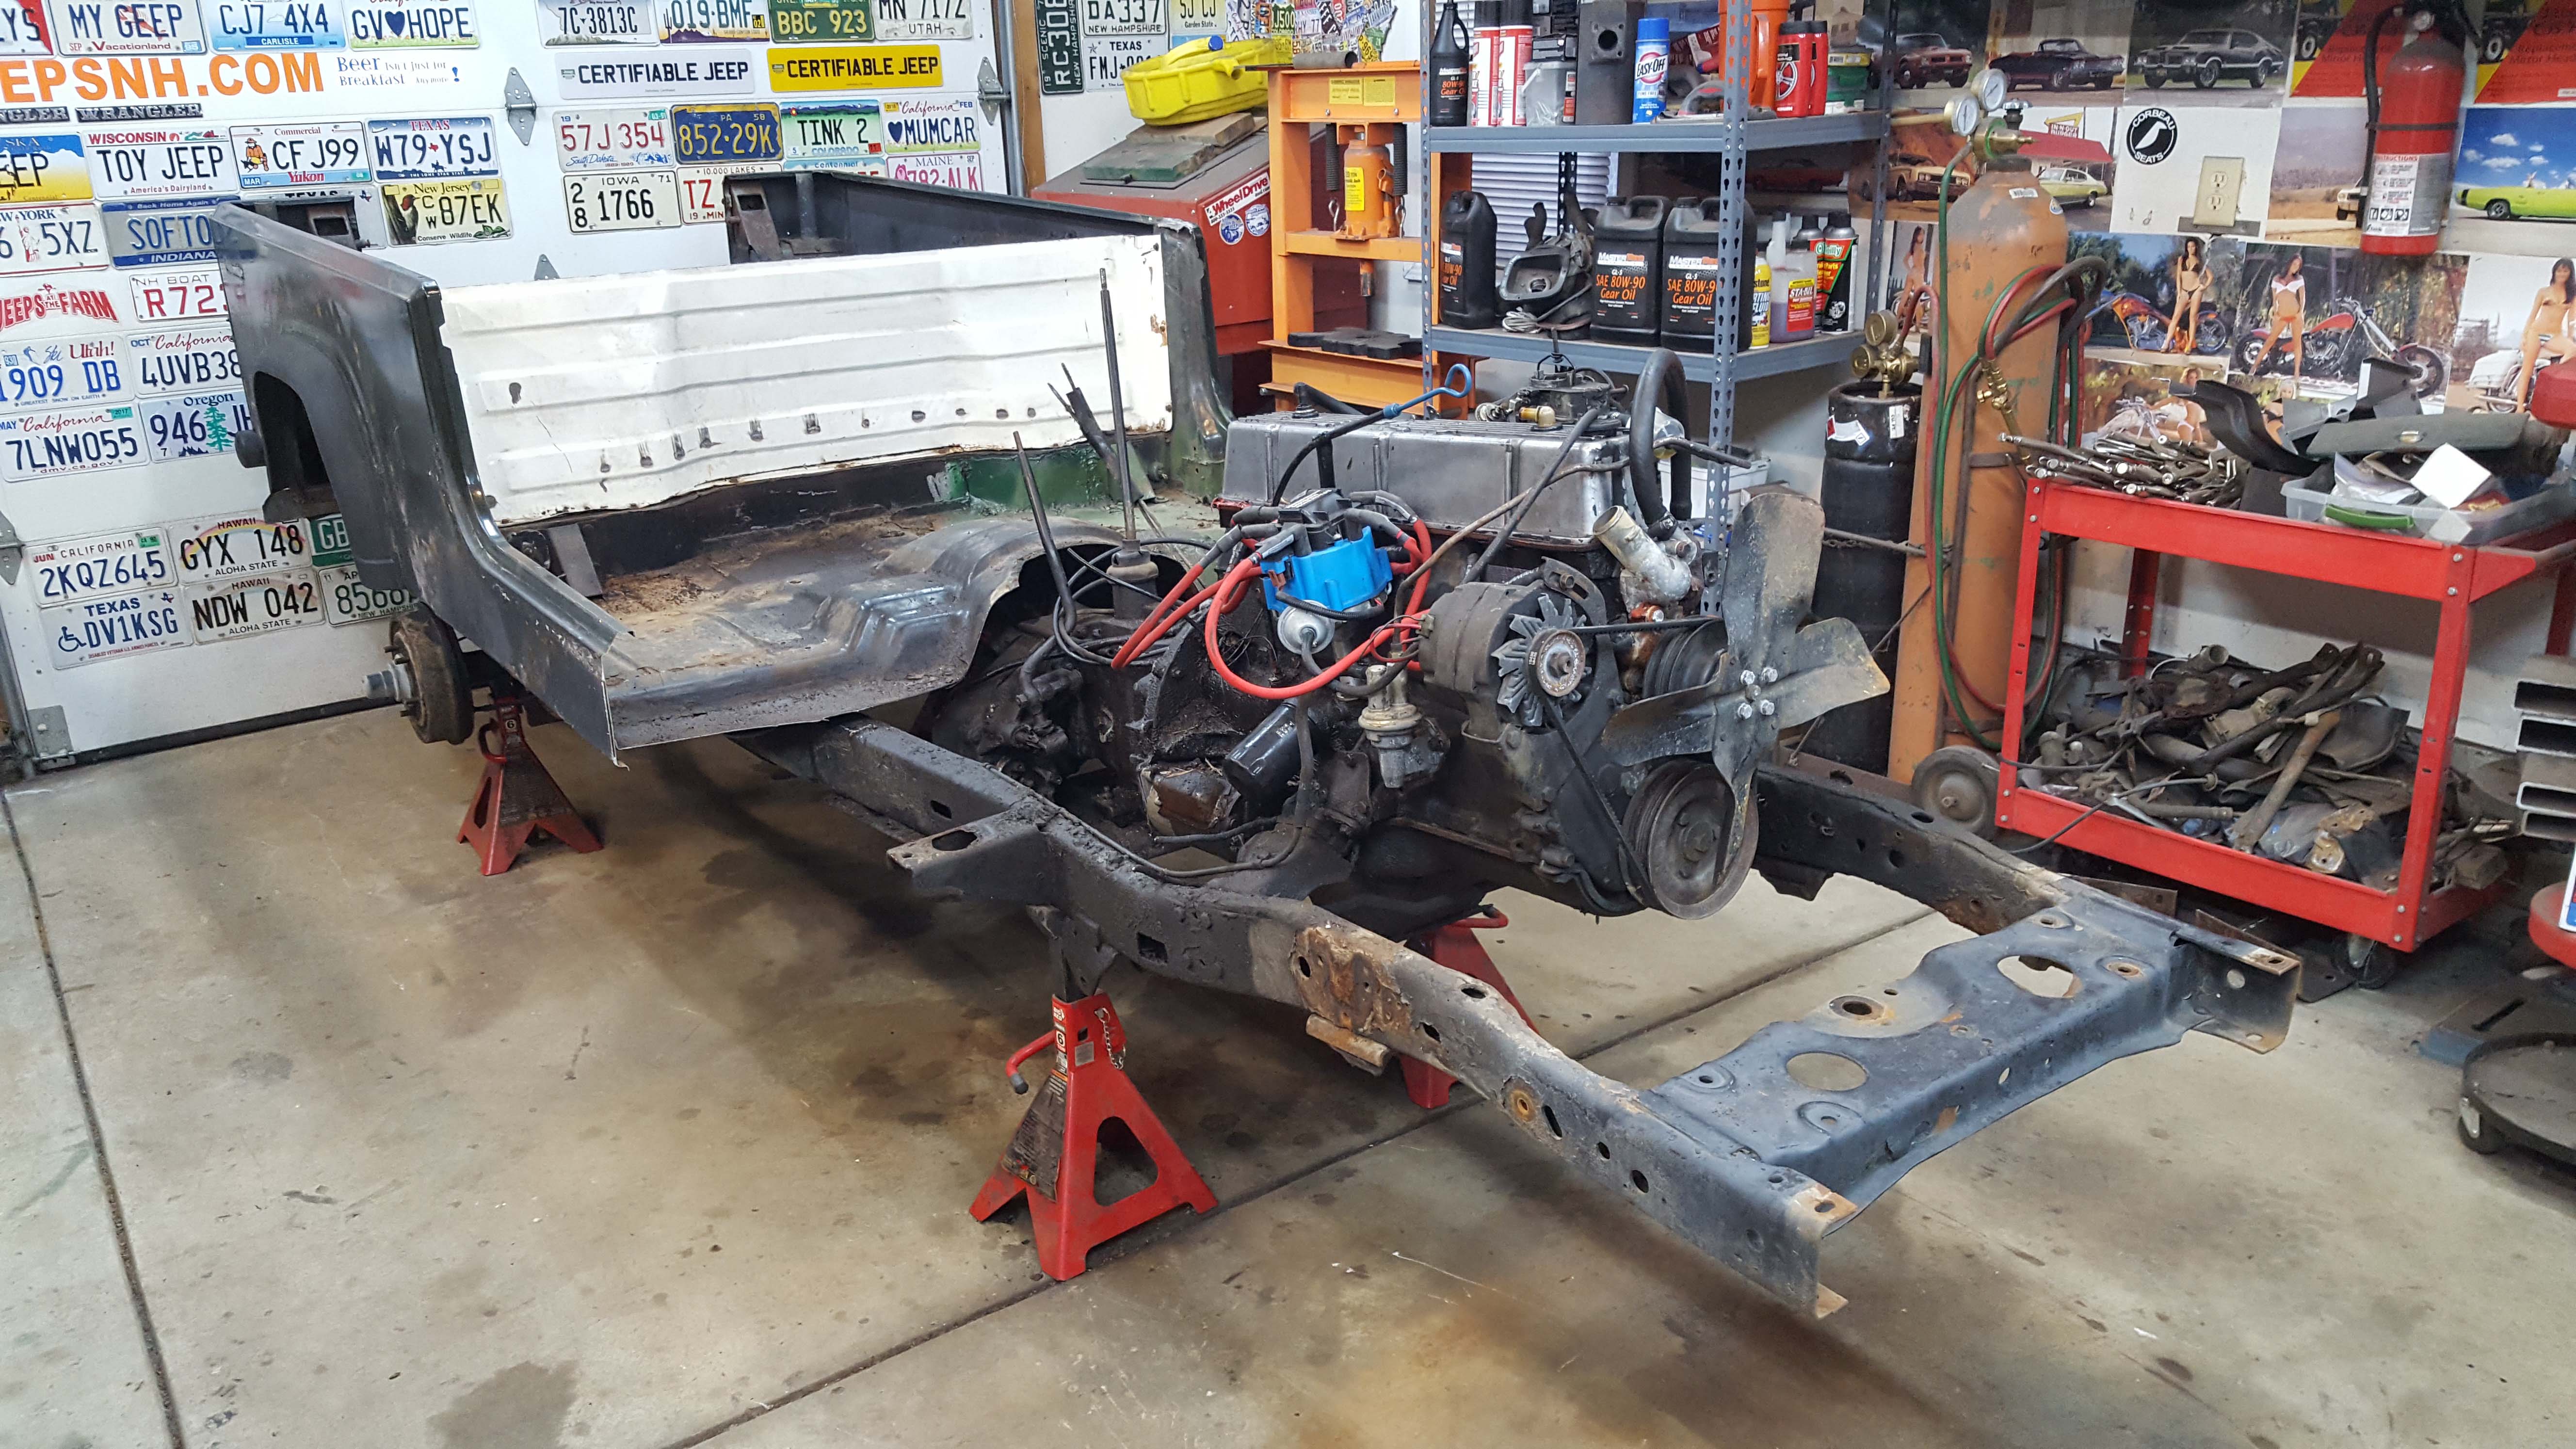
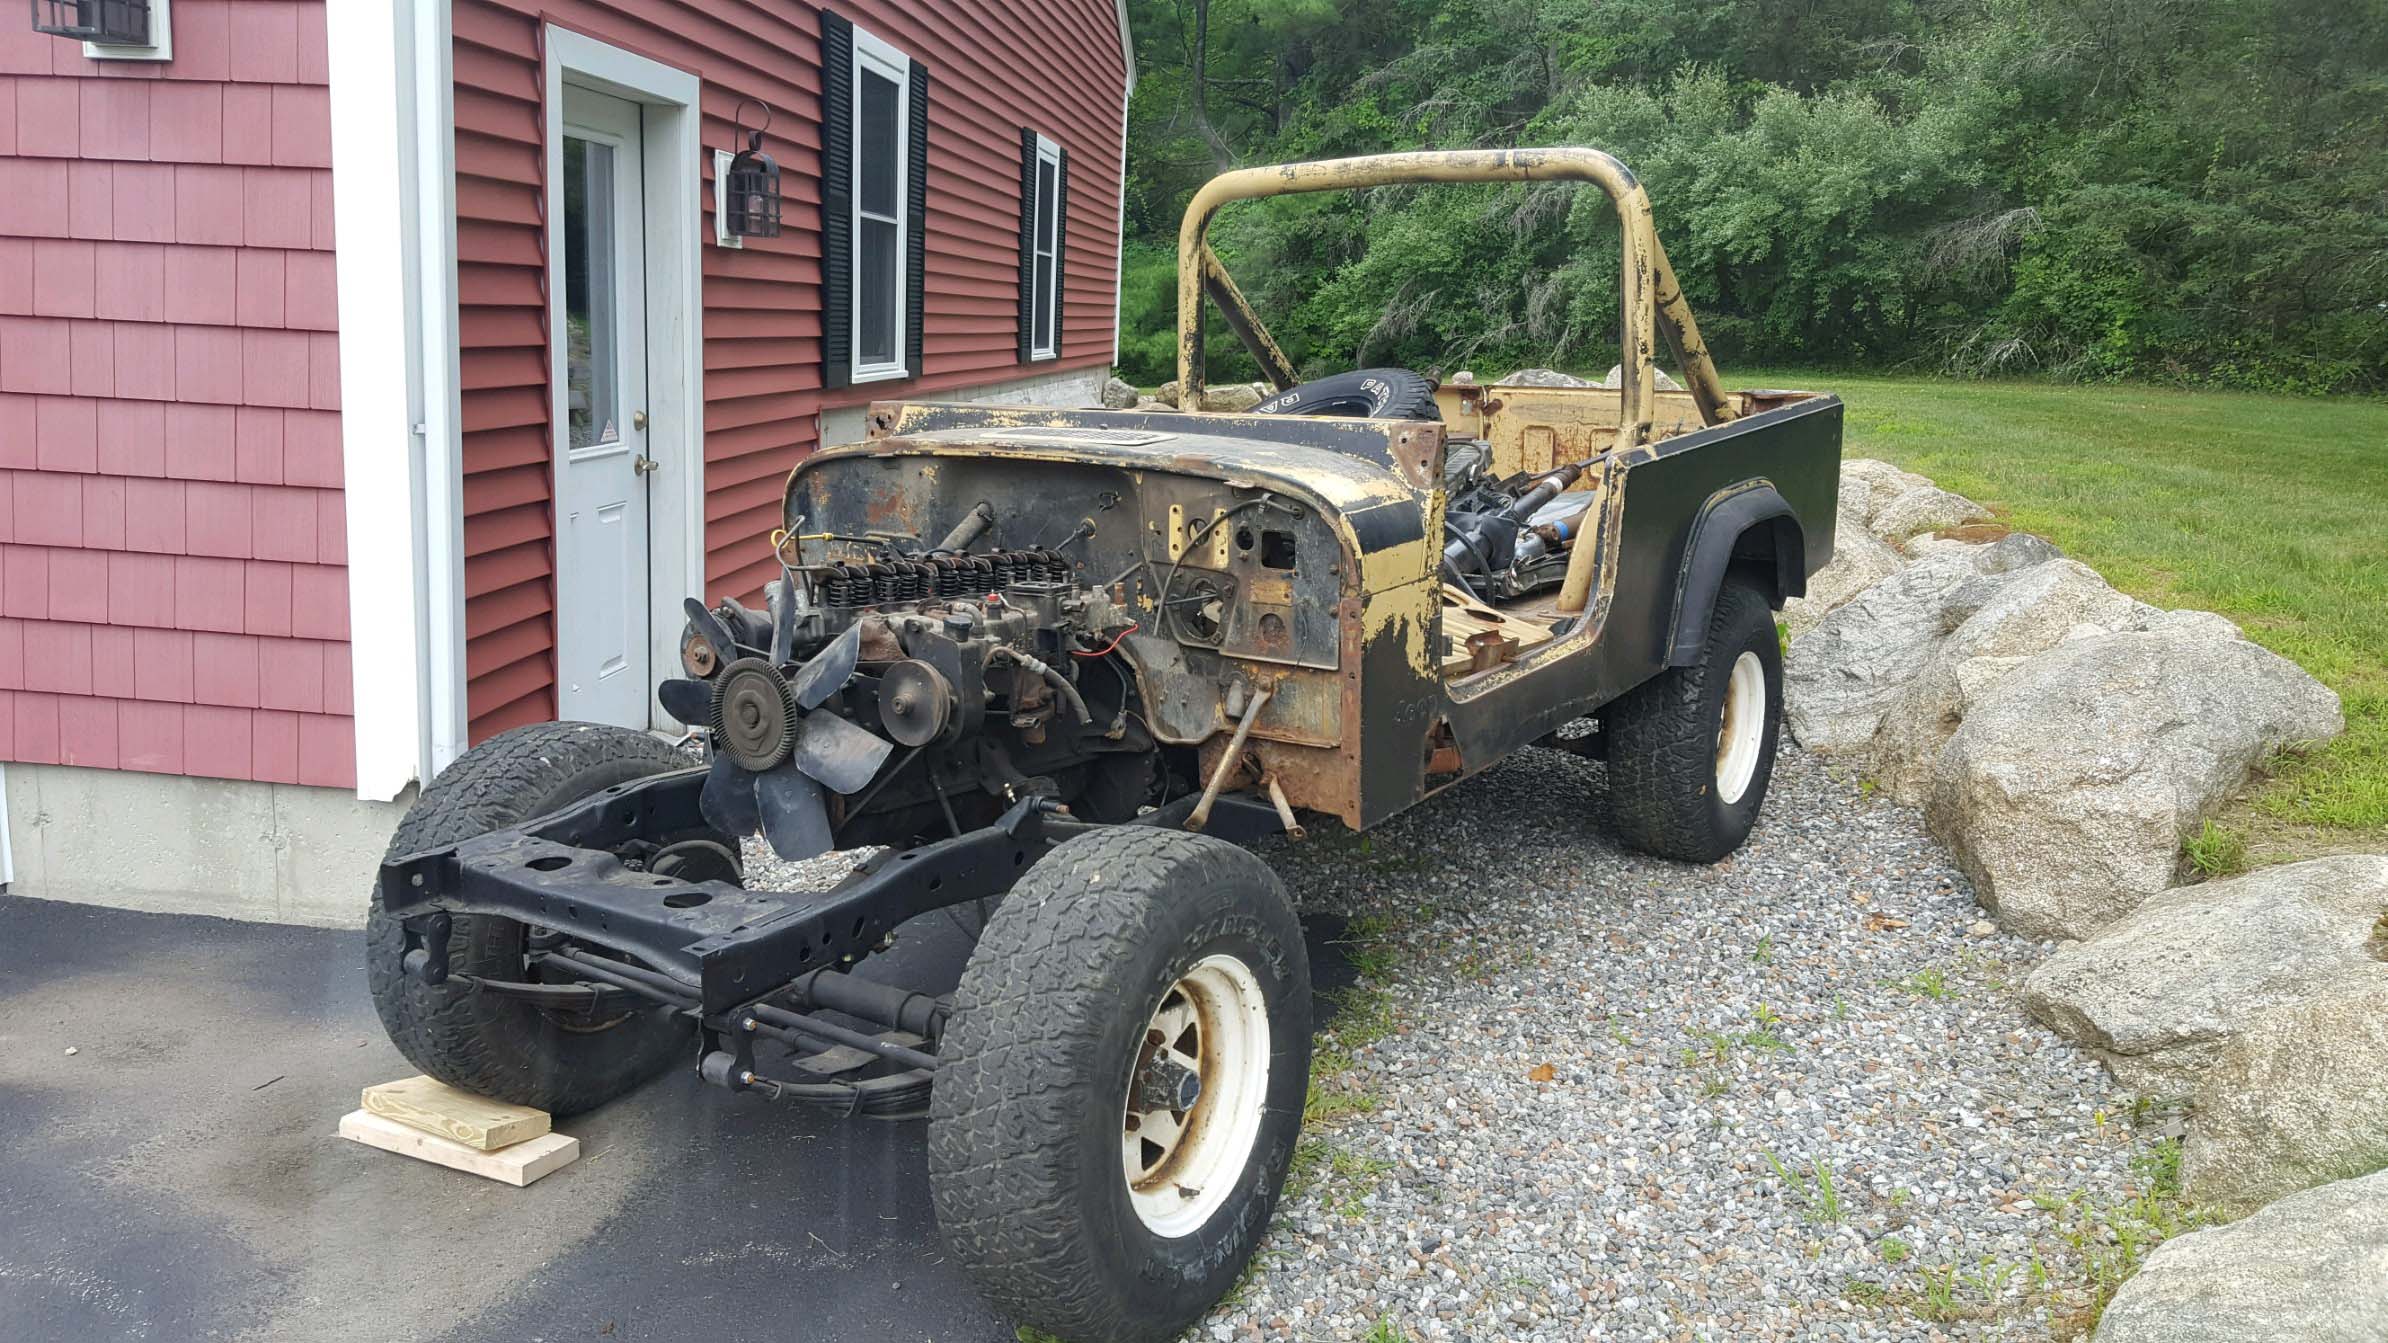
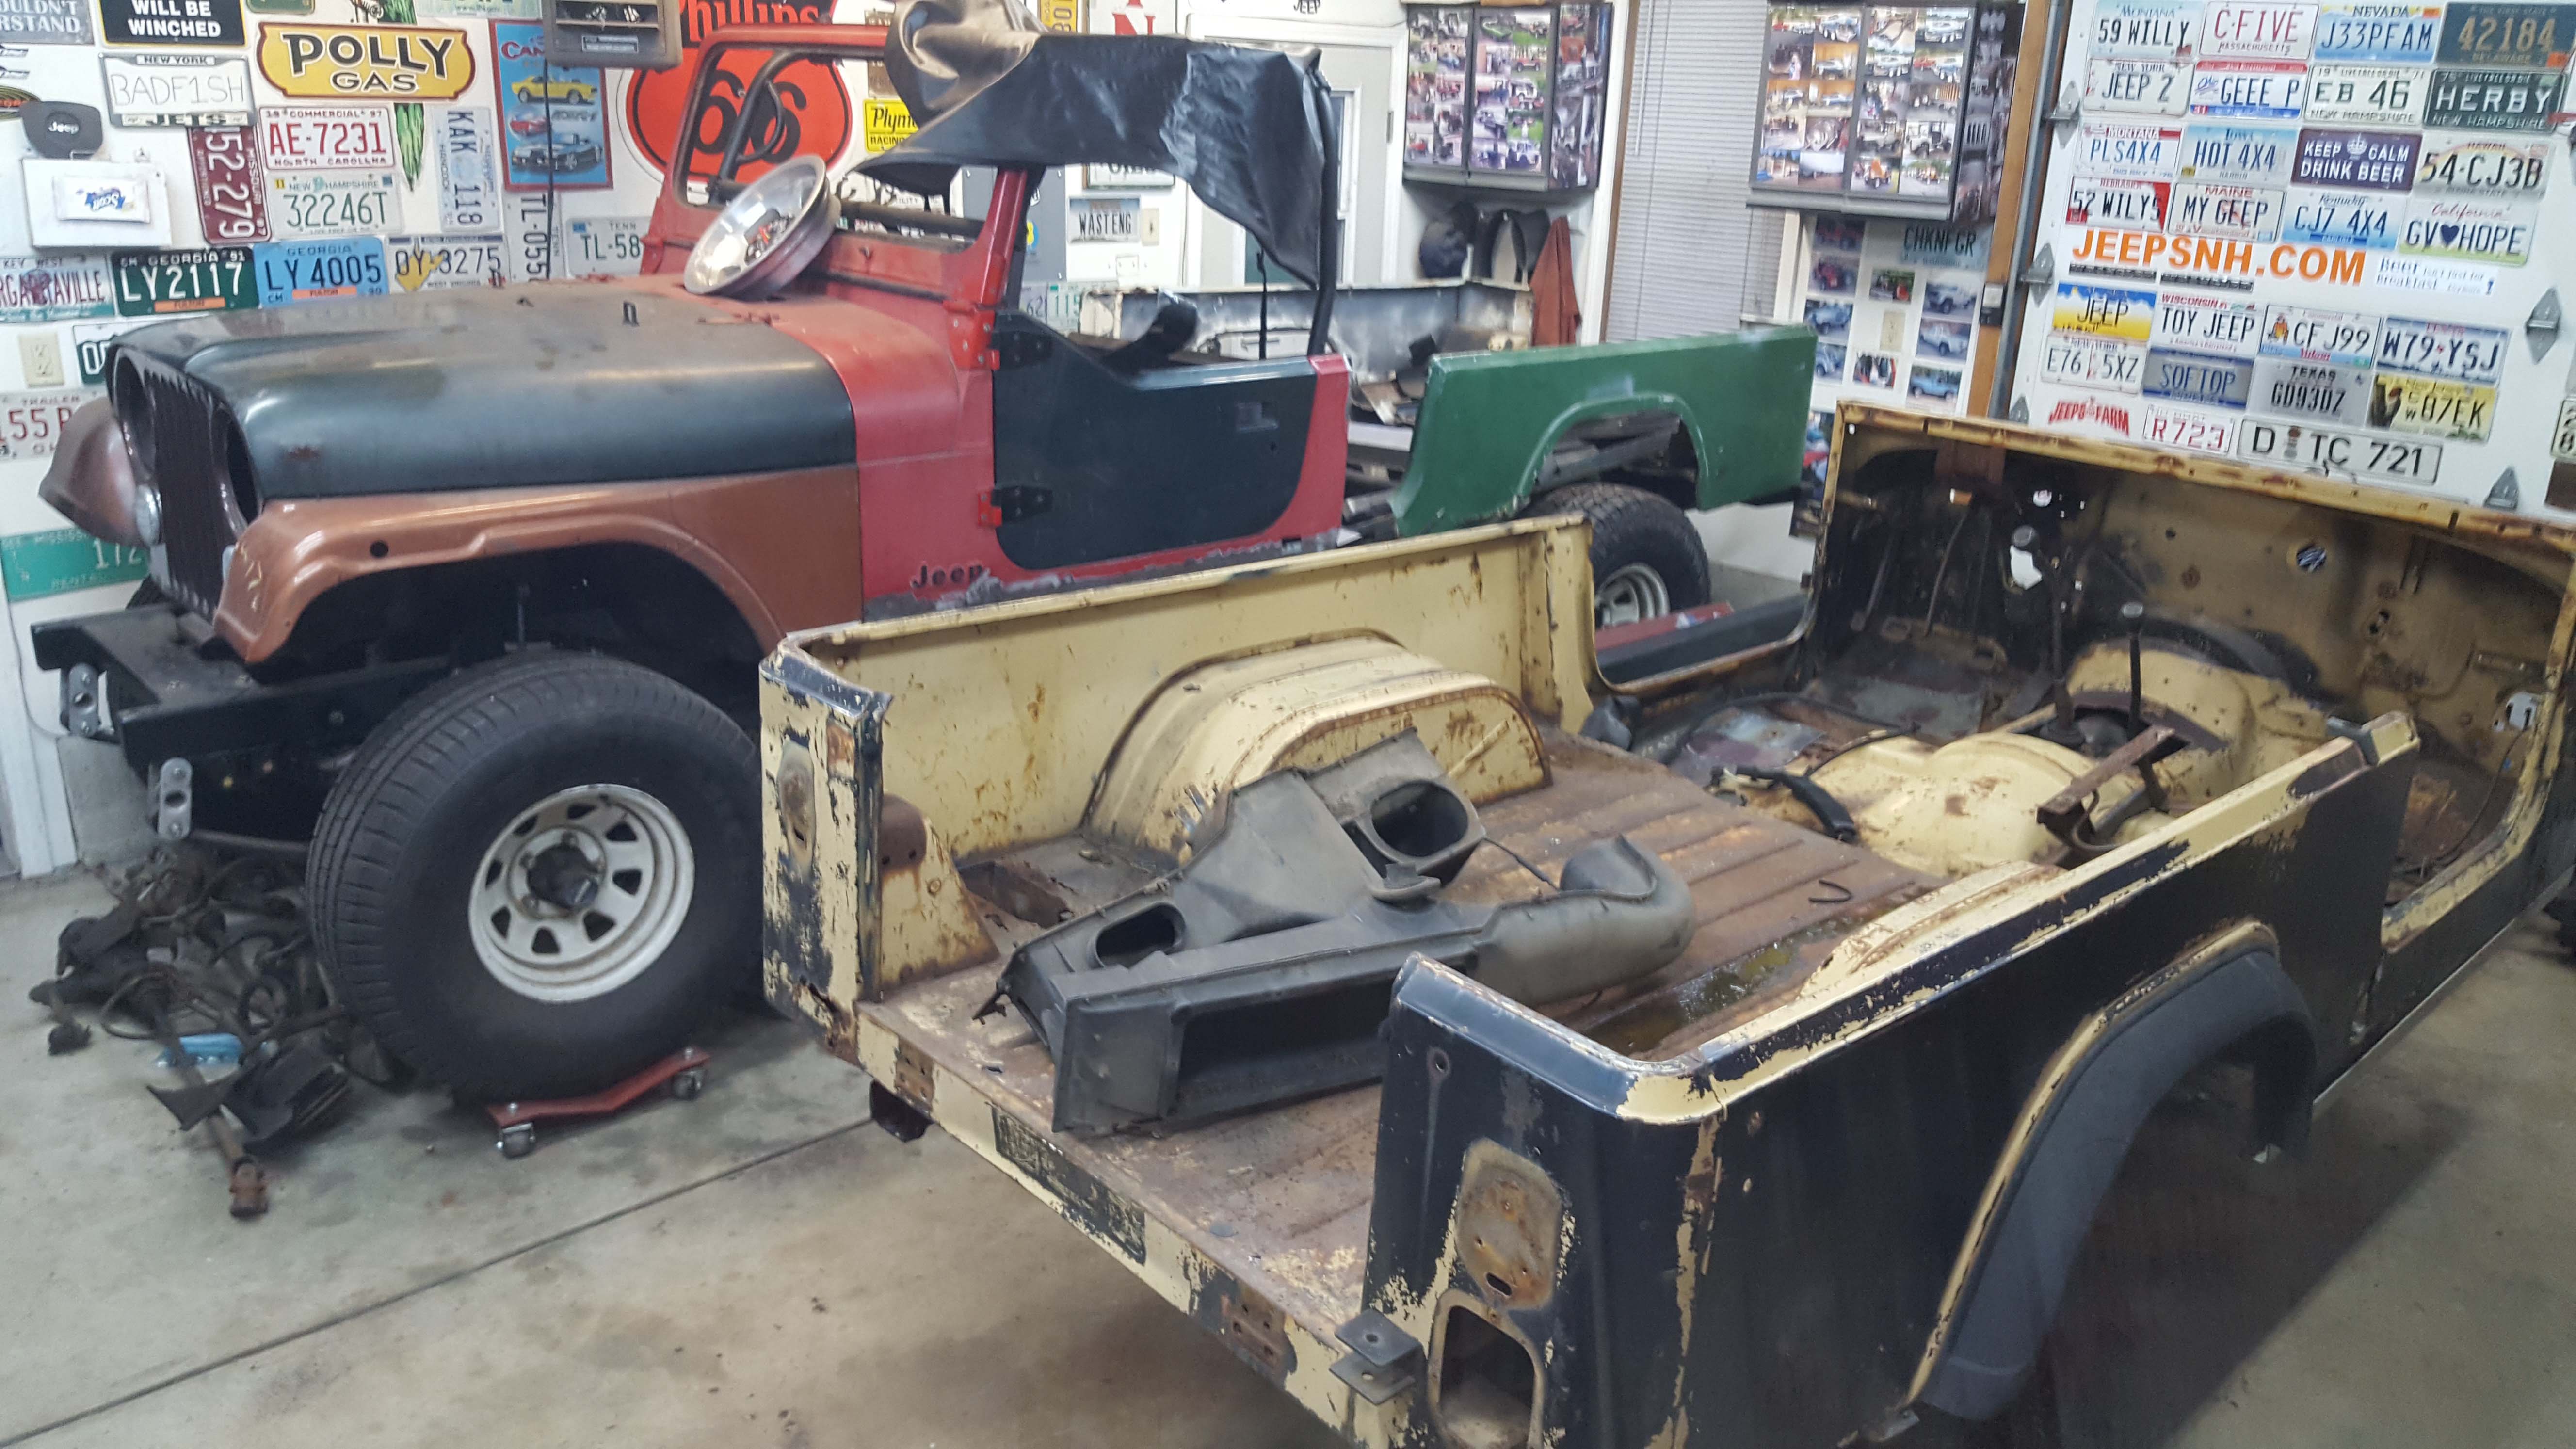
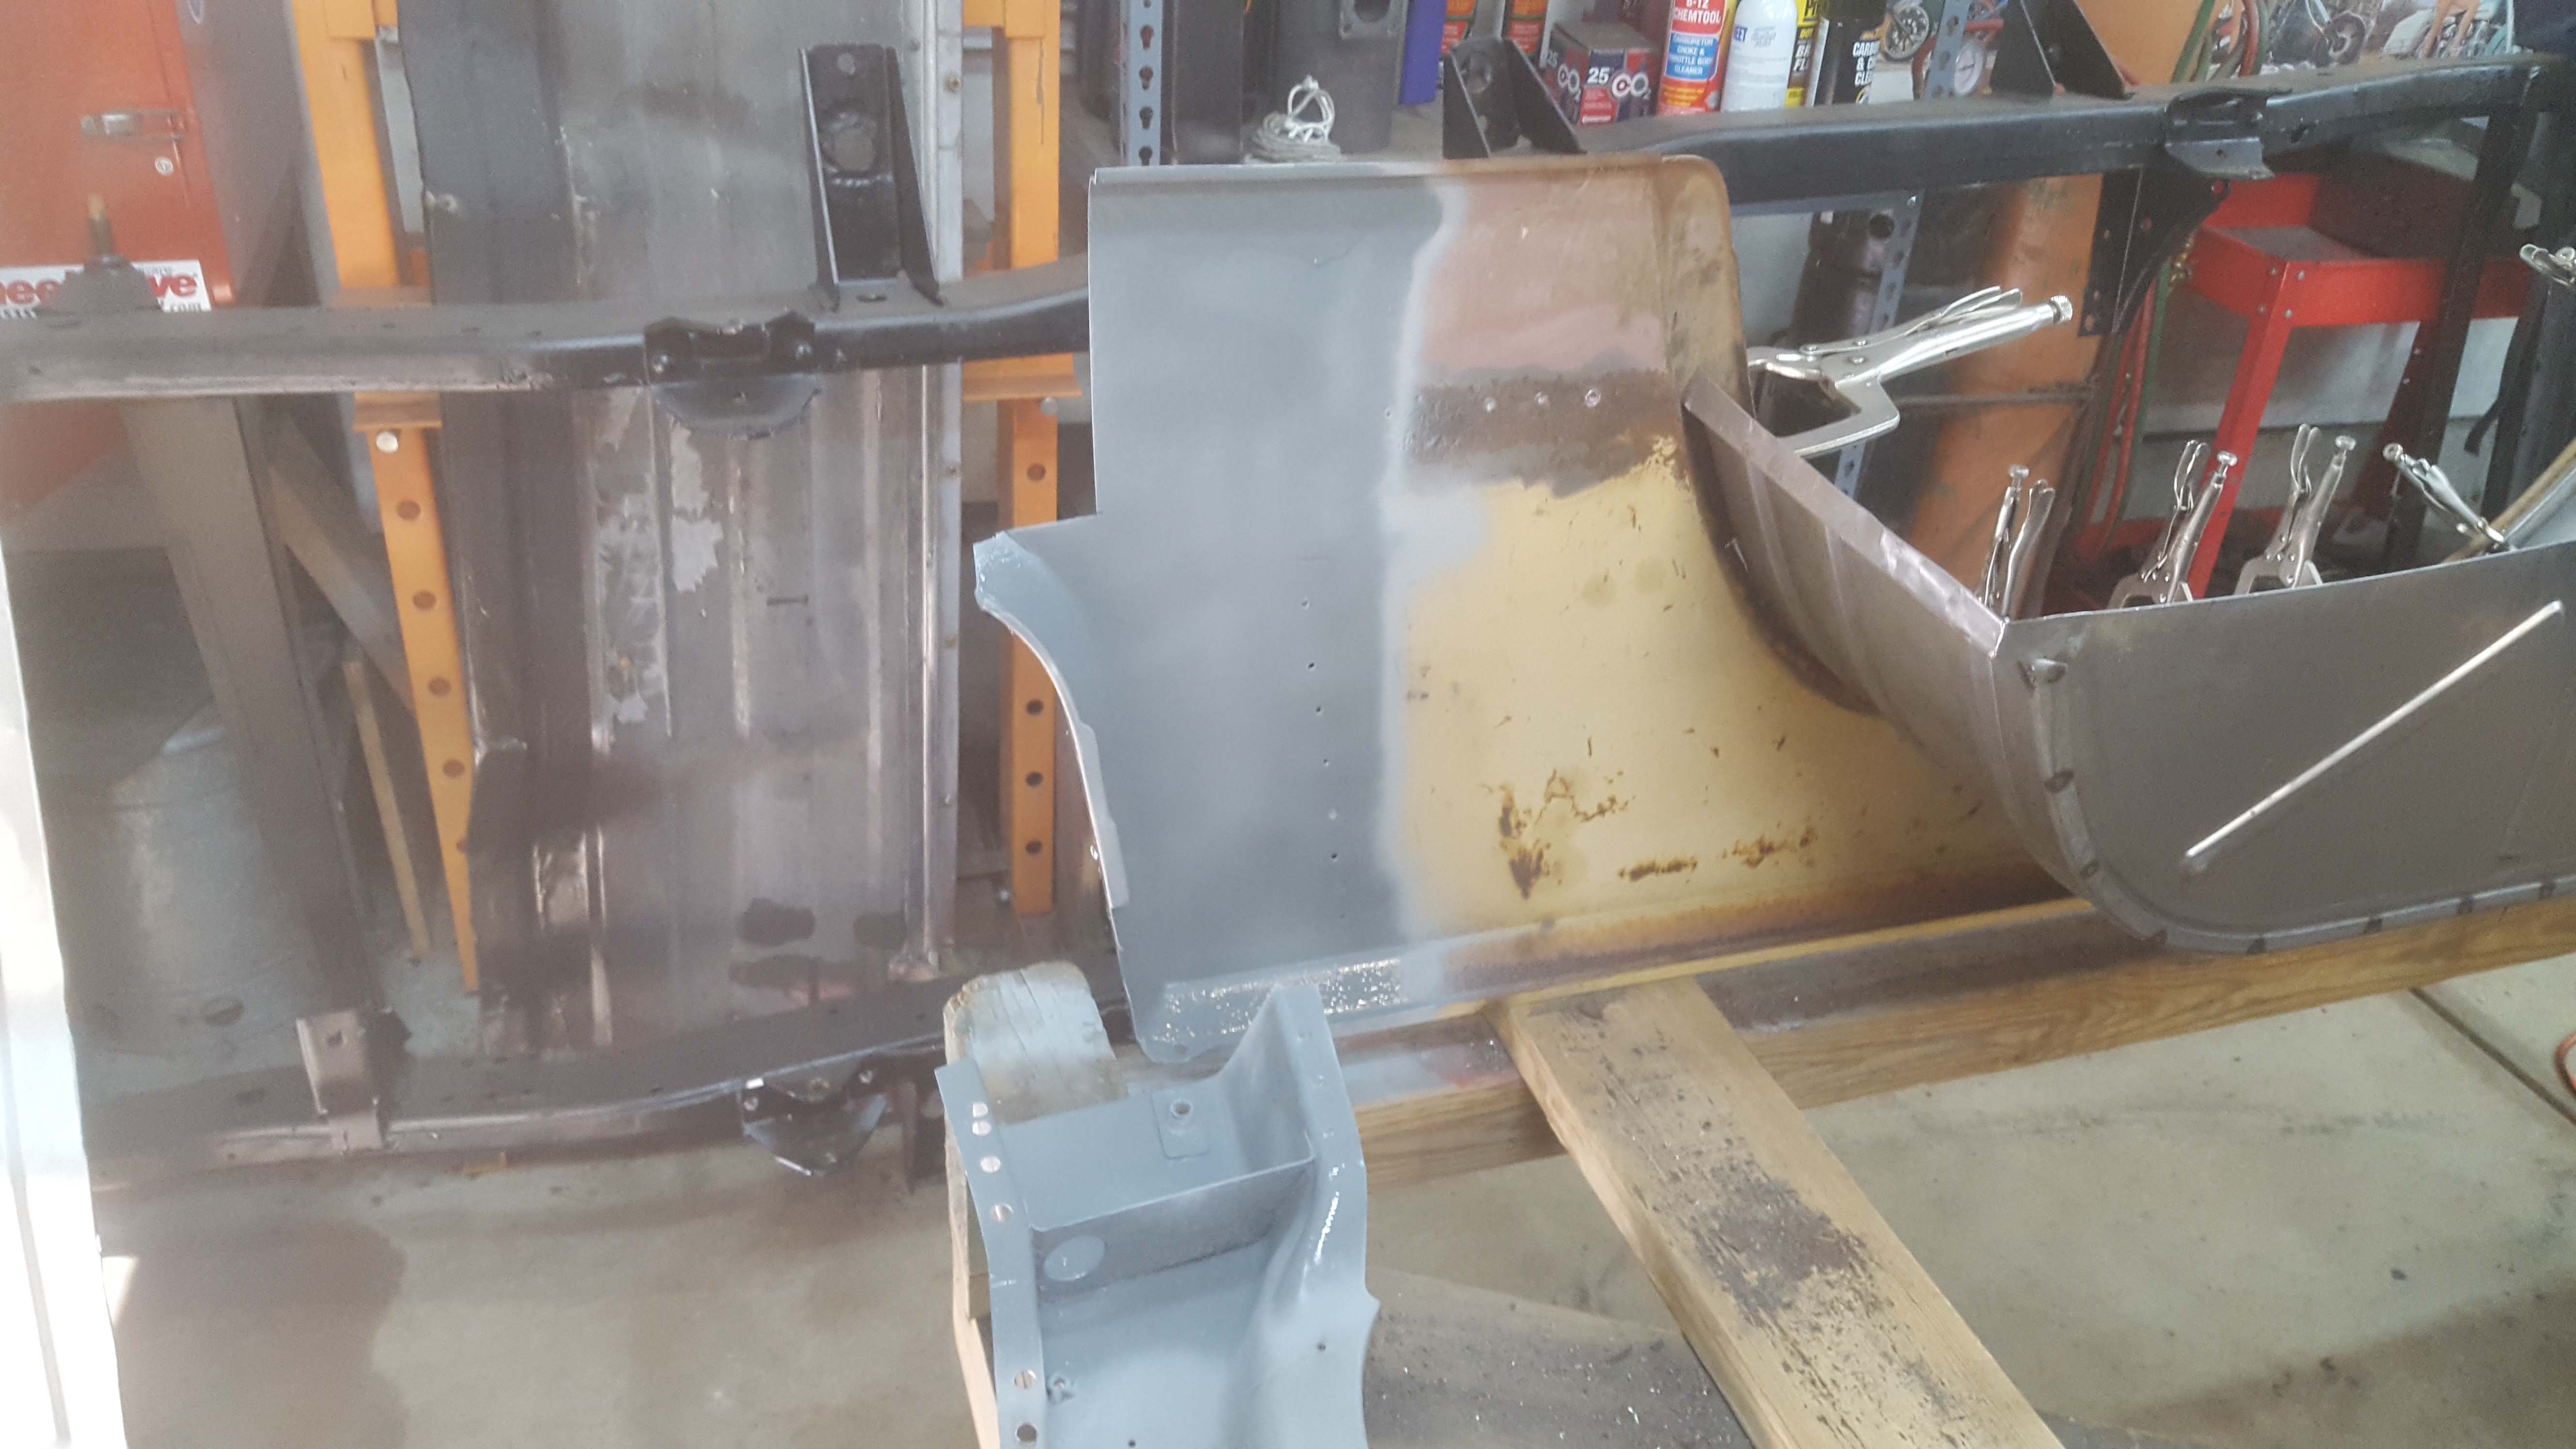
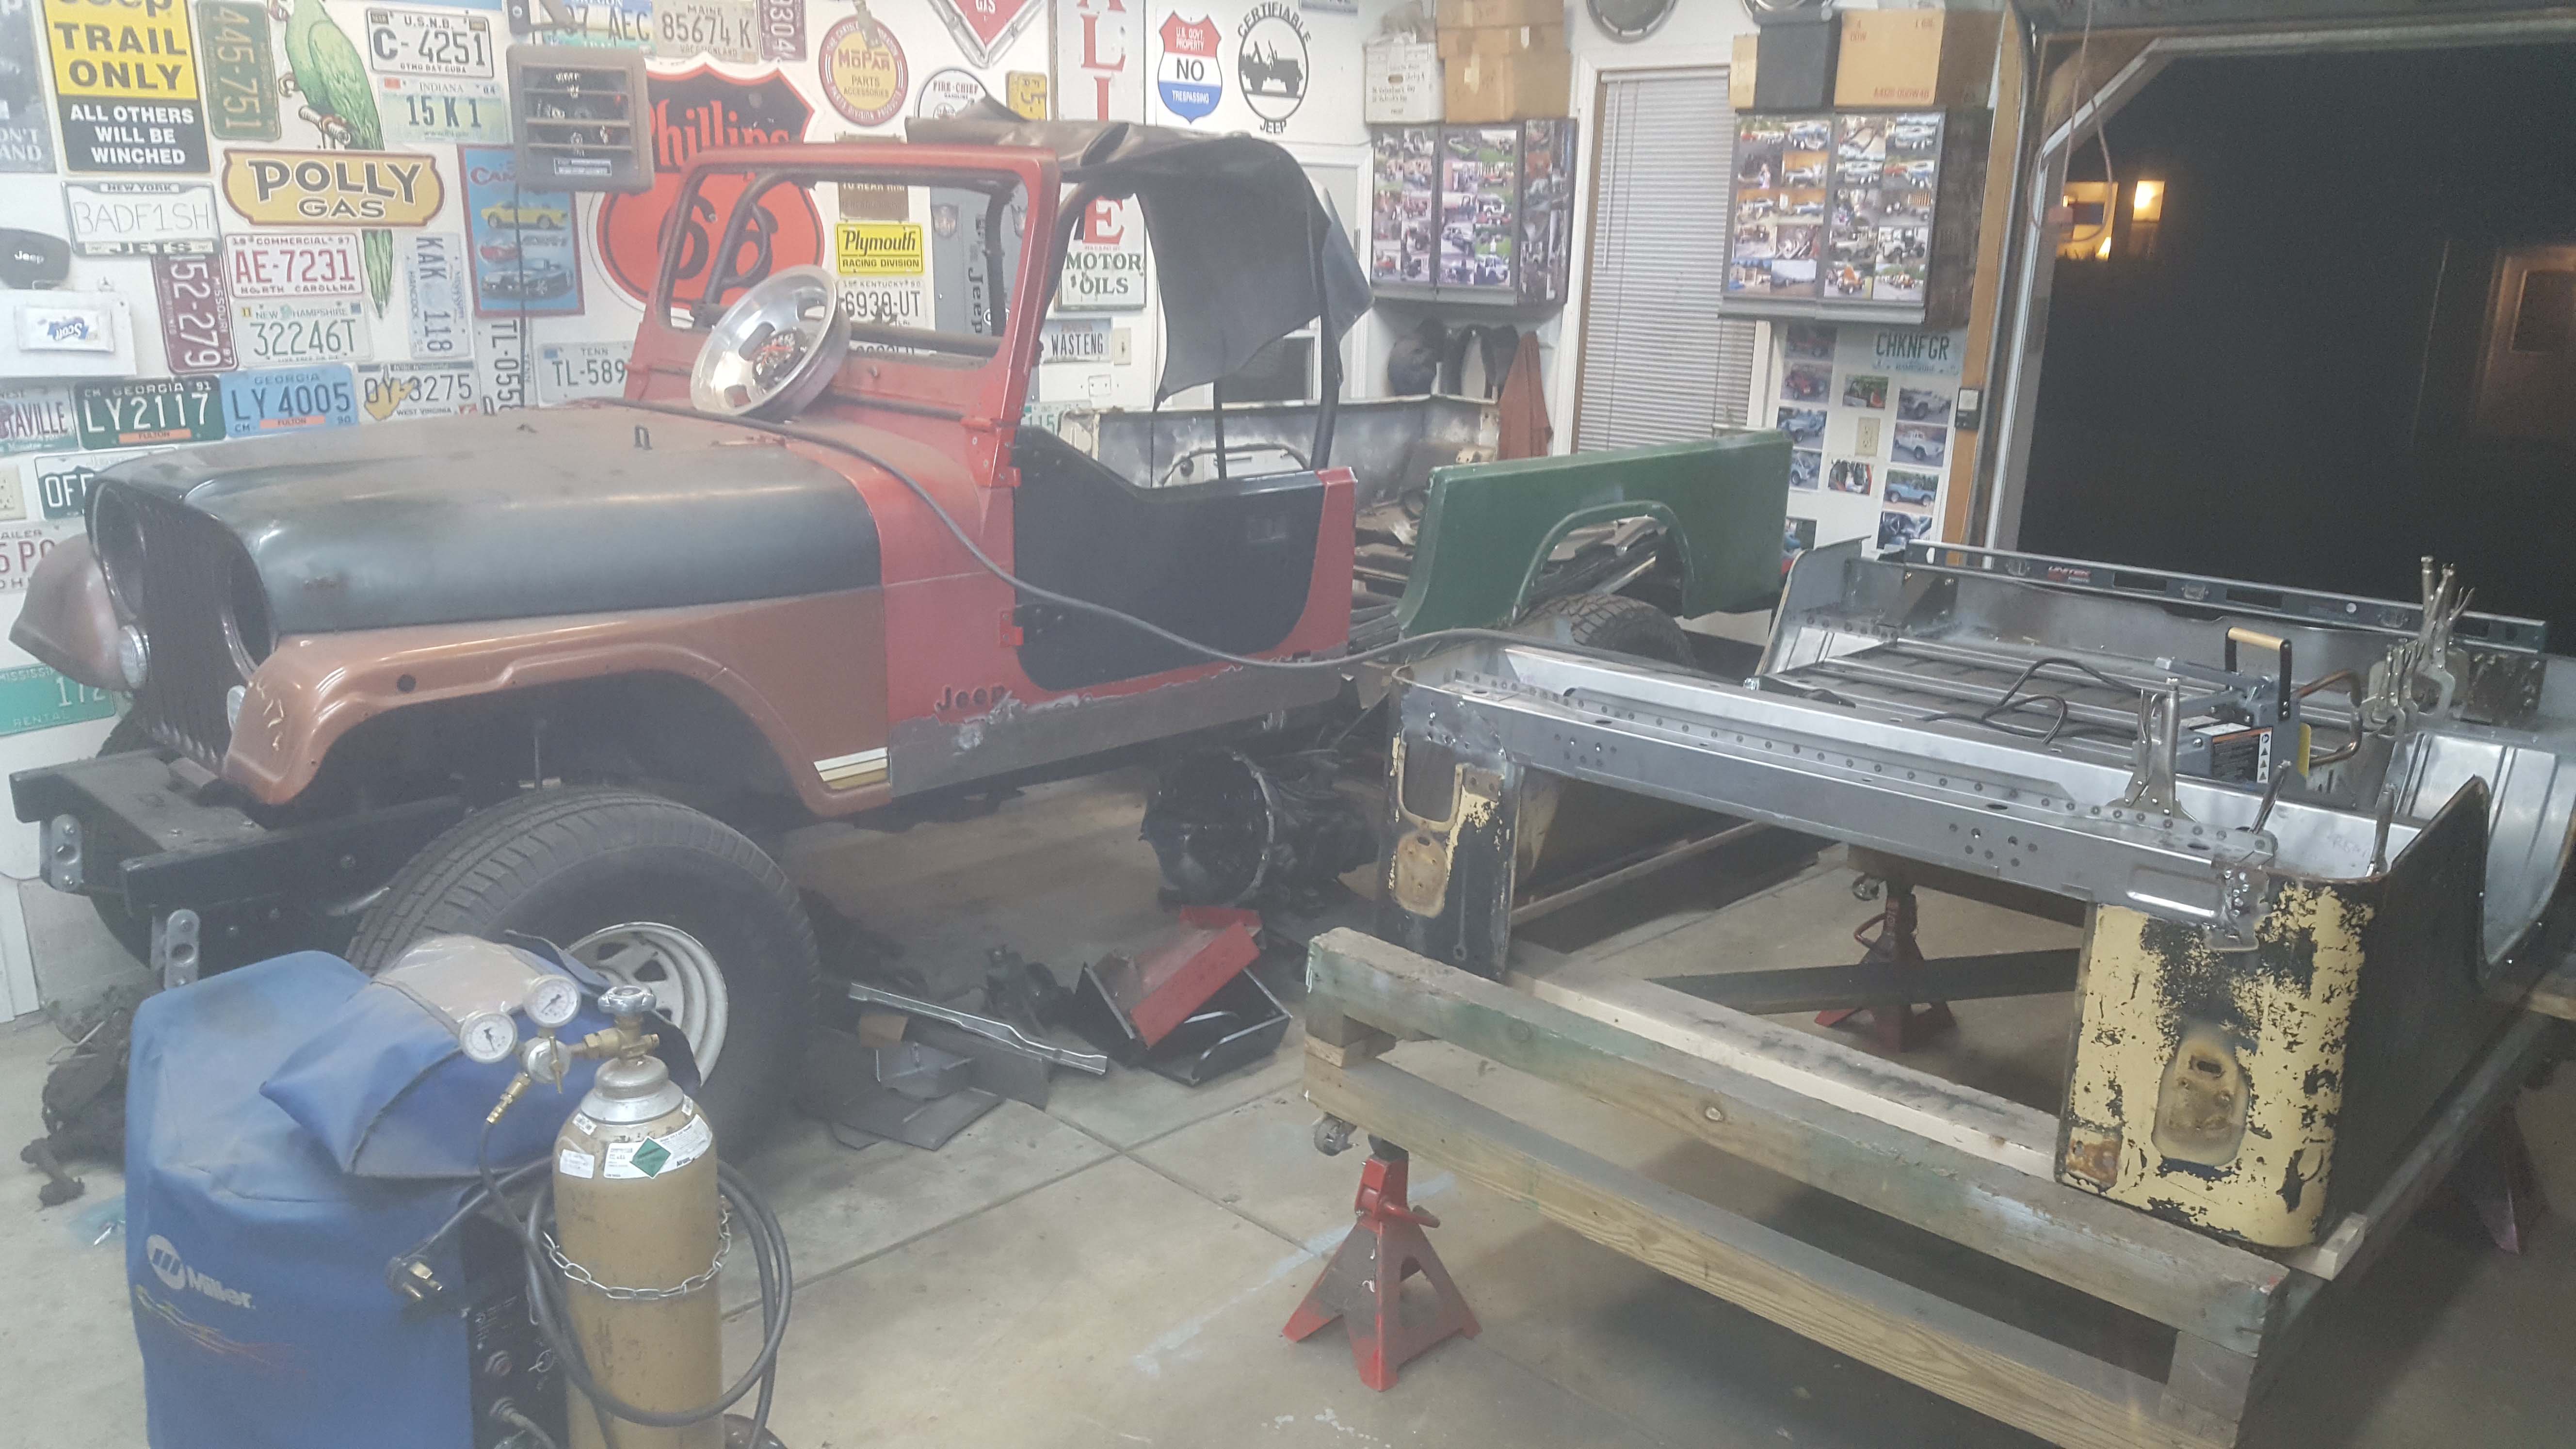
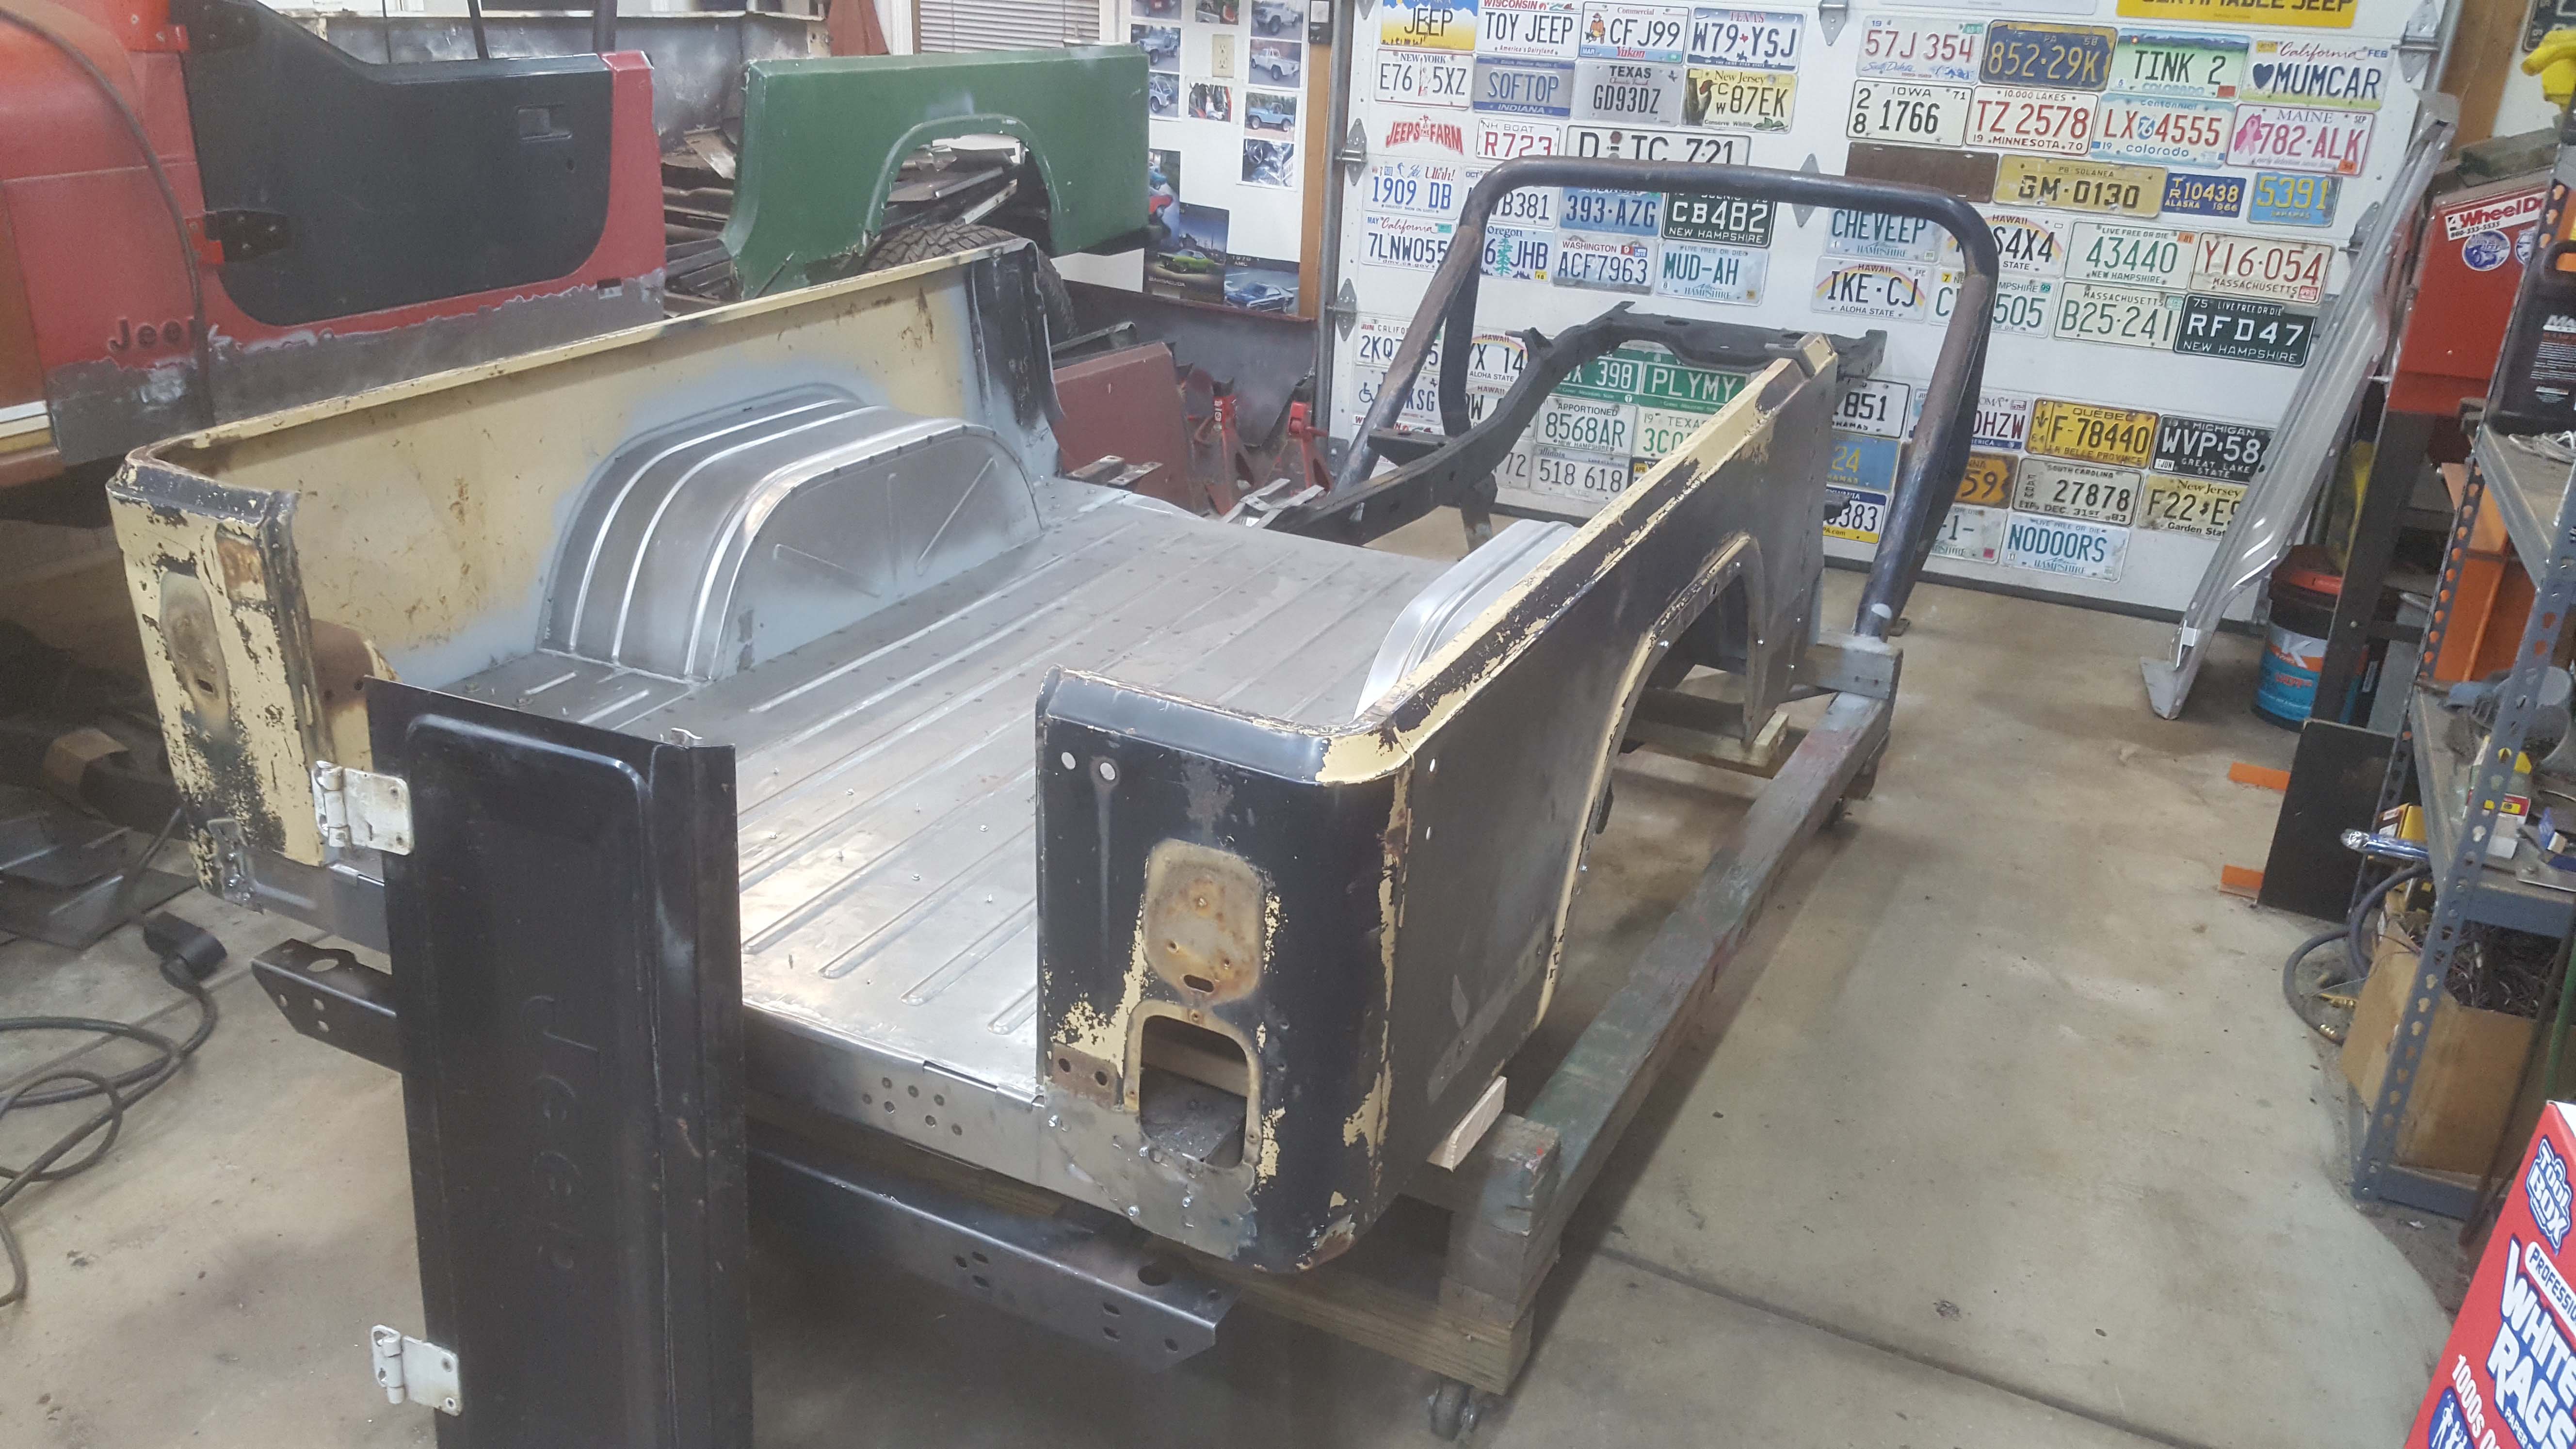
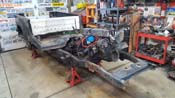
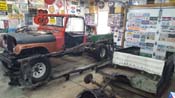
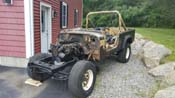
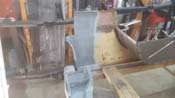
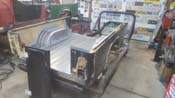
| Along the way, we tried to use a premade body for the front, and that didn't work out so well as
dimensionally it wasn't what we were going for... and the bulkhead was a permanent part of the body... and it had a ton of bondo in it.
So that was scrapped and a new body was started for the cab. Along the way, we tried to find a good rear section of a Scrambler to start with.
No easy task in New England sadly. So, a few were tried, only to be found to be too far gone until I picked up a set of Jeeps in CT and I finally
found a body that was too far gone in the front, but the rear was OK to use.
|
| |
|
|
|
|

|
|
|
|

|
|
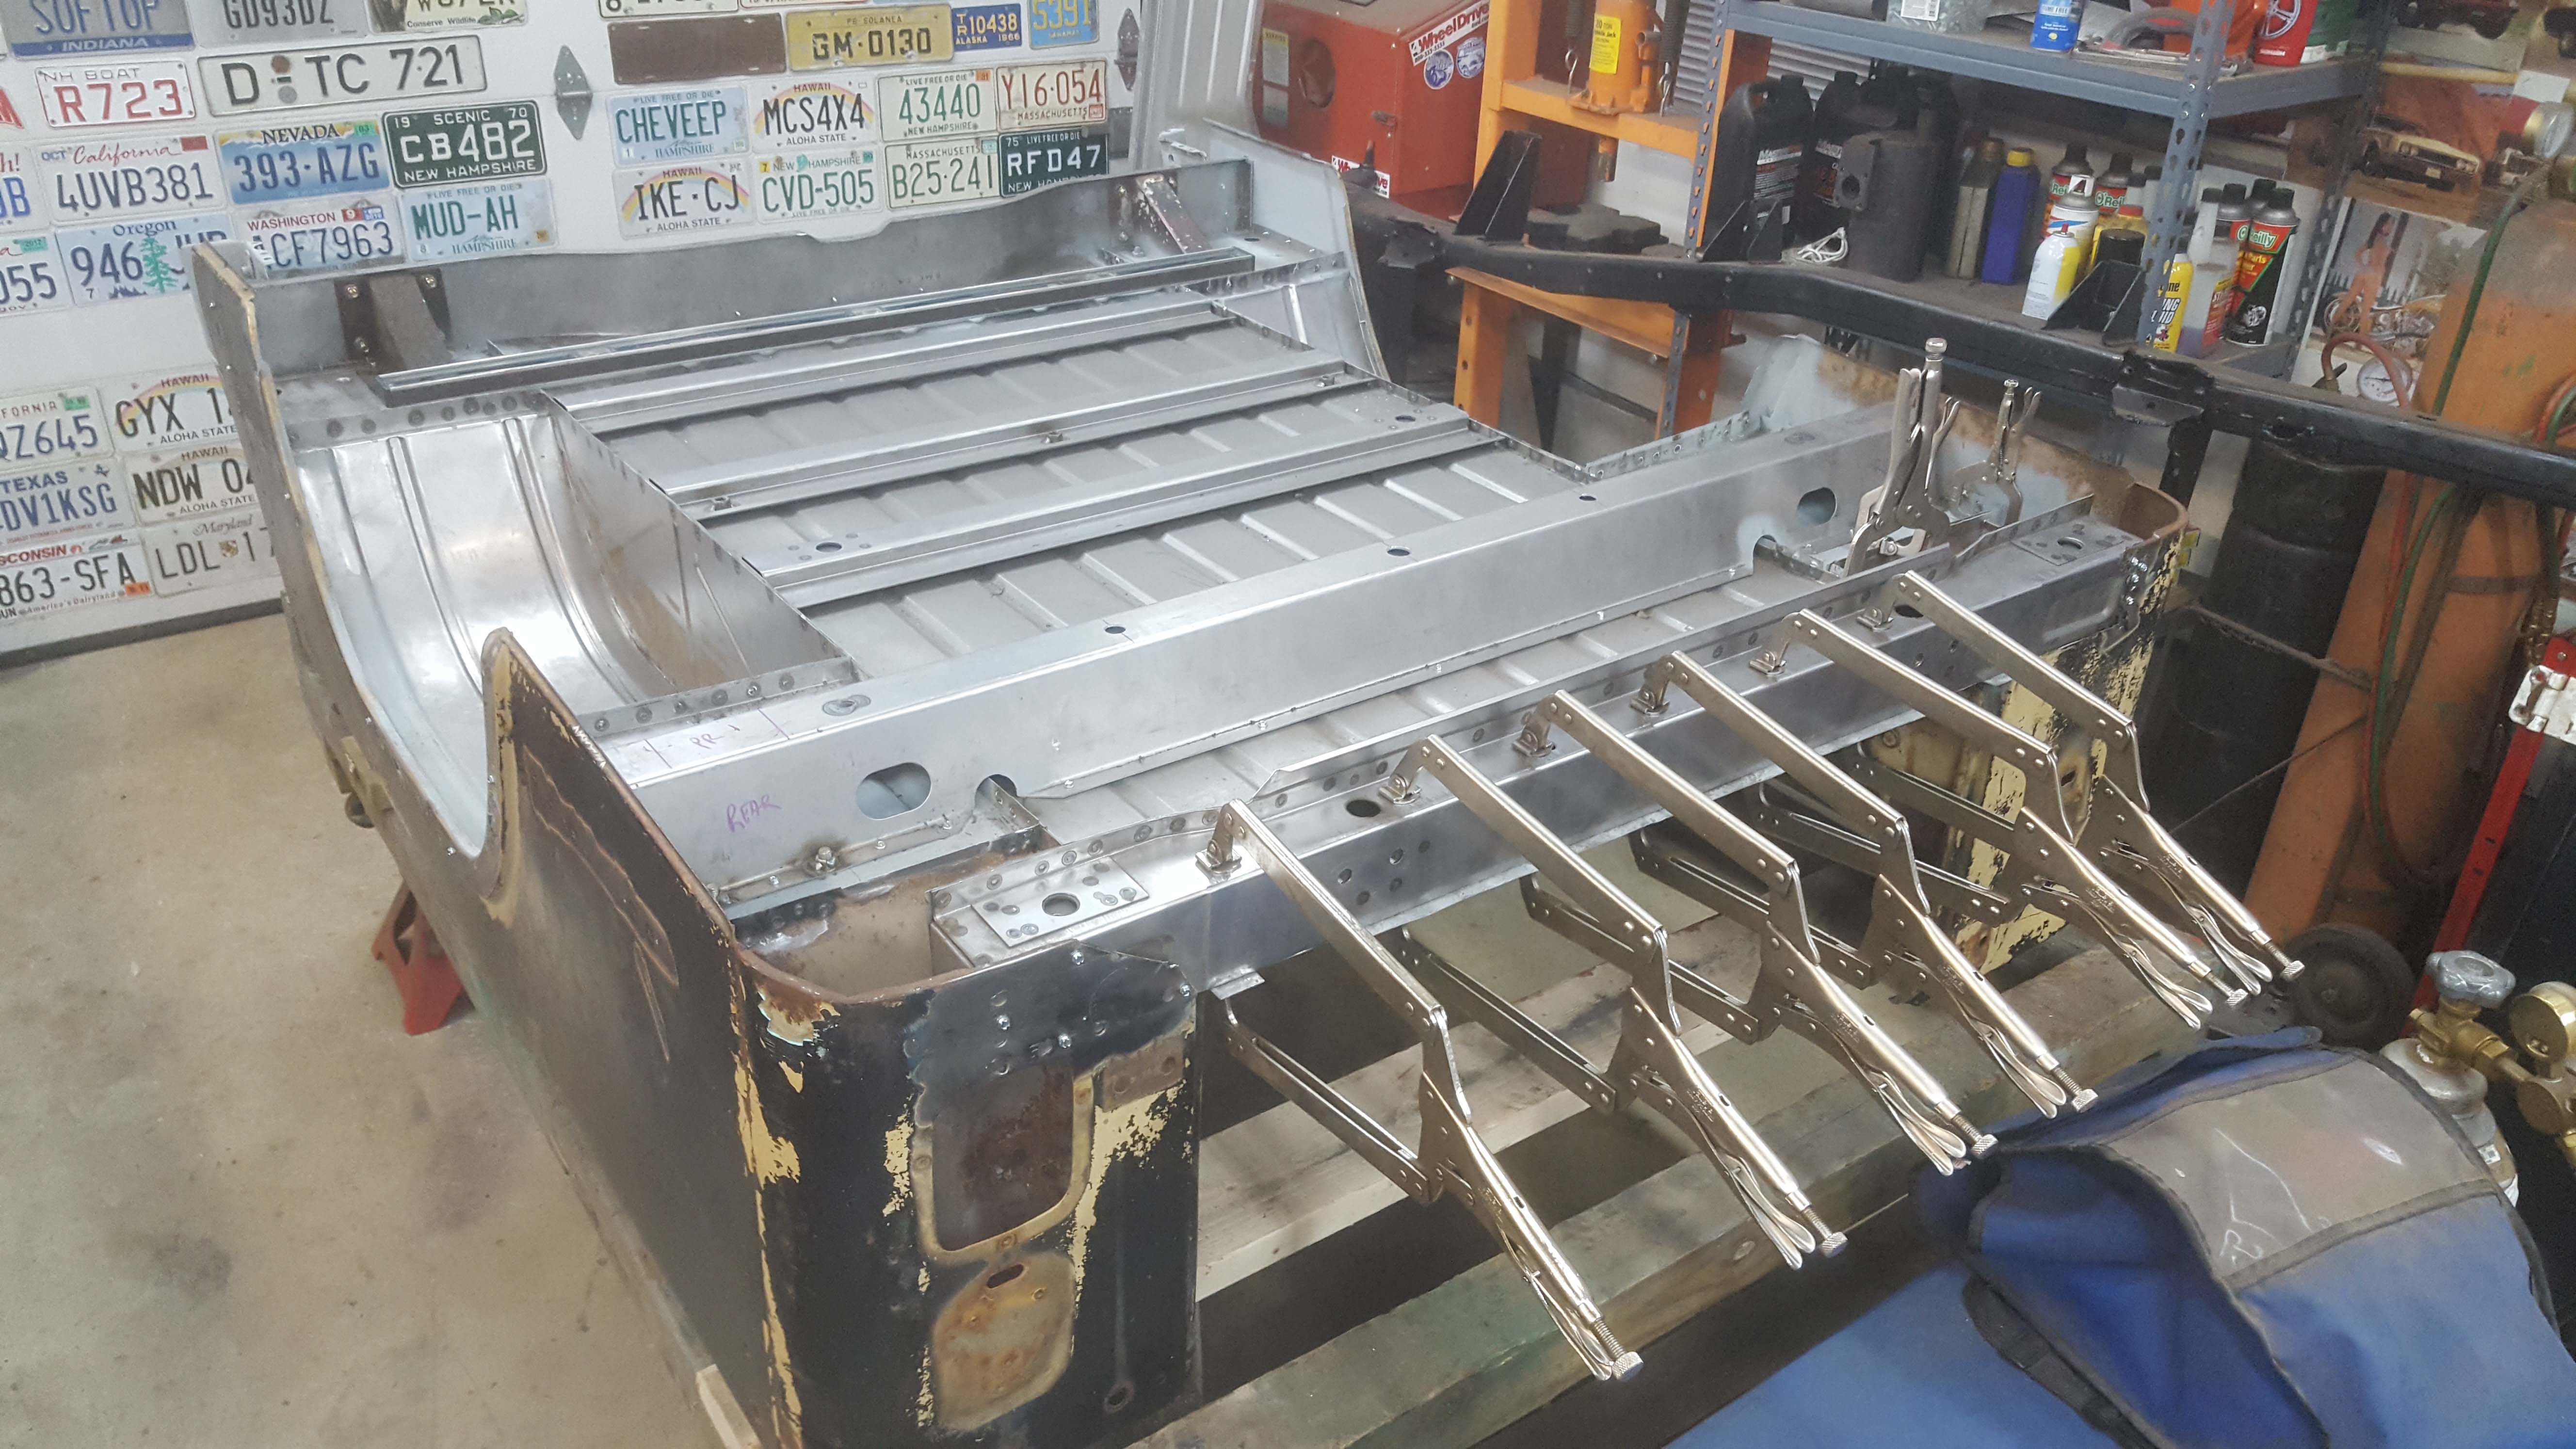
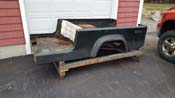
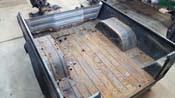
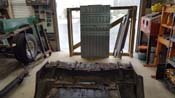
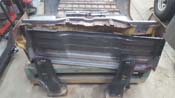
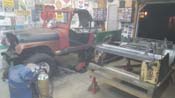
| |
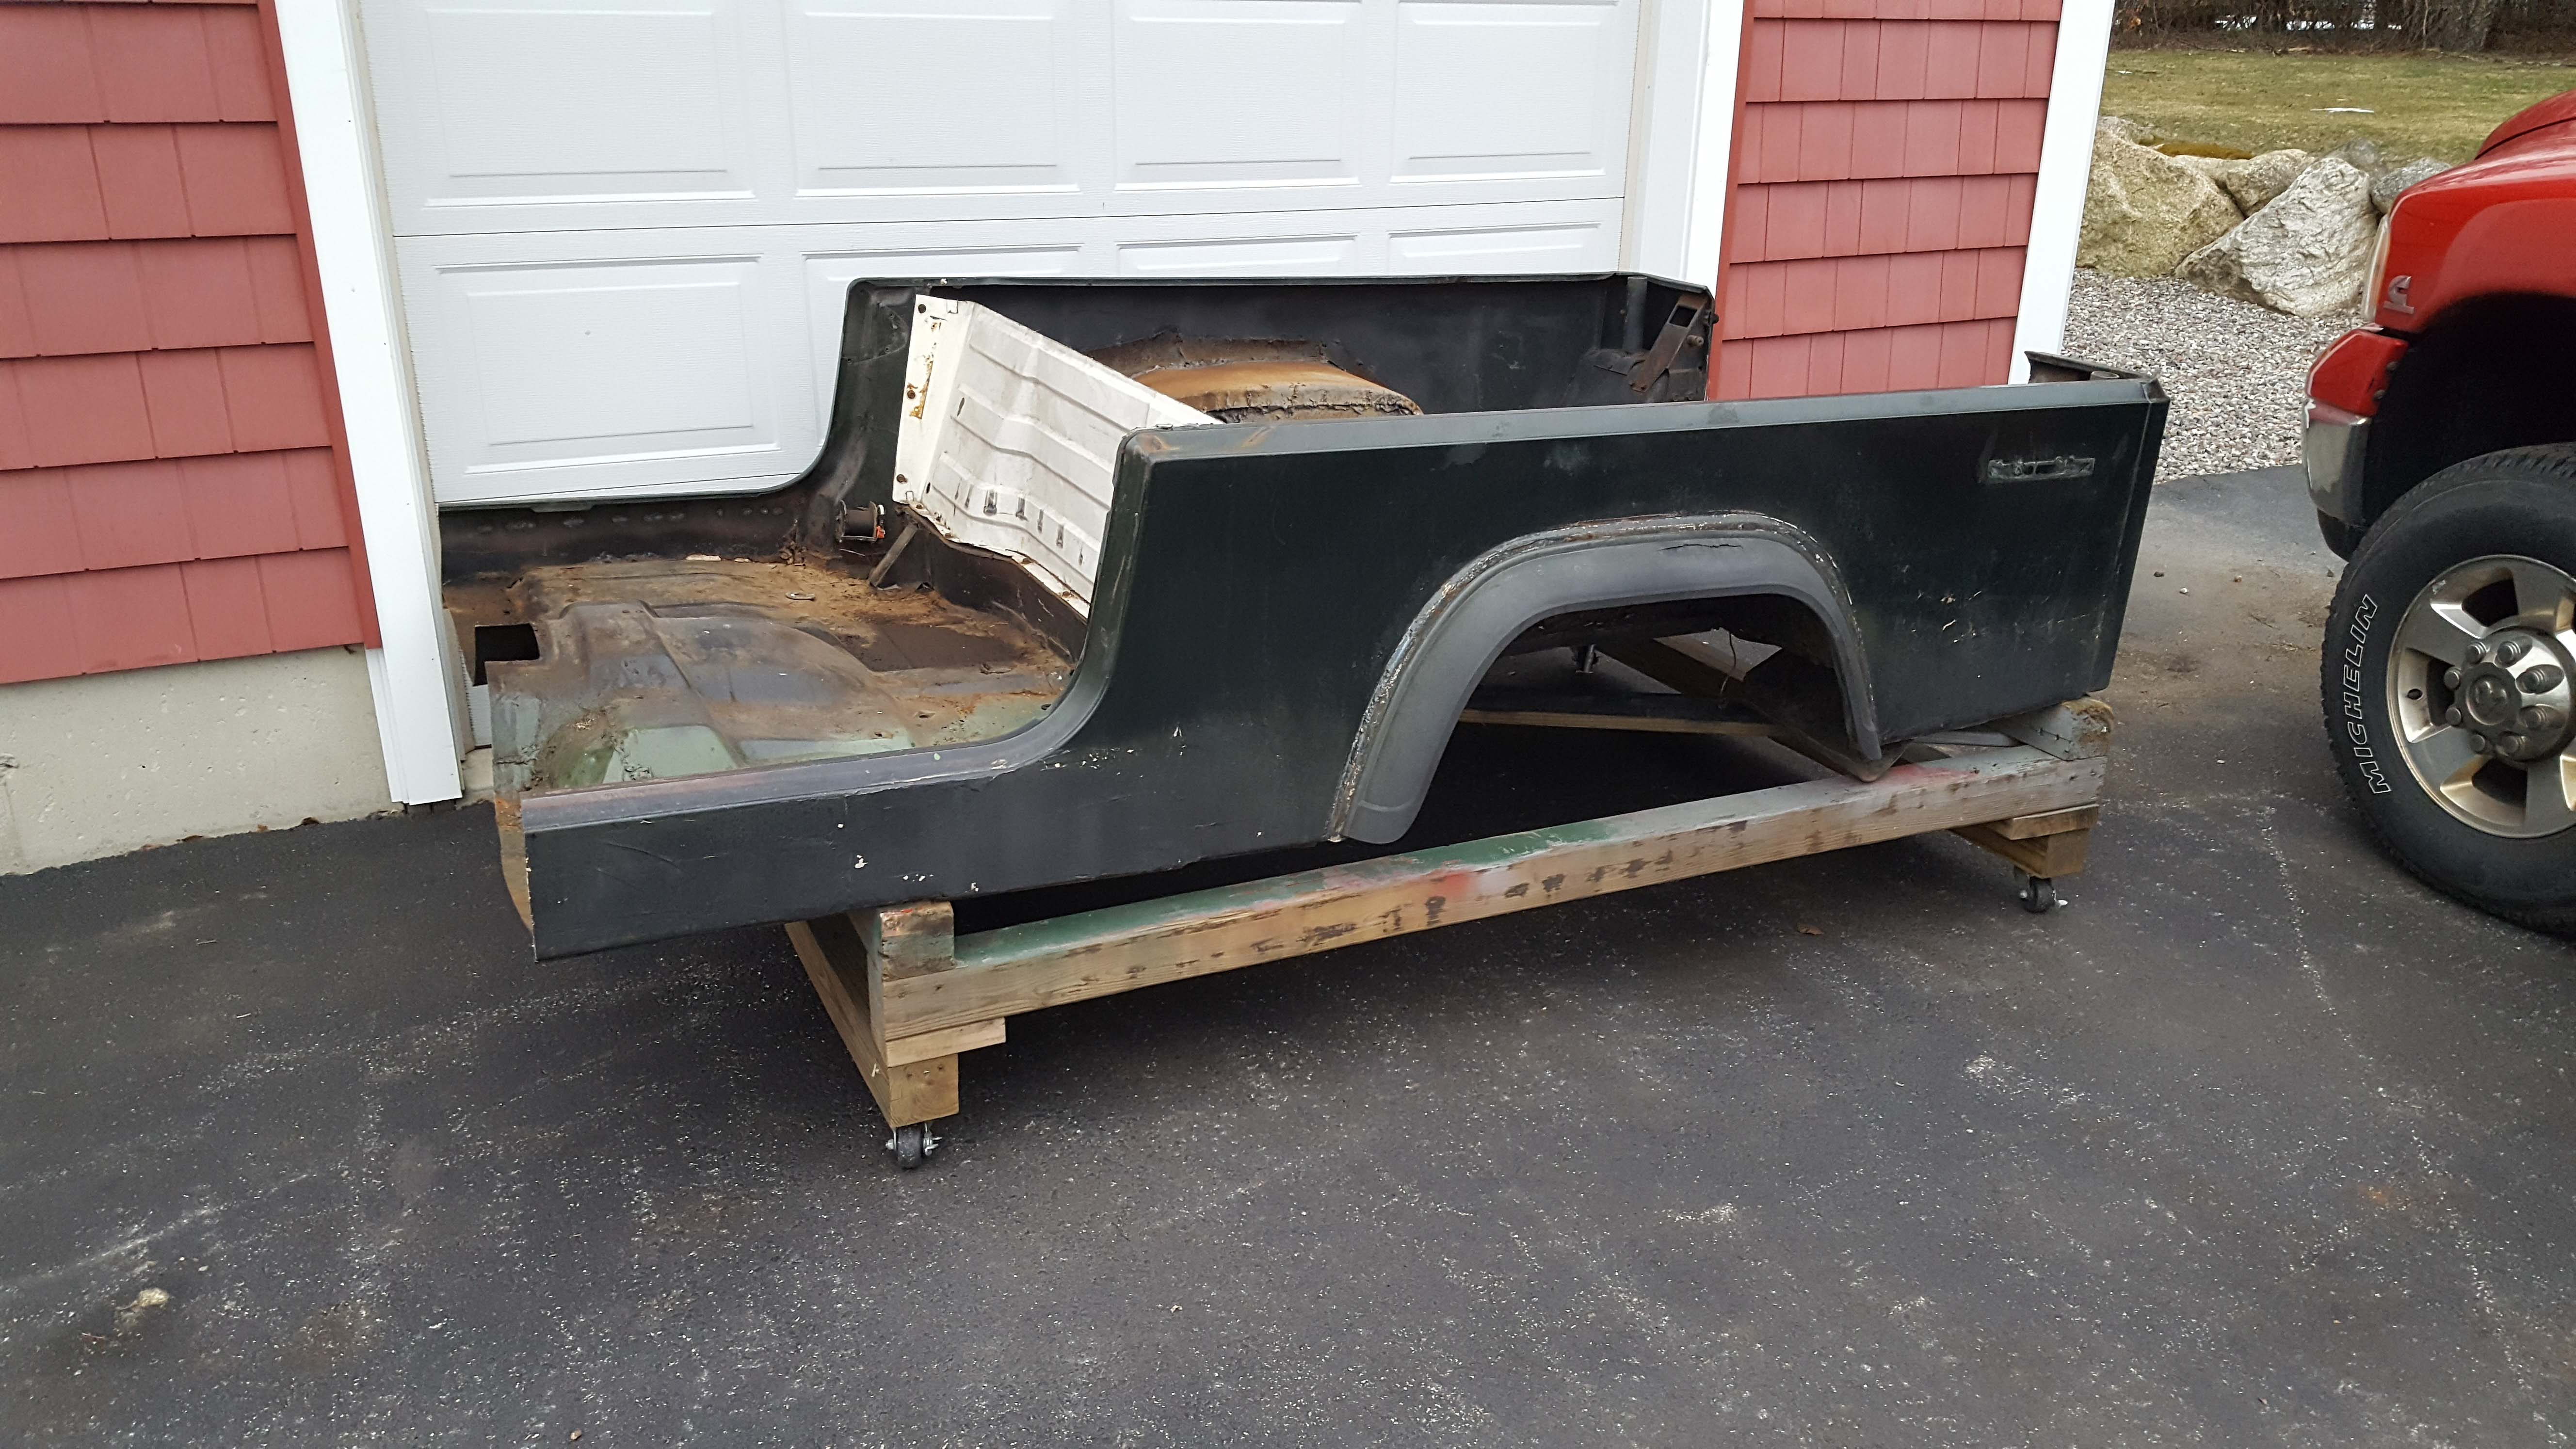
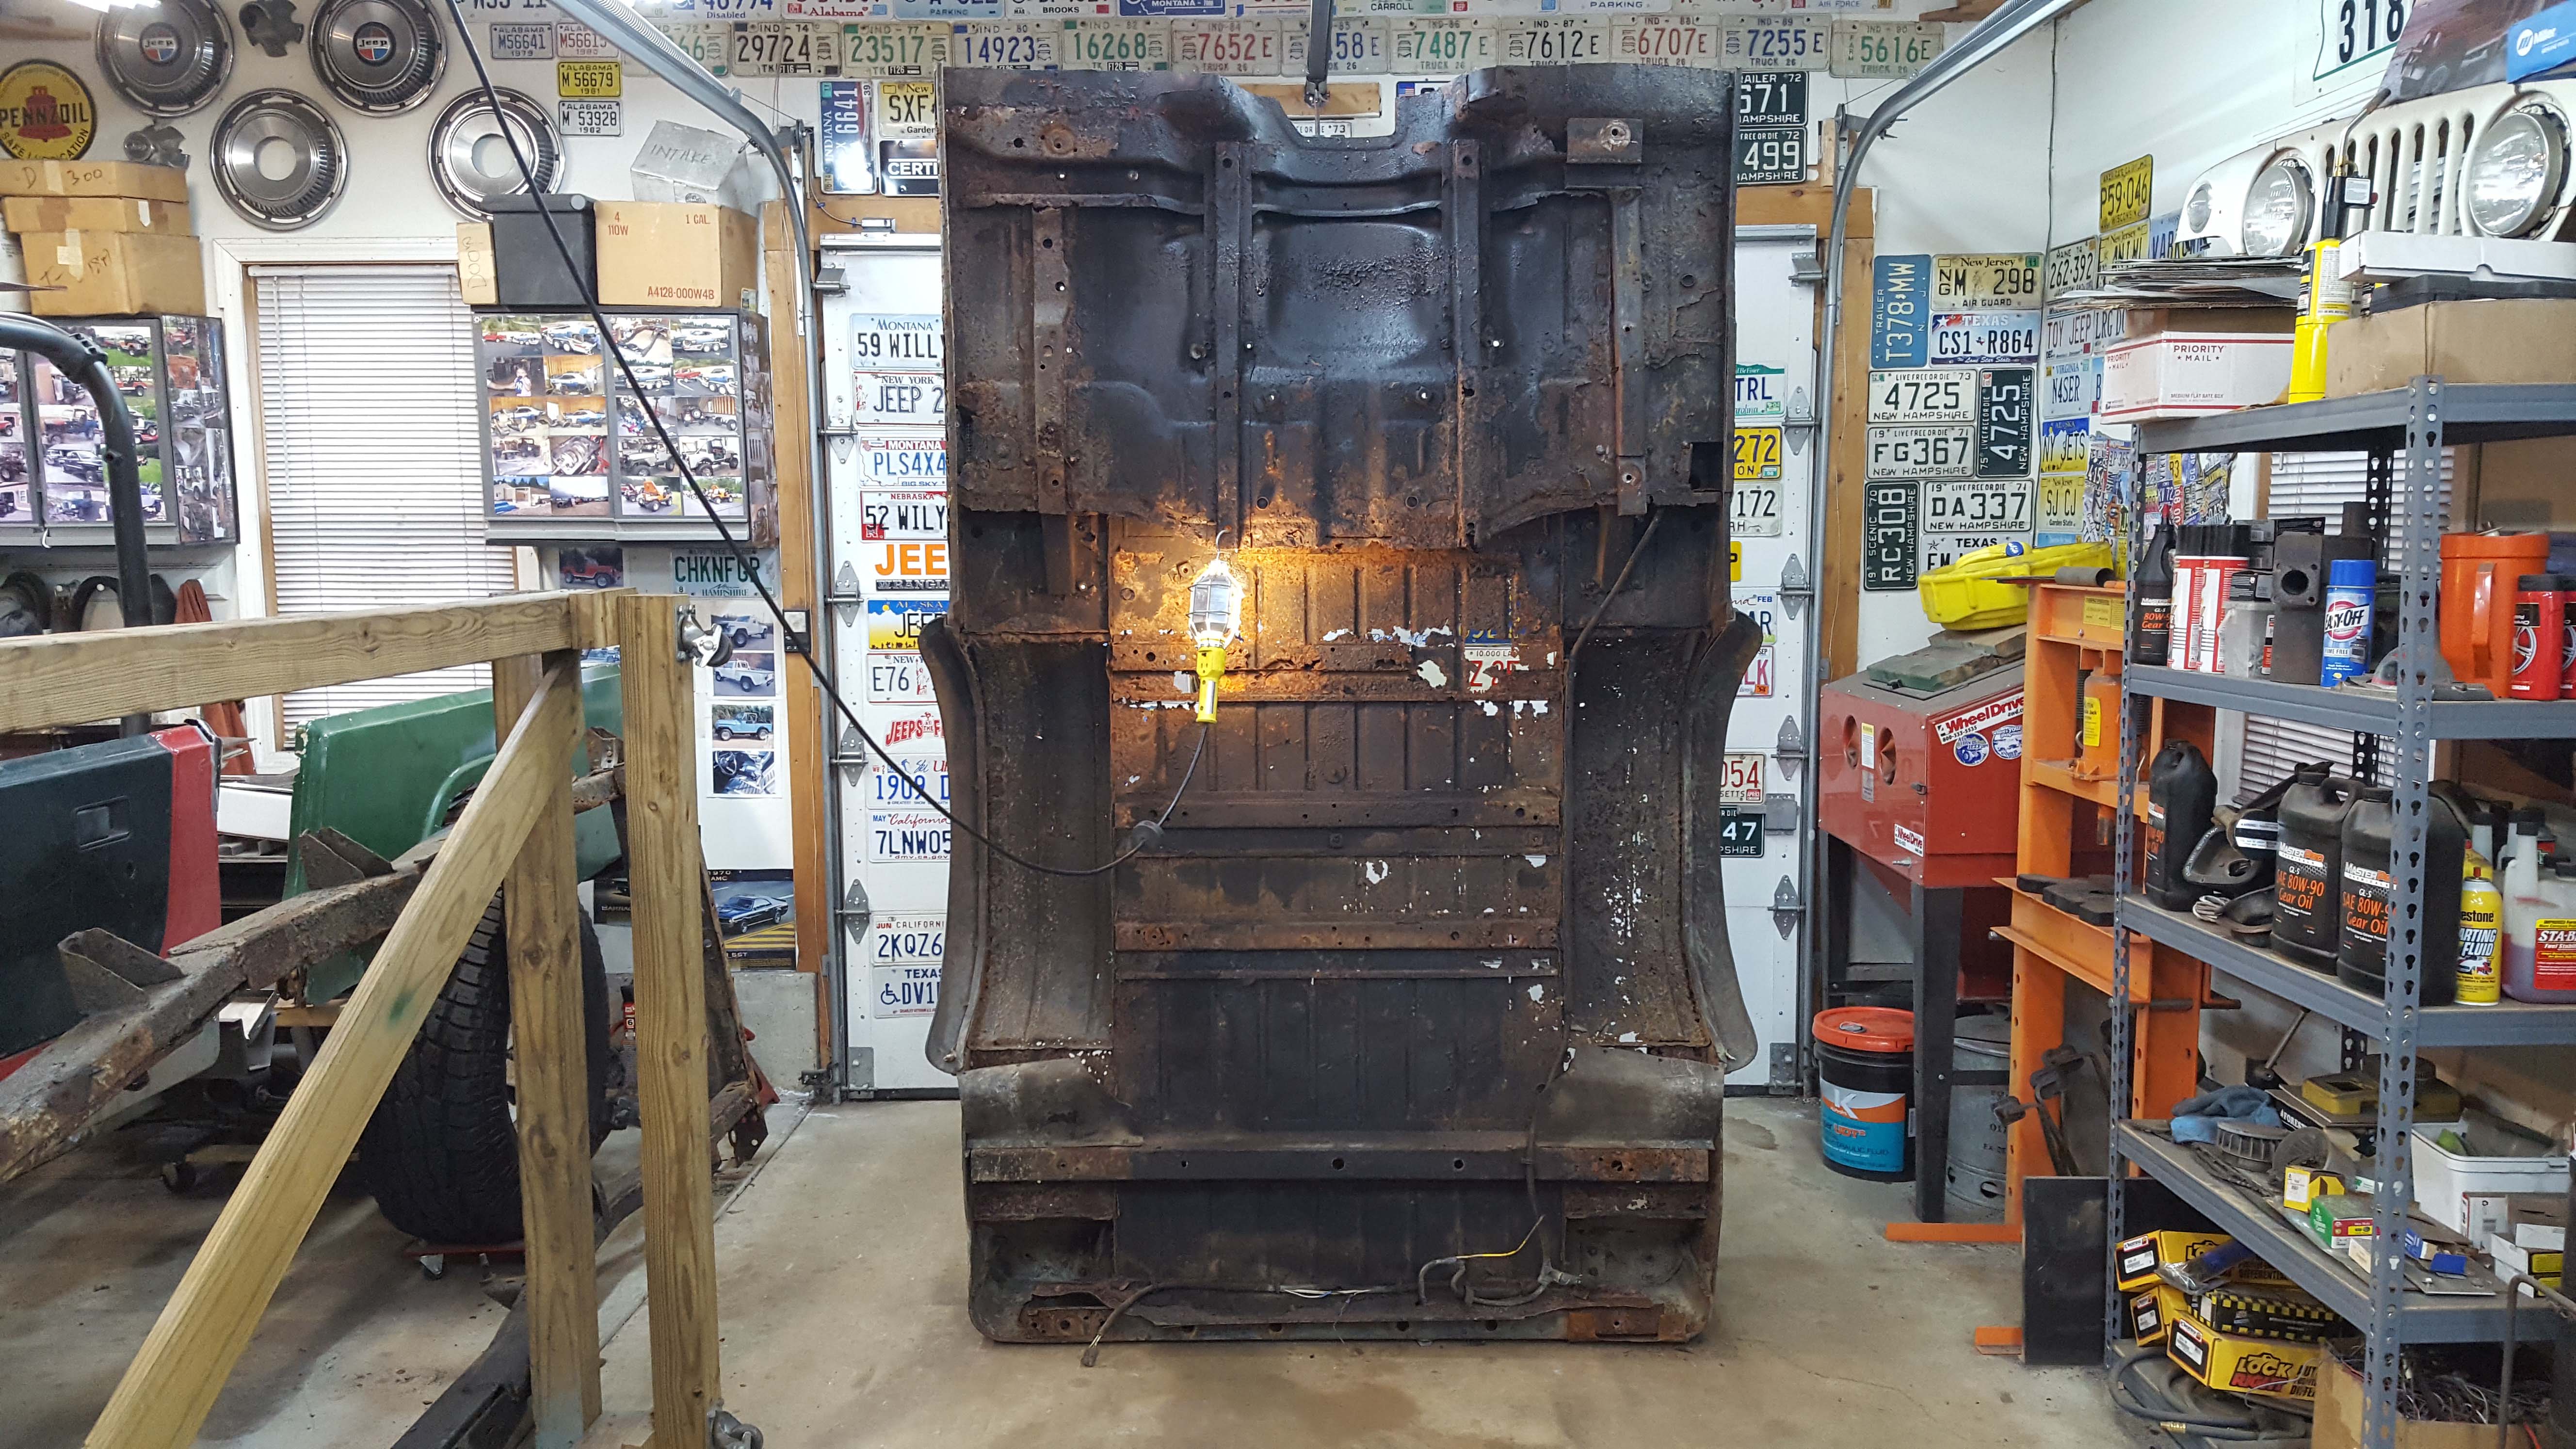
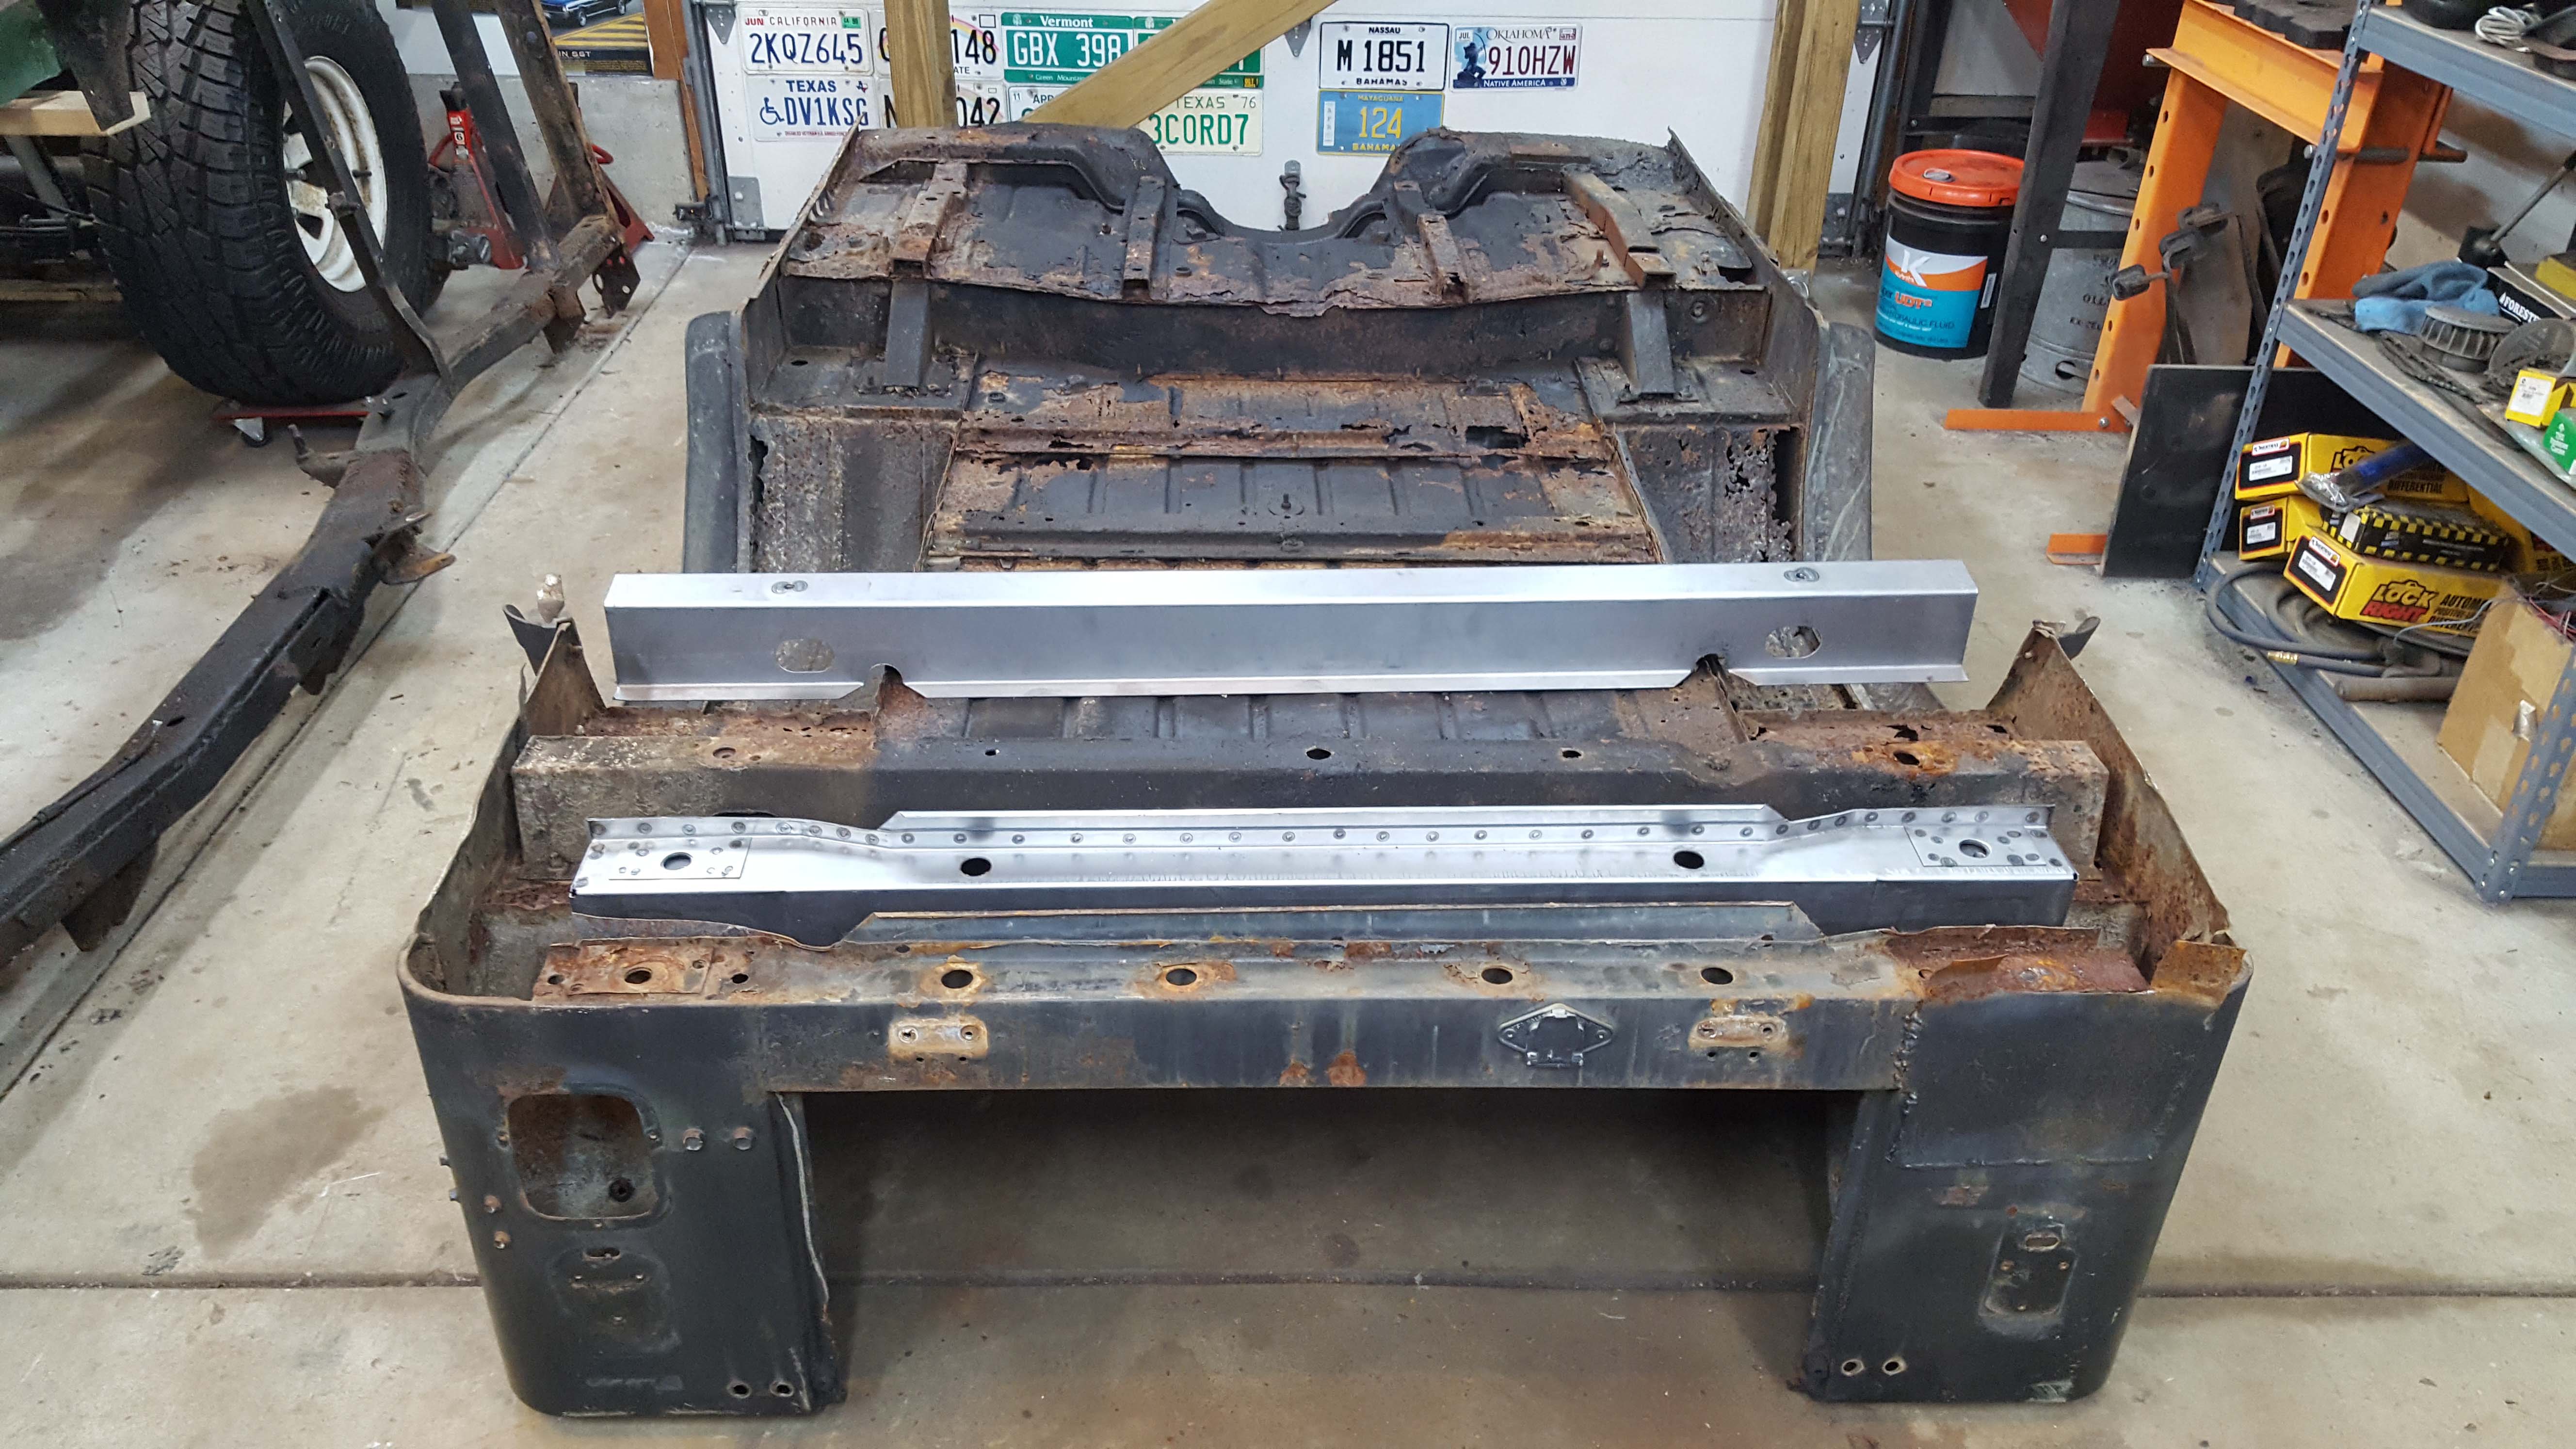
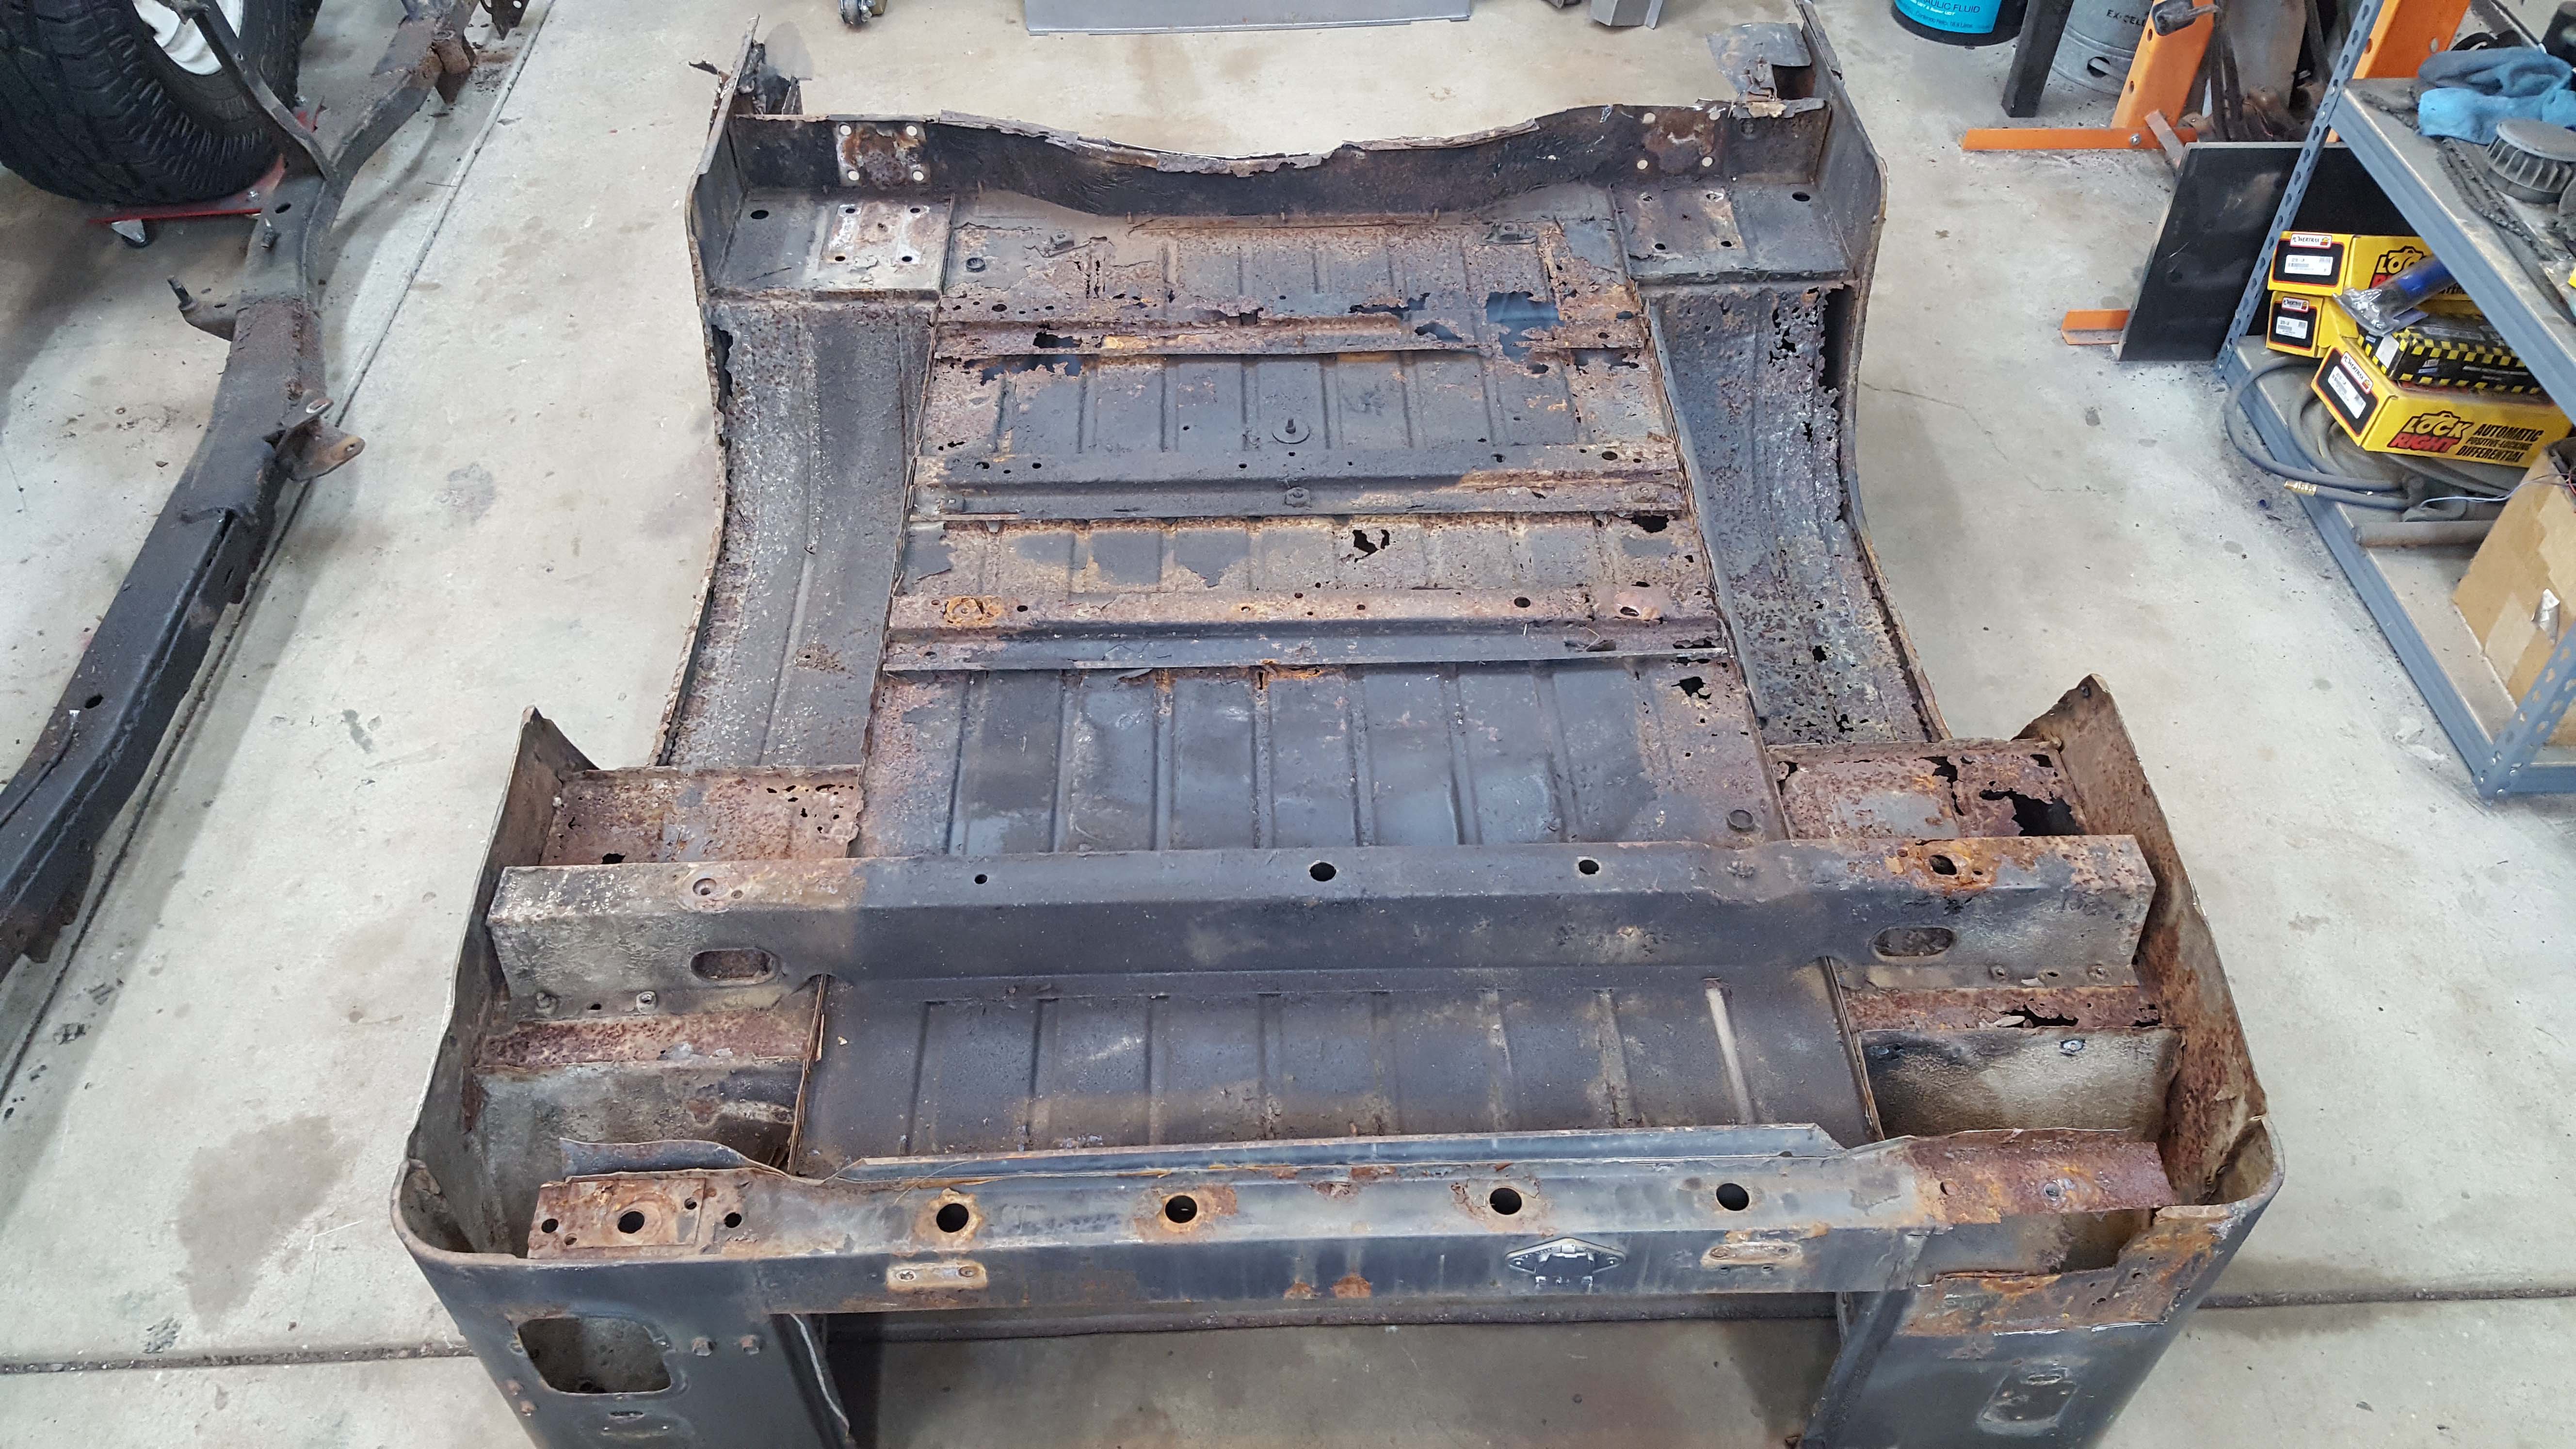
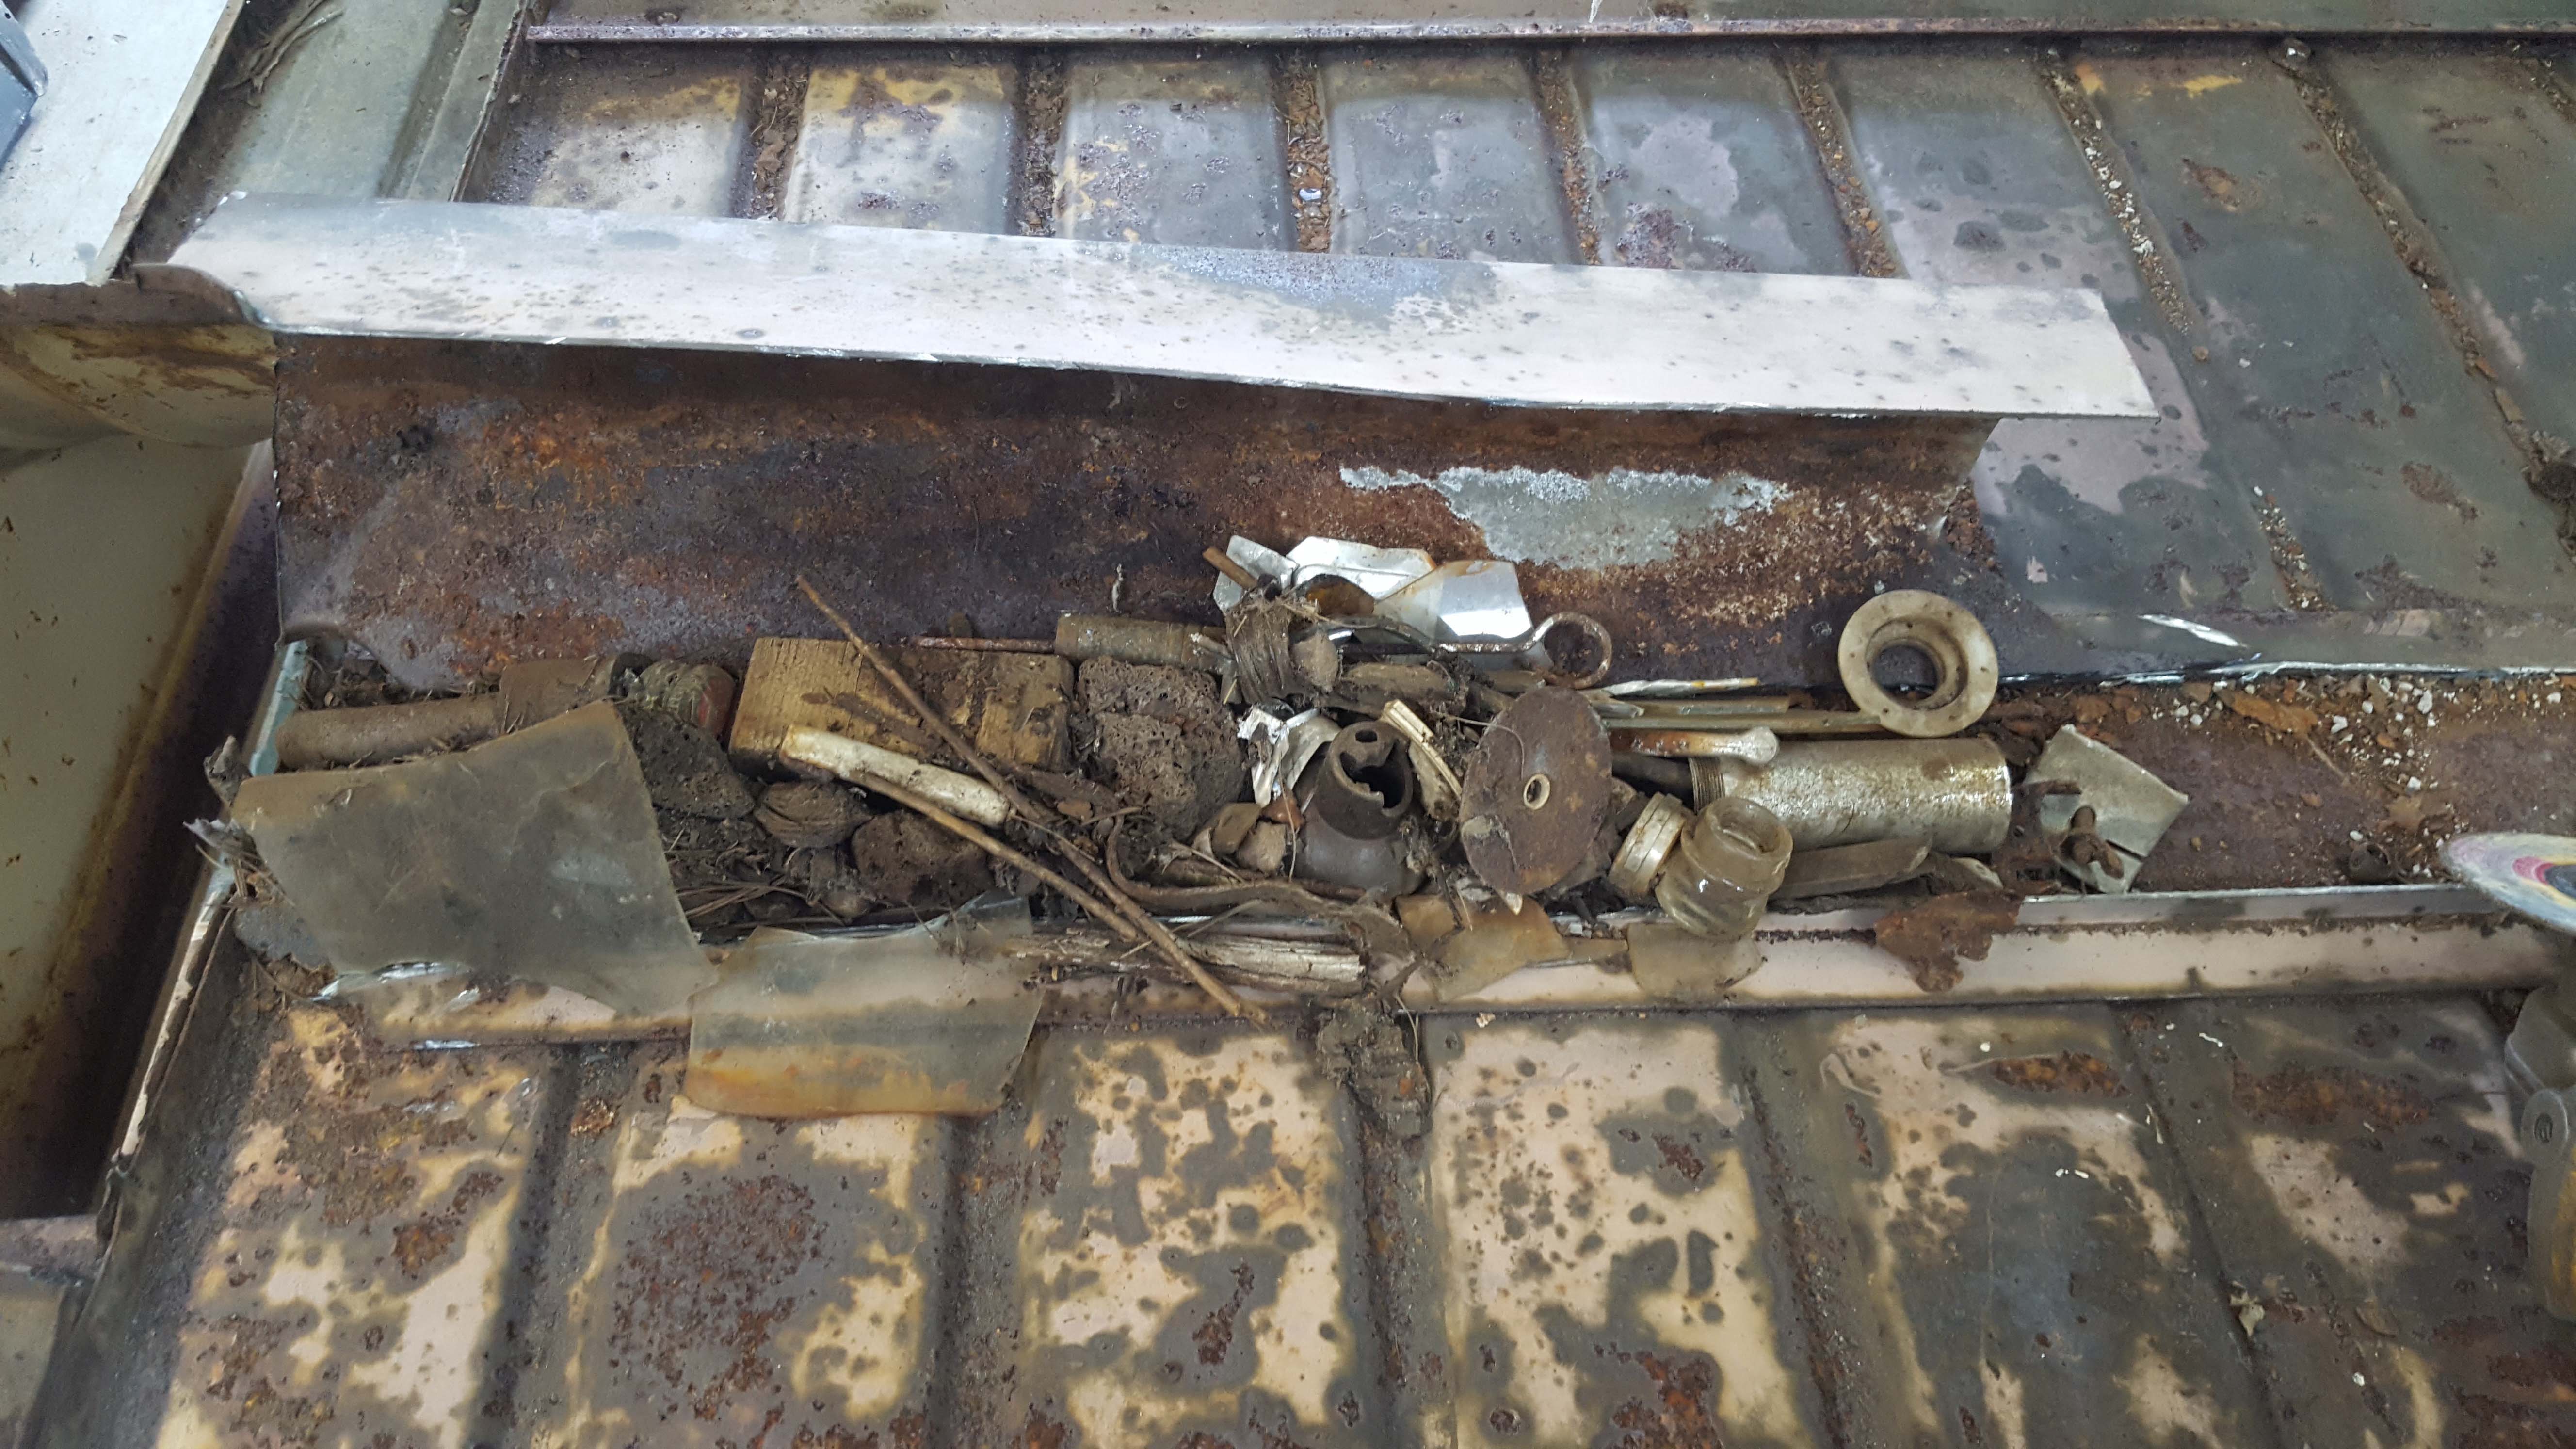
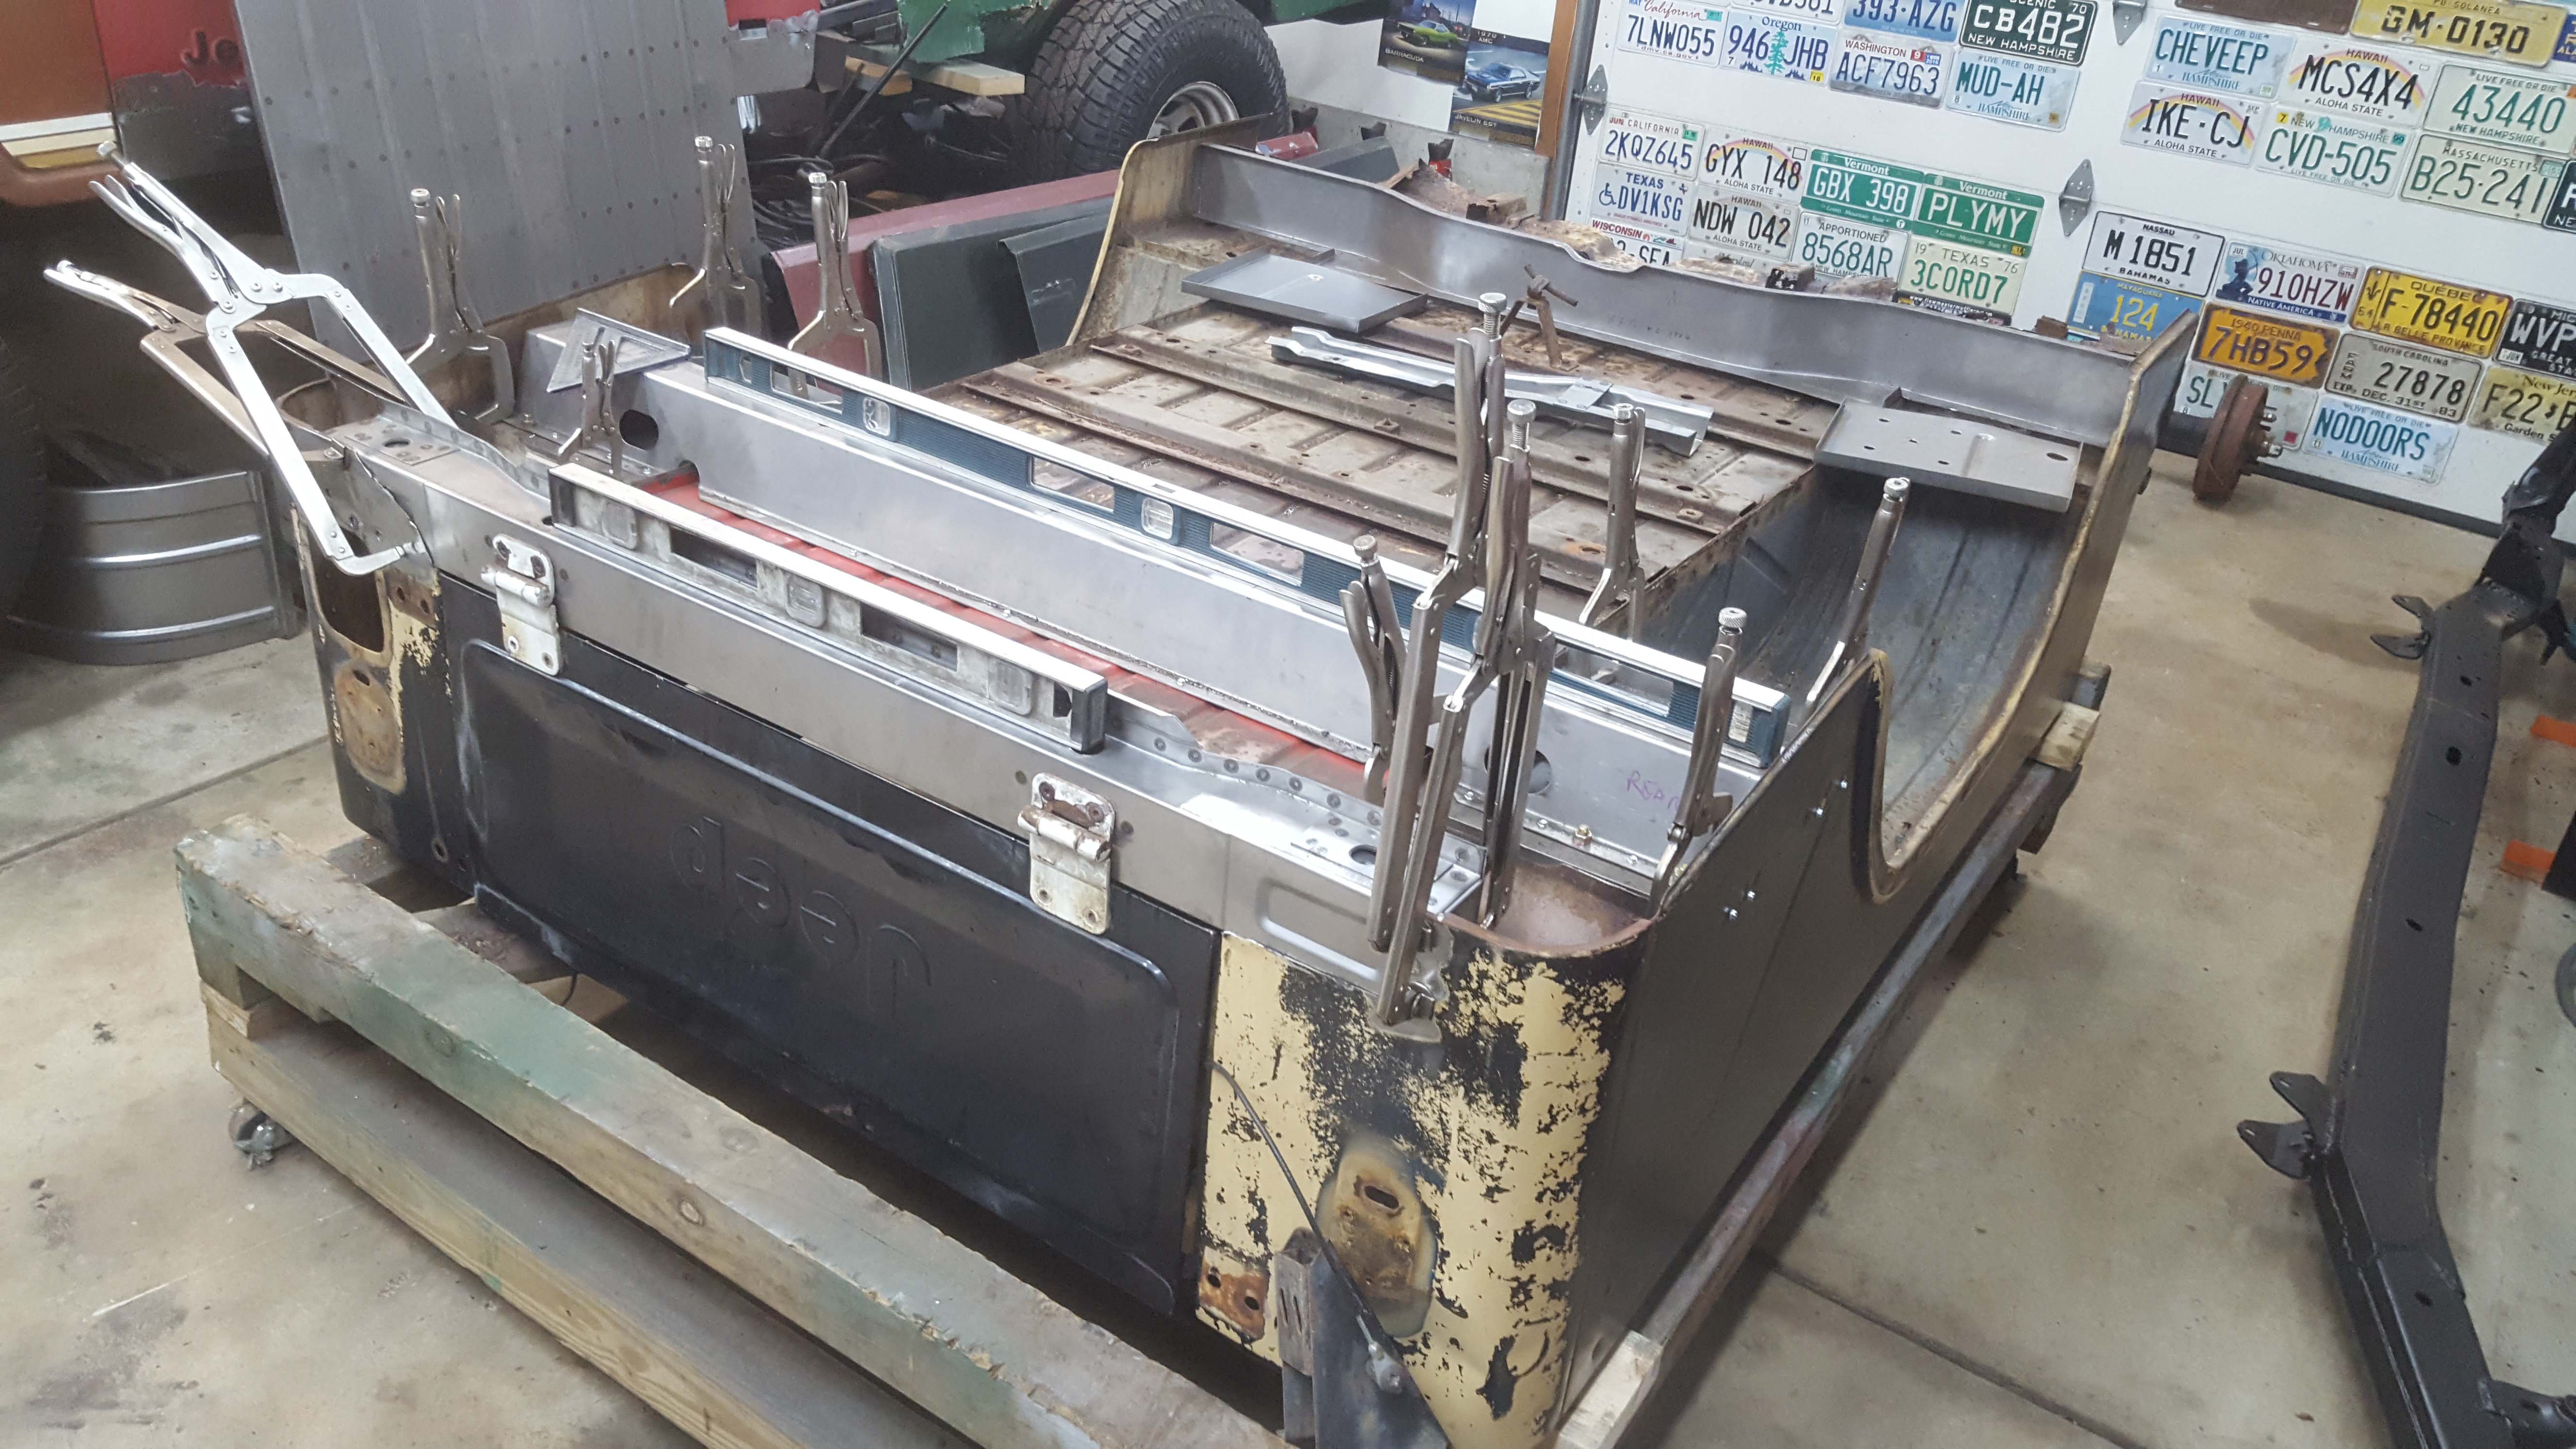
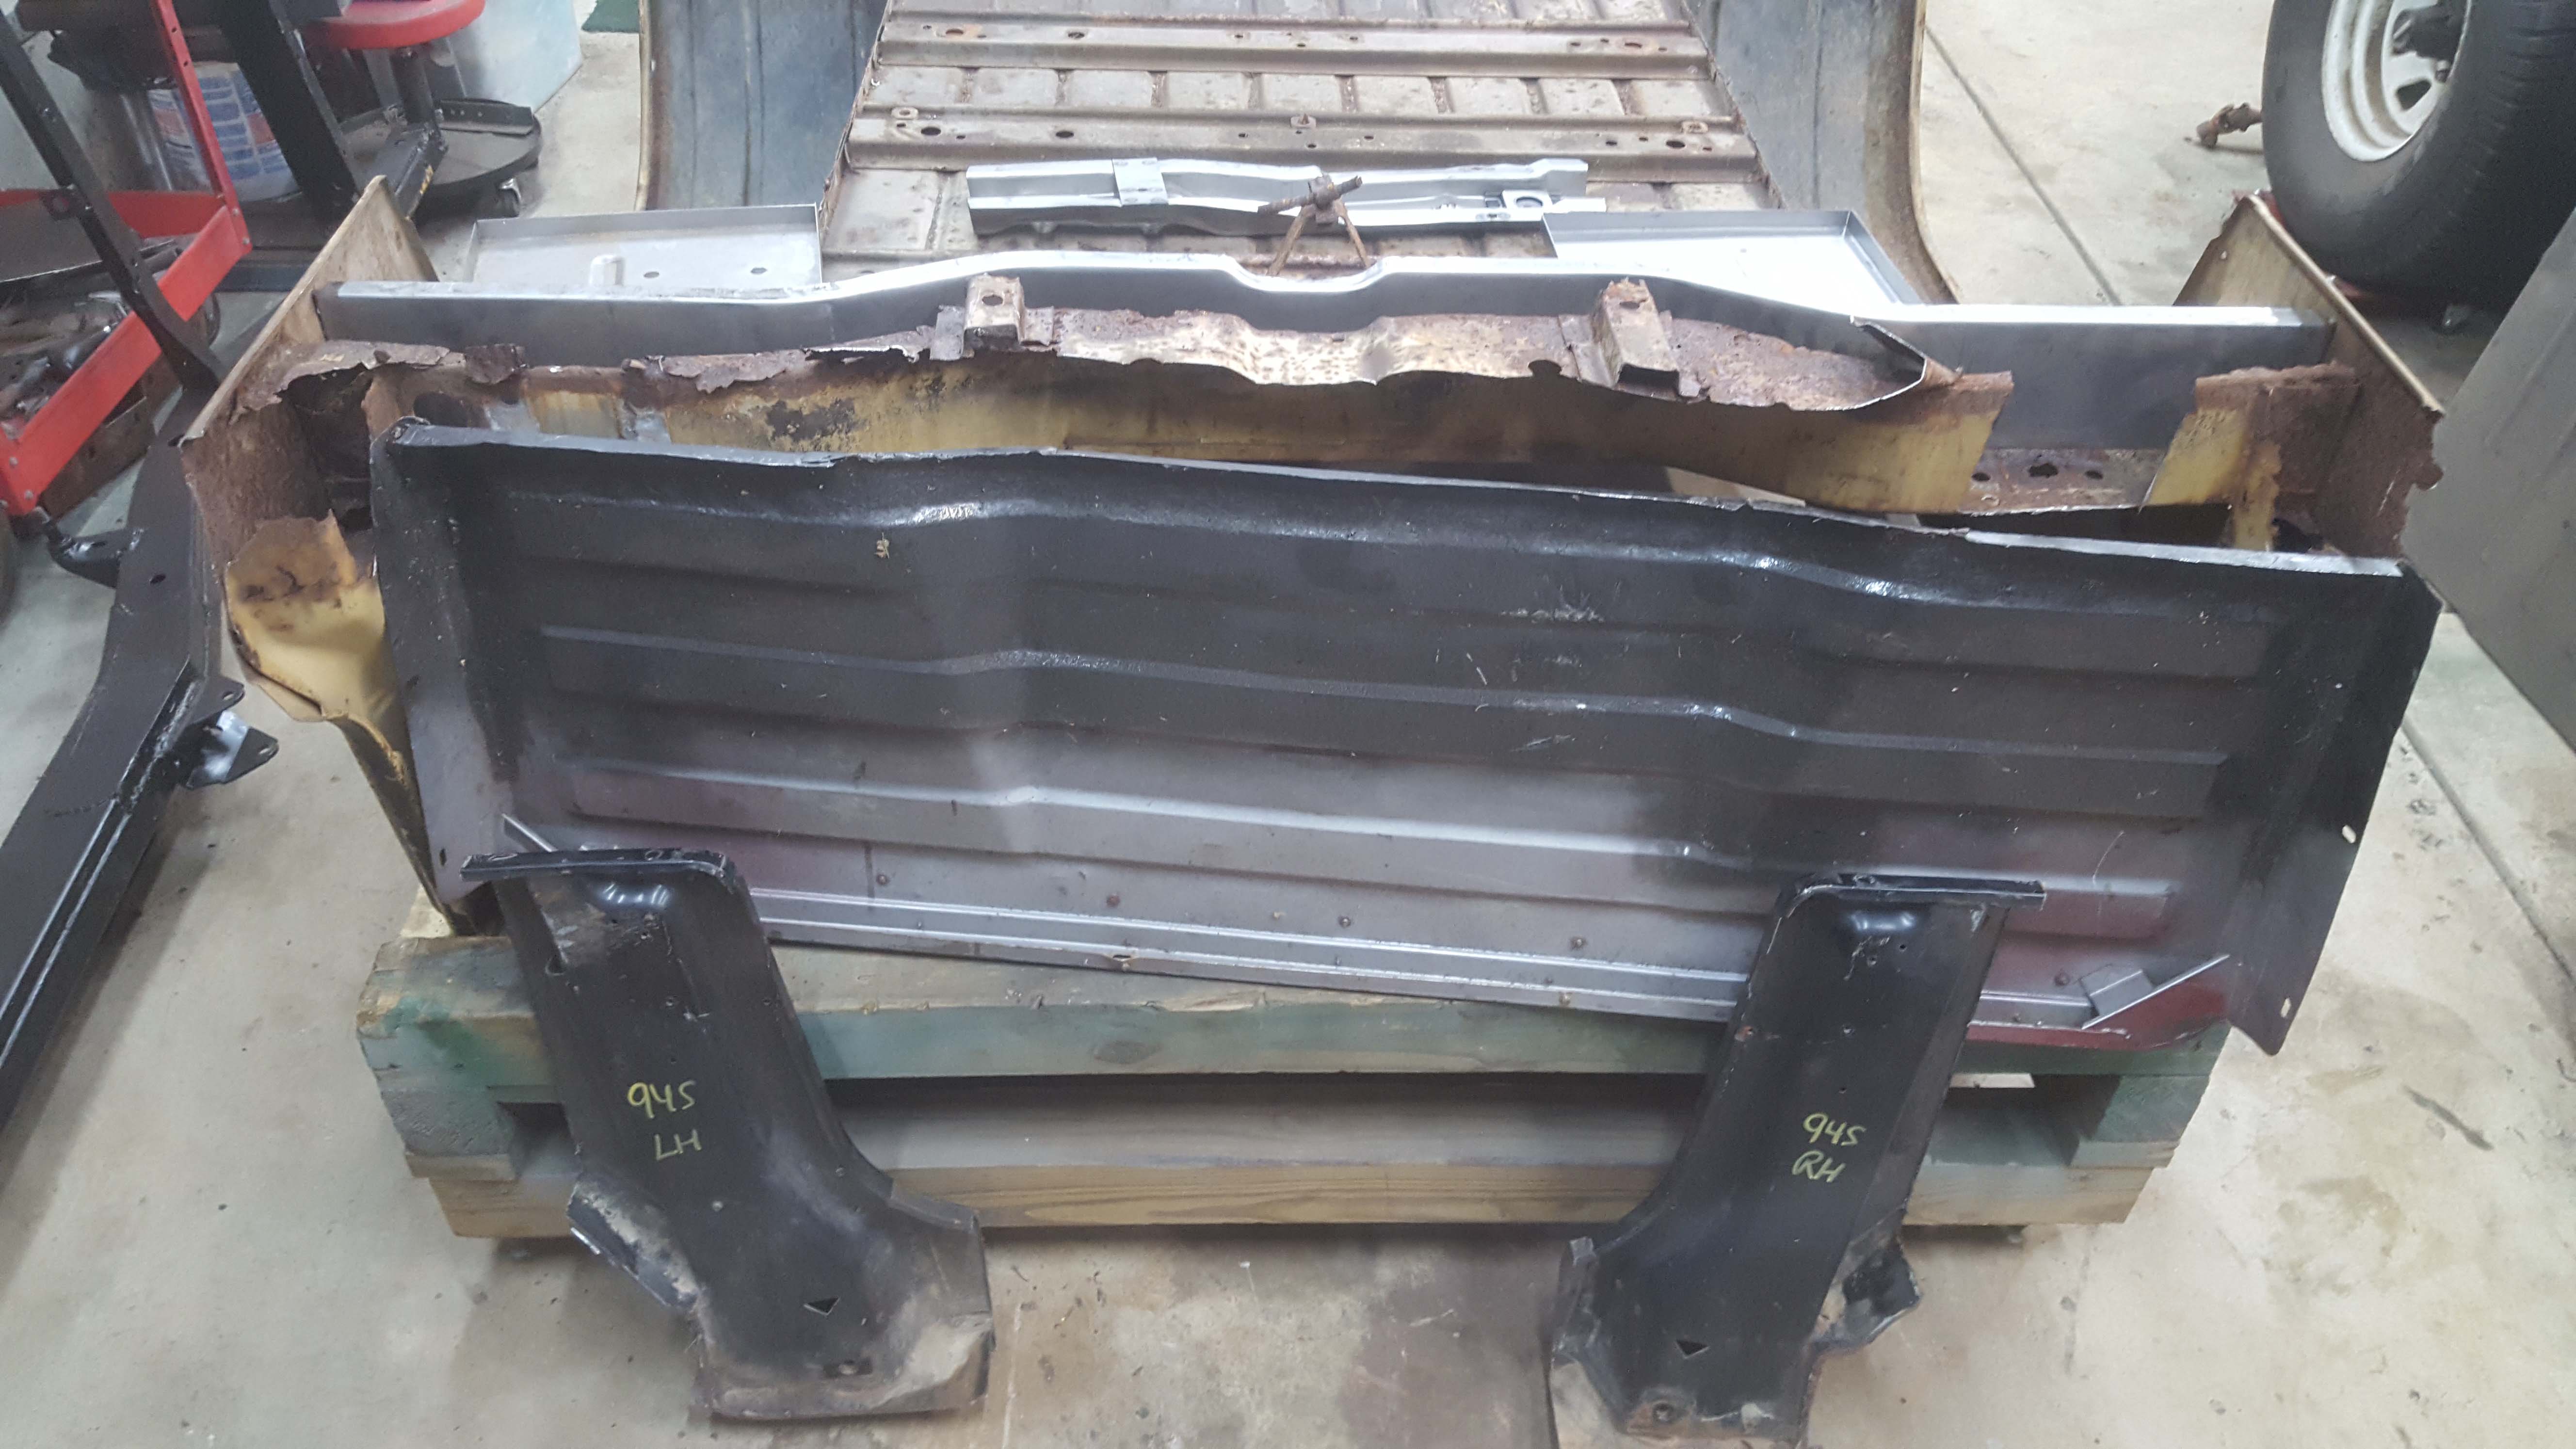
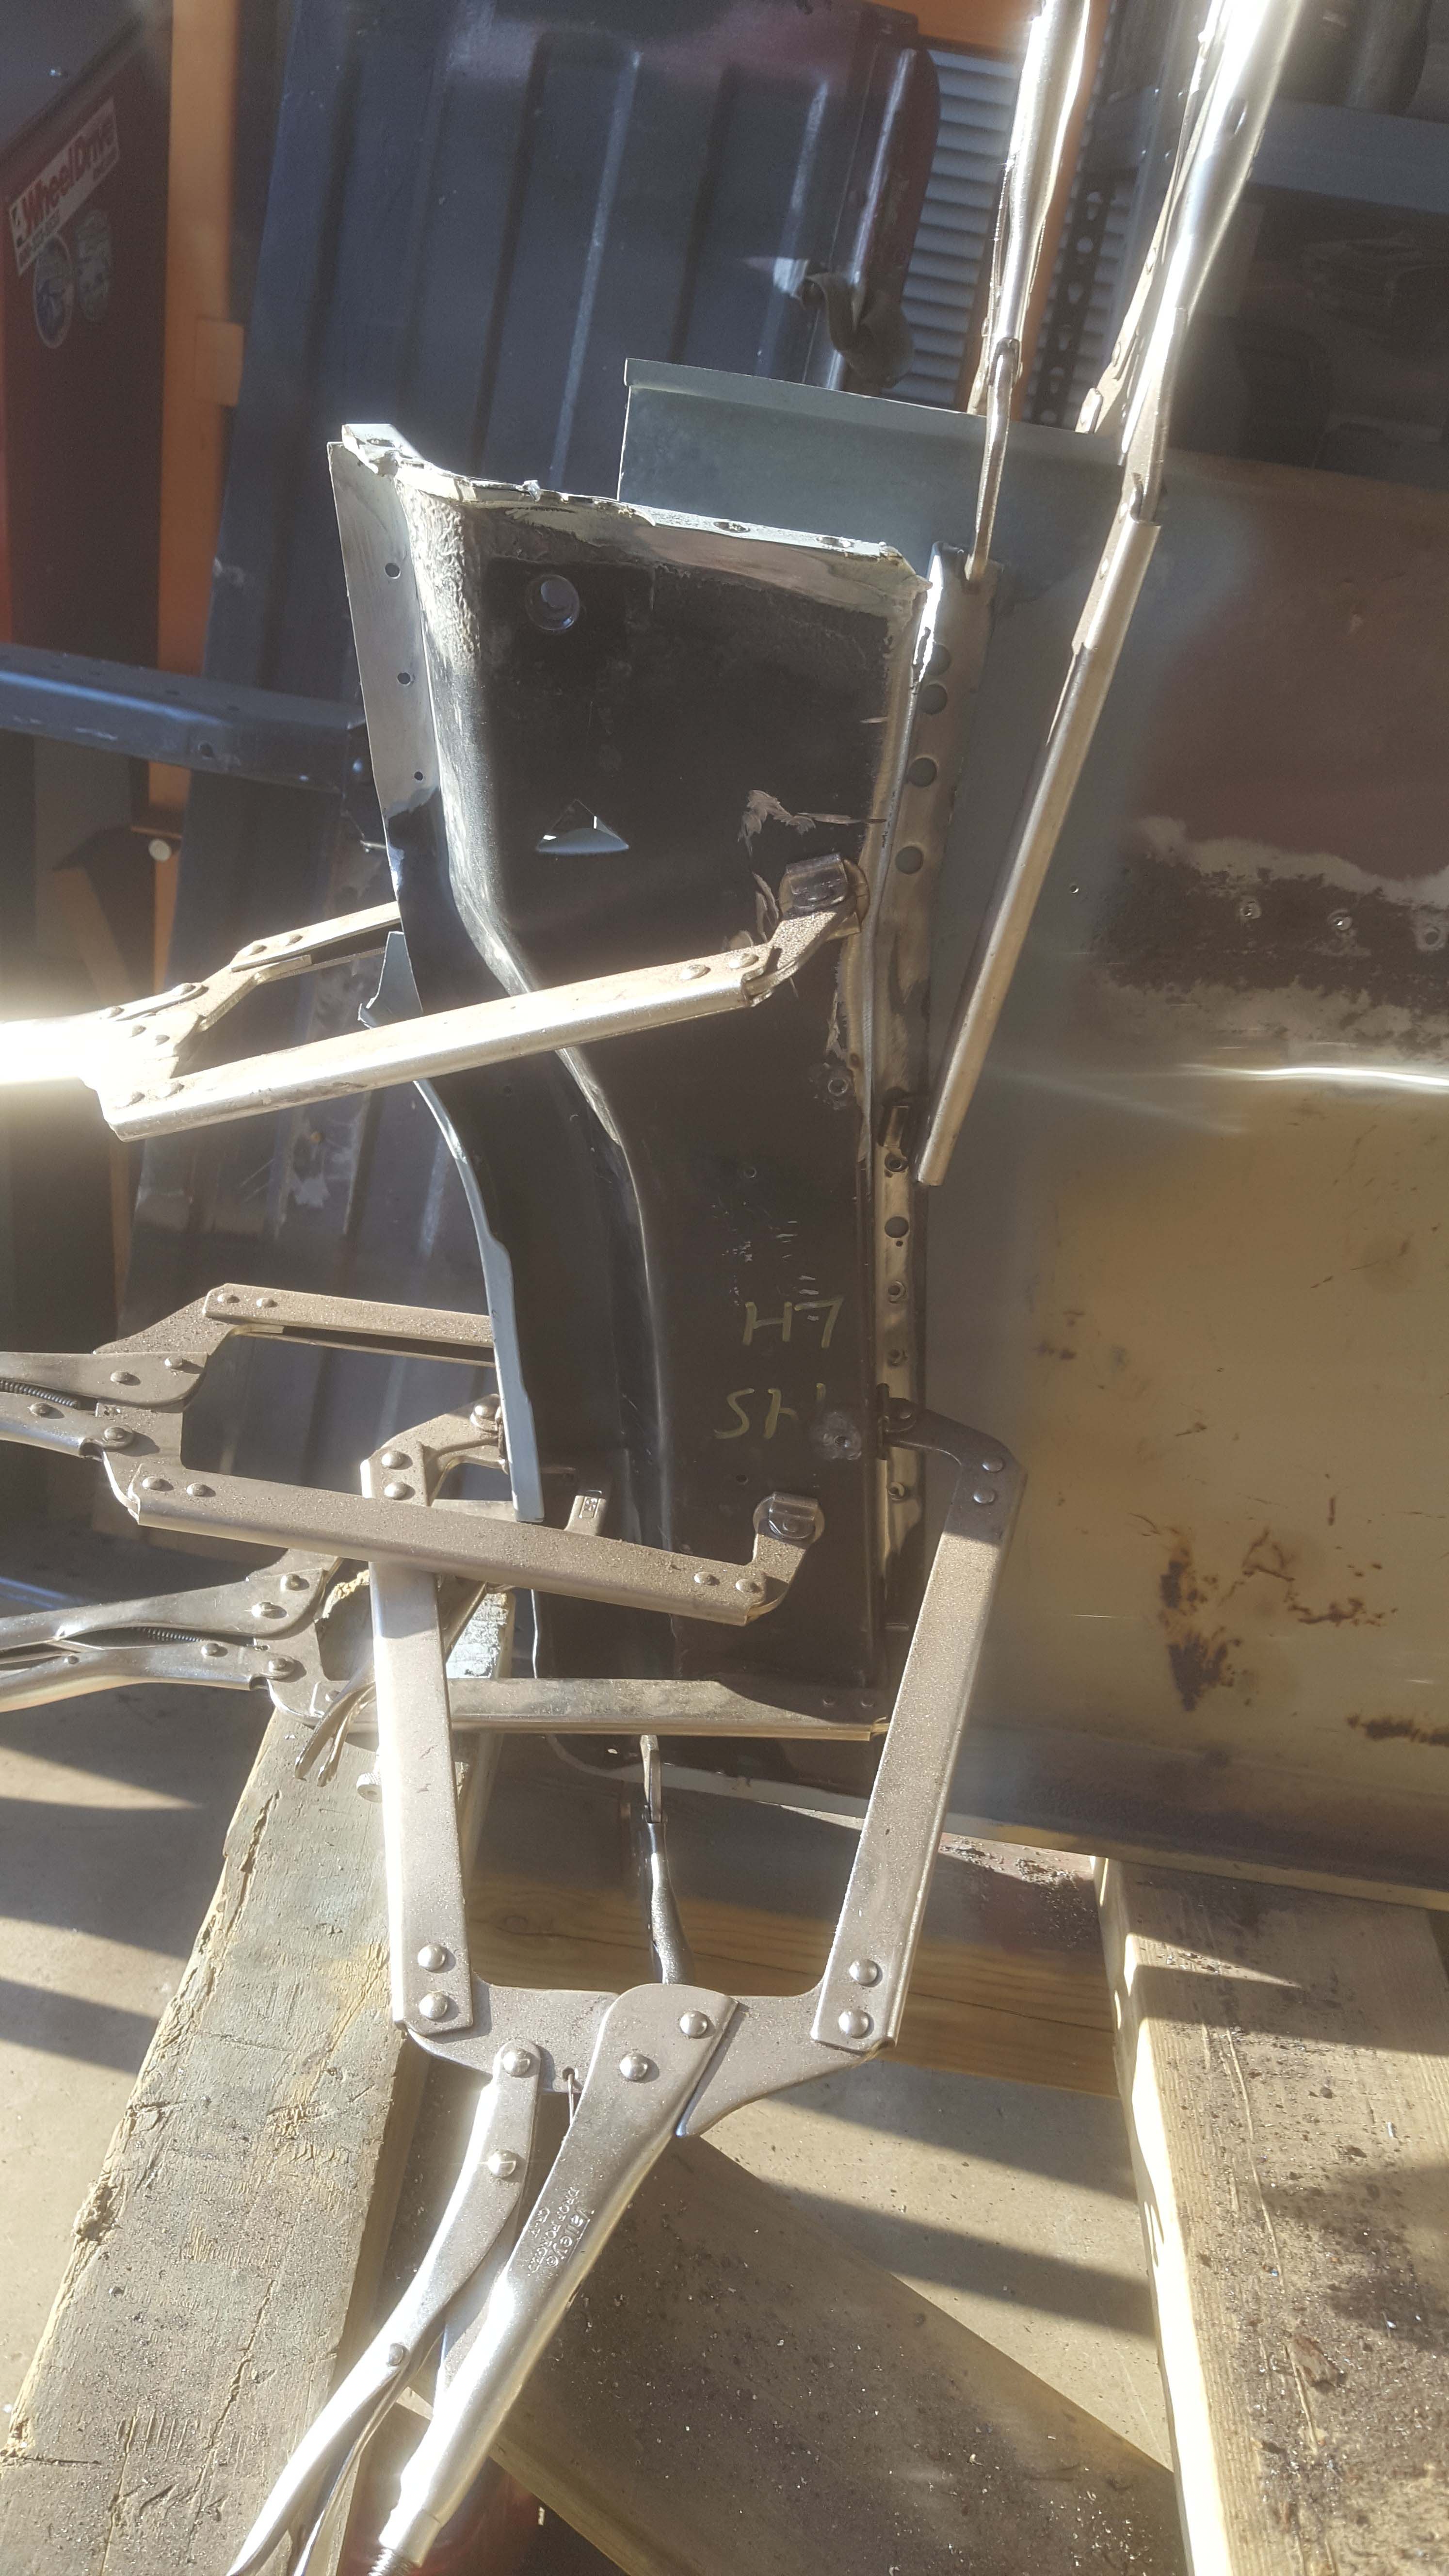
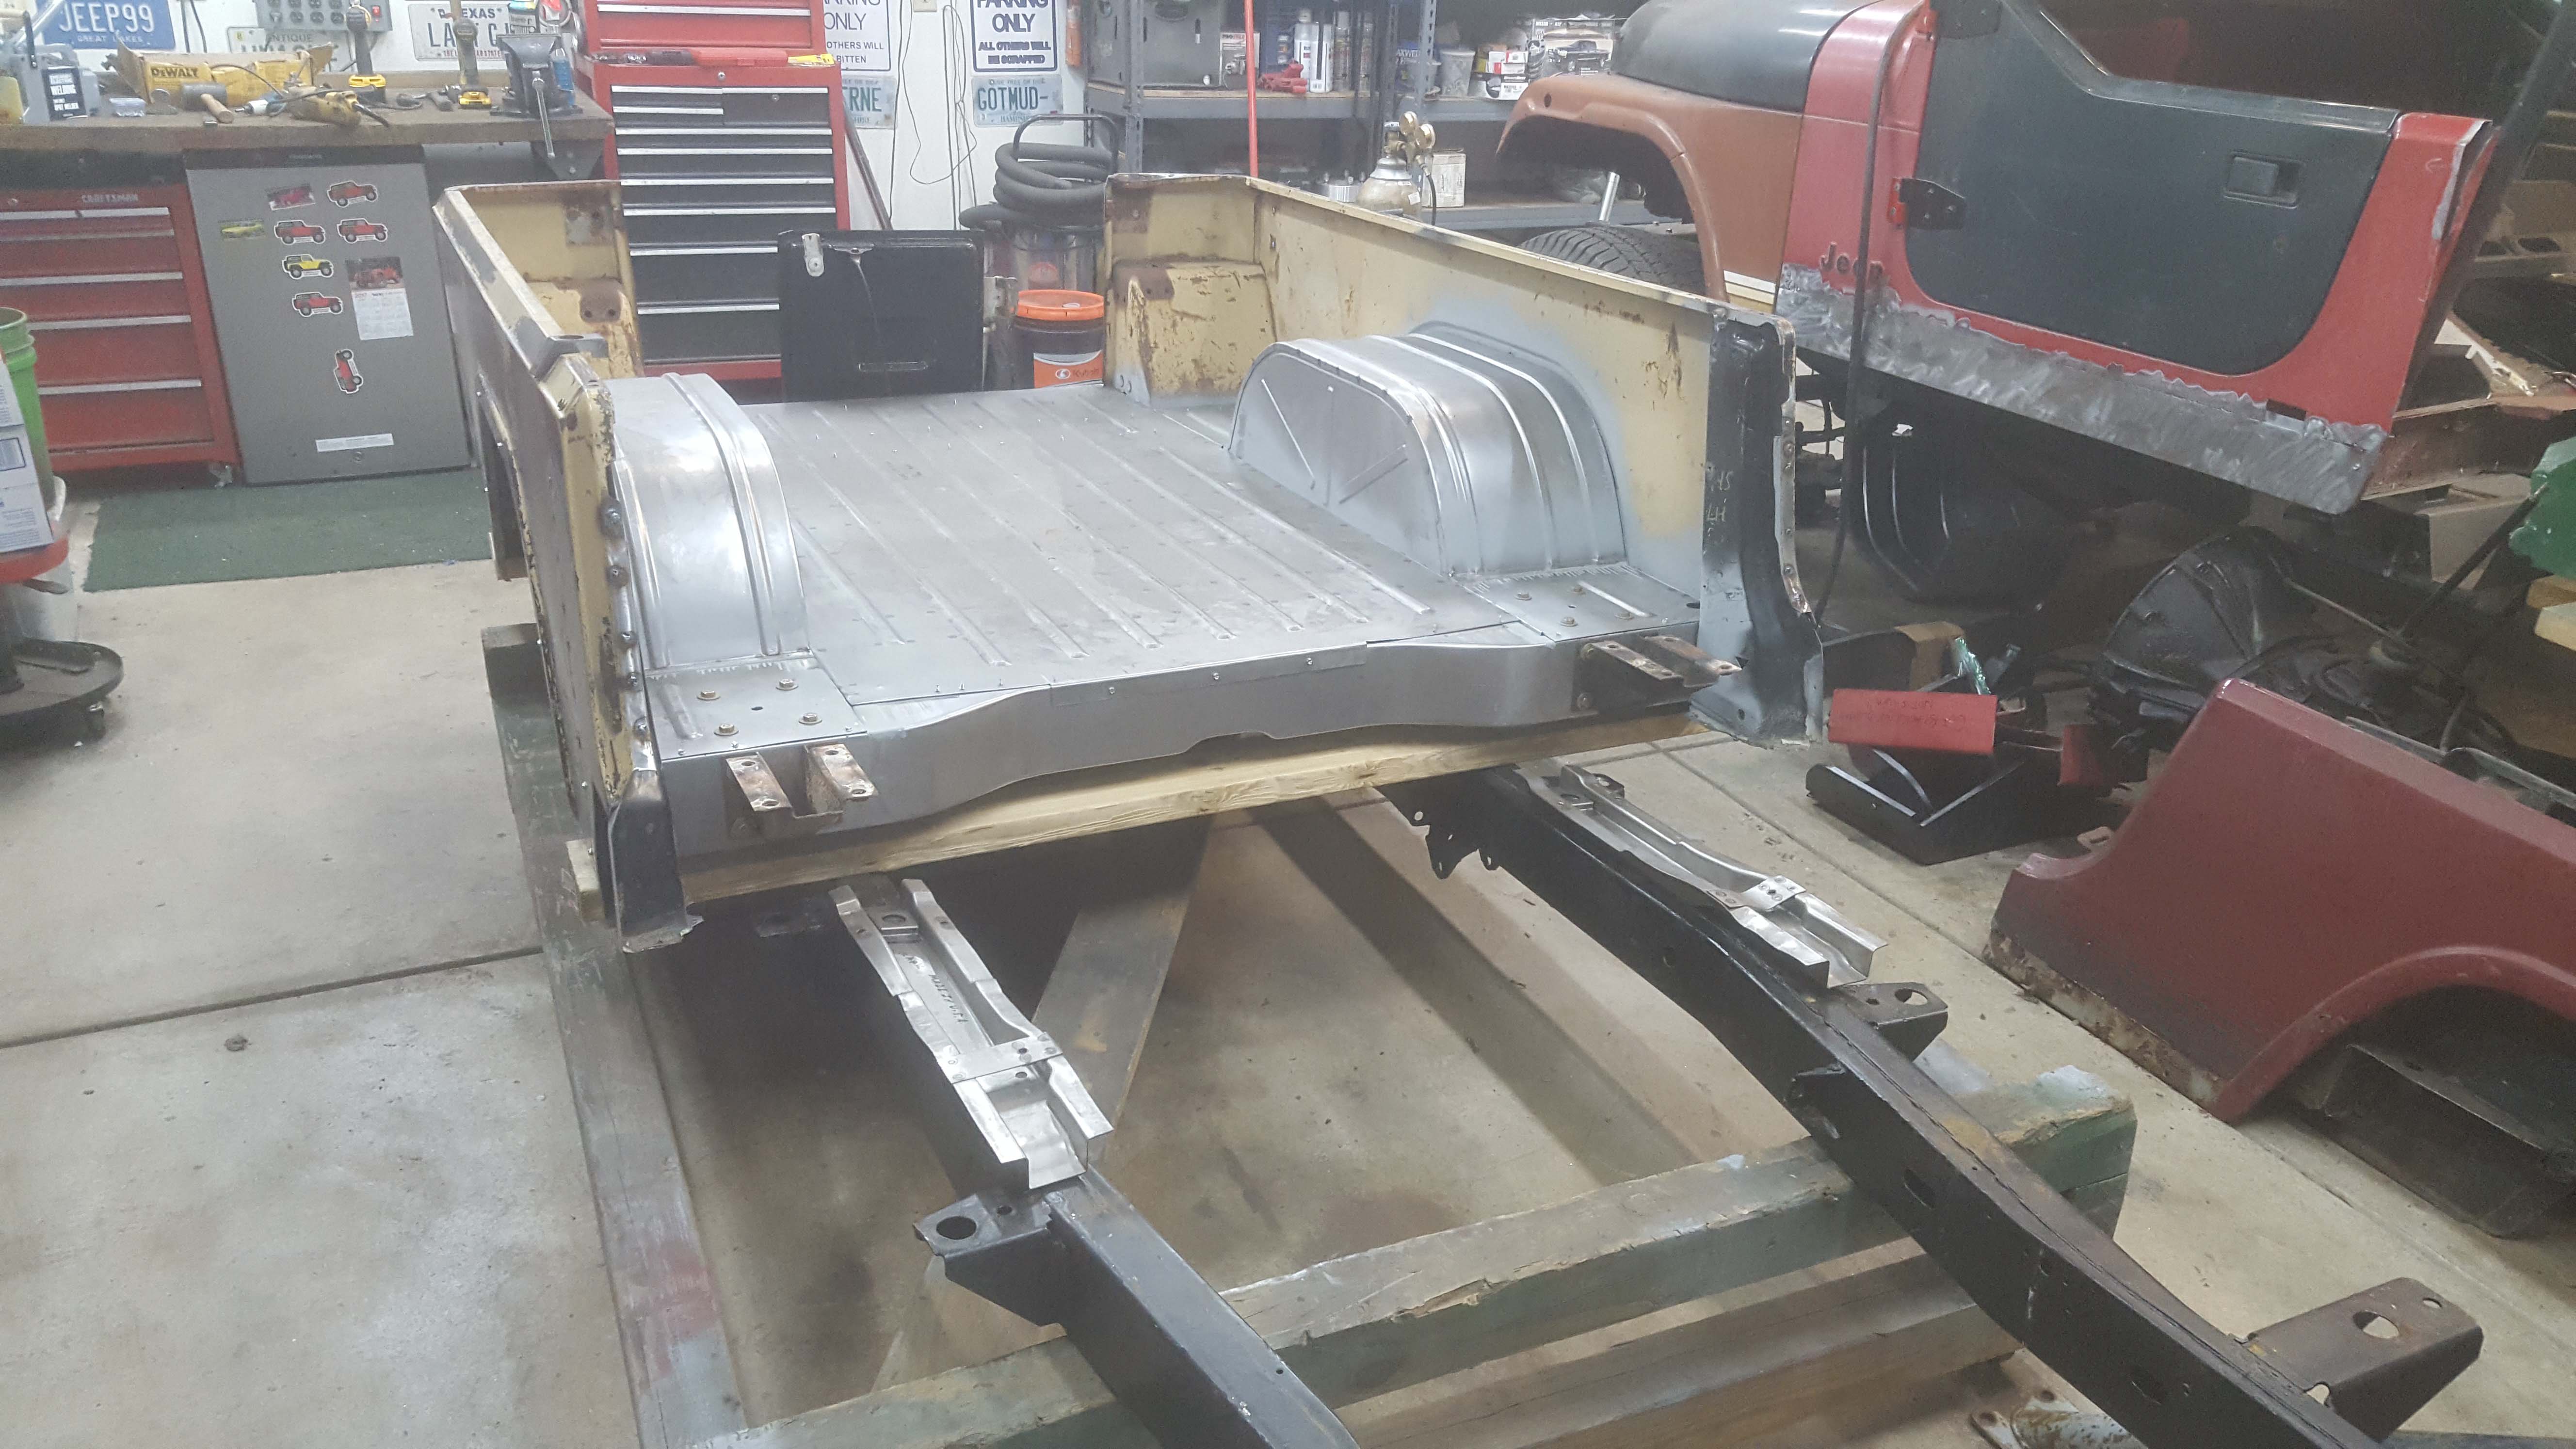
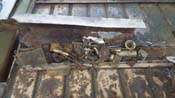
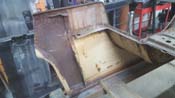
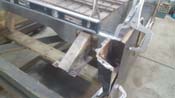
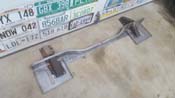
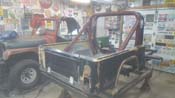
| After tearing down the Jeep and selling off all the parts that I could, I started in on replacing the rear cross members and
much to my surprise, there were a lot of critters living in there and a whole lot of junk to deal with. This proceeded on from back to front
replacing and cutting out as we went. The b pillars were then attacked and slowly emerged a bed that we could do something with. The bed will need extensions
in the front and also need to figure out a dual roll bar setup as it would look too far back and skinny with just the one, but all in all progress moved along.
|
| |
|
|

|
|
|
|
|
|
|
|
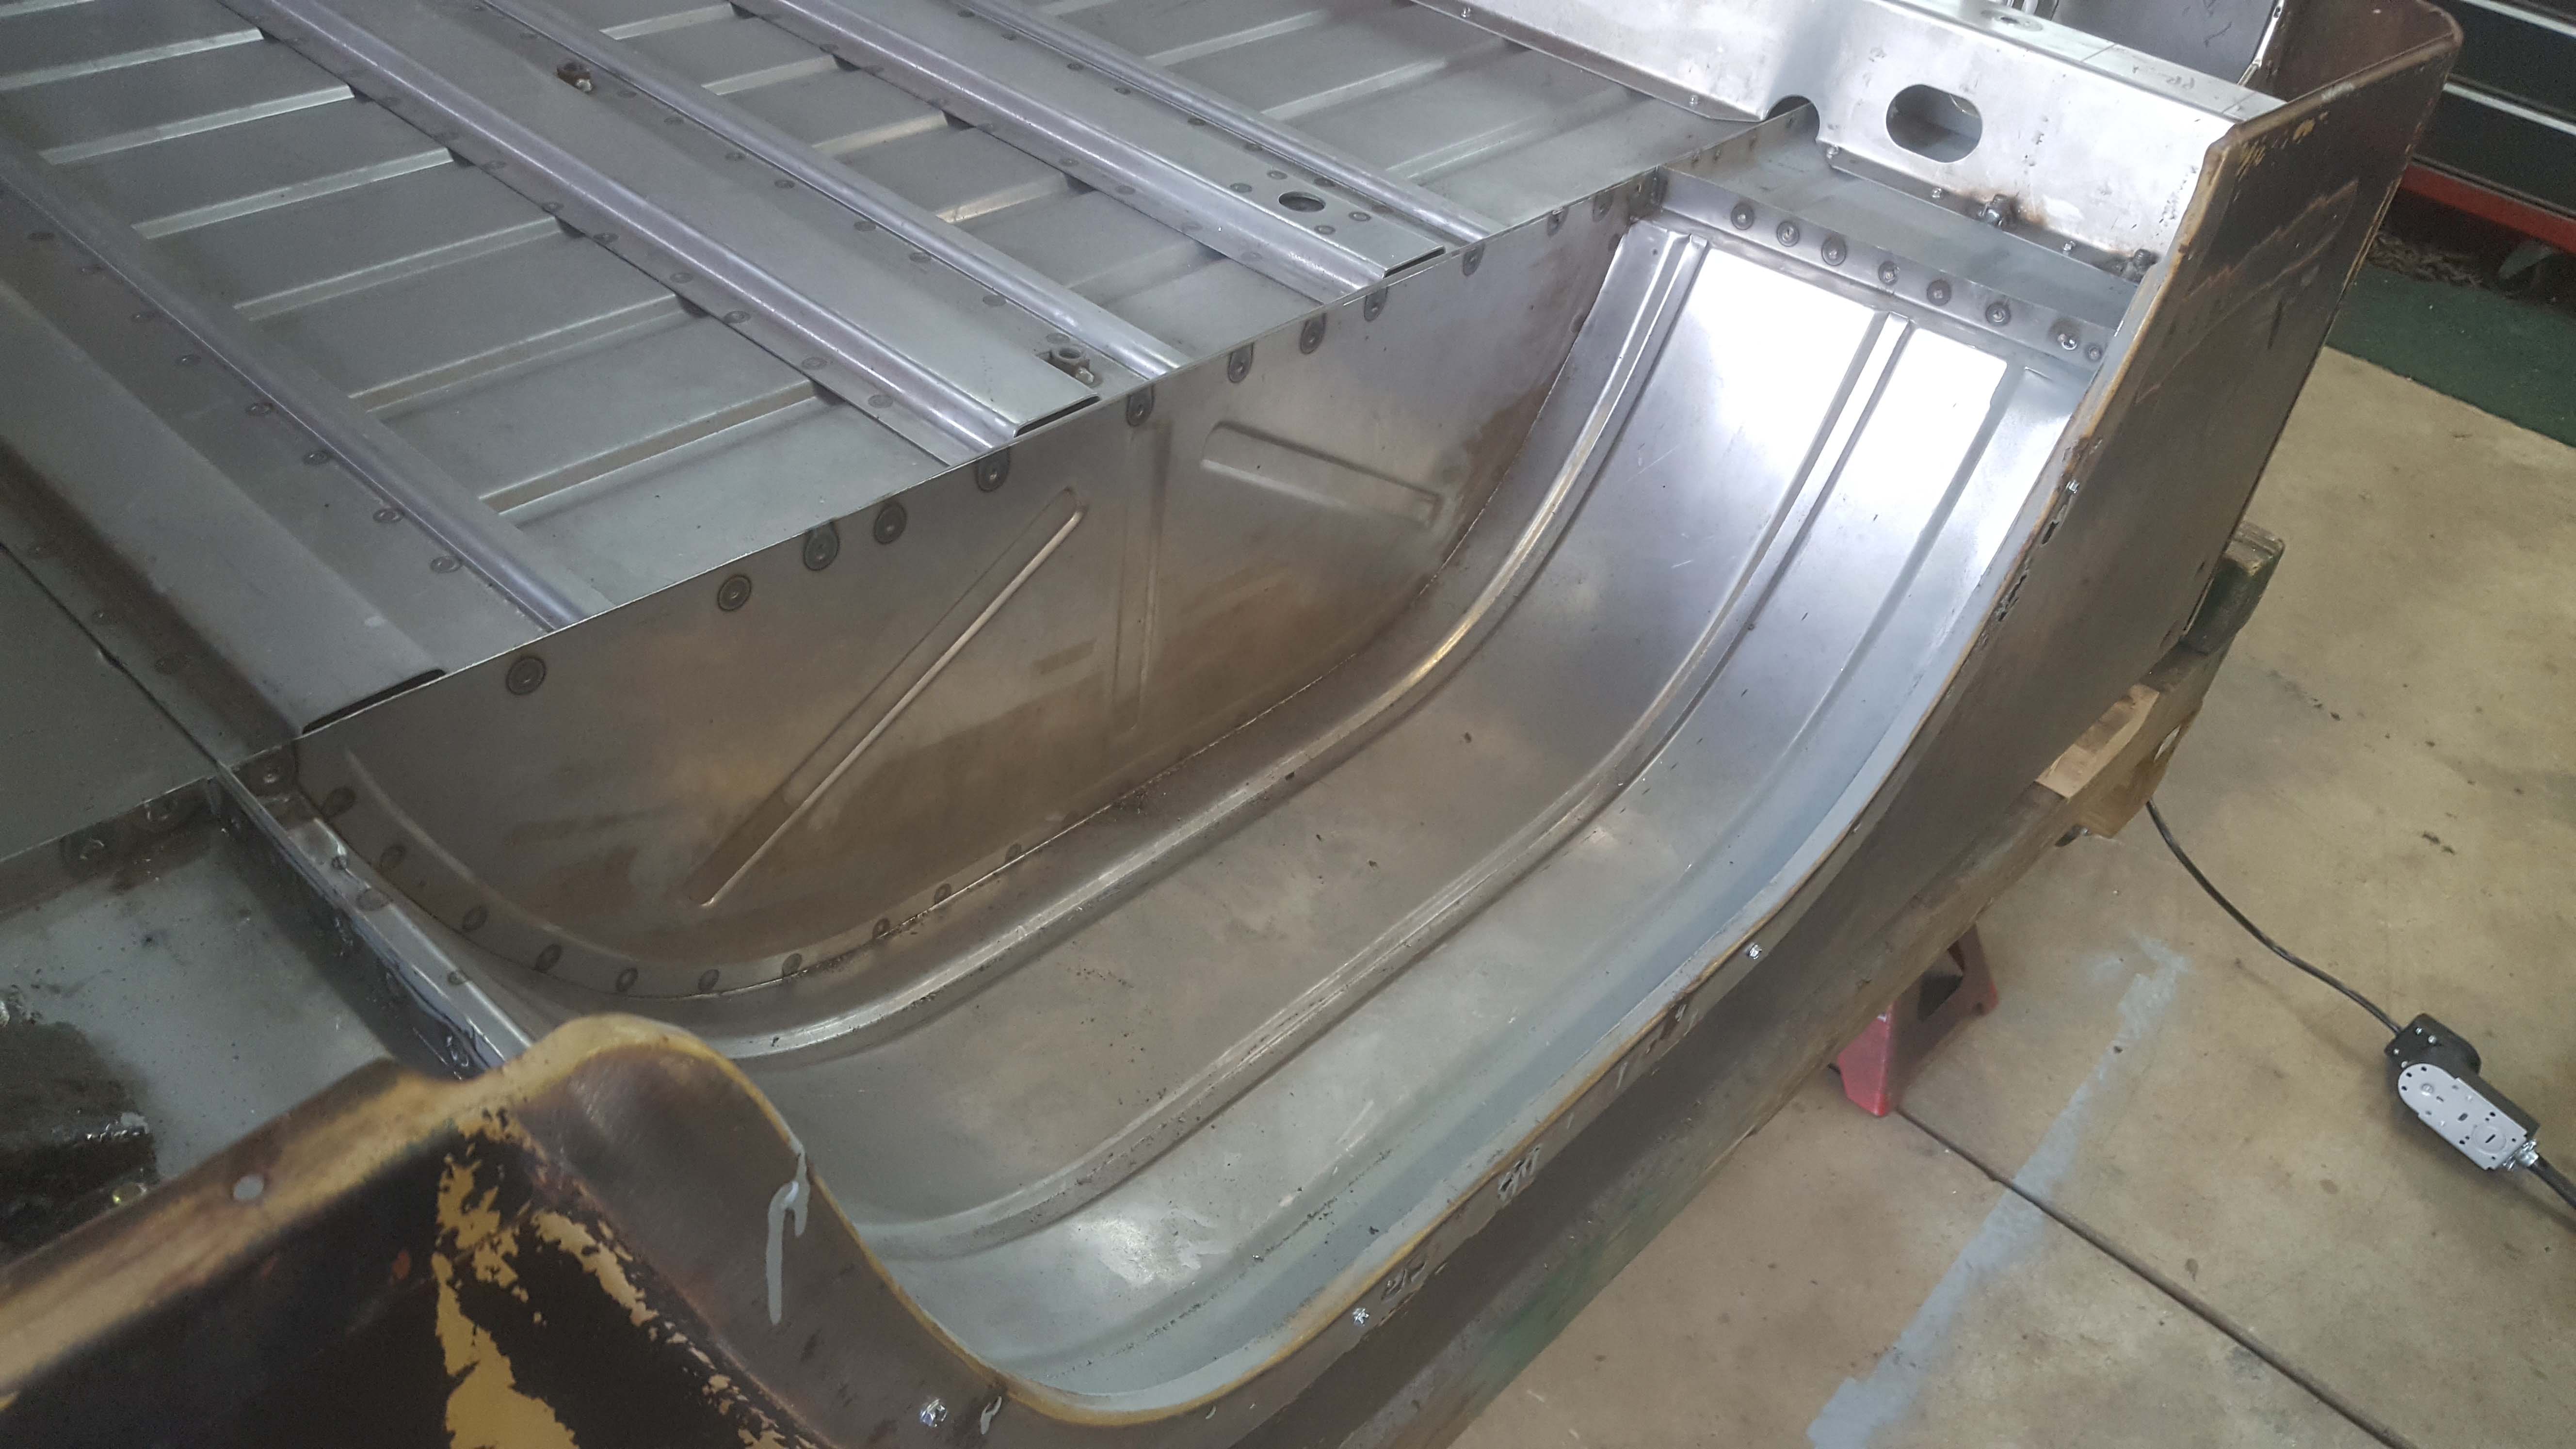
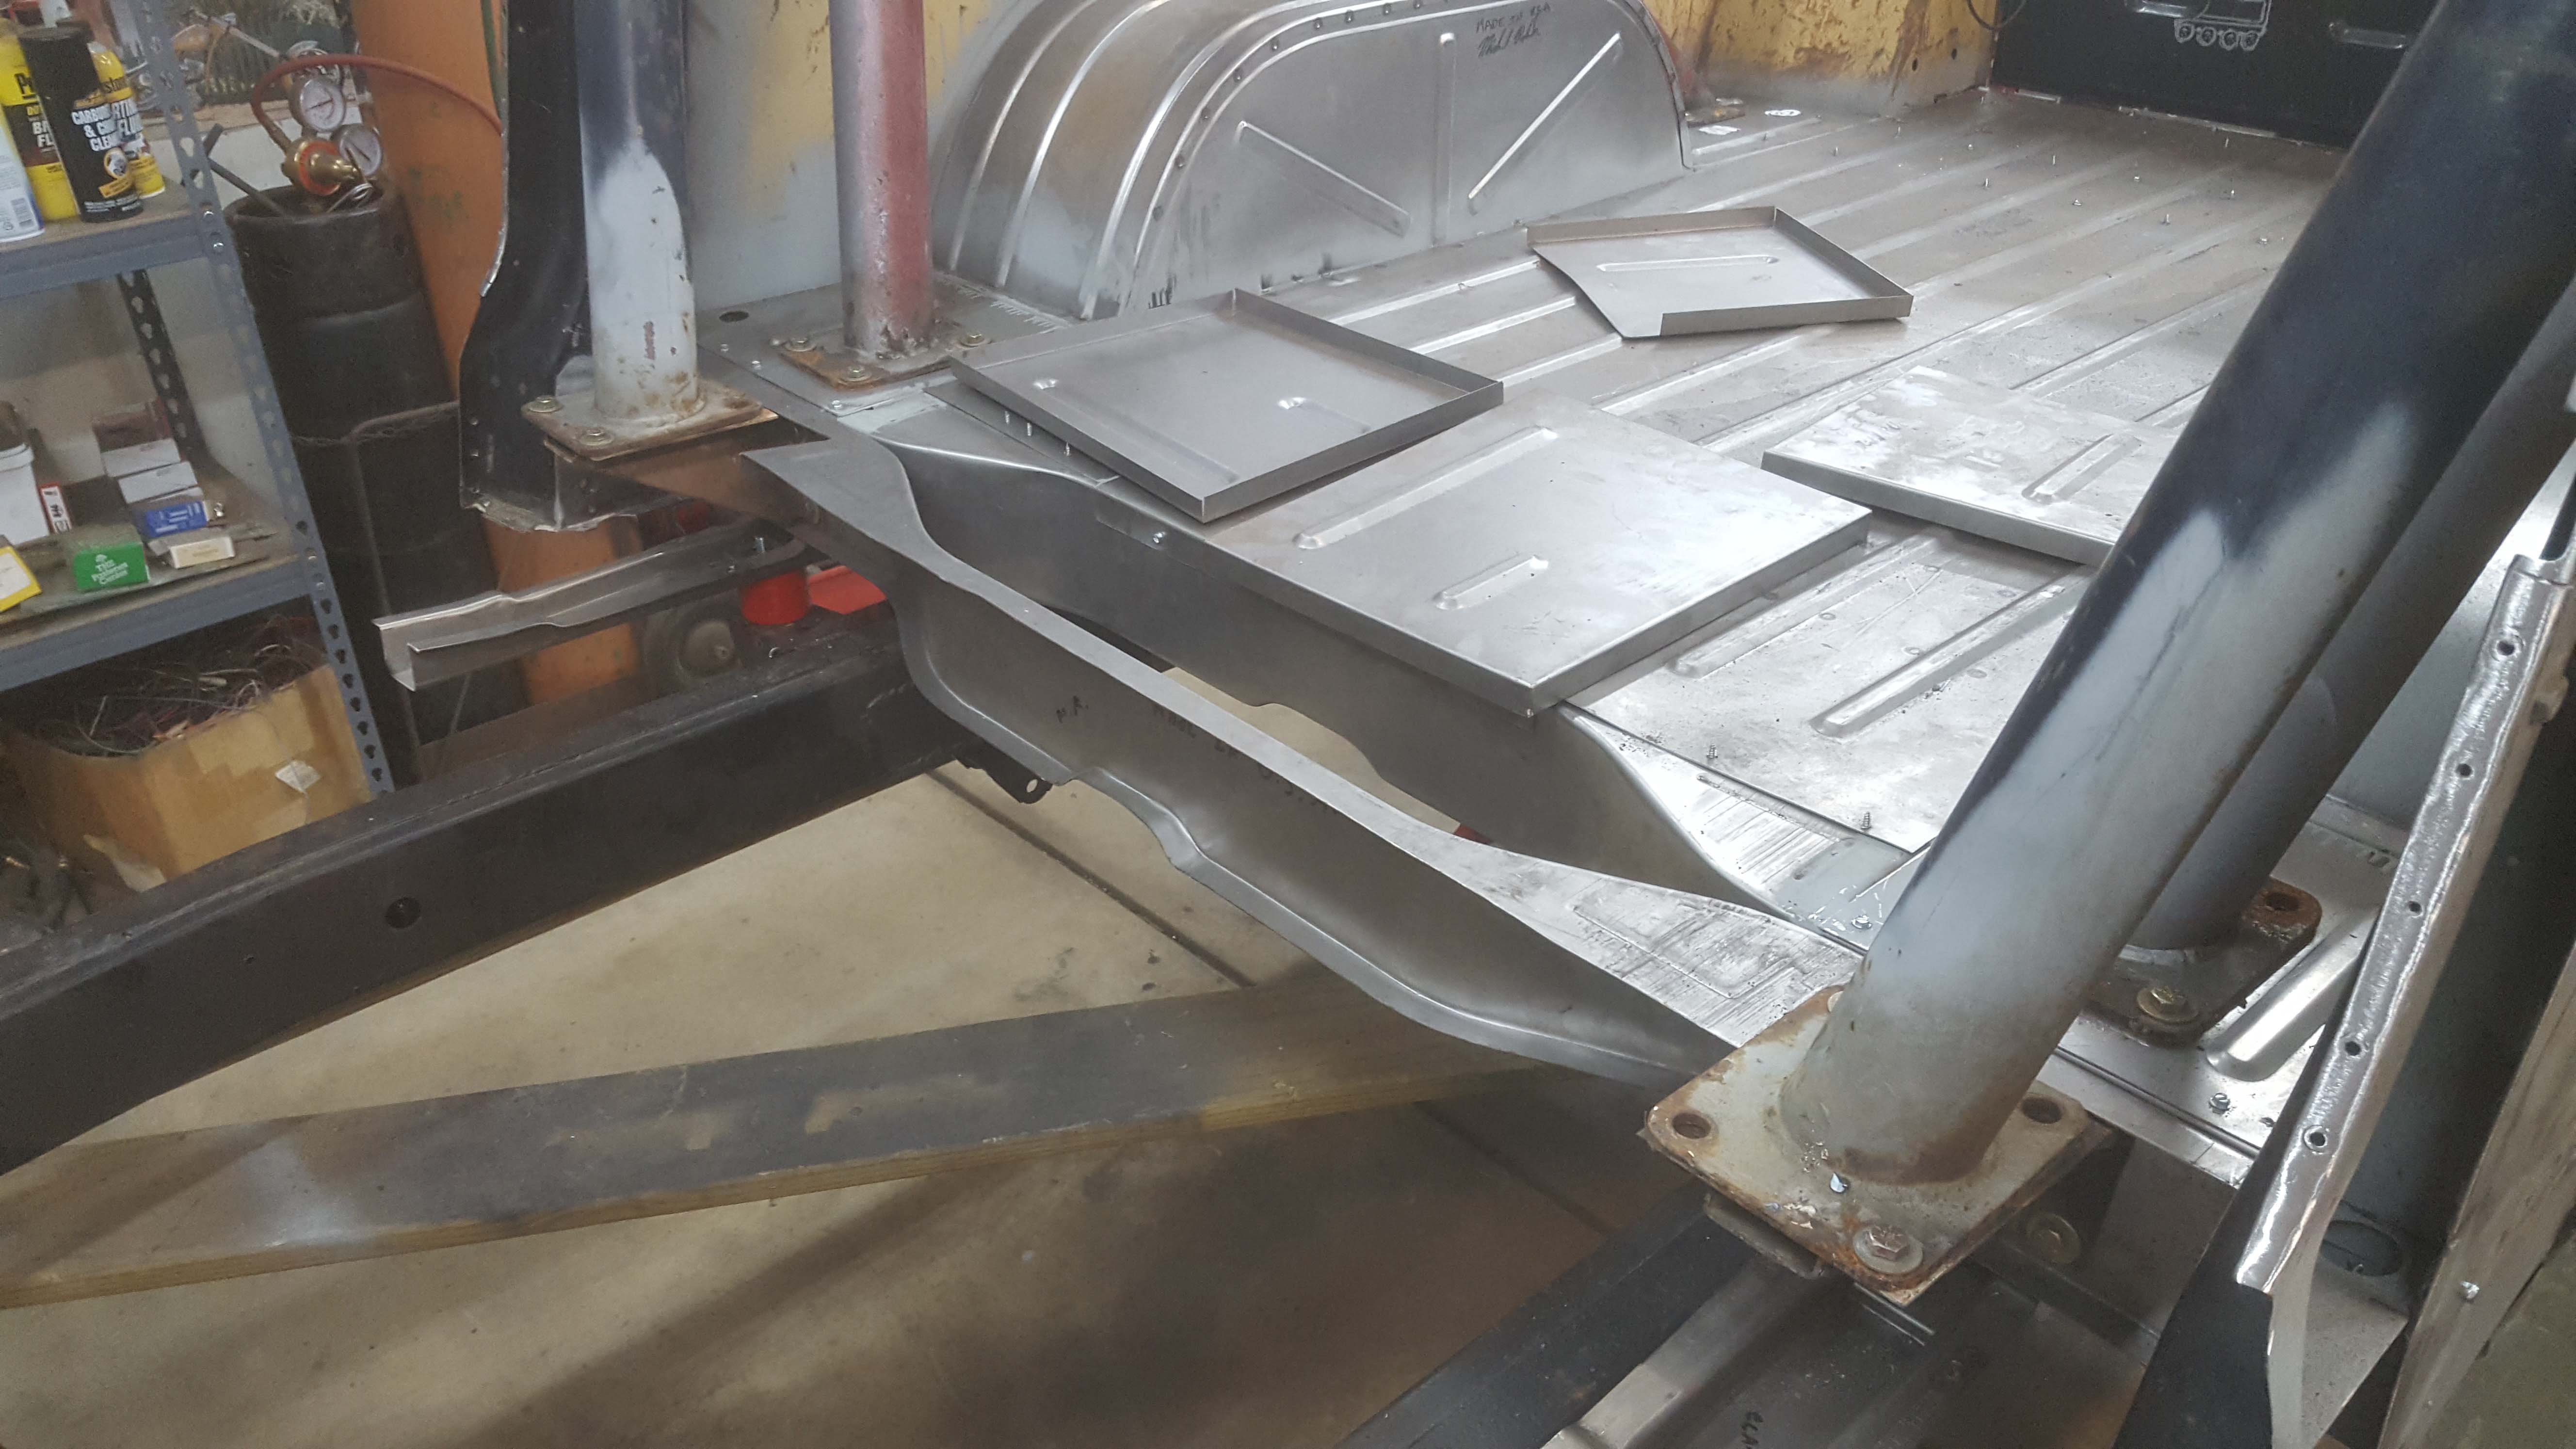
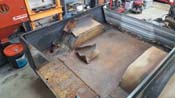
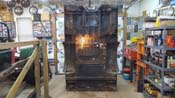
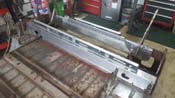
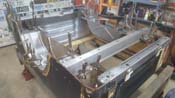
| |
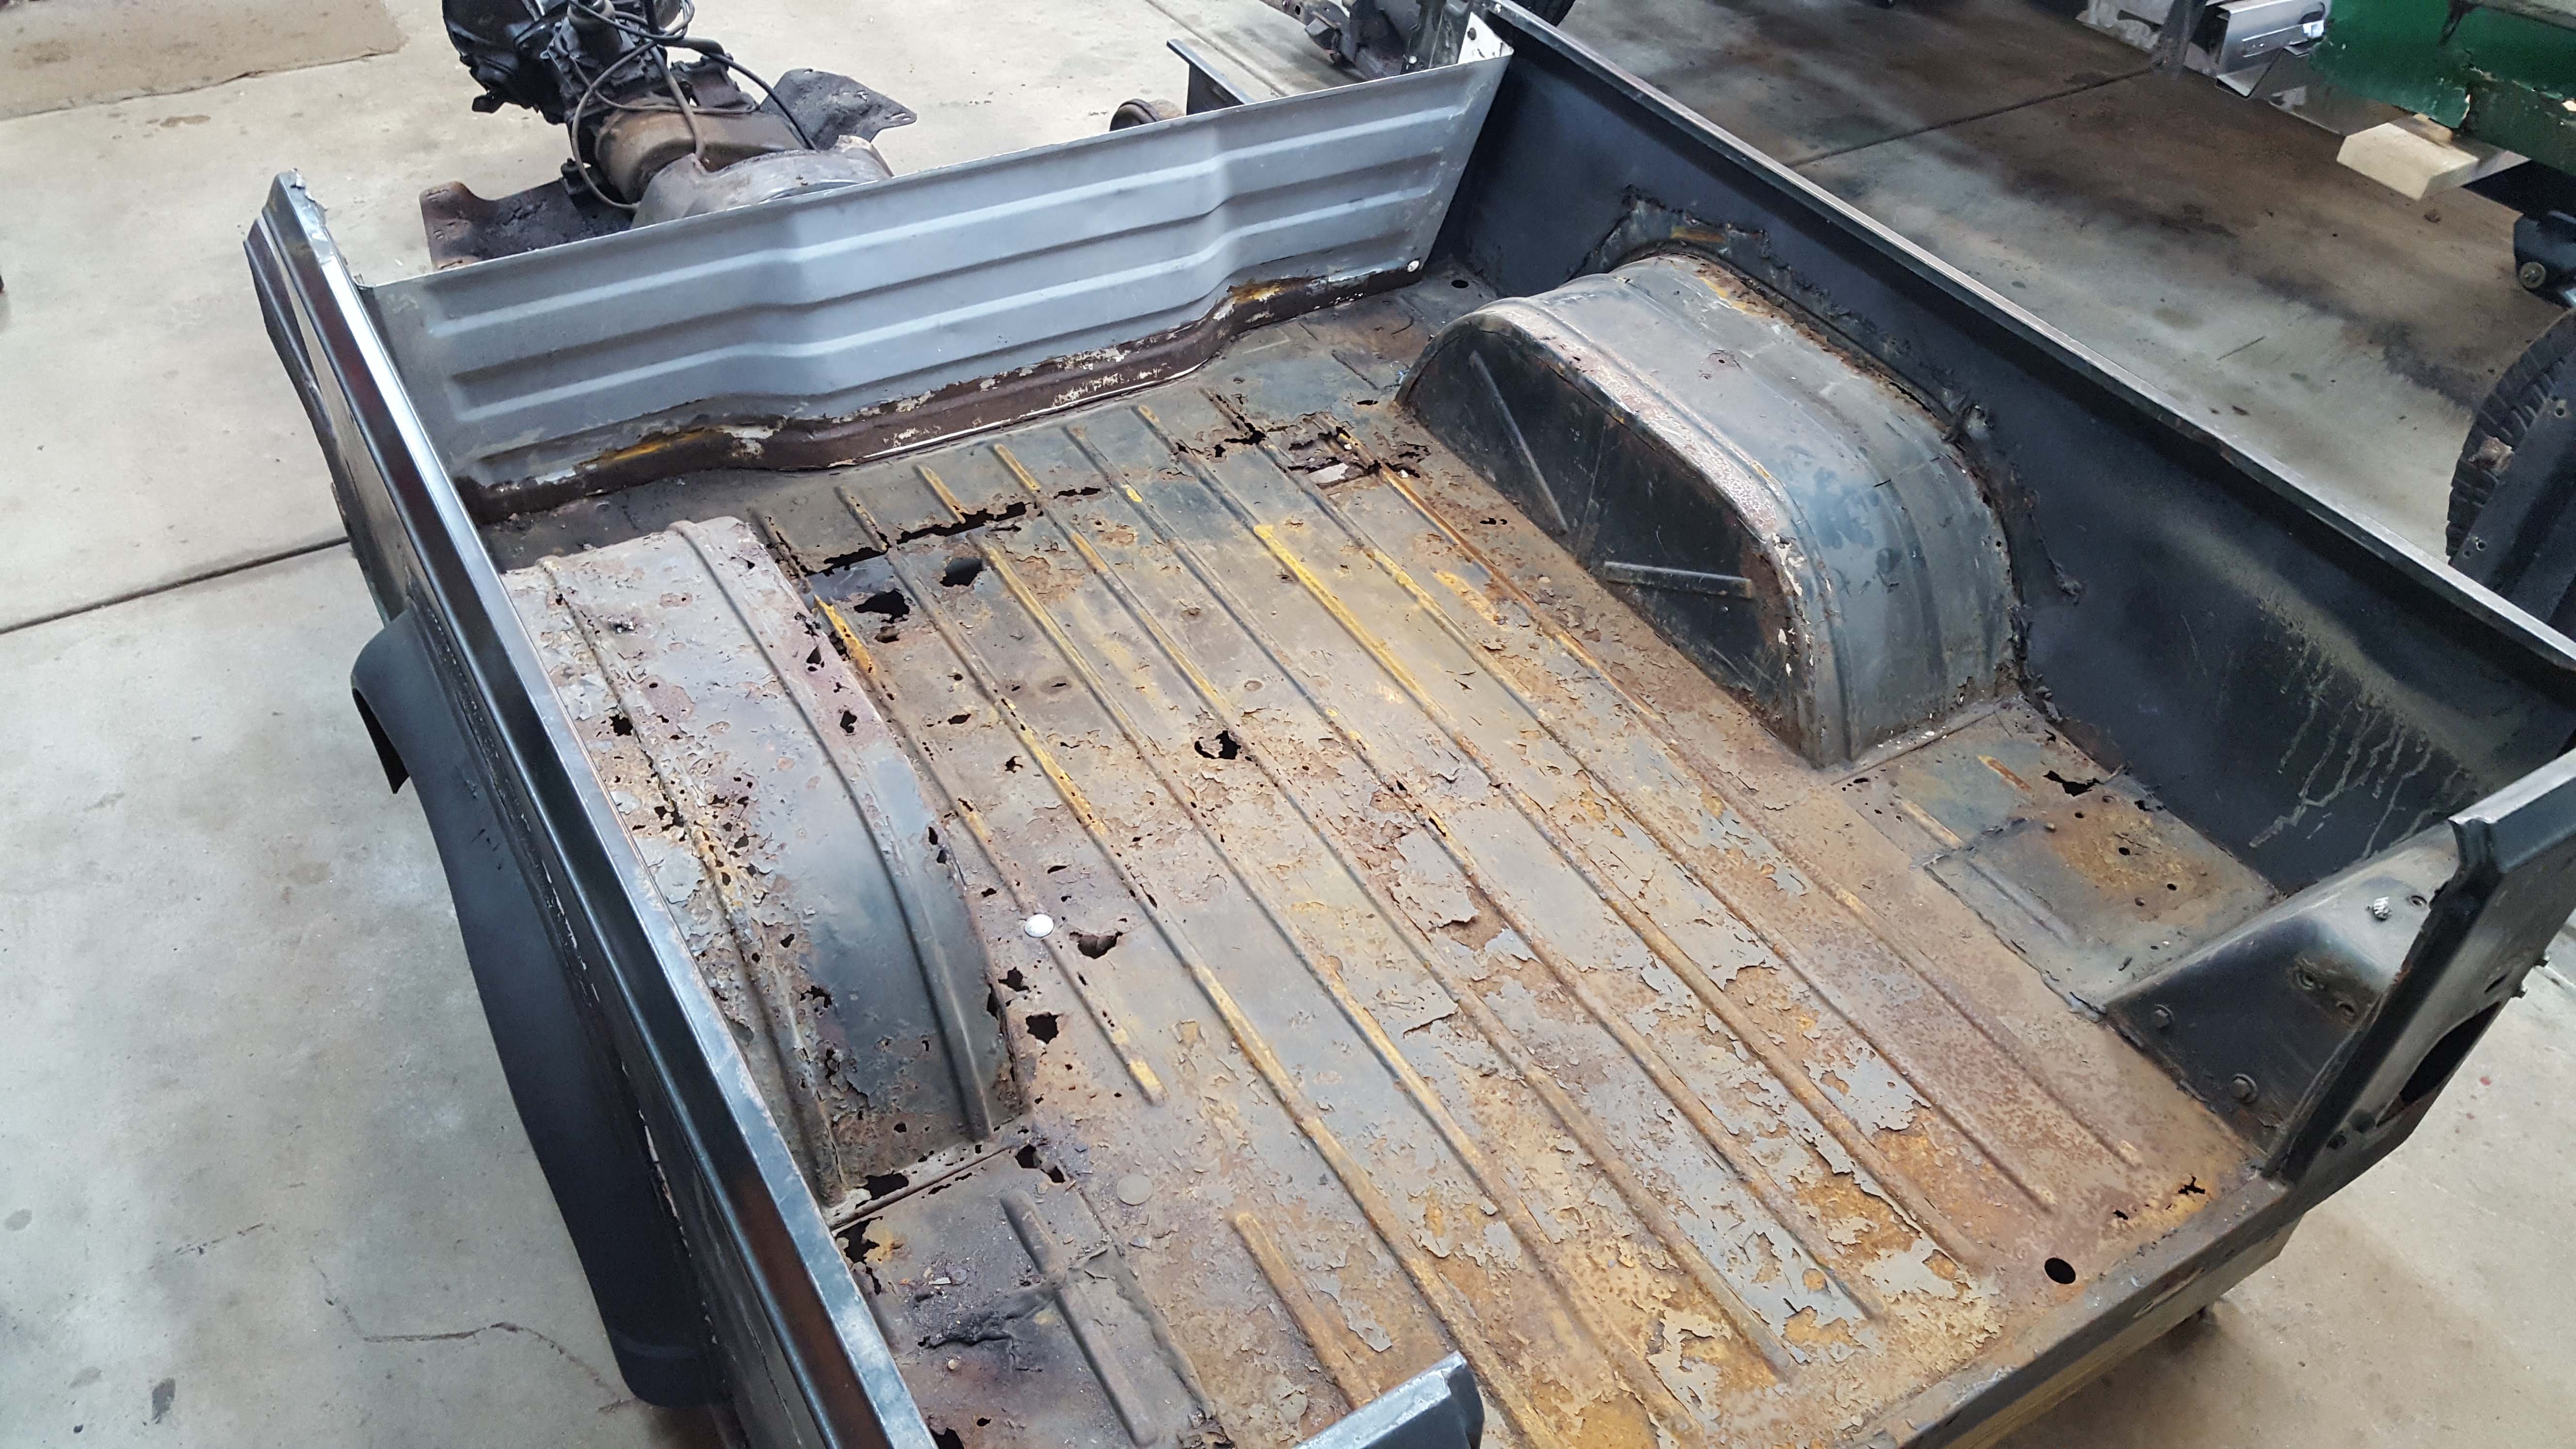
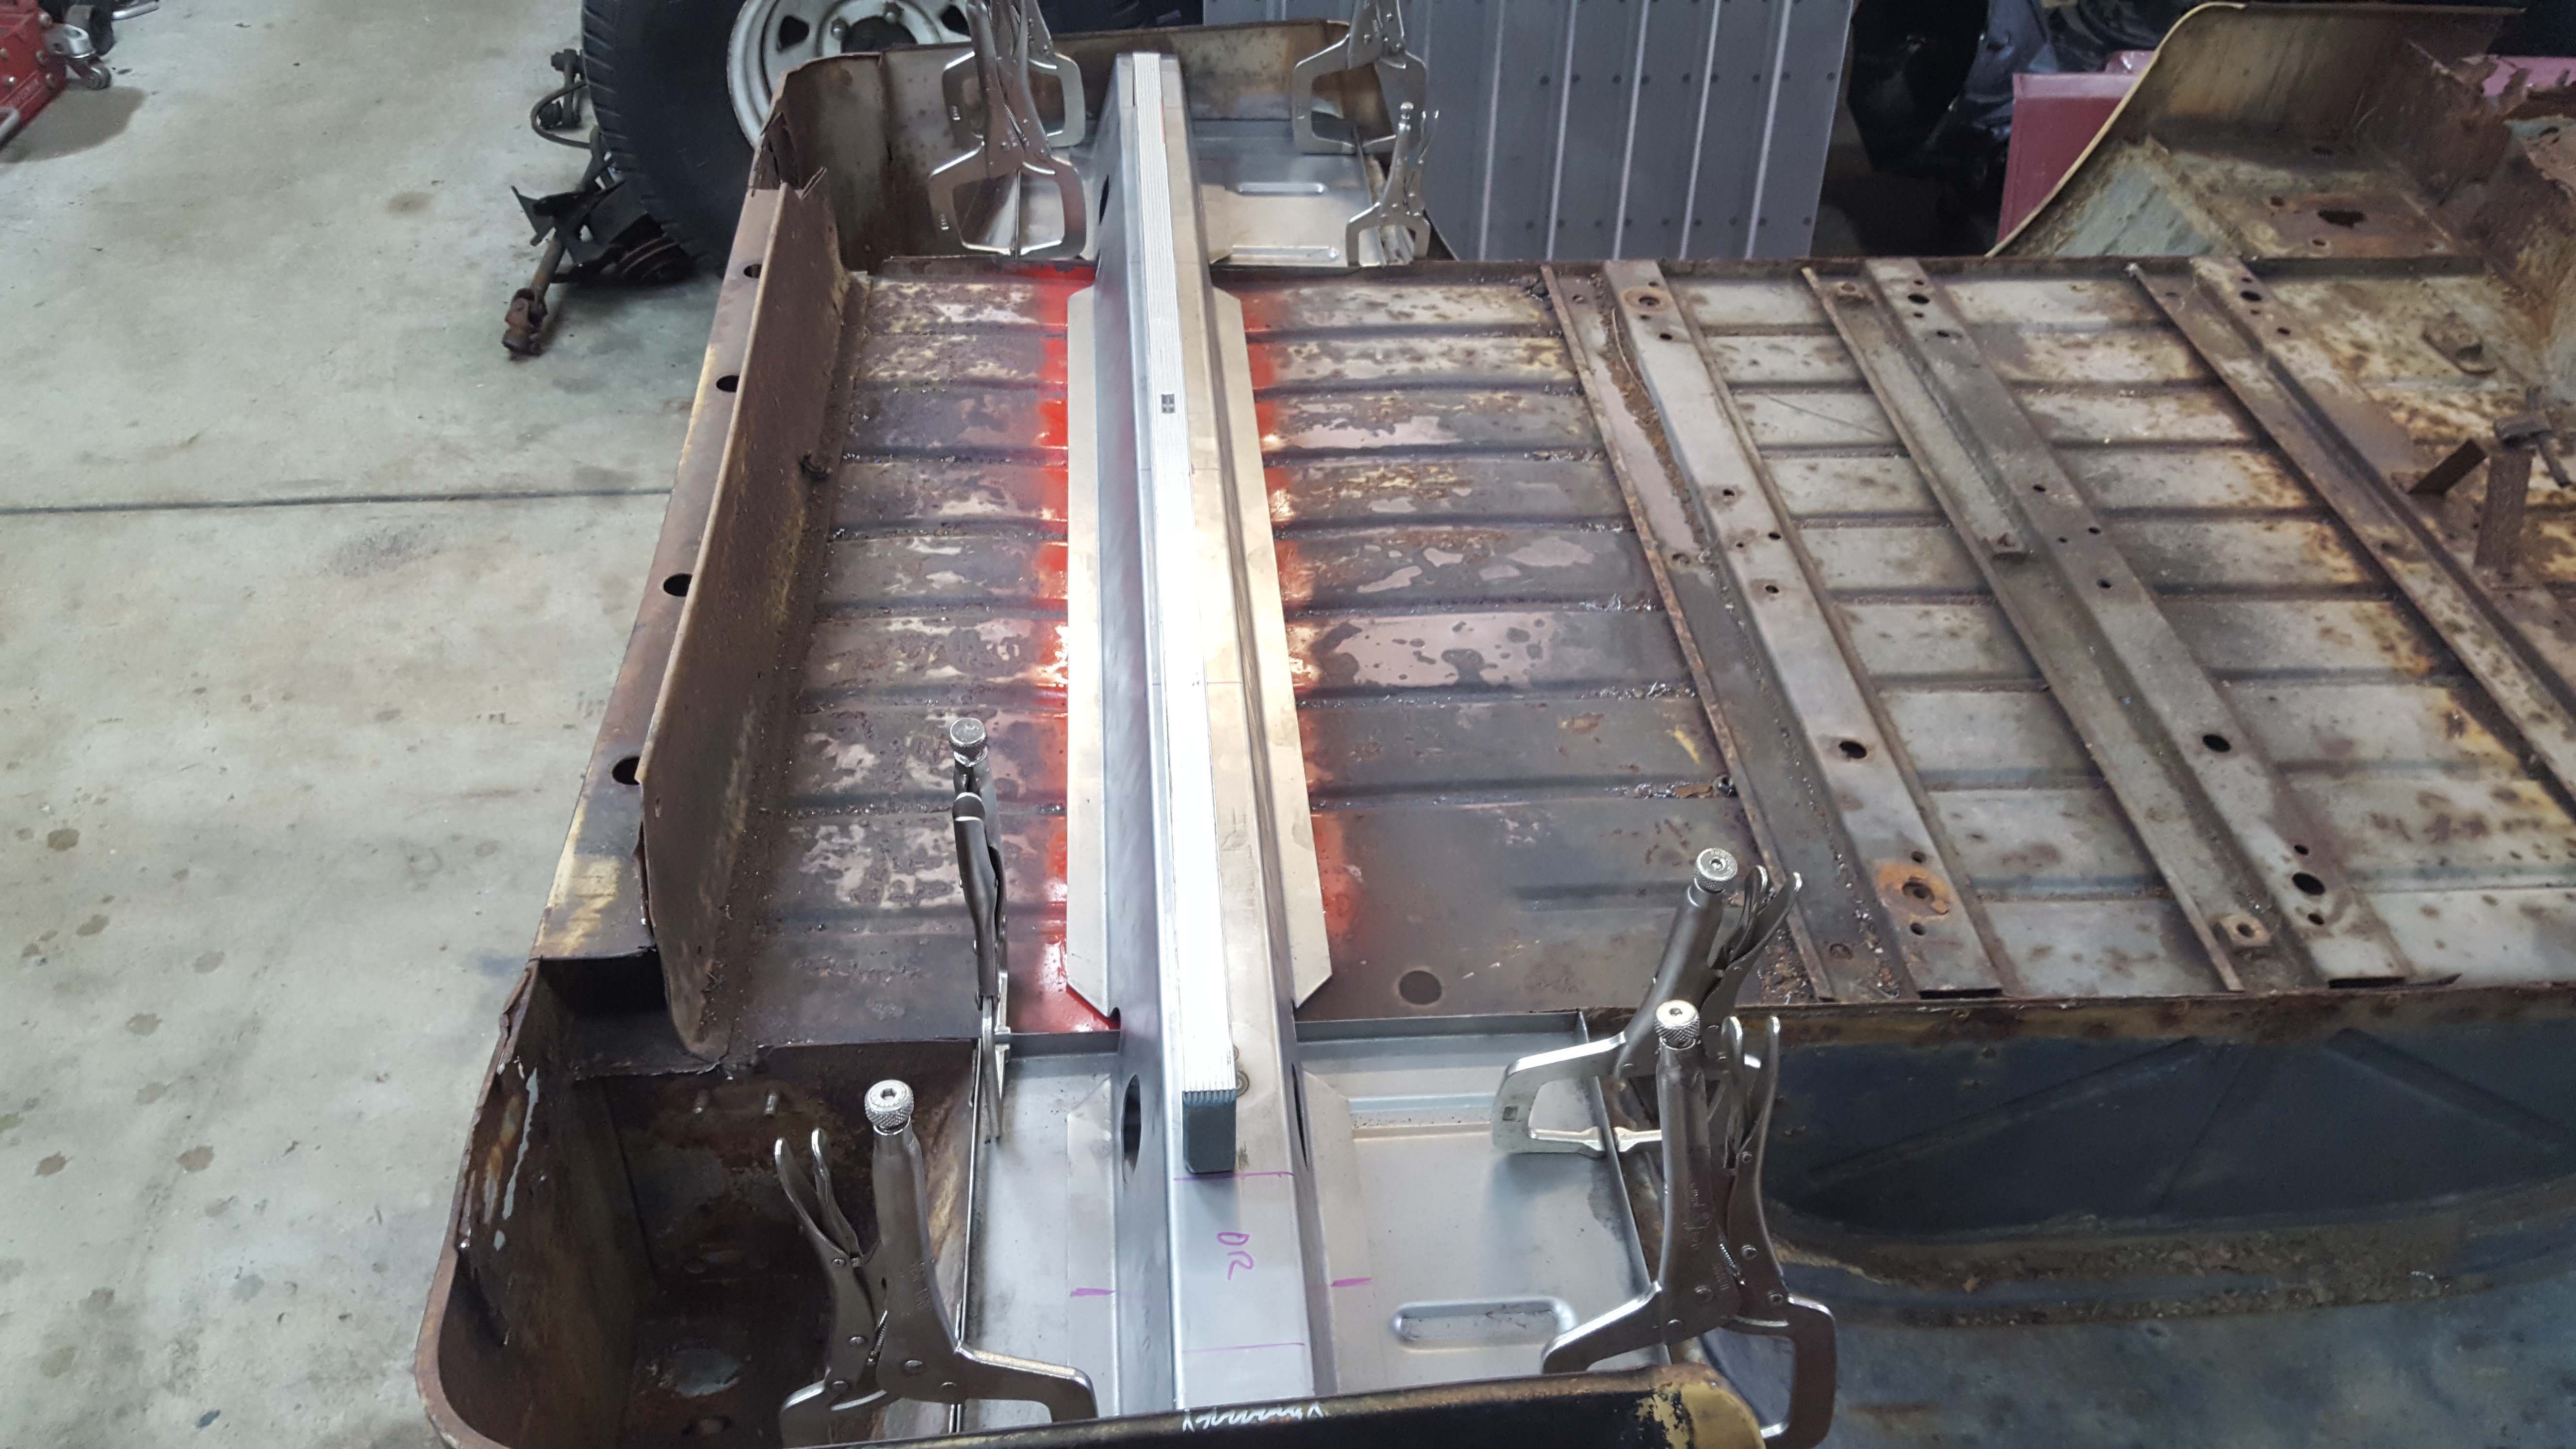
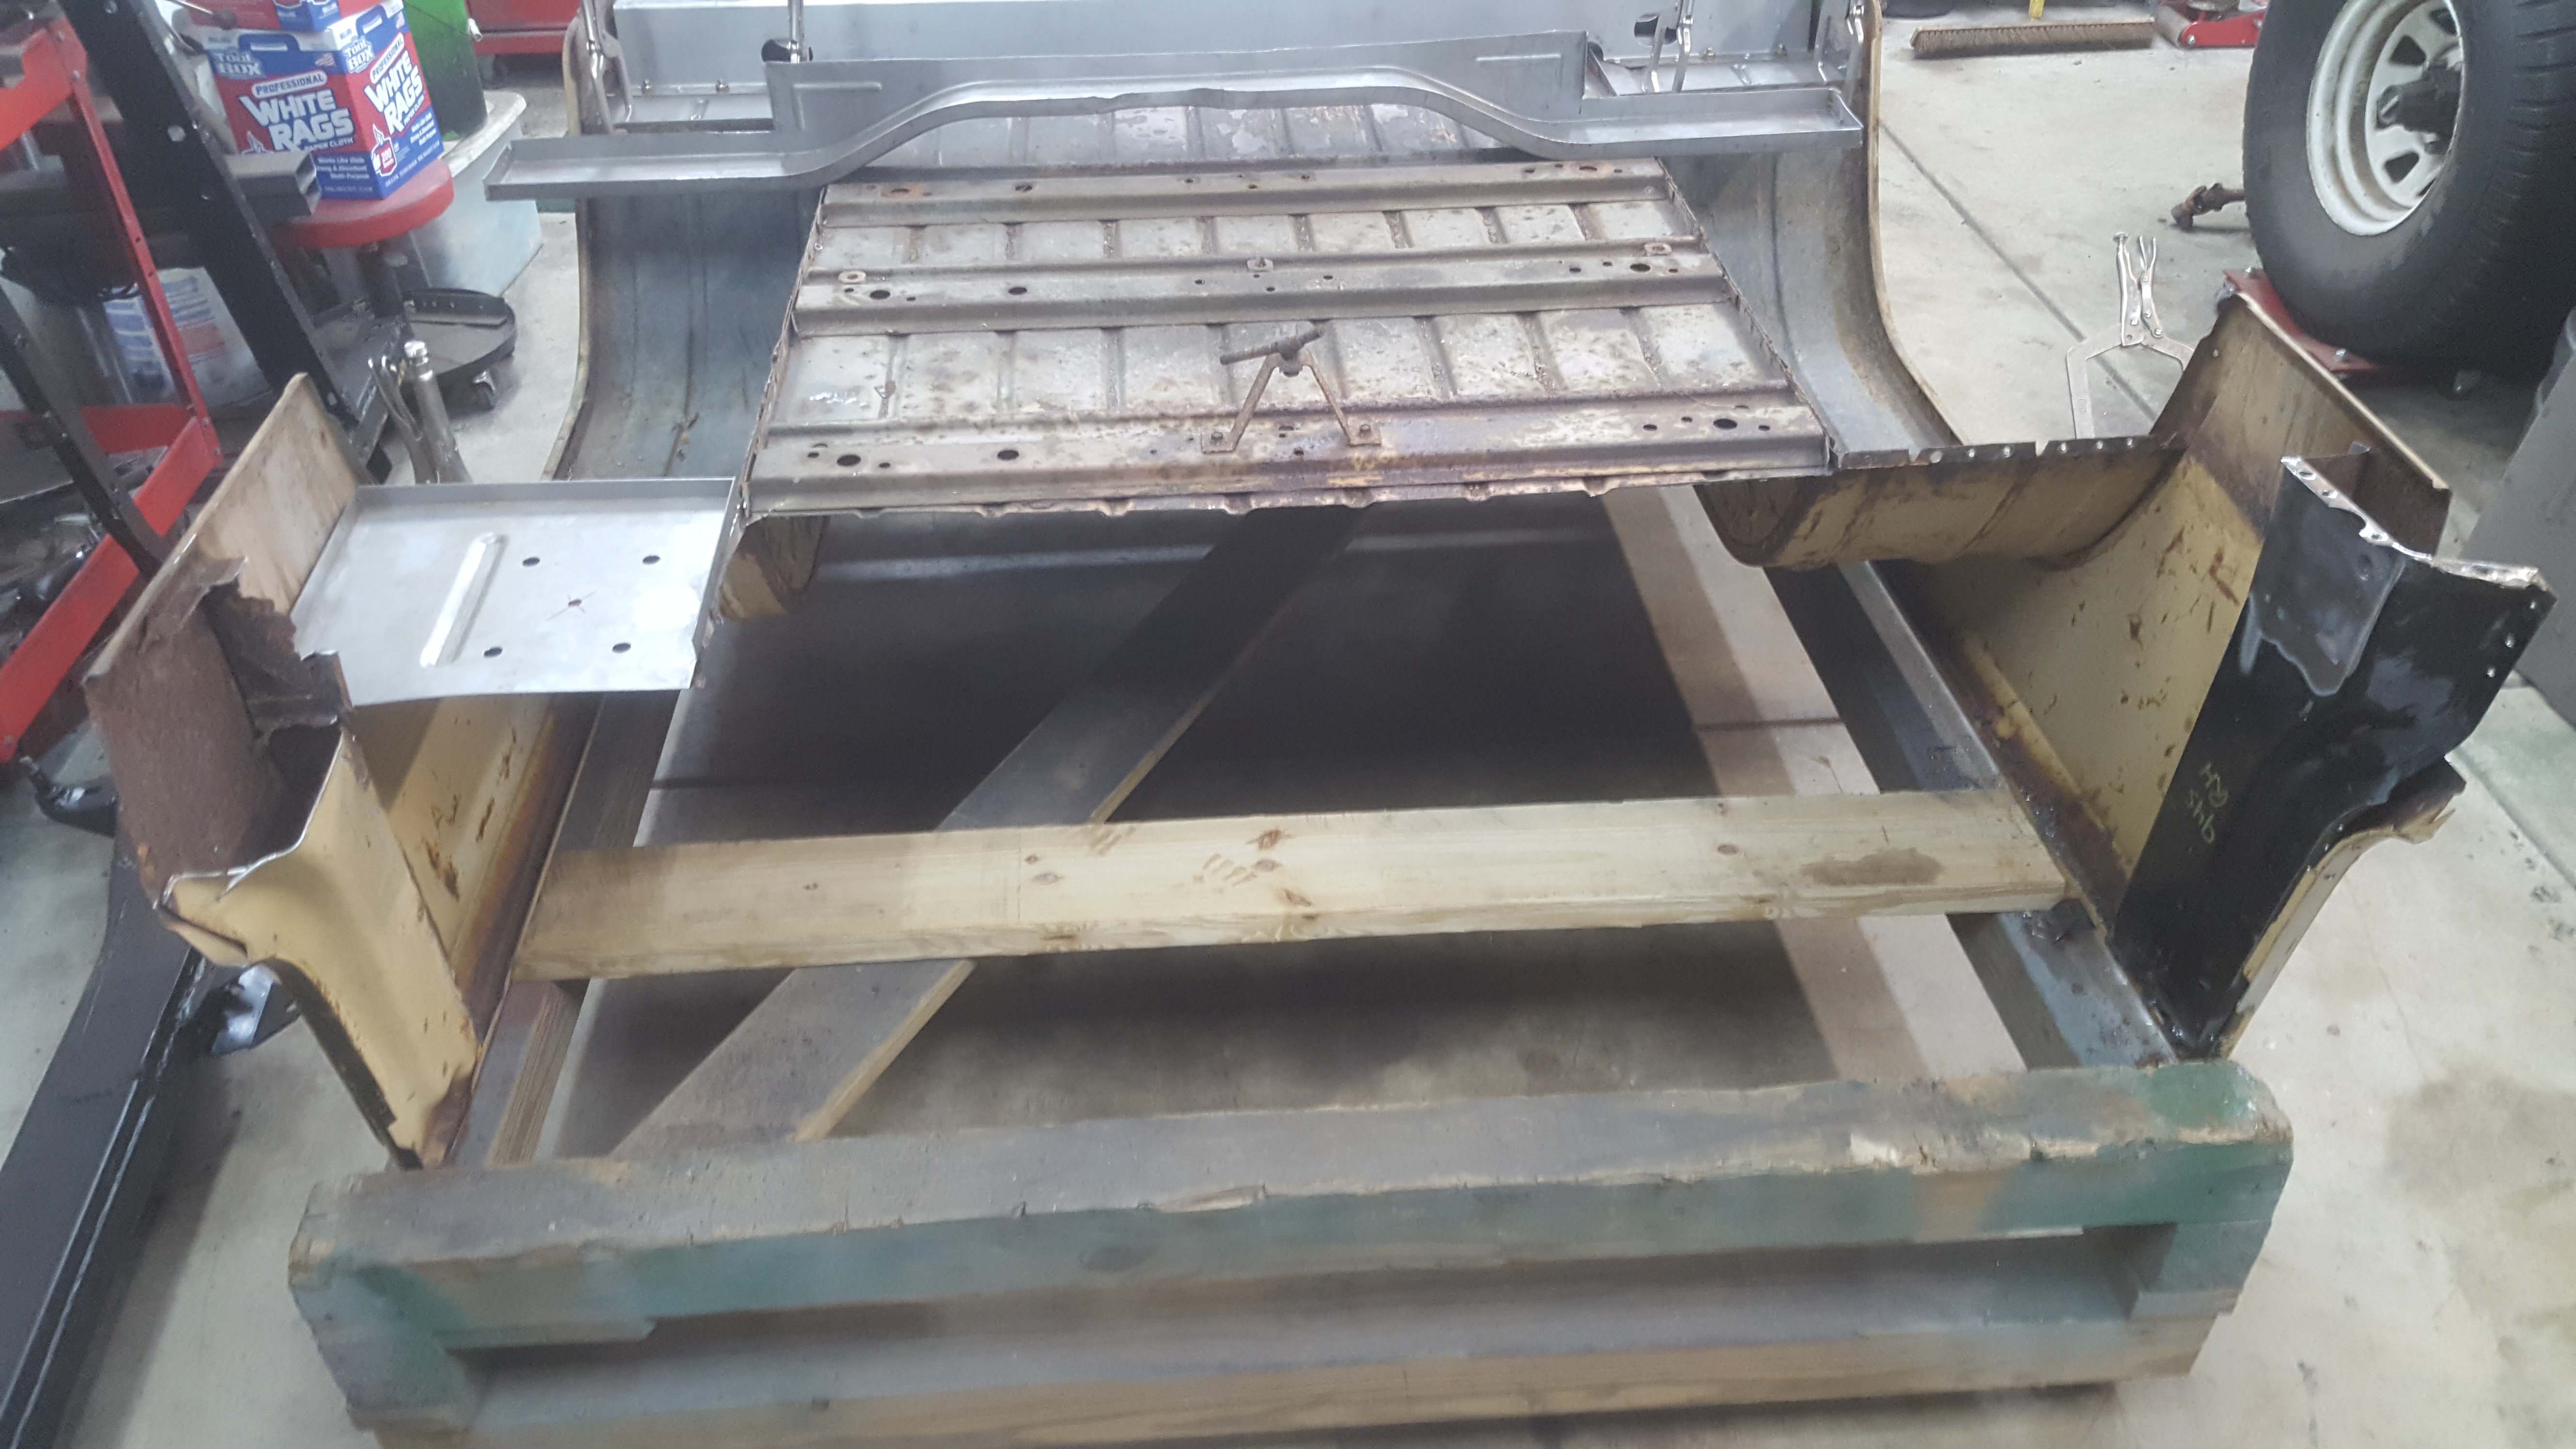
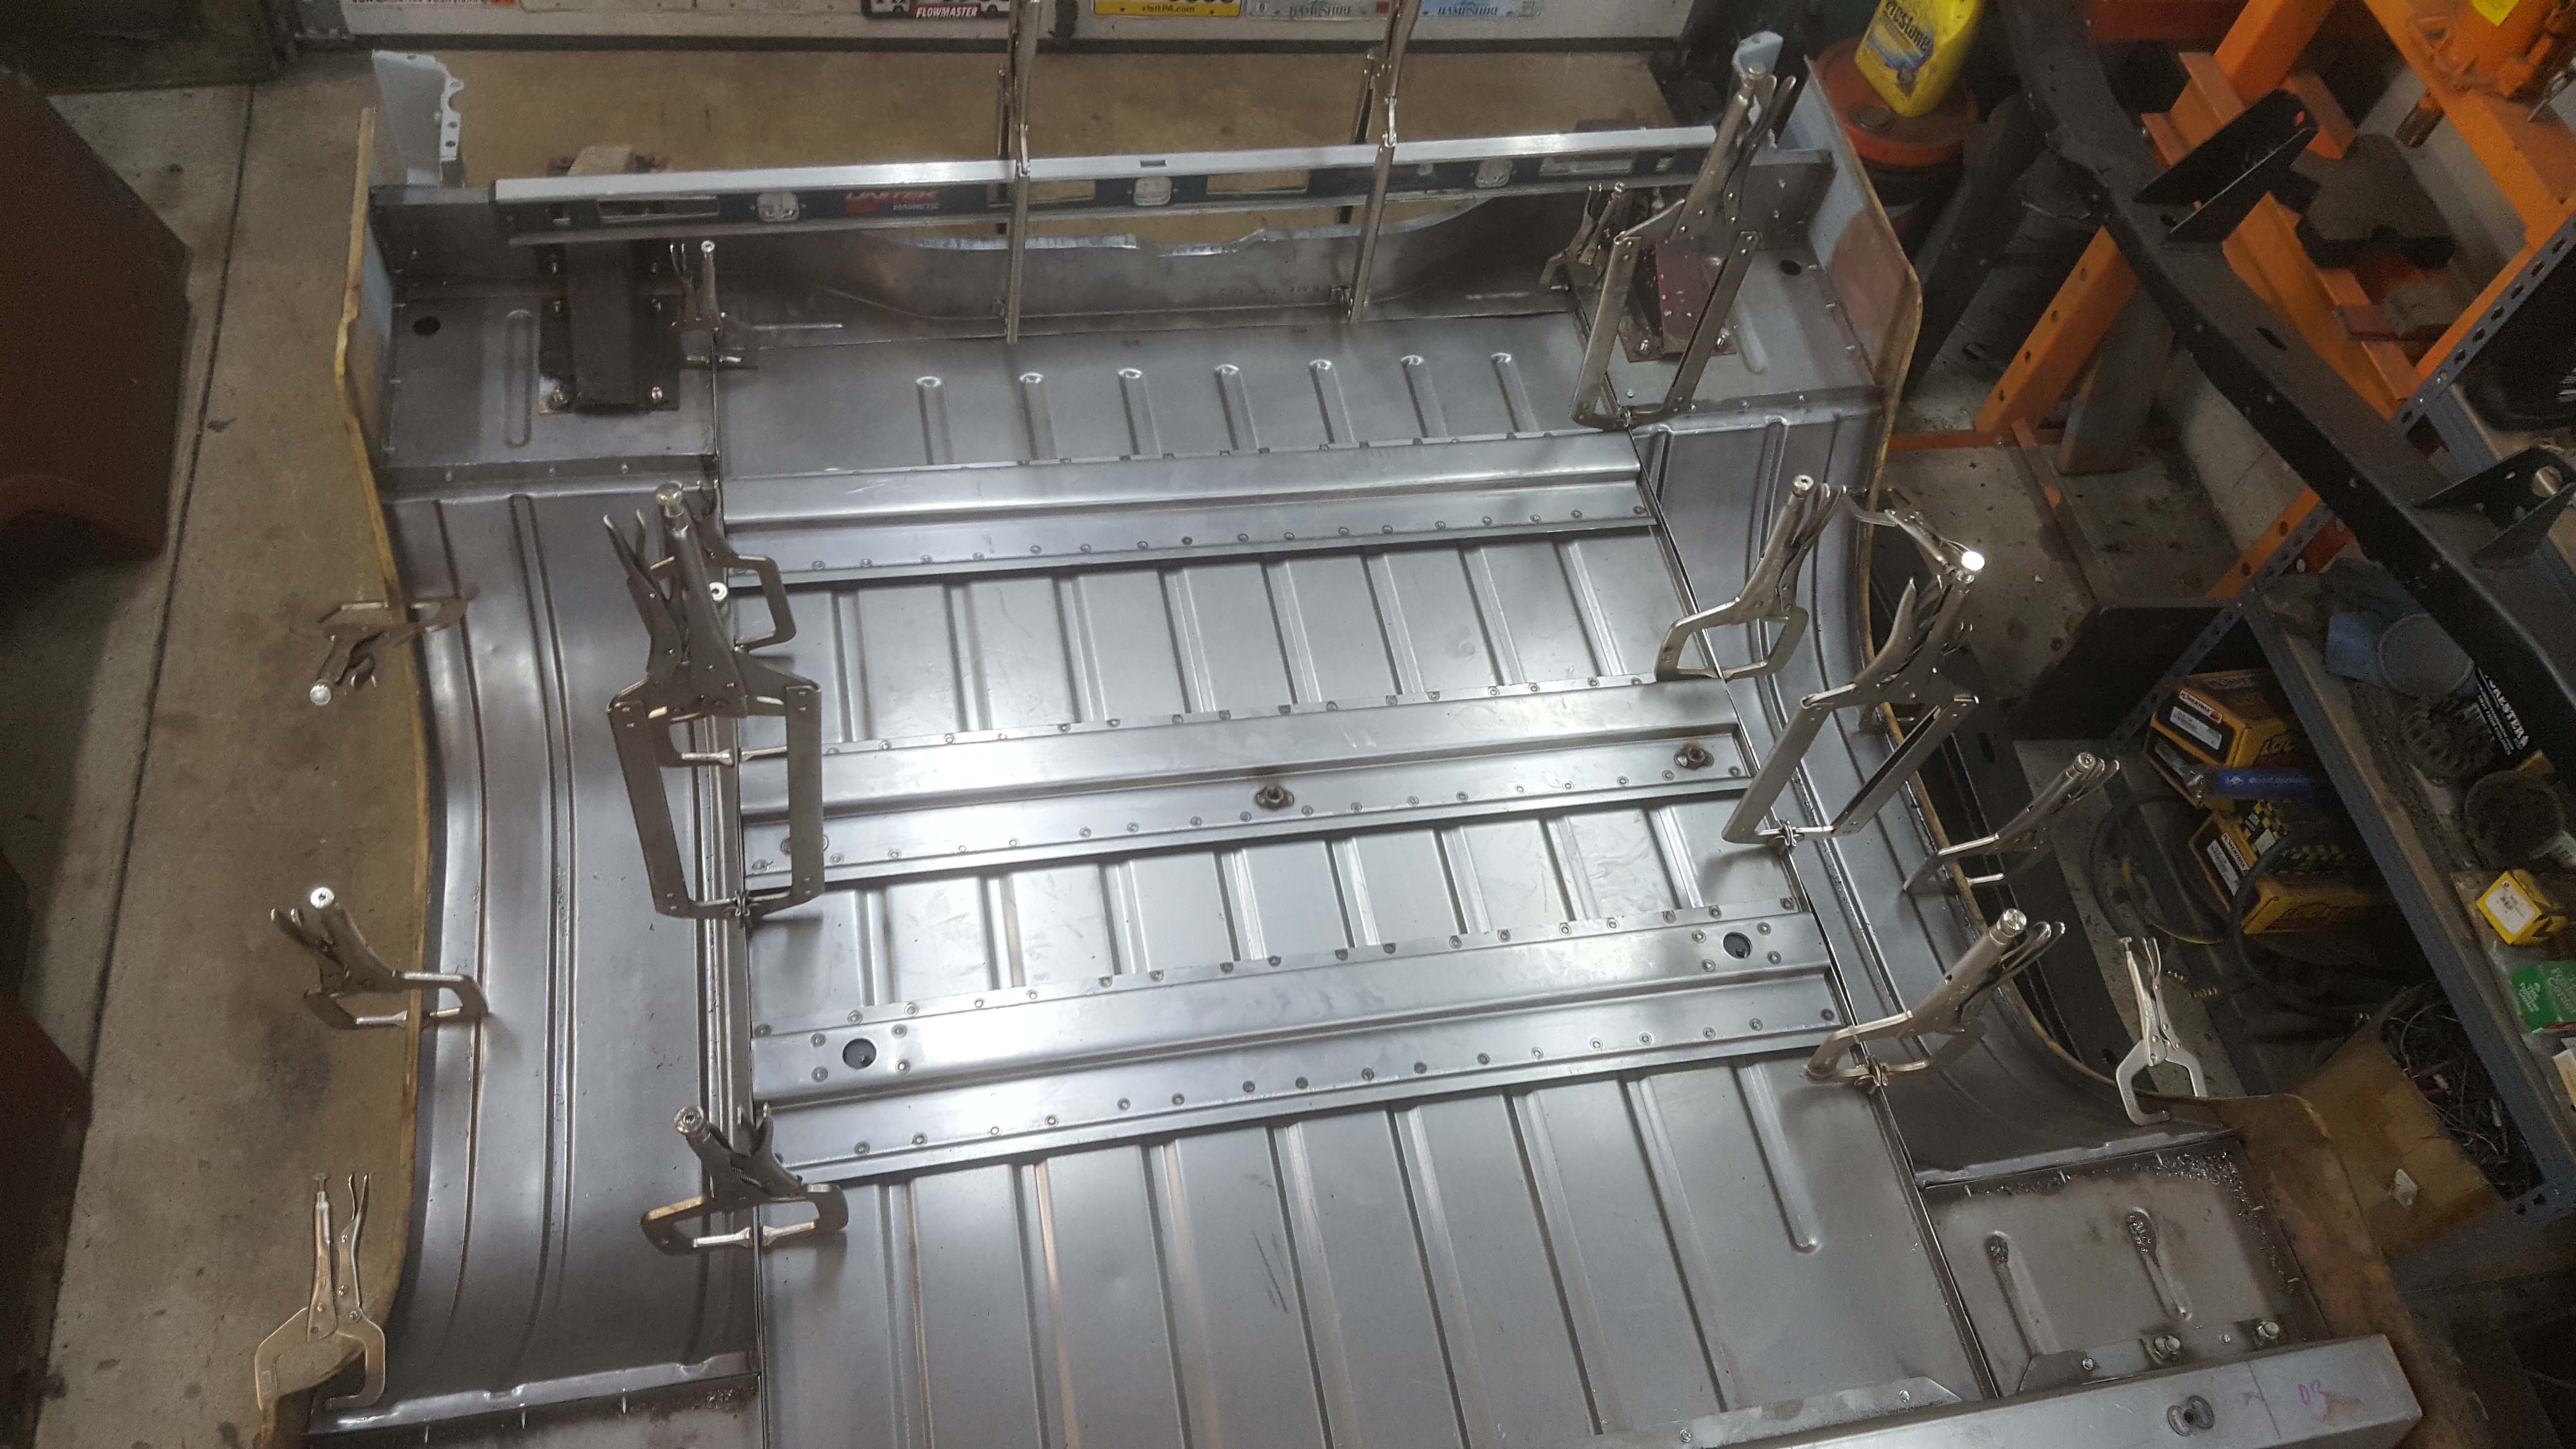
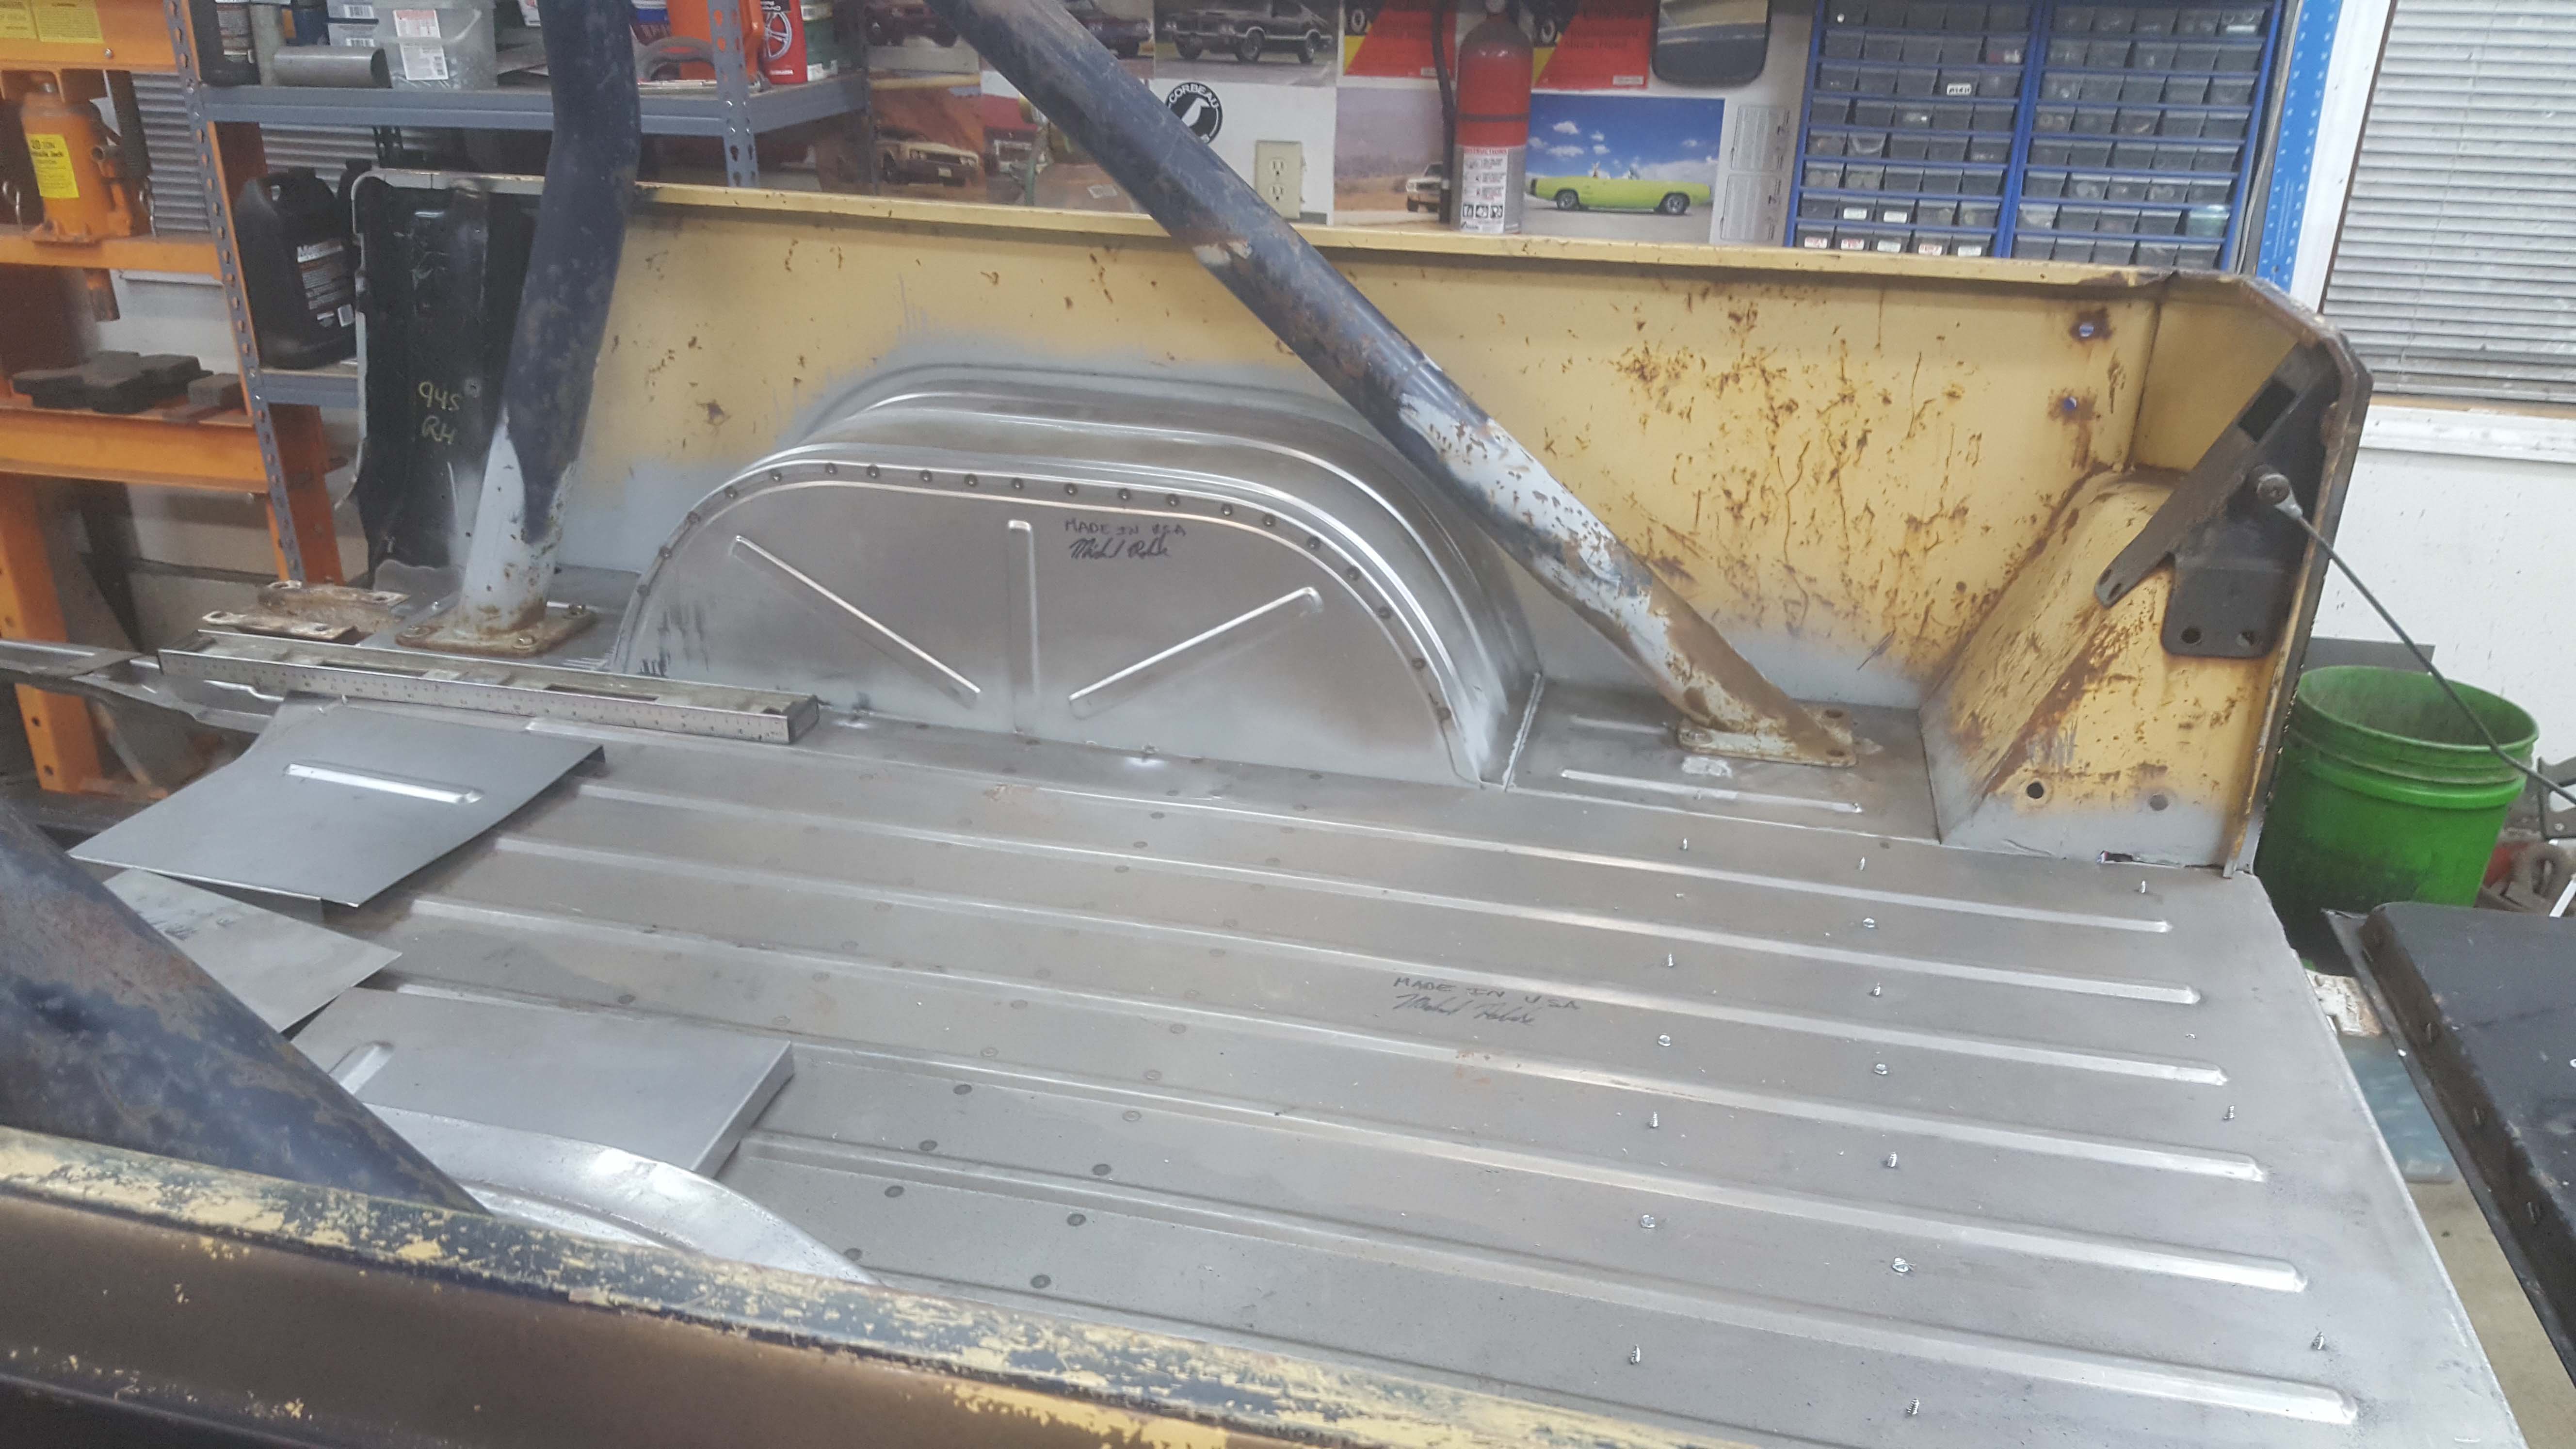
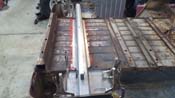
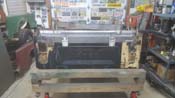
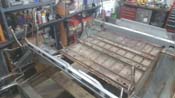
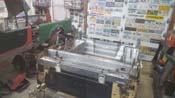
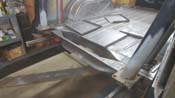
| The bed floor was somewhat tricky as it was so big and I was dealing with the whole operation being upside down
and not as easy to get to, but after it was fitted (with a ton of clamps), a few screws were put in place and I was off to Harbor Freight to find a
cheap spot welder to see how that could help. I had read that they were pretty good and not much money, so off I went. It turned out great and
saved a TON of time. I still need to weld up stuff that the spot welder can't get to, but all in all, I am very happy with the results.
|
| |
|
|

|
|
|
|
|
|

|

|
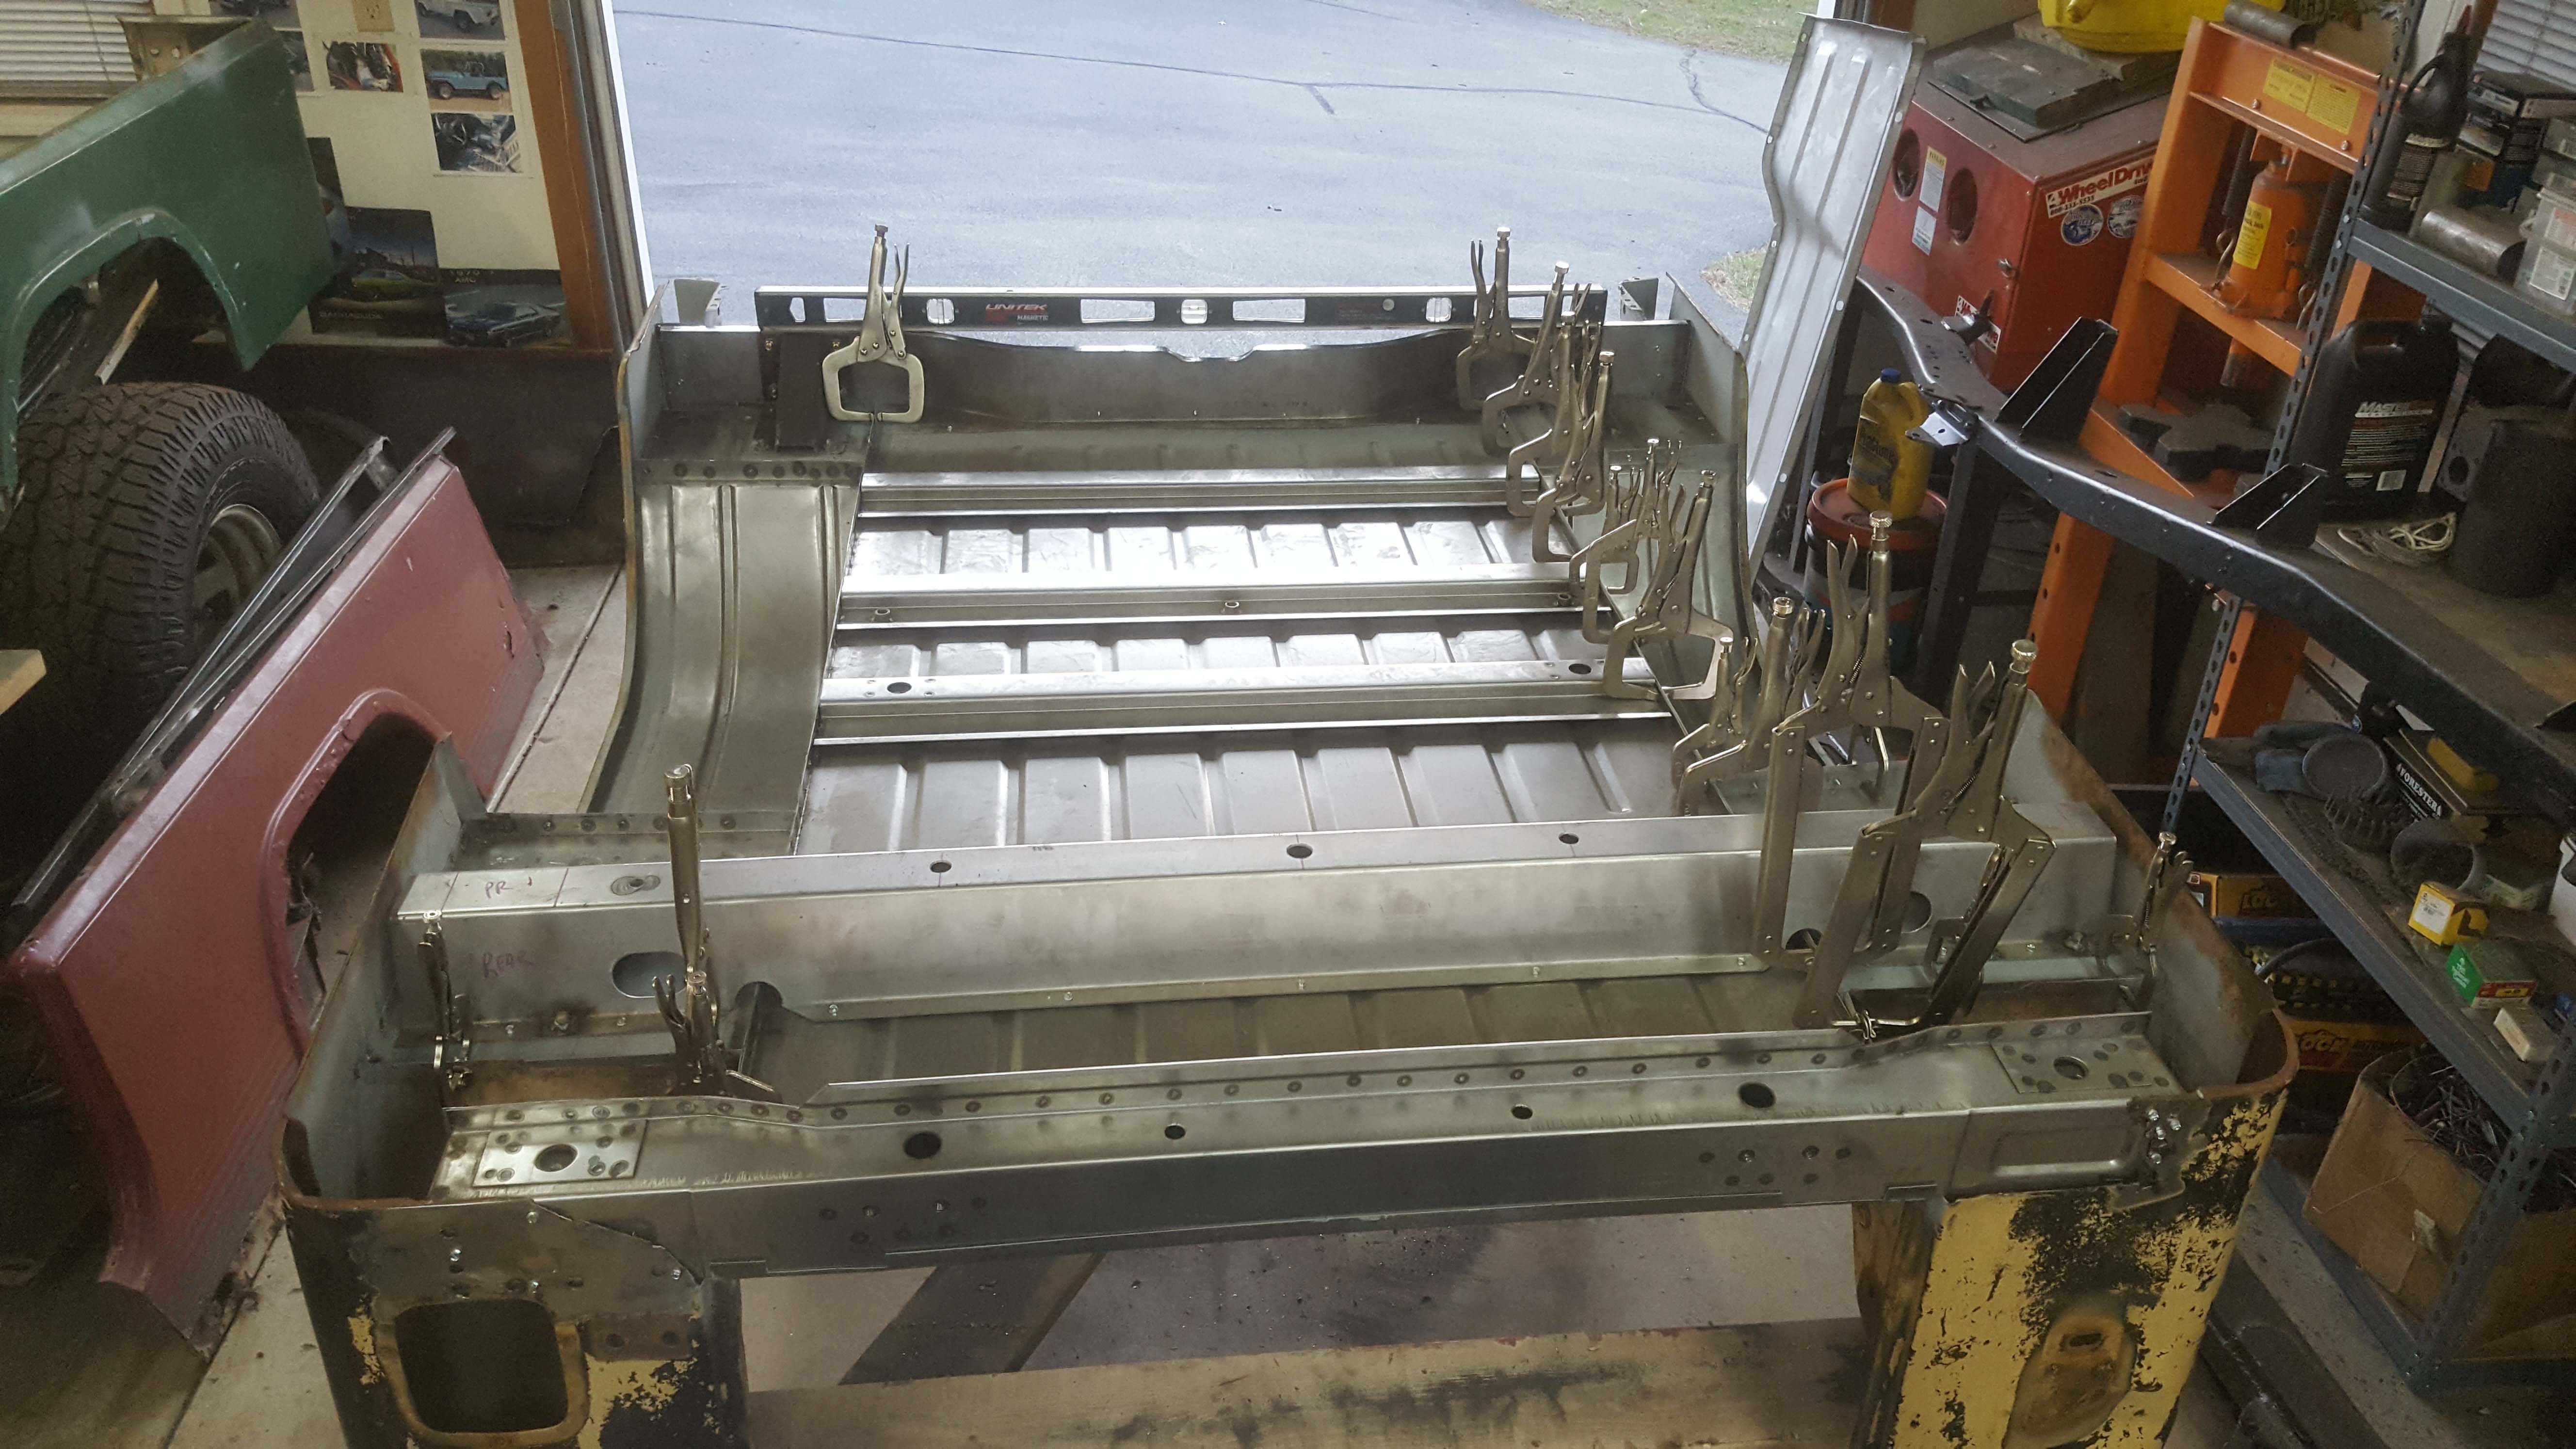
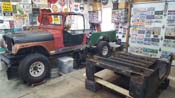
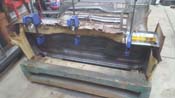
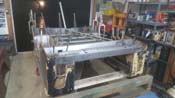
| |
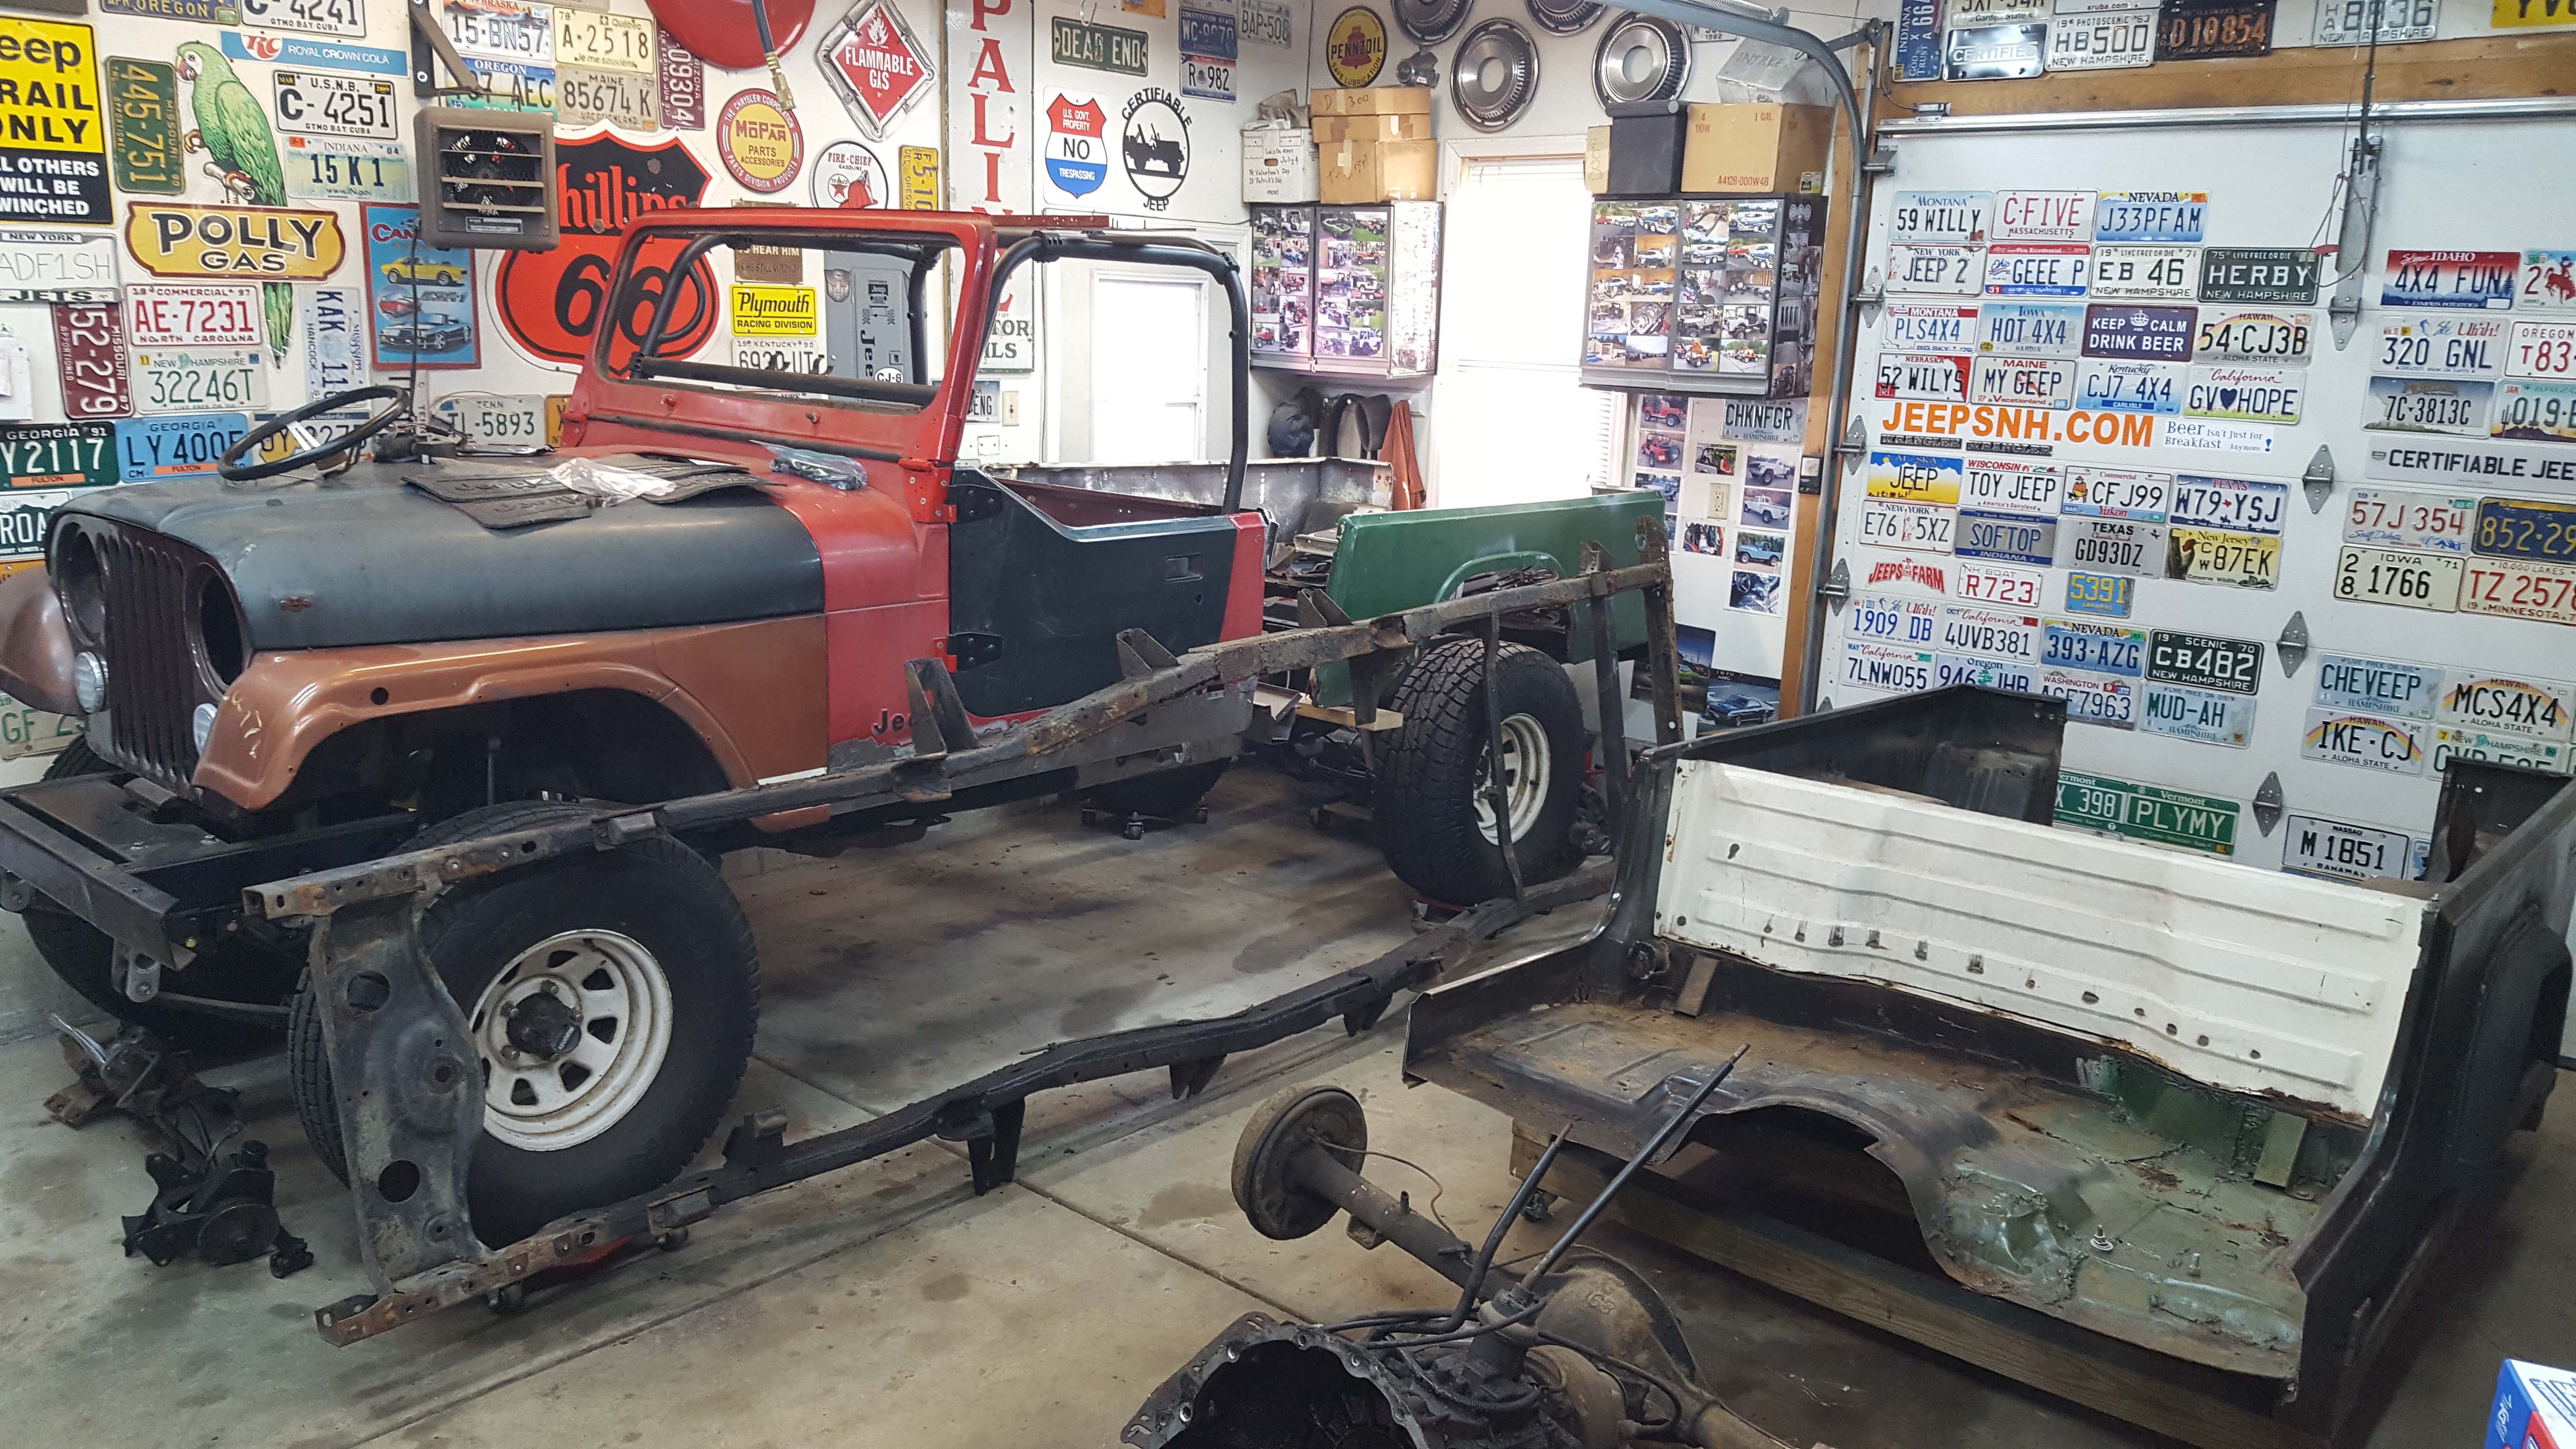
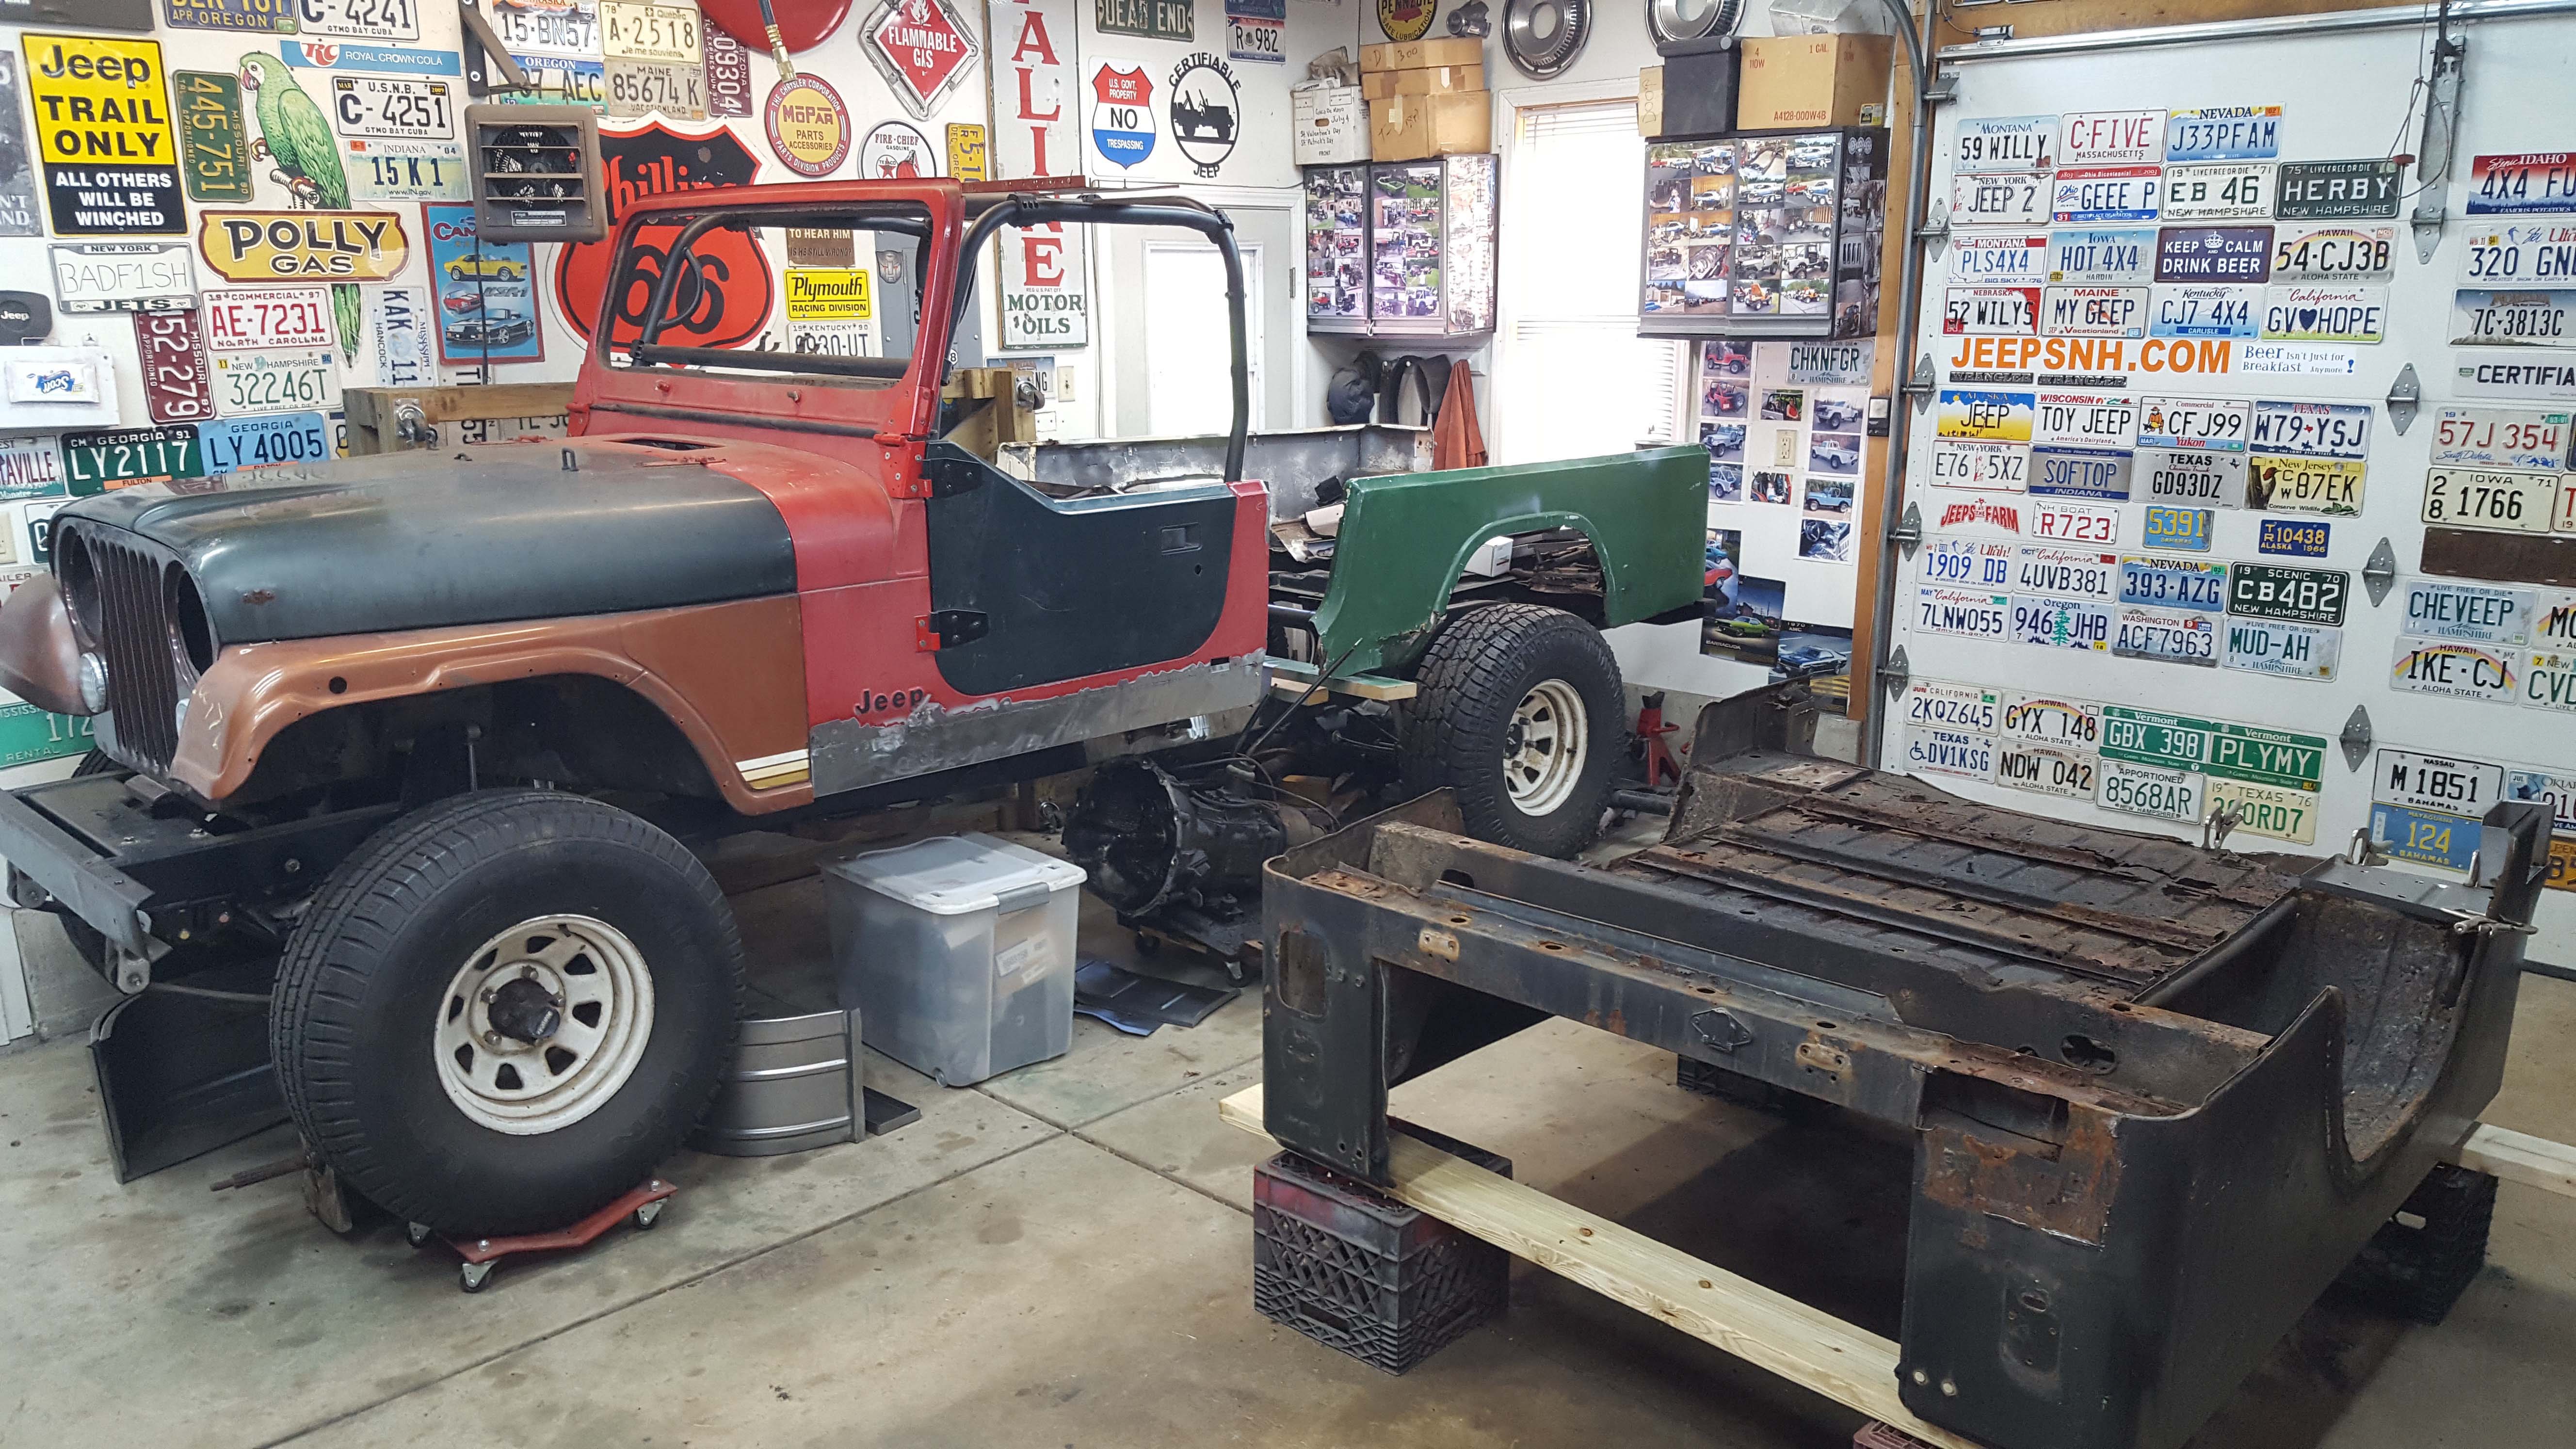
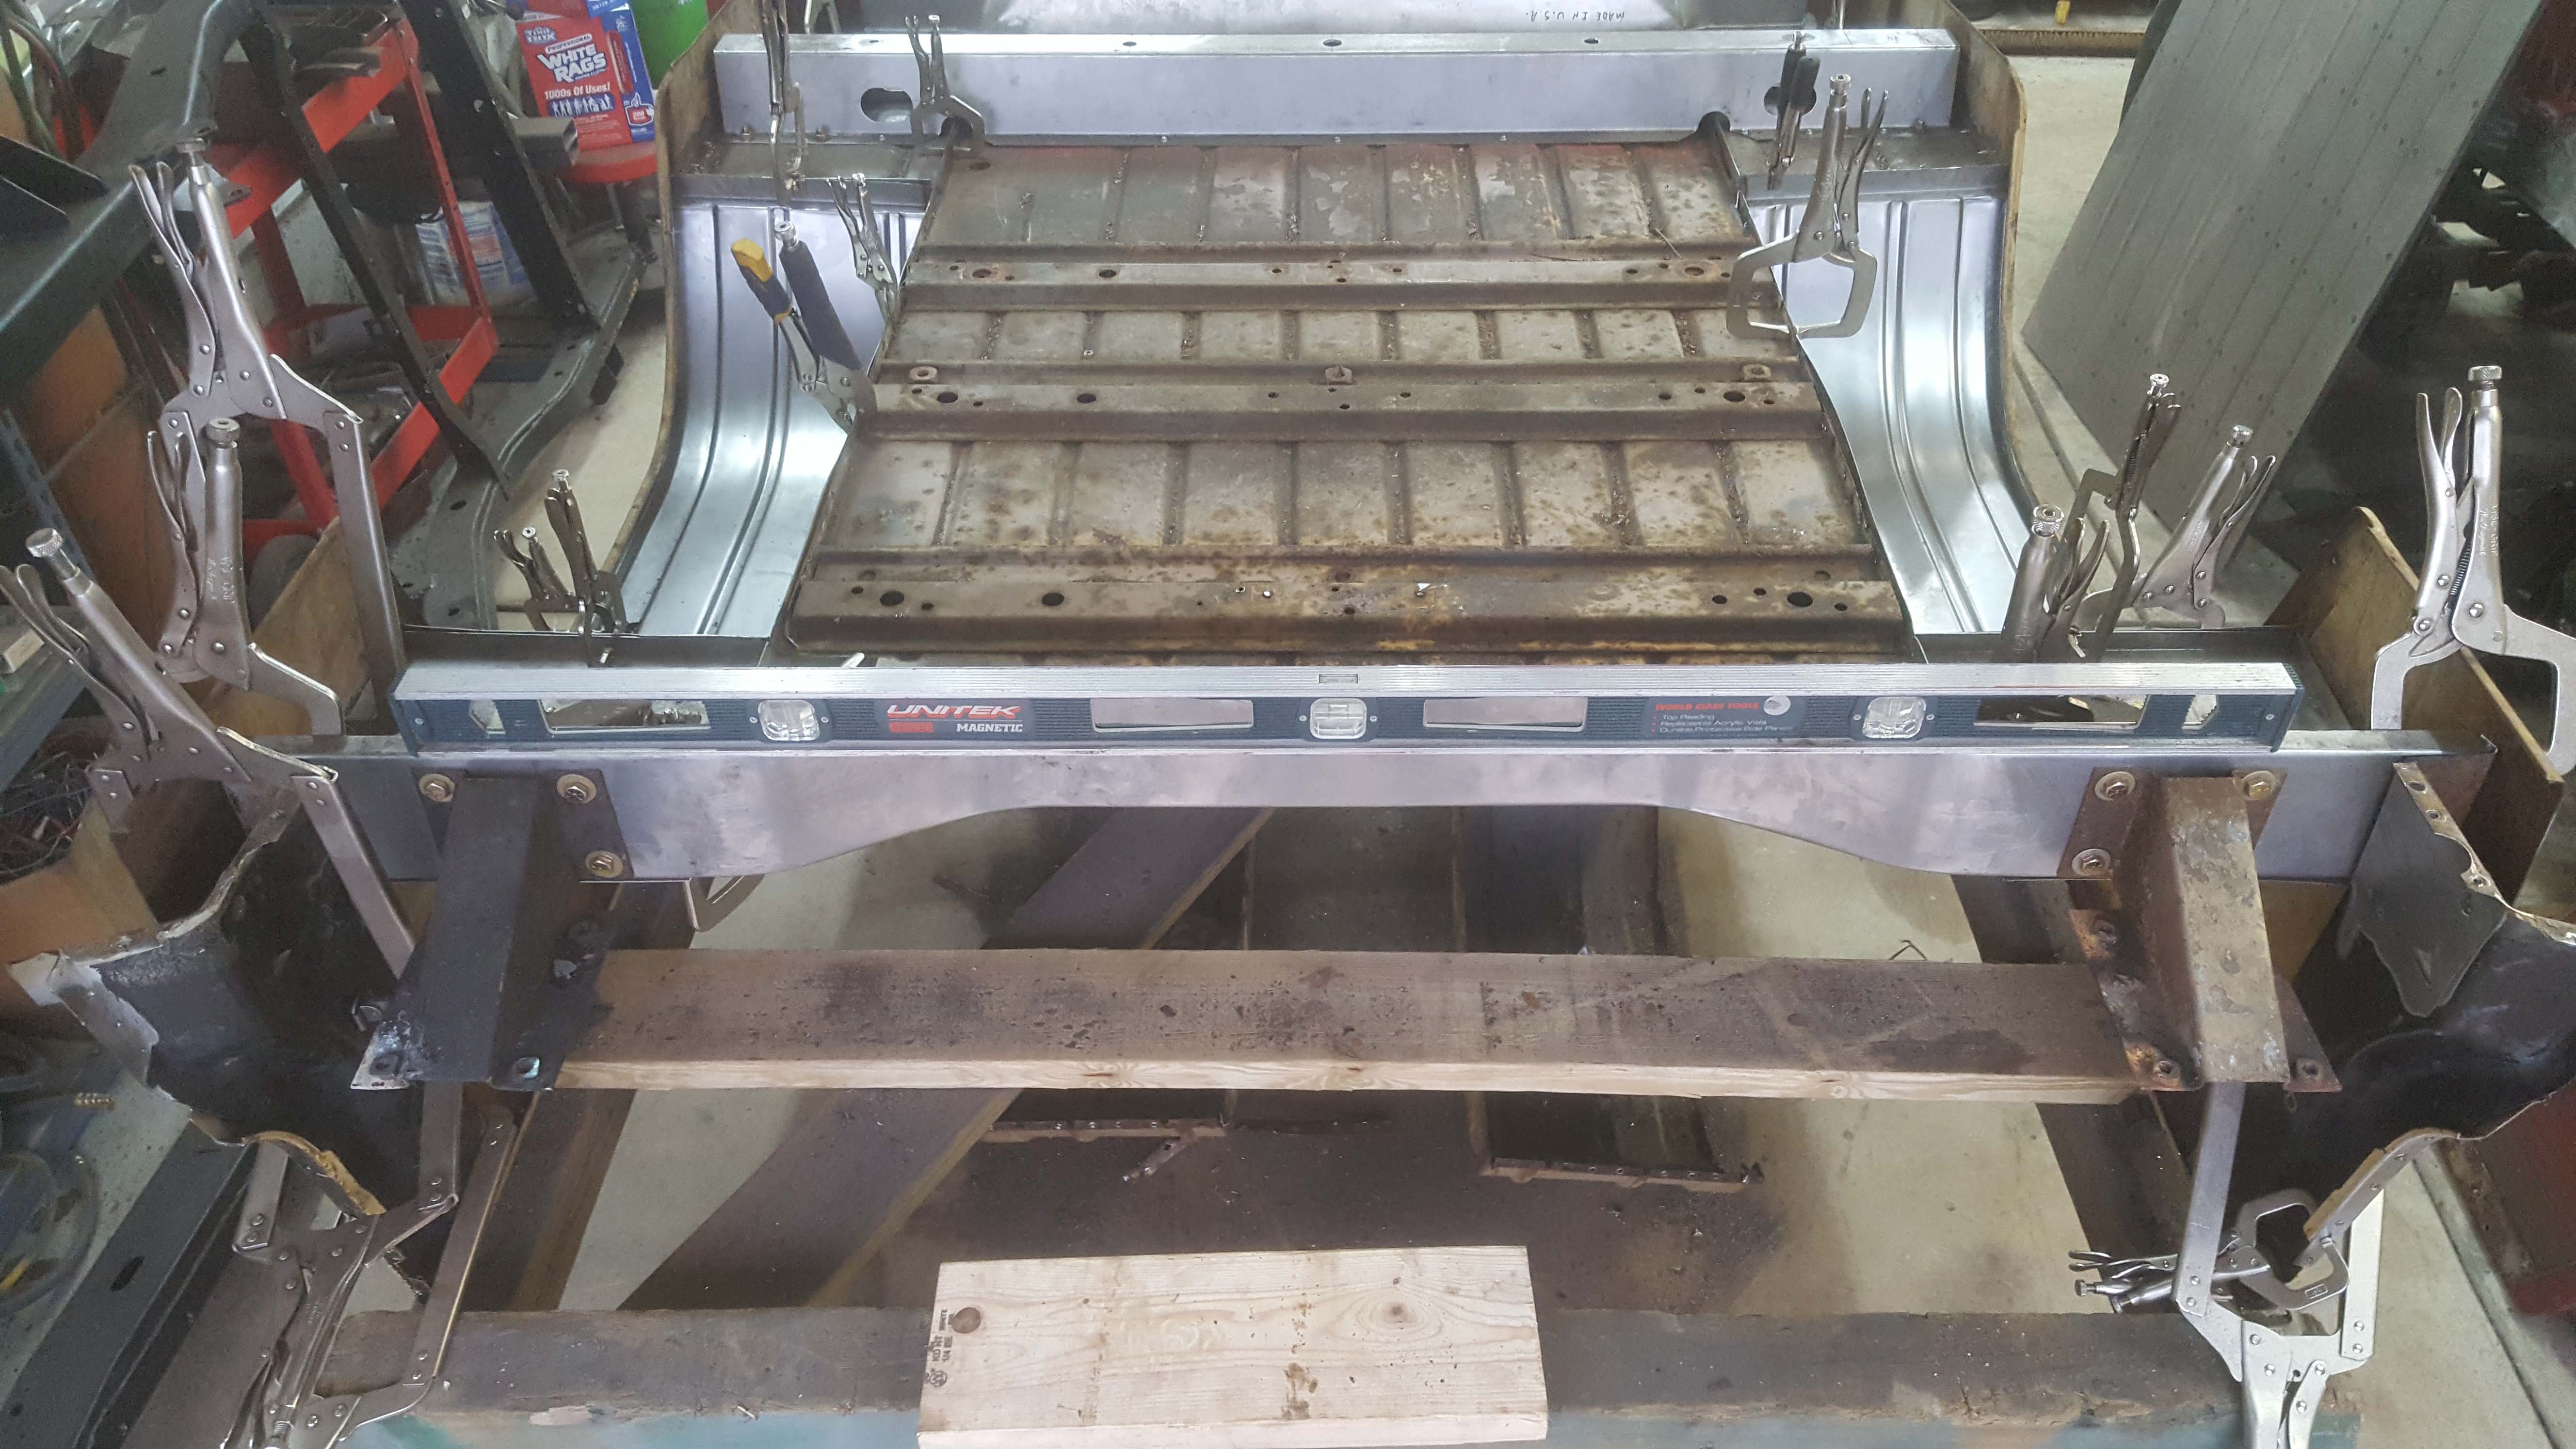
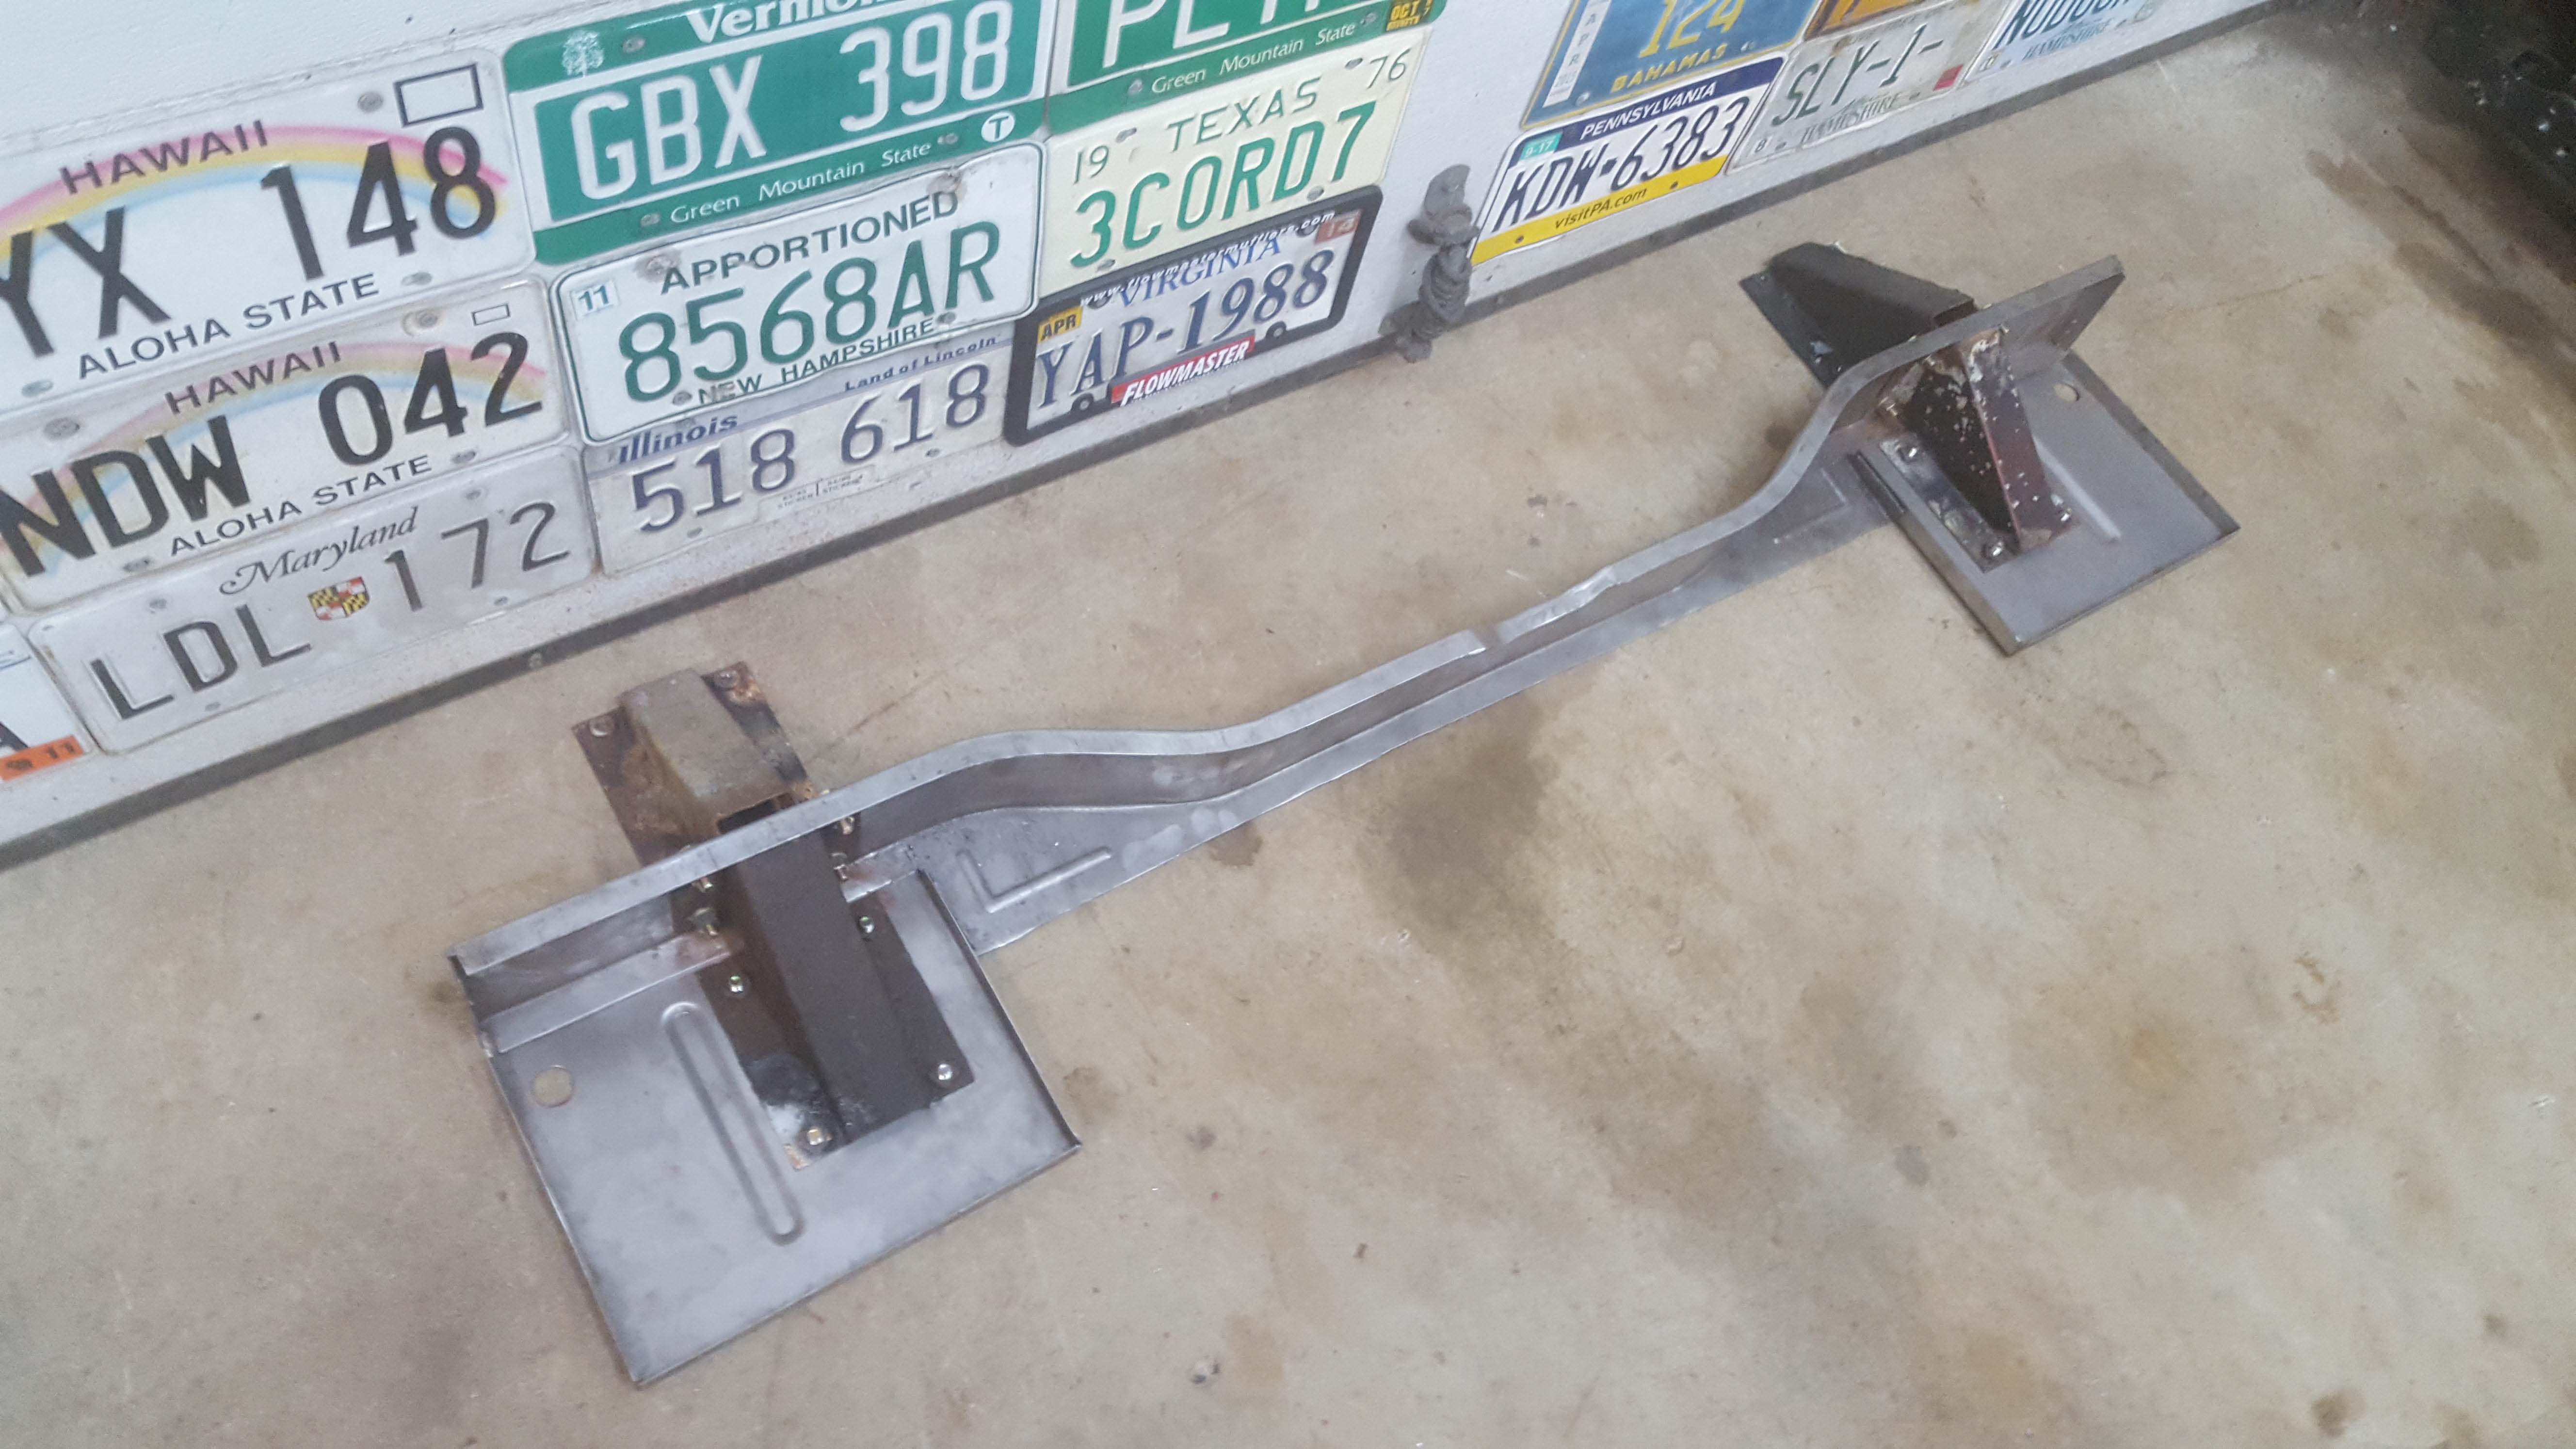
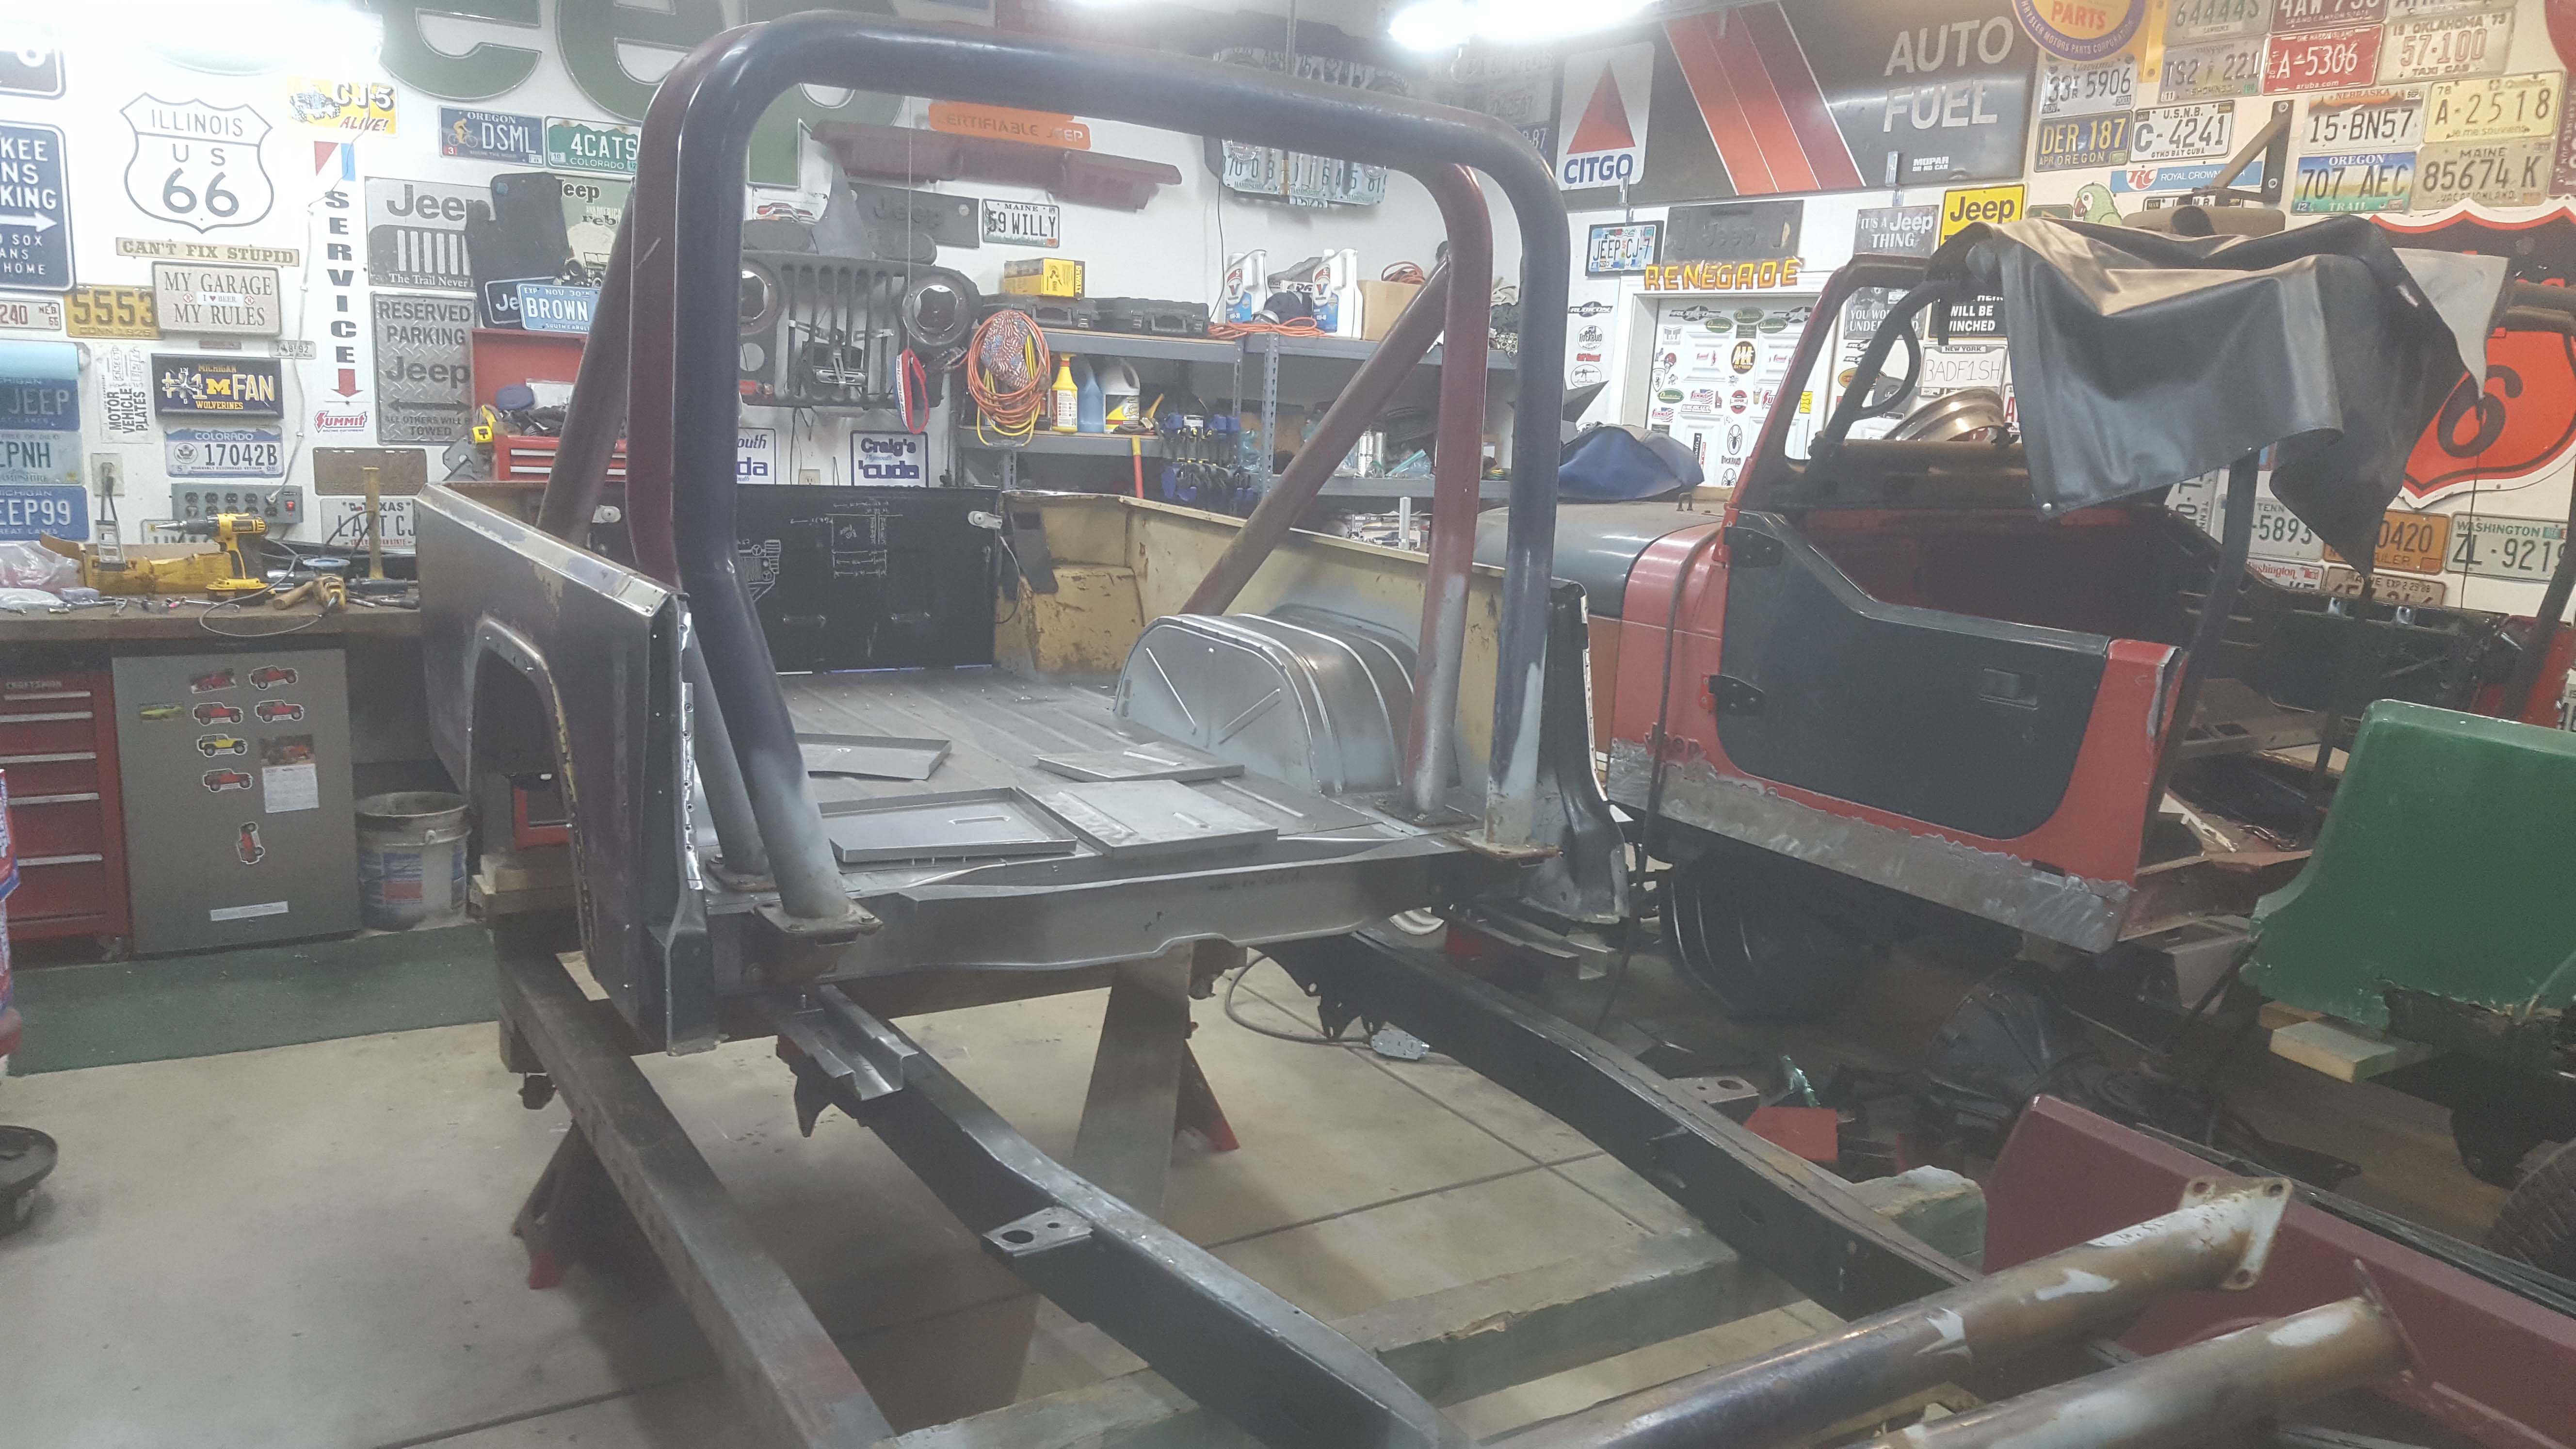
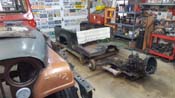
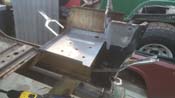
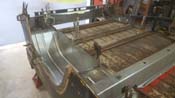
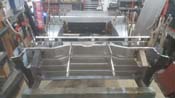
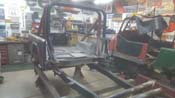
| If you can't tell by the pictures, everything was checked for square and level over and over... along with each panel being
painted with weldable primer so it will have protection for years to come after the final body works is done. The underside will receive some ZeroRust paint
as well as some bedliner potentially to make sure we don't have any issues with rust going forward. Work has started on the front section and some other figuring out.
The original frame was used as a template and the body is mounted on there and secured, so we know it will work. A new set of front mounts will need to be put on to
support the front of the bed once that is completed.
|
| |

|
|
|
|

|

|

|
|
|
|
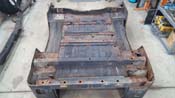
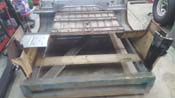
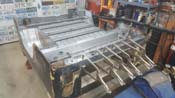
| |
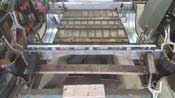
I have a couple days off coming up and look forward to getting the rear corners replaced as they are severely dented and
smashed up. Once those are done, I hope to work on the extensions for the front of the bed corners as well as figuring out how to fill the void. I might
have to see if I can get a brake and bead roller and make up some panels. We will see.
Check back soon for updates.
cb (11/19/2018)
|
| |
| << Previous |
First |
|