|
|
| Project "Moab" a.k.a "Just a Tub Swap" - part #5 |
| |
|
1
2
3
4
5
6
7
8
9
10
11
12
13
14
15
16
17
|
| |
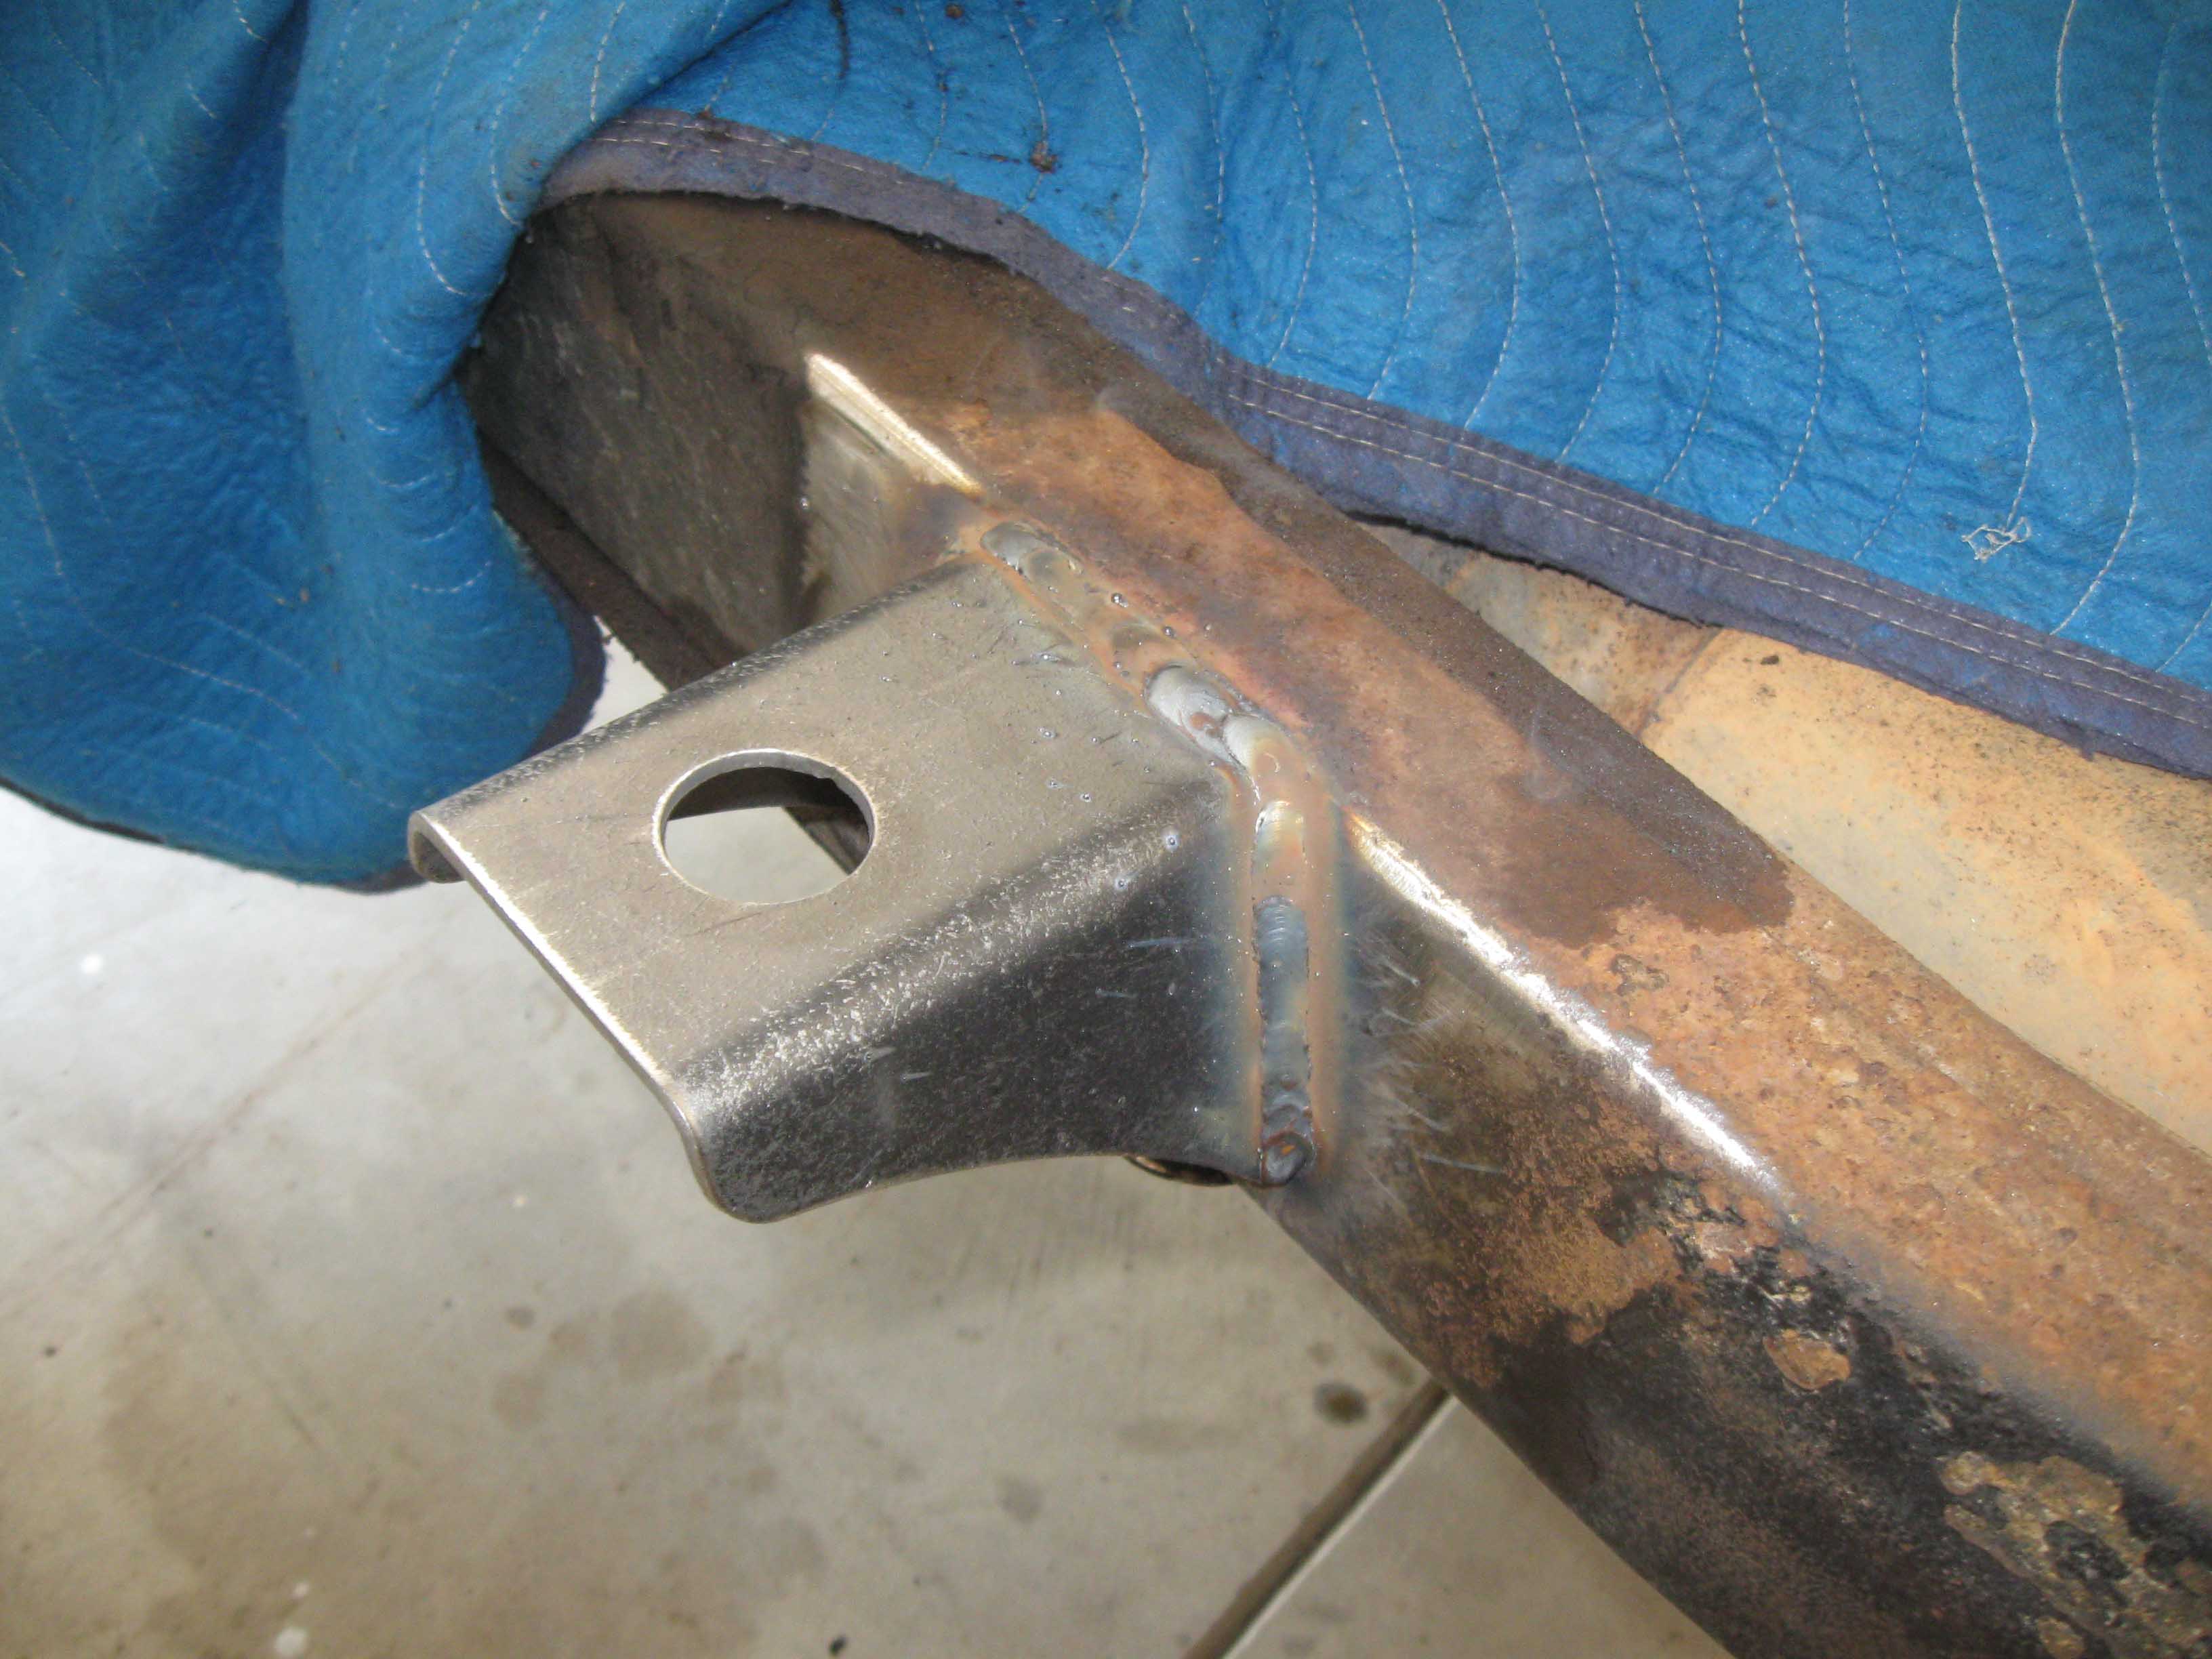
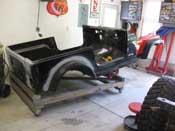
| (06/03/09) I had planned on working on the Jeep a lot yesterday, but again, a
bunch of things came up and I couldn't do as much as I wanted. Also, I seem to be missing some pictures, but
you get the idea. I finished up welding the 4 body mounts, so those are nice and solid and then I moved onto
addressing the heater upgrade and firewall situation.
|
| |

|

|
|
|
| |
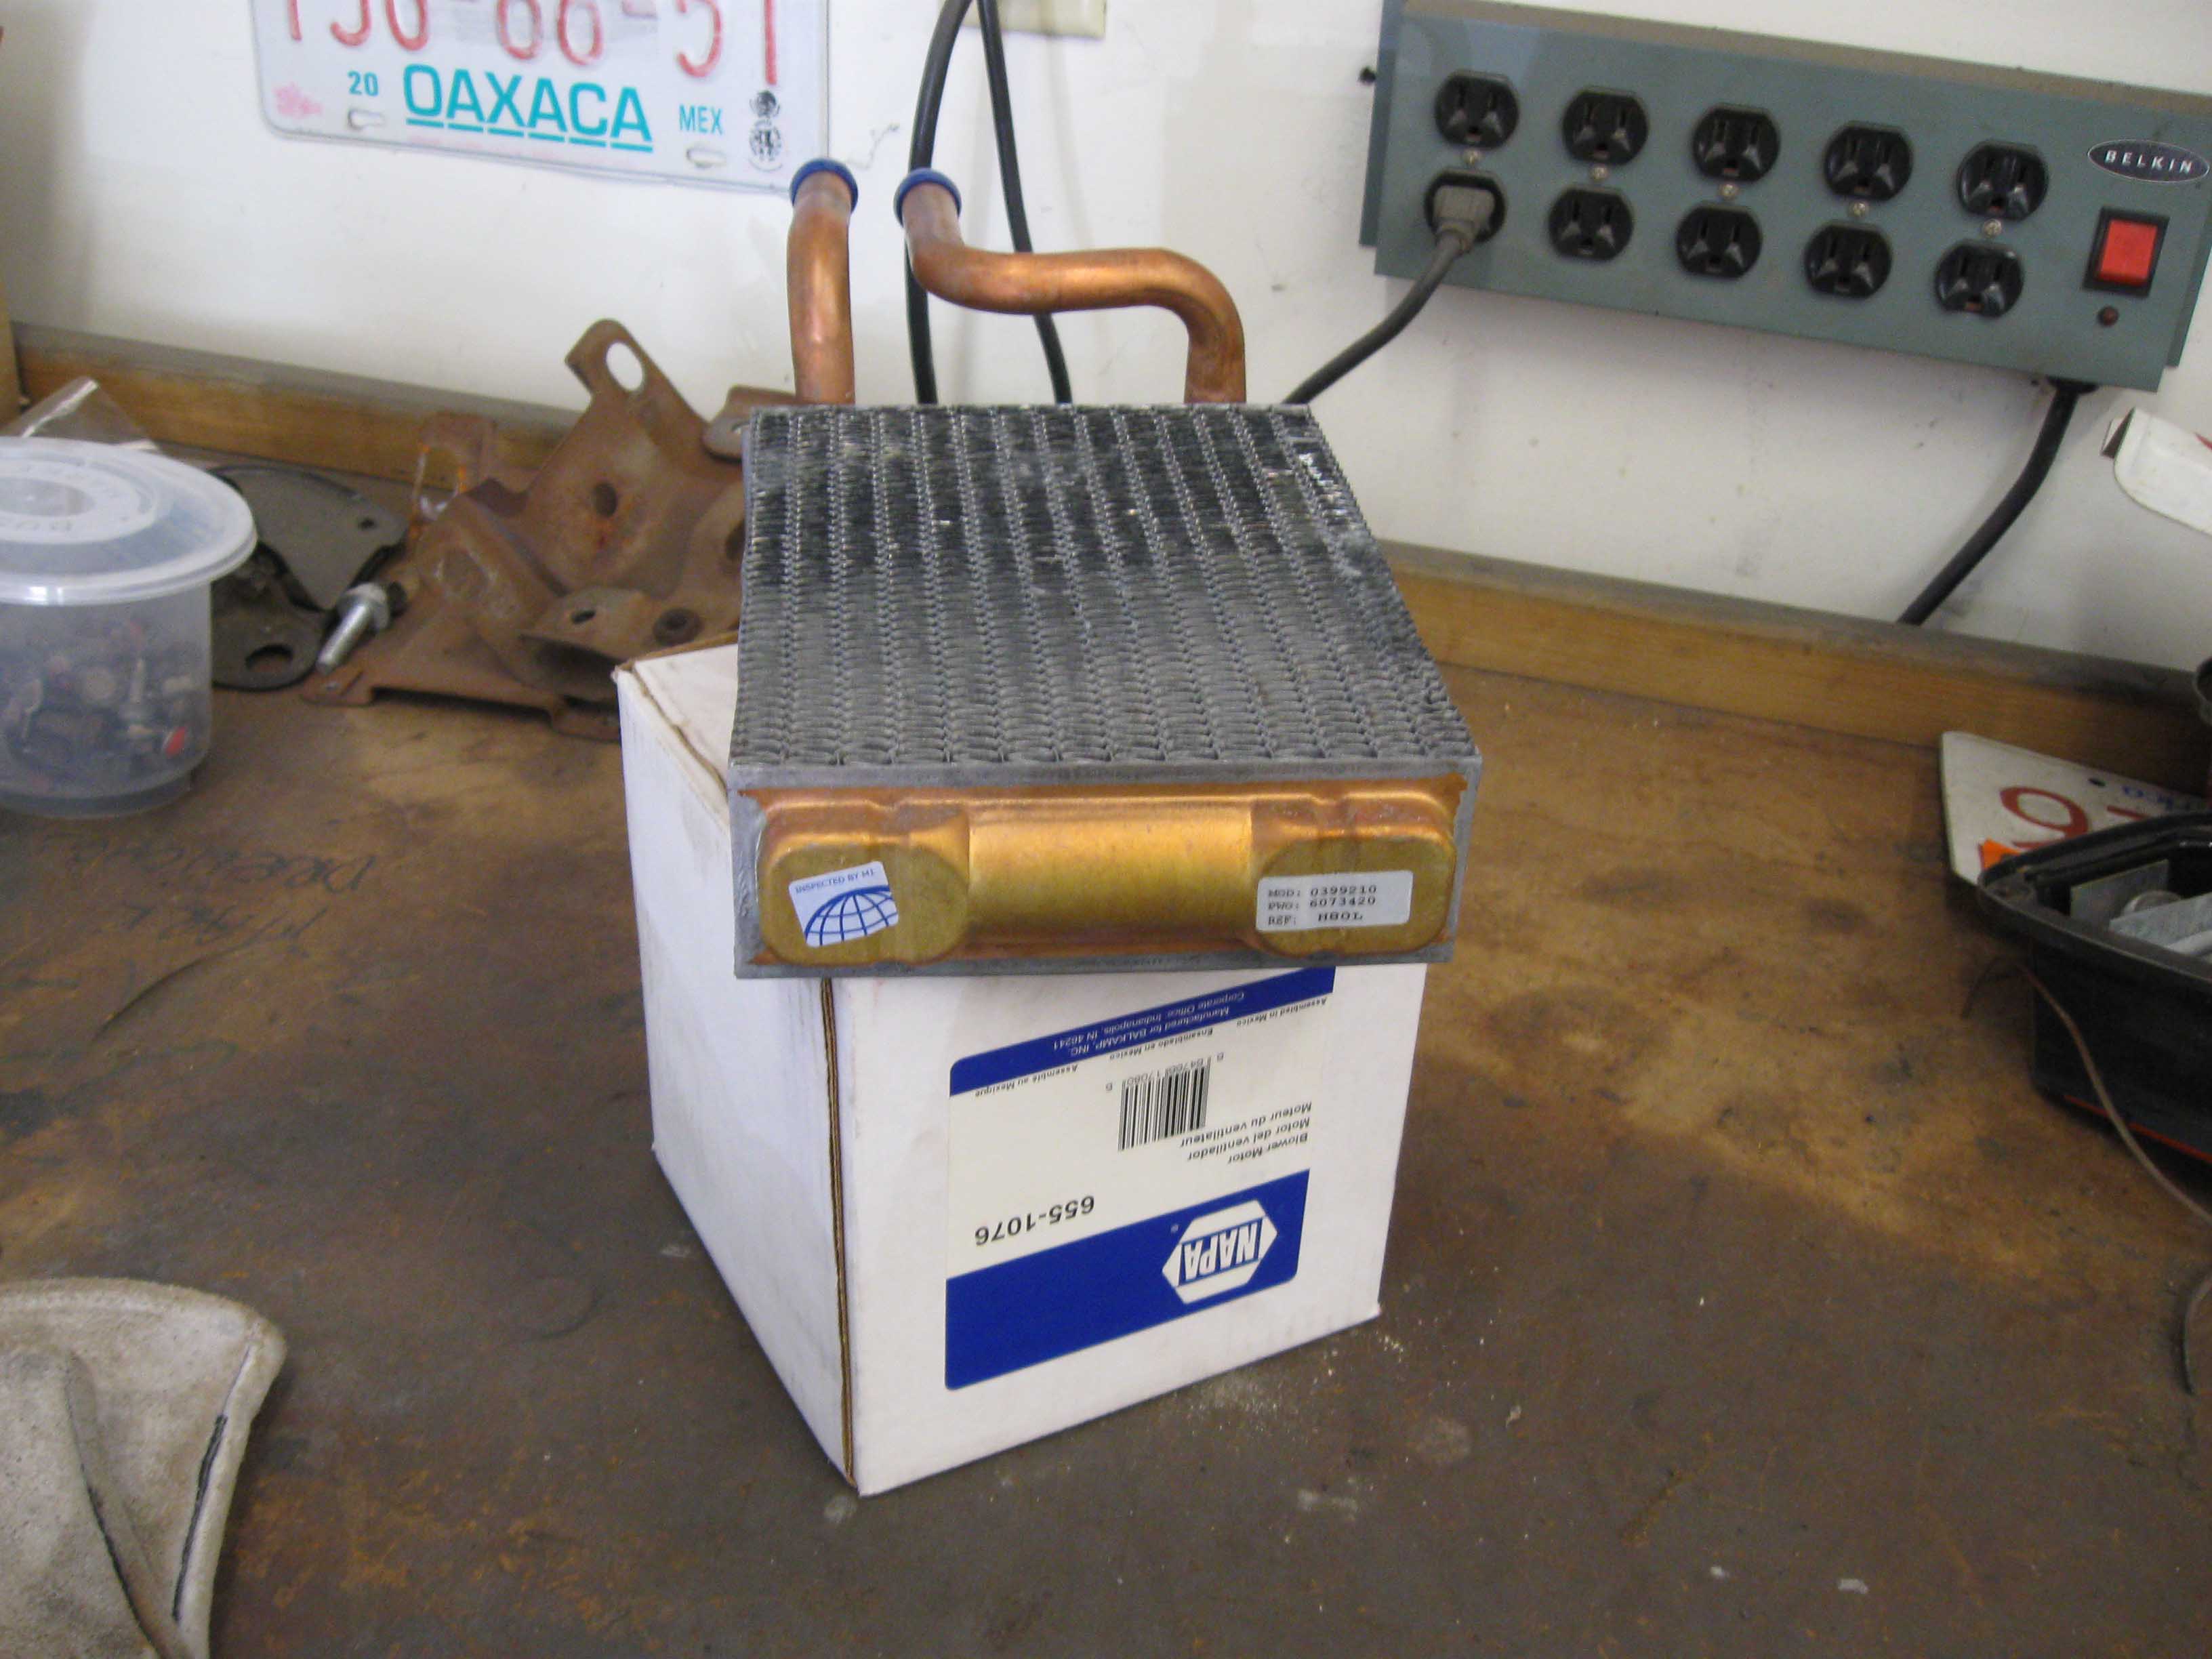
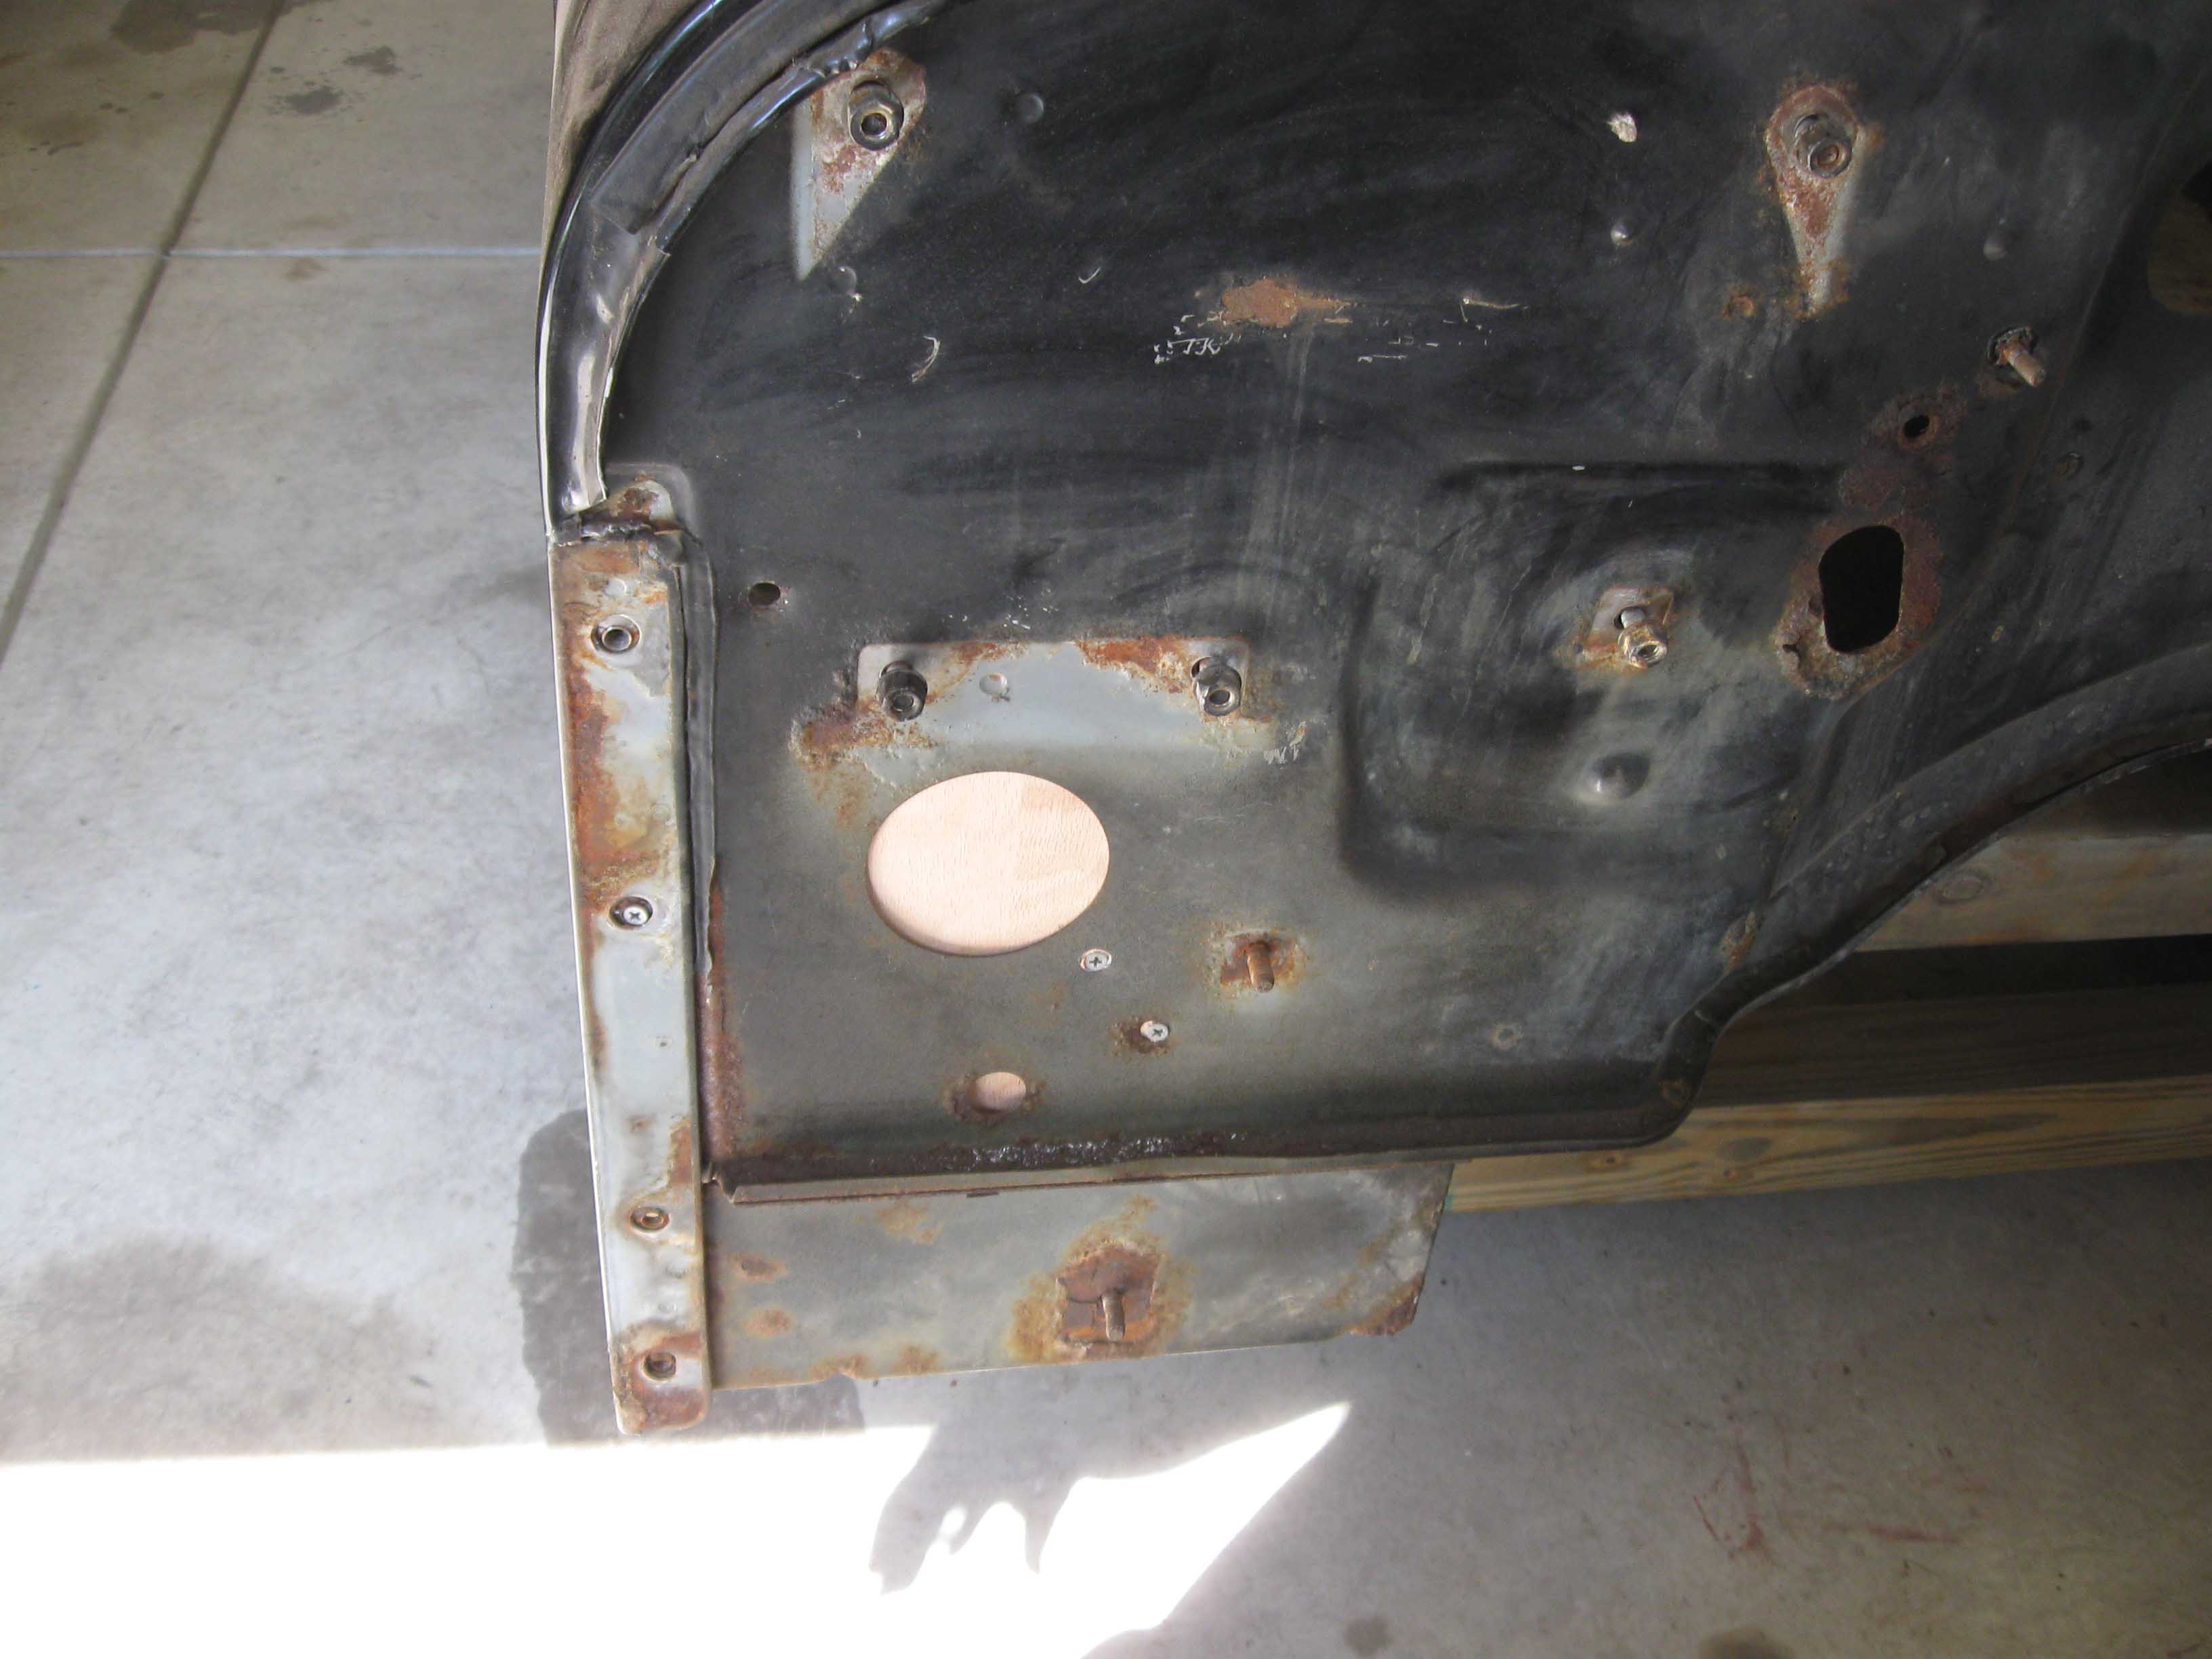
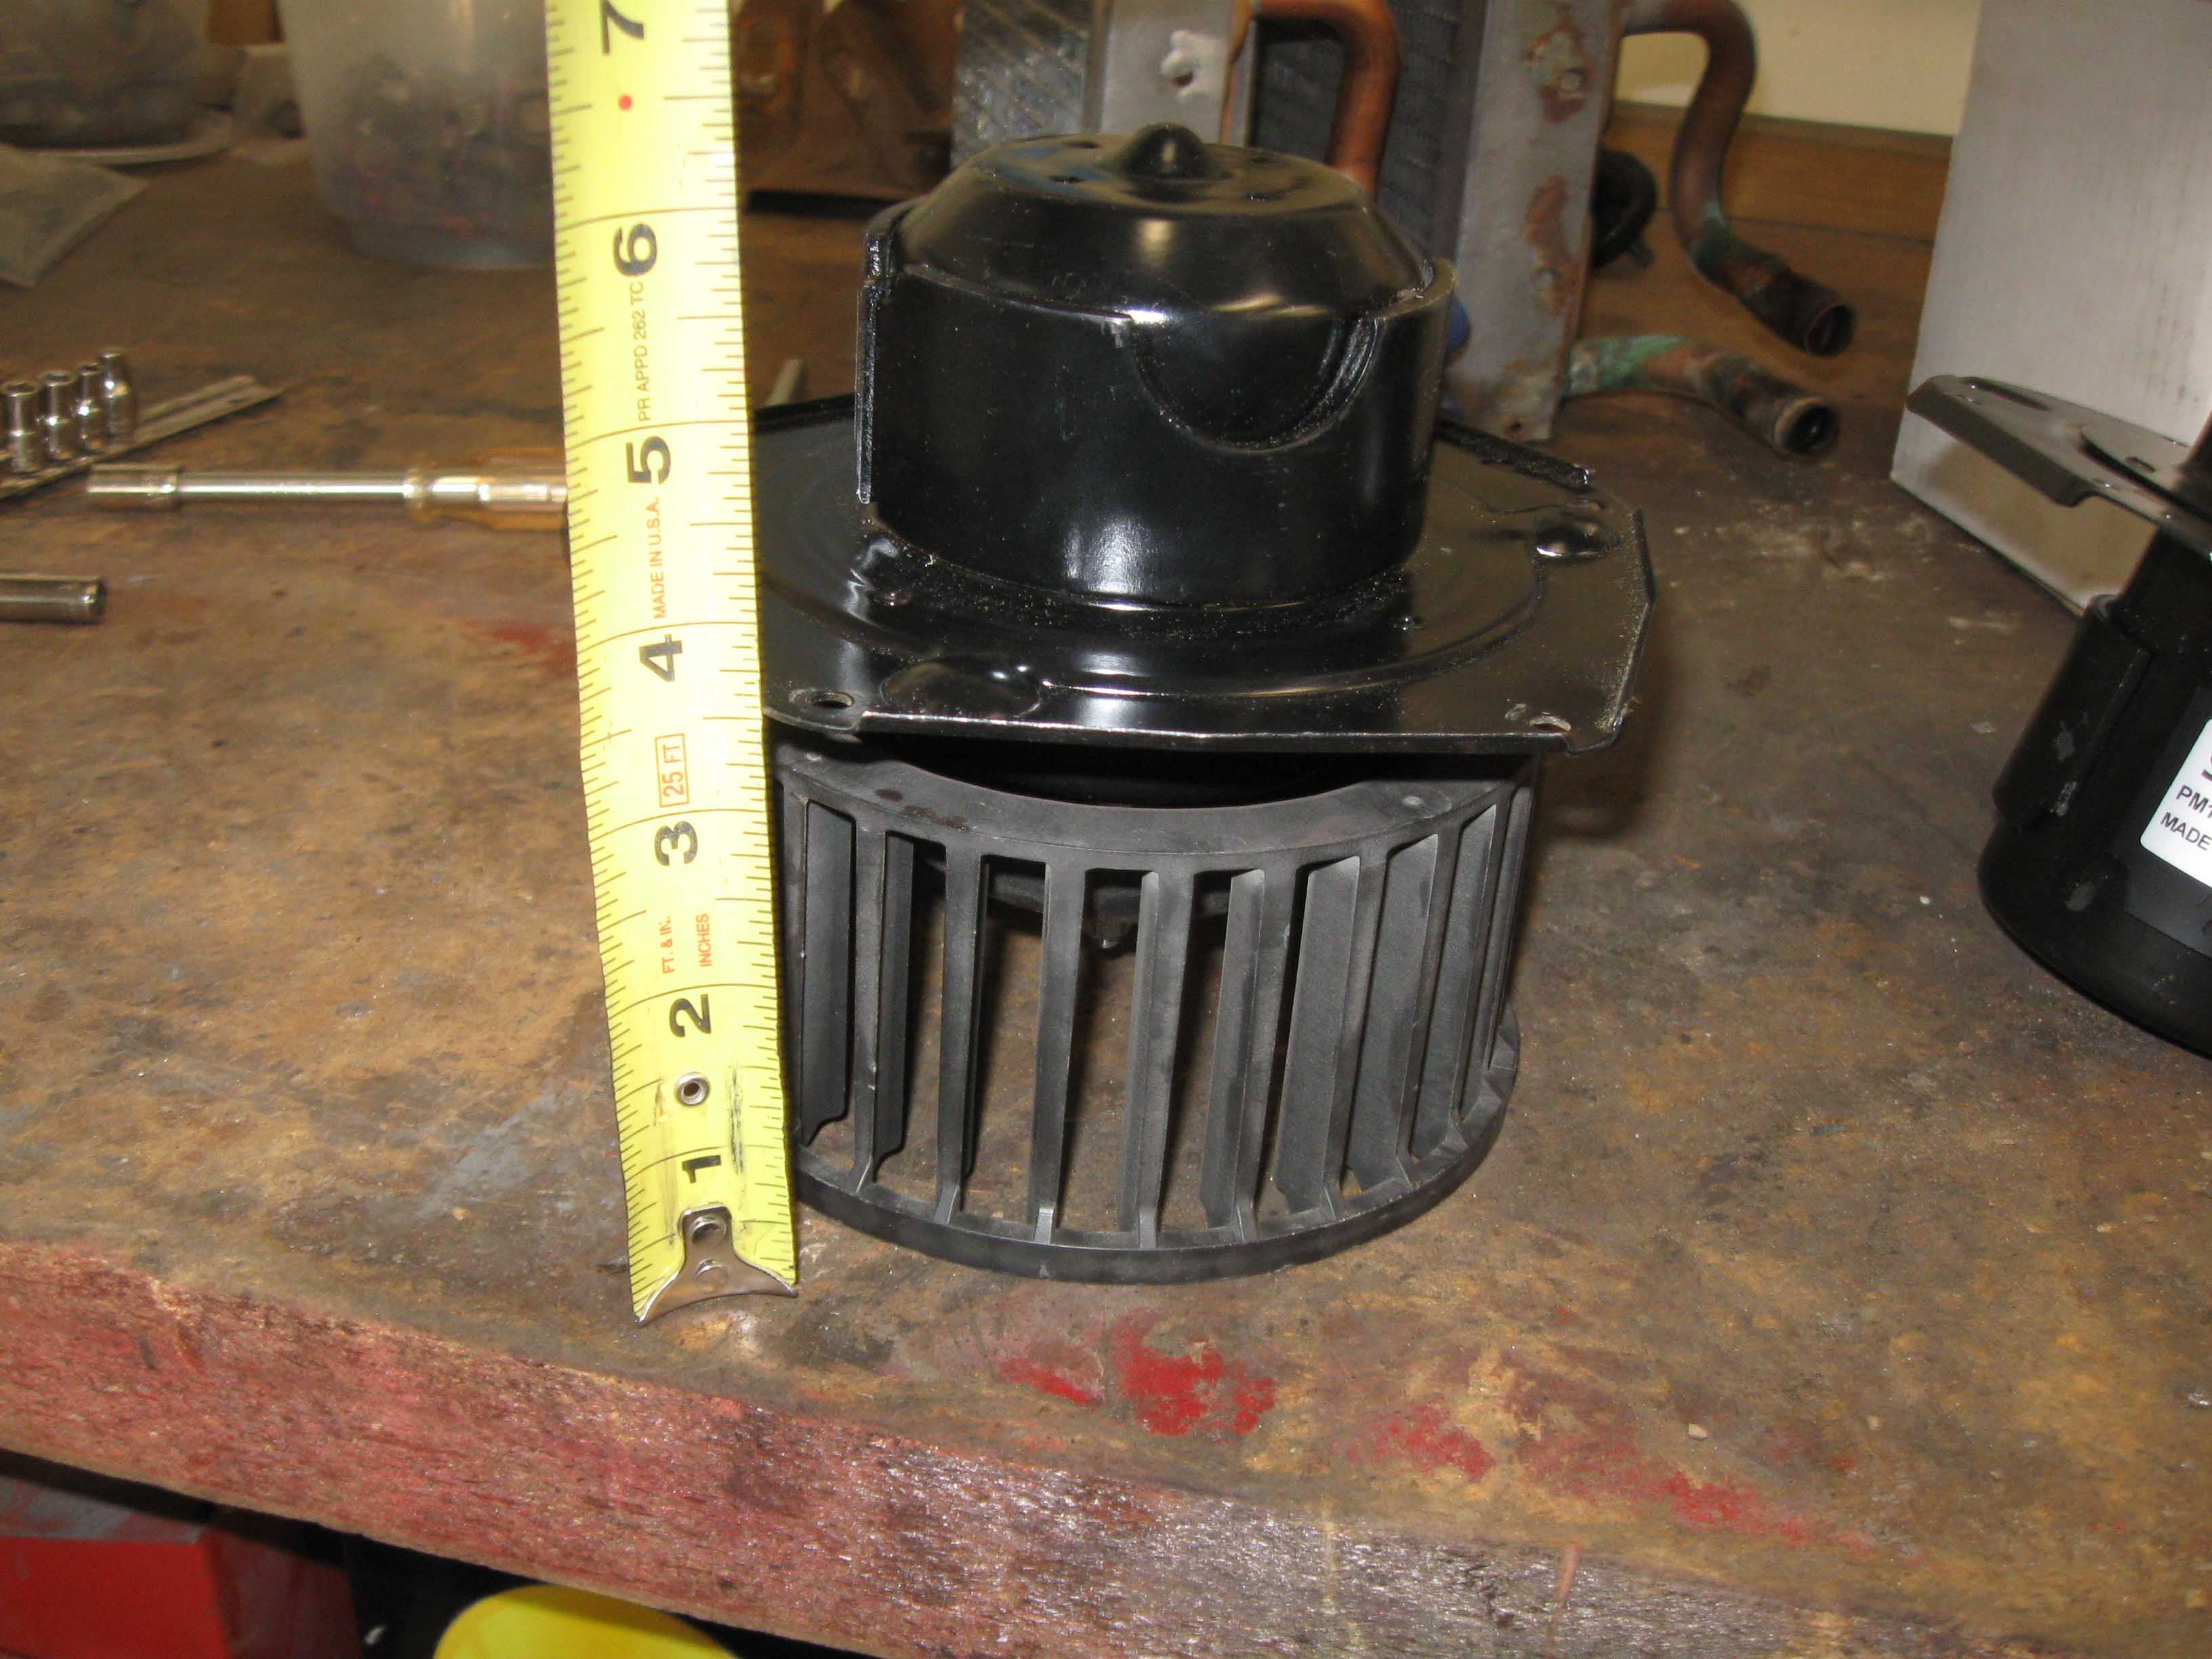
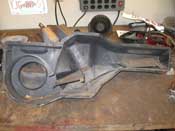
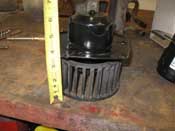
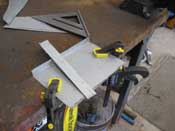
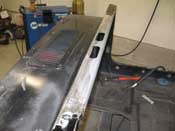
| Basically the blower motor is bigger, so the hole needs to be enlarged. Also,
it has an external plug in the engine bay, also requiring a hole. The motor itself has to be swapped in the
housing and at the same time we are upgrading the heater core. All in all, just a lot of measuring, cutting, and
fitting. But, as always, there is a problem.
|
| |
|
|

|

|
| |
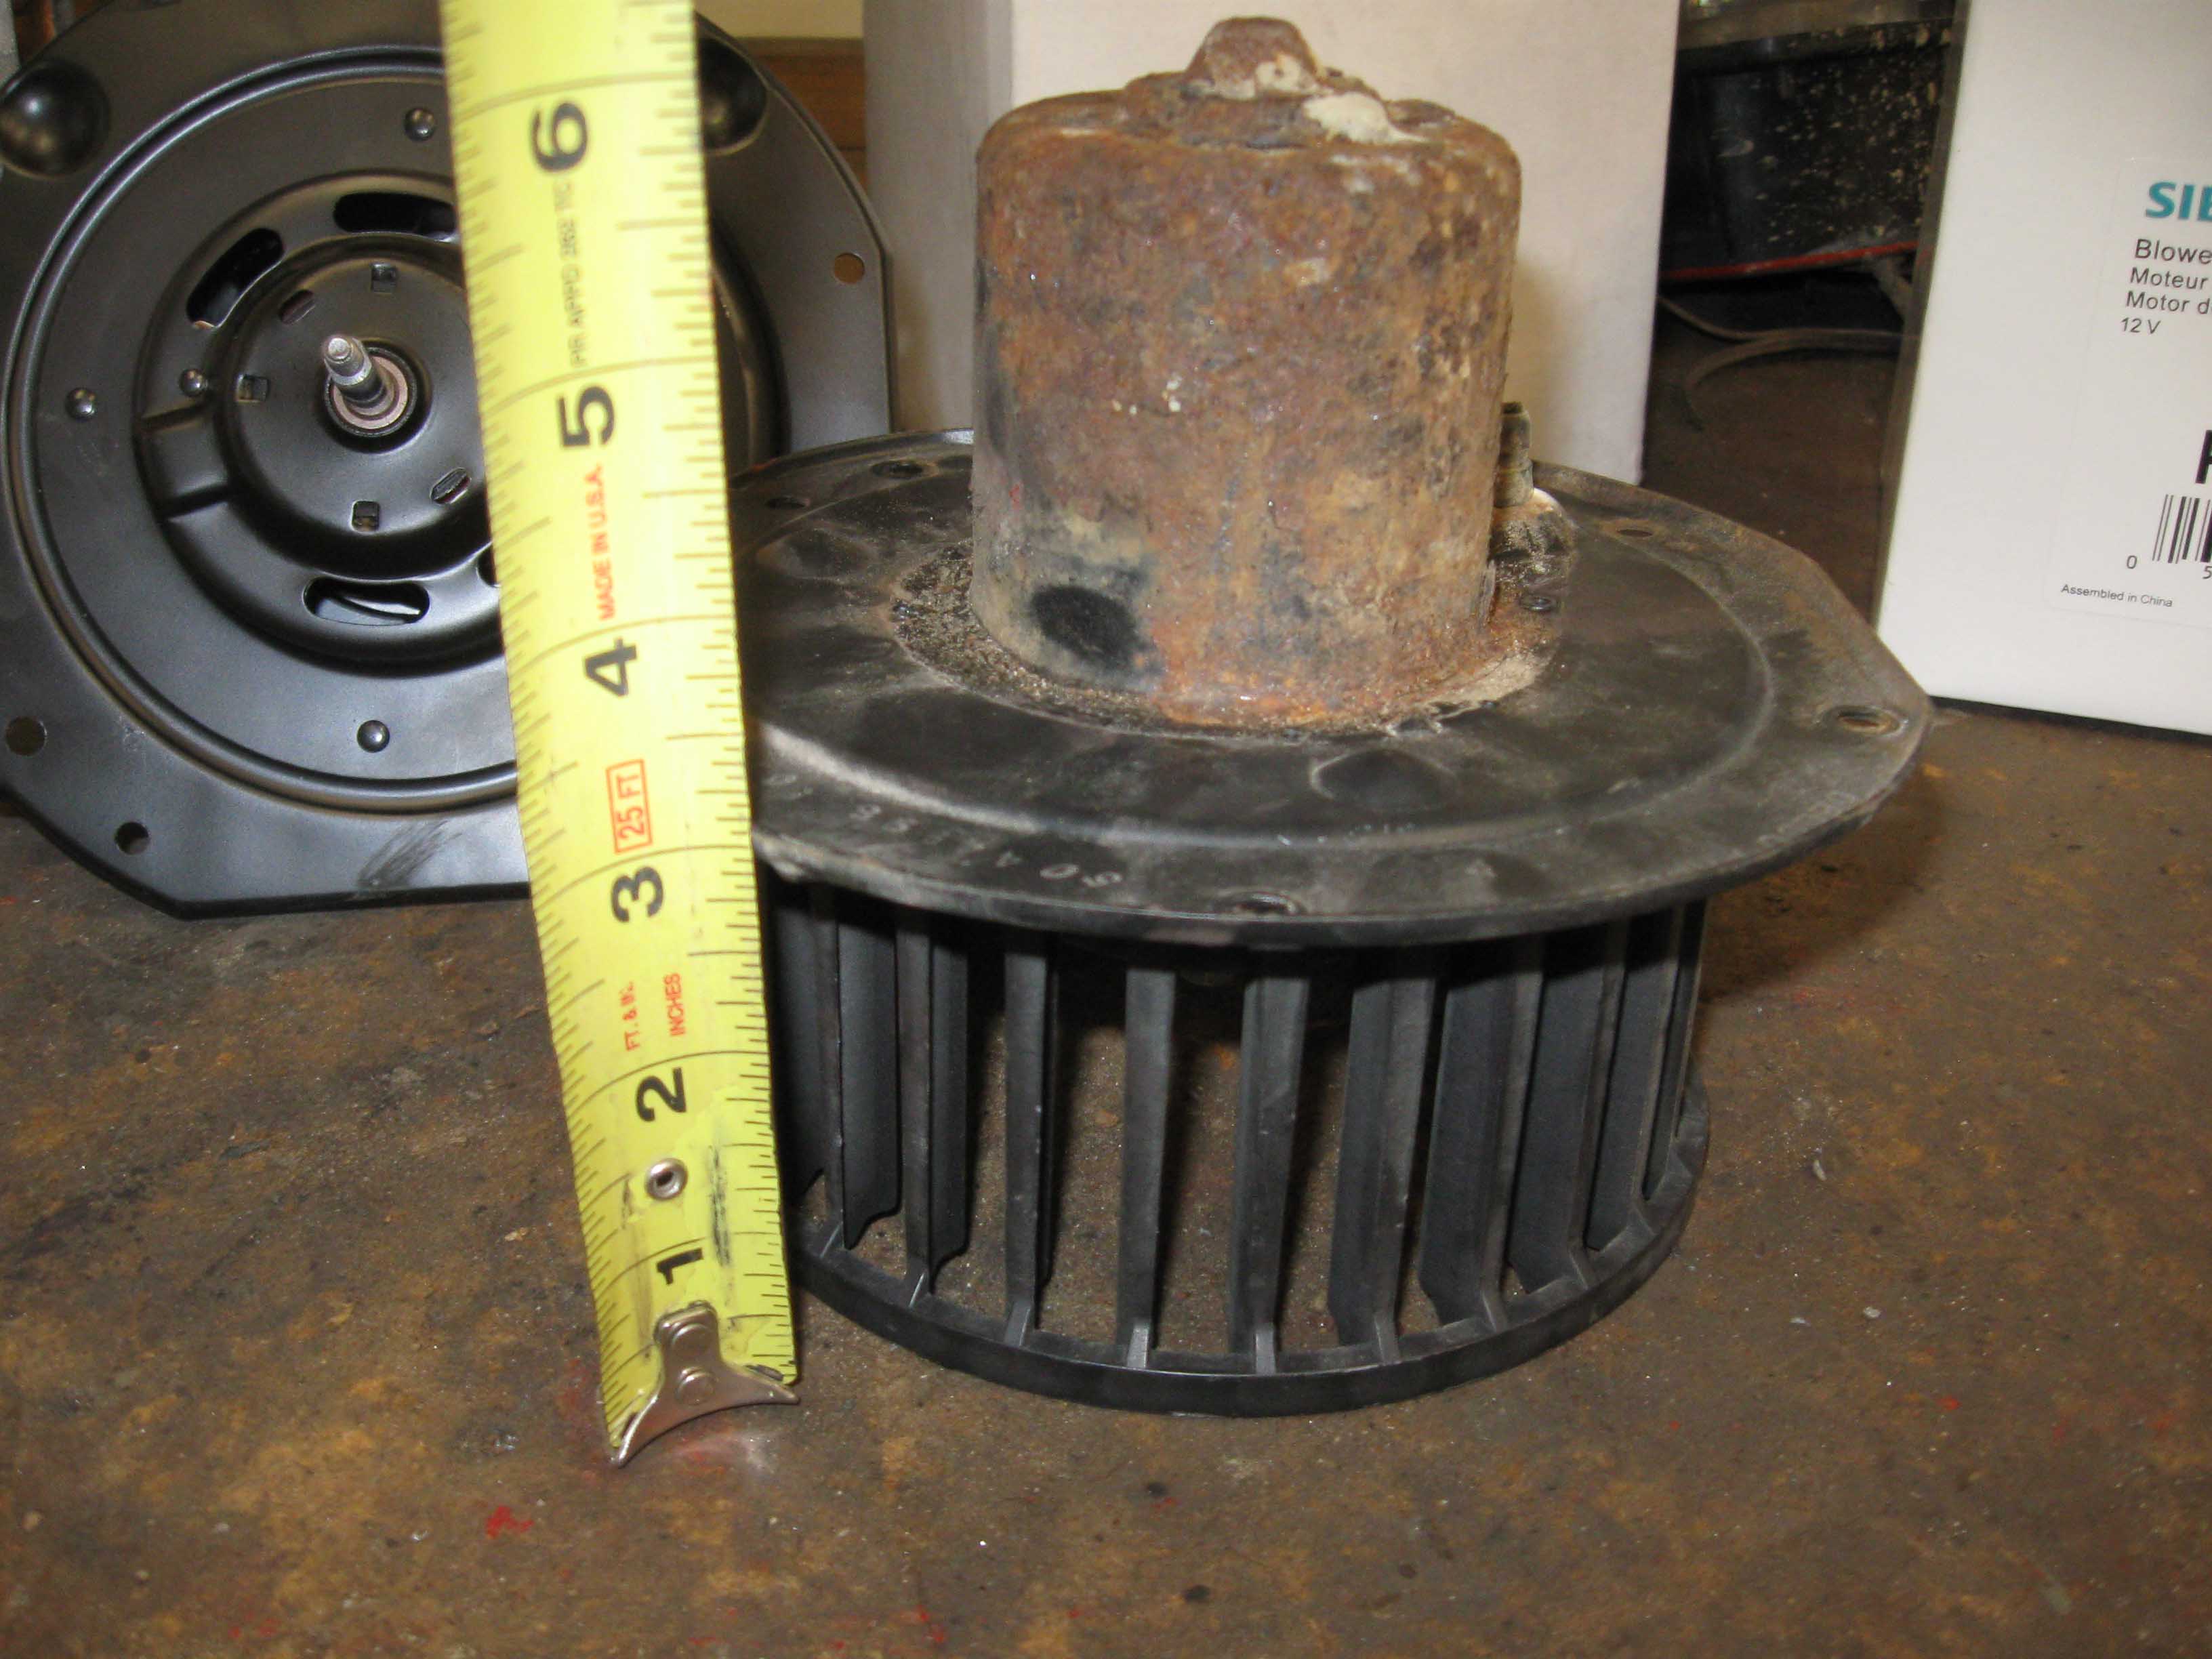
Apparently there are 2 blower motors for the 1979 Chevy Blazer, one with A/C and
one without it. I am not going to go into the whole upgrade here, as Google has a thousand and one hits for that,
but basically, when you transfer the squirrel cage from the old one to the new one you need the right sized shaft.
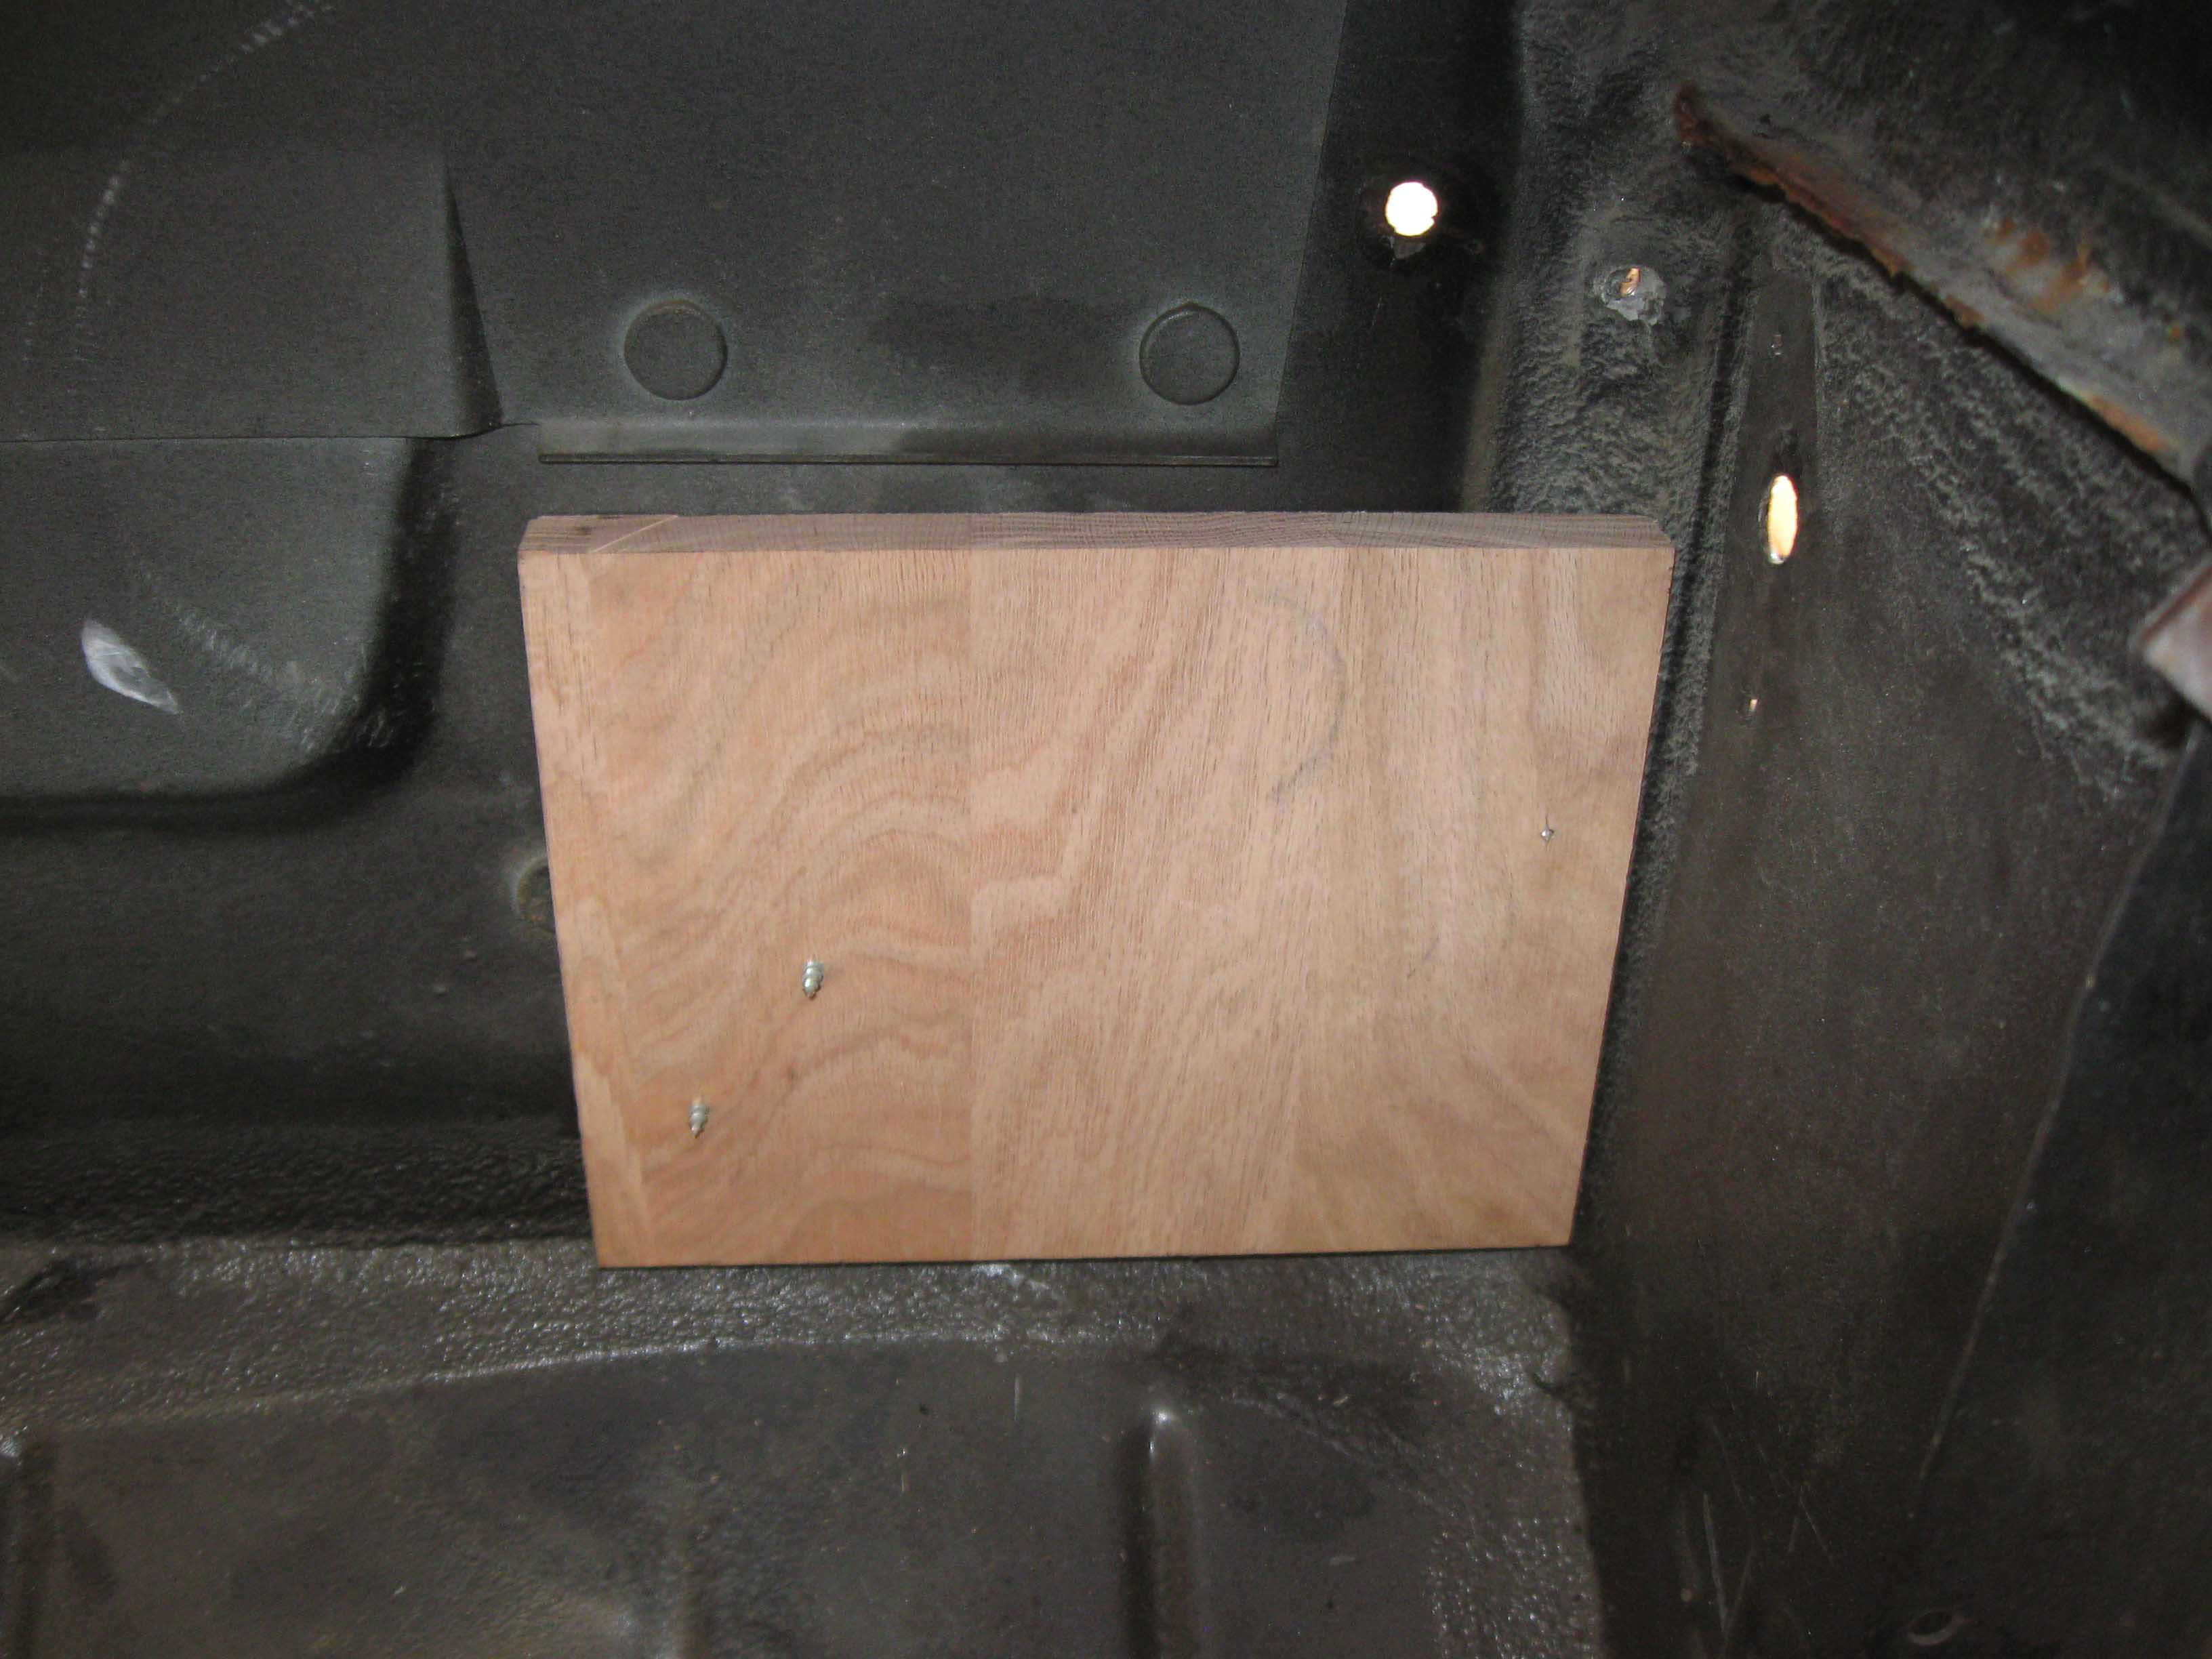
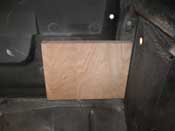
The one we have is too long. So, I will attempt to rectify that today. All in all though, I used a piece of oak
to drill out the new hole and enlarge it, I but a new hole for the connection and then I used just the backing
plate with the blower motor on it to test fit everything. It is much better and less bulky then using the entire
housing. All in all, a good day, more to follow today.
(06/03/09)
|
| |
|
|

|
|
| |
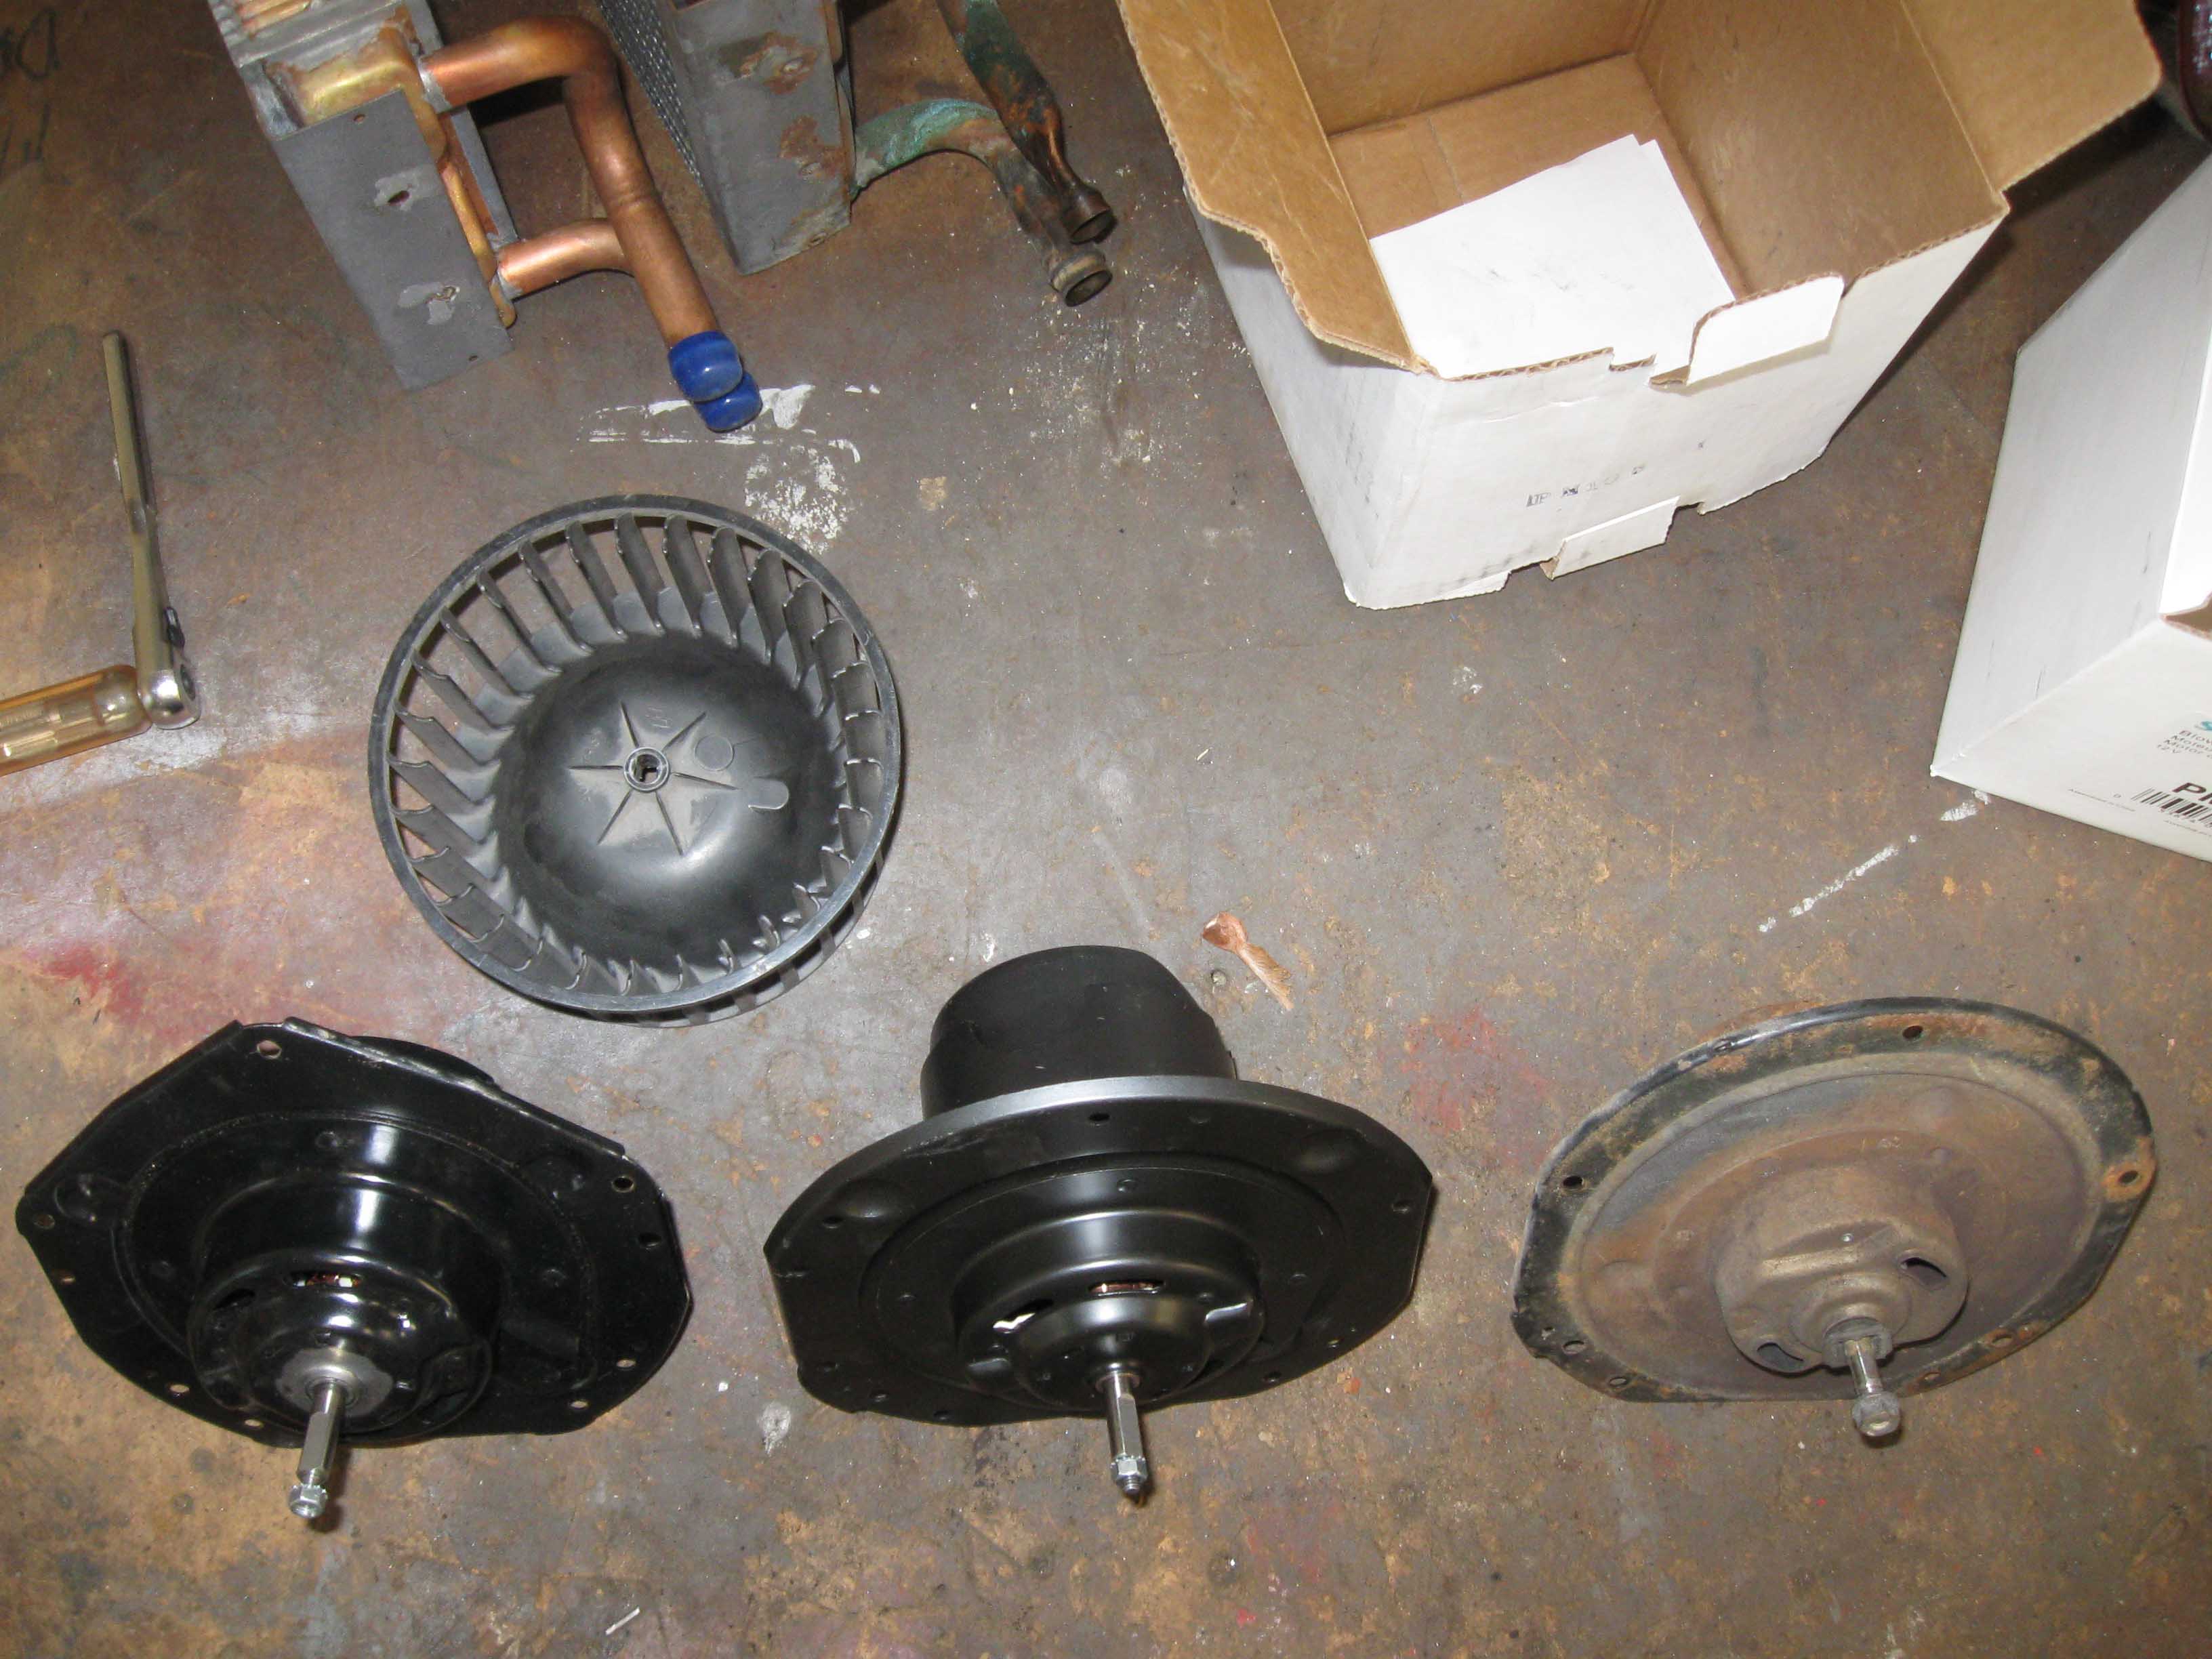
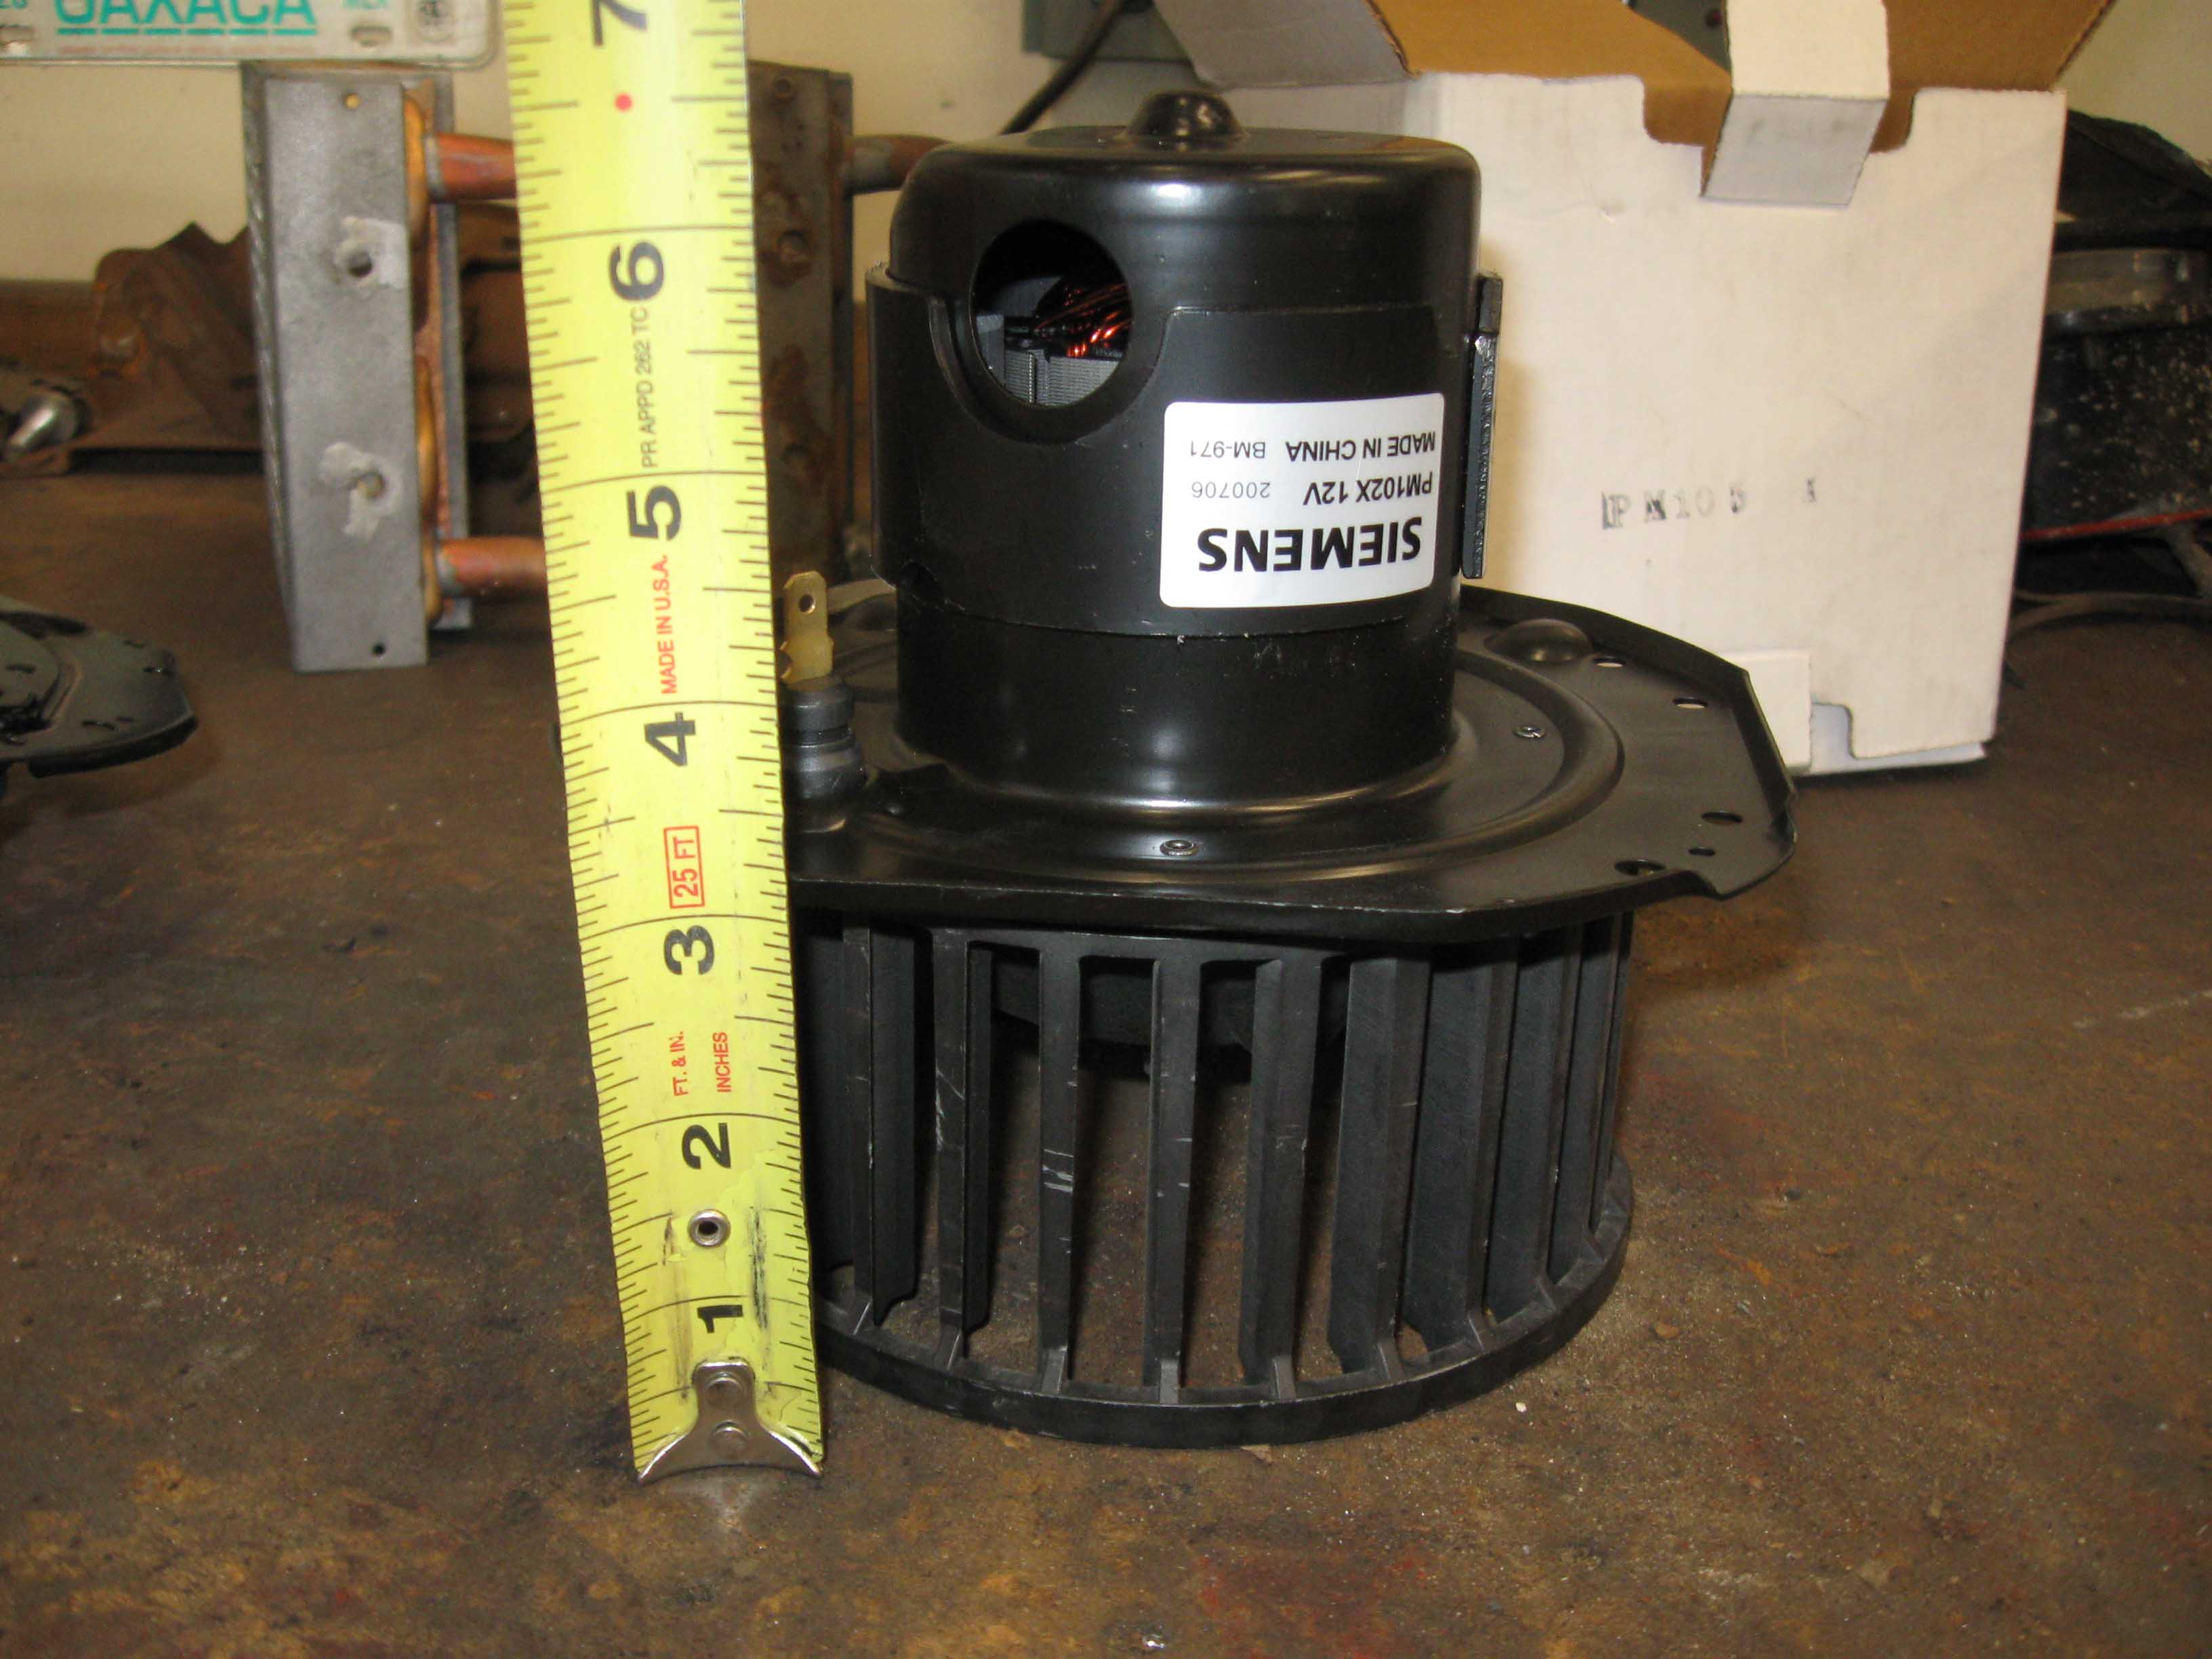
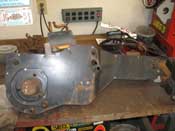
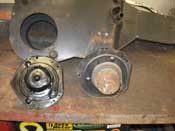
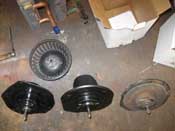
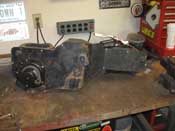
(06/03/09) So, after running around to Napa and then to AutoZone, I have figured out
what will work in this heater setup. Basically there are 2 blower motors, one with A/C and one without and the
one with A/C has a longer shaft and wider base and the other one does not. The picture with the 3 motors in there
so the one on the right, which is the original one and the PM105 on the left and the PM102 in the middle. The
PM102 is the correct one for the application.
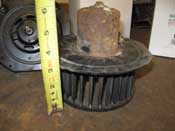
I hadn't planned on this being a write up on the Blazer Motor Upgrade, but I figured since I had the motors and
the pictures, I could show the differences. In the following three pictures, you see that the original and the PM102
have about the same distance from the bottom. The last picture shows the PM105 and that has a space when the
squirrel cage is put on. This doesn't allow it to sit flush. So, with the correct one, it all went back together.
|
| |
|
|
|

|
| |
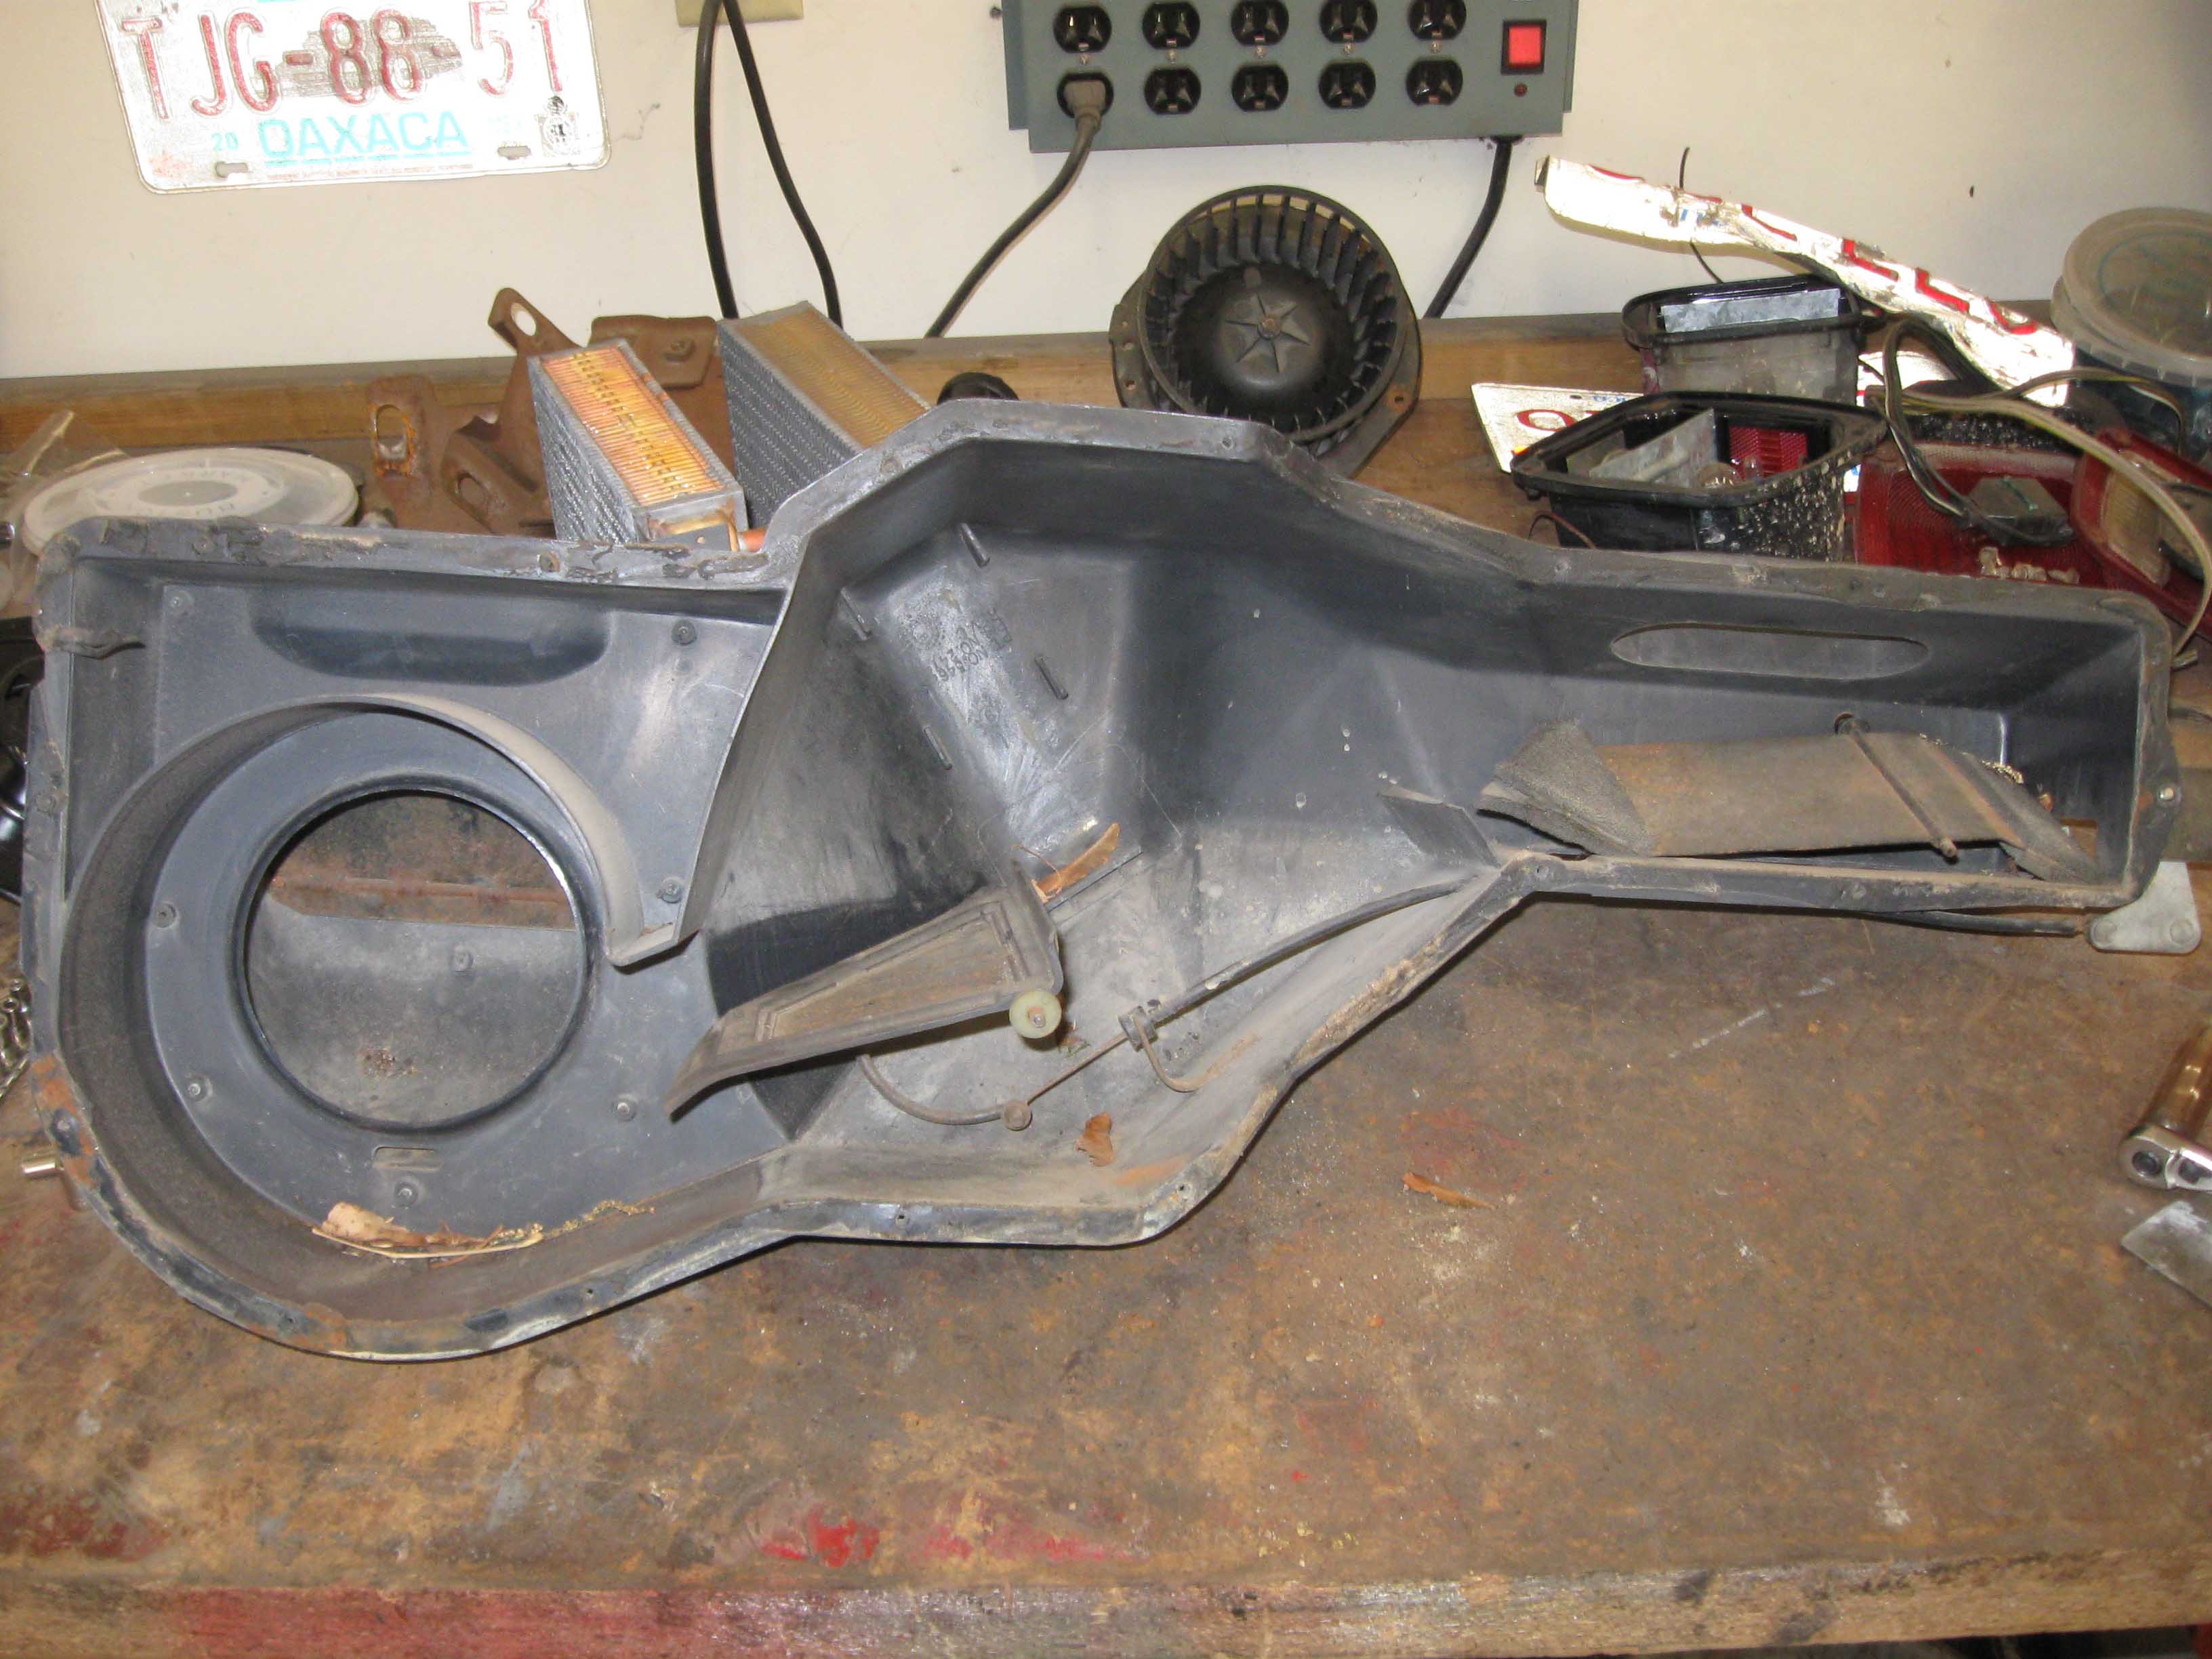
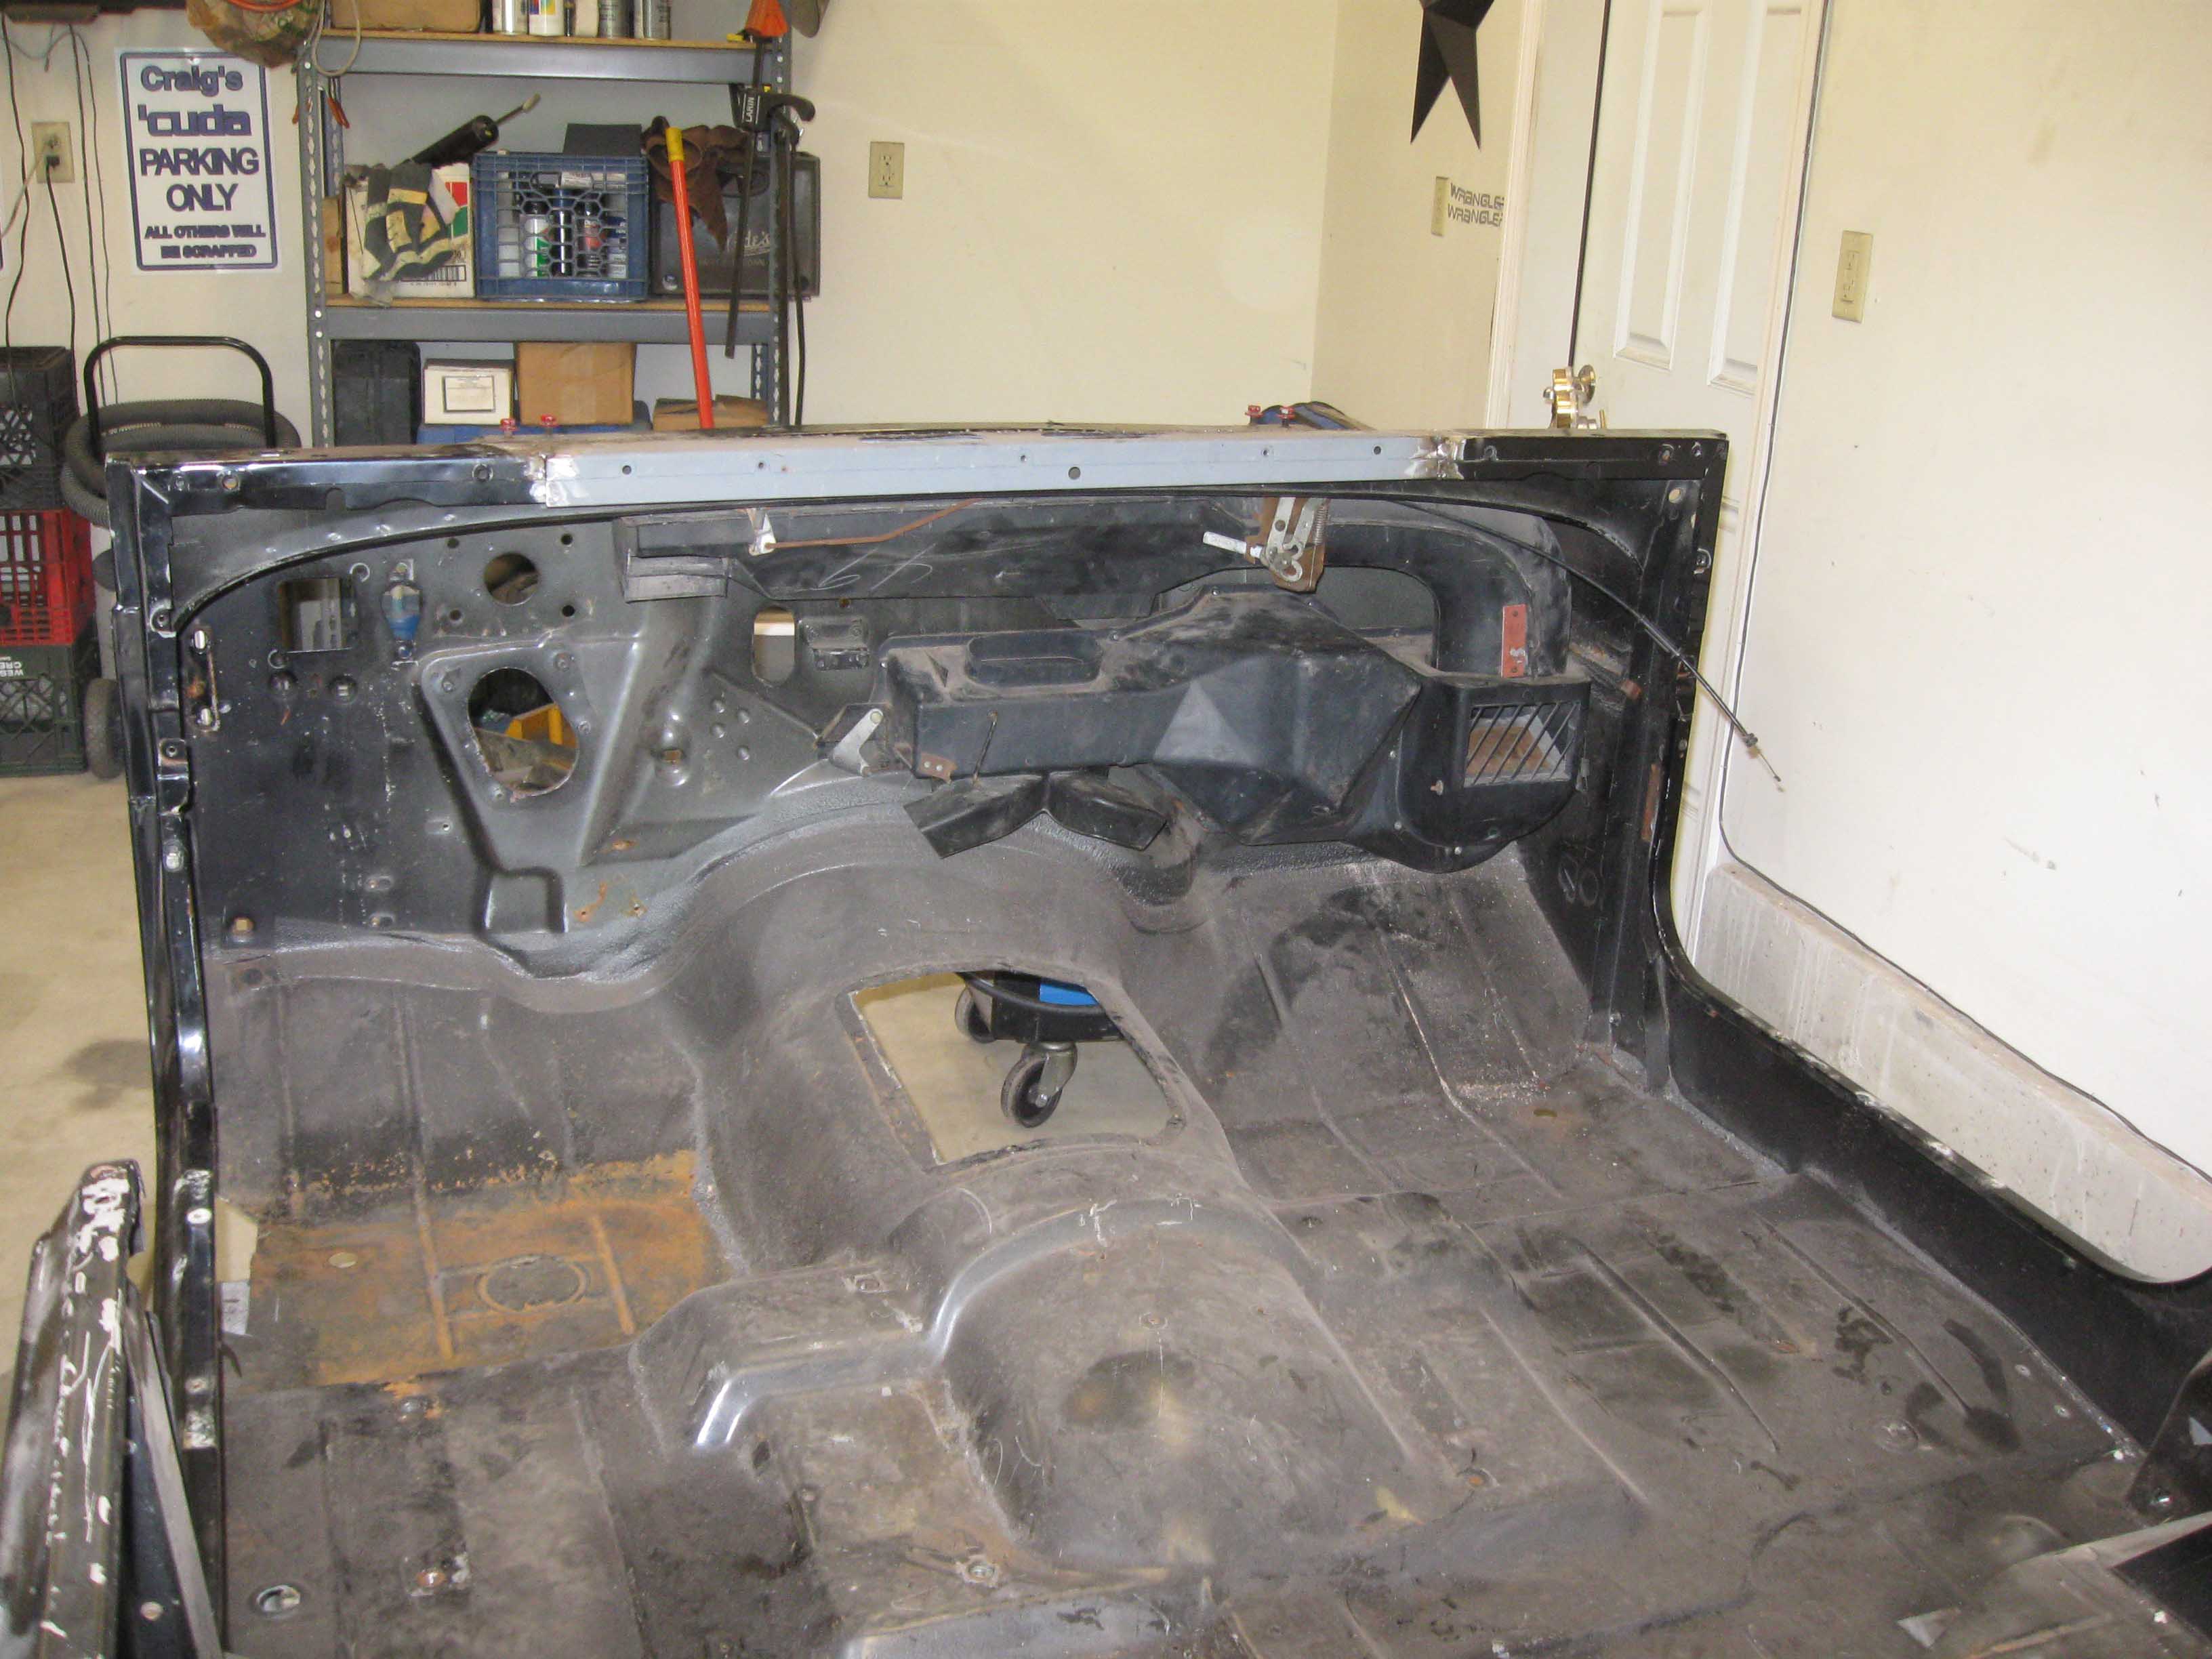
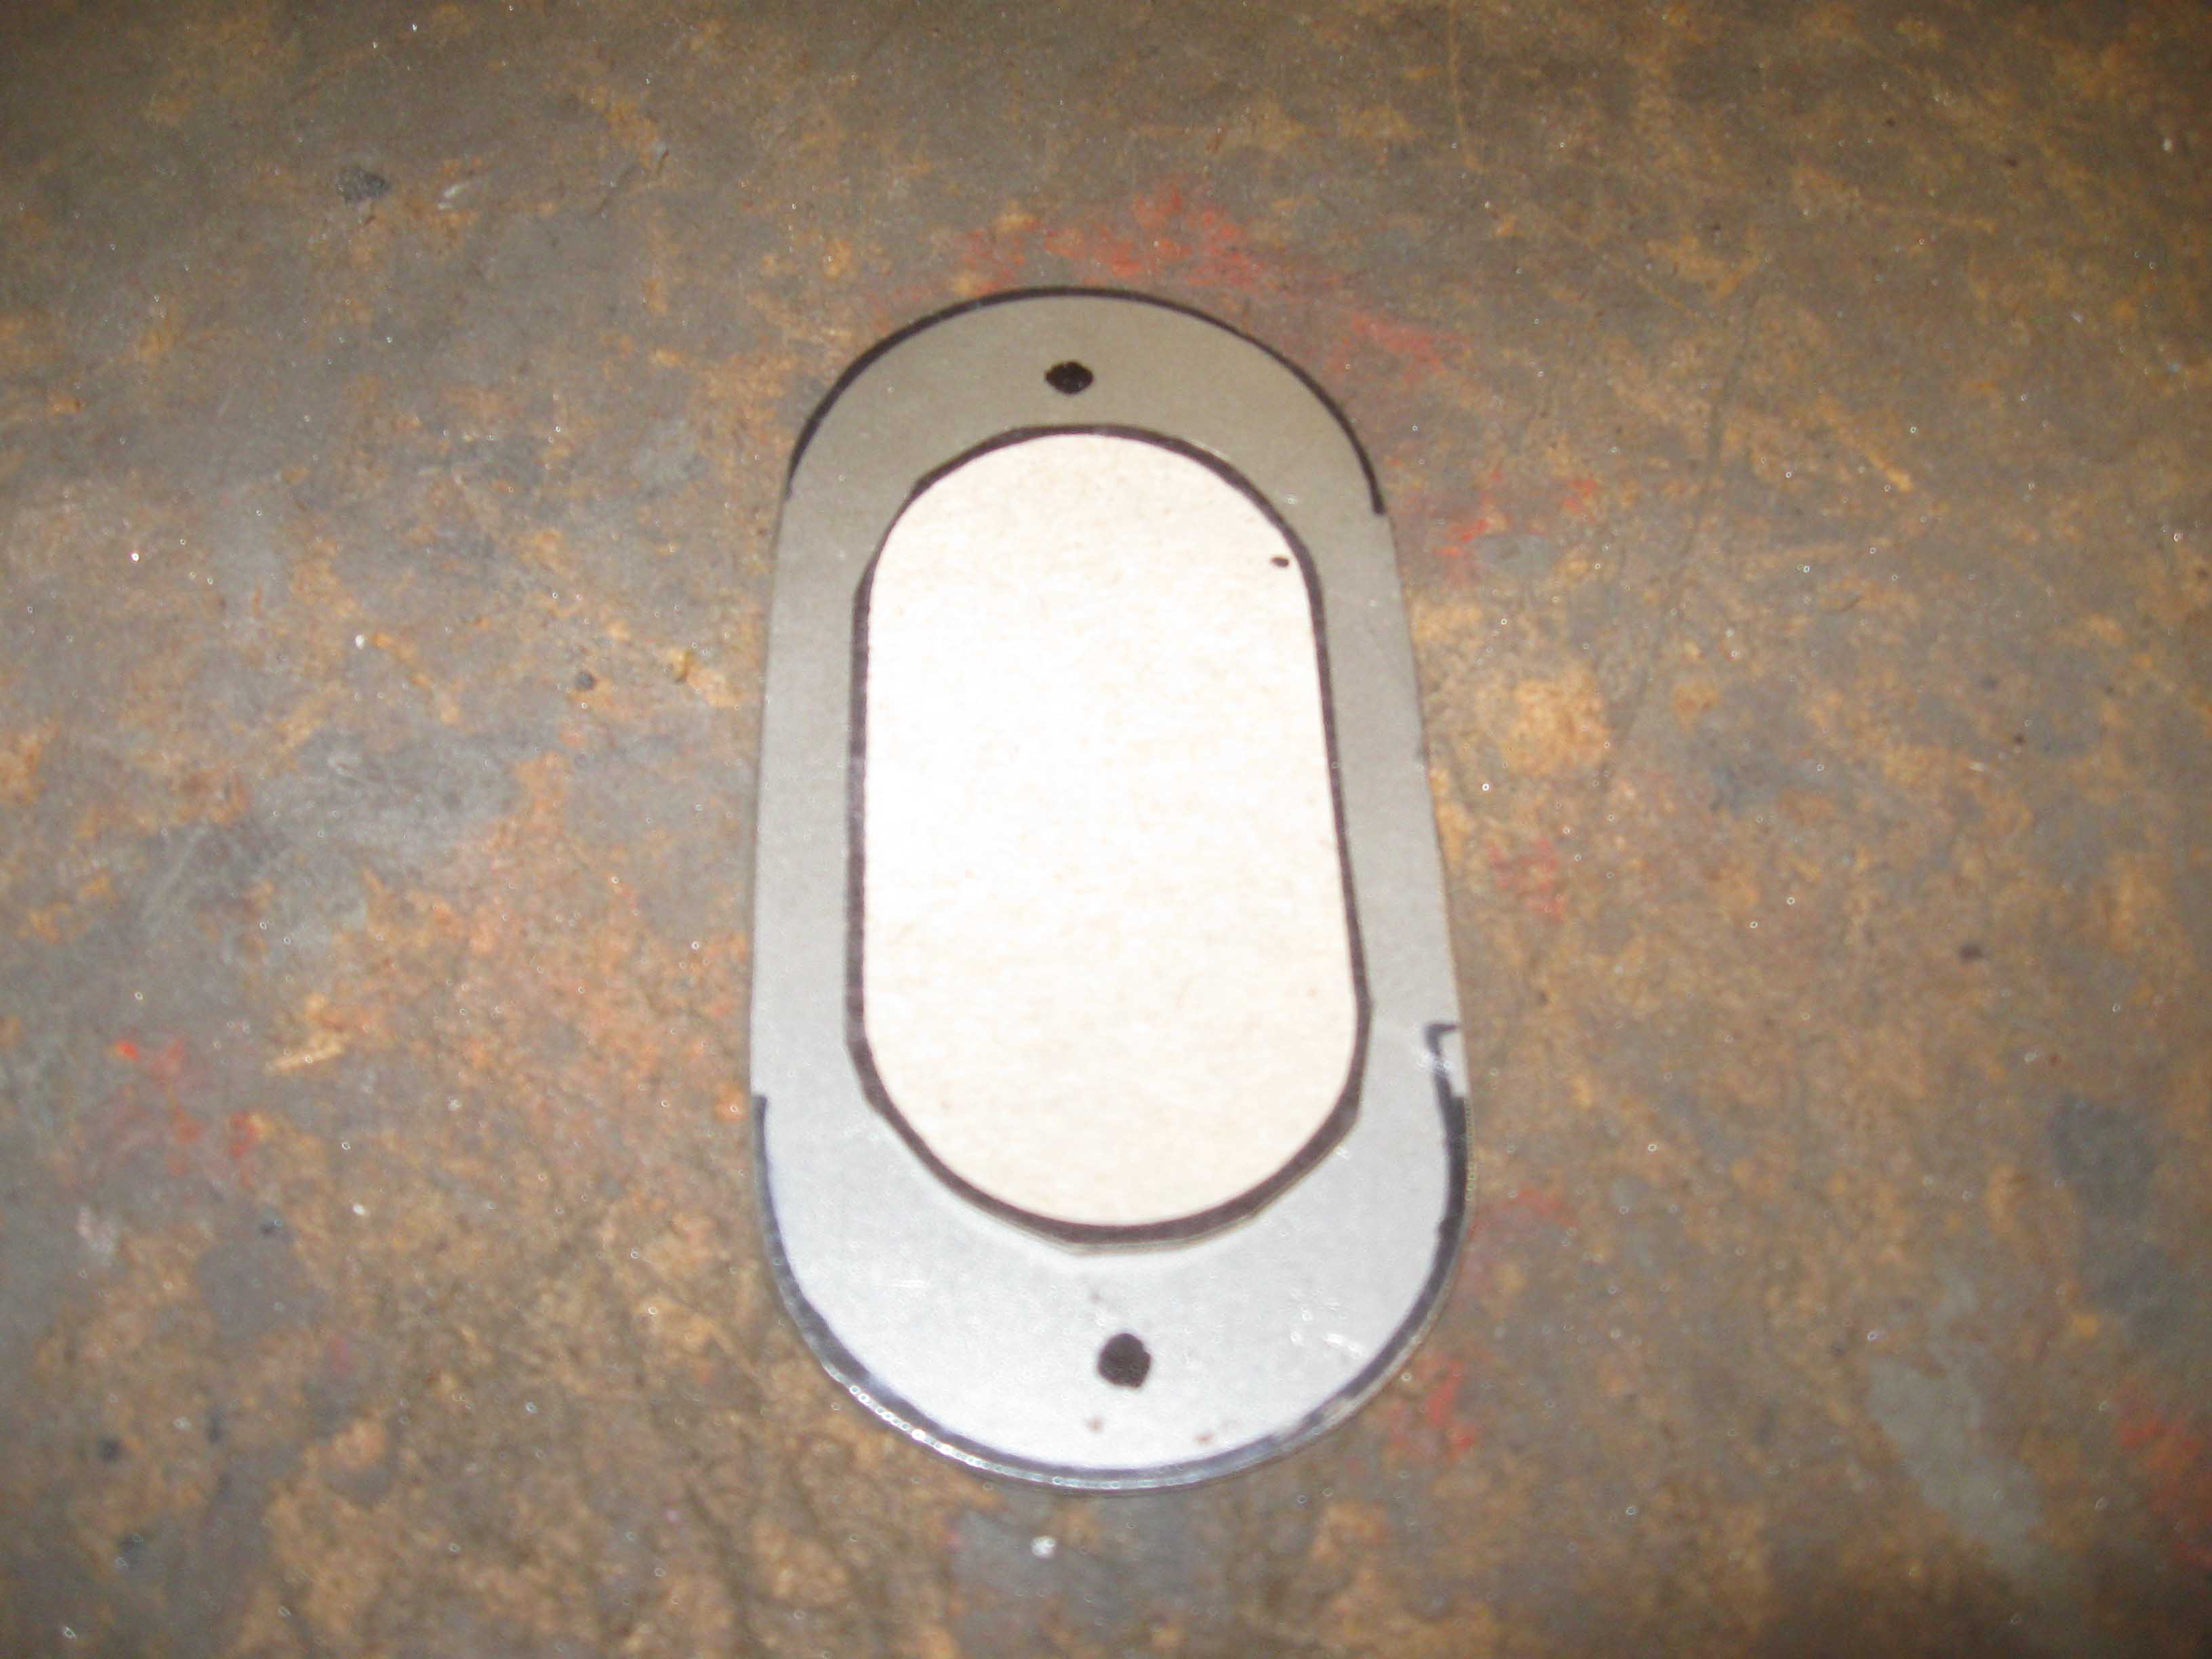
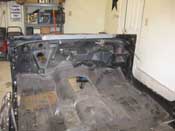
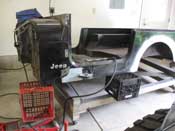
So, next was to get it back together and test fit it in the Jeep. I scavenged the
blower "Y" piece that goes under the unit from the Wrangler one. I did this on the Silver Jeep project and it
really does make a difference in moving the air around. After that was all set, I removed the computer mount from
the firewall as well as the upper heater box and then moved onto making a removable patch panel that screws in for
the firewall where the old Wrangler computer when through. I learned my lesson the hard way with this on the
Silver Jeep. It was quite cold having a hole that big in the firewall when you were driving. I am sure that with
the Blazer Motor Upgrade it wouldn't be an issue, but it is nice to have it covered up and to have it removable in
case a Fuel Injection upgrade is warranted in the future.
(06/03/09)
|
| |

|
|
|

|
| |
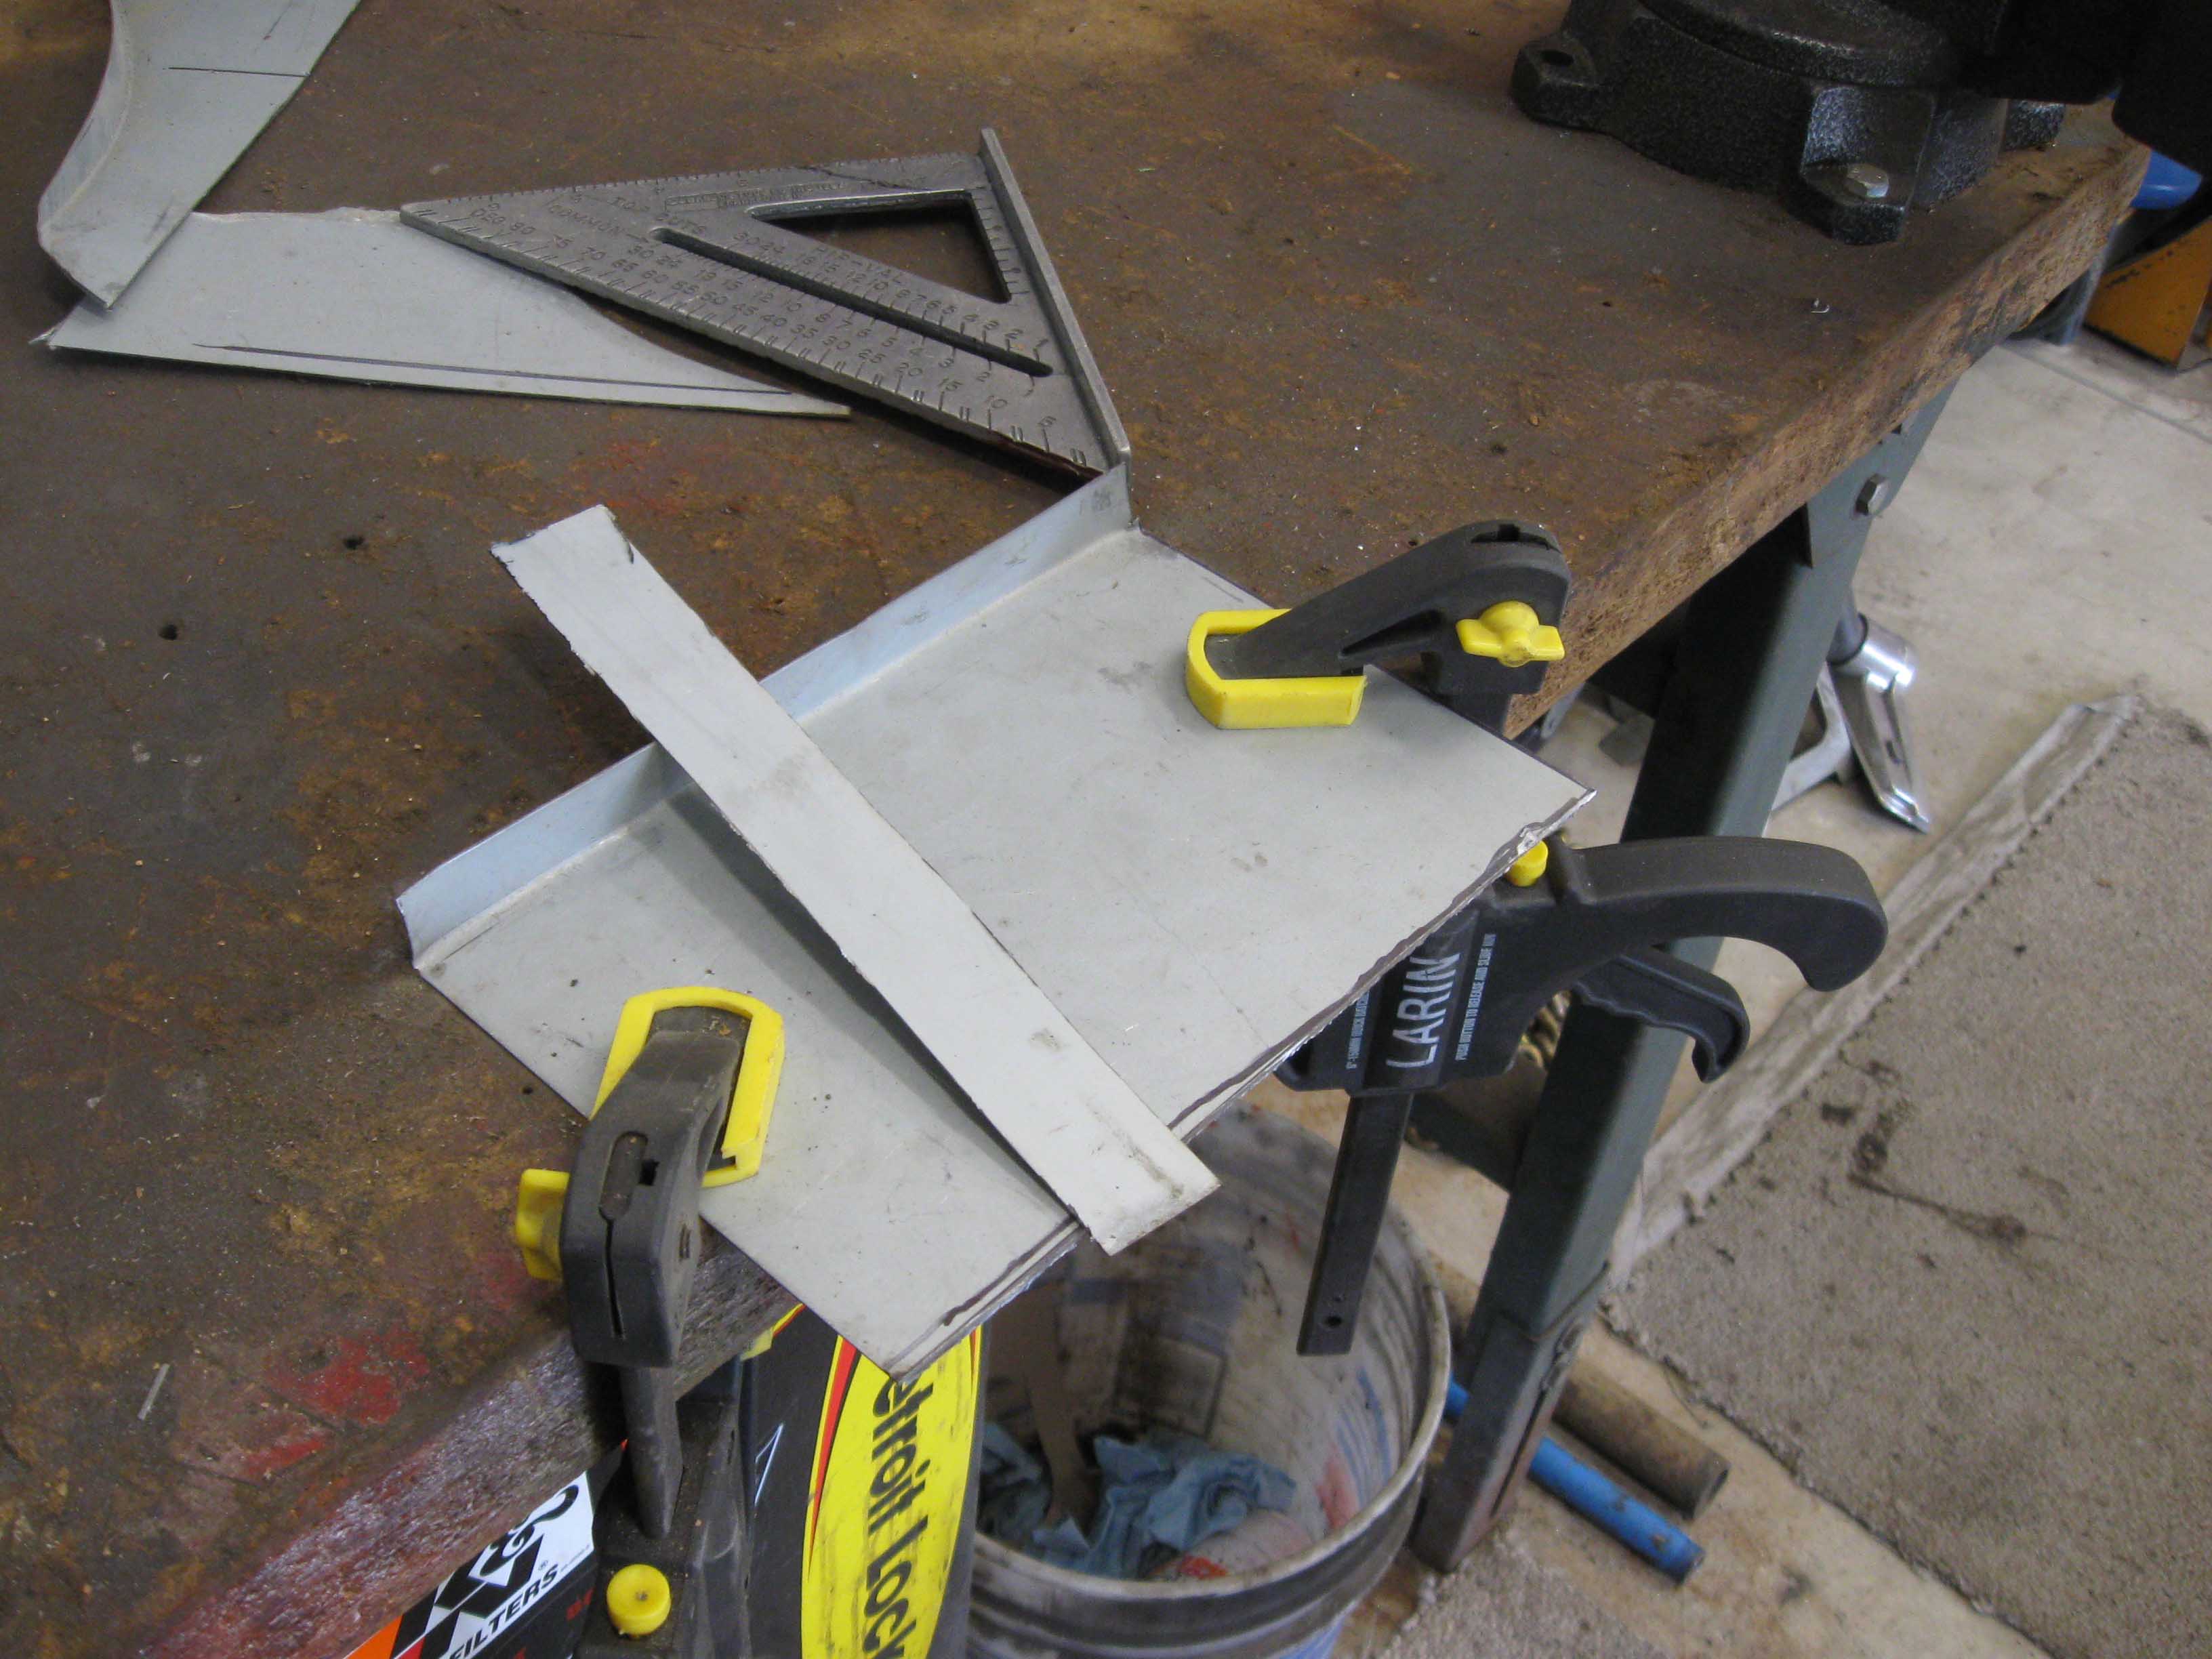
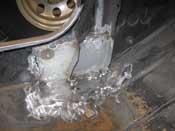
(06/04/09) So, the day continued with me attempting to fix the hole in the side
of the tub. I got pretty far with it, but in the end I had to stop and just say that tomorrow was another day. I
cut out the piece square, then made a piece for that, and then moved onto making a piece for the inside and then
cut down the old CJ pillar I had. Basically it was a lot of cutting and test fitting, but all in all, I am about
80% done.
(06/04/09)
|
| |
|

|

|
|
| |
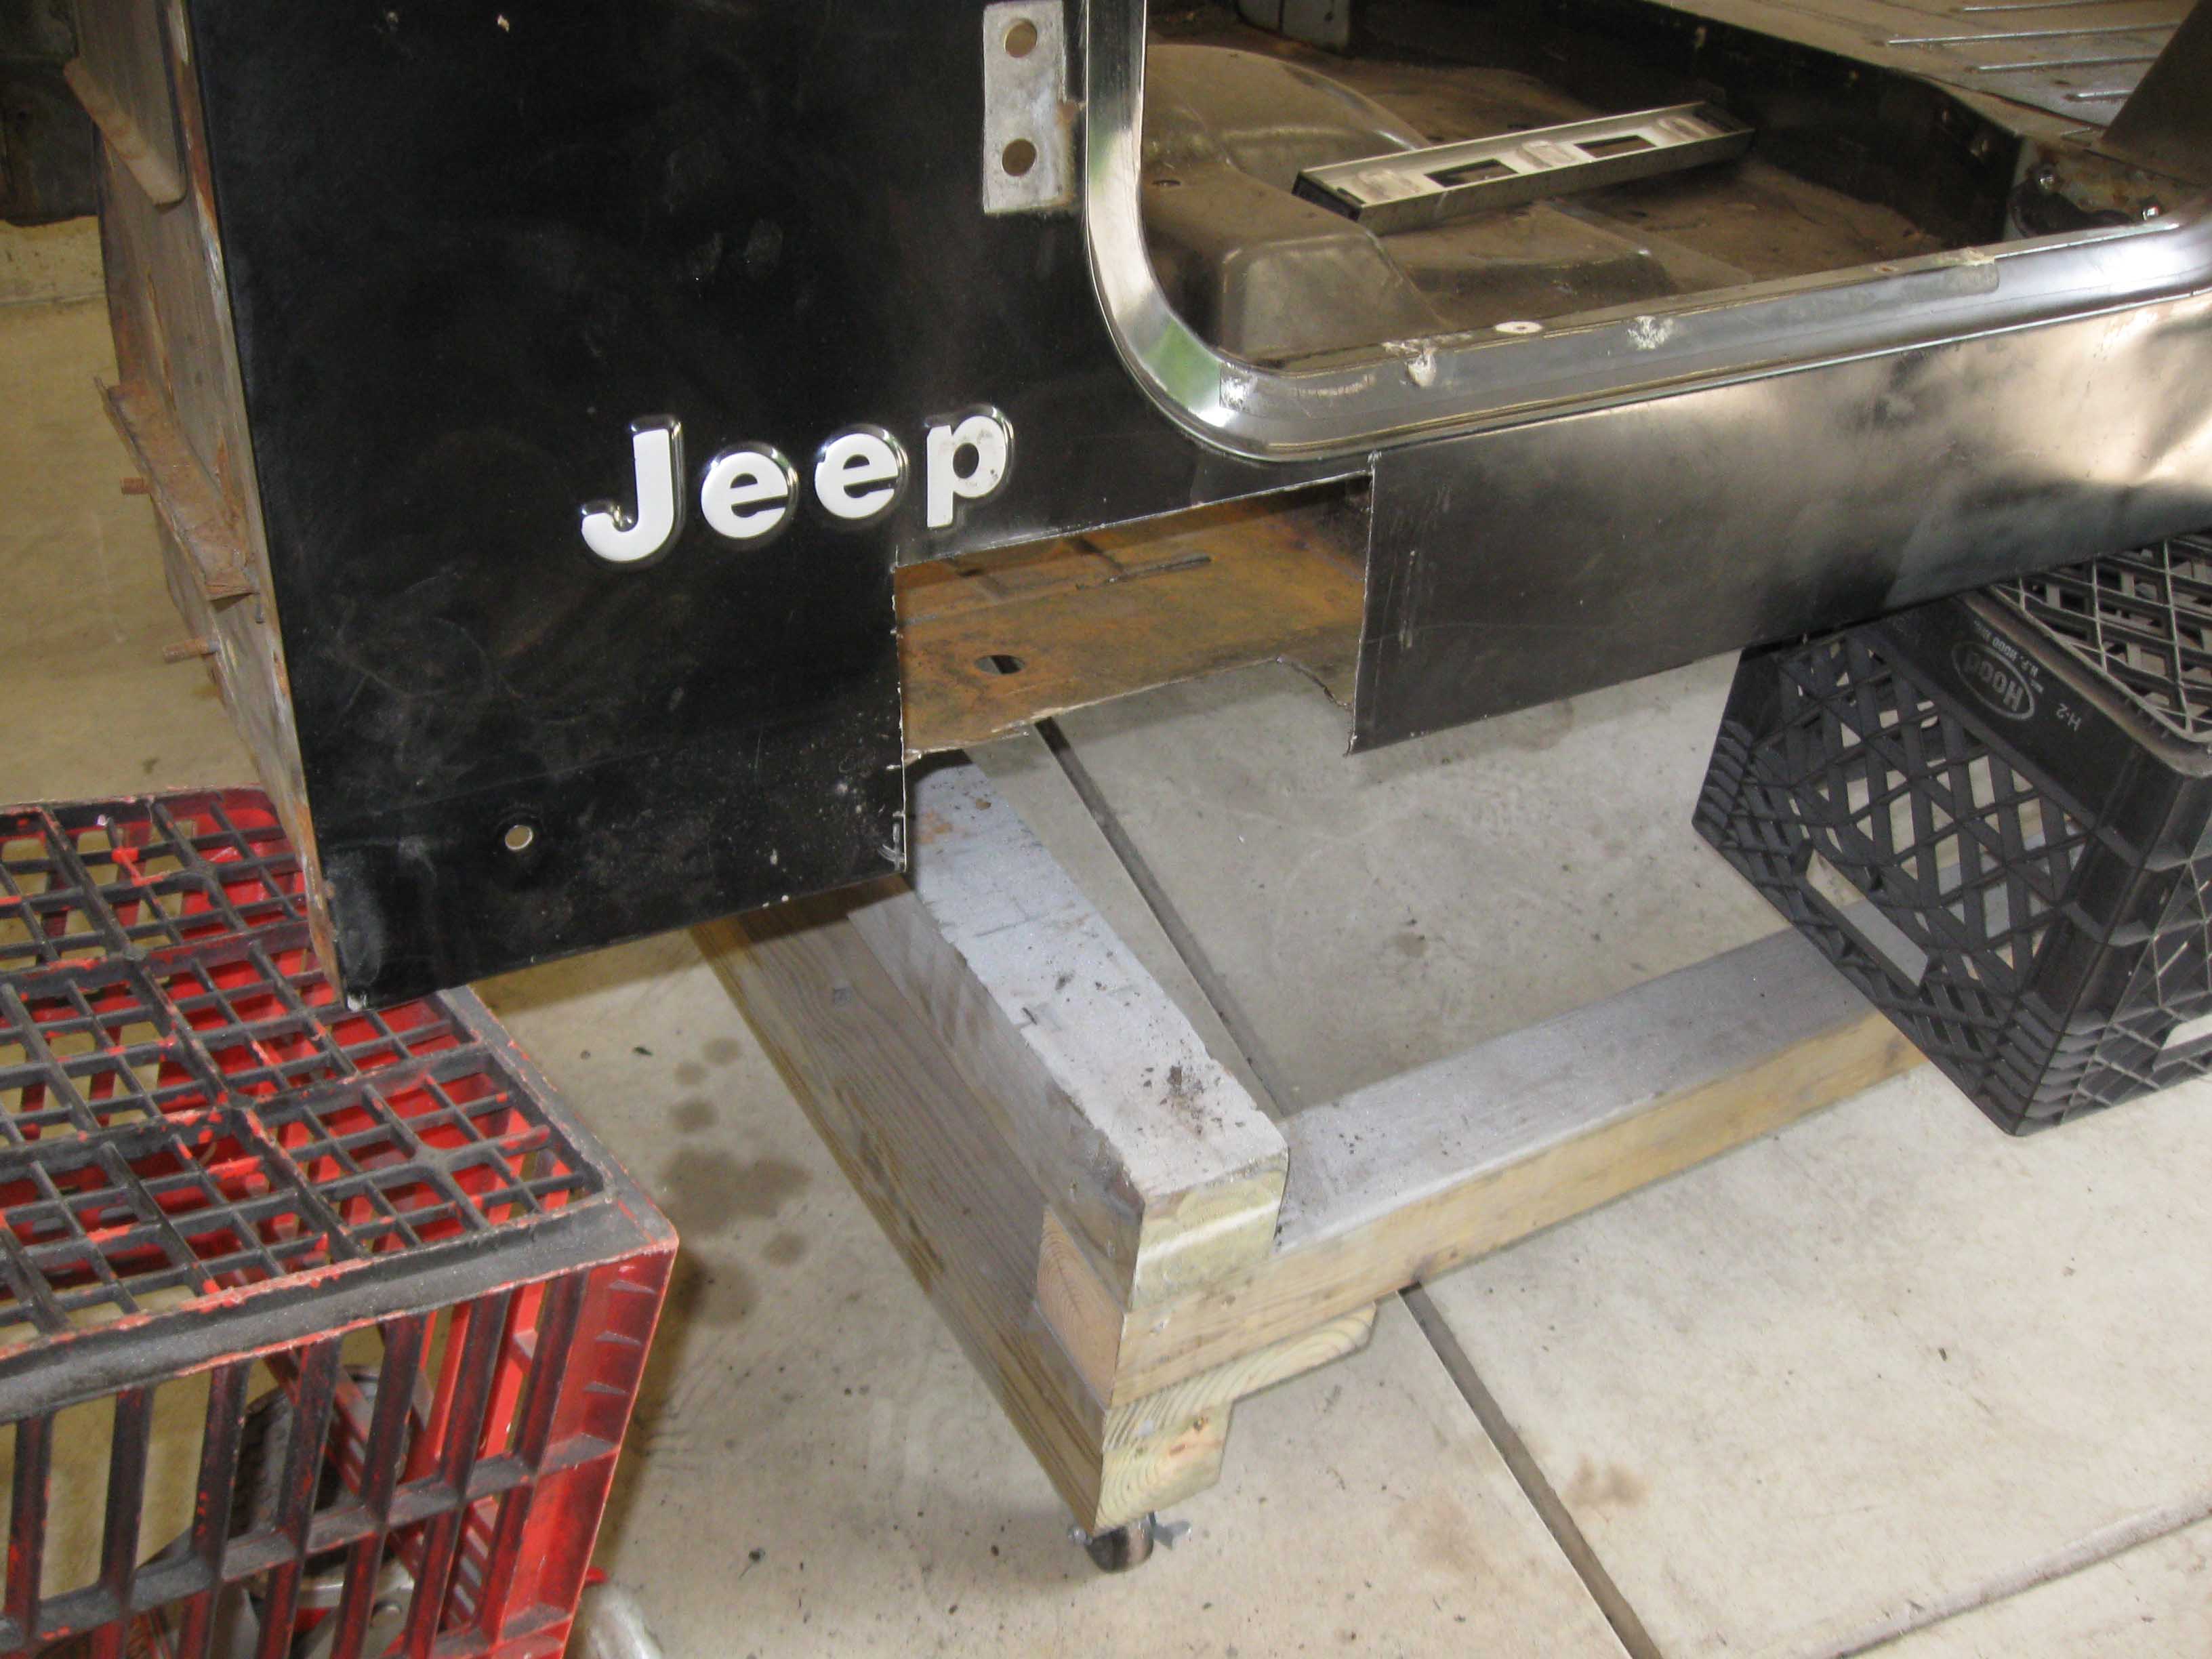
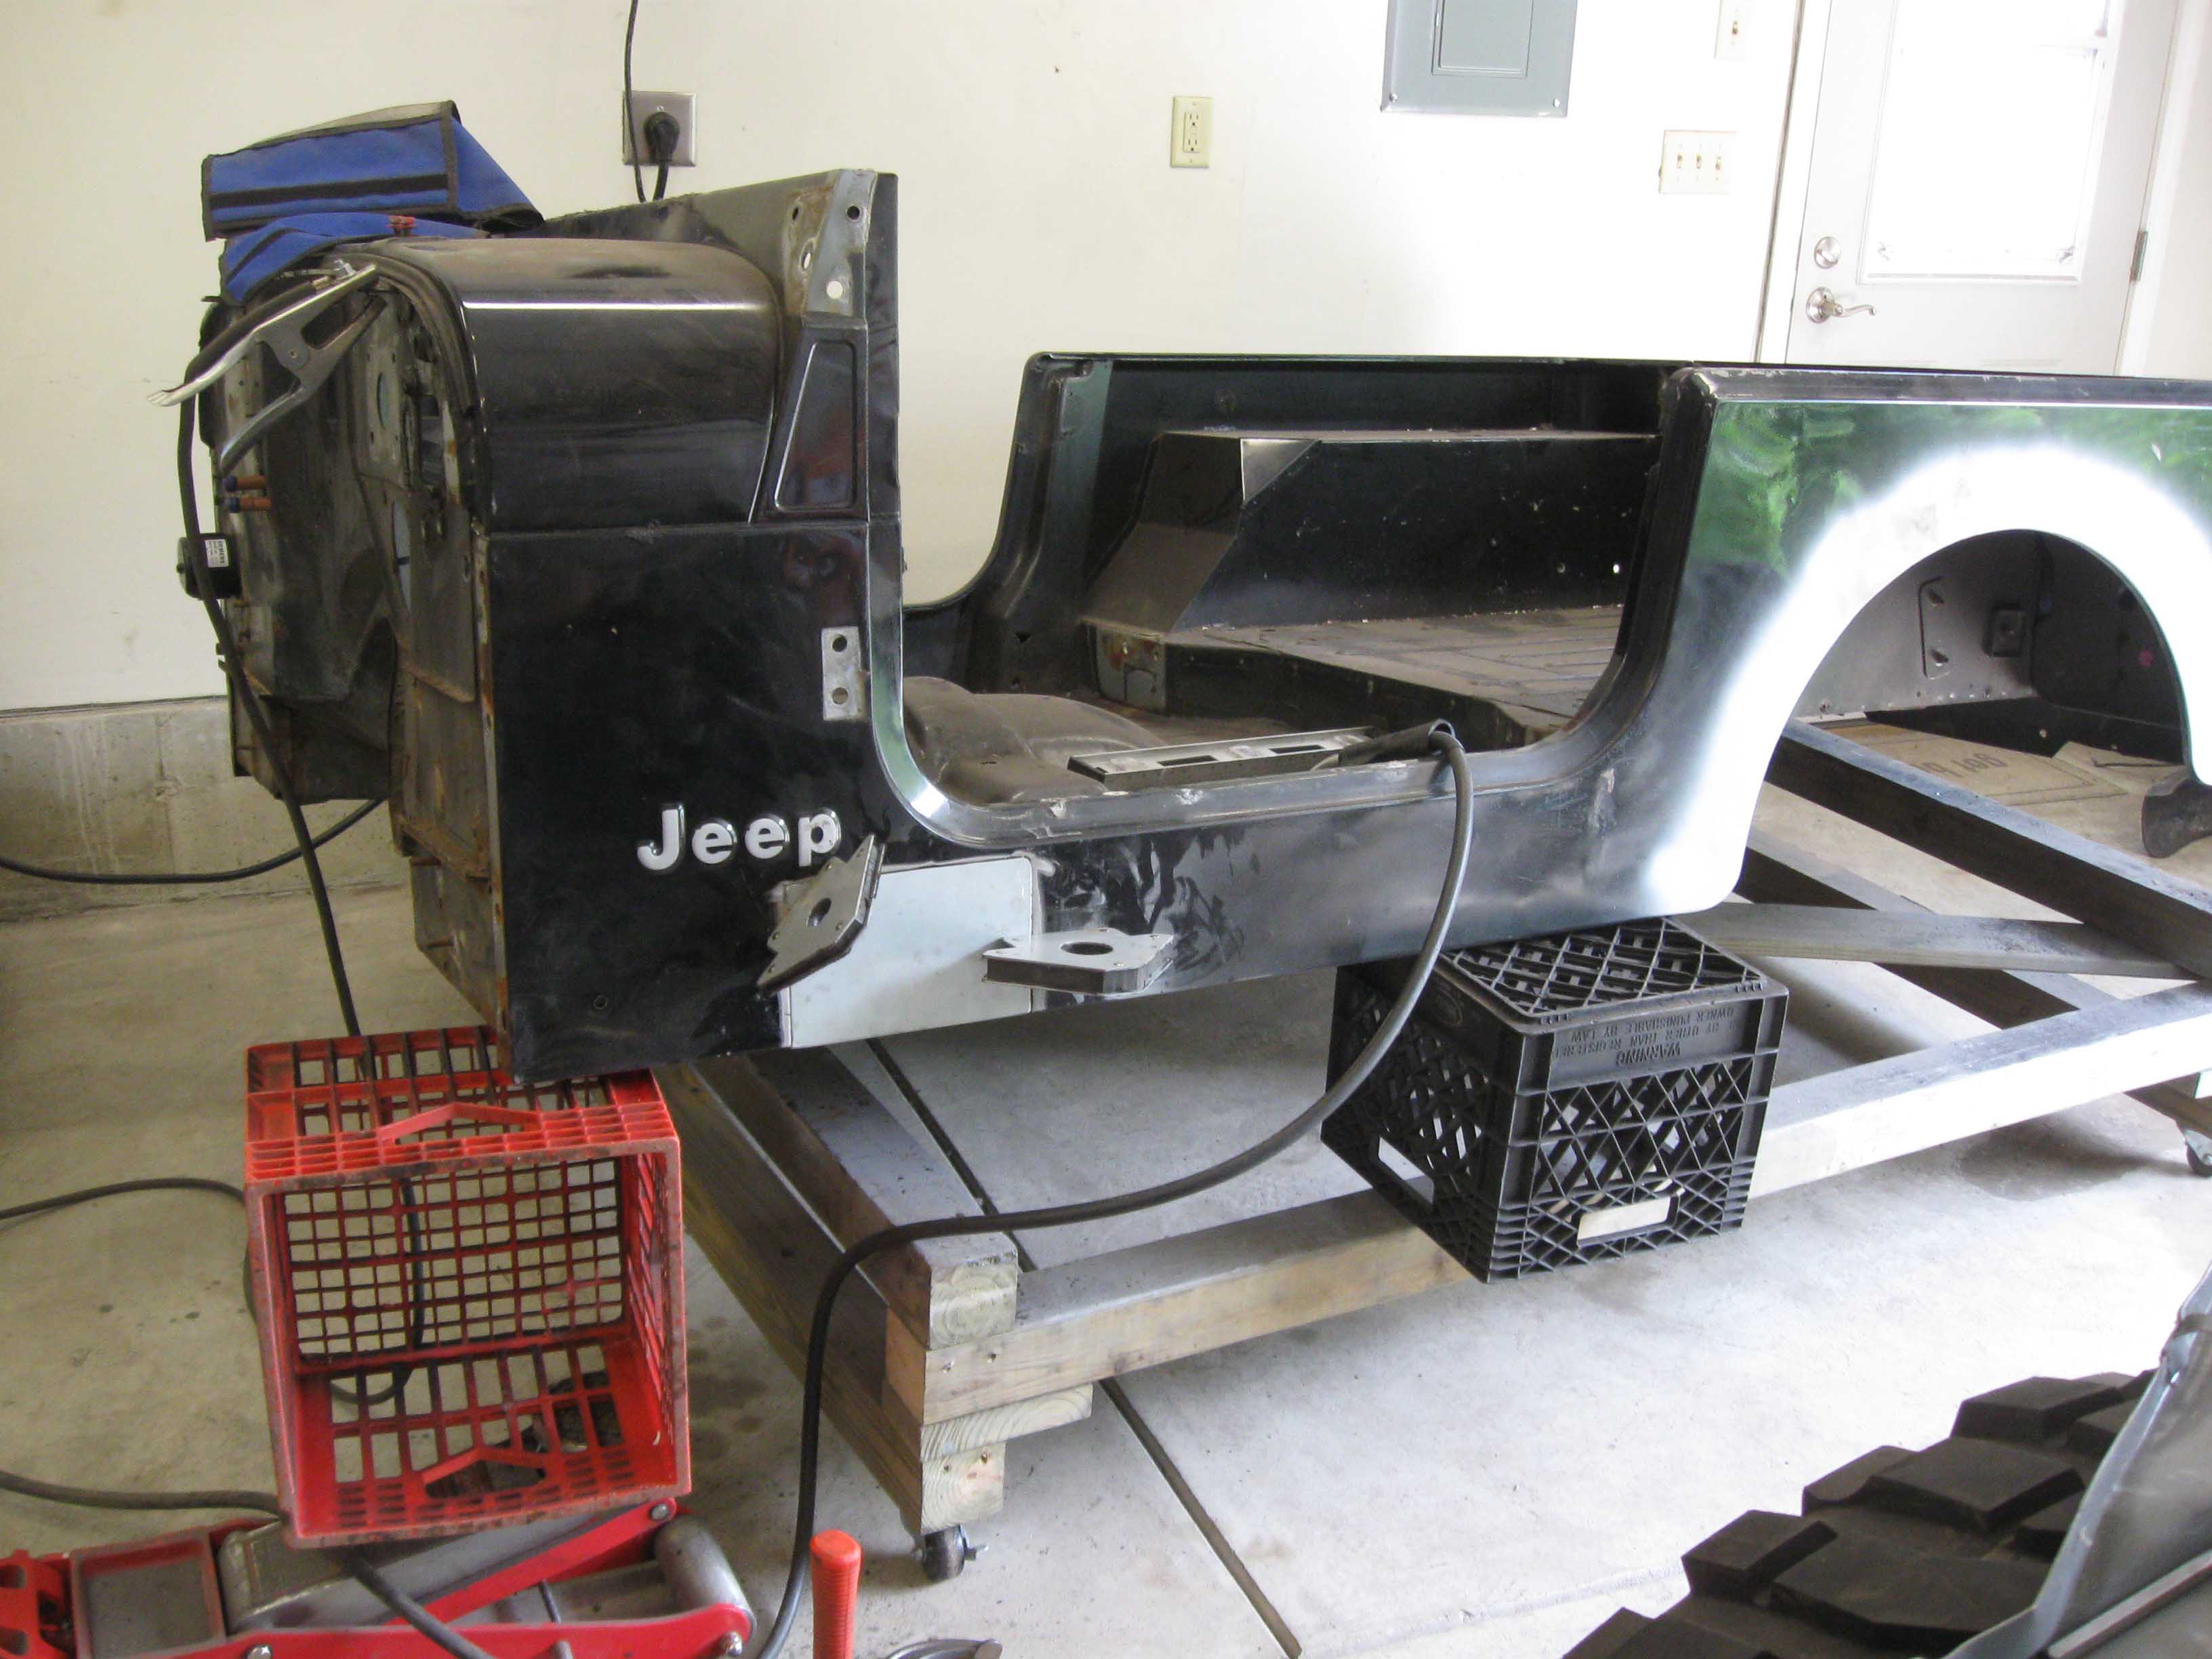
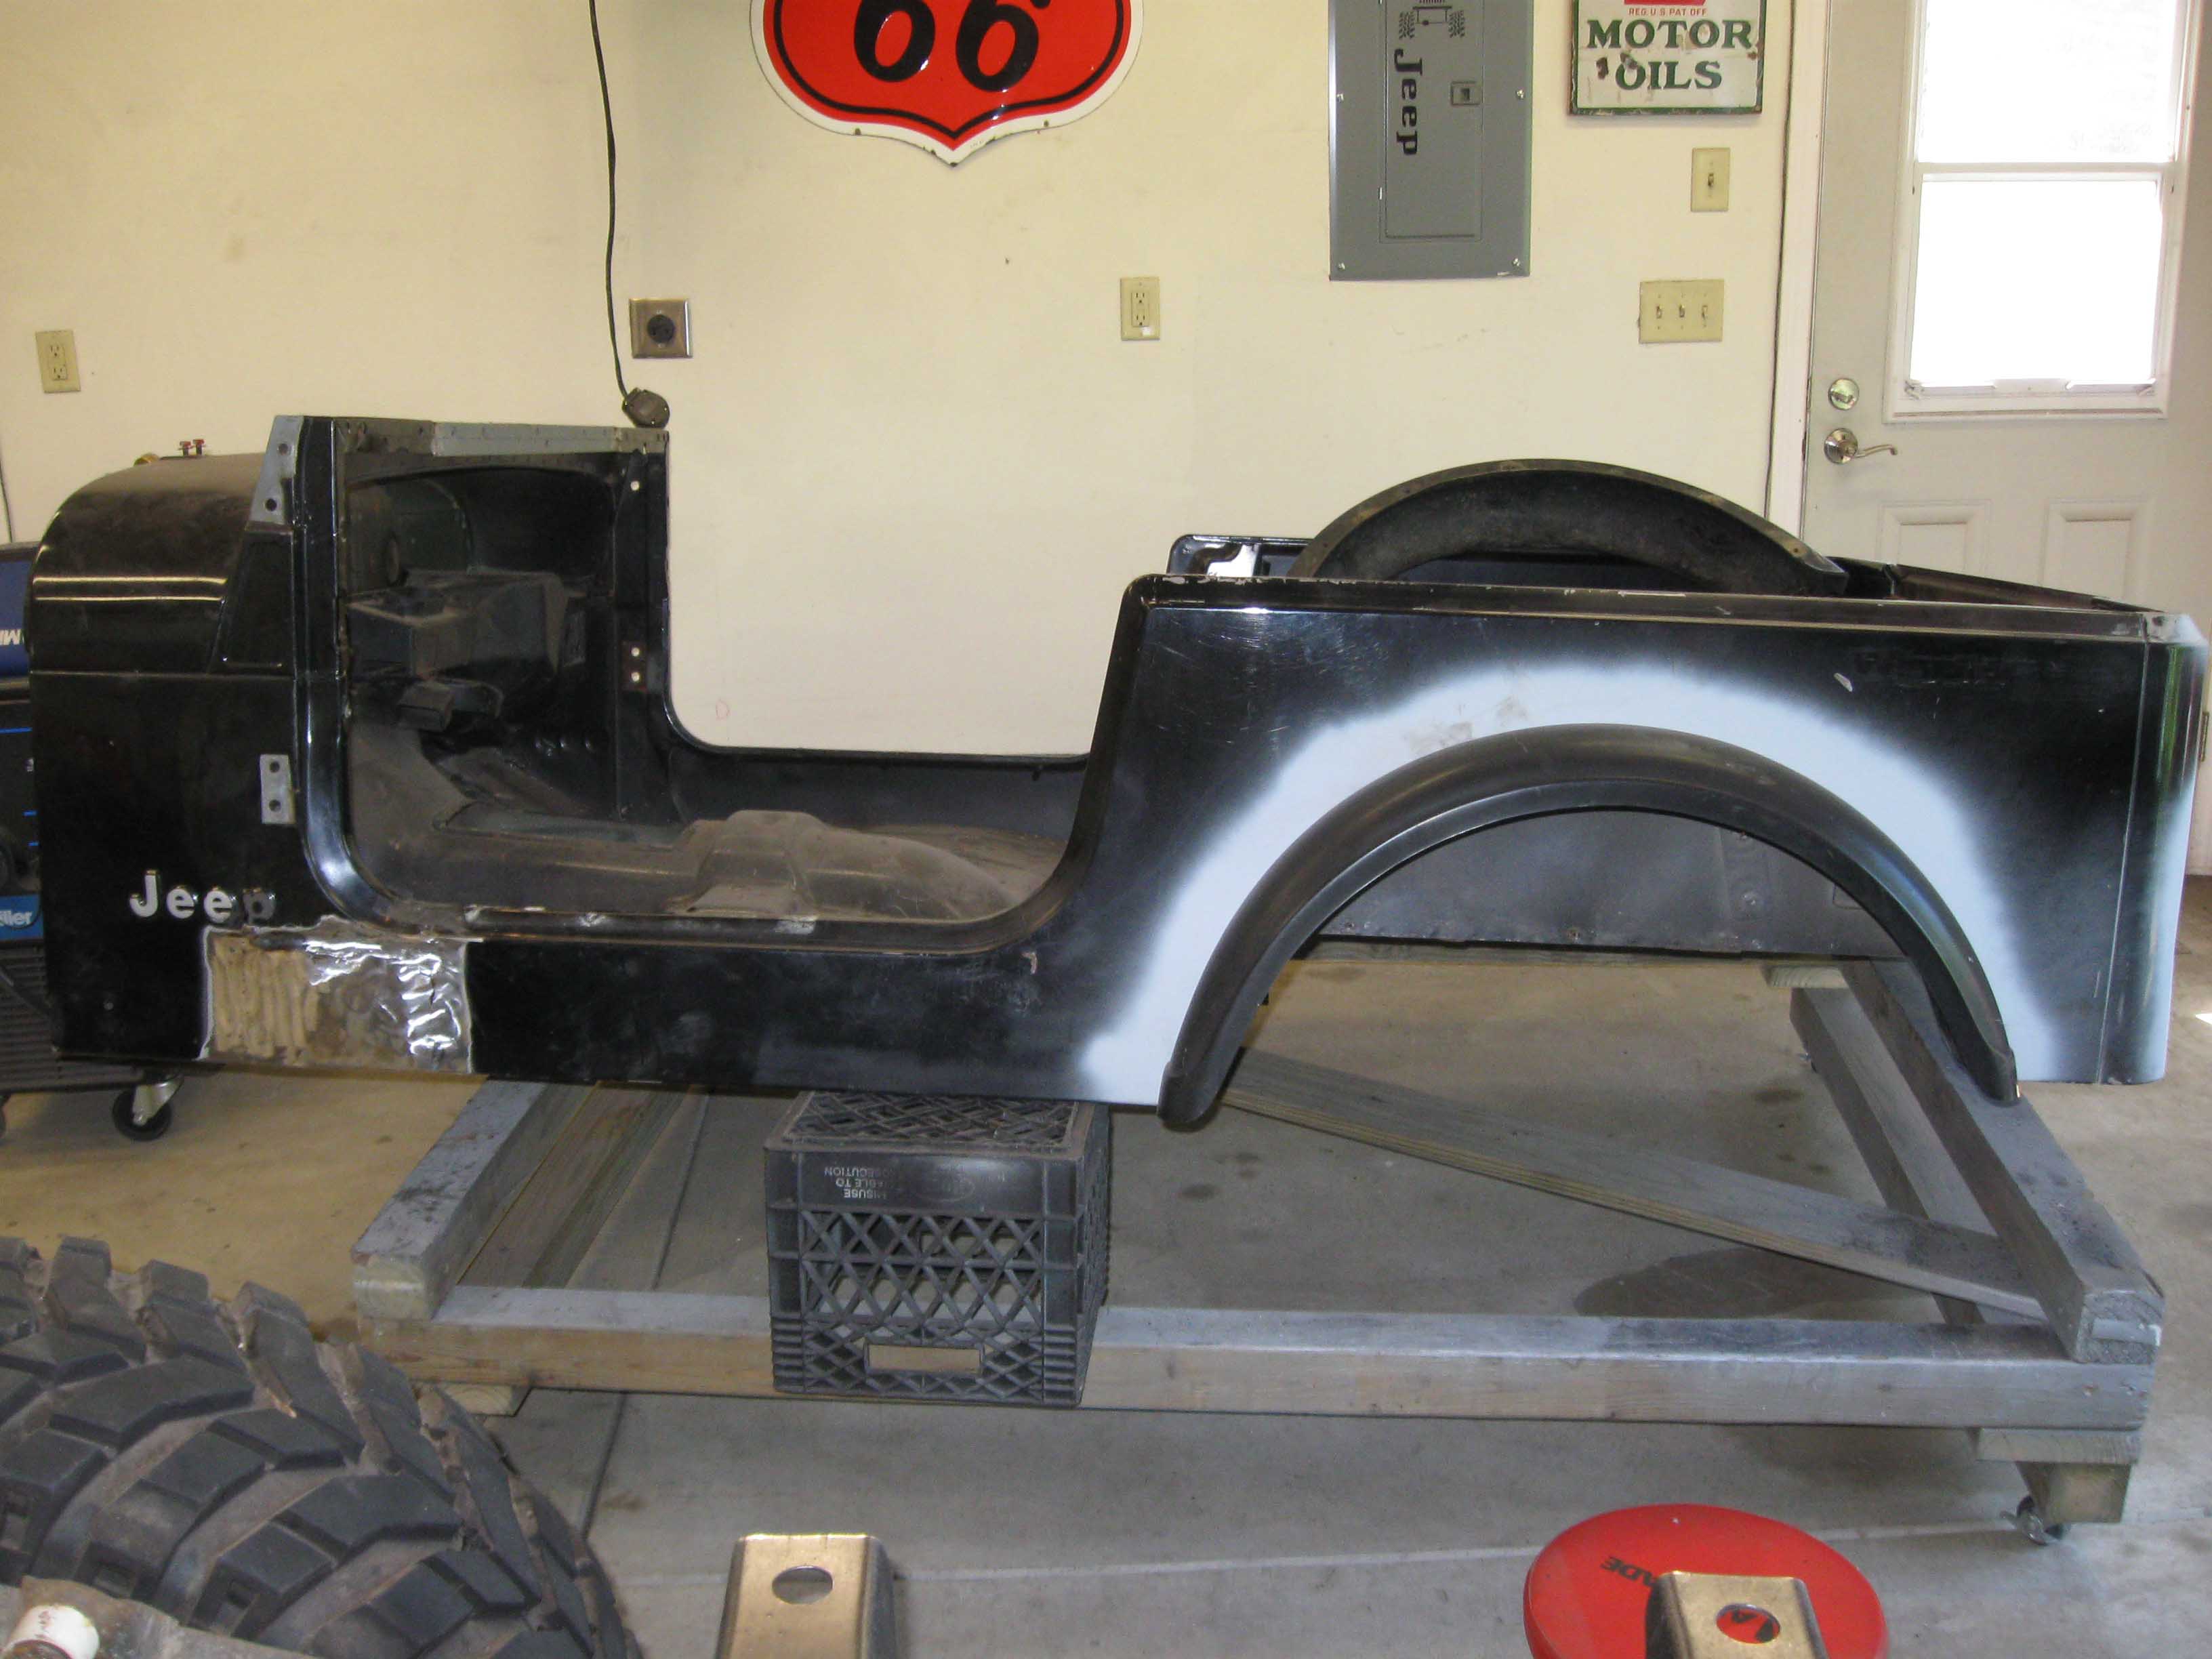
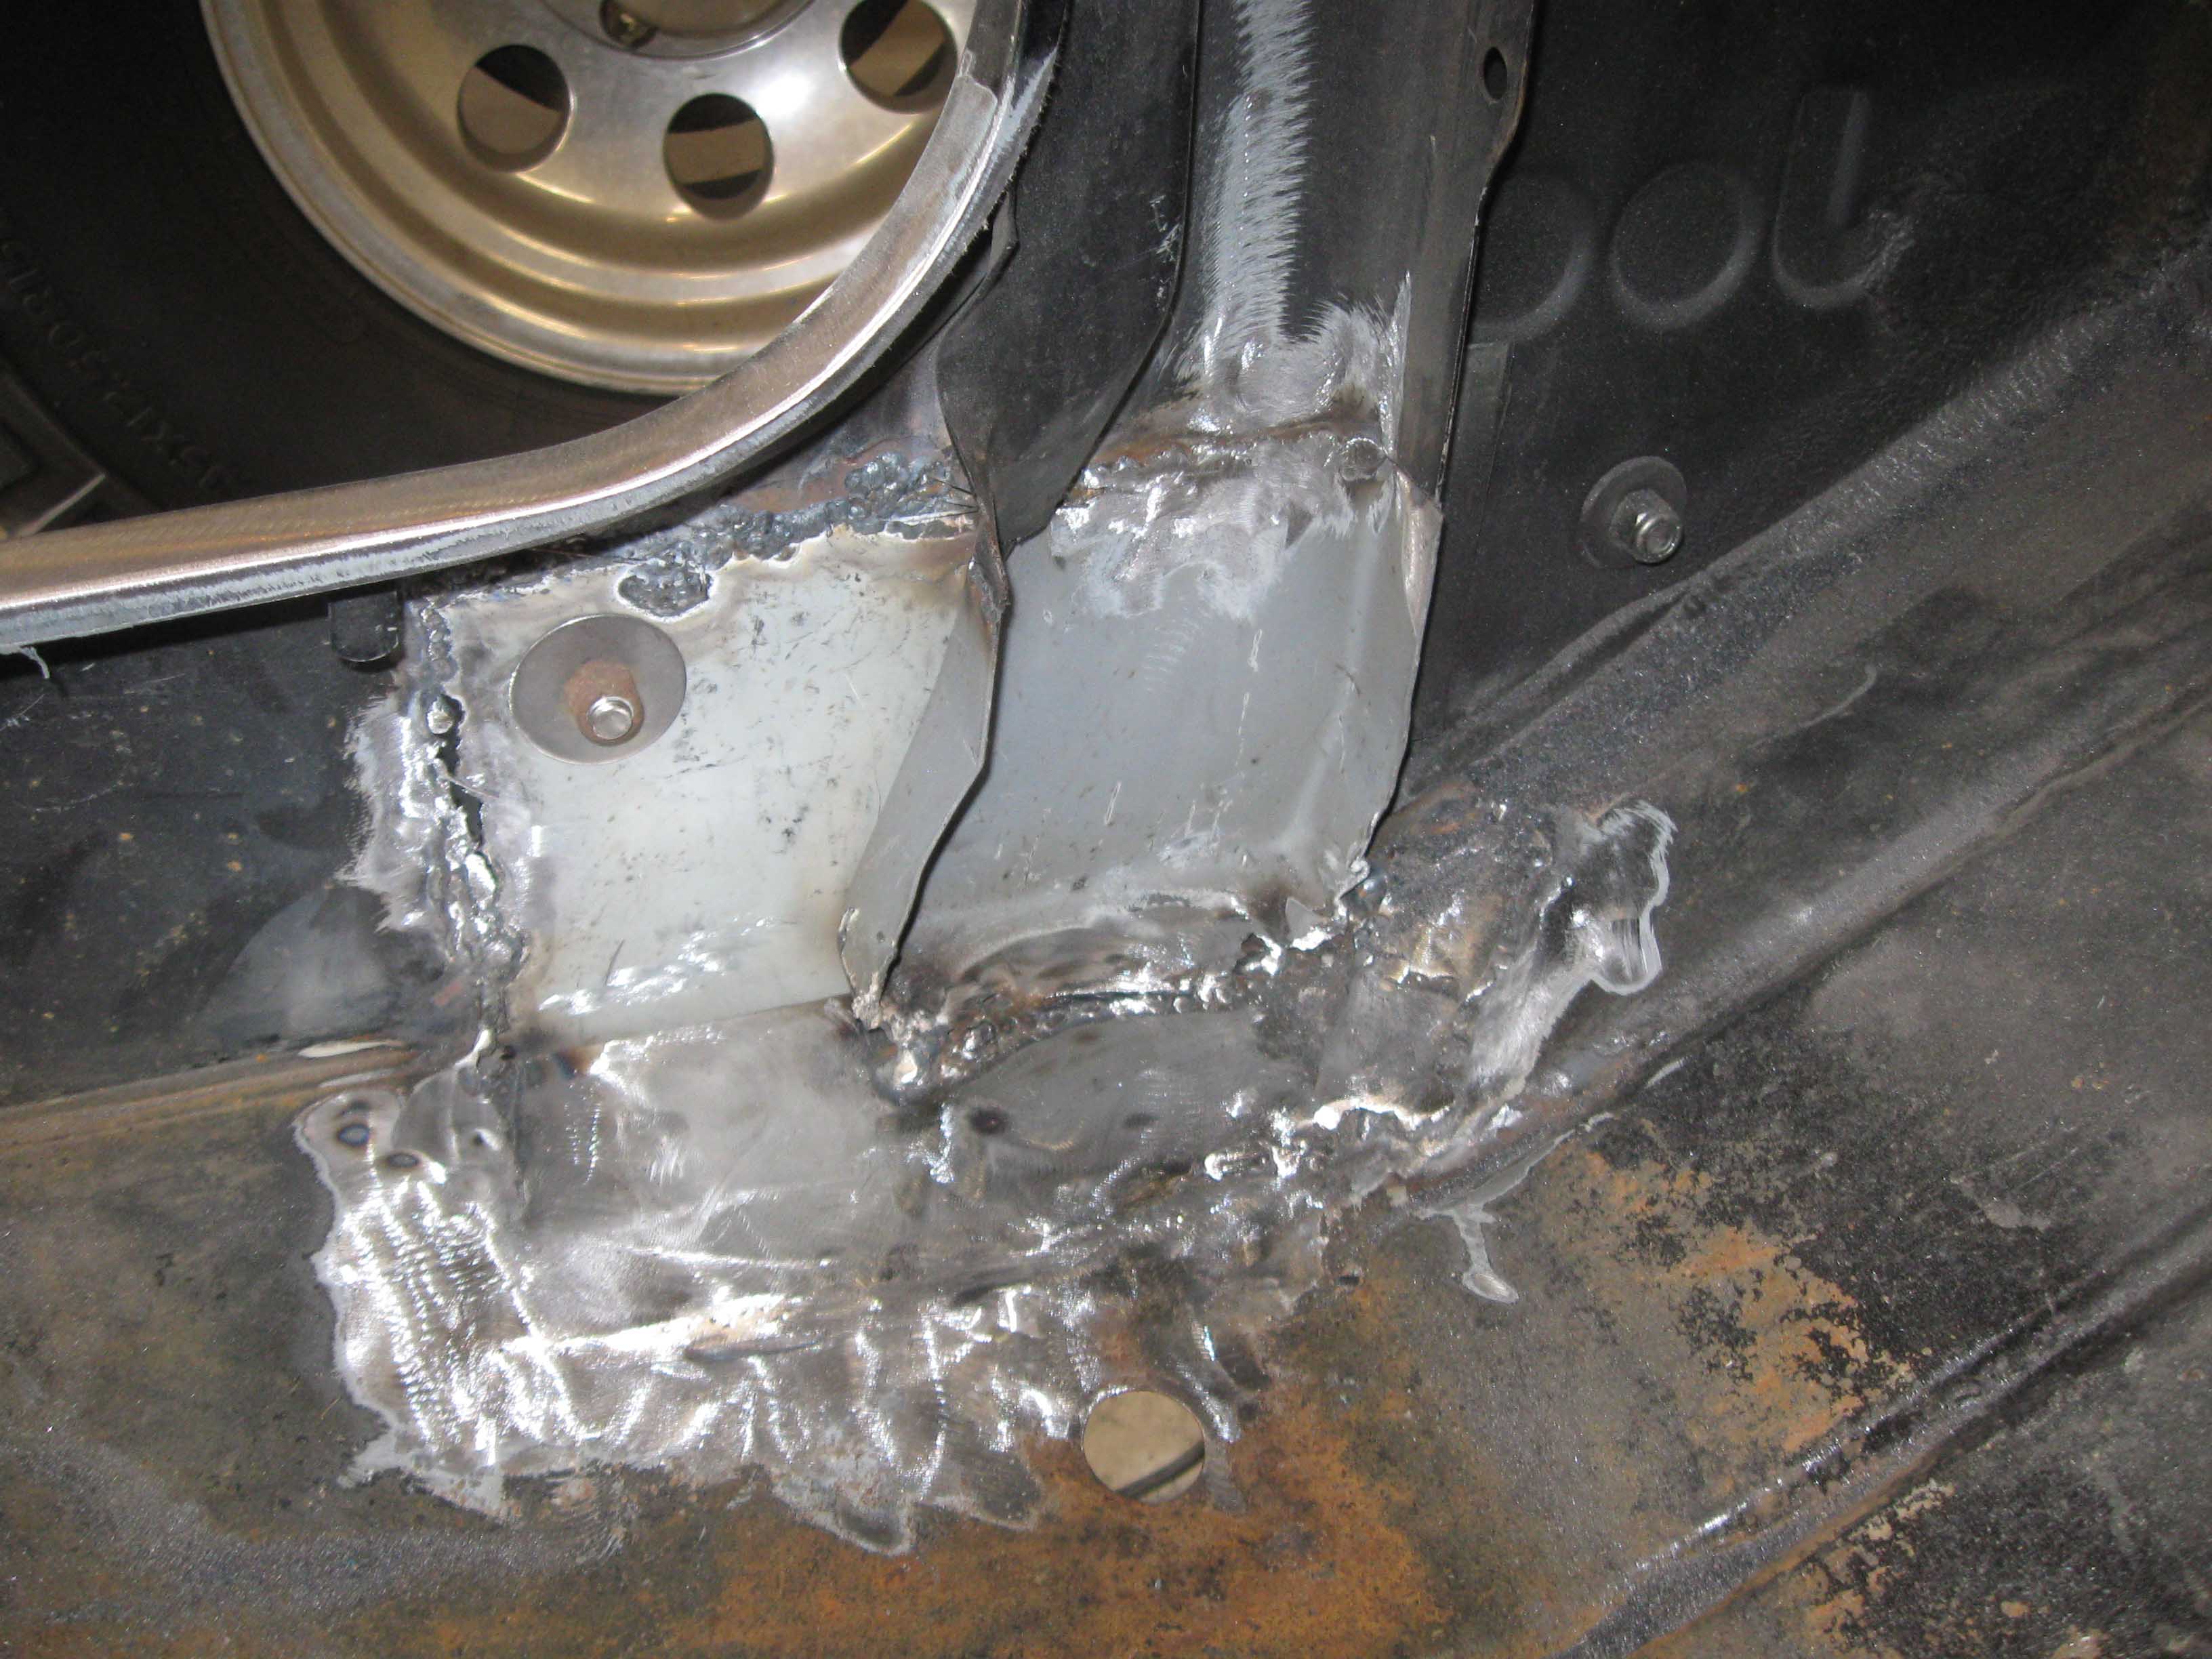
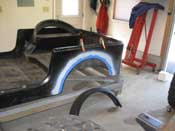
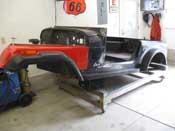
| (06/05/09) There were 2 things accomplished today, the rear fender flare
and the side rail installations. Both of which had to use existing holes, so there was some measuring and some
fitting to make sure it was where it was supposed to be. It turned out pretty good. The fender flares went
on pretty easily, only taking about an hour for the first side, and then the 2nd side went quicker. The side
rails were a different story altogether.
|
| |

|

|
|
|
| |
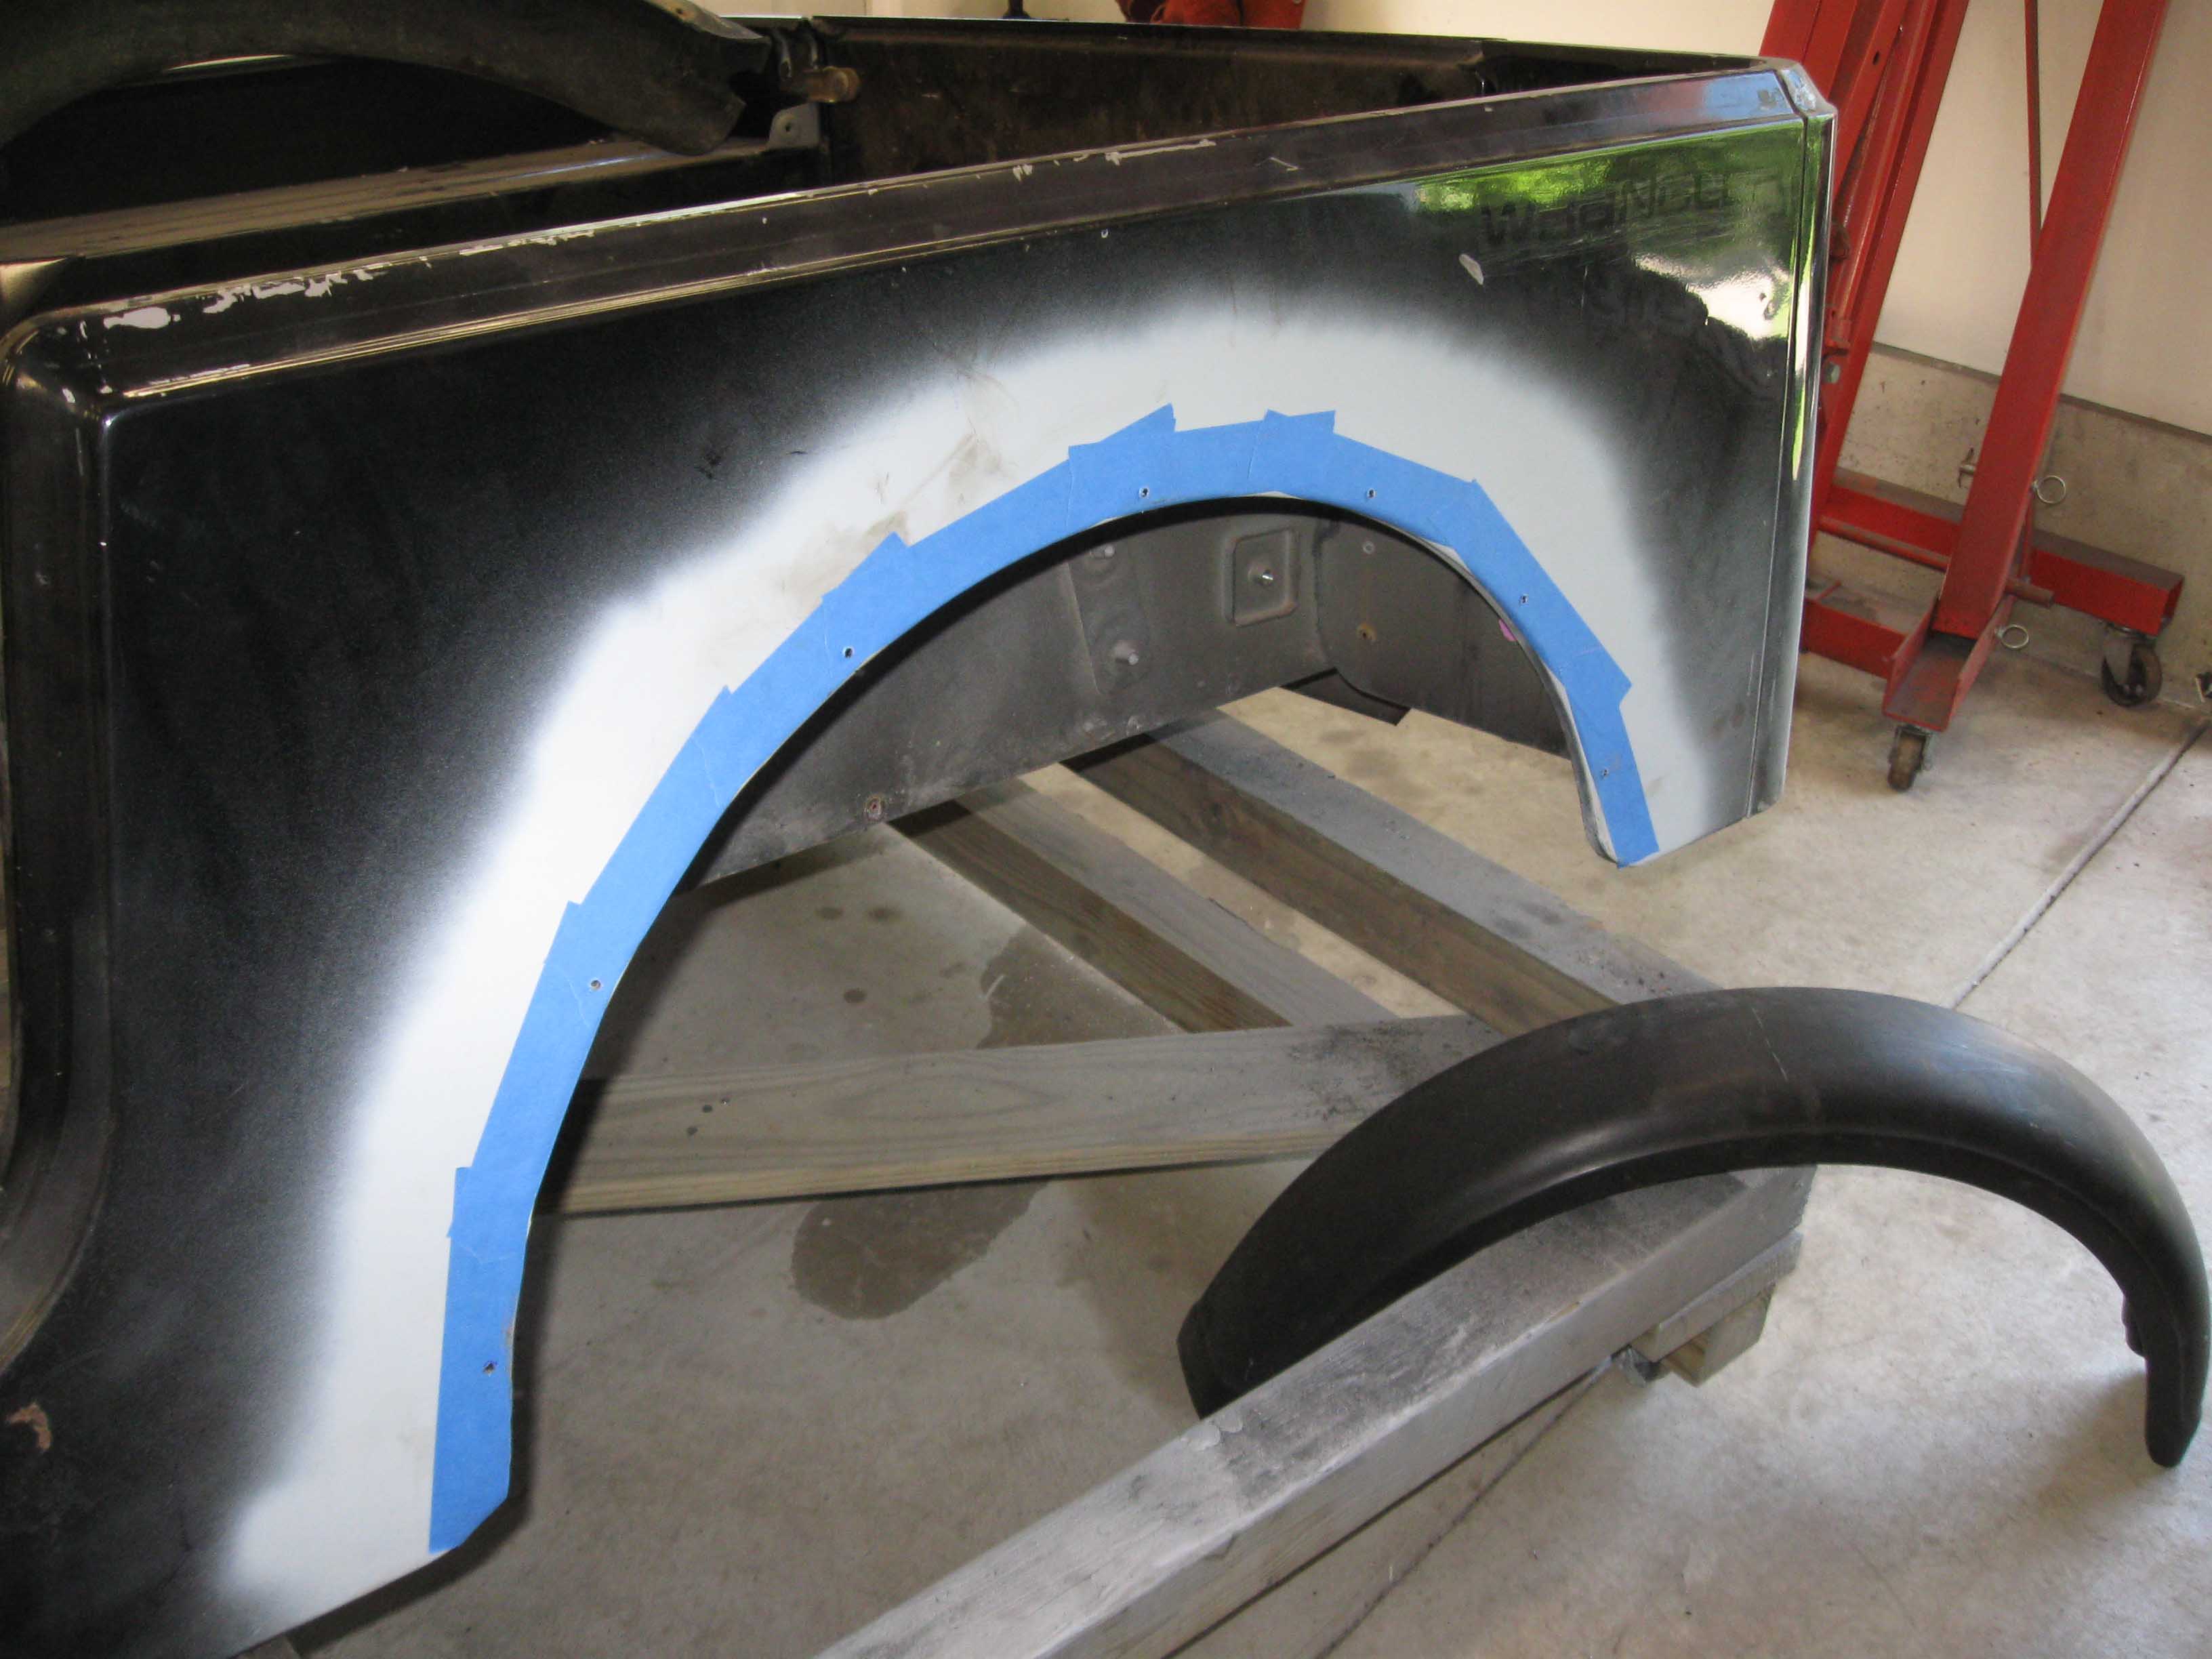
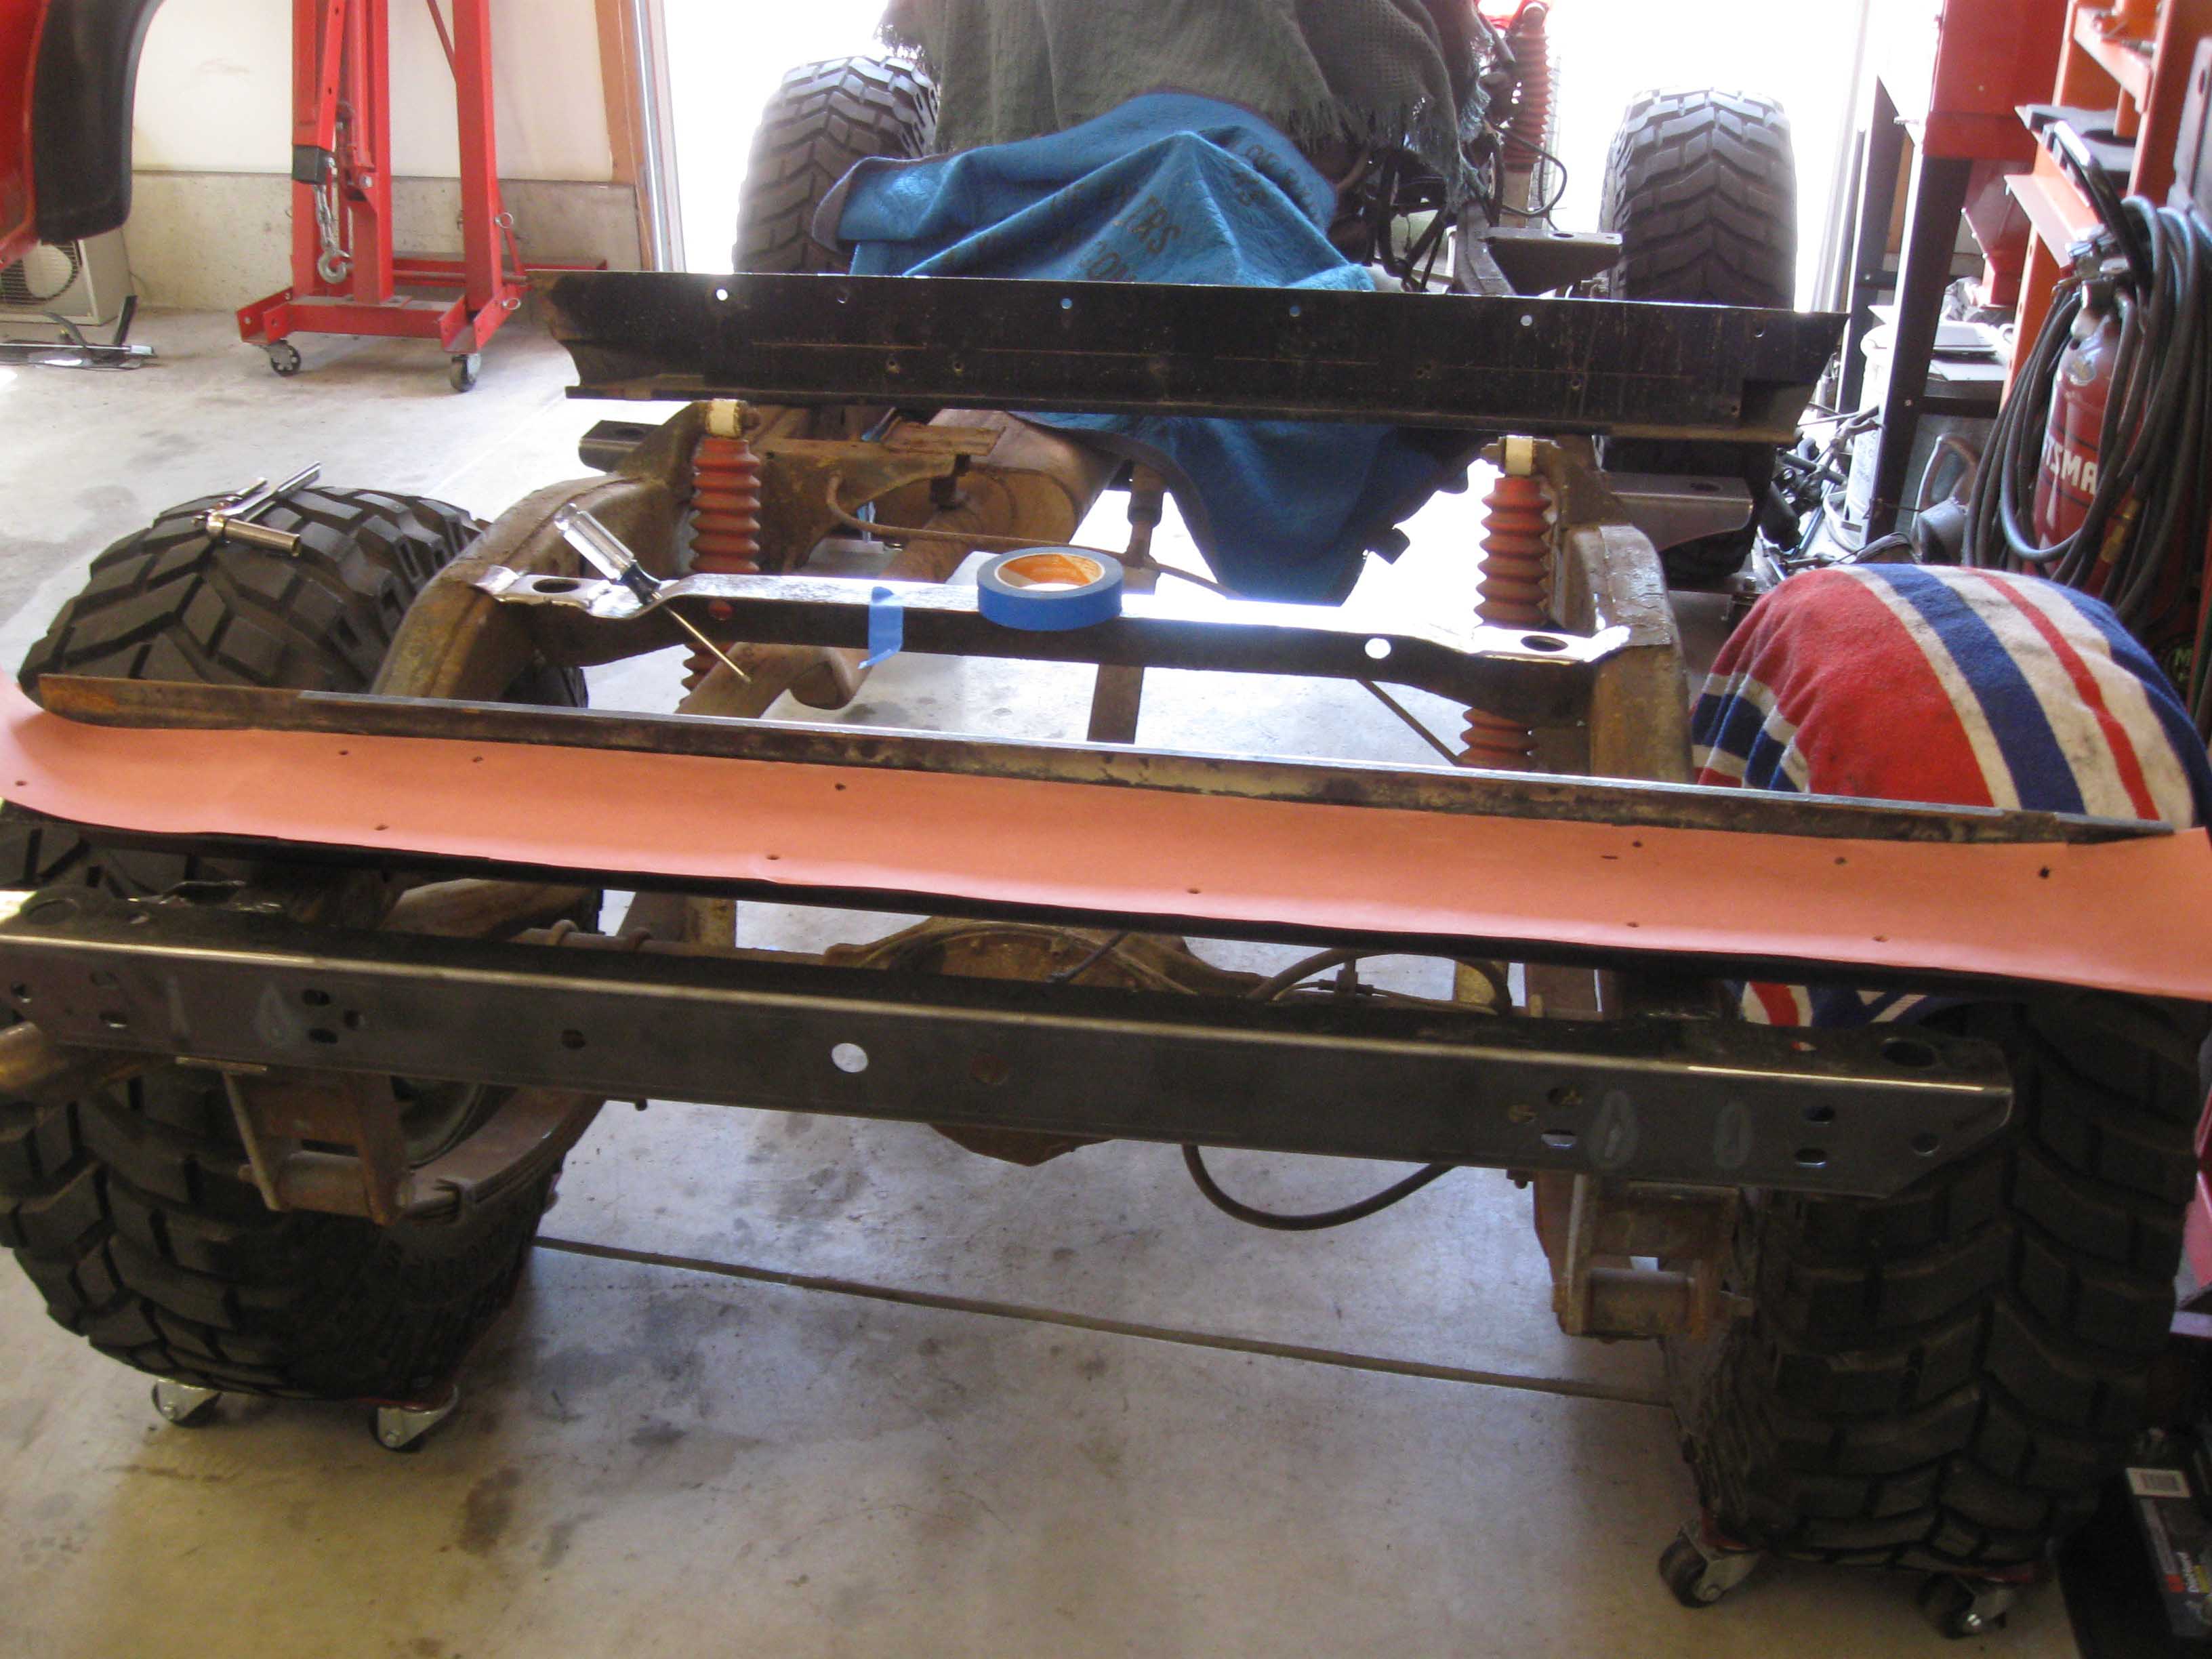
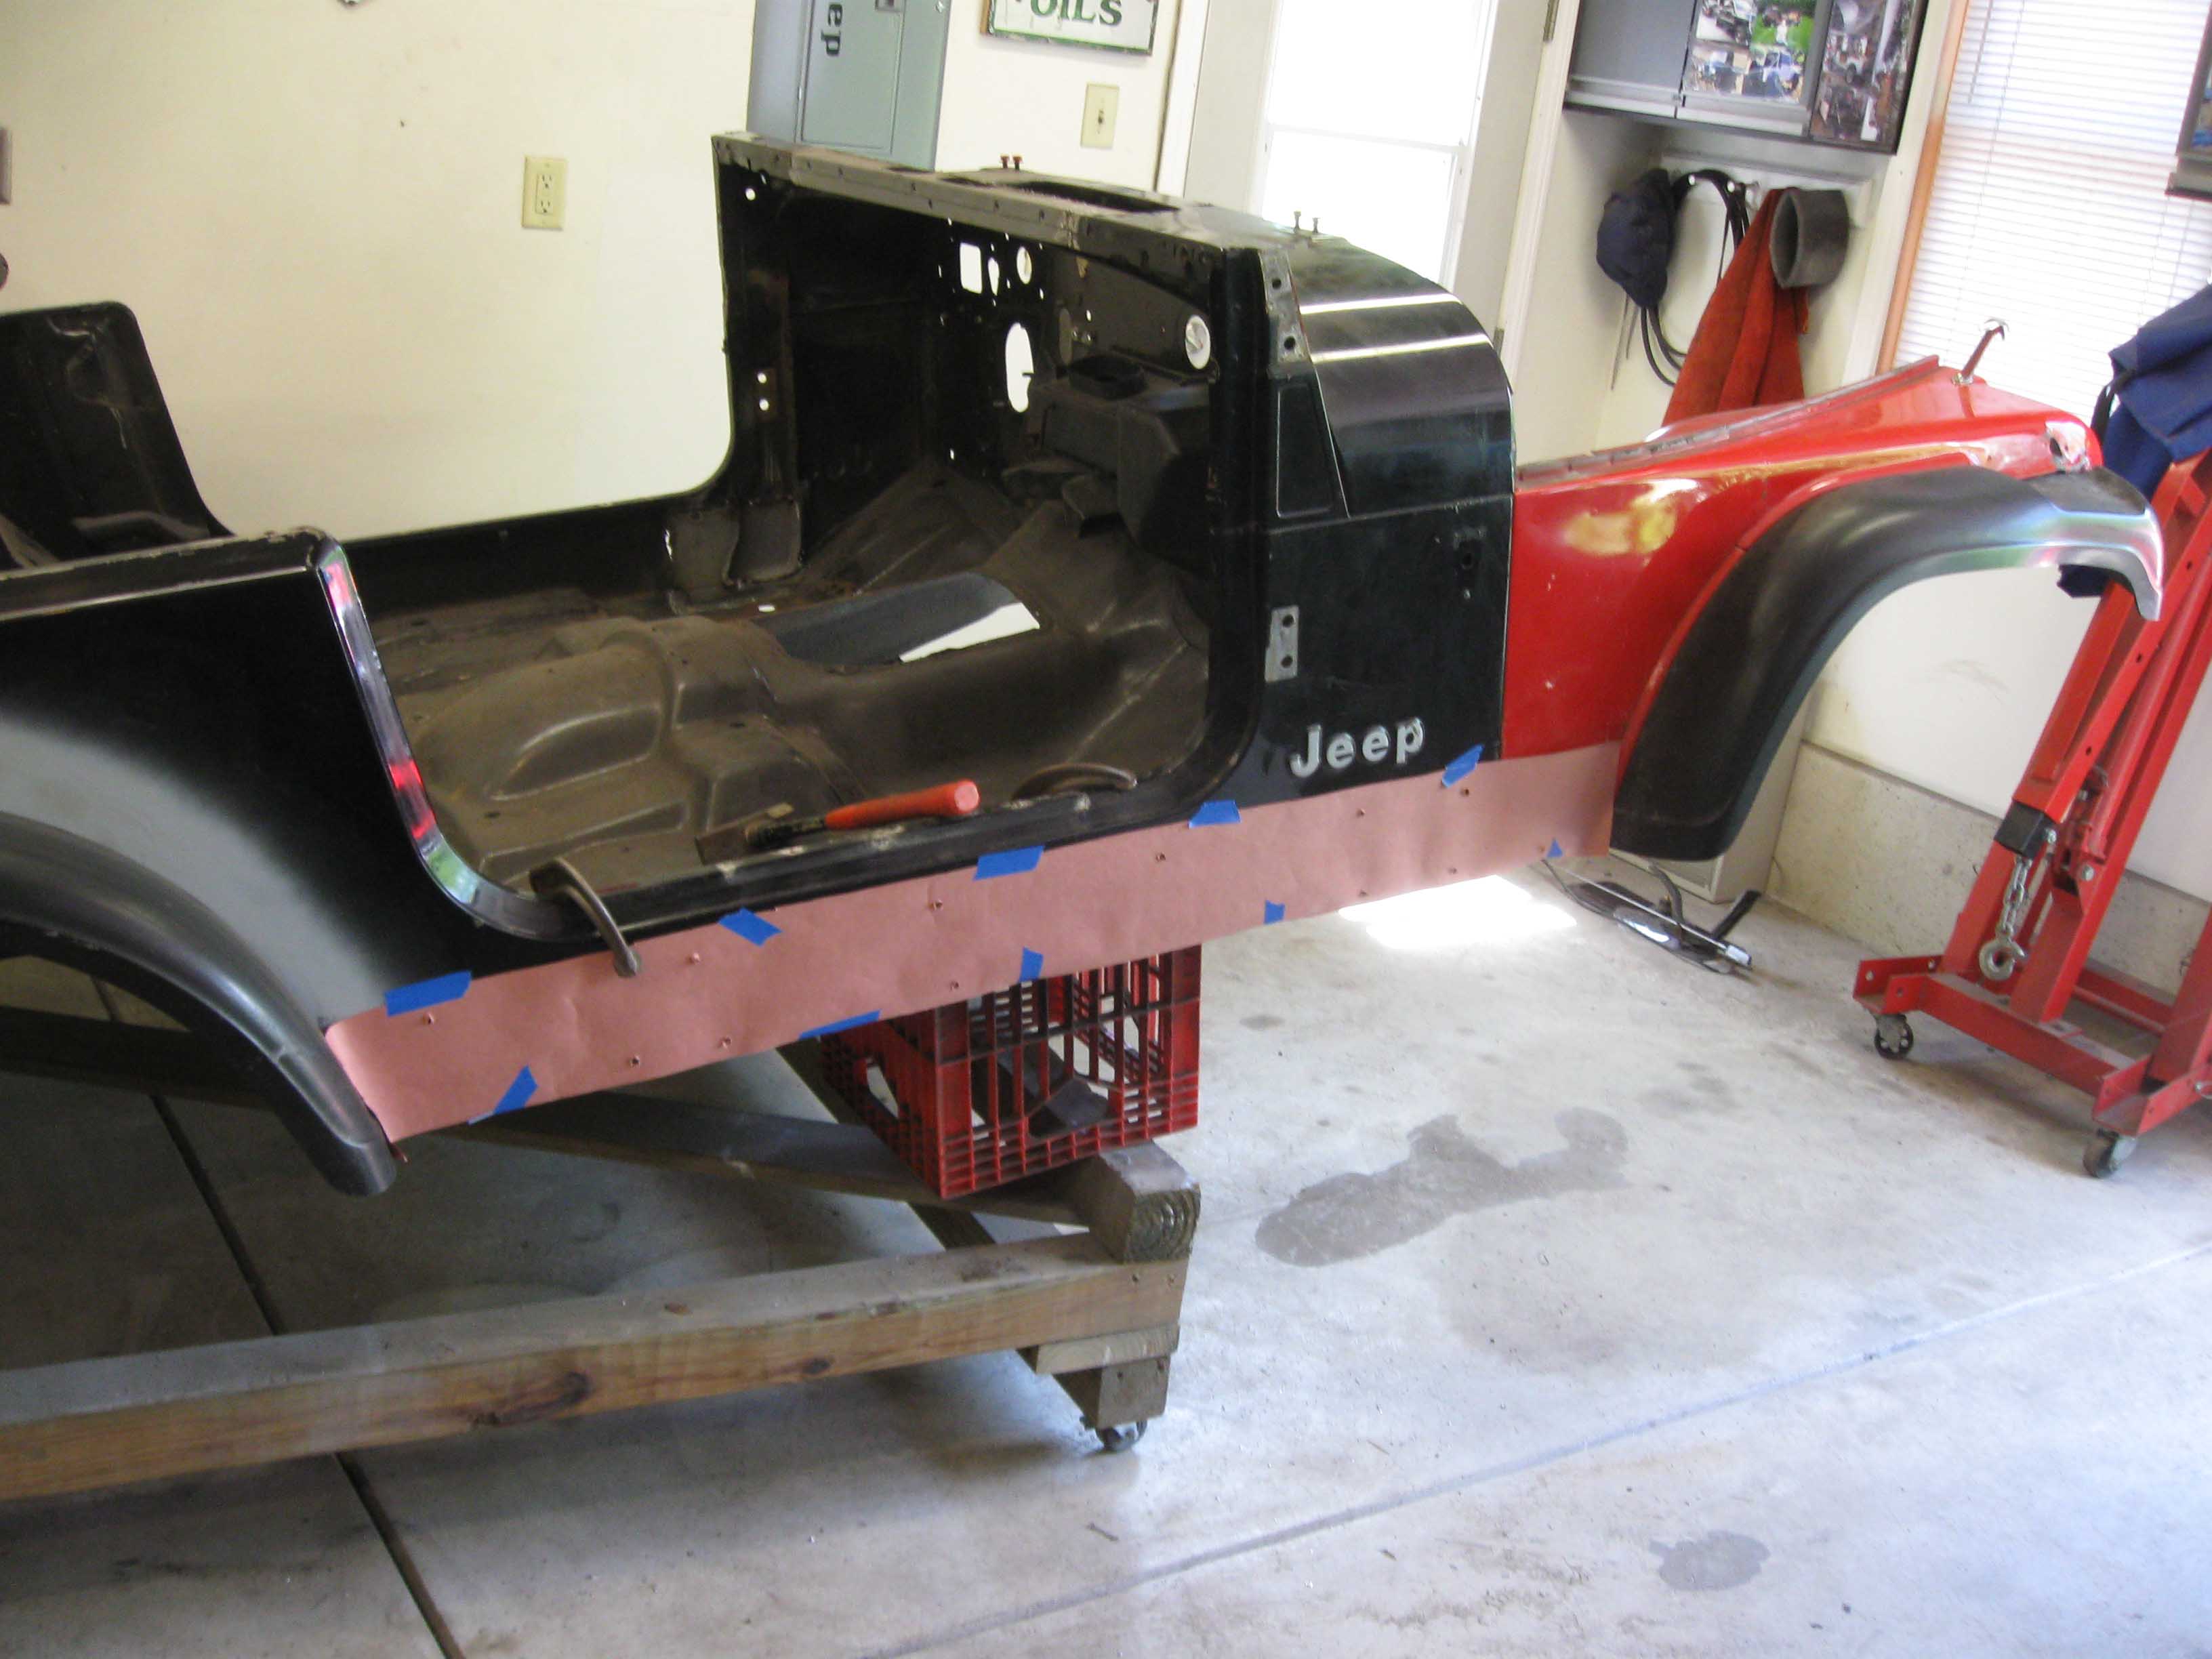
I used some paper to trace out the holes as there are holes that you see from the
outside and then there are holes that have to be put in from the back(underside) and they go back into the side
rails. This was a little tricky to get the holes to line up the right way. Also, each side was installed a little
bit different, so I had to make 2 sets of paper templates. All in all, they are on, they are in there strong, but
it just took a bit of finessing and of course as you can see from the pictures, the fenders had to be put in place
to make sure they all lined up.
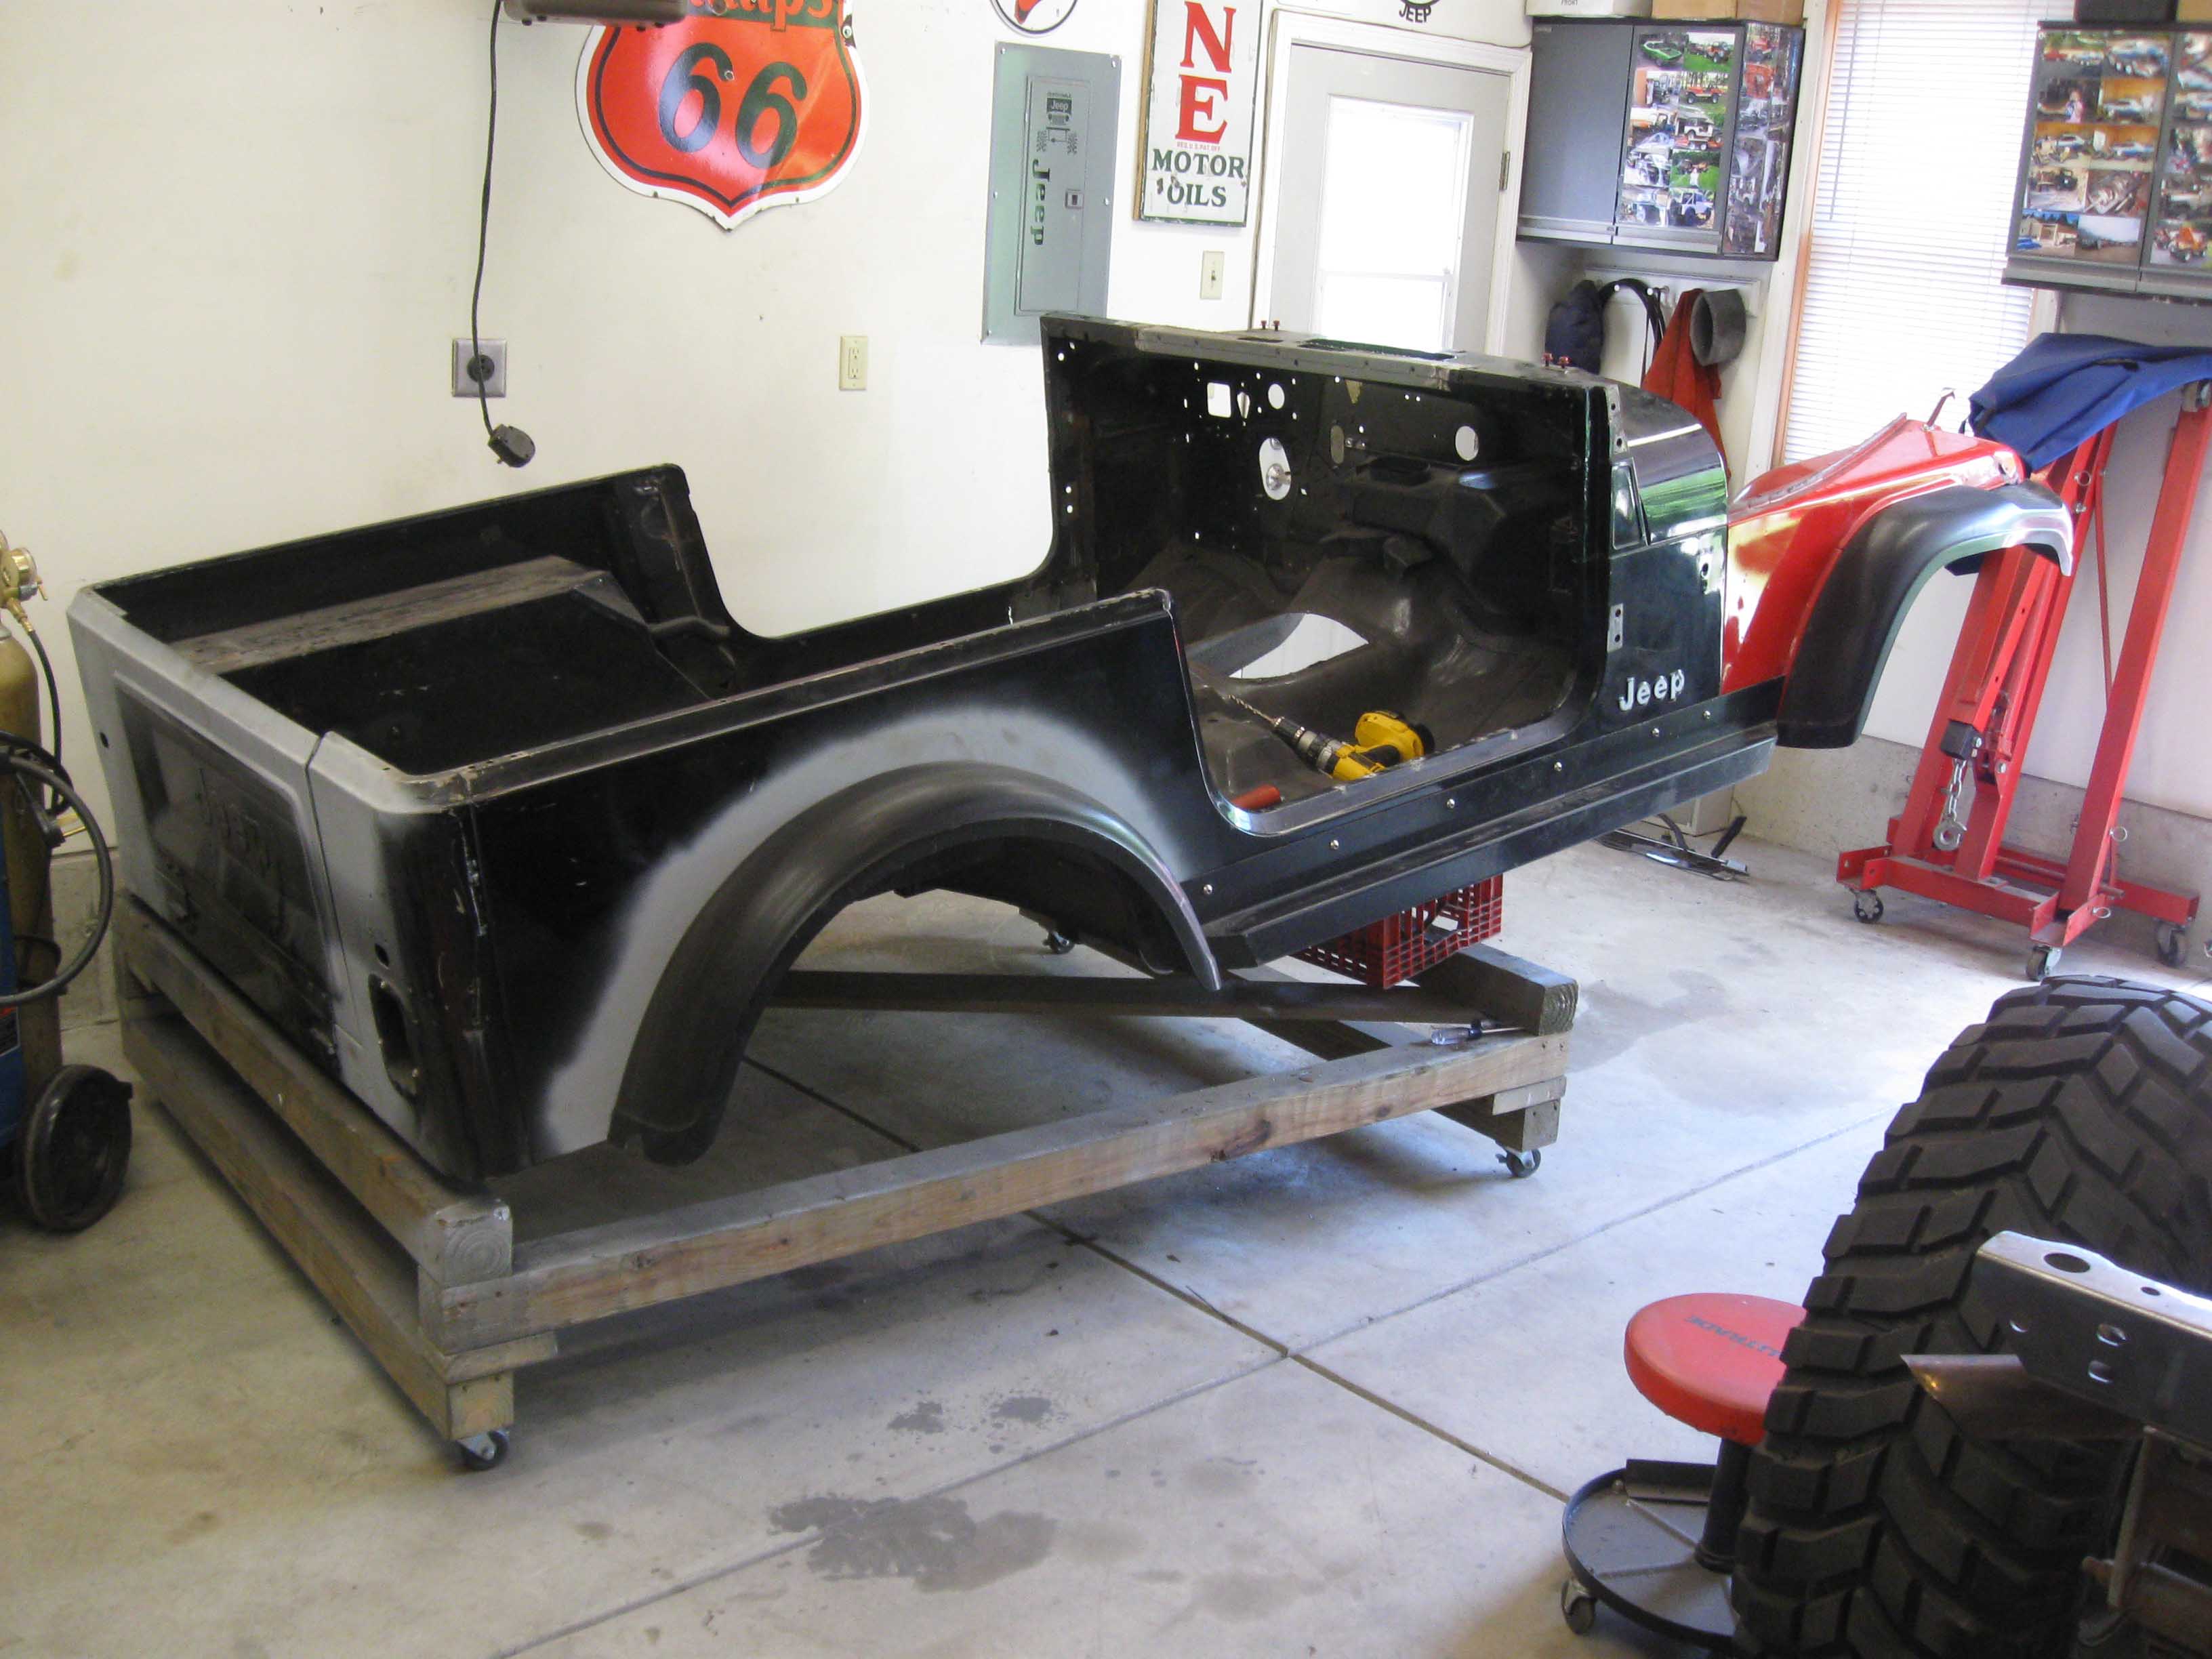
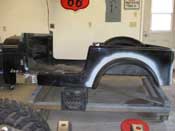
The fenders are now back off, the rails are still on and today looks like it will bring some repair work to the
bed of the tub as well as finishing up the defroster and some other miscellaneous areas. This weekend we will
remove the drive train to make way for the new NV3550 coming next week. Things are moving quickly, so you have
to stay tuned to keep up!
(06/05/09)
|
| |
|
|

|
|
| |
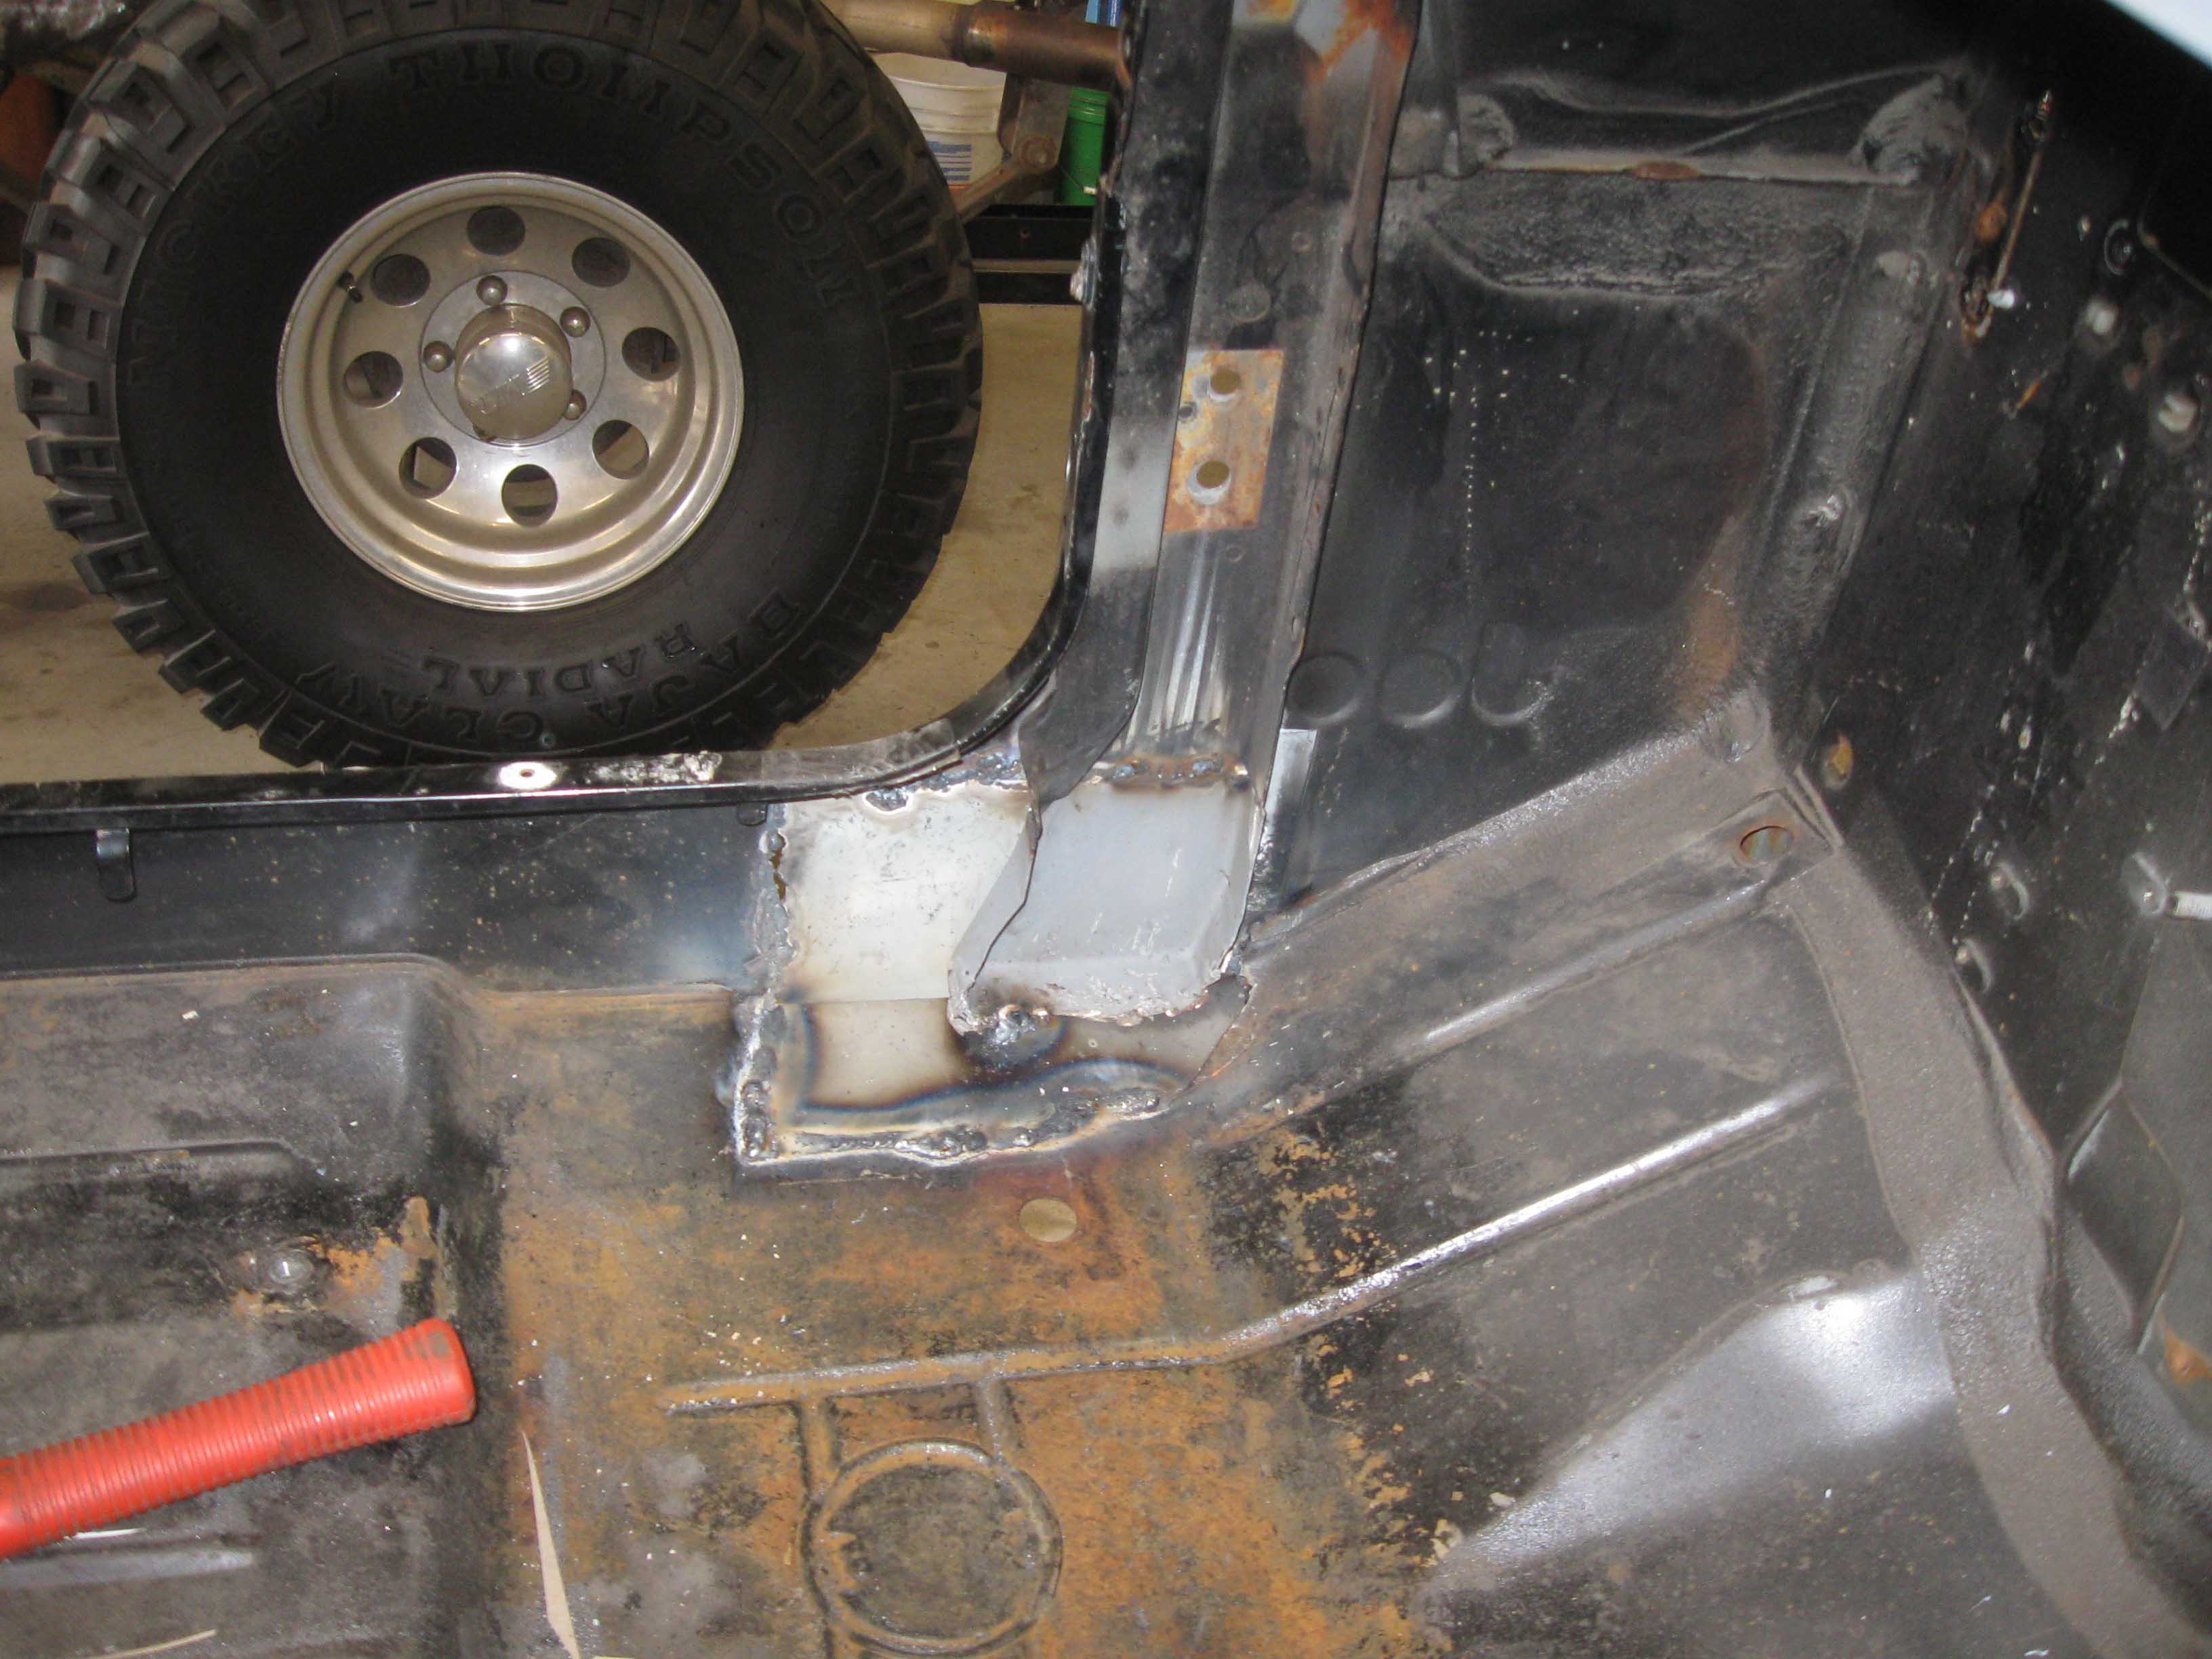
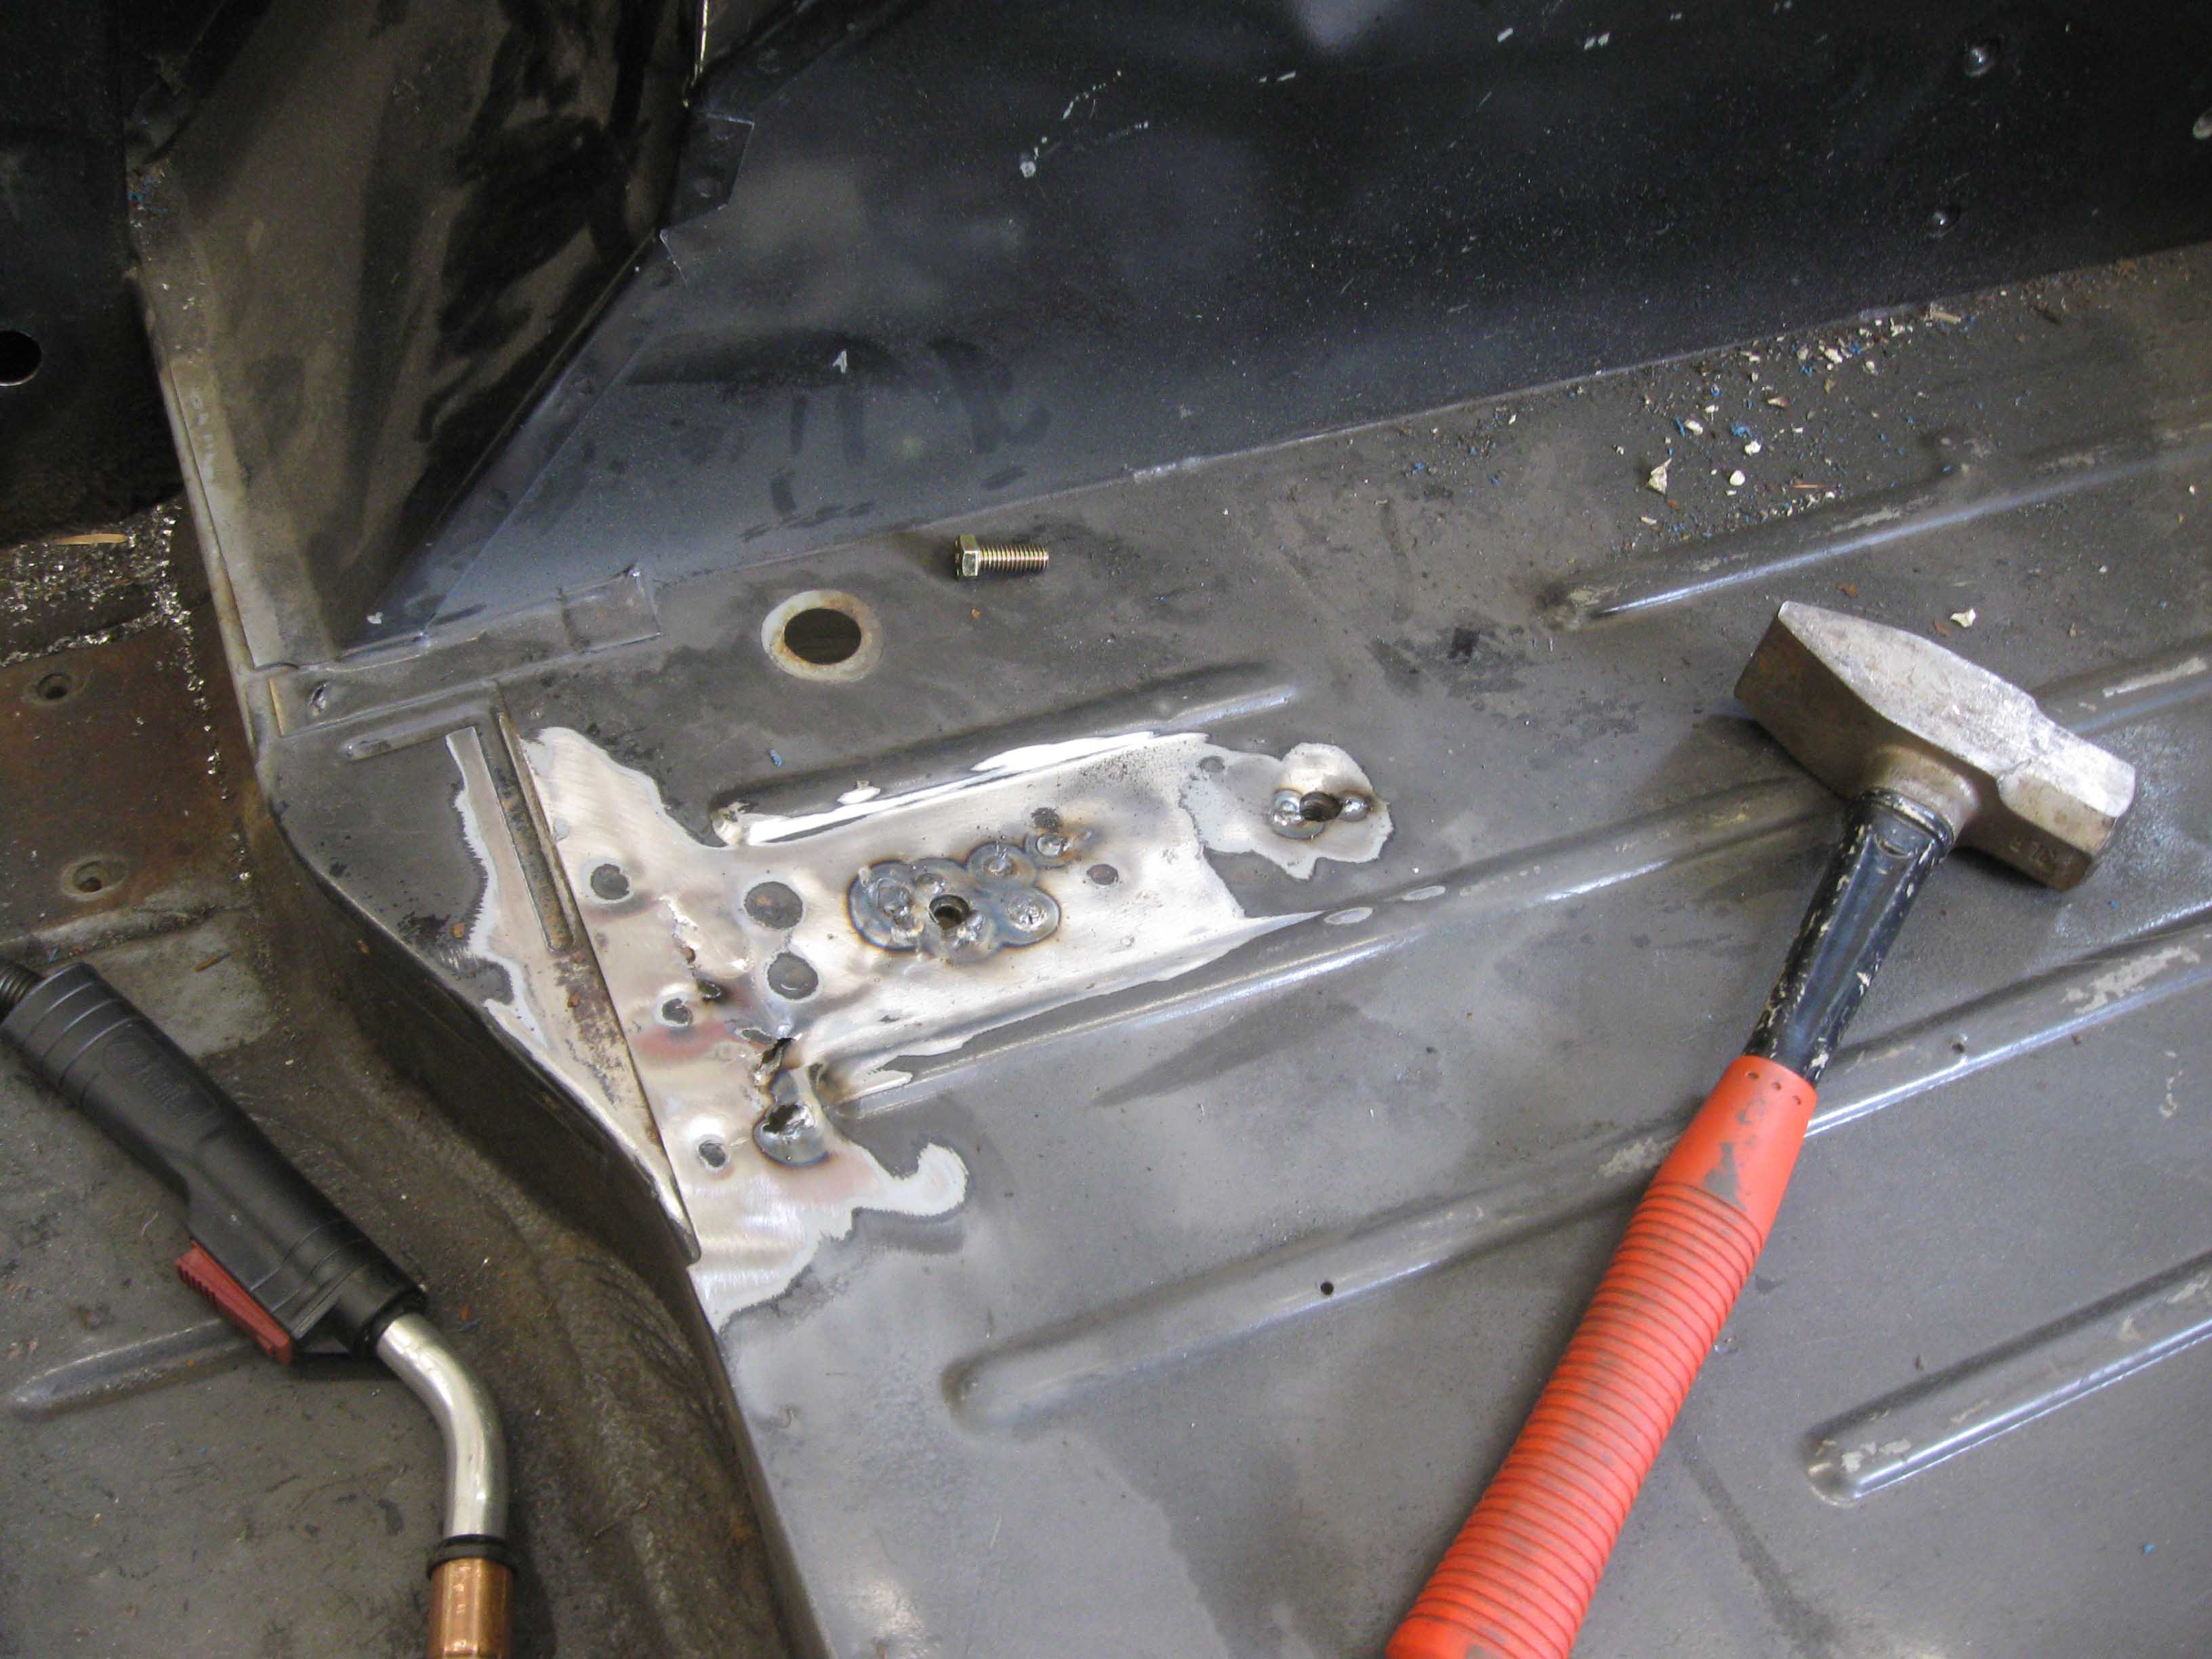
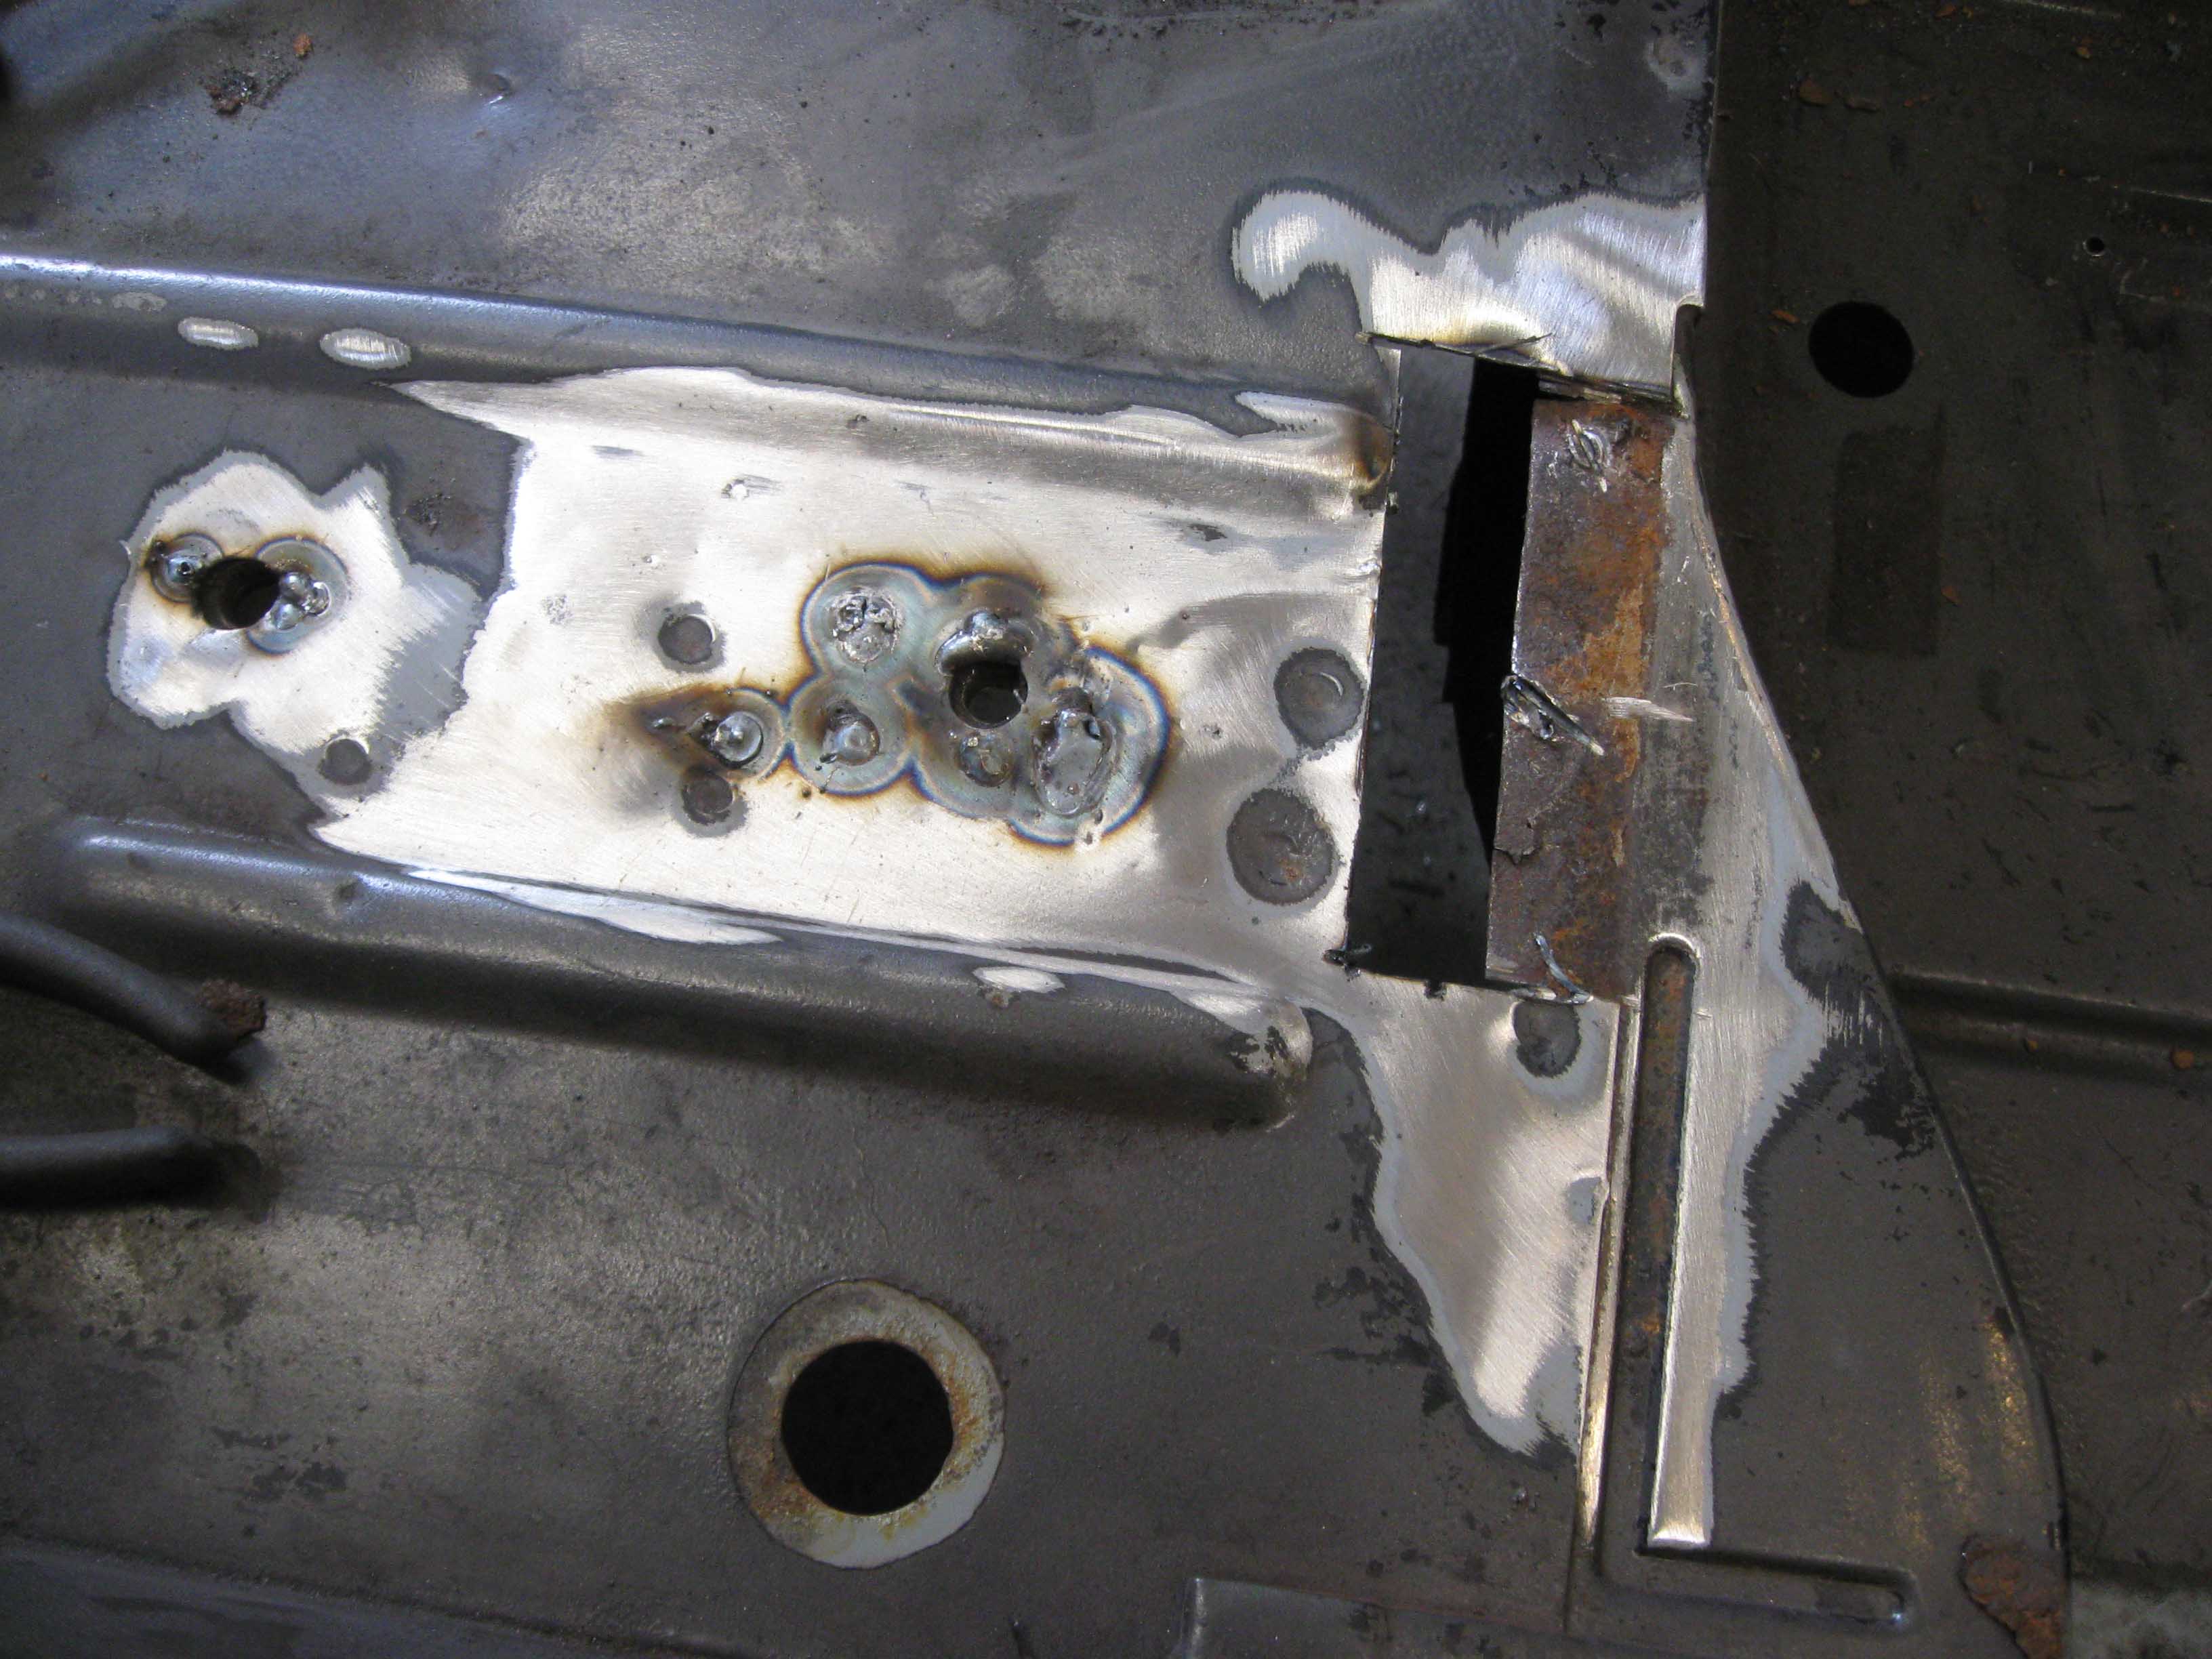
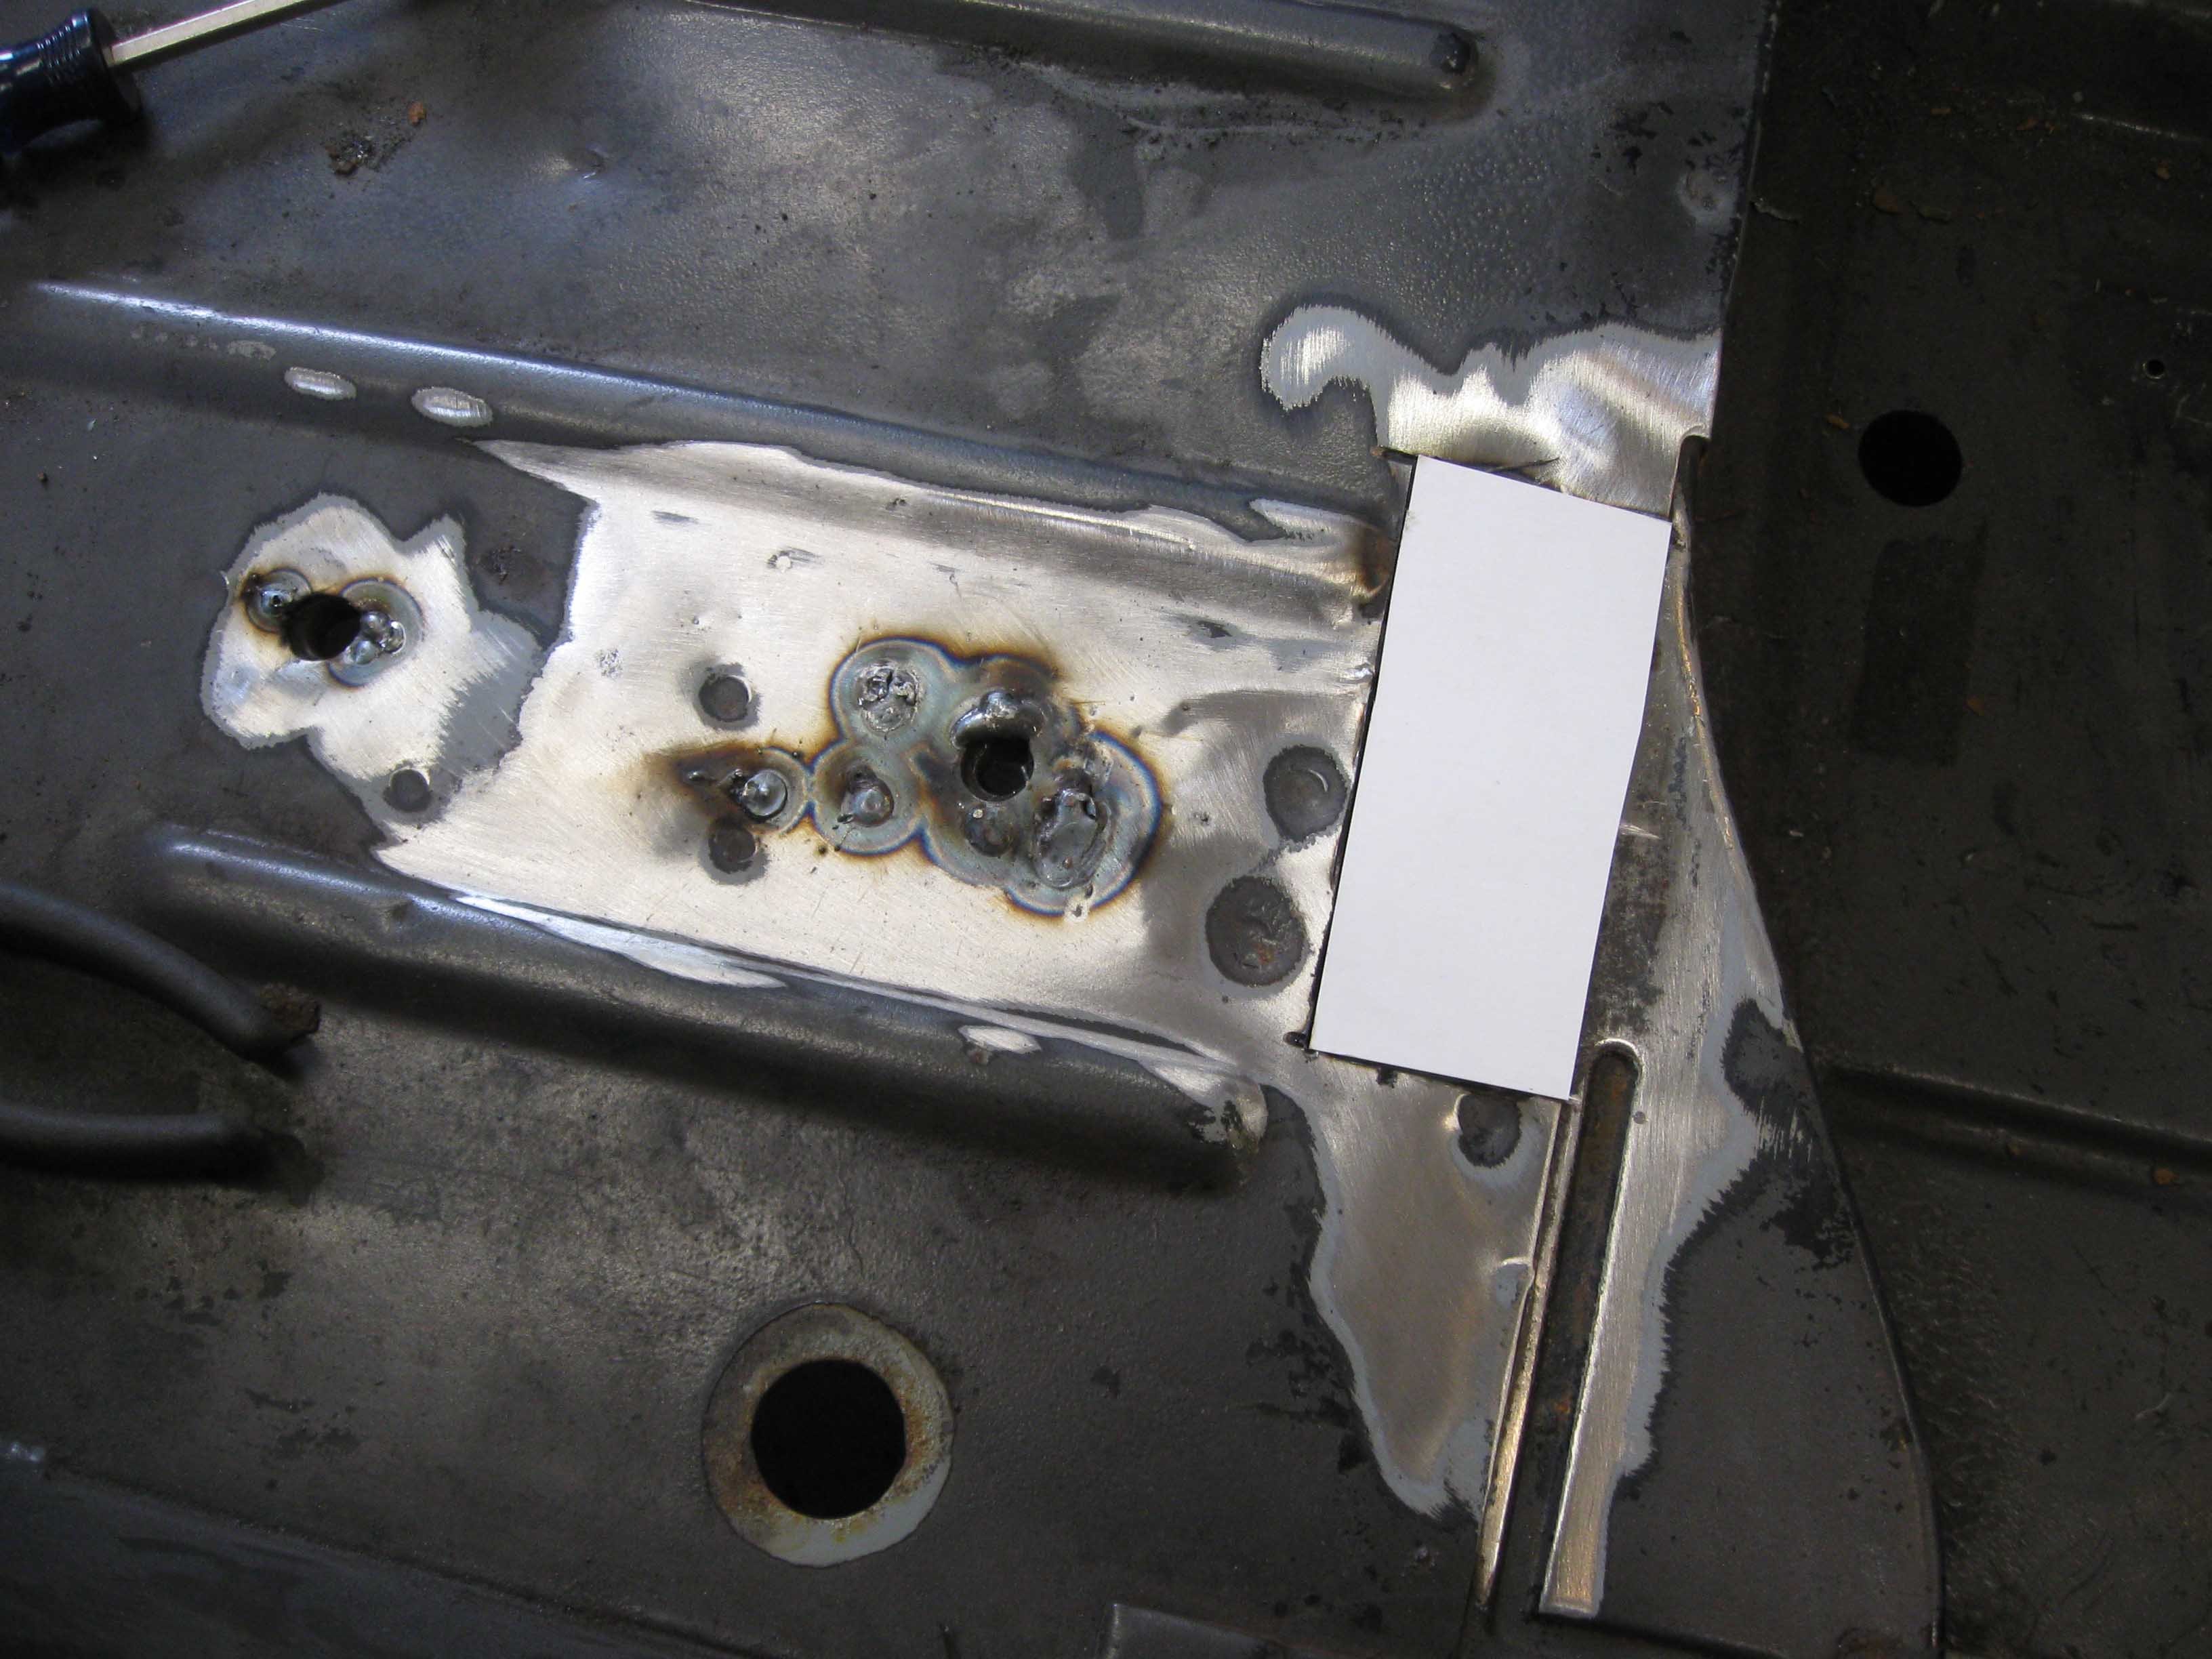
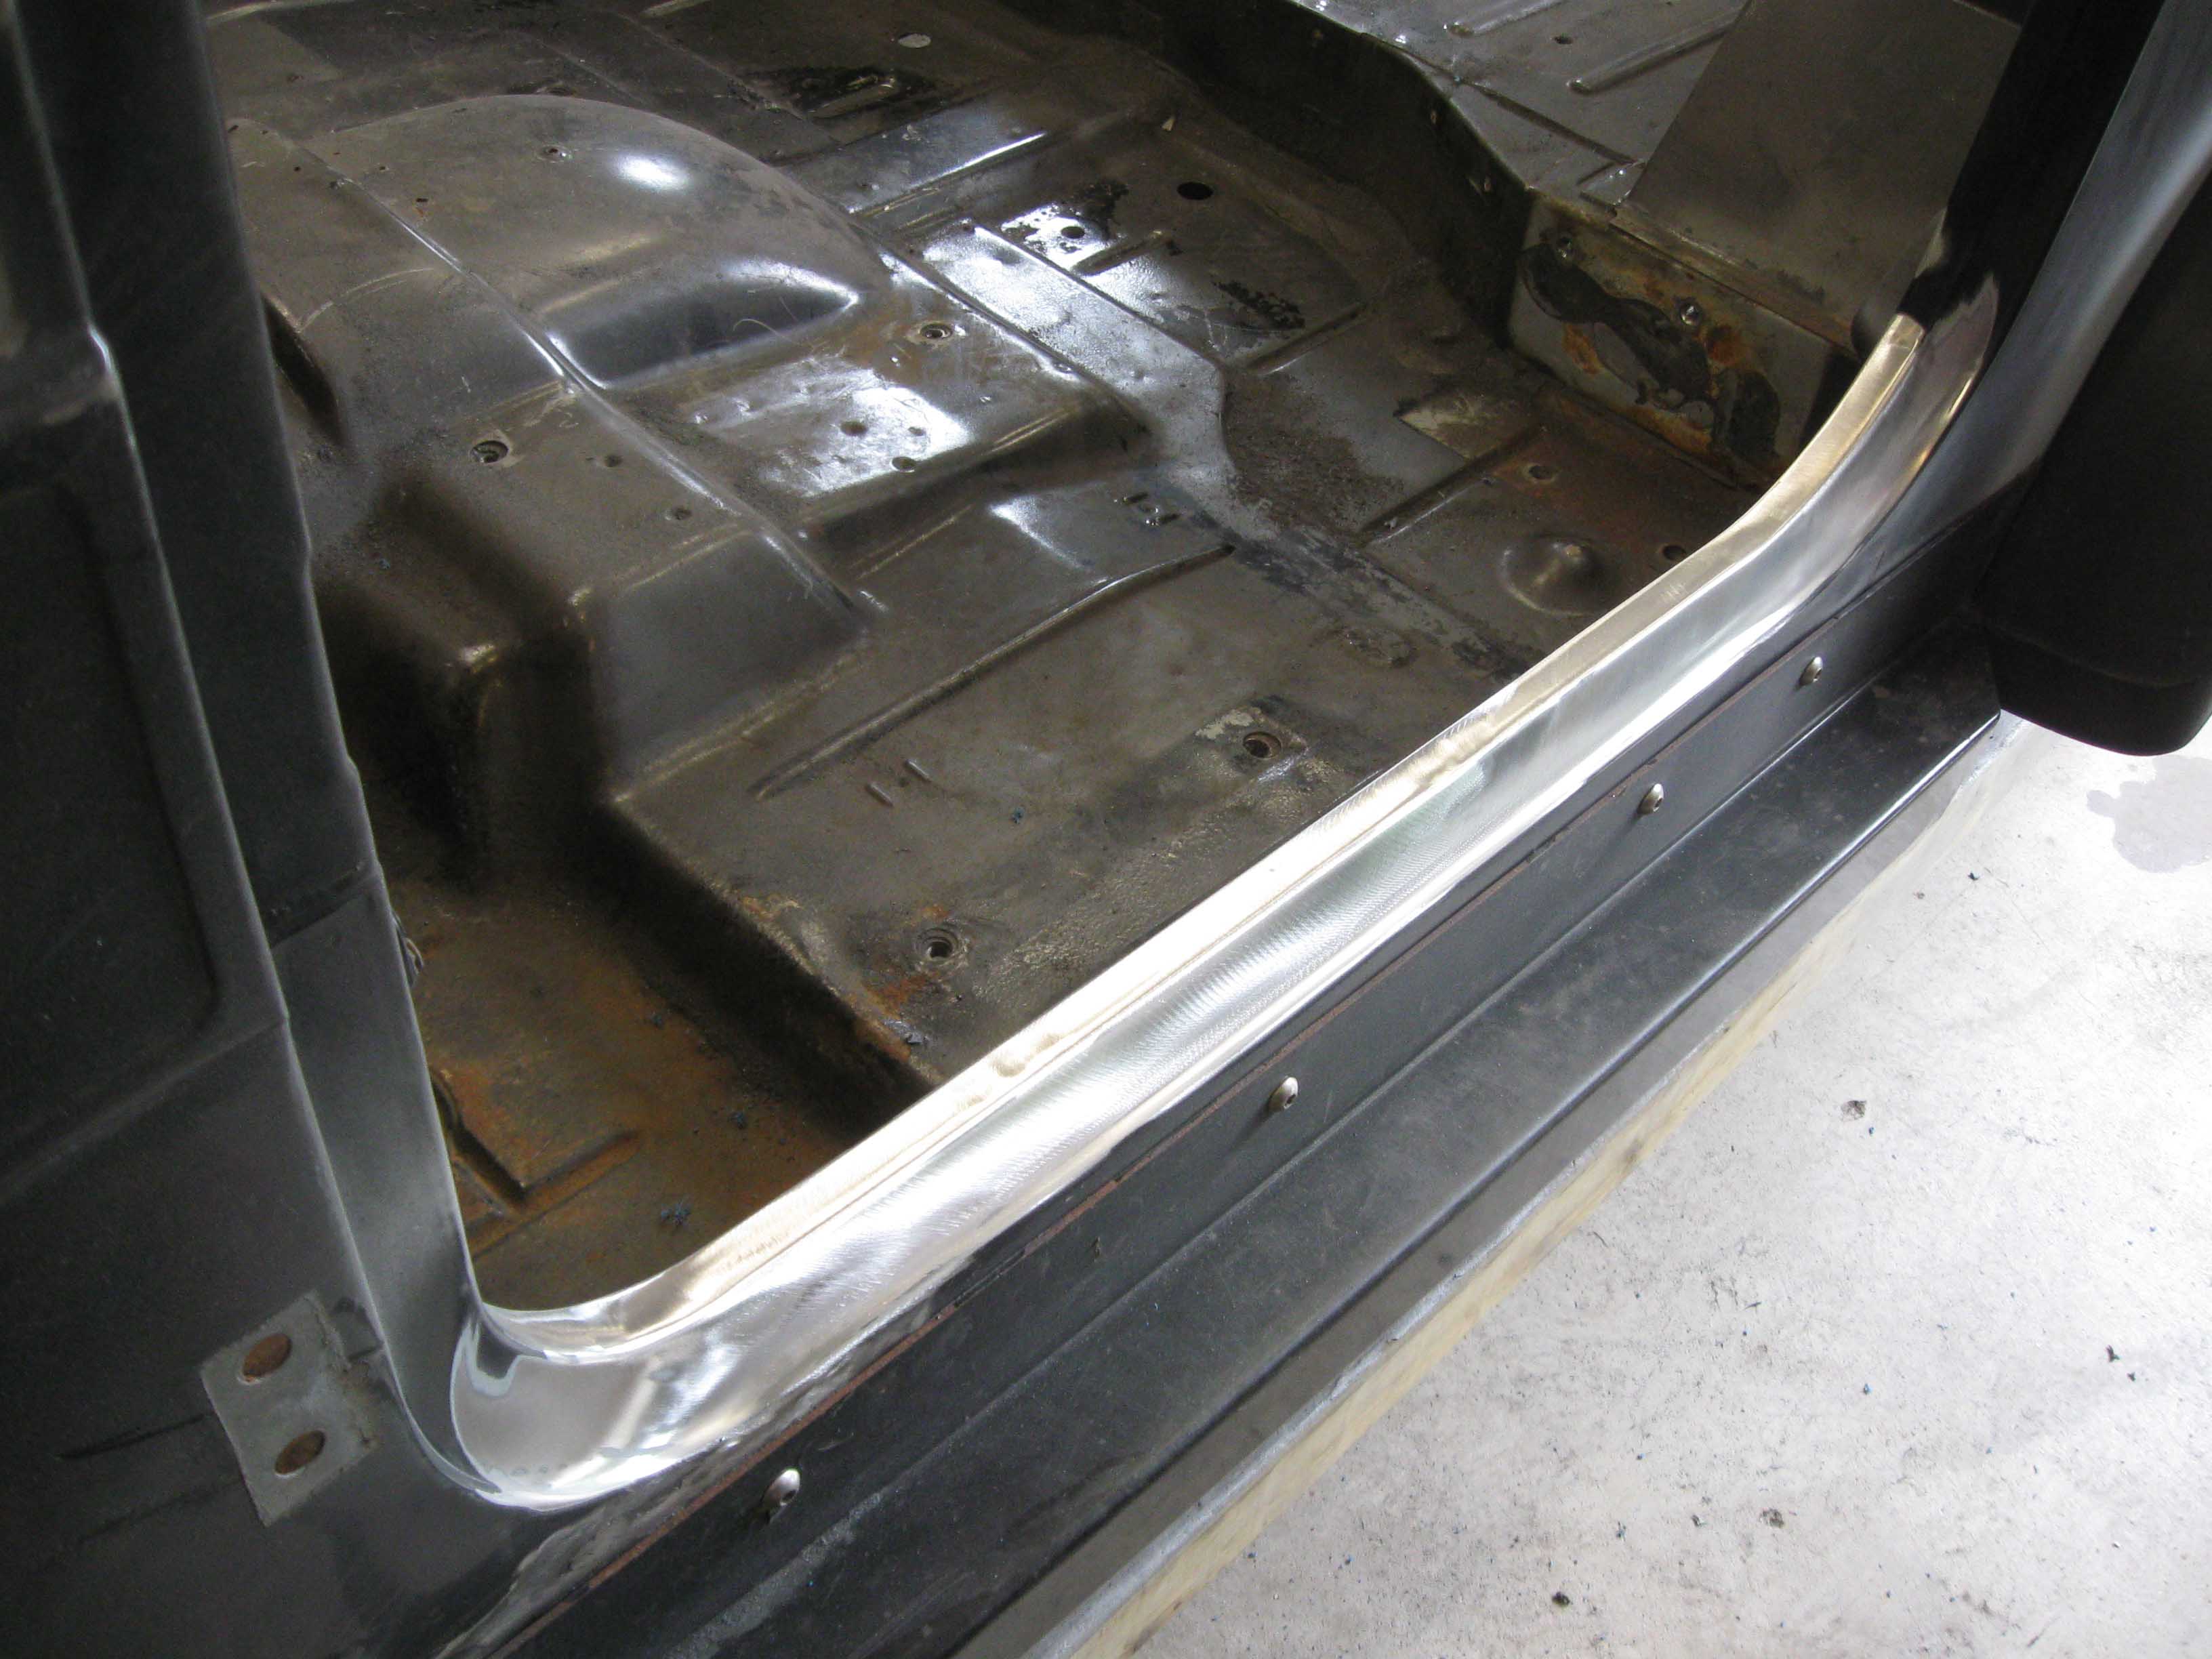
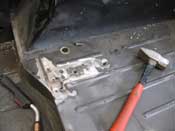
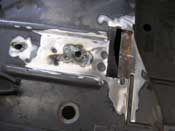
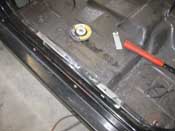
| (06/06/09) I started to repair the "interesting" lower seat mount fix that the
previous owner put in place. Basically it was bolted through the foot through the bed and was put on with machine
screws and nuts/bolts. Basically there were a lot of holes that I needed to weld up and then also weld up the
hold and re-tap it. The problem was I kept burning through the metal. So, I realized that it was thin, so I cut
it out, made a new piece and got it in there. It is much better now.
|
| |
|

|
|
|
| |
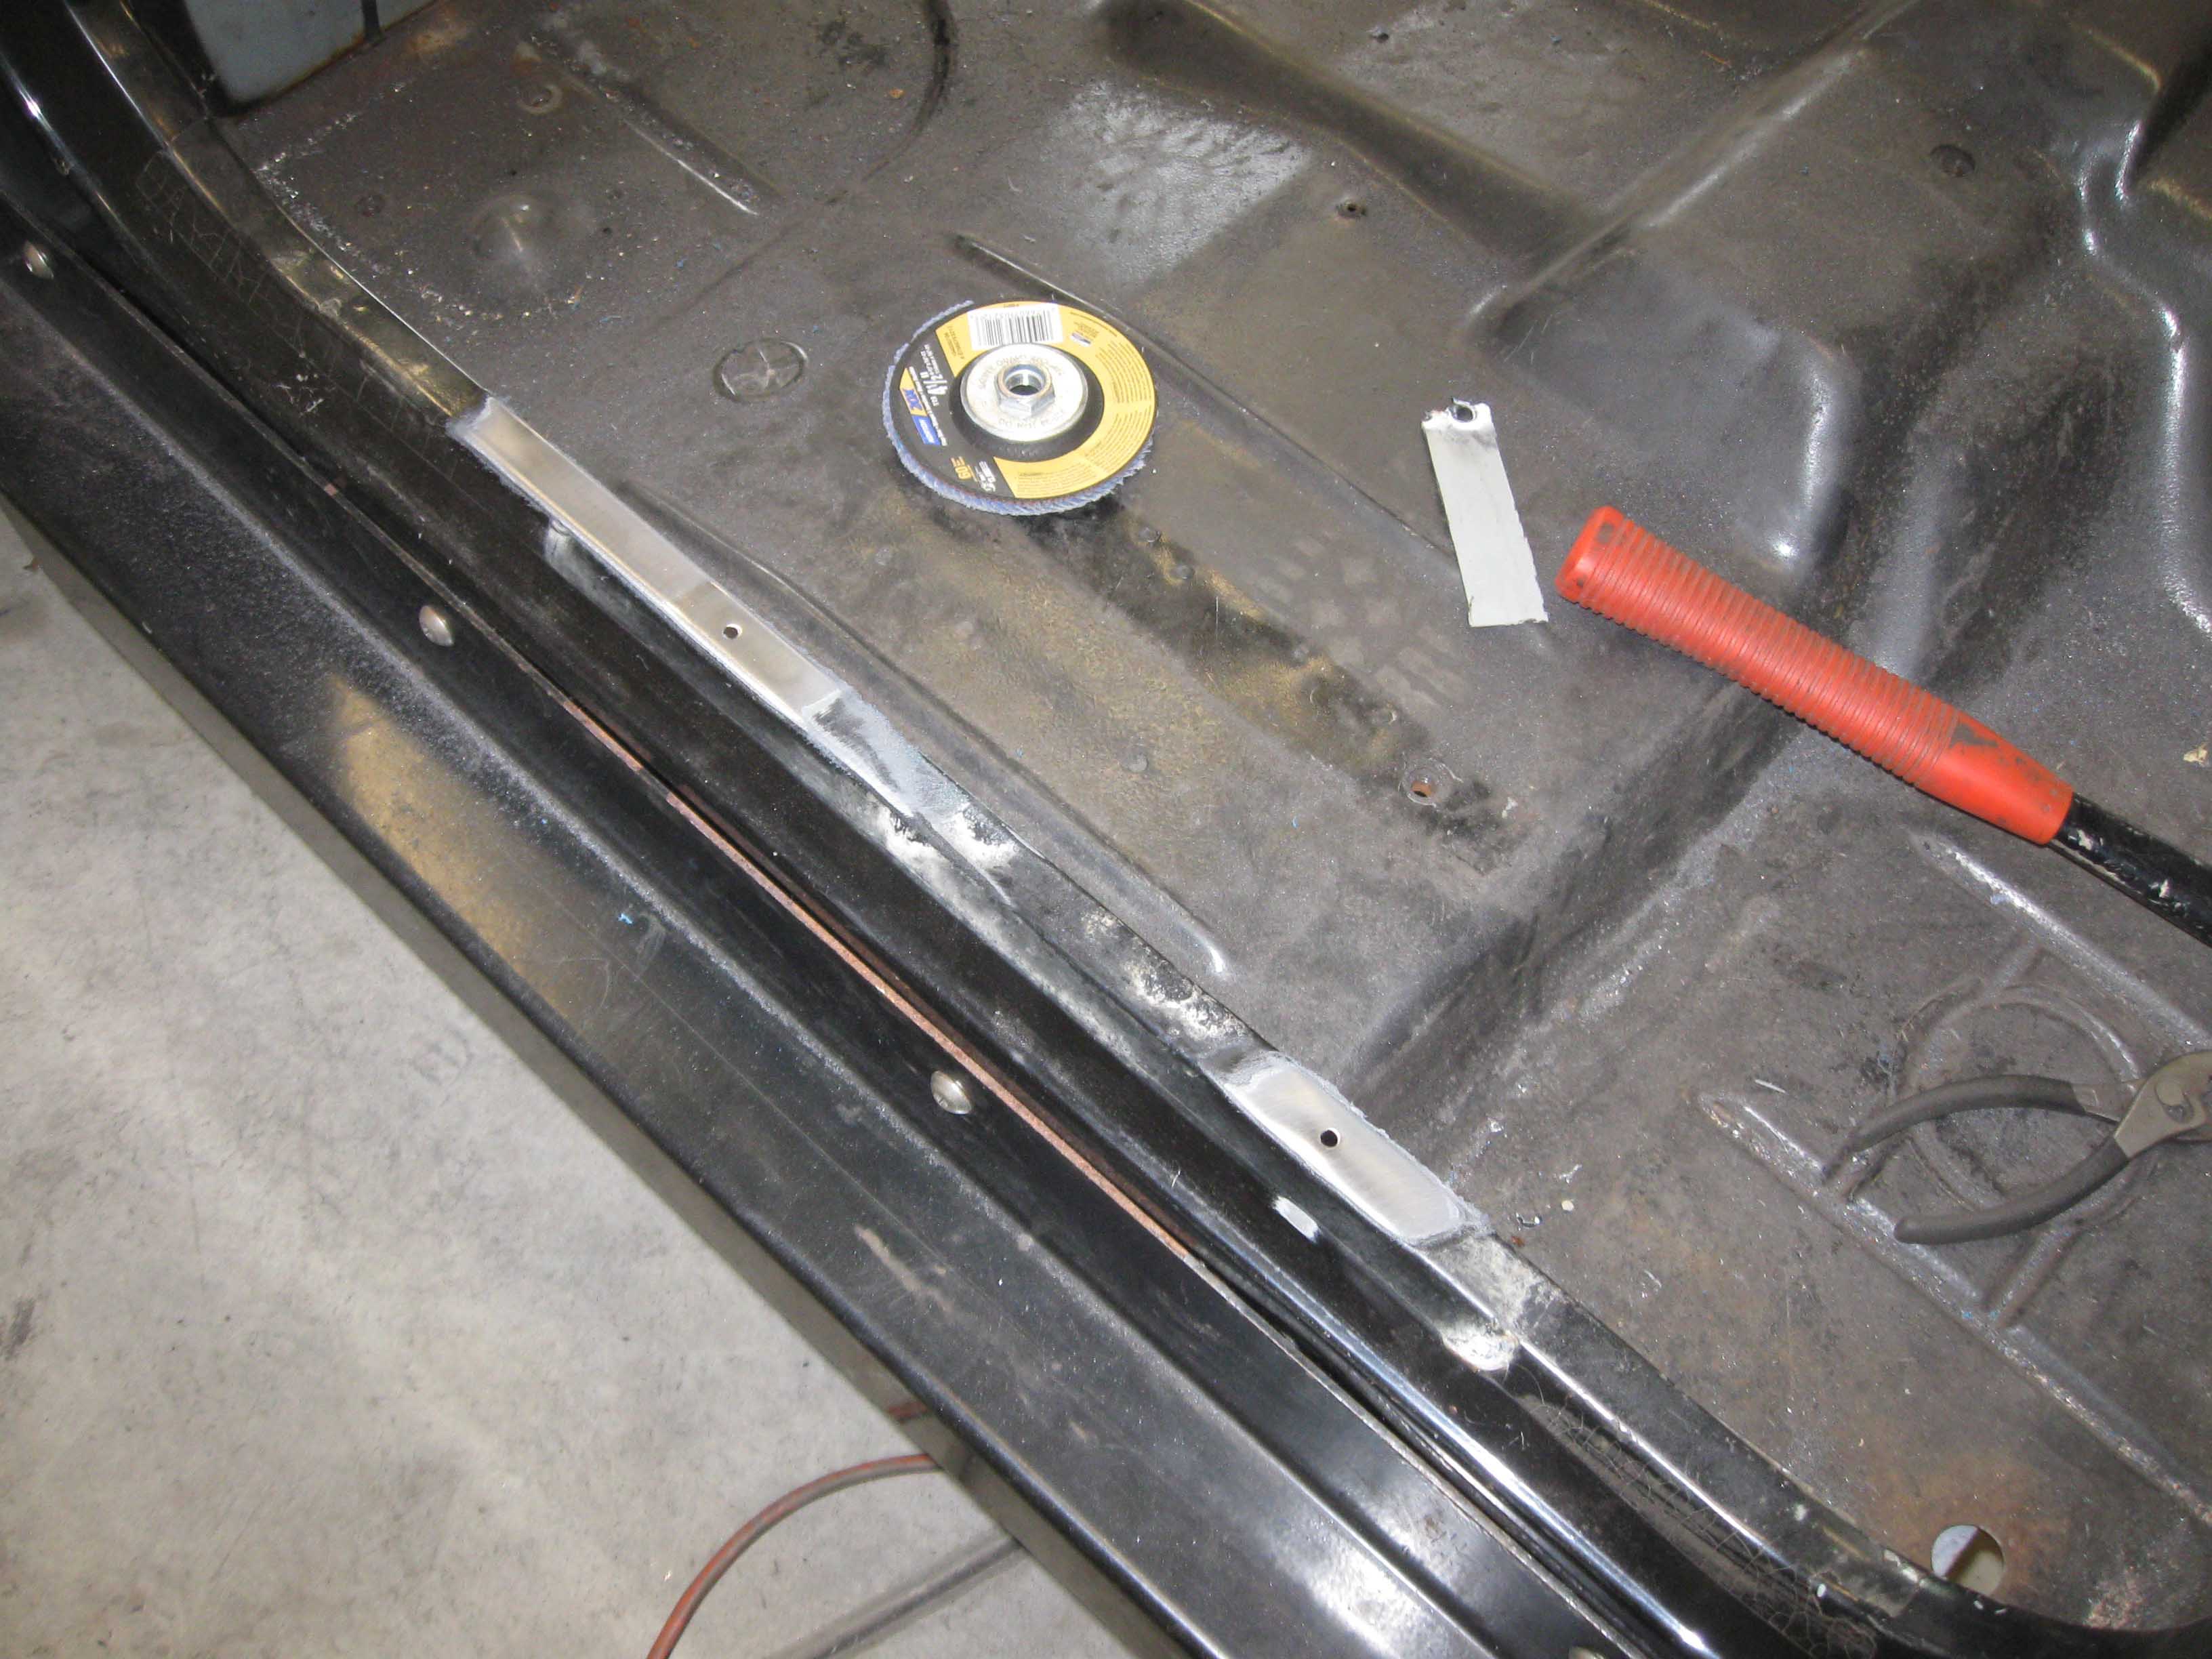
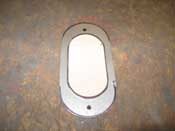
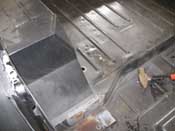
I moved onto the defroster and welded and grinded and welded and grinded until that
was a pretty nice permanent fixture. I then moved onto the side entry places where there were some holes as well
as the stickiest tape that has ever been invented. That stuff does not want to come off. I broke 4 razors getting
that off. It is crazy sticky, but in the end, I prevailed and now the side are clean, hole free, and not sticky.
Finally I went after the floor again making a small piece for the top and then welding it all again and grinding it
down. So, basically I was filthy at the end of the day. The good news is that the new shackles came in, as well
as the rear seat I believe, so we have a ton of things to do tomorrow when he is up. Looking forward to the
next few days to get a bunch done before I have to call it quits for a few.
(06/06/09)
|
| |
| << Previous |
Next >> |
|