|
|
| Project "Moab" a.k.a "Just a Tub Swap" - part #7 |
| |
|
1
2
3
4
5
6
7
8
9
10
11
12
13
14
15
16
17
|
| |
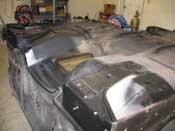
| (06/17/09) Well, I had intended to be in the garage today finishing what I started
yesterday, but sometimes things happen that you don't have any control over. One minute I was downloading pictures
from yesterday and the next minute, I was in the ER with my wife. Things are OK, it was just one of those things
that just happen so quickly.
|
| |

|
|
|
|
| |
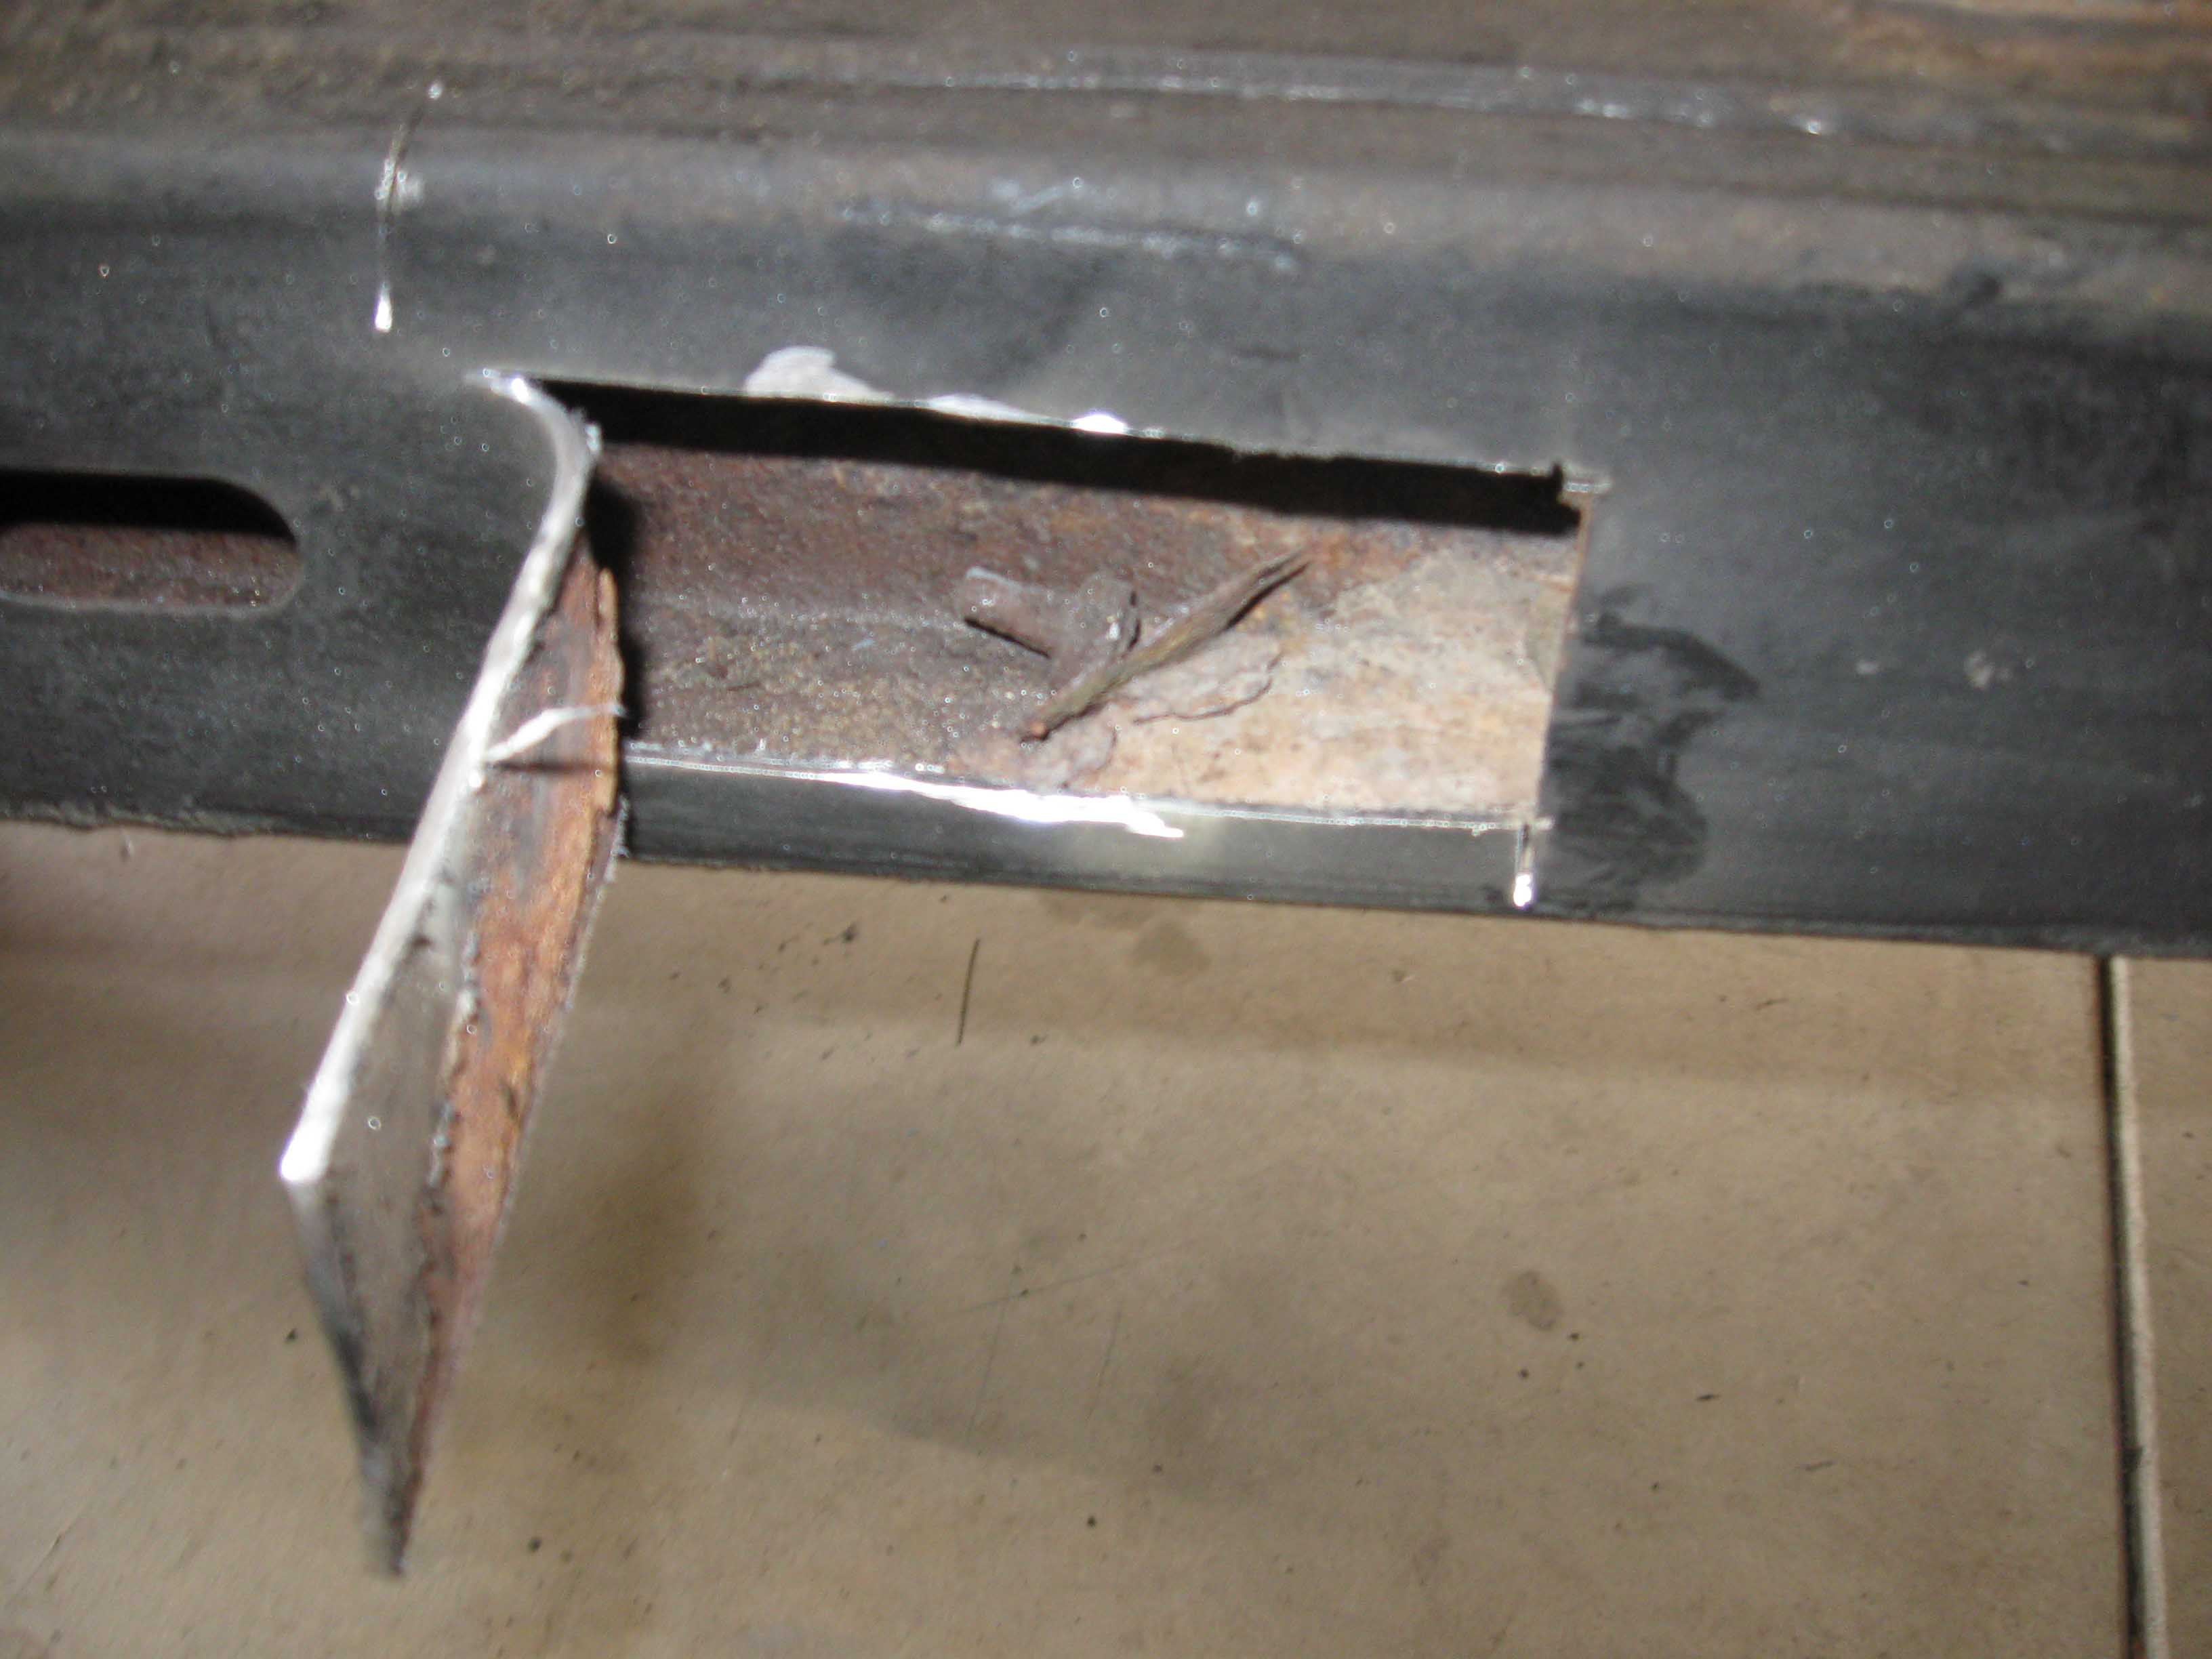
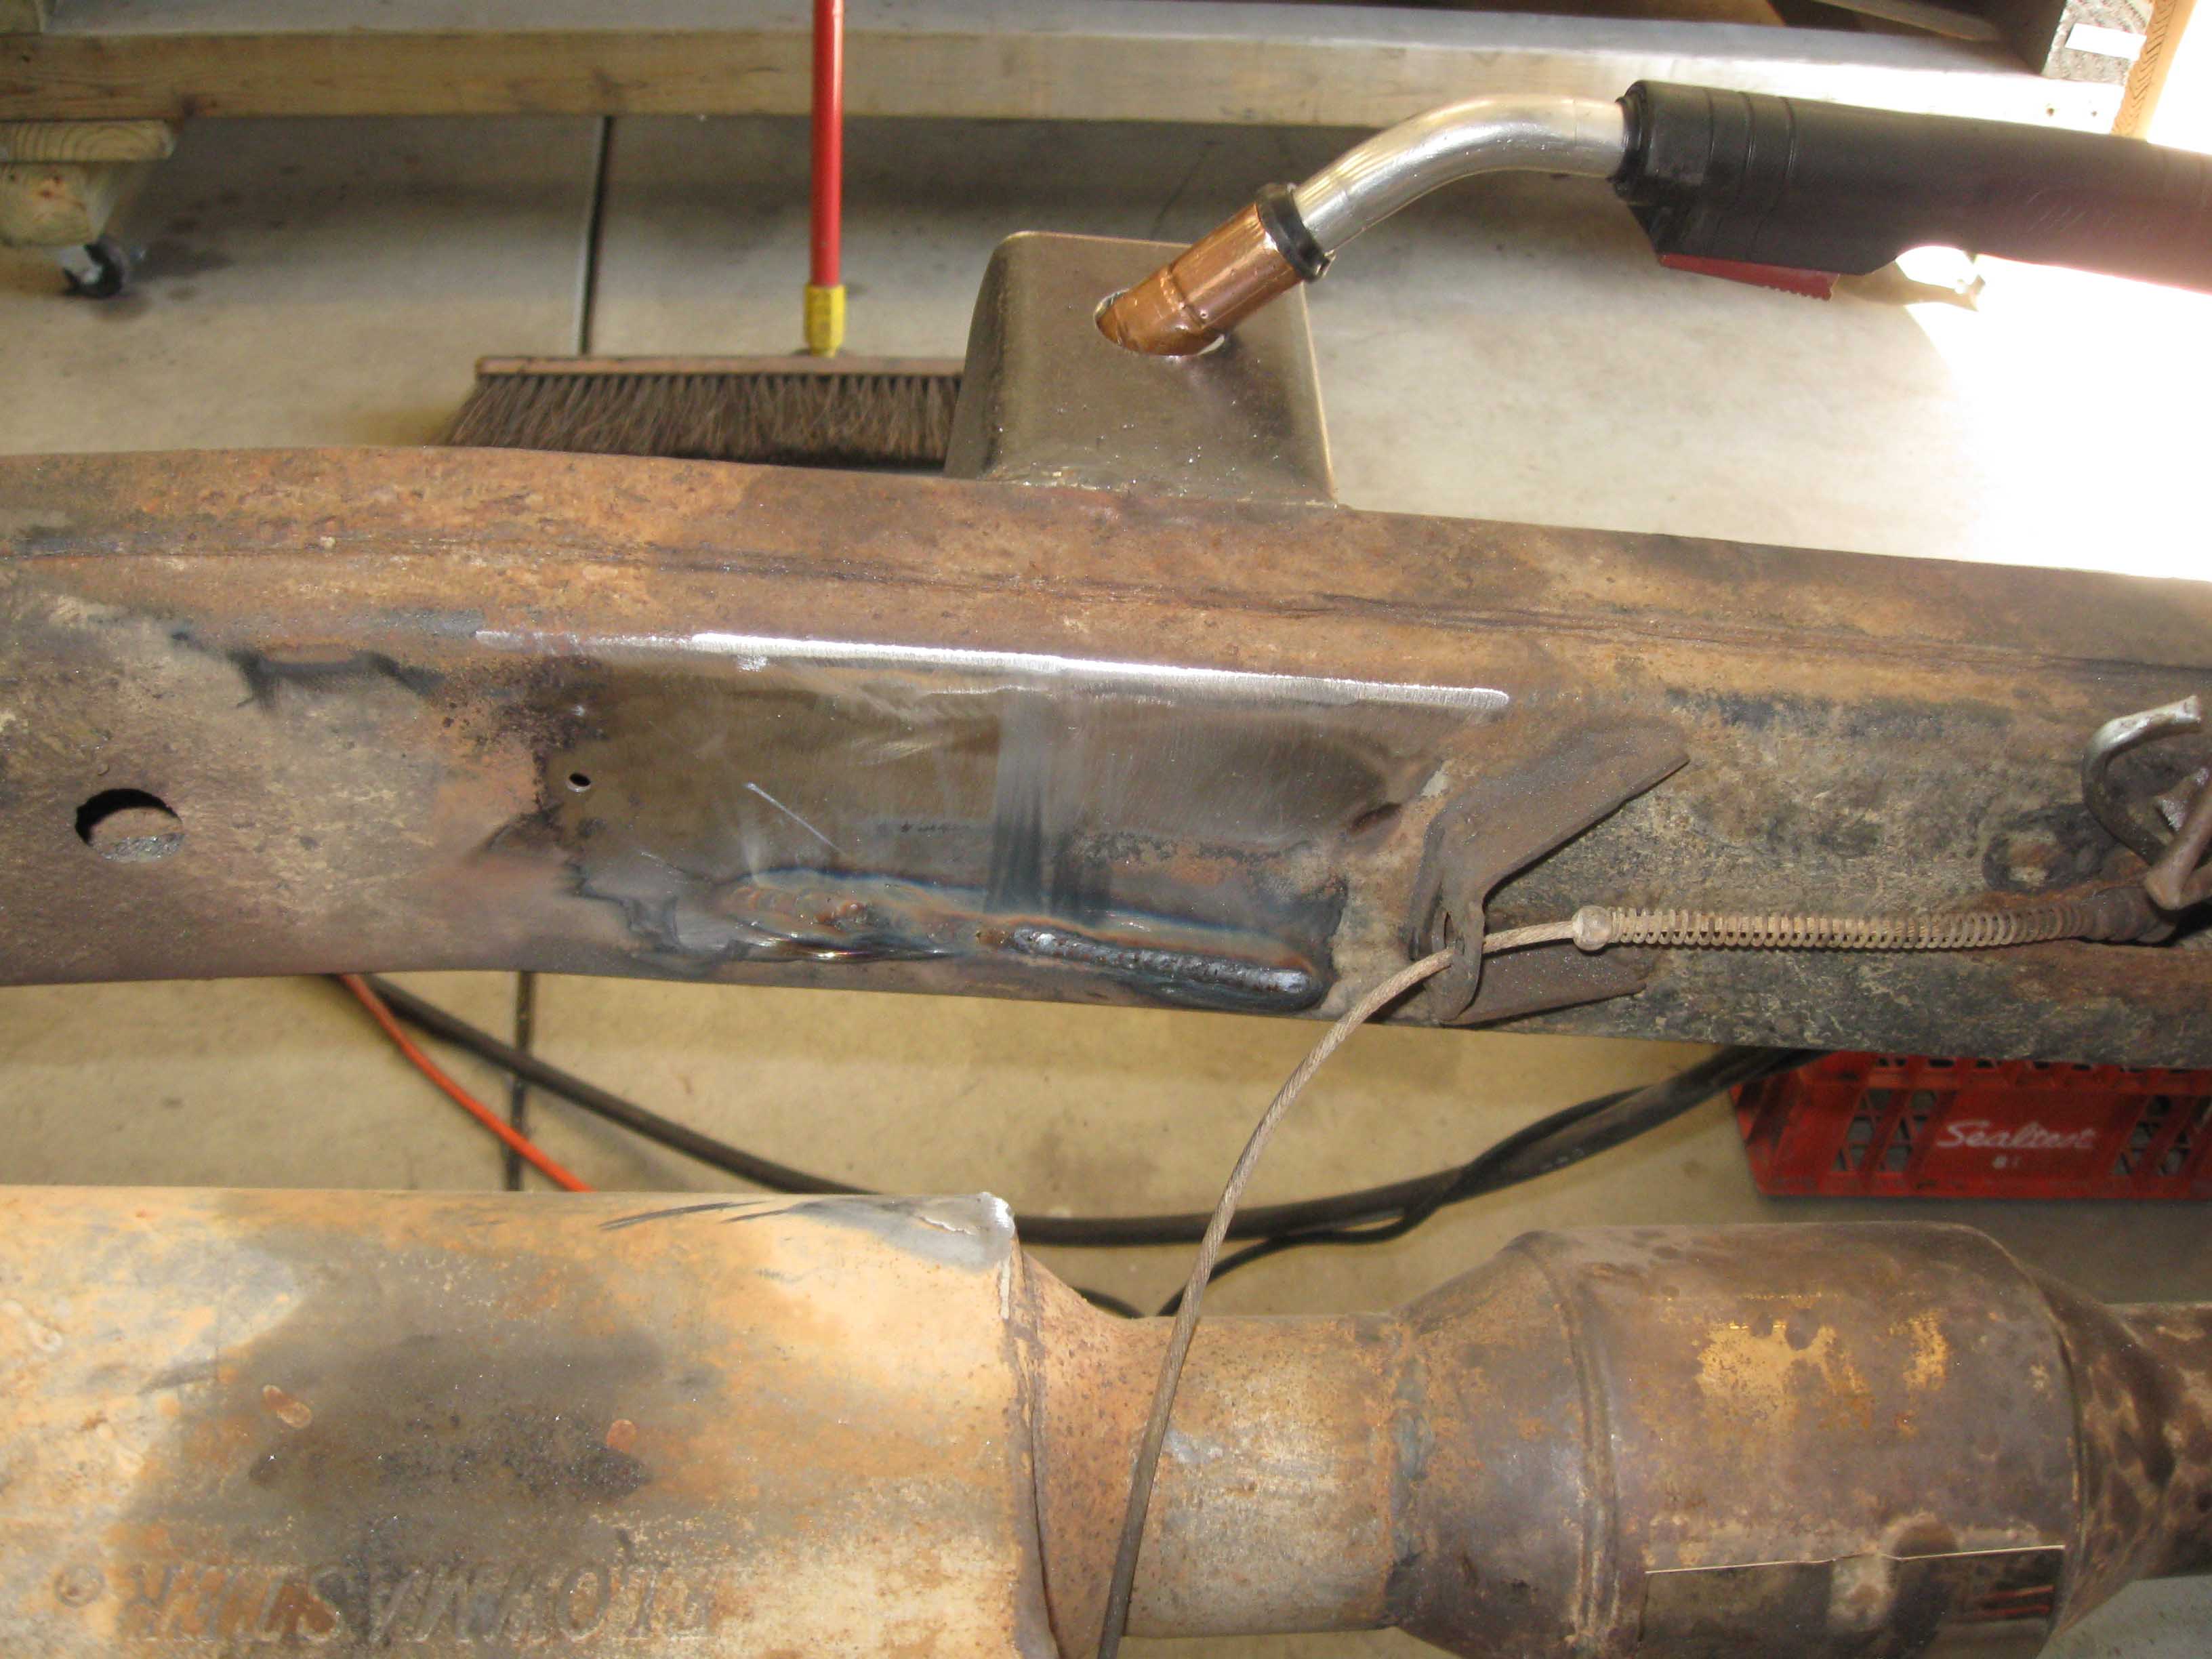
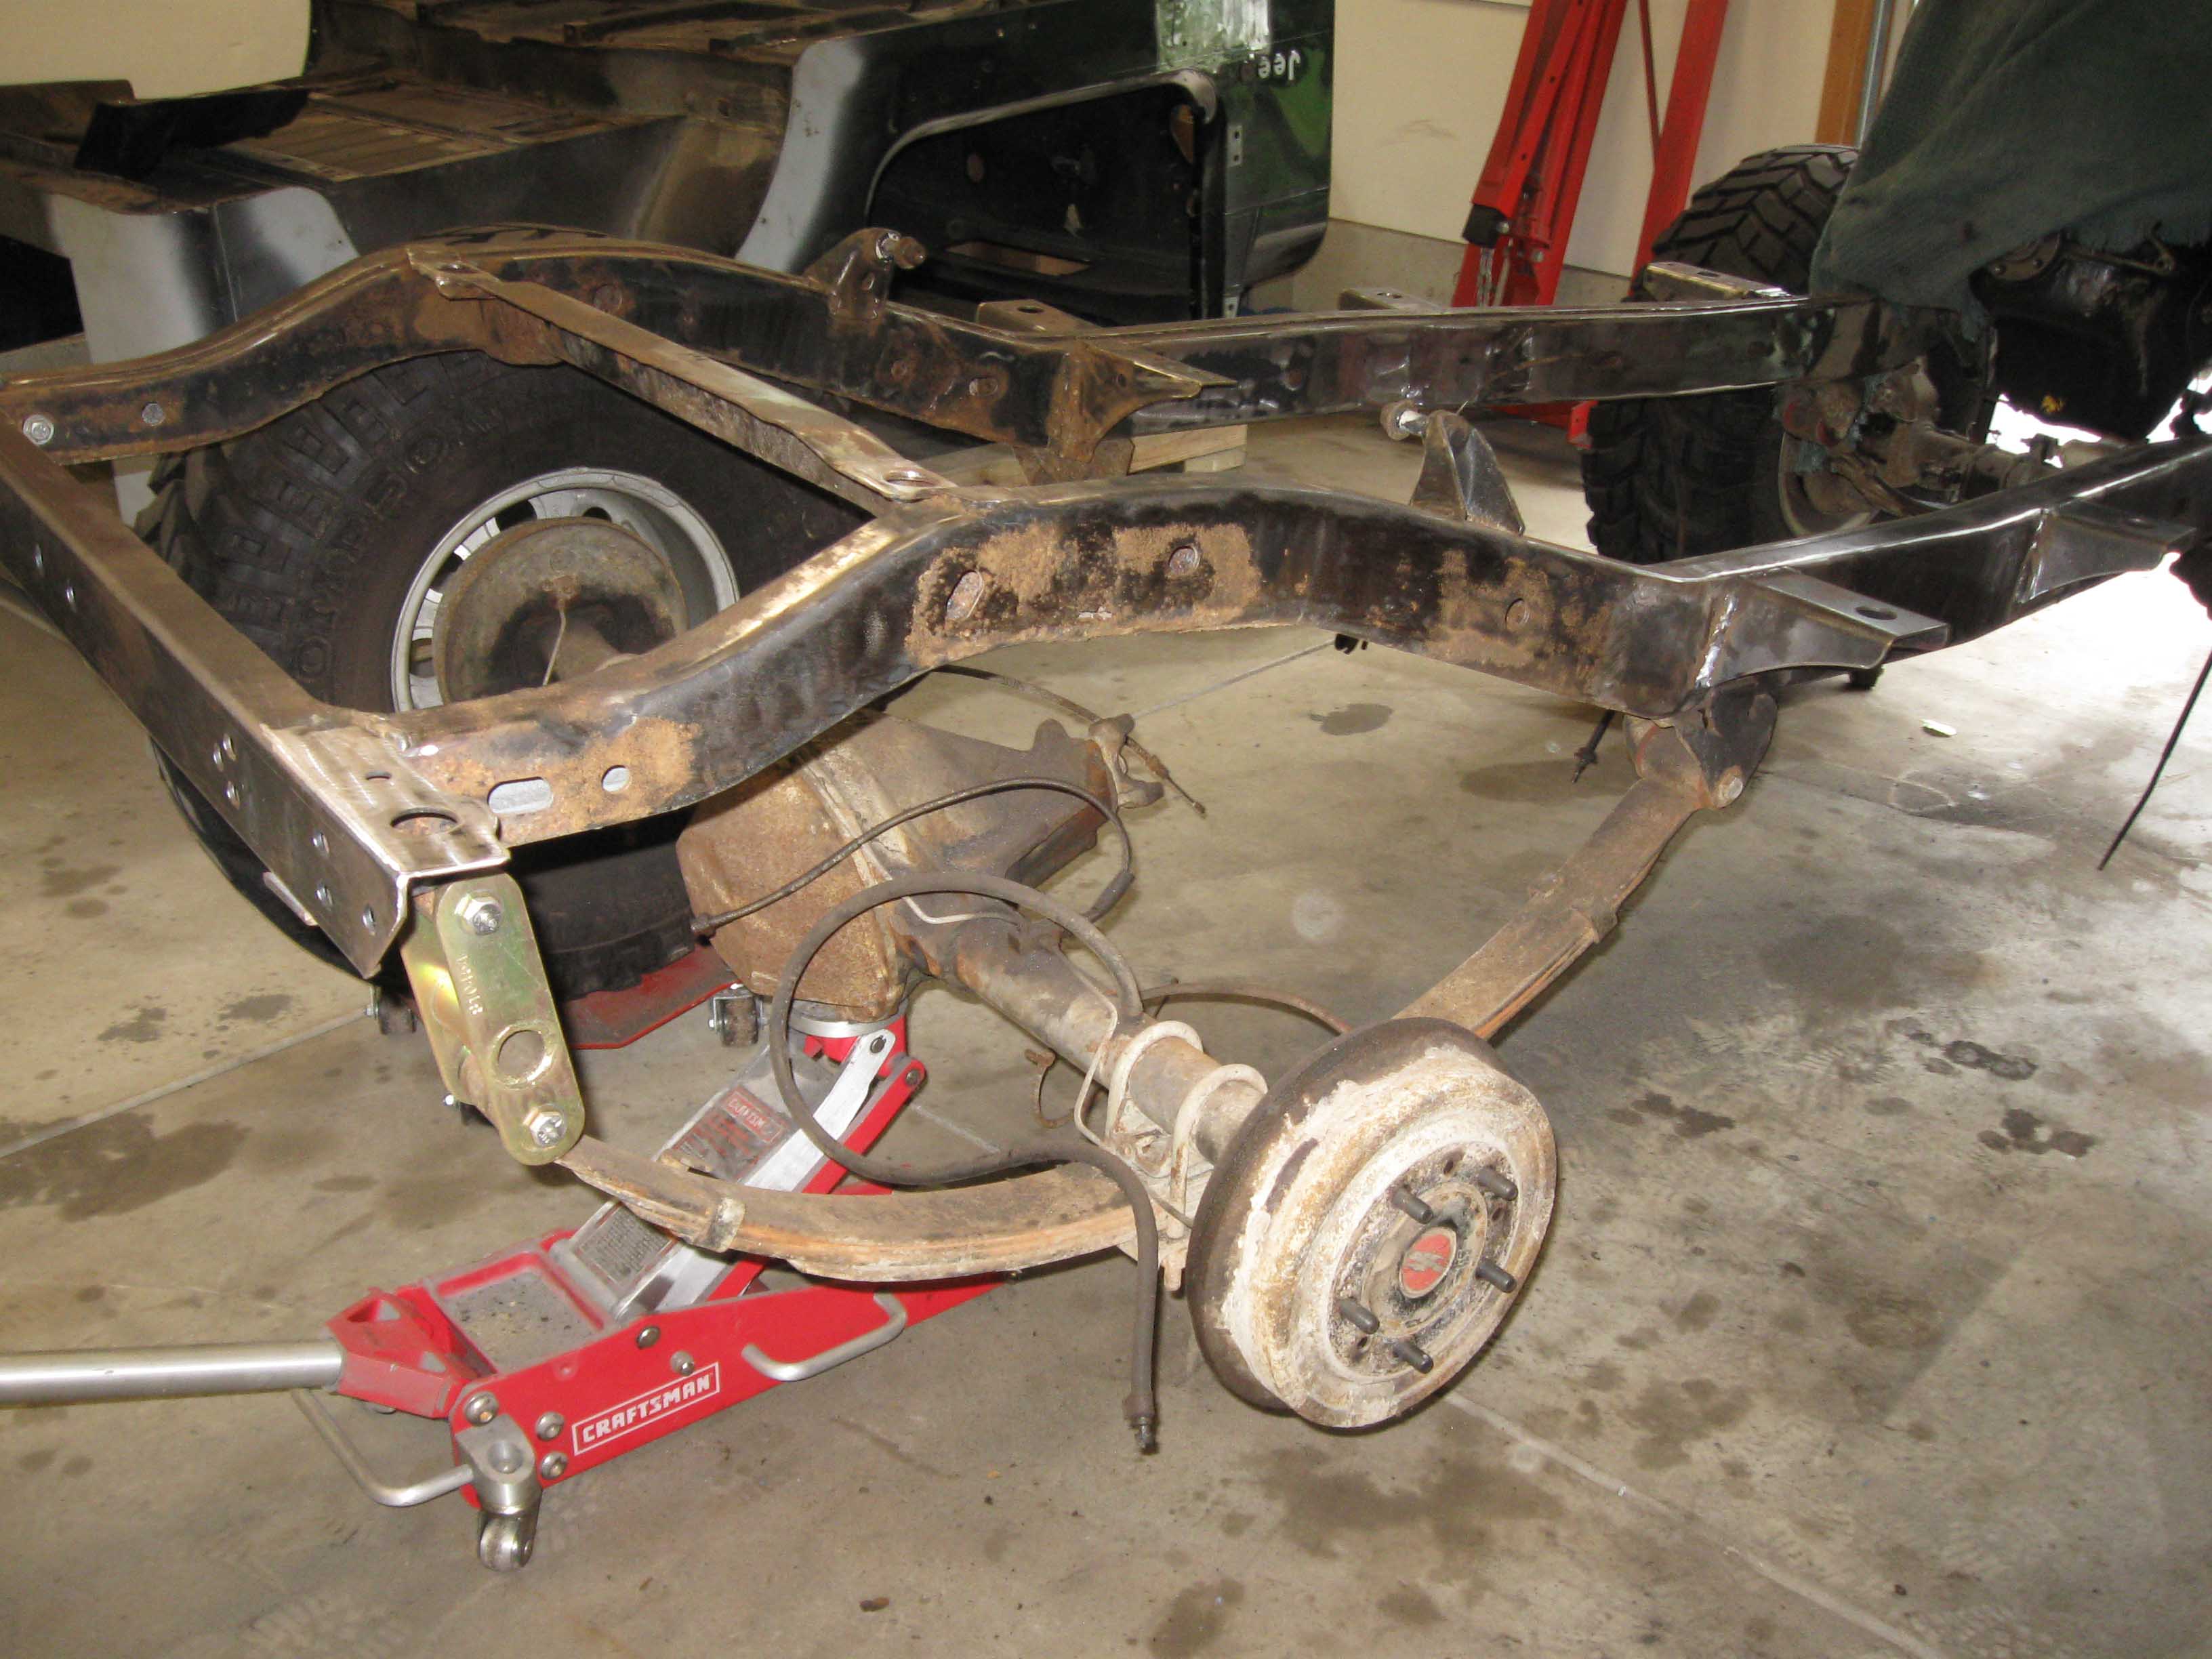
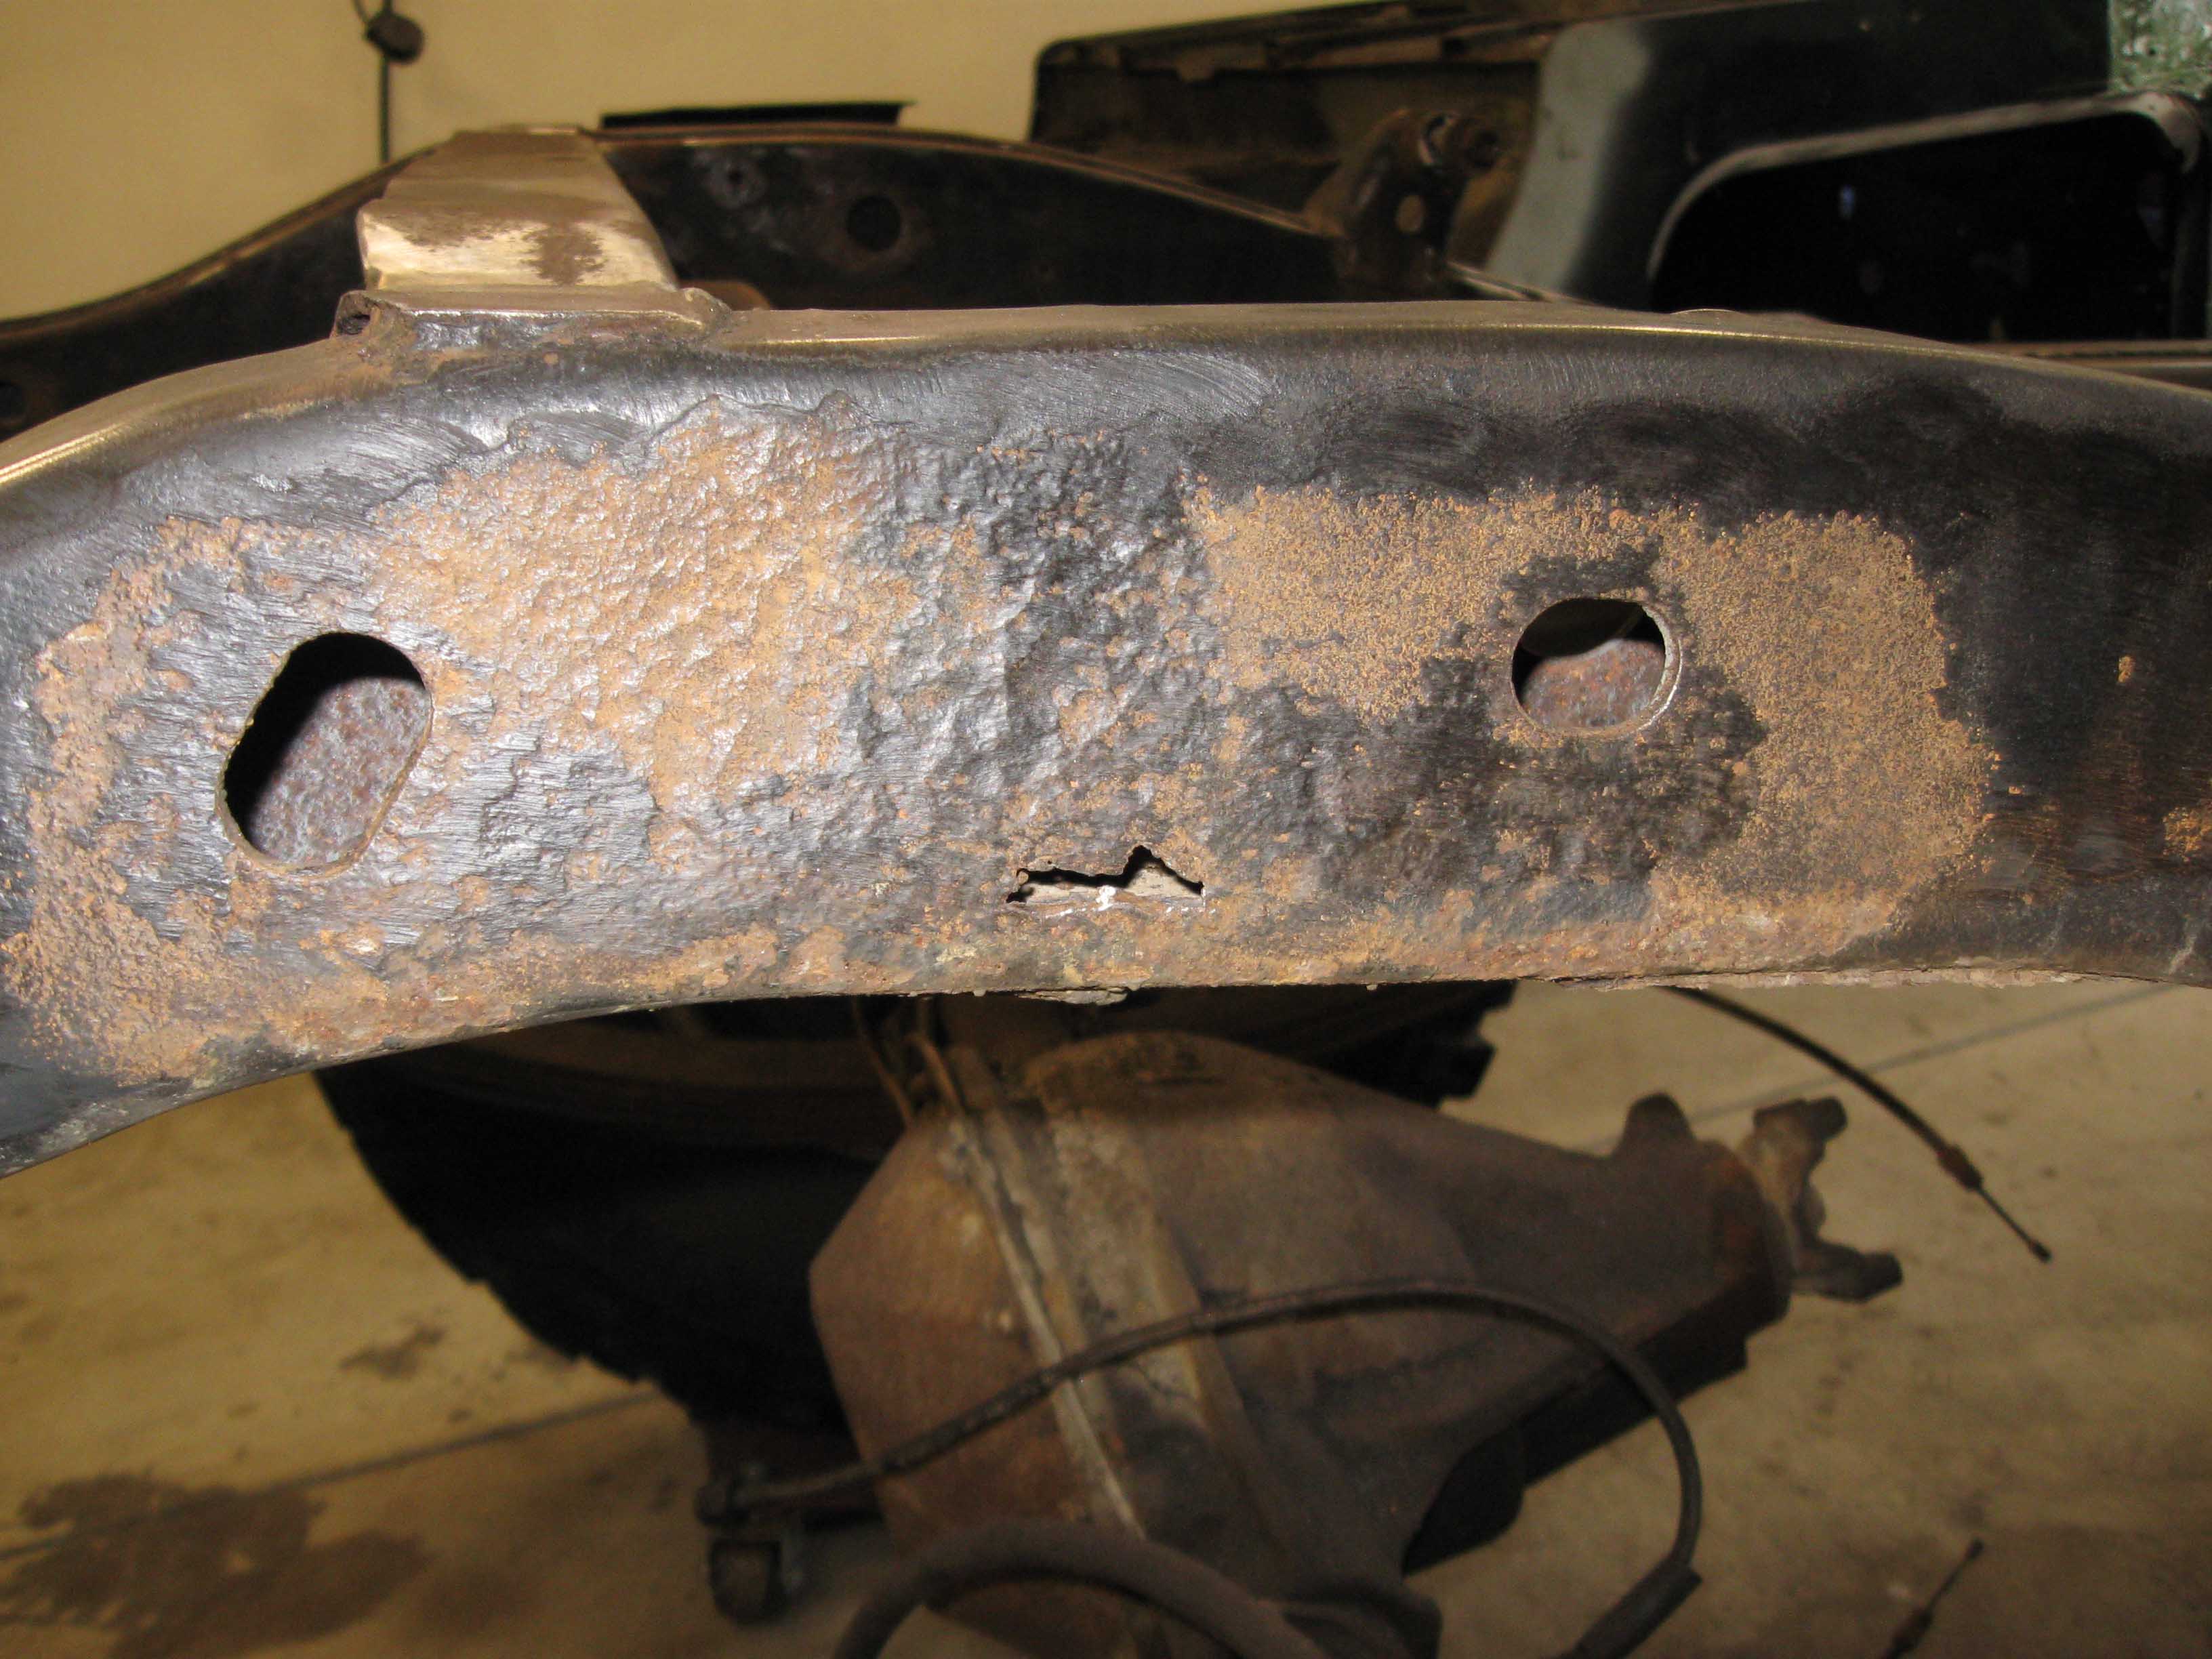
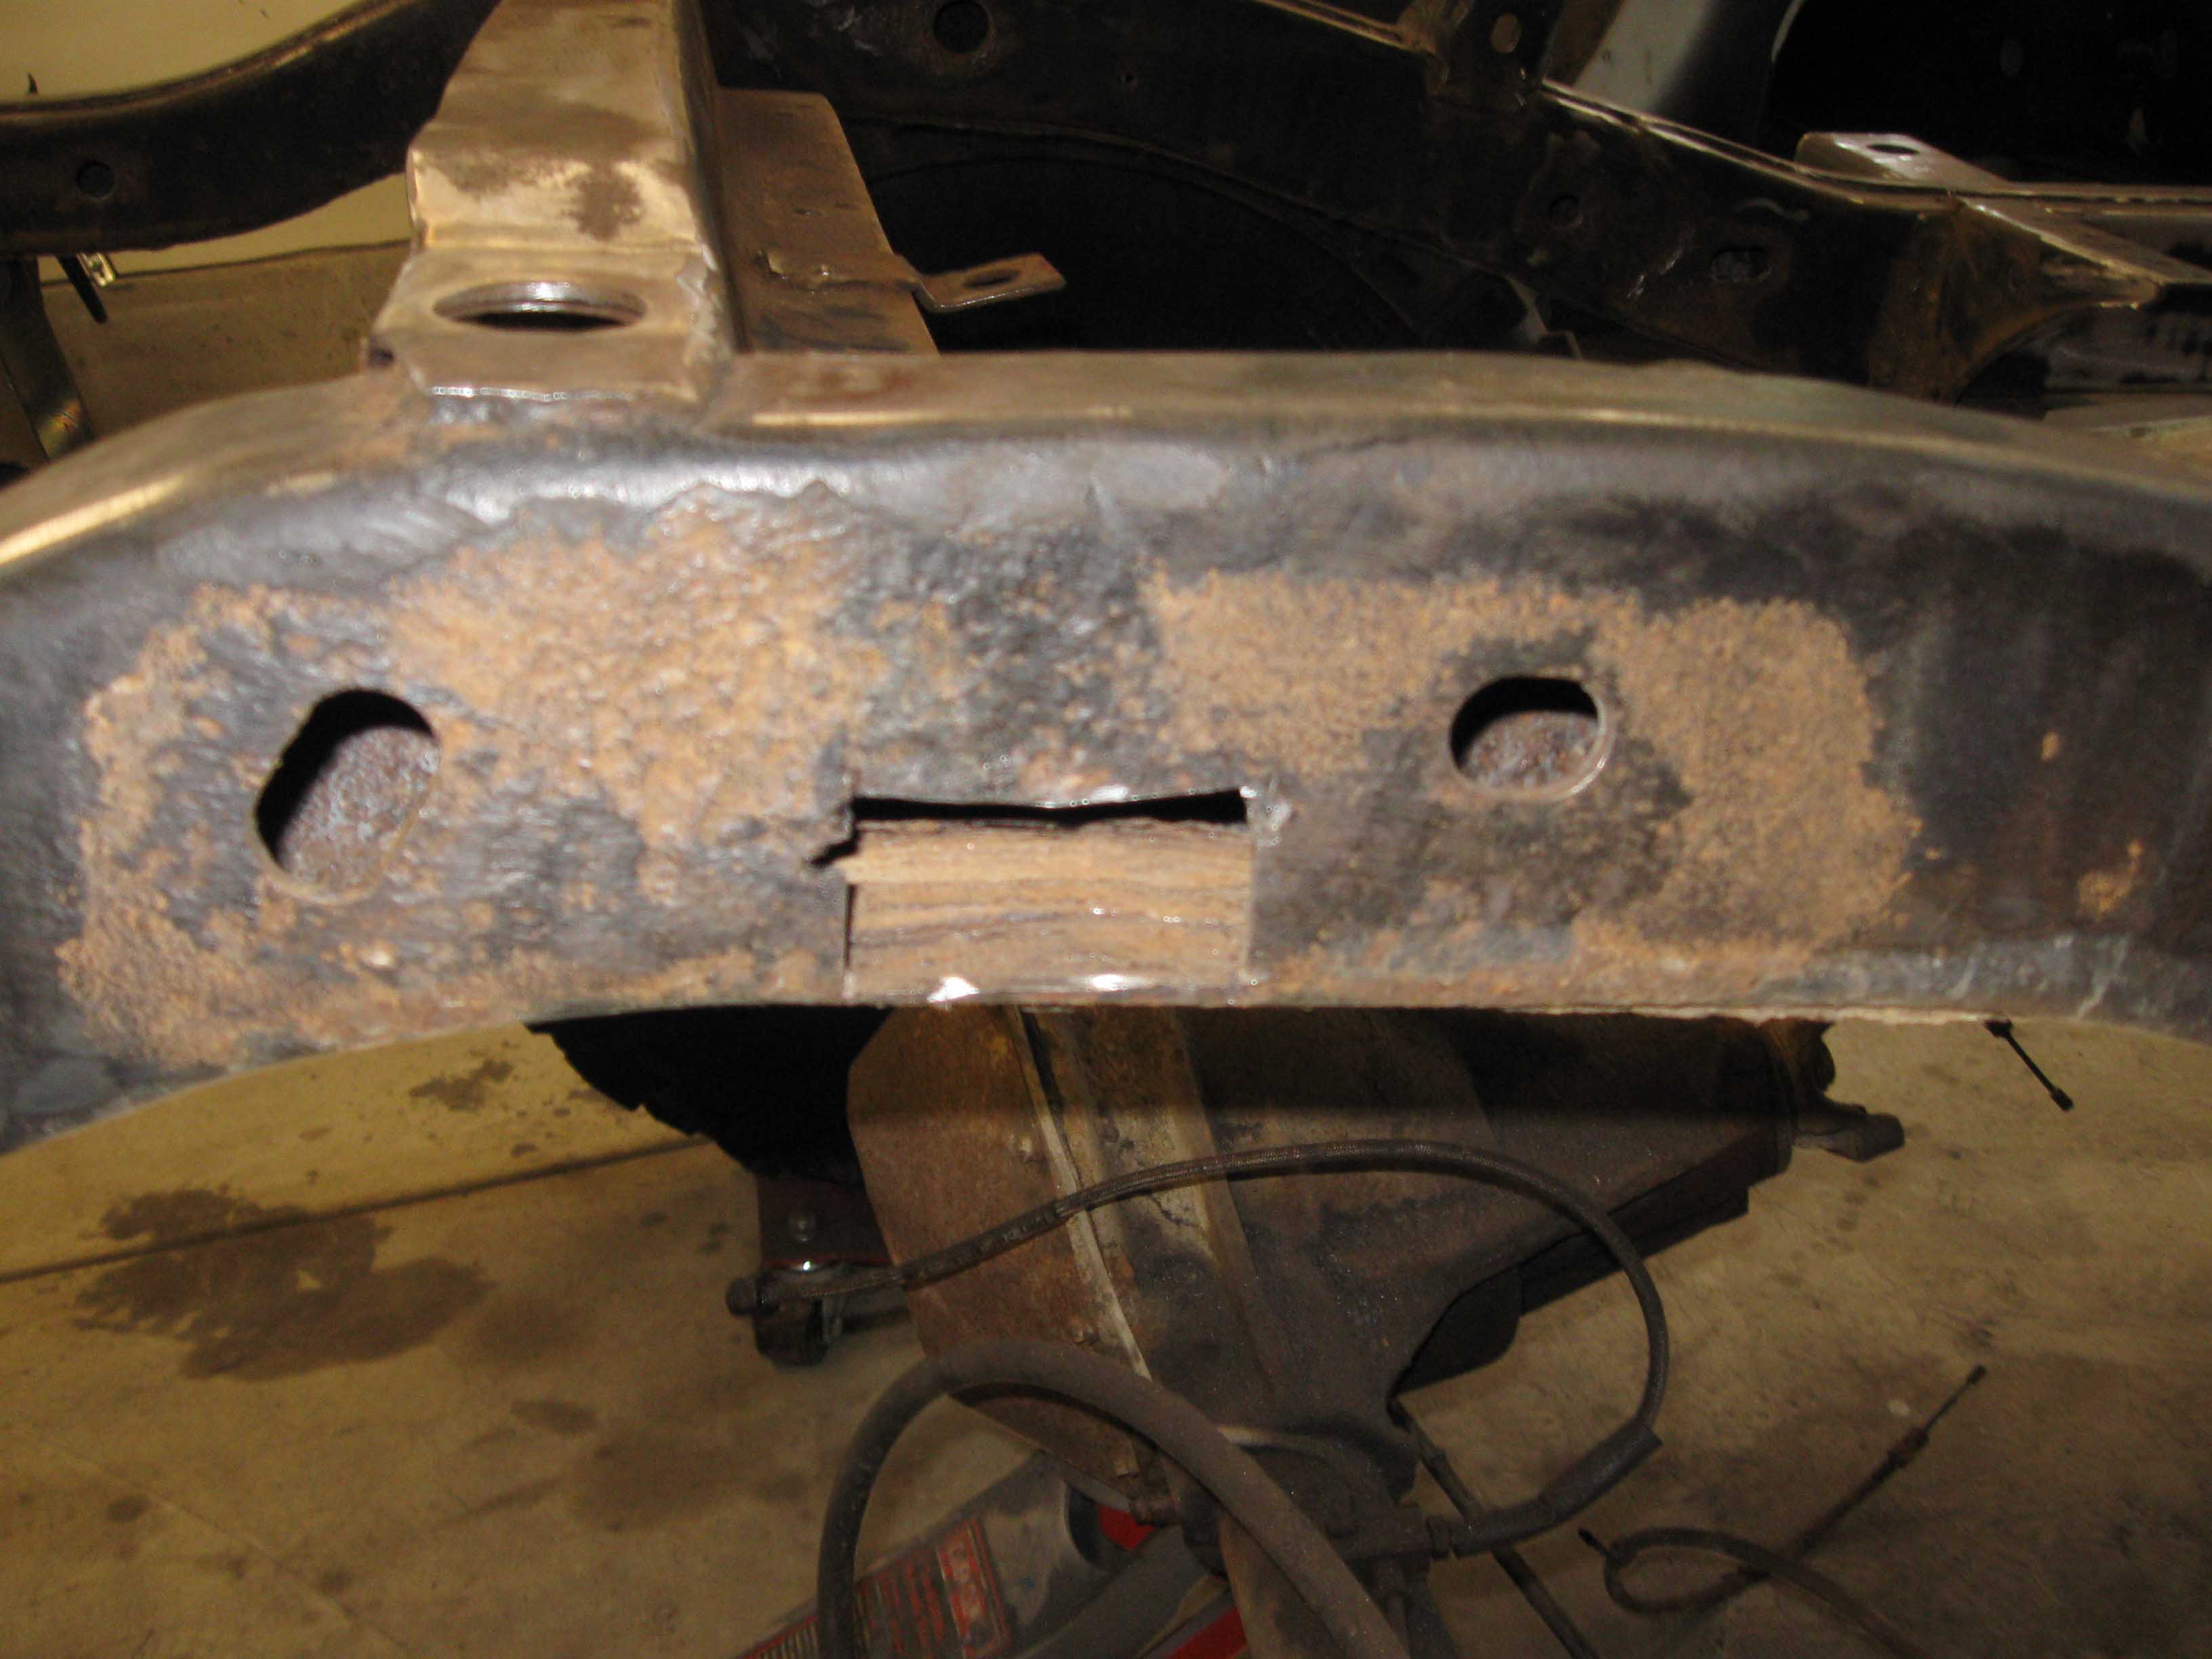
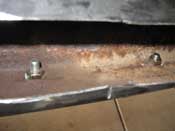
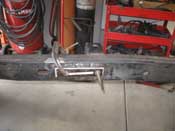
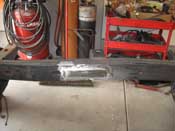
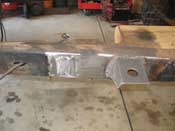
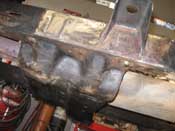
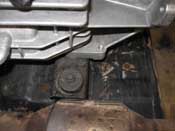
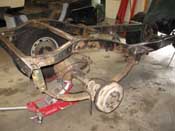
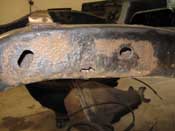
| I had to fix 4 bolts, 2 on each side of the frame rails for the belly skid plate.
This took most of the day as I opened up the frame in 3 places, cleaned out the frame, welded in new nuts, had
to go to the store to get more nuts, closed it all back up, welded in plates, ground it down and finally finished
up most of it.
|
| |
|

|
|
|
| |
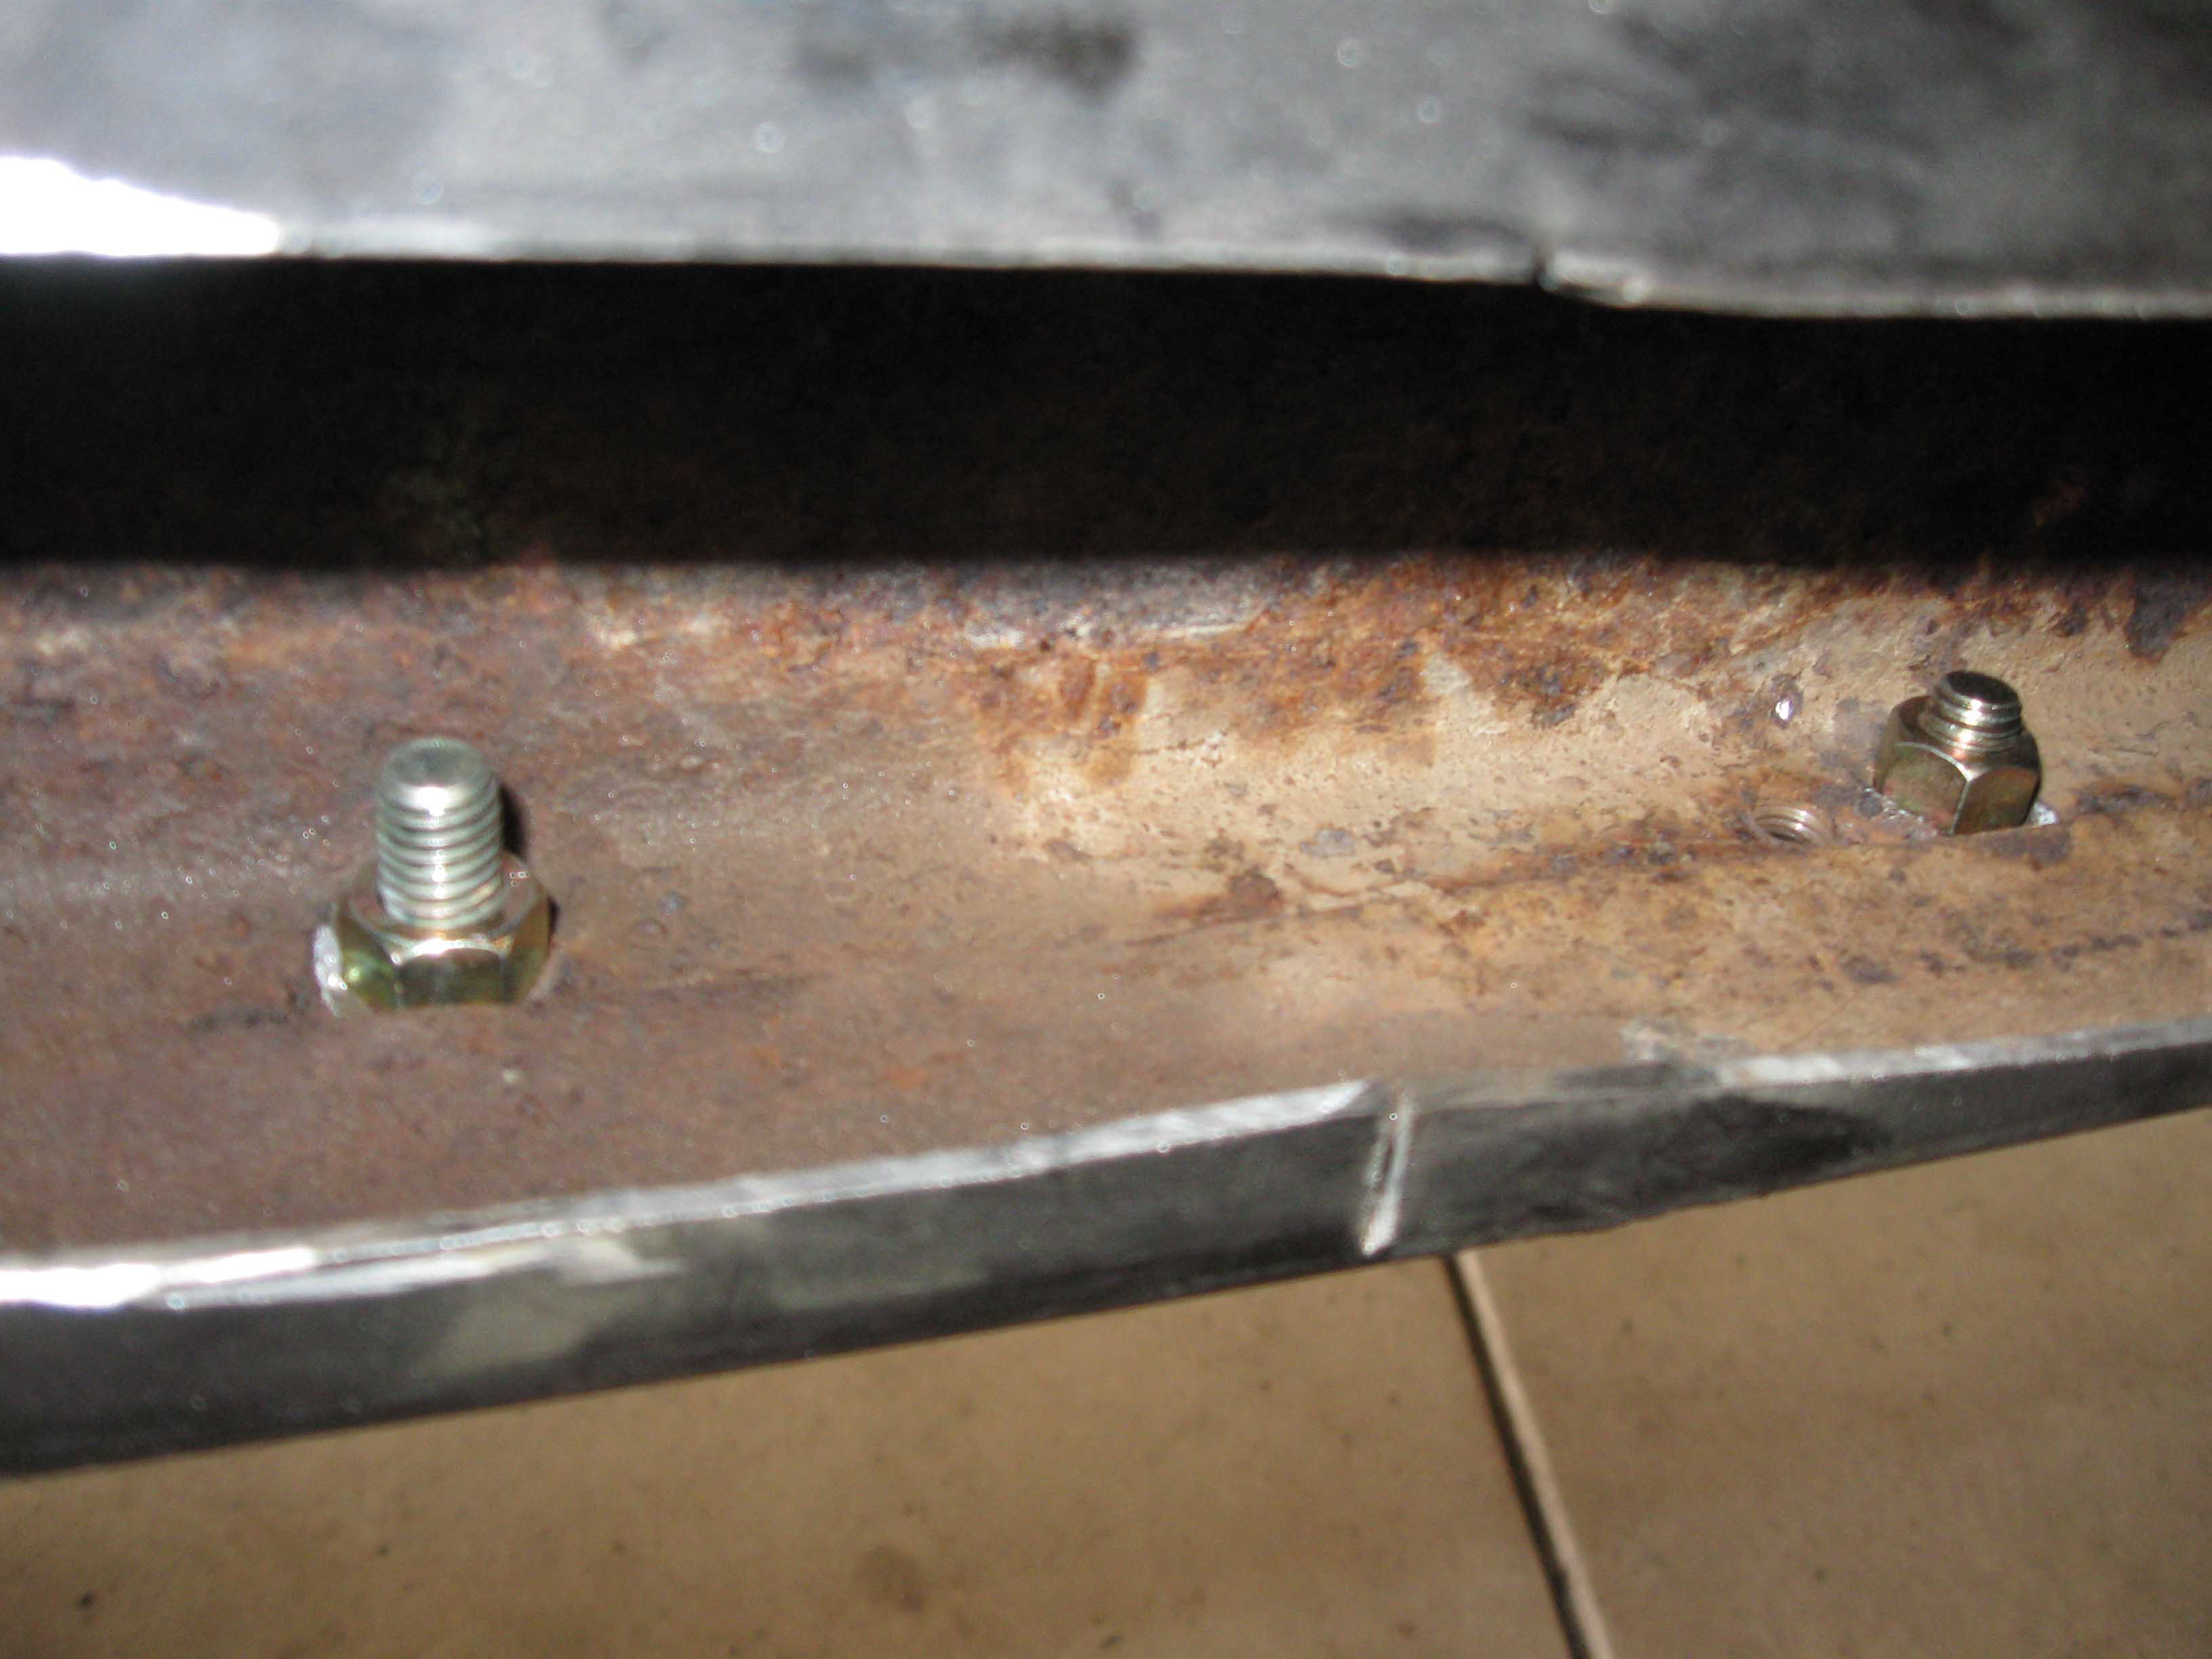
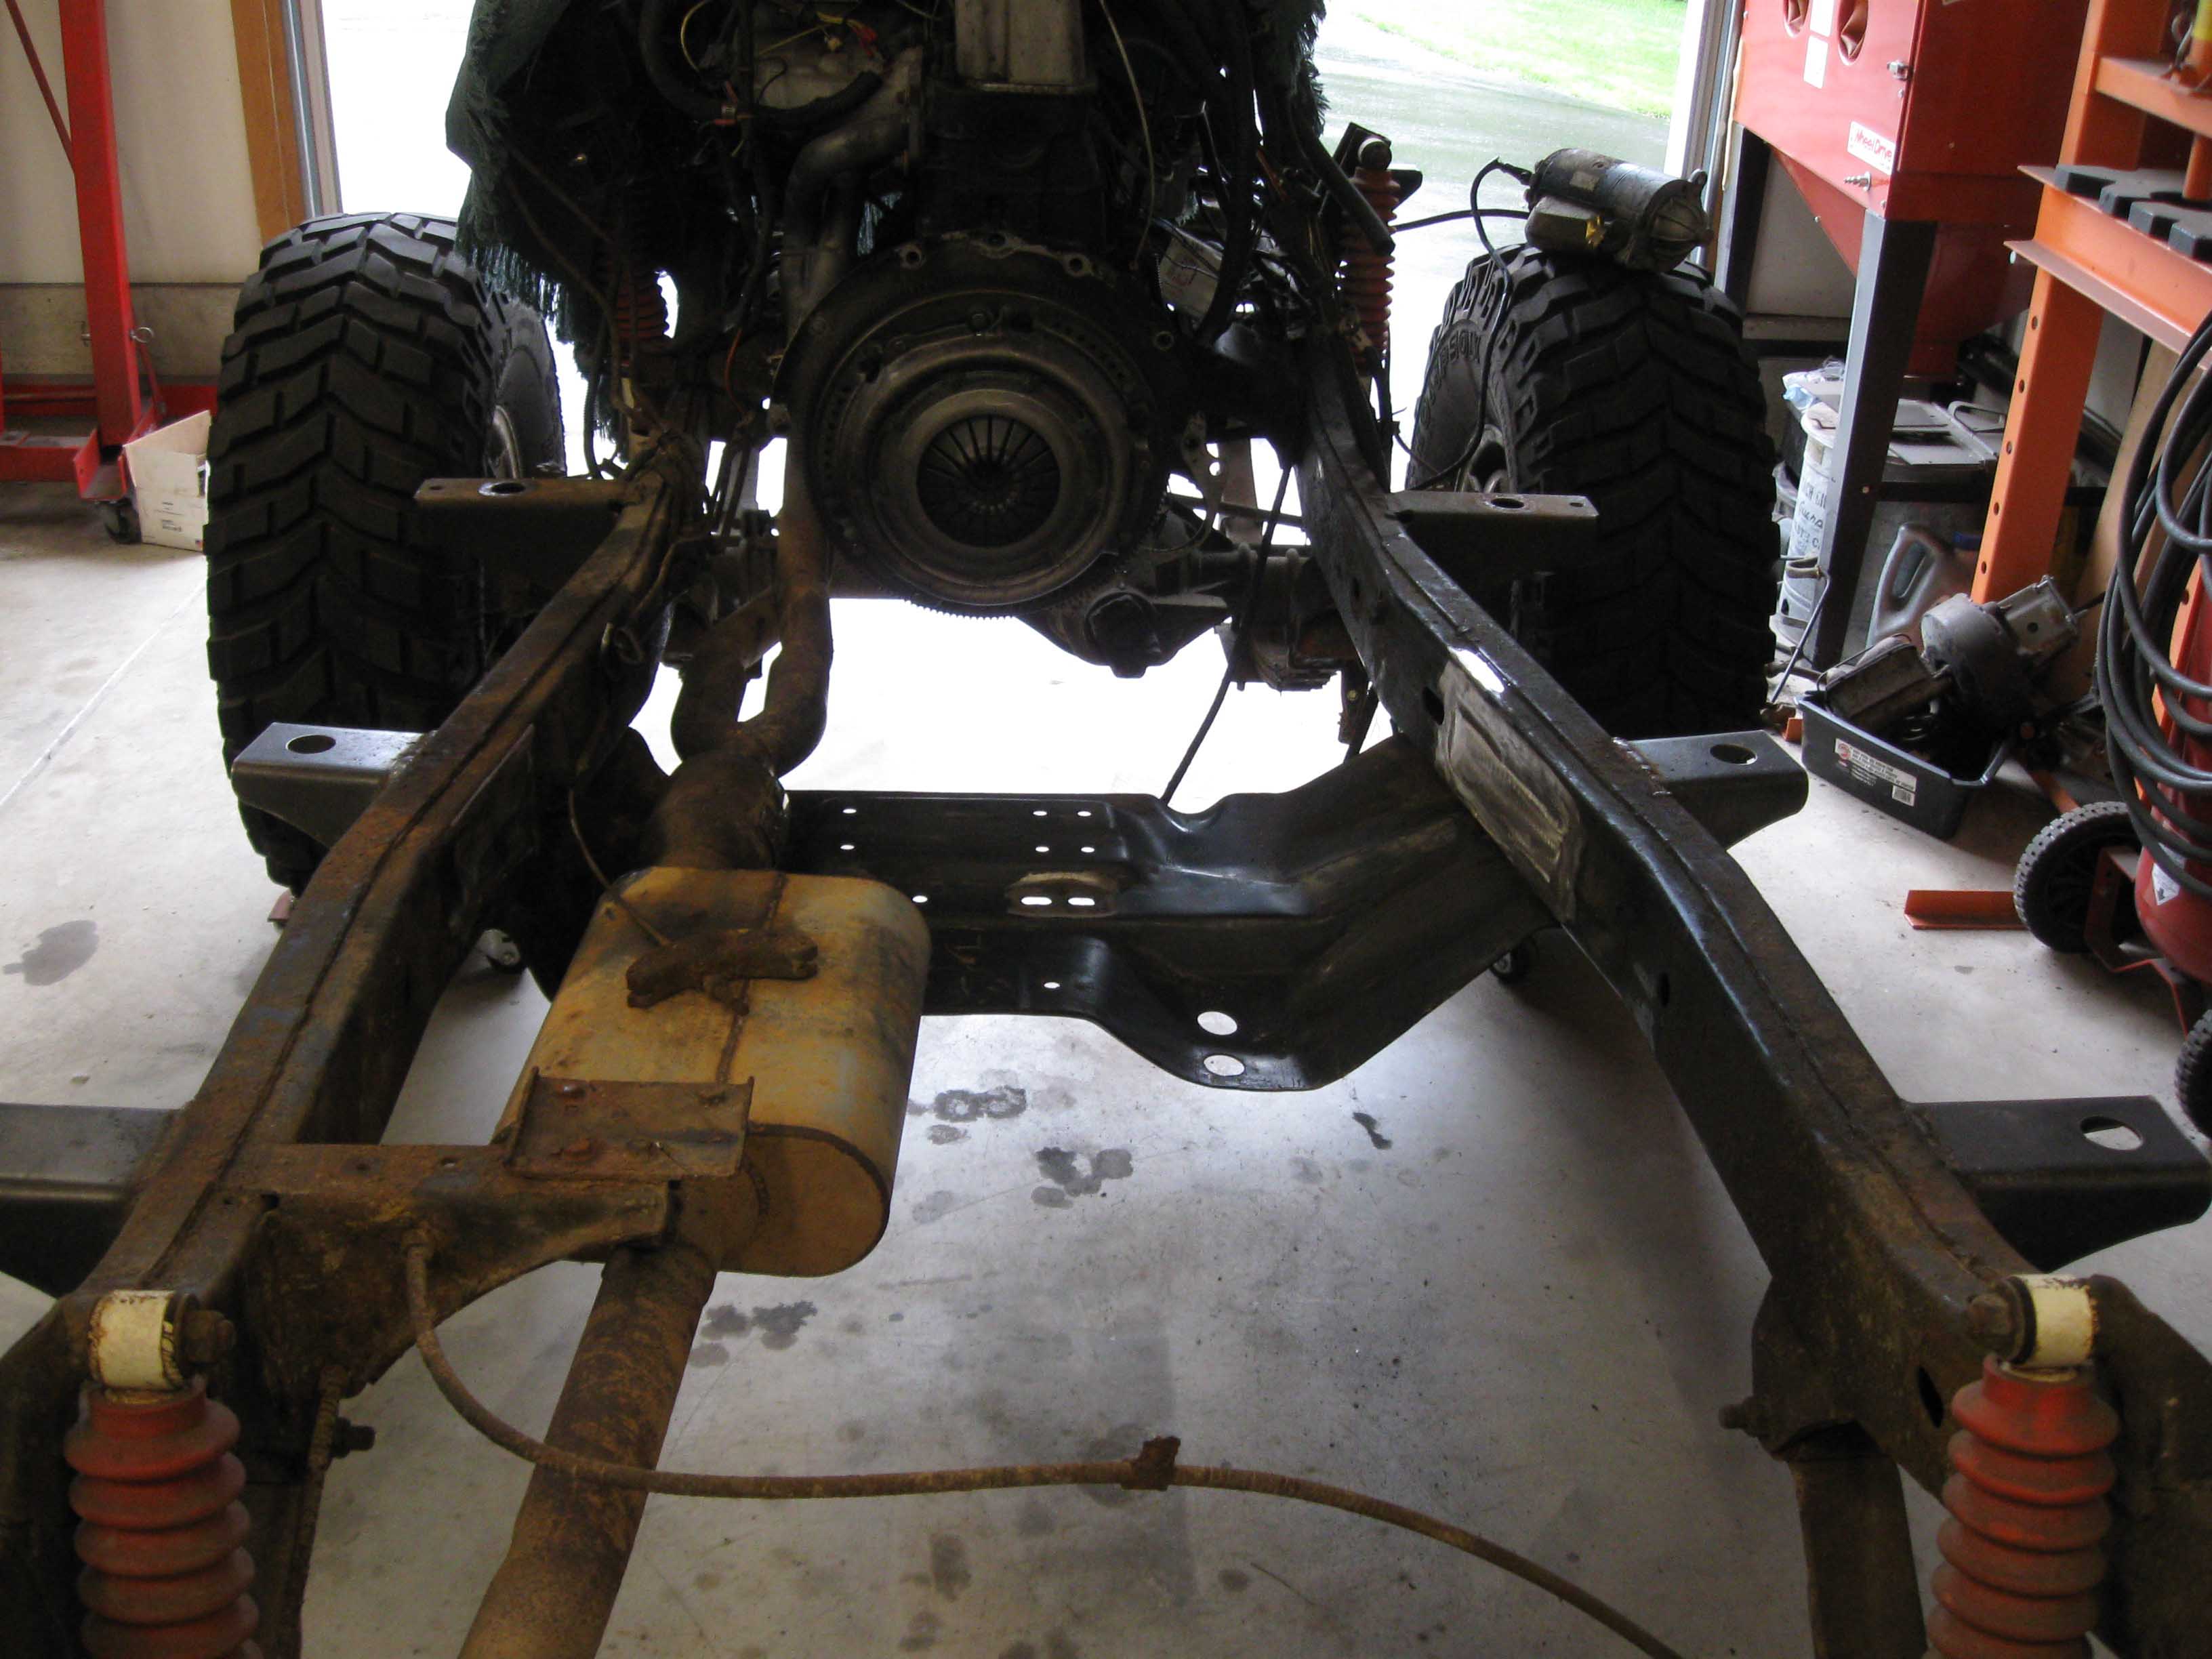
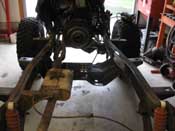
At the end of the day I tried to put the belly skid on and one bolt hole on each
side isn't lining up perfectly, so I have to modify the skid plate a bit, but I plan on doing that tomorrow after
a full day of working on the Jeep to get the transmission mounted. It has been a little up in the air the last
week, but I hope to get back on it more full steam this week... give or take trips to the ER.
(06/17/09)
|
| |
|
|
|
|

|
|
| |
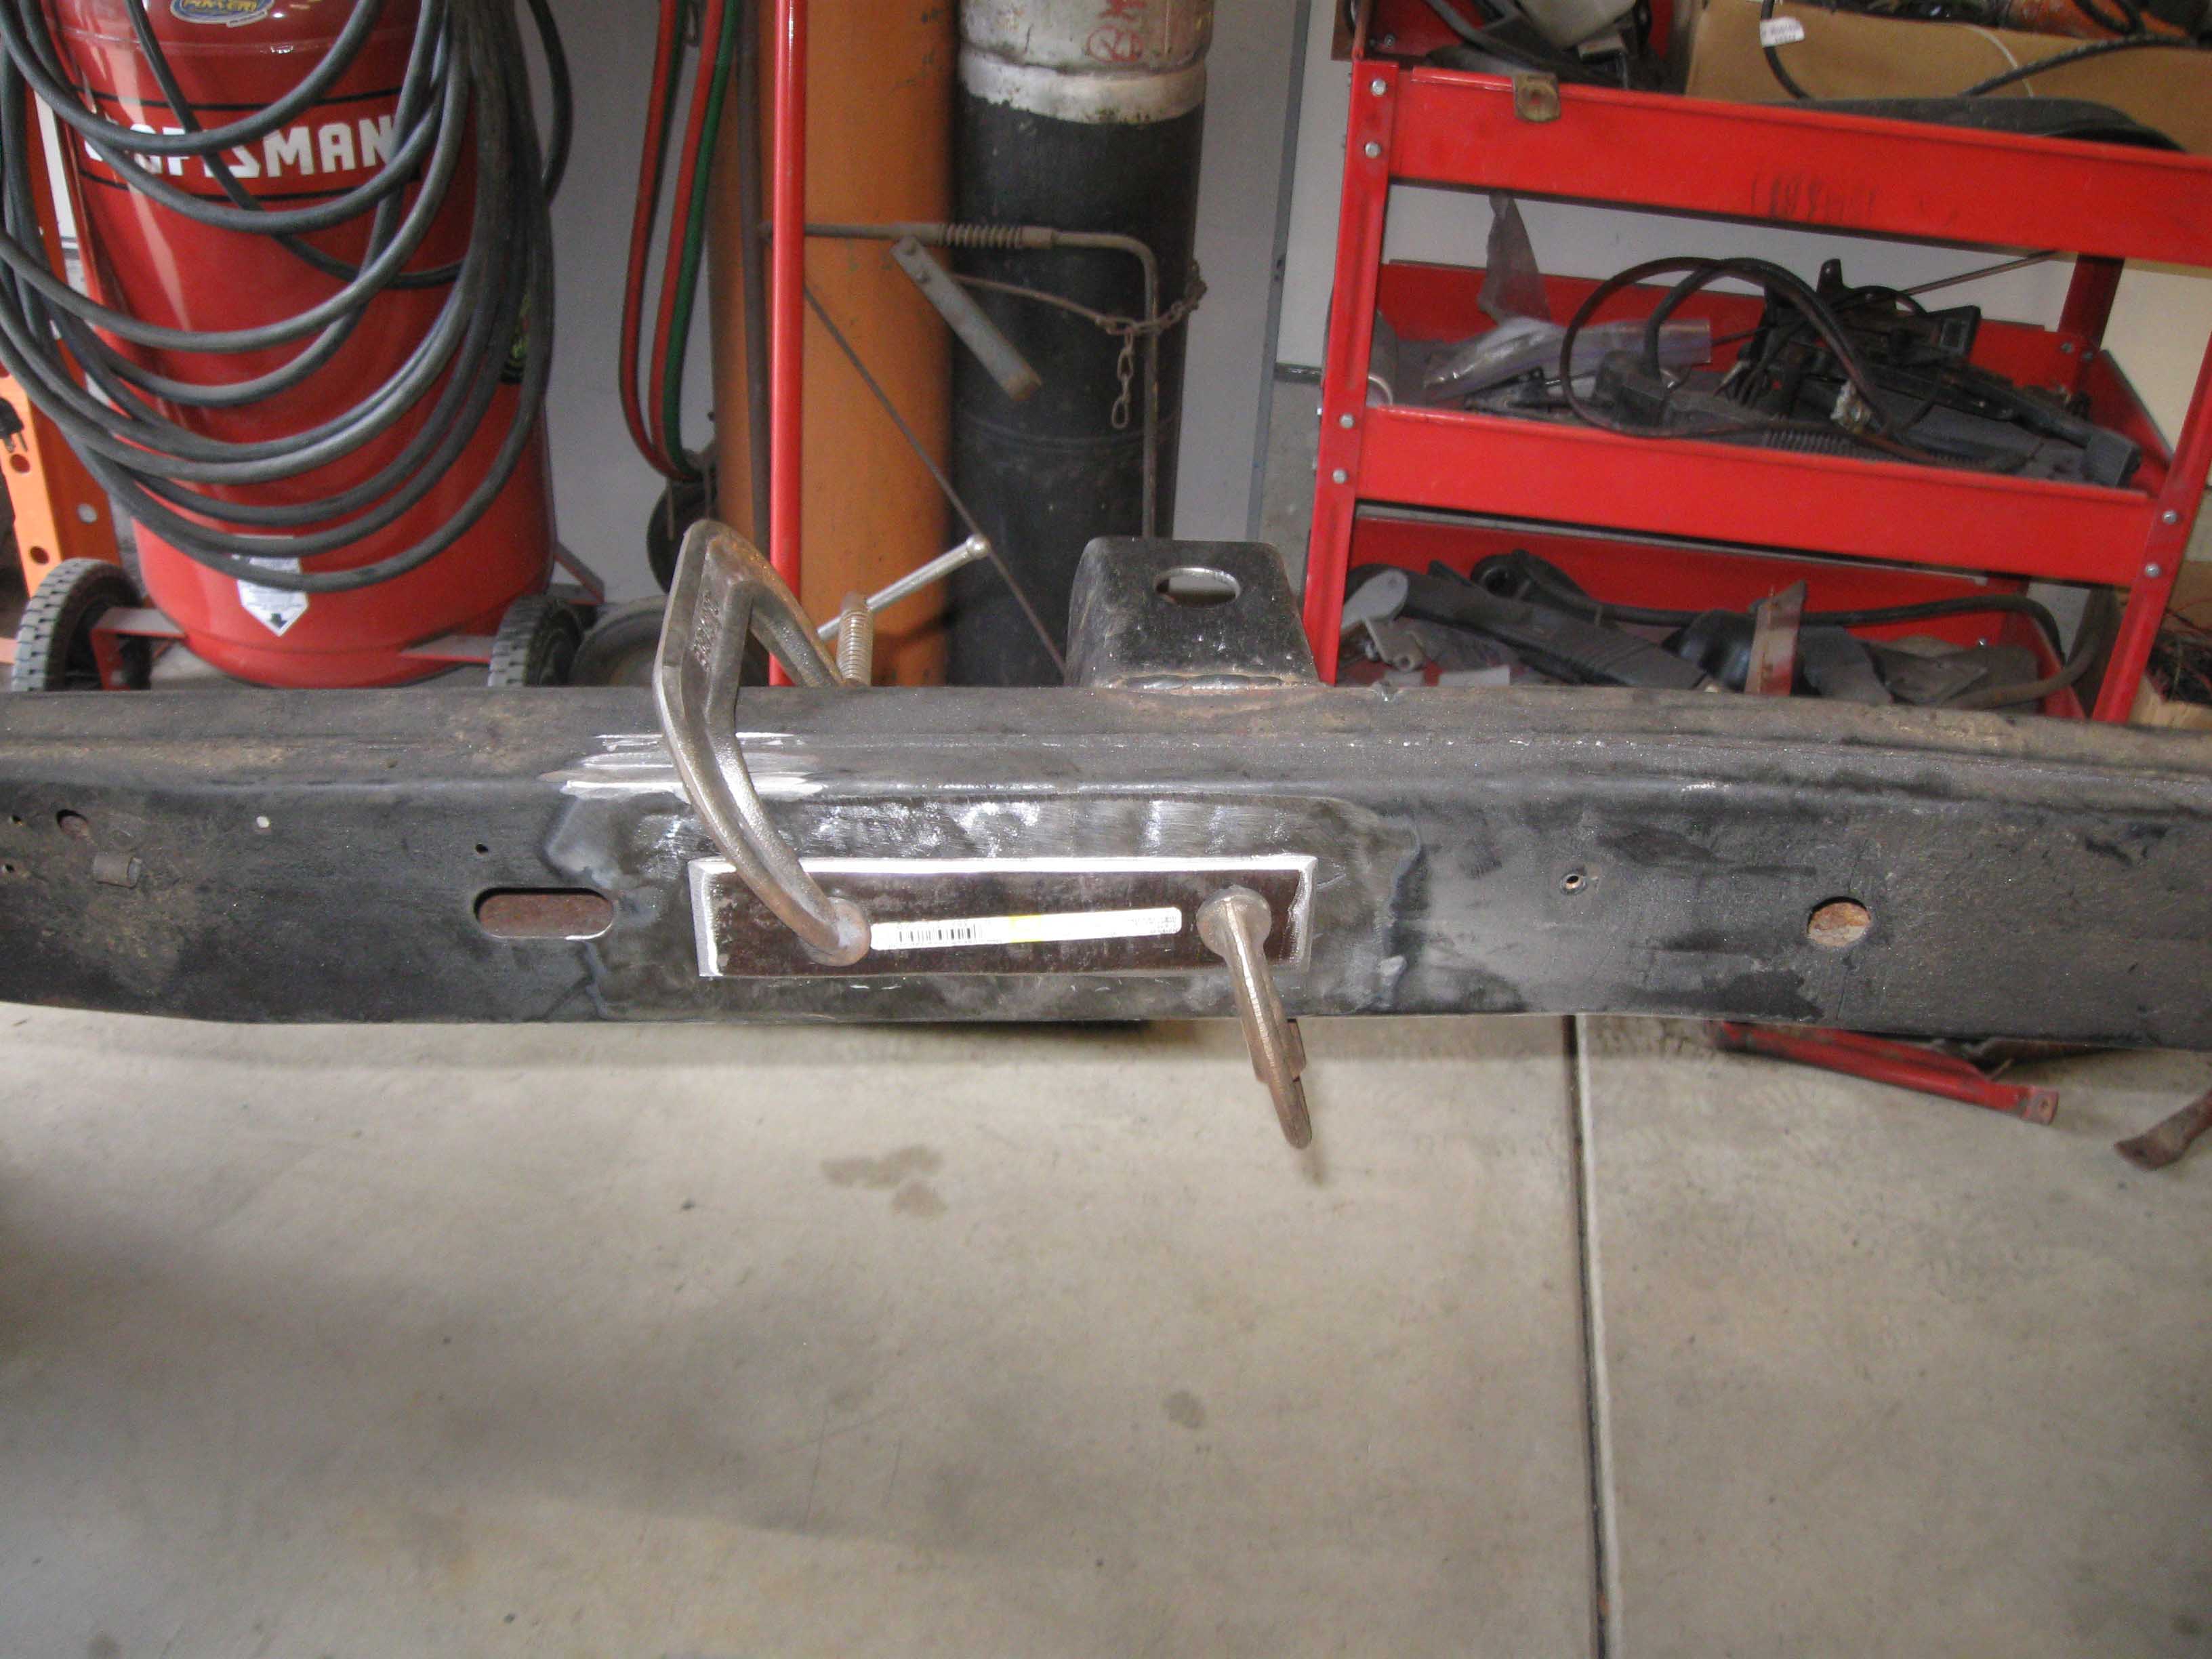
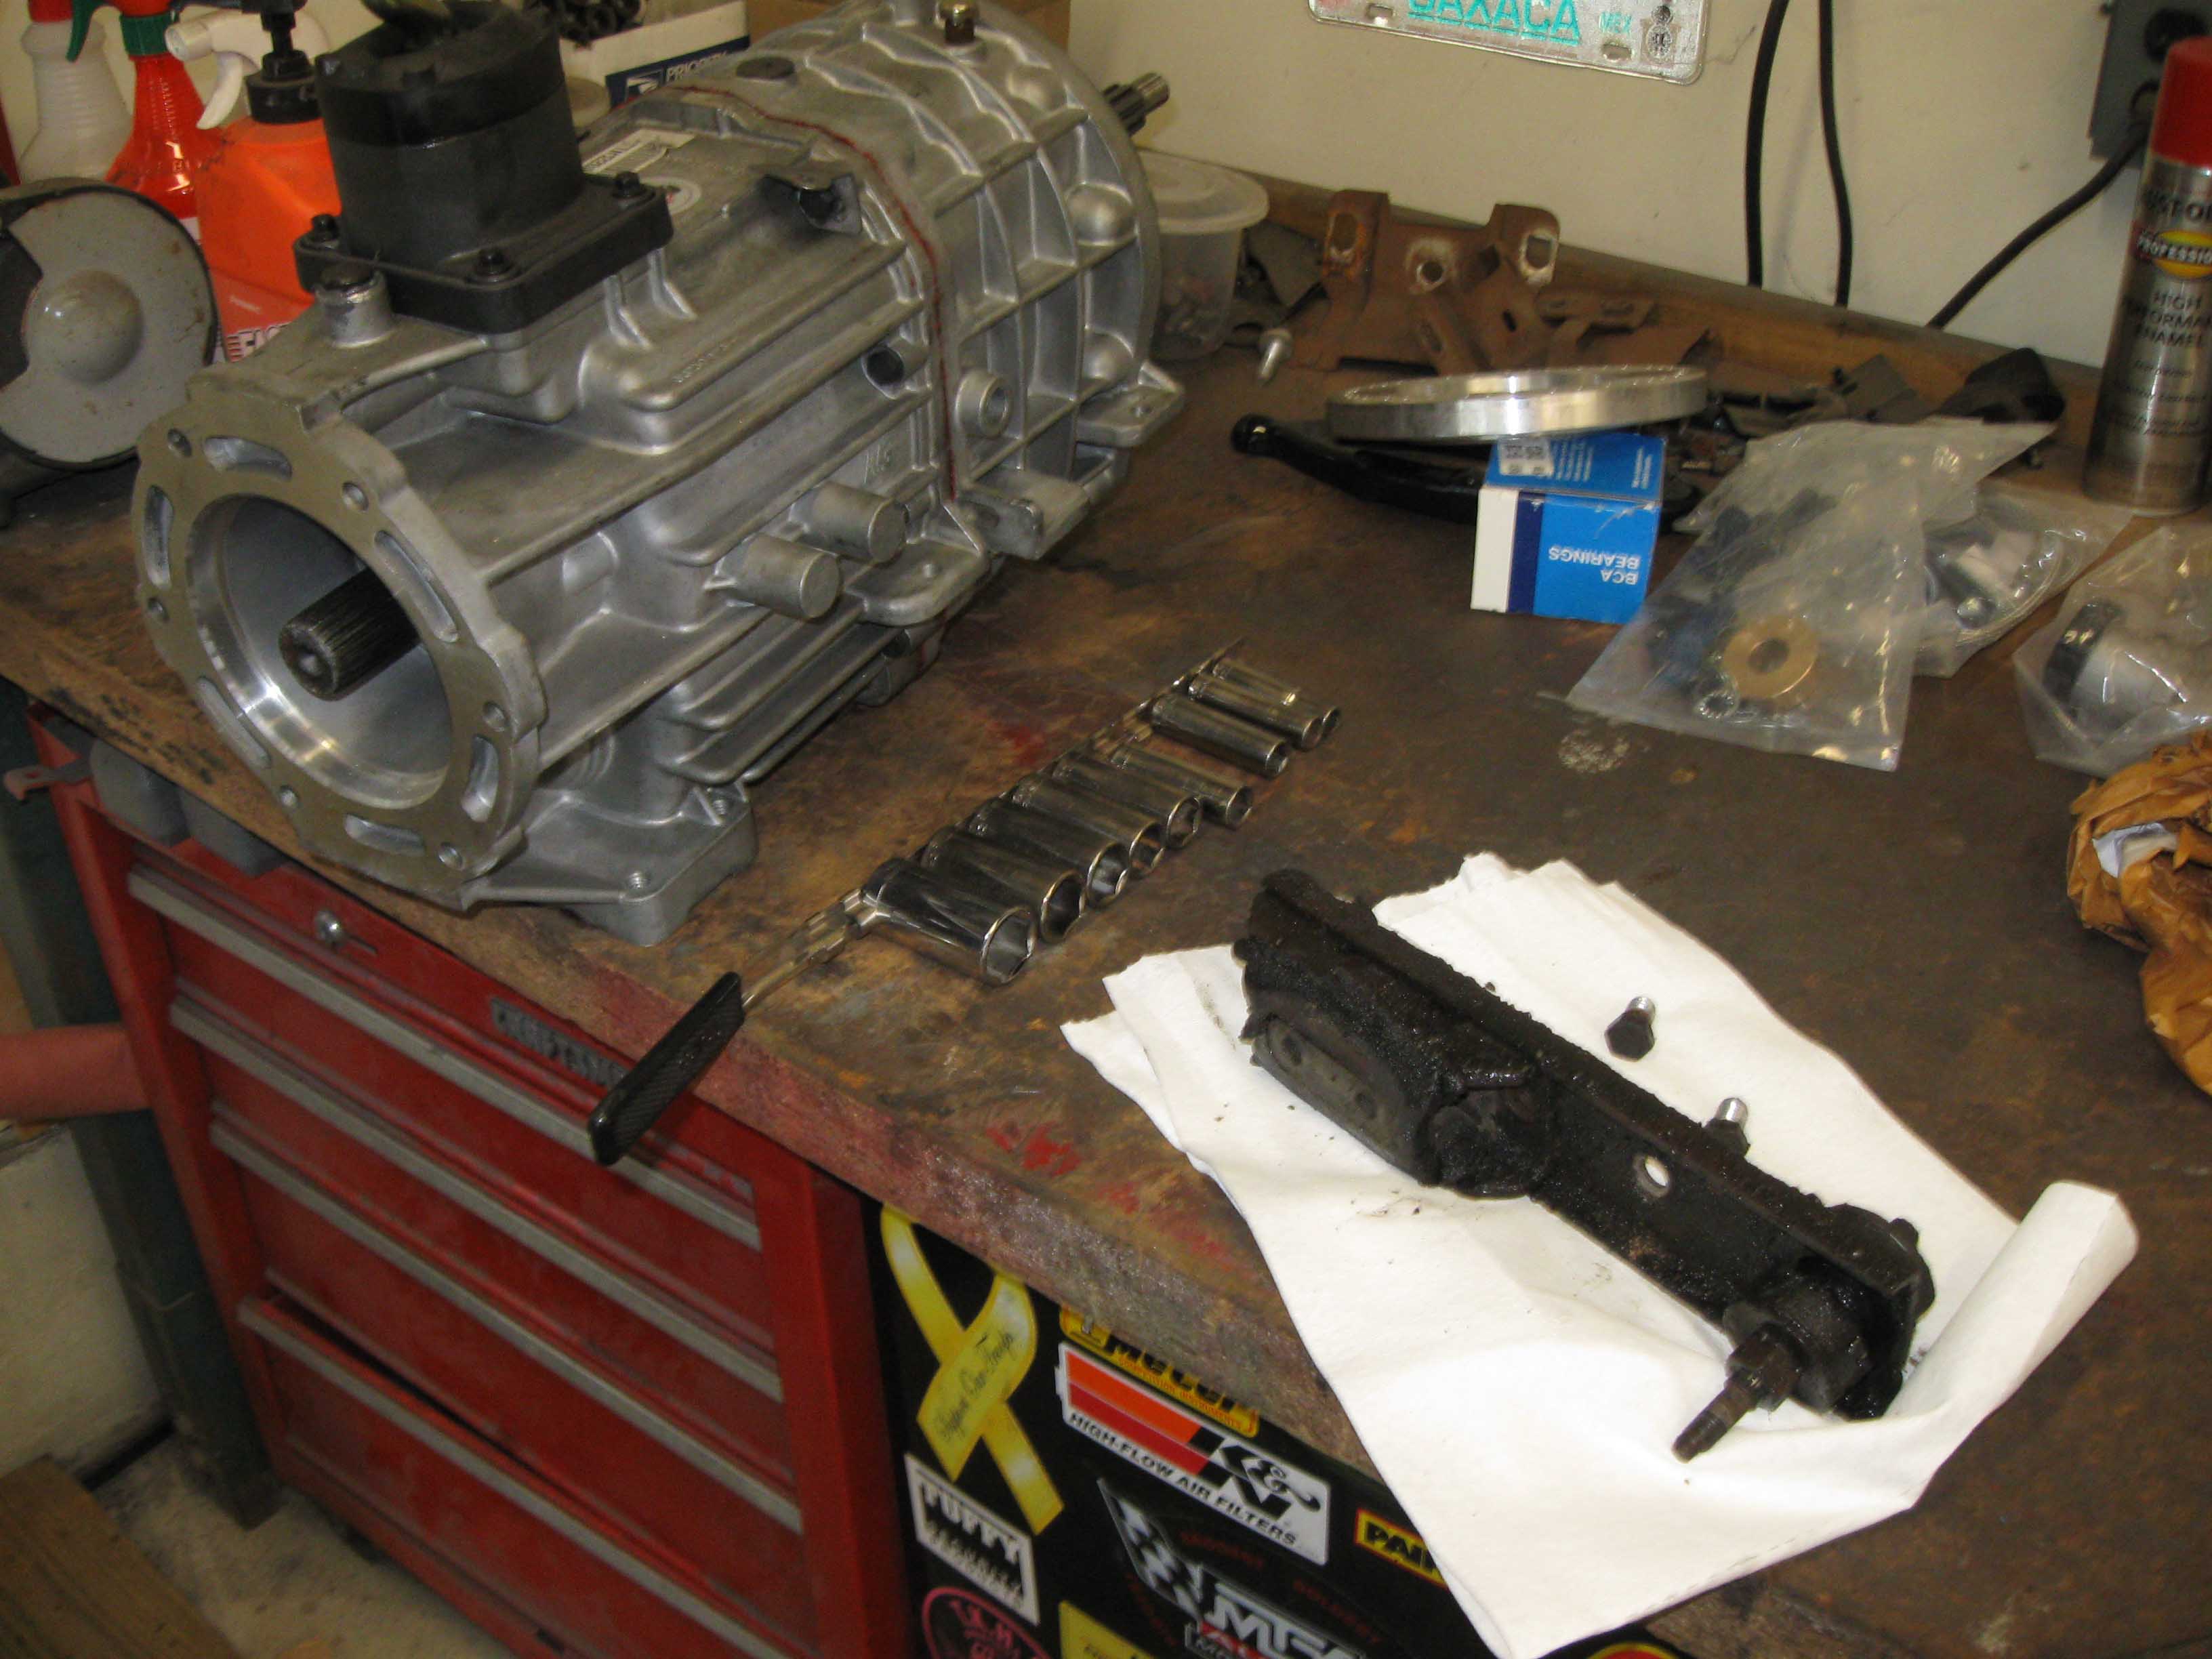
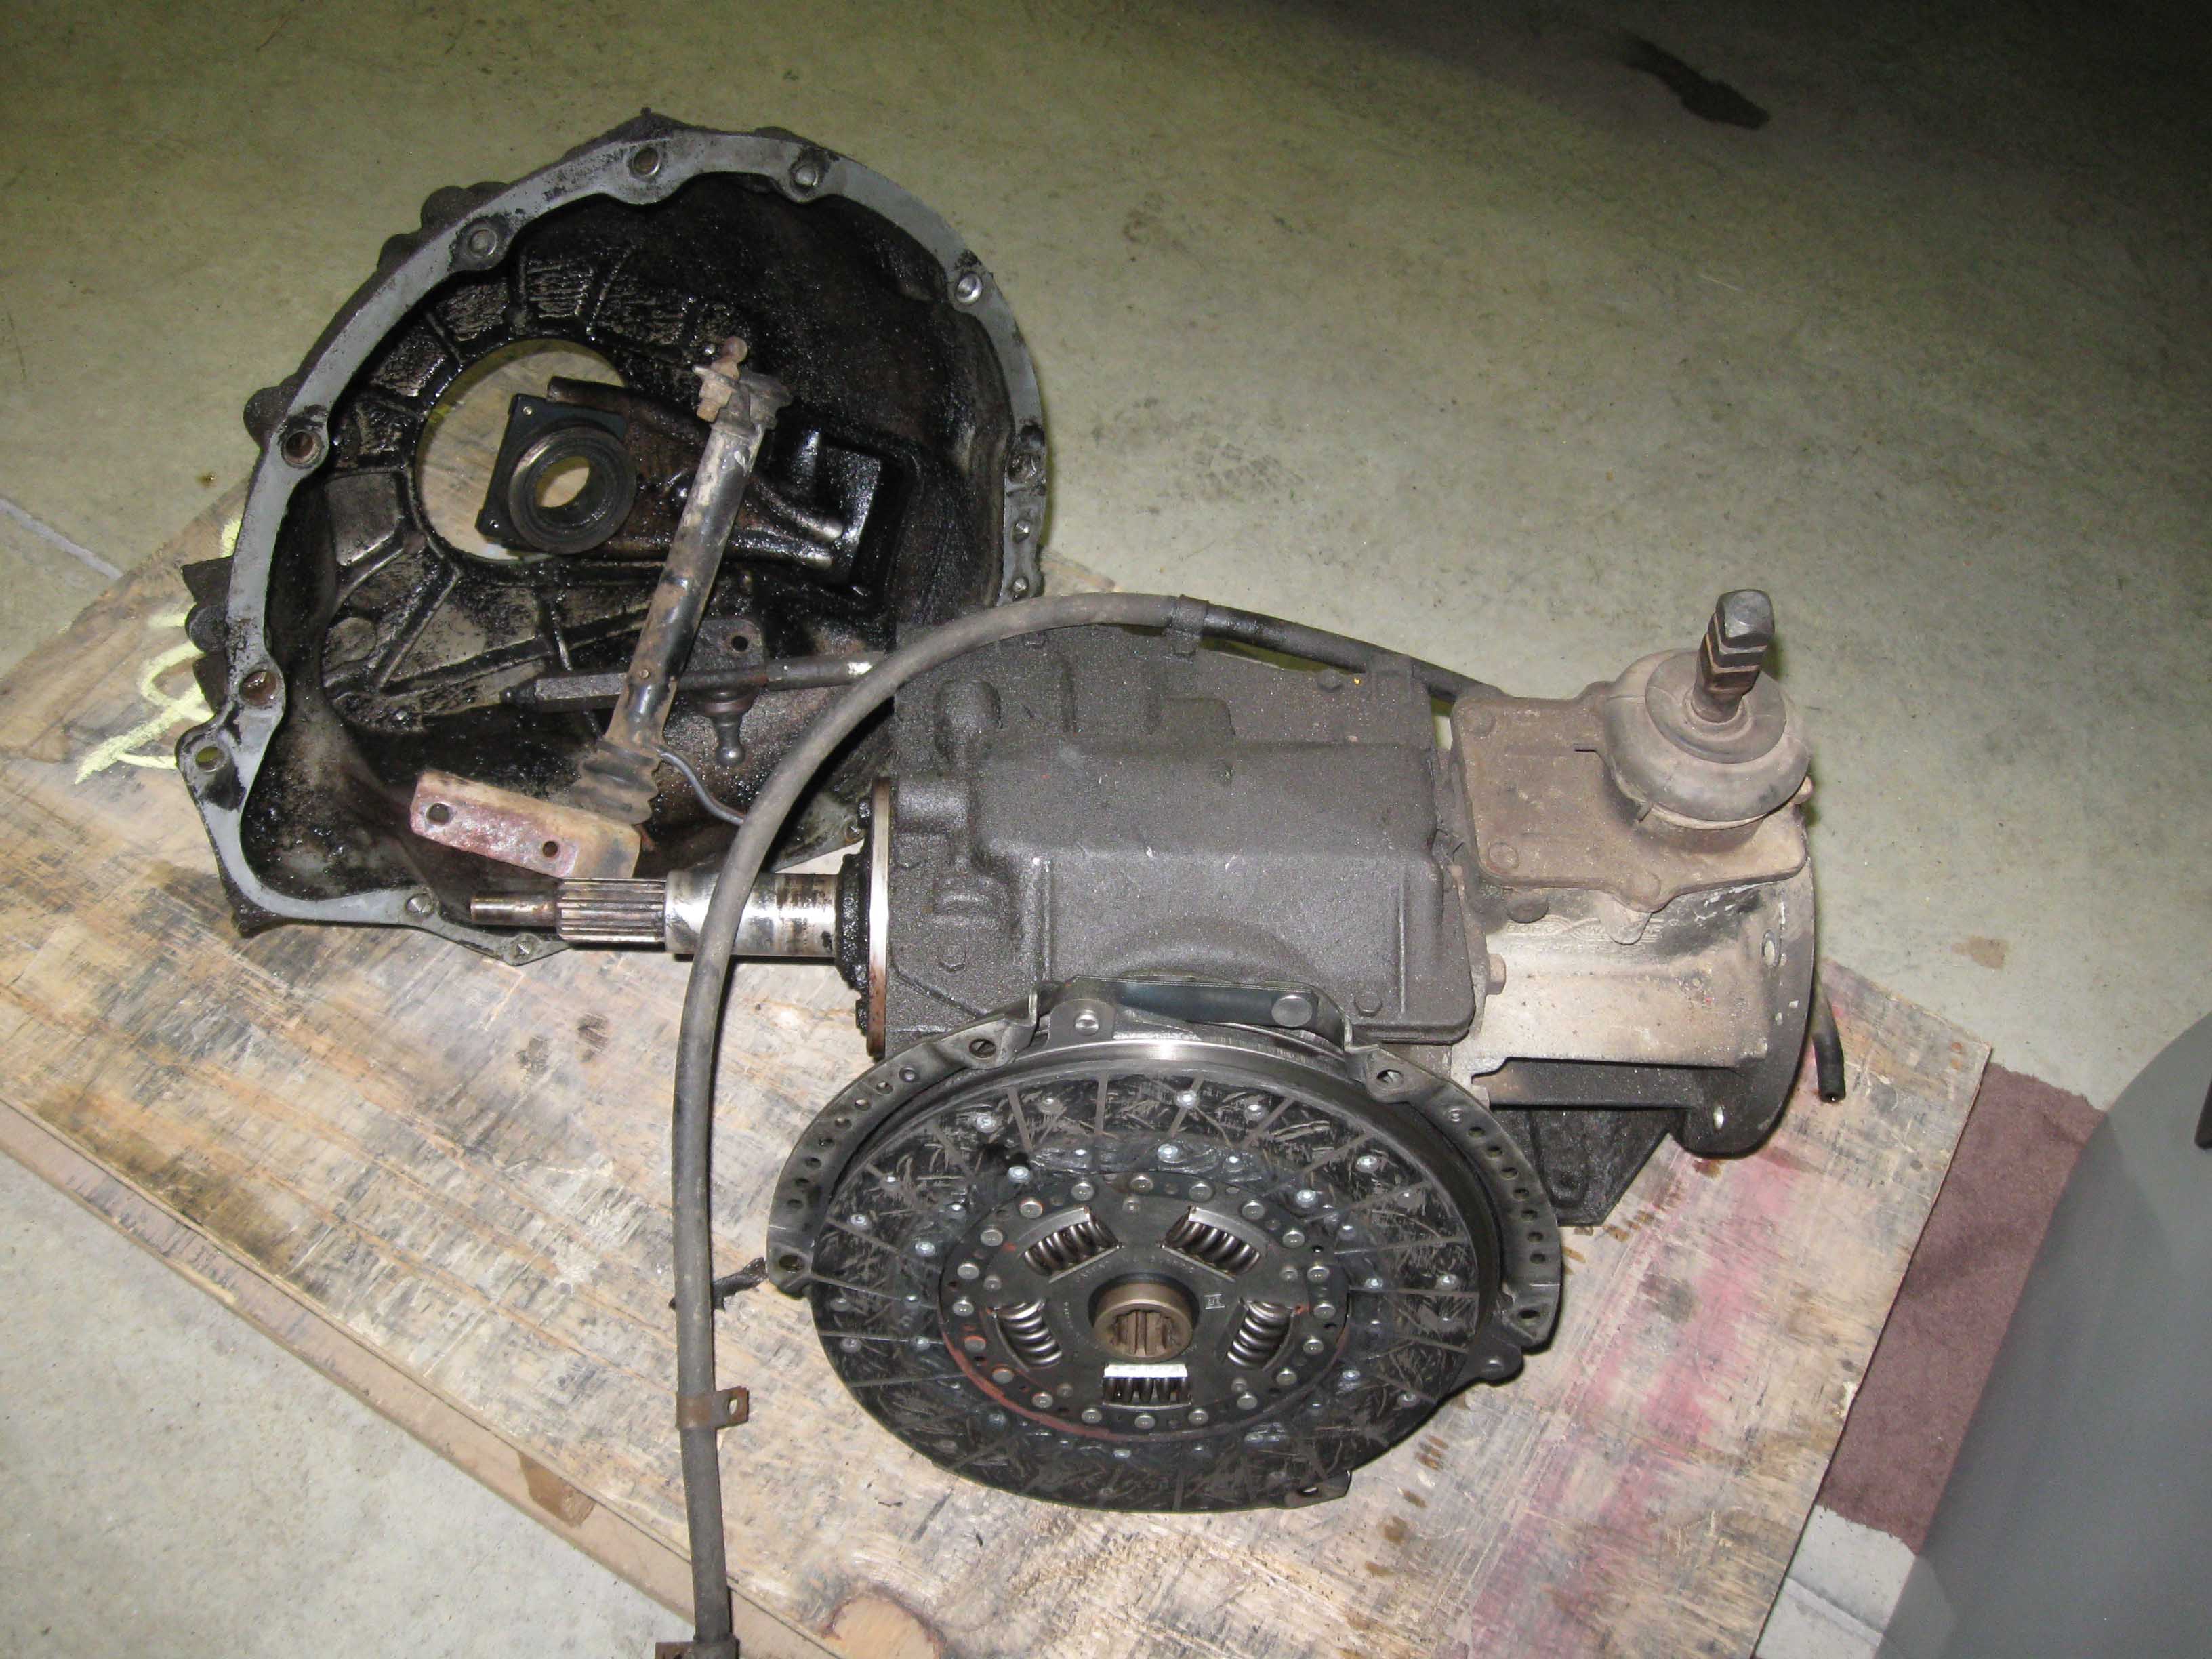
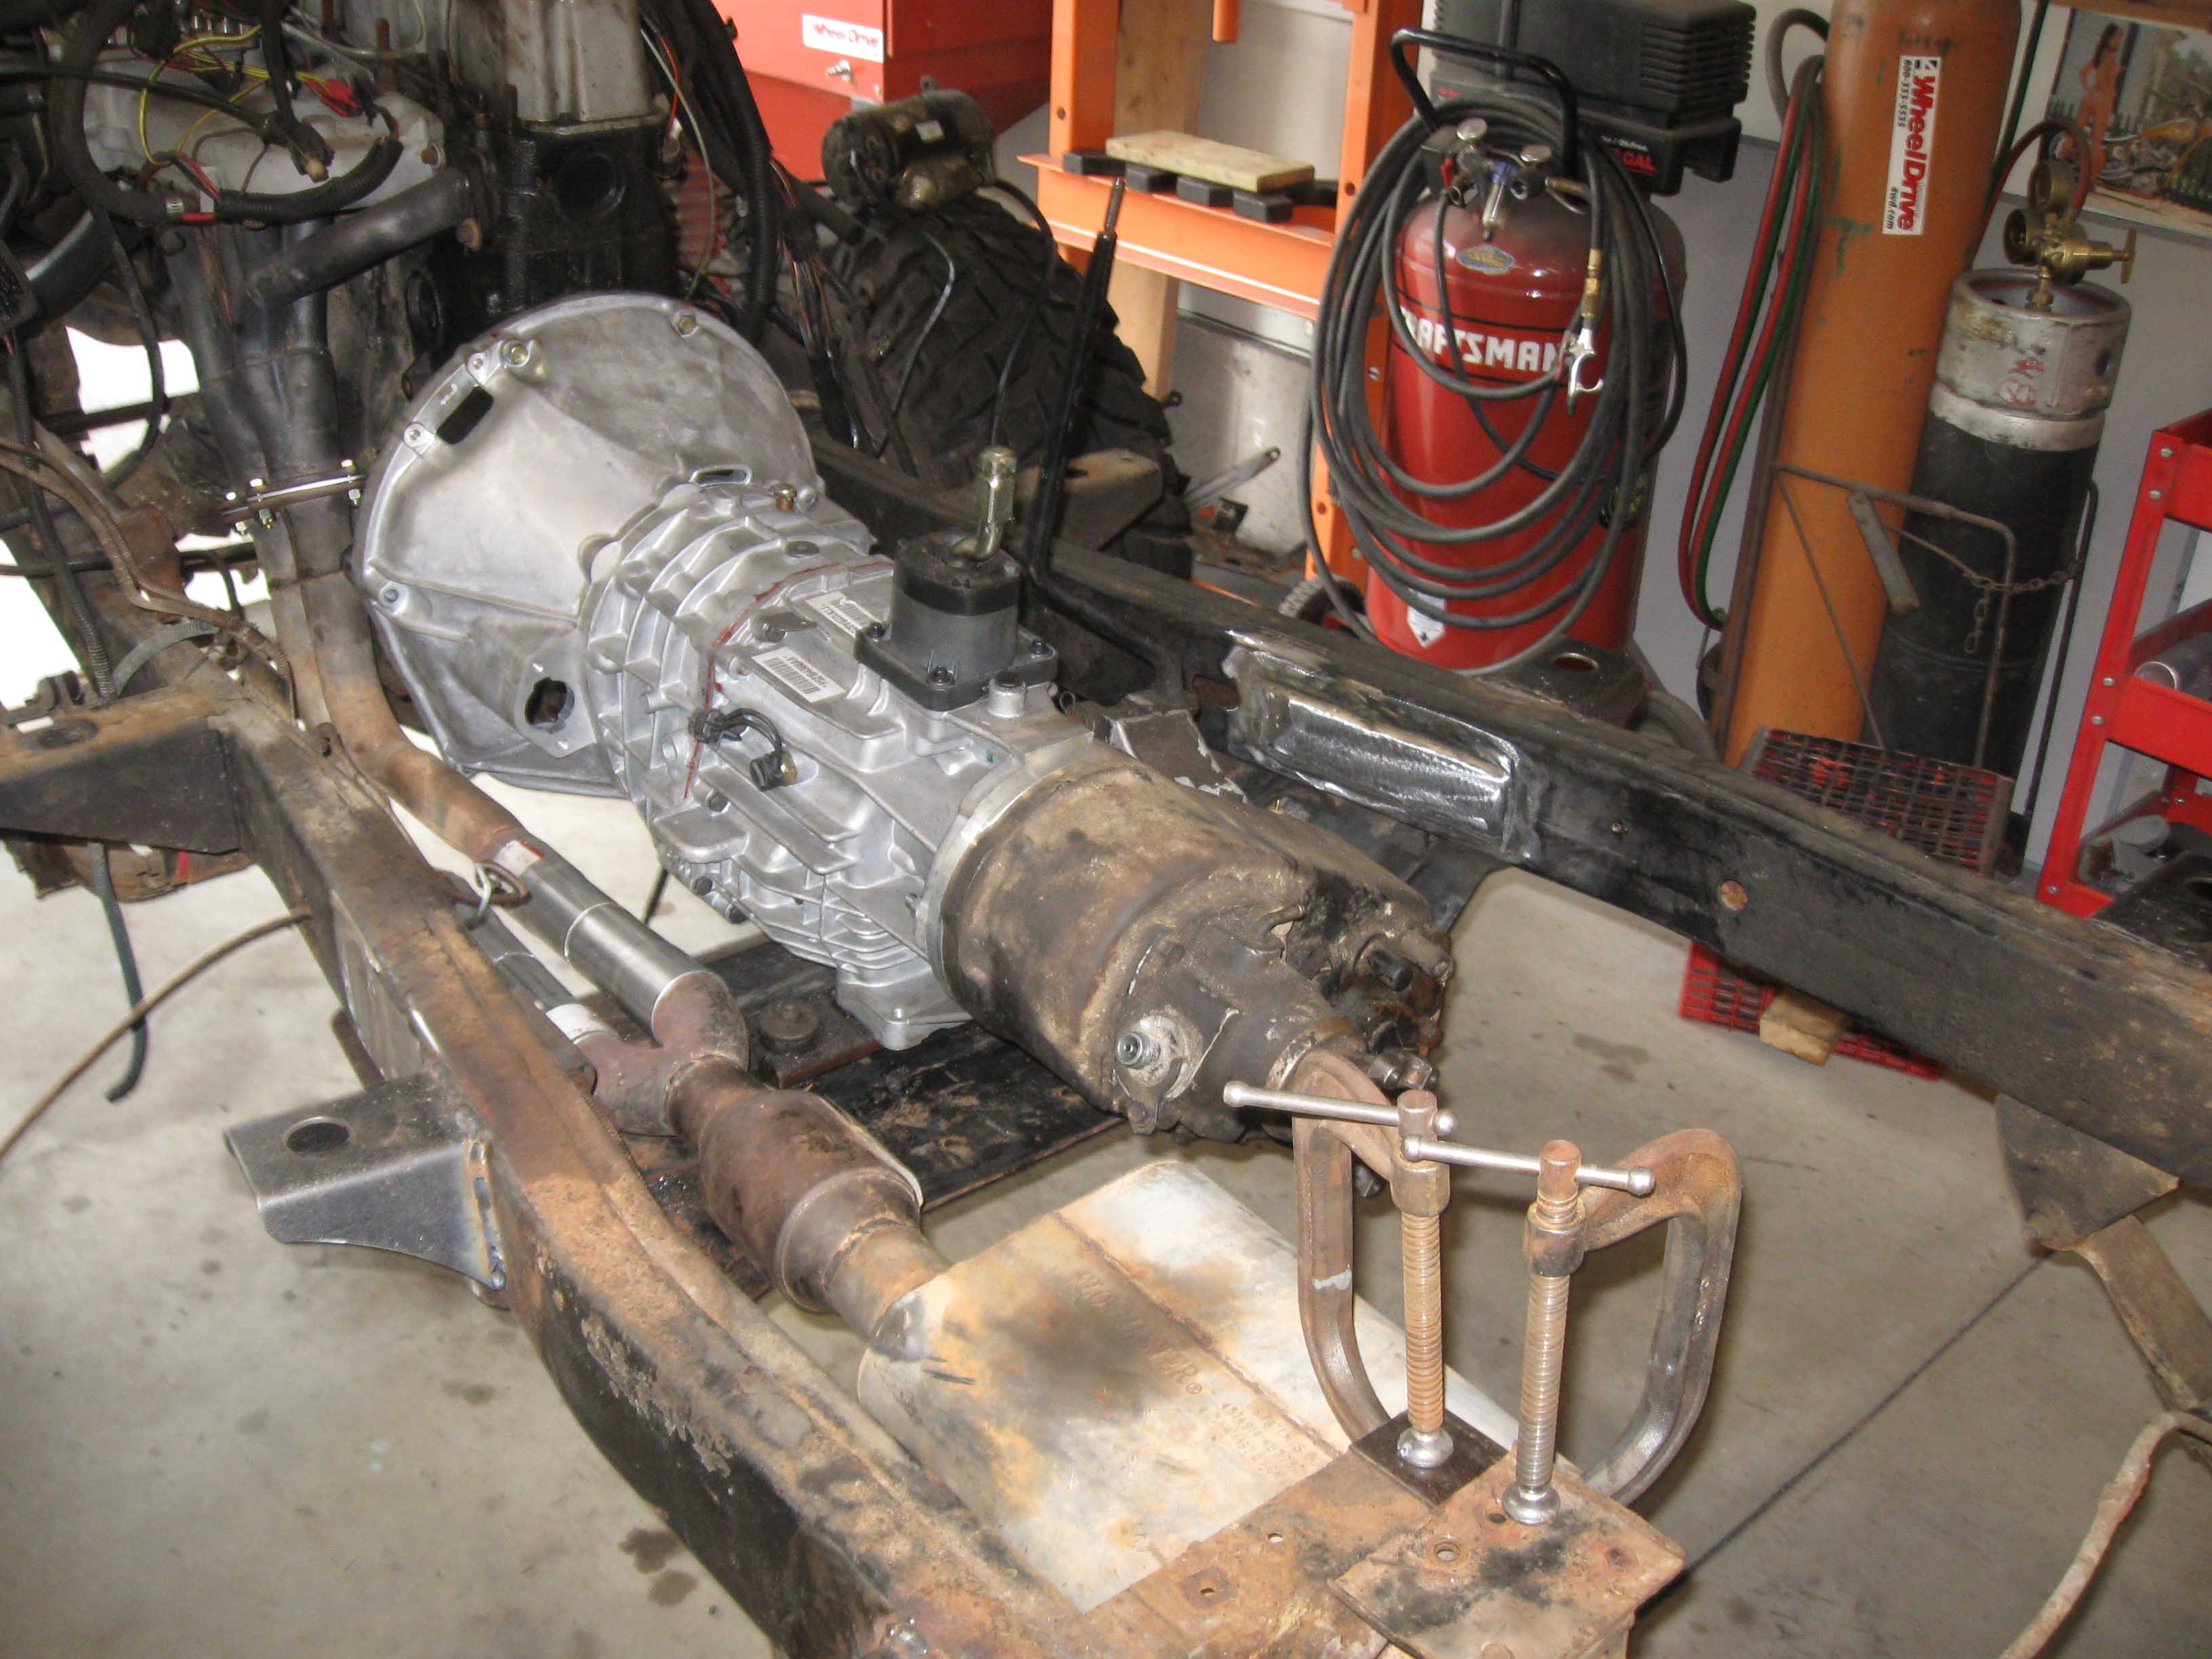
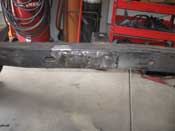
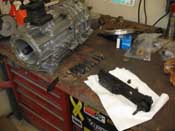
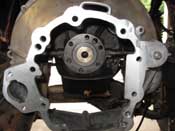
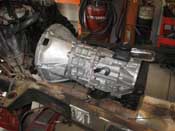
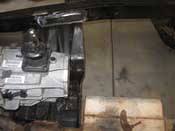
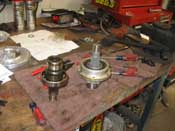
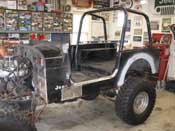
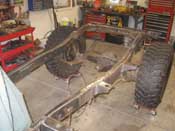
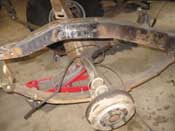
| (06/19/09) The belly skid is back in place with 6 new grade 8 bolts. It looks
like it is back where it should be. That wasn't a whole lot of fun, but it is done. I then moved onto the
mock up of the new NV3550 transmission into where eventually it is going to live forever. I removed the pressure
plate, the clutch disc and the flywheel and then put all the pieces onto the pallet that the NV3550 came on. If
anyone is looking for a T4, I am sure Curtis would be willing to talk about selling it. I then removed the pilot
bearing and put the new one in. The new one was slightly larger, so I had to take a little off the bearing so it
would fit.
|
| |
|
|
|
|
|
|
| |
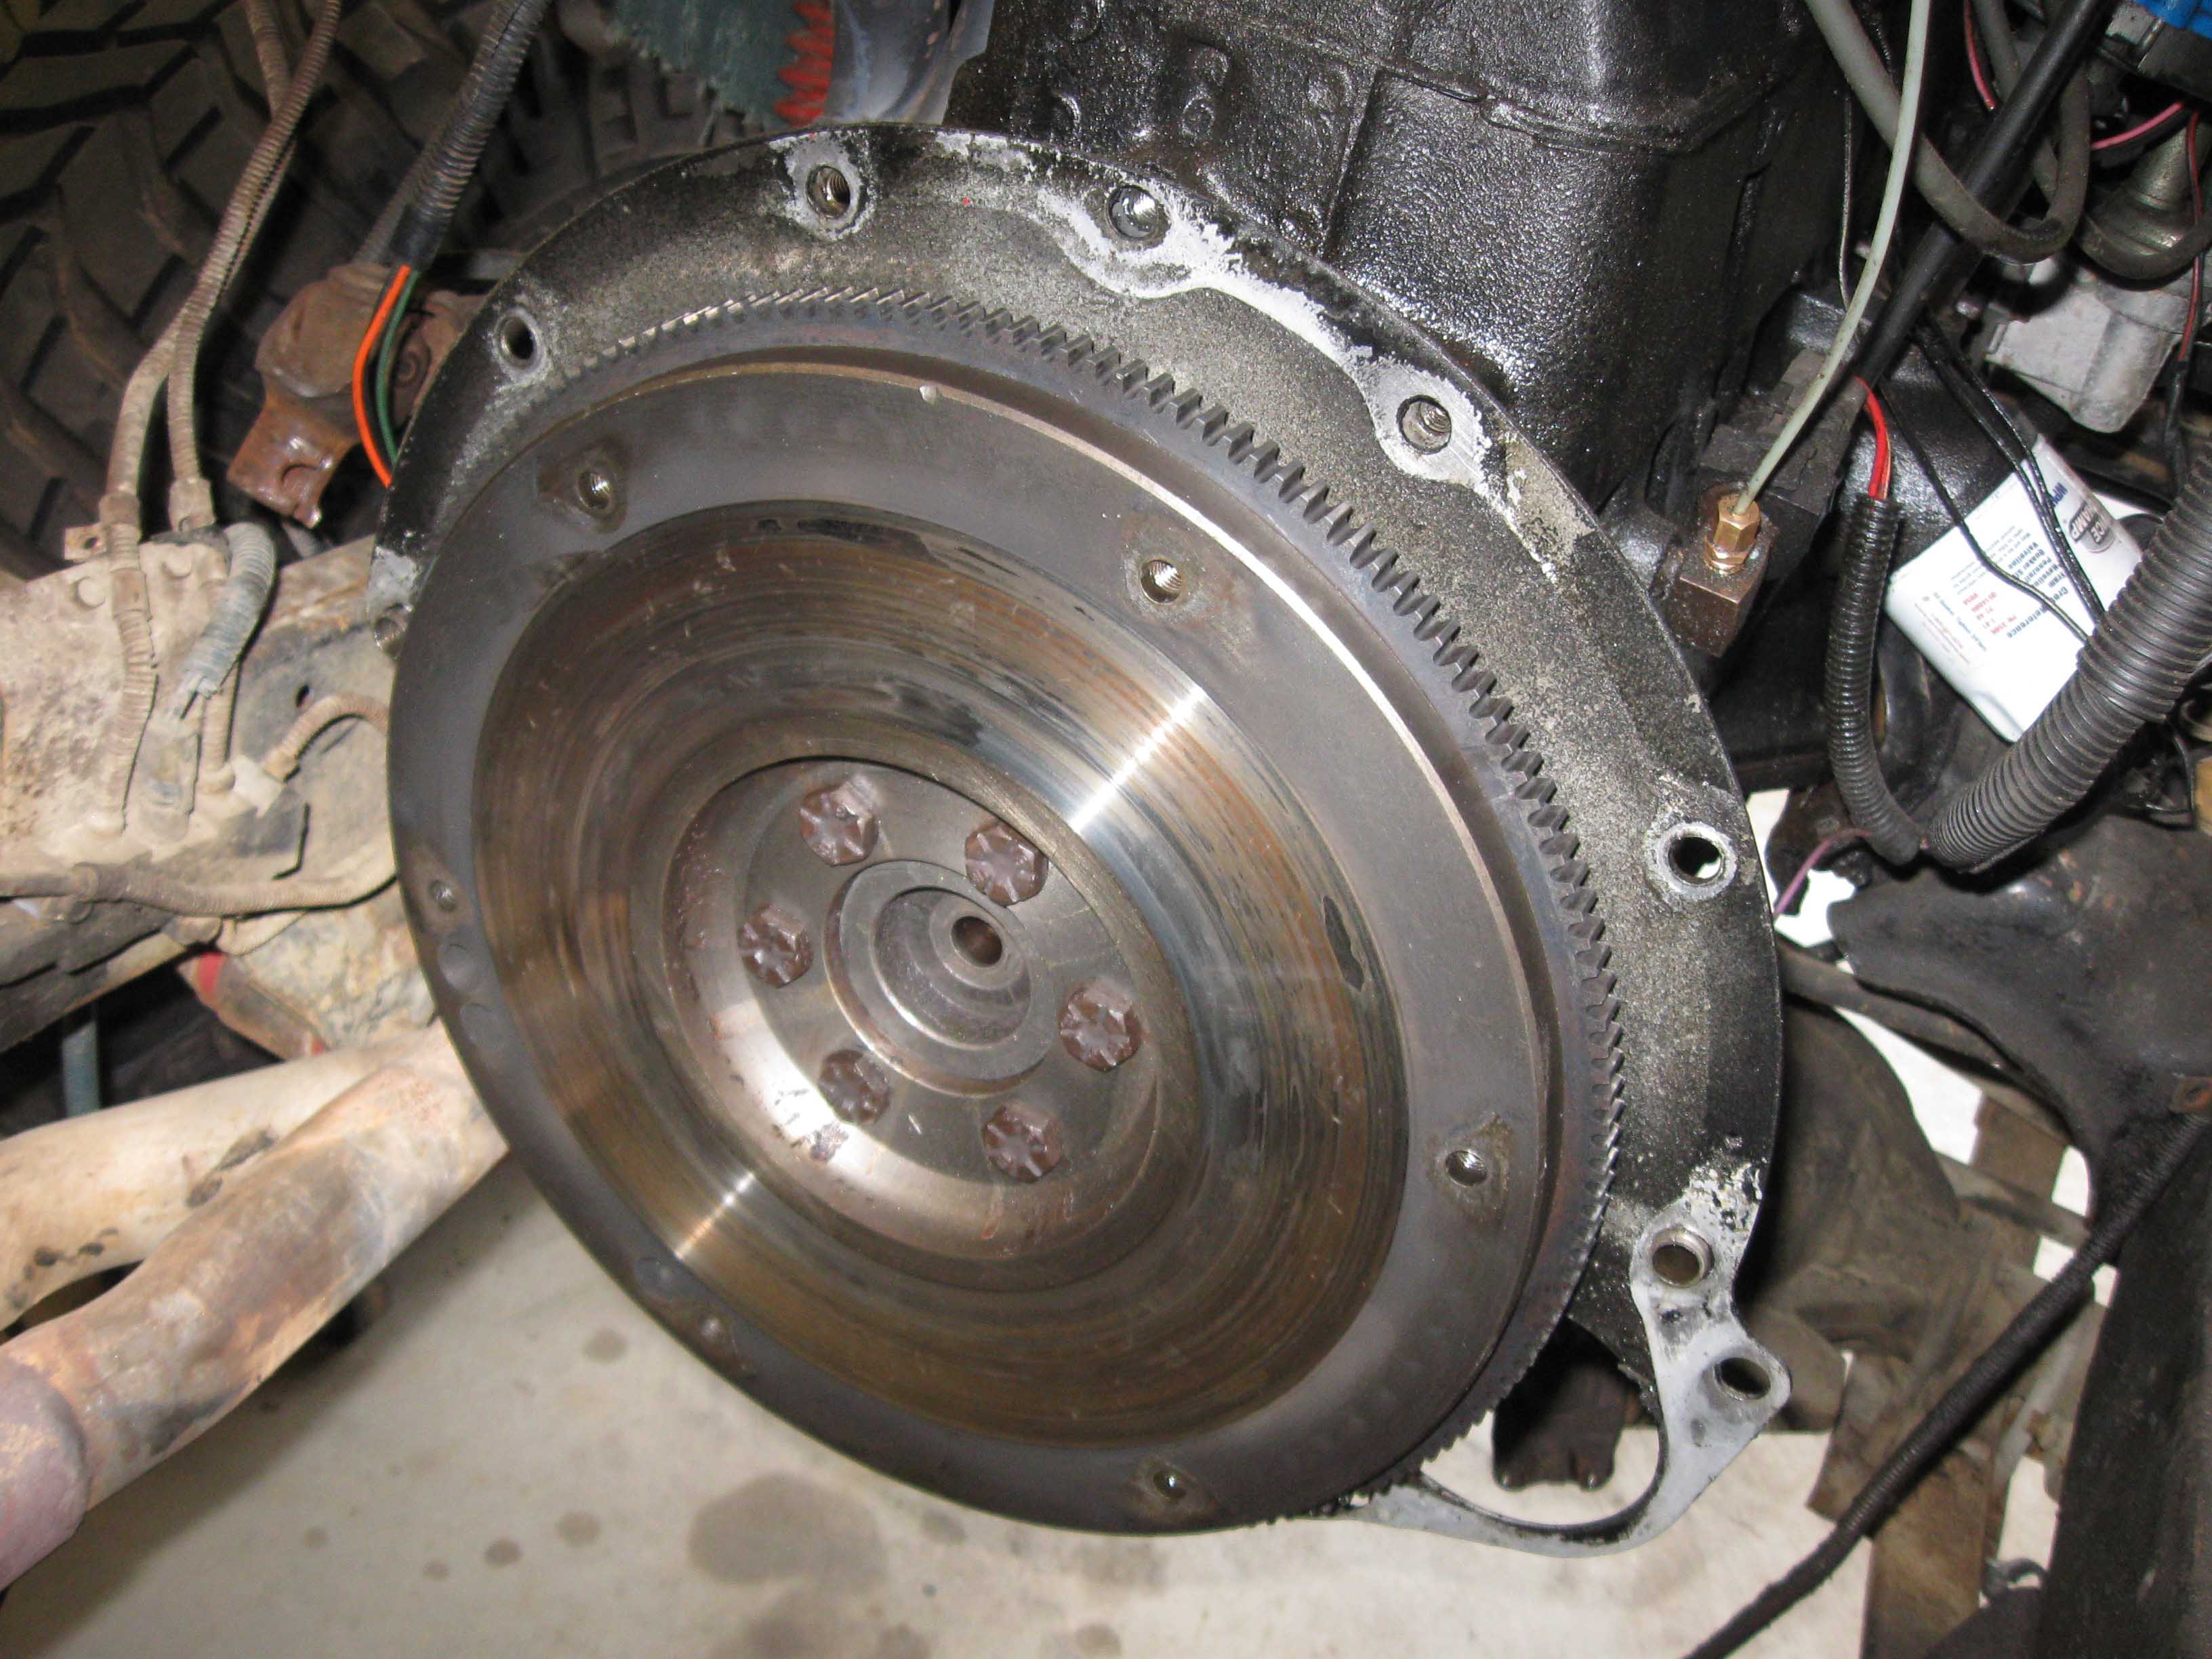
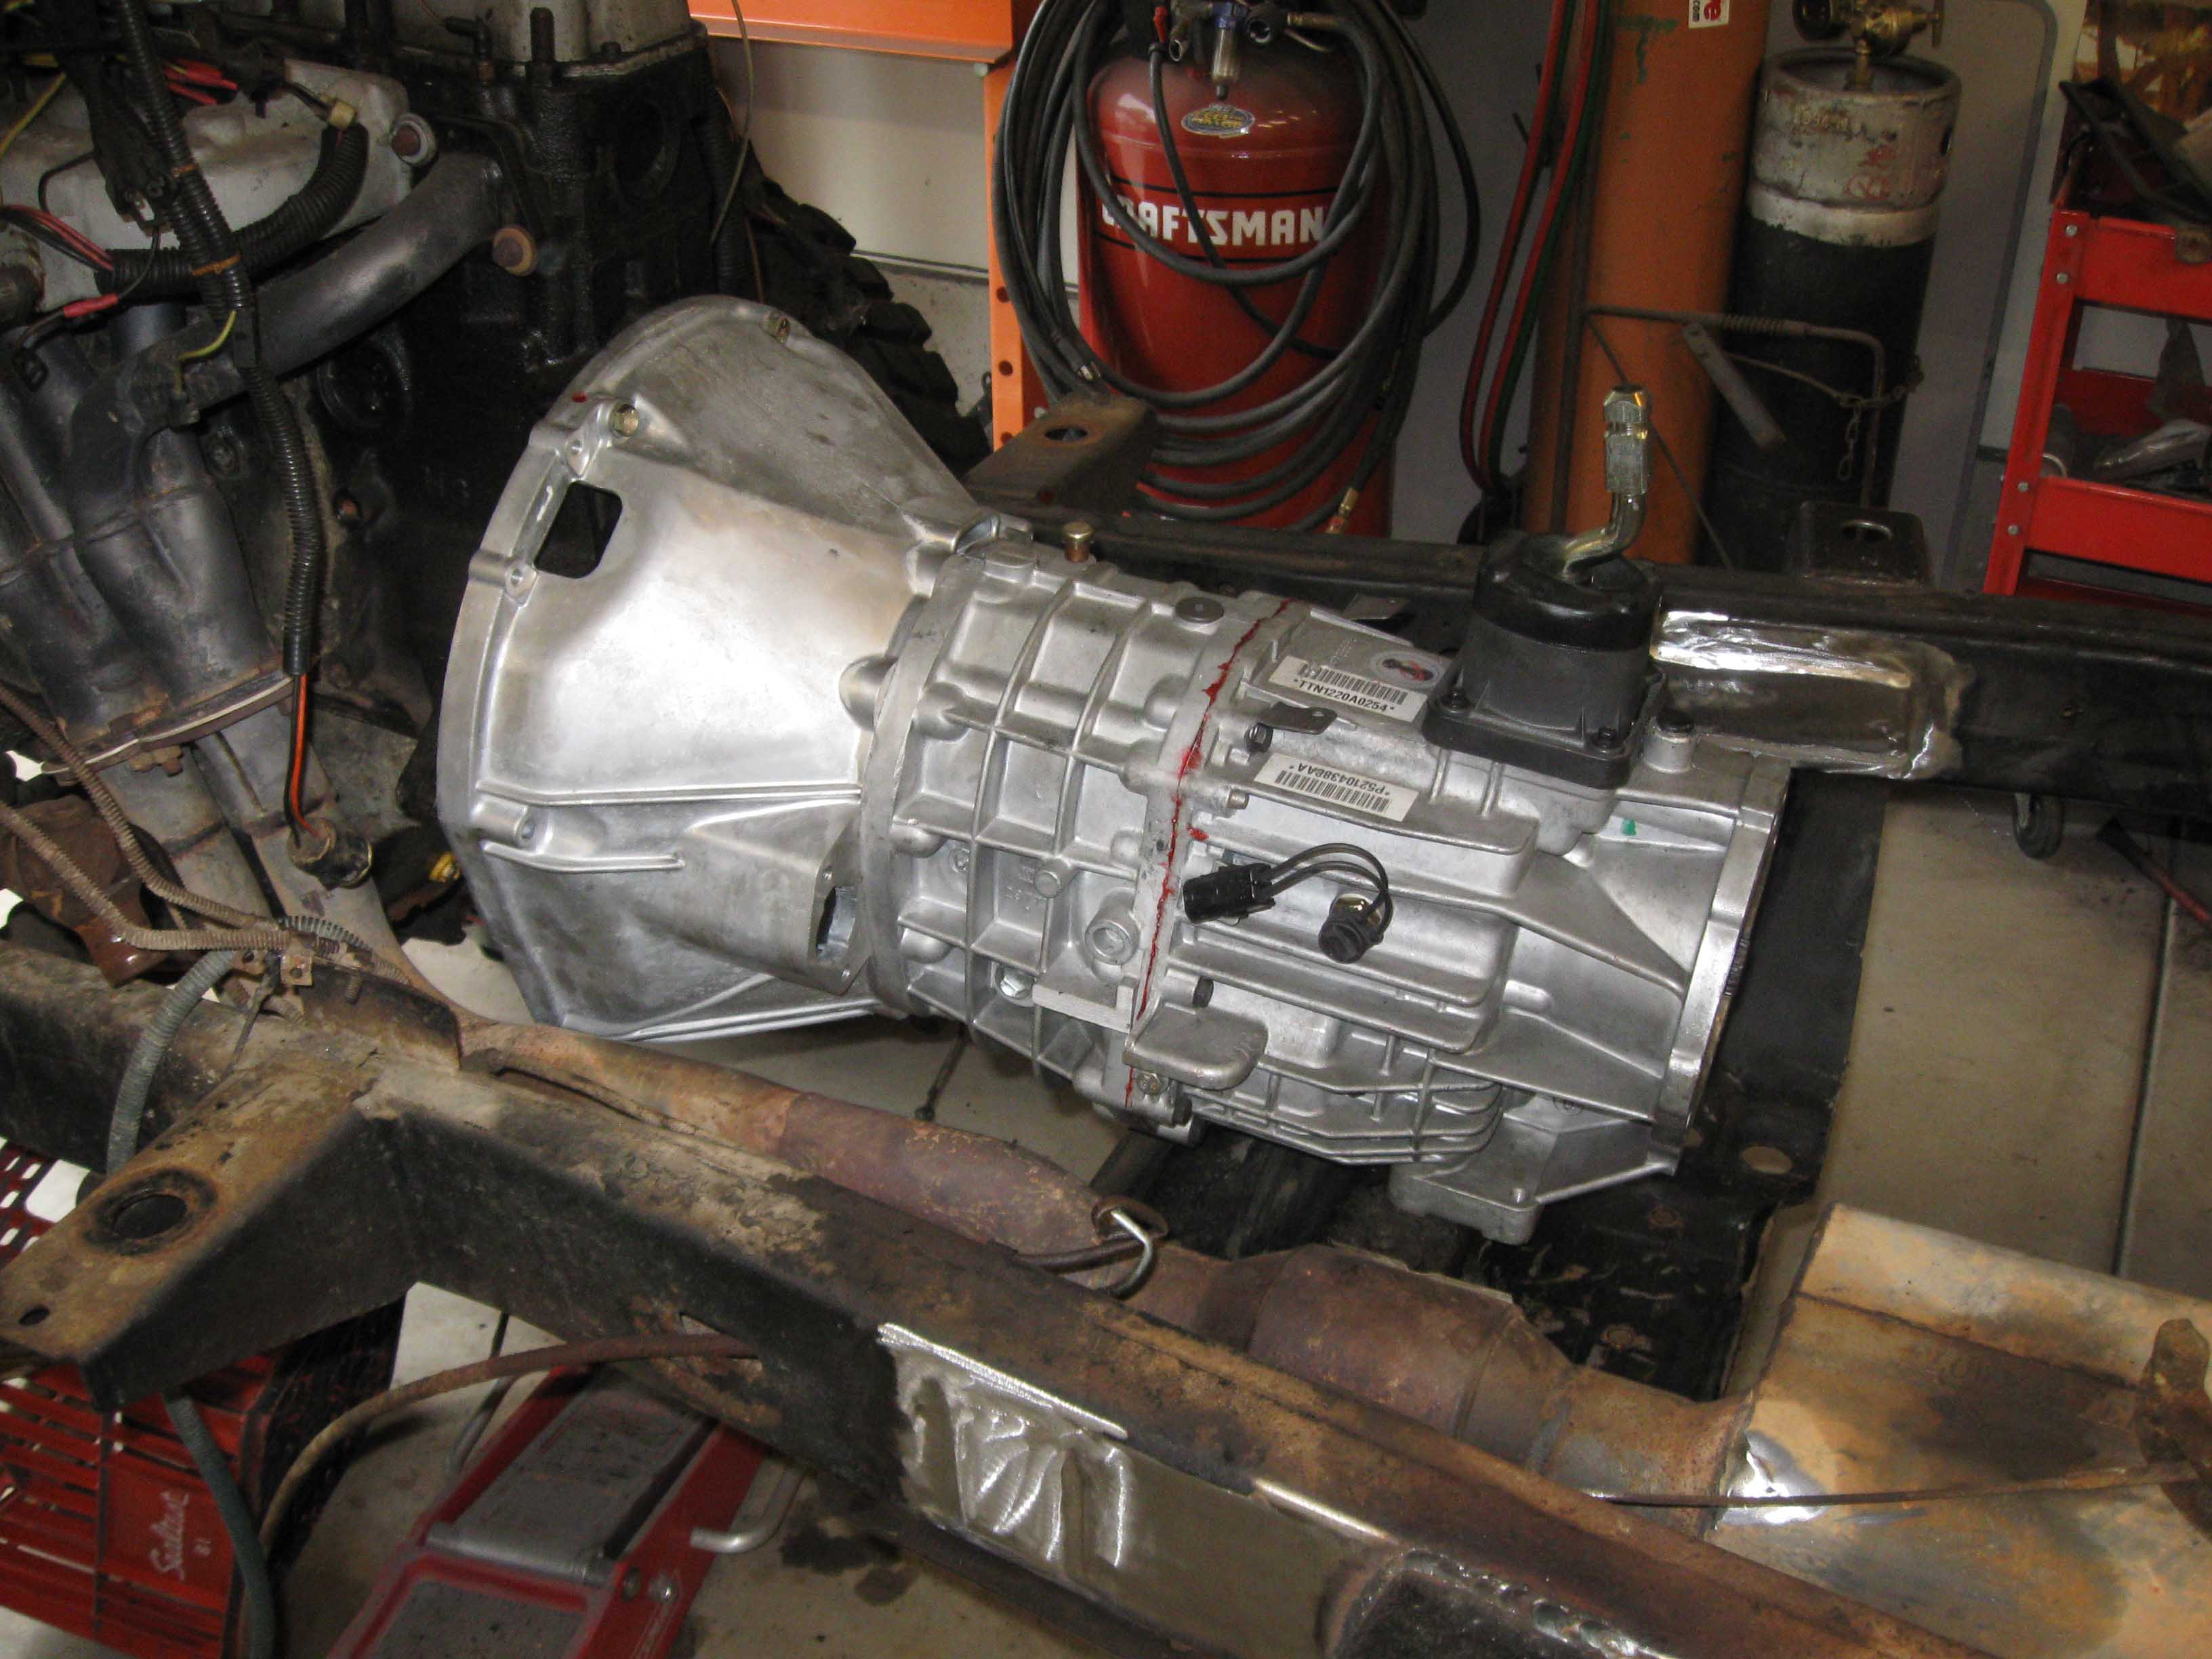
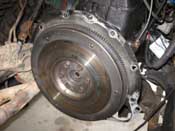
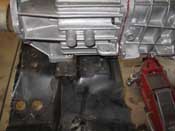
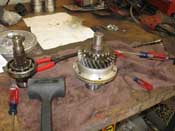
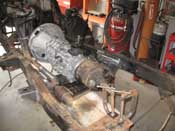
With the pilot bearing in place, I put the bell housing on only to realize that the
transmission bolts to it from the inside, not the outside, so off came the bell housing and then the transmission
was installed and finally I got the whole thing to line up to the motor. It took some time, but it is in place.
Next up is to figure out how to mount the TJ transmission to the CJ belly skid plate. I am not sure what is
recommended for that. Right now I have the torque arm from the CJ in place and it mostly lines up, but that is
with a CJ transmission mount, I am not sure how the TJ one normally goes in.
(06/19/09)
|
| |
|
|
|
|
| |
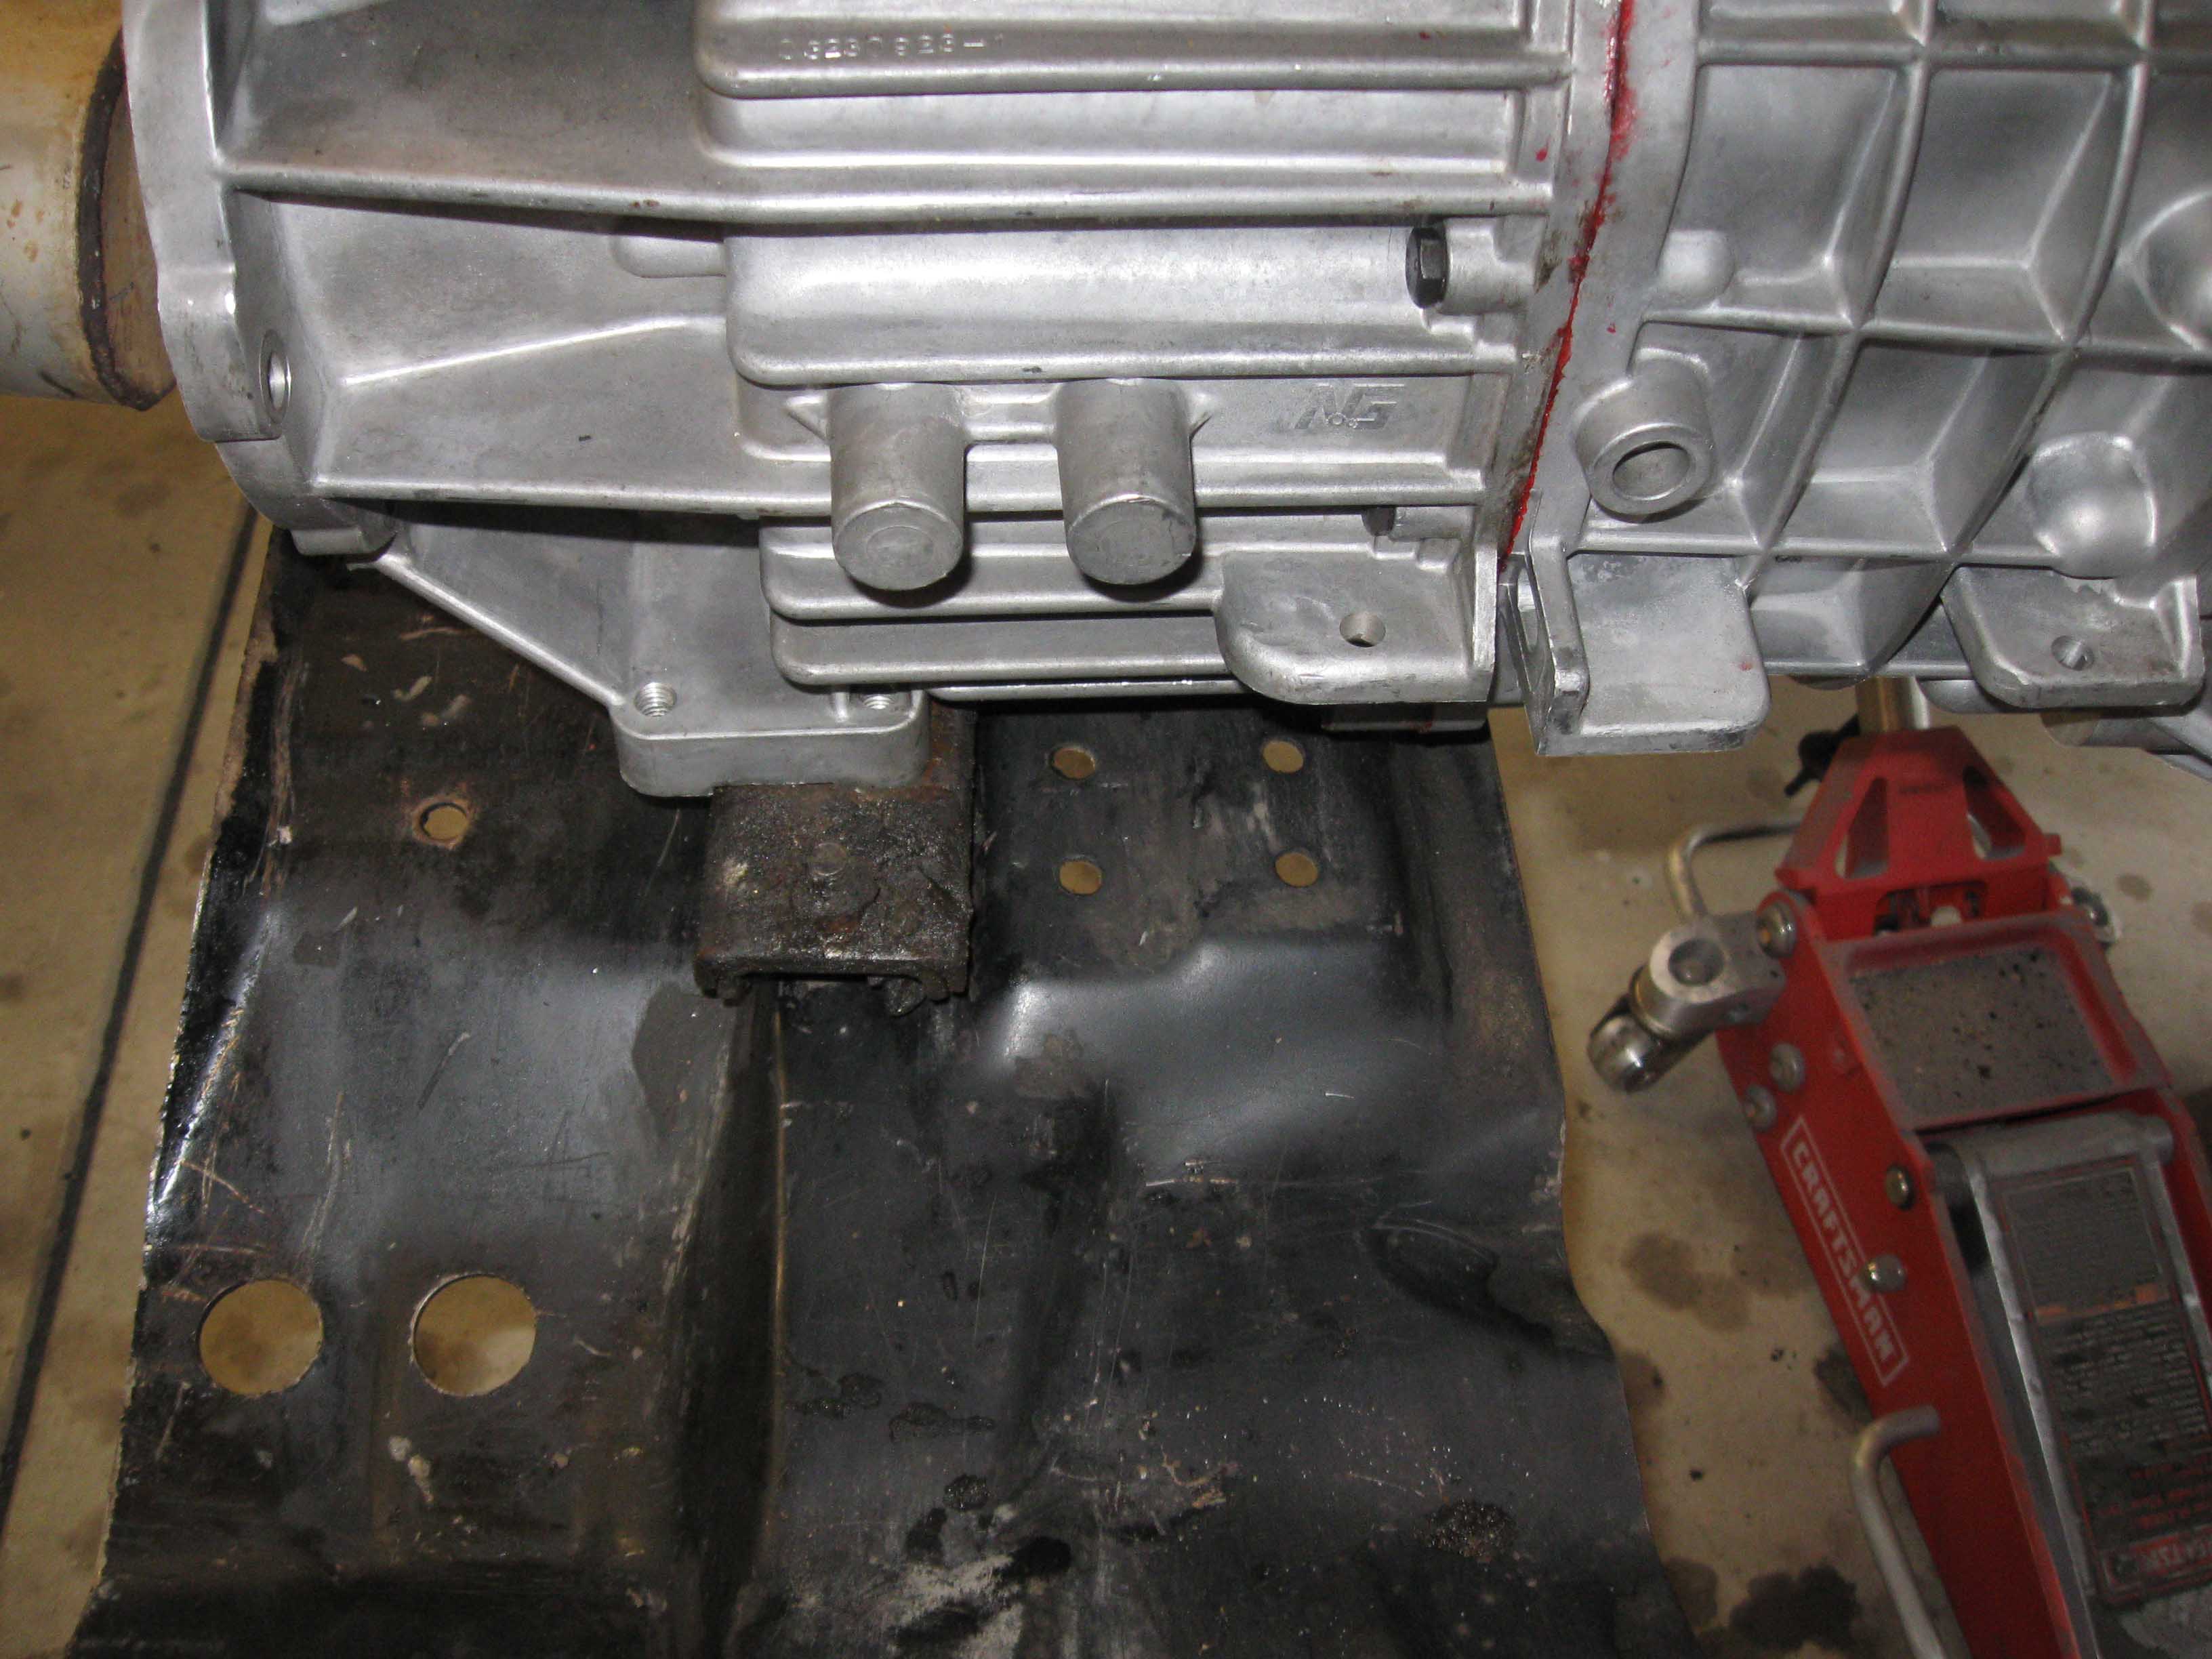
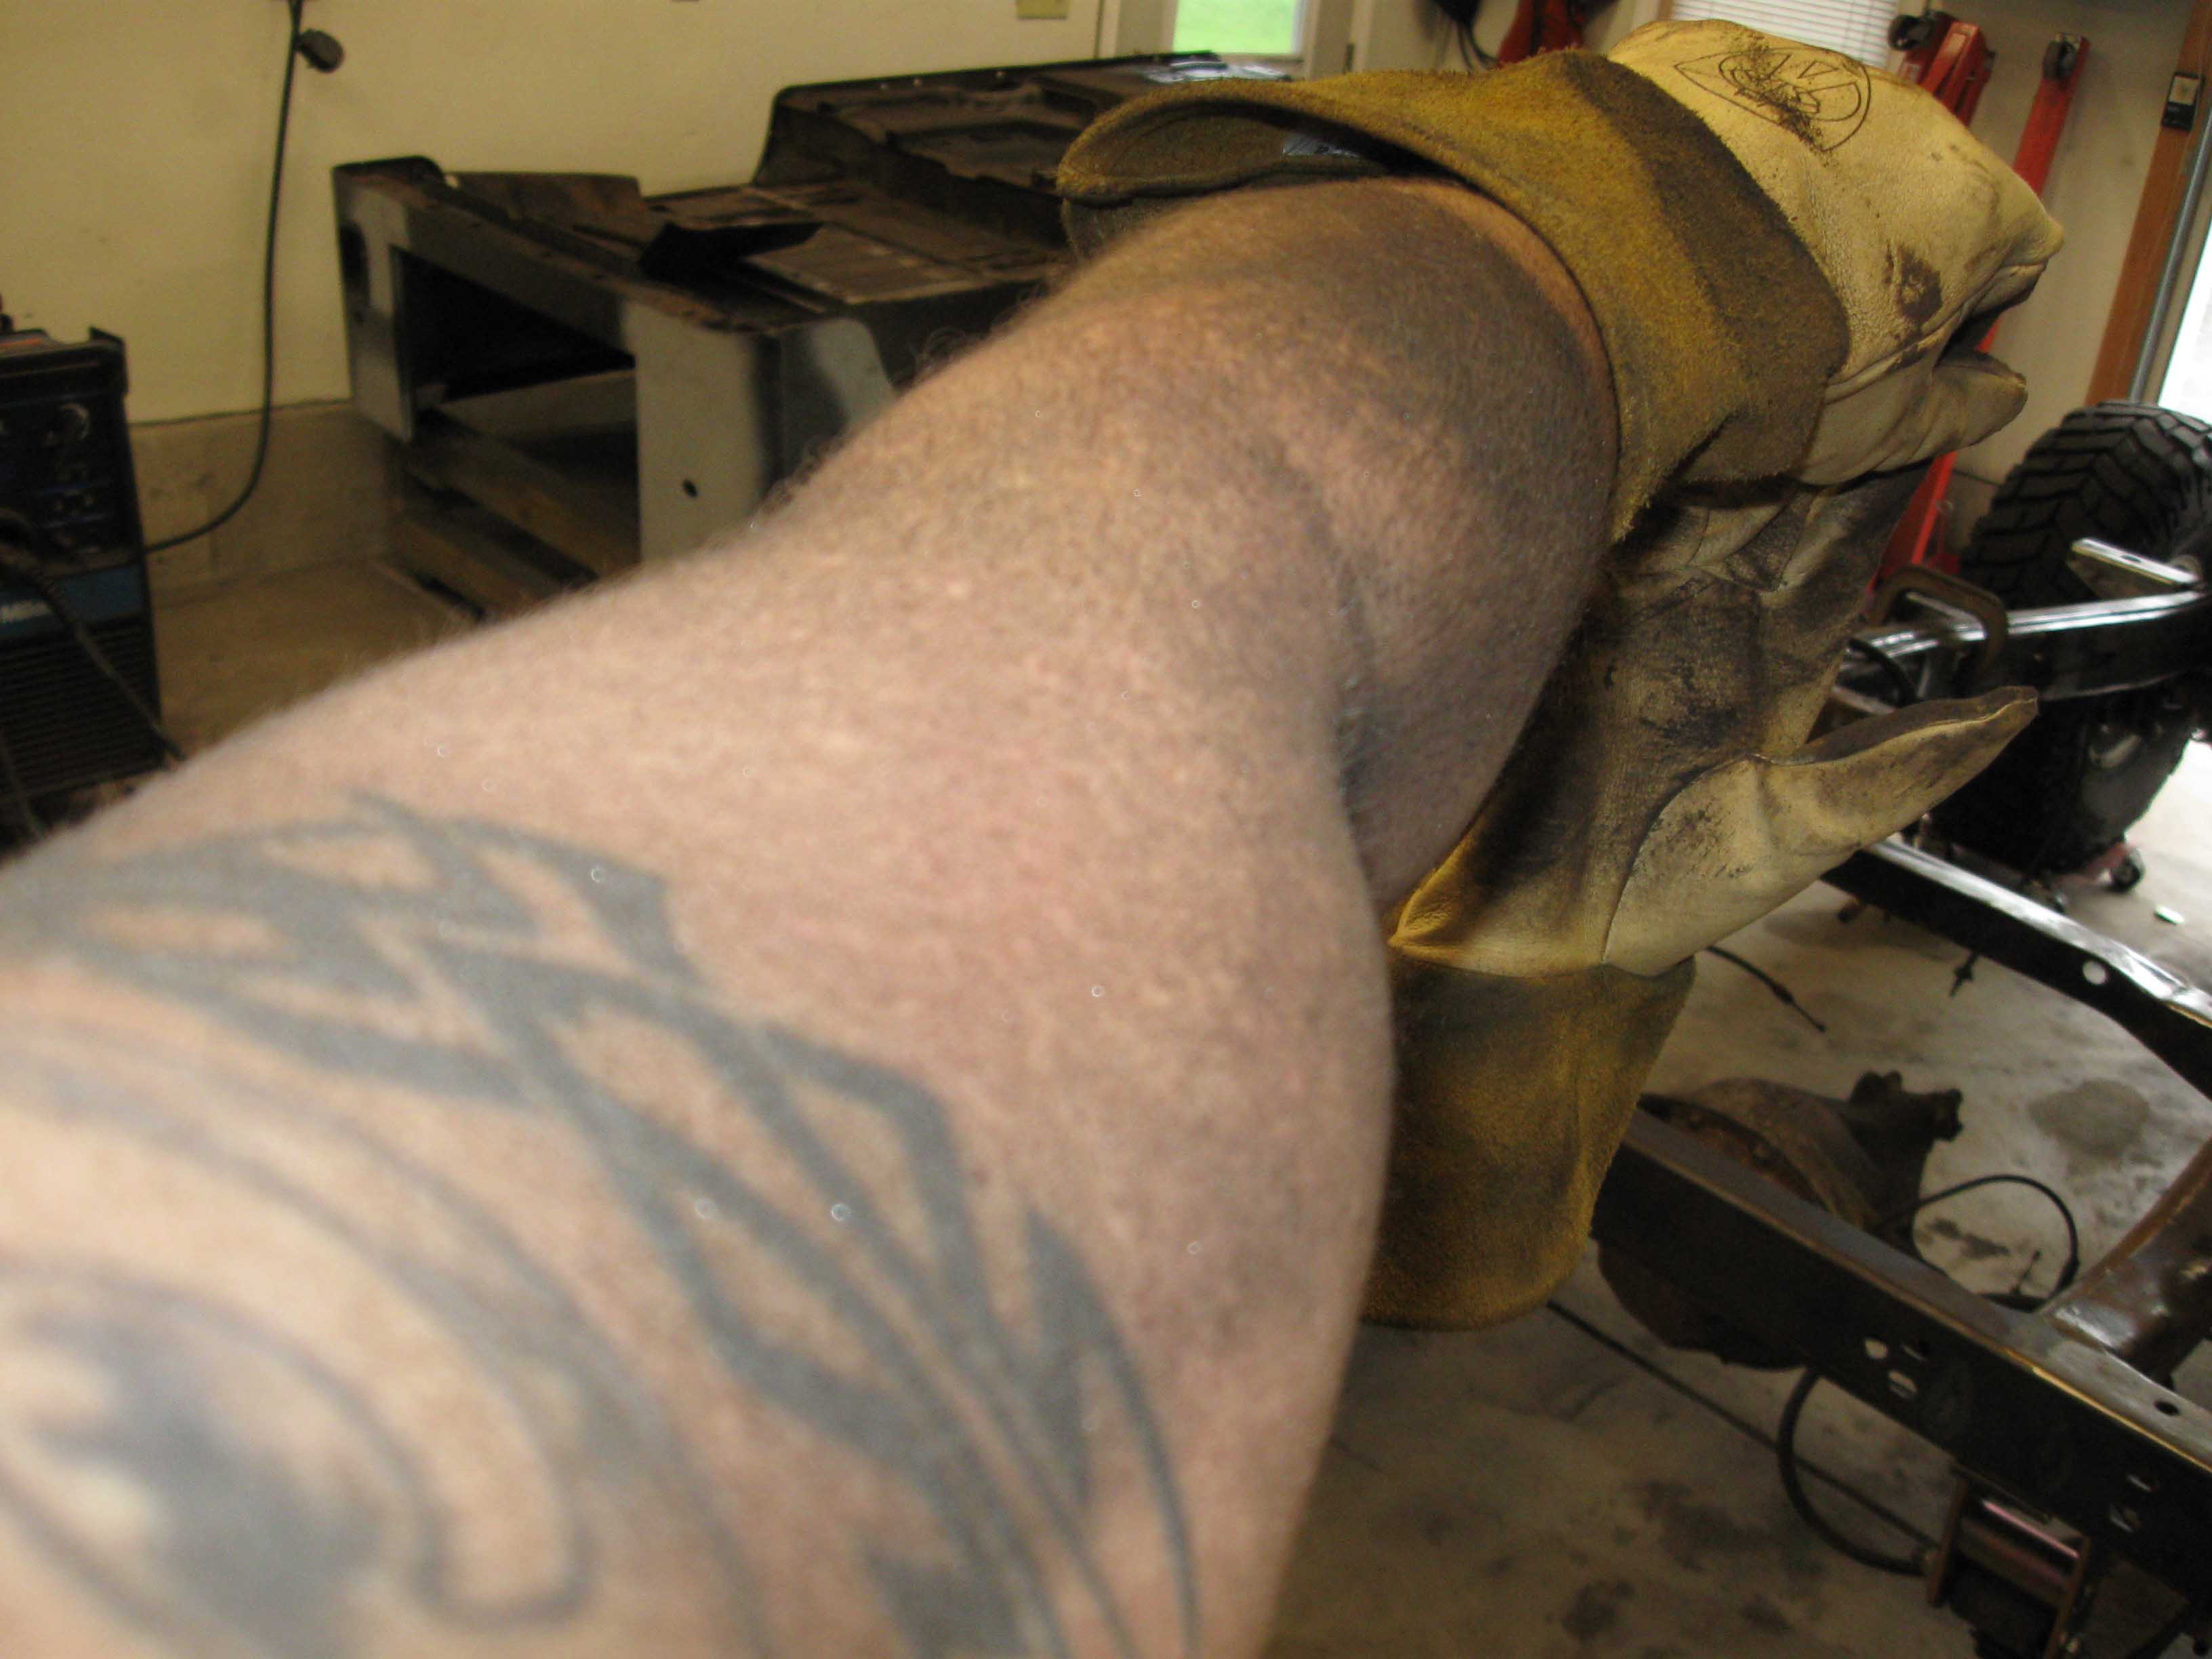
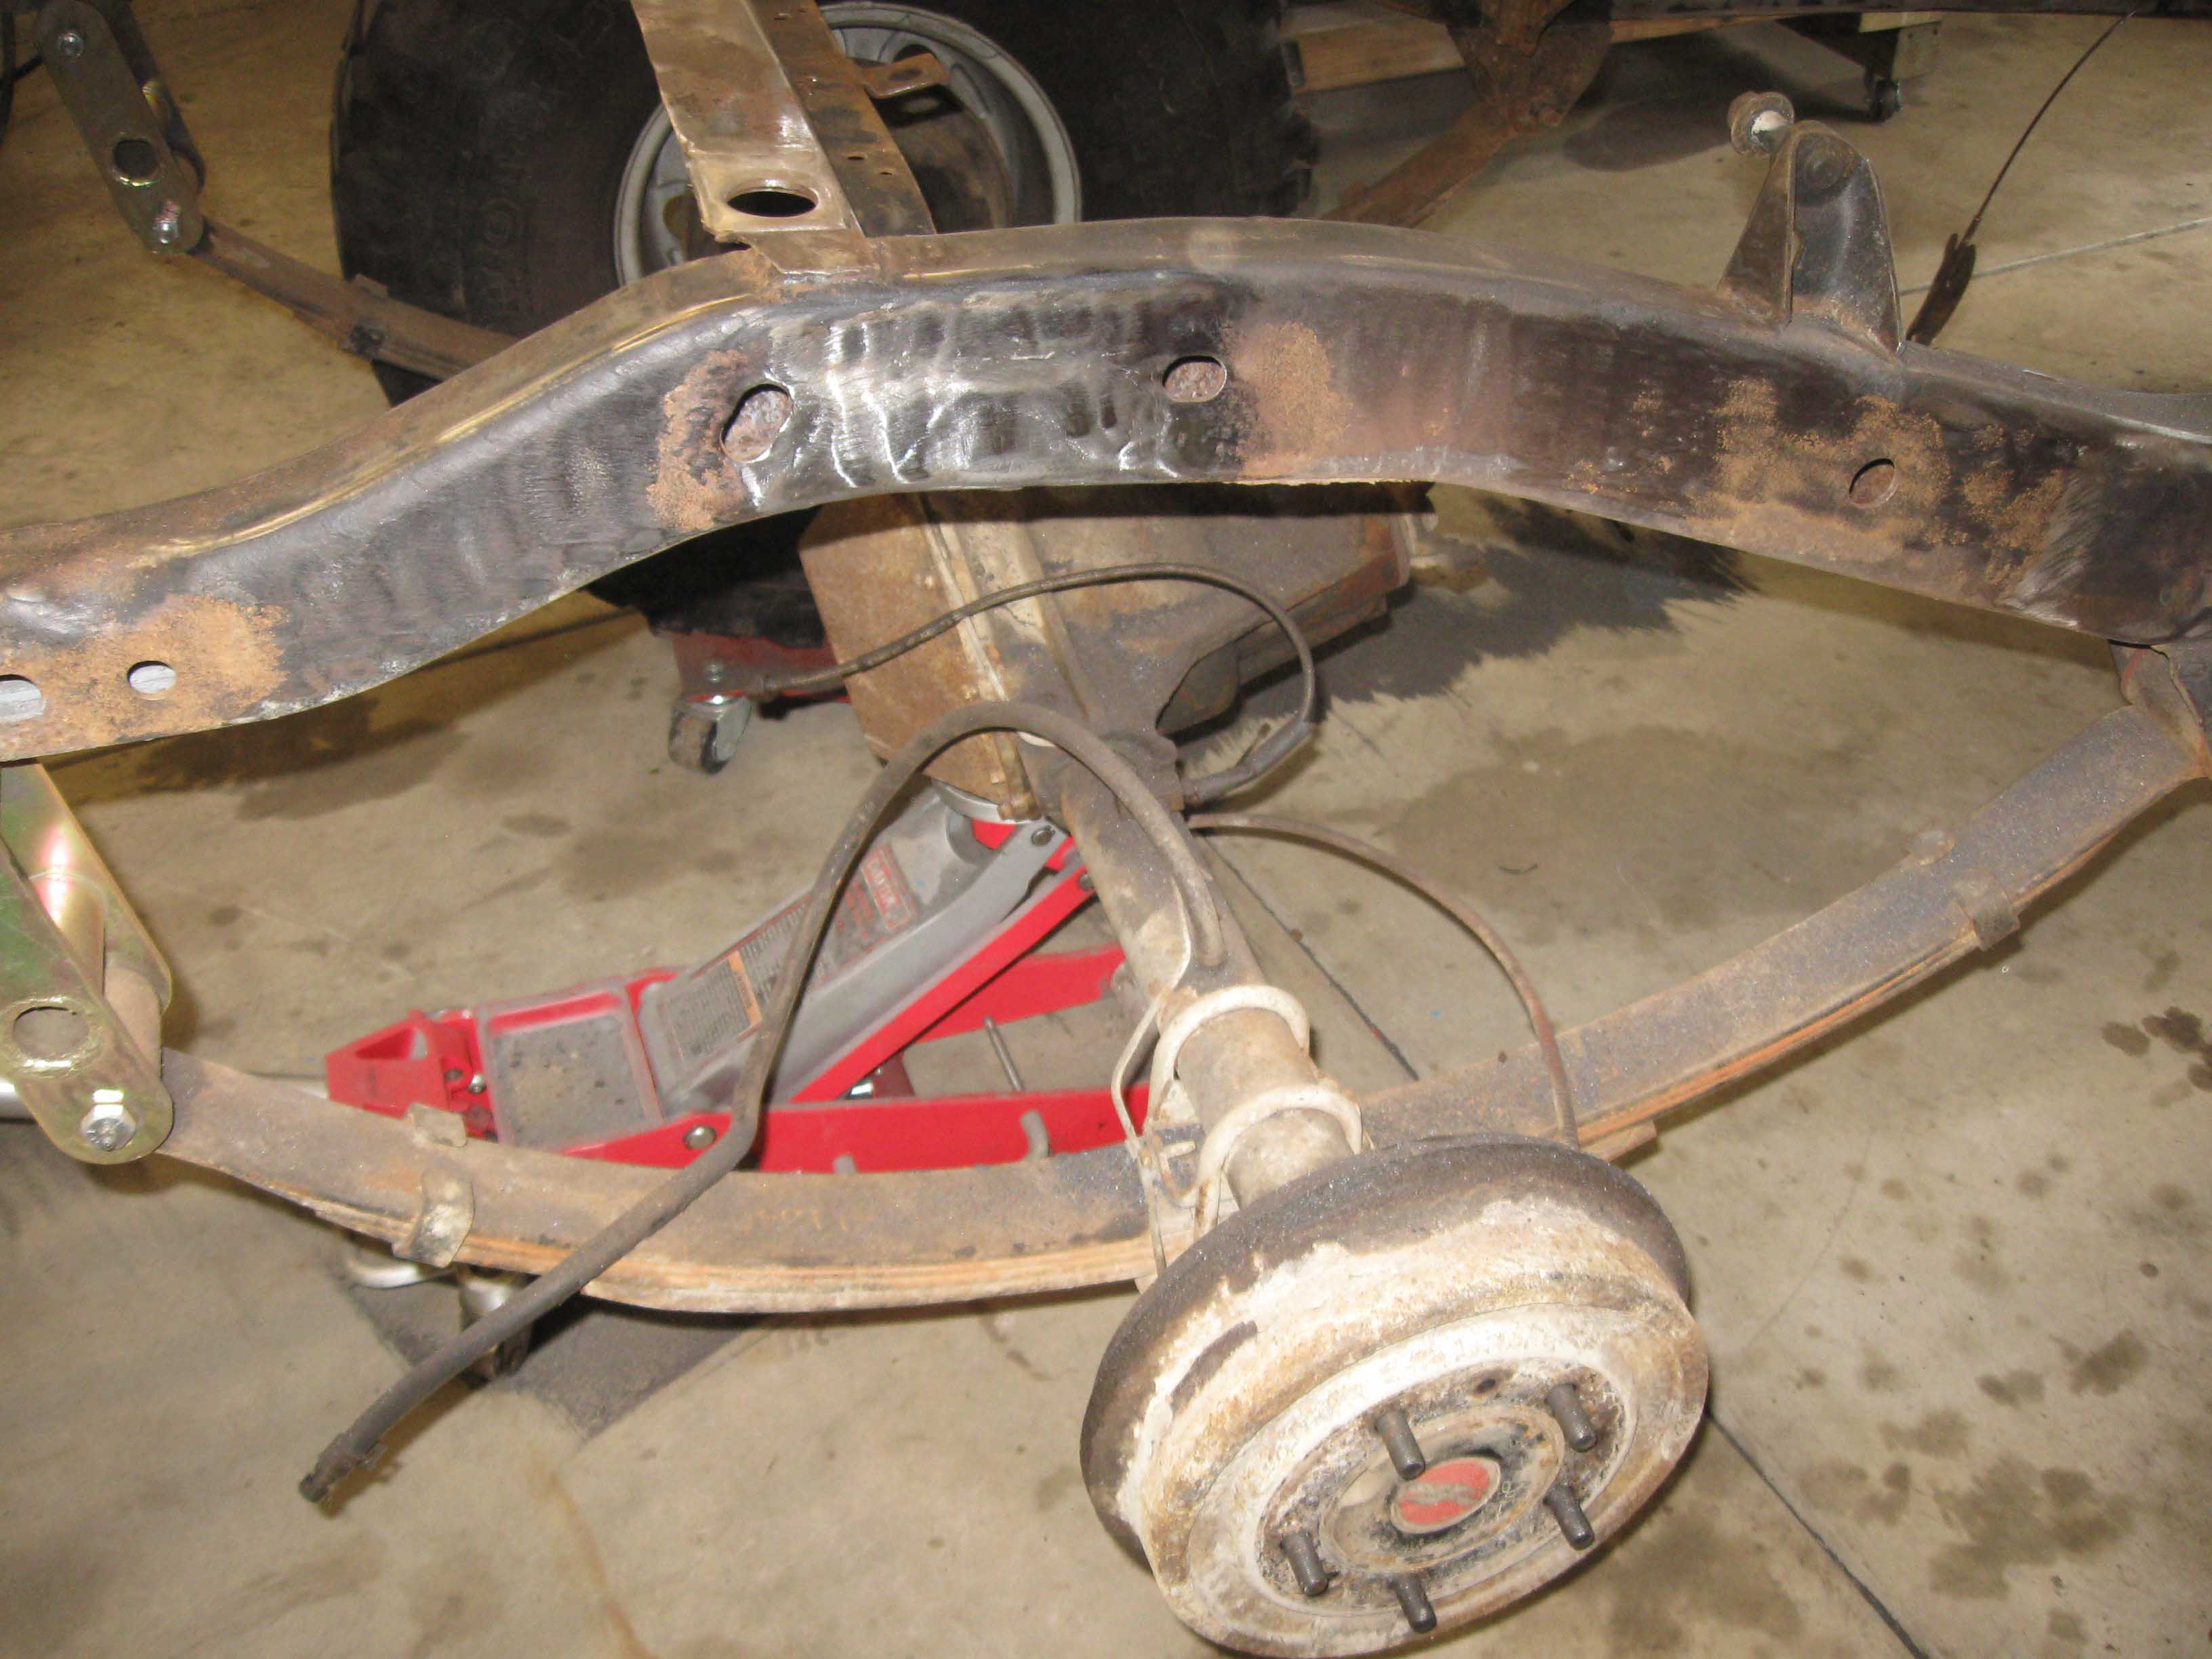
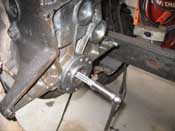
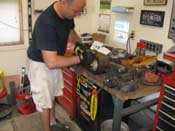
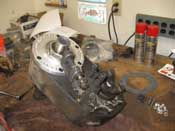
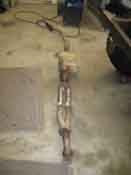
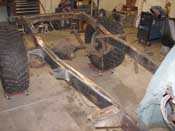
| (06/21/09) We got started on the Dana 300 conversion where we had to remove the
shaft and put in the new shaft that is supplied by Advanced Adapters. It is longer so it accounts for the 3/4"
chunk of aluminum that goes in between the Dana 300 and the new NV3550. So, with that all swapped out... mind
you, you need to have a snap ring remover, also remove a C-clip, you have to press on a new bearing and some other
assorted stuff, you will be all set to put the whole contraption back together. I had Curtis along for the ride,
so he knows now what goes into it and he did most of the work.
|
| |
|
|
|
|
| |
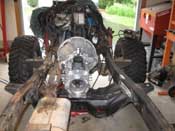
I had spent last night in the ER and from the pictures, it is difficult to see, but
Curtis was here for 1/2 the day on Friday and the whole day on Saturday. I was in the ER with Jen for 6 hours last
night. She keeps having bloody noses and this time, I think the Dr. really did a number on her. It isn't bleeding,
but she isn't happy.
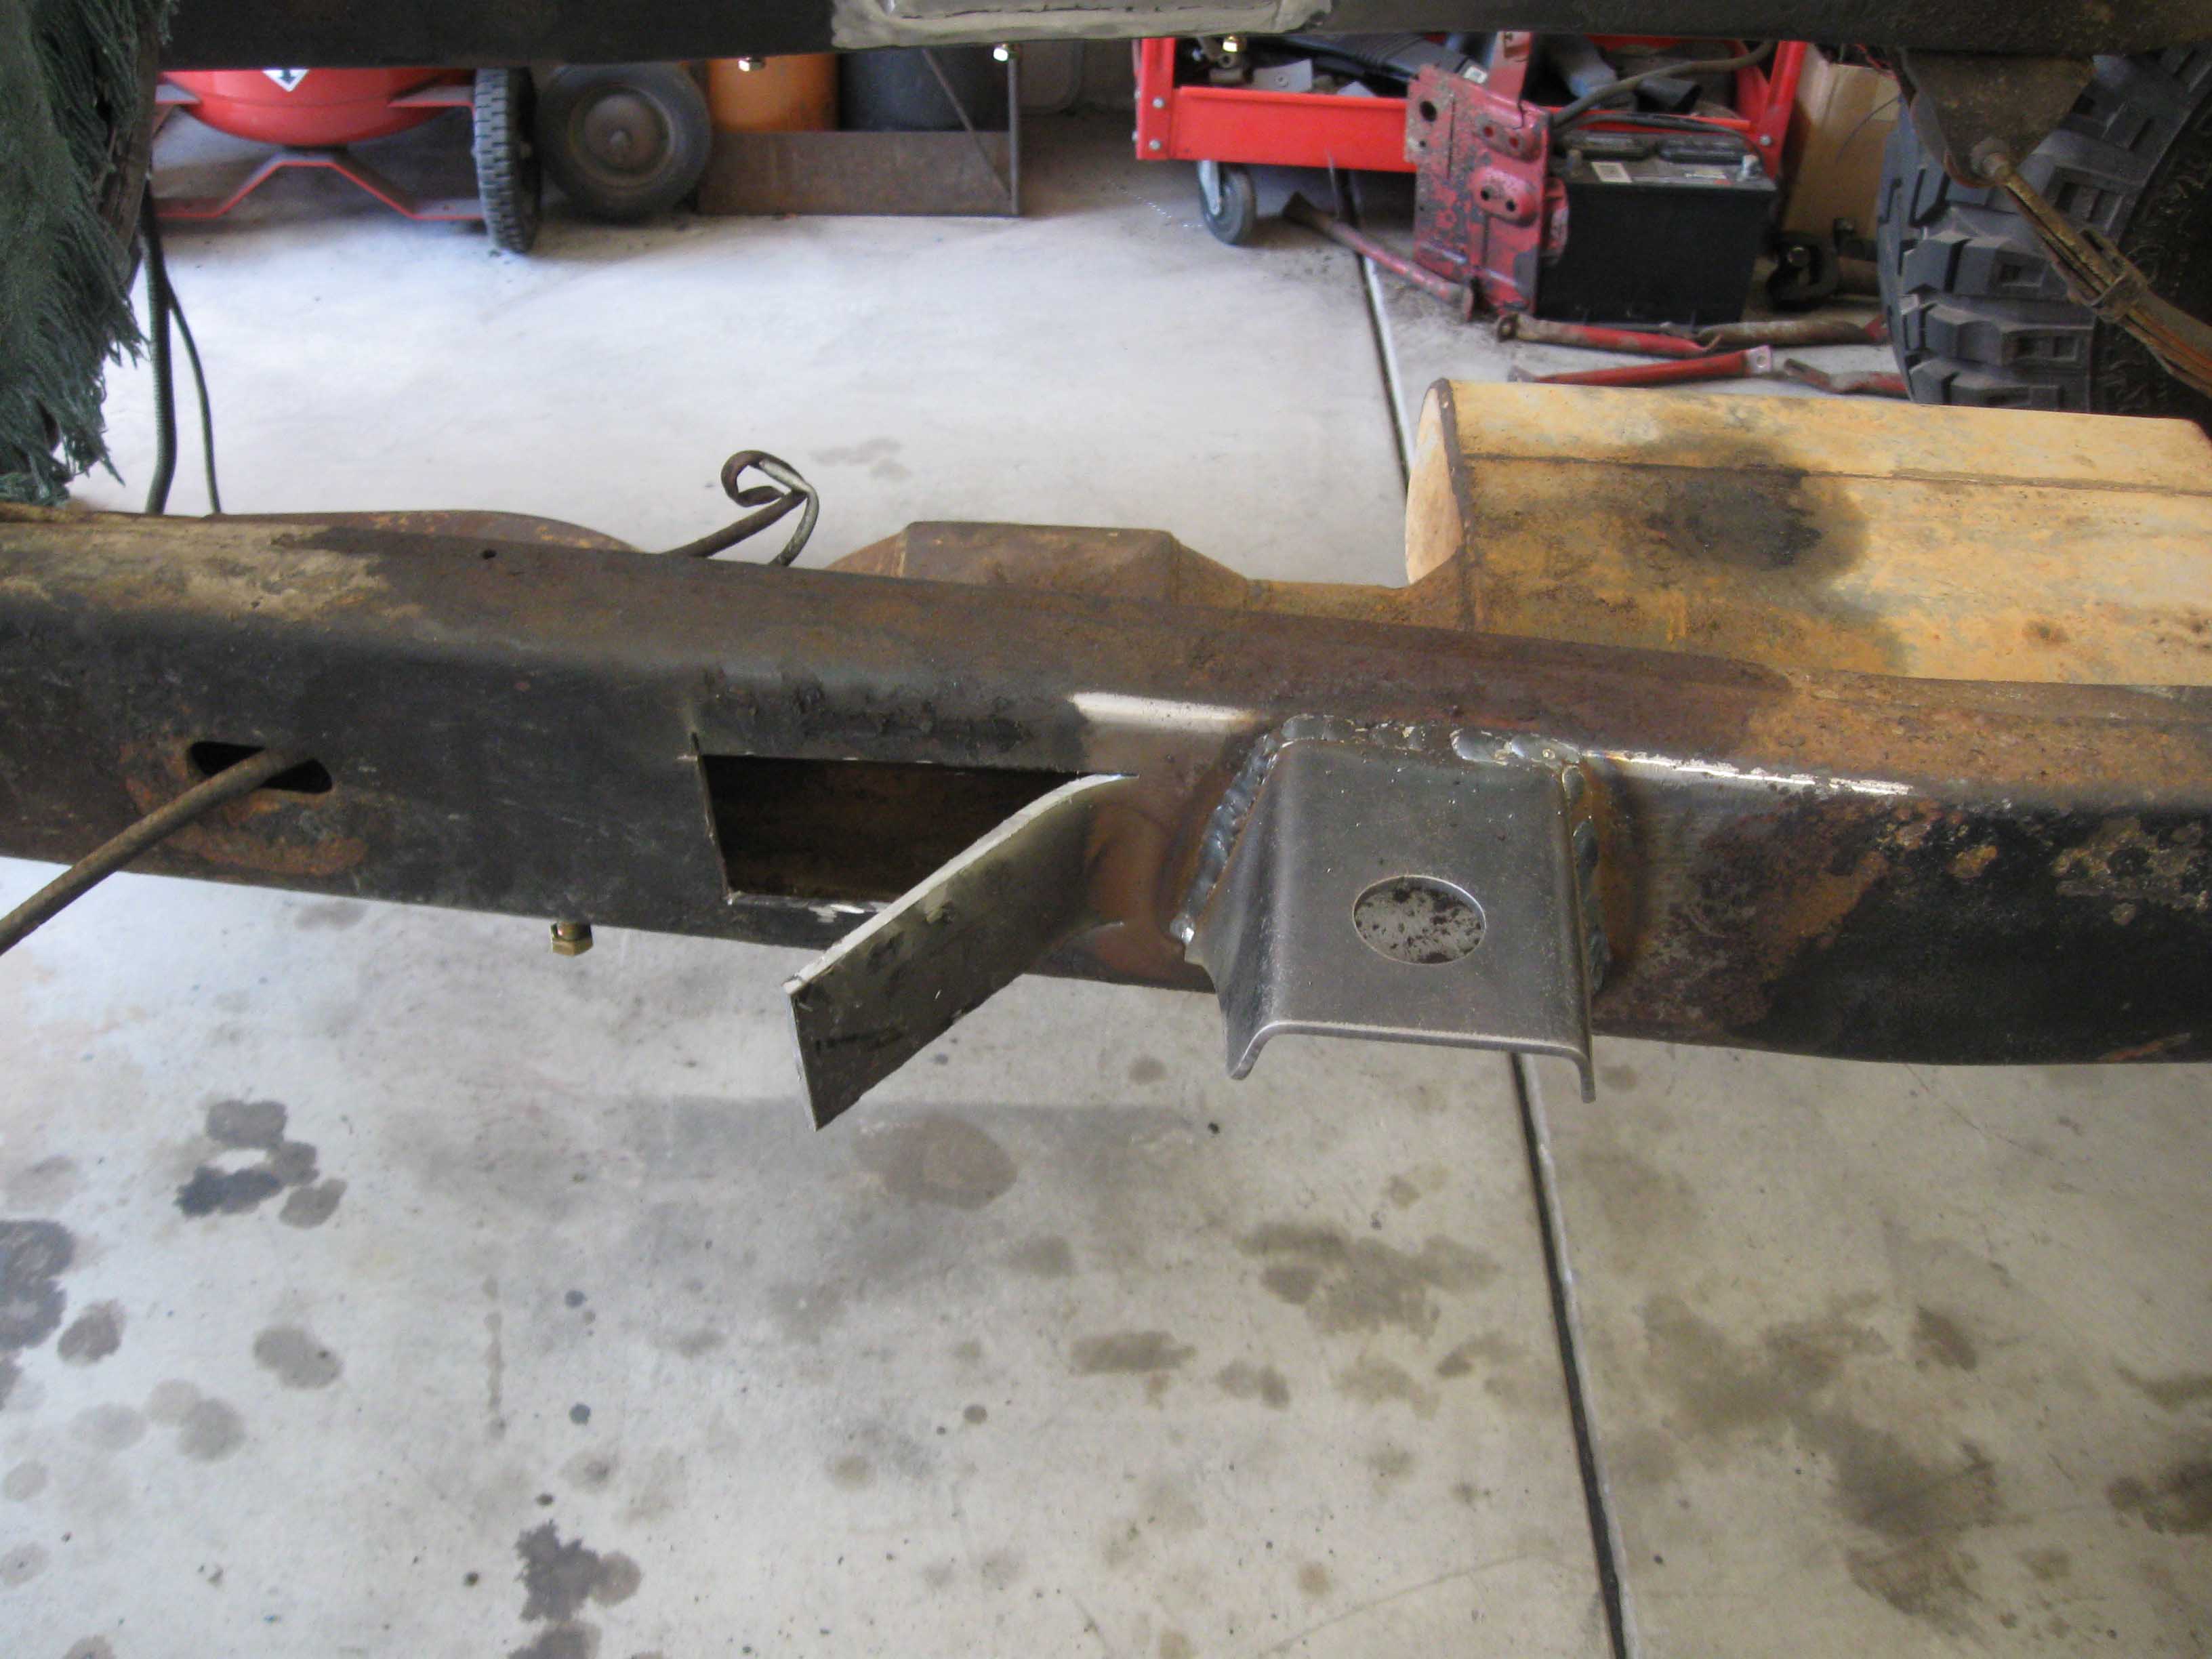
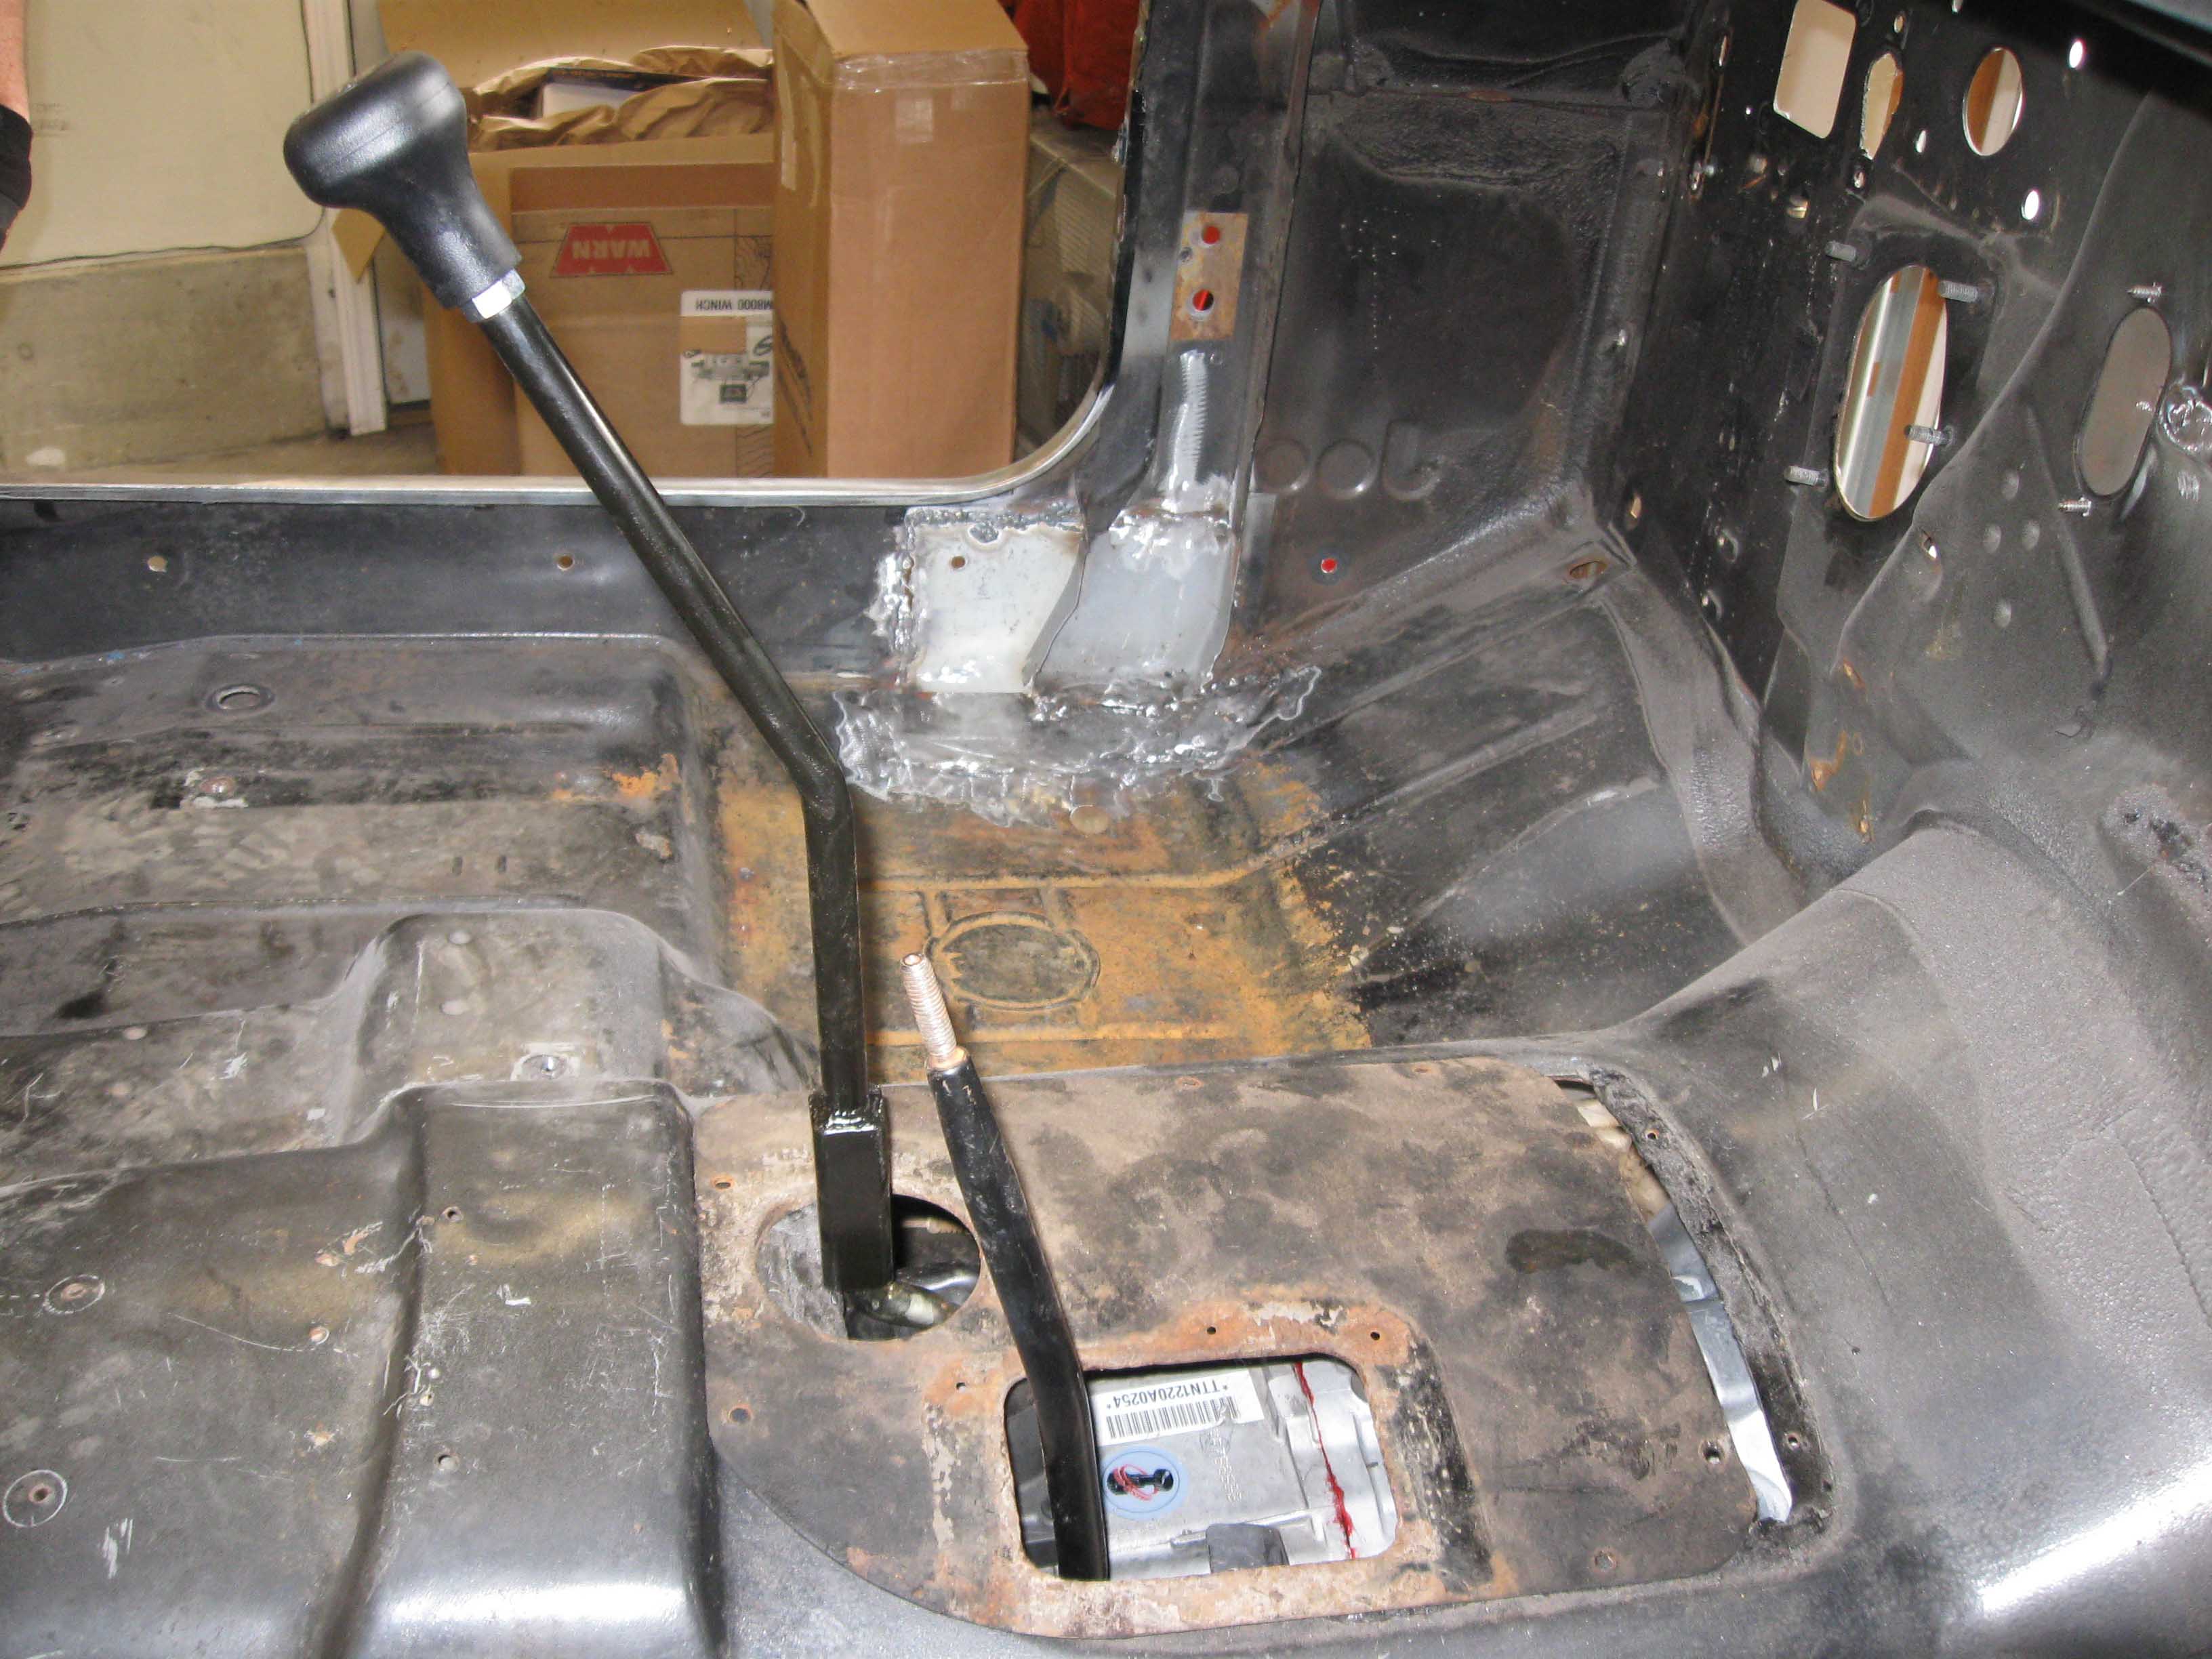
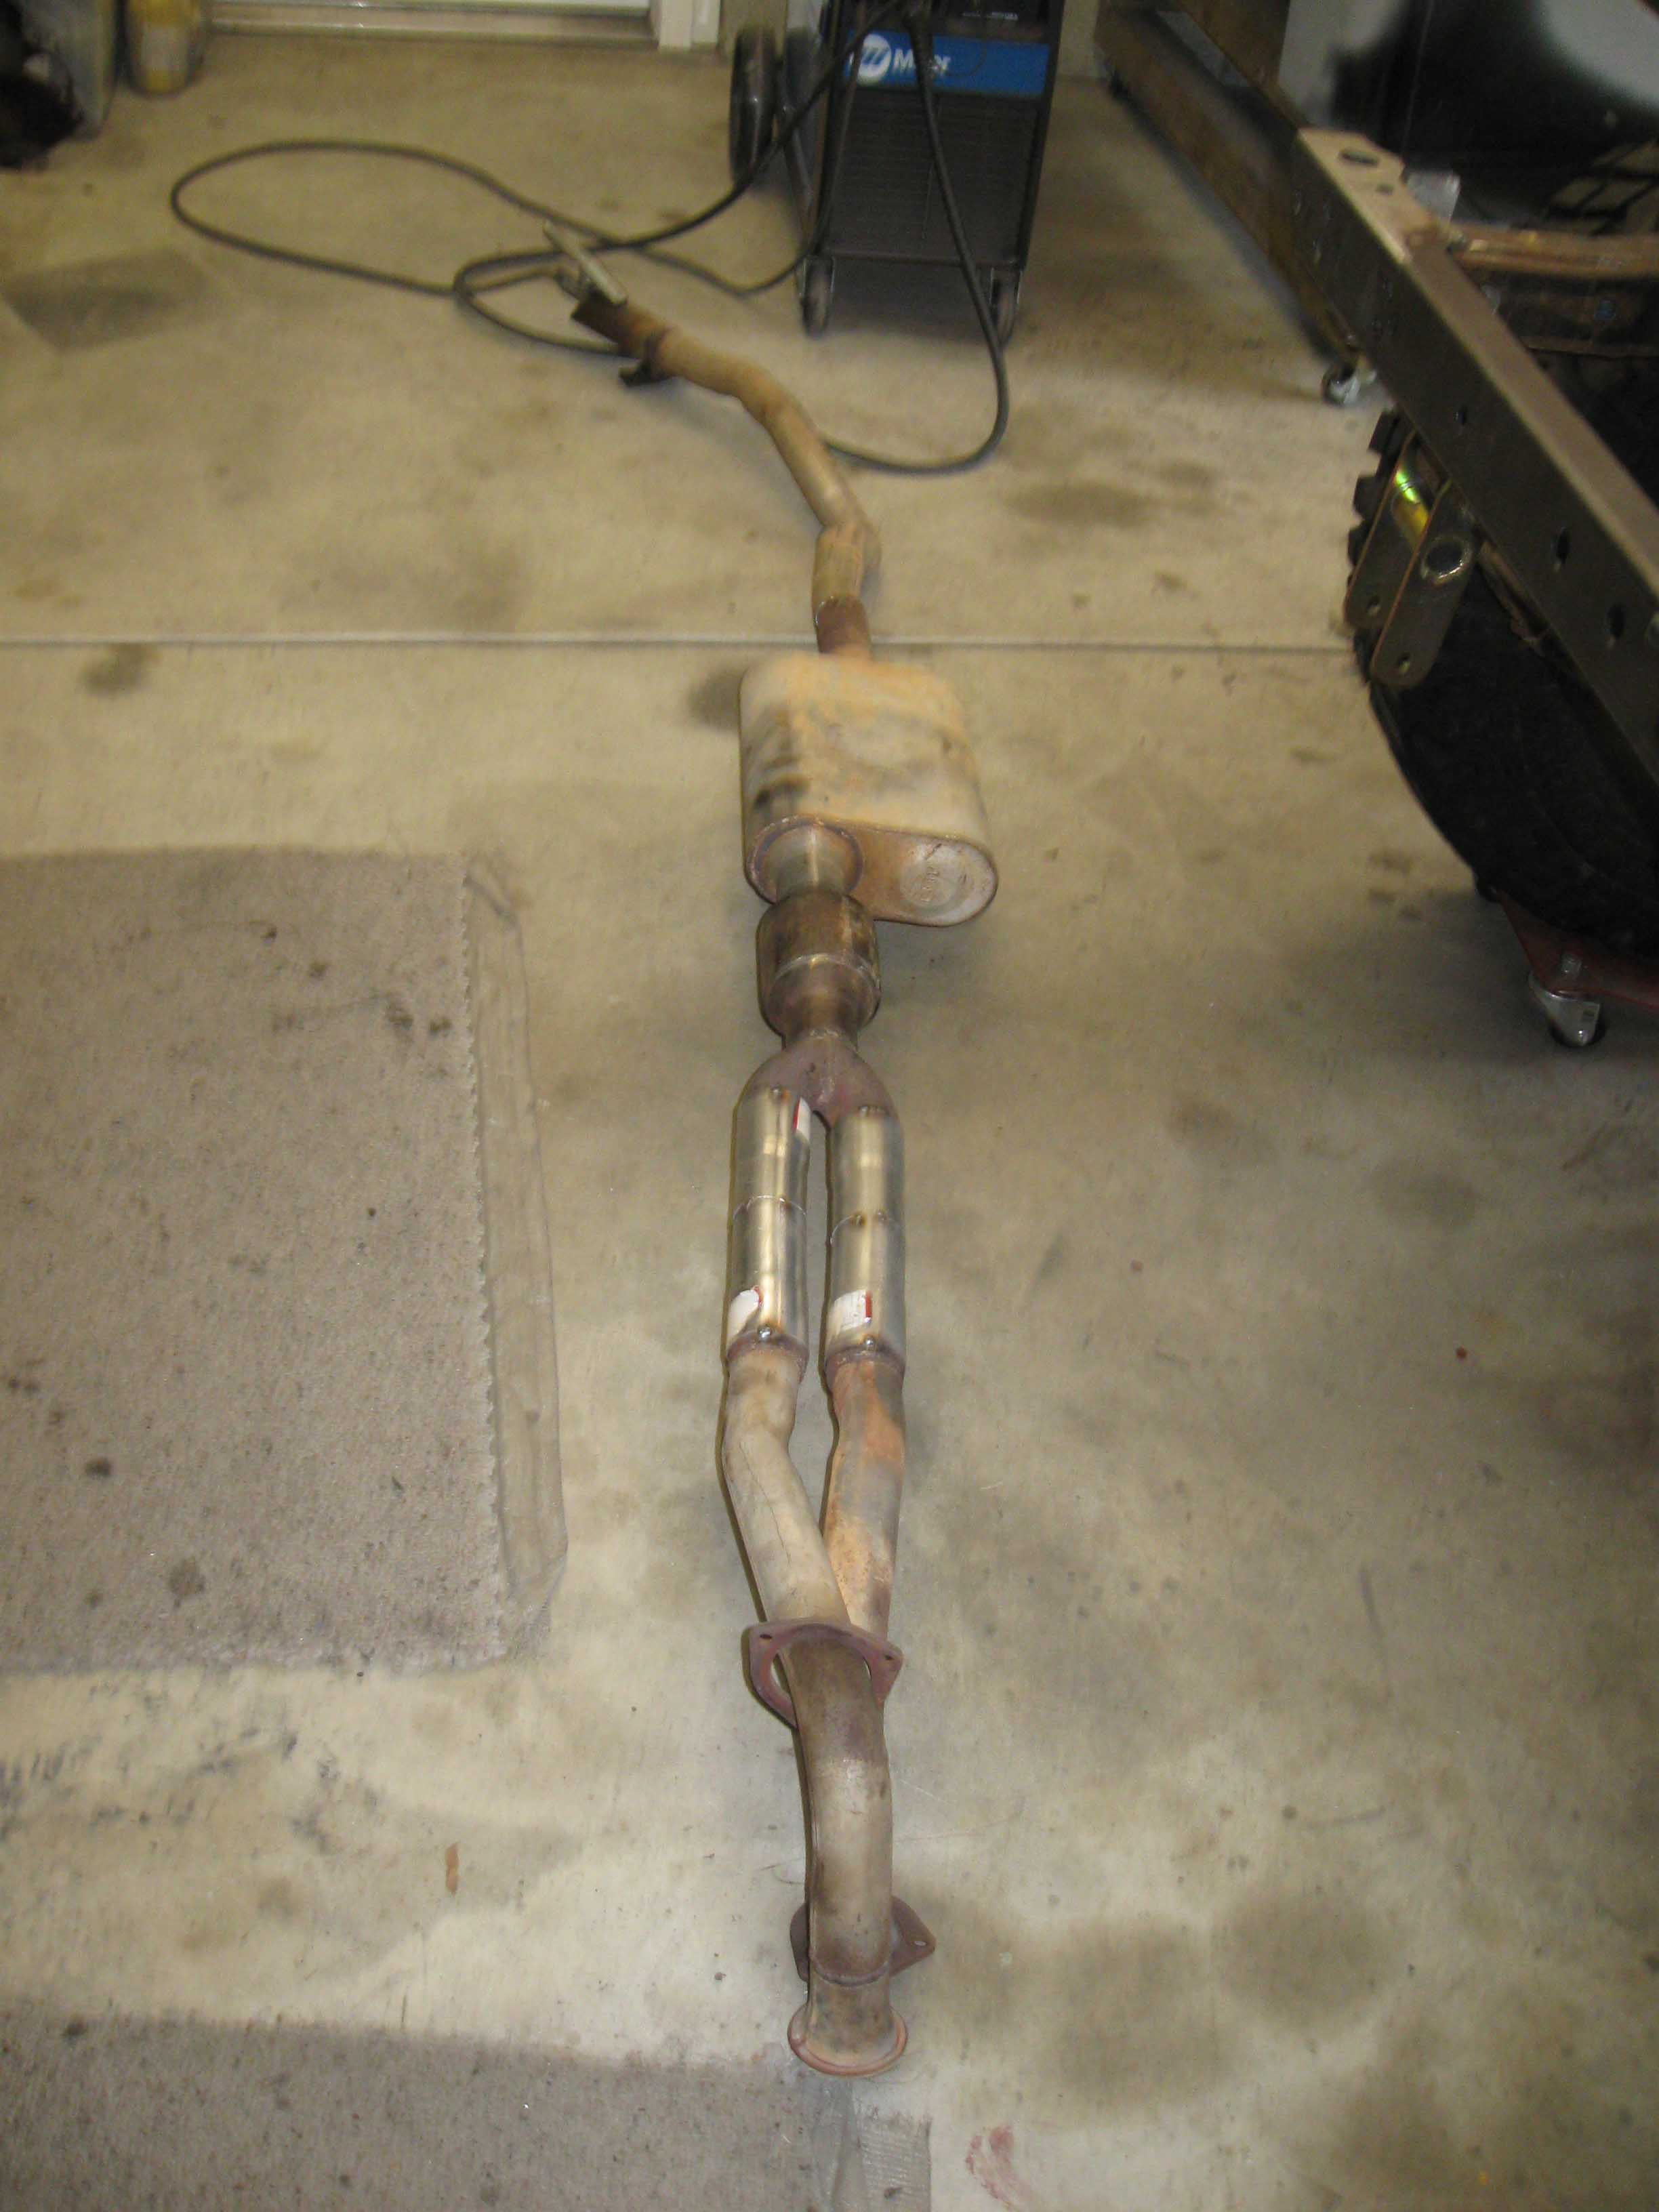
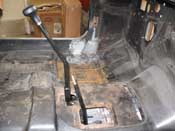
So, today we got the tub off after measuring for where we needed to modify the body and the plate, we then messed
around with the exhaust and got that all mocked into place and finally with the exhaust all welded up and fitting
where it needed to be, we stripped the rest of the frame, removed the Dana 300, the transmission, measured for the
drive shafts and now we are ready to get to doing the frame and getting ready for assembly... well, mostly!
(06/21/09)
|
| |

|
|
|
|
|
|
| |
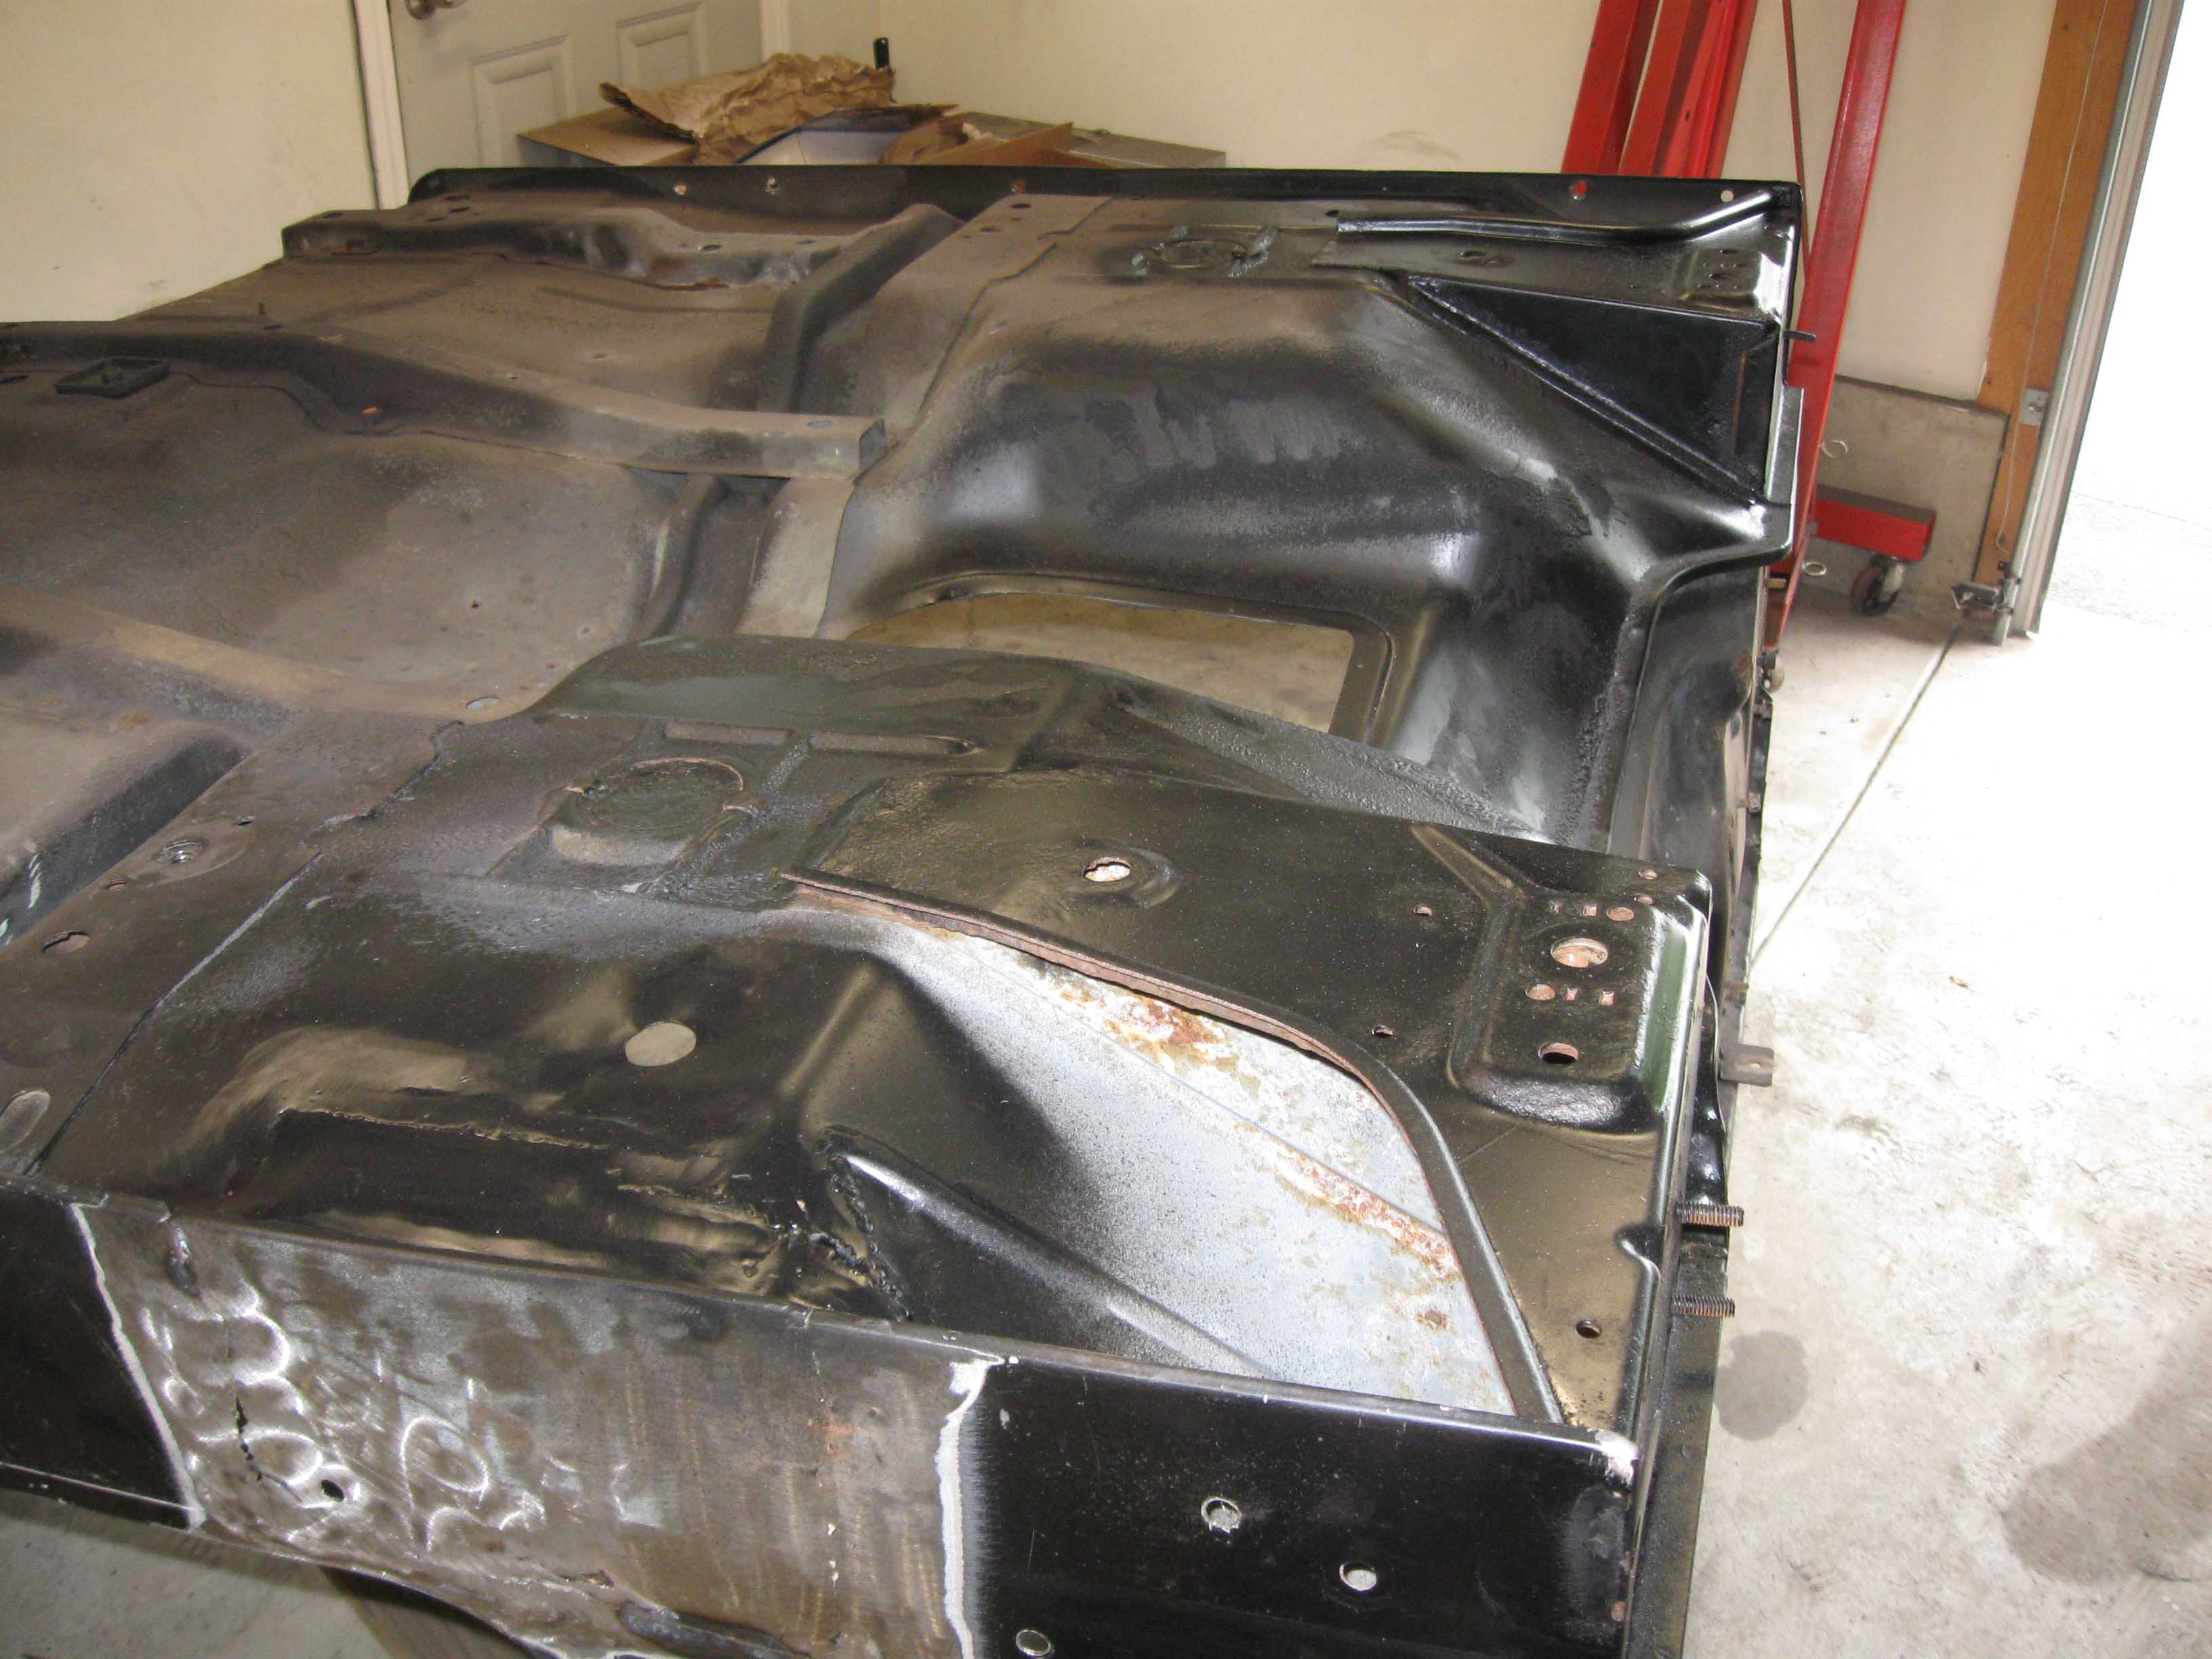
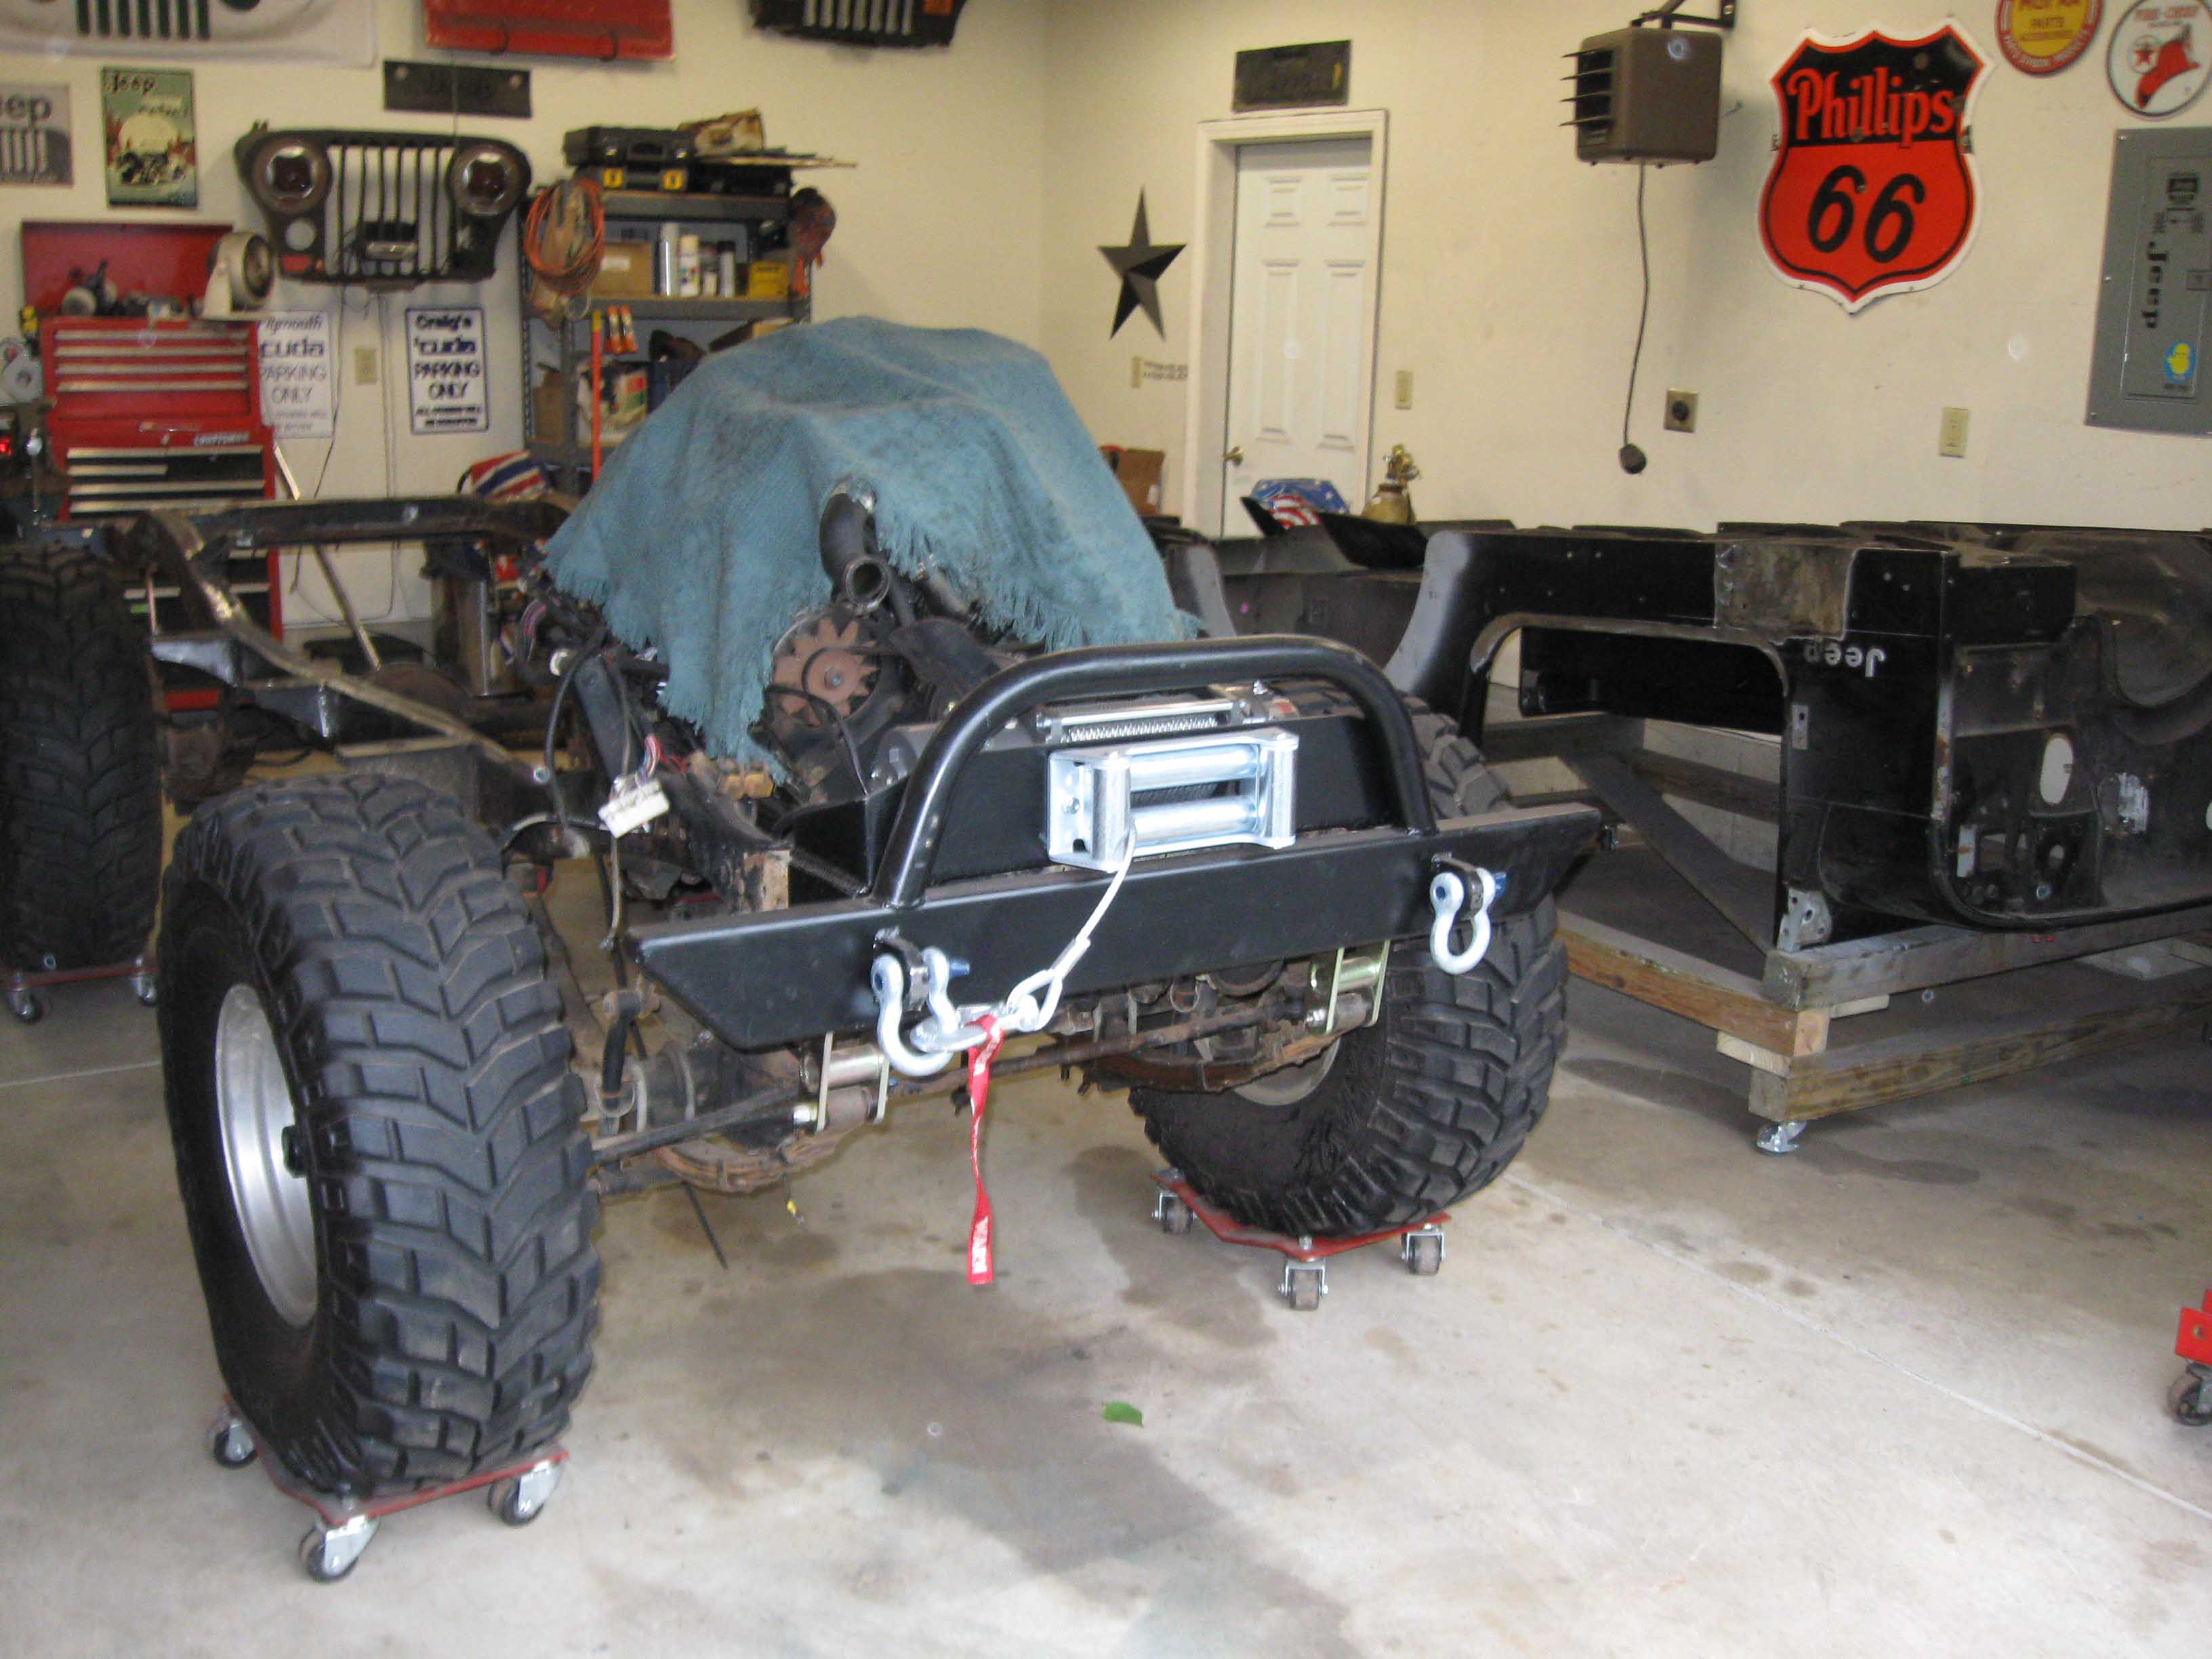
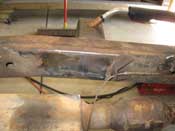
| (06/22/09) I put a lot of time into the Jeep today, even though it doesn't look
much different then it did before I started. I ground down the bottom of the tub, I welded up the floor from
the underside, I fixed some other areas, I ground some more. I then fixed the computer area in the firewall. I
ground the frame and sanded and ground... then I was dirty.
|
| |

|
|
|

|
|
|
| |
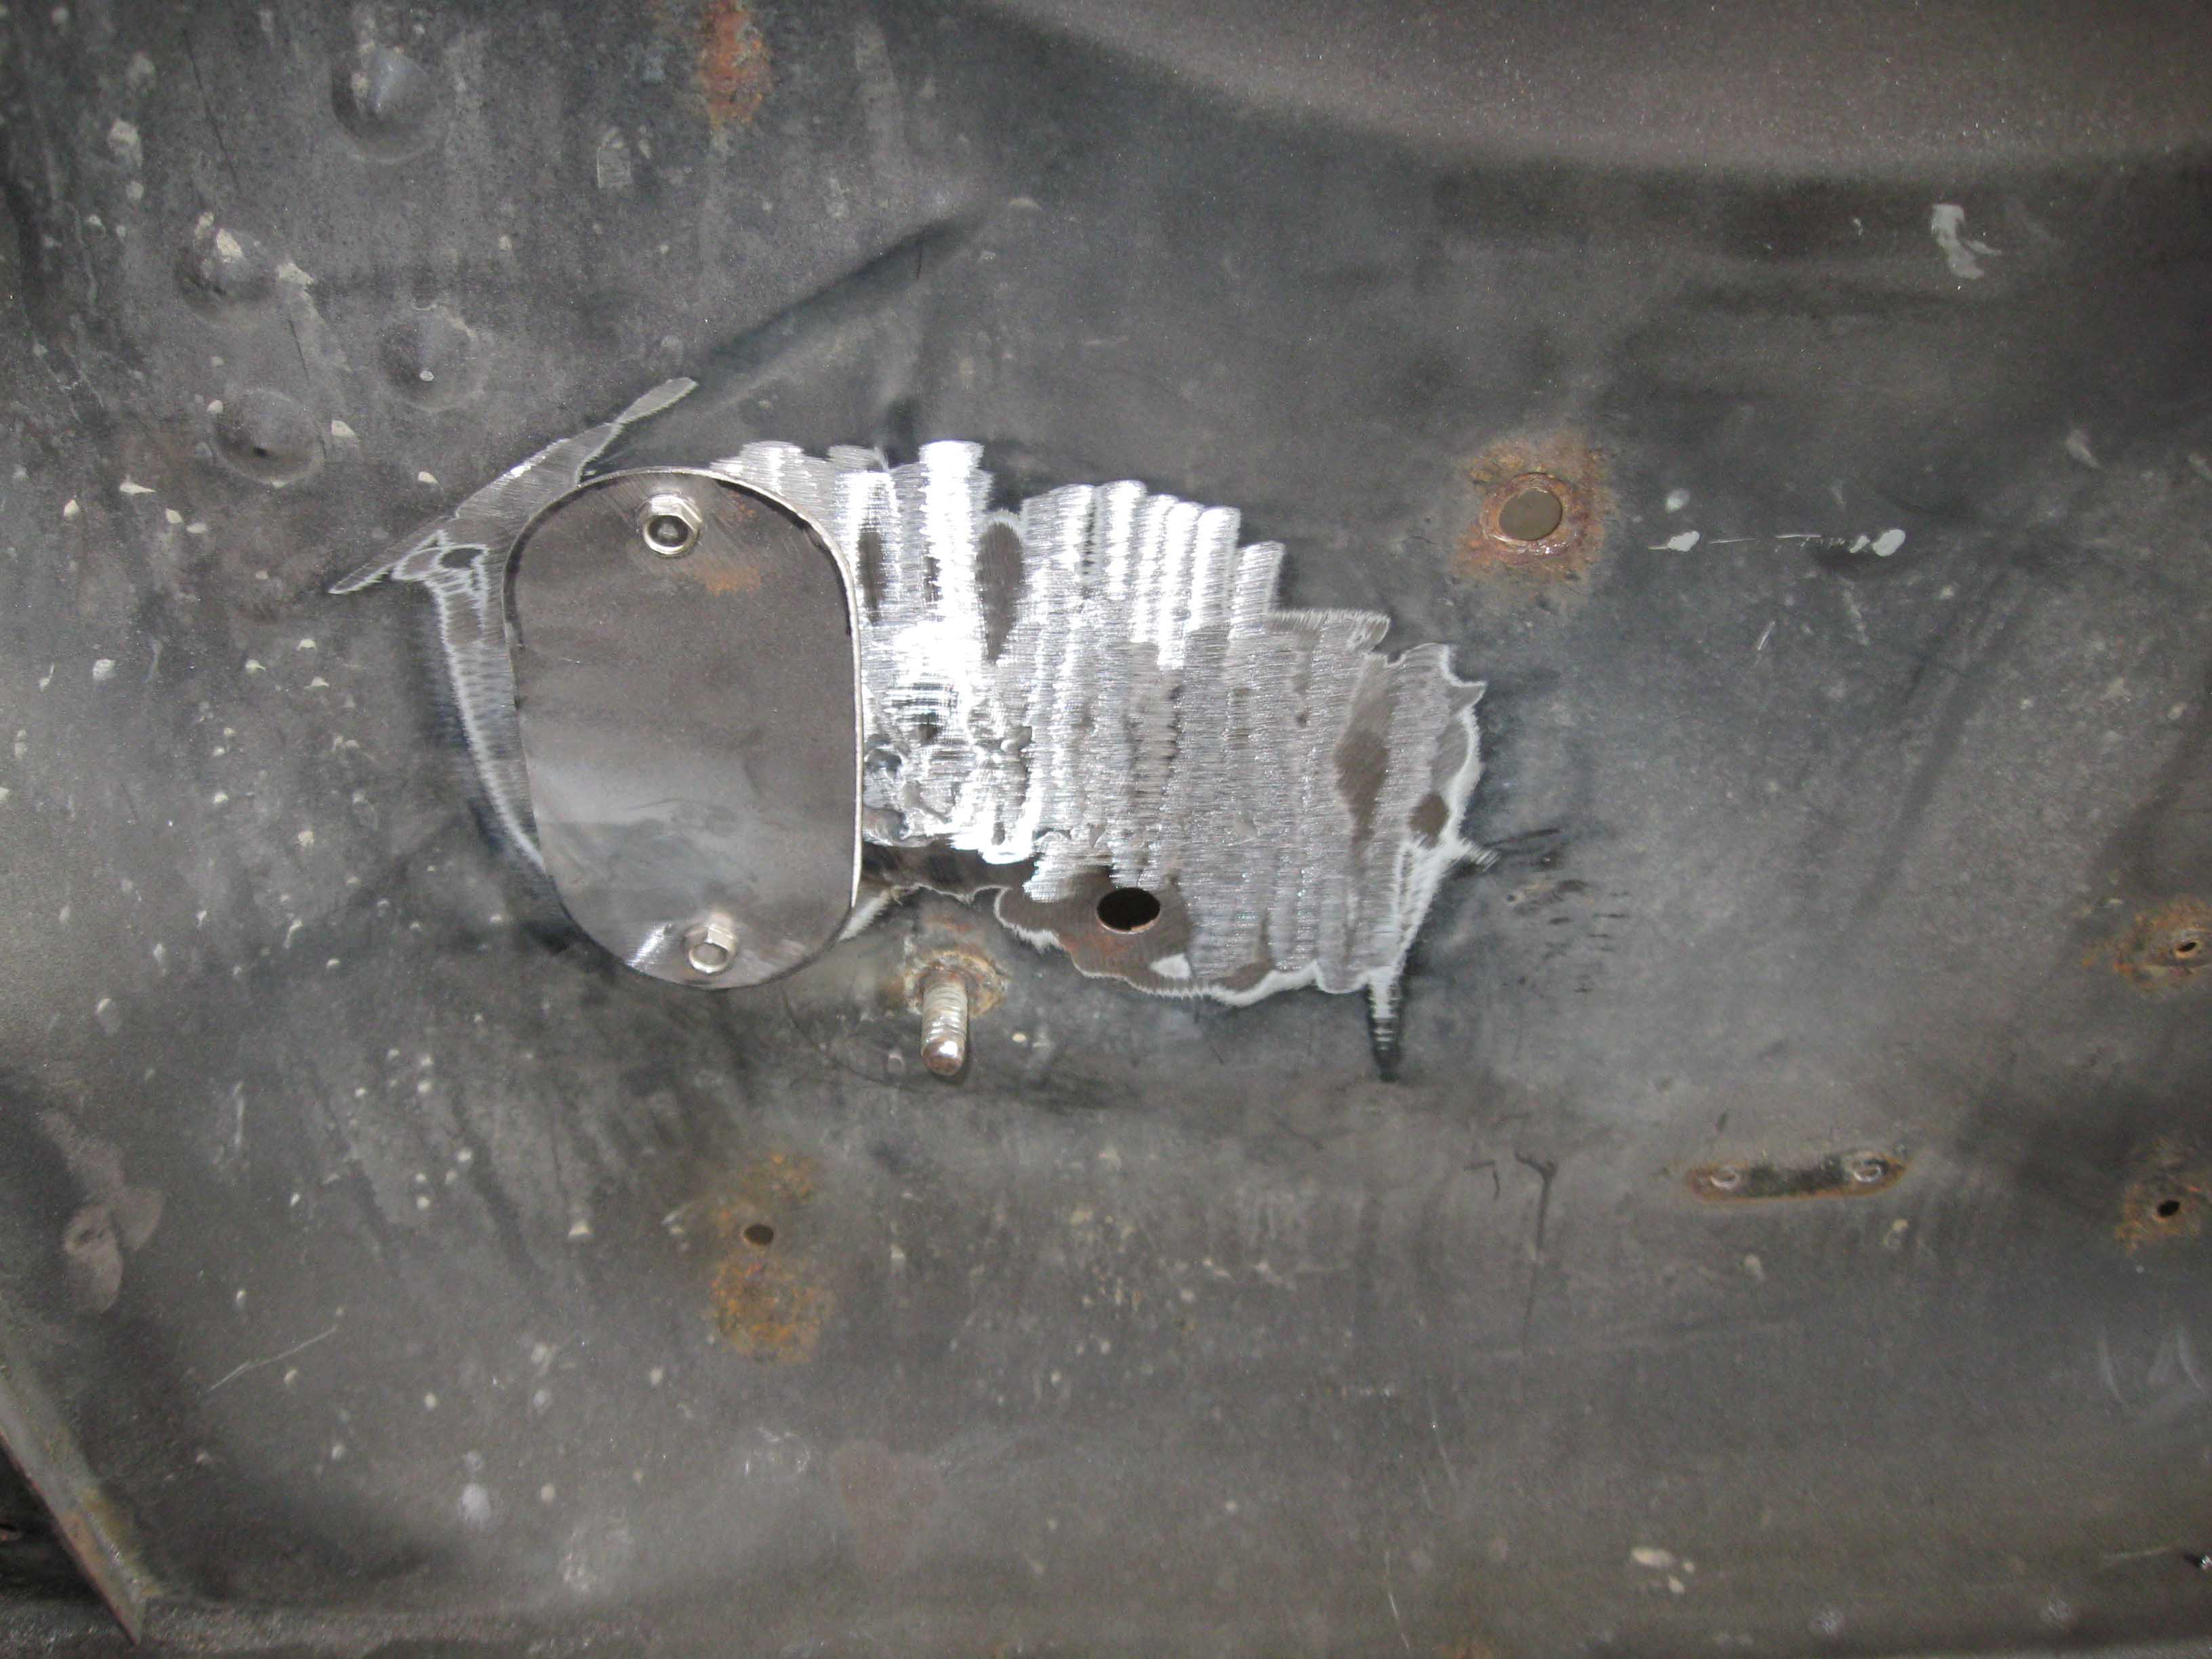
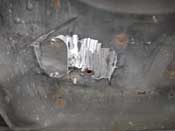
I moved onto fixing what I thought was the last piece of the frame and then
I noticed a small hole by the passenger side rear wheel... that took another hour or so to fix and now I think
the frame is all done in terms of repair. I need to sand and clean it up a bit more so I can put a coat of something
on it. I am still trying to figure out what to put on there.
(06/22/09)
|
| |
| << Previous |
Next >> |
|