|
|
| Project "Moab" a.k.a "Just a Tub Swap" - part #6 |
| |
|
1
2
3
4
5
6
7
8
9
10
11
12
13
14
15
16
17
|
| |
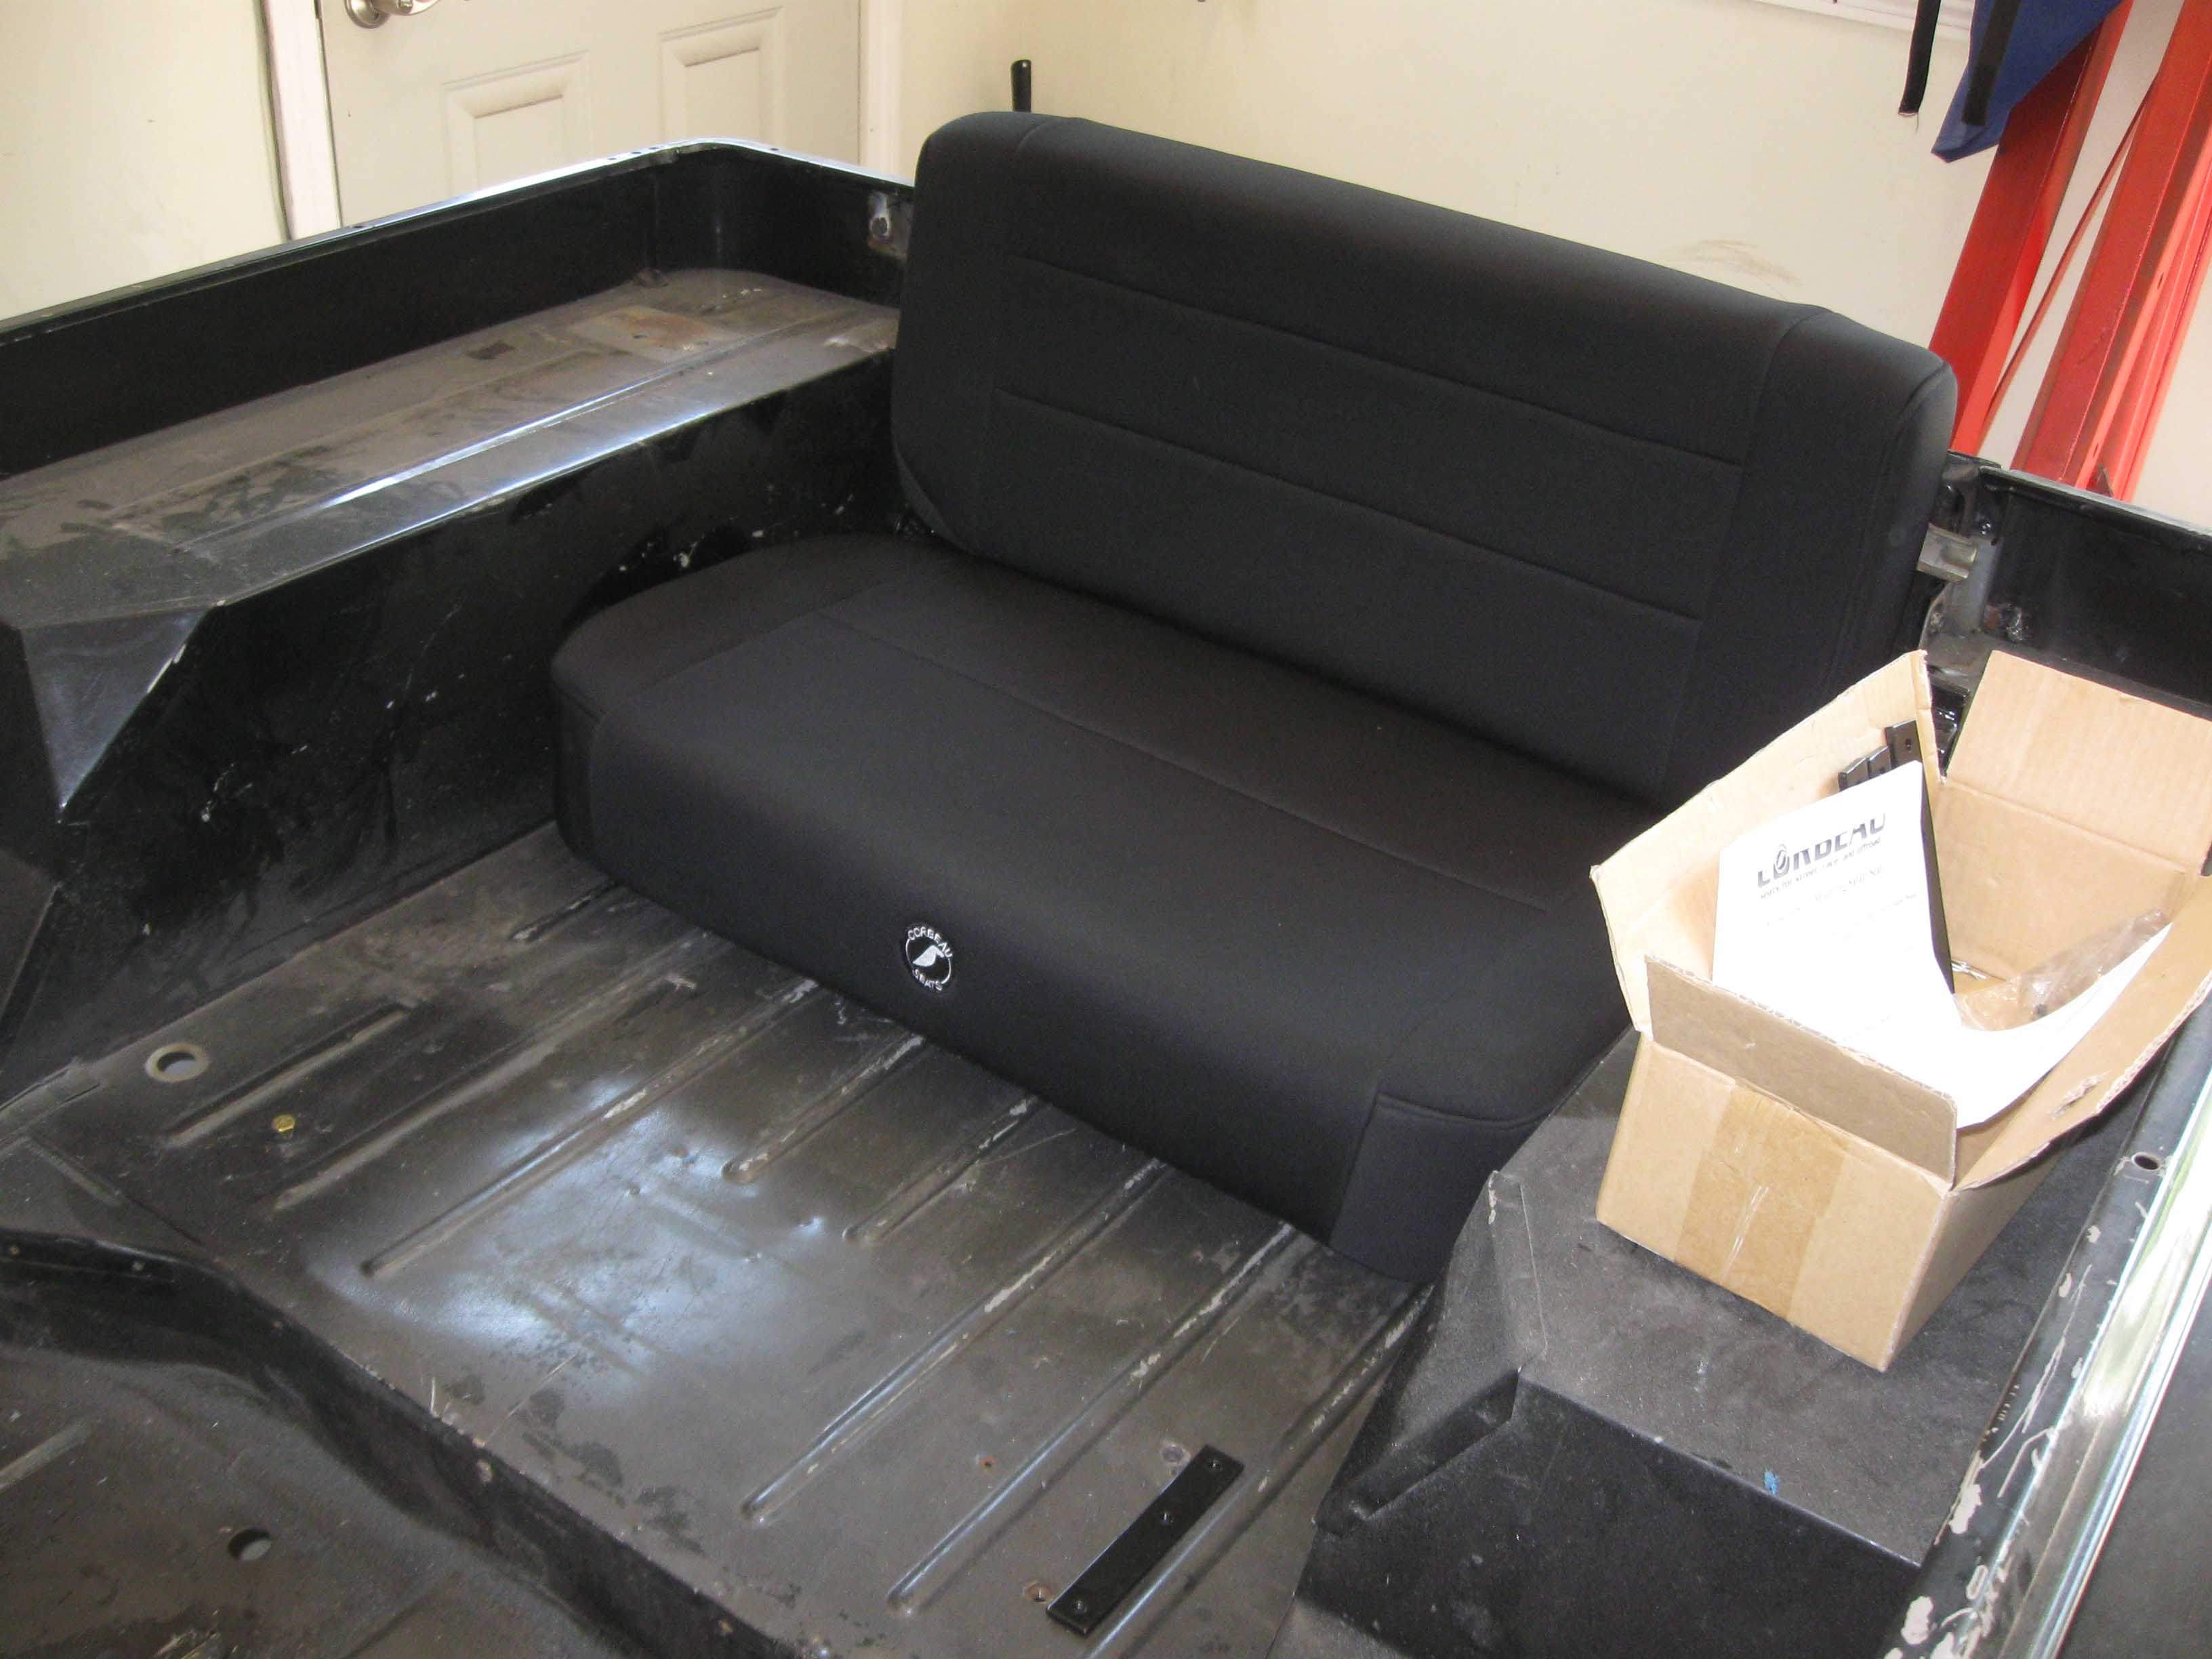
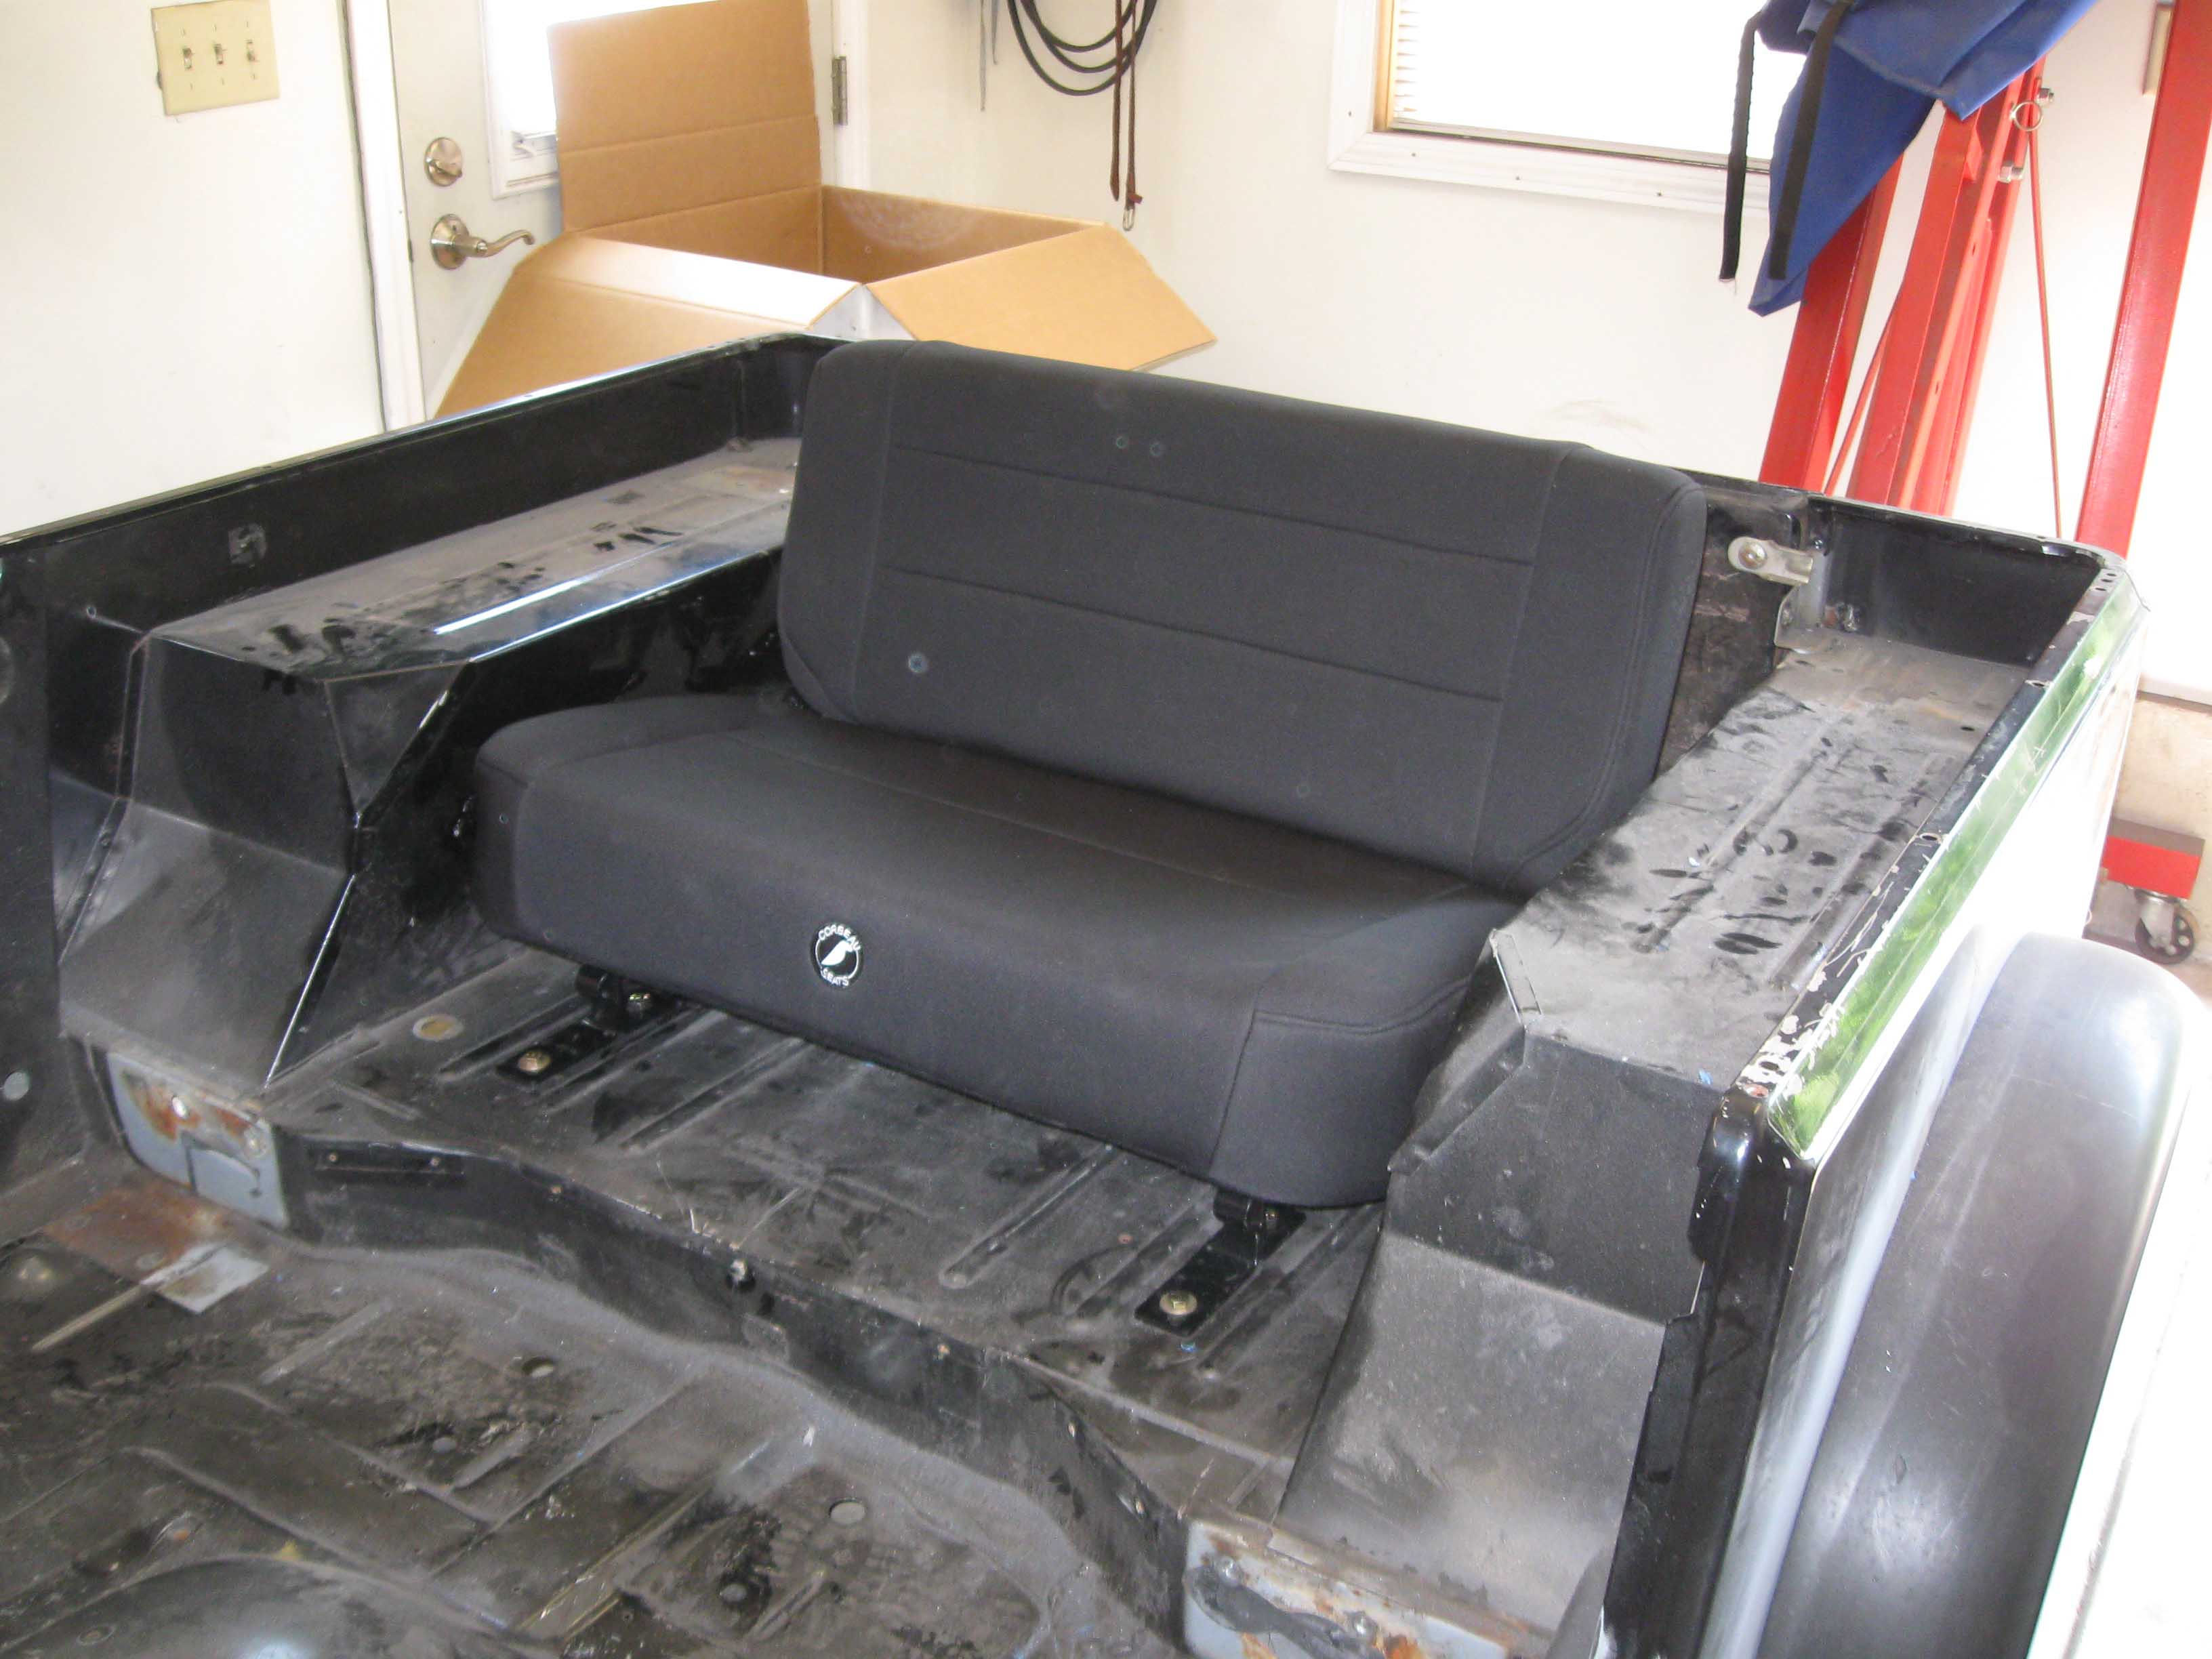
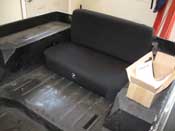
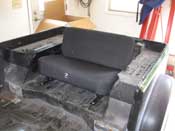
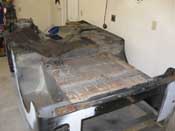
| (06/07/09) As we were going on Friday night, we saw a late delivery of something
that resembled a seat and some shackles. So, on Saturday morning I went to town putting in the rear seat and
making sure it fit good and then even sat it in and snapped a picture of the front of the tub. It is a comfy
seat. It should do well. I also test fit the seat belts, but I didn't snap a picture of them.
|
| |
|
|
|
|
| |
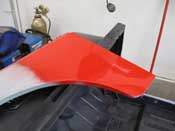
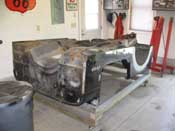
| I then went on to paint a test panel with some rustoleum red to see how close it
would be to the fenders, hood, and grille that will still be red when we put this thing back together. Hopefully
it is a close color match so he can at least be all "RED" driving to Moab.
|
| |
|
|

|
|
| |
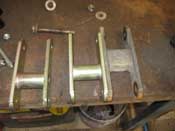
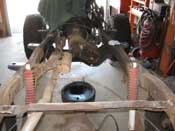
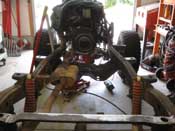
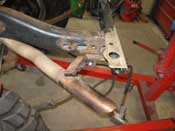
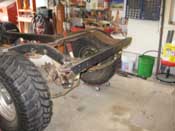
The shackles were up next and I thought there would be more of a different in
the overall length of the shackle, as you can see from the picture, there is only like an 1" of difference. The
rears have not yet come in either, so we will have to wait on that. They went in surprisingly good, except I
pinched my thumb and that isn't faring as well as the Jeep is. All in all, a good day, Curtis is on his way up
today and we are going to blow apart all the test fitting I have done and then move onto the drive train tear down
so we can mate up the NV3550 when that comes in later this week. Lots to do, but we are working at a good pace.
(06/07/09)
|
| |
|
|
|
|
| |
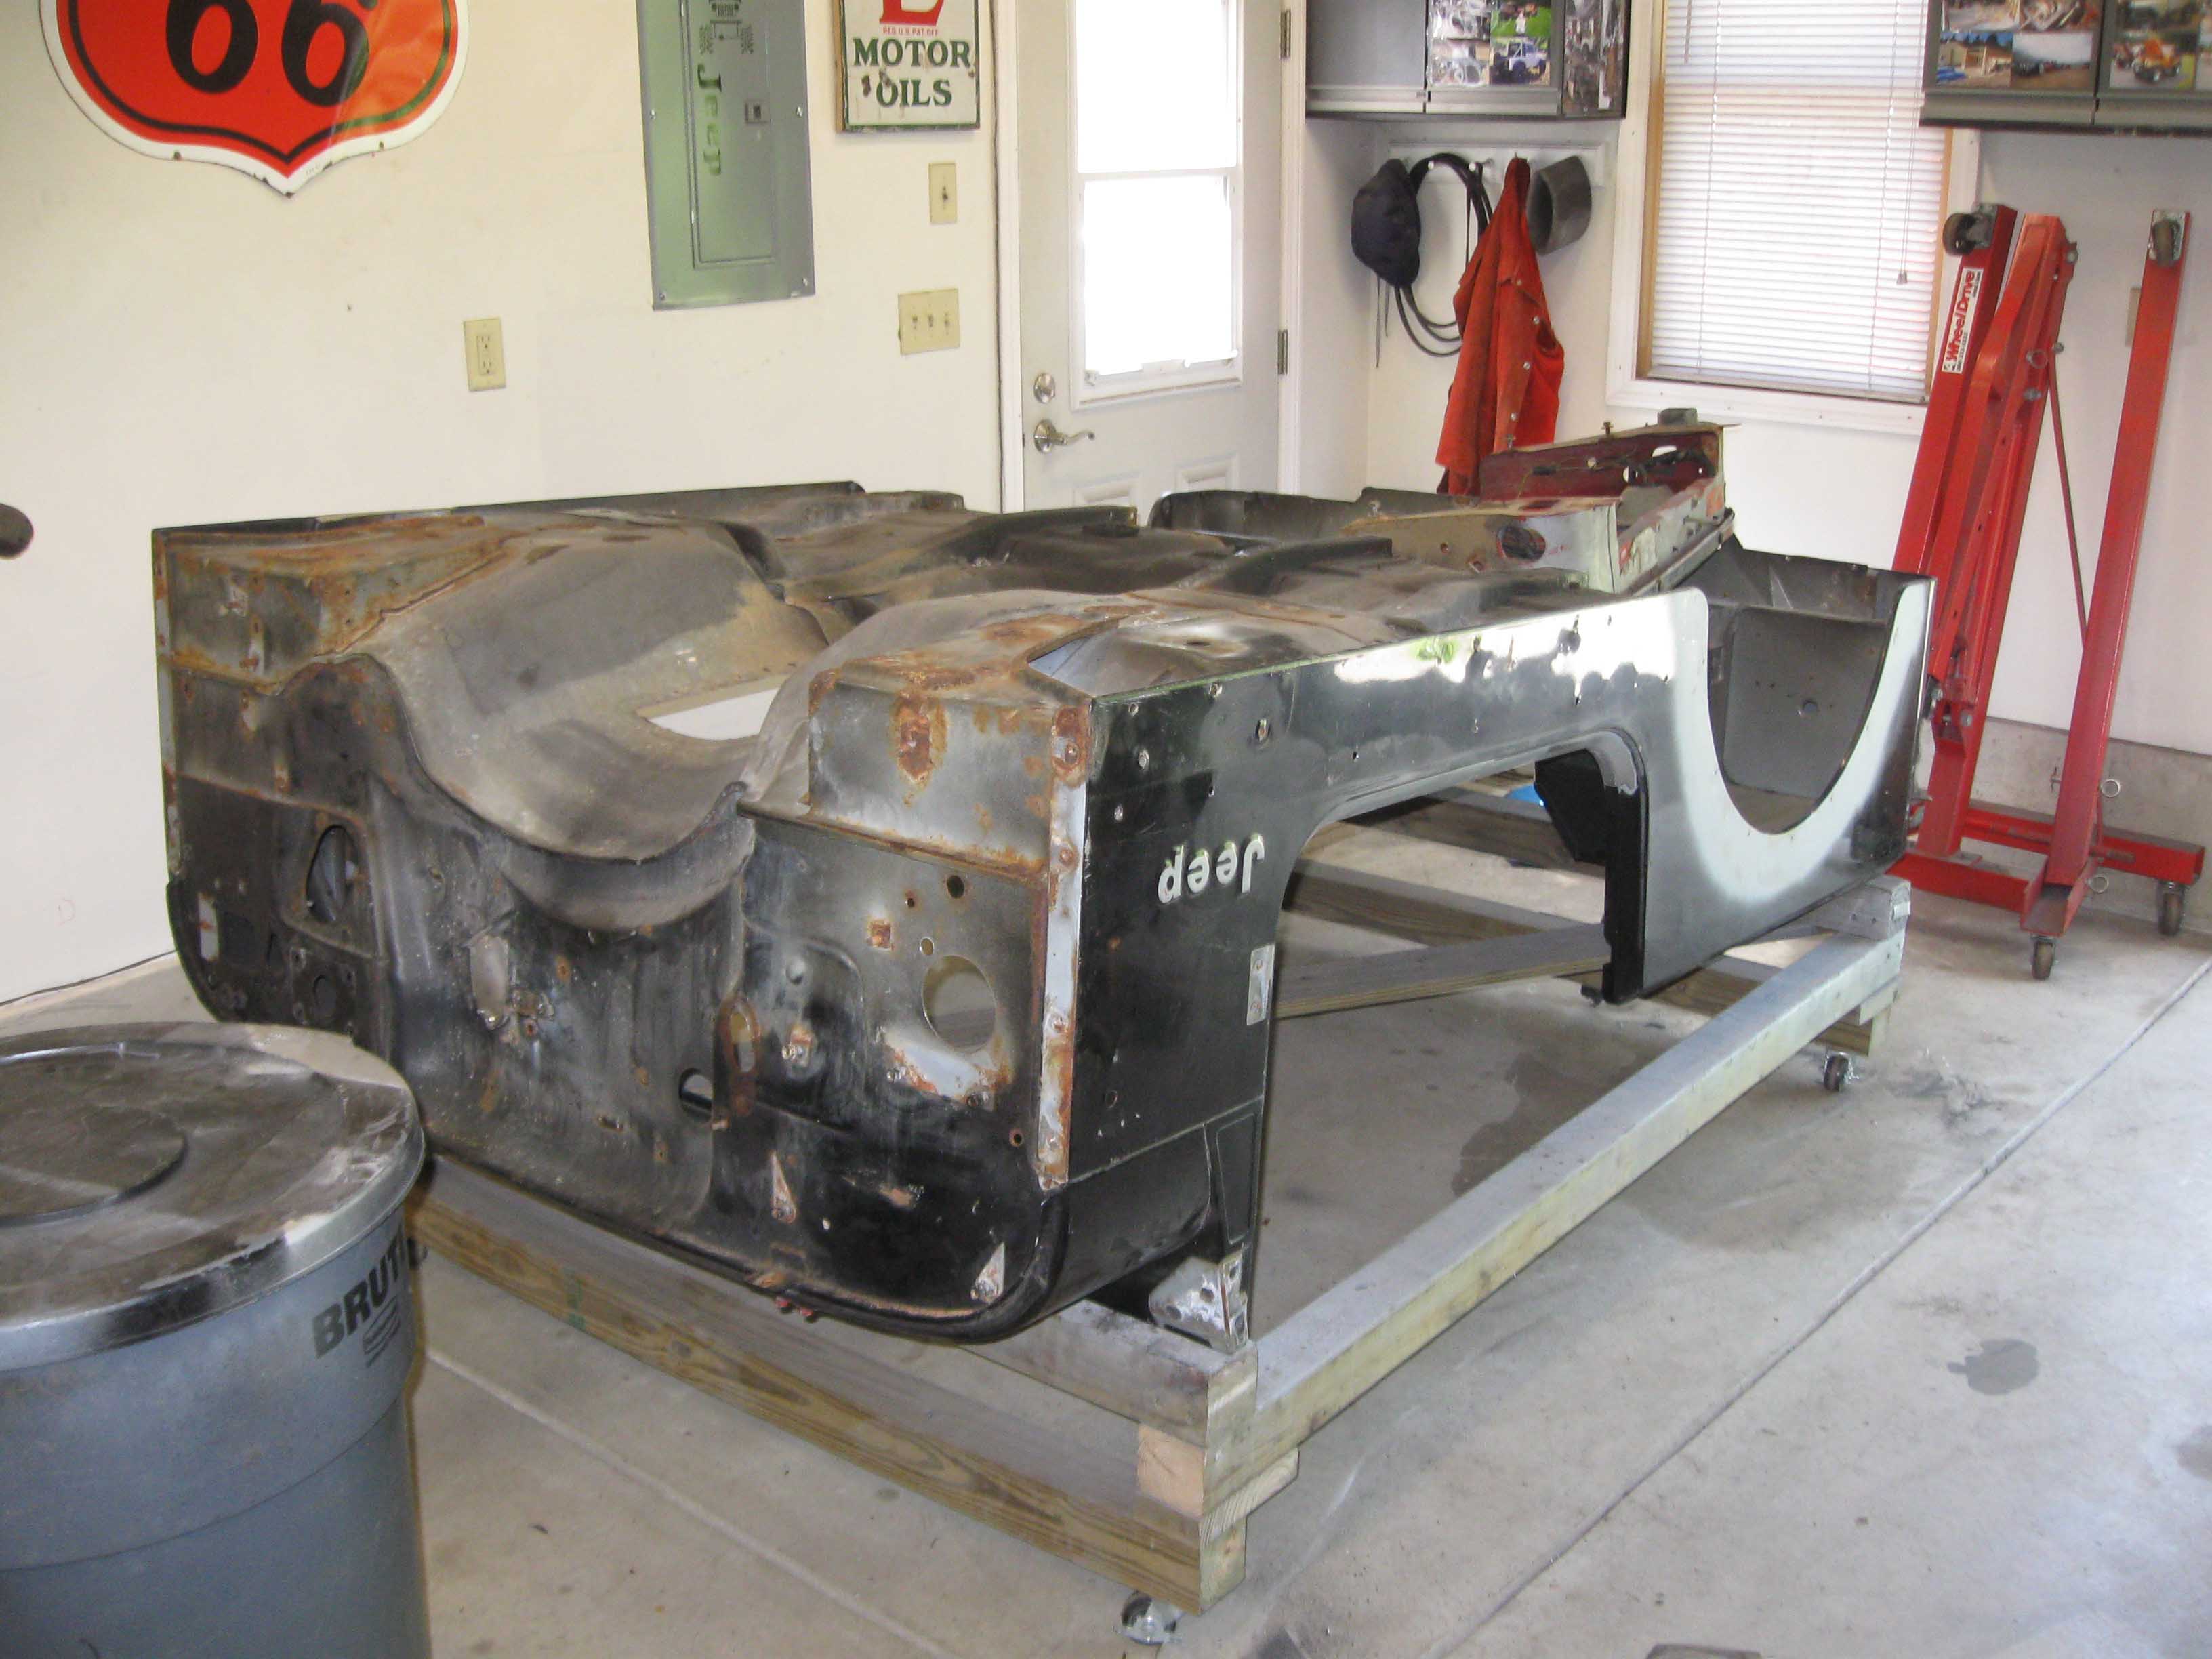
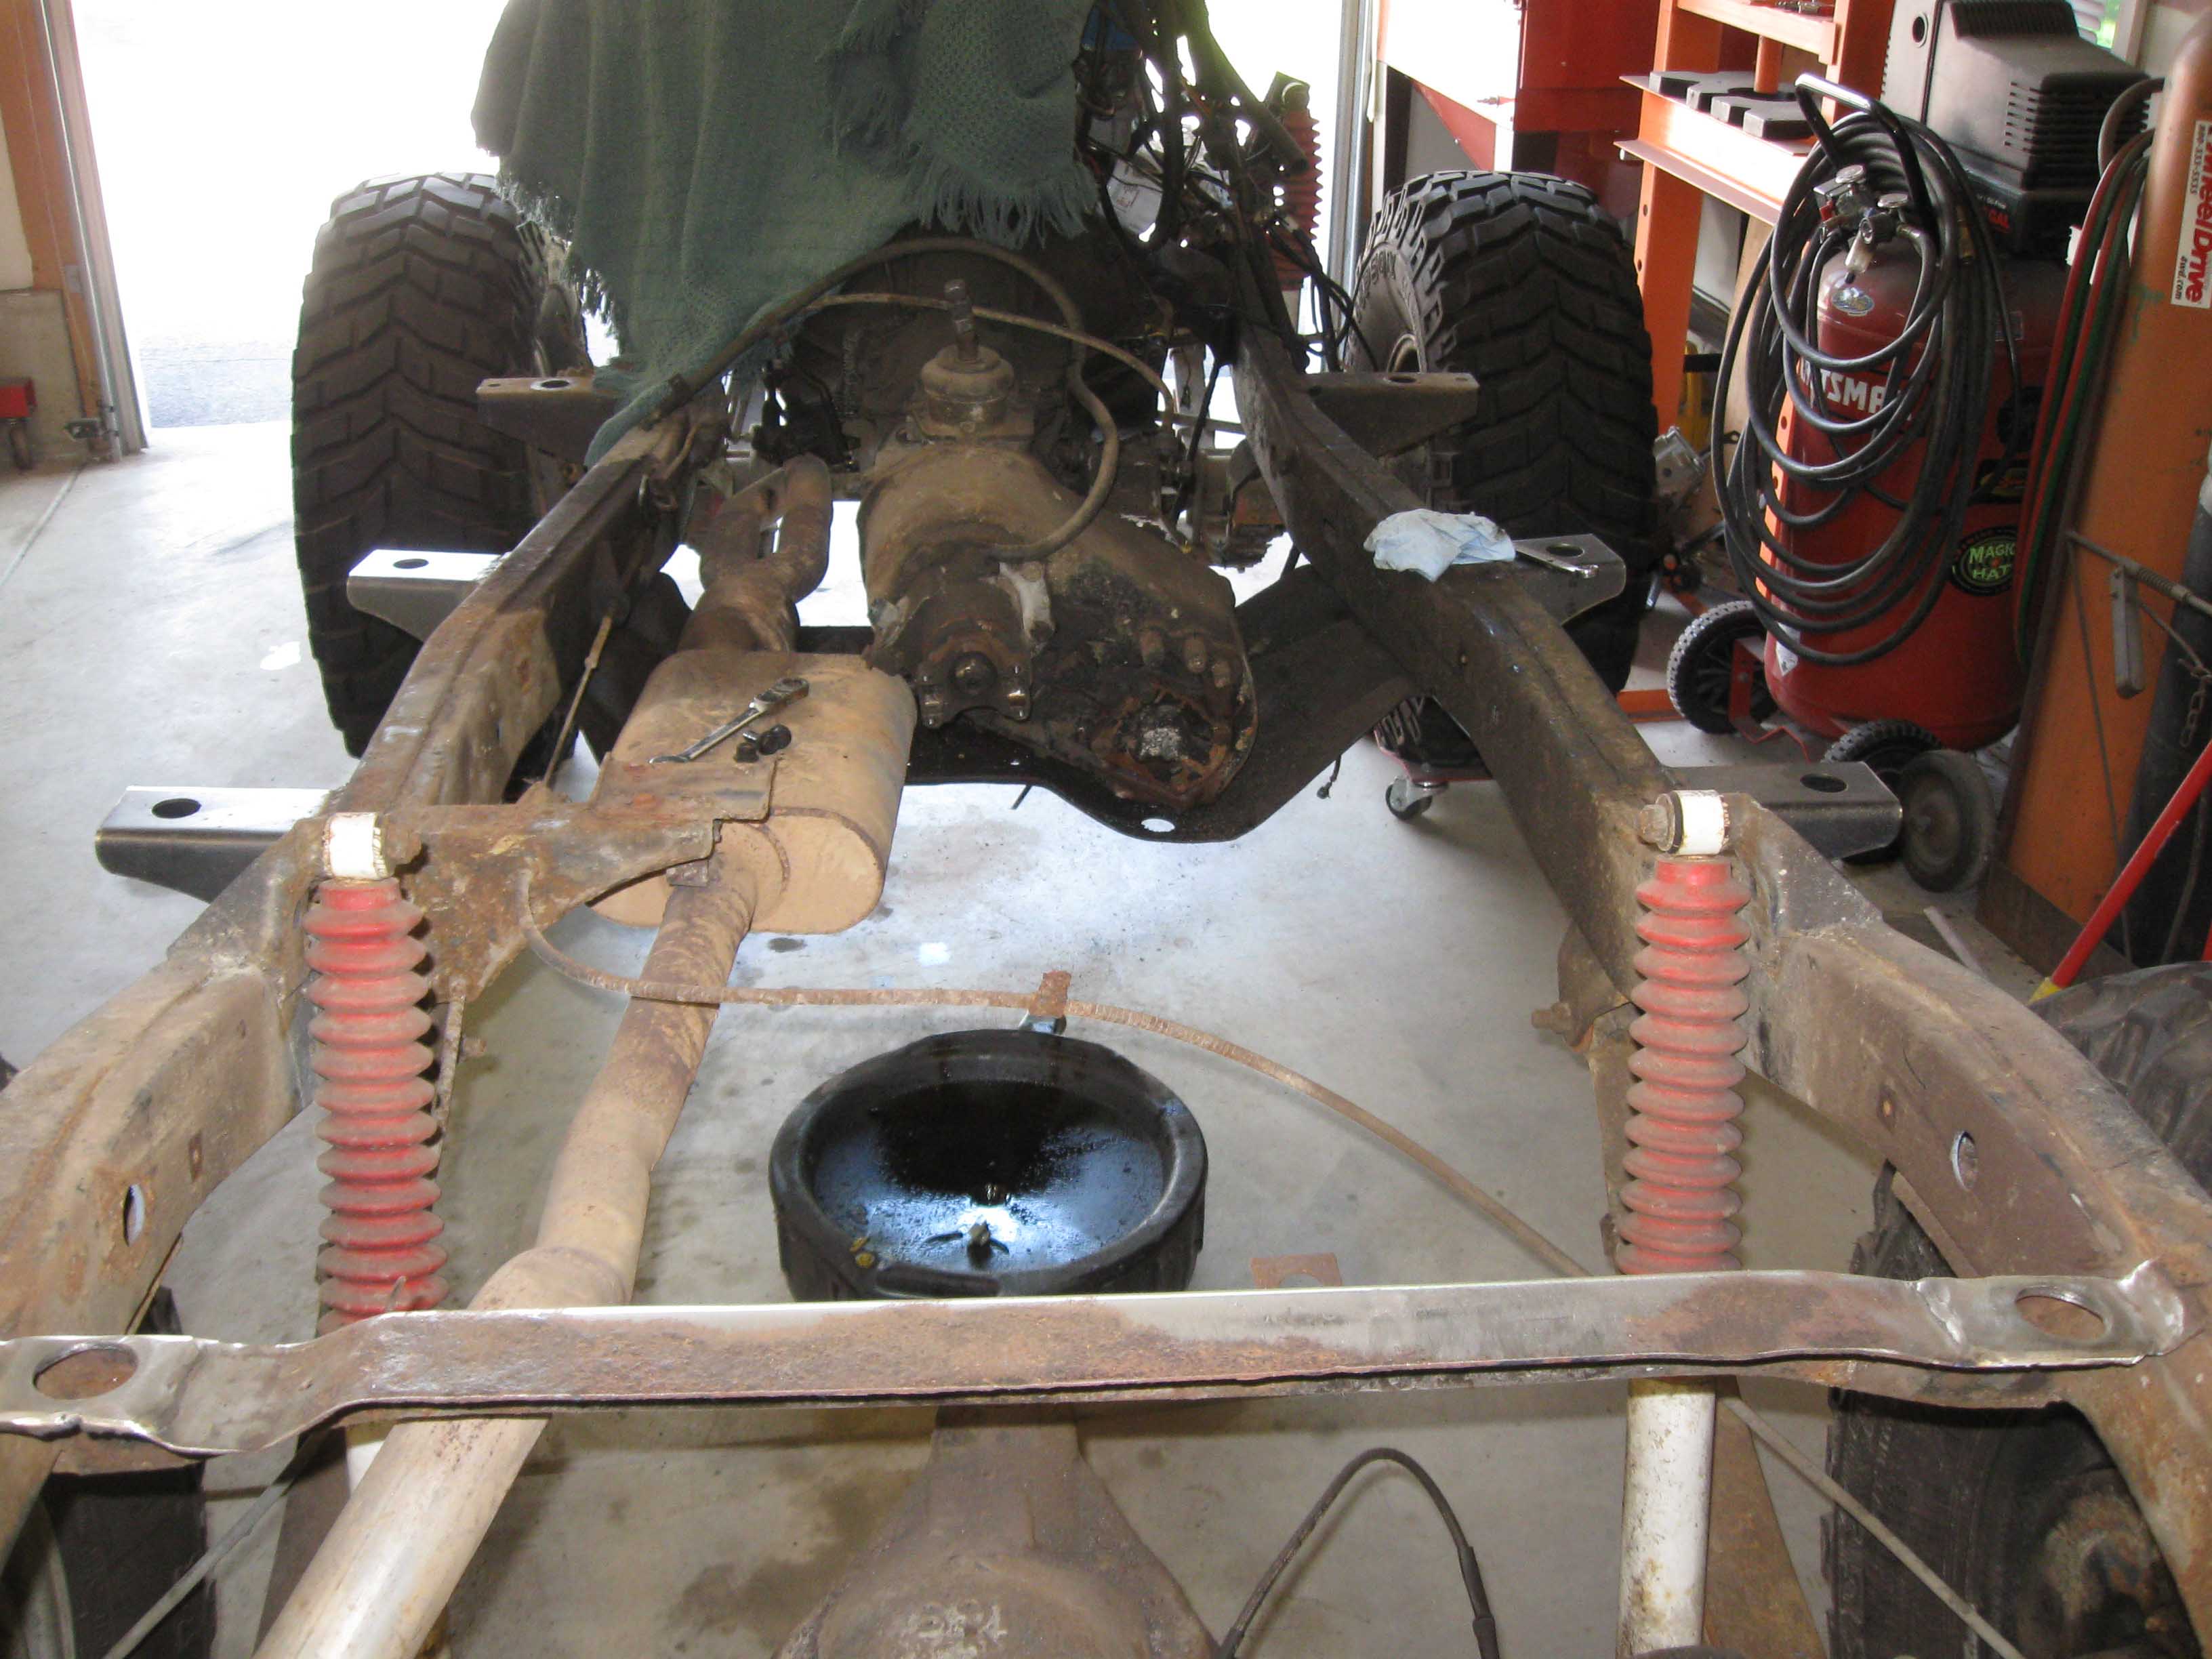
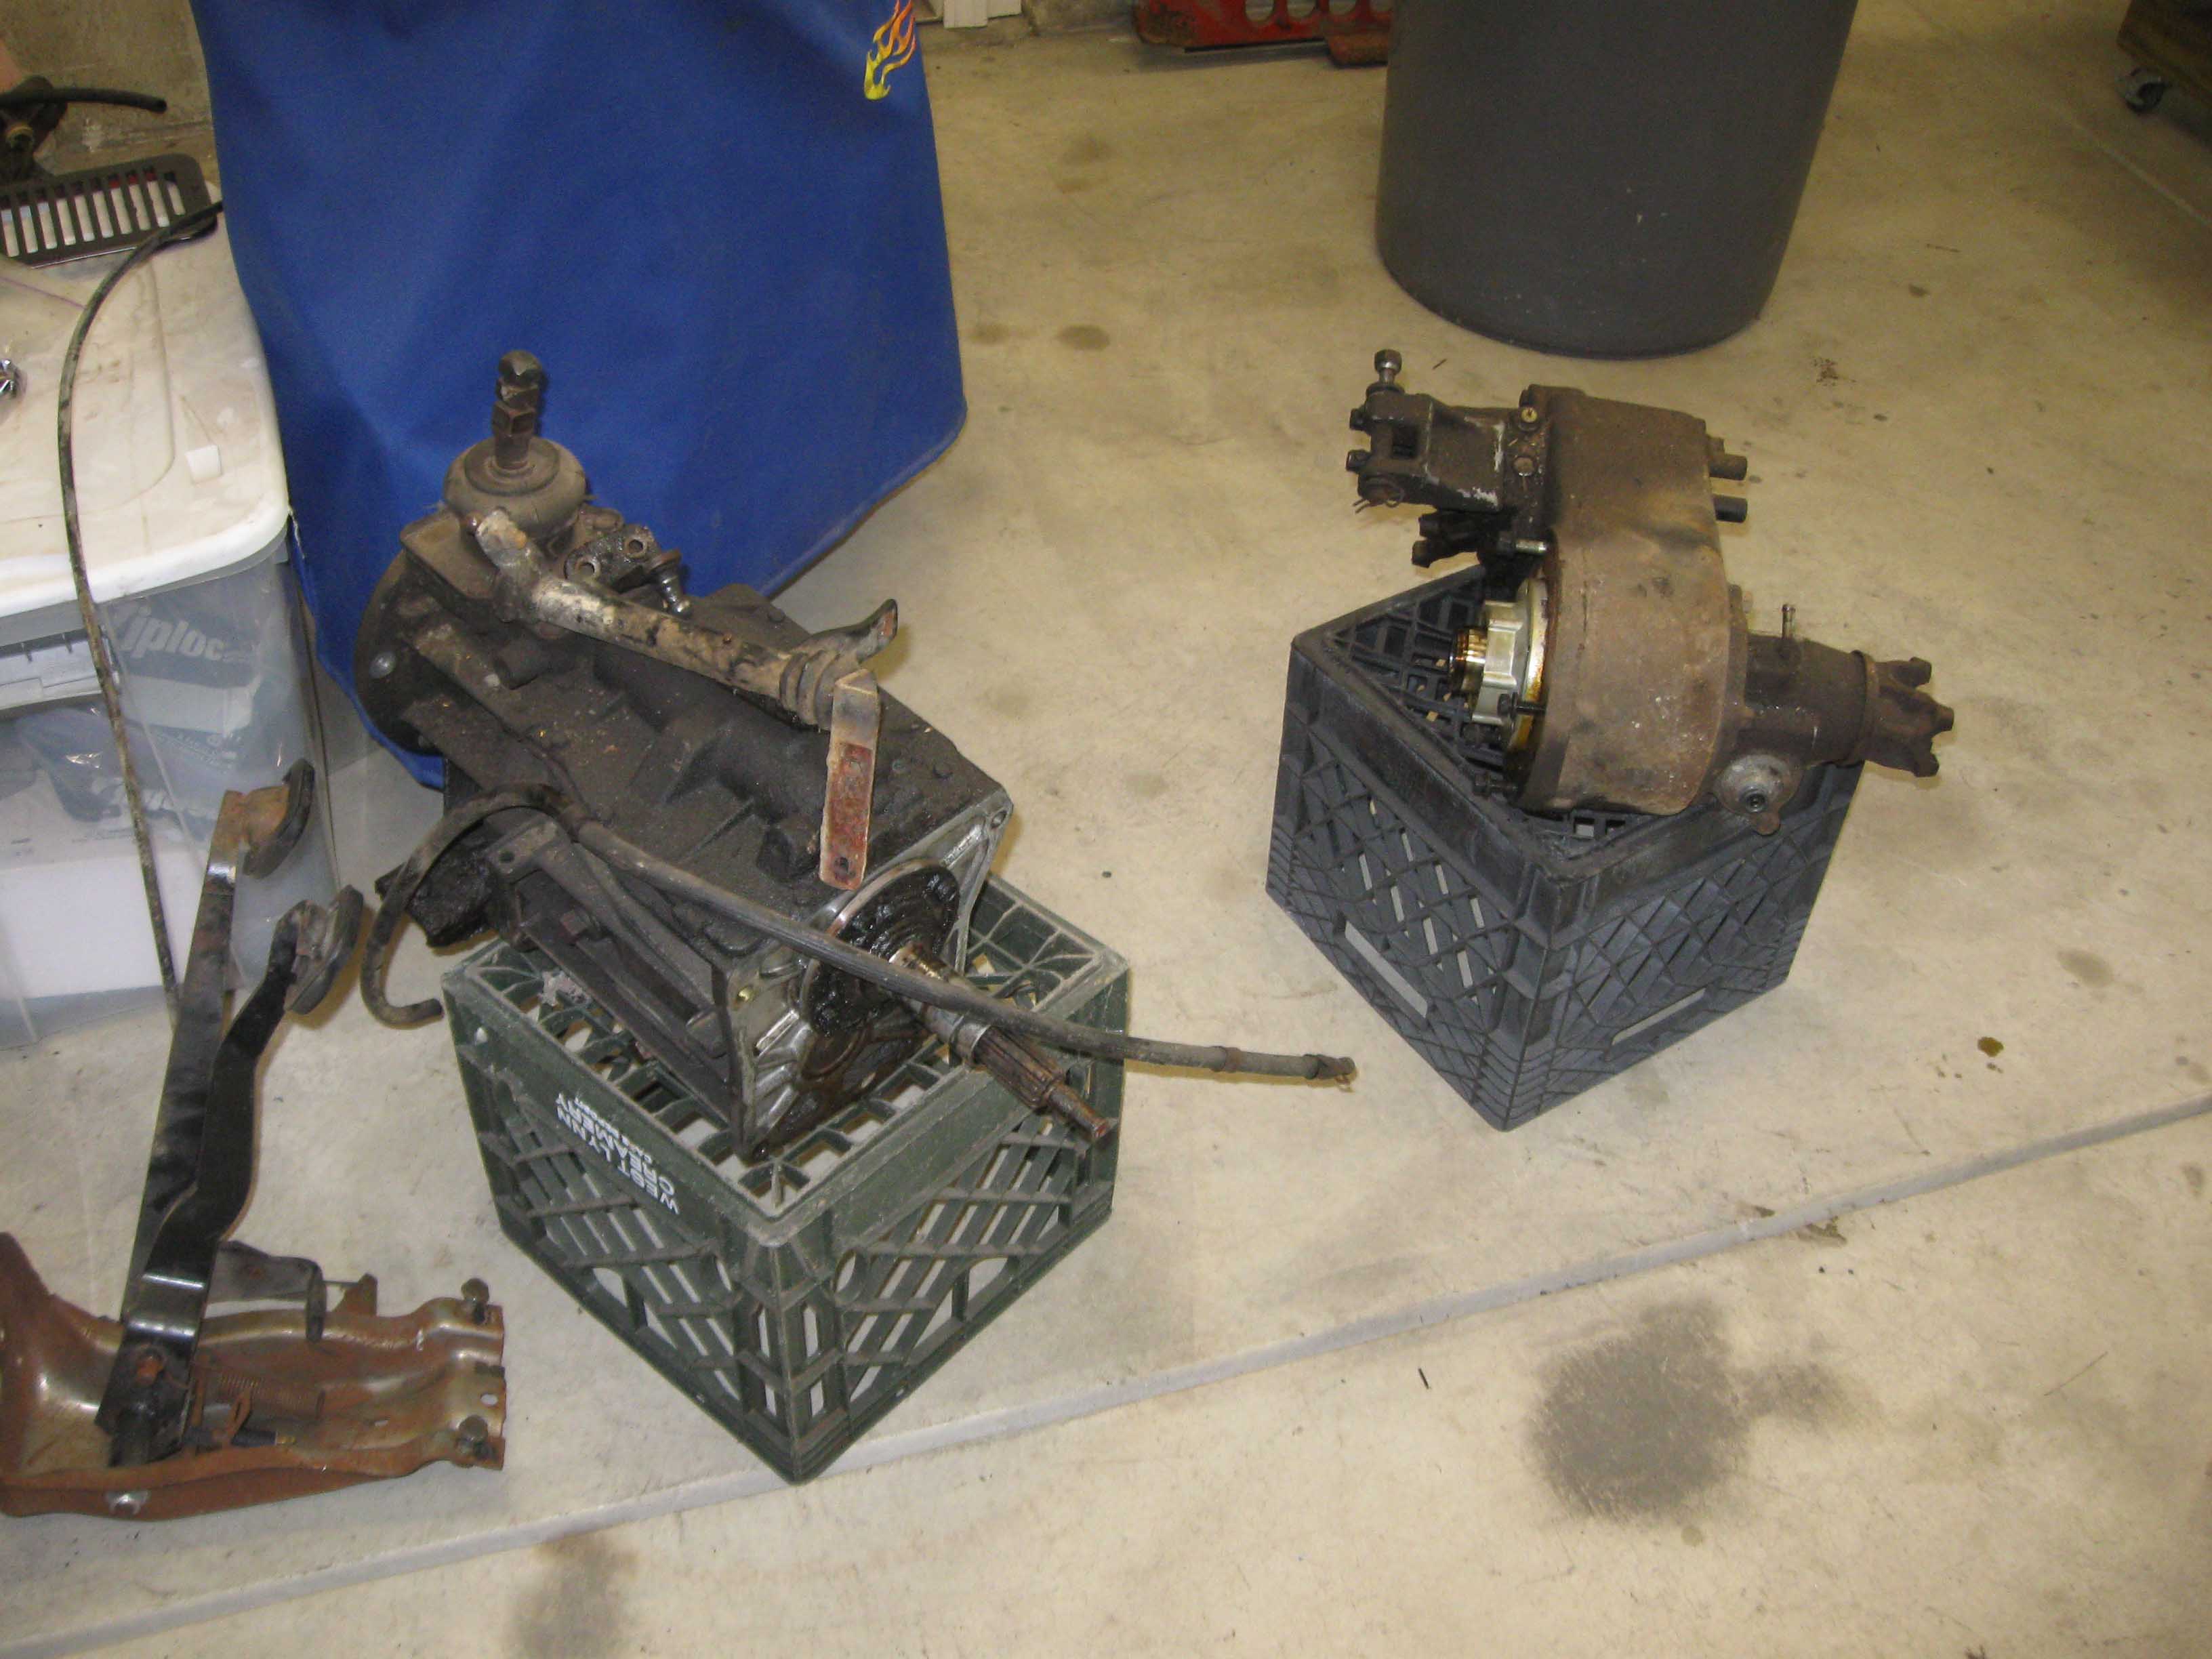
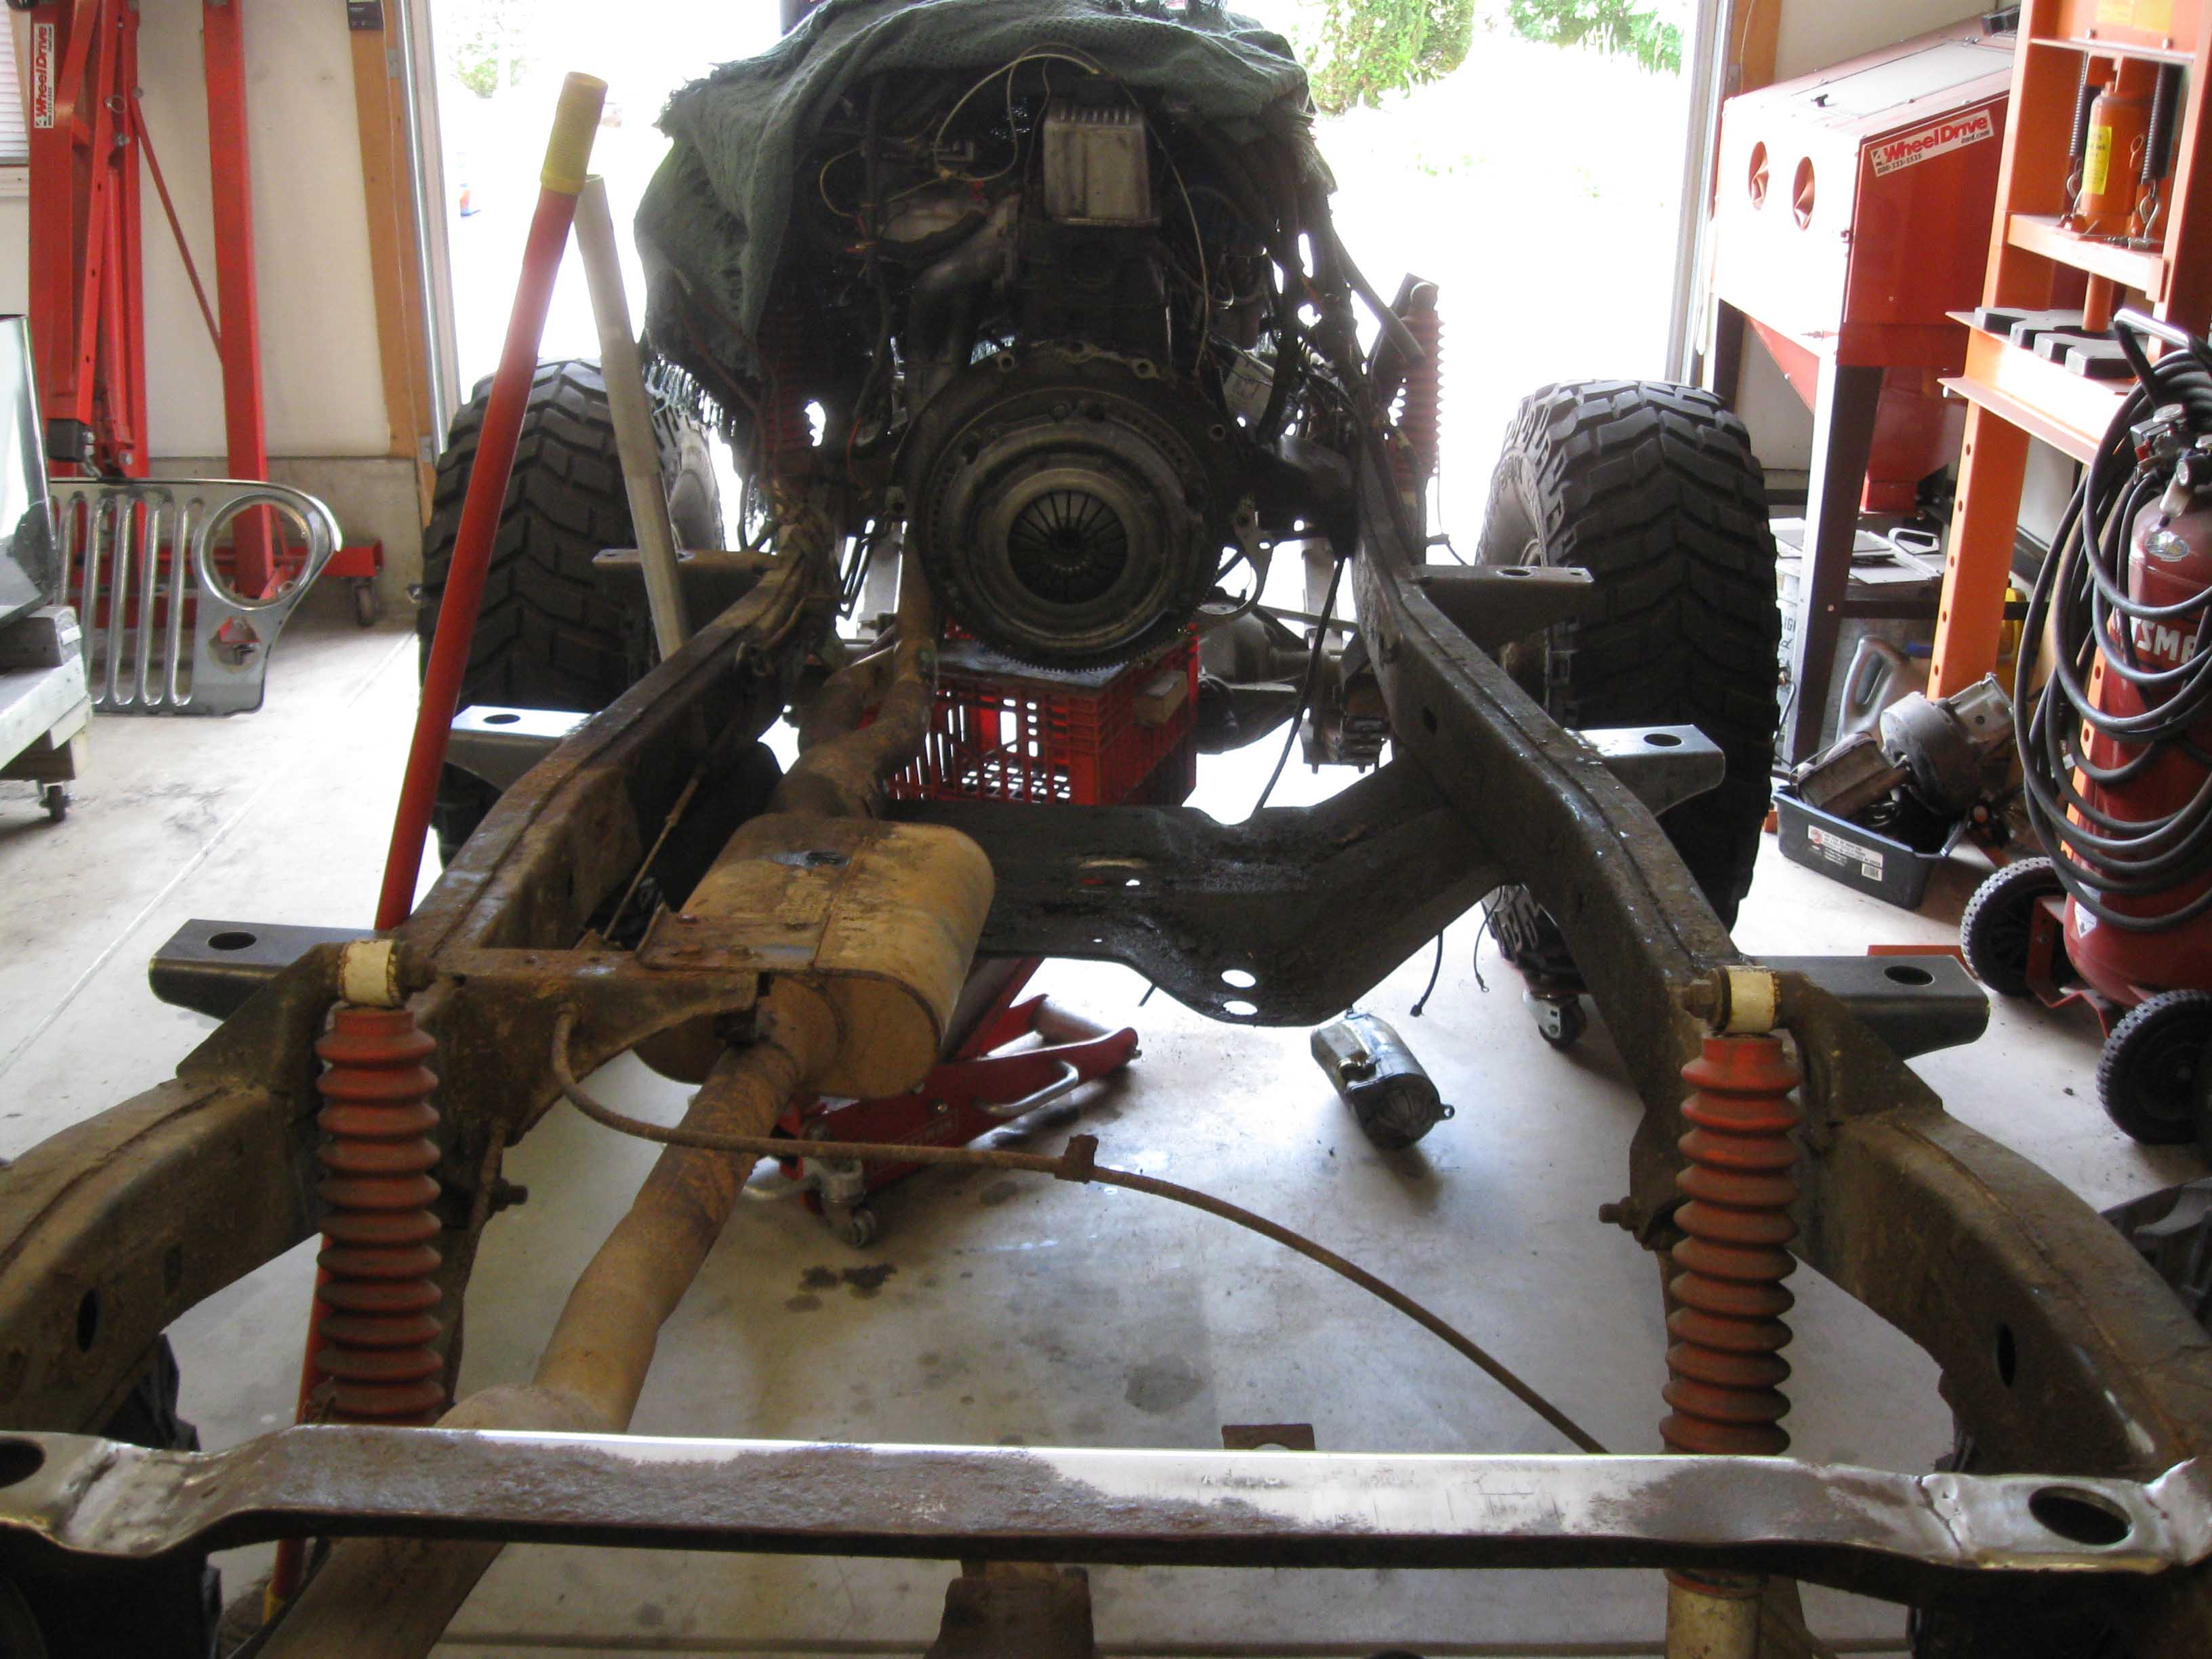
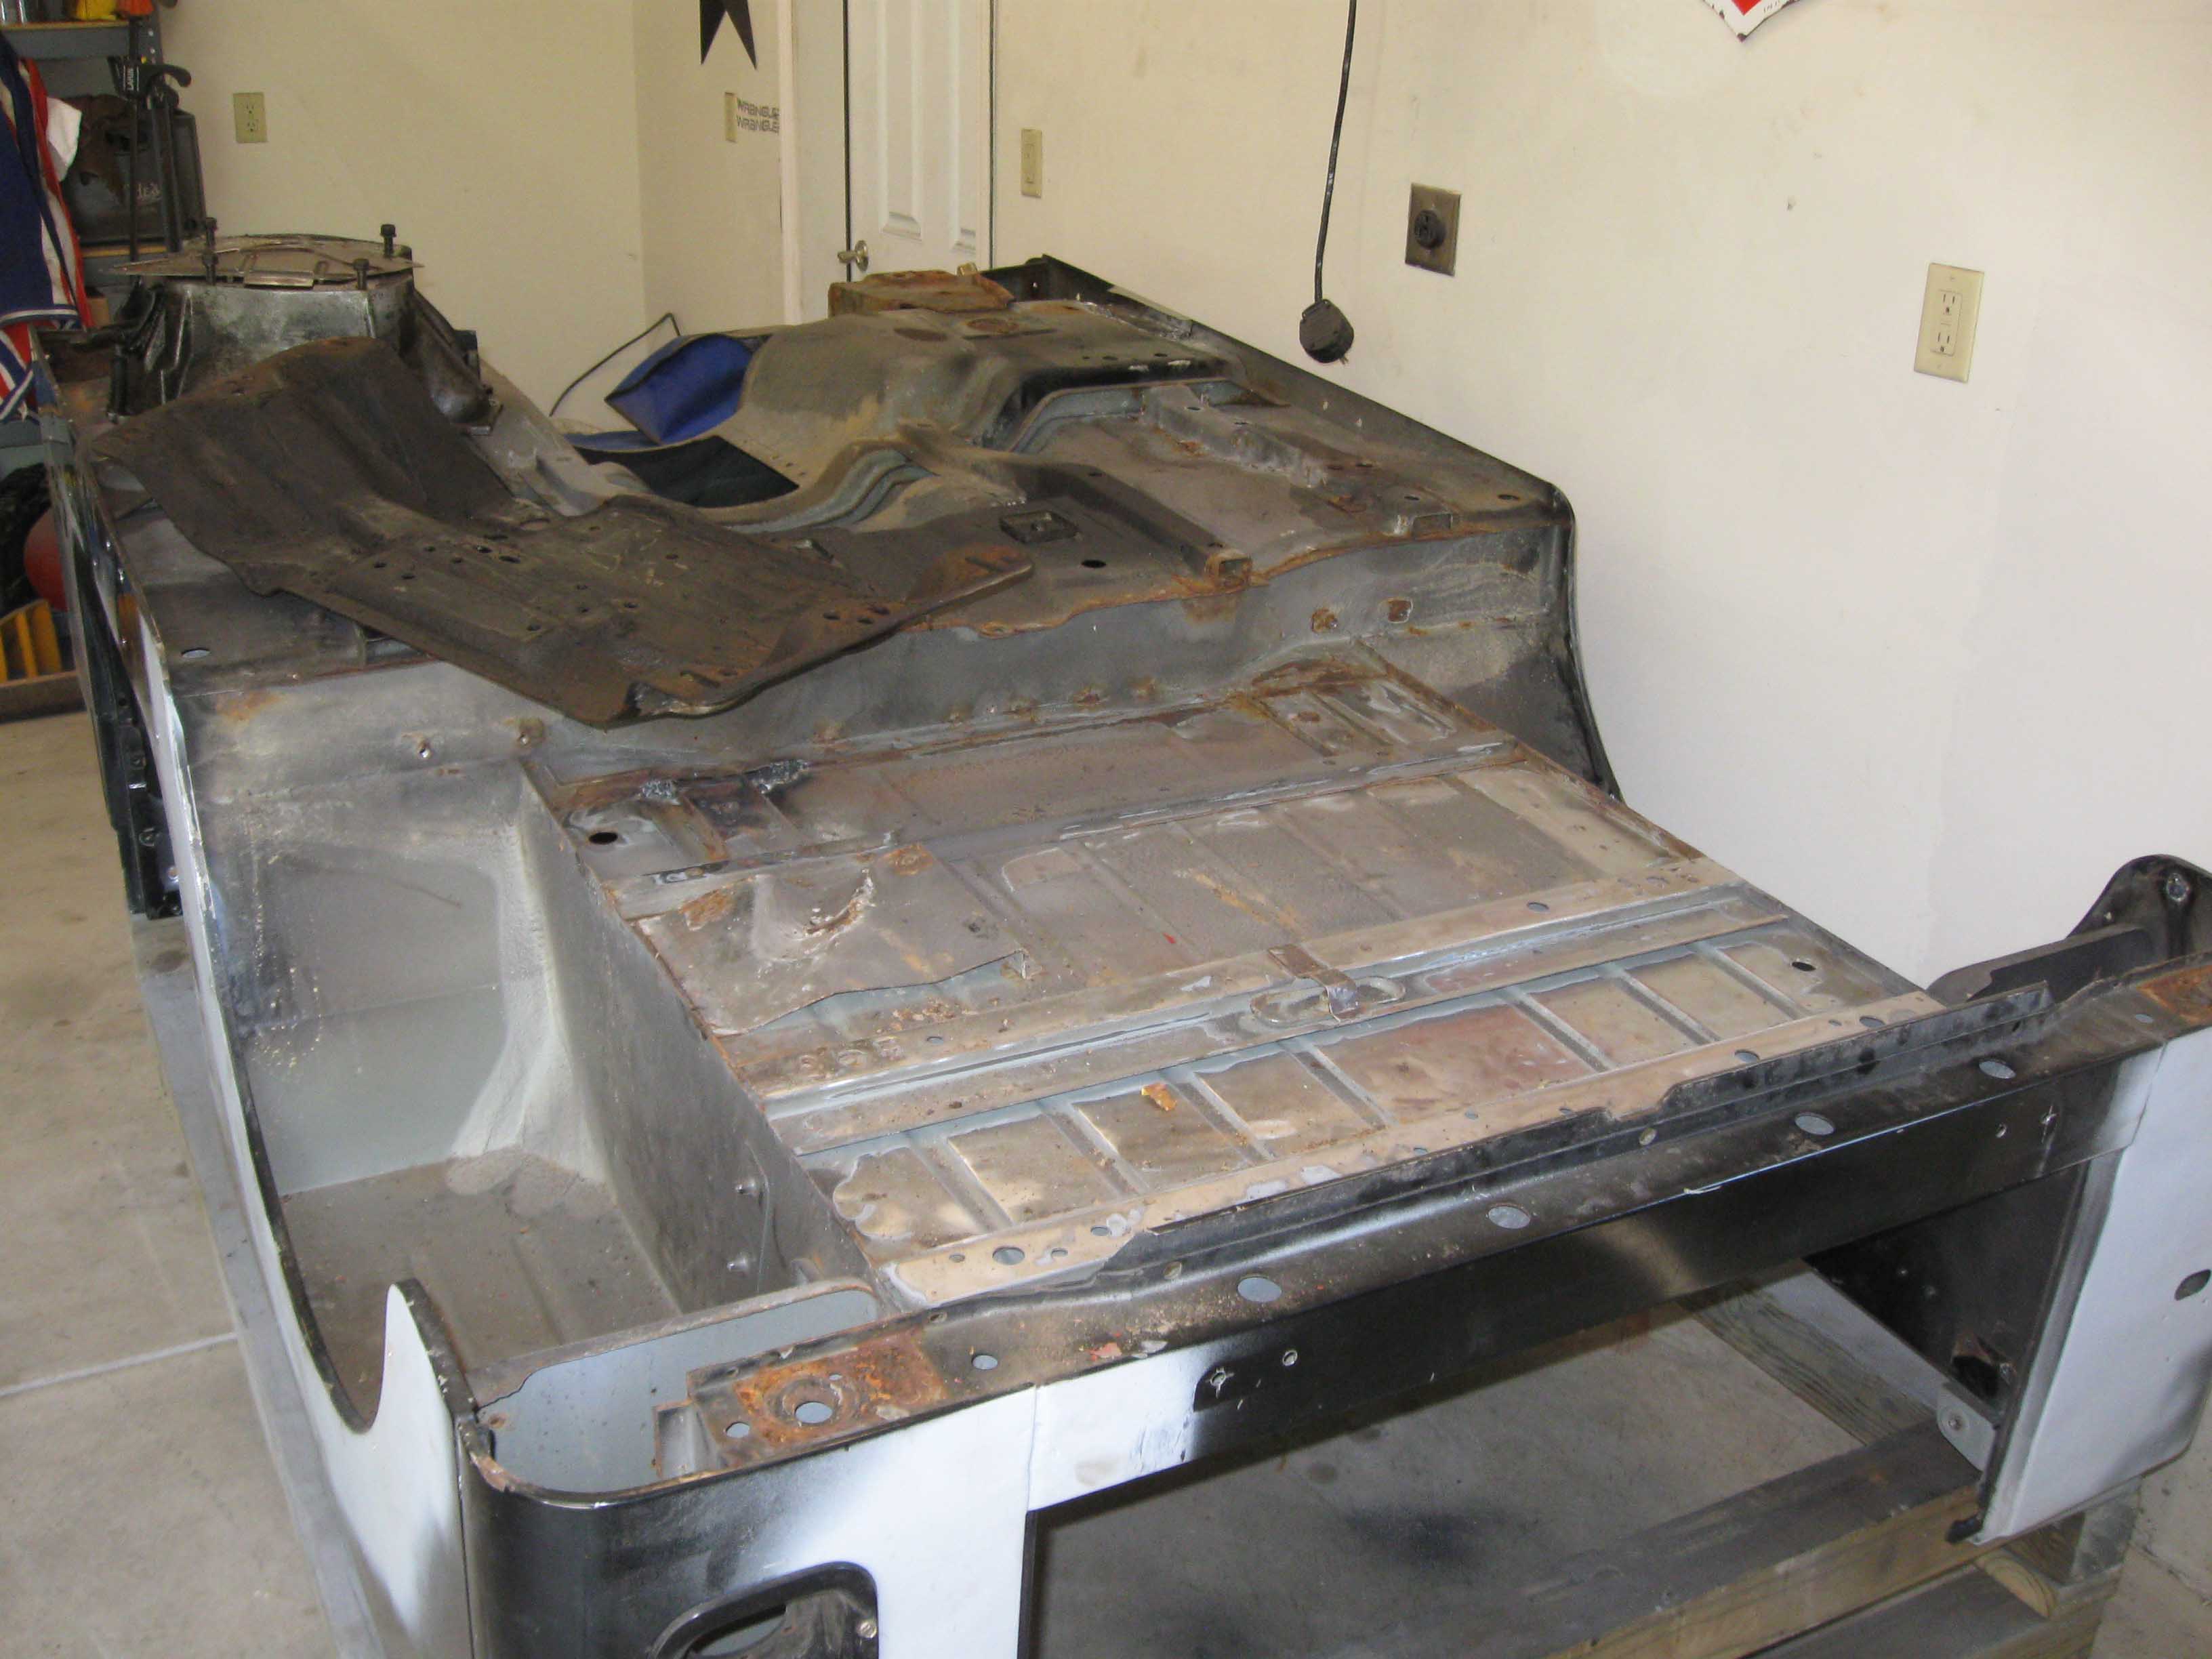
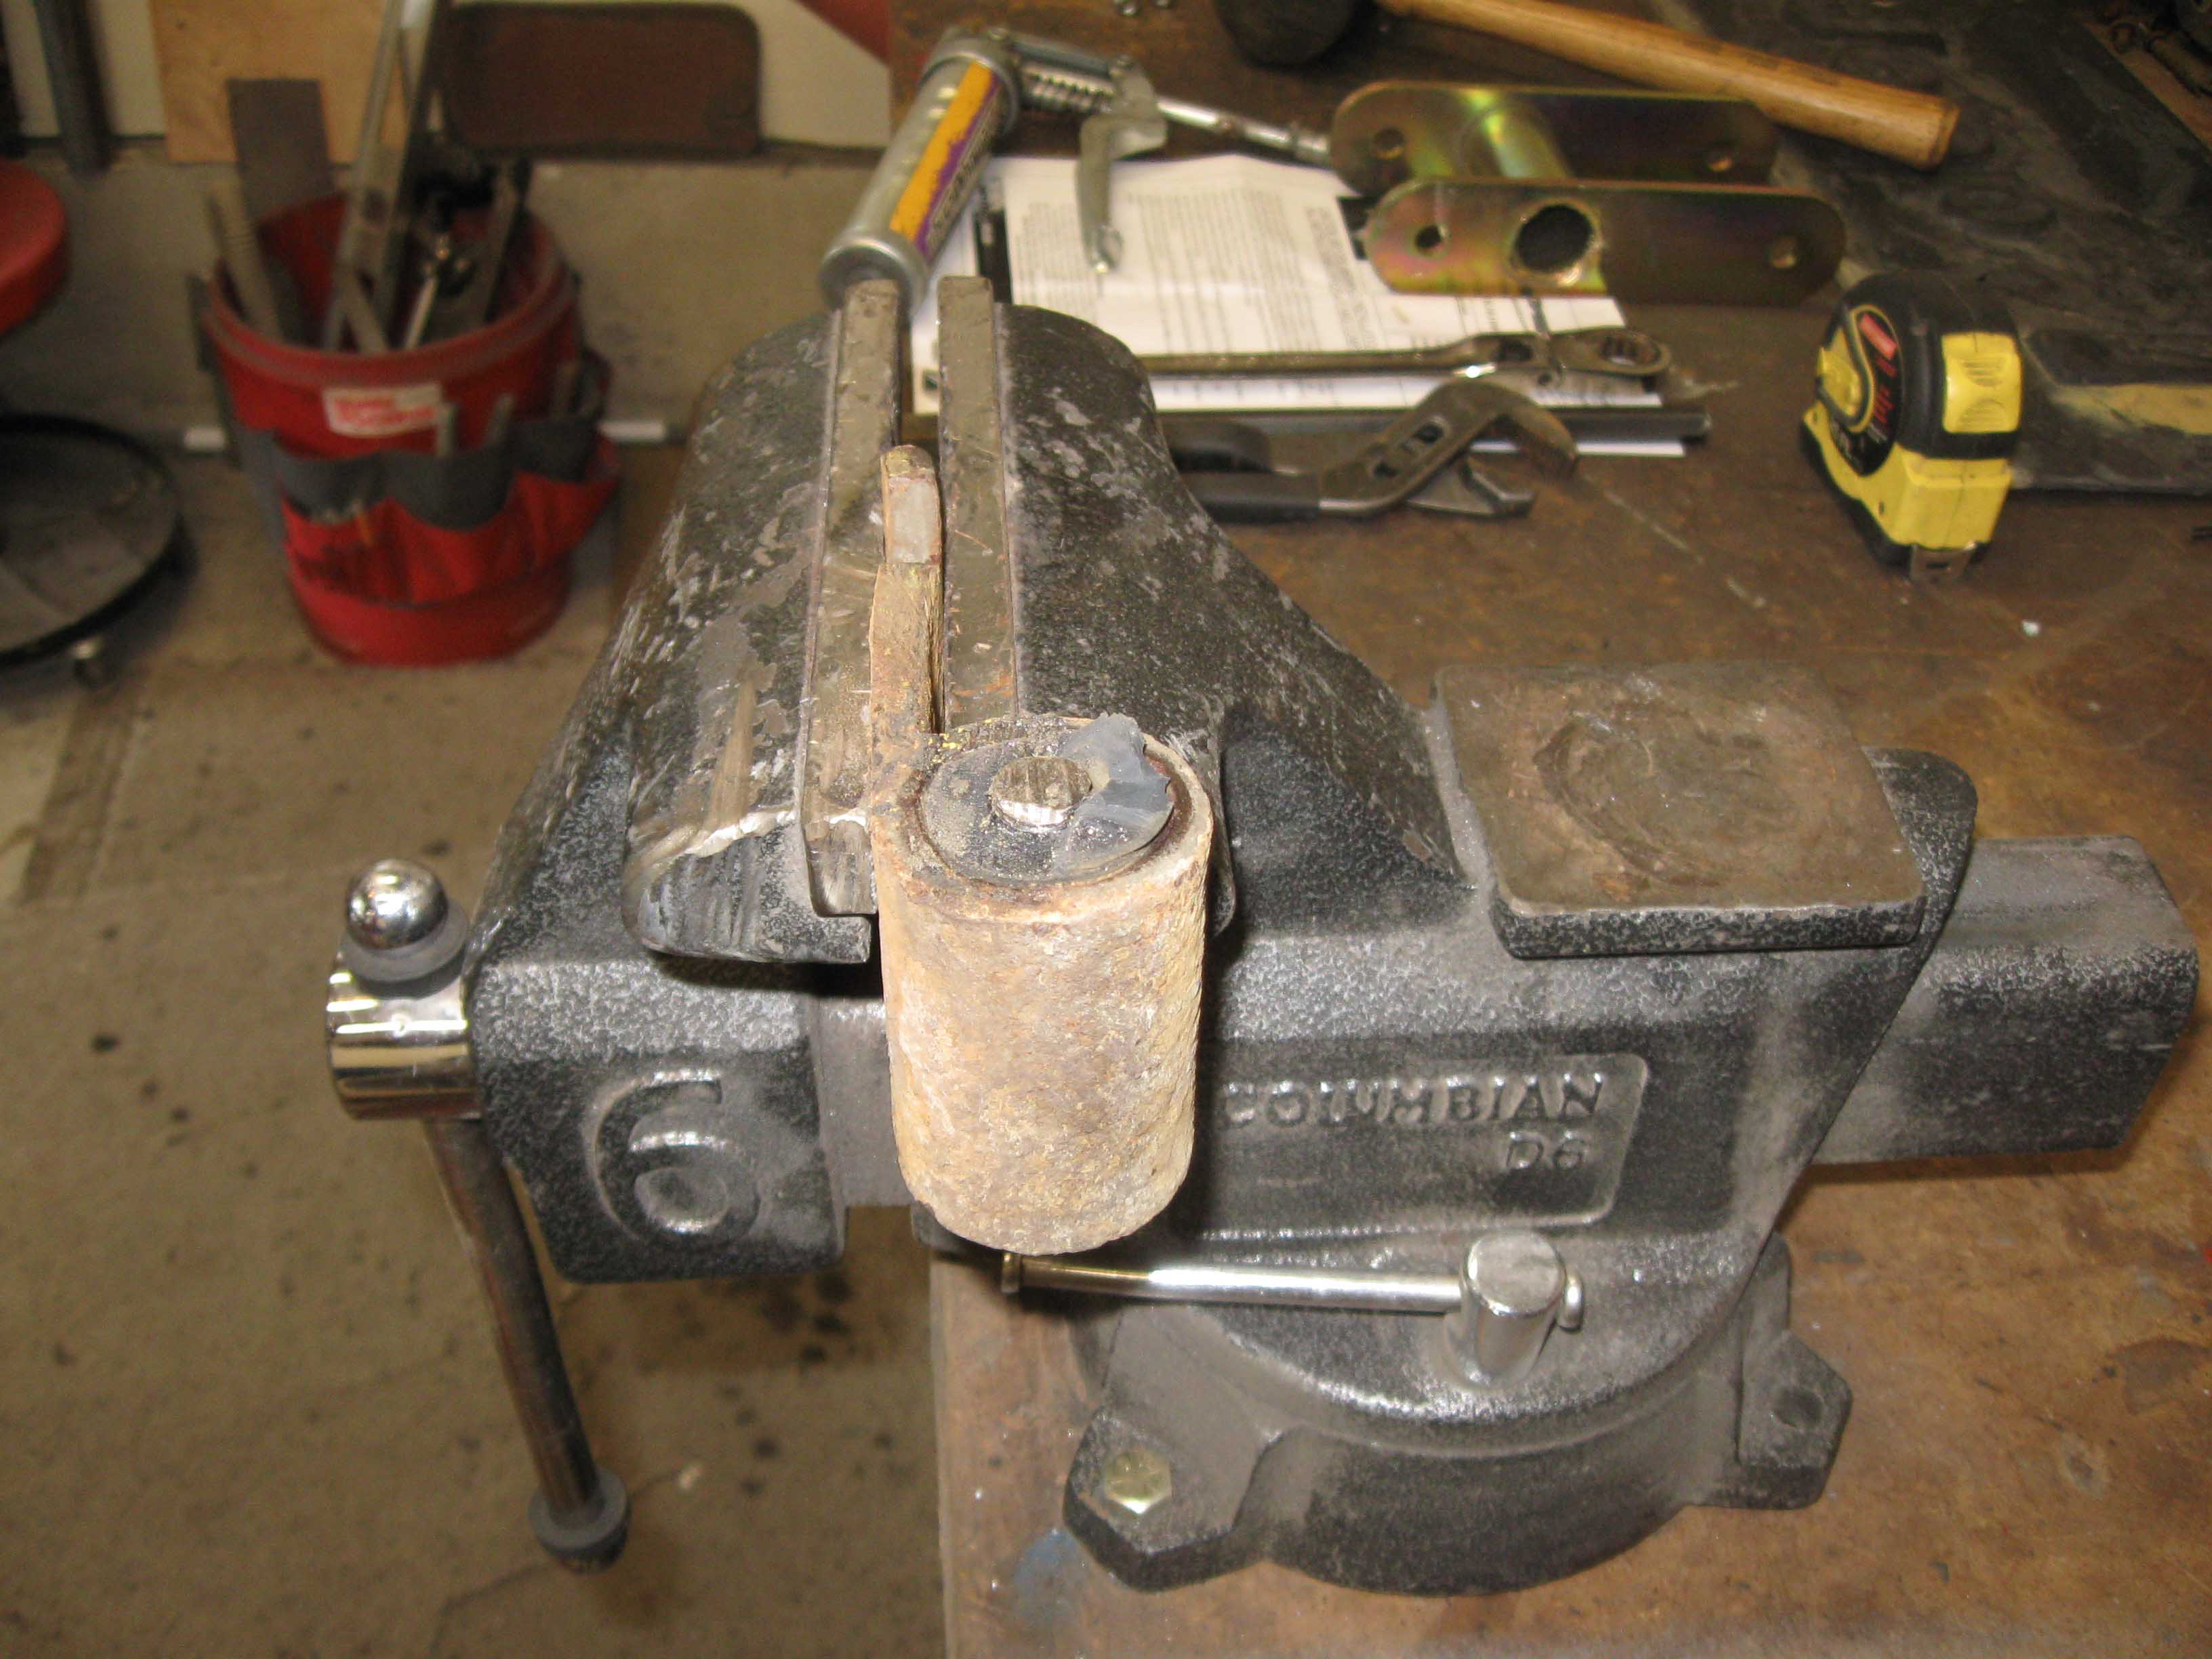
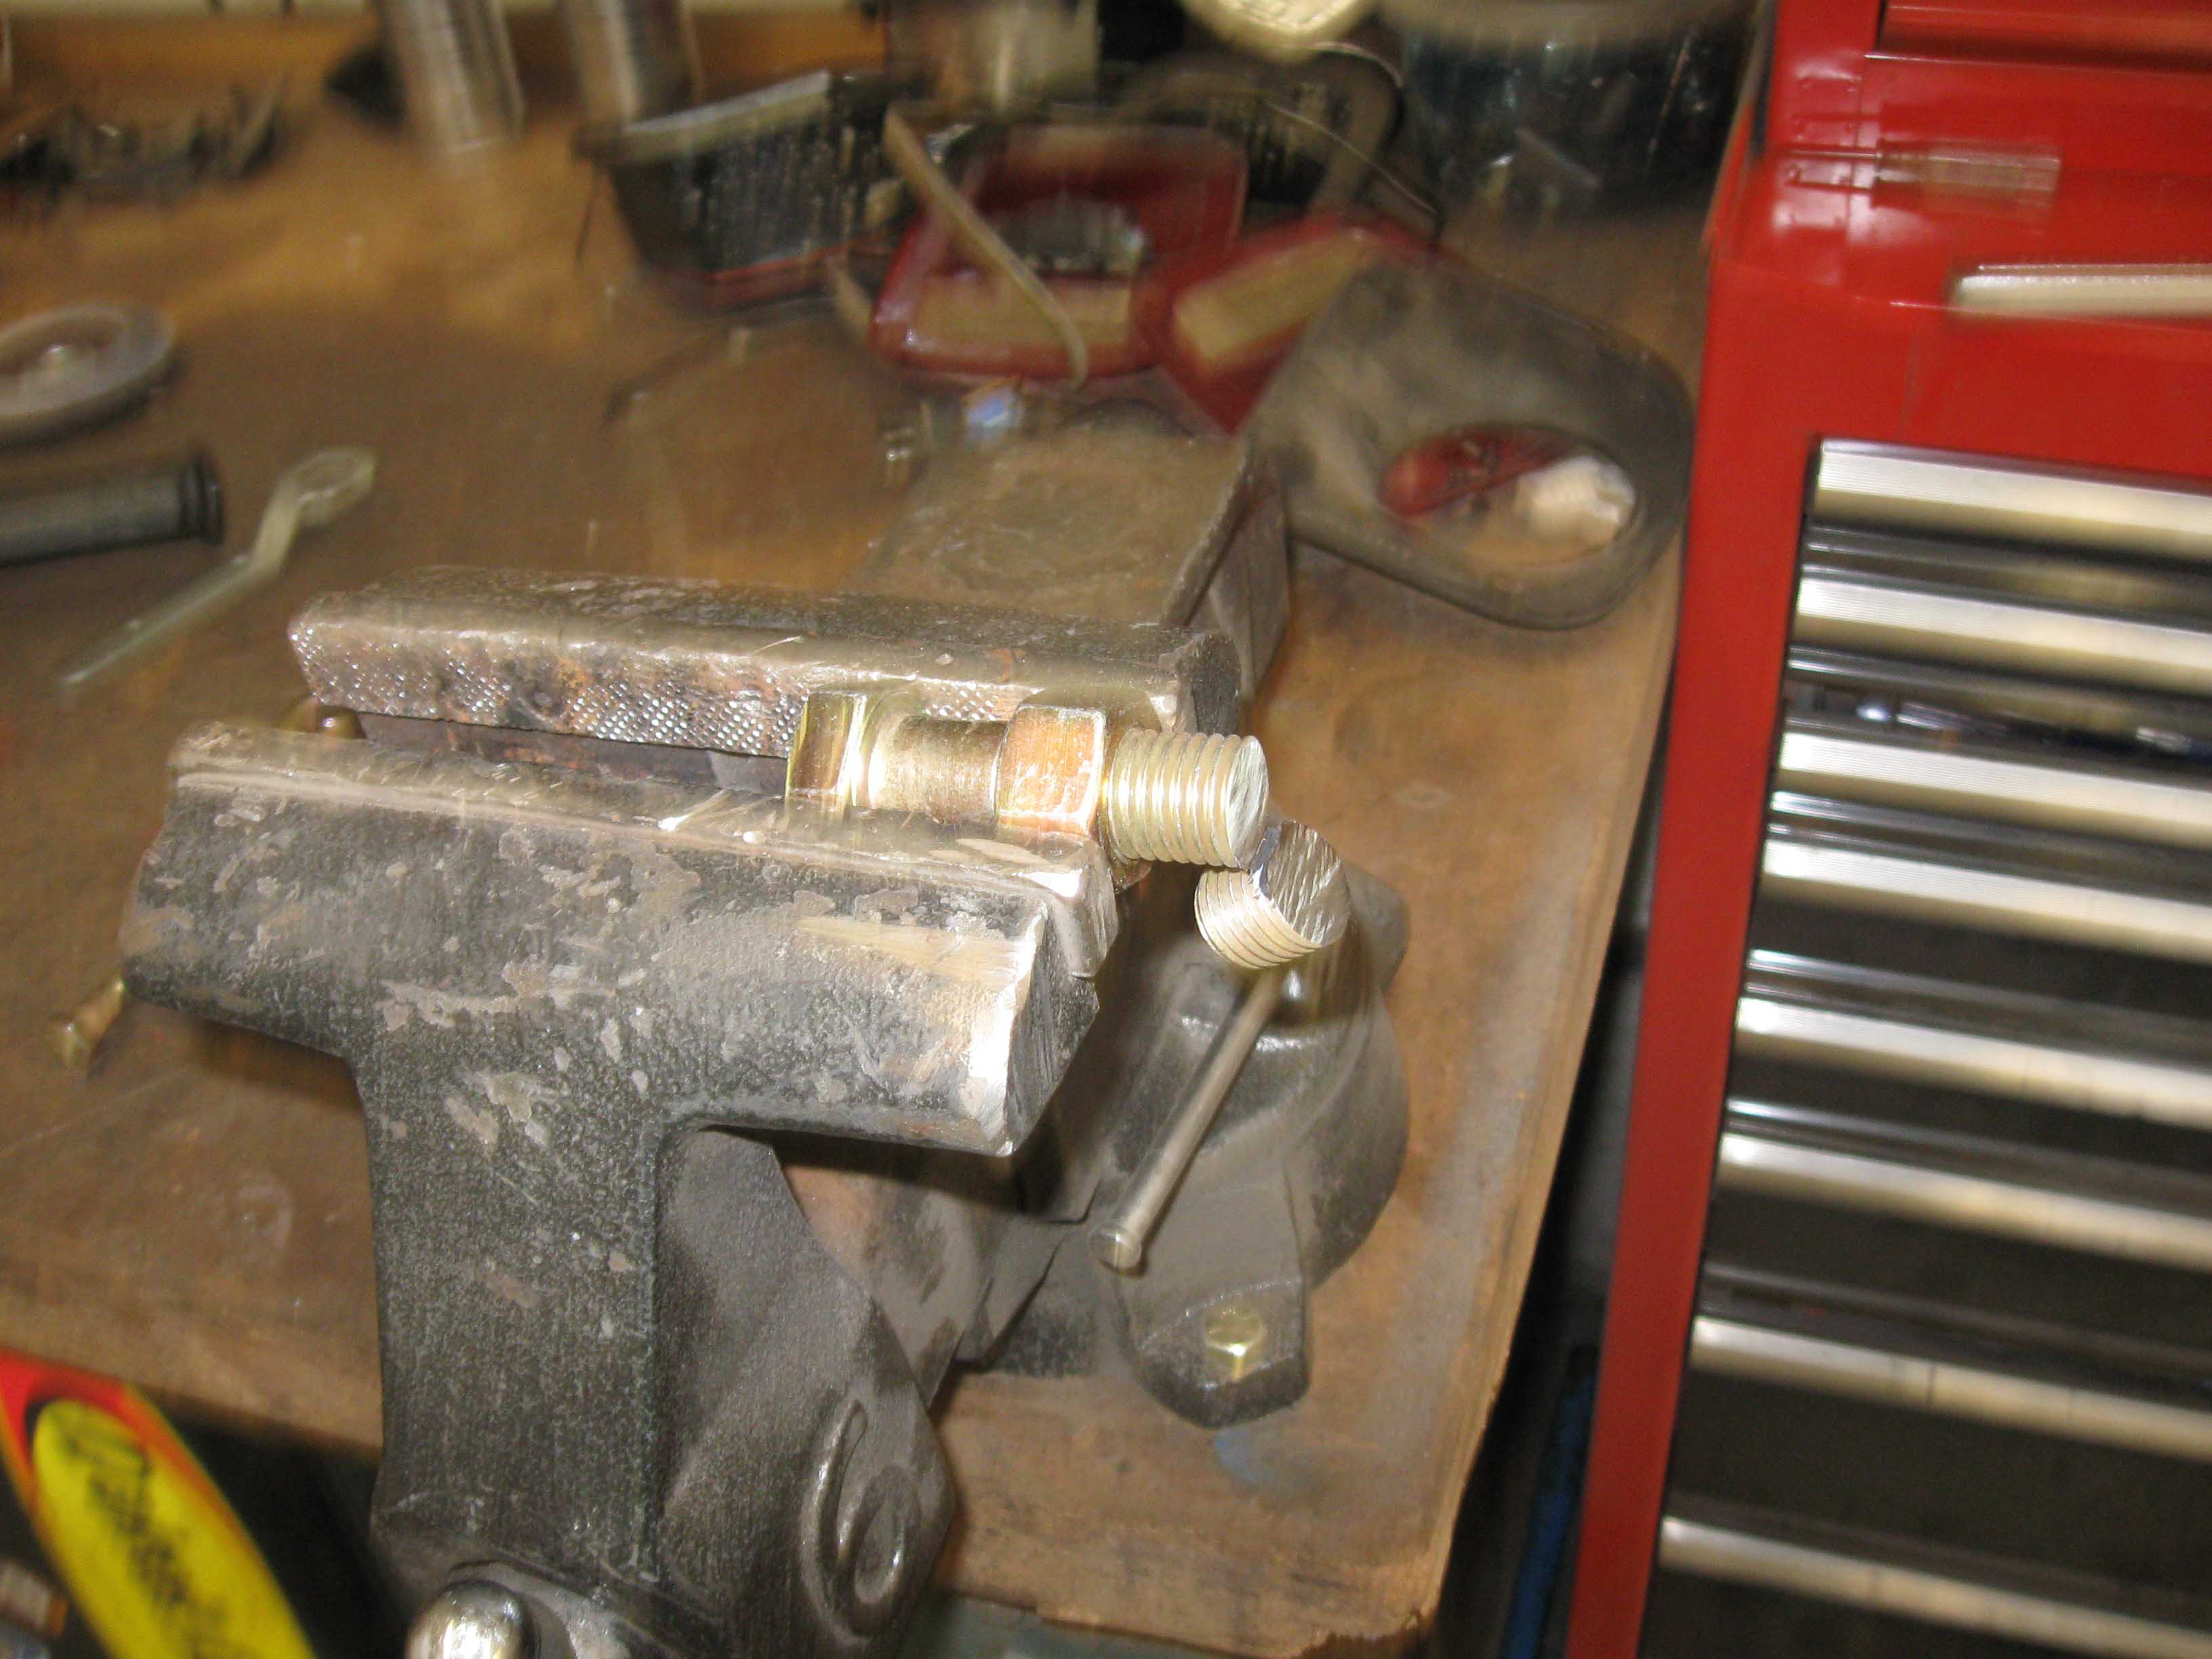
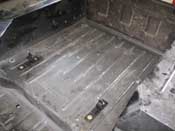
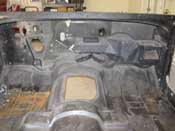
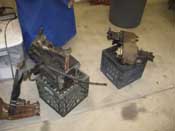
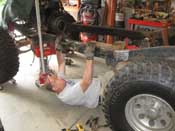
| (06/08/09) The day is what I call a 50/50 day, 50% of it was good and 50% of it
wasn't so good. We started off by stripping the drive train and the parts off the tub, and then we flipped the tub
so work can be done on the underside of it before undercoating. With the drive train out, we proceeded to work
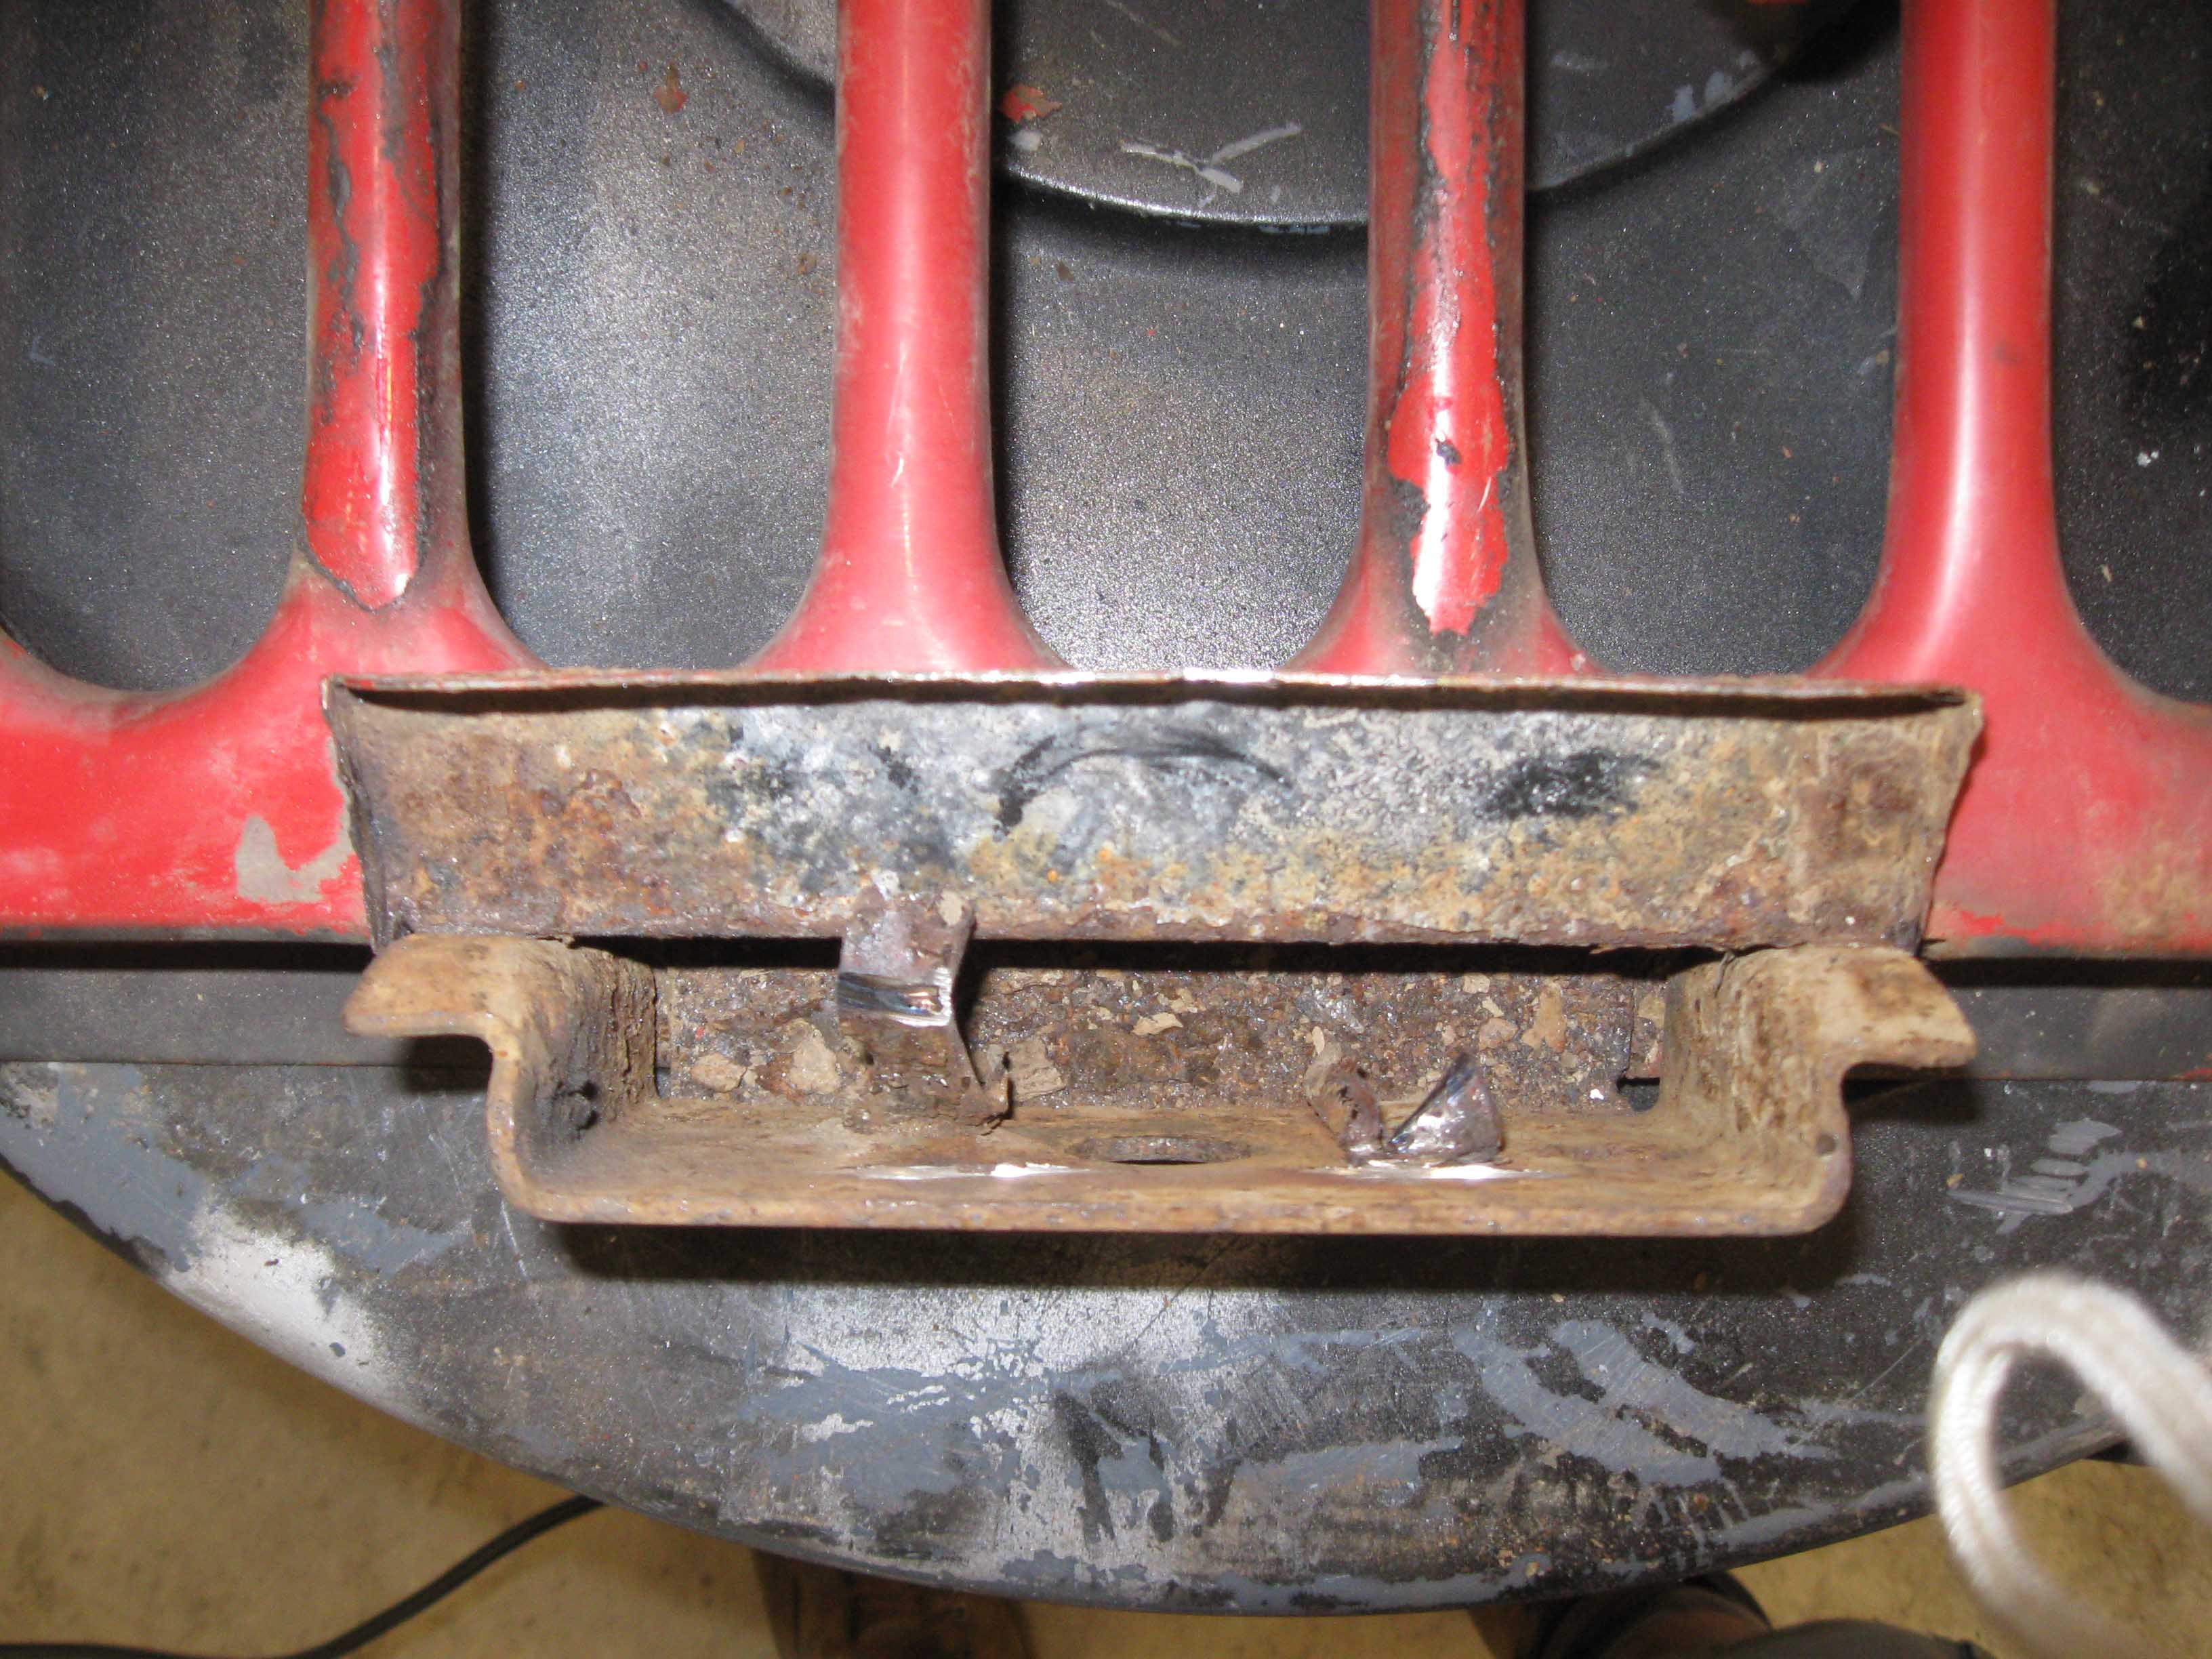
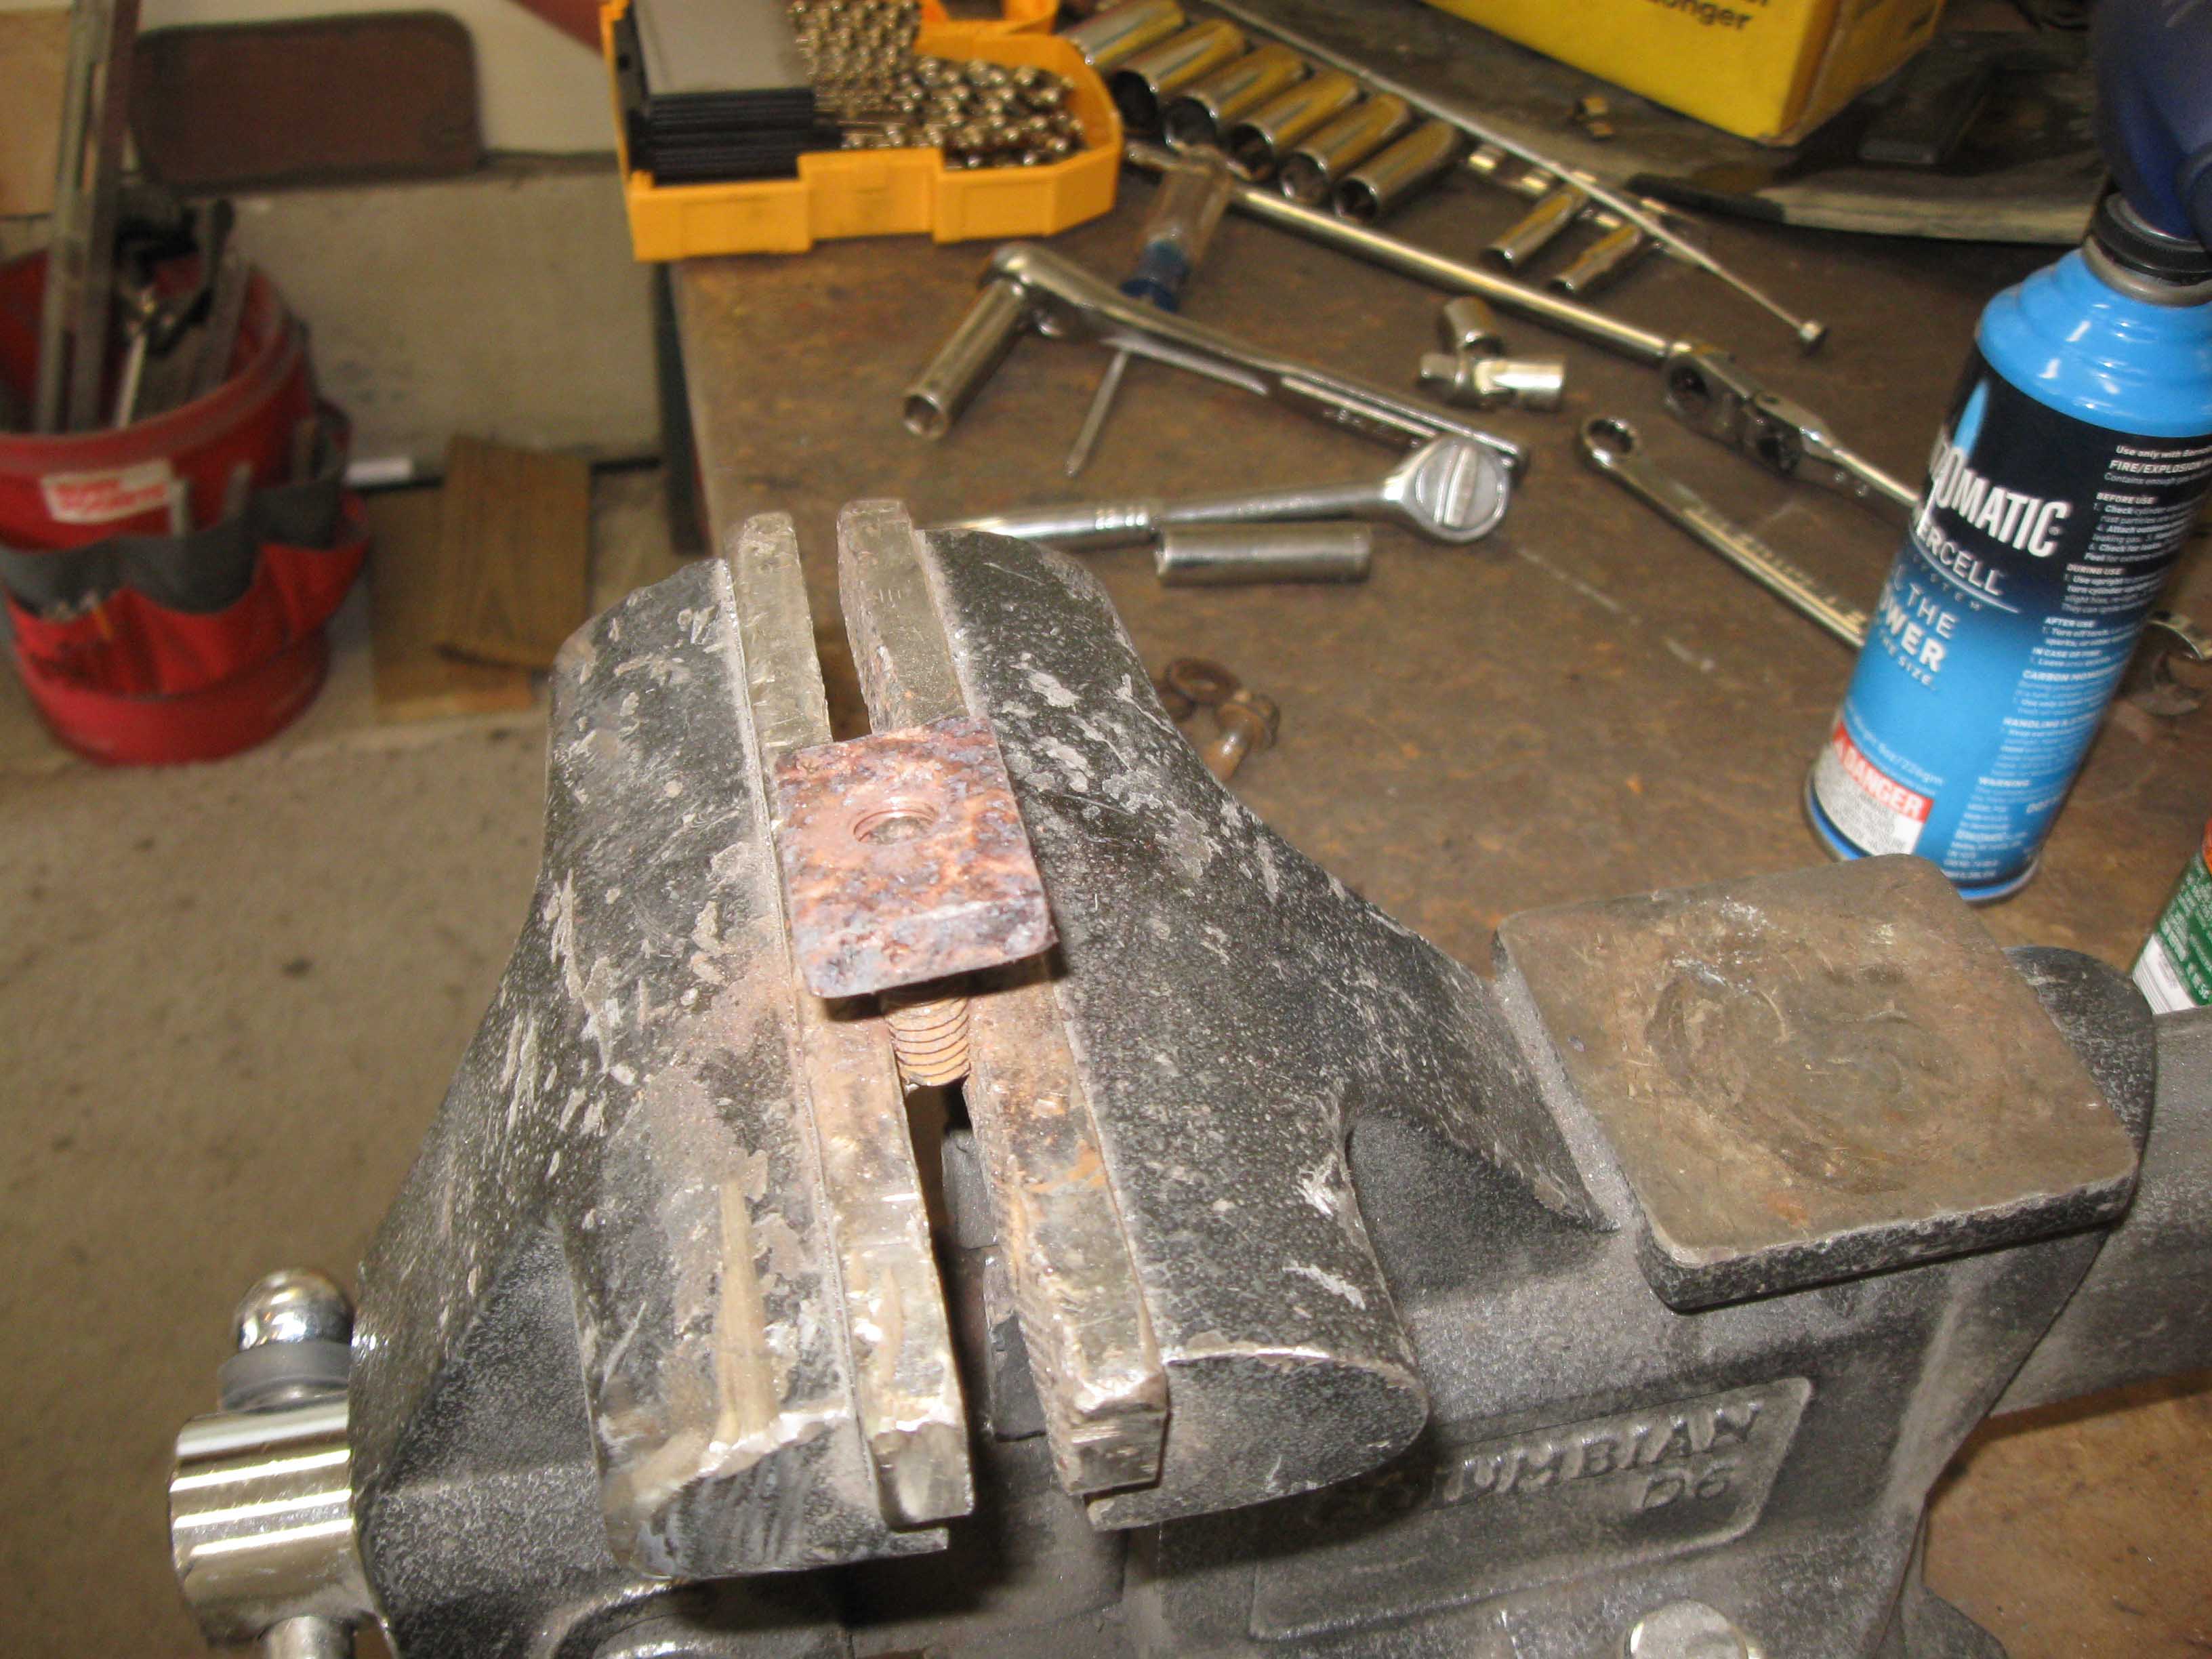
on the other things that needed attention, which involved stripping down the radiator grille shell down and getting
to work on the spun bolt. This then made it's way over to the belly skid plate.
|
| |

|
|
|
|
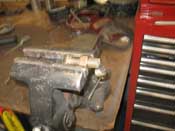
| |
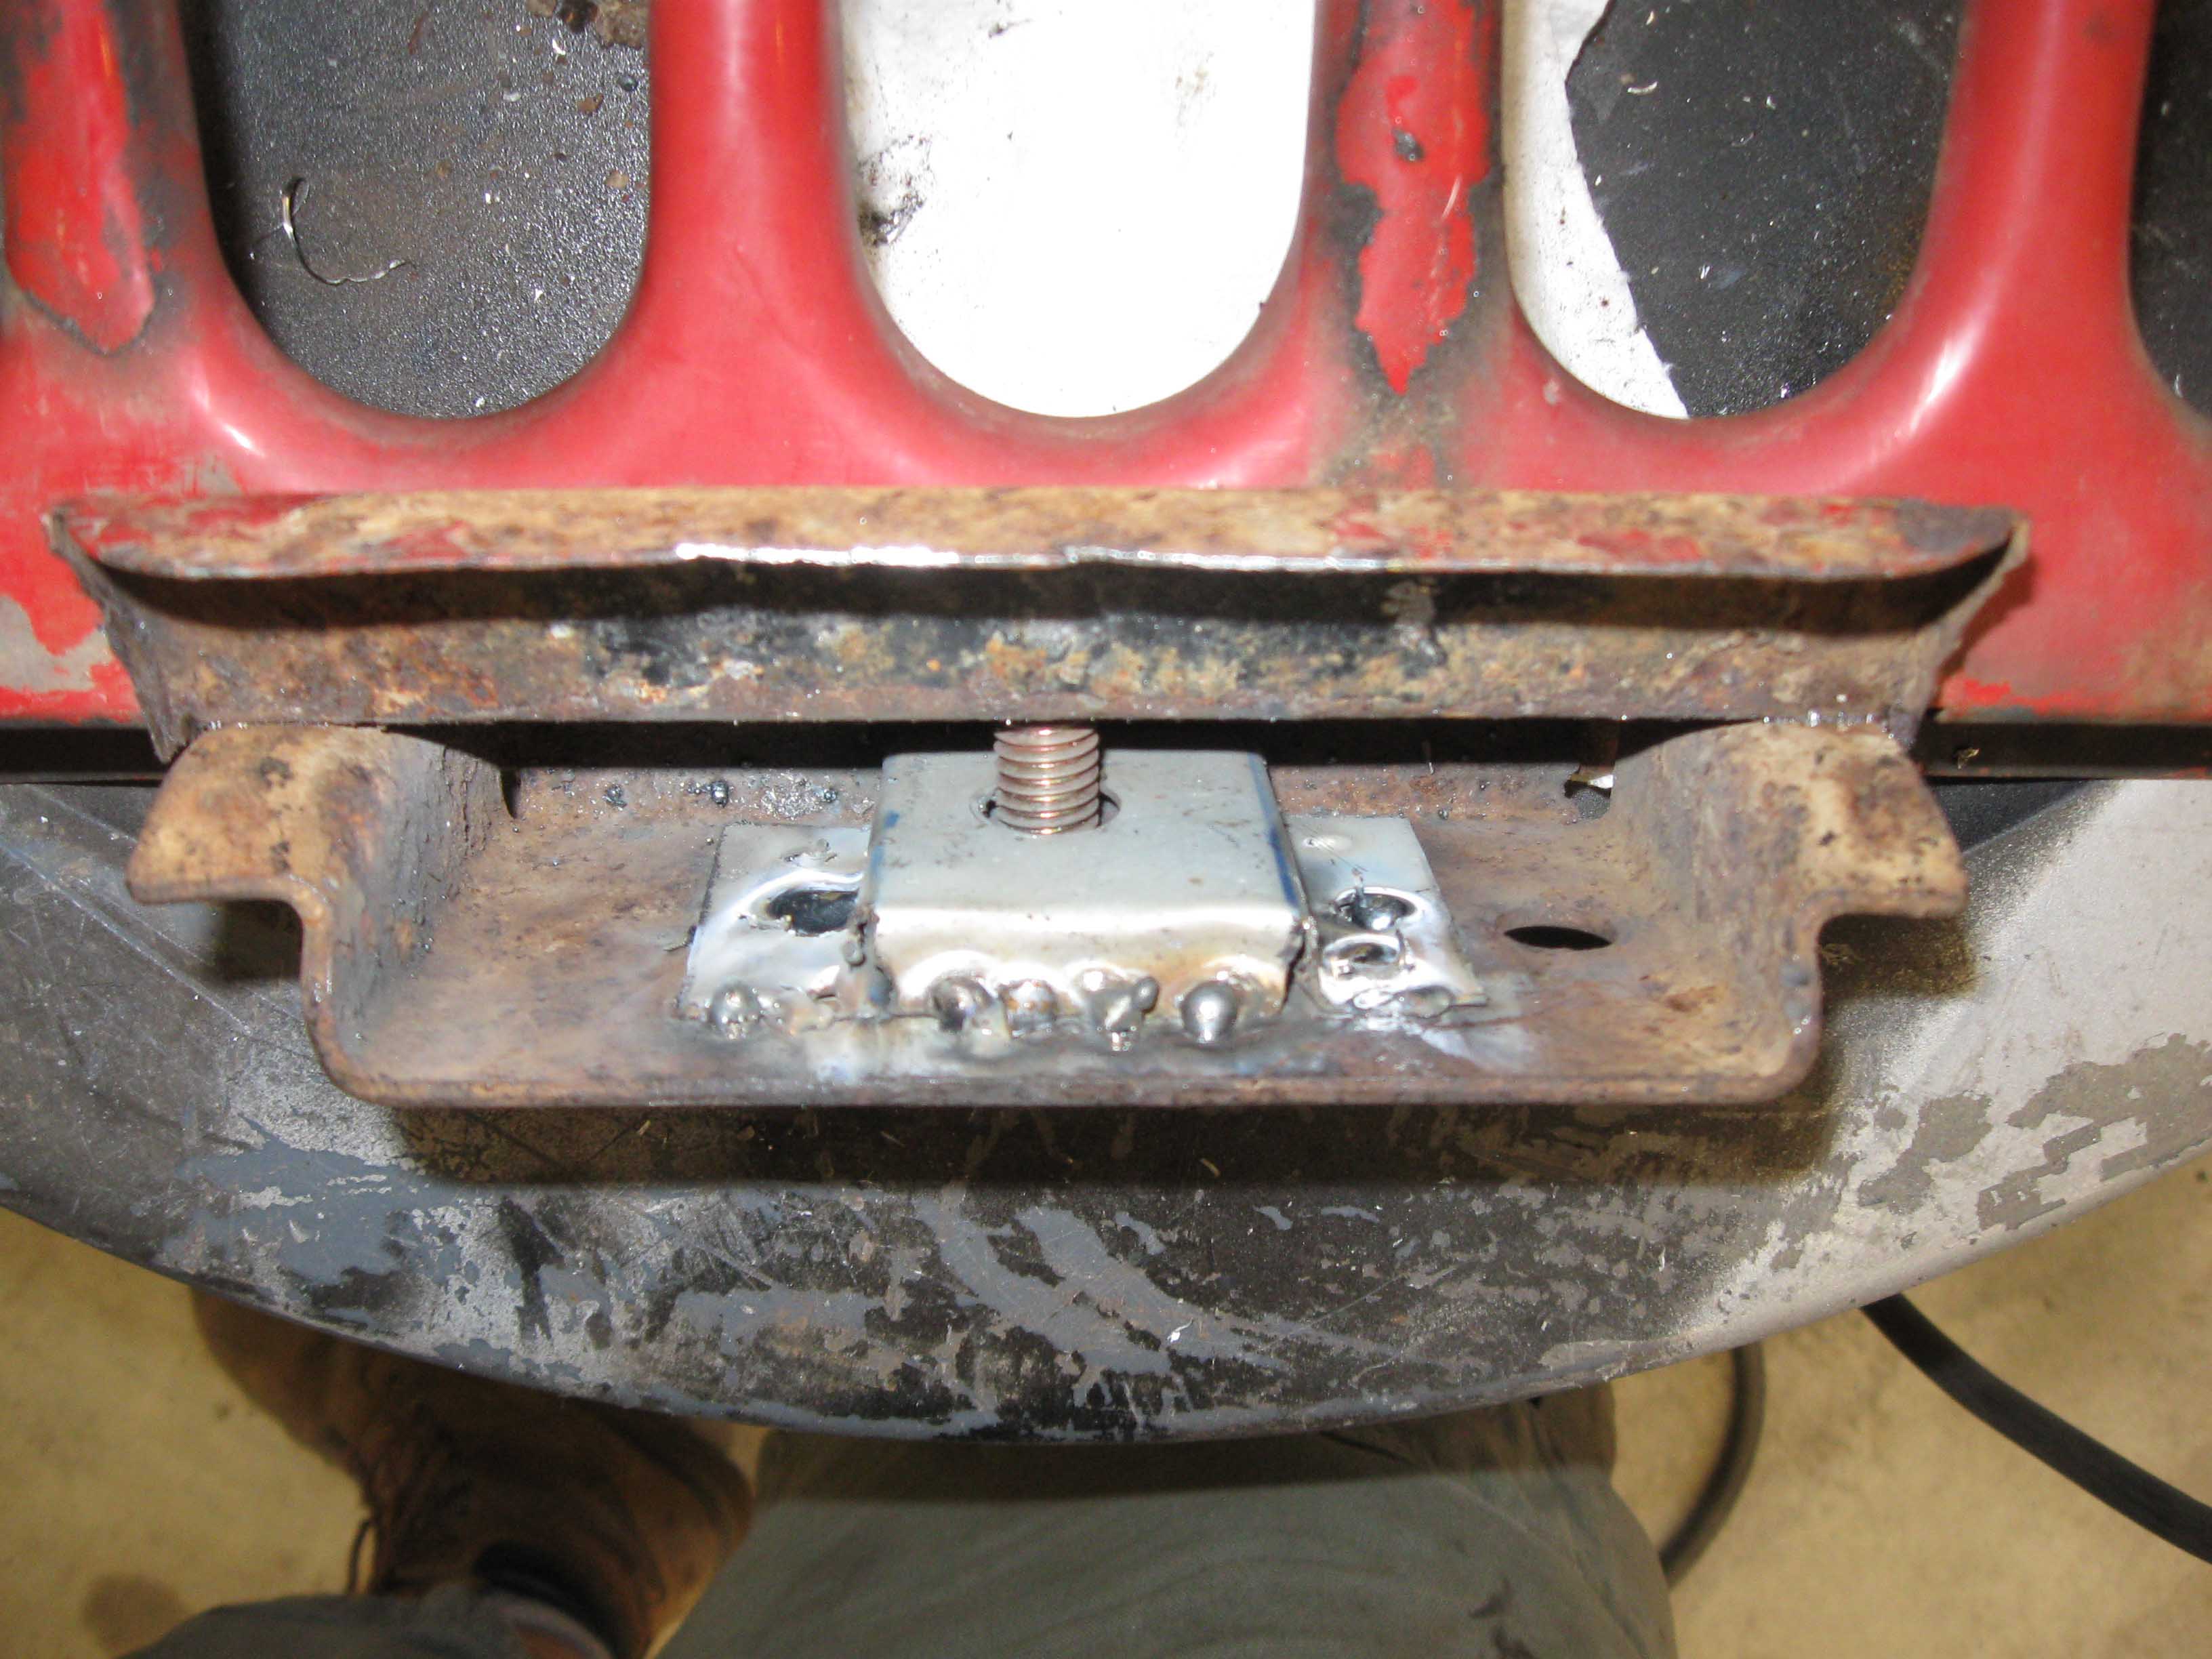
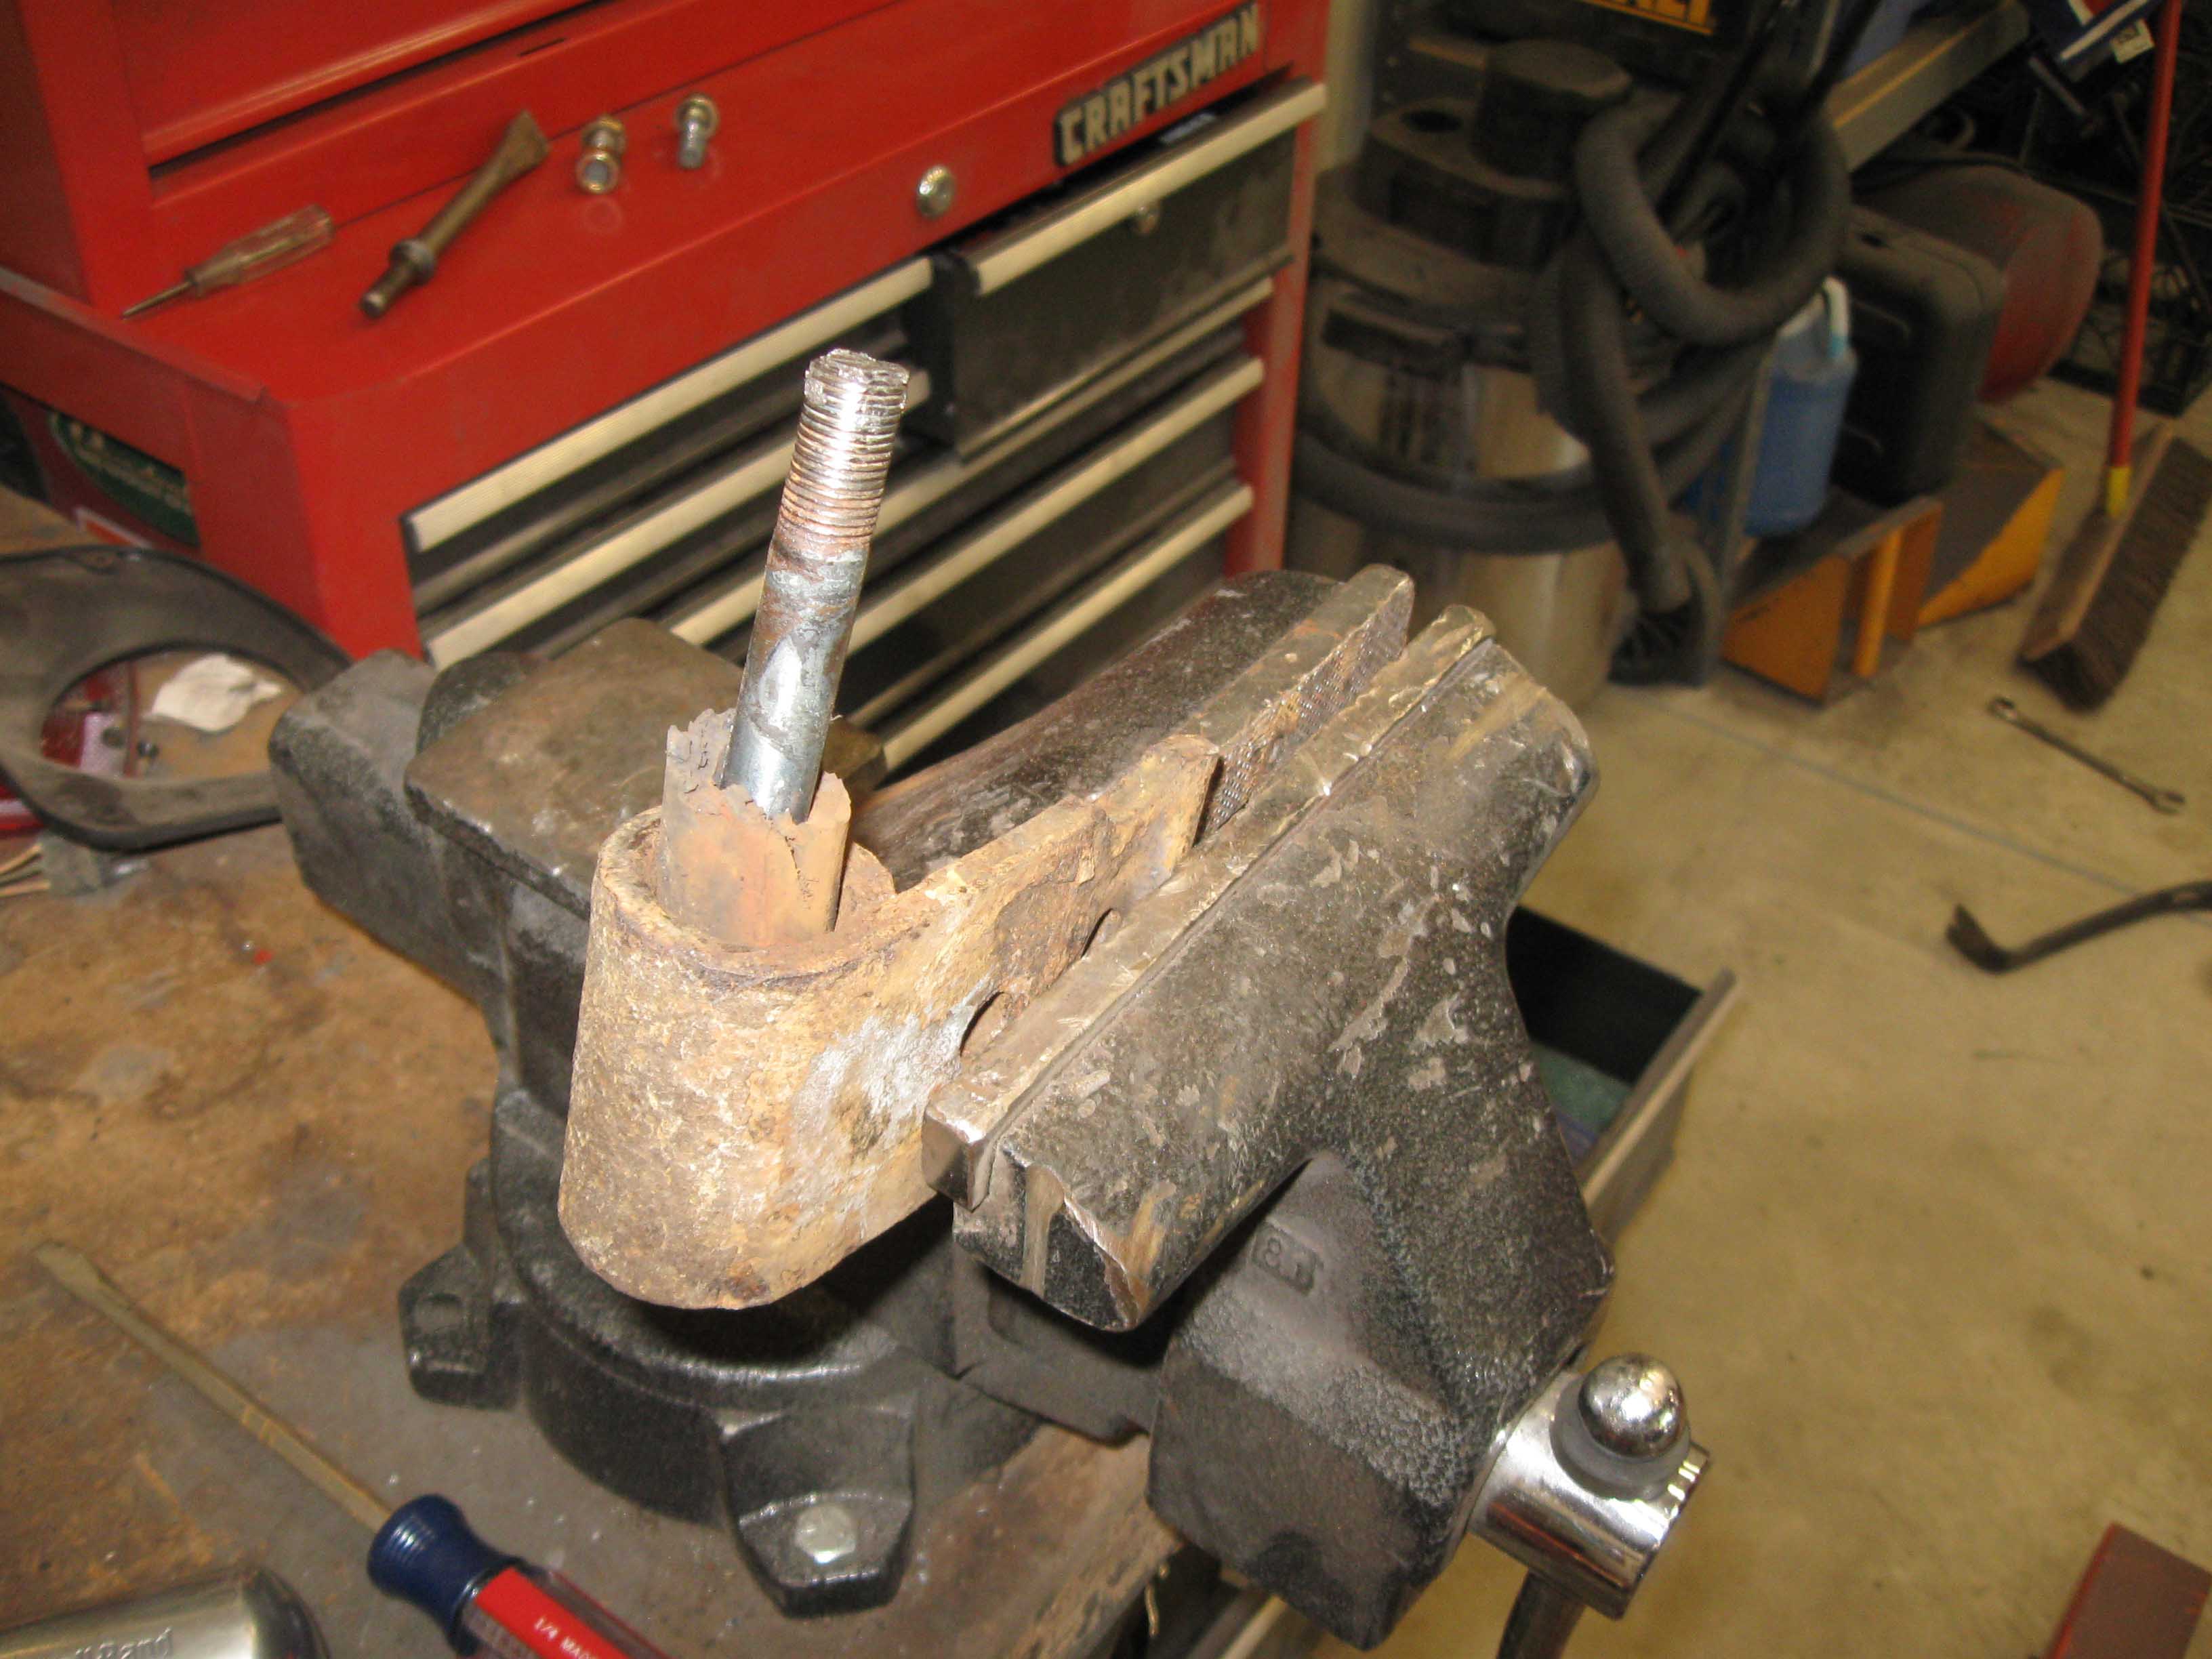
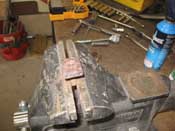
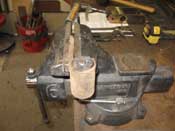
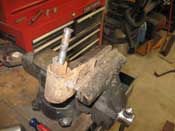
| This is where it got a bit discouraging. The grille shell took a while to get it
apart, get the old cage remnants out, fabricate a new cage and then get it all back together. That was at least
successful. The downside was that the belly skid had 2 bolts already snapped off and only 4 holding it on, 2
per side. This is when 3 of the bolts came out and another snapped off. Trying to drill and tap the first one
resulted in 2 snapped drill bits. So, basically everything we tried on the underside of the Jeep didn't result
in the outcomes we wanted. The 2 old snapped off bolts pushed through, so now we have no captive nuts inside and
to top it off, the last one that we tried to drill needs to be removed and replaced. It ended up being the
last thing we worked on unfortunately. After a long day, we called it quits and vowed to regroup later.
|
| |
|

|

|
|
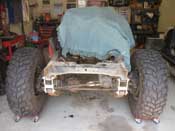
| |
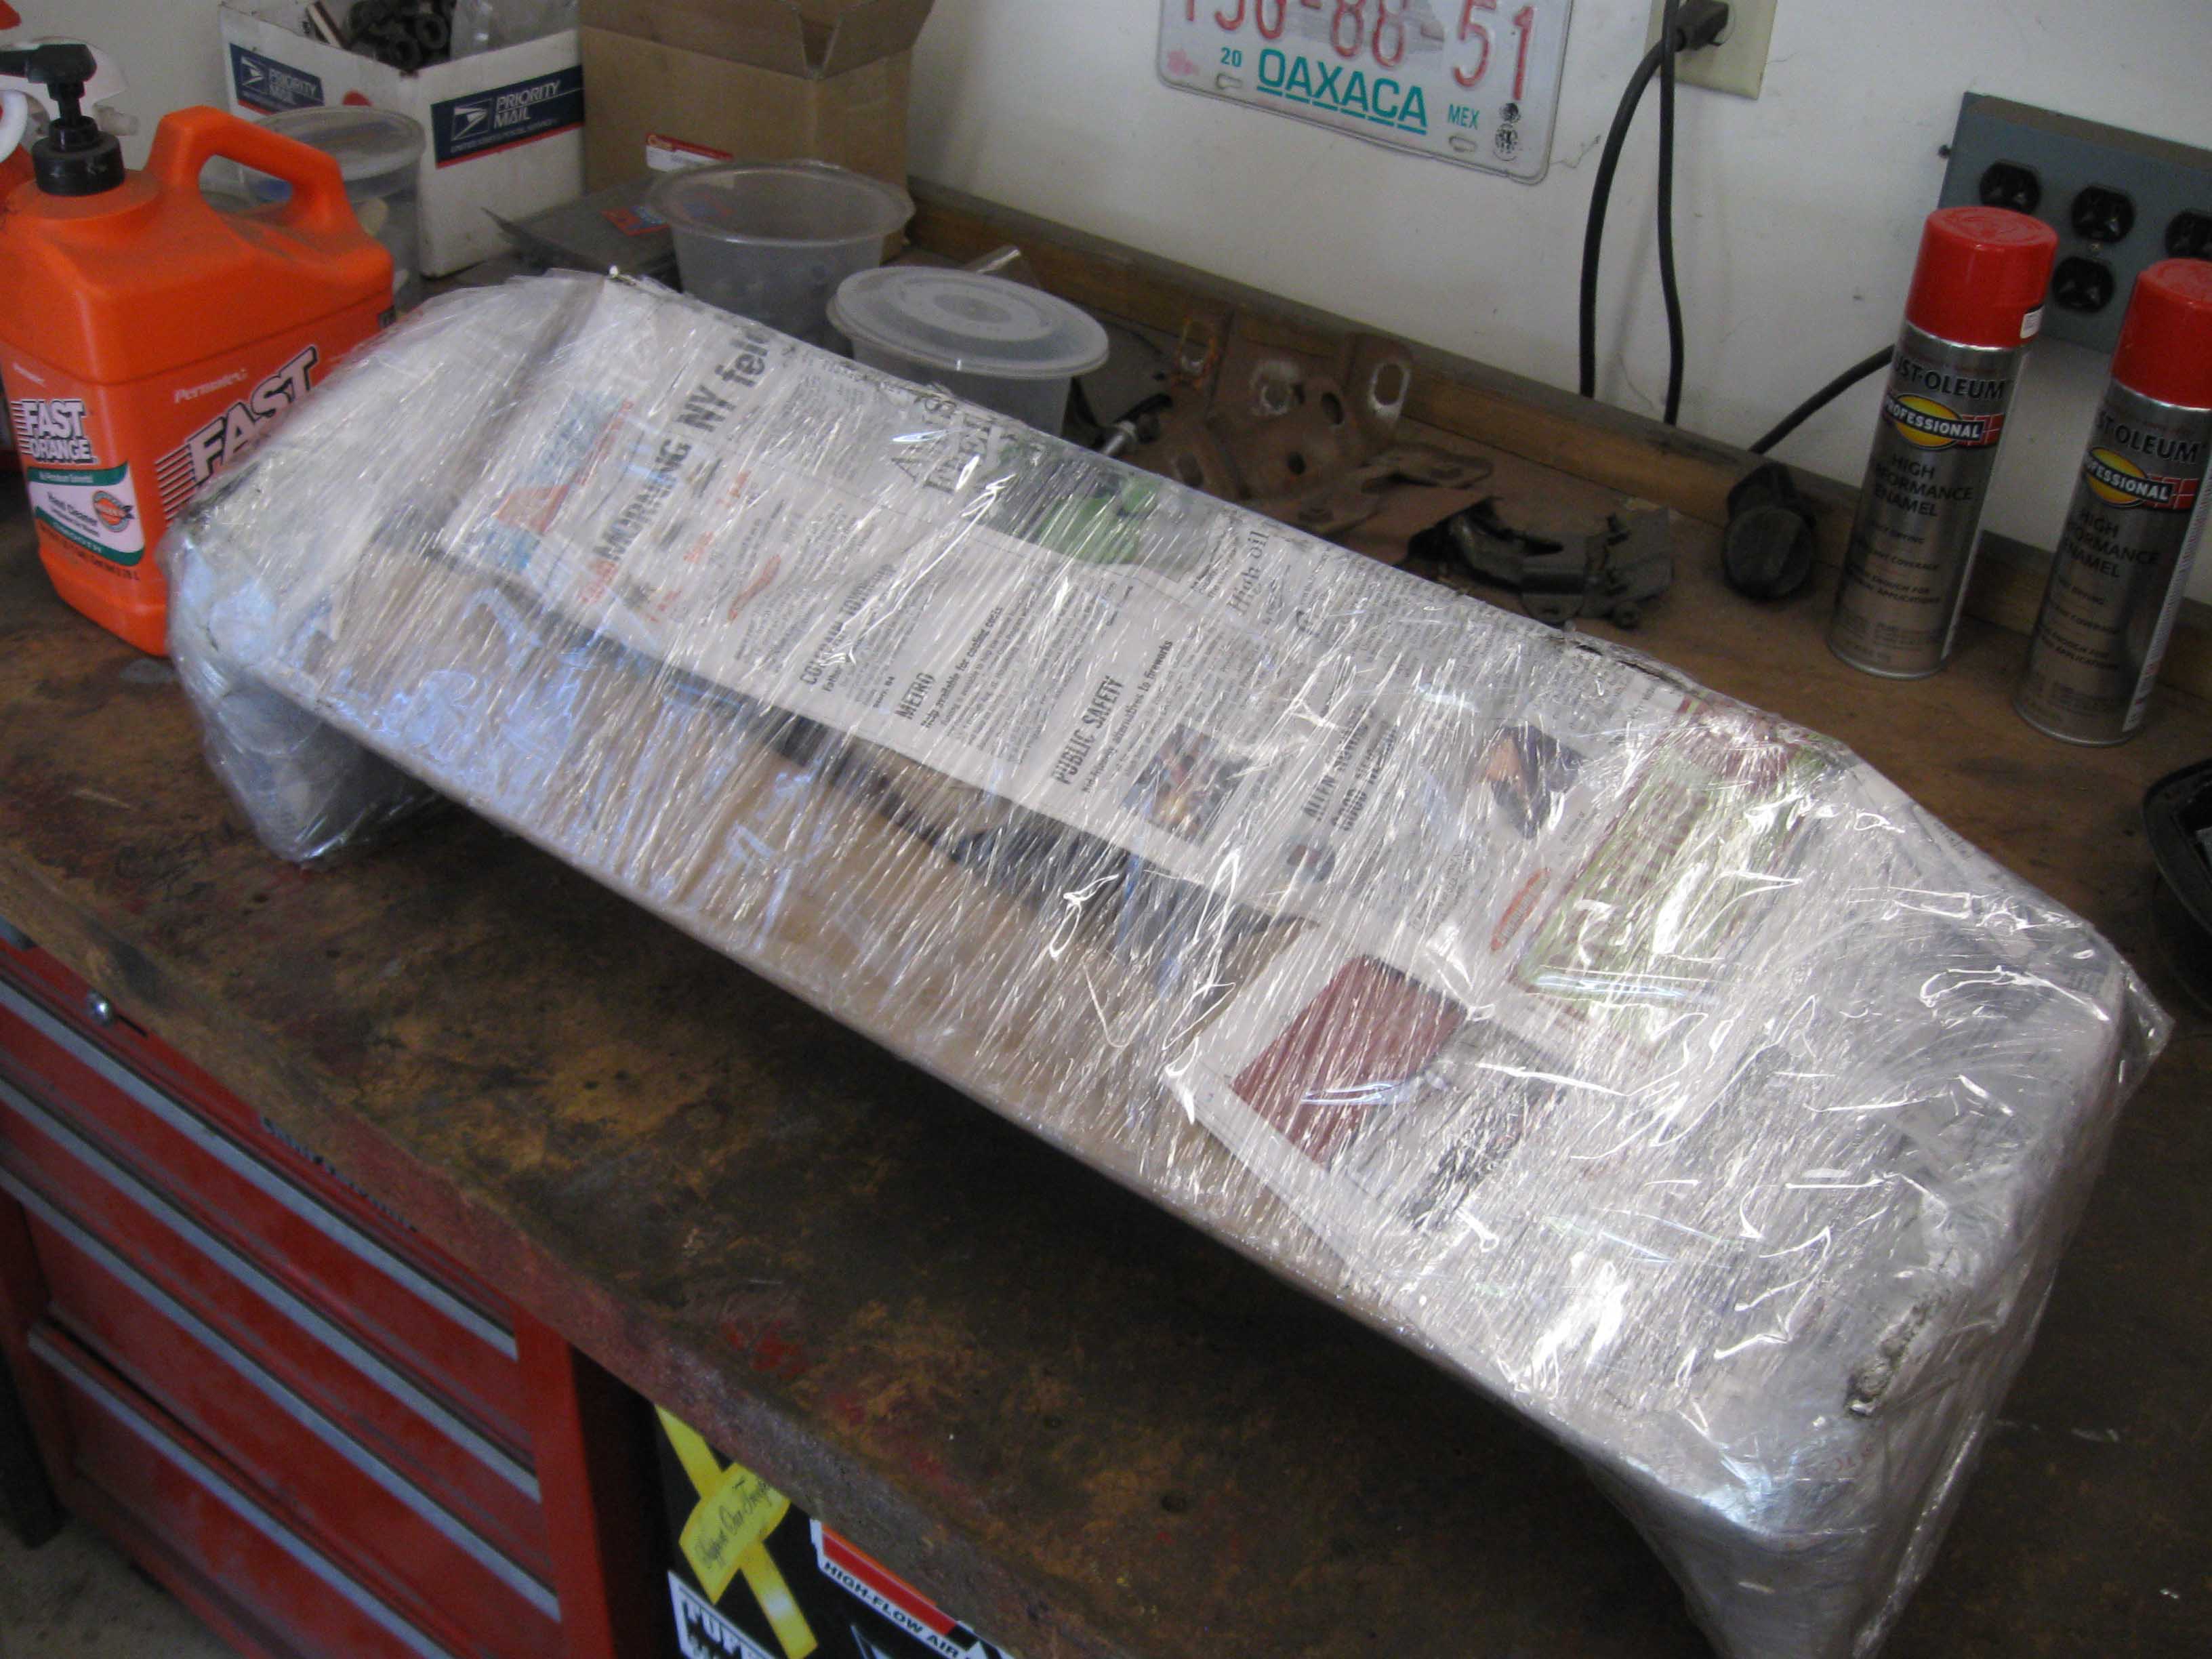
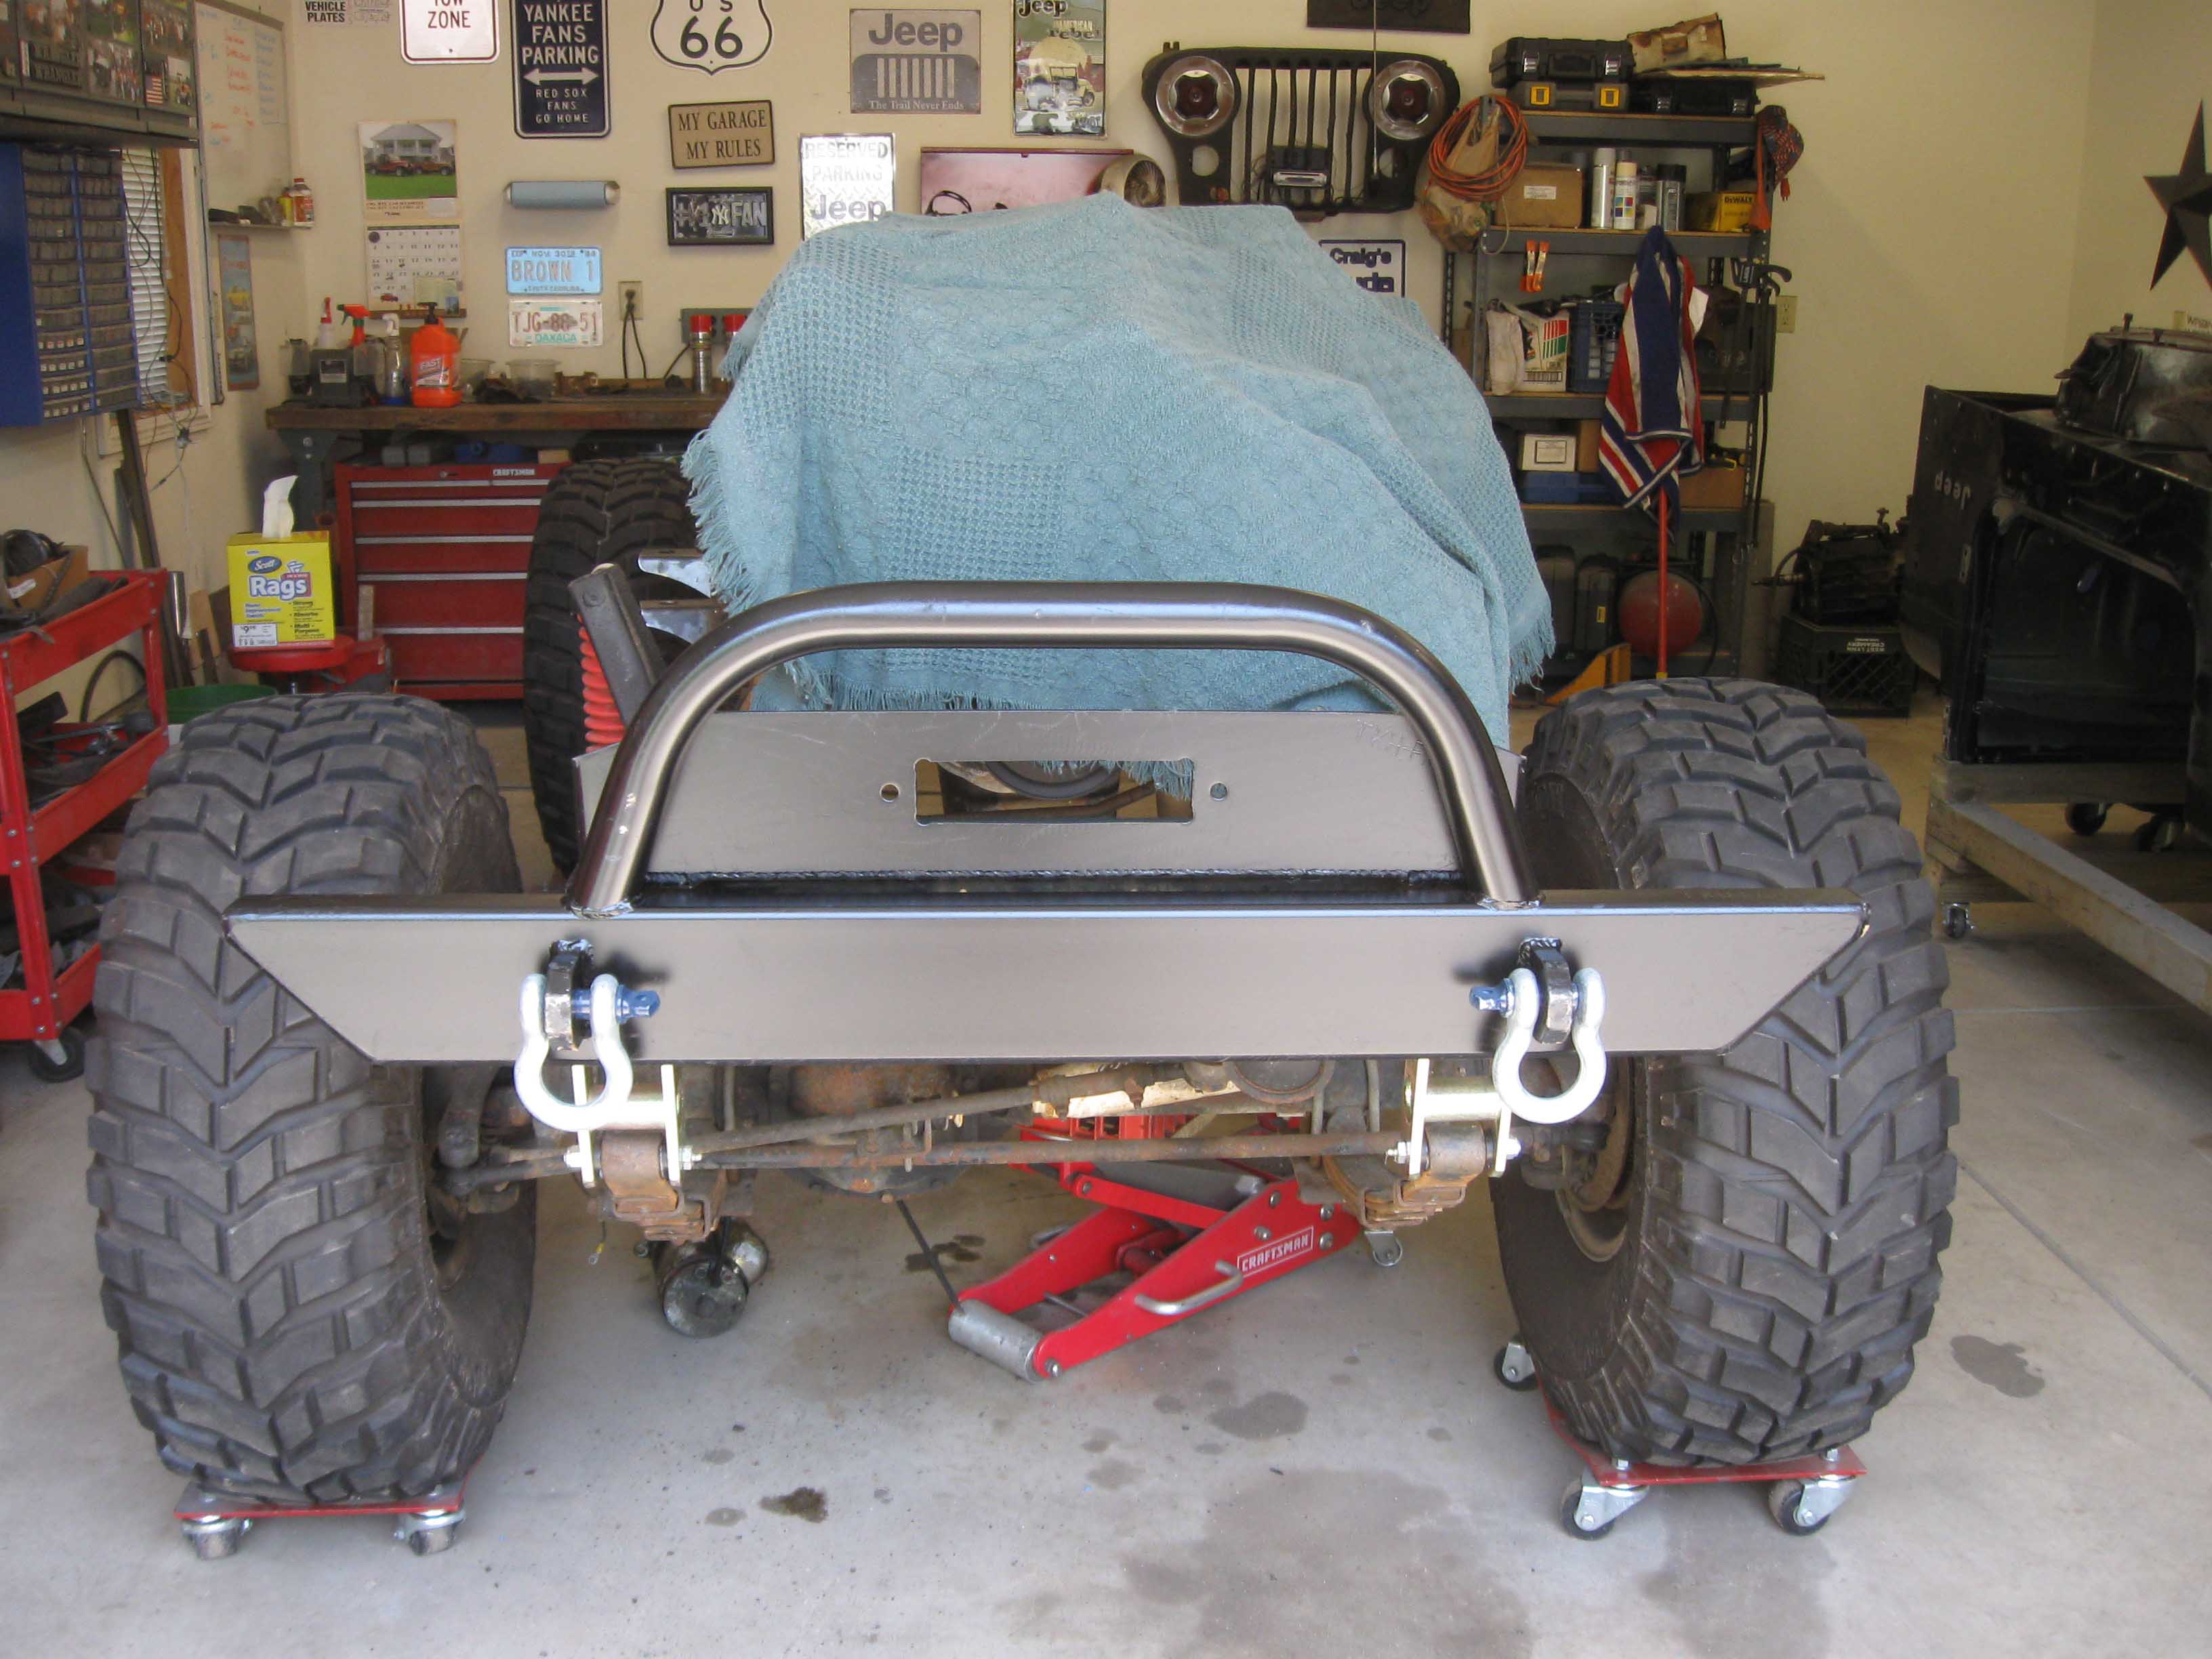
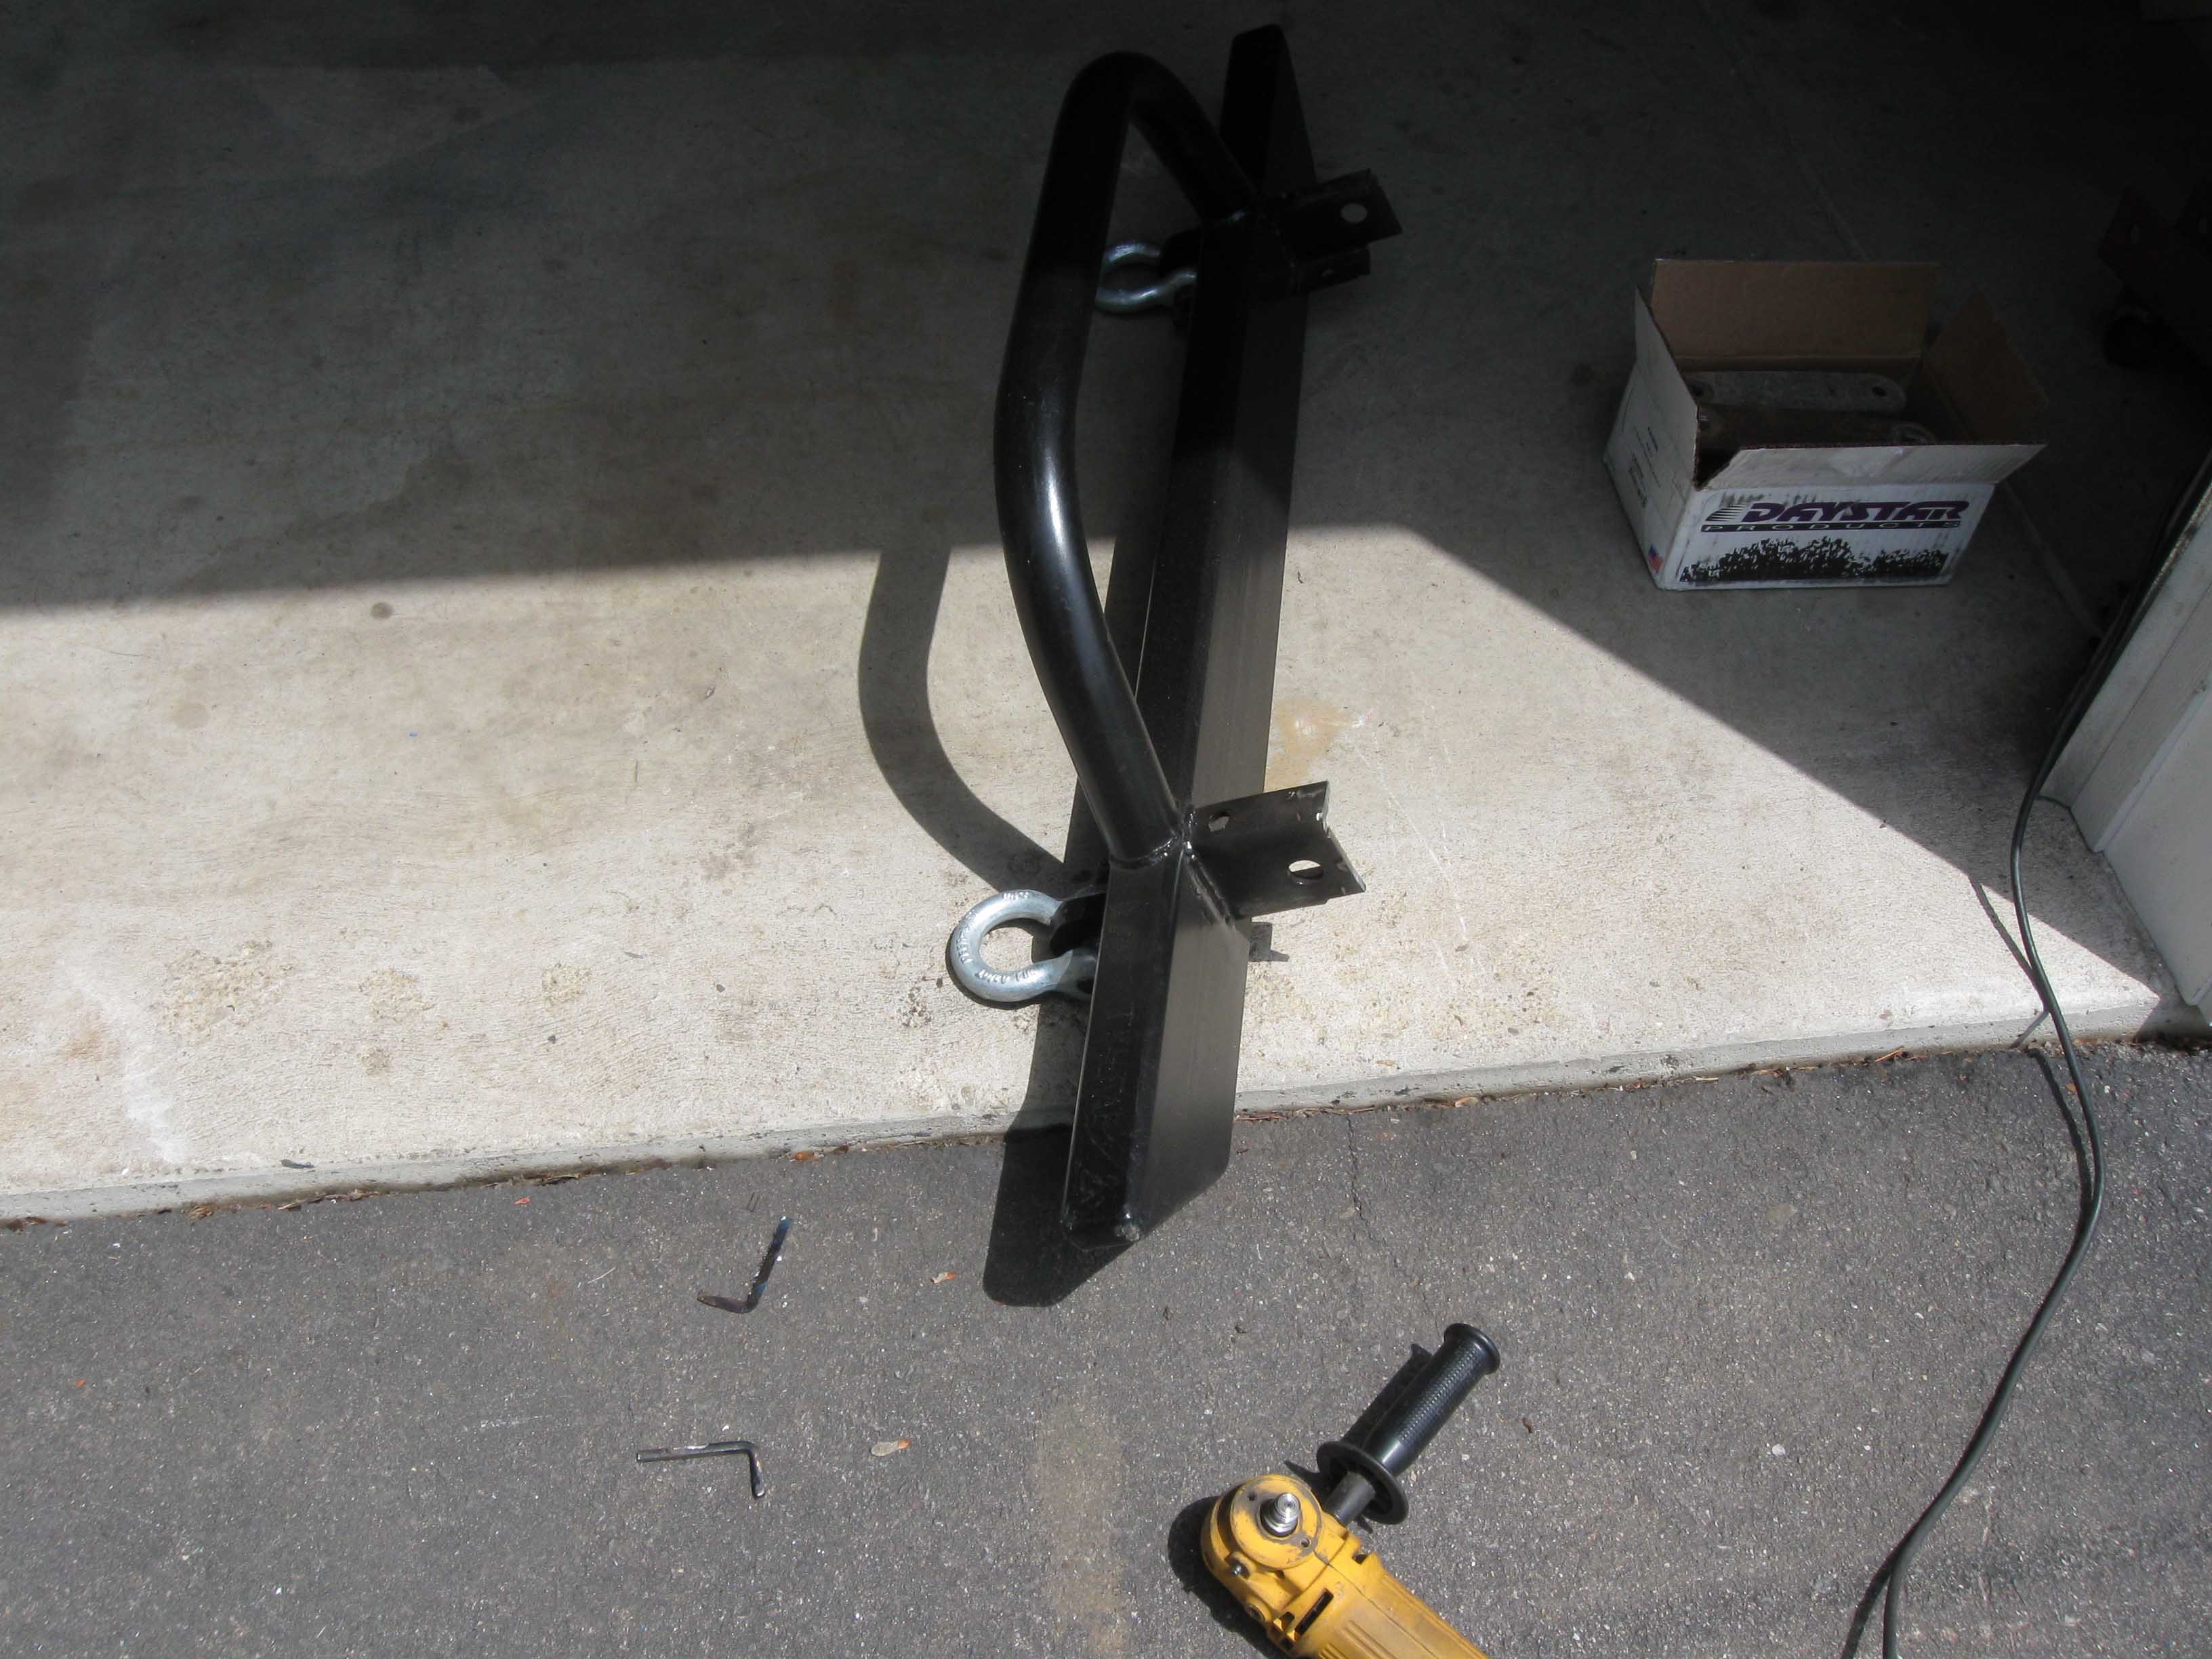
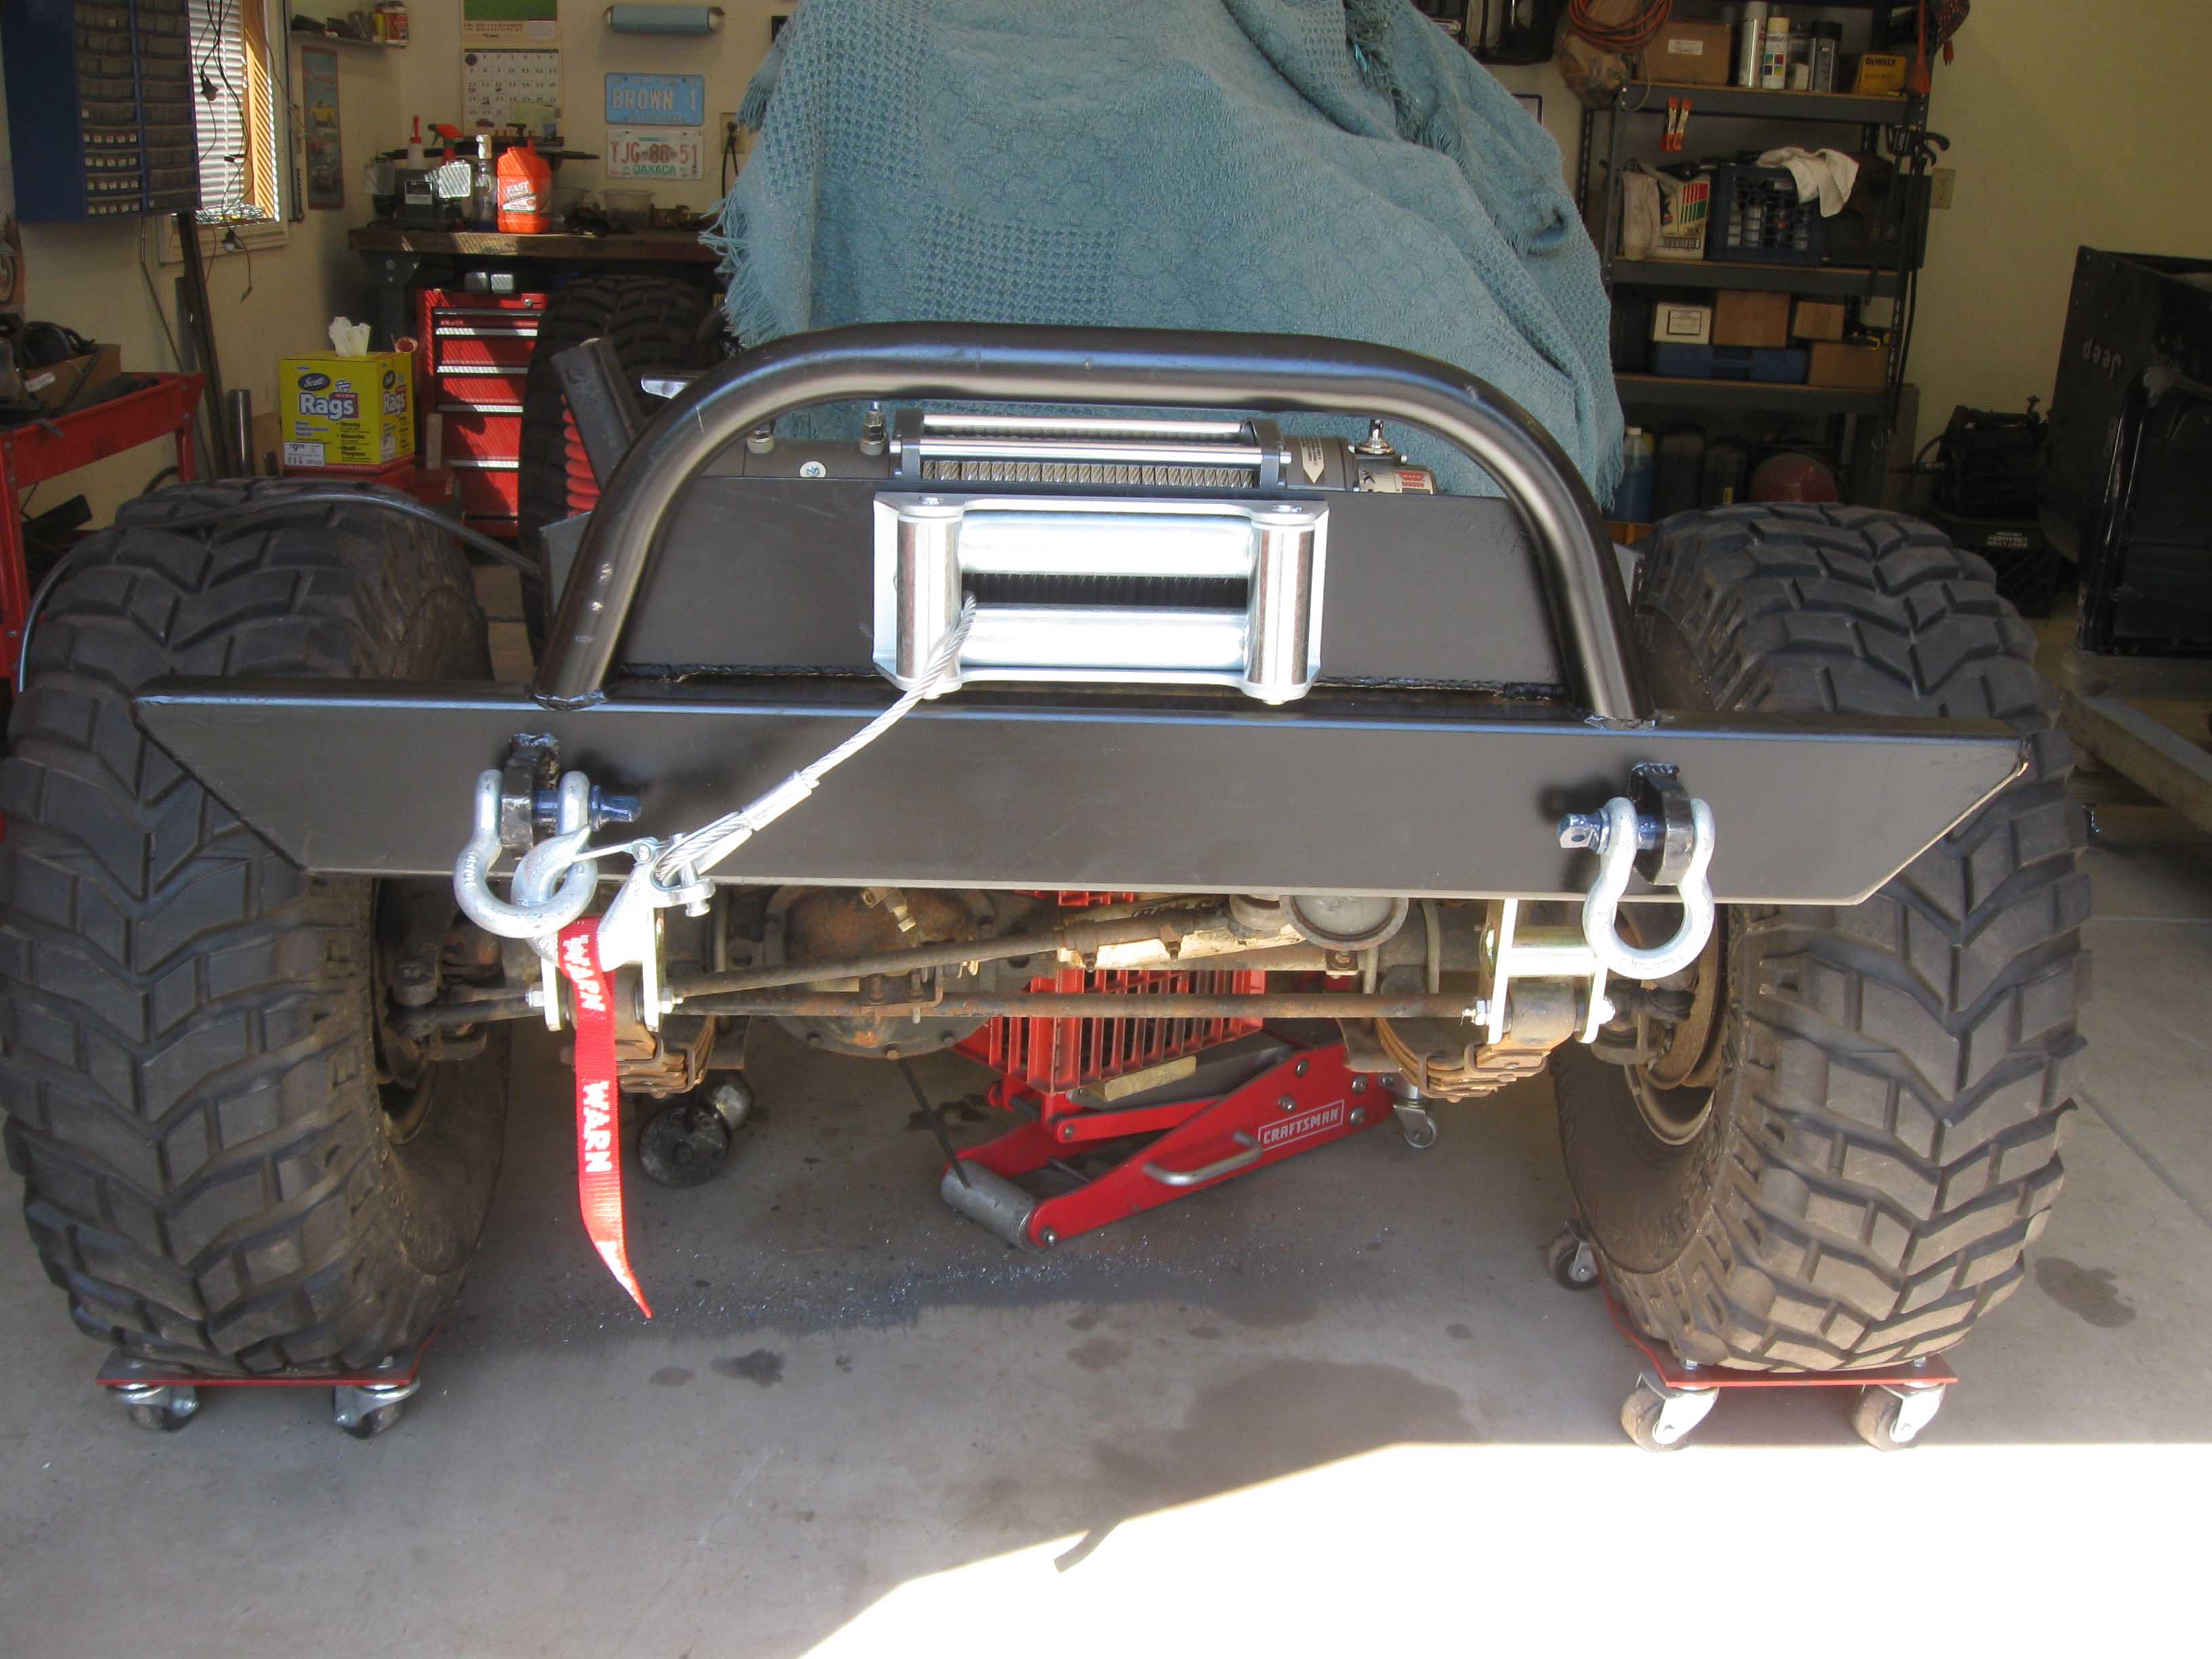
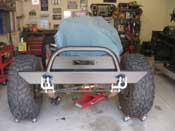
Today I heard the FedEx guy coming up the driveway and I was pretty
sure that the bumpers were here. I was right and I was able to get out there and get the heavy duty packaging
off and then try them out on the Jeep. I don't have any hardware at the moment and one of the frame rails is a
bit pinched, but all in all, it looks pretty good on the front of the rig!
(06/08/09)
|
| |

|

|

|

|

|
|
|
|
| |
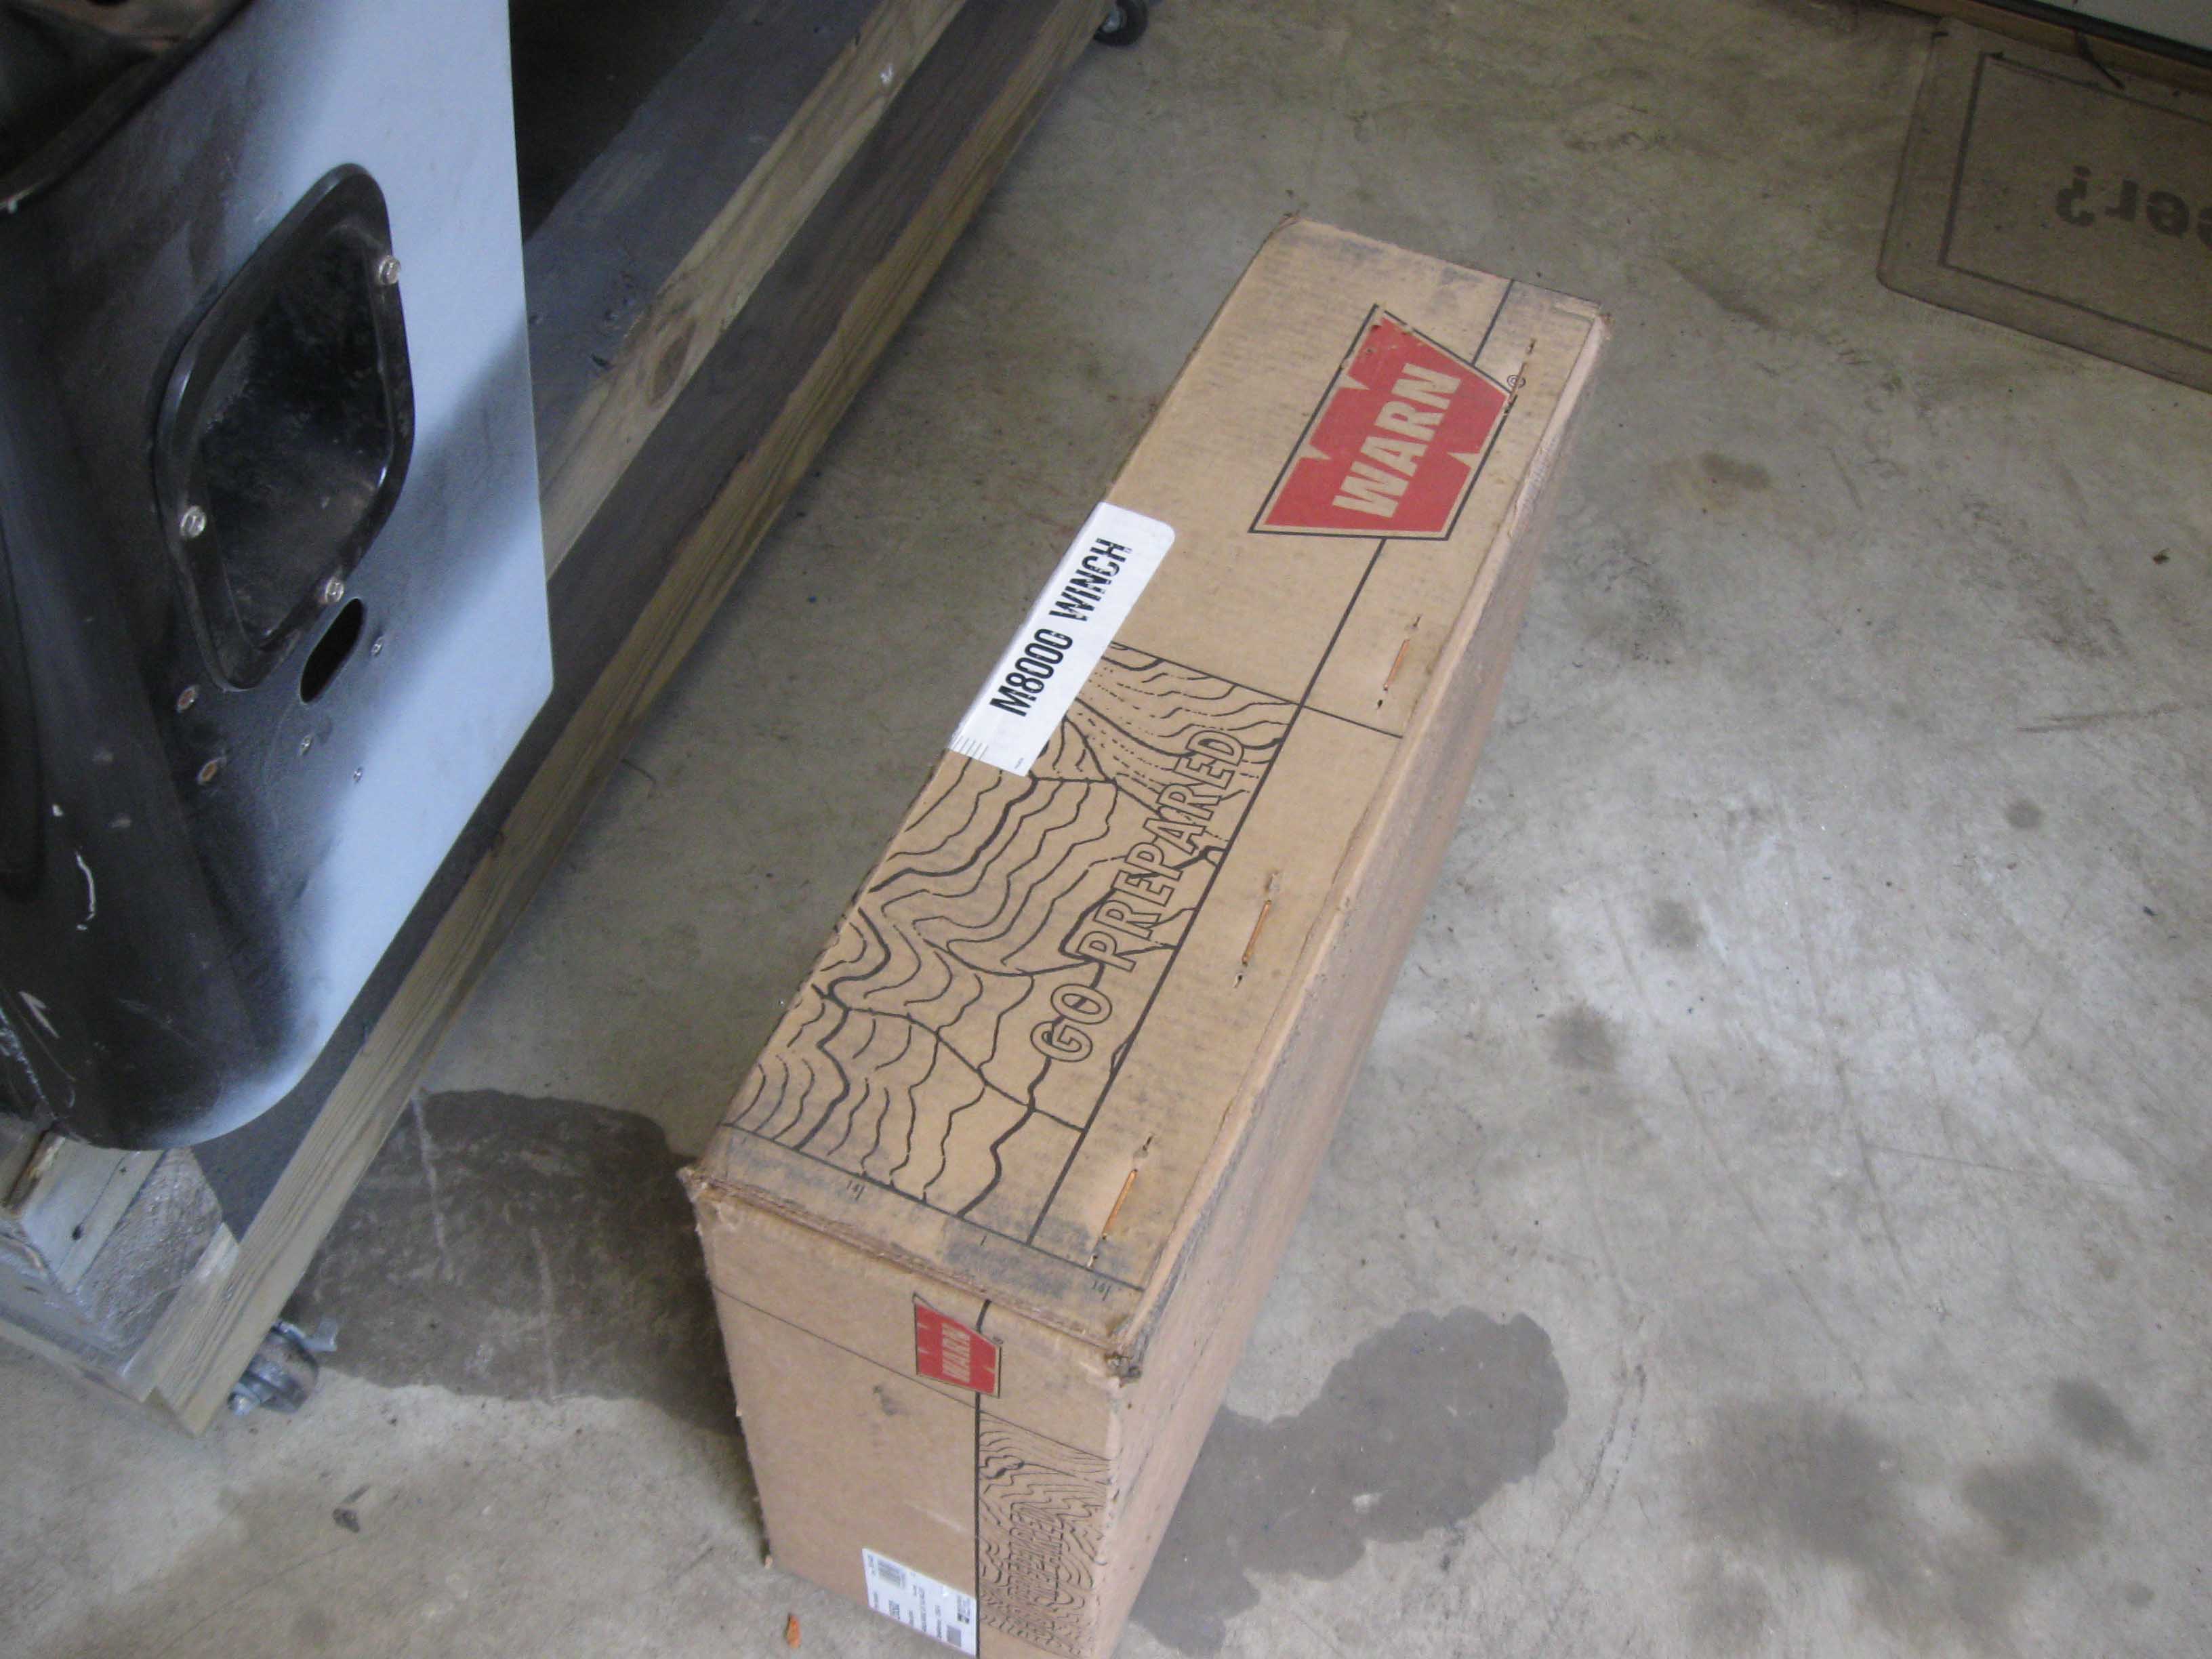
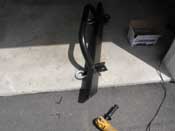
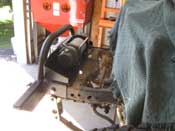
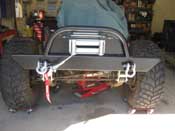
(06/13/09) Yesterday I was able to get out and get at it for about 6 hours. The
rear shackles had come in as well as the winch, and I picked up the hardware for the front bumper the other day, so
I figured it was time to get moving on fitting all that up. The rear shackles really provided a tough go of it.
Three of the bolts came out pretty easily, but one was really tweaked in there. So, using every tool in the
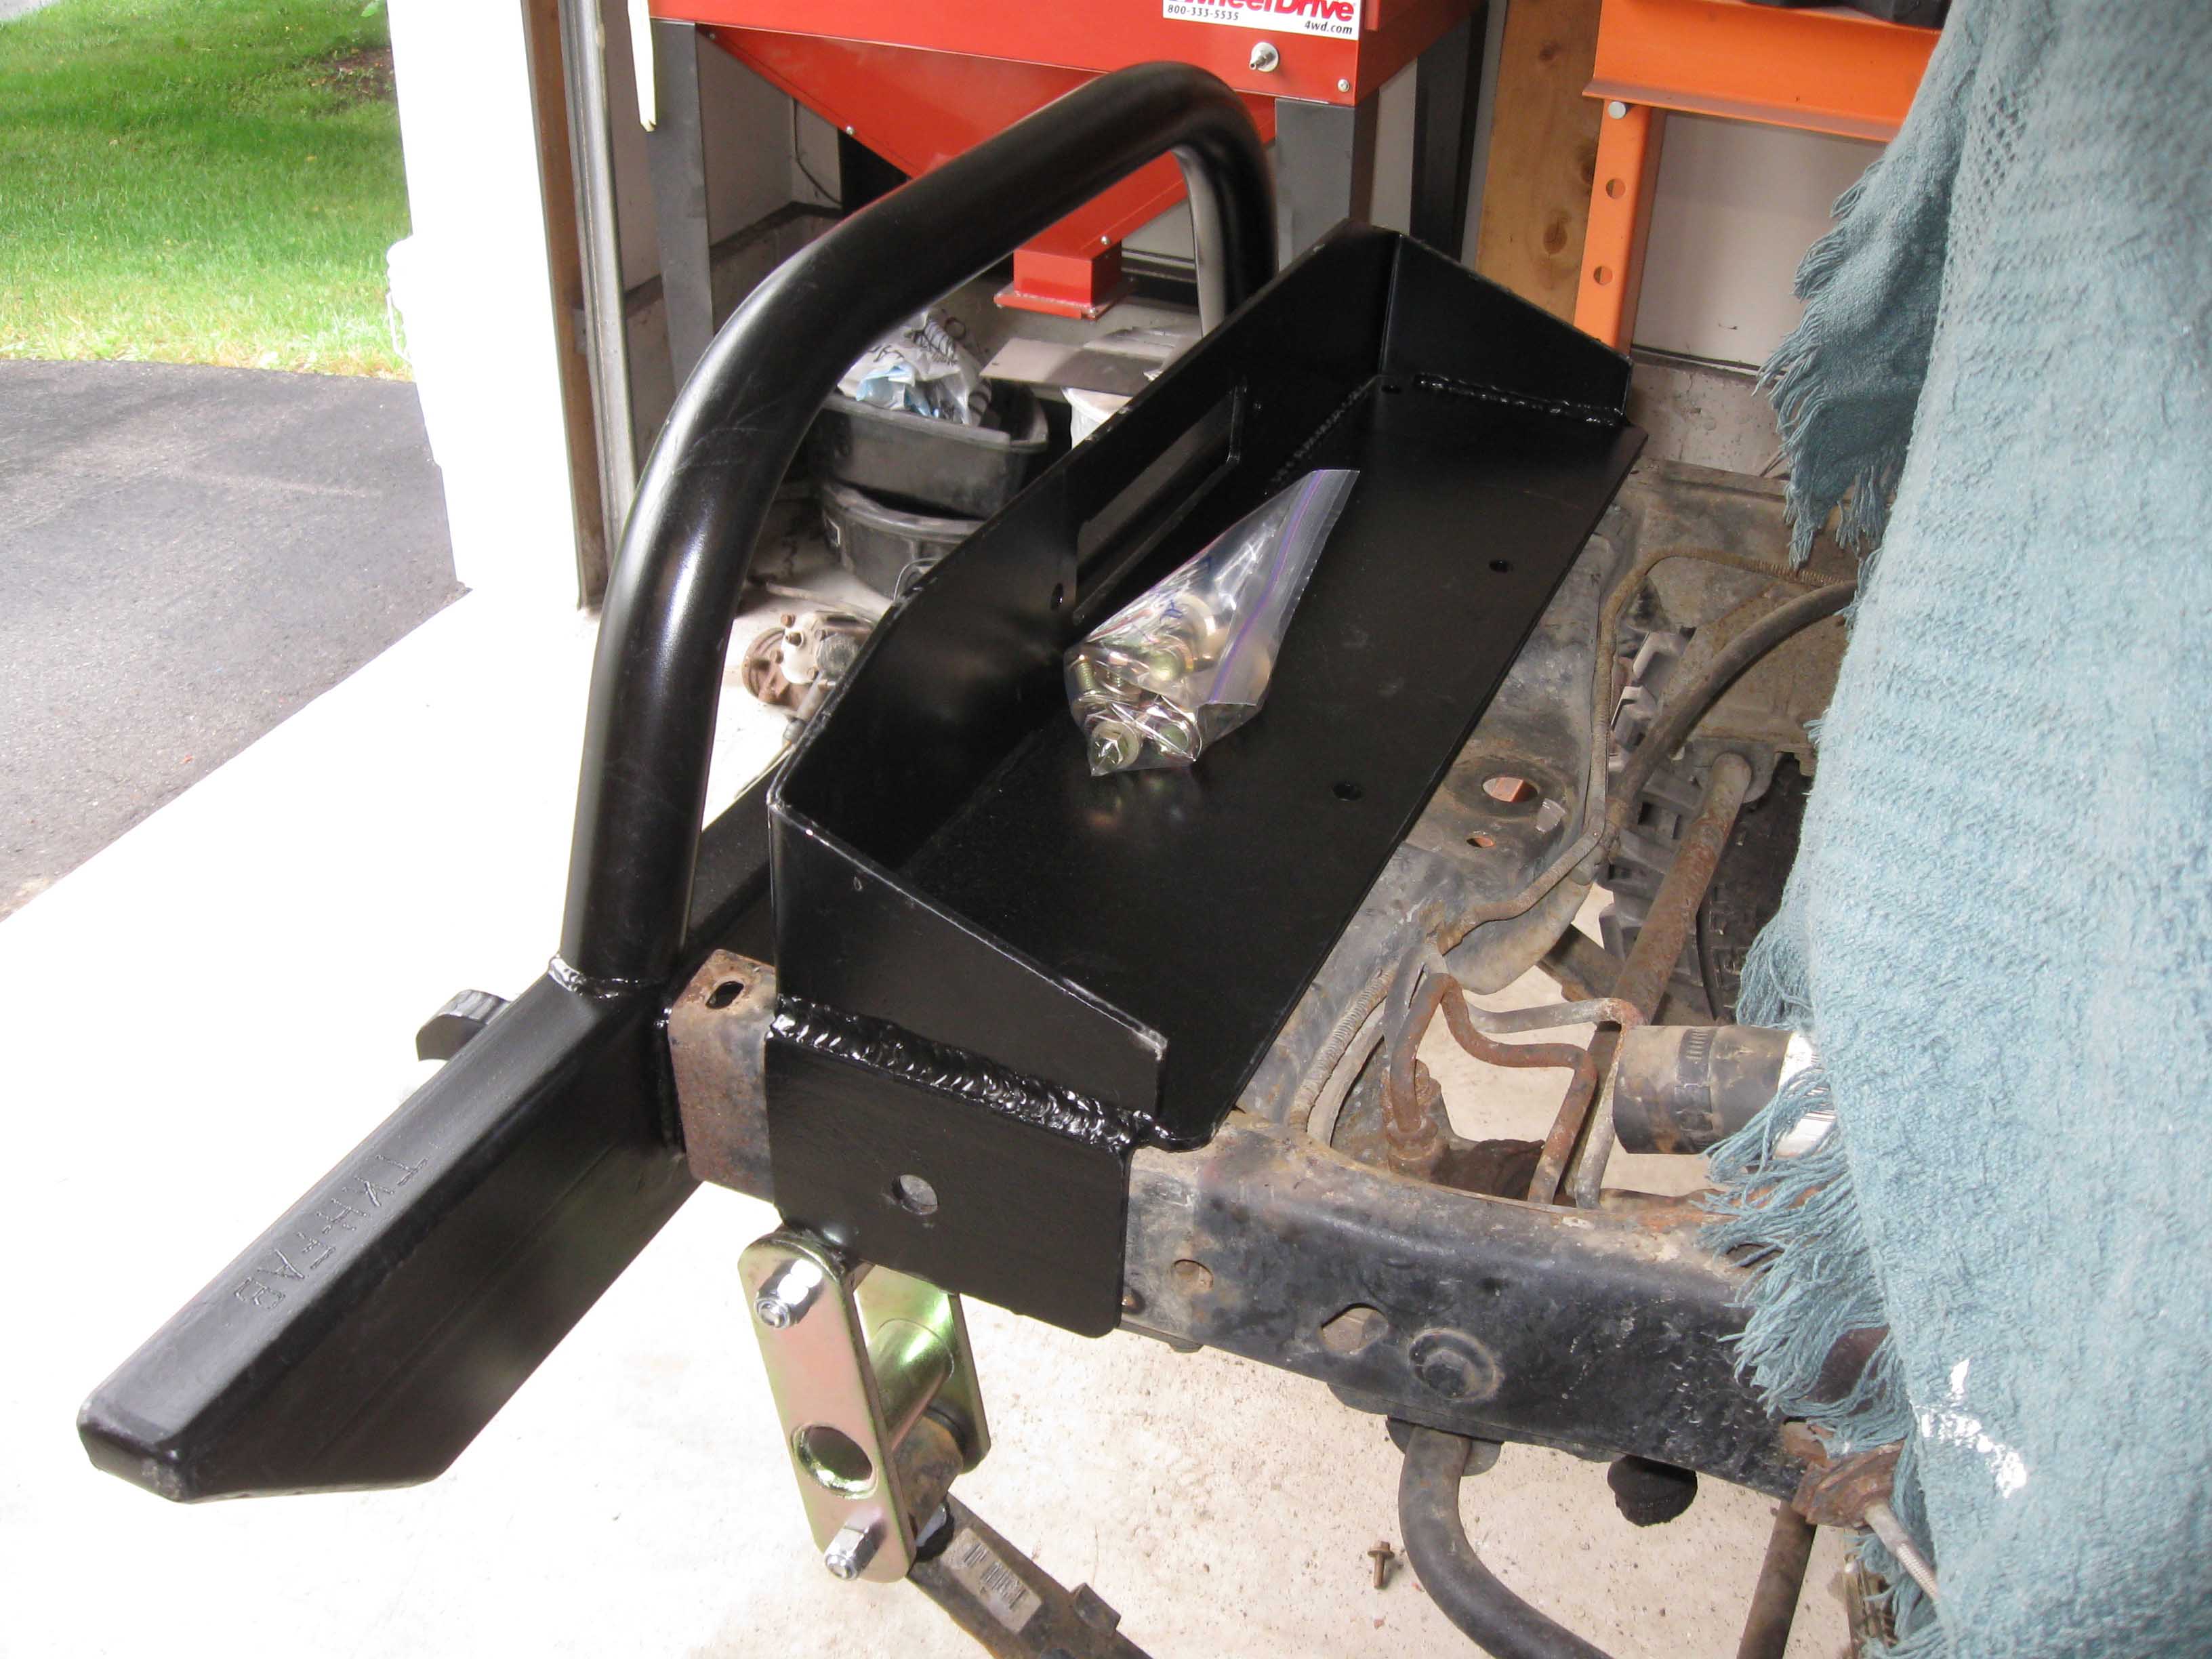
arsenal, I got it out. Took a long time though. I then moved onto the front and getting the winch mounted in
the winch plate and then onto the Jeep. It looks good, really good. We just need to figure out where he wants
to mount the control box.
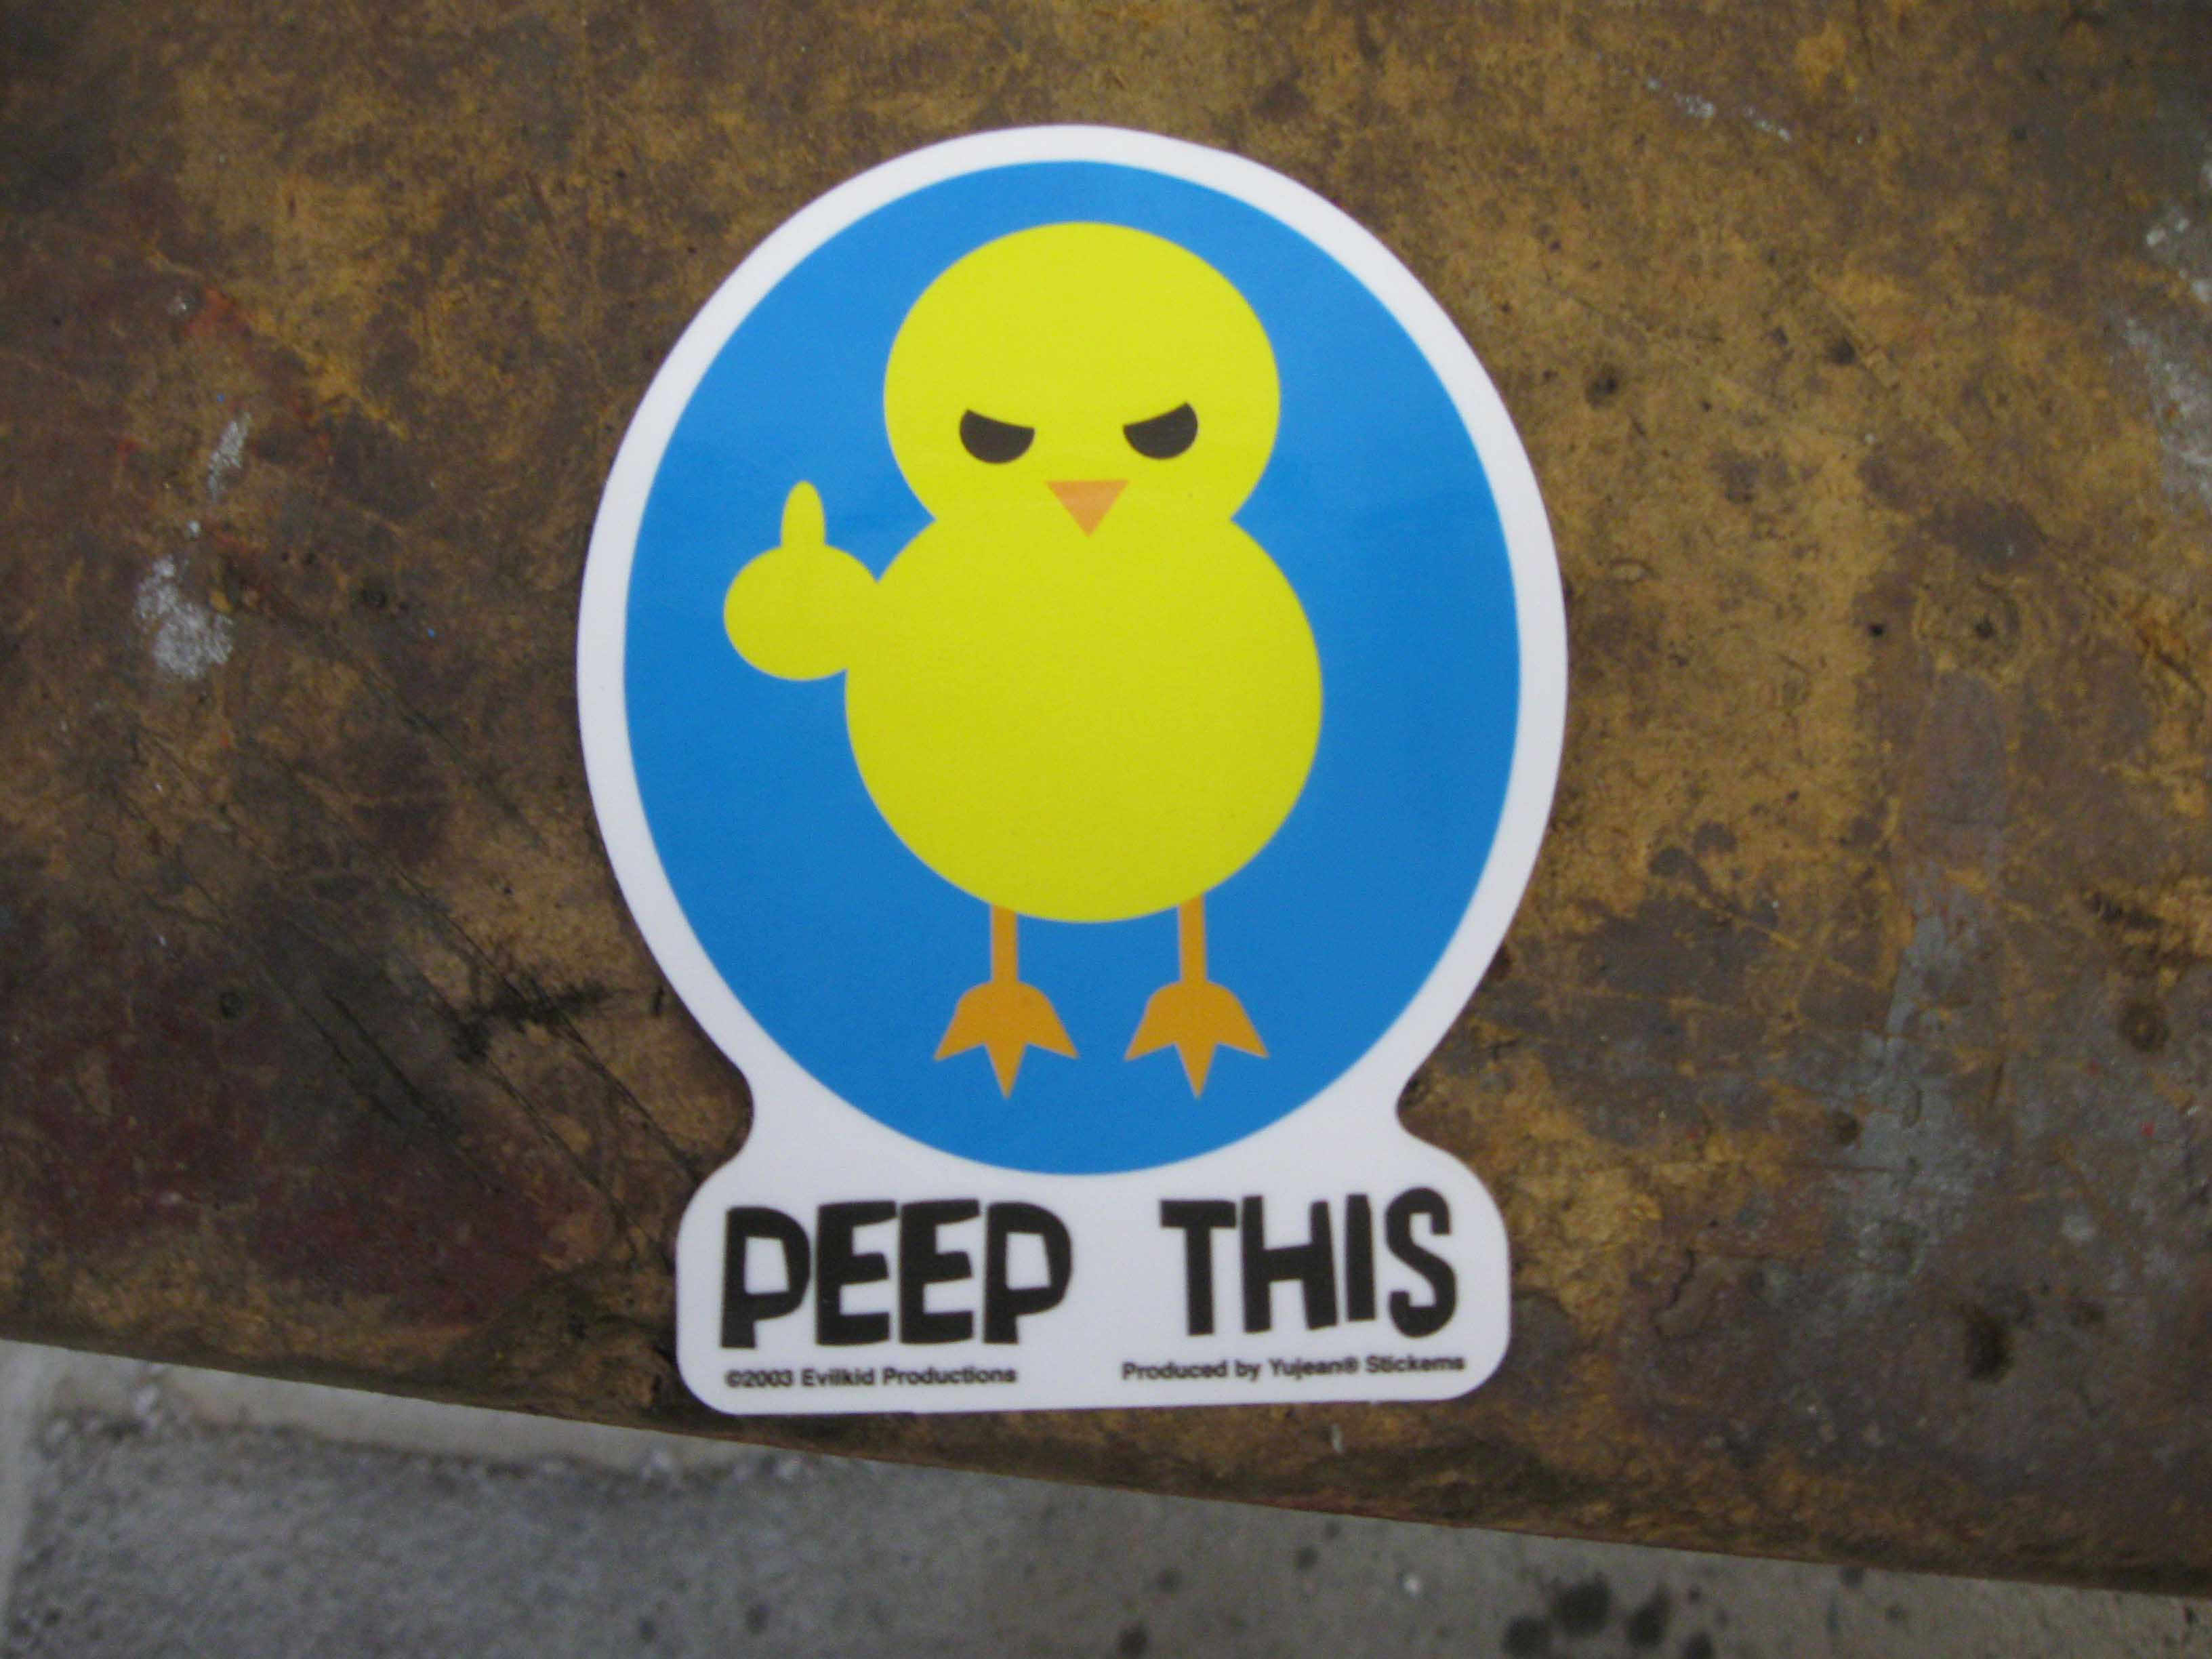
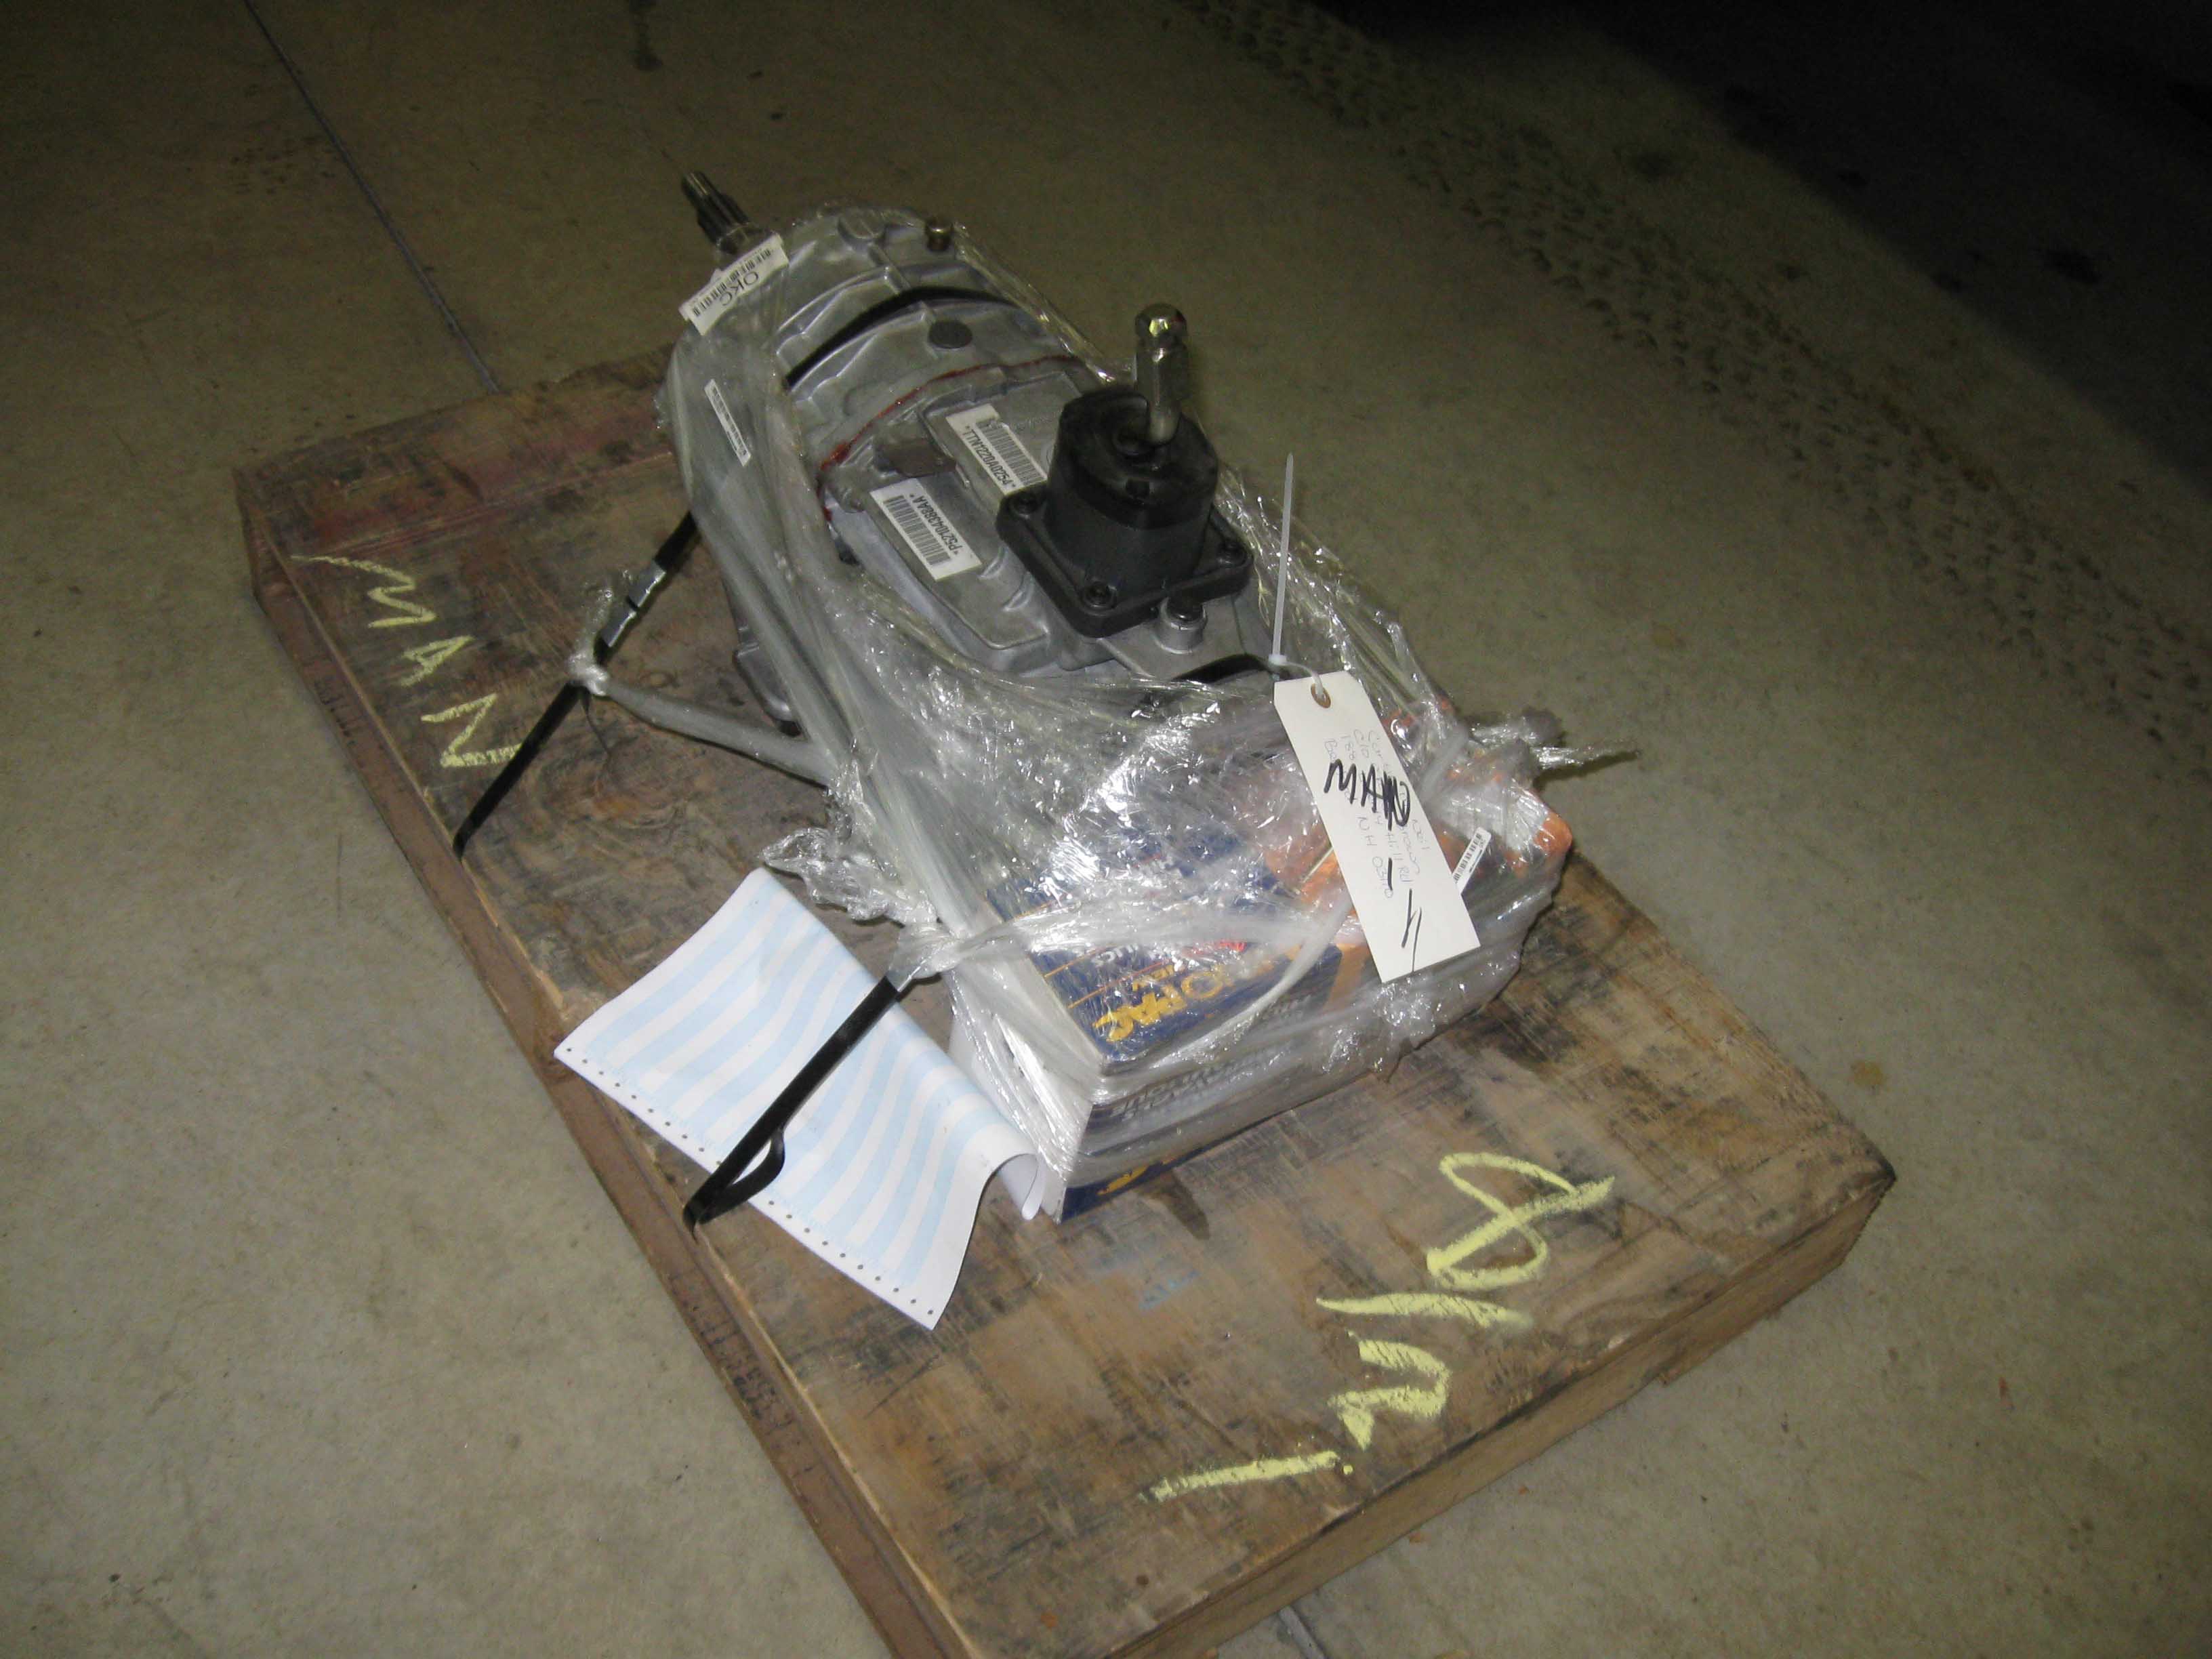
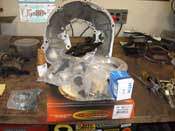
Just for clarification, I put the sticker up there to express how I felt about the rear shackles. Also to note,
the transmission and all the parts for the conversion came in, so that is good news, I plan on tackling that next
week.
|
| |
|
|
|
|
|
|
|
|
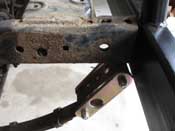
| |
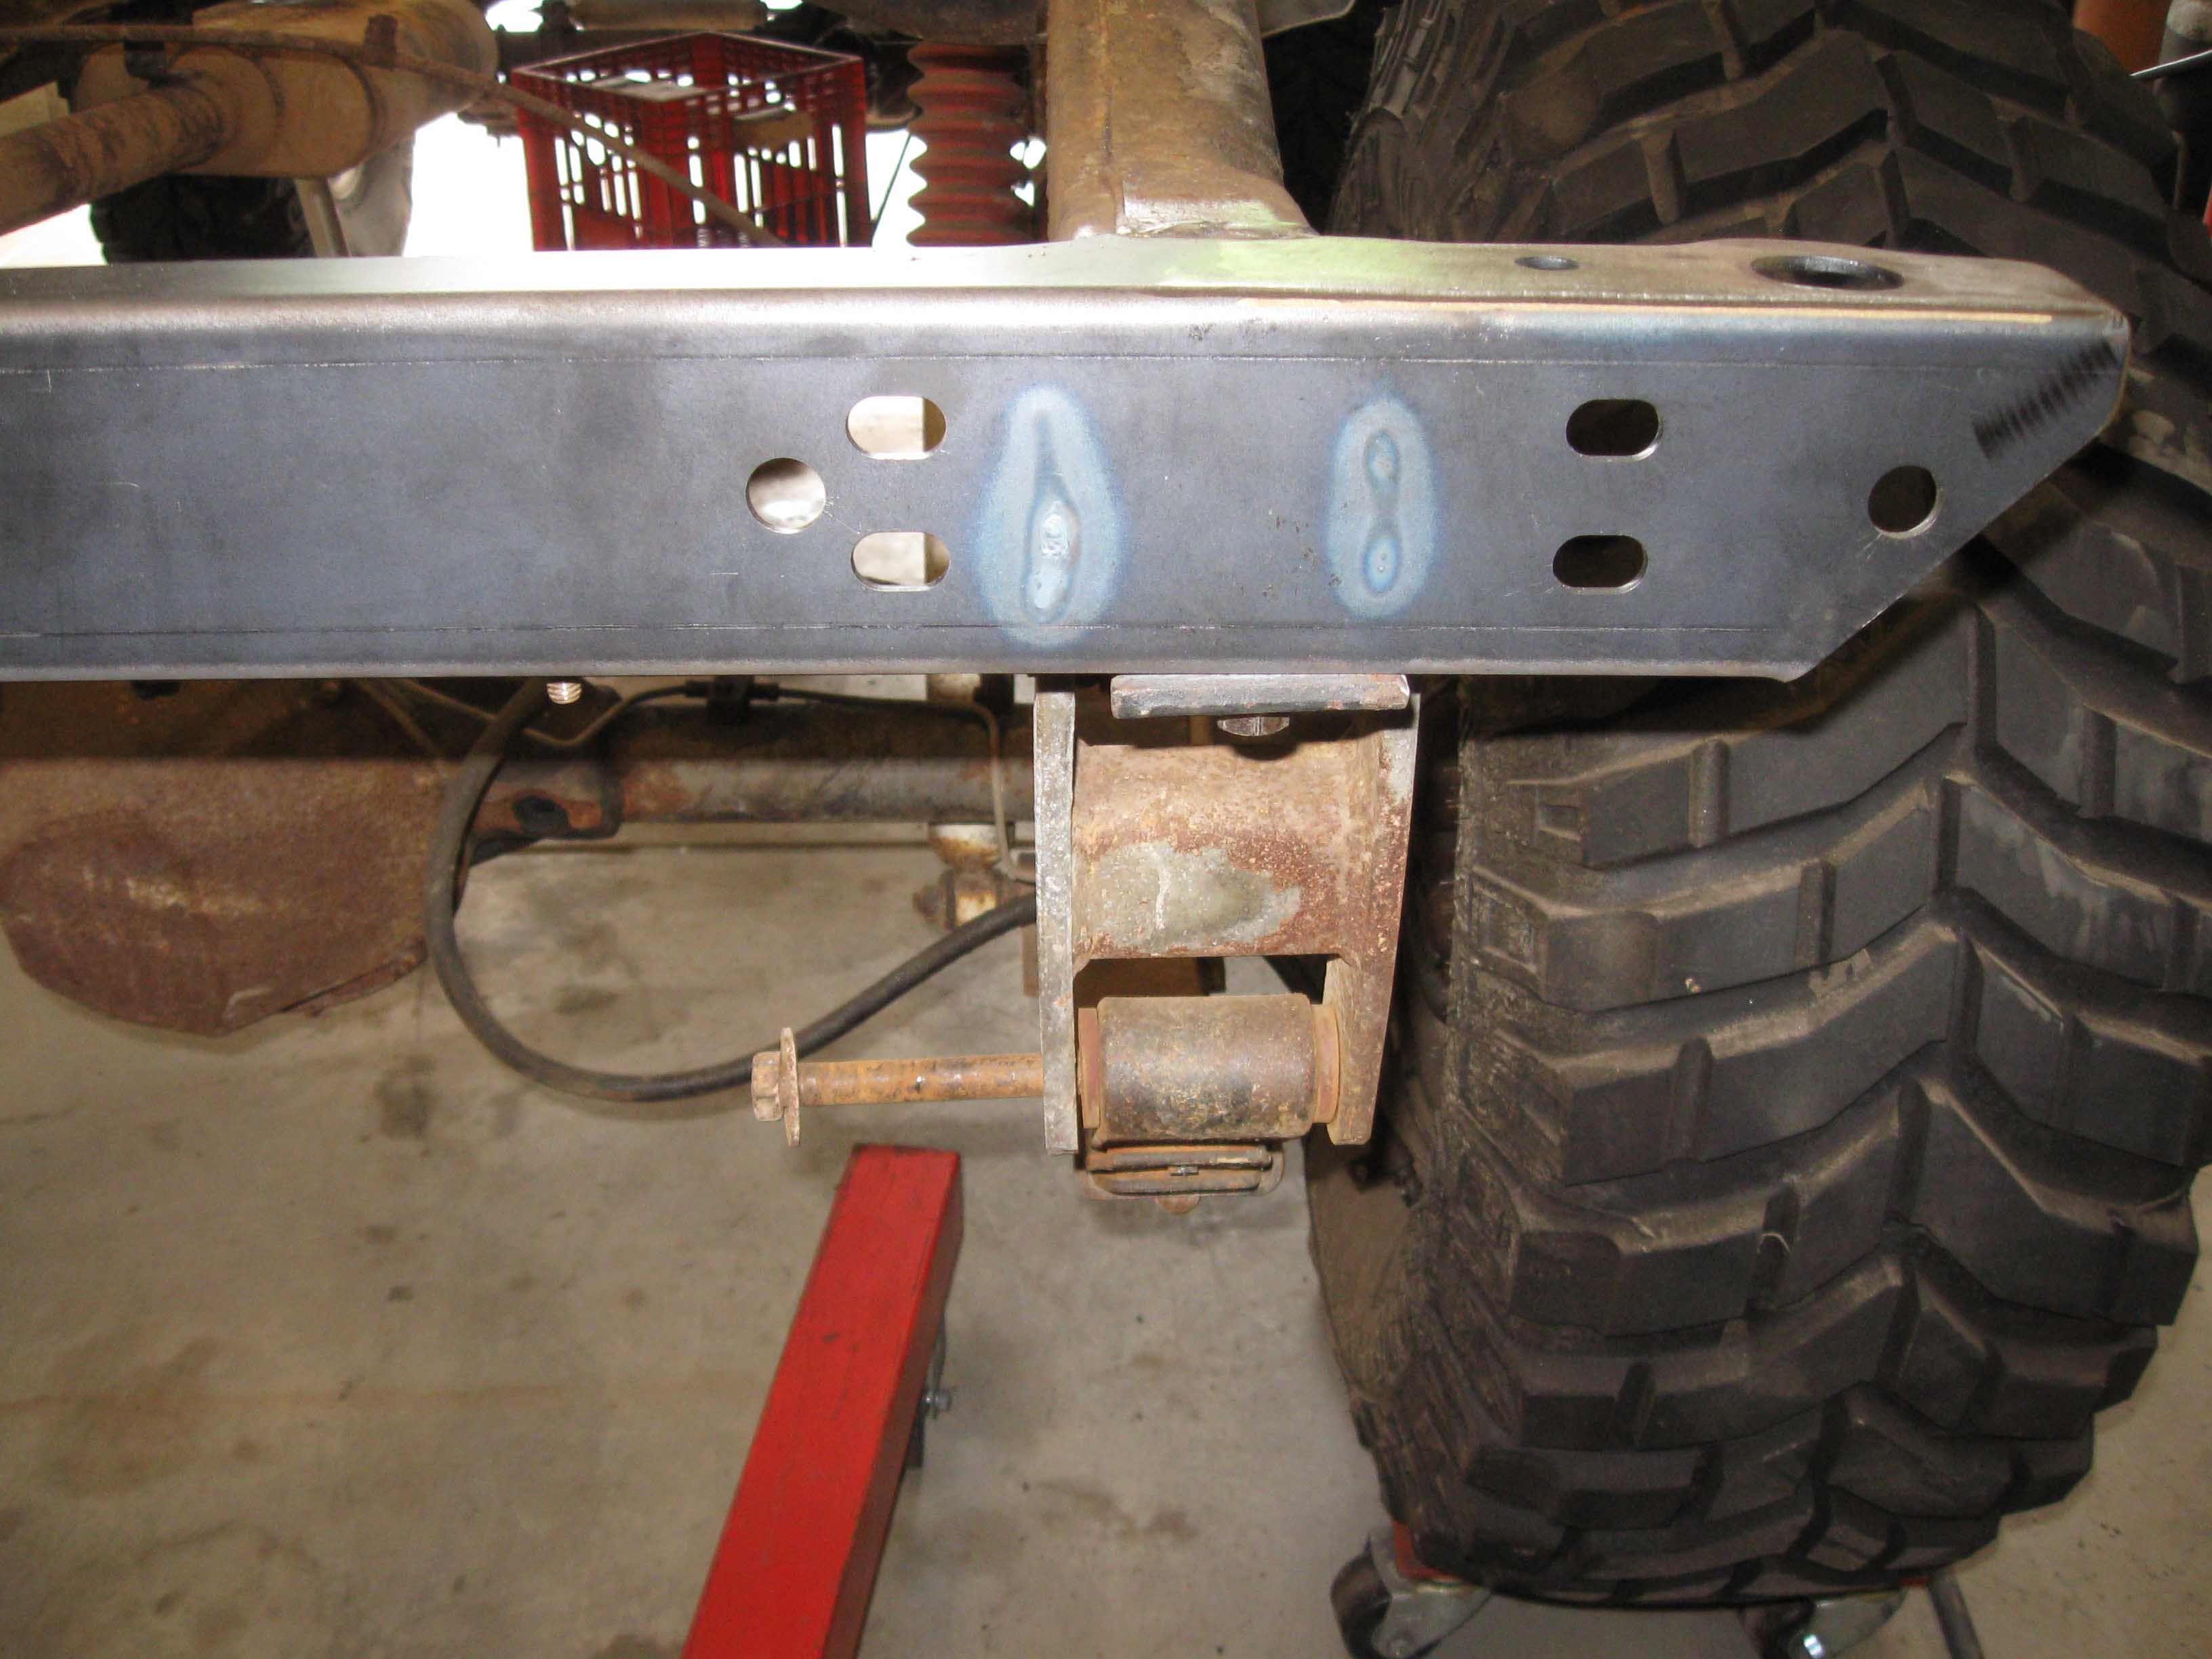
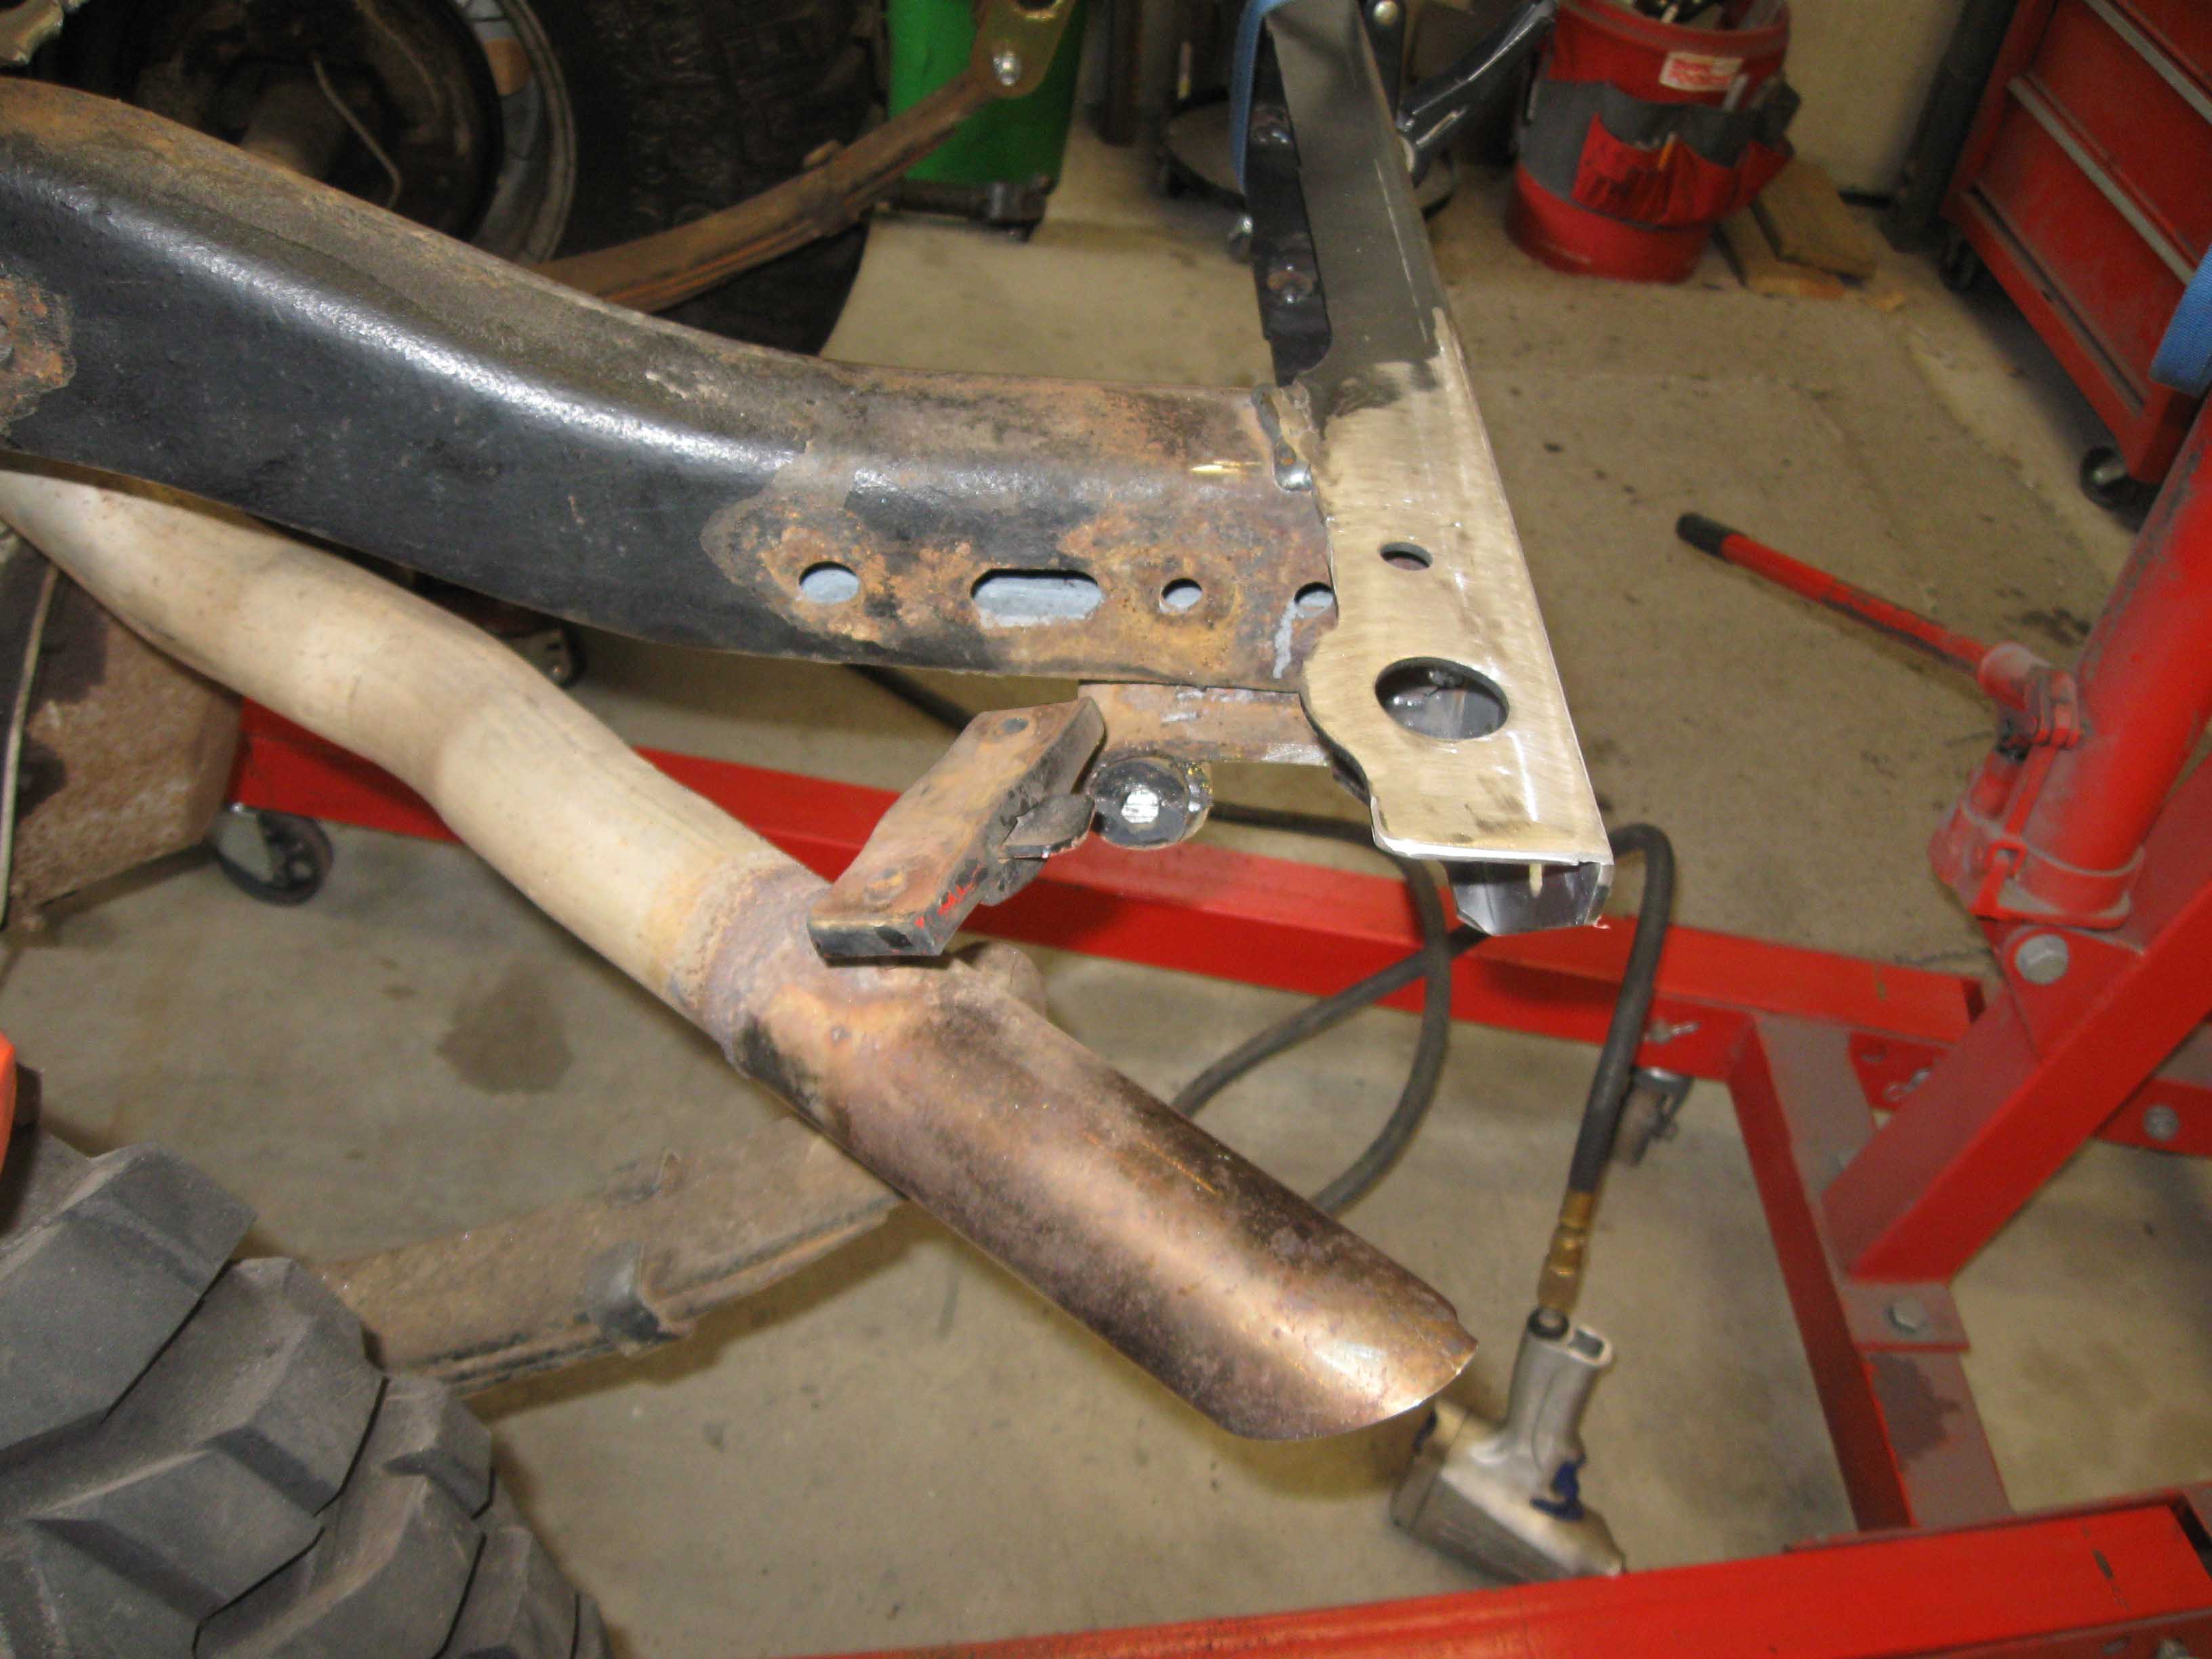
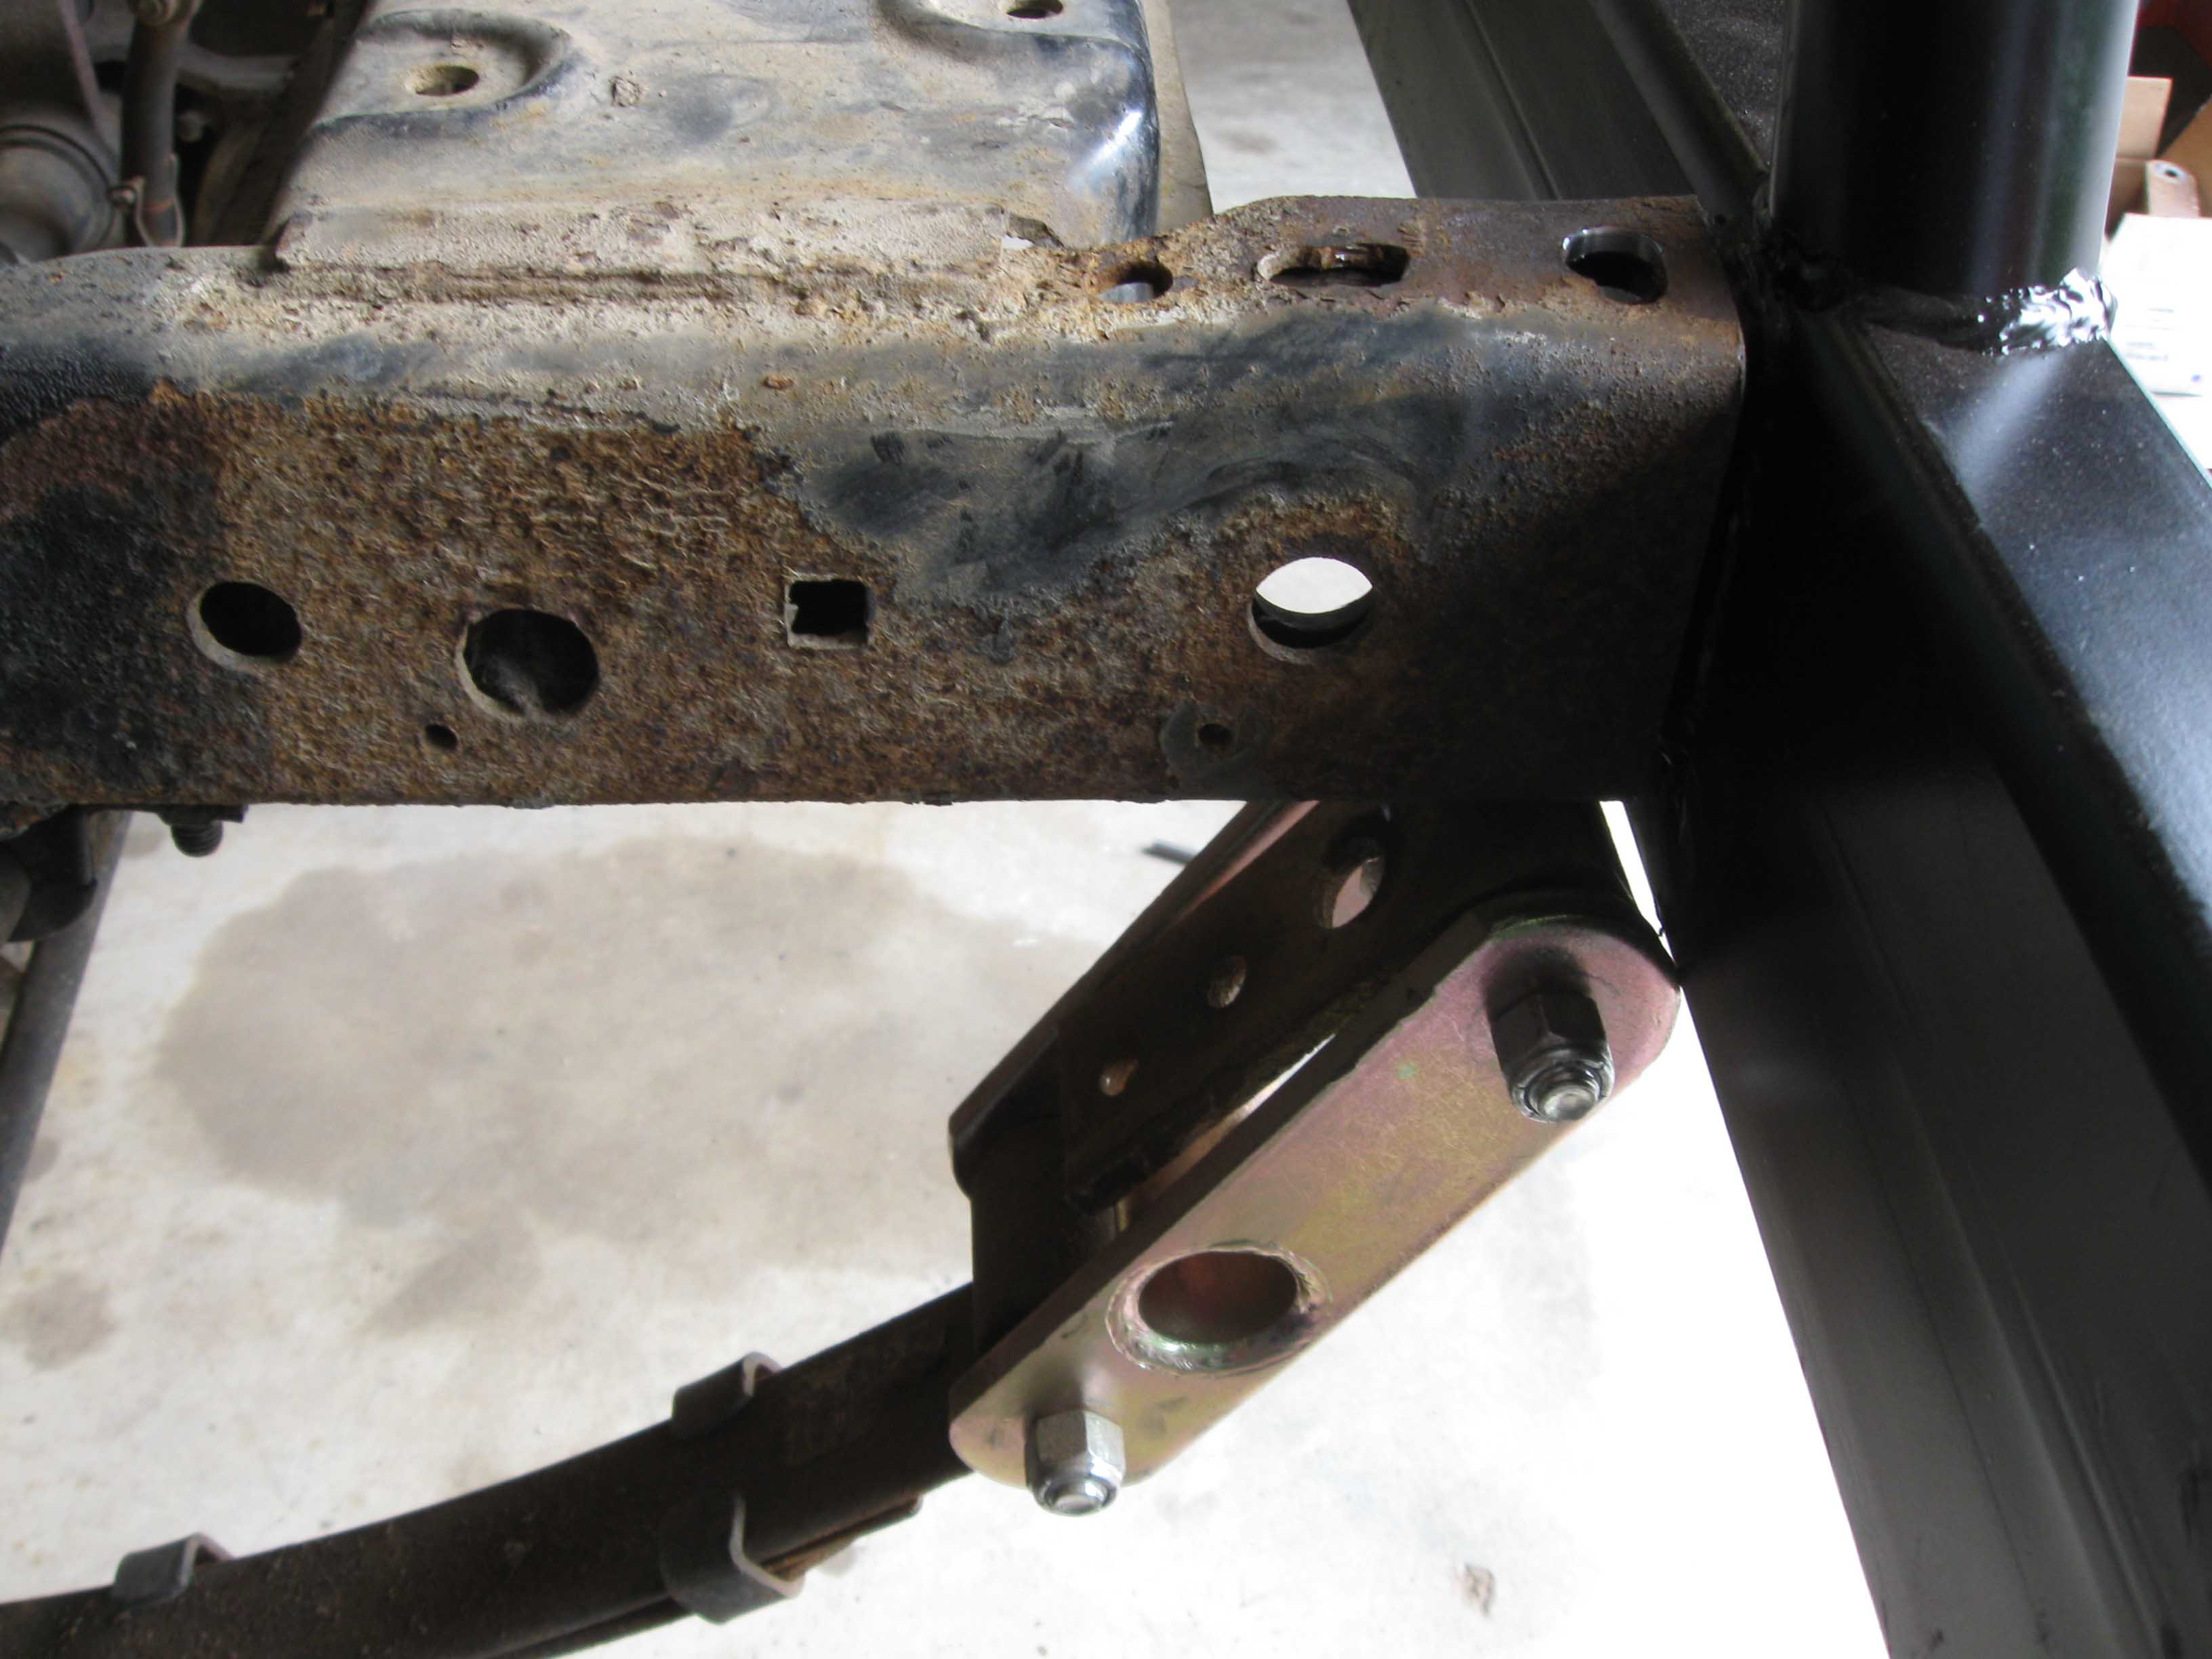
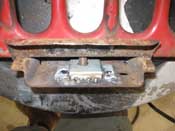
I finished up the rear shackles and started to trim the front bumper extensions a
bit because the frame didn't allow for it to slip all the way in. The front frame horn on the passenger side also
needed some creative "massaging" to allow for it to go all the way in. Upon getting it all in there, I noticed that
one of the front frame shackle hangers (also passenger side) was snapped off. So, I had to take out the good one,
relatively speaking of course, and then fold down the shackle and then bang out the broken out one and then slip
a nut in the frame hole and tighten it all back down. It is not "captive" inside as I couldn't get a welder in there,
but it is a lot better then what it was.
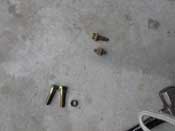
I then started trimming the hardware I got for the bumper as the store didn't have the exact sizes, so I trimmed
them down, got them all tightened down and now the front bumper and winch setup is mostly complete. We still have
the control box to put on and there wasn't a kit to do that. I have to look at how others put that on.
(06/13/09)
|
| |
| << Previous |
Next >> |
|