|
|
| Third Project Build-up - part #10 |
| |
|
1
2
3
4
5
6
7
8
9
10
11
12
13
14
15
16
17
18
19
20
21
22
23
|
| |
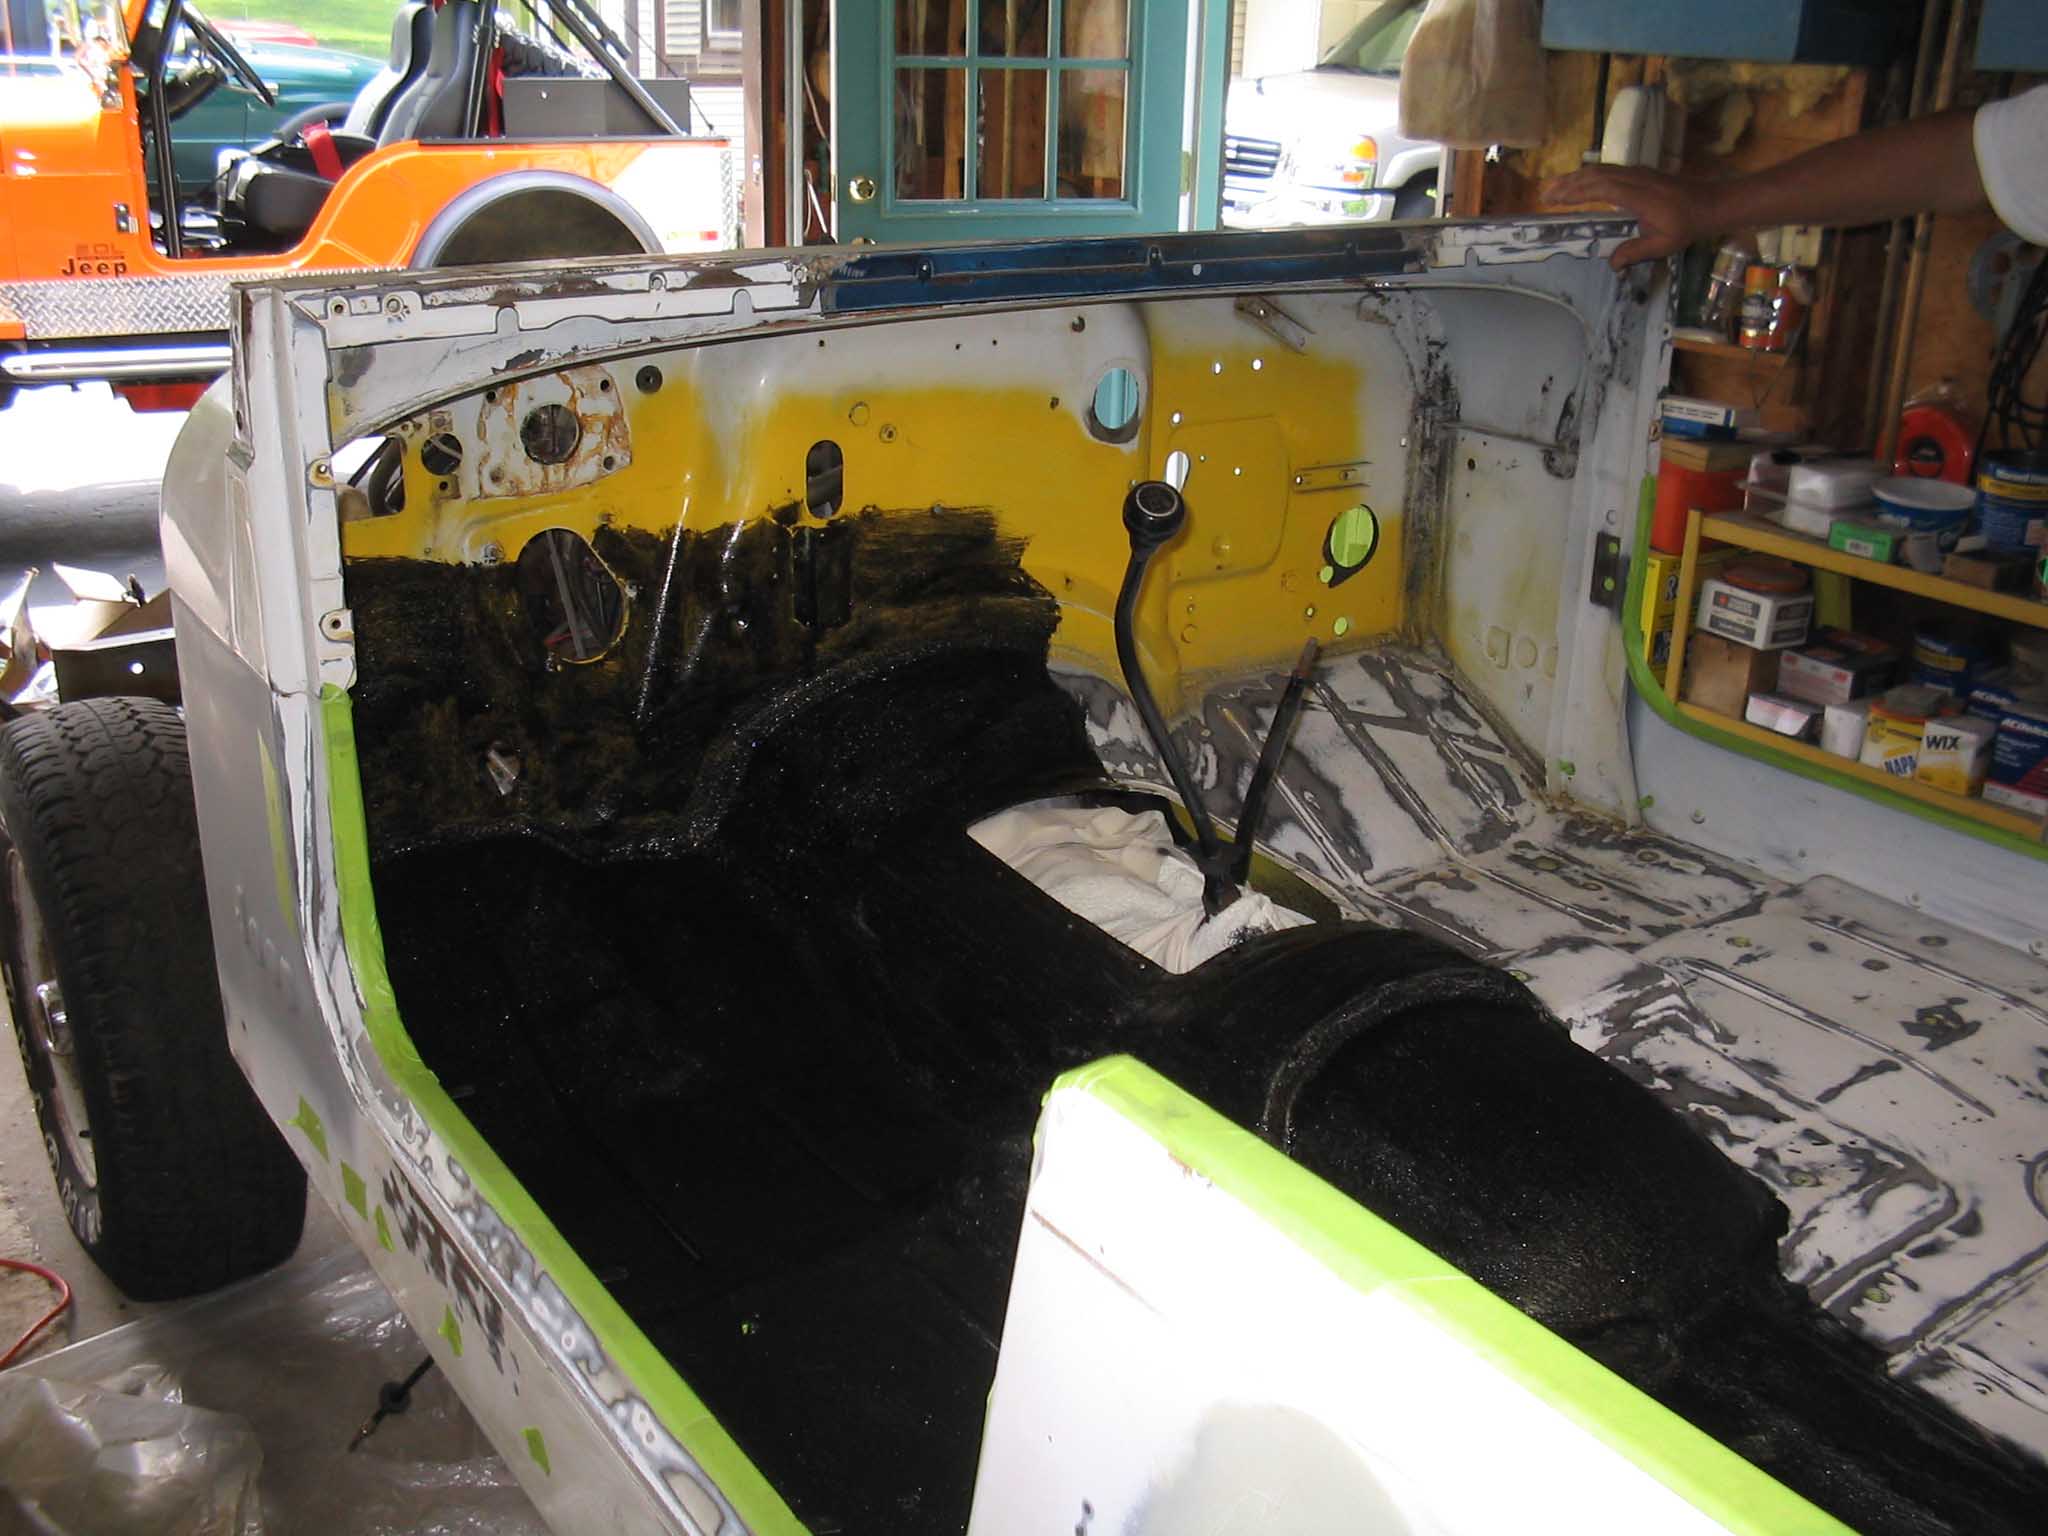
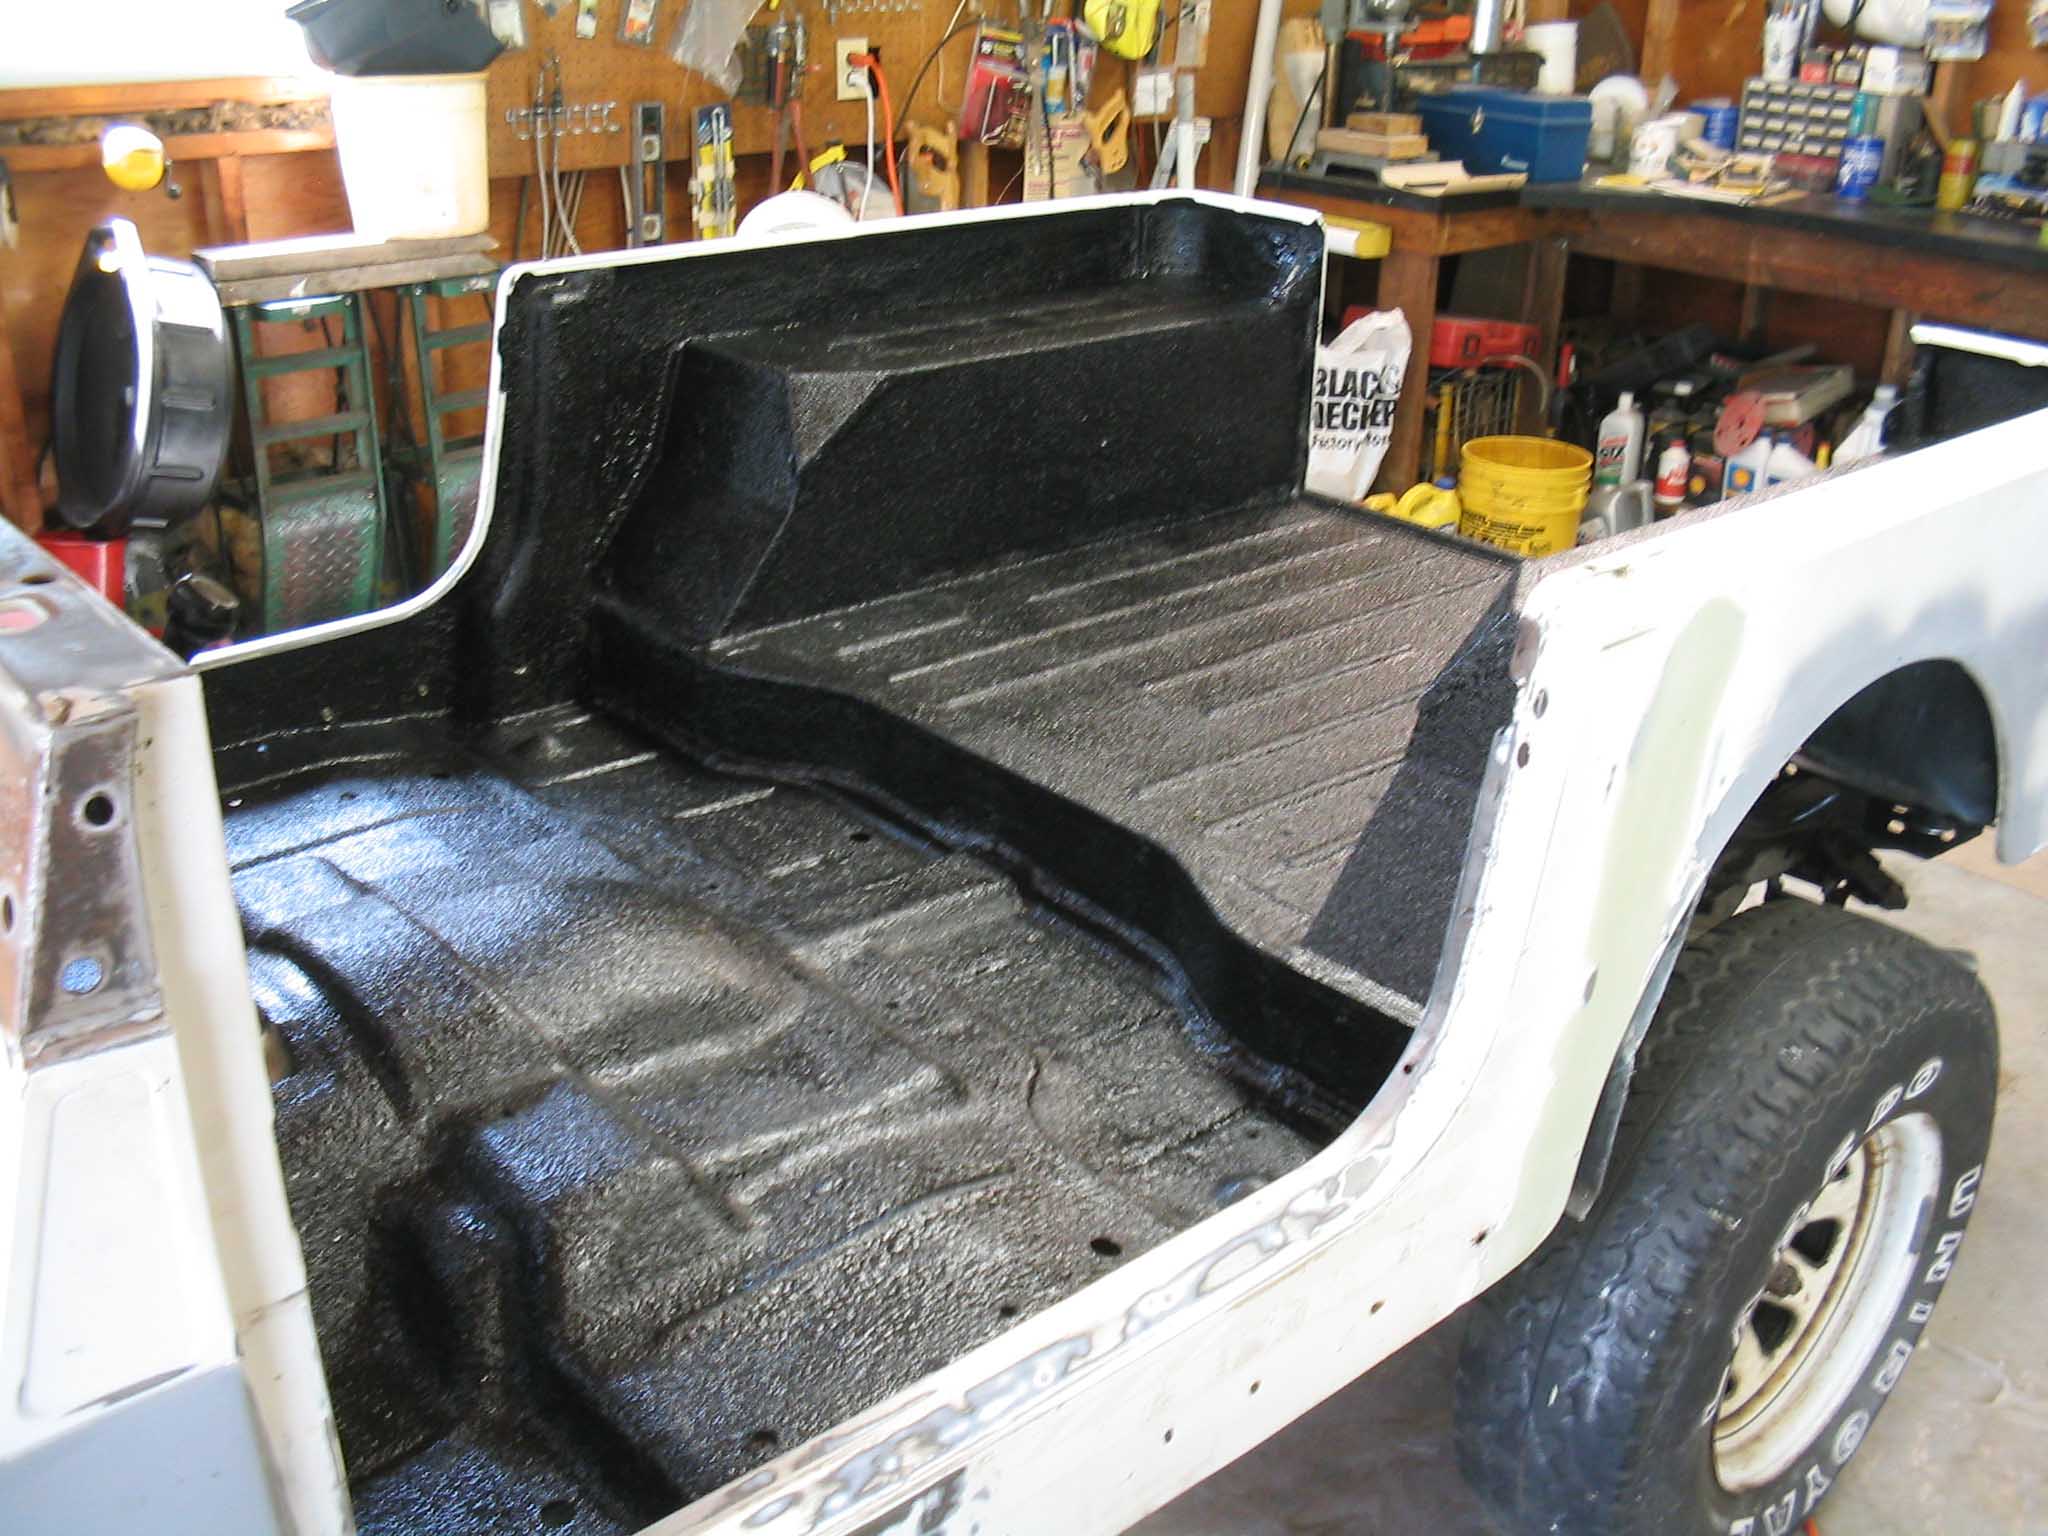
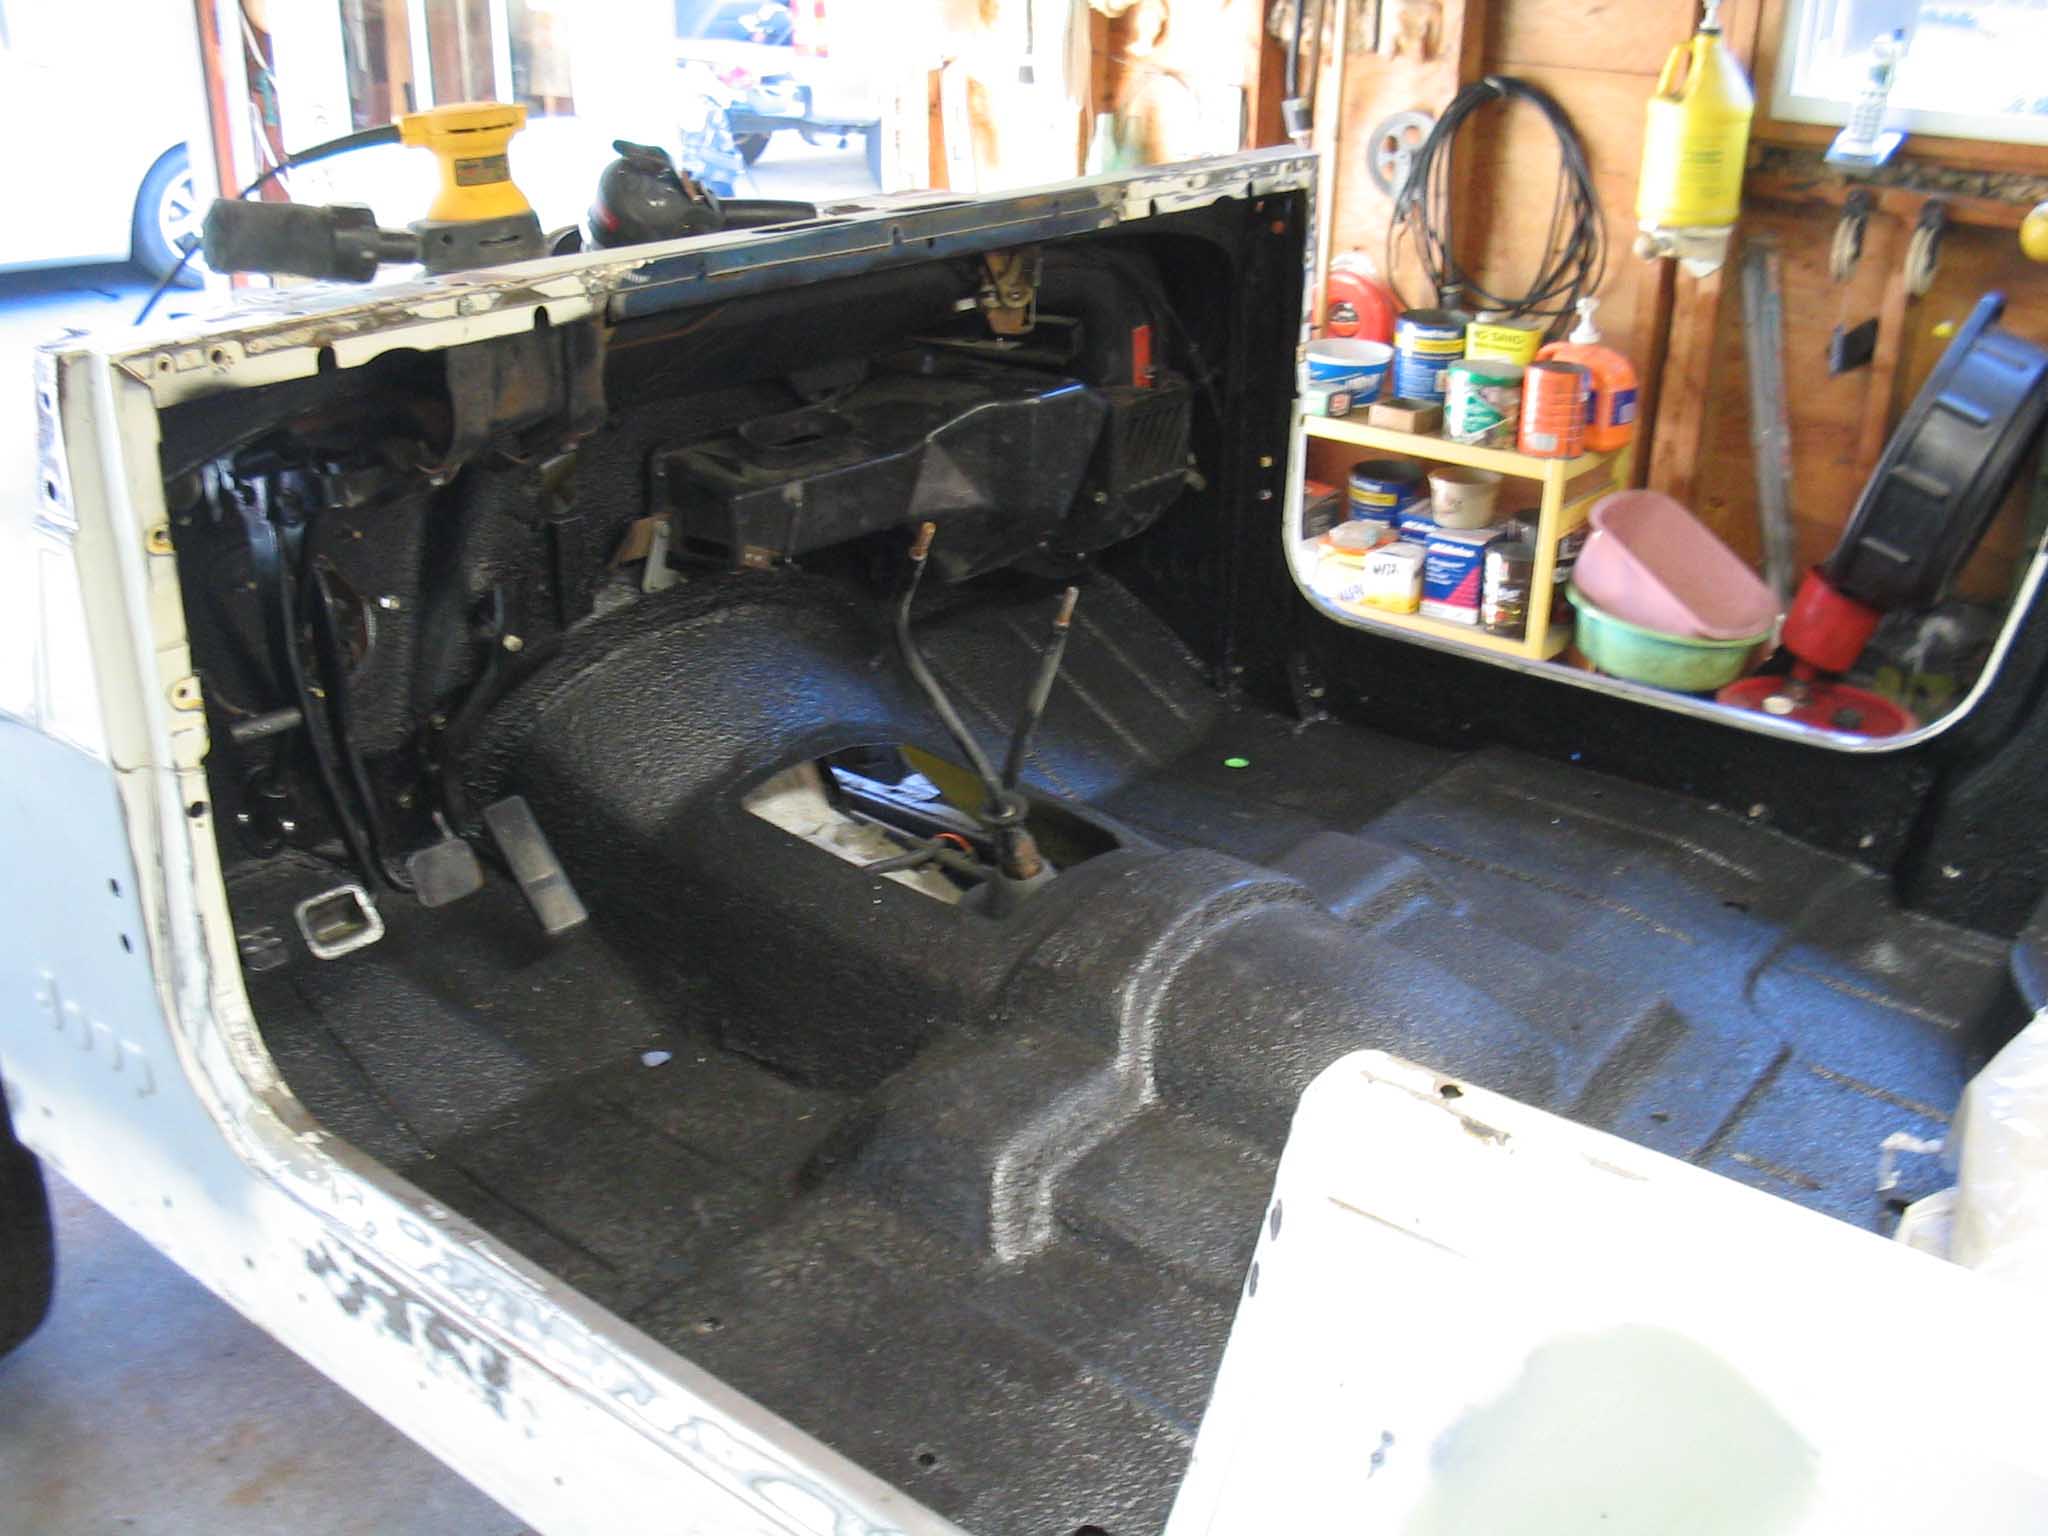
So the weekend of August 06/07 was yet another good one for the third project Jeep.
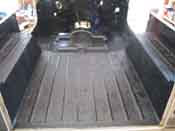
After much sanding and preparation work, we were finally able to get the Jeep in shape for the herculiner
application. The entire Jeep was sanded down on the inside and then it was given a once over to plug up any of
the holes and areas that were susceptible to leaks and finally the herculiner was applied with a brush and the
roller that was included with the kit.
The kit comes with 1 gallon of black herculiner. I got black because the Jeep is going to be yellow and I thought
it would give it nice contrast. When doing a CJ-7, a little more then 1 gallon is necessary for proper coverage.
So, with that little bit of information gathered on the Jeep Forums, we purchased another quart and finally it
was time to put the herculiner on the Jeep.
|
| |

|
|

|
|
| |
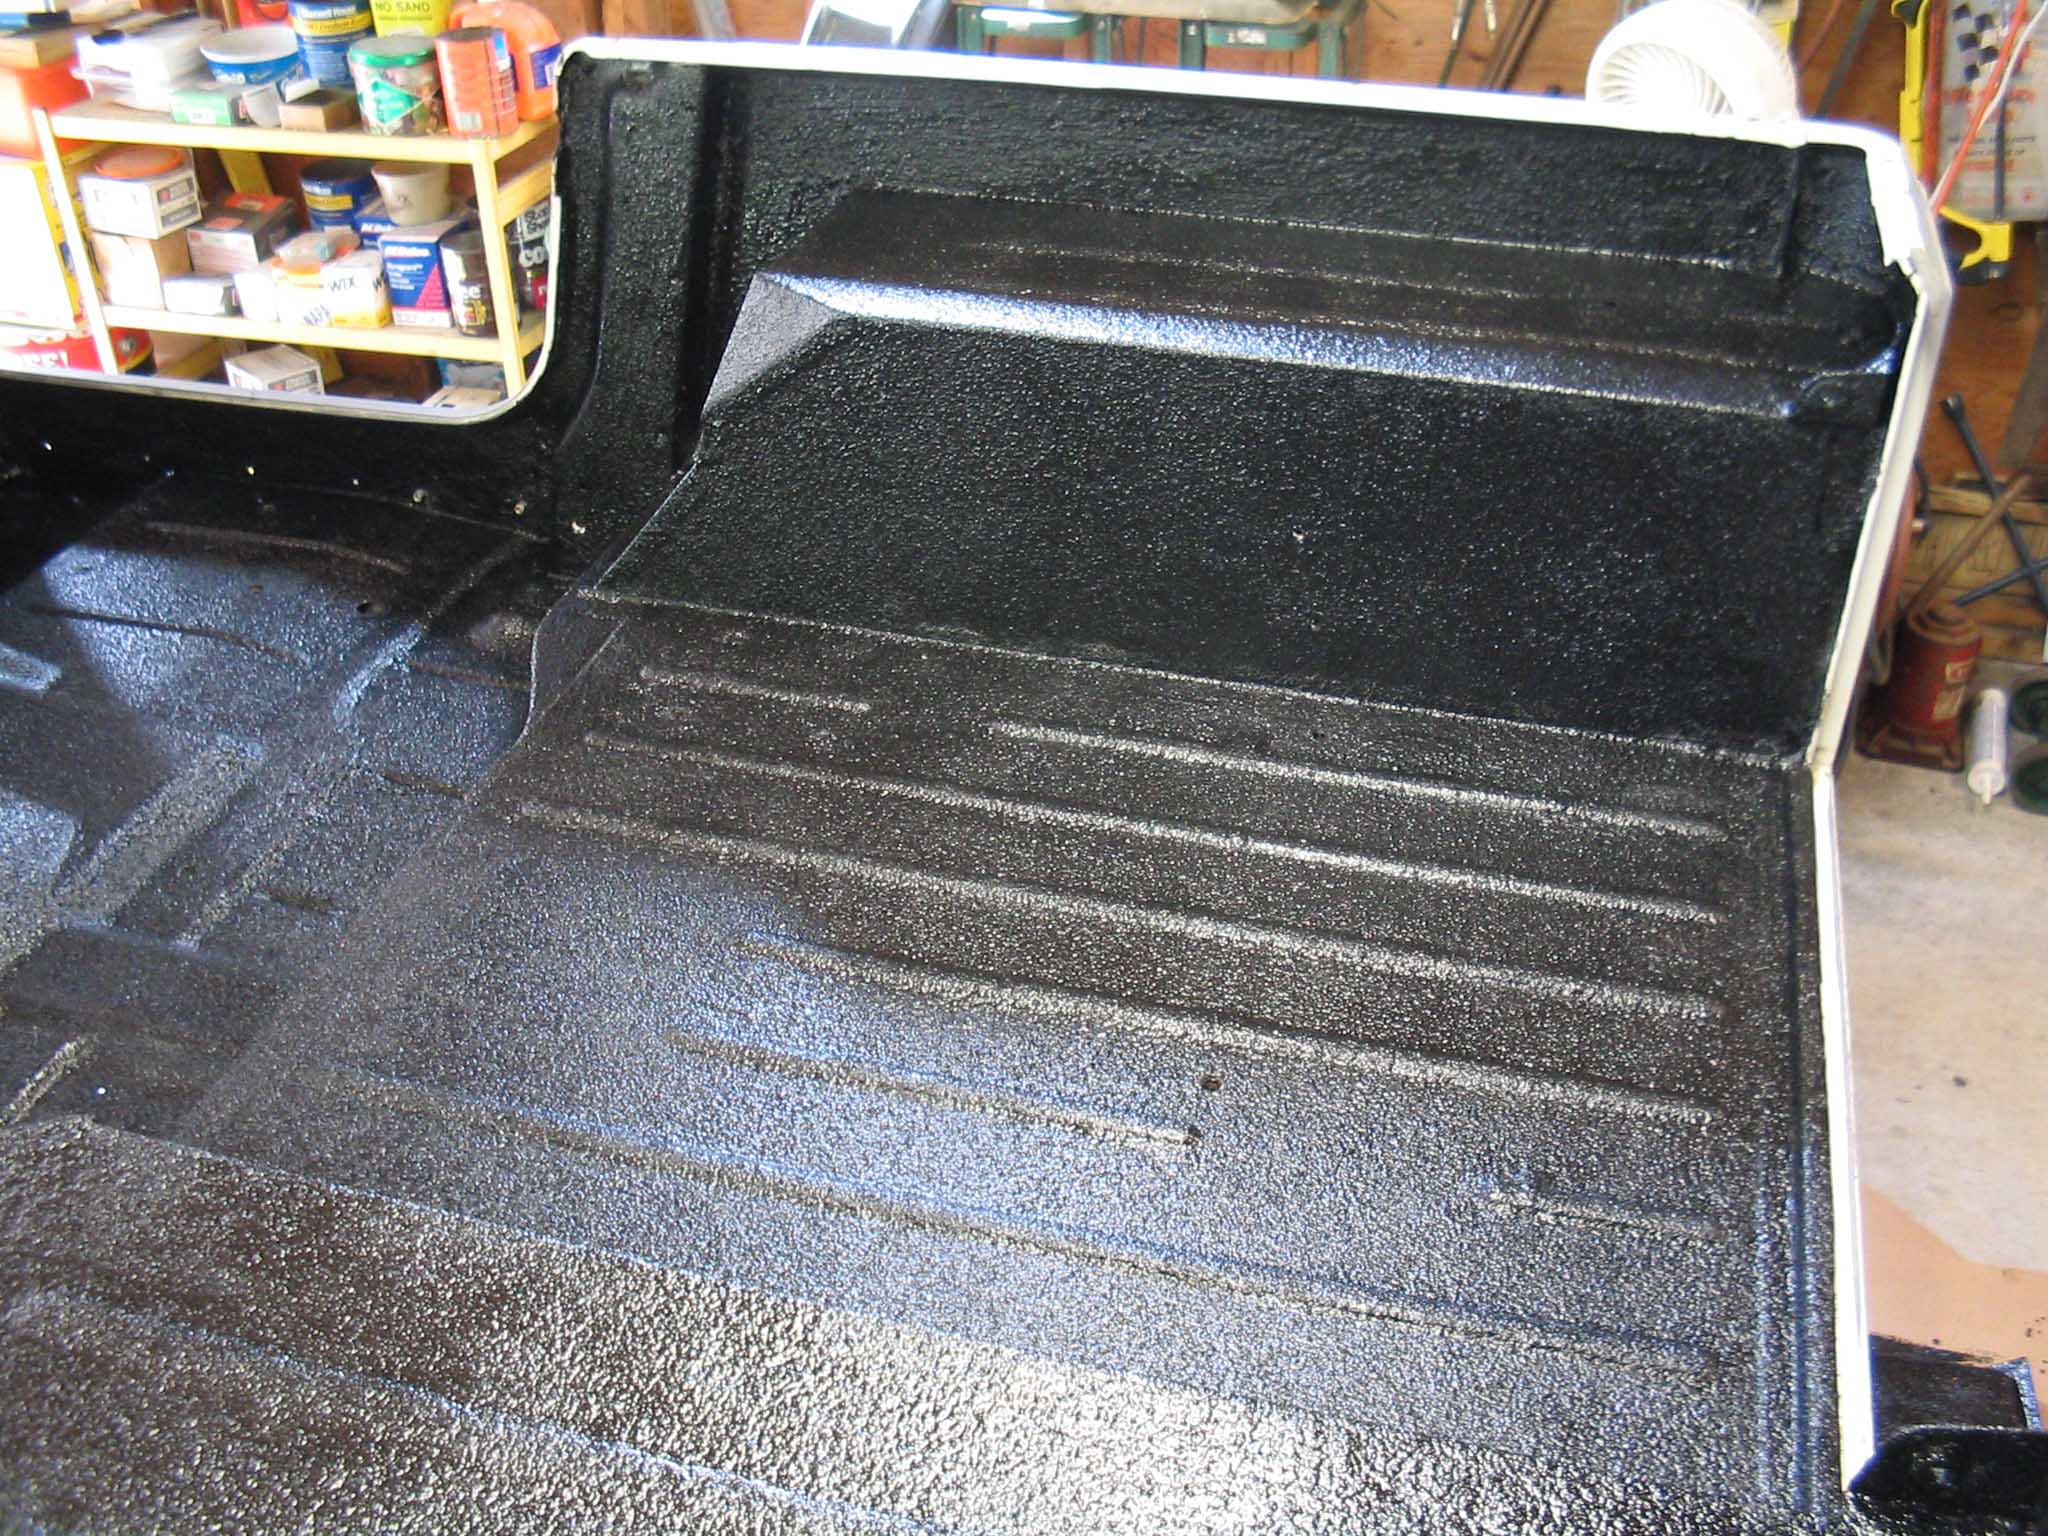
Since I had done the Orange Jeep with herculiner in the past, I was not a novice
to the process, so I knew that the Jeep had to be sanded down and completely clean in order for this to stick
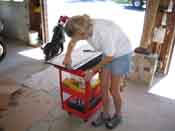
correctly and not peel off. We went a little overboard with the sanding, however, with the 2 hand sanders at our
disposal, my girlfriend and I made short work of it and soon the Jeep was ready to be vacuumed up and finally it
was hit with a little "prep-all" which removes all the wax and grease that might be left on the Jeep.
The Herculiner kit states that all the "glossy" areas of the paint need to be scuffed up so the herculiner will
stick correctly. Also, they recommend putting some acetone down to do the final cleaning, so that is what we did.
With all the prep work done, 2 coats were then applied.
|
| |
|

|
|
|
| |
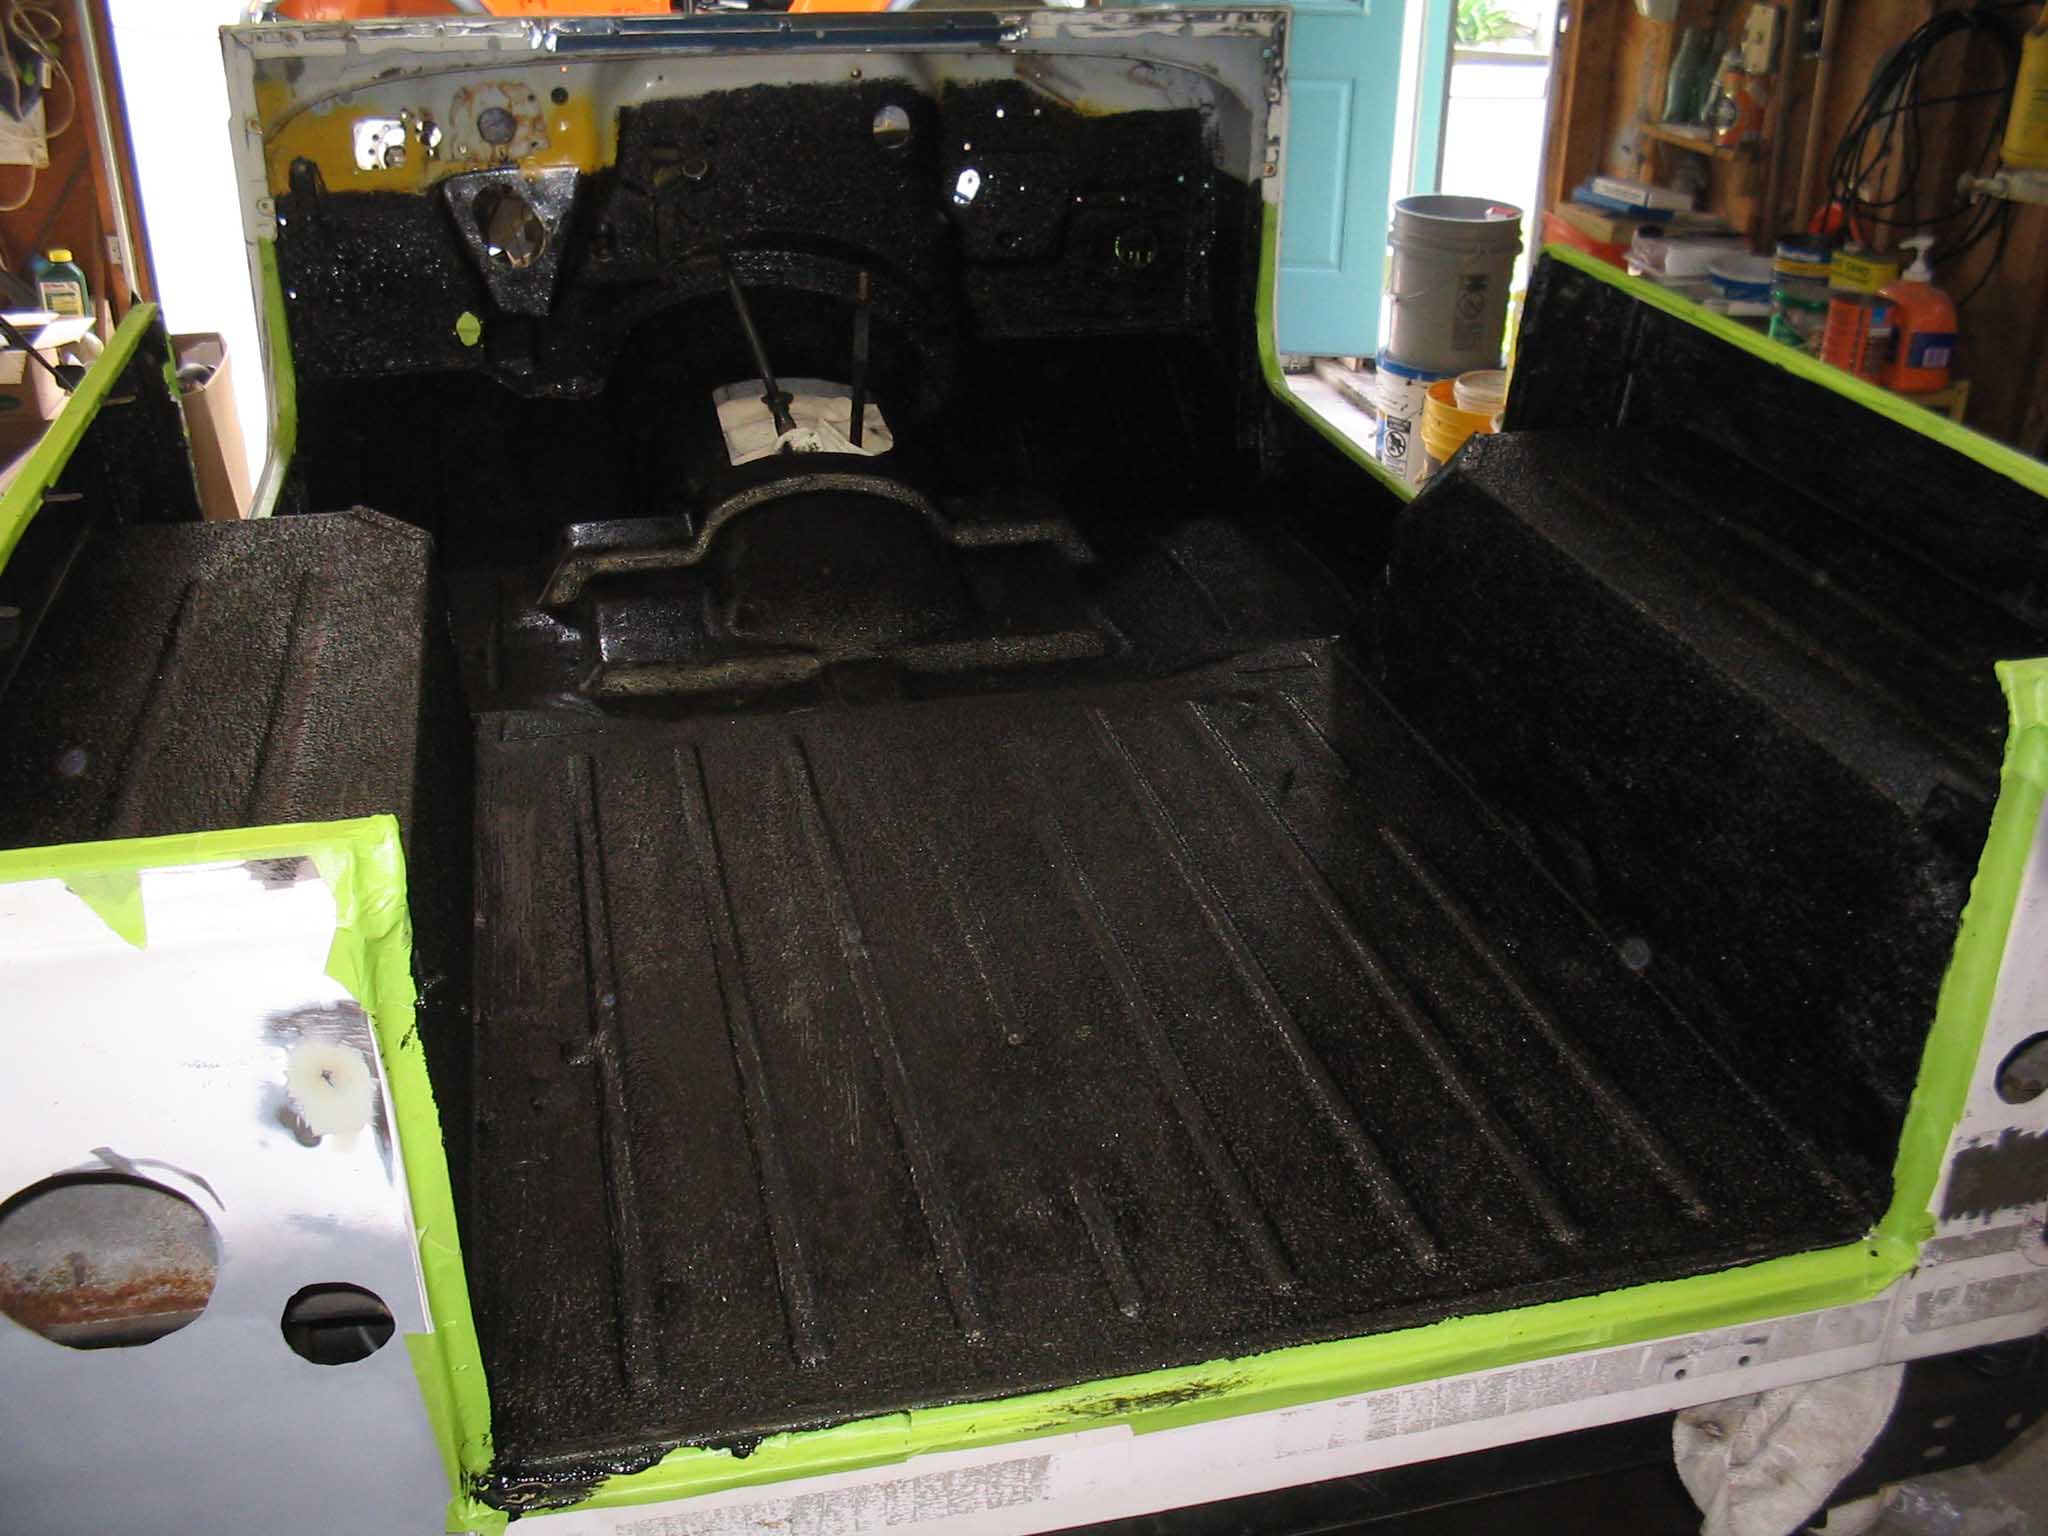
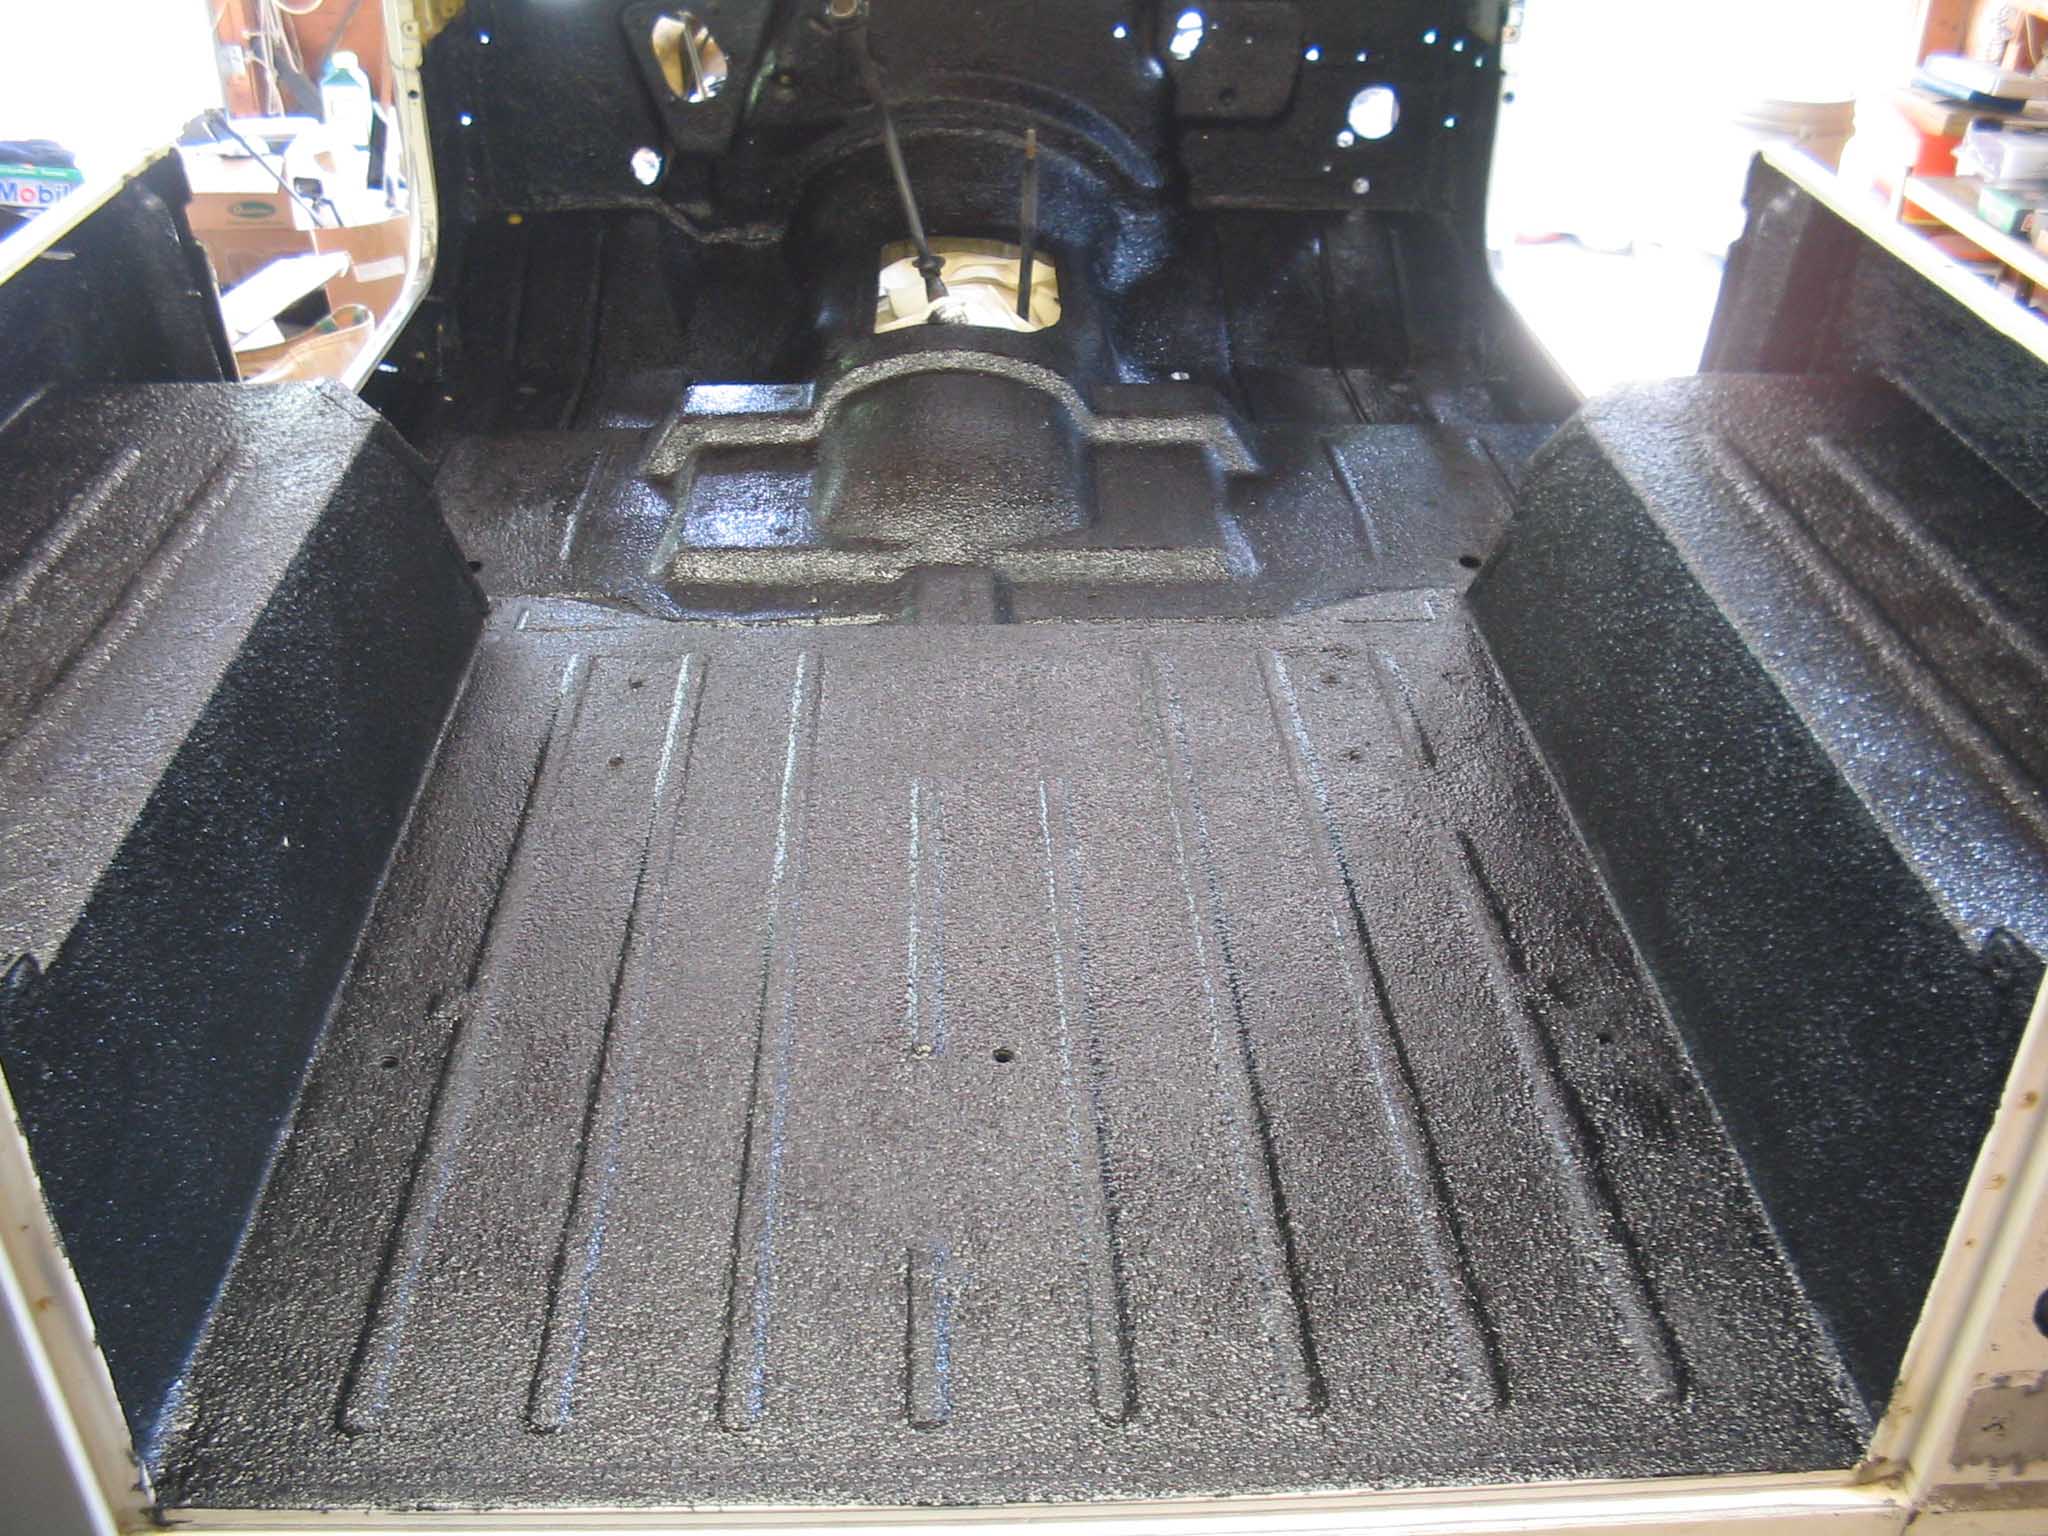
The kit states that the first coat is more of a base coat and it will need about
1-4 hours to set up correctly. I put on the first base coat and it took about 2 hours before we were able to
put on the second coat.
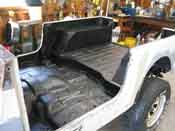
After the second coat was put on, all the tape was removed and we went over the entire Jeep to make sure that
the coverage was complete and that there was no white showing. Having a white body underneath really helped in
figuring out if we were missing any areas. If it were black, it would have been useful to put on a coat of
primer that would show through I would imagine.
All in all, I think it came out great and we will get back to the project Jeep in a few weeks. We are headed out
for some relaxation and vacation, so the next steps will include putting the dash components back in and finally
getting the bodywork done and finally shooting some paint on this Jeep. So far, so good.
|
| |
|

|
|
|
| |
Well, we are back from a long vacation. We went to Montana and Alaska and it
spanned nearly 15 days. We went on a Jeep tour in Ketchikan Alaska that is shown in another write up on the
site, but all in all, it was a much-needed vacation.
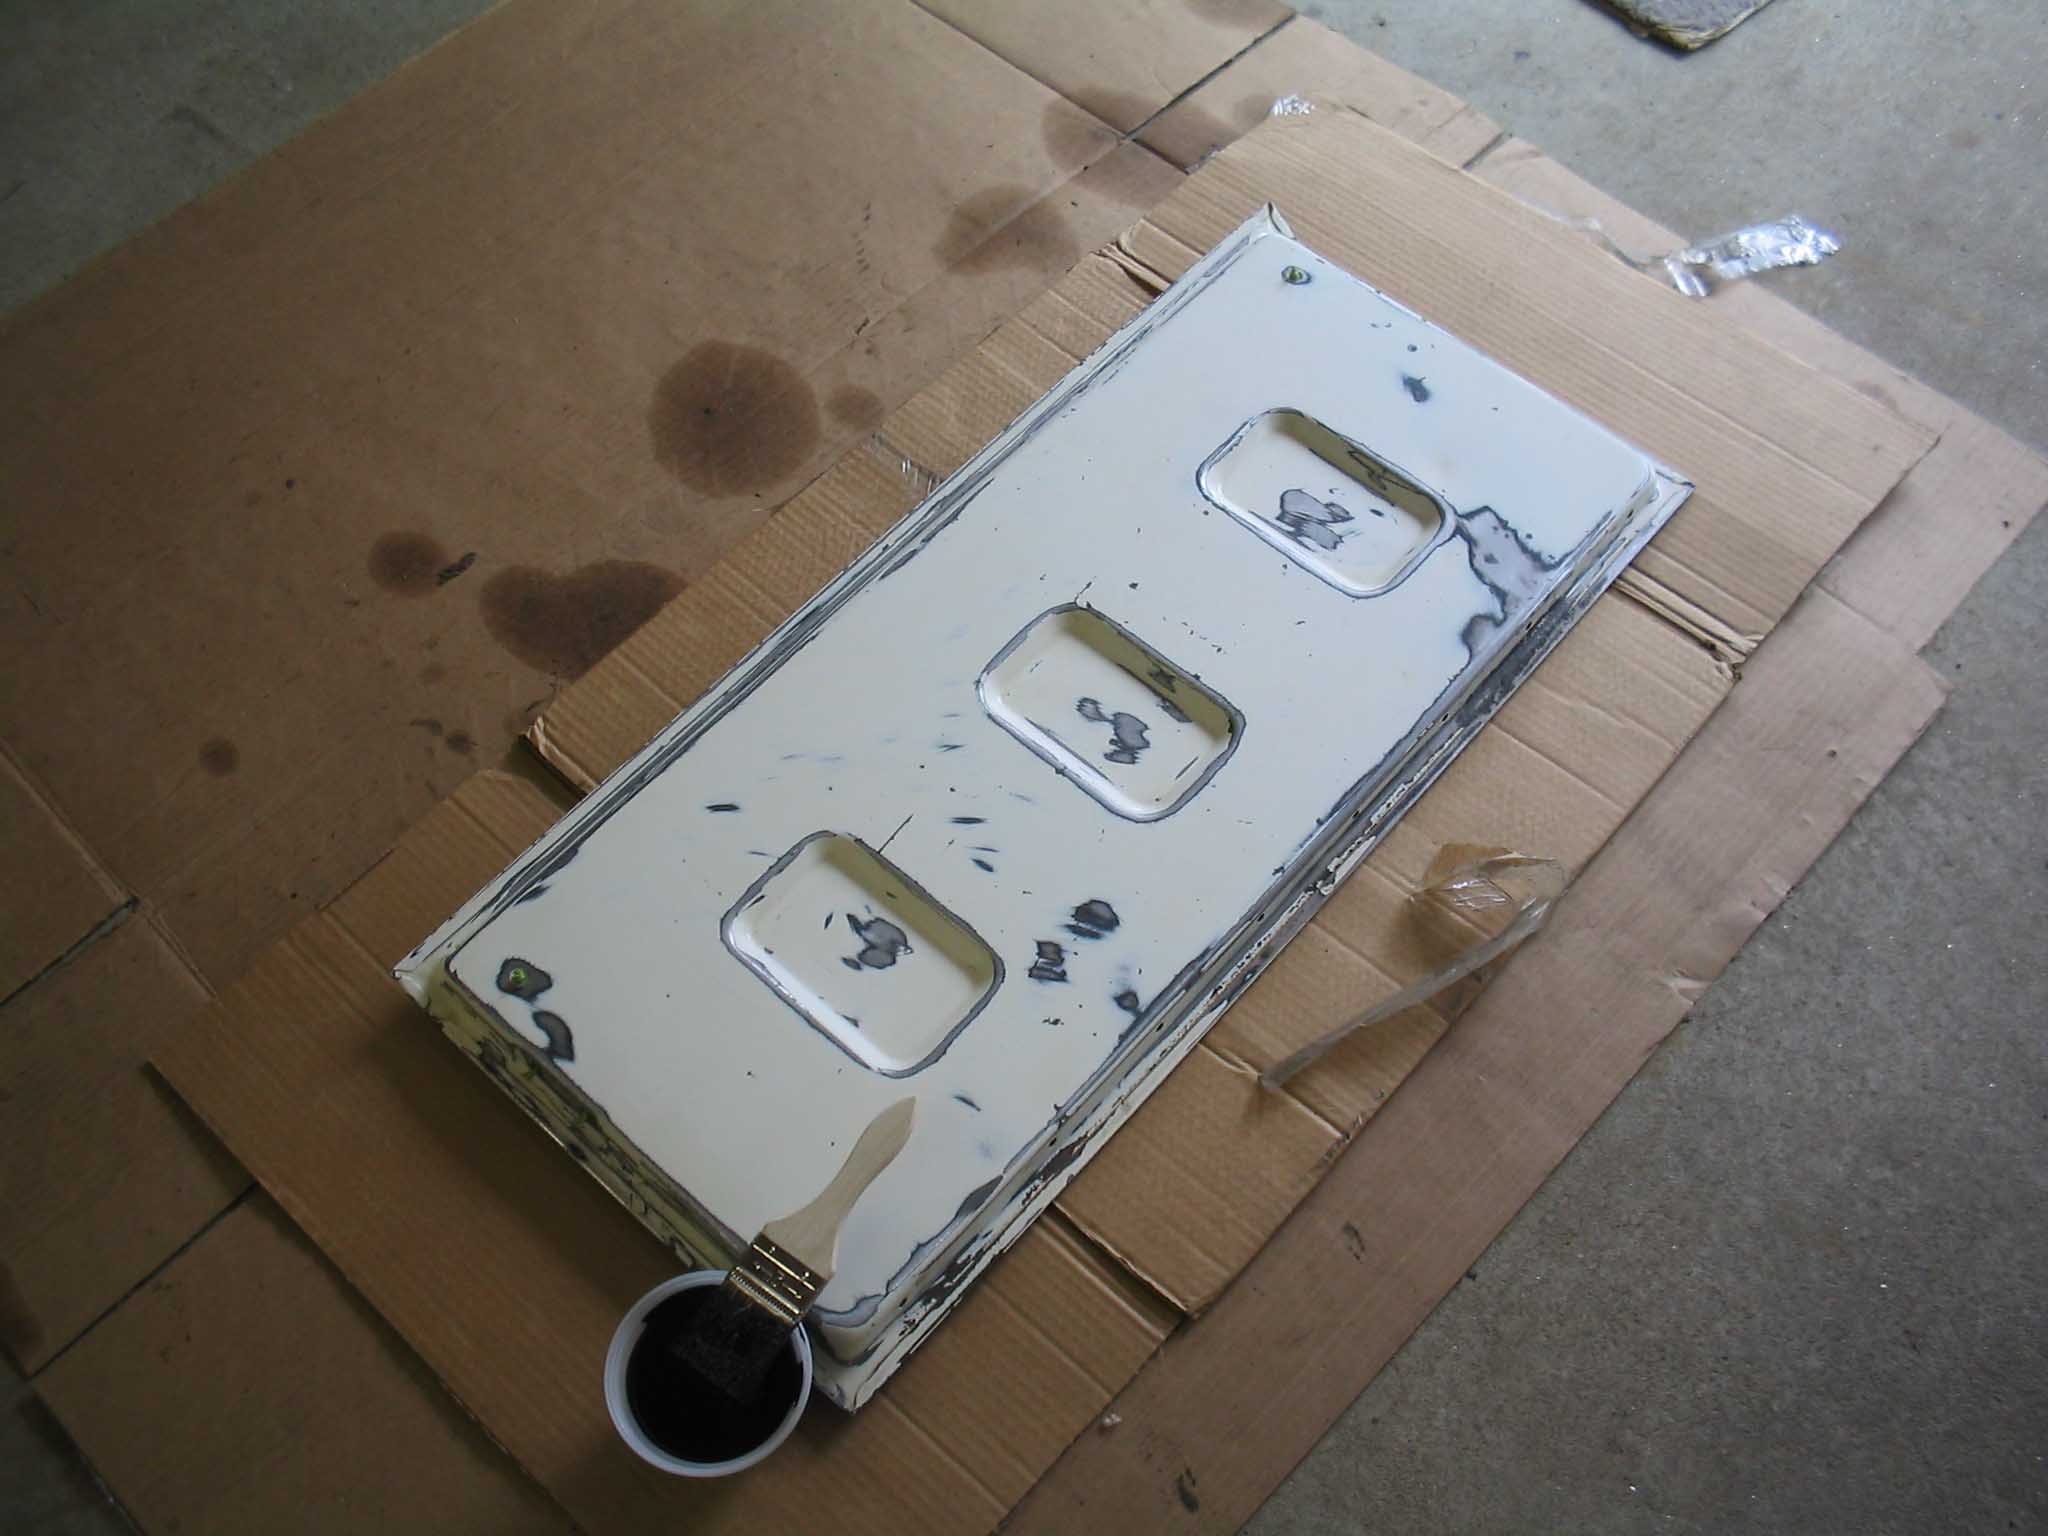
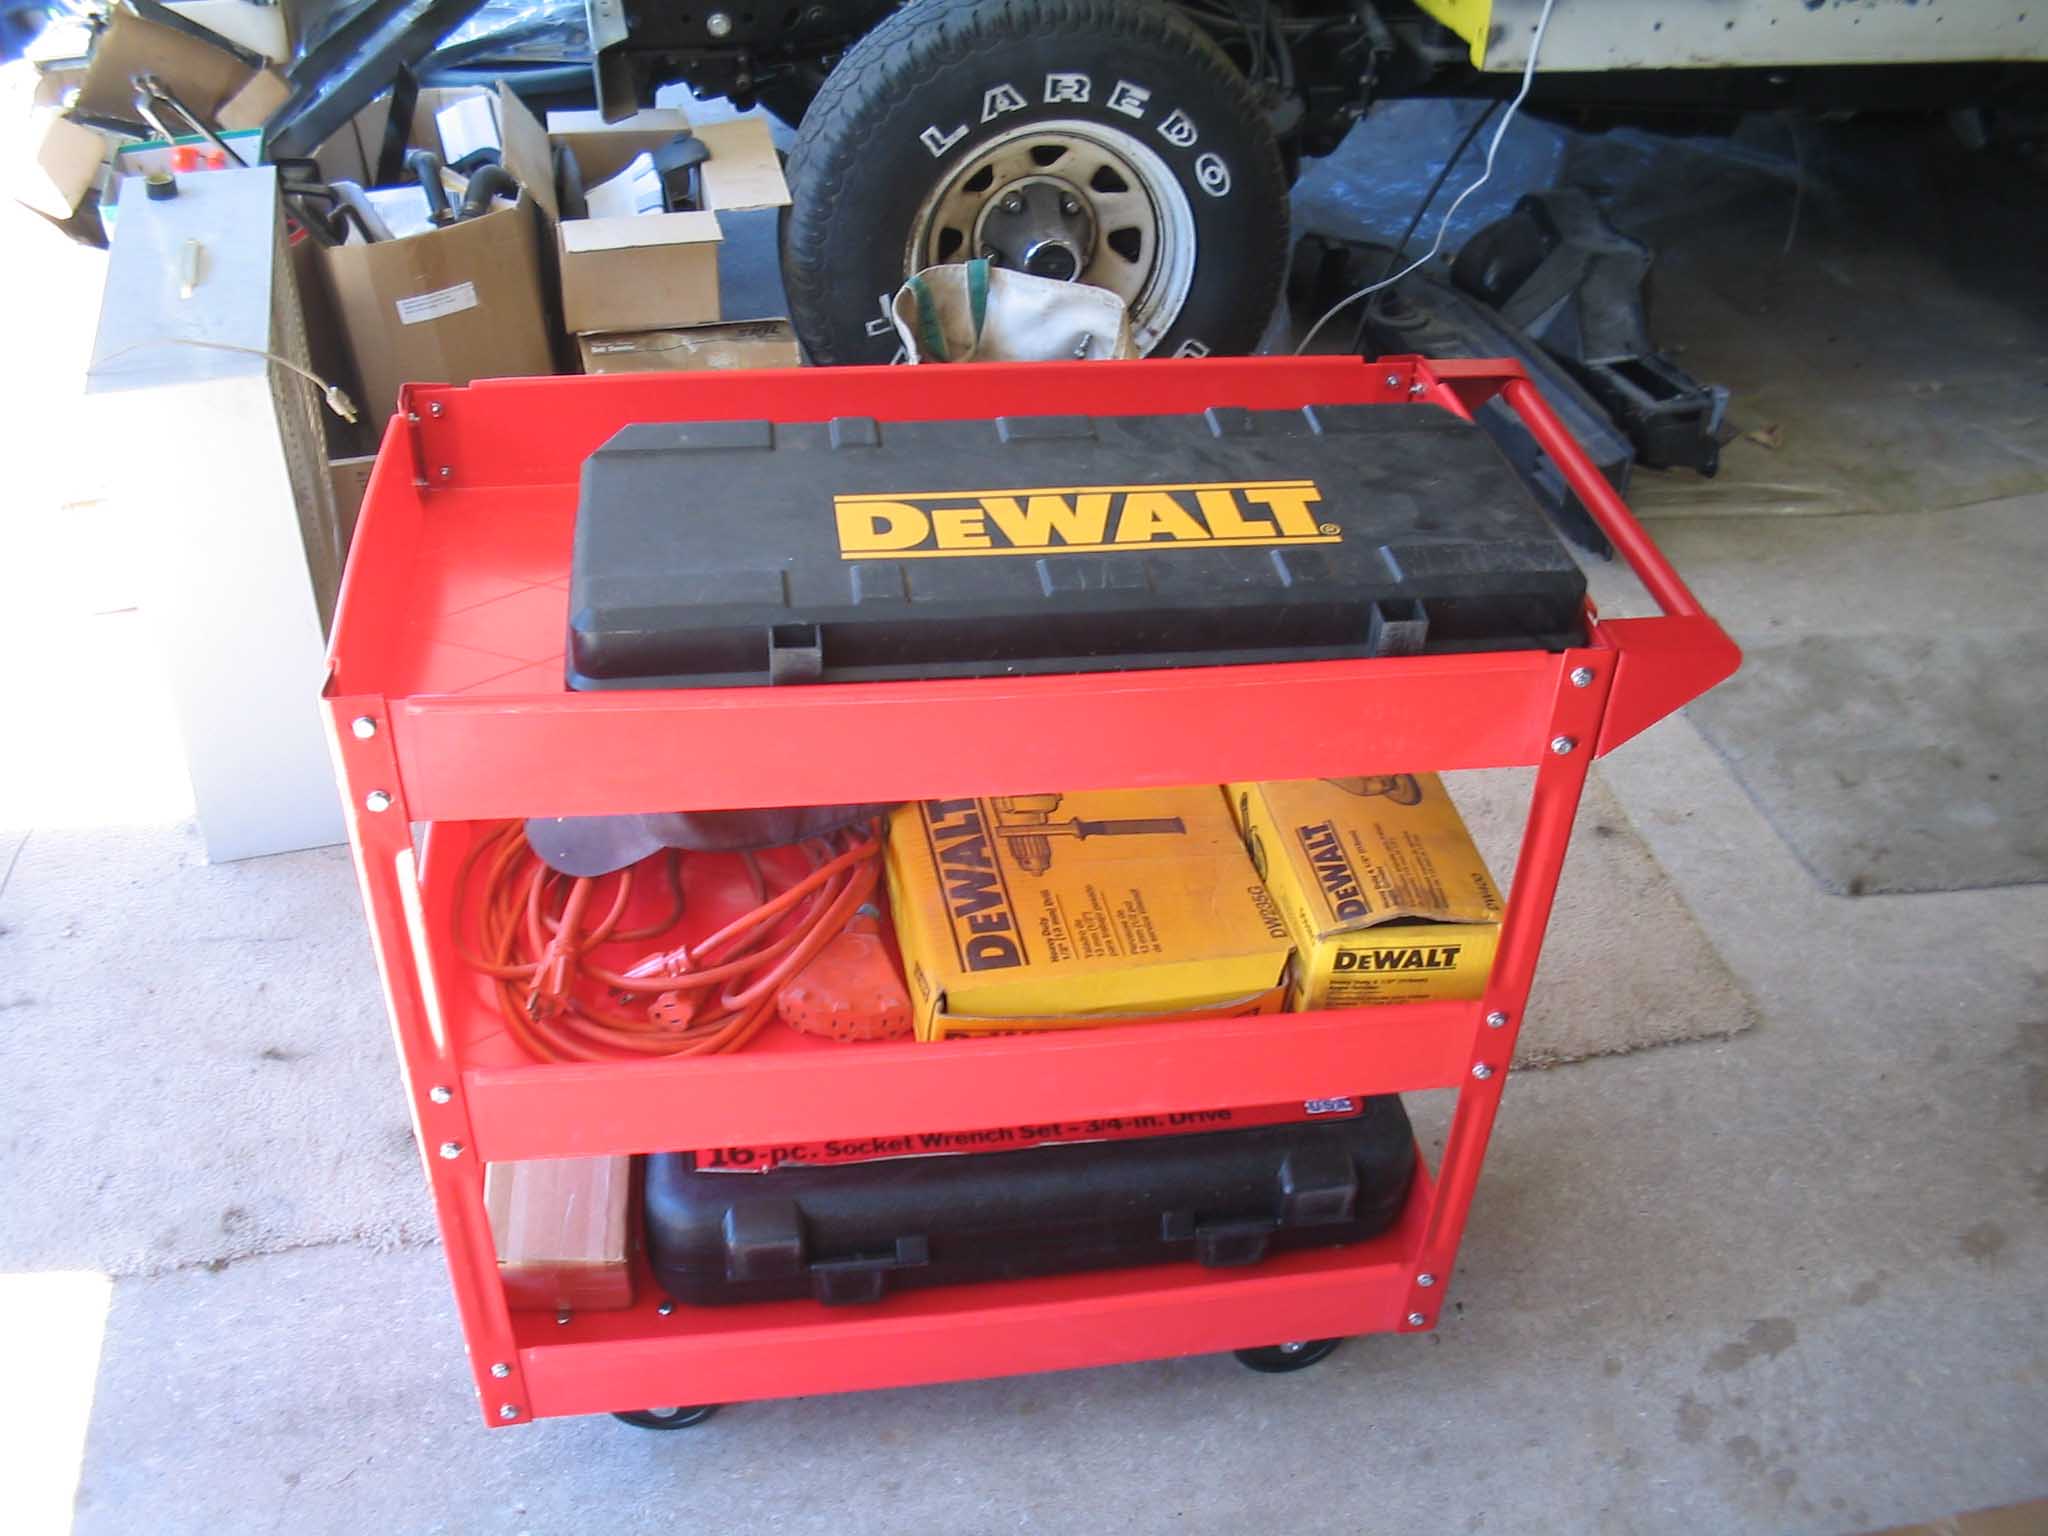
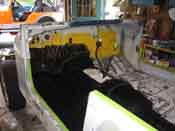
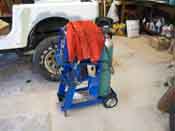
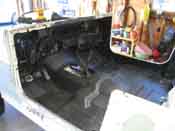
Now that we are back, we went straight back to work on the Jeep. One thing to NOTE here, I did something
totally backwards with this project. As you can see in the pictures, I now have 2 carts, one for the welder and
one for the tools and basically a workbench. These have added a tremendous amount of flexibility in the
project, and if you plan on doing a long project, pick some up. The 2 of these together cost about $100.00 and
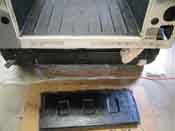
it was well worth the effort of putting them together. As you can tell, laying the tailgate across the cart to
get off the remnants of the run off of the herculiner was quite a back saver.
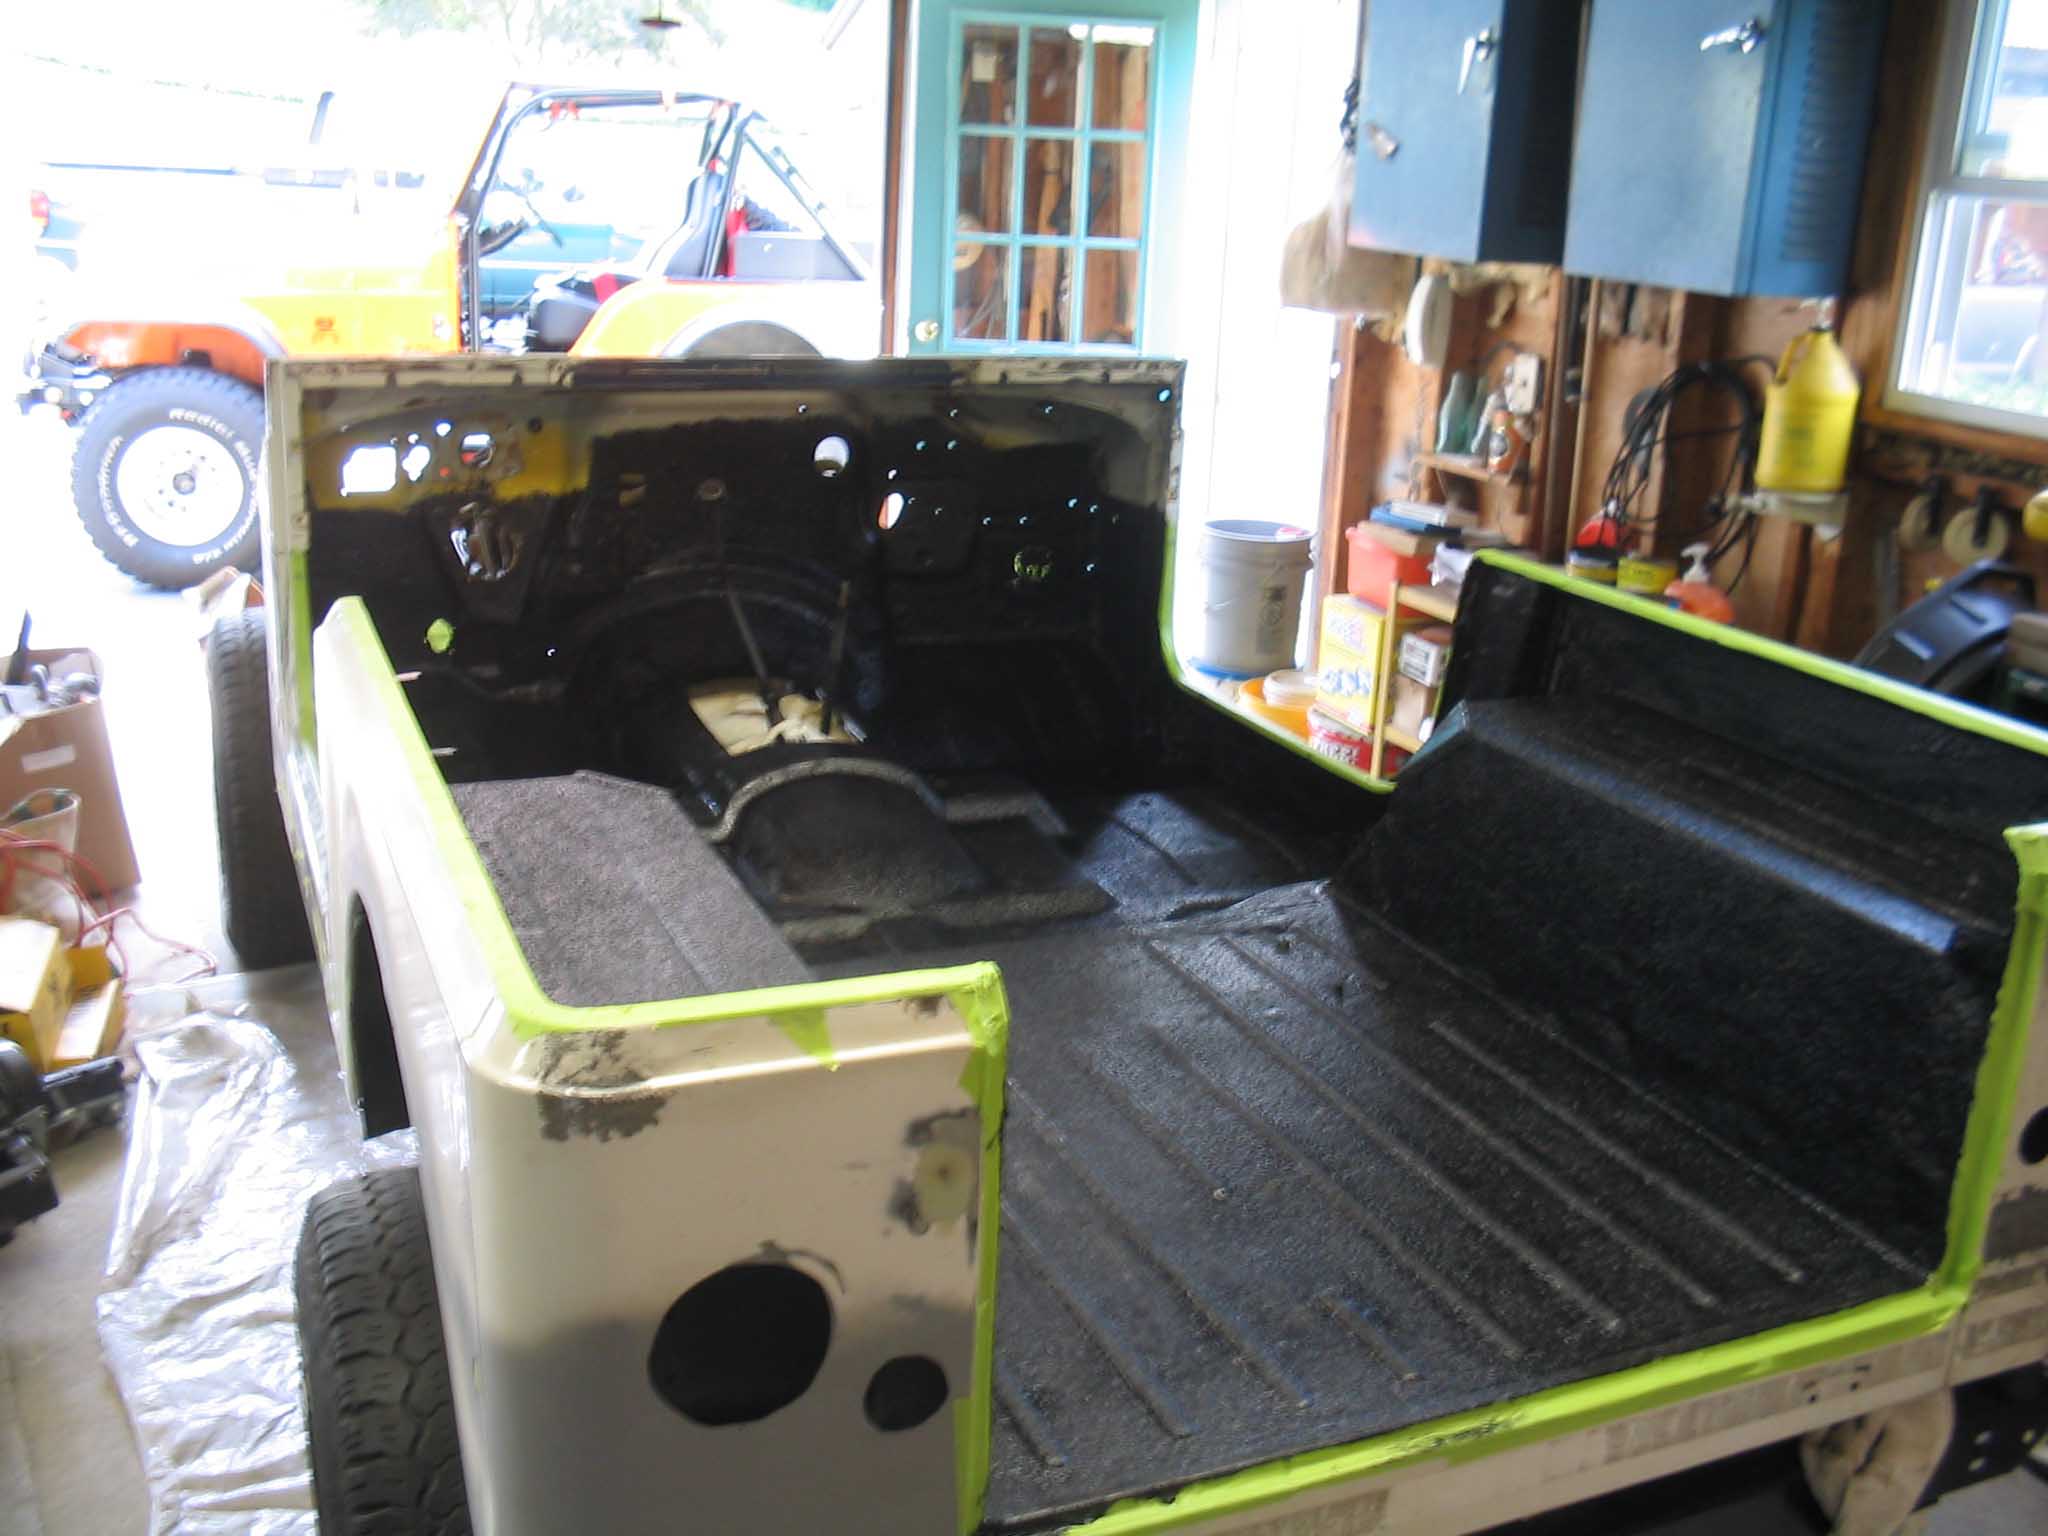
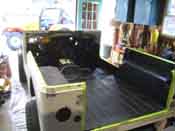
All said and done today, the Jeep is now back together with the tub fully herculined, the heater boxes, pedals,
emergency brake as well as the battery tray and the brake power booster are now in and fastened down. There
was a lot of work accomplished today and with the project nearing the 125 hour mark, we are well on our way to
finishing it up. Next week will involve sanding and prepping the body for paint and then after a few more trips
and weddings, we should have it painted up and the rest of the stuff installed in the Jeep. We have to get a
hood and fender as well, but after that, the Jeep should really come together quickly. Can't wait to fire it up!
|
| |
| << Previous |
Next >> |
|