|
|
| Third Project Build-up - part #12 |
| |
|
1
2
3
4
5
6
7
8
9
10
11
12
13
14
15
16
17
18
19
20
21
22
23
|
| |
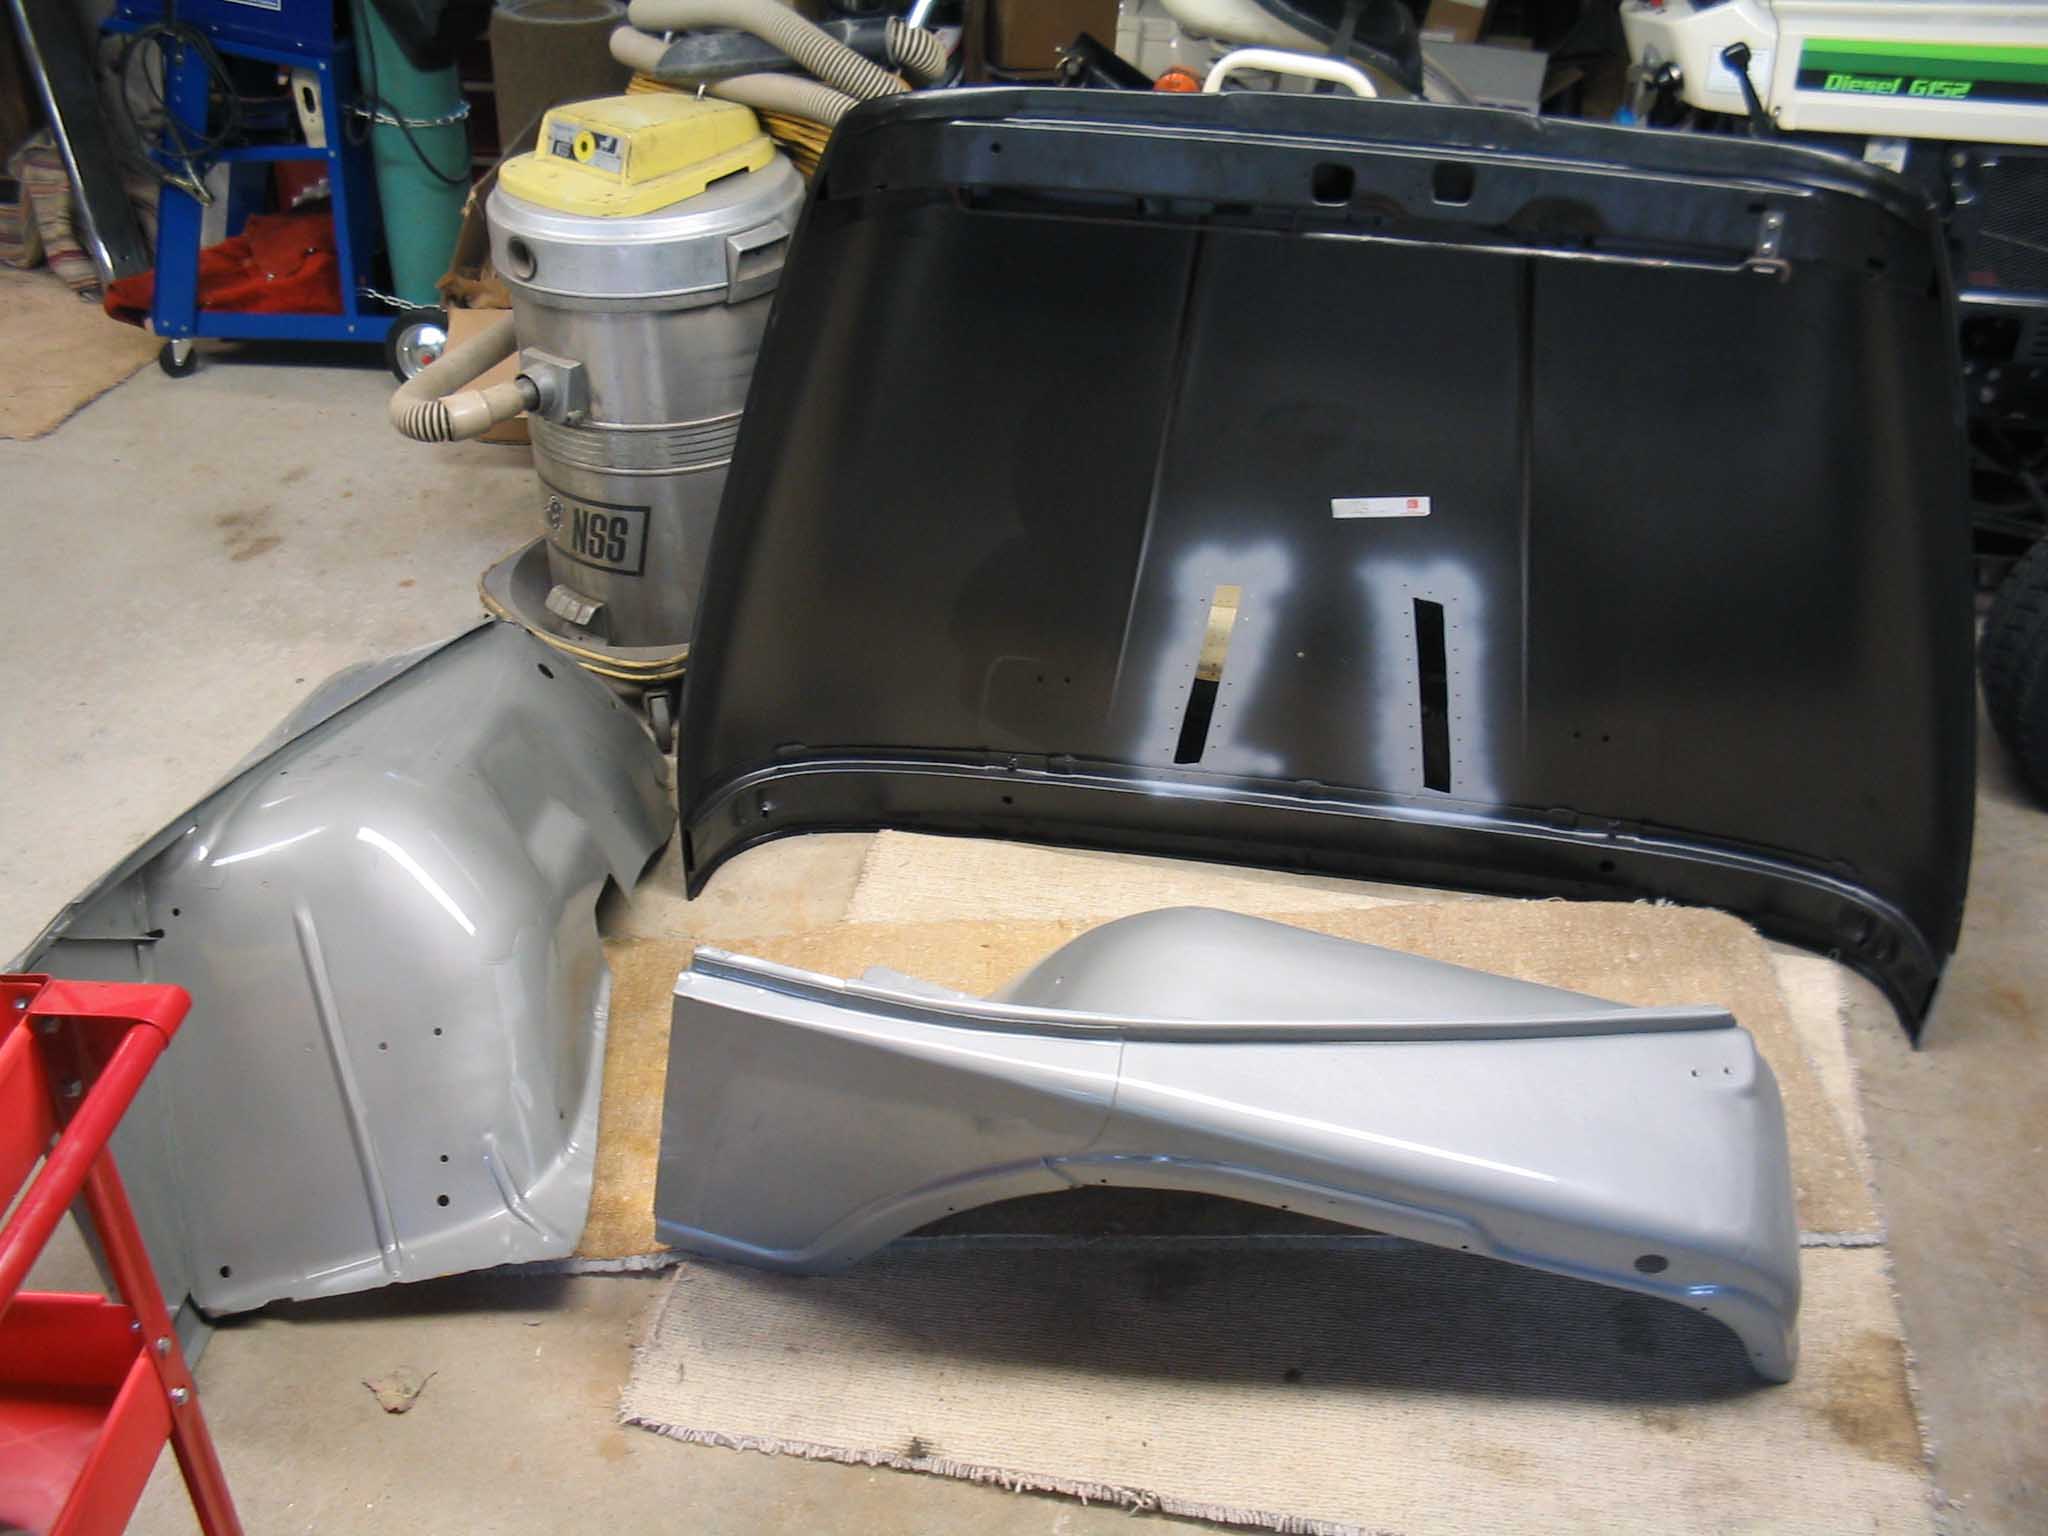
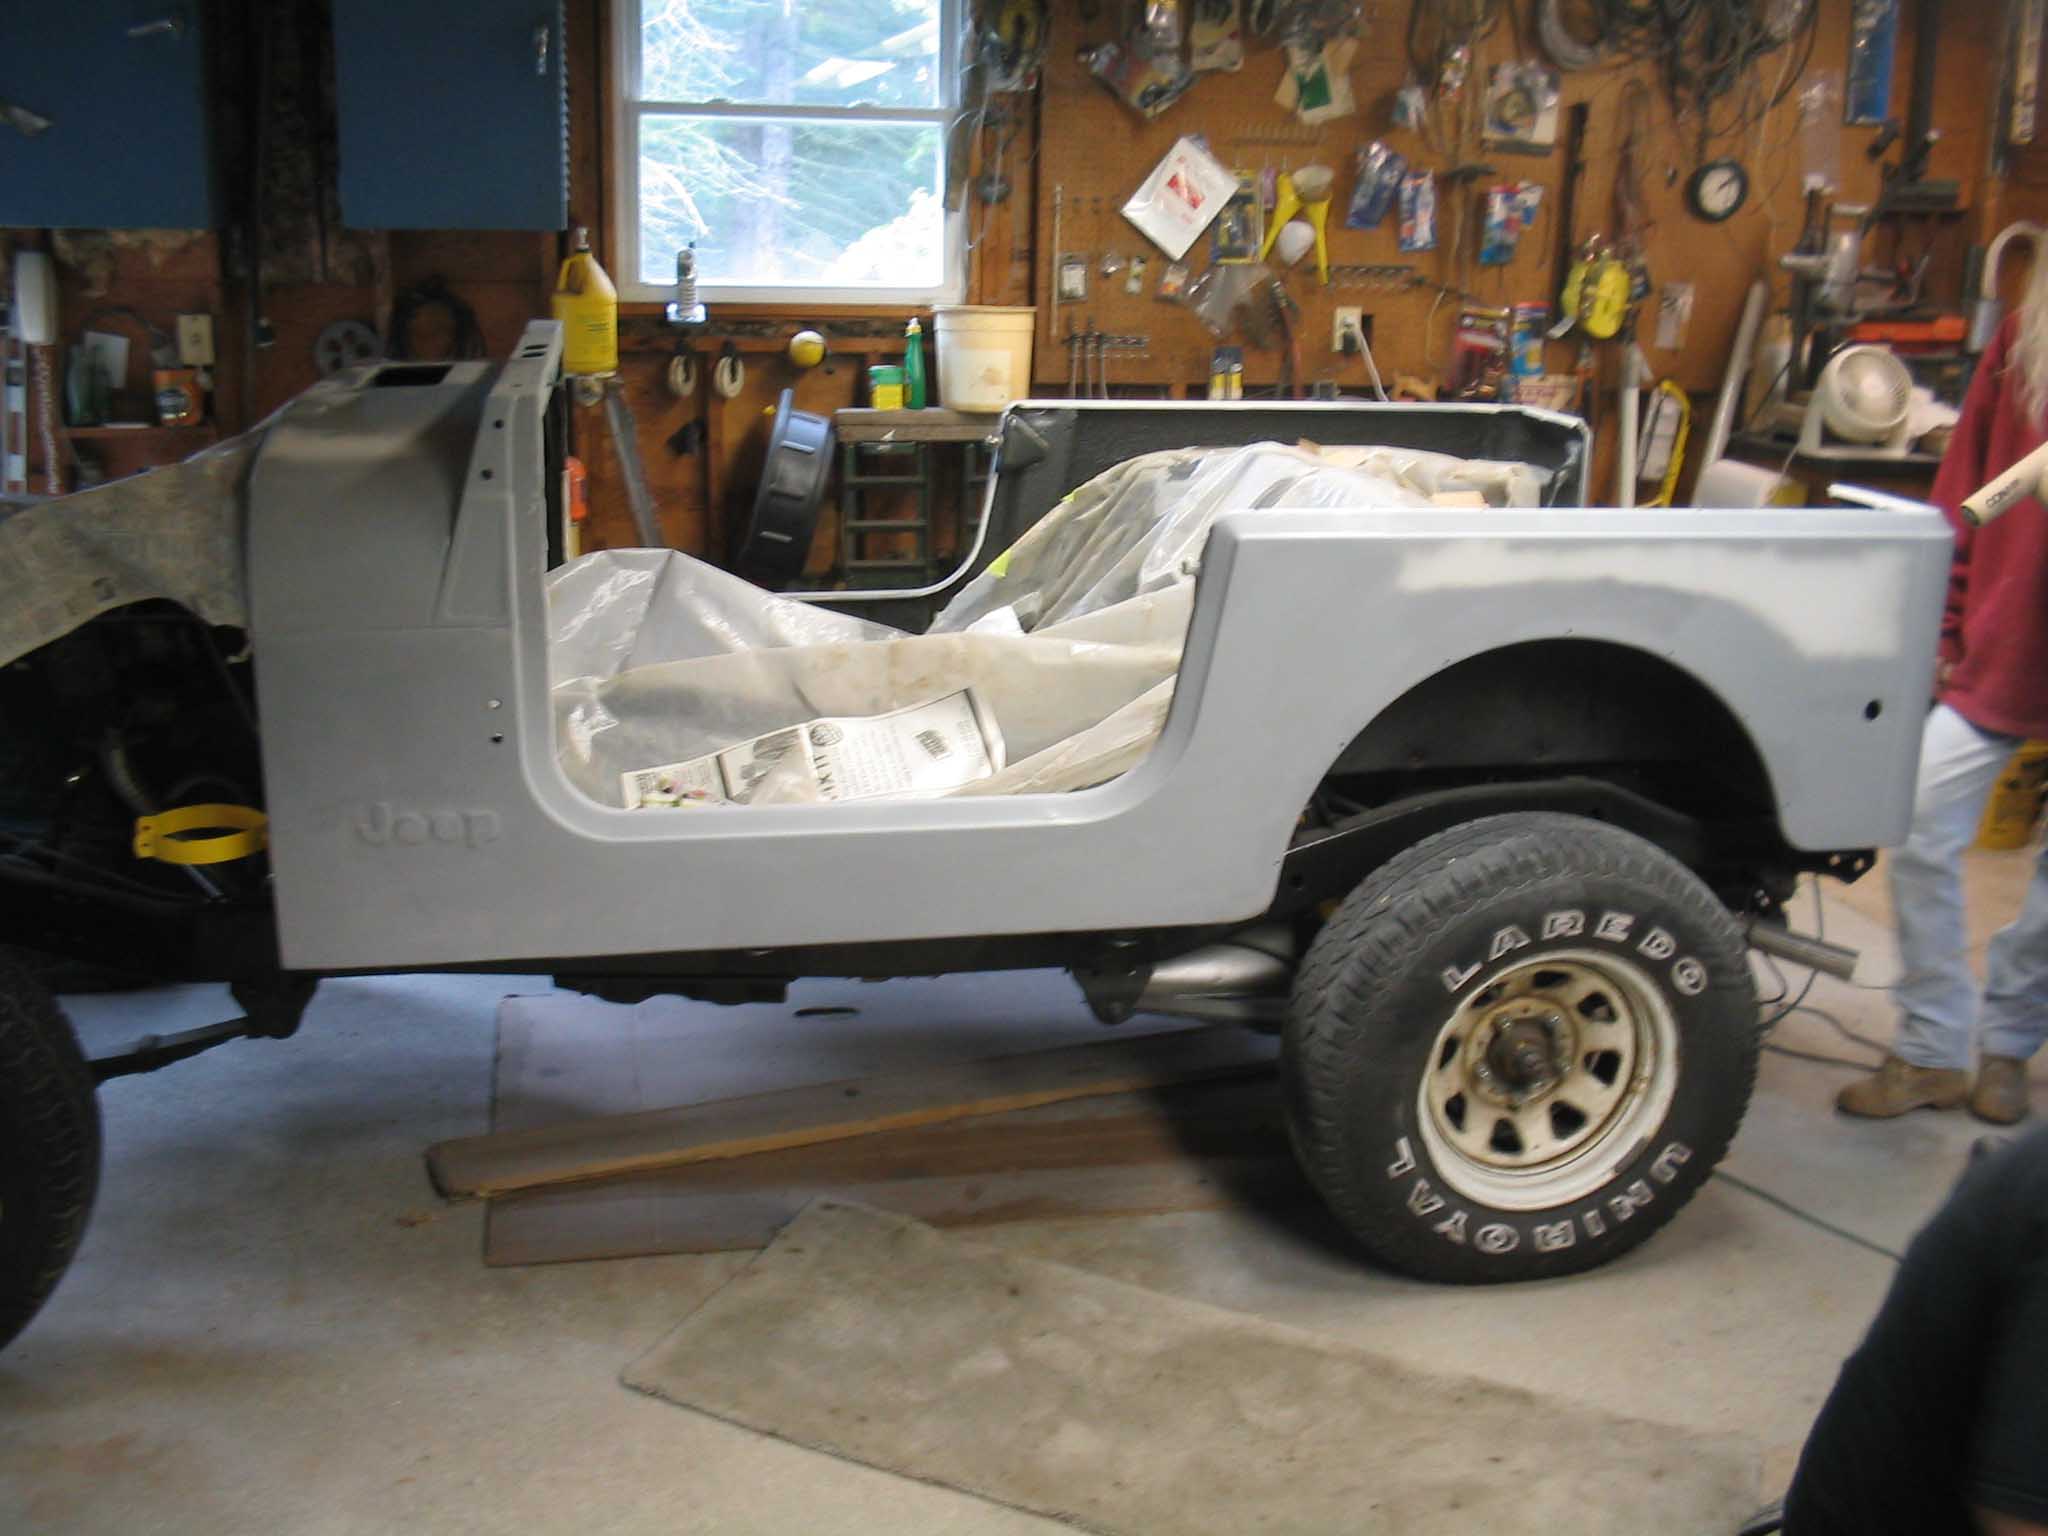
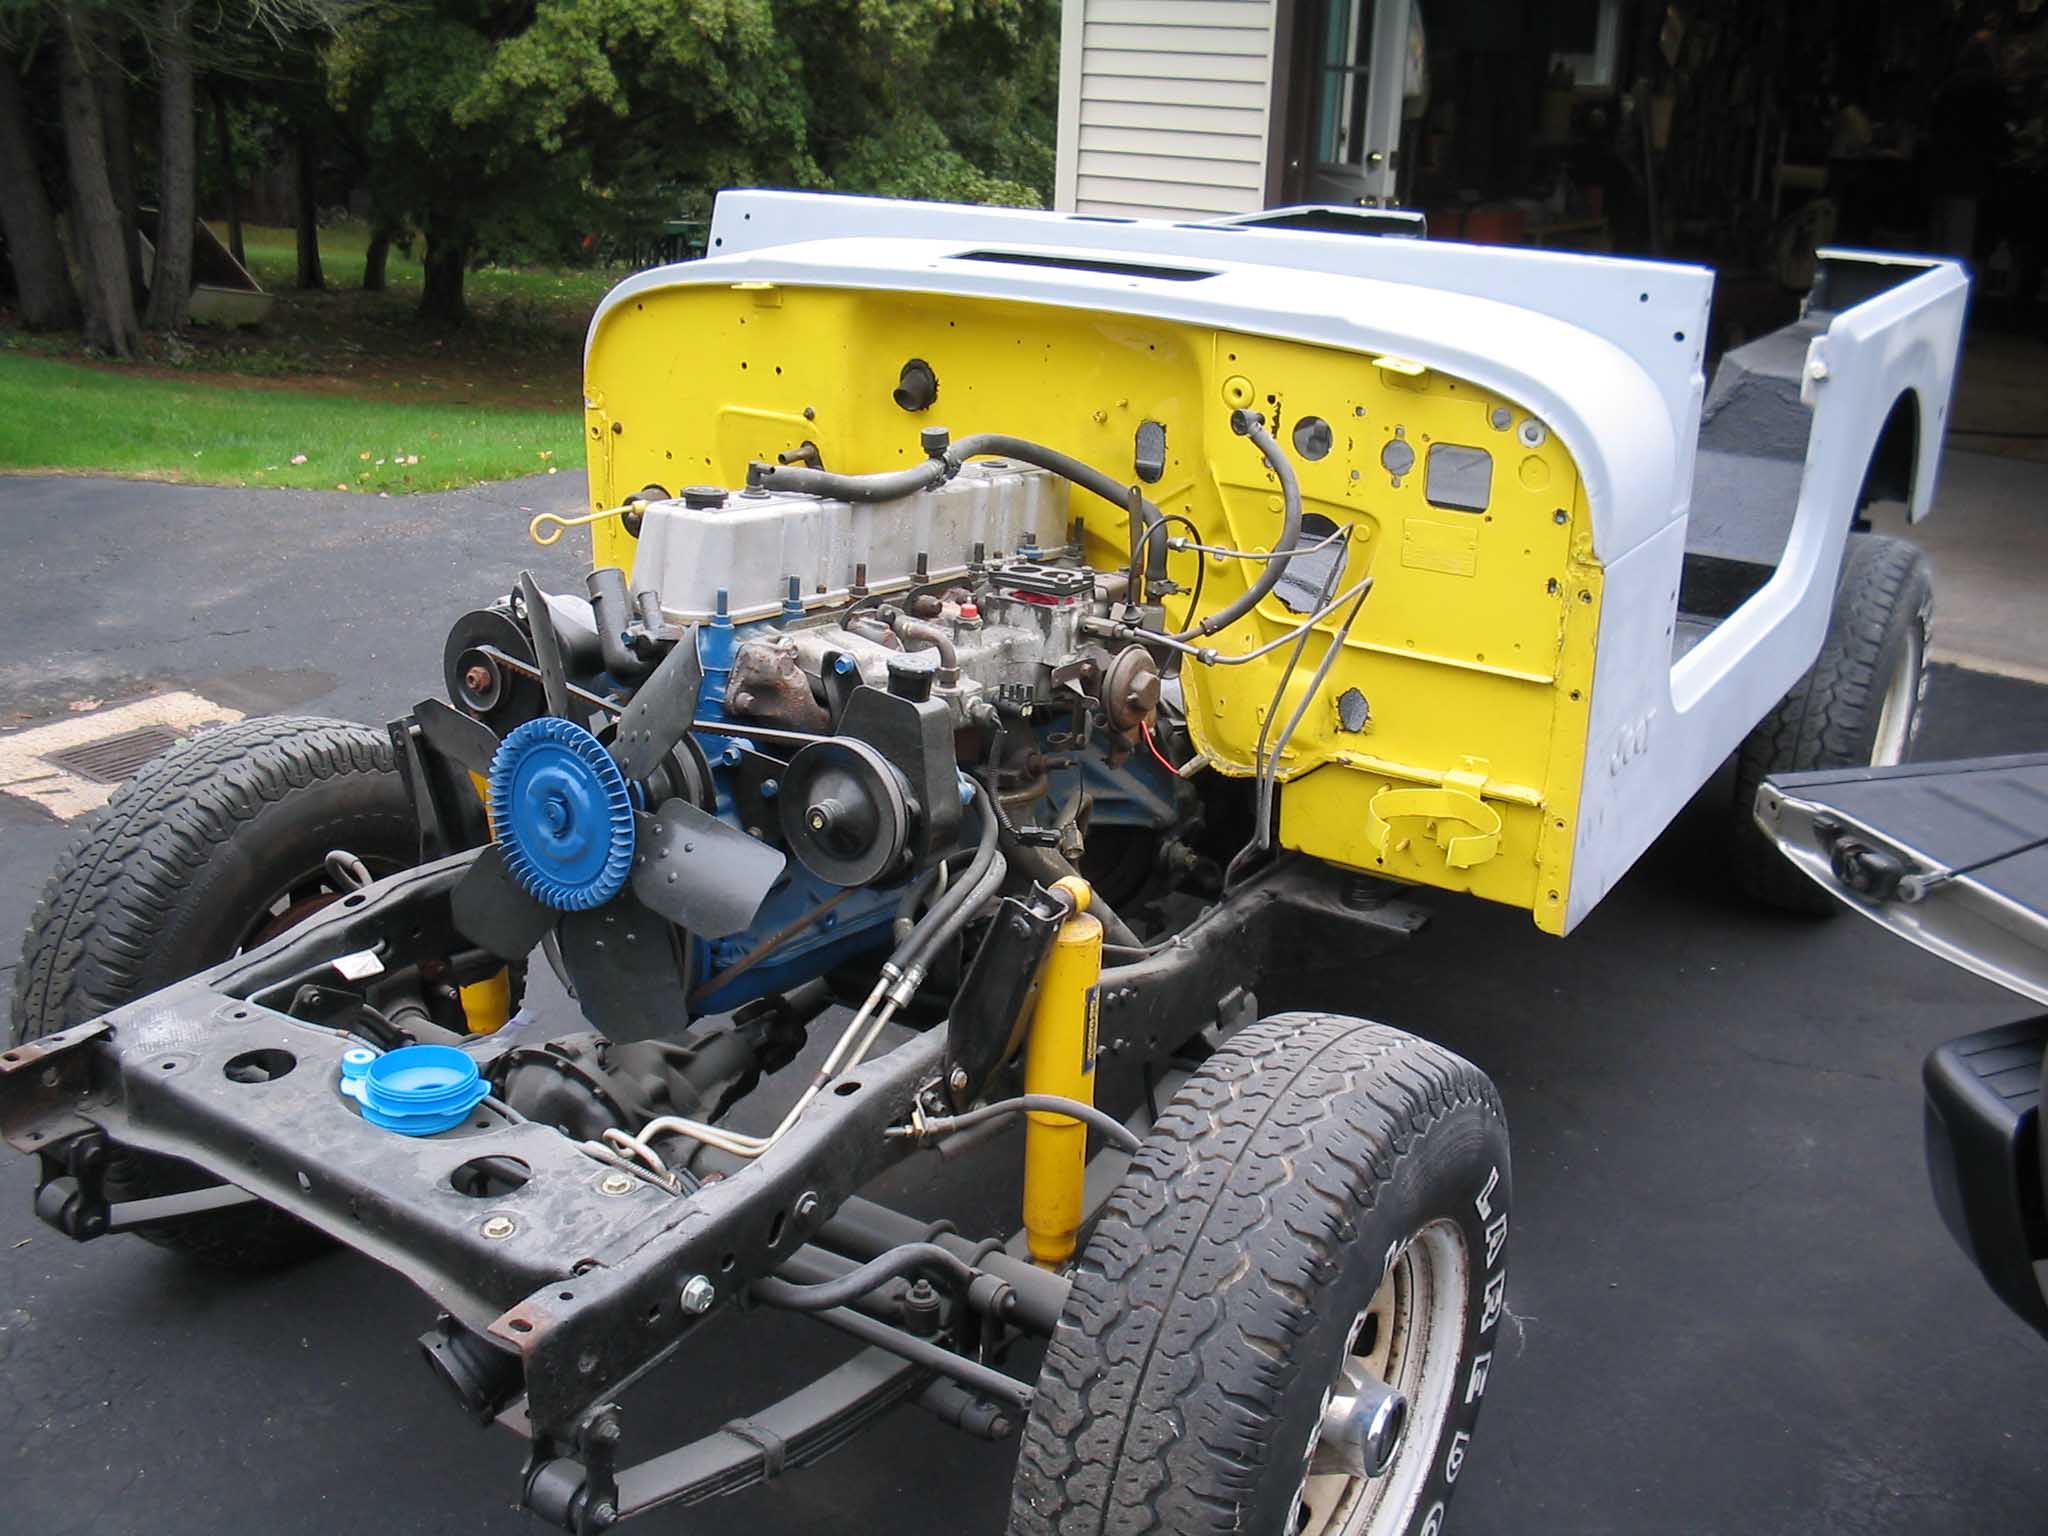
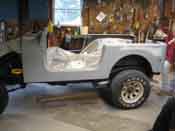
So the weekend of October 08/09 was very good the third project Jeep. The
weekend got off to a good start when we got to the garage on Saturday morning and we started tearing into
the Jeep in order to finish up the bodywork and get the rest of the parts sanded down. Basically the hood
and fenders had to come off so we could get to the radiator shell because that was the most in need of
repair.
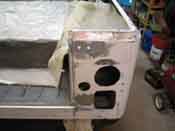
The transmission hump and glove box were also dug up and looked at to make sure that they would work with
the new body and the repair that was made to the dash. Previously (last week) the dash was pounded back
into shape and sanded down to remove all the glue that was holding on the dash cover. It was then sanded
and primed on the rear as well so we wanted to make sure that the glove box door would still close
correctly. We also removed the lock cylinder so that it would not get paint on it when we had it
sprayed yellow.
|
| |
|

|

|
|
| |
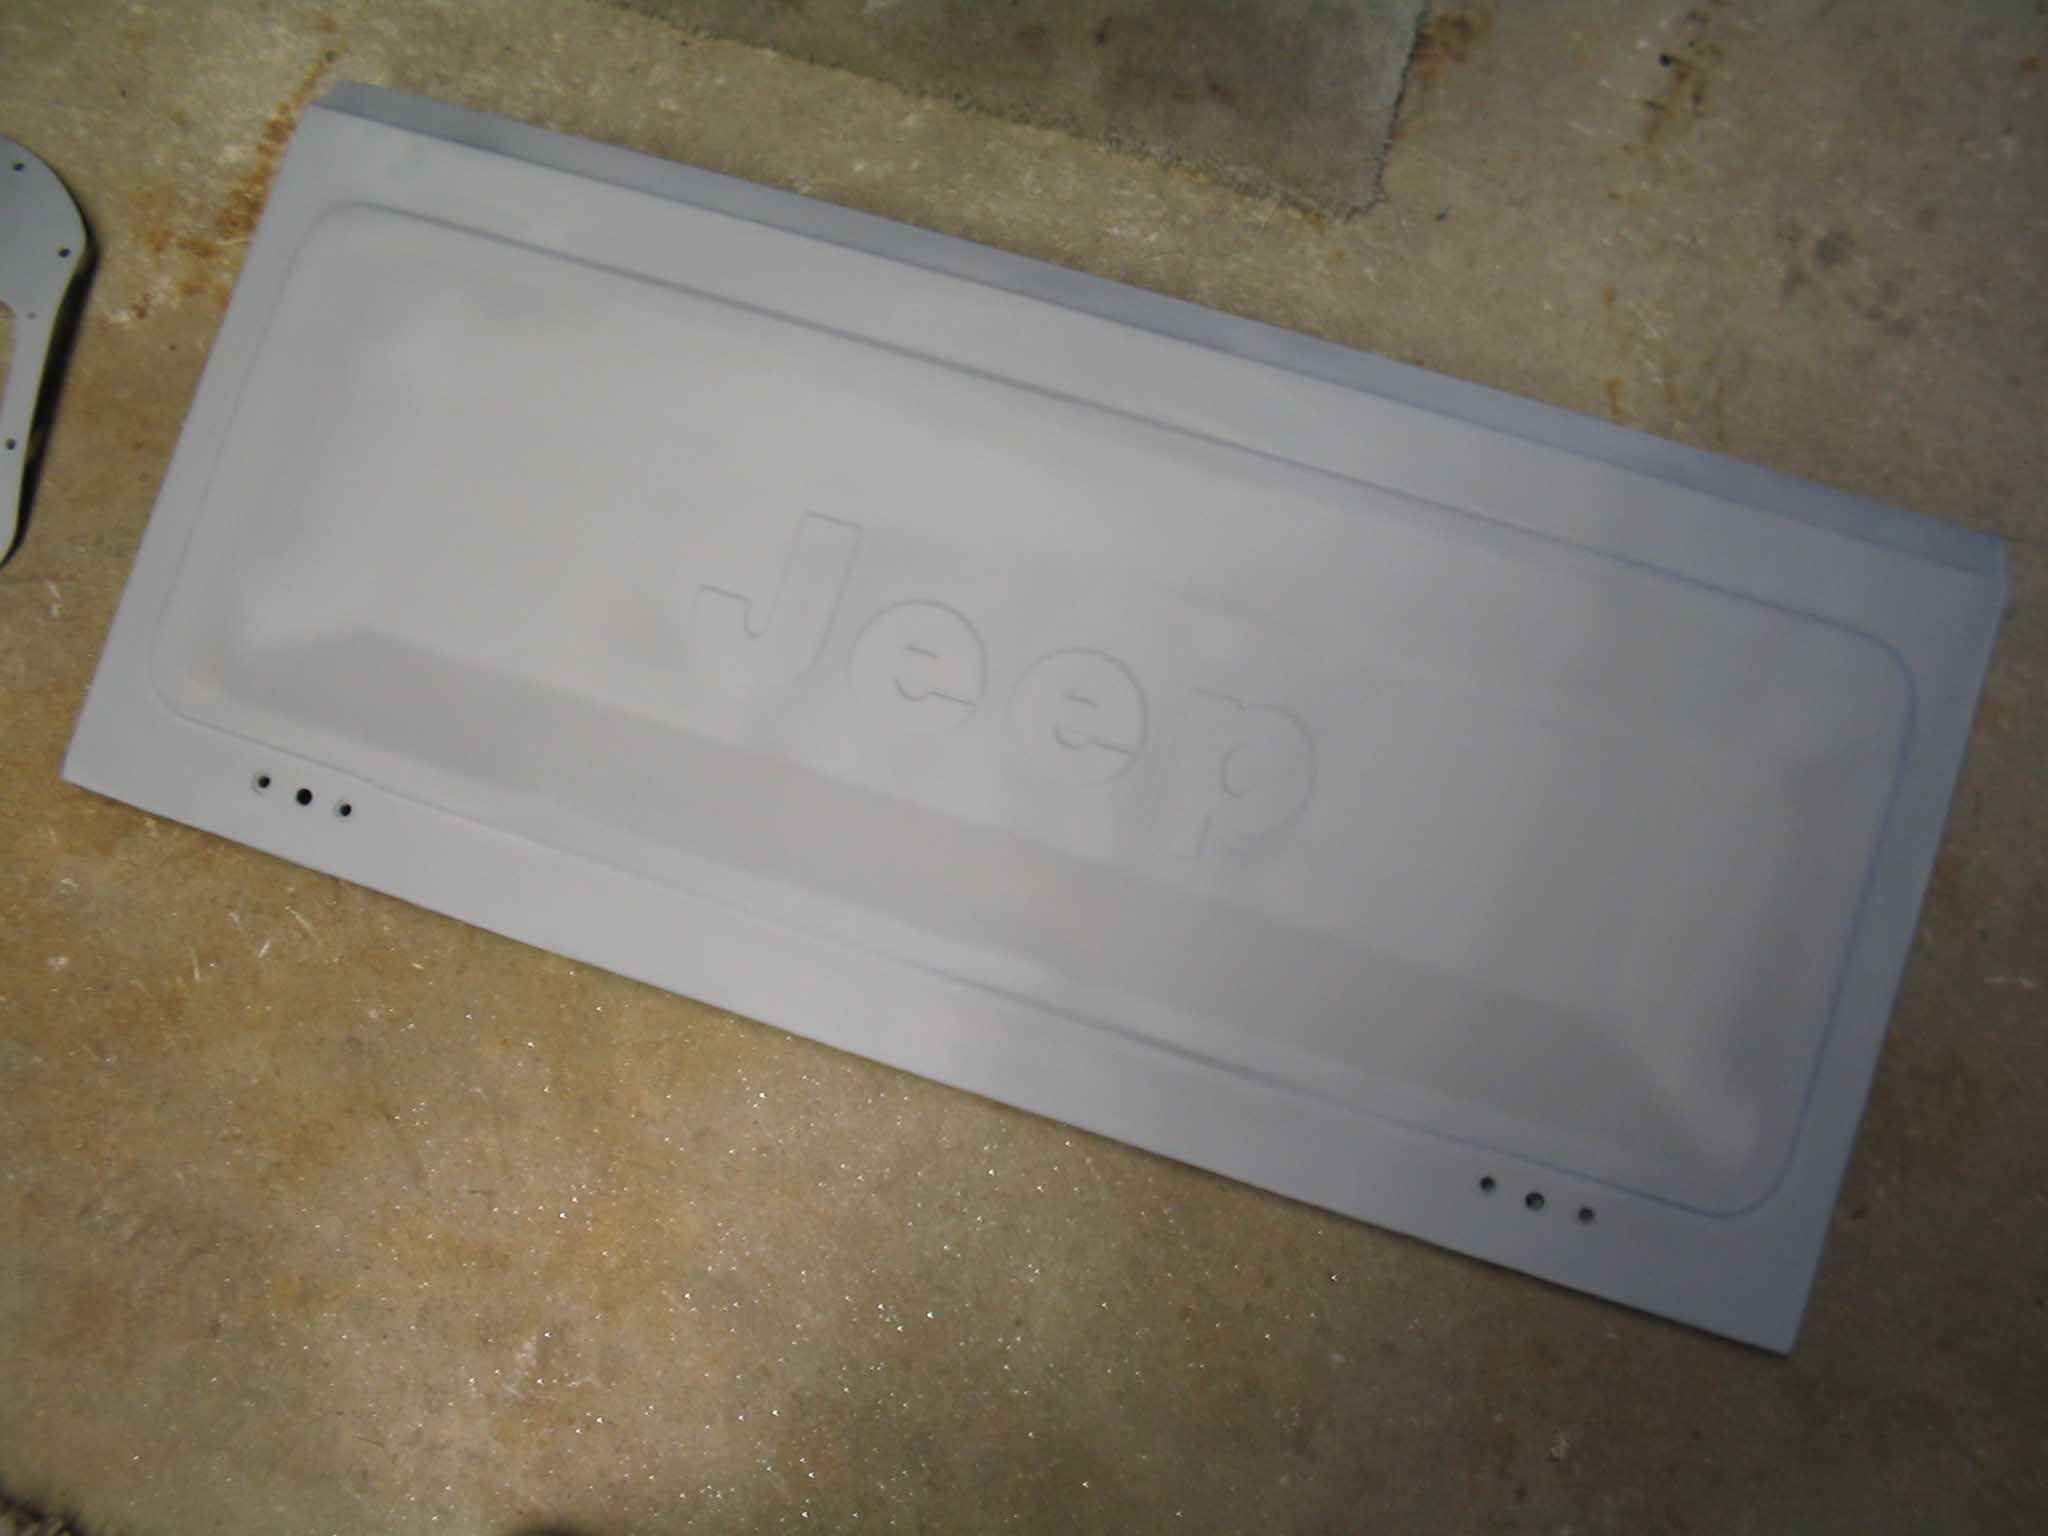
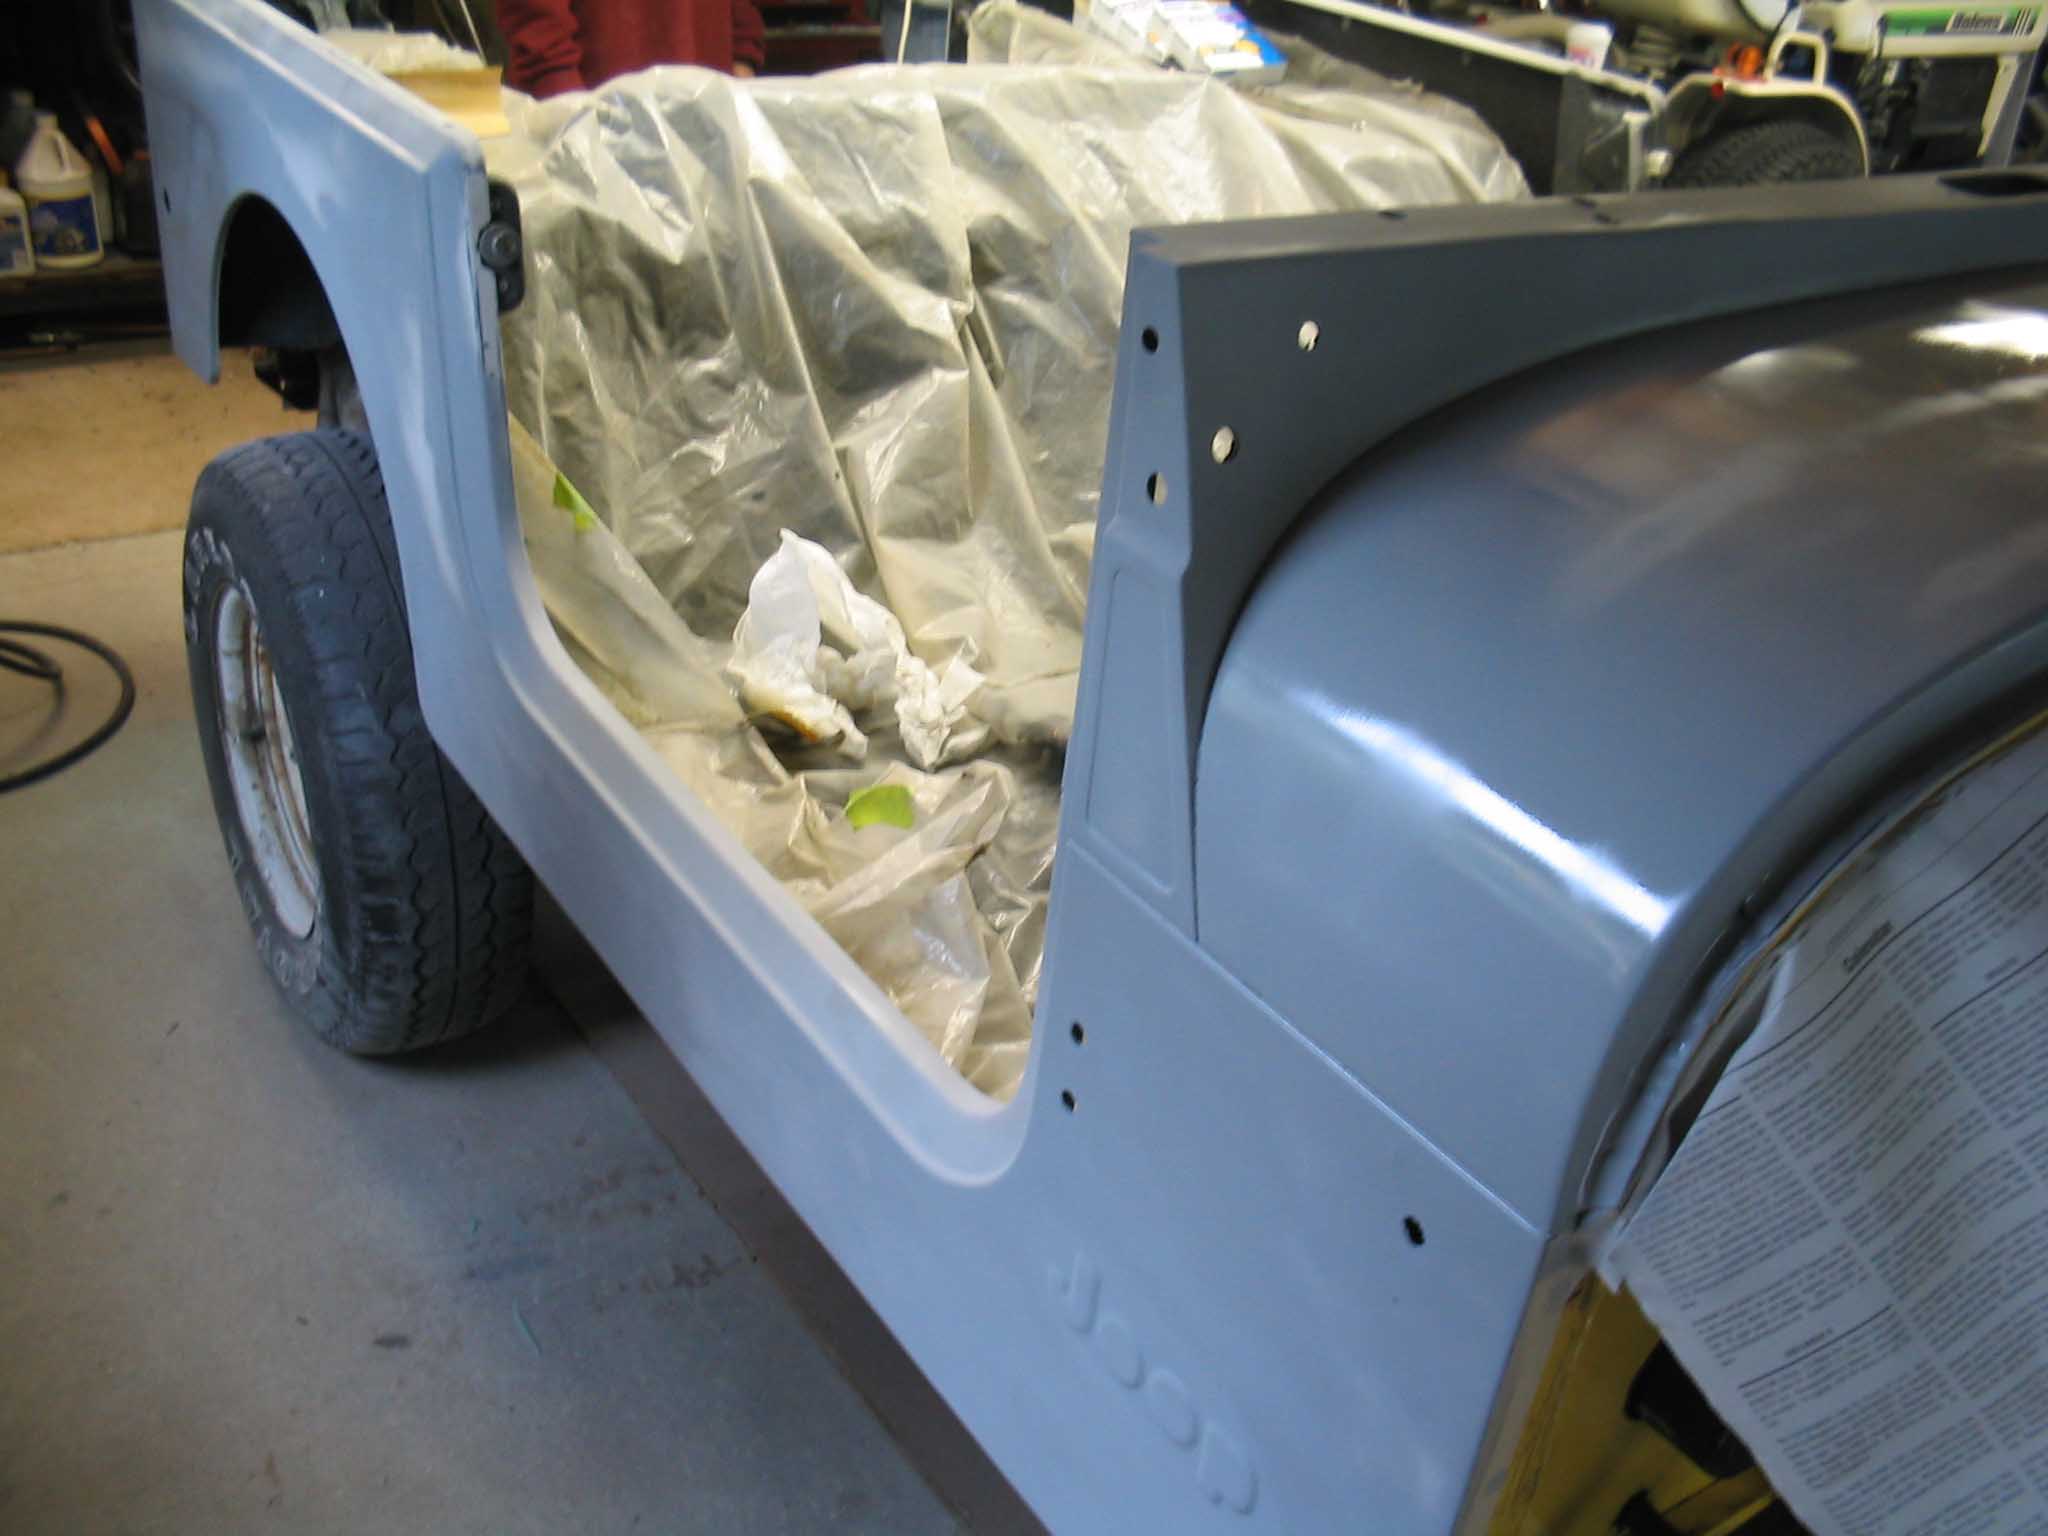
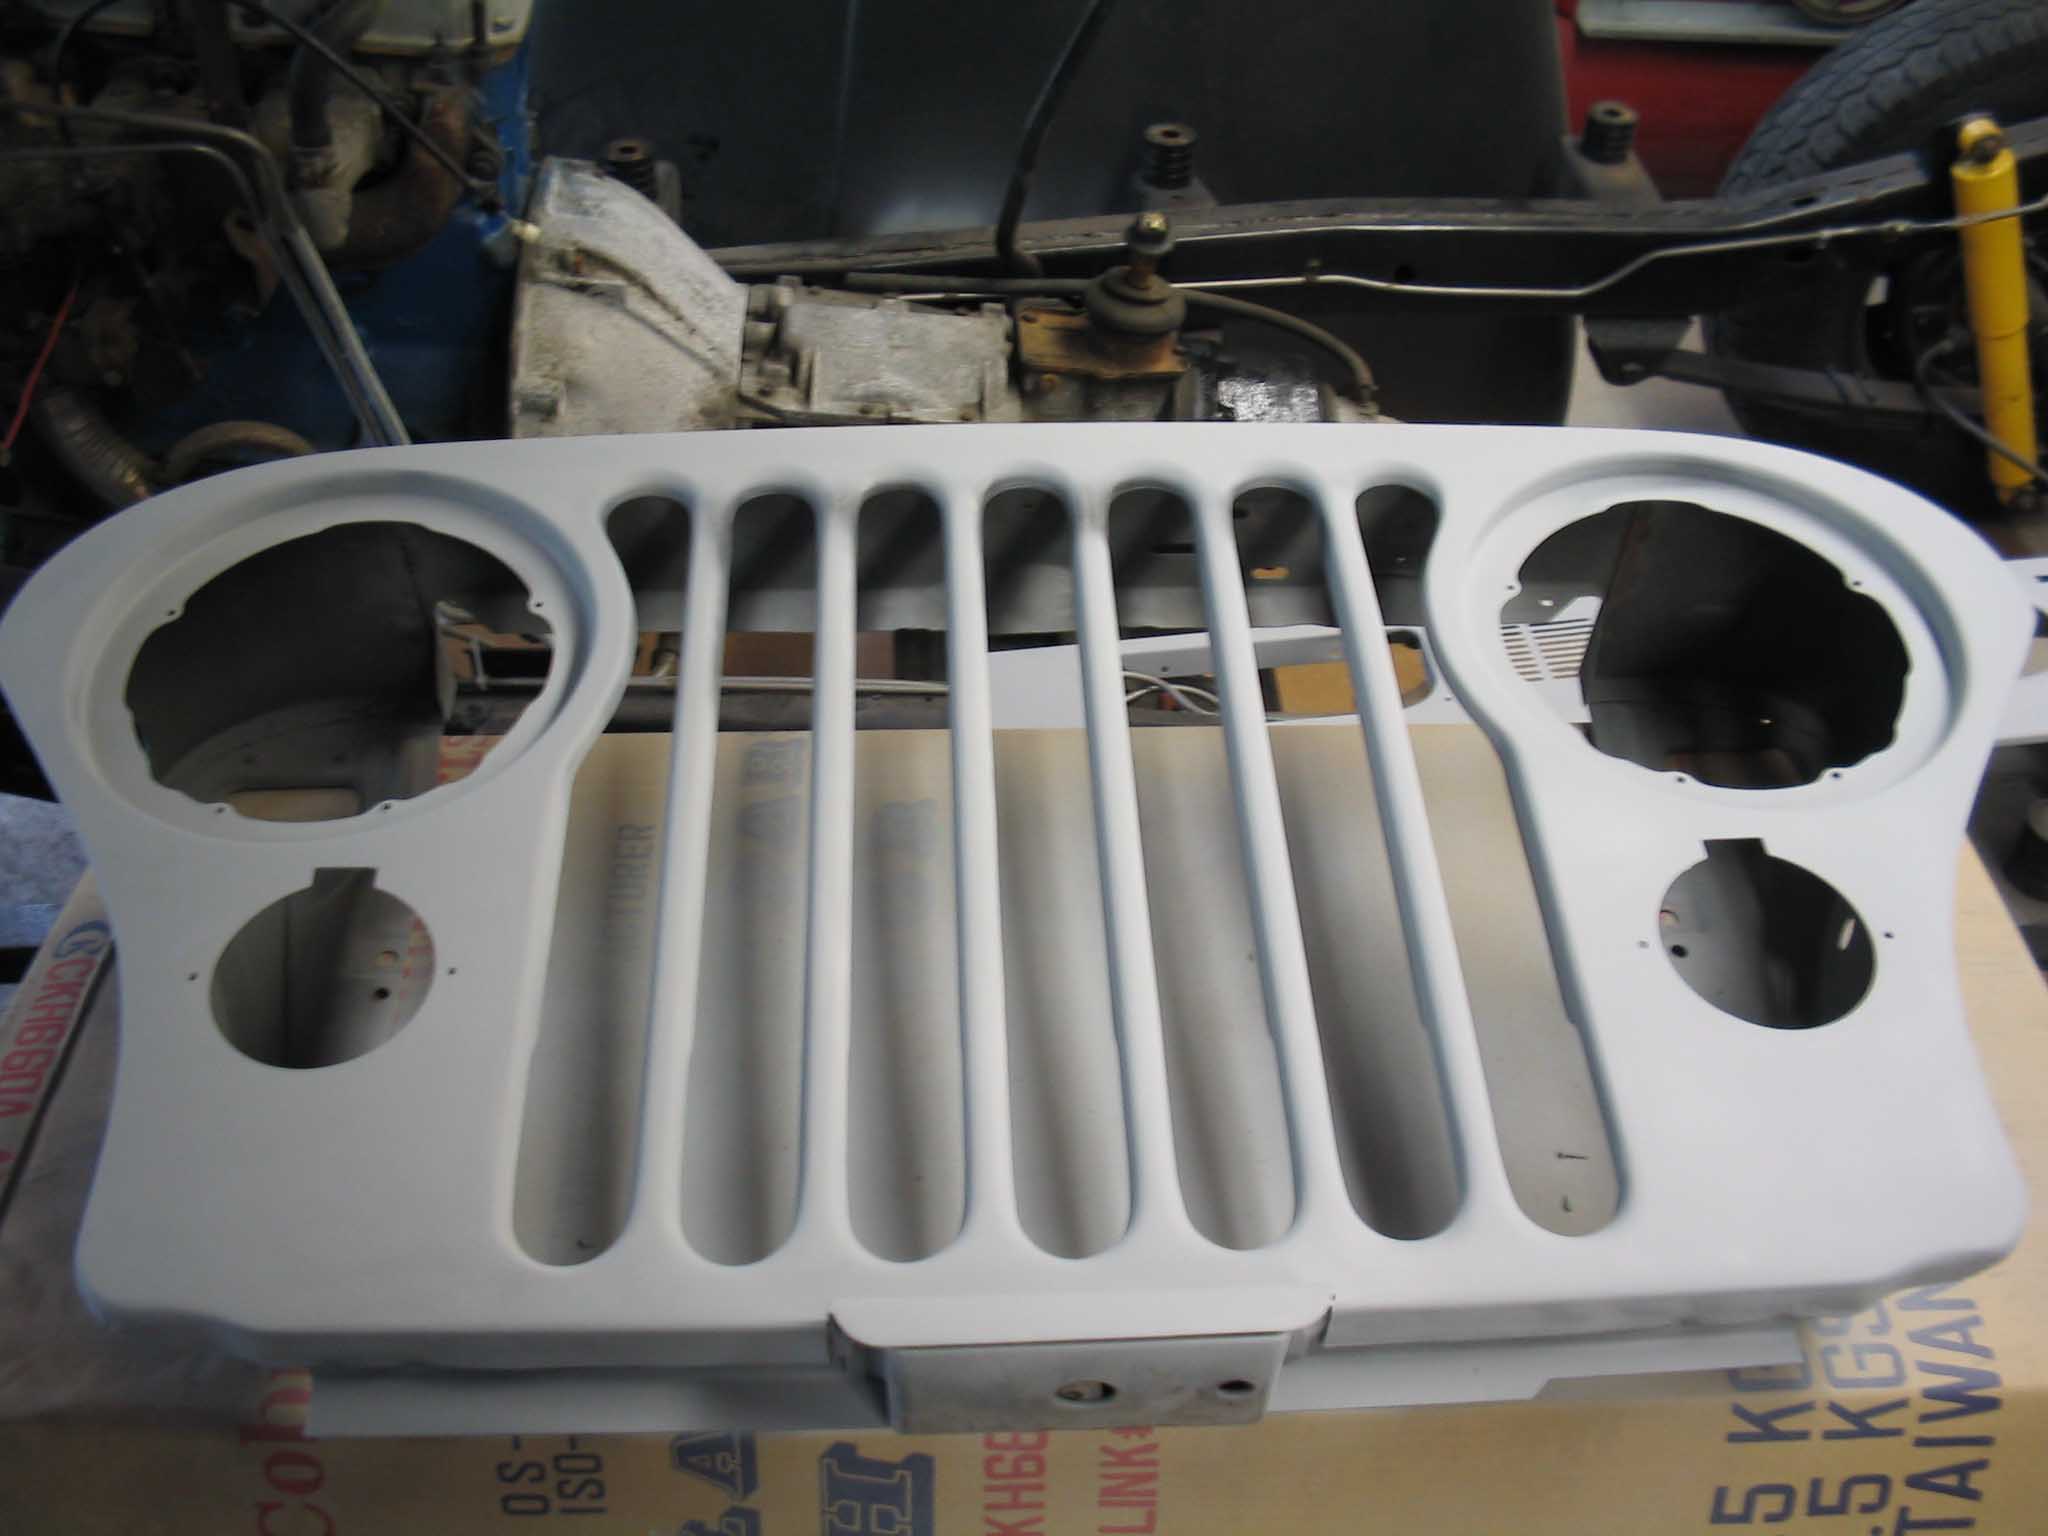
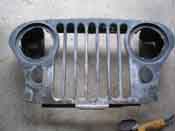
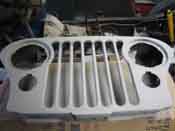
We moved onto the tailgate for some finish bondo work where the welds
had been ground down and Jen worked furiously on the radiator grille shell. After tons and tons of
sanding, it was determined that we needed to media blast the radiator shell because there was some
pitting that had little rust pieces in them that just wouldnt come out, so once we decided on the
media blasting, we moved onto the body work on the passenger side as the holes from the original
side panels needed to be cleaned up and a little filler was need to smooth everything out.
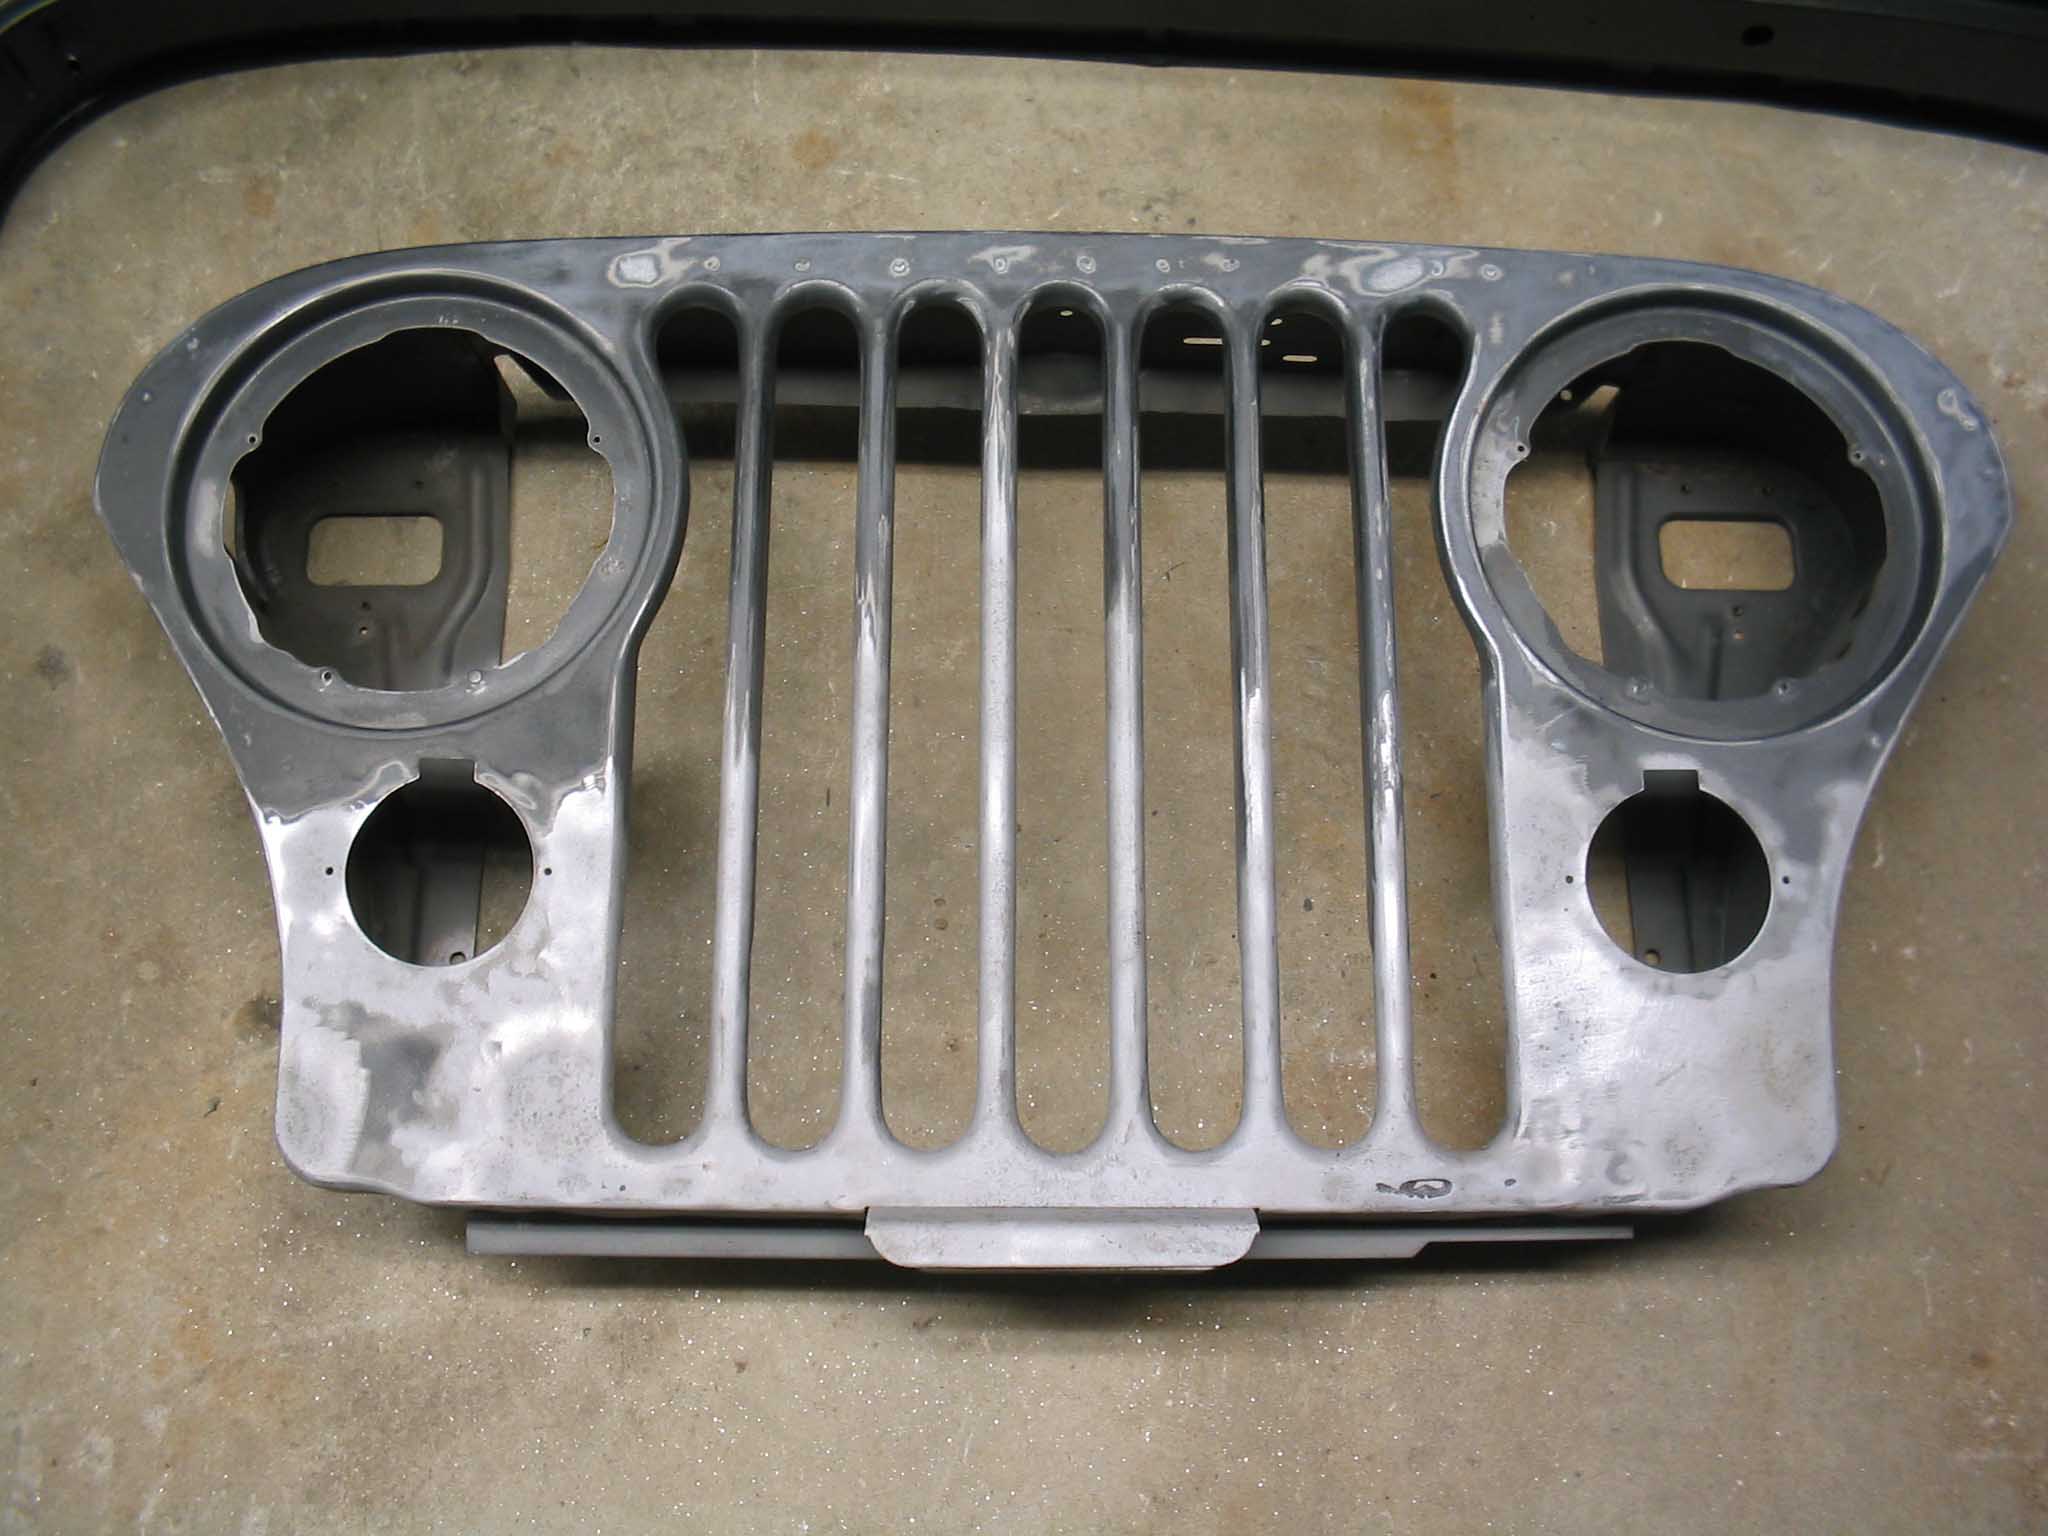
NOTE: The grinder wasn't used to sand down the radiator shell, it was used to cut off some sharp
metal edges that were on the grille shell, that is it. The variable speed sander was used to try to
remove the rust pitting and that didn't work as we expected so we moved onto the media blaster...
|
| |
|
|
|
|
| |
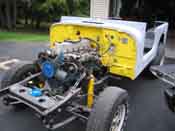
At this point, I was still under the impression that we were going to tow the Jeep over to the body
shop next weekend. I started tearing into the engine to remove all the vacuum lines, the wiring, as
well as the computer stuff so we could not have this rattling around as it was towed. Also, there is
a Weber carburetor setup going on this Jeep, so the computer will no longer be necessary as well as
some of the vacuum lines and electrical hookups. We had some lunch and took a ride to the body shop
to discuss the particulars with the owner and painter. It was decided that the tub only would be
able to be brought over and put on a lift and it would be painted that way. This made the decision
a lot easier as to what had to be done the following day.
With Saturday coming to a close, we decided to call it a day and move
onto the finish bodywork as well as the media blasting on Sunday. Upon arriving on Sunday I started in
on removing the body mount bolts on the Jeeps body as well as removing the brake stuff that connected
the body to the engine. I know we had already put all this stuff back on, but this would allow the body
to come off and us to bring just the tub over to the painters.
|
| |

|

|
|
|
| |
|
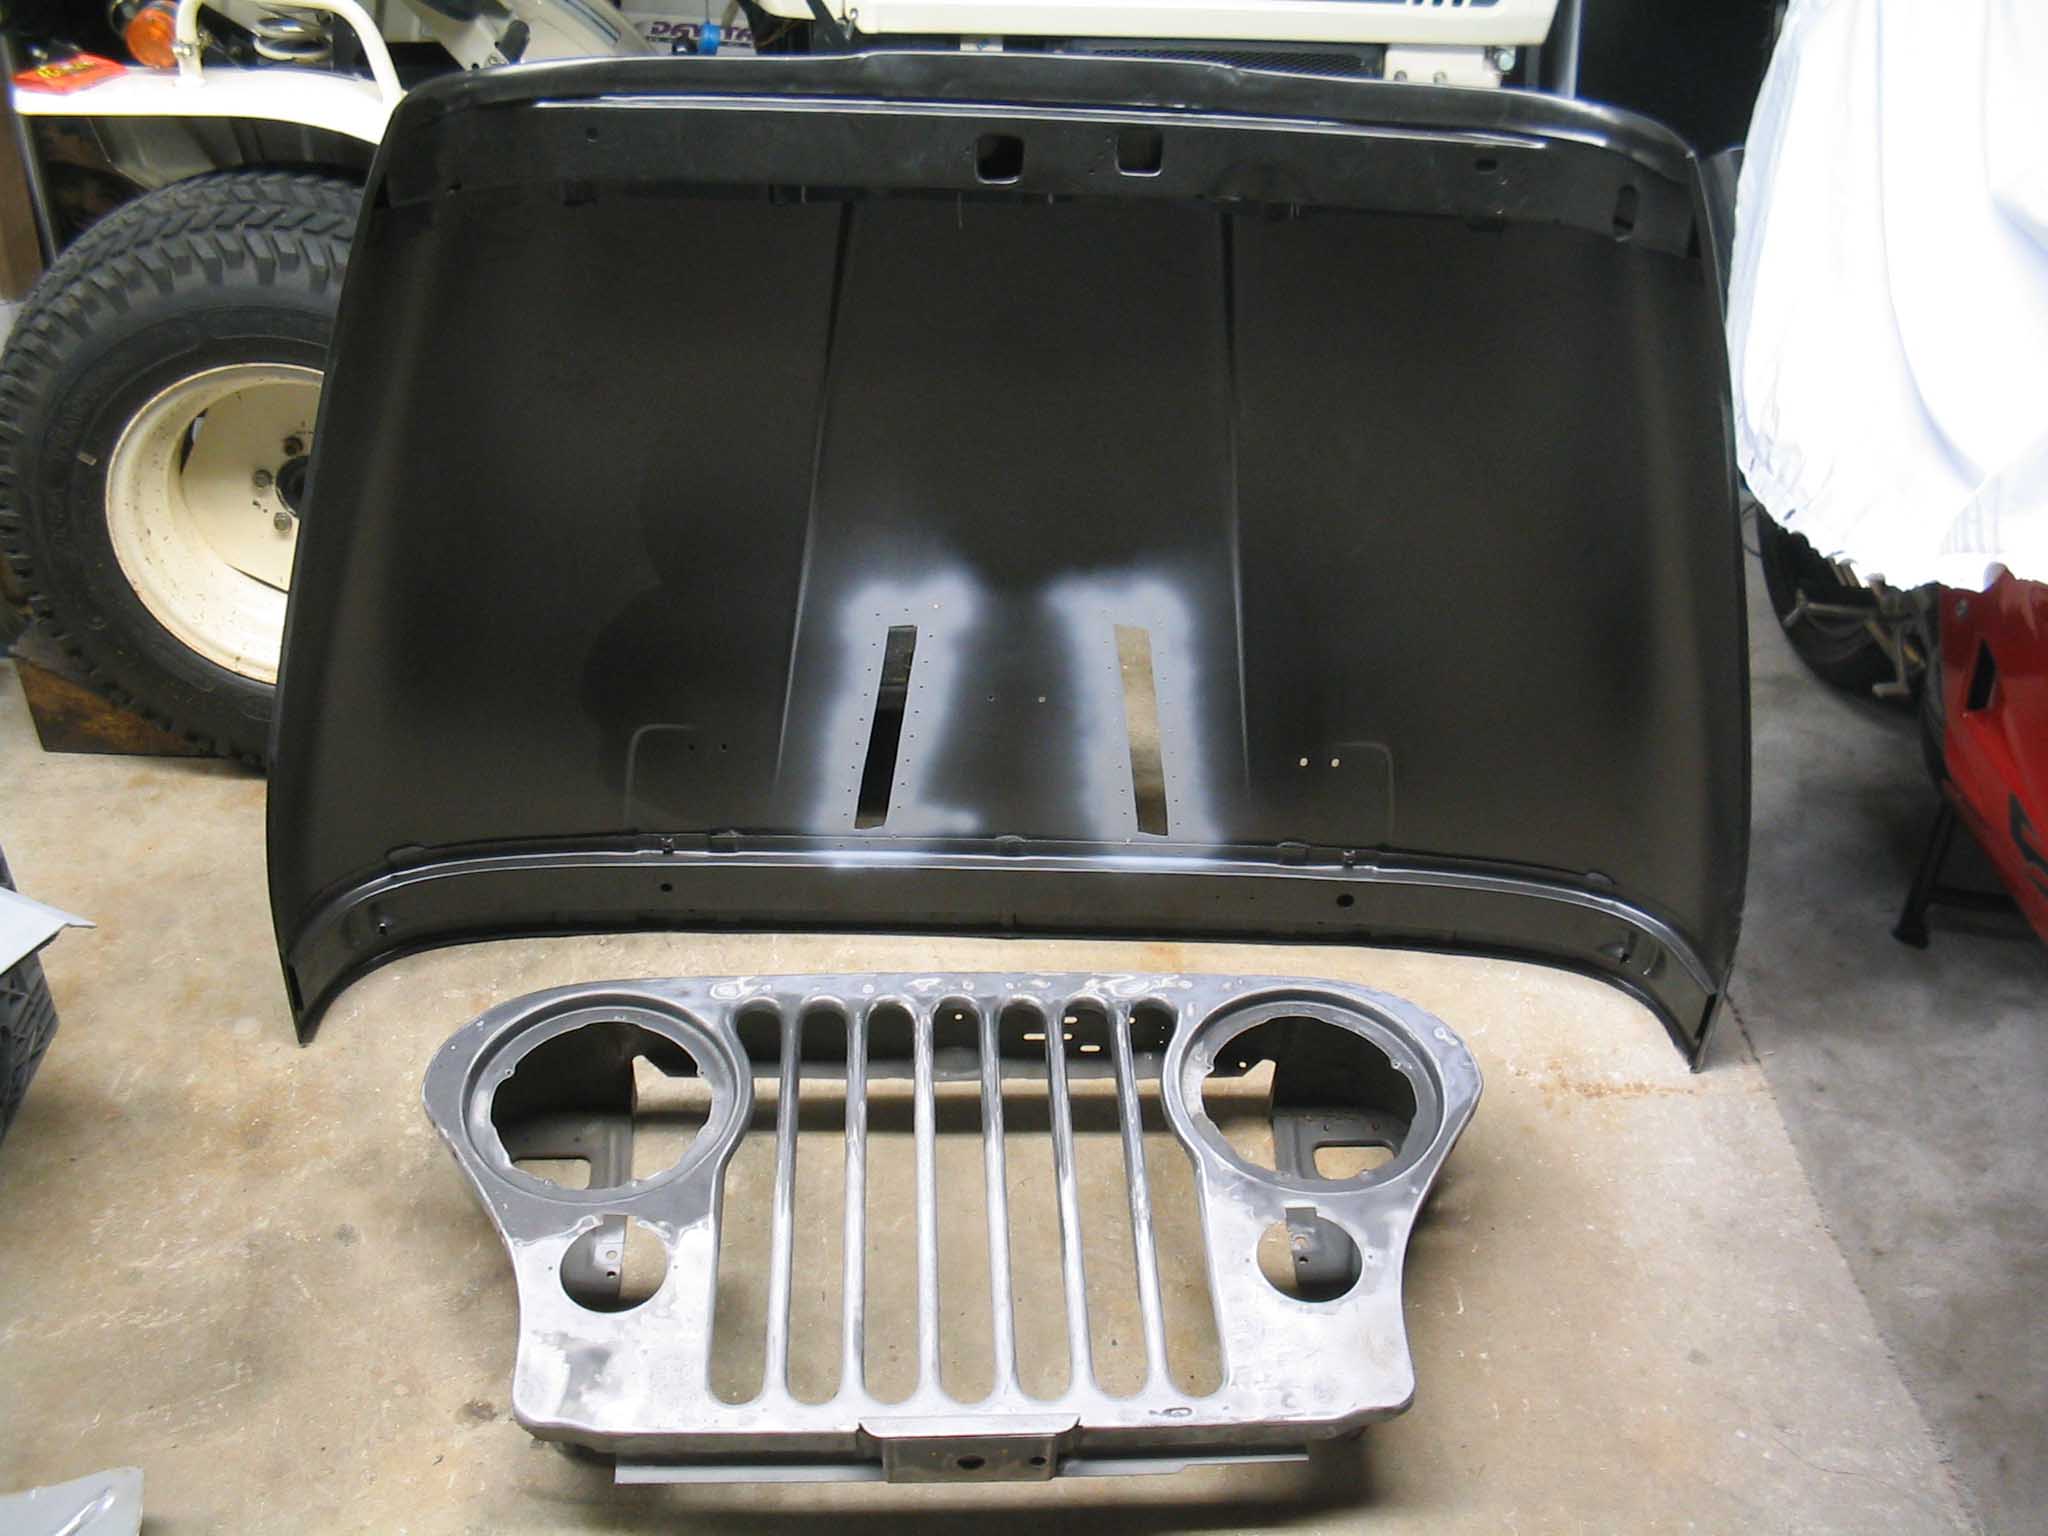
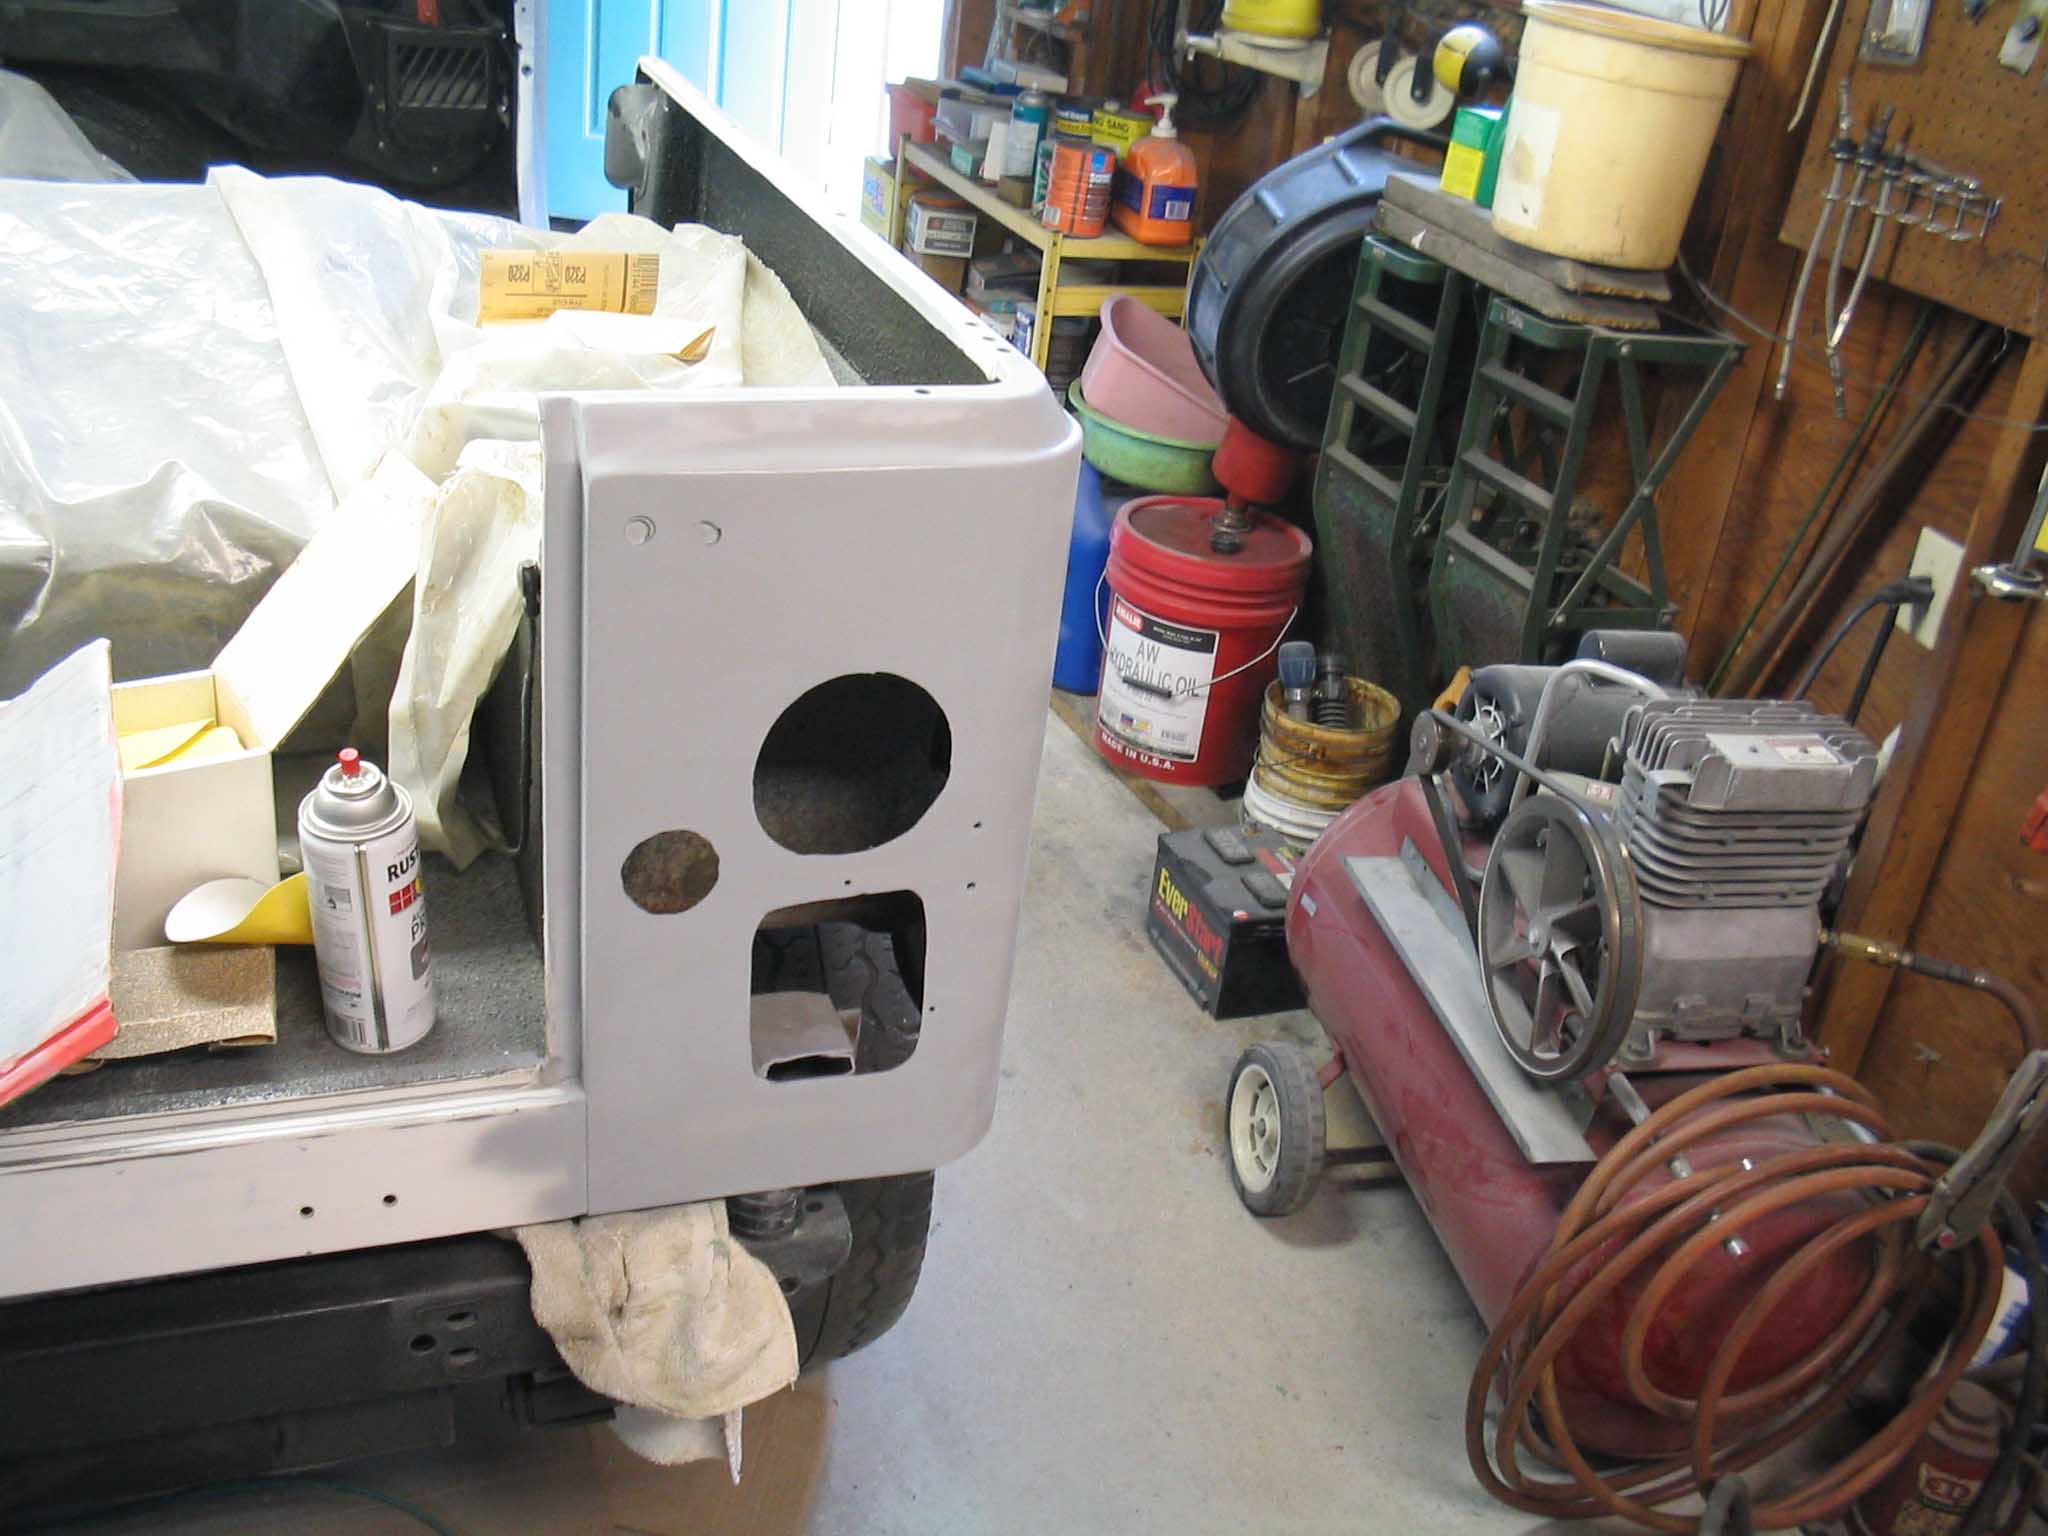
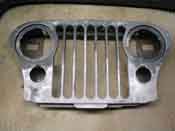
We continued on with media blasting the grille shell as the others (thanks again to Frank and Jen for their hard work
and use of the garage) performed the bodywork and sanding on the fenders, tailgate and body. Once the radiator grille
shell was done, Ang, who stopped by to see how we were doing, masterfully used some masterful body skills to get the
shell back into almost new shape. A coat of primer on all the exposed parts and we were almost ready for paint.
|
| |
|

|
| |
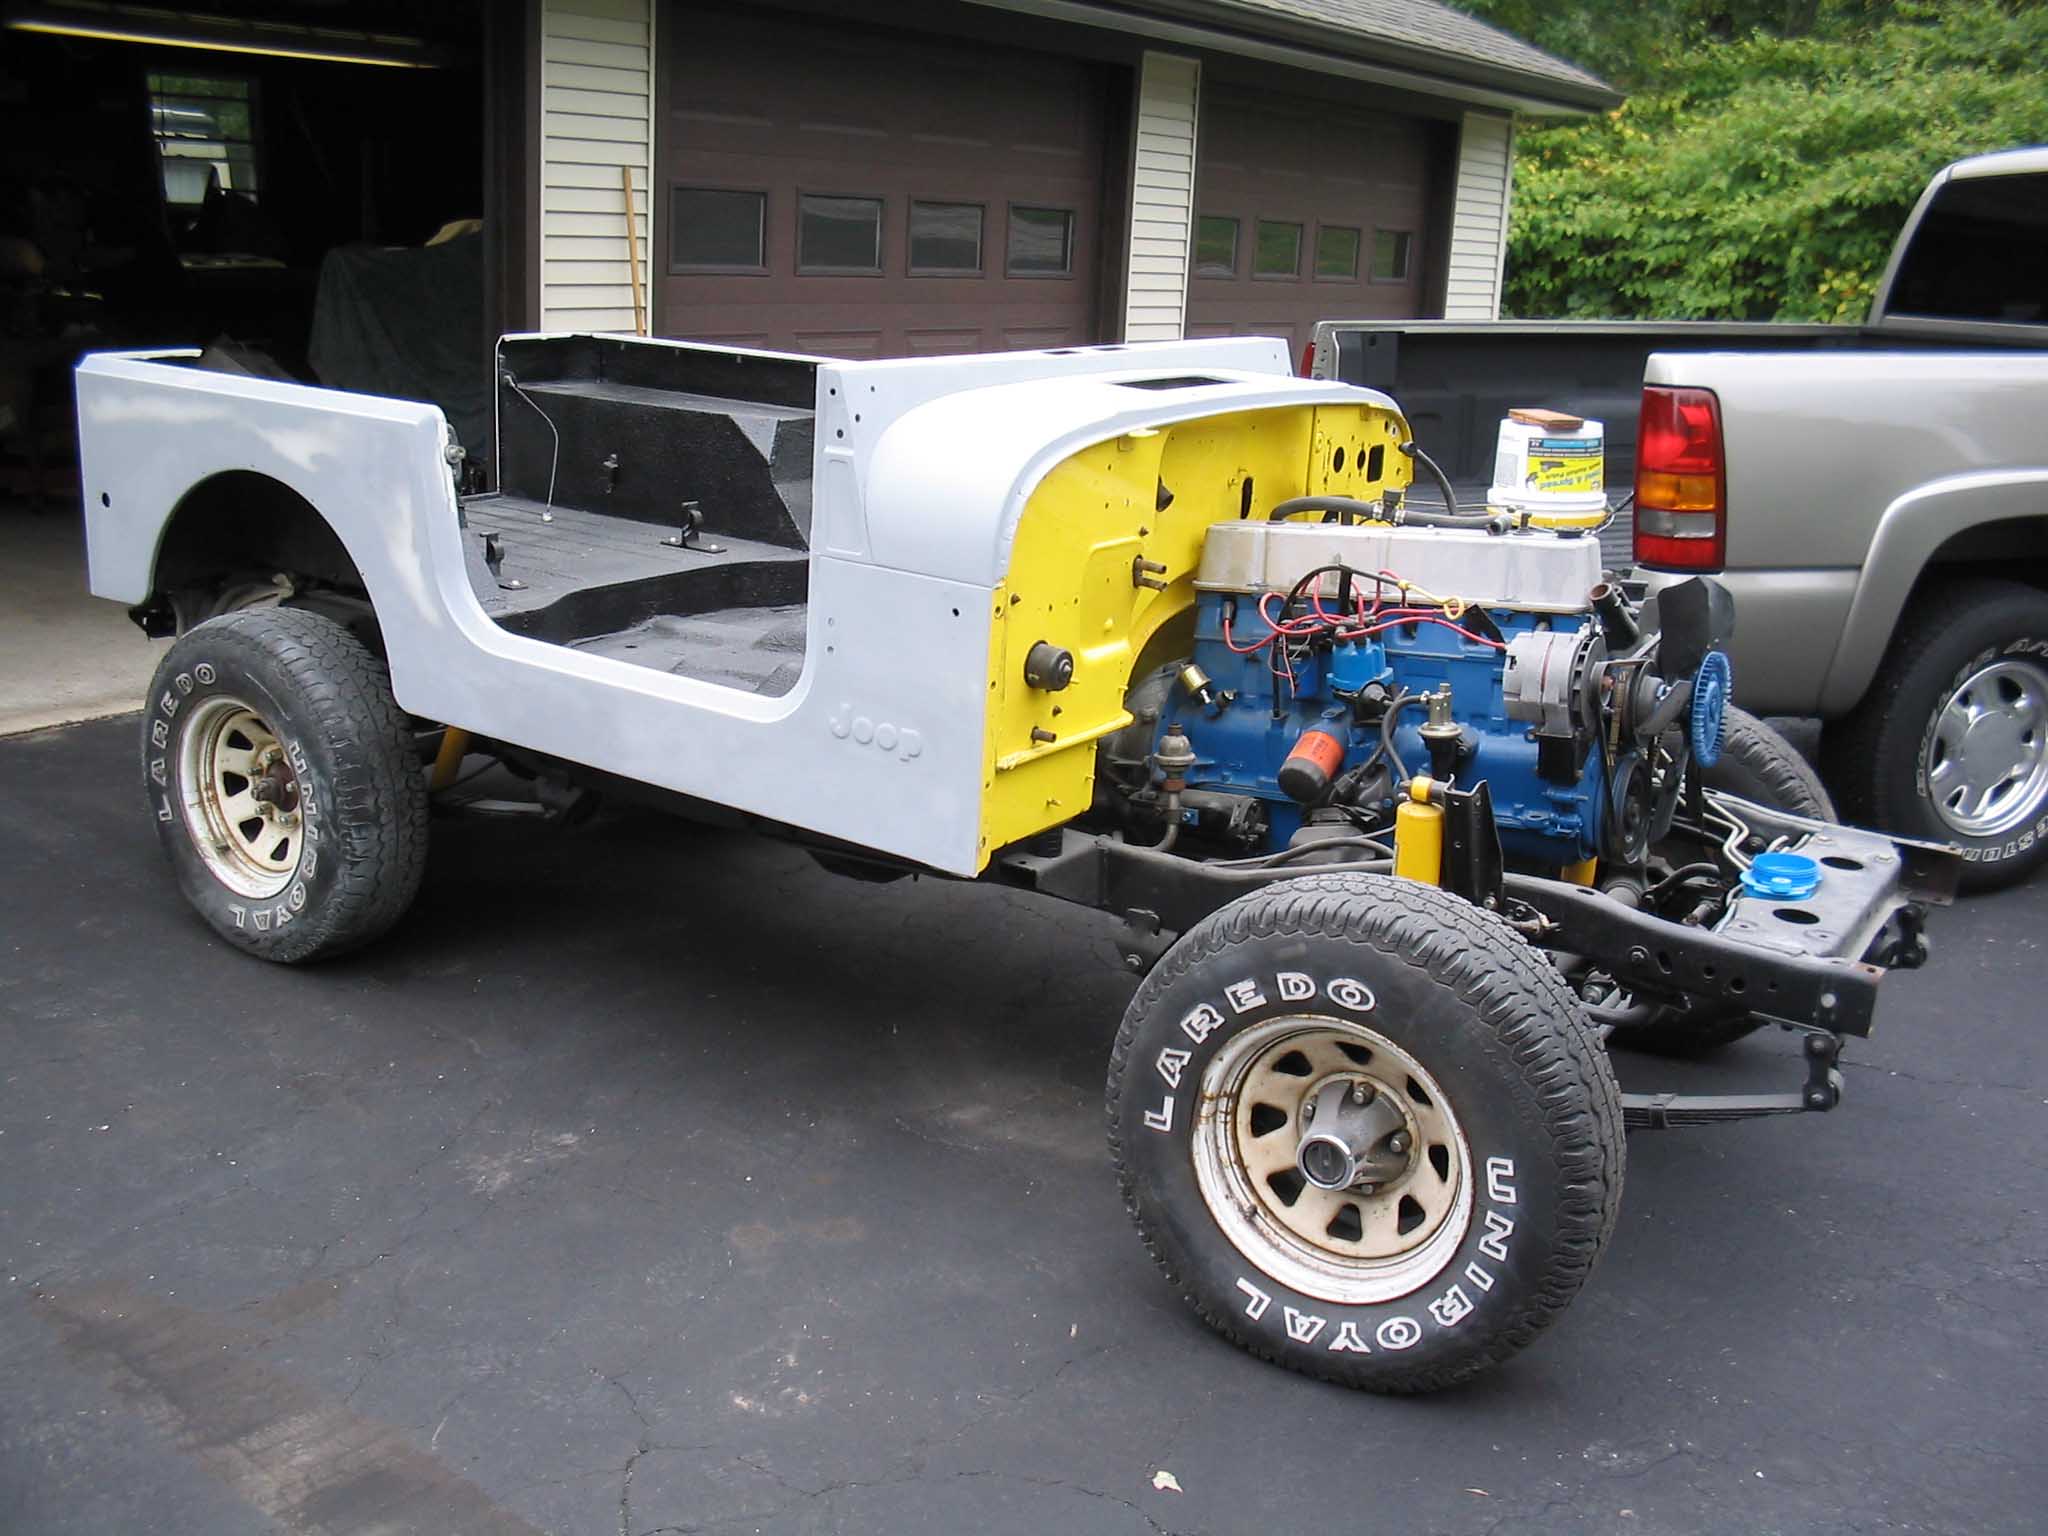
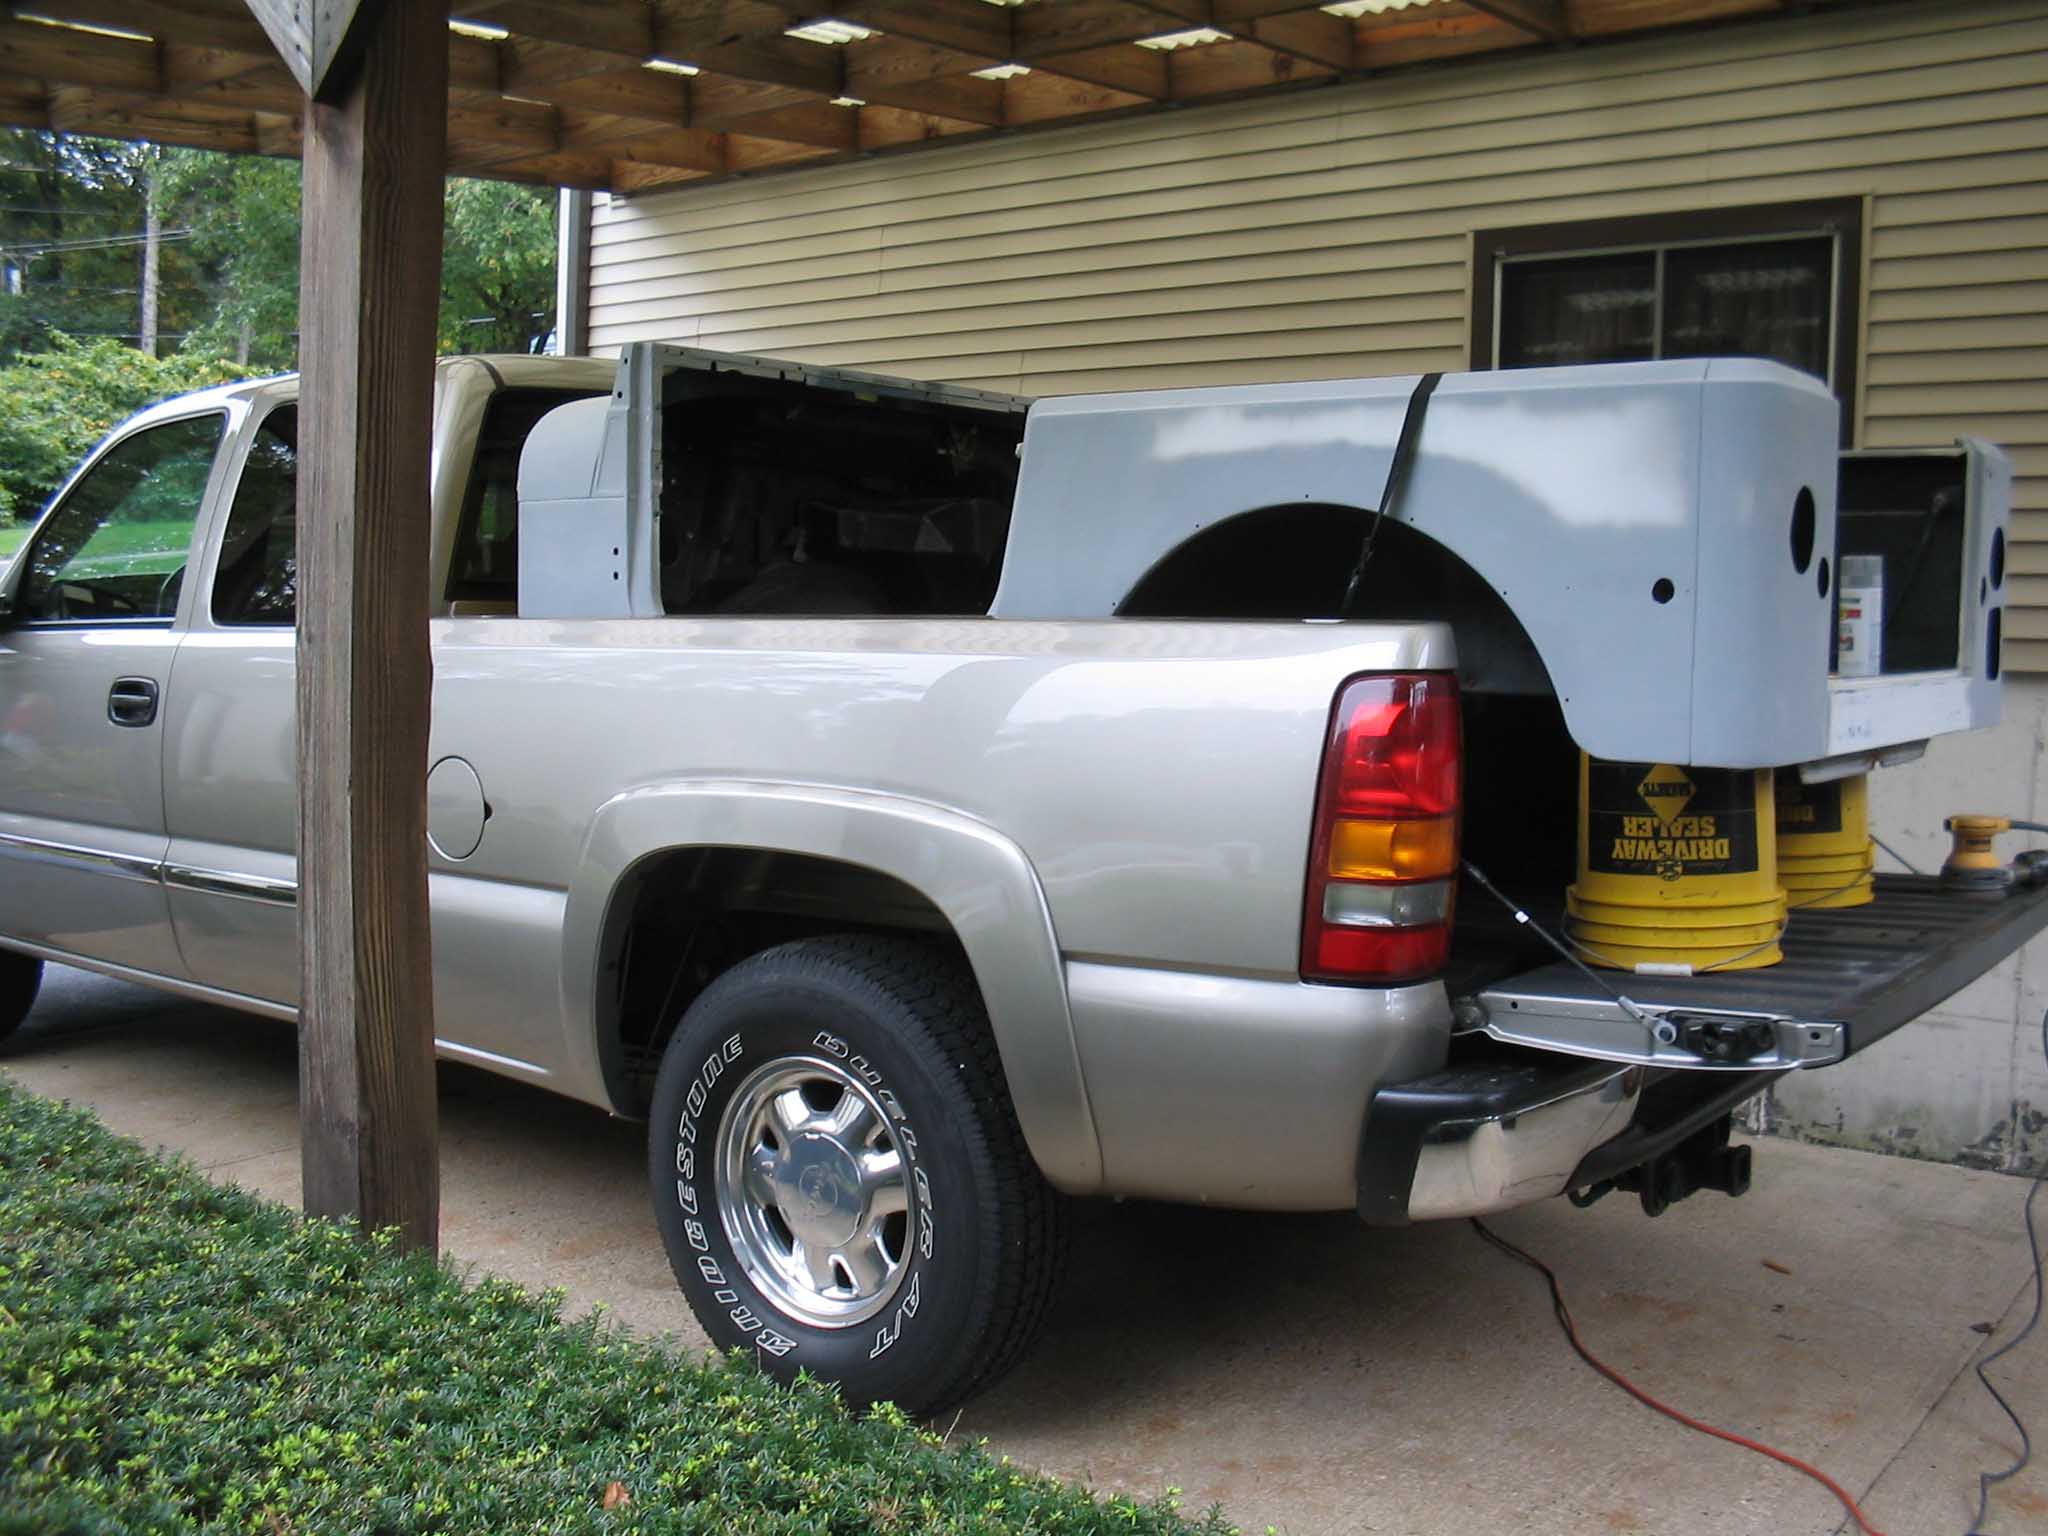
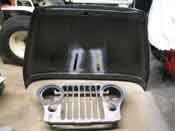
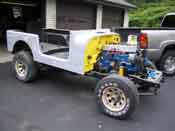
After all the bodywork was done on the tub it was loaded into the back
of the truck and strapped down for its ride over to the body shop. The tub is all set to go now for
paint, it just needs a little love from the 320-grit sandpaper prior to painting. We also need to tape
off the herculiner and we should be good to go.
There are a few more little things to do for the paint, but that is another day. Friday 10/14/2005 the
Jeep will be prepped for paint and the paint will be shot on Saturday 10/15/2005. After the Jeep is
sitting in Yellow paint, we will put the tub on a flatbed and bring it back and mate it up with the frame
and then the wiring will be started as well as getting the brakes, seats, front end, as well as the roll
bar back into the Jeep.
|
| |
| << Previous |
Next >> |
|