|
|
| Third Project Build-up - part #17 |
| |
|
1
2
3
4
5
6
7
8
9
10
11
12
13
14
15
16
17
18
19
20
21
22
23
|
| |
I just got back from working on the Jeep (10/26/05) and Frank helped me out trying to
fit the radiator. The new one that I ordered up was a center mount and the original one was a side mount. There was a
problem with the fit in that it was too fat to go in there with the fan. The clutch ended up hitting it and it would
not work, so tomorrow we will drop off the original one at the radiator shop and see if it is any good. If not, then
we will order up a new one, if it is good, then we will go with that one.
After spending a bunch of time fooling around with the radiator, the weather stripping was installed on the windshield
cowl and then finally on the hood-close support.
|
| |

|
|
|
|
| |
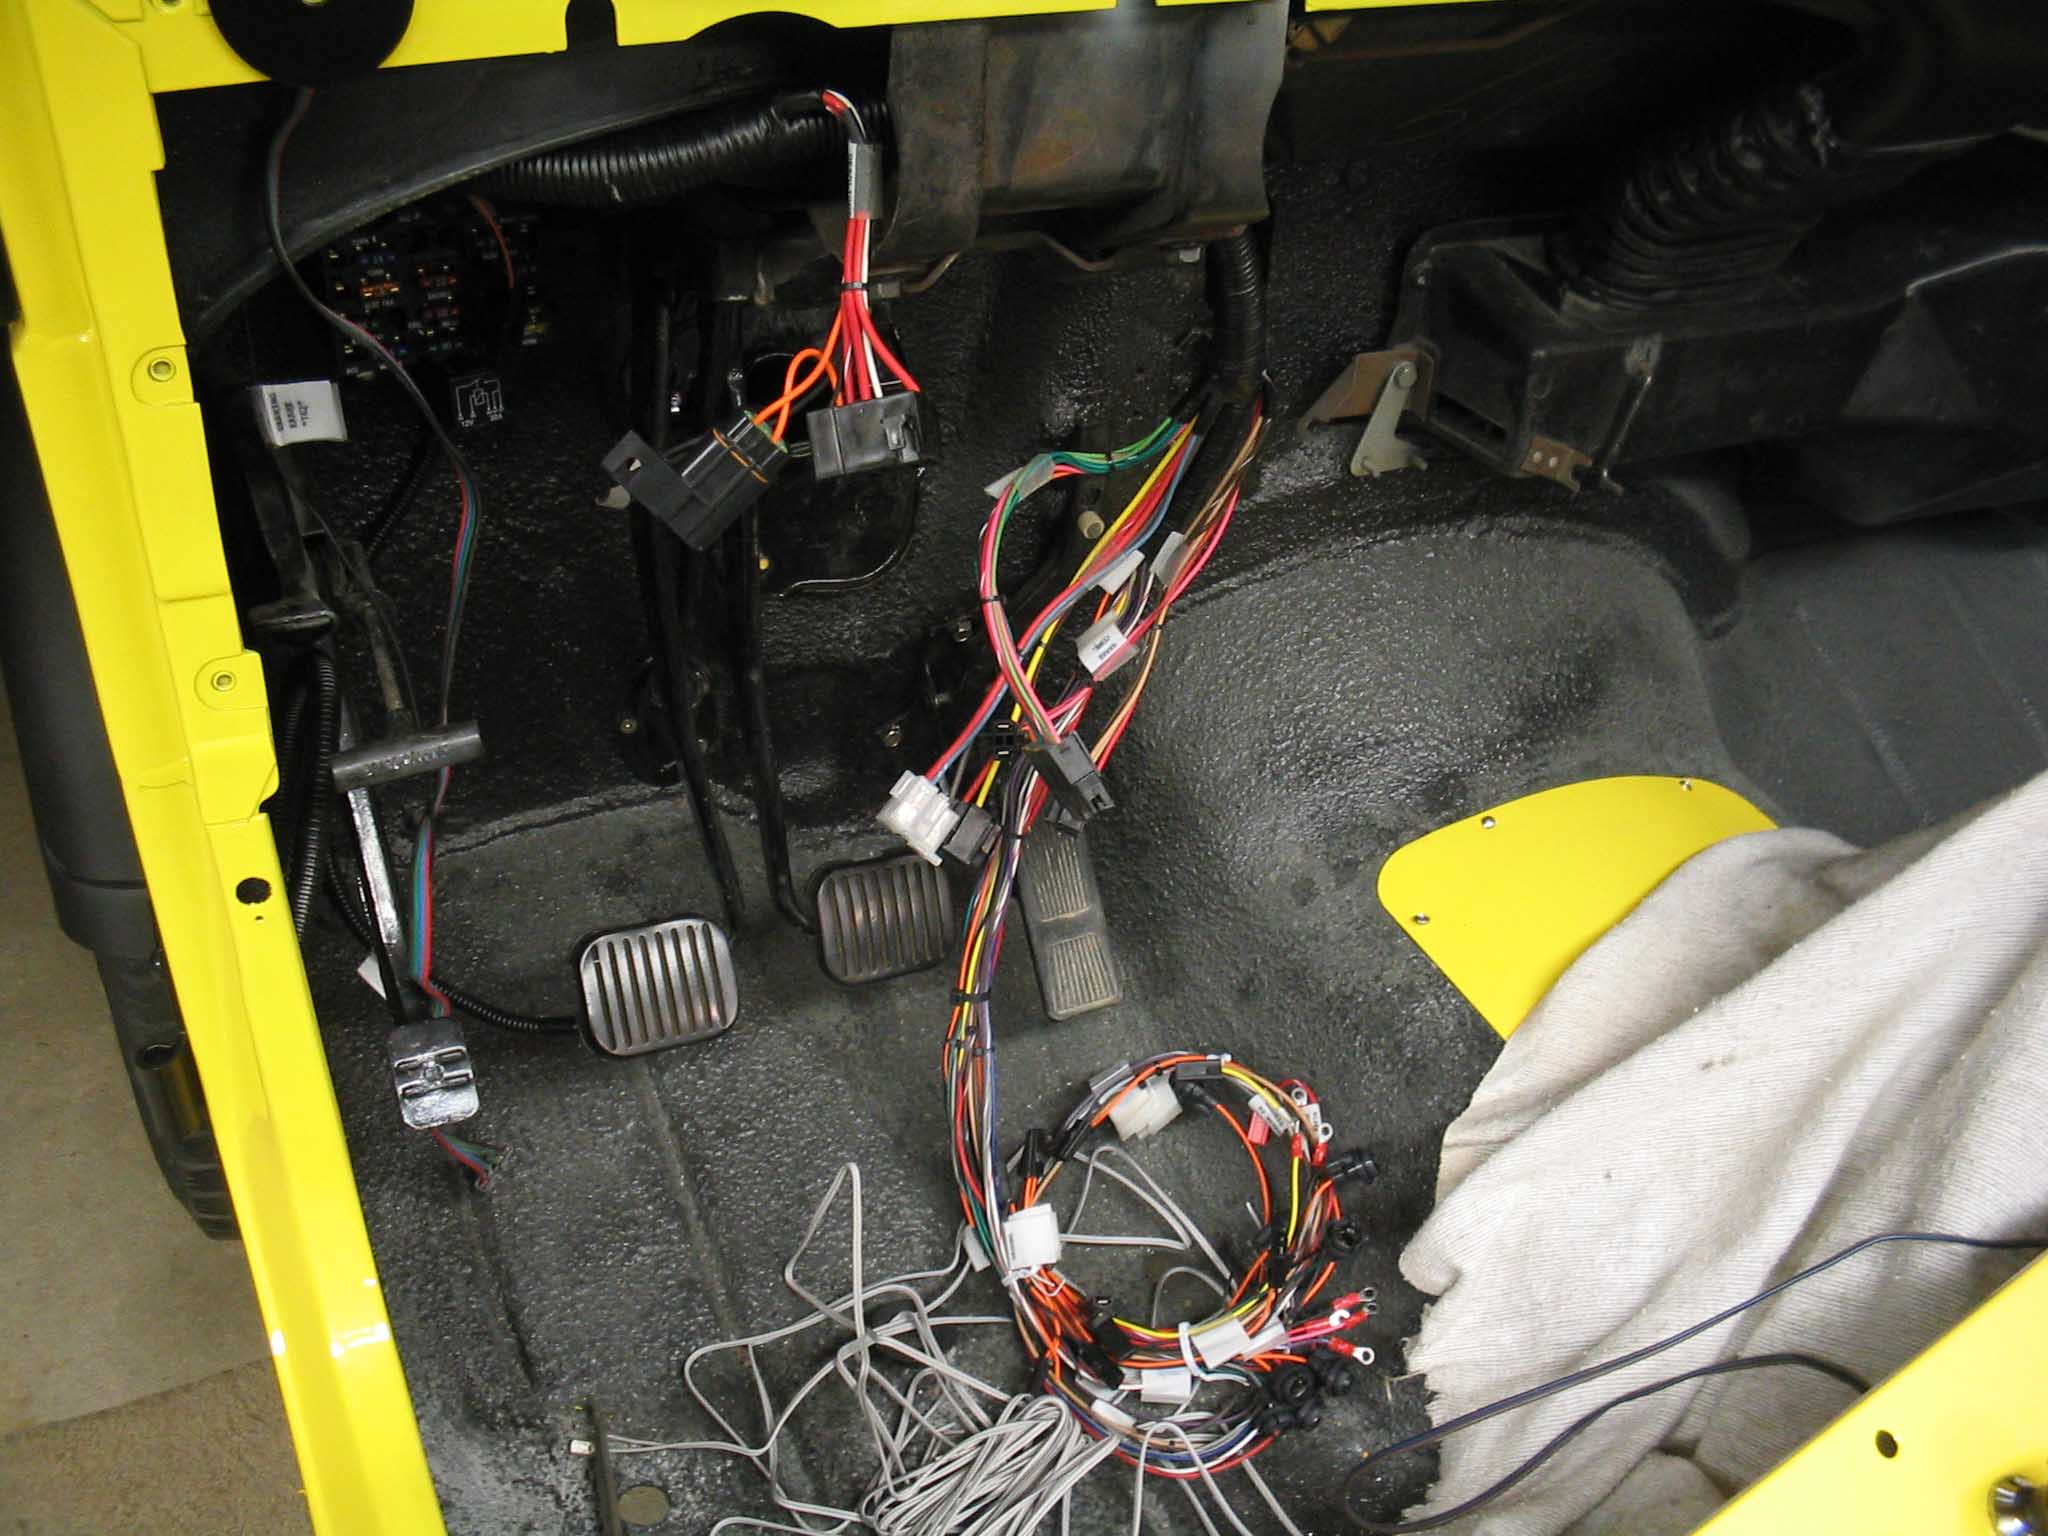
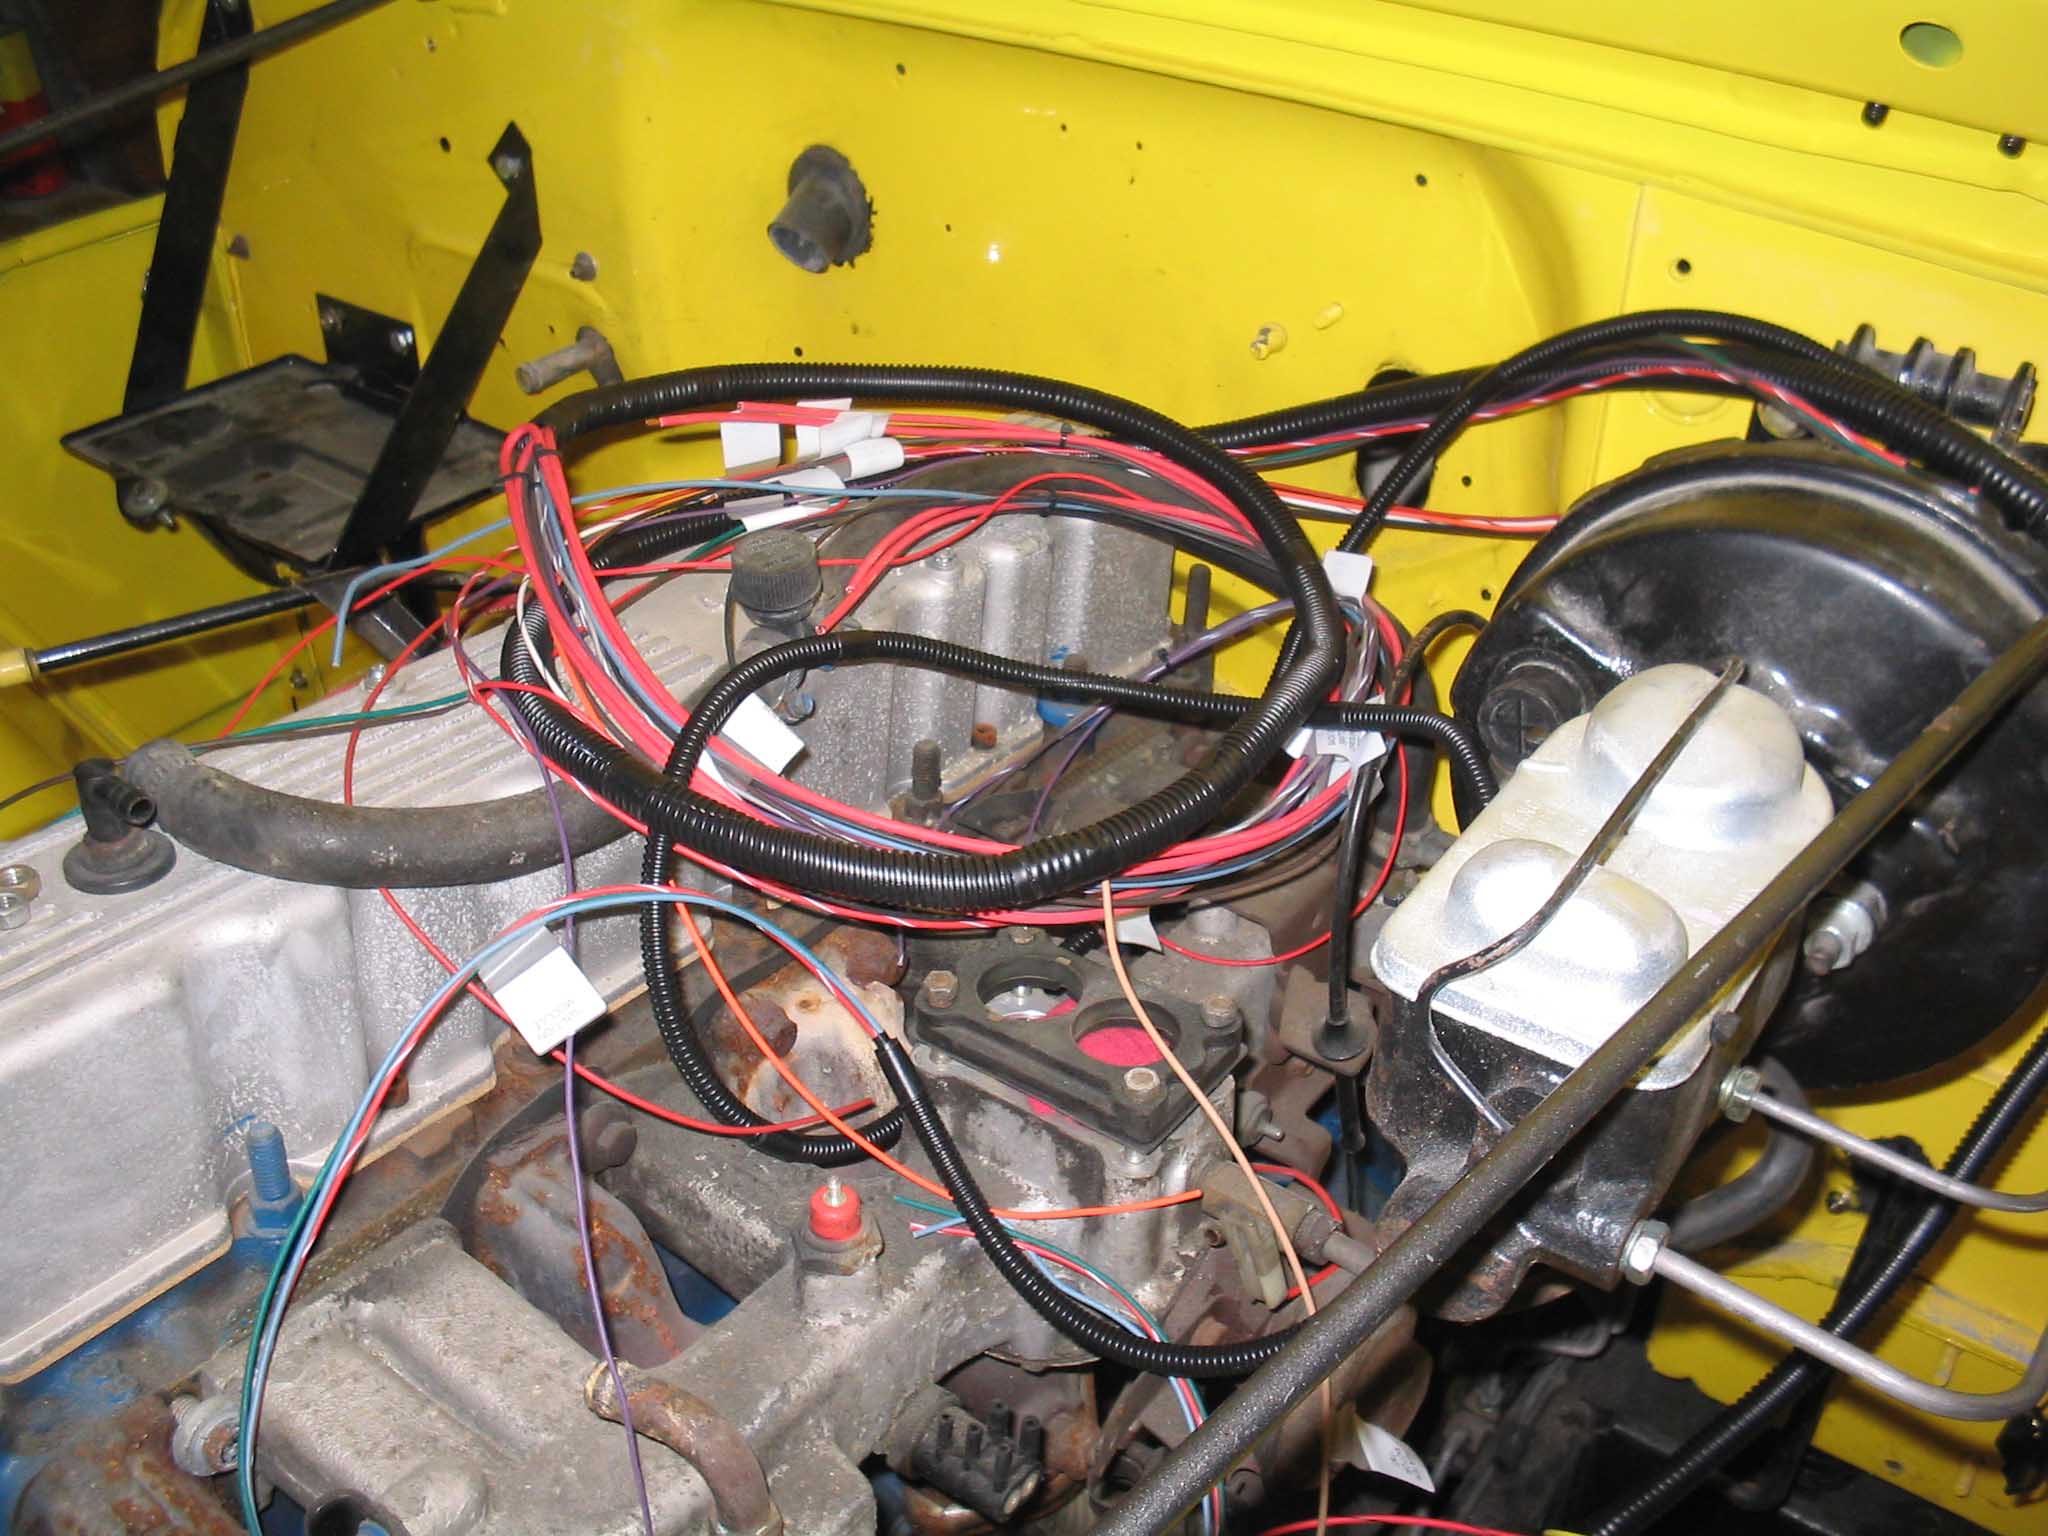
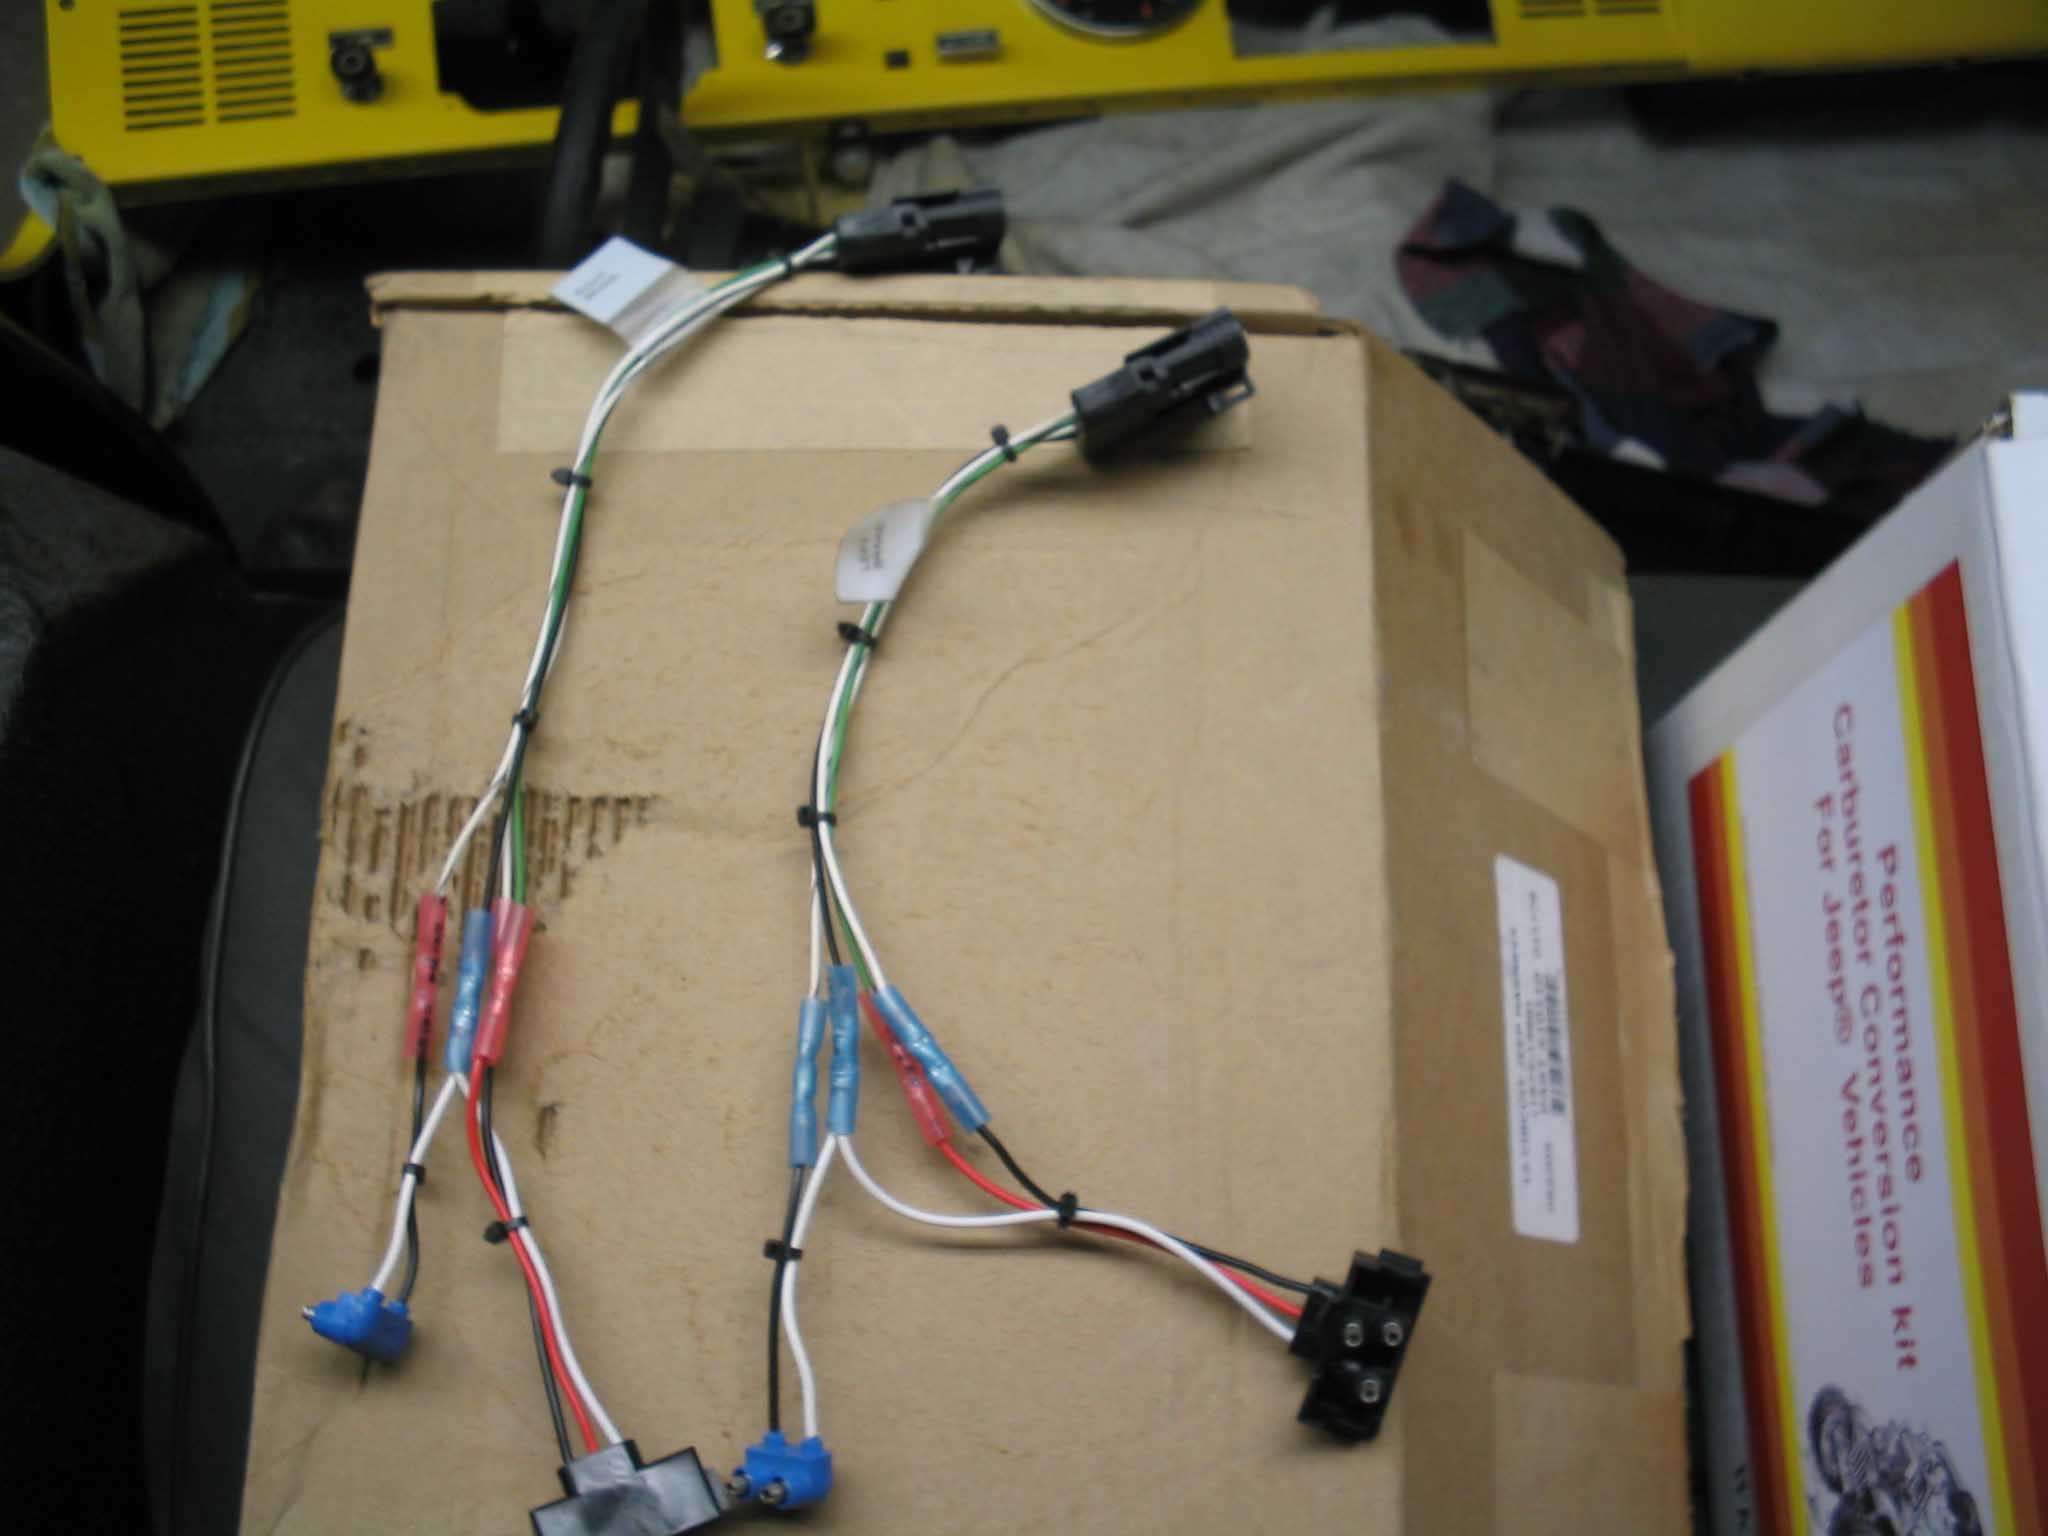
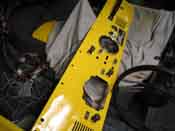
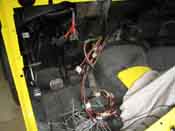
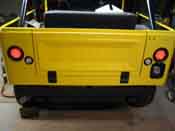
| The wiring harness was tackled next and the bulkhead was drilled out and the wiring
harness was run into the engine and the dash. The rear wiring harness was snaked along the tank and finally the
lights were installed in the rear. I didnt have all the necessary parts for wiring up the rear of the Jeep, so
that was put off until the following day. All in all, there were a lot of little things done. I will attempt to
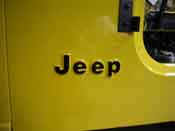
return the new radiator tomorrow and finally tonight the emergency brake pad came in along with the decals.
Tomorrow, those will be installed.
|
| |

|

|
|

|
| |
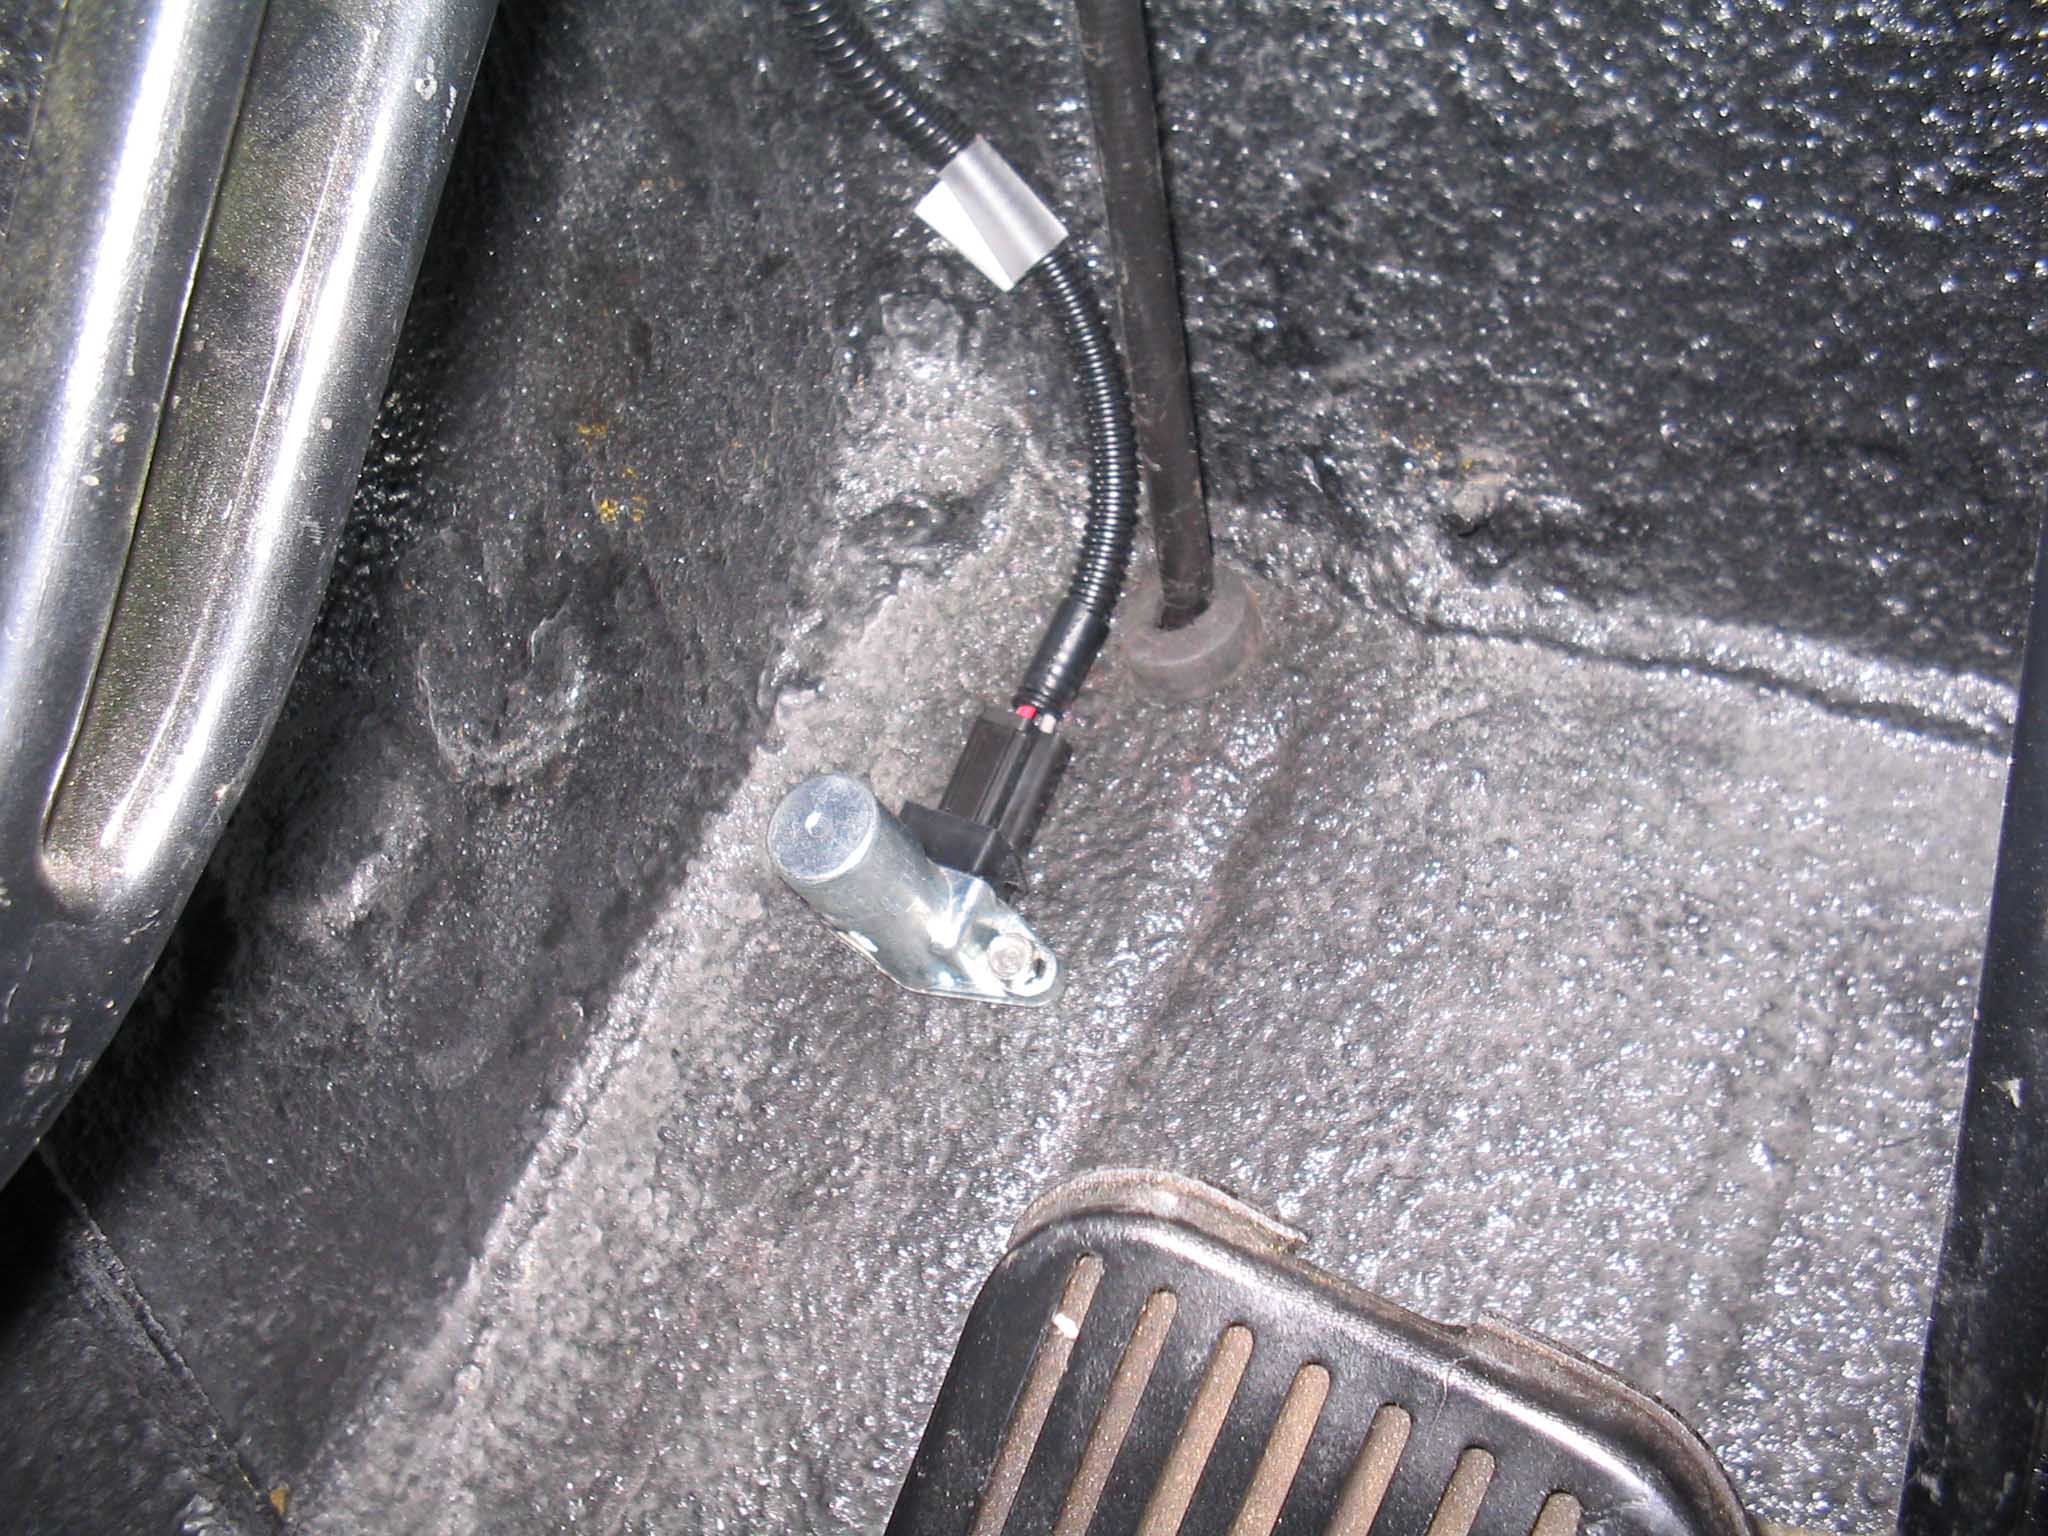
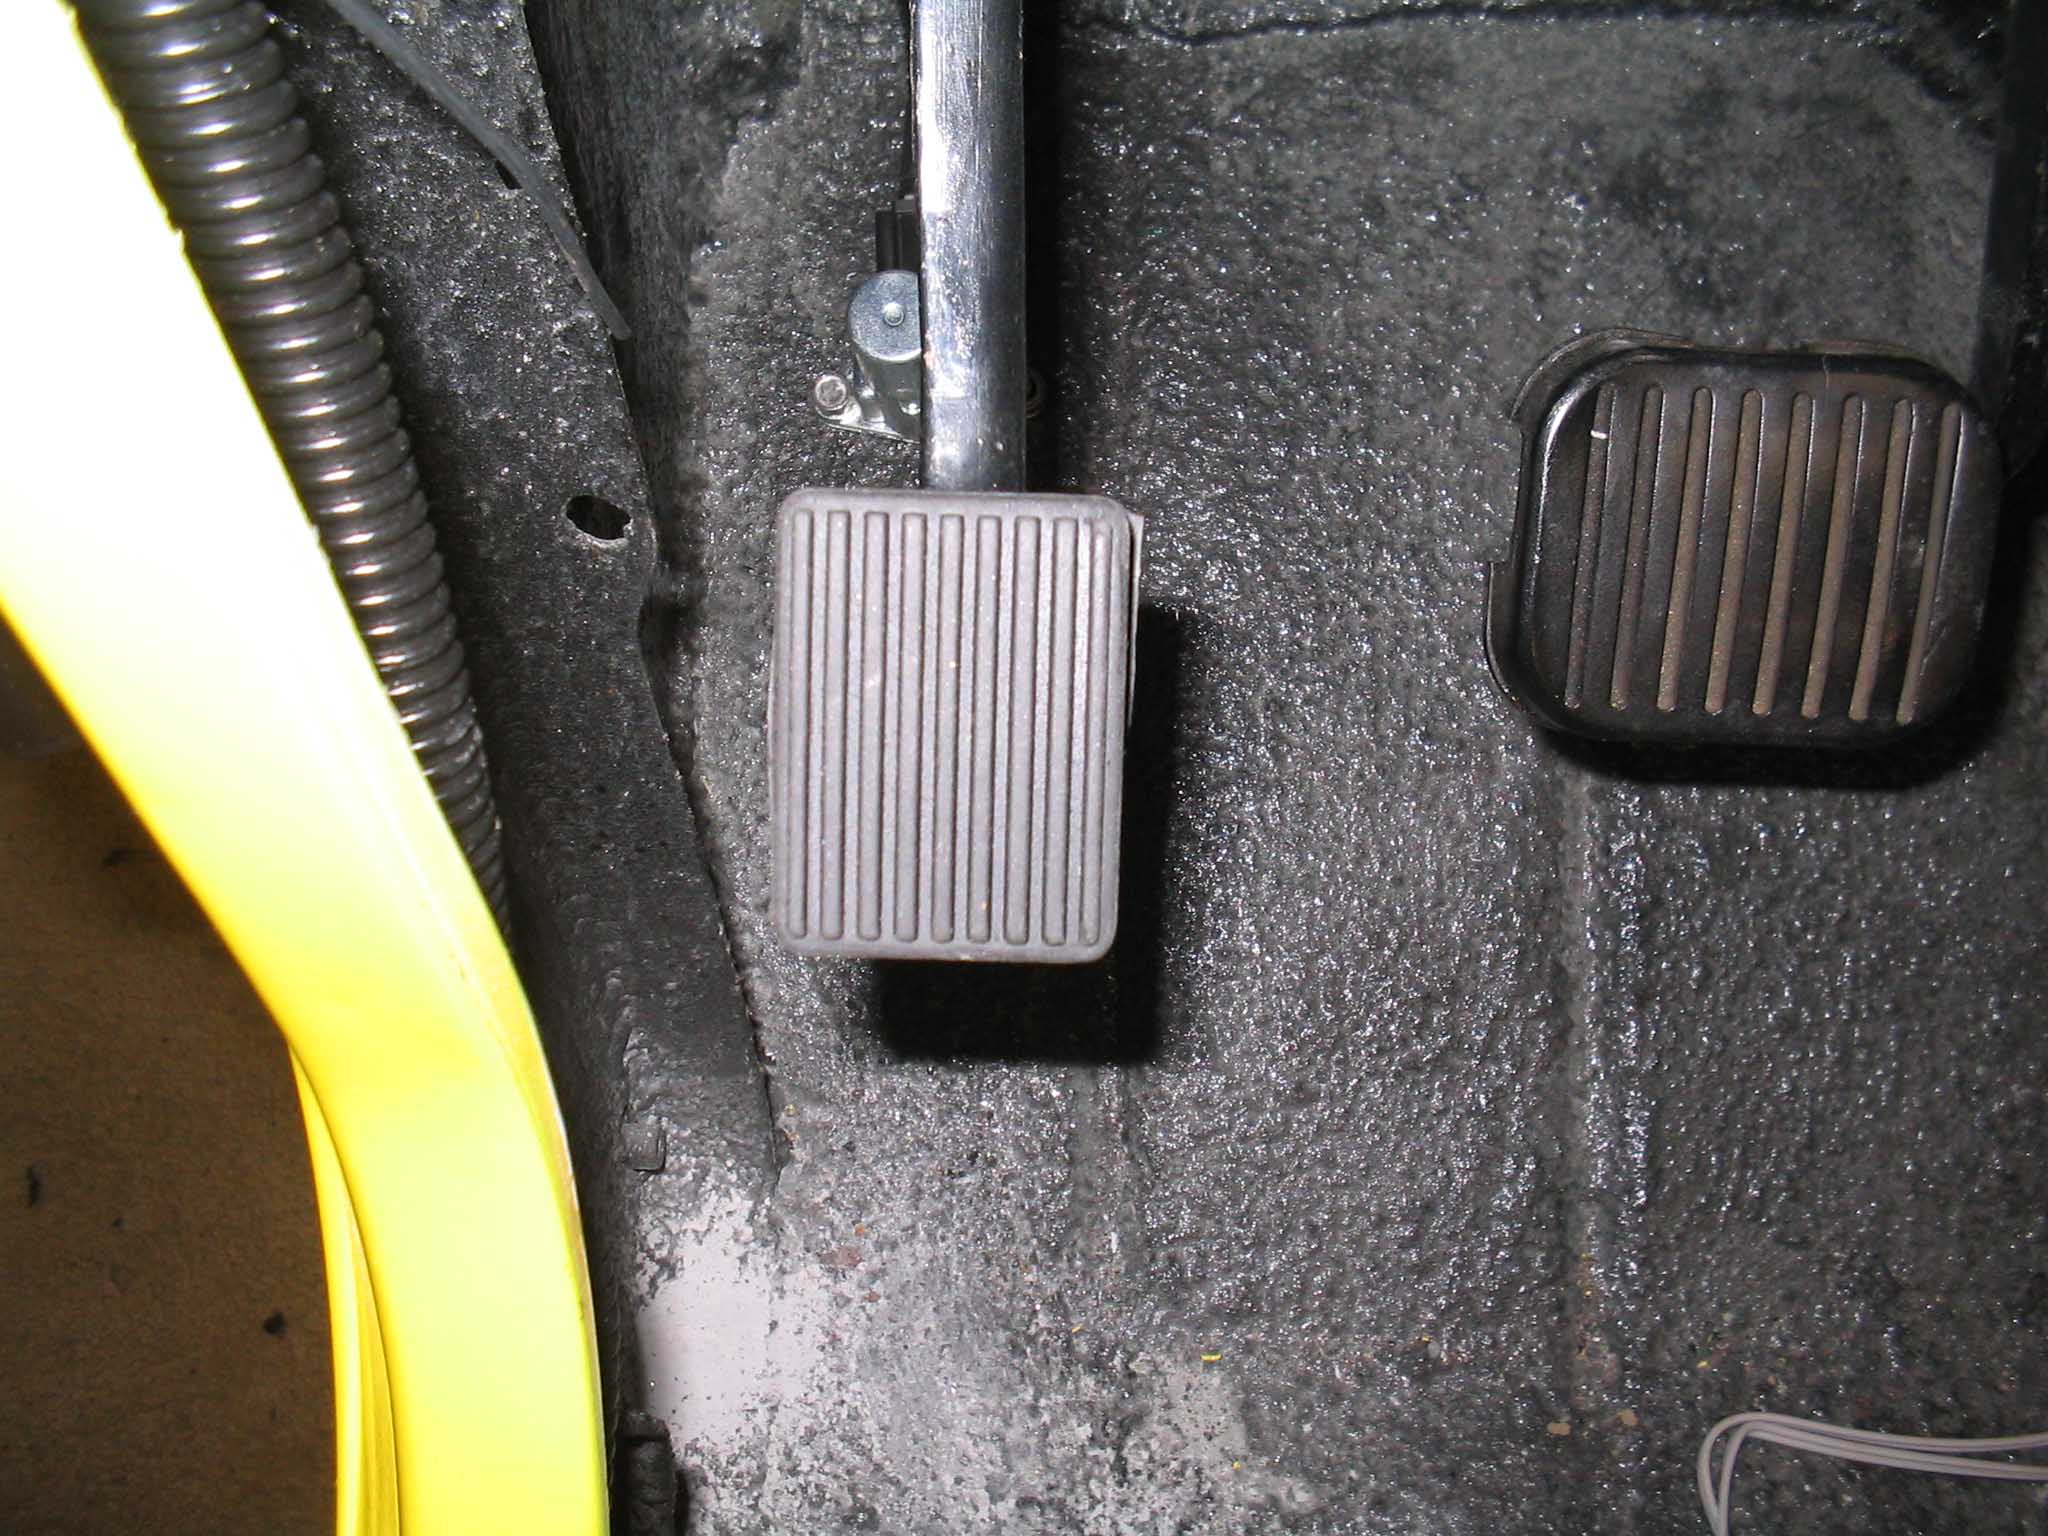
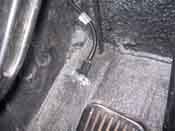
I just got back from working on the Jeep and Frank helped me do a few things. We
first started out by installing the head light high beam switch into the Jeep. There was a new switch included
with the Jeep and 2 holes were drilled into the floor and it was place in the same position that the Orange Jeep
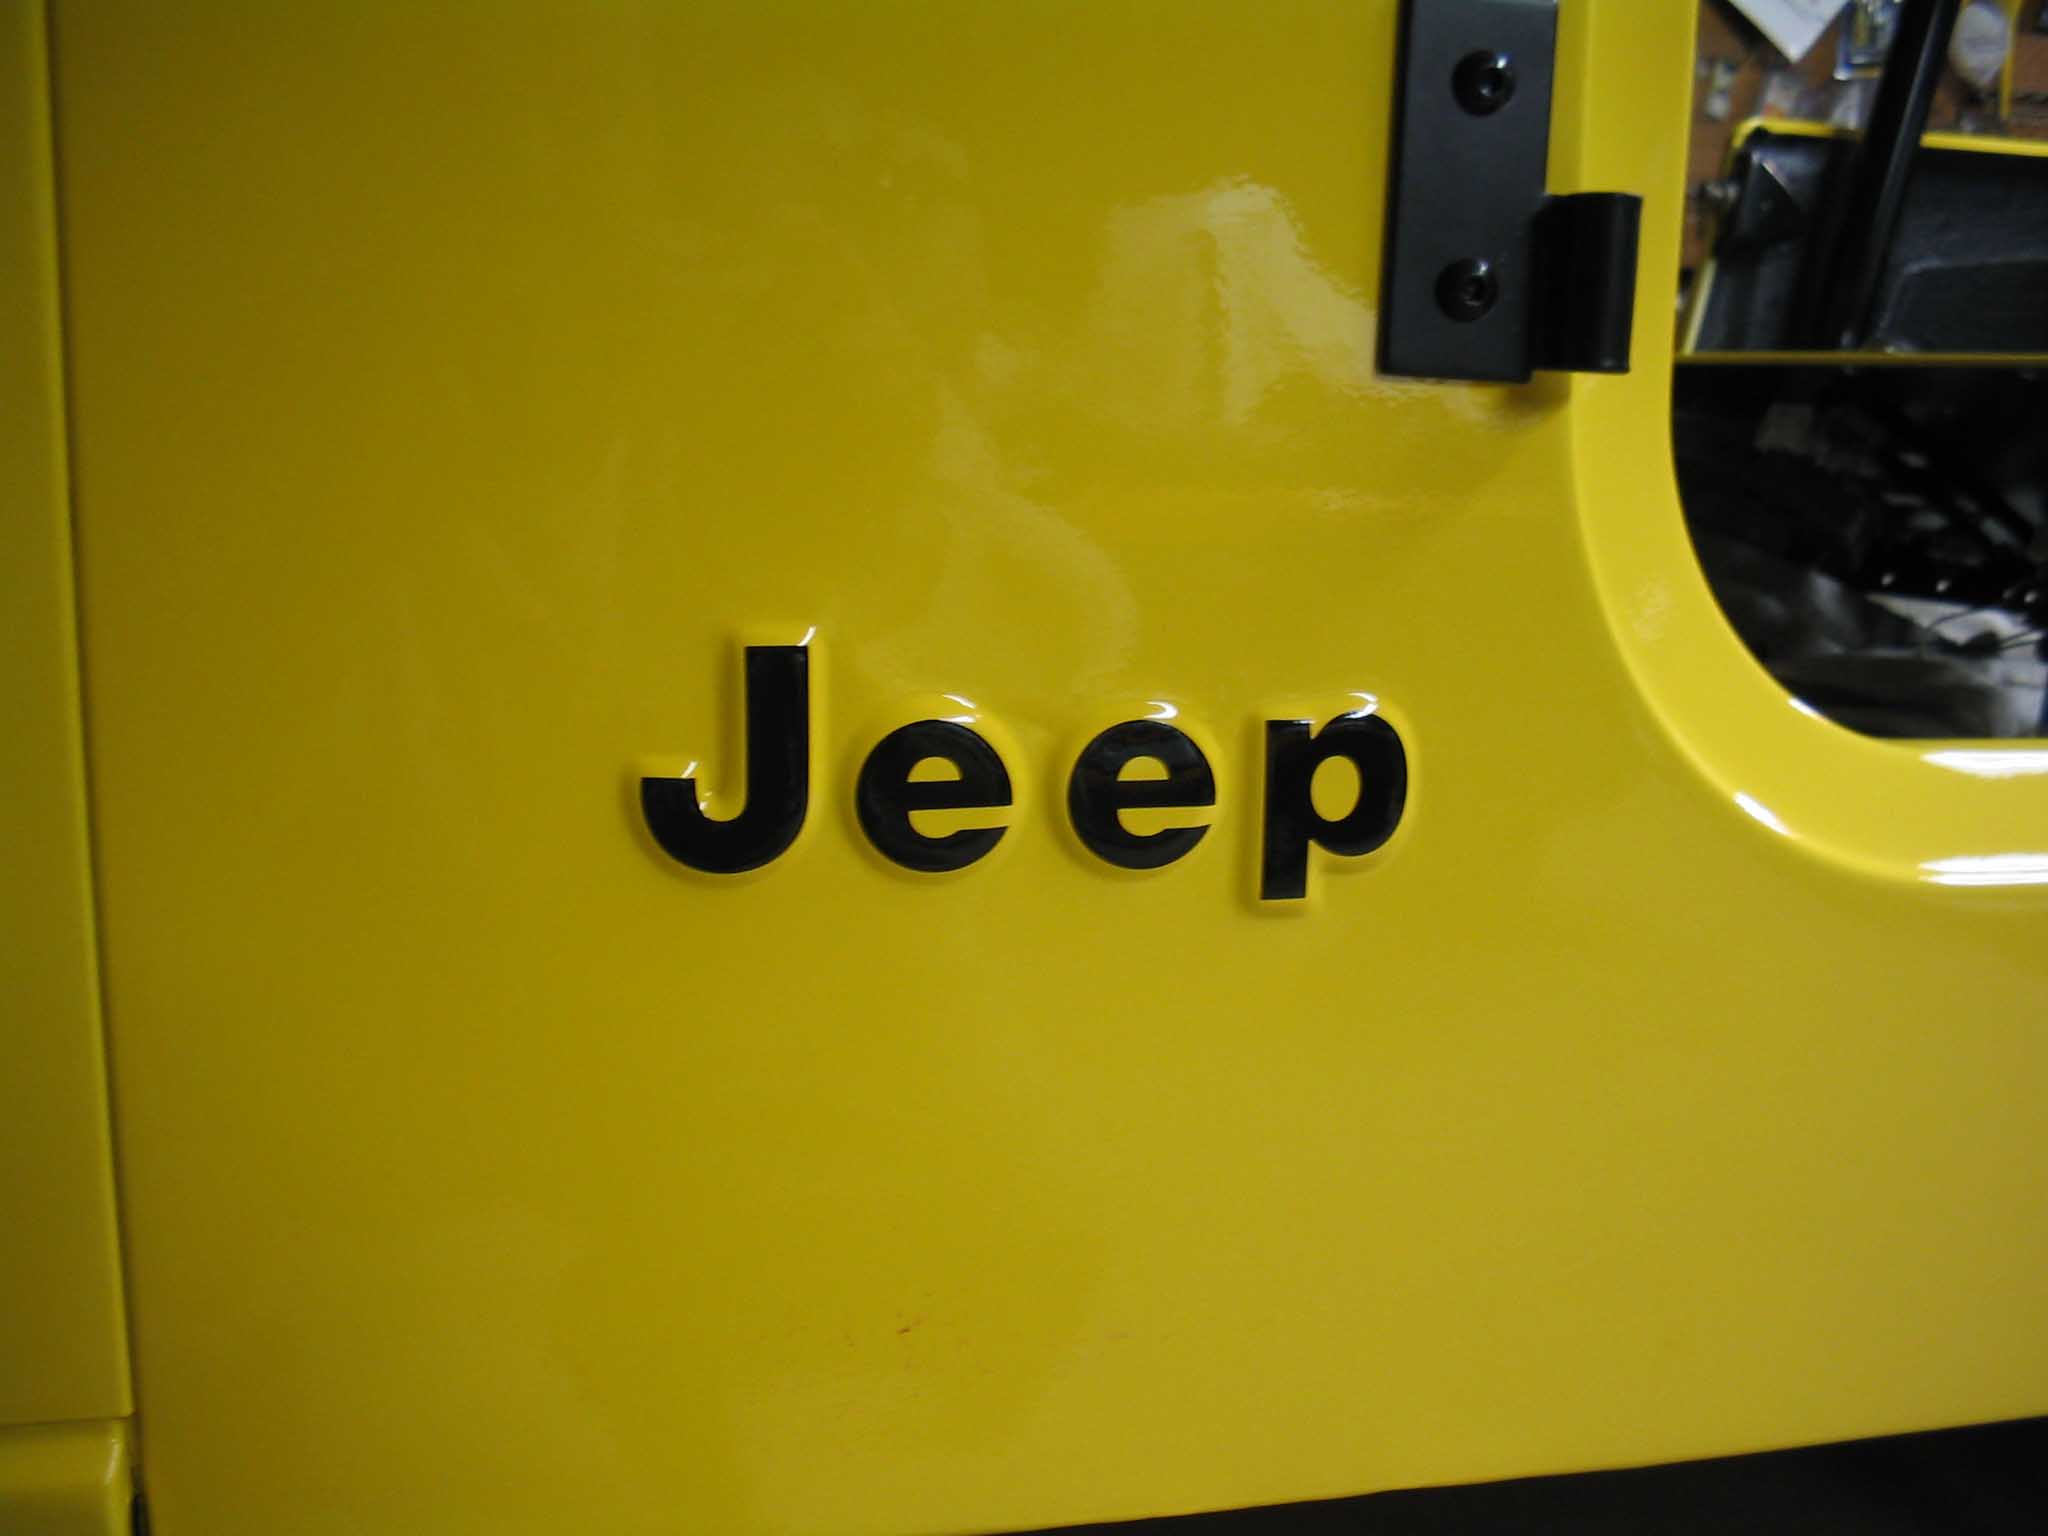
had it. This is one of the other areas that you have to do in order to have the Wrangler body look like a CJ
body.
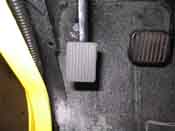
Next we moved onto installing the pad on the emergency brake pedal and then moved onto the Windshield frame to
install the last of the black powder coated accessories on the windshield frame so when you put down the
windshield, you have something to tie the frame down to the hood.
|
| |
|
|
|
|
| |
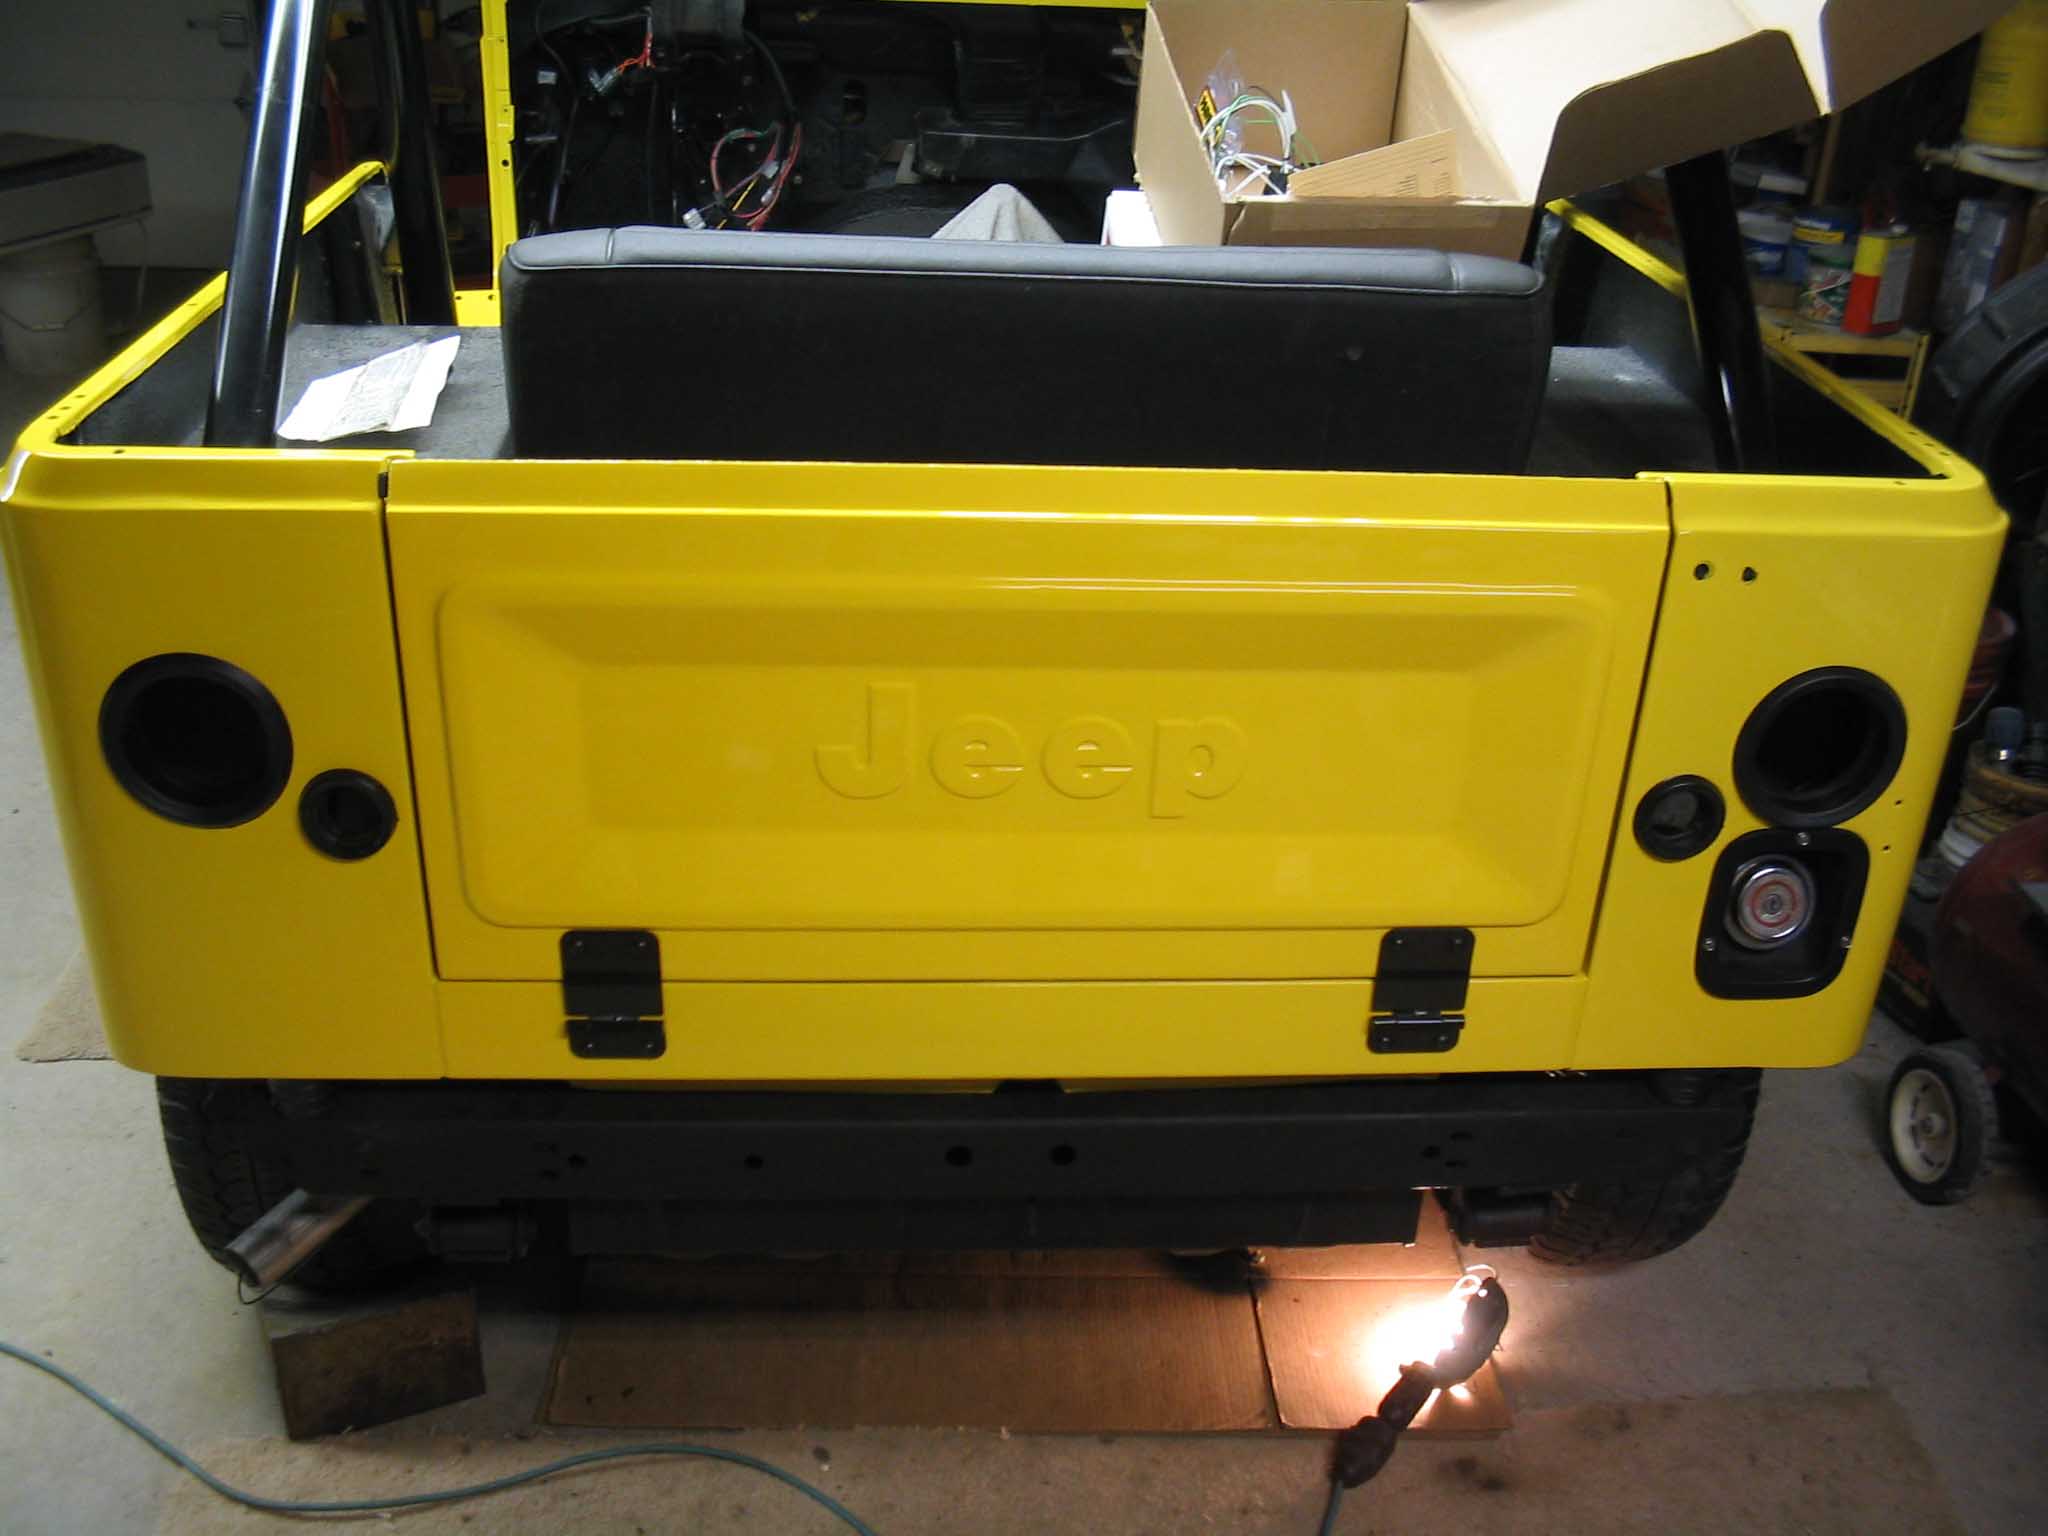
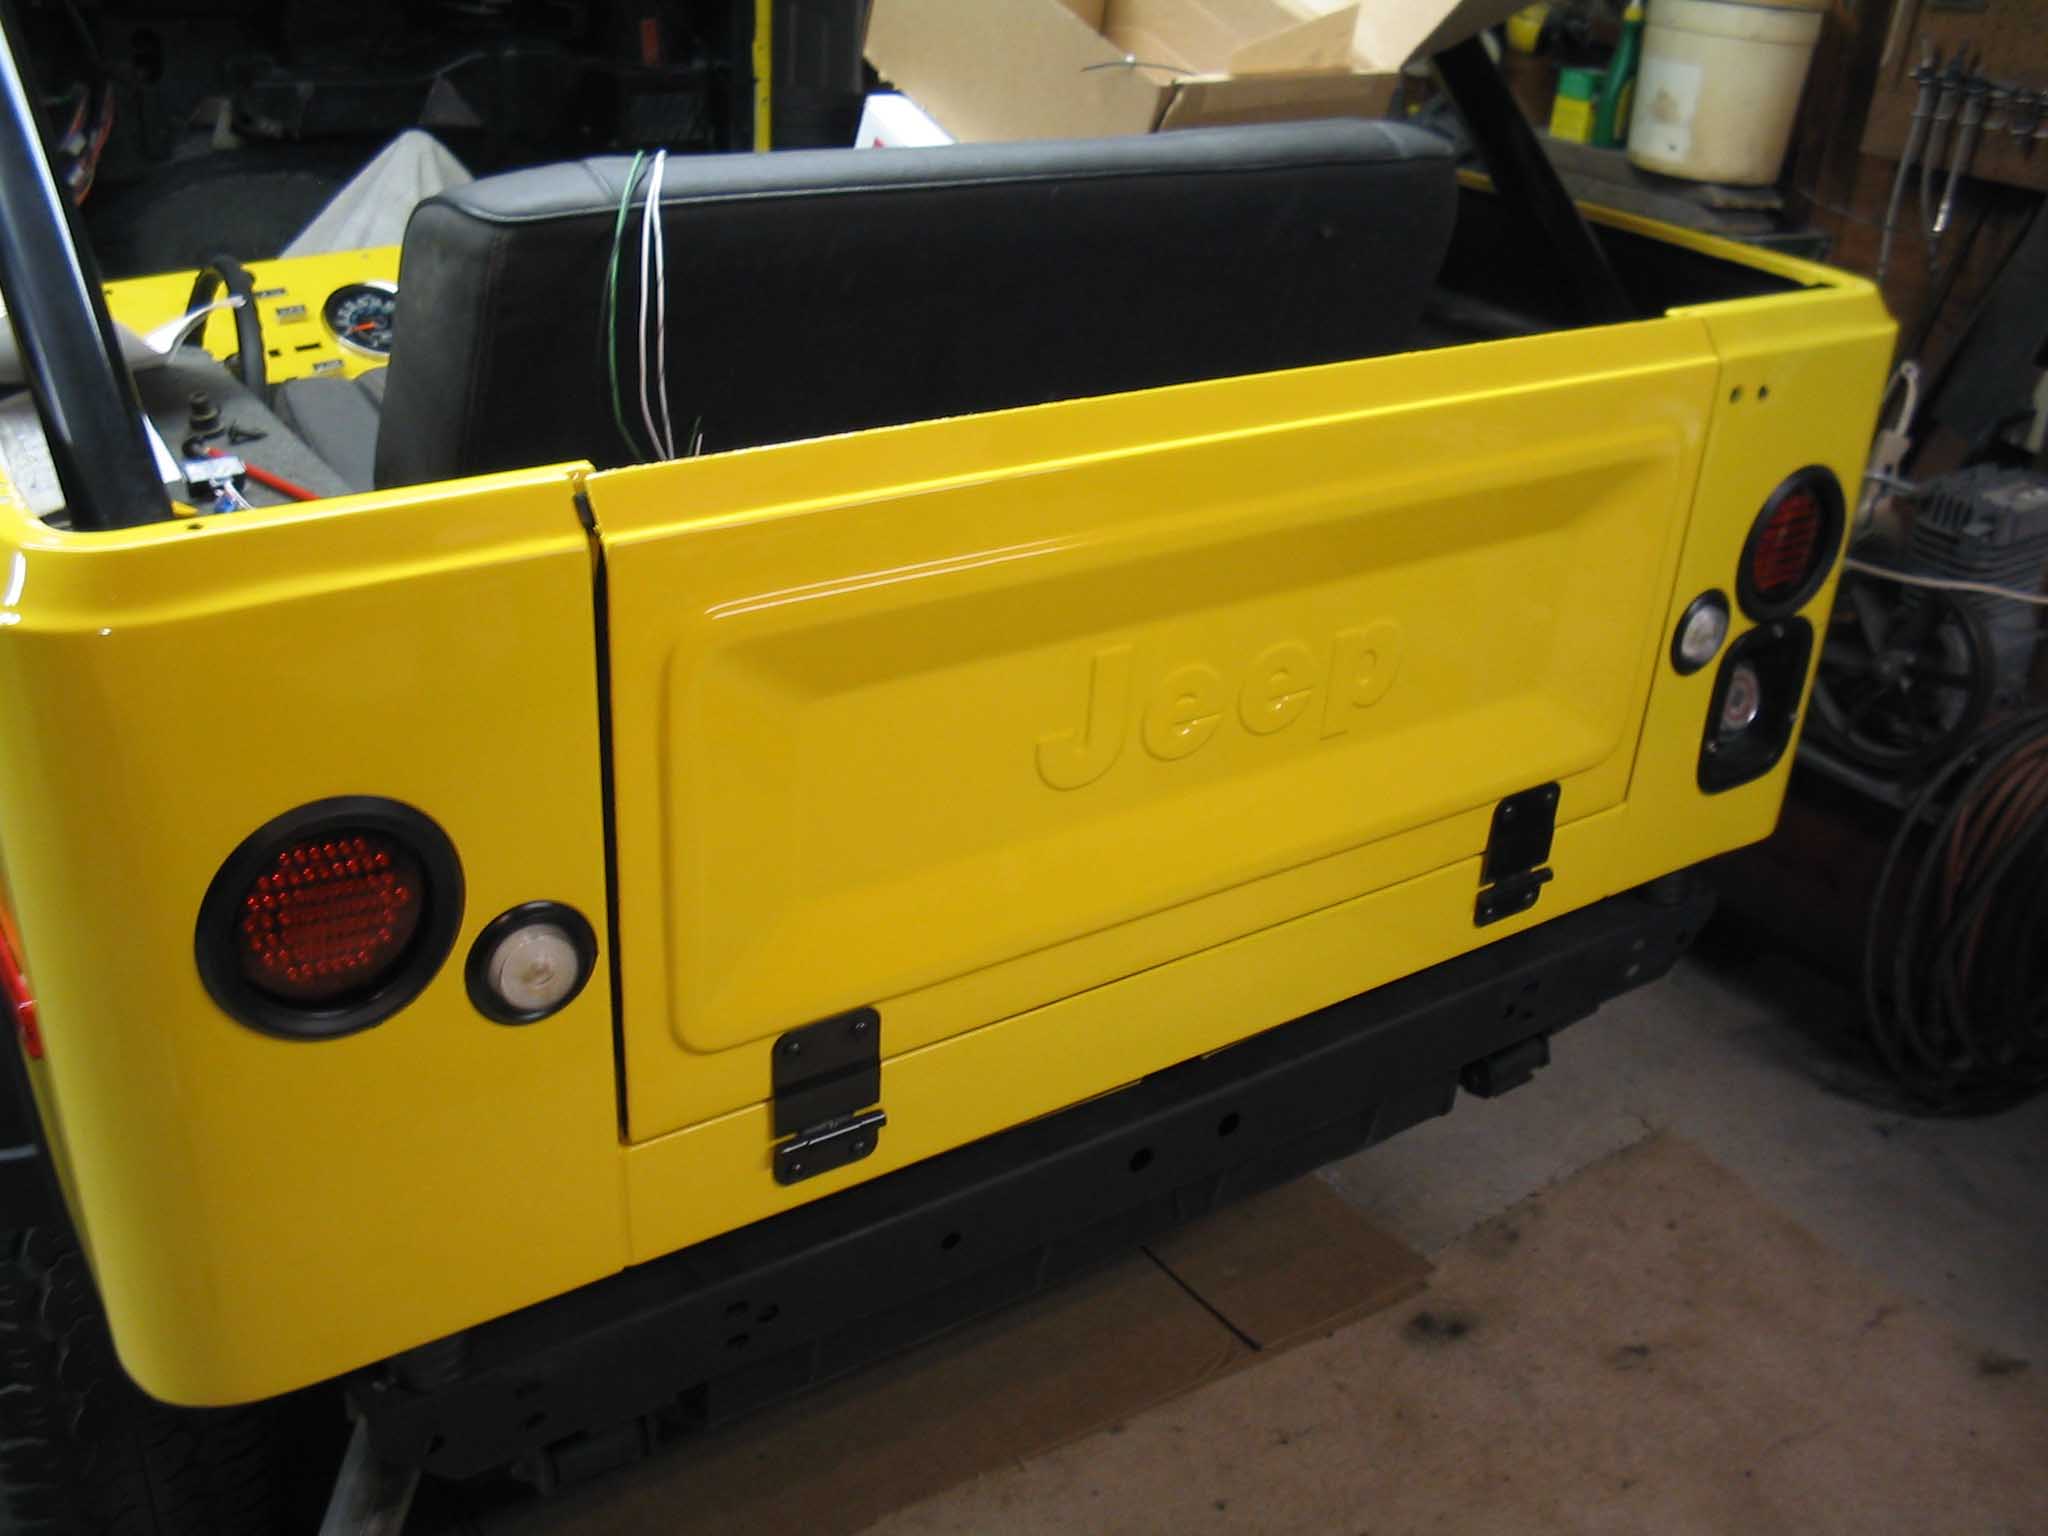
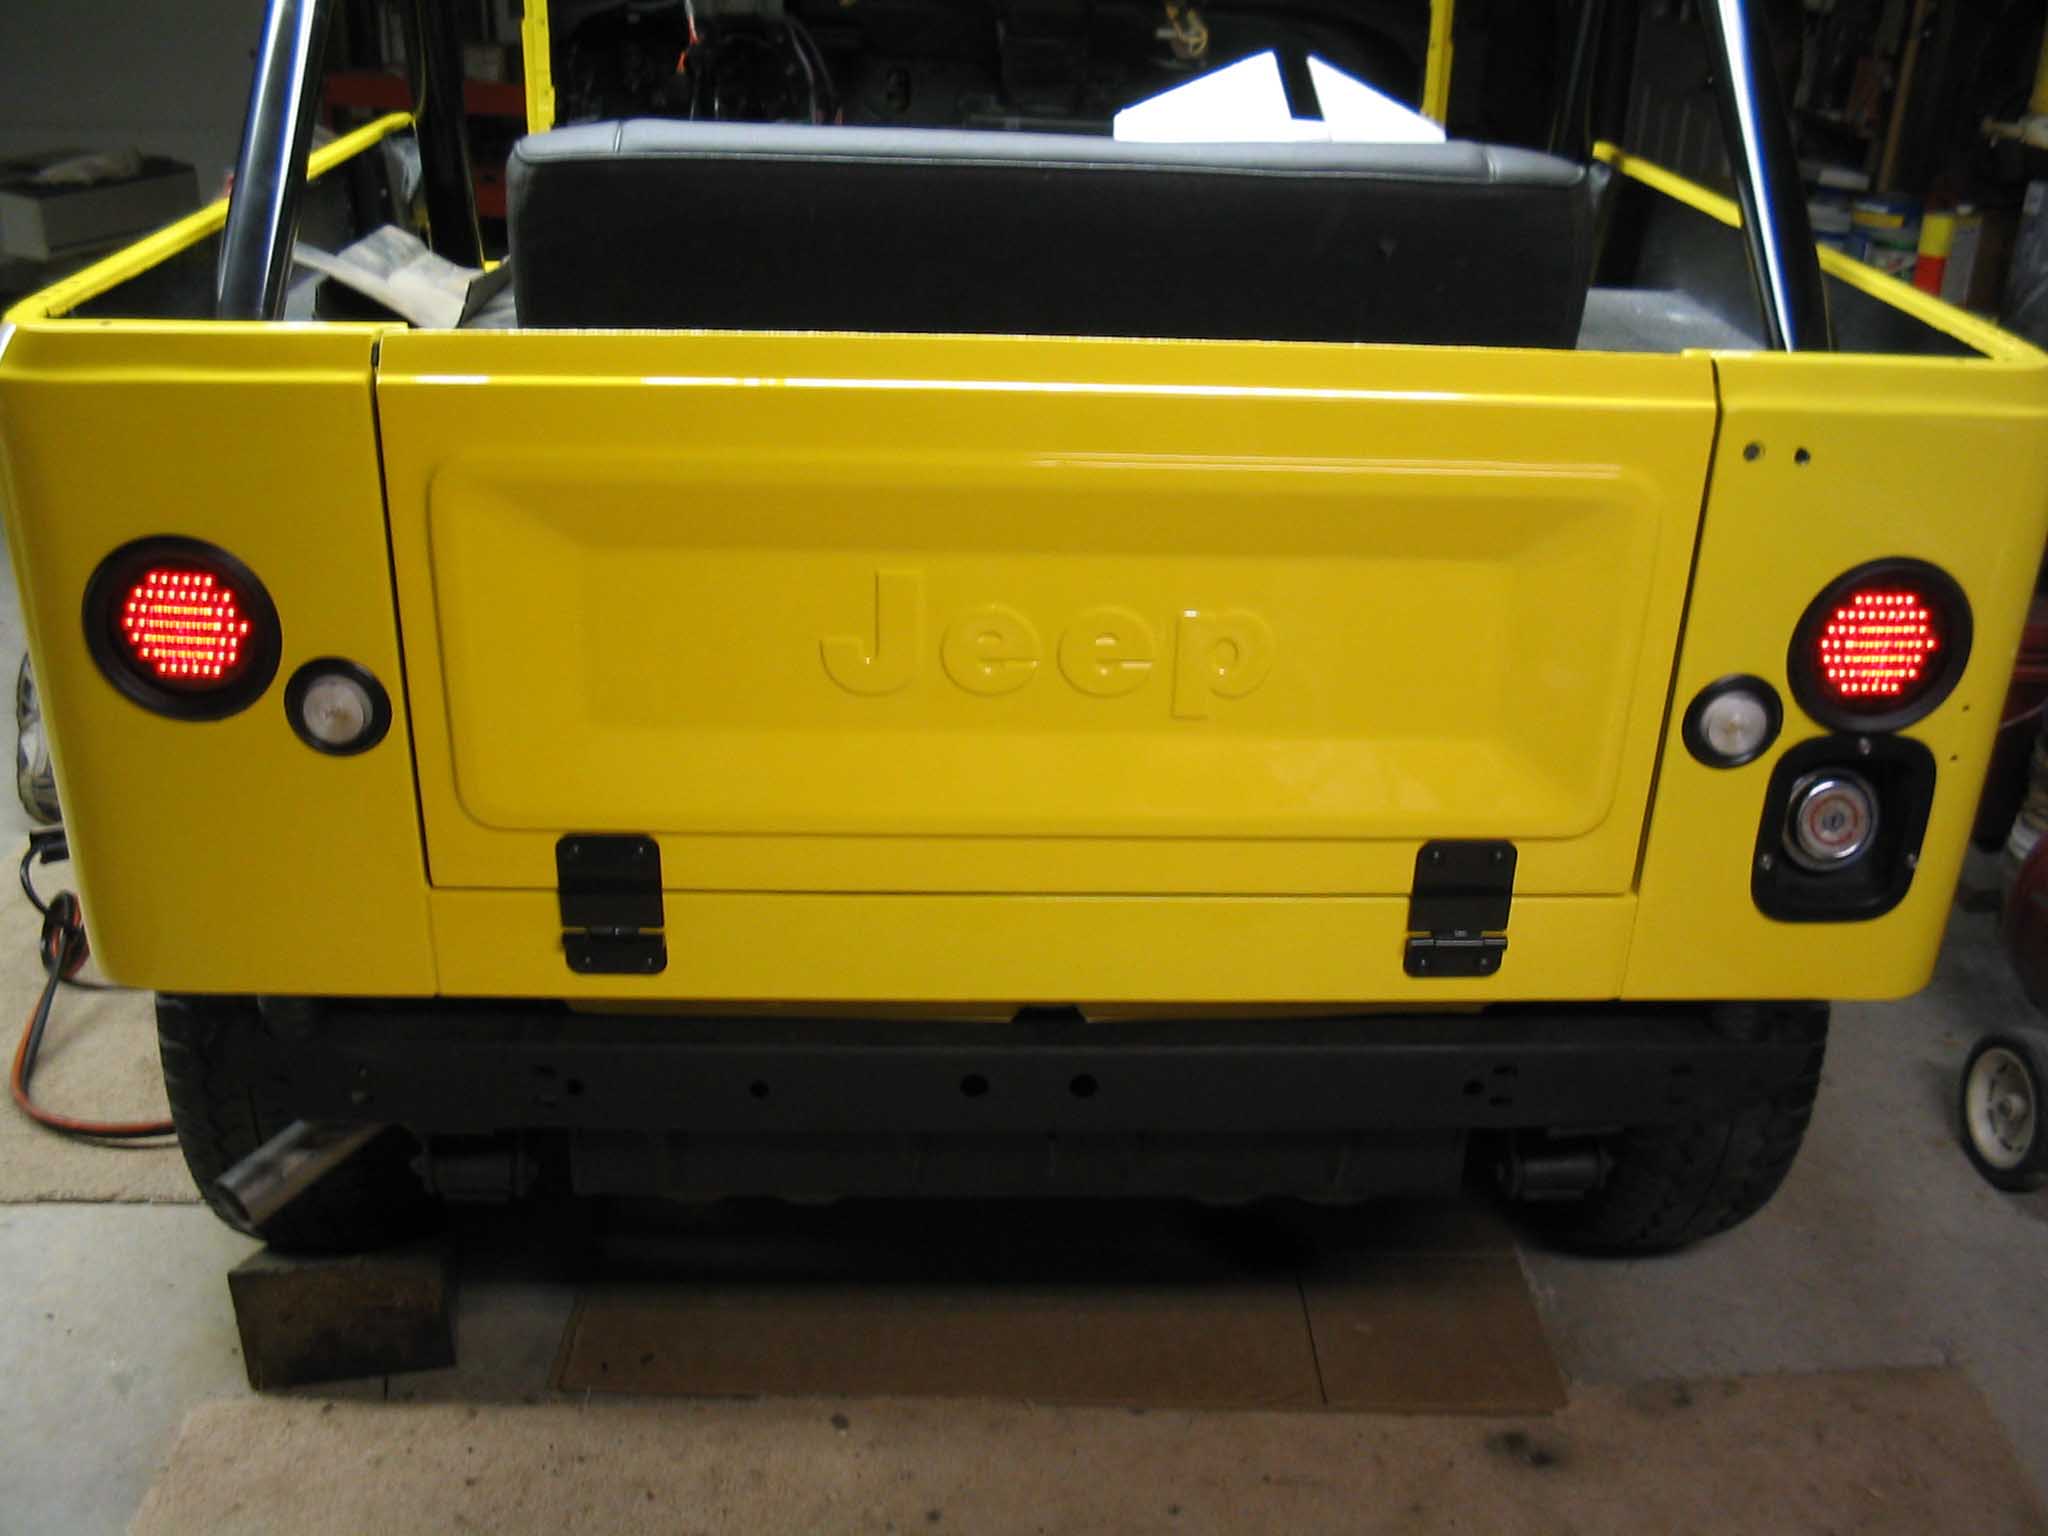
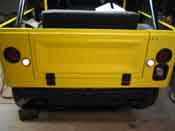
After those were installed, we moved onto wiring up the rear end. There were 2
sockets that went to each light and then a main socket that went to the main wiring harness that is fed from
the front. These were laid out, measured, and then cut and spliced and then finally melted down and then wrapped
with electrical tape. There were installed and then the ground wires were attached to the body and then finally
the gas sending unit was wired up and put into place.
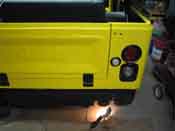
A battery was used with some jumper cables to test the wires from the front of the Jeep. The ground was attached
to the high beam headlight switch and then finally the individual wires were tested to make sure all the lights
lit up. They all did and then we decided to call it a day. All in all more progress was made in the 3 hours
that I was up there and I even got a burger out of the deal. Not a bad 3 hours indeed. Thanks Bonnie for
the food!
|
| |
| << Previous |
Next >> |
|