|
|
| Third Project Build-up - part #7 |
| |
|
1
2
3
4
5
6
7
8
9
10
11
12
13
14
15
16
17
18
19
20
21
22
23
|
| |
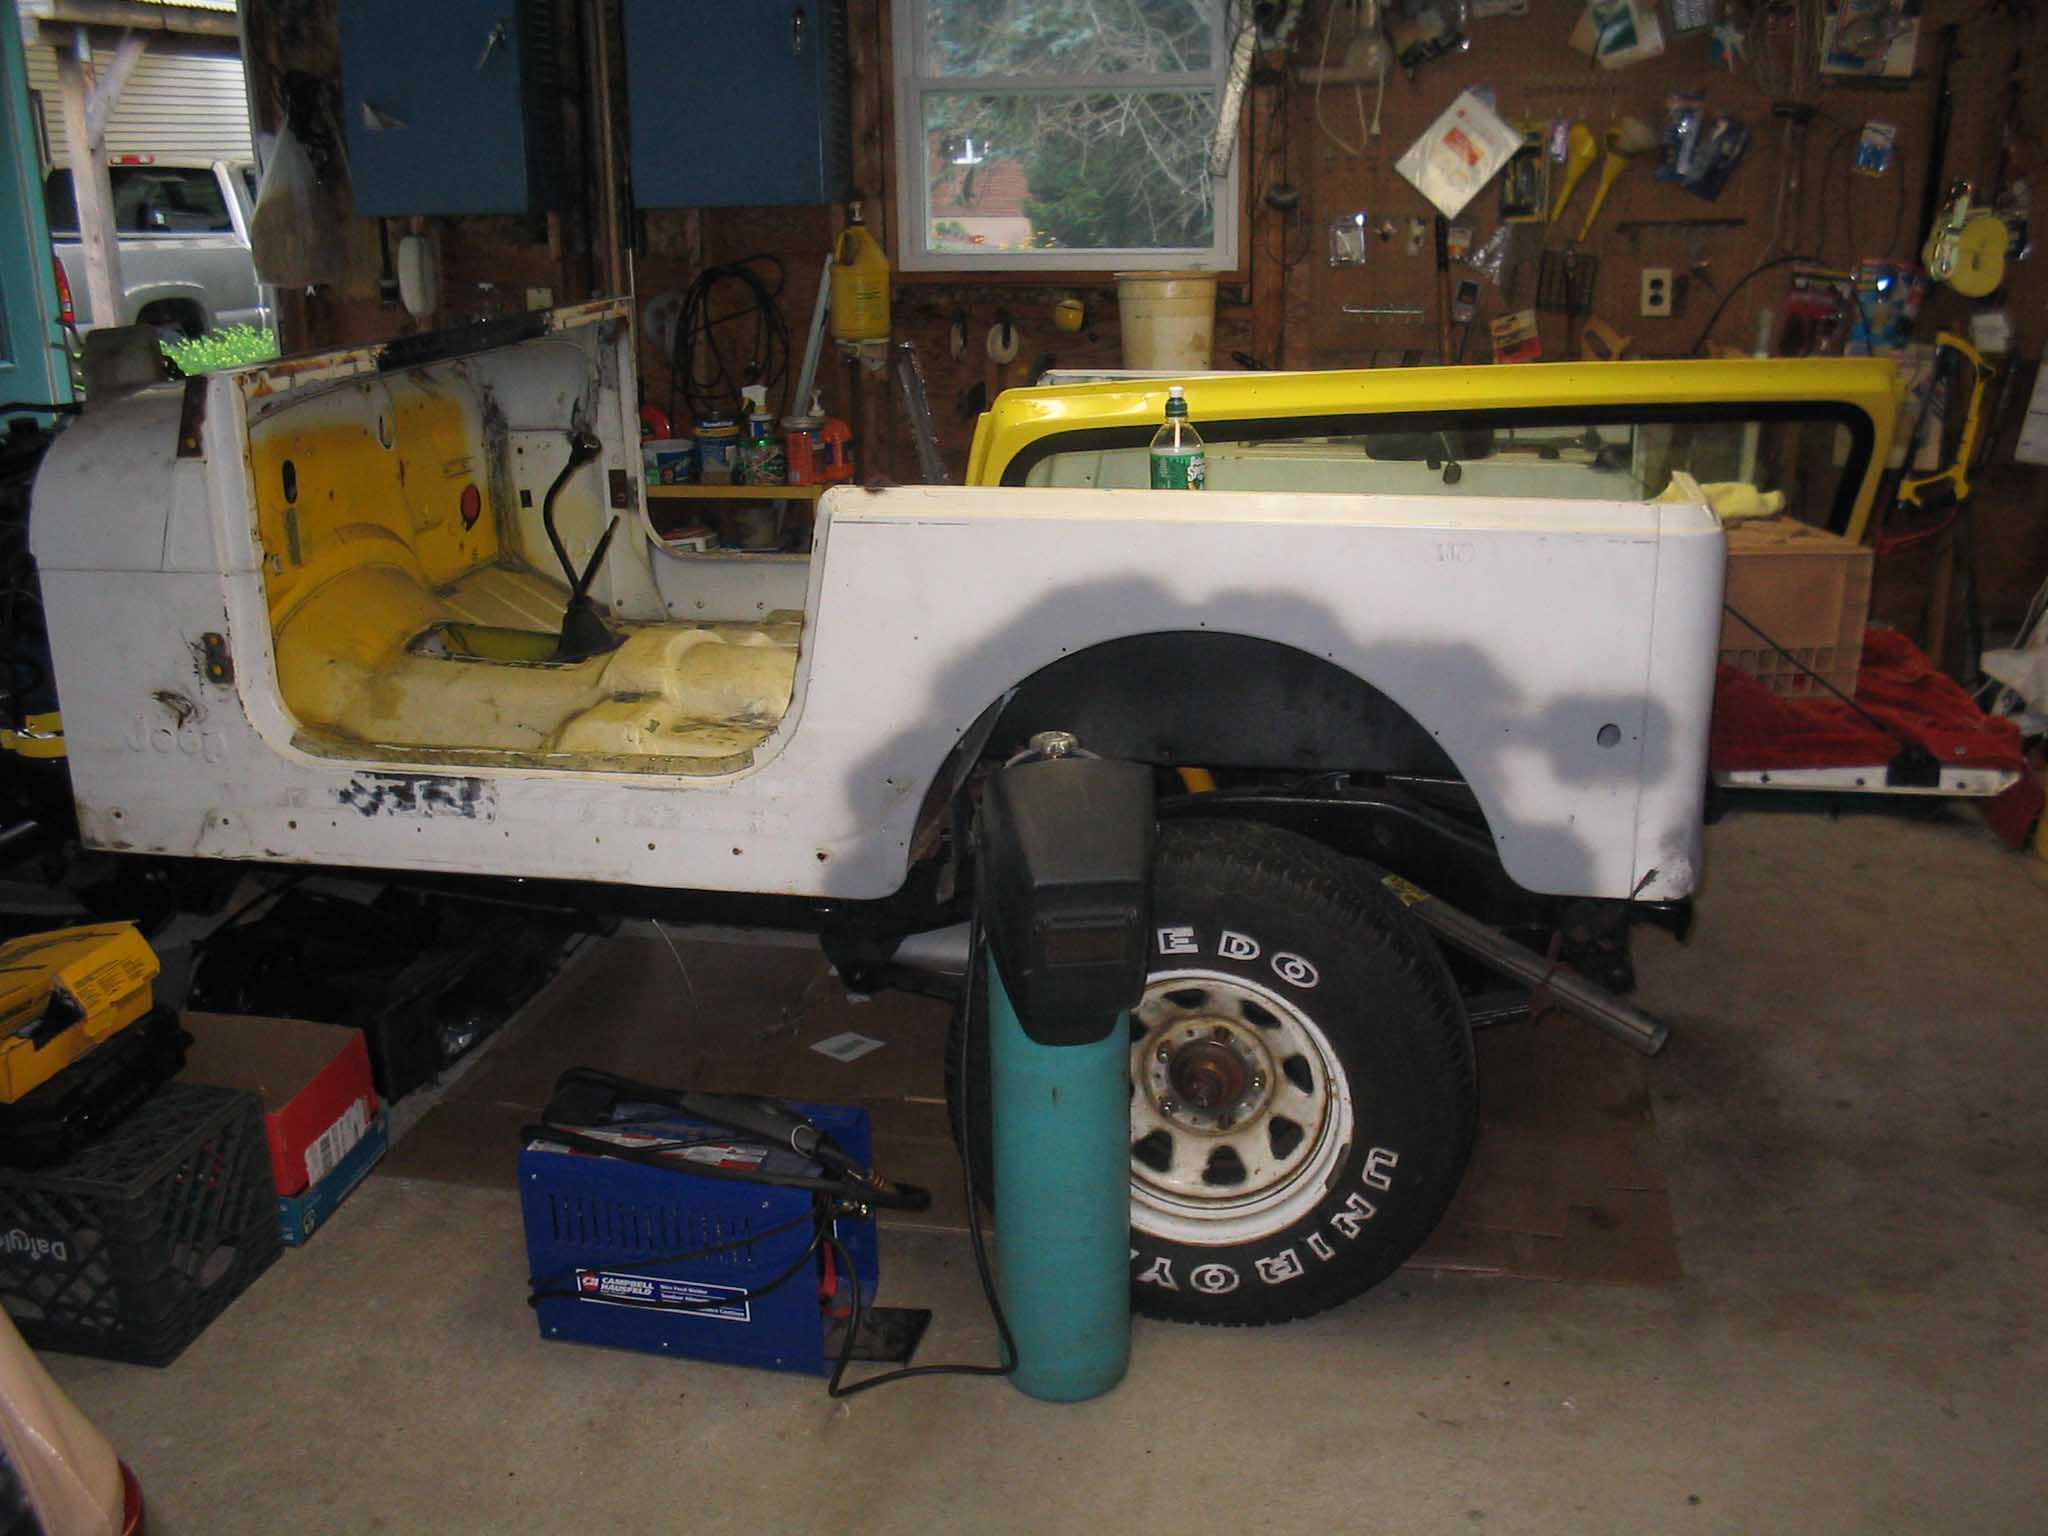
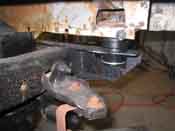
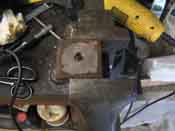
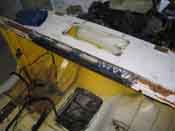
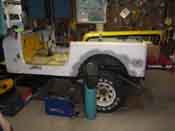
| So the next step in the project was to mount the body onto the newly prepped
frame. In order to do that, there were some snapped bolts in the rear that broke off when the attempt
was made to remove them. This caused them to brake off in the body. In order to get to them, an access
panel had to be cut into the rear of the body, the mounting plate was then removed, drilled out, tapped, and
then a nut was welded into place and then finally it was put back into the body and the access panel was
sealed shut with some welding and a small little plate to cover everything up.
|
| |
|
|
|
|
| |
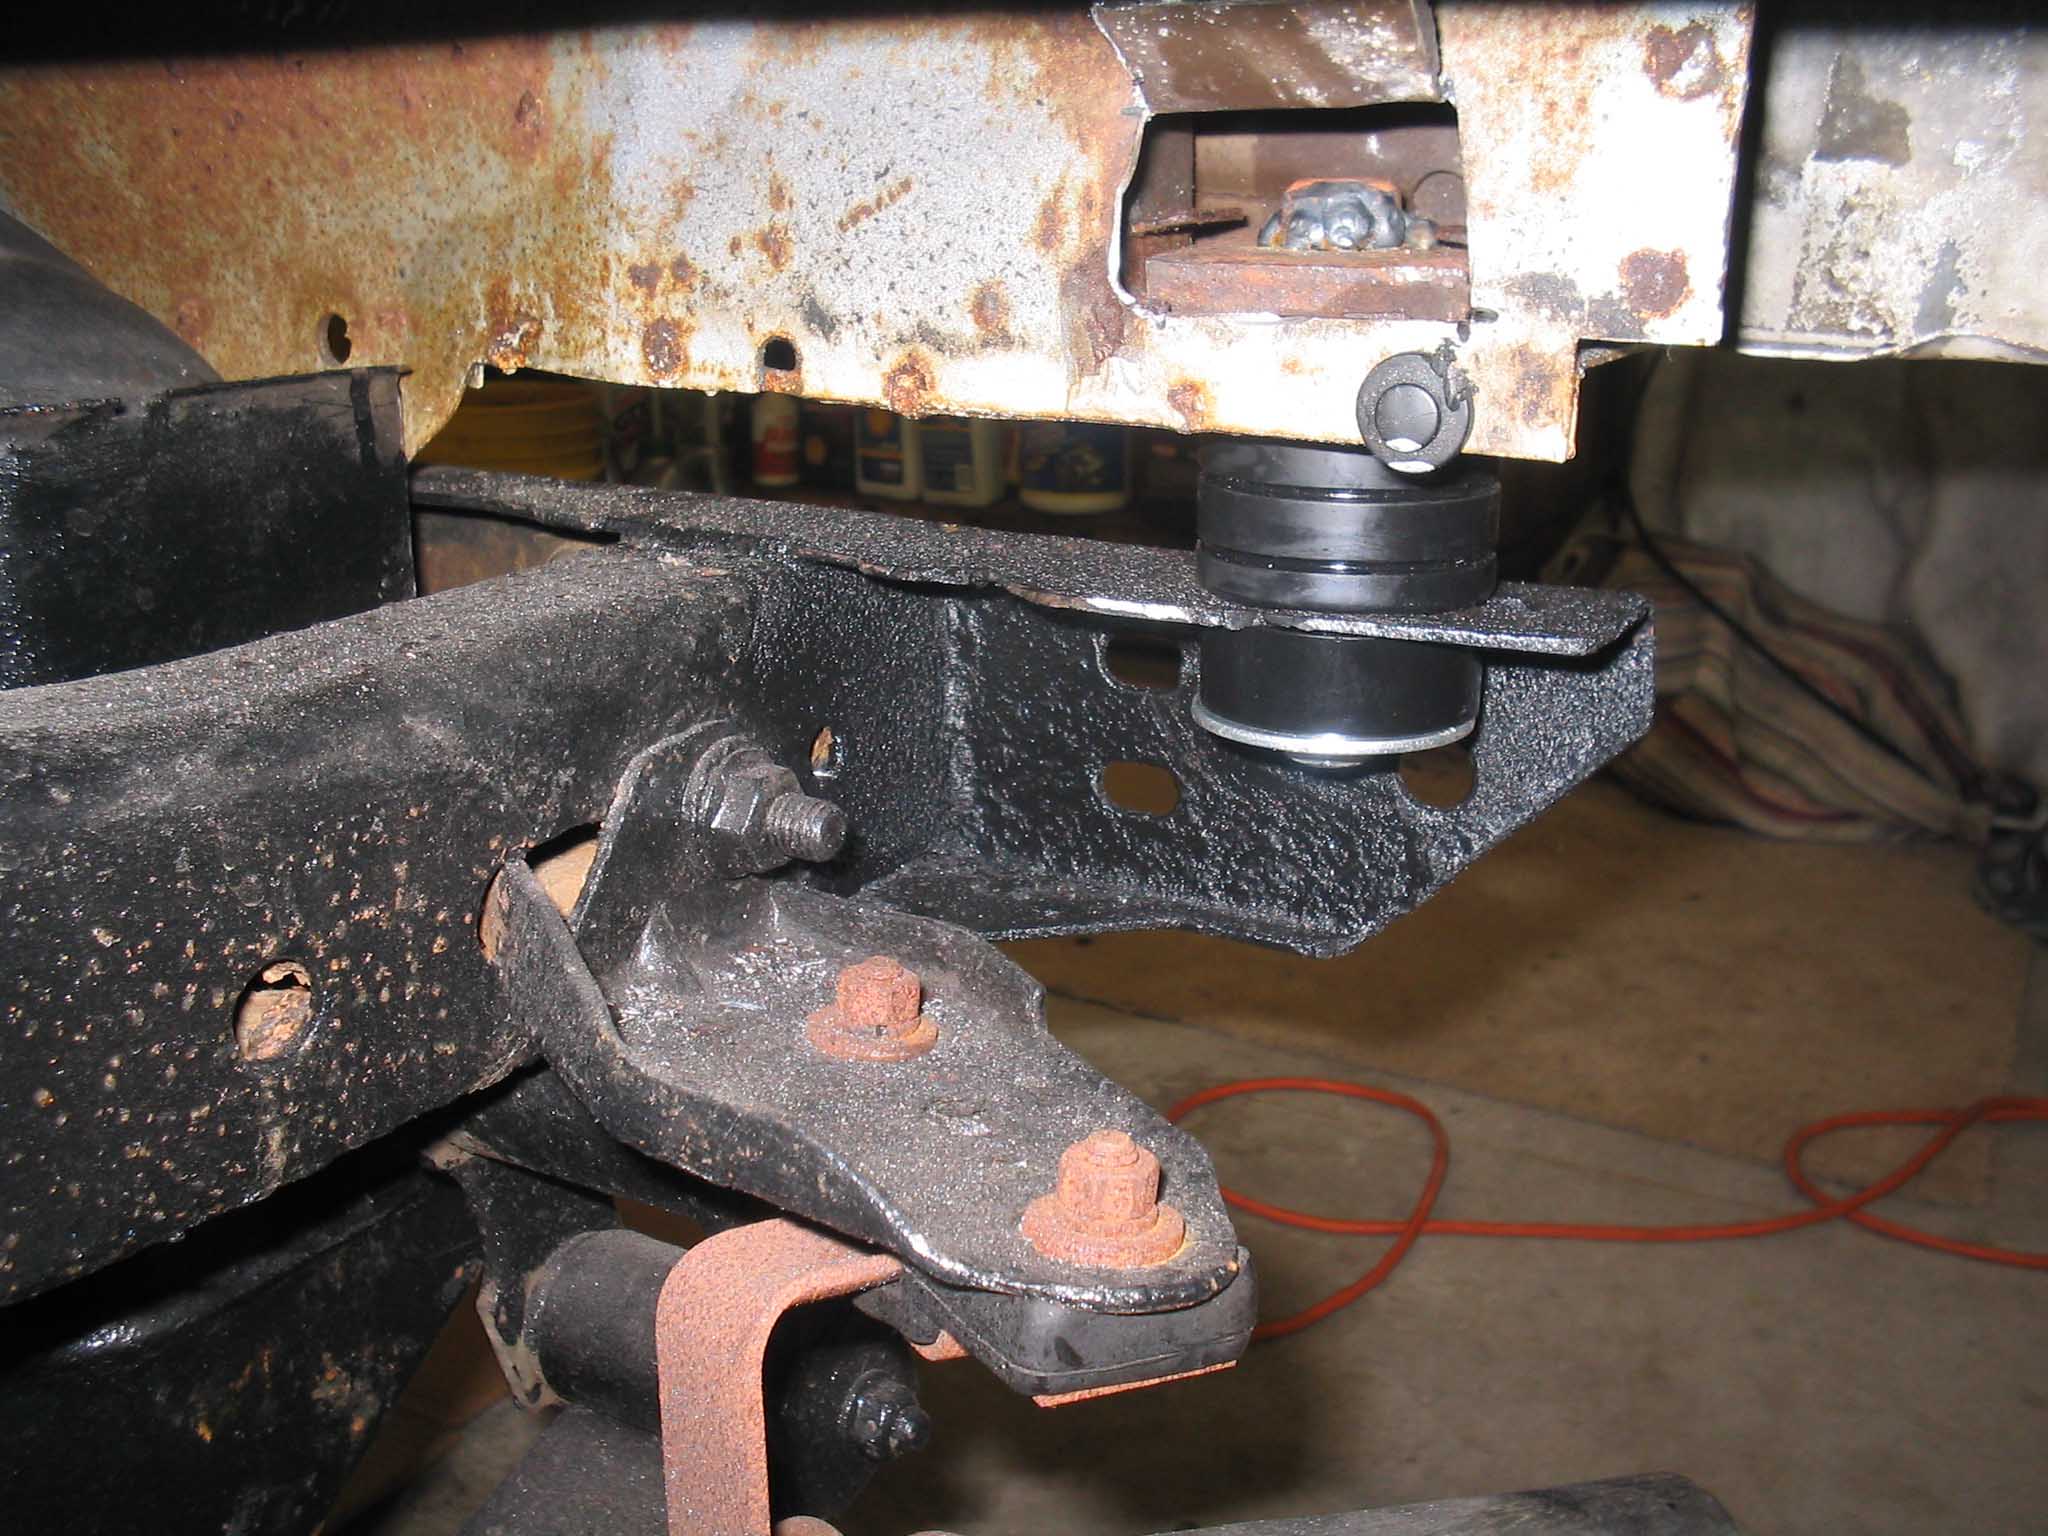
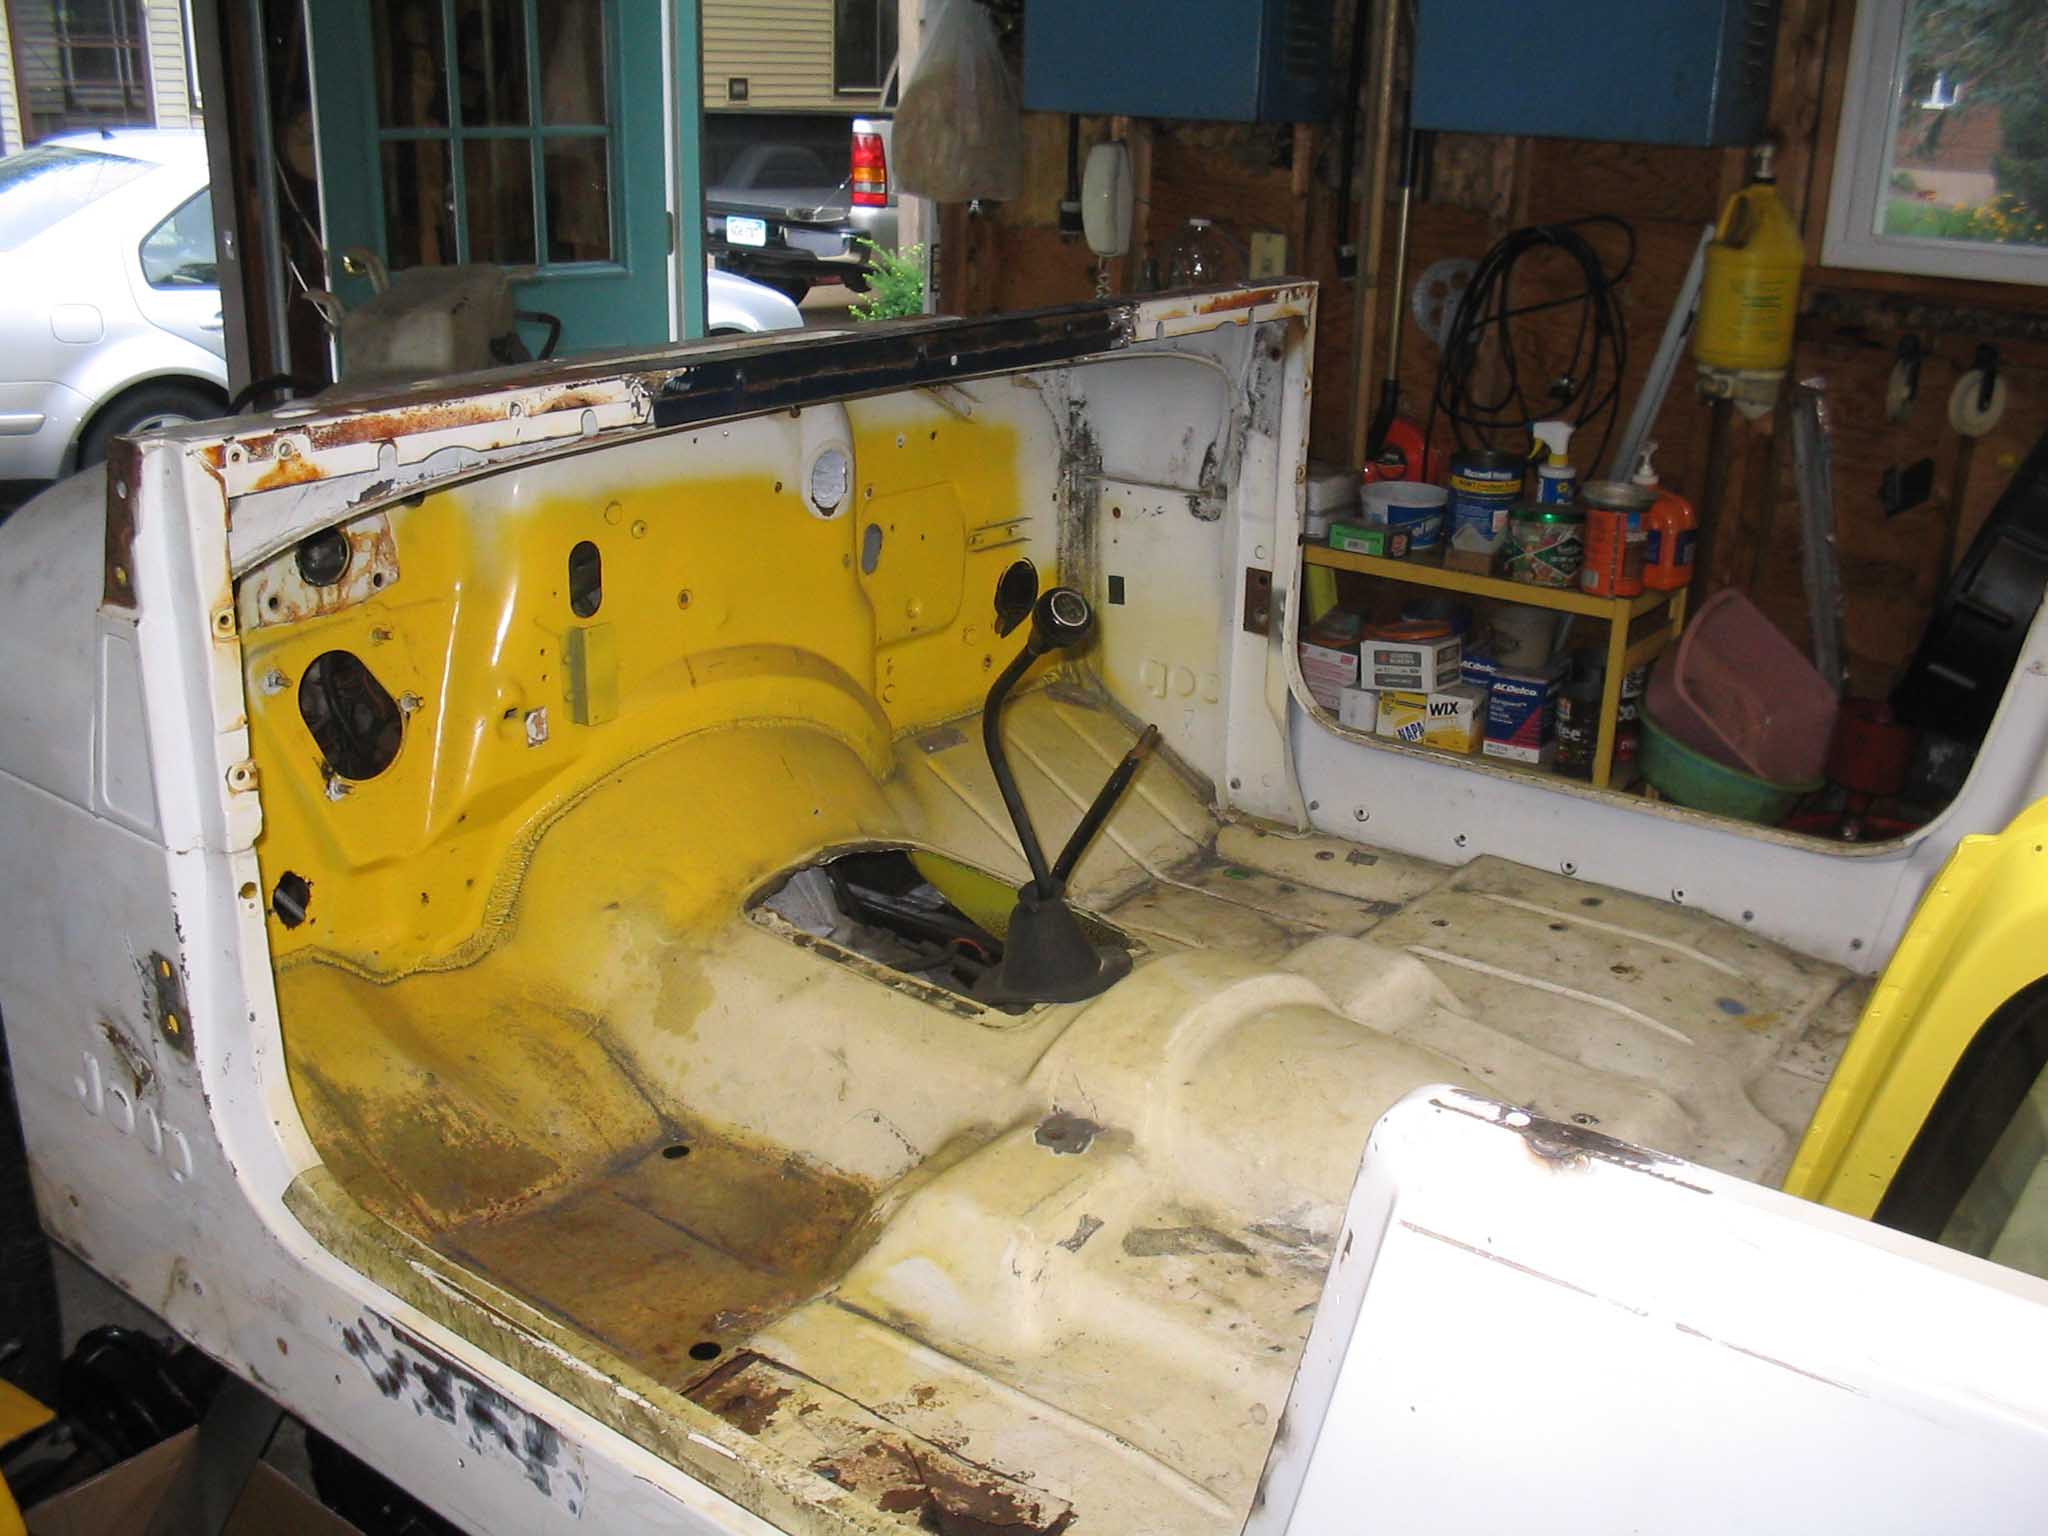
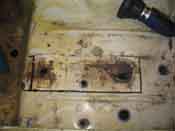
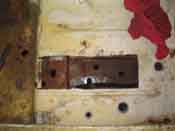
Another problem area was the driver side body mount. It was spinning and
the bolt could not be put into the body. This also had another issue in that the seat risers could not
be put into the Jeep because the floor had been ripped apart when the seats were removed. This area
was cut out and will be addressed later on in the buildup.
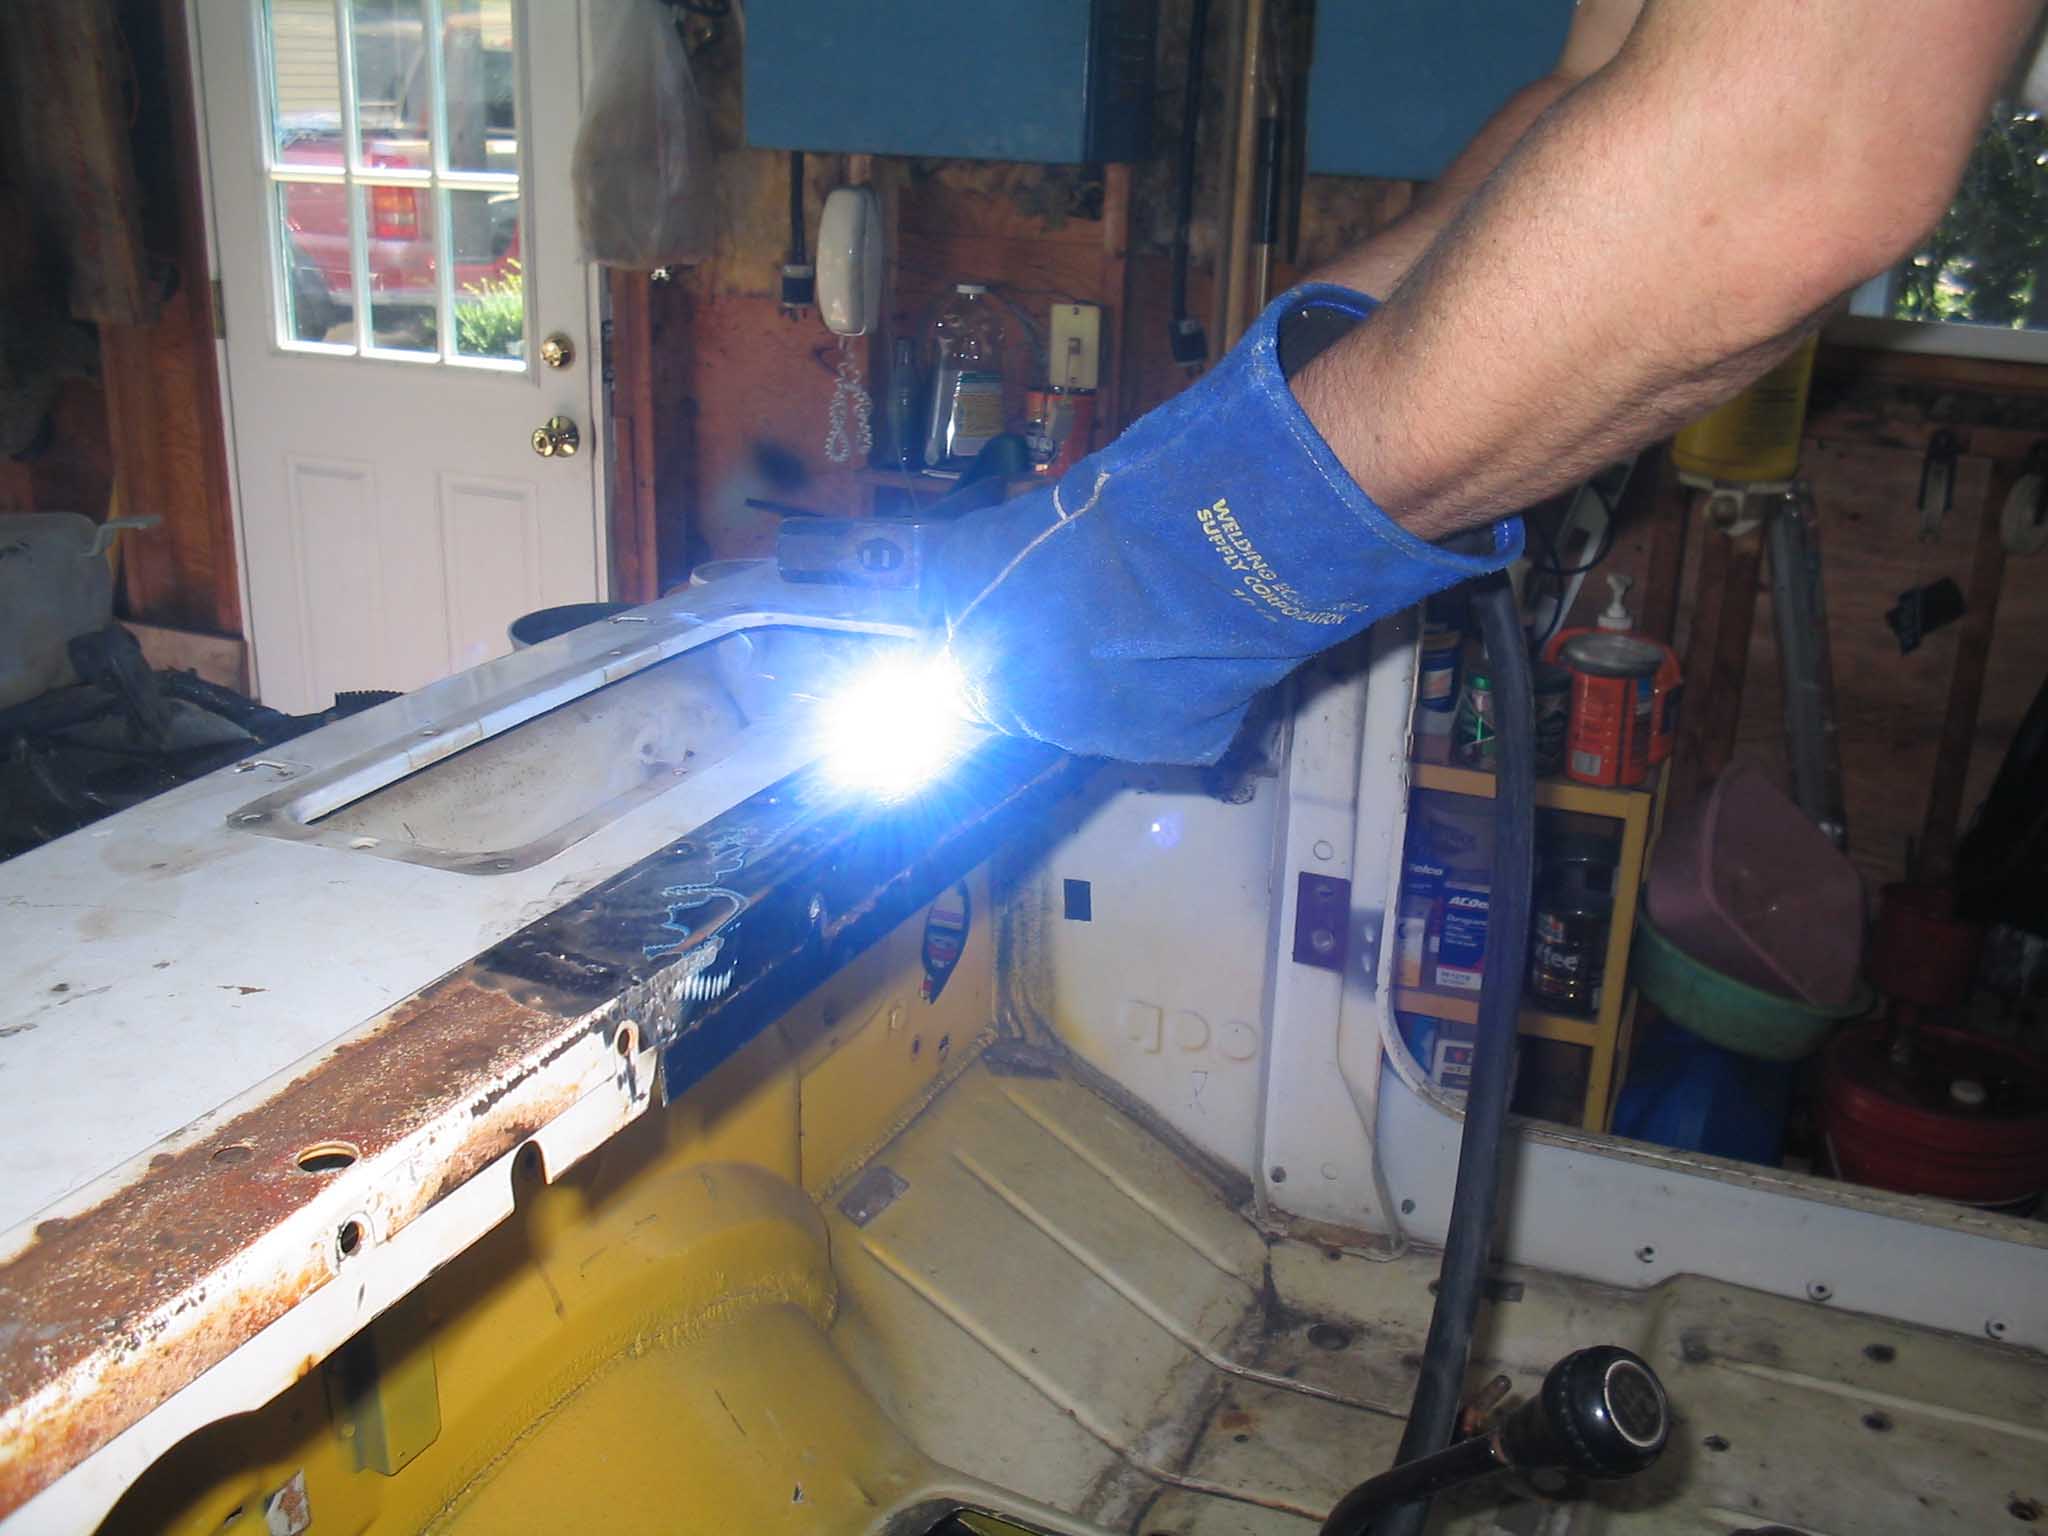
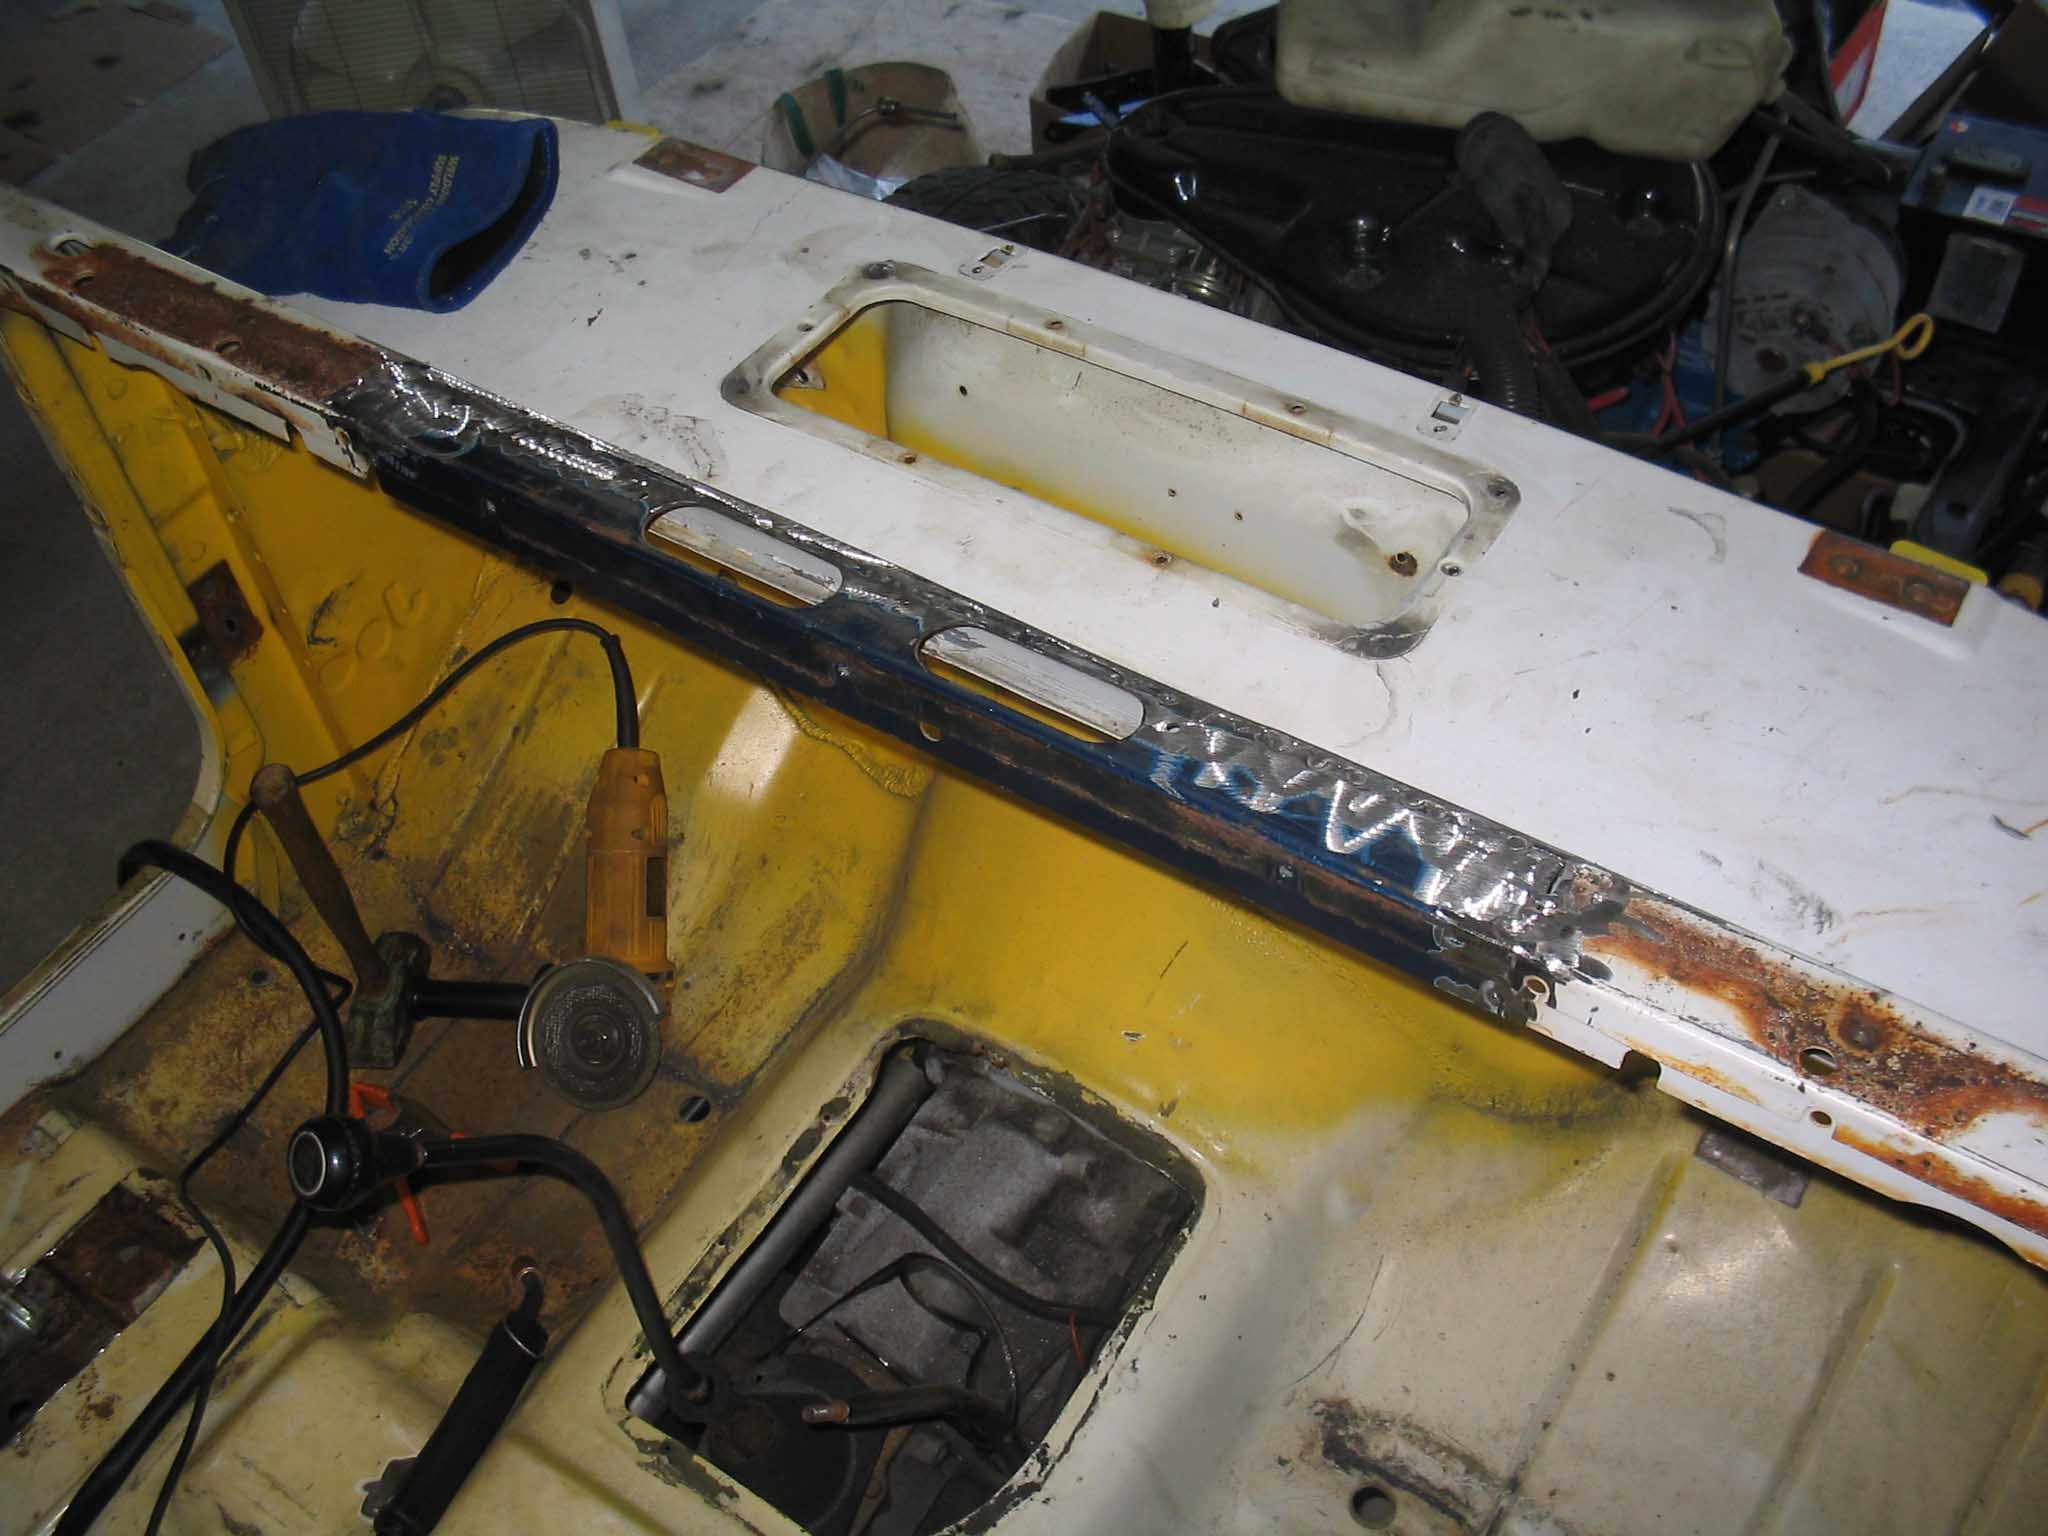
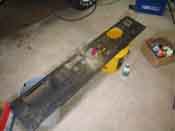
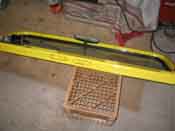
Attention then turned to the cowl. The YJ and CJ cowls are different and so a CJ cowl was located and
the center section of the YJ body cowl was cut out and replaced with the CJ one. This required a lot of
cutting and grinding to locate the cowl exactly in the center and then the welding took place.
|
| |

|
|

|
|
| |
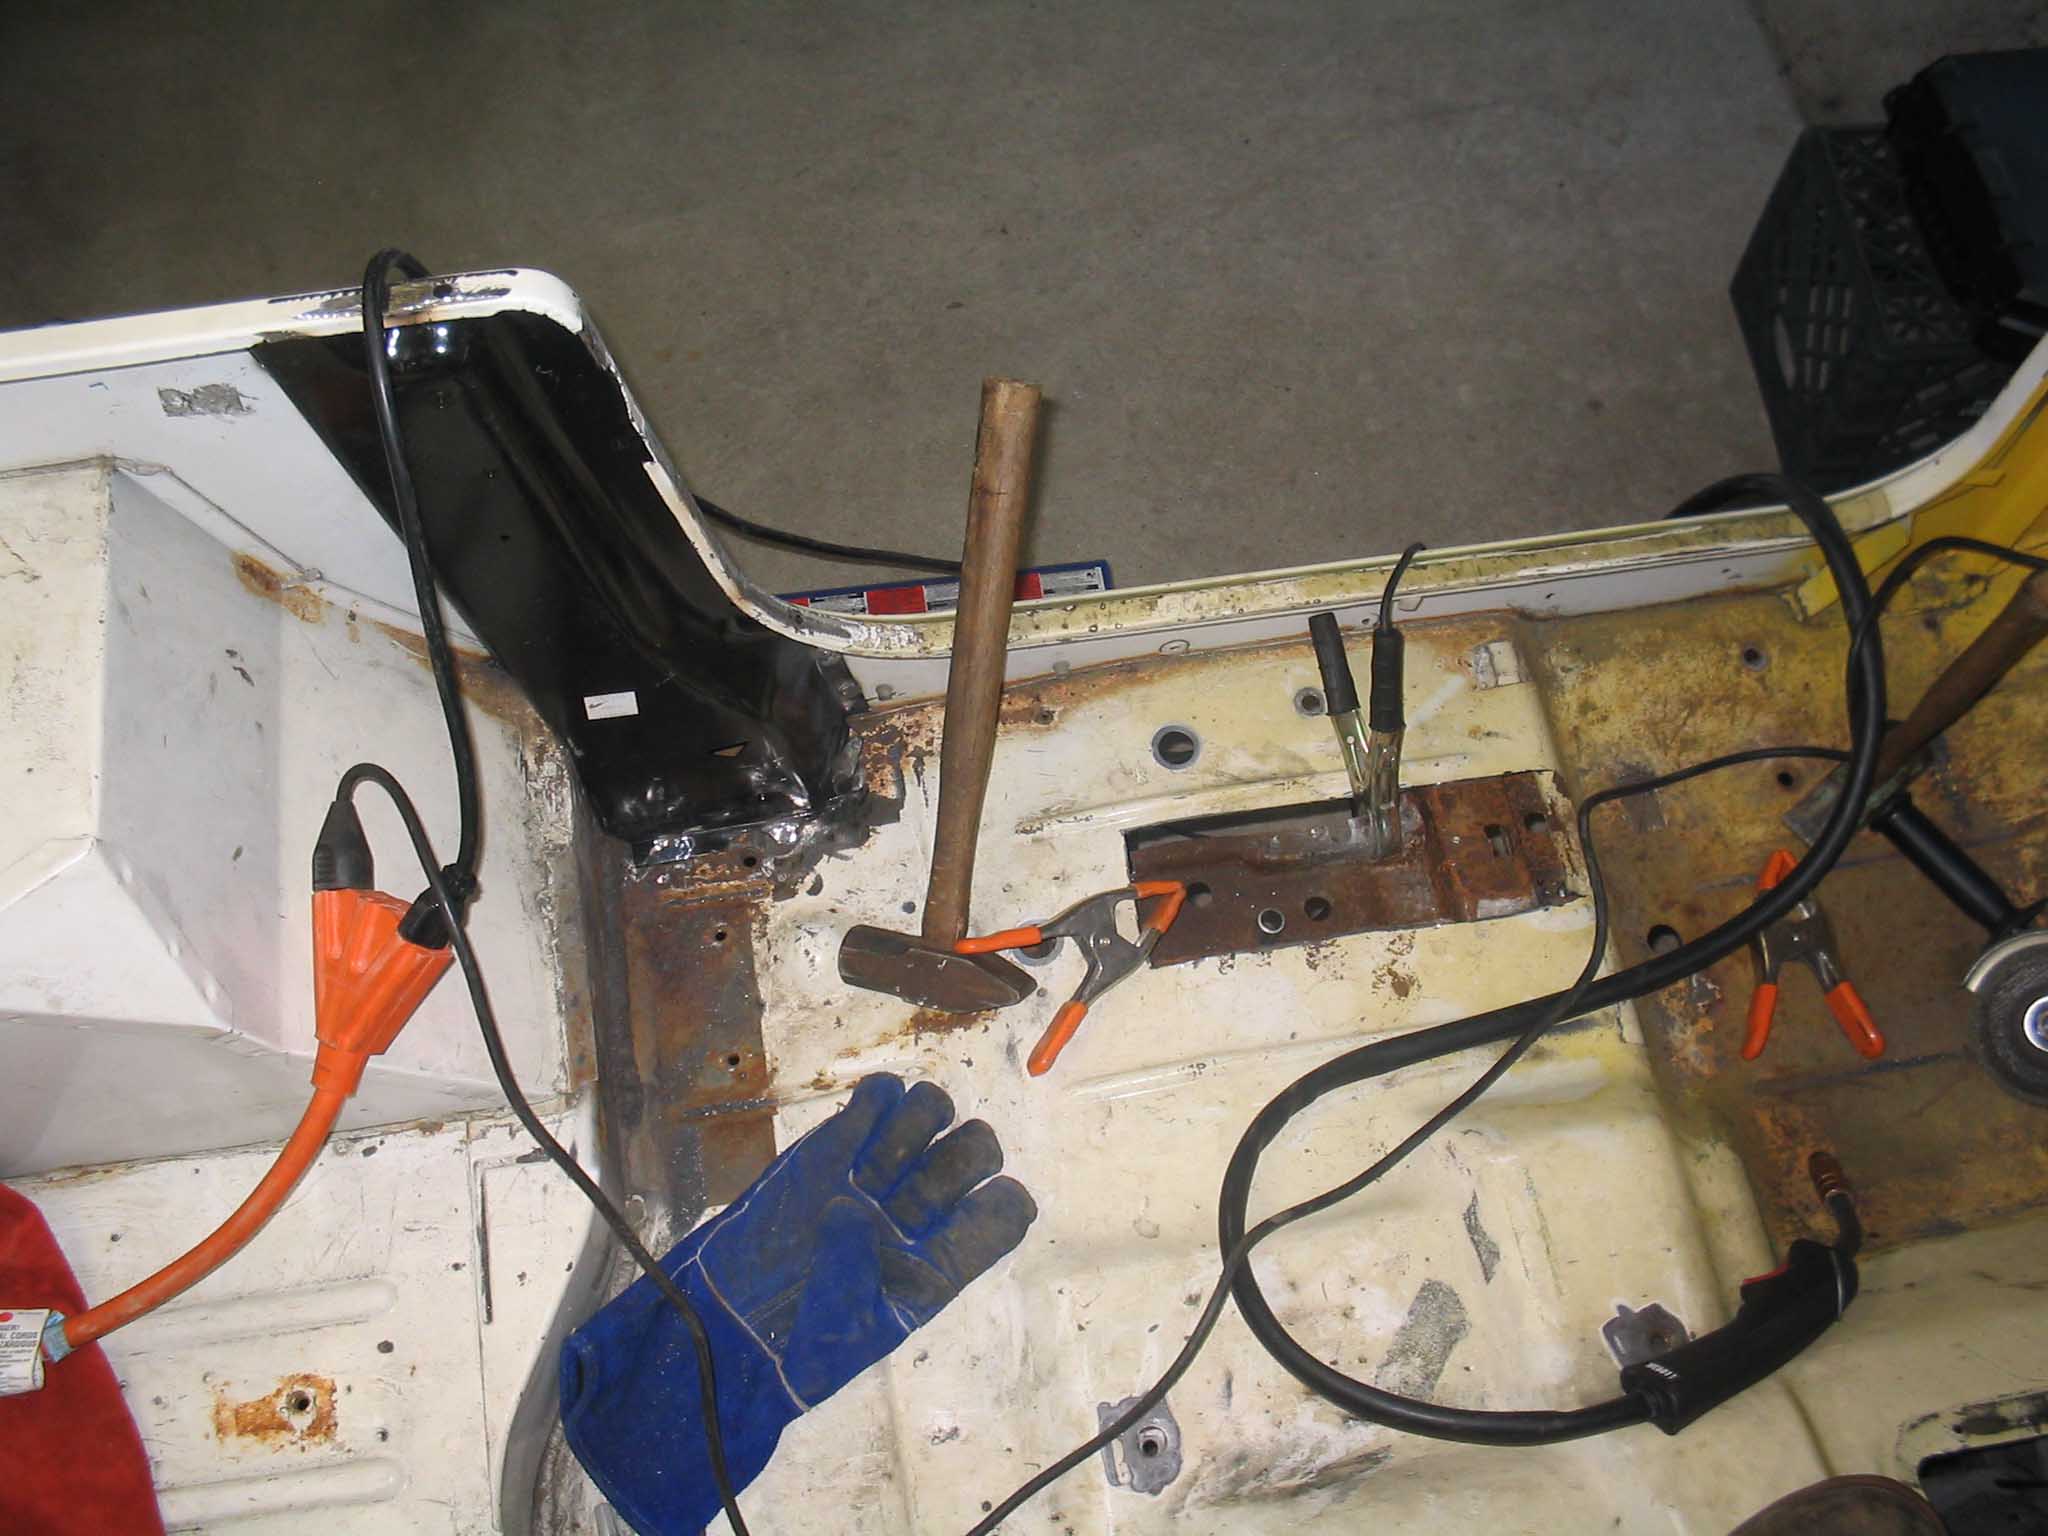
Once all the cowl work was done, the seat belt post was put in place after a
little bit of repair work to the floors in that area and that was welded into place.
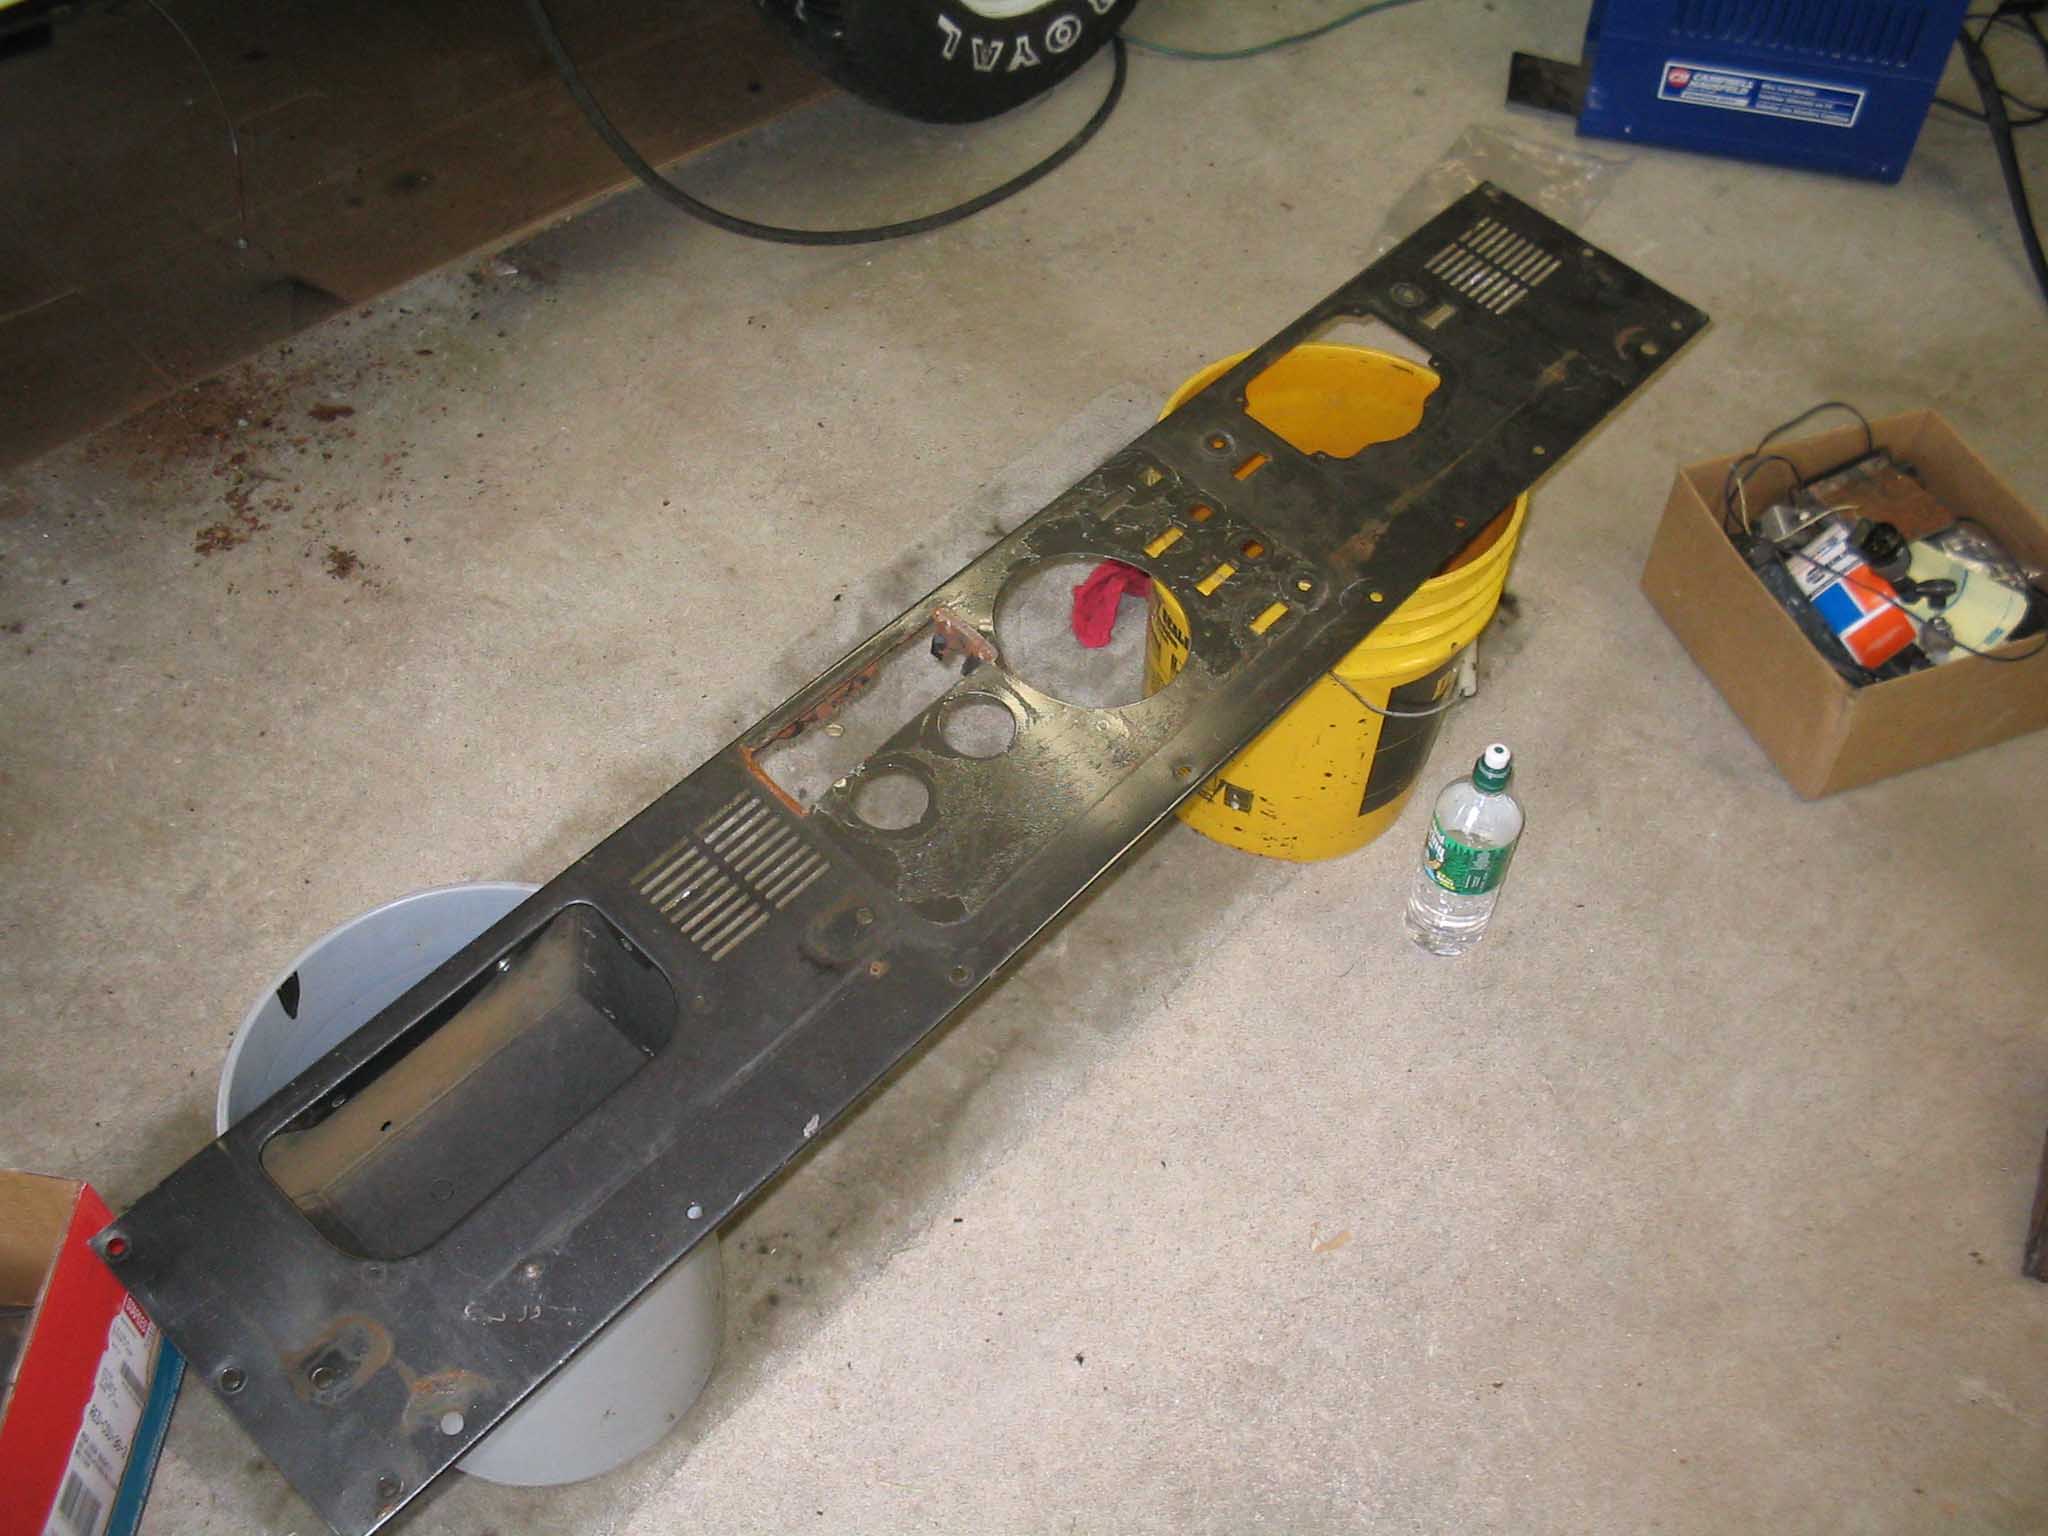
Finally, the dash was given some attention in that the gunmetal gray will be painted place, so the gauges
were removed and the dash was readied for paint.
The Jeep has undergone a tremendous transformation, but now the body is on the Jeep and the major body
work is almost completed, so next will be to finish up the floors and finally get some bondo on the
necessary areas and finally the body will be shot with a nice bright yellow. All the parts and accessories
will be put back into the Jeep and finally it will be wired up. There are still lots of things to do, but
it is coming along nicely.
|
| |
|
|

|
|
| |
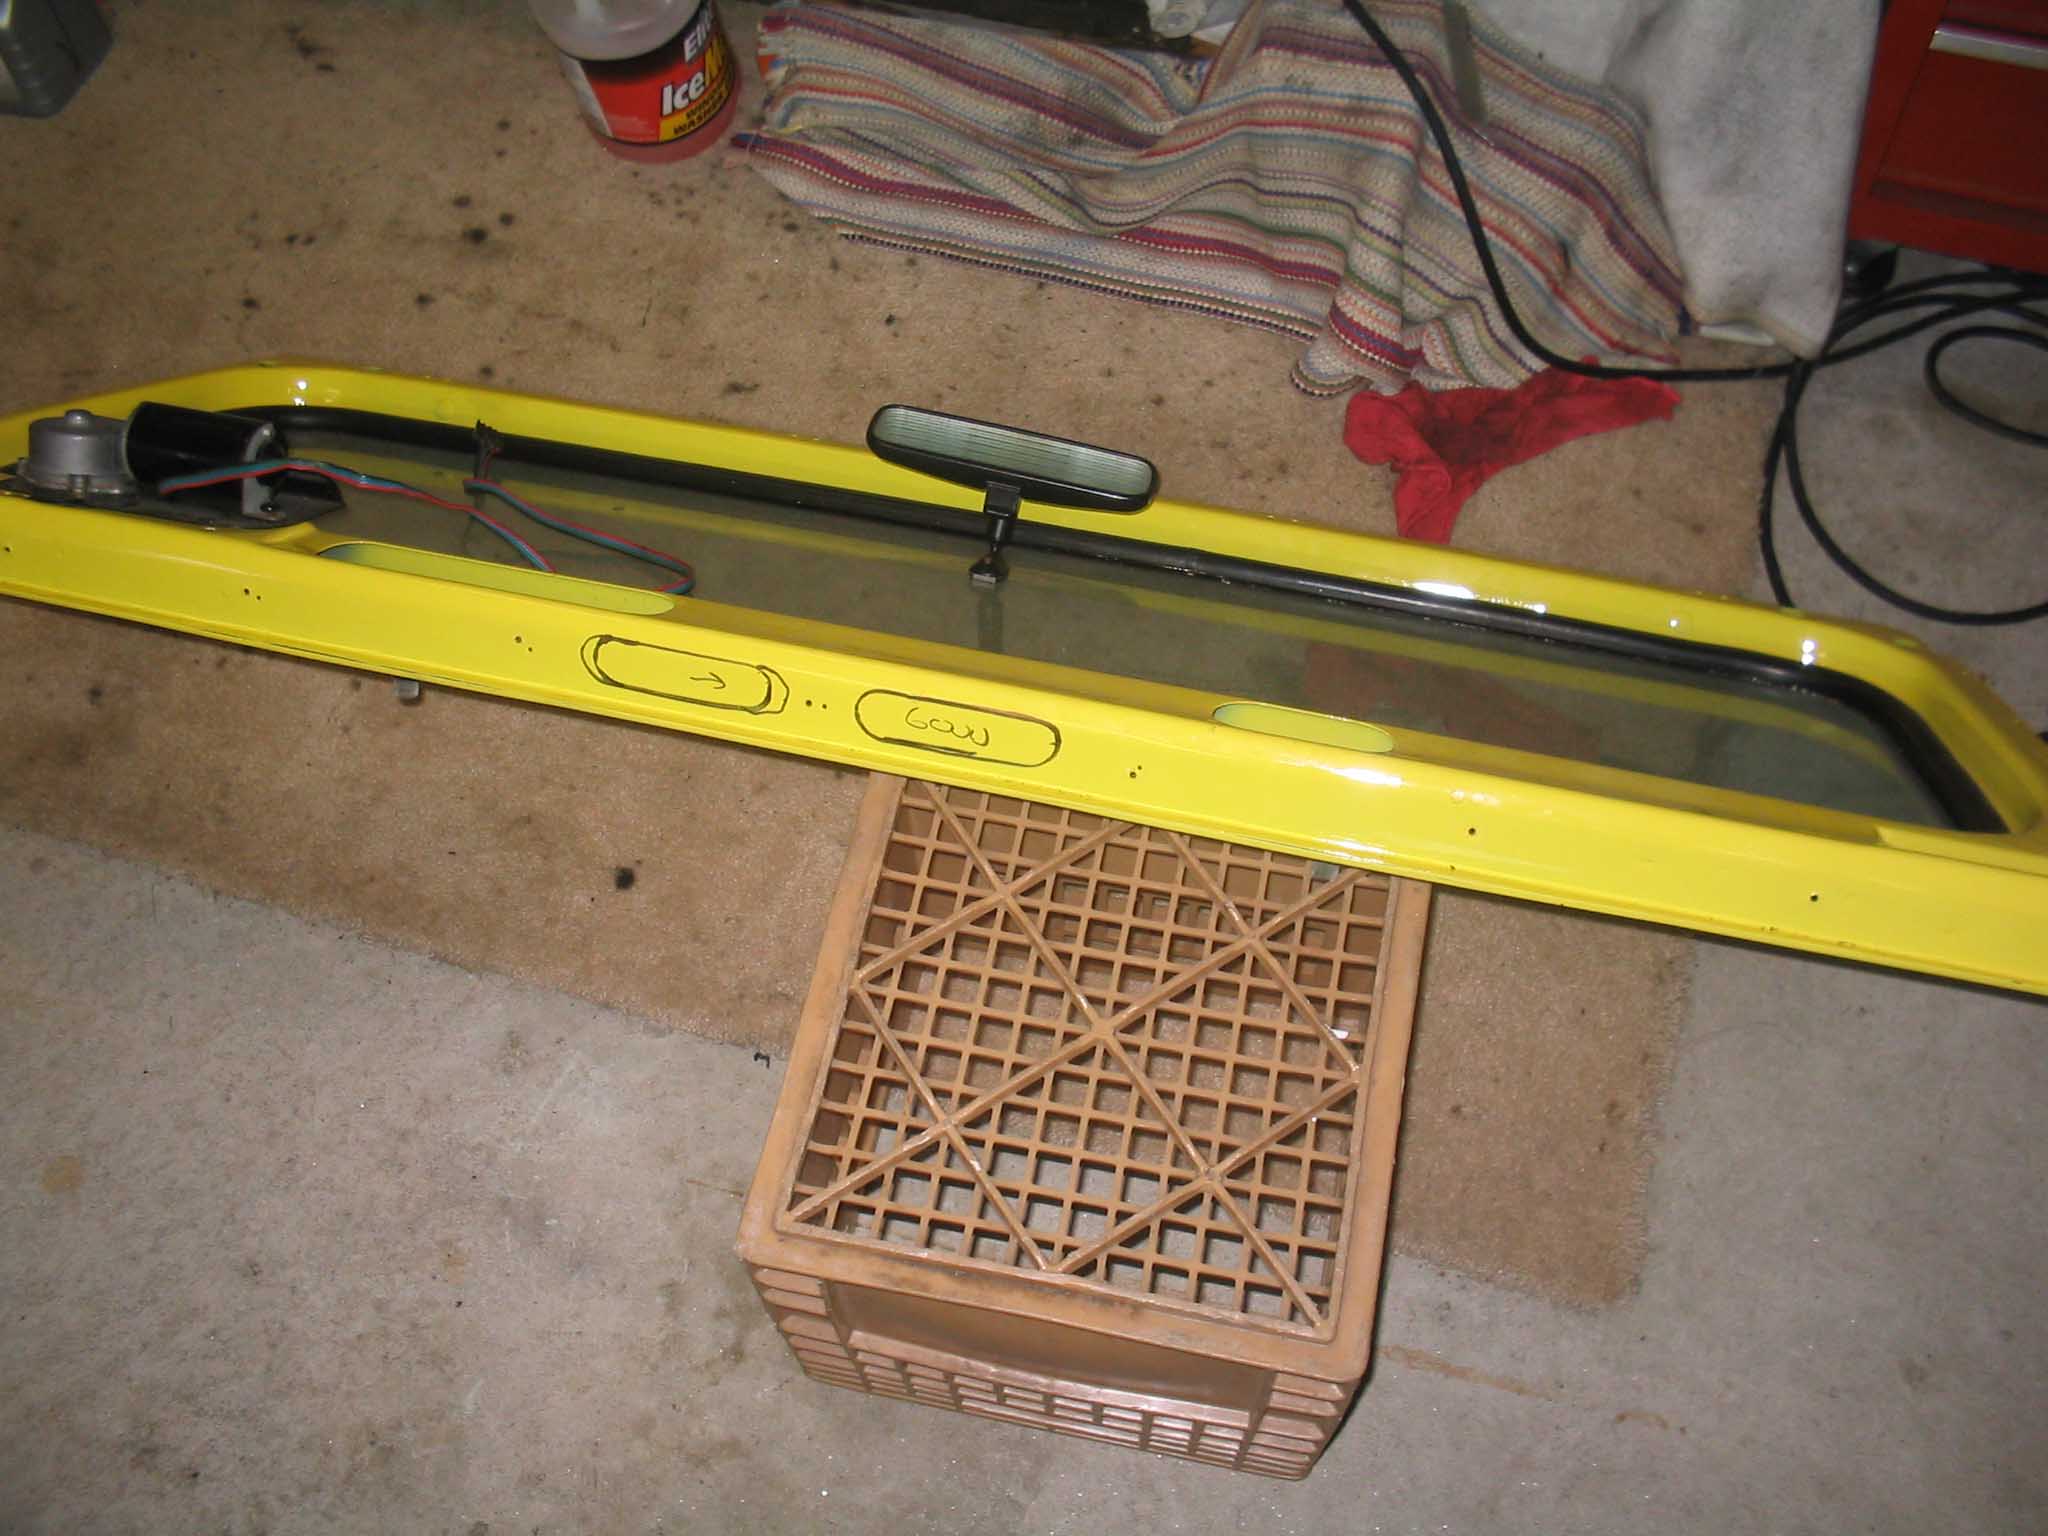
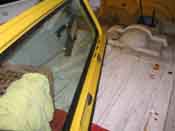
Got to get into the Jeep a little bit more this weekend (07/18/05) and this time
it centered on the fact that we had a YJ Windshield and we were trying to get the CJ cowl and defroster to work.
The problem area encountered was that the YJ windshield did not have the openings for the defroster to work with
the cowl that was spliced into the Jeep.
So, holes were cut in the bottom of the windshield frame to allow for air to pass up through to the defrost vents
(that will be purchased) and finally 3 holes were cut in the top of the frame to allow the air to pass through.
This was only done because the windshield was already purchased, painted, and the new glass and rearview
mirror were already installed. It seemed the best course of action since this windshield had the appropriate
mounted for the family style roll bar. Once that was done, some more work was done on the bodywork and finally
some last minute pictures were snapped up. It is coming along nicely and if the surprised stop, we might get
this thing done finally.
|
| |
| << Previous |
Next >> |
|