|
|
| Third Project Build-up - part #21 |
| |
|
1
2
3
4
5
6
7
8
9
10
11
12
13
14
15
16
17
18
19
20
21
22
23
|
| |
I got back from working on the Jeep with Frank again (11/15/05) and we got the beast
running FINALLY! It has been a long time coming, but the Yellow Jeep actually runs now. The timing was a bit off
and the carburetor needed some adjustment, but when it was all said and done, the Jeep ran and it was blowing very
HOT heat. We filled up all the fluids that we could and we got it running to where I was happy with it. There are
still some more adjustments to be made and the oil pressure sender is not working where I want it to be, however,
all the other gauges are fine. I have to check the connections on the oil sender and make sure it was hooked up
correctly.
I got there and worked on the Jeep for about 4 hours total with Franks help as well. It has been almost exactly
6 months from start to finish on this Jeep. I cant believe that it is actually almost done. When I got there
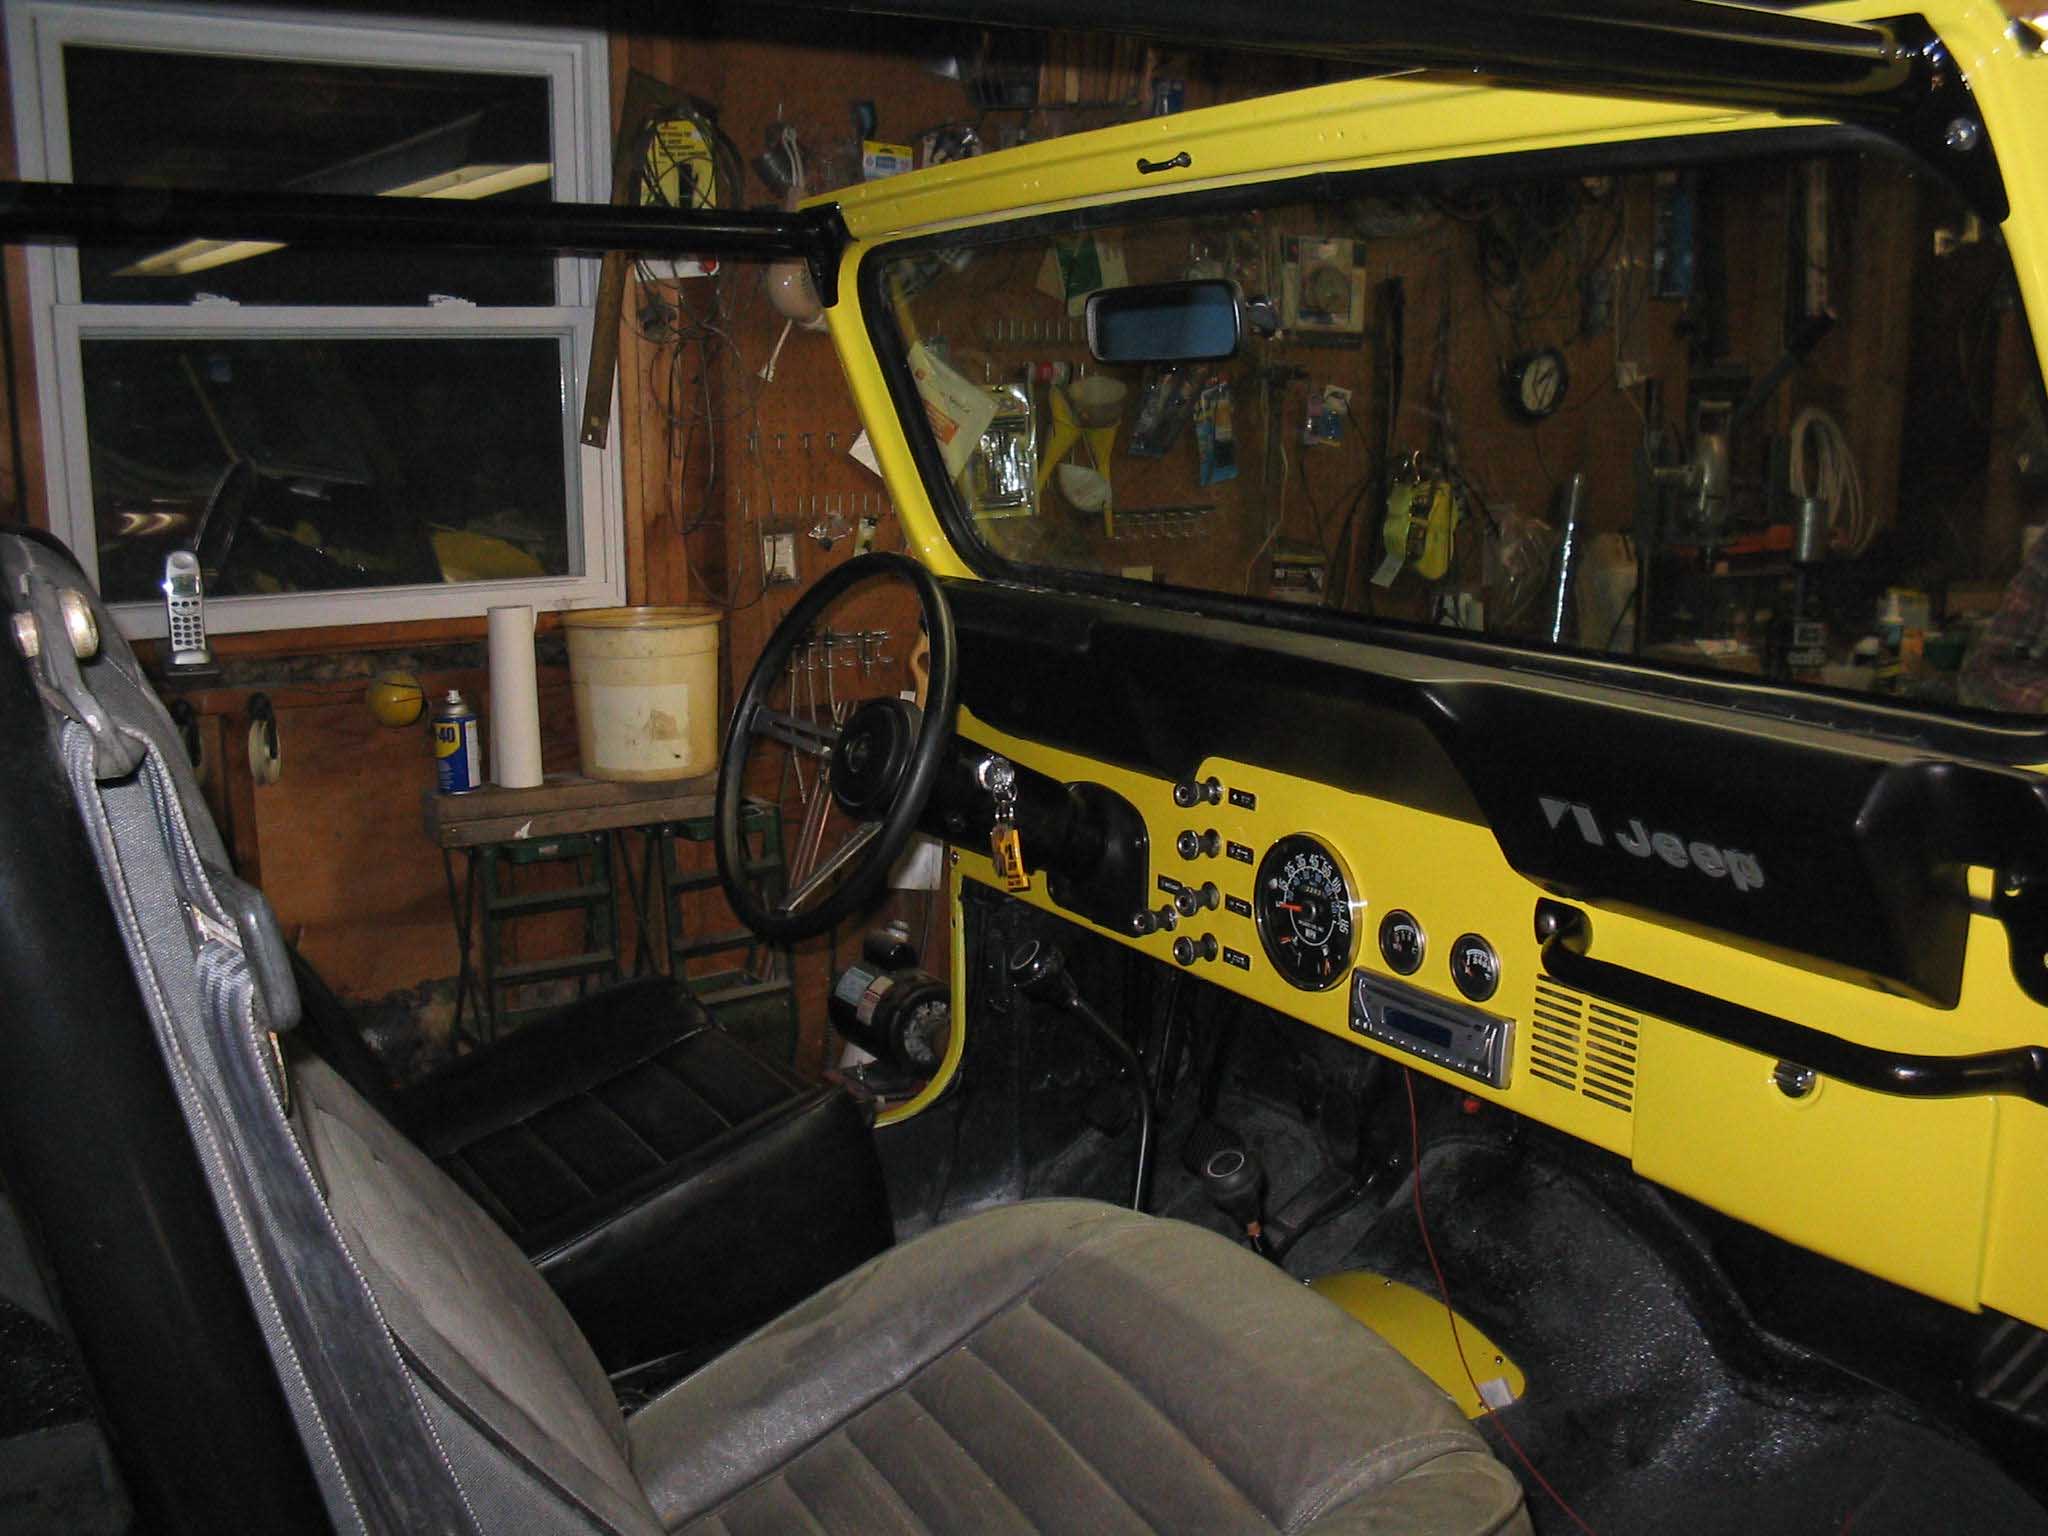
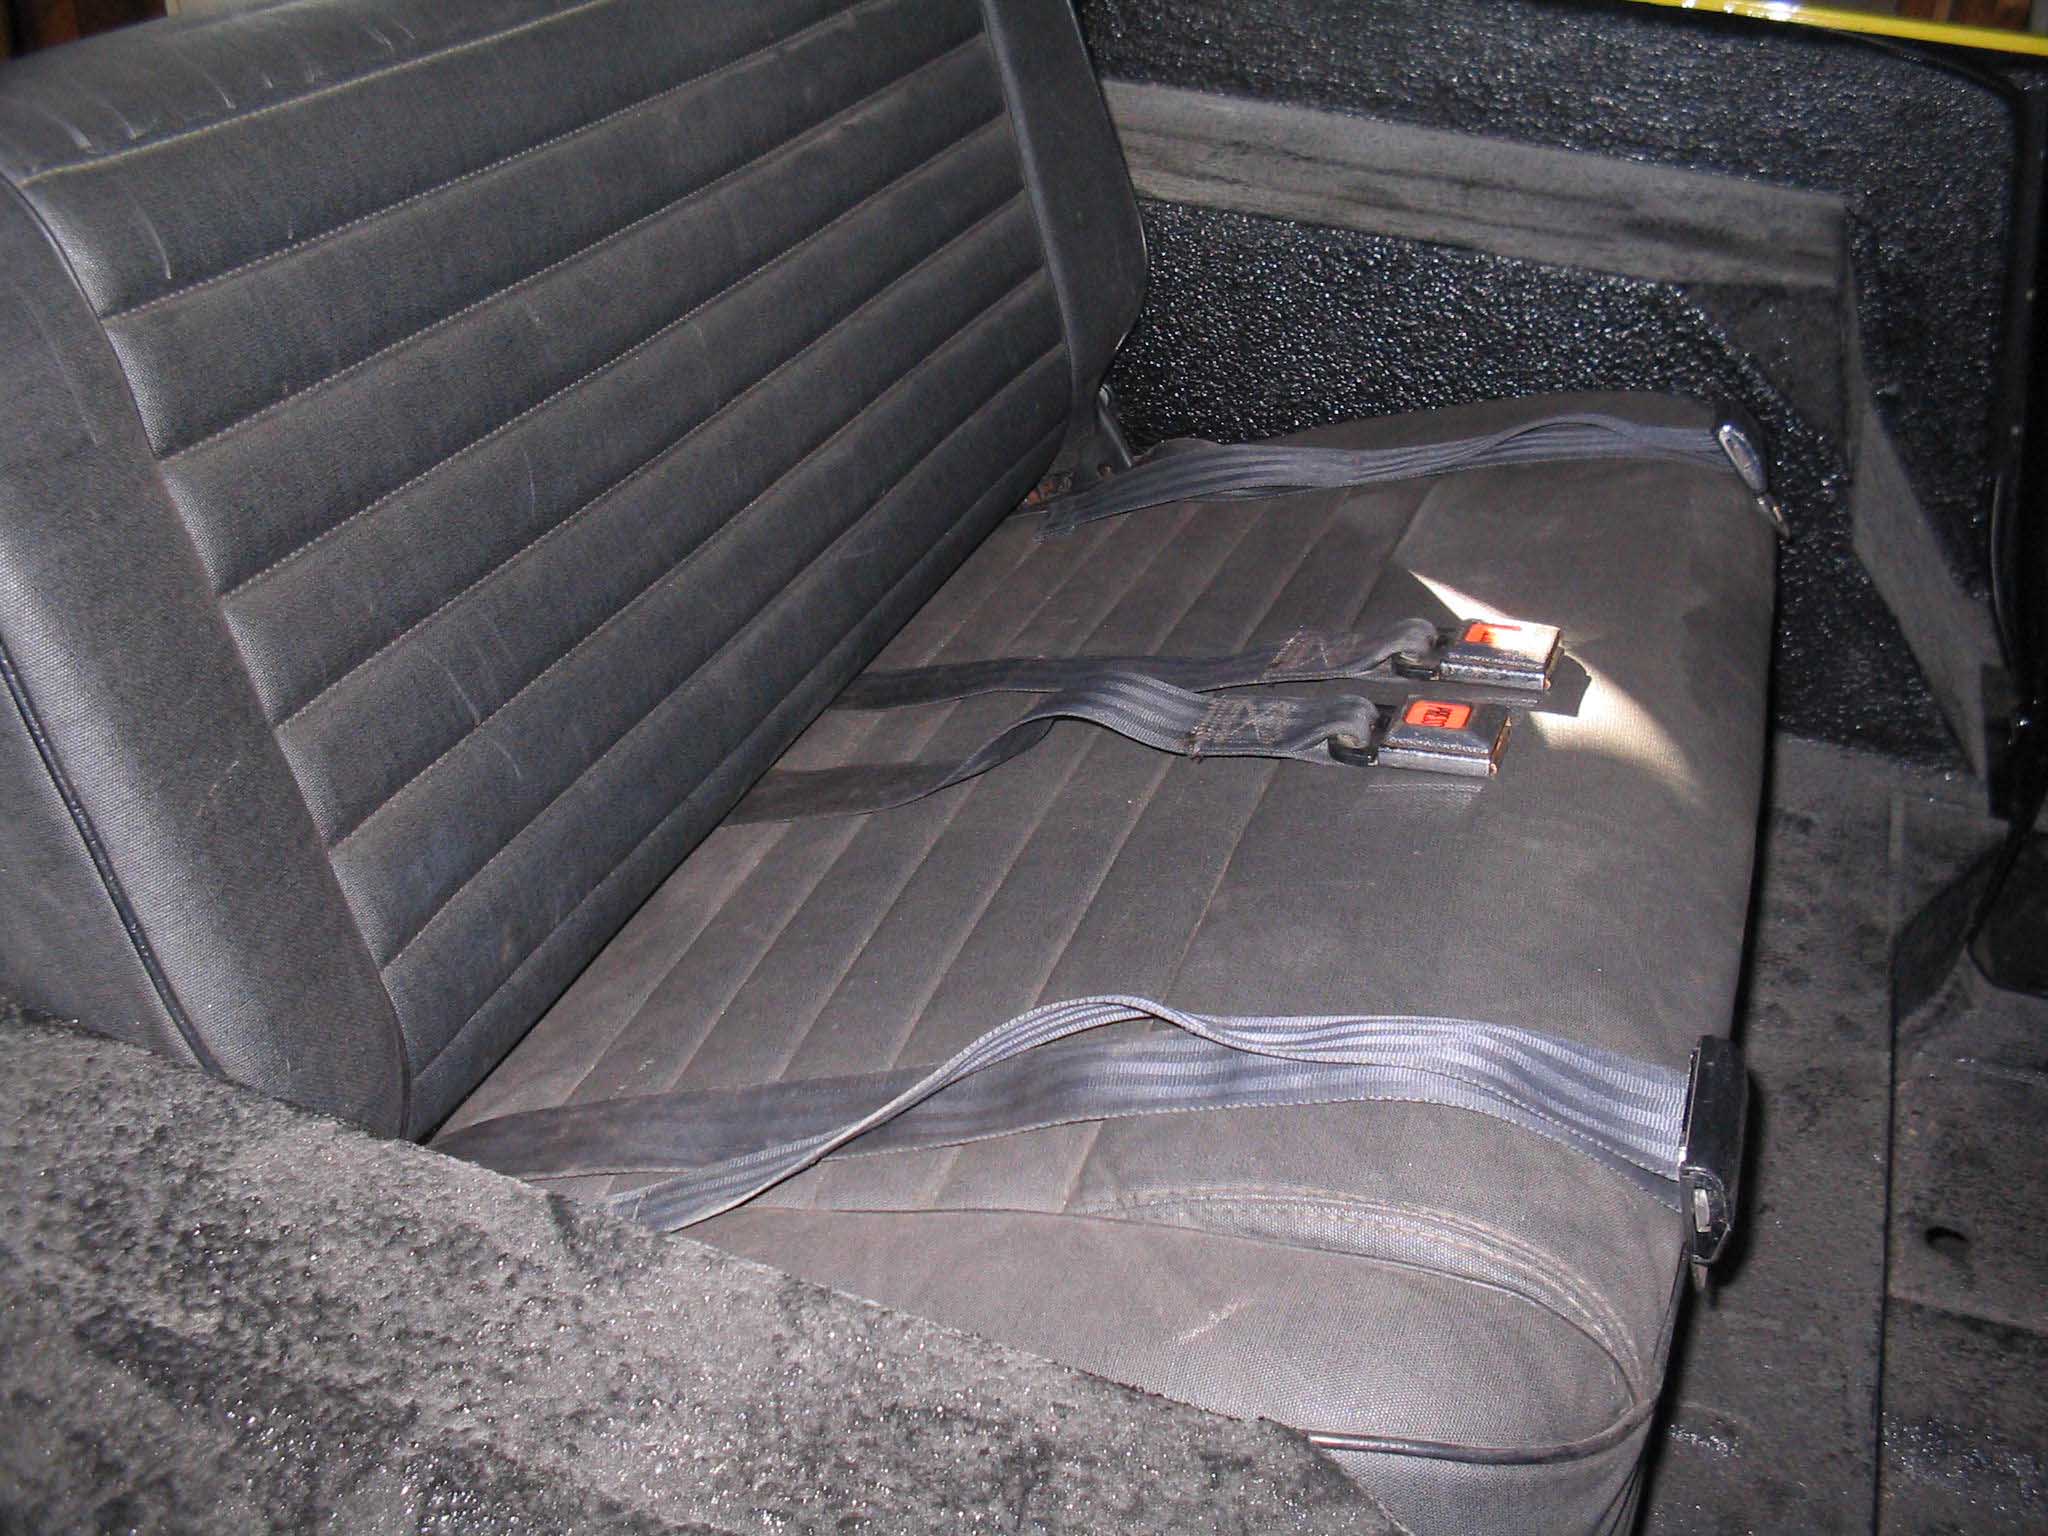
tonight, we first started with the front seat belts and we had to tap out the holes to make the bolts go in. I
was able to get the seat belts from a fellow Jeepsunlimited forum member and that made a huge difference in getting
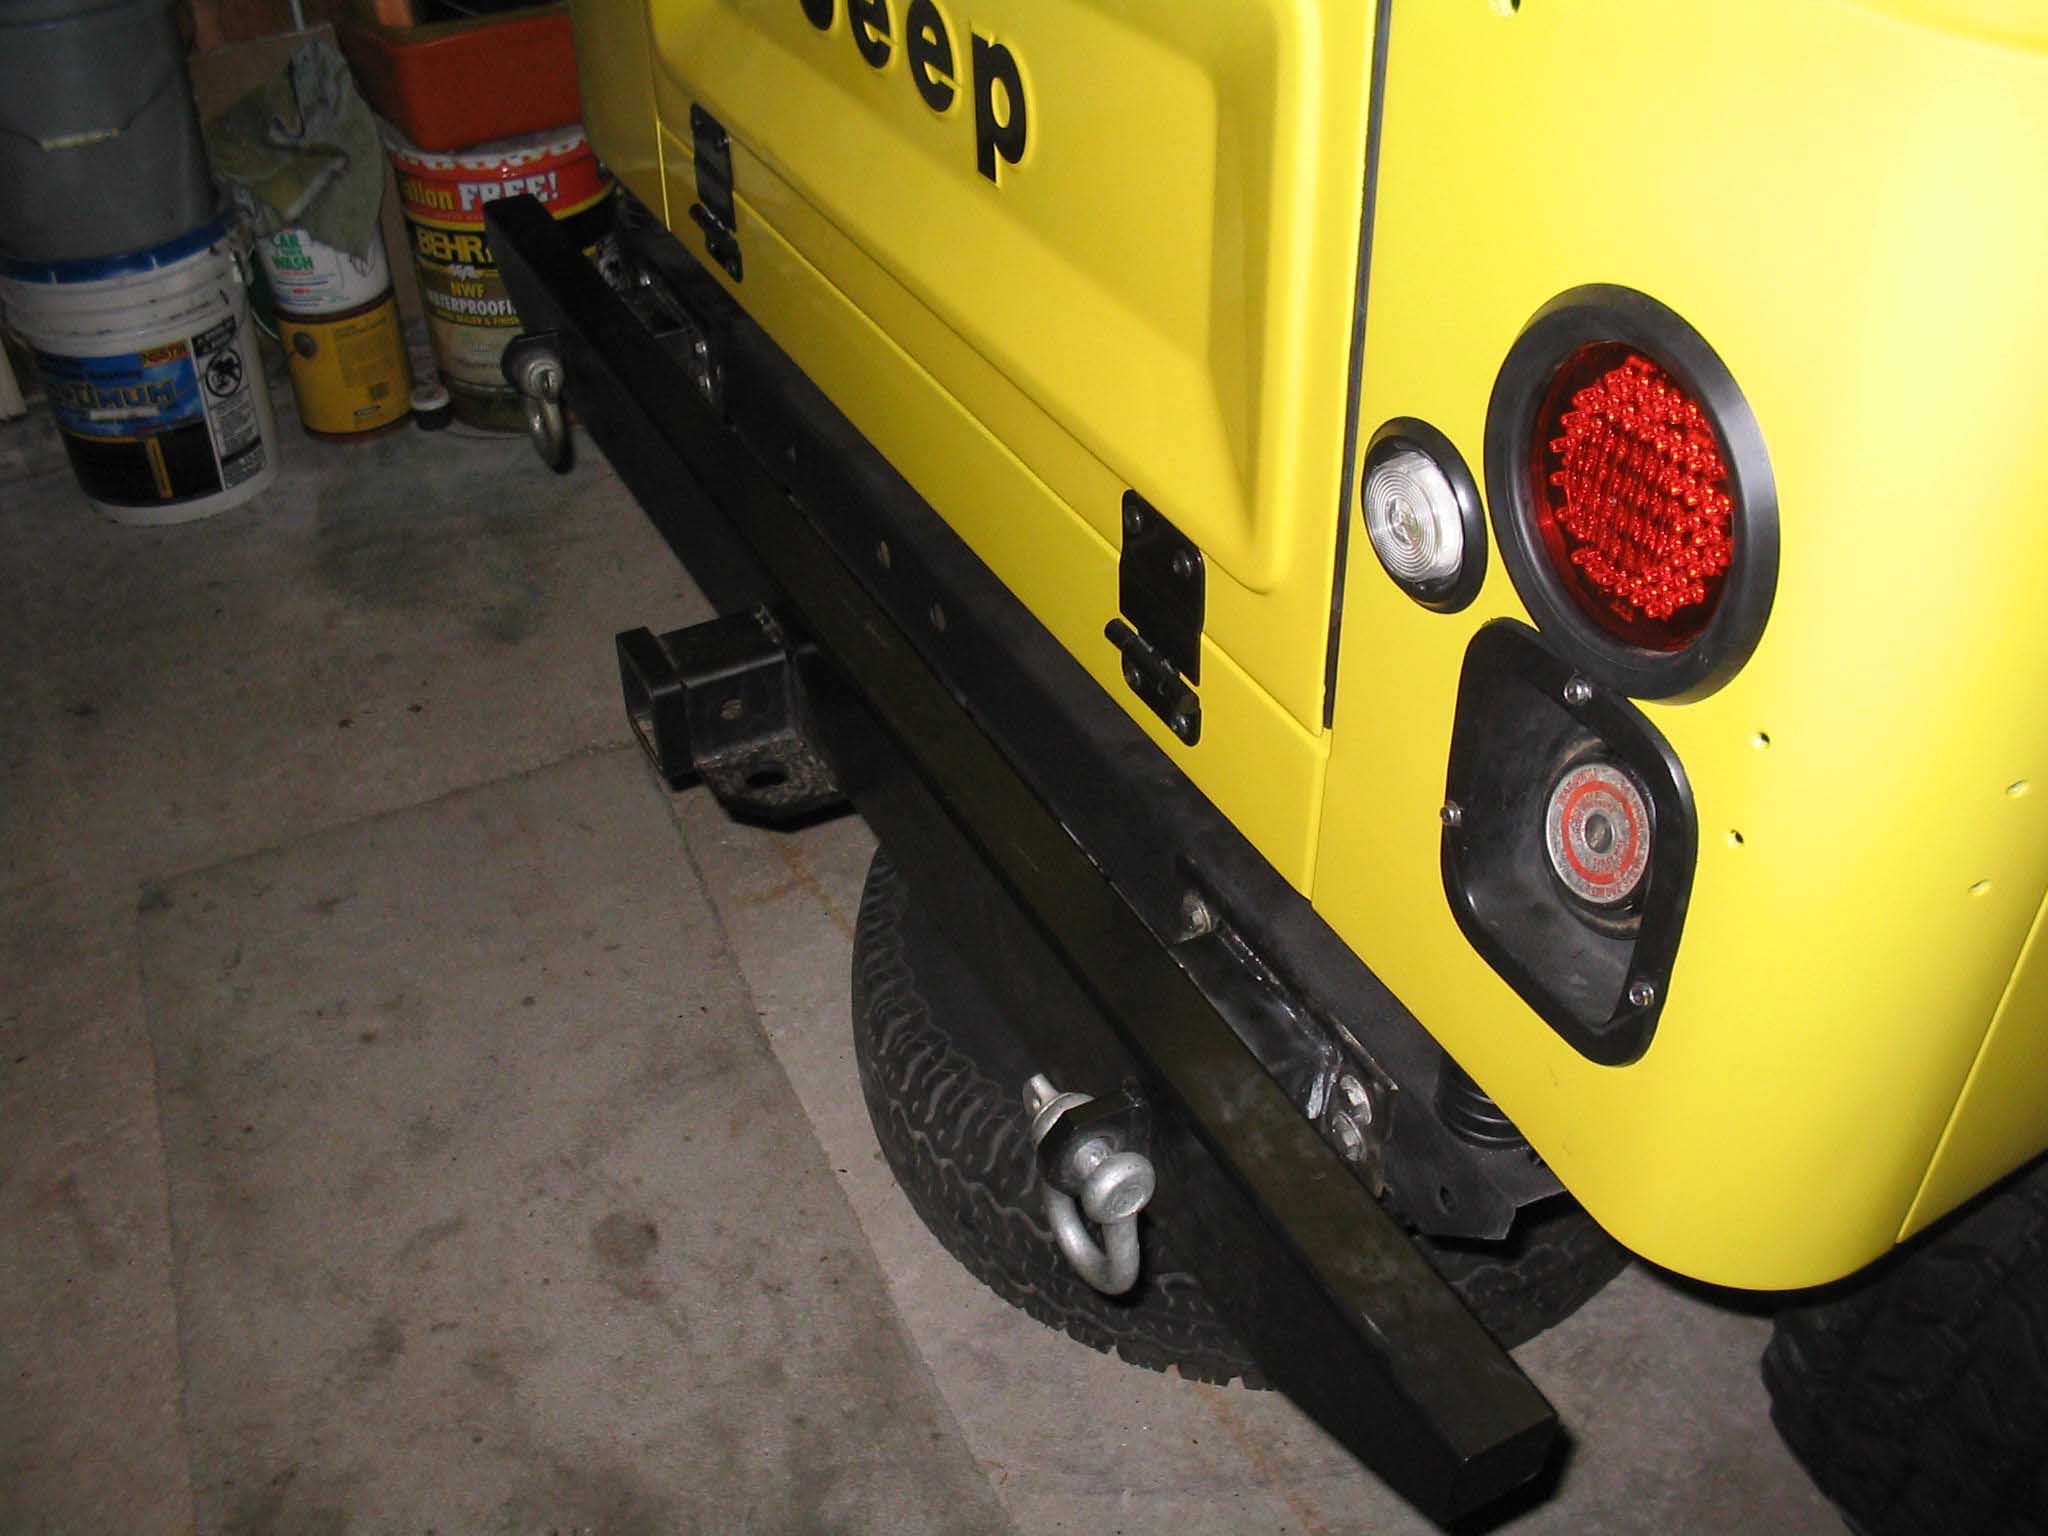
that accomplished. After that, we put on the rear bumper and it makes the Jeep look a lot tougher then it already
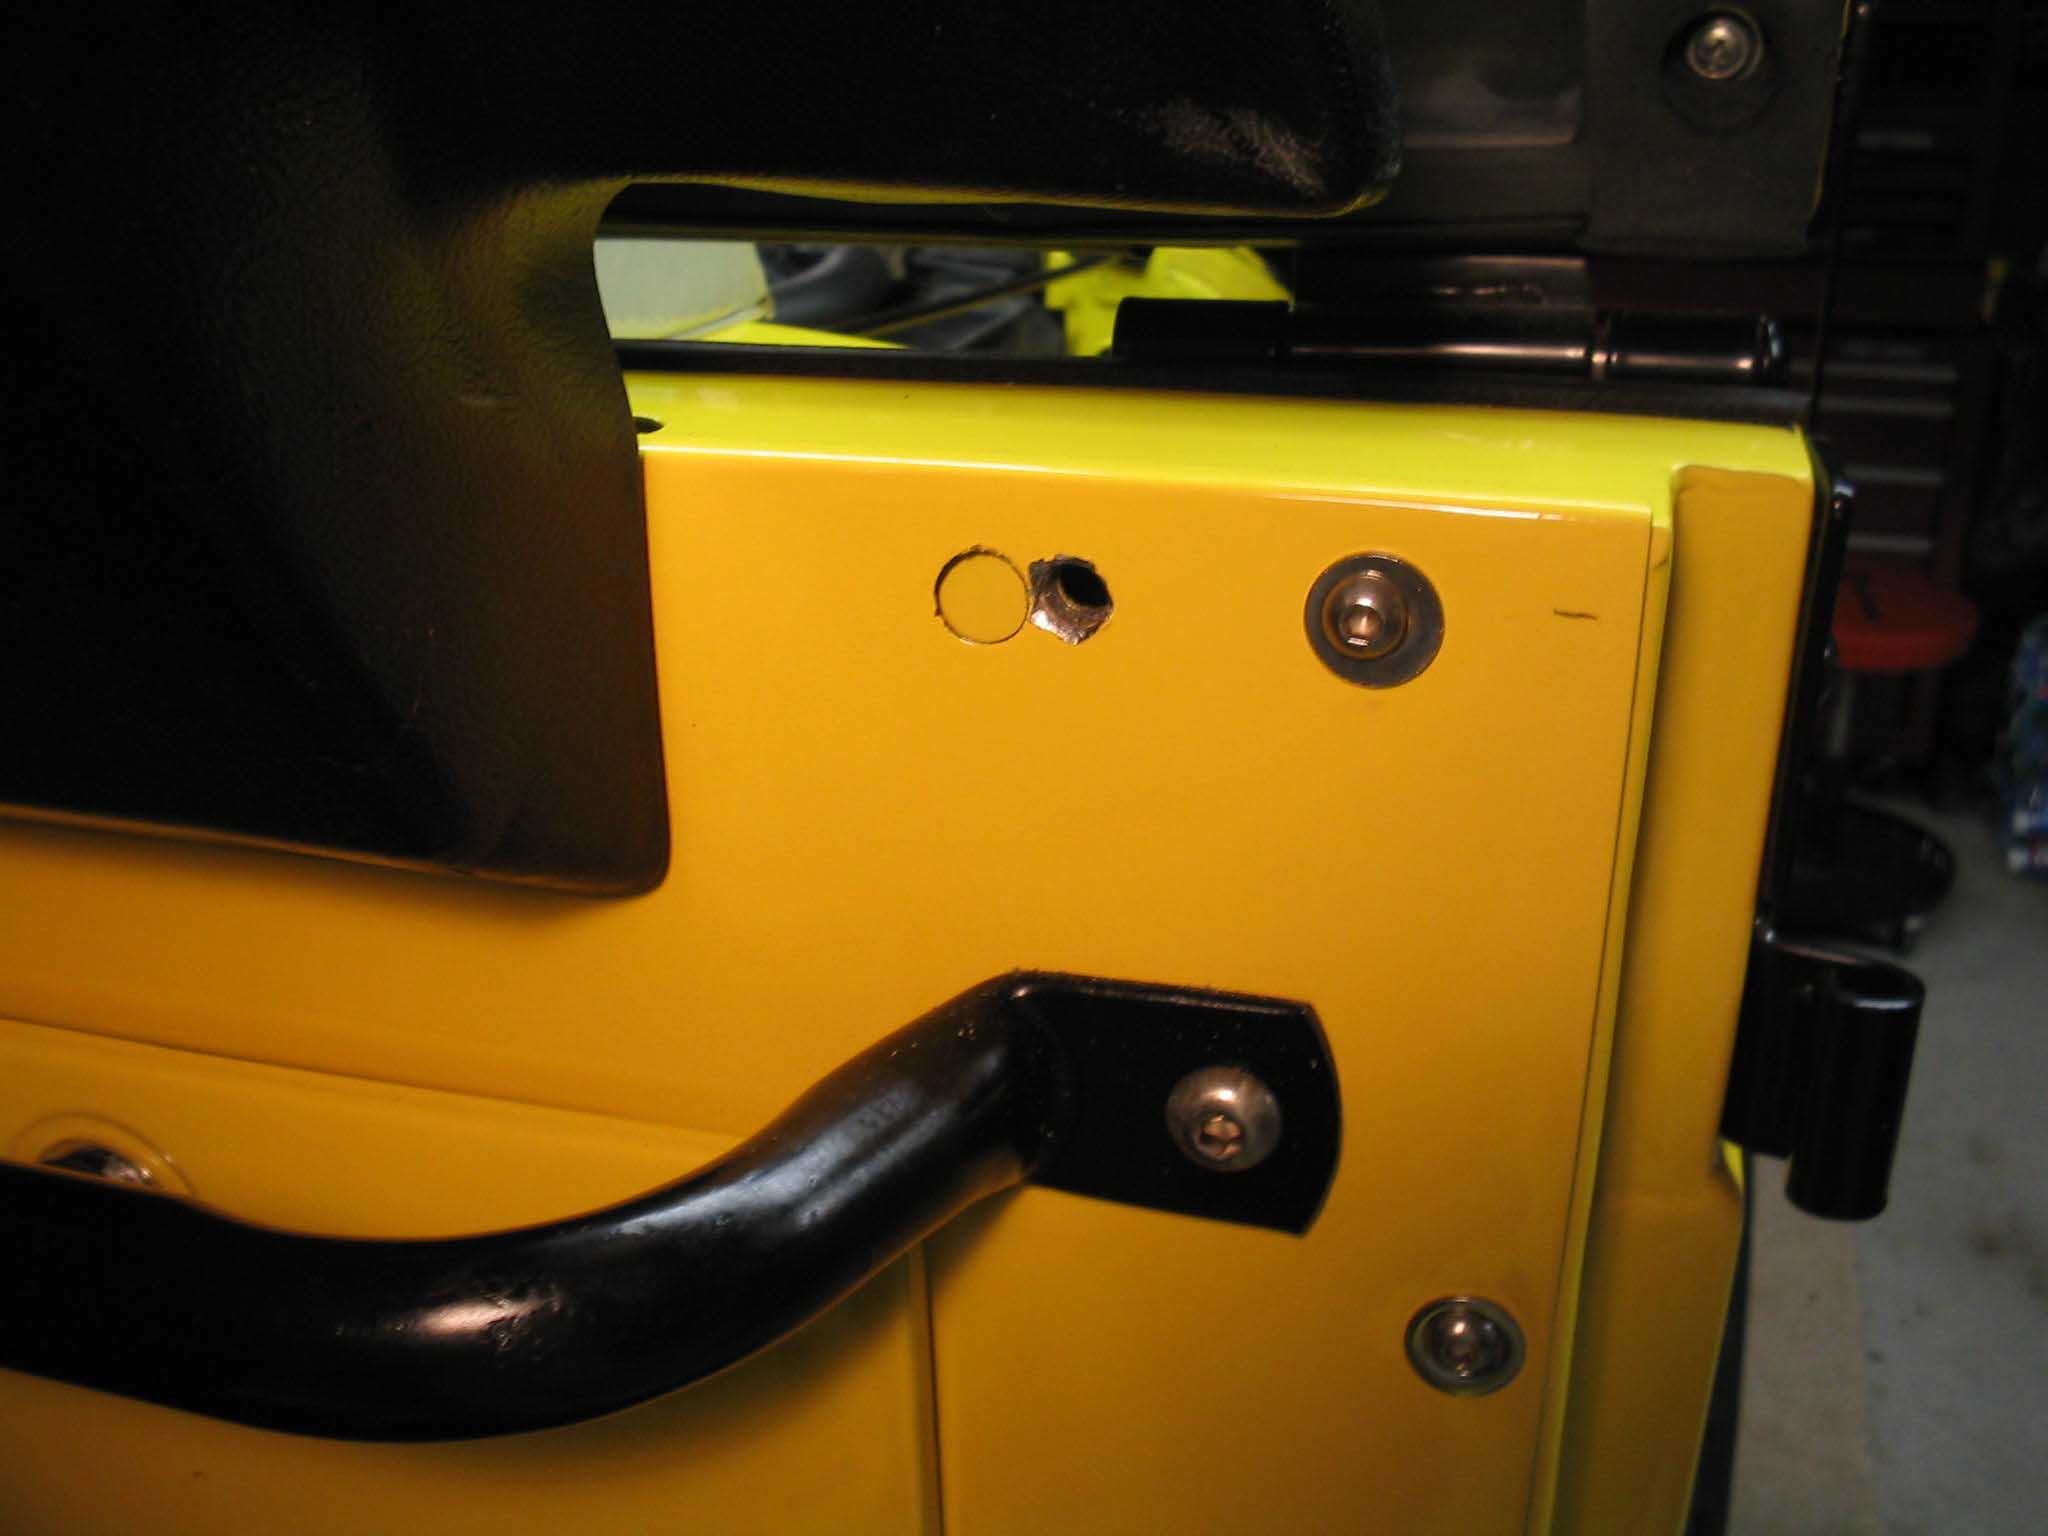
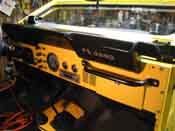
is. We moved onto the dash and I was able to cut in new holes for the windshield hold-downs, even though I was
only able to find 1 of the screws that went into the dash. Not one of the write-ups that I read about the
Wrangler (YJ) tub conversion mentioned this. Basically the holes didnt line up with the Wrangler windshield
and Wrangle tub. I drilled out the holes and re-tapped the holes and everything was fine.
|
| |

|
|
|

|
| |
After that was done, the shifter was bolted down with some stainless screws, as was
the steering column boot on the dashboard. That buttoned up the Jeep and then the spreader bars were bolted in
place and then the driver side seat was bolted into the Jeep. This required tapping of the holes as well and a
little anti-seize was put into the holes for good measure. We then went onto fixing the reverse lights and the
four wheel drive indicators as they werent working due to a bad plug connection between the Painless harness
and the factory harness. It was simply cut out and reconnected and everything worked as expected.
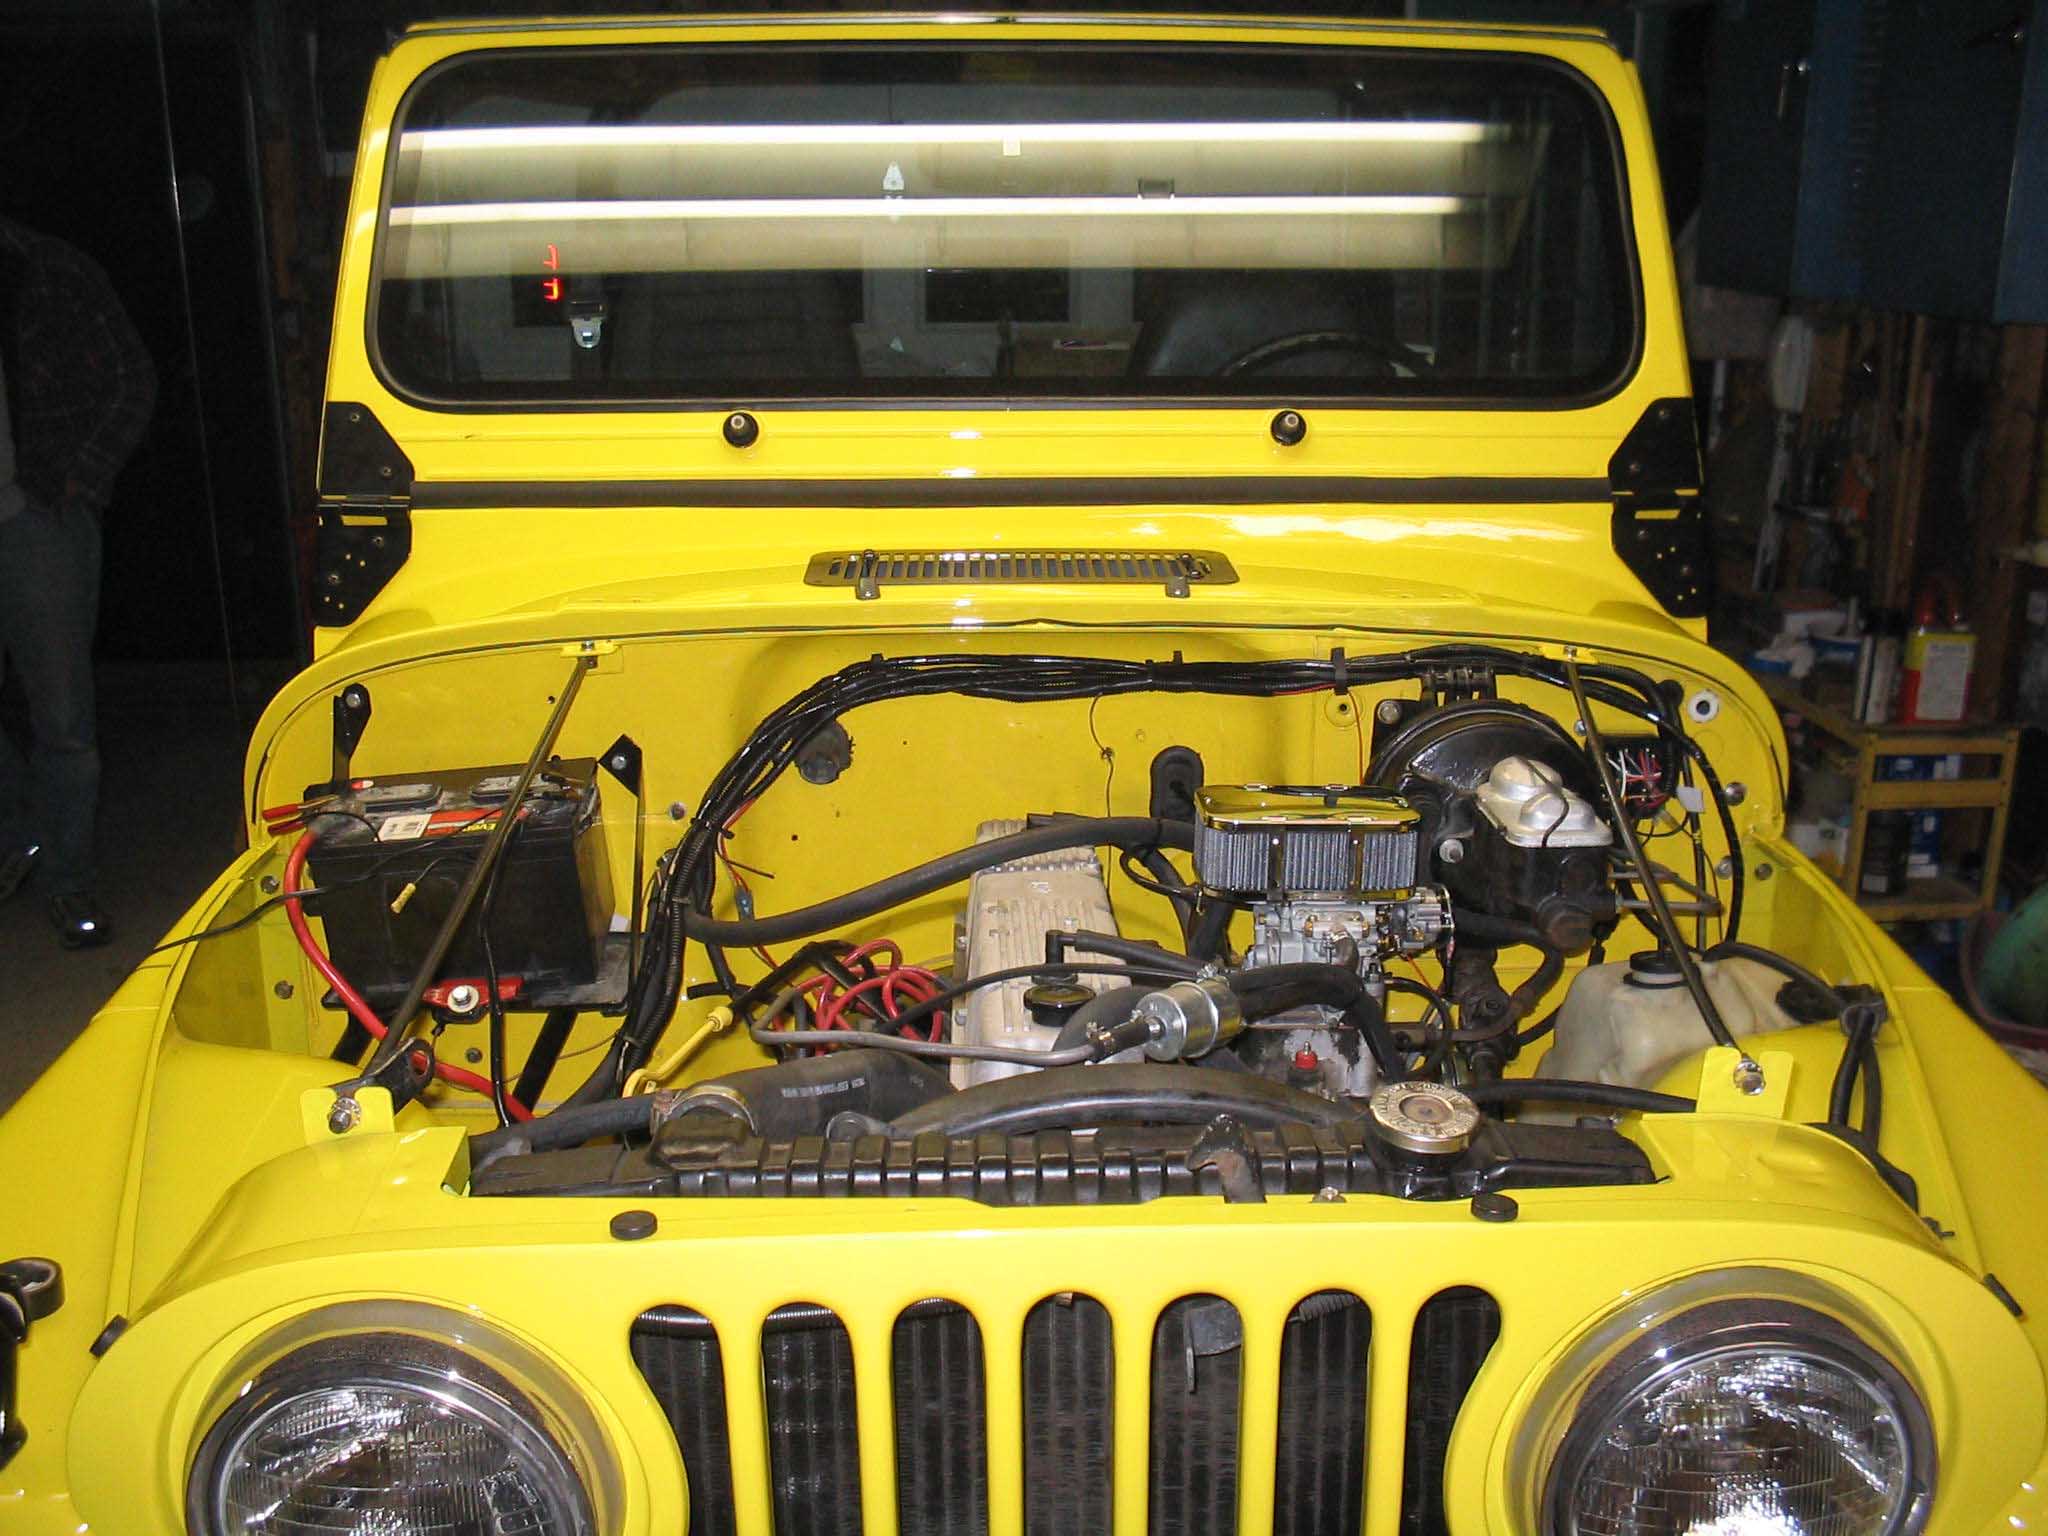
With that all in place, we moved onto filling up the fluids and tightening down all the liquid connections. On
the first attempt to fire it up, it started right up (after soaking the pistons with some marvel mystery oil
overnight and manually turning over the crank a few times). The valve train was oiled up and we put some gas
in the carburetor and it roared to life. We didnt run it very long, but we did turn on the heater and all the
water hoses became hot, so we knew we had flow inside the engine. We continued to top off the fluids and now we
just have to bleed the brakes as well as the power steering fluid reservoir.
|
| |

|

|
|
|
| |
All in all, the culmination of a lot of work came to somewhat of an end tonight
with it roaring to life. I cant even begin to say how happy I am with the results of all the hard work. I
couldnt have done it without all the help from Frank and Jen and the meals from Bonnie, thanks a lot guys!
There is still a laundry list of things to do to get this ready for sale, but all in all, the Jeep is running
and idling under its own power. We manually set the idle speed and timing with the distributor and when we get
a timing light we will further fine-tune this. We have some emissions stuff to connect back up, but all in all,
the Jeep is on its way!
I just got back from working on the Jeep and the Jeep is running and driving under its own power and I actually
got to pull it out of the garage, so it starts, runs, drives and even stops now! Also, the Jeep has officially
hit the 300+ hour mark and I am happy to say that there are a few more things to do to it, but there isnt a whole
lot more time that will be spent on this Jeep. I am happy and sad at the same time. It has been a blast working
on it and getting it to where it is, but unfortunately in business, it is a time where it has to go to get back
the money/time that was invested into it, so that has a sad note to it.
|
| |
|

|

|

|
| |
Anyway, the day started out very well by getting the Jeep jacked up and adding the
remaining fluids to the engine and then I started bleeding the power steering system. After that was done, I moved
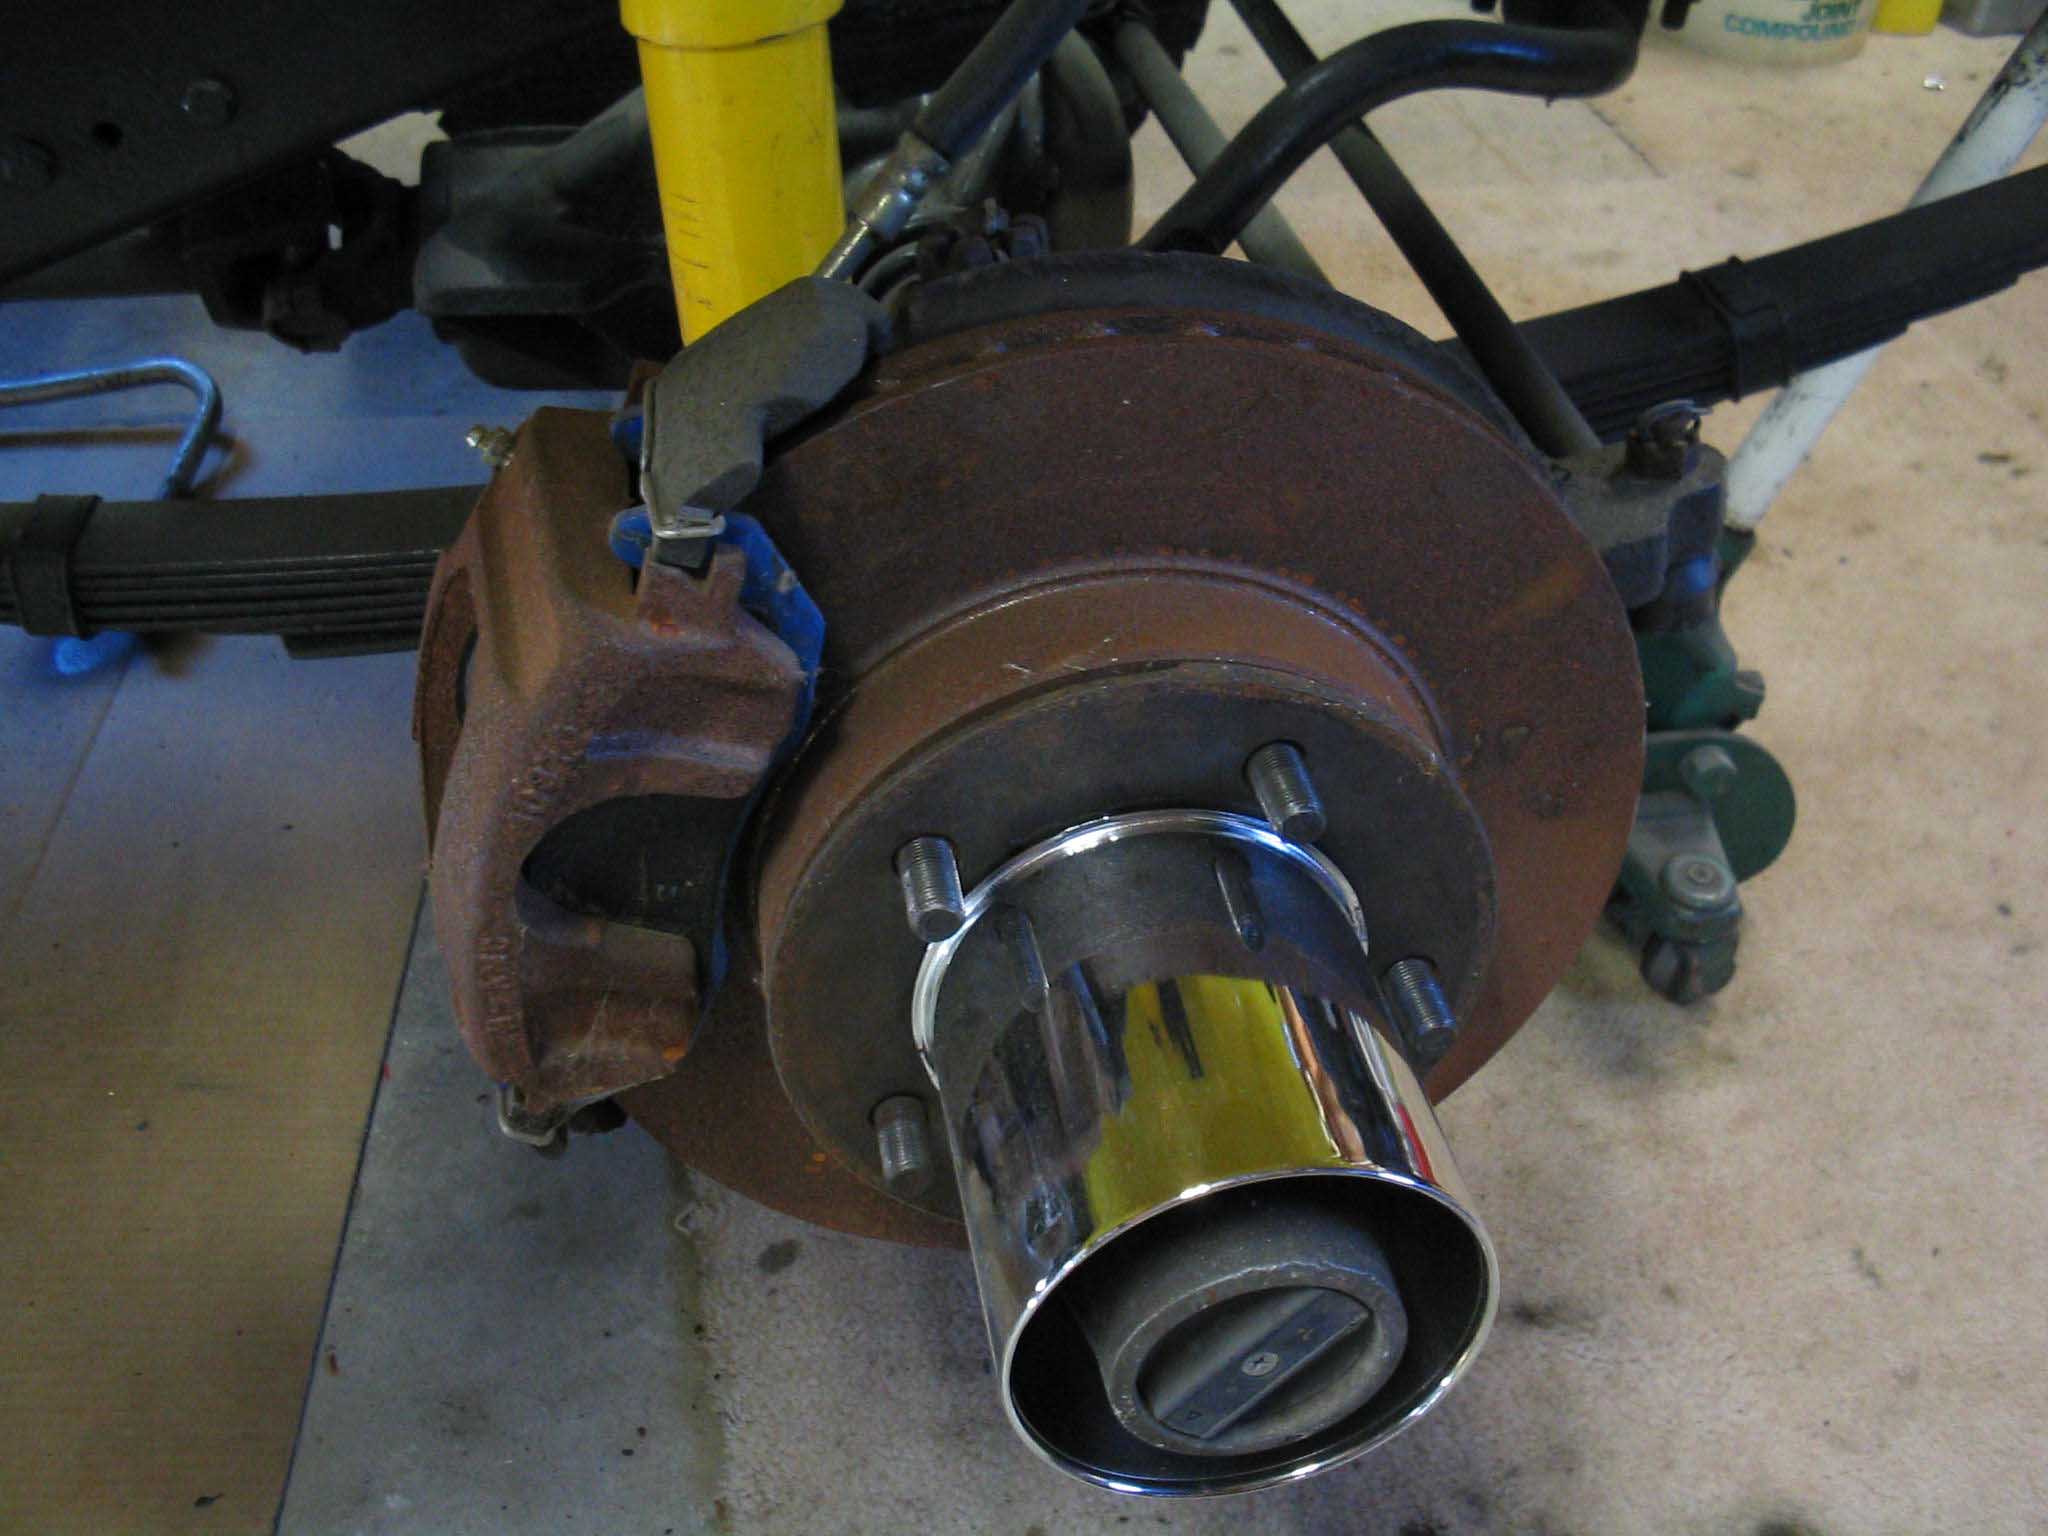
onto the brakes, since the rotors had surface rust on them and I didnt want them to get imbedded into the brake
pads when I started it up and drove it off, I took some 220 grit sandpaper and sanded off the rotors and then hit
them with a shot of brake cleaner. Now they are right back to the brand new pieces of hardware they were when the
P.O. put them on the Jeep. I moved onto bleeding the brake system next. If you dont have a vacuum bleeder, I
suggest getting one. In about 10 minutes the brake system was bled and I could have even done it myself, however,
it was good to have someone up top adding fluids so you dont need to get up and down so much. Also, Jen was
pumping the vacuum canister, so that helped out quite a bit as well.
After that was all done, we had some lunch then it was right back to the Jeep. We proceeded to put in the passenger
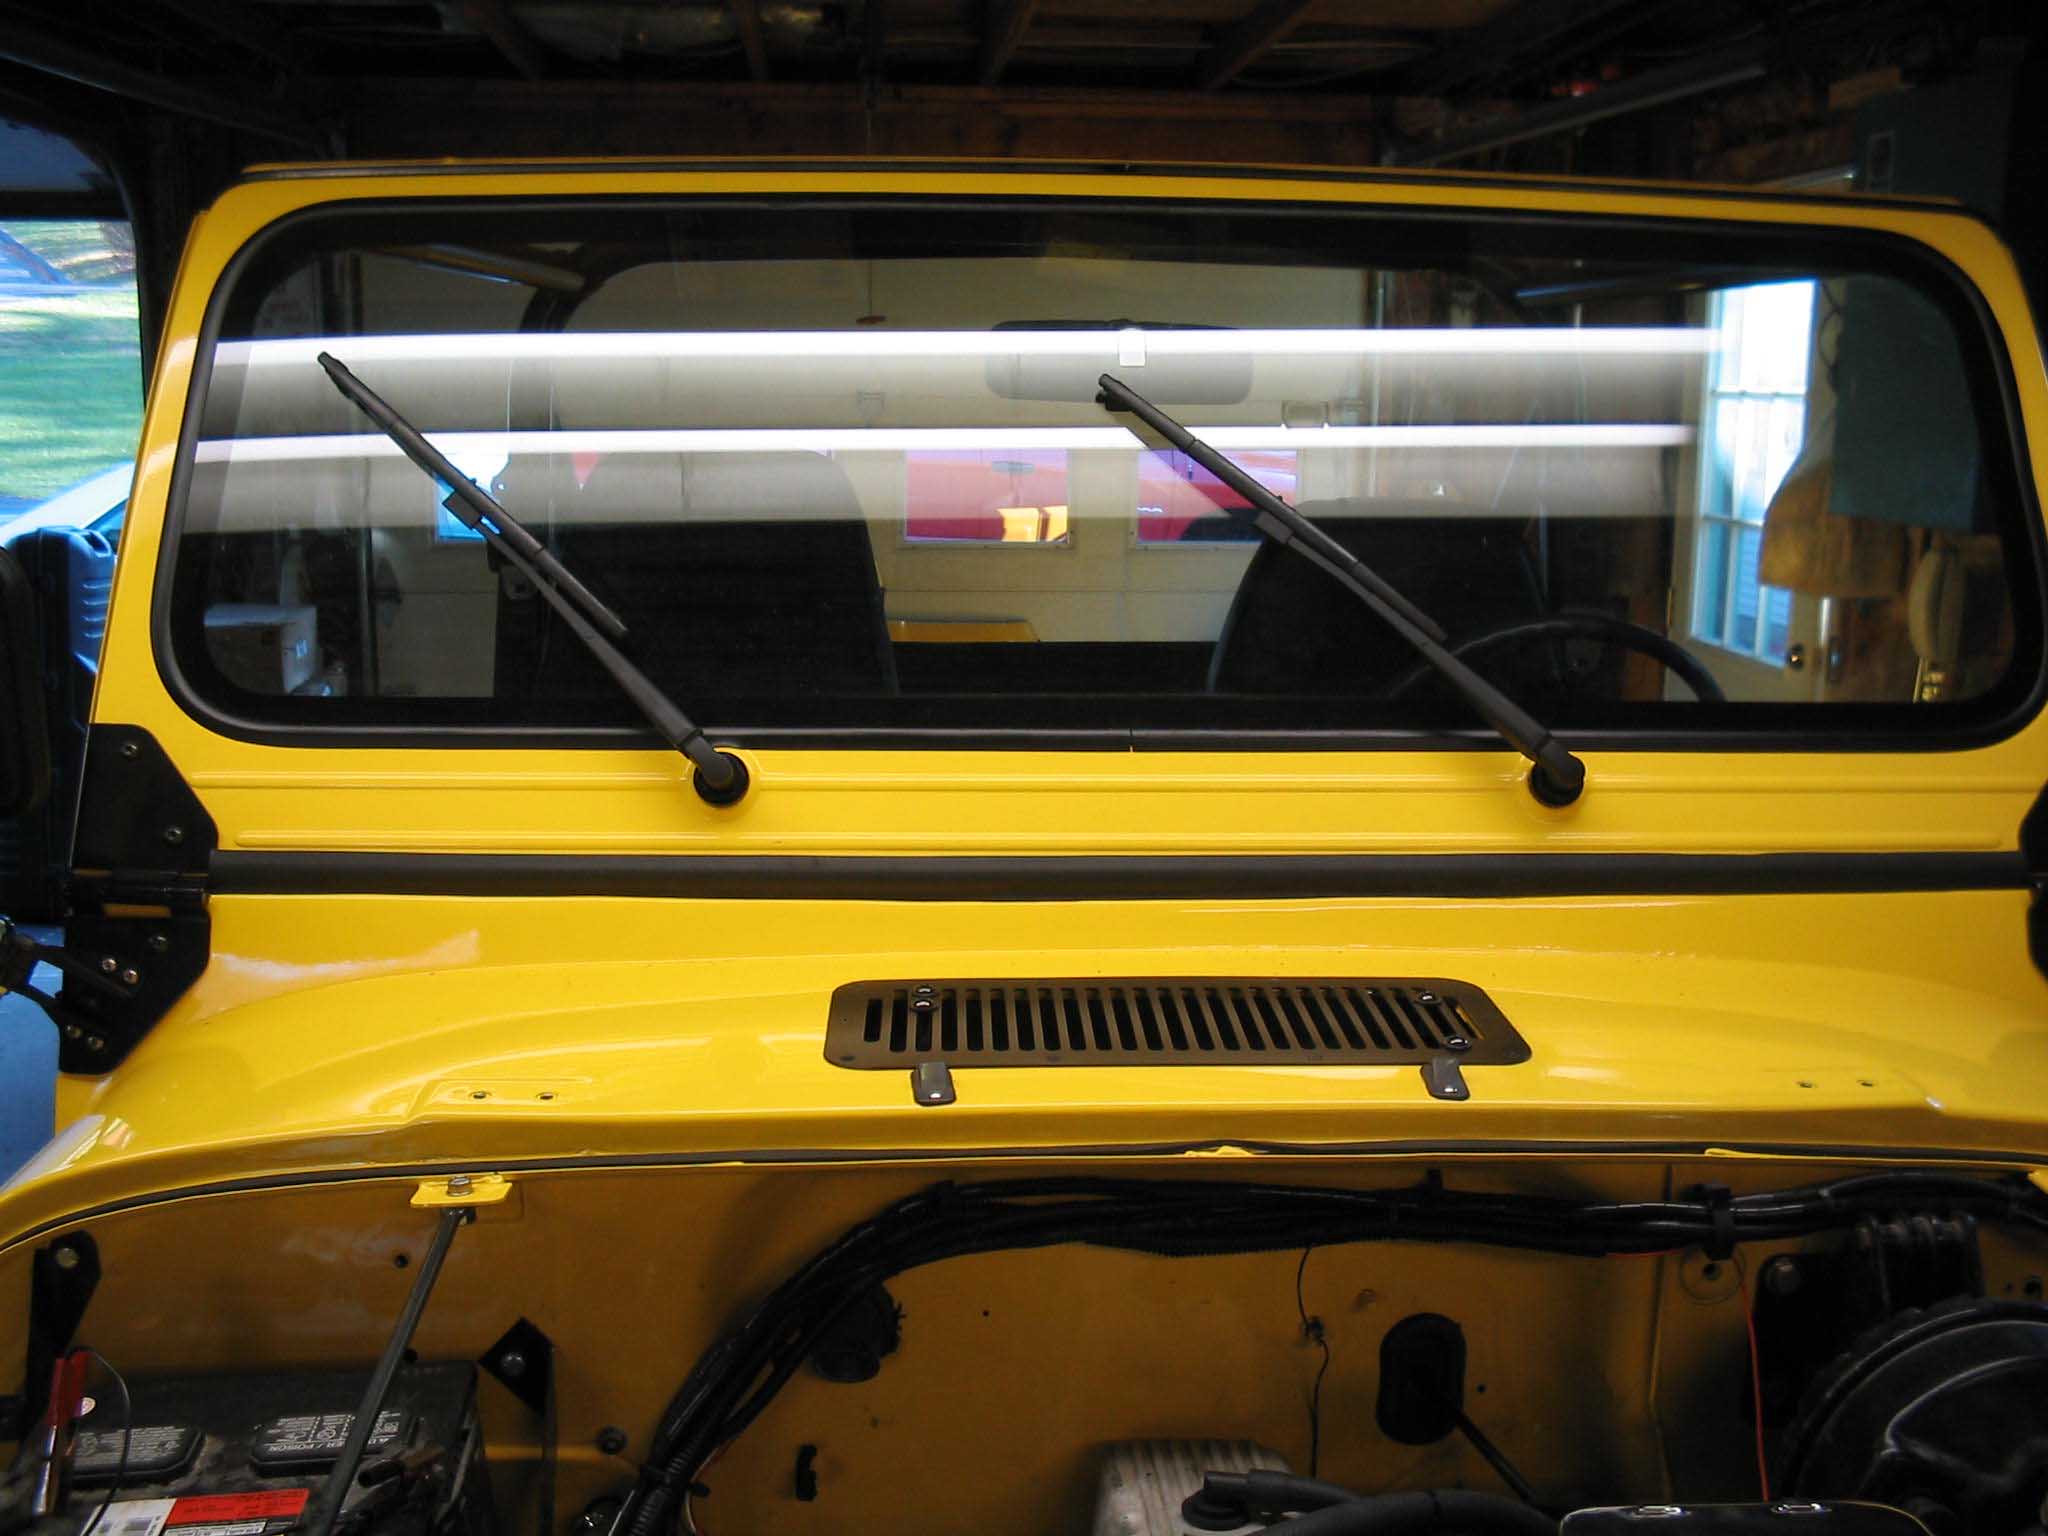
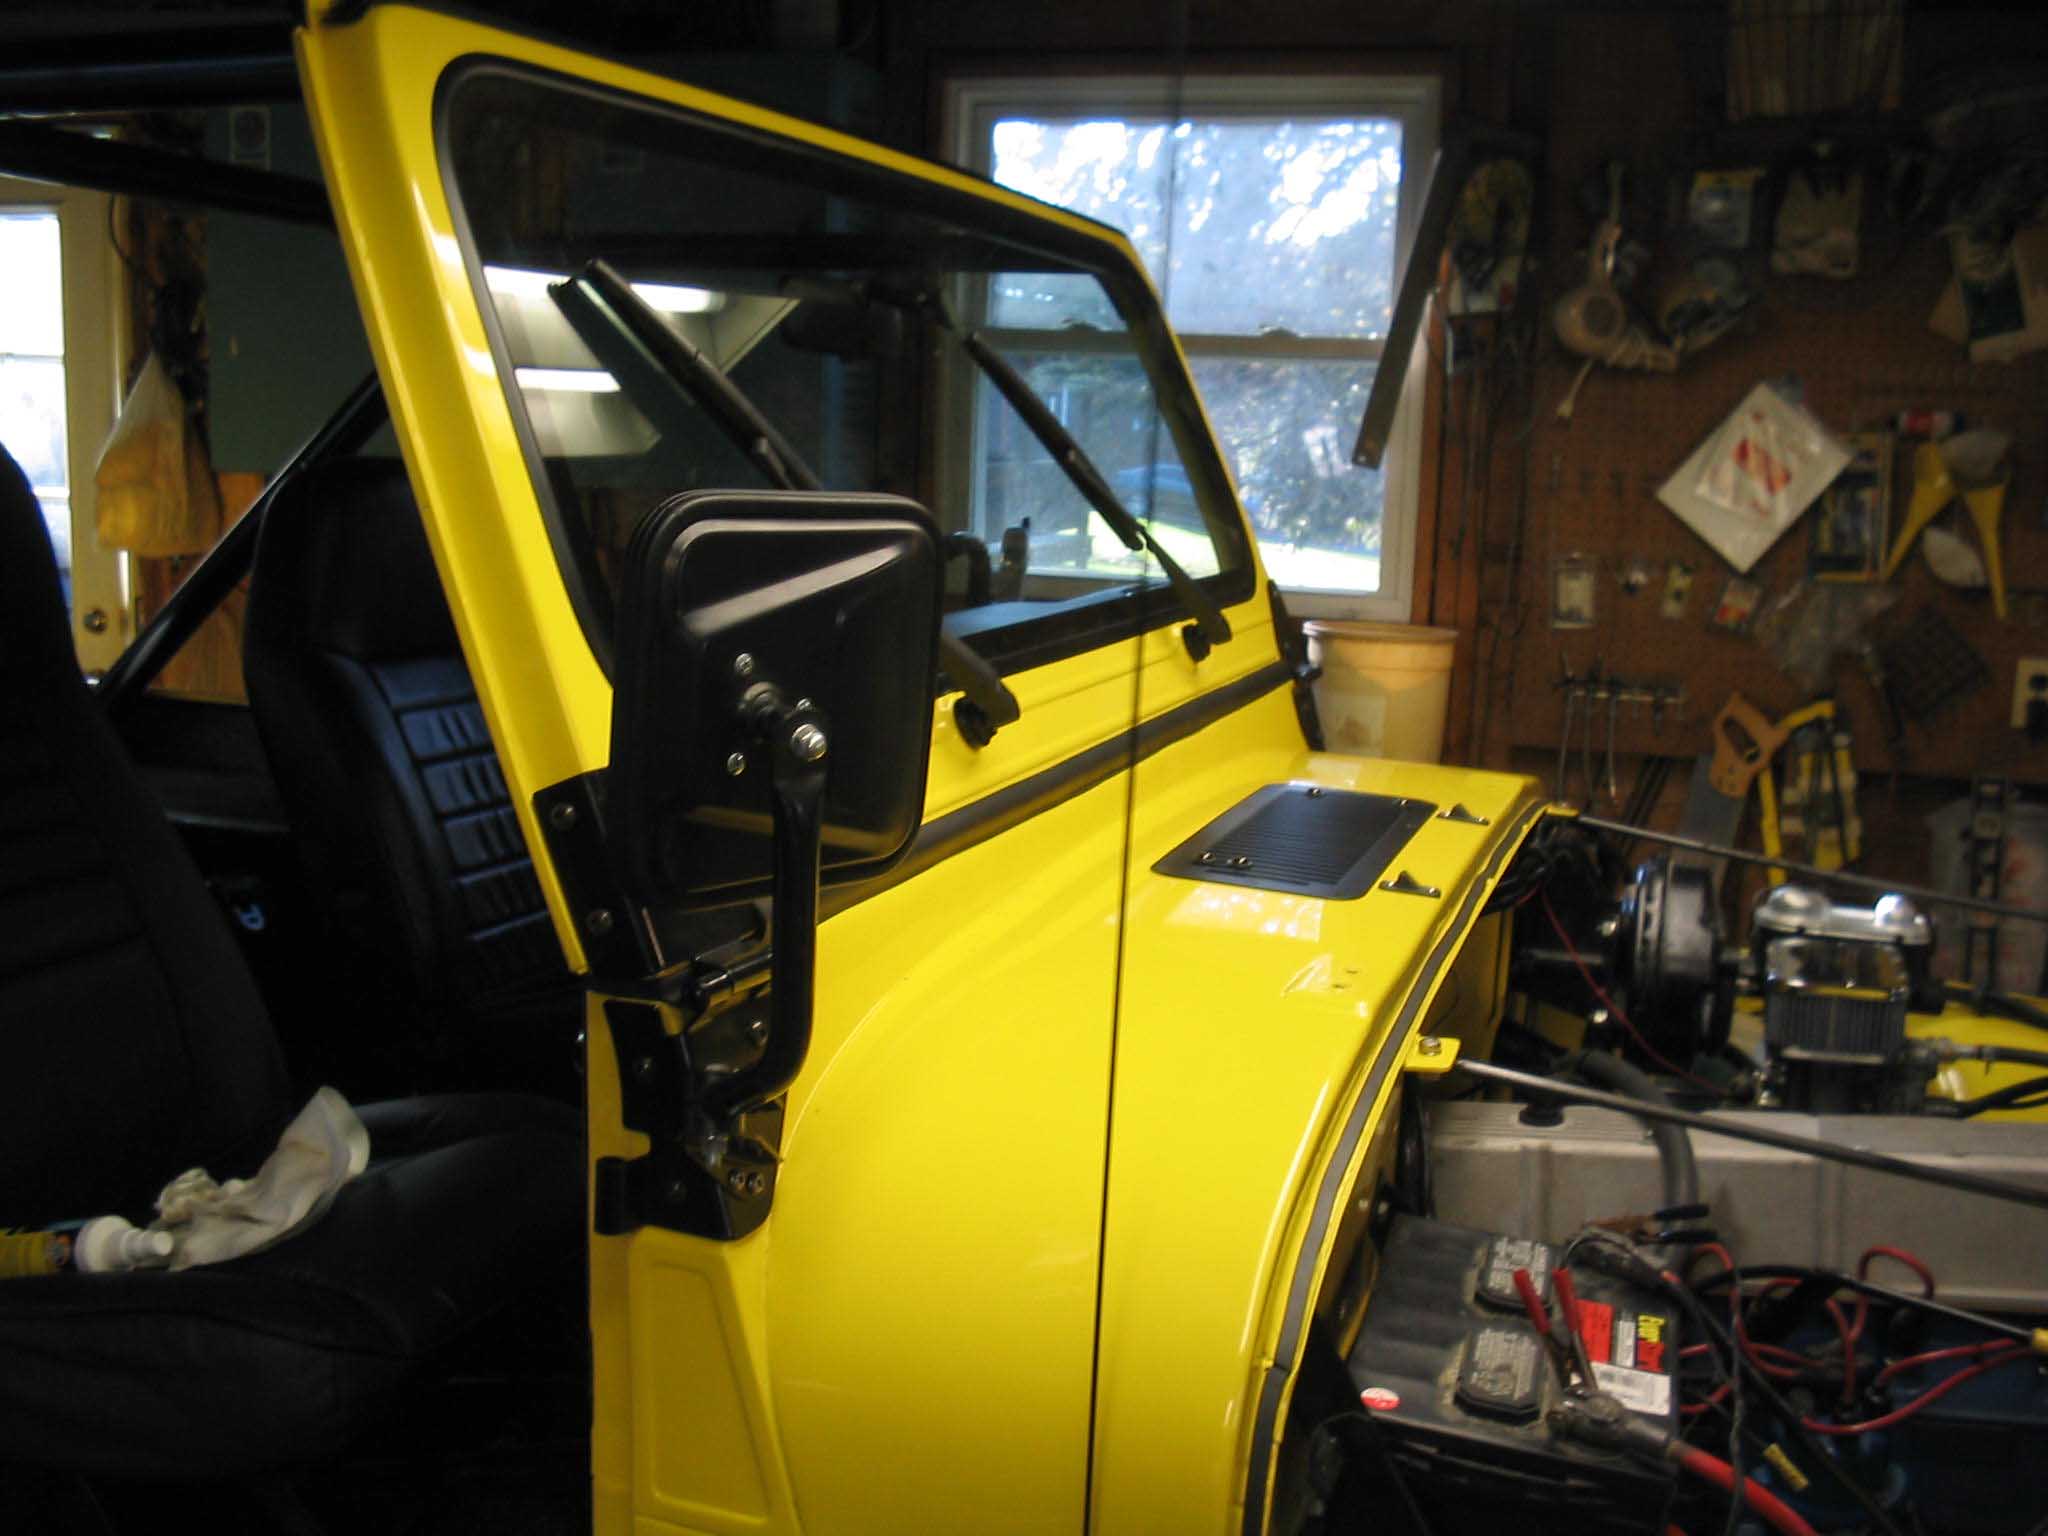
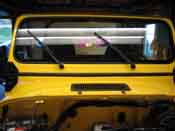
side seat, put the rear seat belts on, attach the freshly painted wiper arms (they had to be cleaned up and painted)
to the windshield, and then finally put on the mirrors on the sides of the Jeep. The hood was then attached and
that completed the Jeep build-up. We had a few little more tweaks to do and then we started it up. After getting
it out of Neutral (transfer case) we tested out the 4wd light and then I backed it out of the garage. The clutch
needs to be adjusted, but it was all working very nicely. I drove around the driveway and then proceeded to clean
the entire Jeep to remove the dust that had accumulated over the past few weeks. The Jeep looked great and
everything turned out exactly the way I wanted it to.
I am still waiting on the black machined knobs for the dash and there are a few loose ends to tie up with the
emergency brake not working quite right and the brake light staying on, but nothing major whatsoever. A few more
hours and the Jeep should be exactly where it should be and then it will go for sale. All in all this has been a
great project that provided tons of learning for all and hopefully will get the CertifiableJeep business off the
ground. Thanks to all that have helped and to the people that have asked questions, it helped all around with
the write-ups and the modifications that have been done to the Jeep! (11/20/05)
|
| |
| << Previous |
Next >> |
|