|
|
| Third Project Build-up - part #4 |
| |
|
1
2
3
4
5
6
7
8
9
10
11
12
13
14
15
16
17
18
19
20
21
22
23
|
| |
| So, it has been about 2 weeks since the new arrival to the family and a few more
pictures have surfaced since we started doing this. We have made quite a bit of progress thus far; here are some
pictures and a recap of what has been done.
|
| |

|

|
|
|
| |
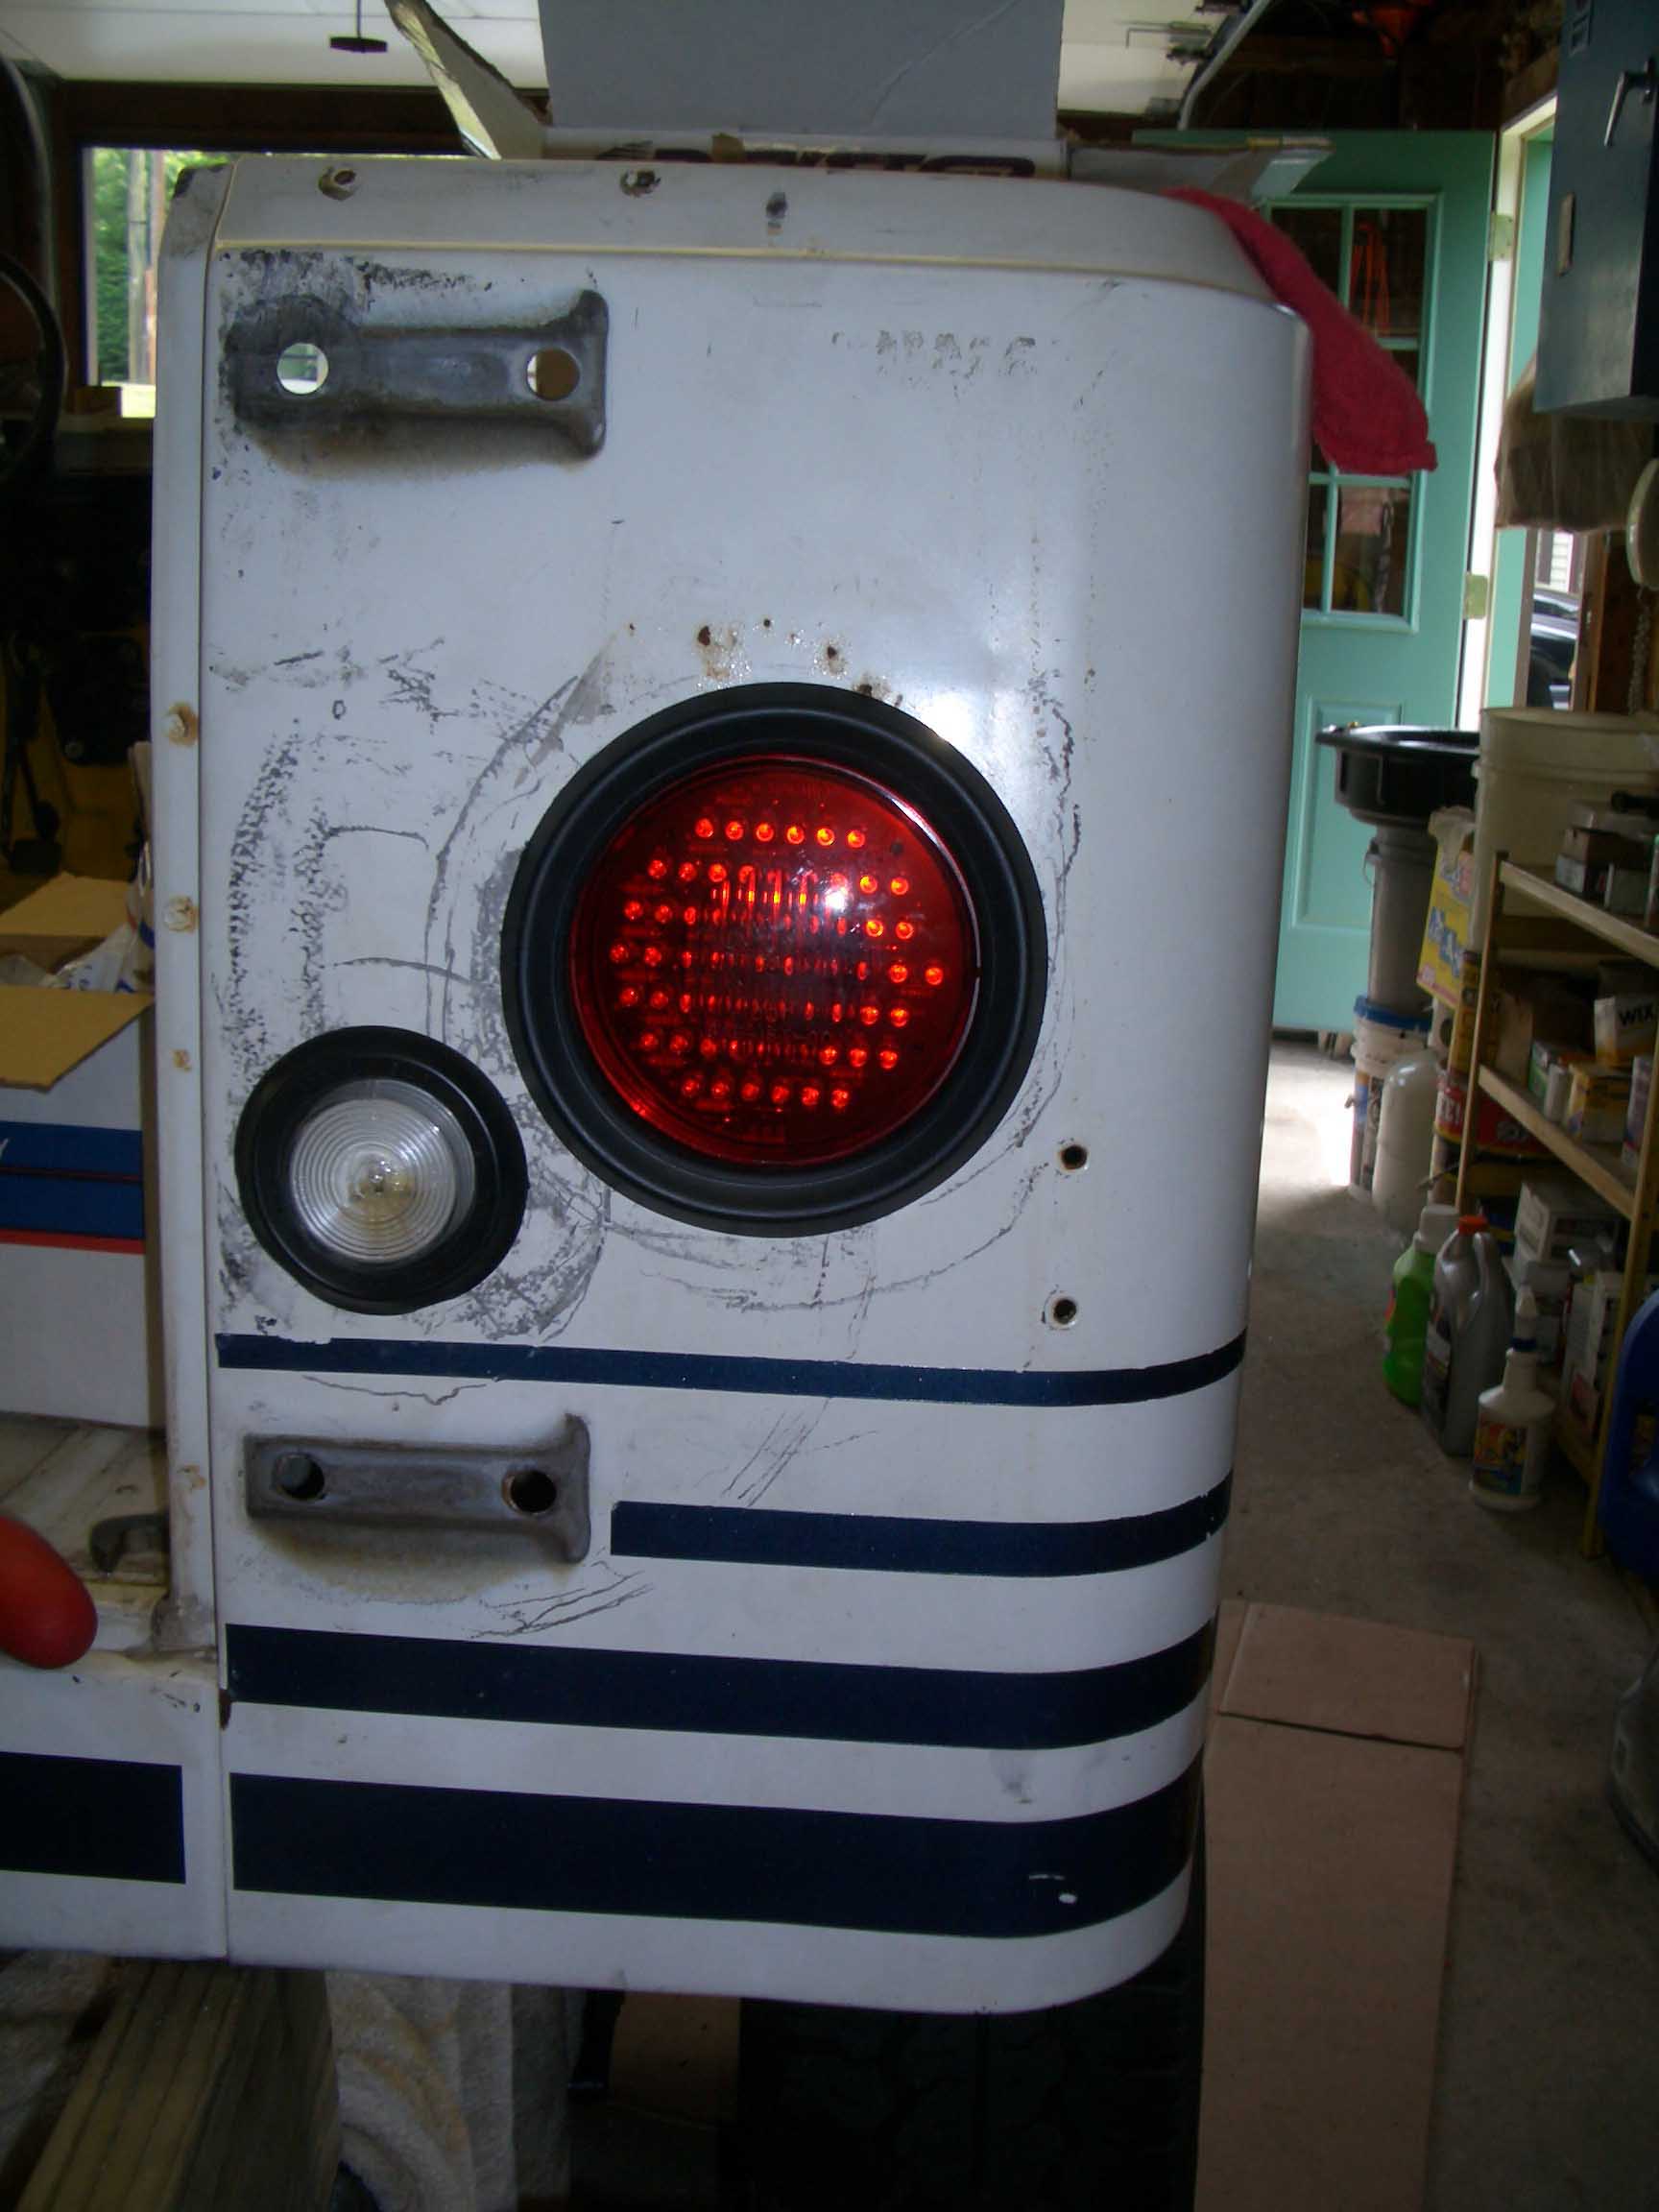
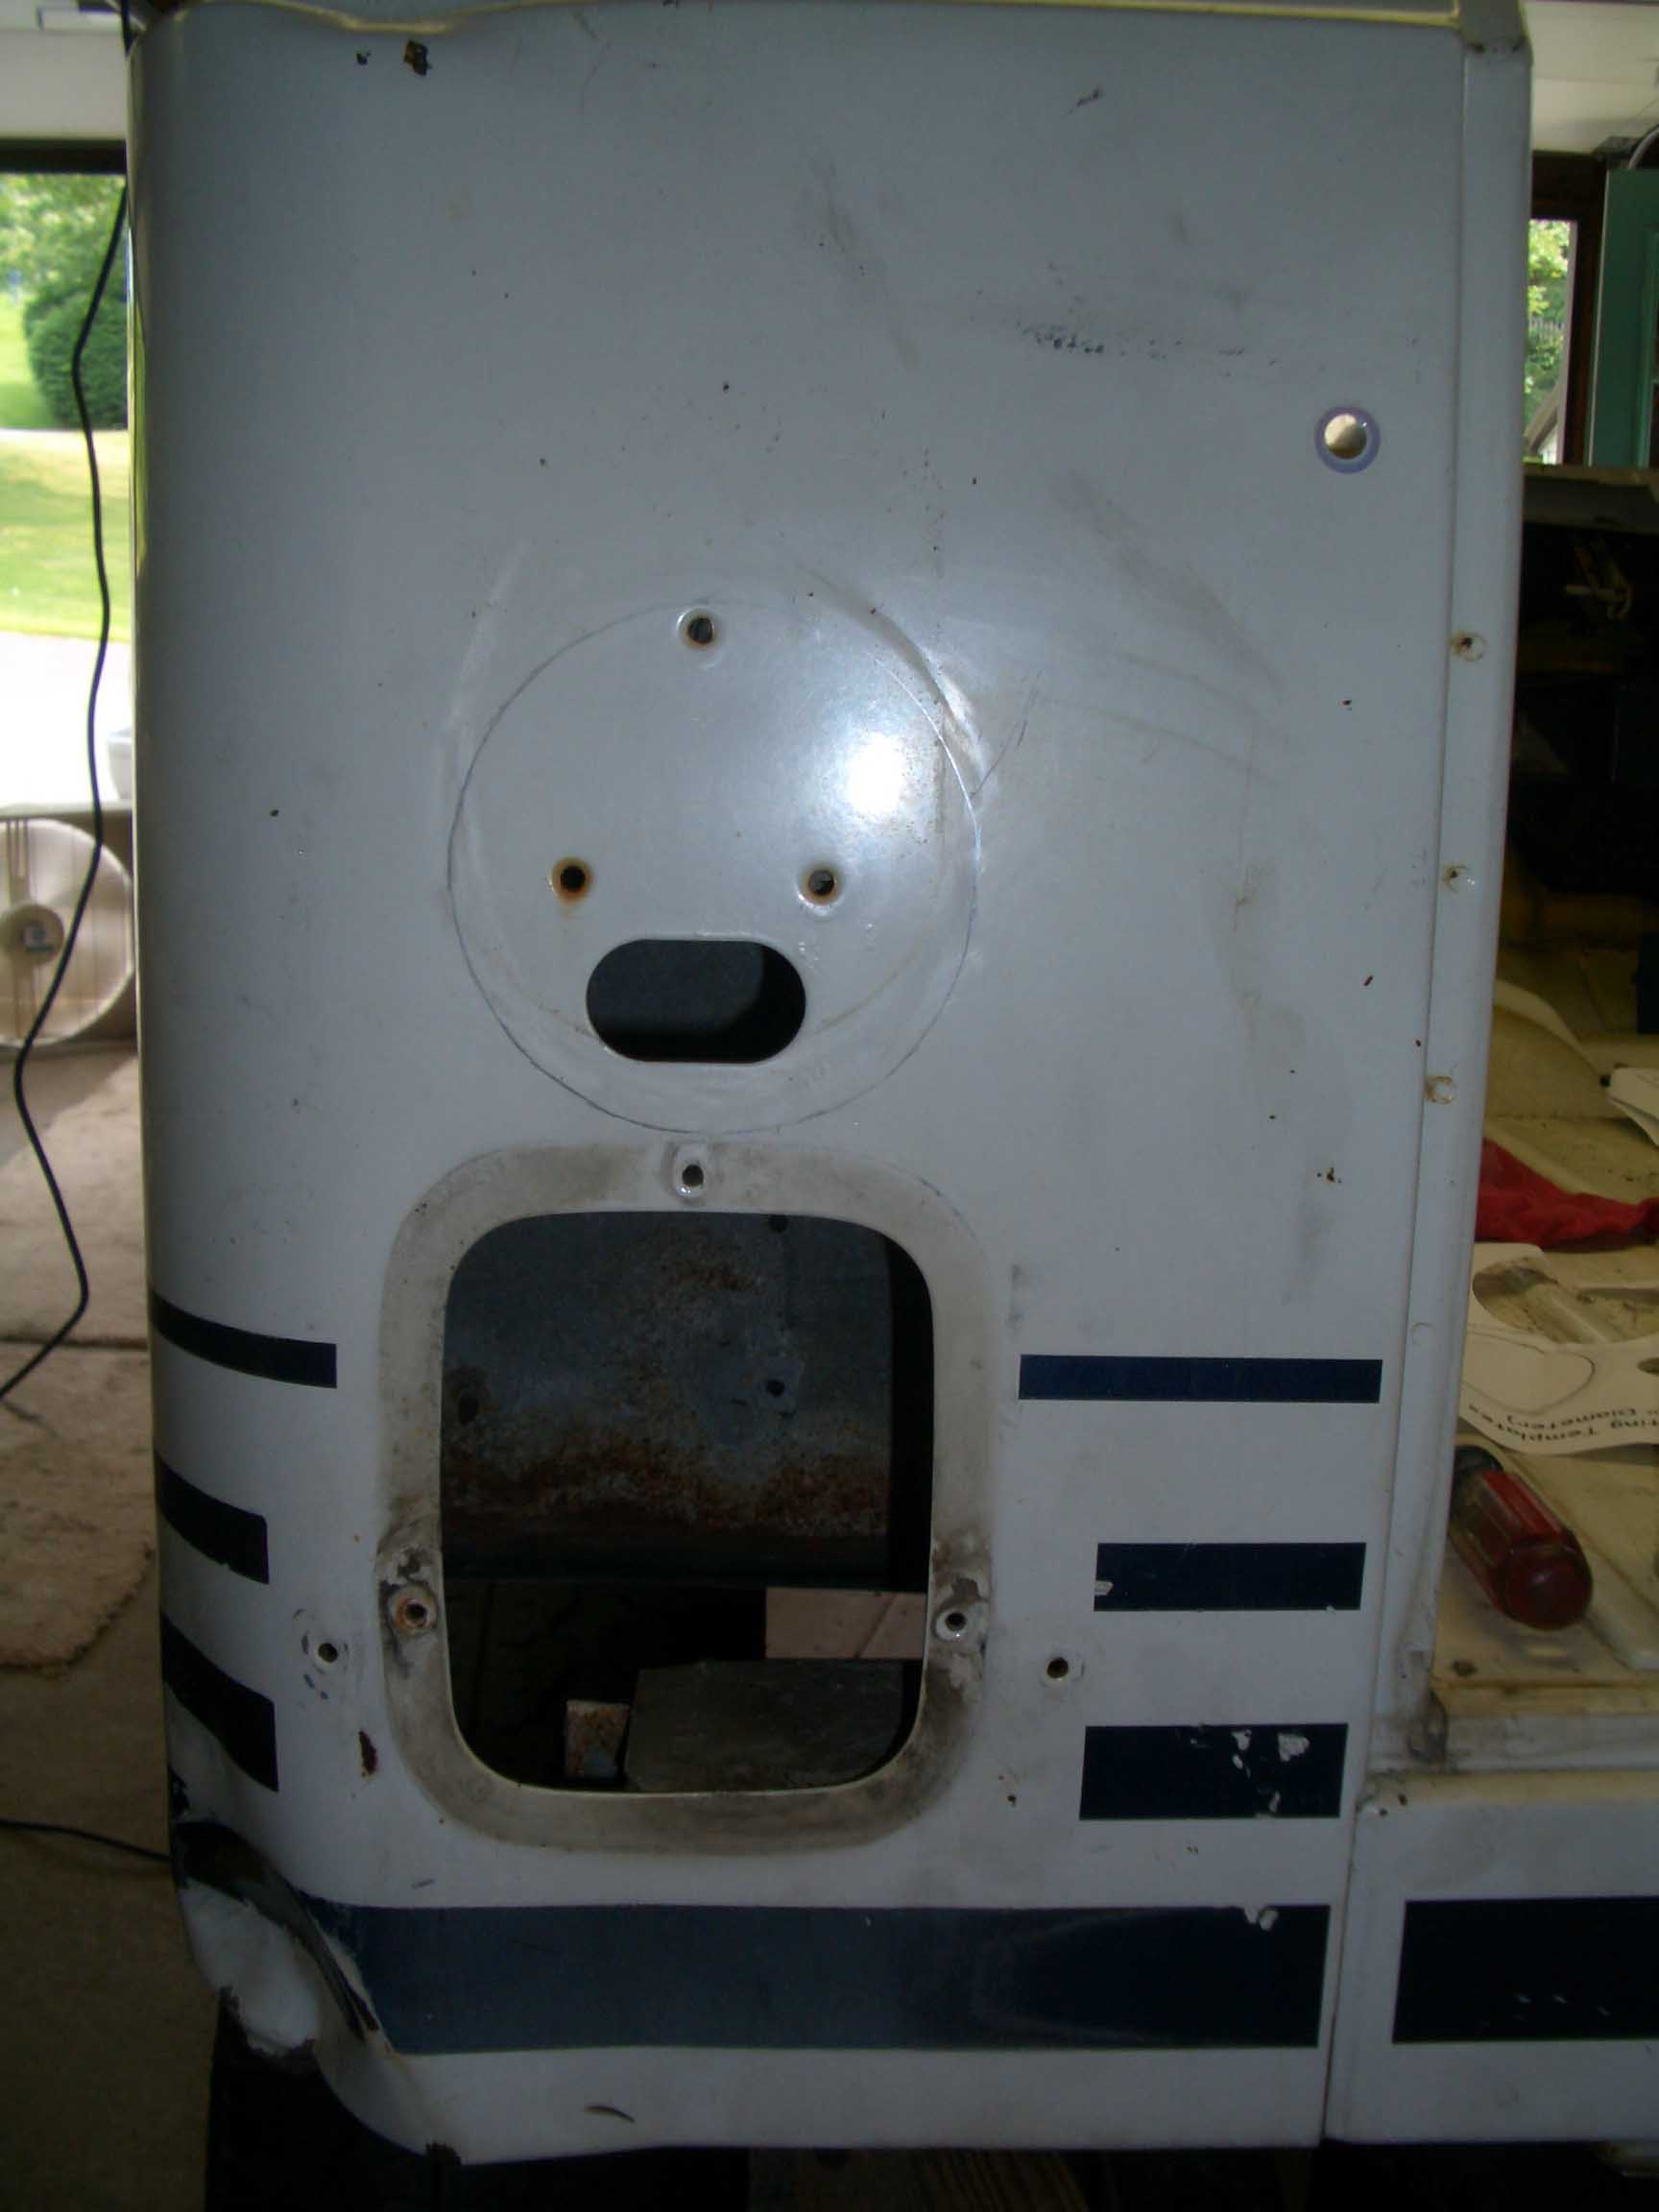
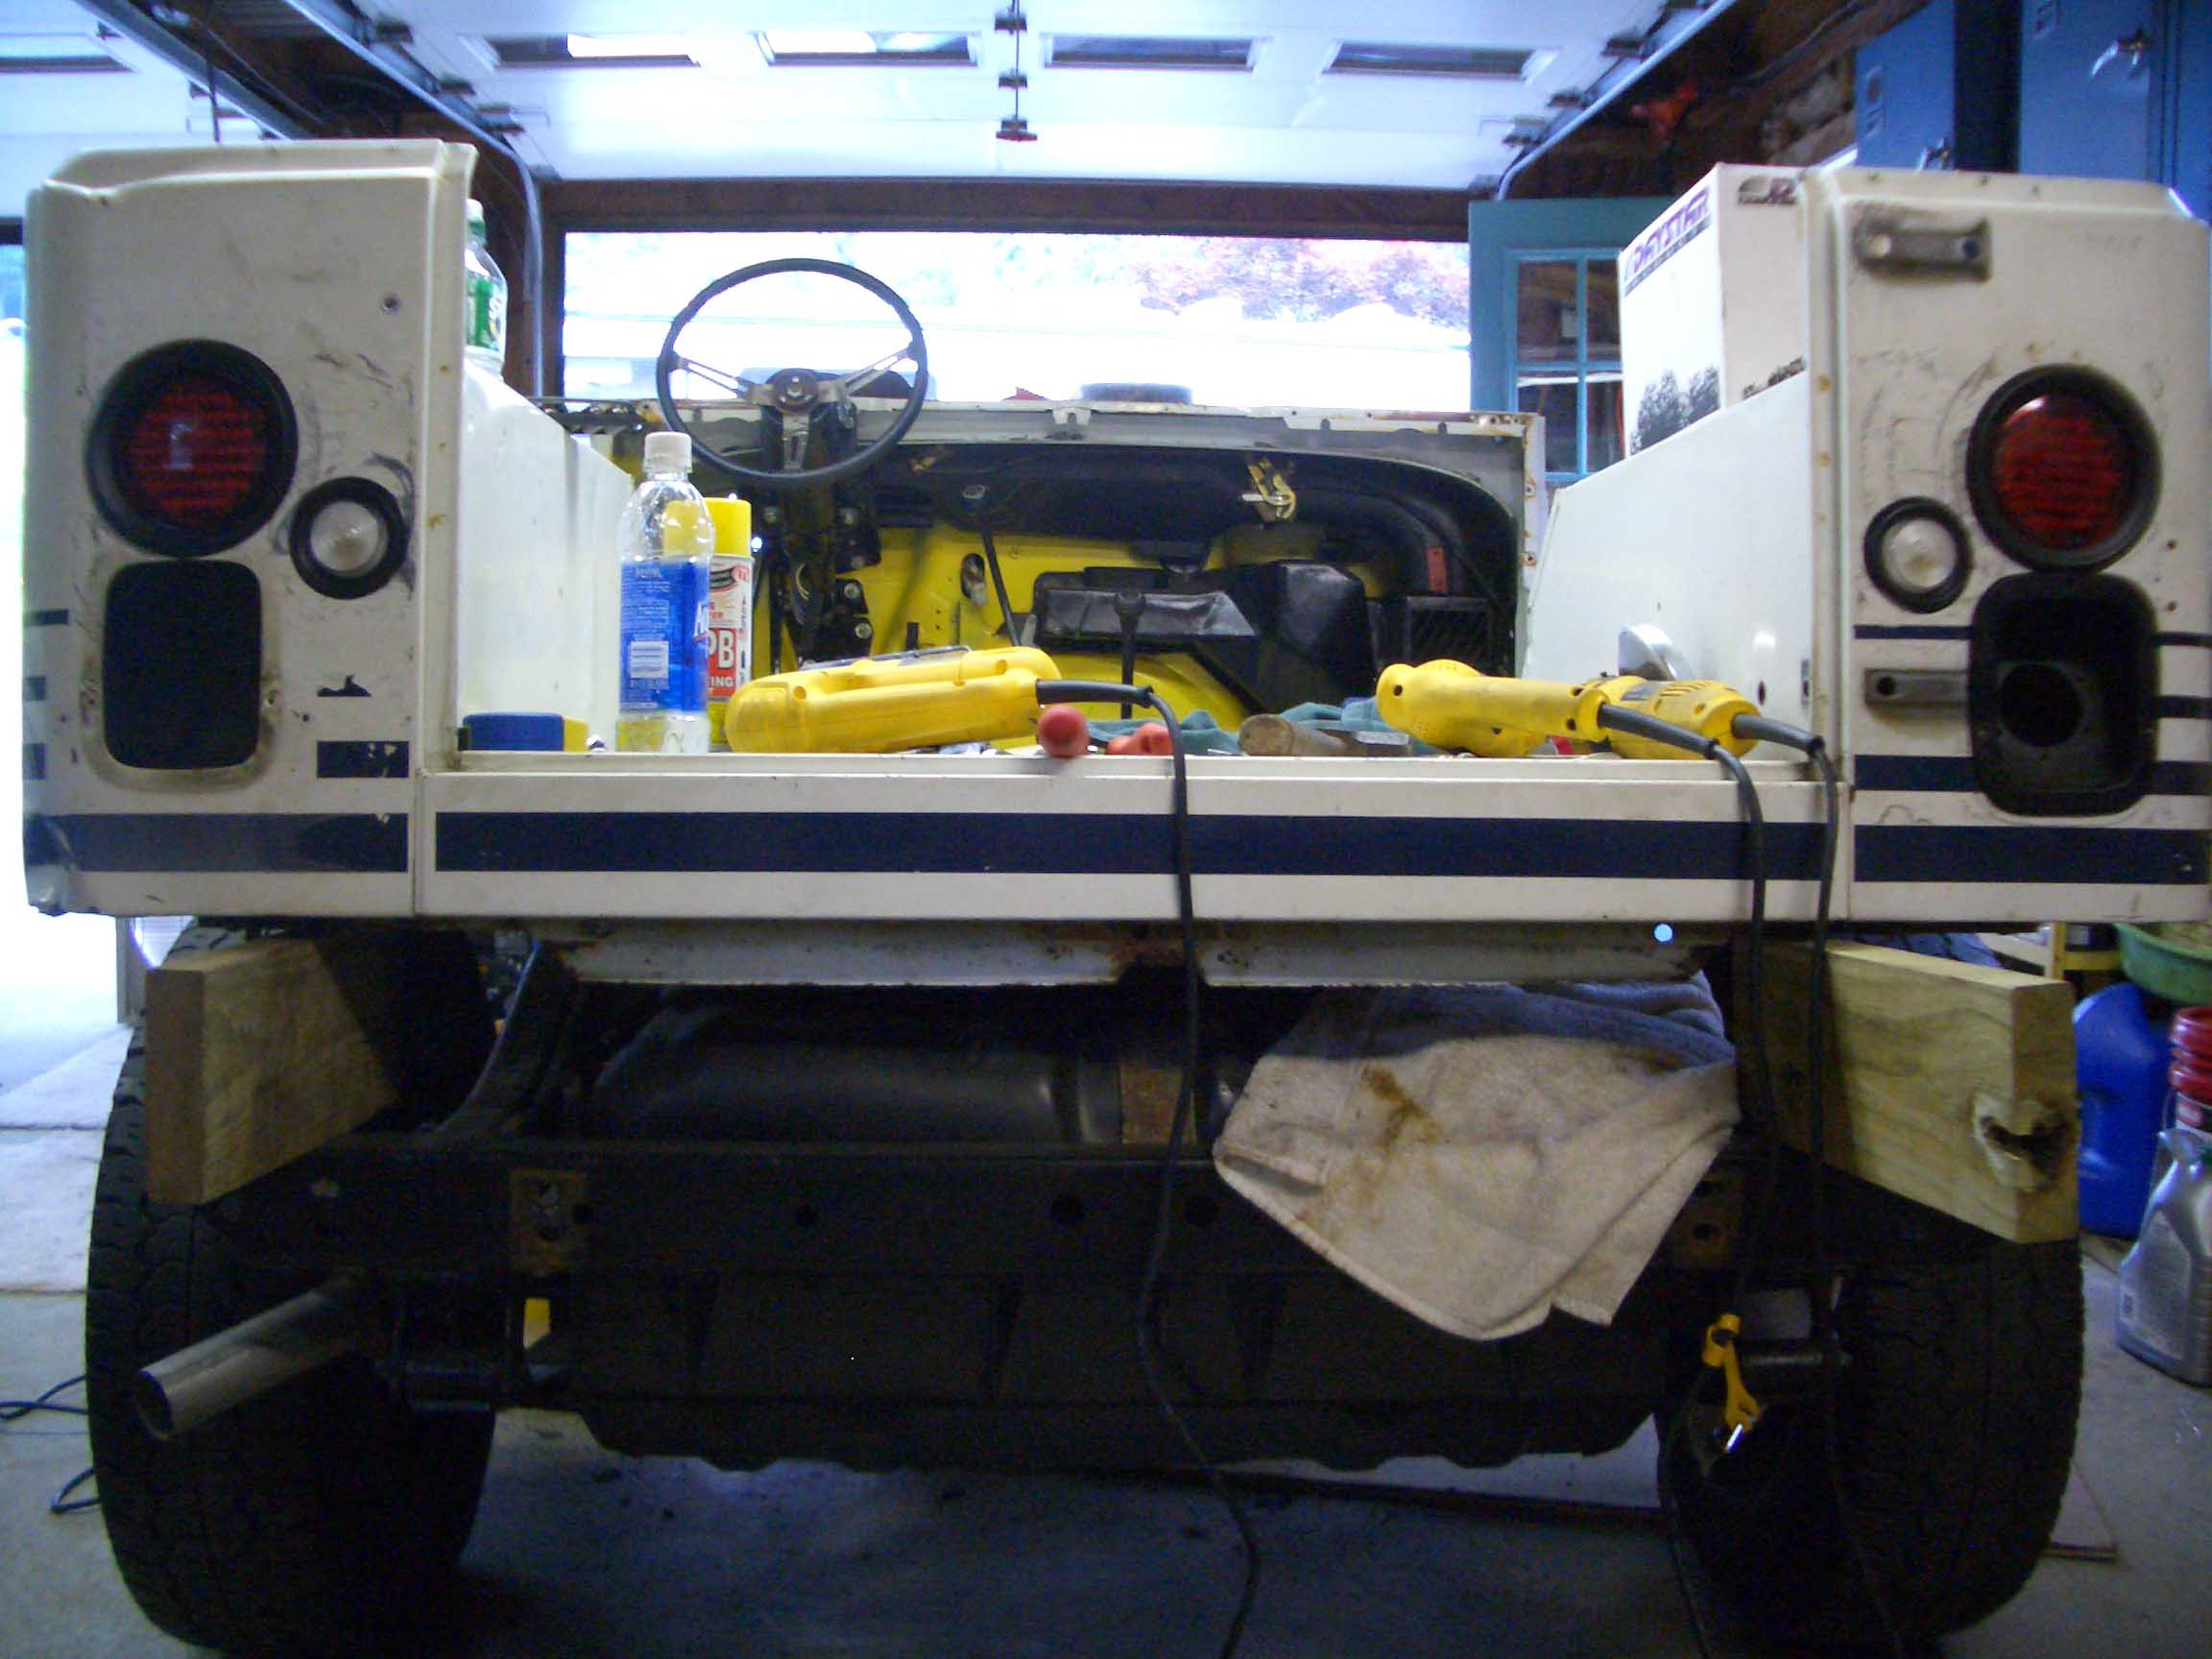
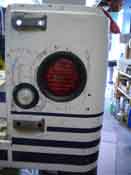
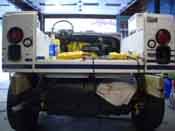
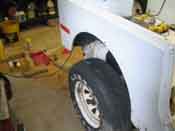
| More parts are heading out the door and more are being ordered. In the
meantime, we decided to cut the rear of the tub and put in new lights. A rear set of LED Brake lights
were fitted along with some reverse lights. In order to make this look more like a CJ, the gas filler
neck was moved to the other side. The YJ gas filler still needs to be filled in. Next, a CJ tailgate was
ordered. This isn't in yet, but when it comes in, holes will be put in place to have this look more
like it should.
|
| |
|
|
|
|
| |
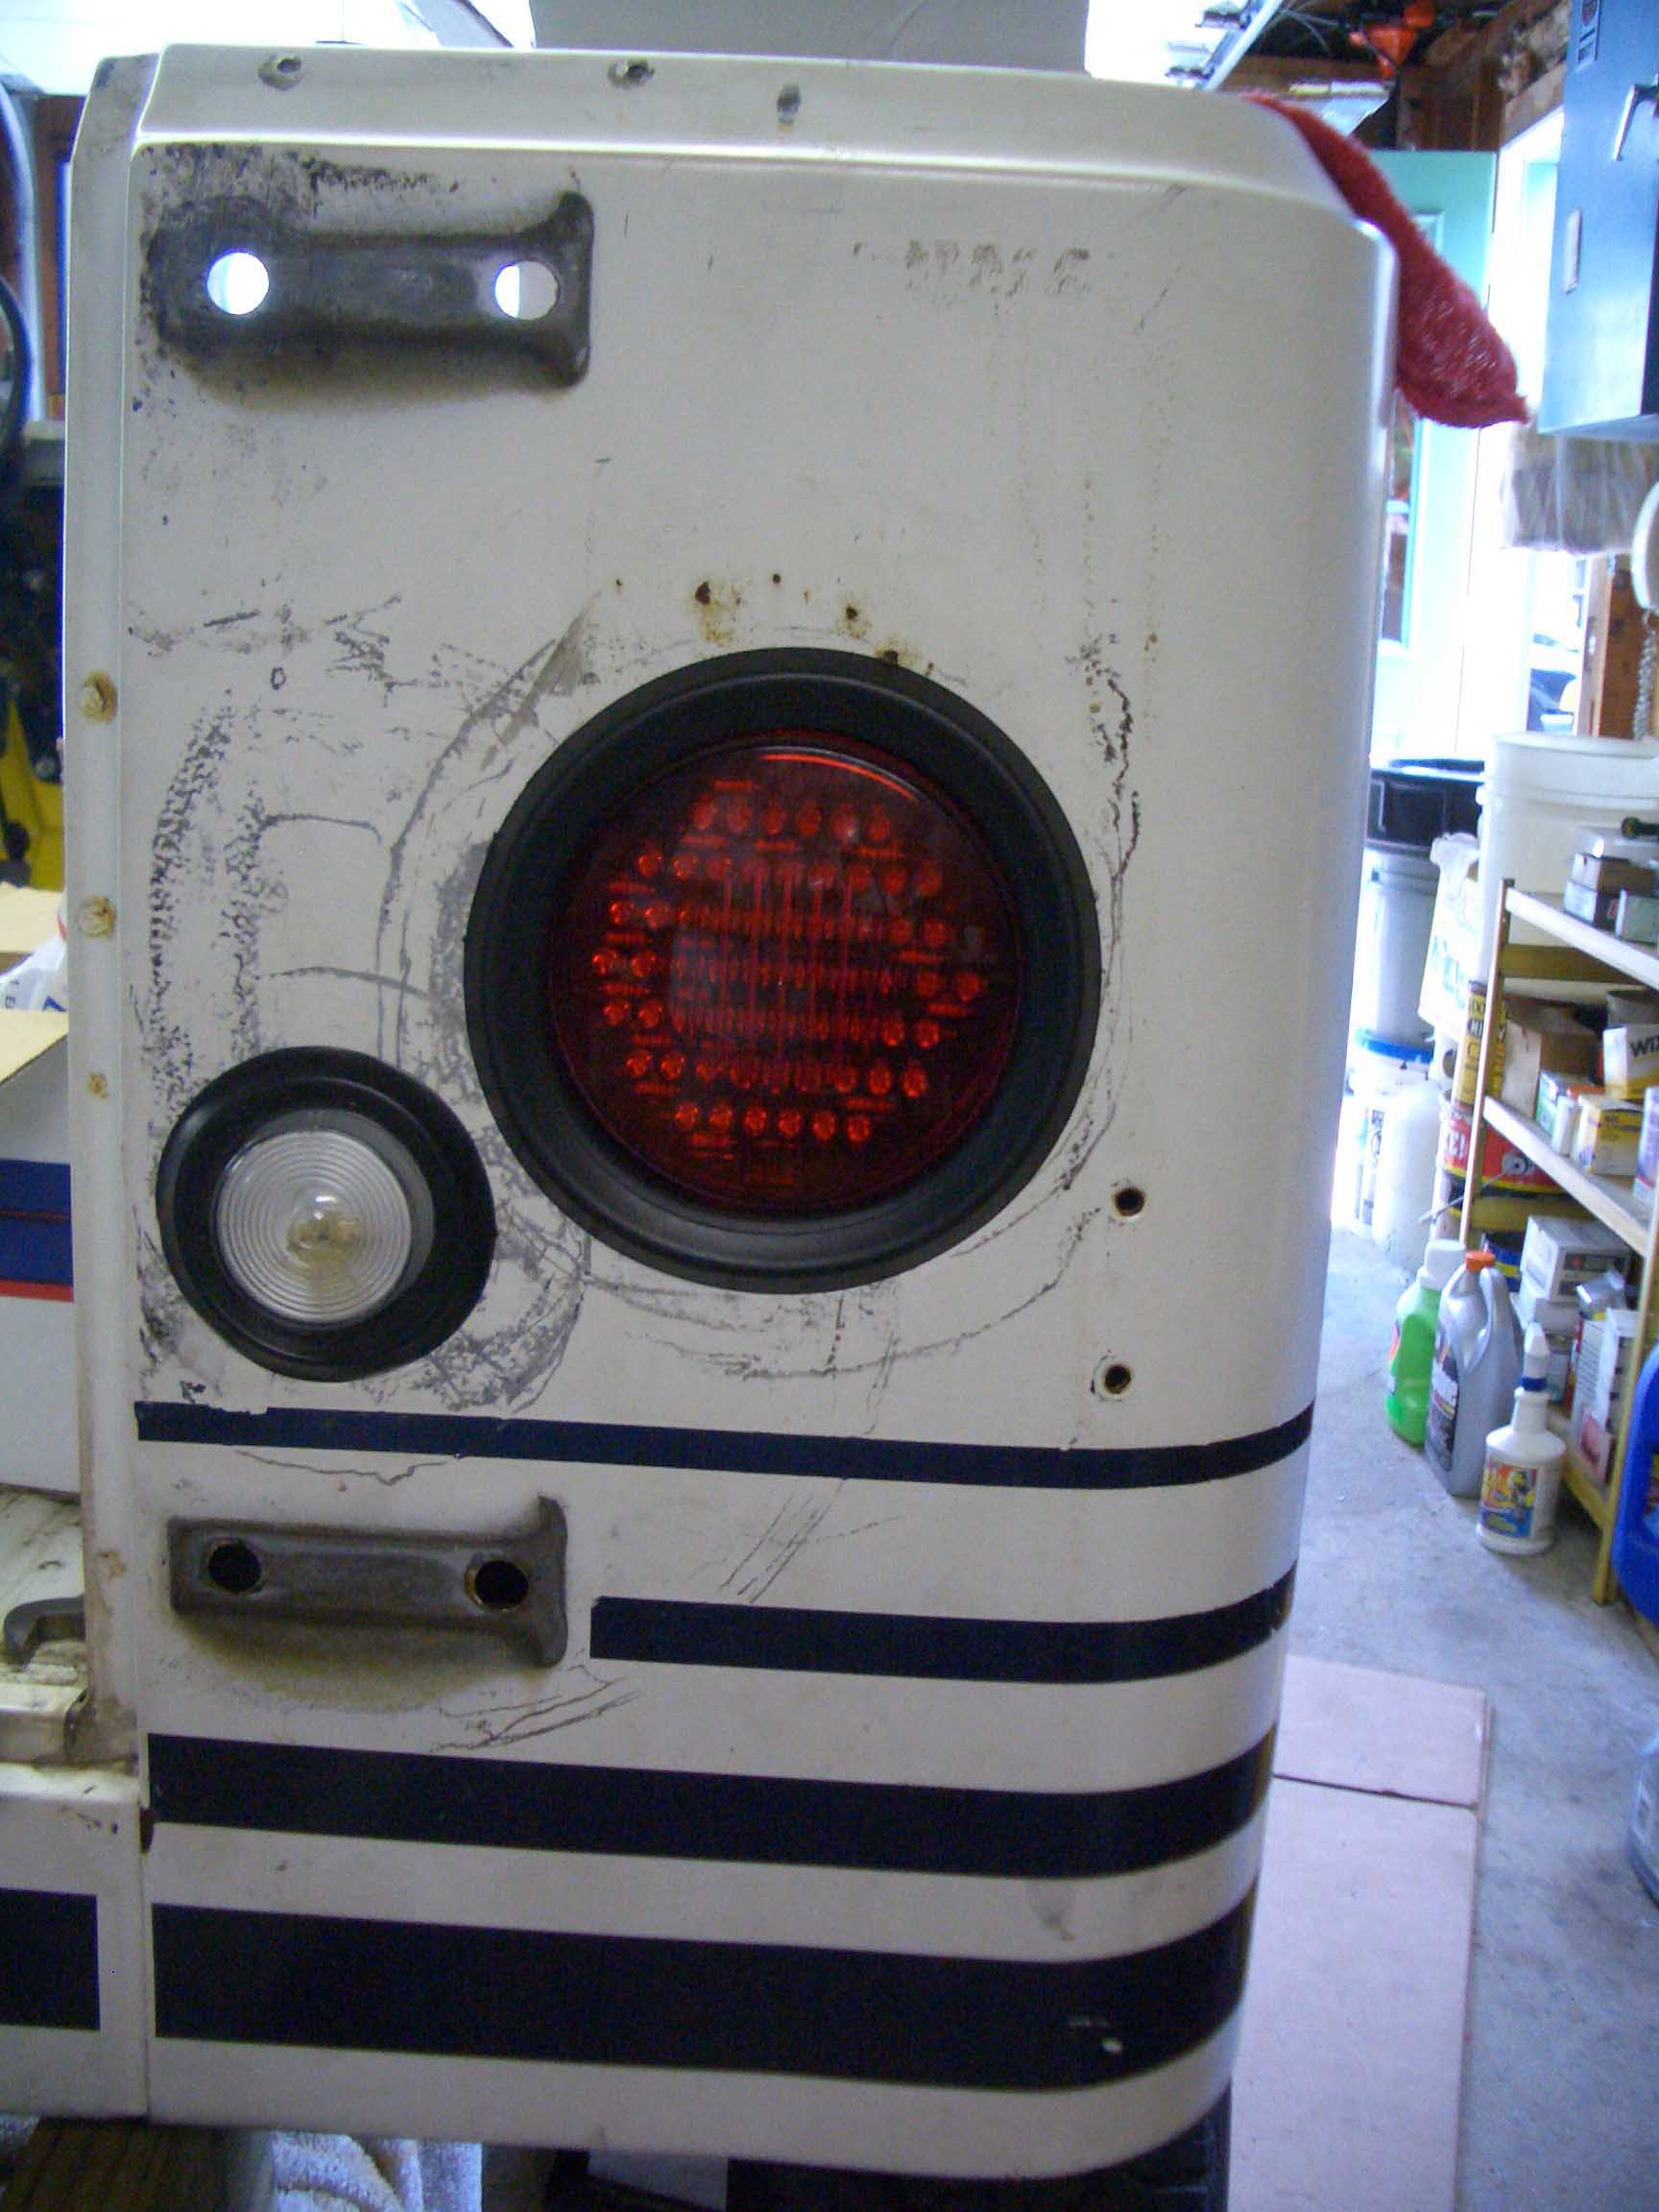
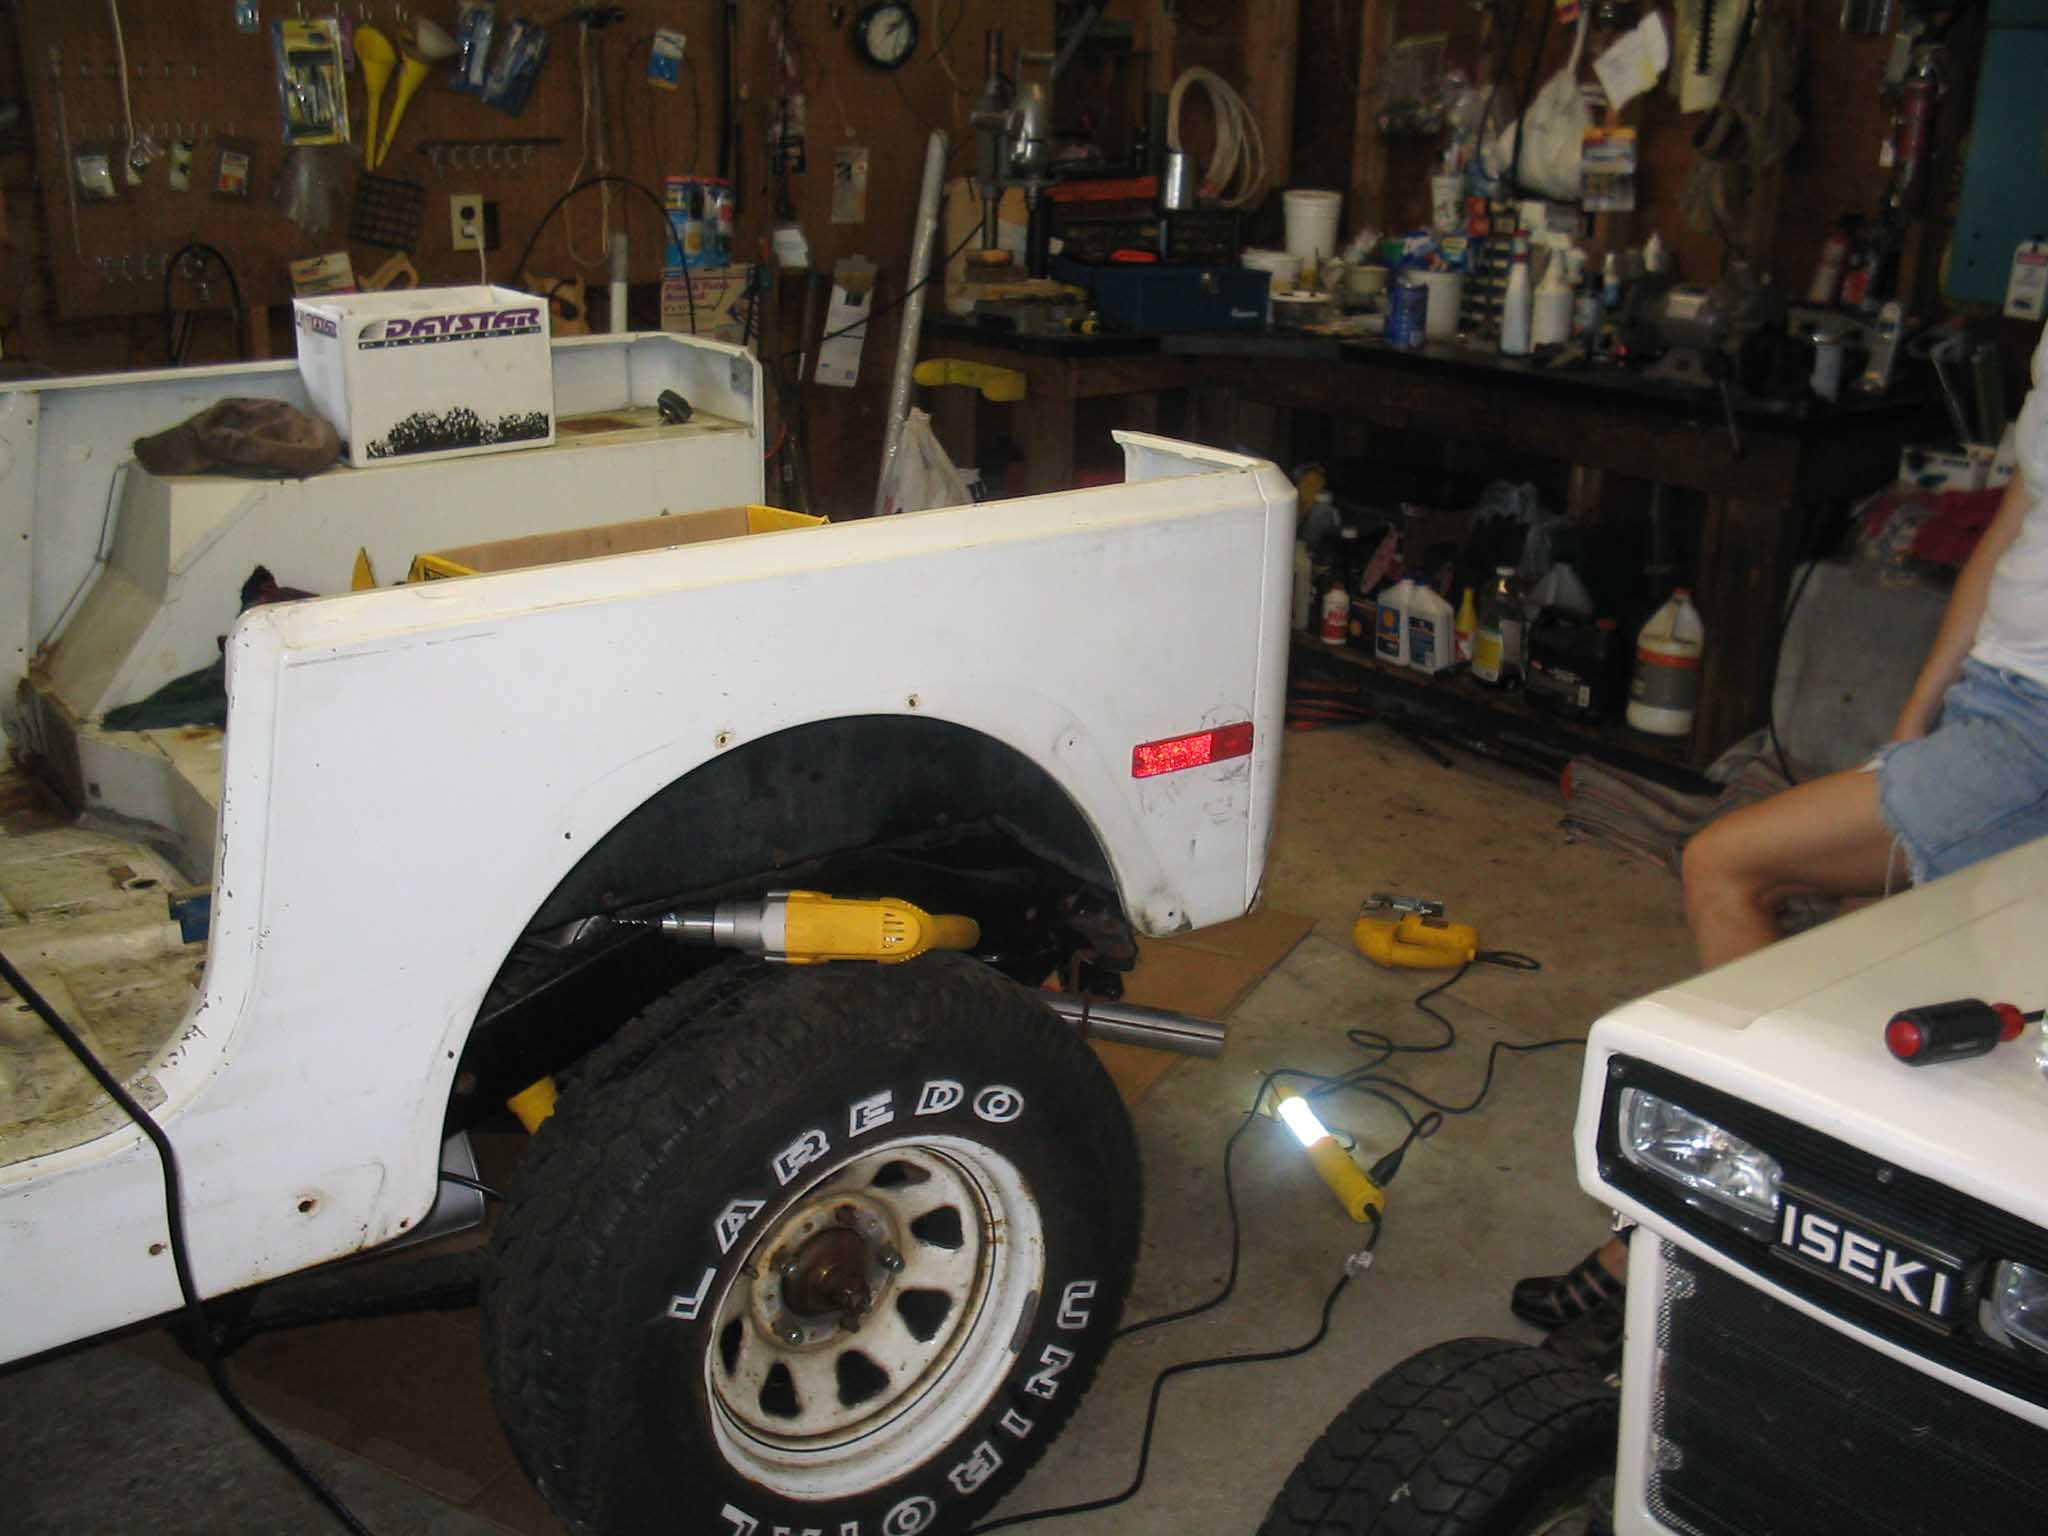
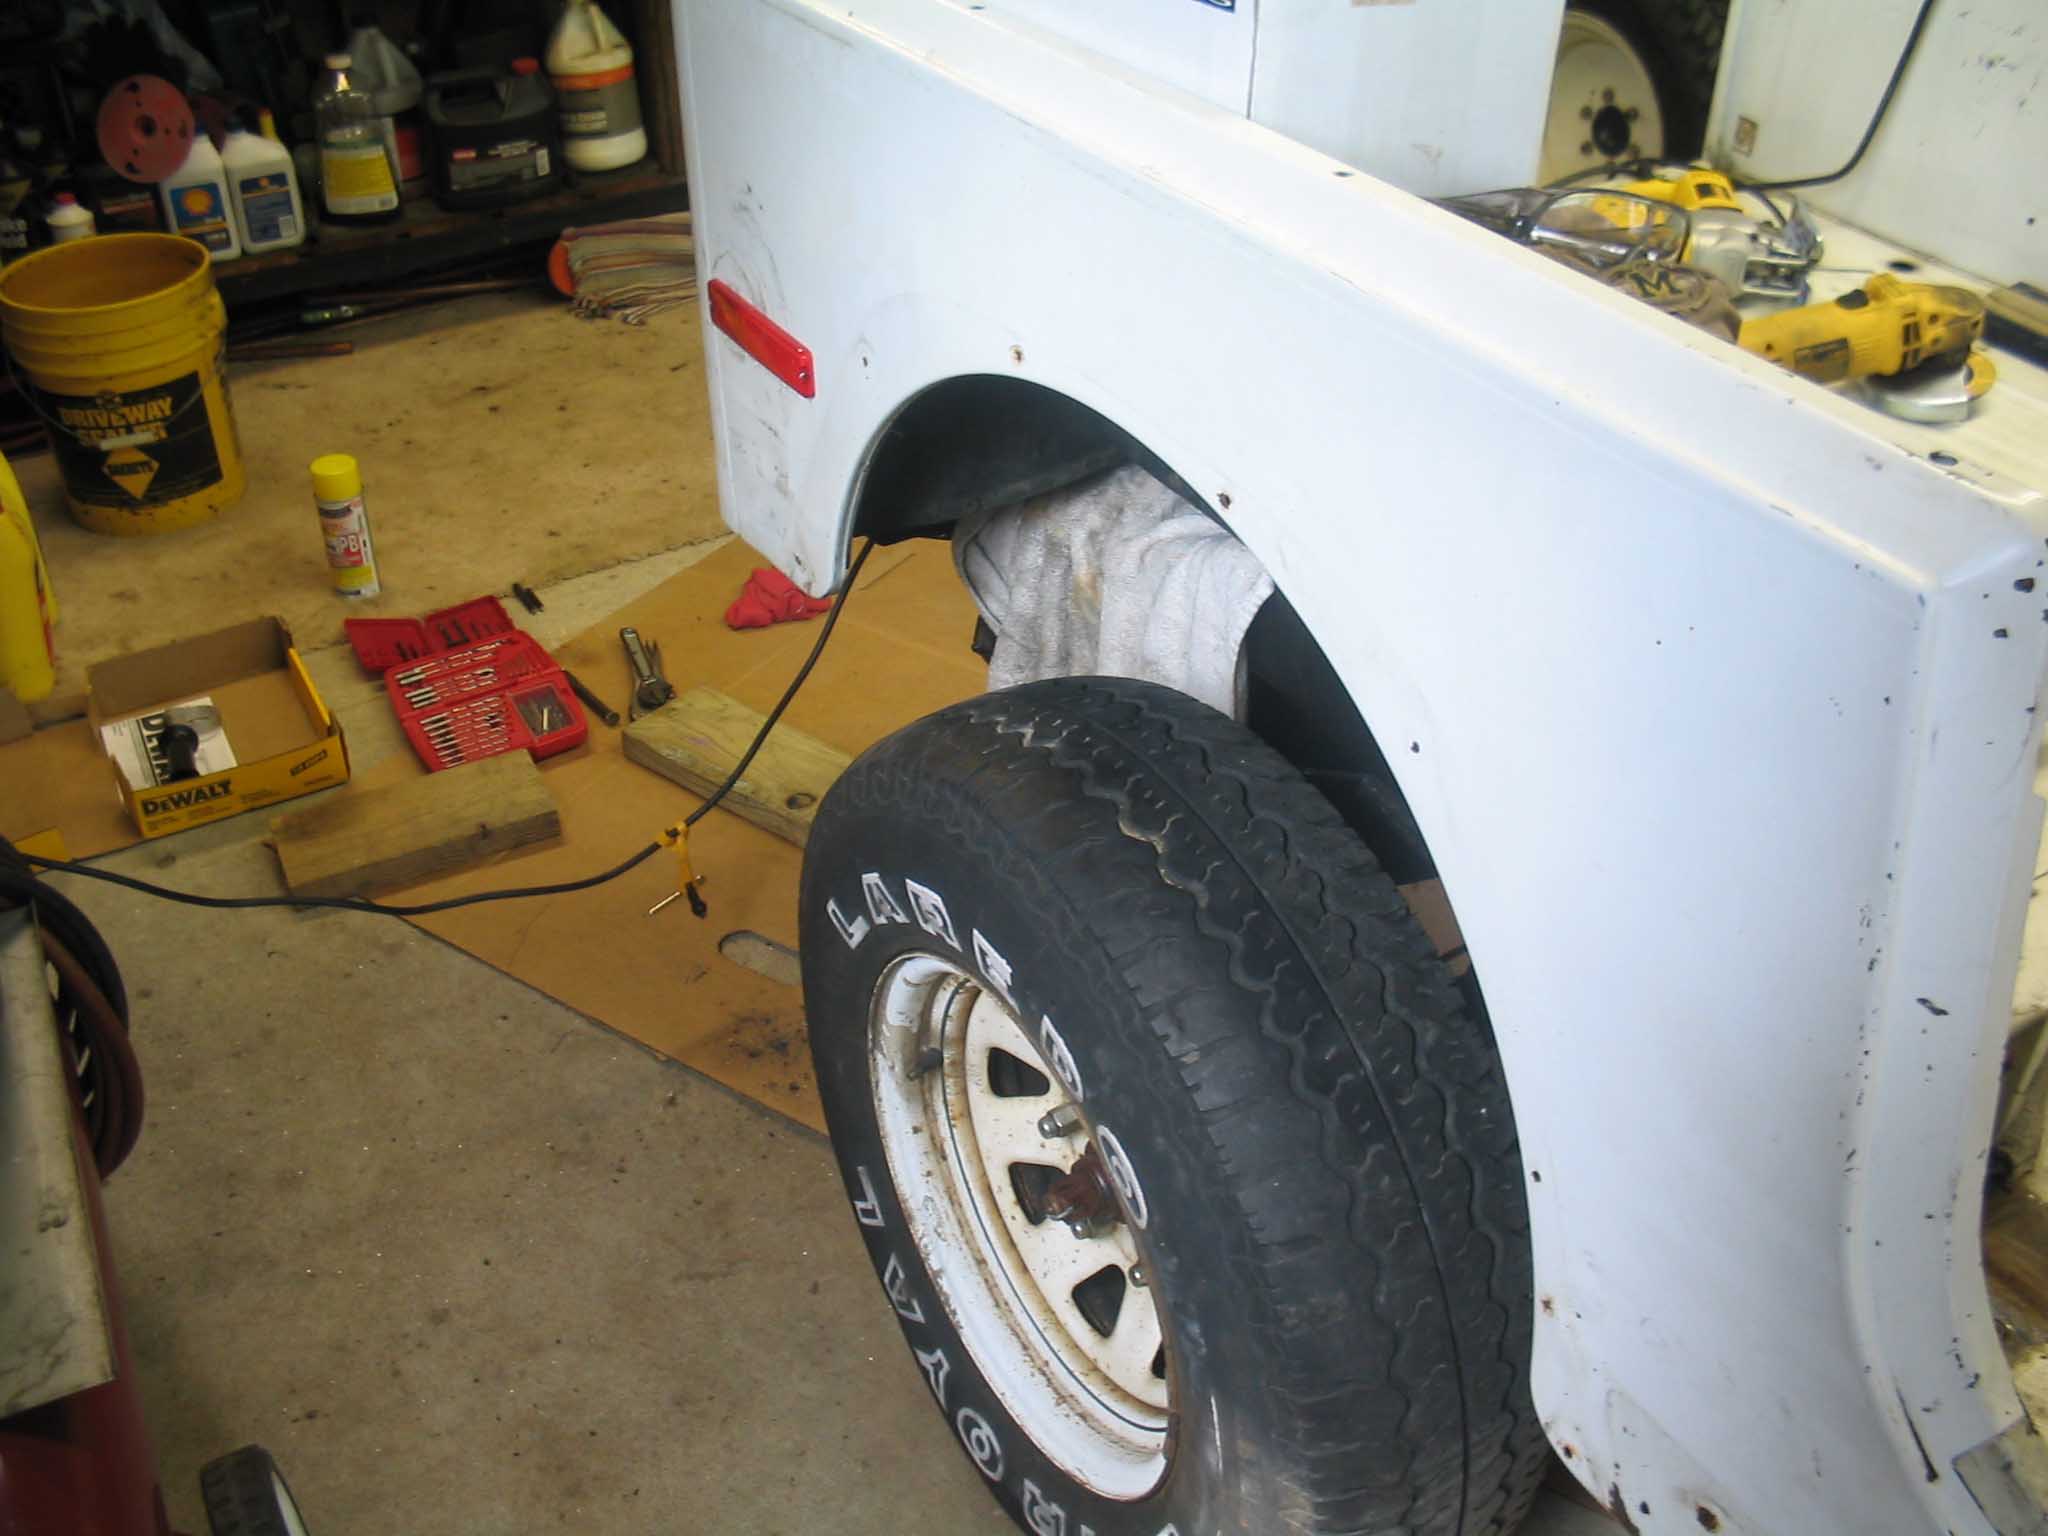
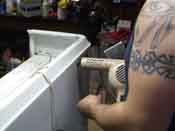
With the rear done, next was removing the YJ stickers. This was pretty
easy to do with a hair dryer and that allowed for the sticky stuff to be heated up for easy removal.
This is very important when it comes to the bodywork.
Next step in converting a YJ body was to put the rear marker lights in place to make it look more like a
CJ. This was done with putting in some holes for the light to pass through and drilling the holes for
the mounting hardware.
|
| |
|

|
|
|
| |
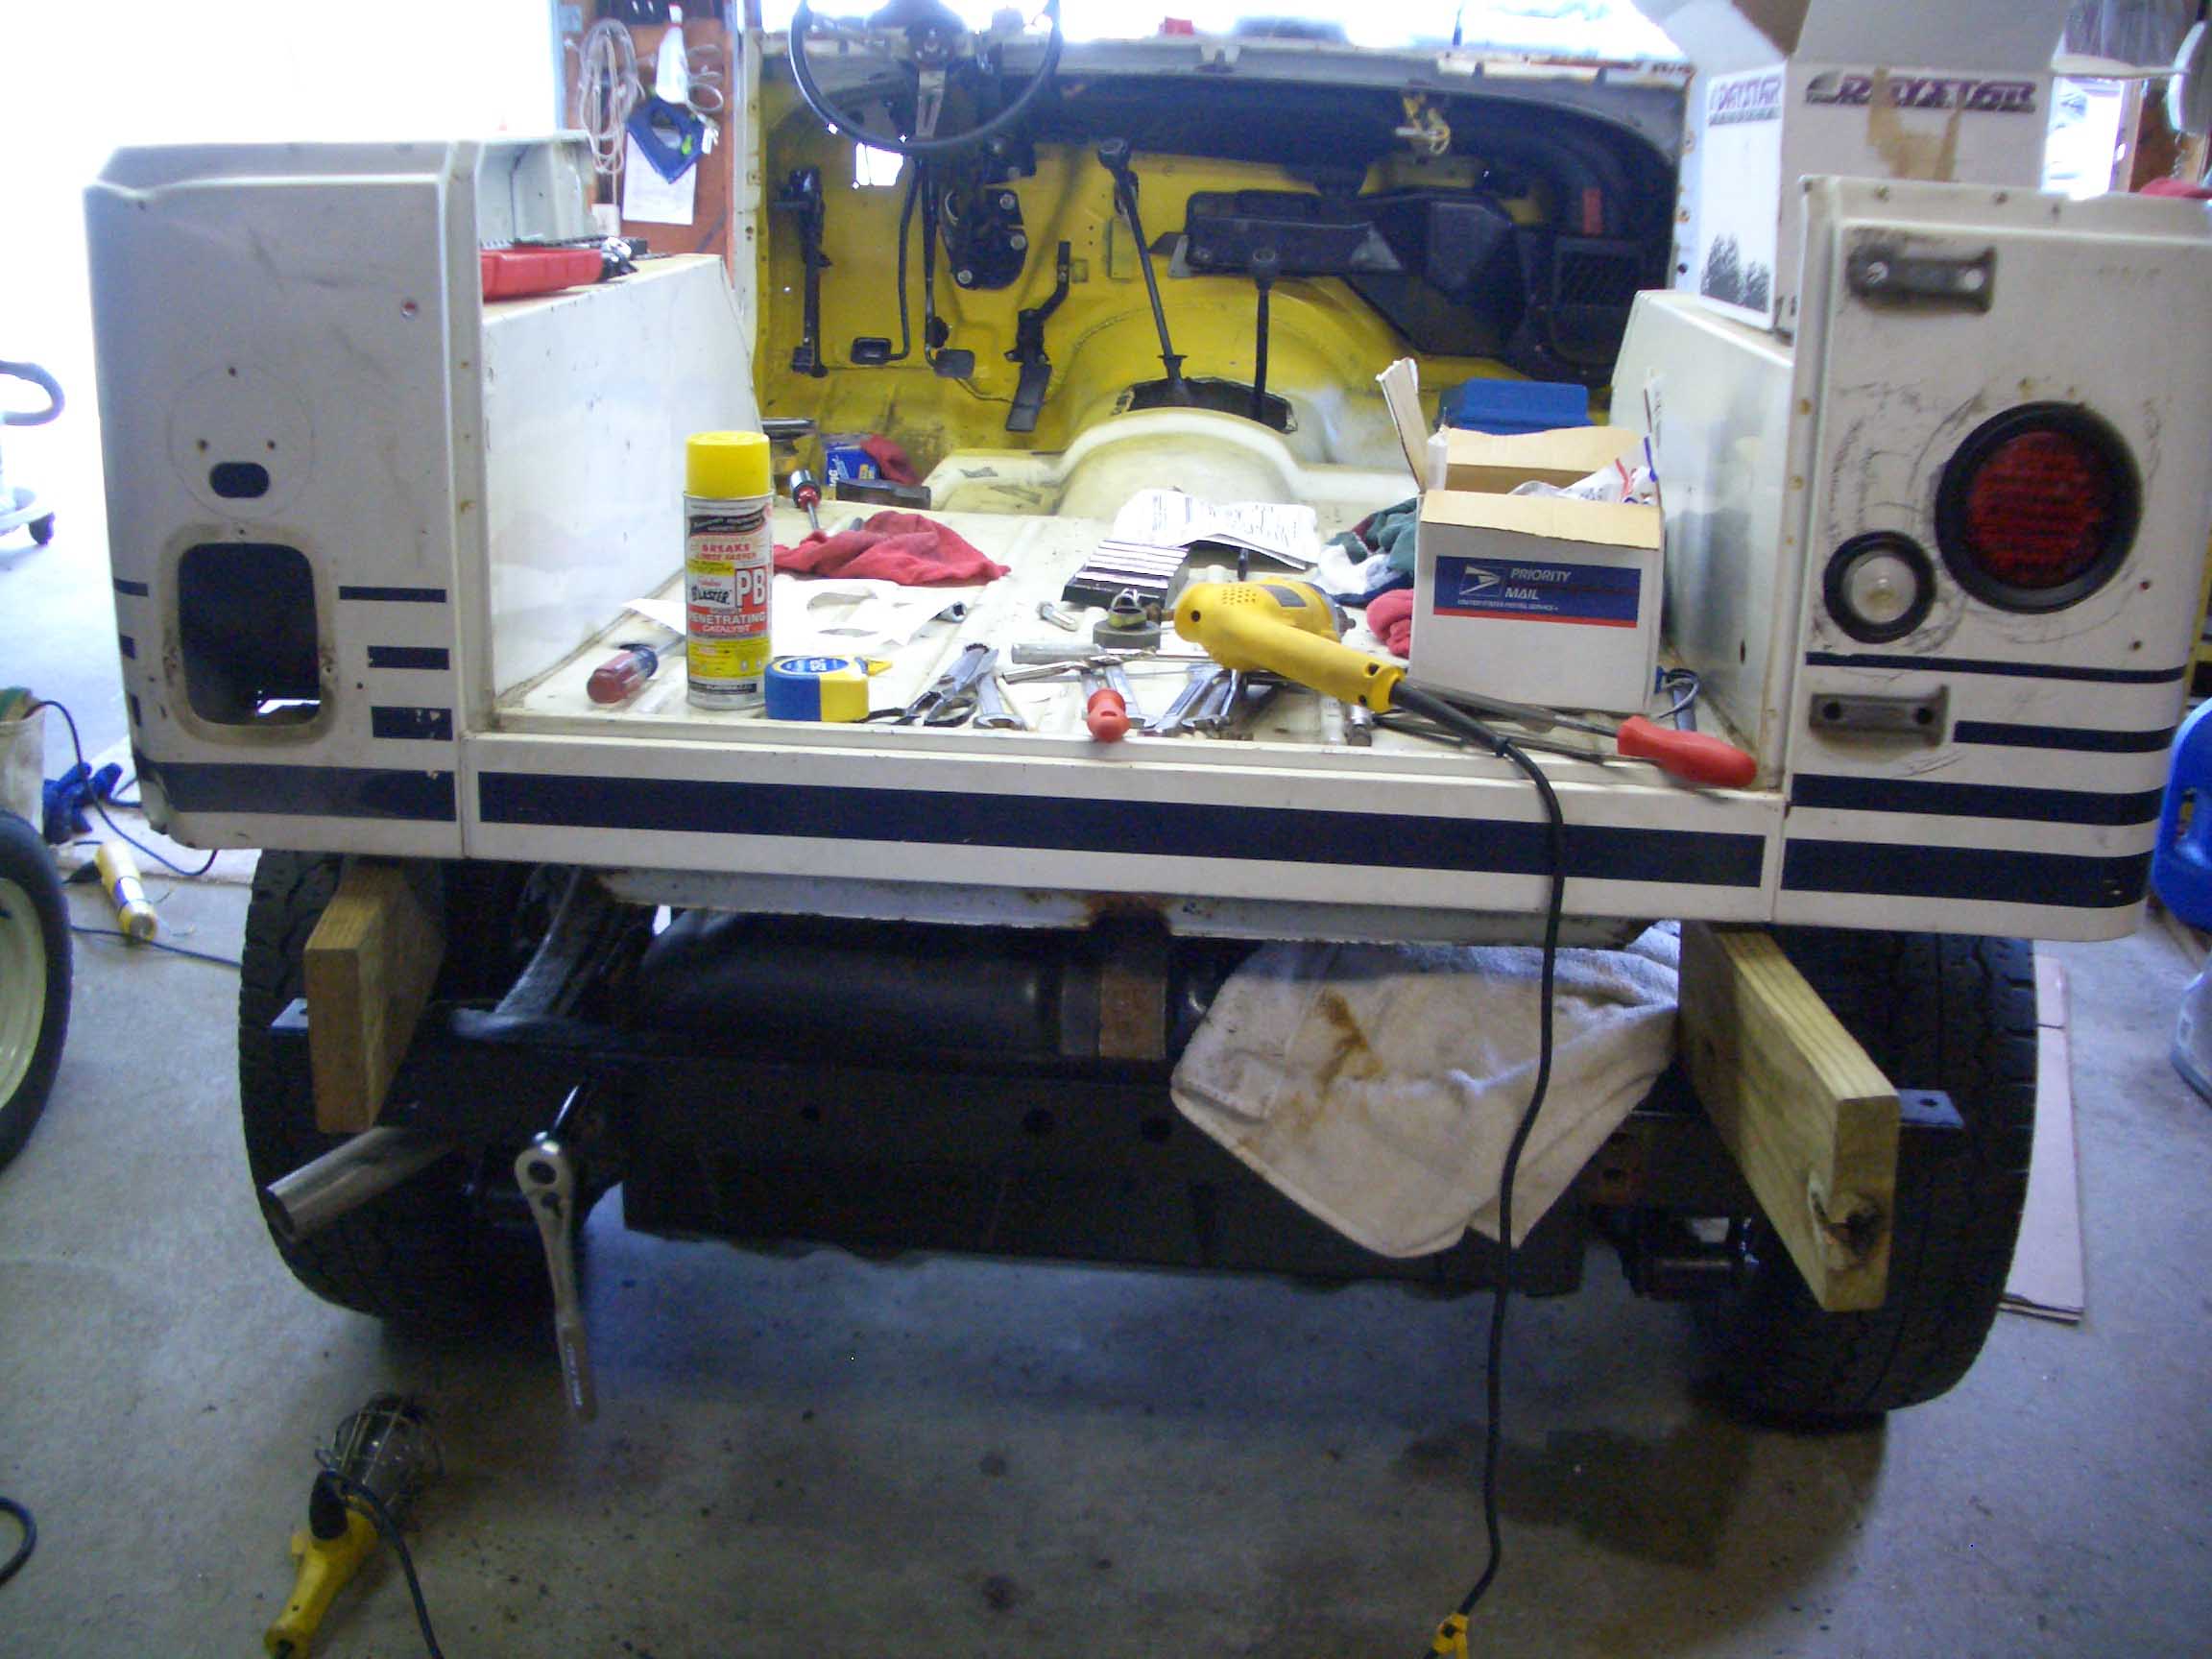
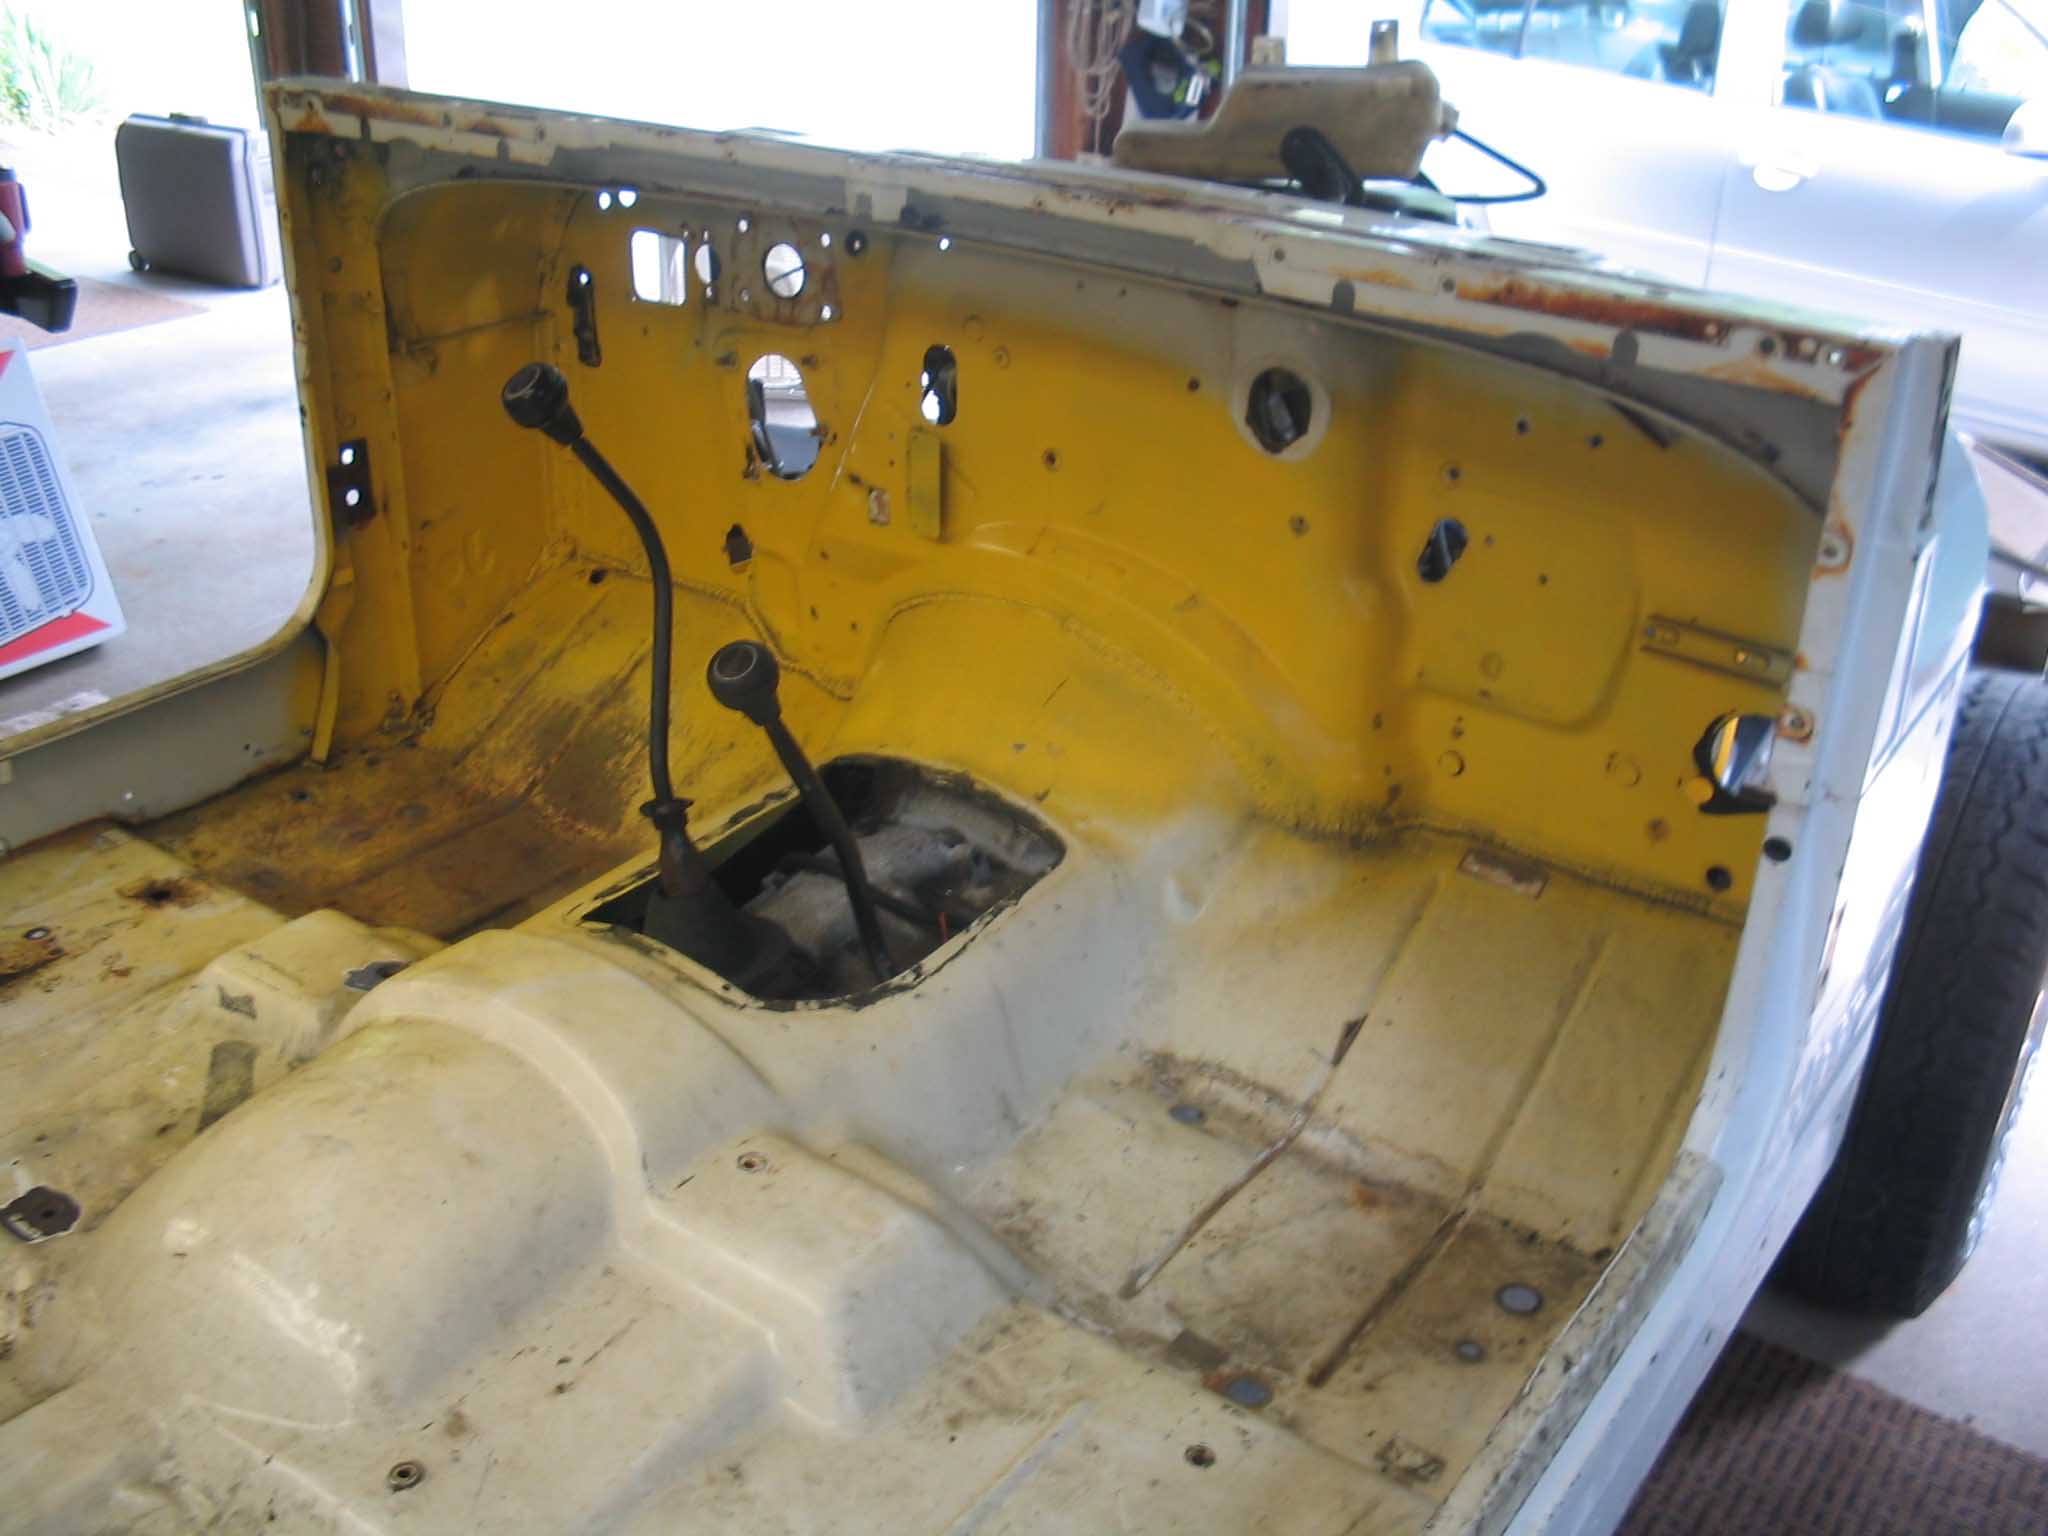
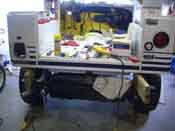
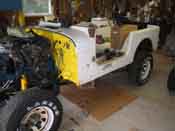
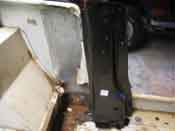
Finally, in preparation of having to remove the frame horns to move them
to the correct place, the installation of the new CJ tailgate, the CJ cowl (defroster) and finally the rear
mounting holes, the body was cleared of all internal stuff so the body can be taken off to work on it a
little easier. As you can see, the project is nowhere near where we started with it.
There were a few surprises along the way. The typical broken bolts are really adding up as well as being
told that the "yellow" paint was followed all the way up inside the Jeep. This wasn't entirely true. A
set of CJ fender flares needs to be ordered as well to complete the outside fabrication on the Jeep.
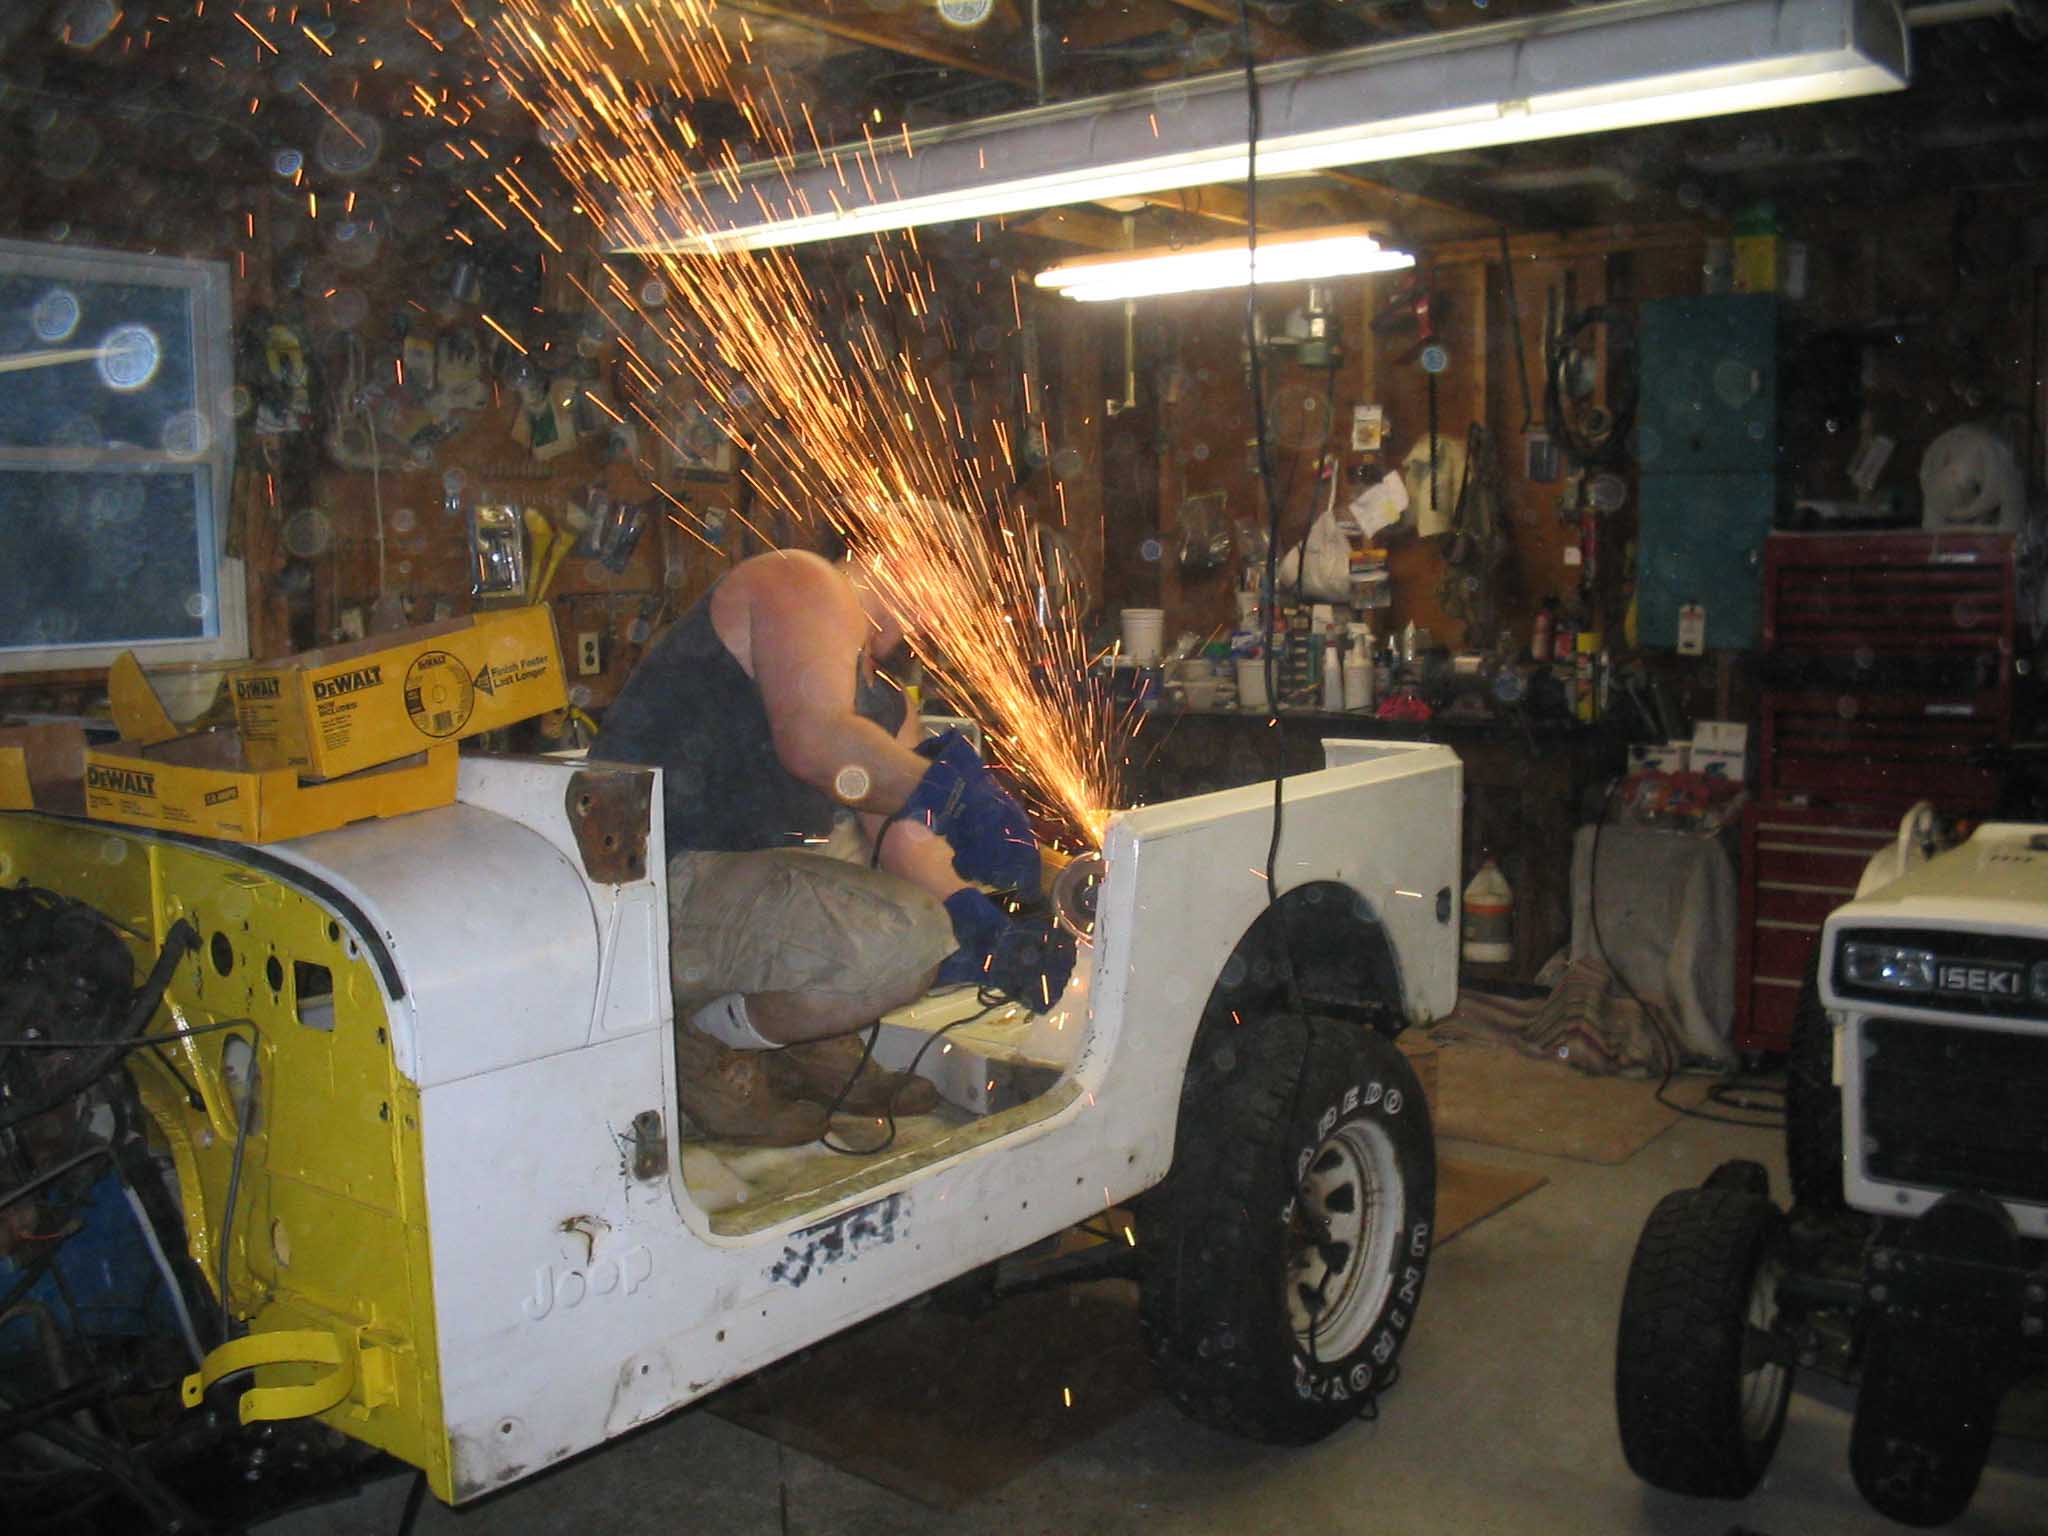
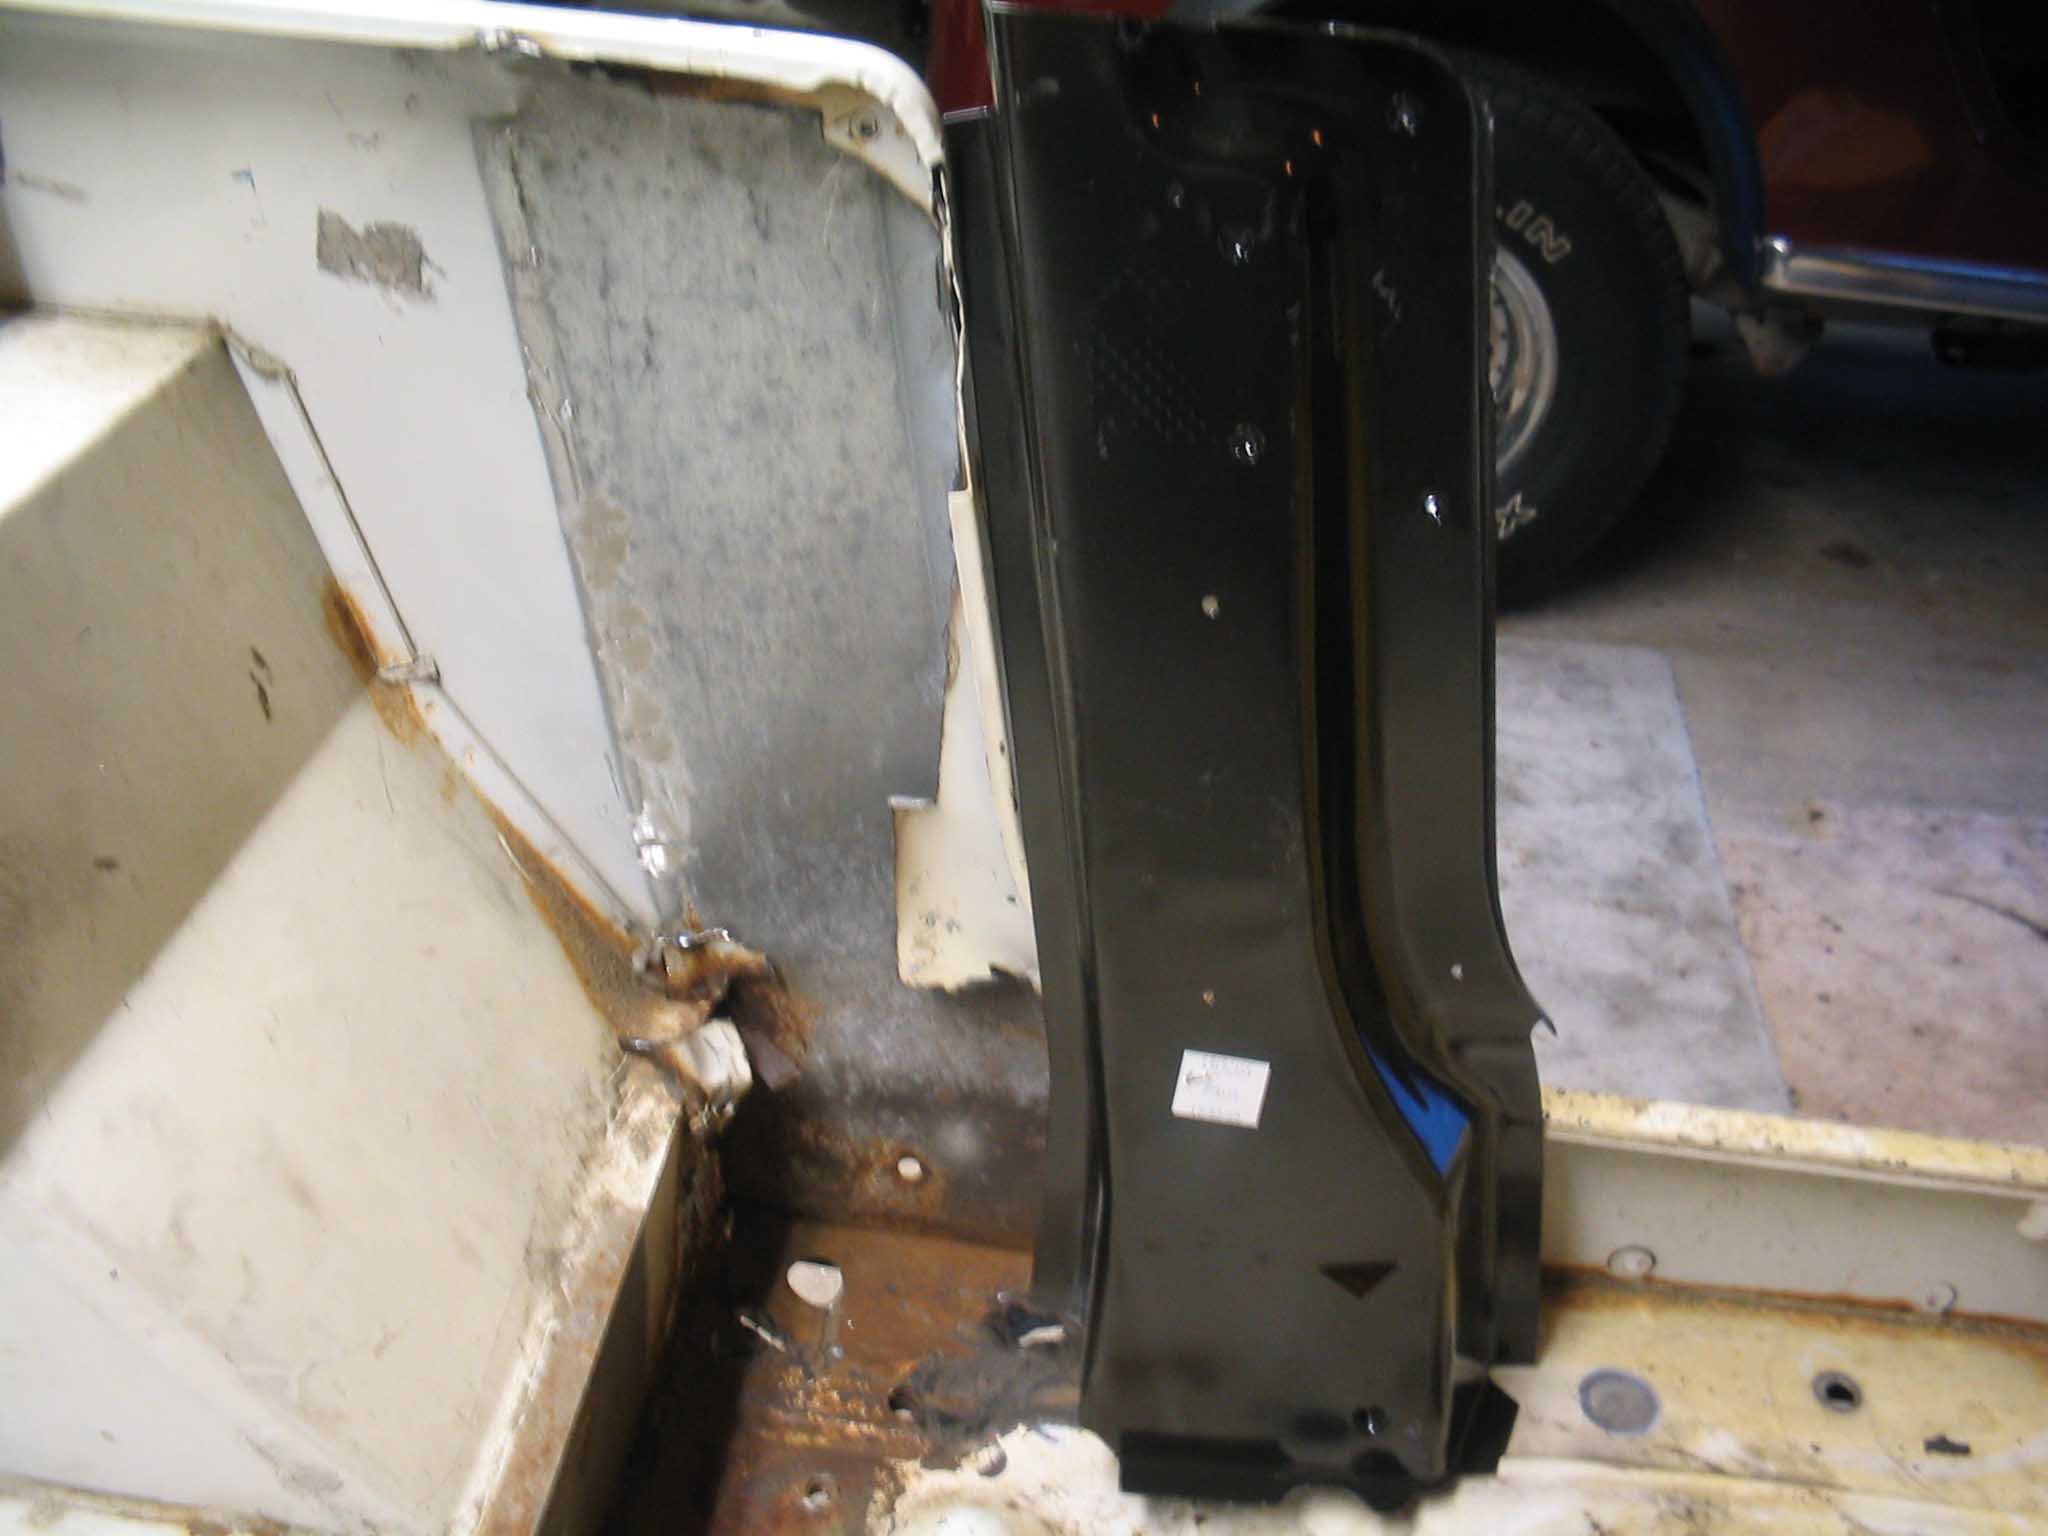
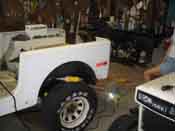
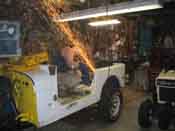
So, the seatbelt support had some rust on the bottom of it, so the spot welds were drilled out and some
grinding ensued and then the new piece is being fit in place. This is a time consuming process since the
old stuff for the most part was solid and the rust areas were not that bad, only at the bottom. In
retrospect, I probably should have only removed the bottom piece and welded it in. This is a lot of cutting,
but the action shot is pretty cool...
|
| |
| << Previous |
Next >> |
|