|
|
| Third Project Build-up - part #6 |
| |
|
1
2
3
4
5
6
7
8
9
10
11
12
13
14
15
16
17
18
19
20
21
22
23
|
| |
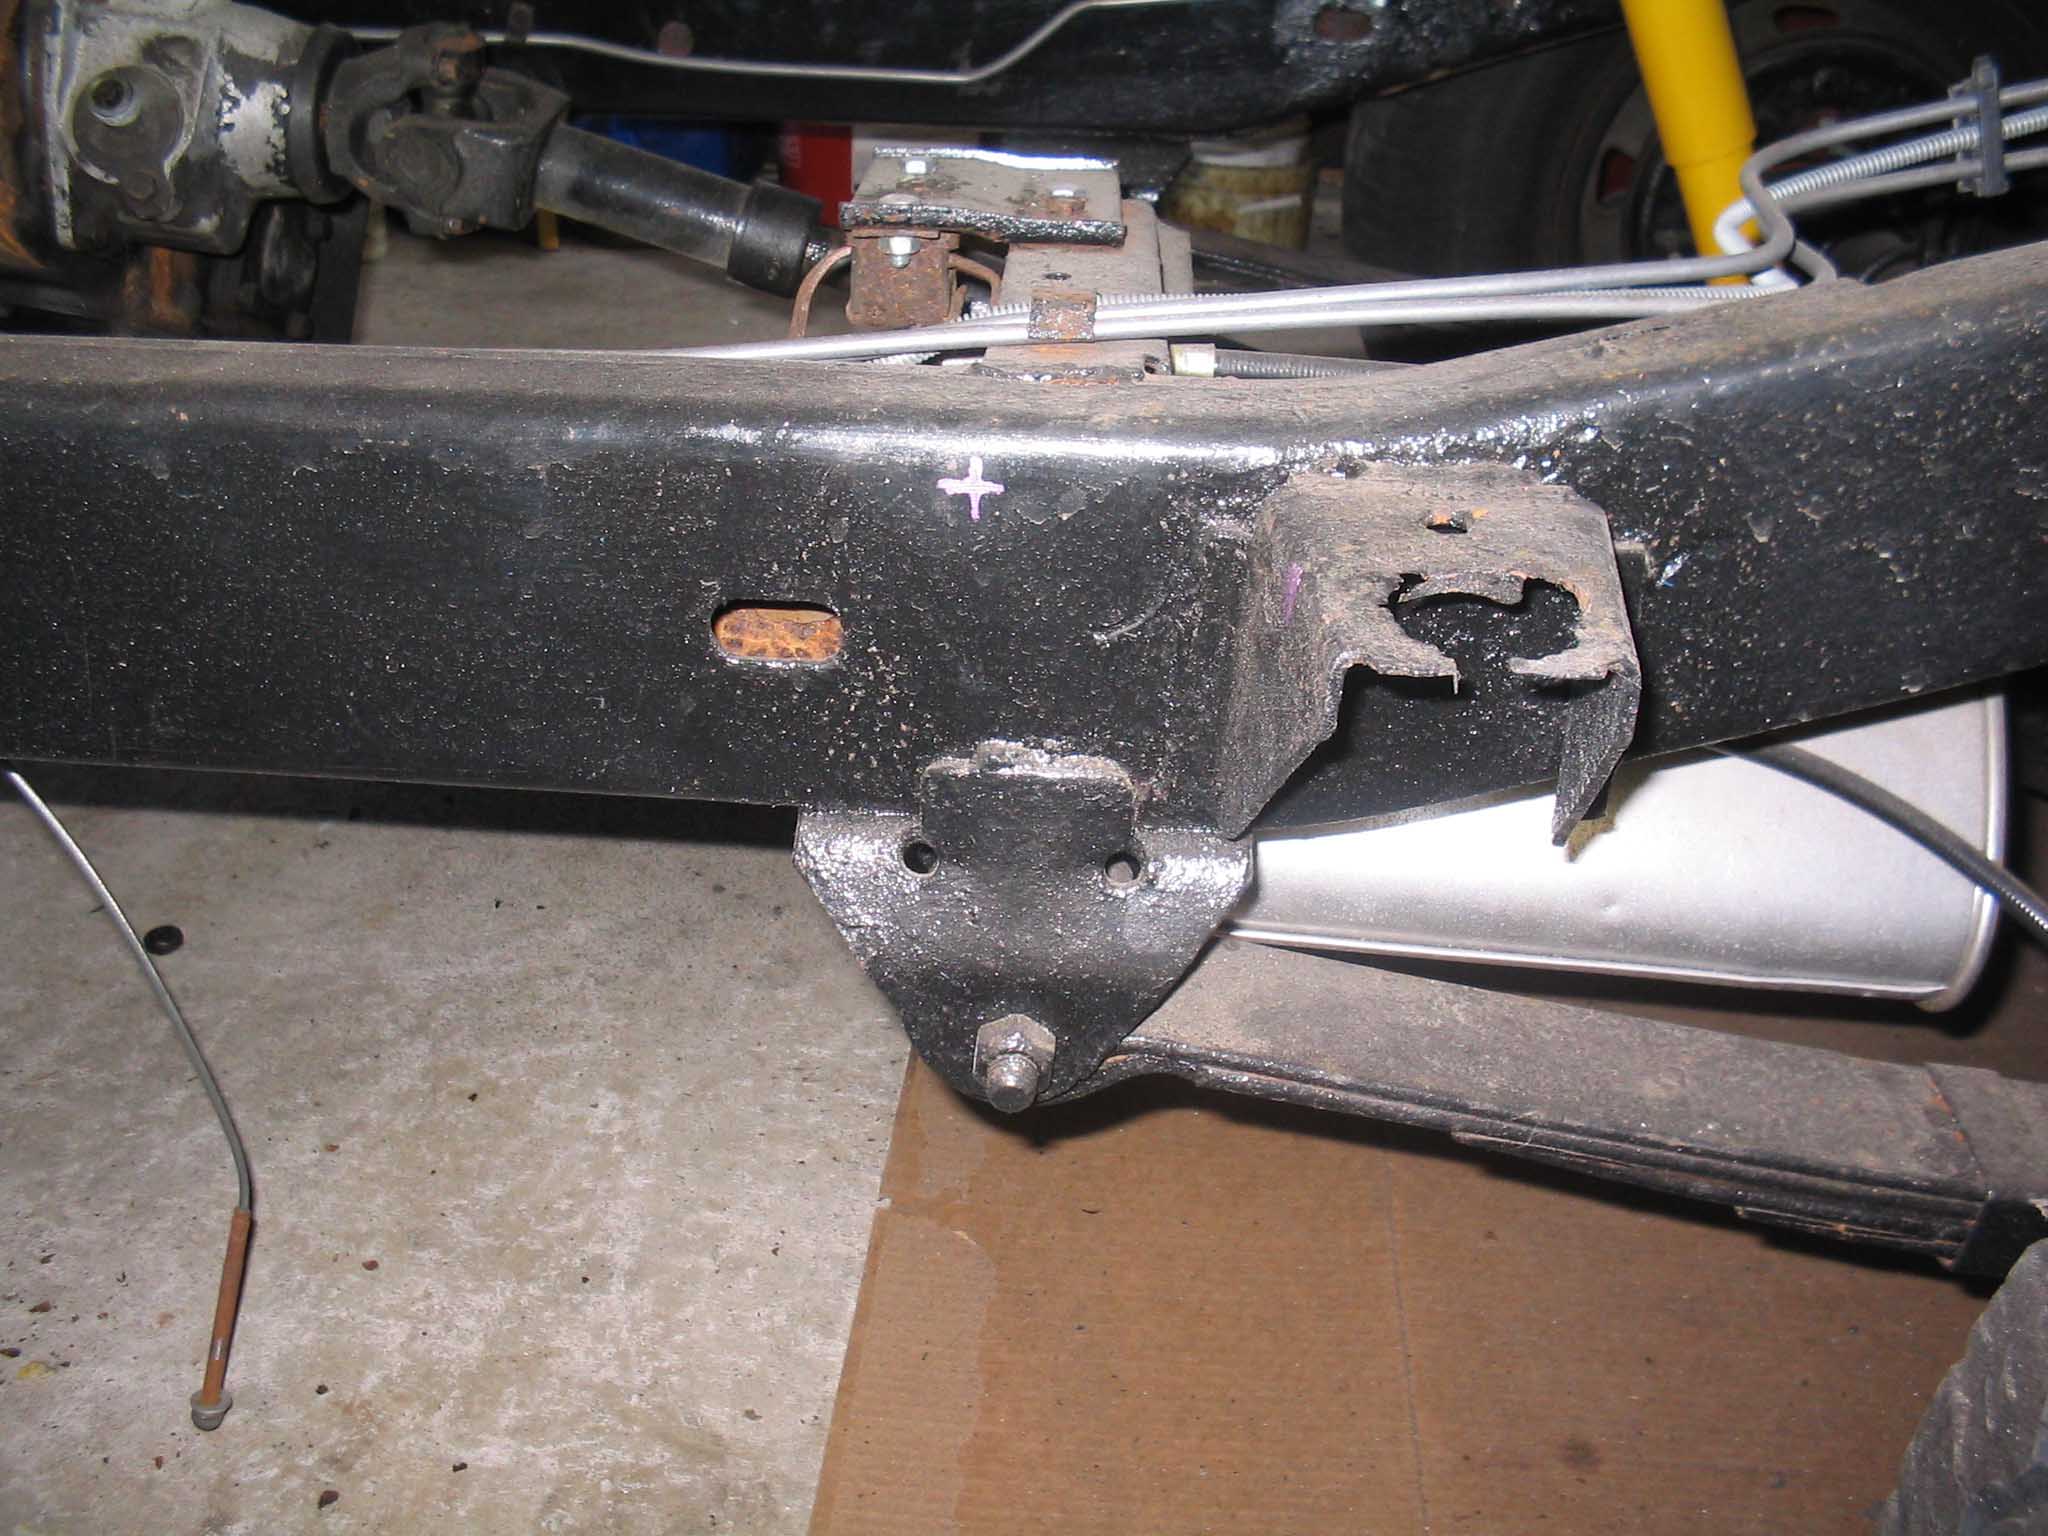
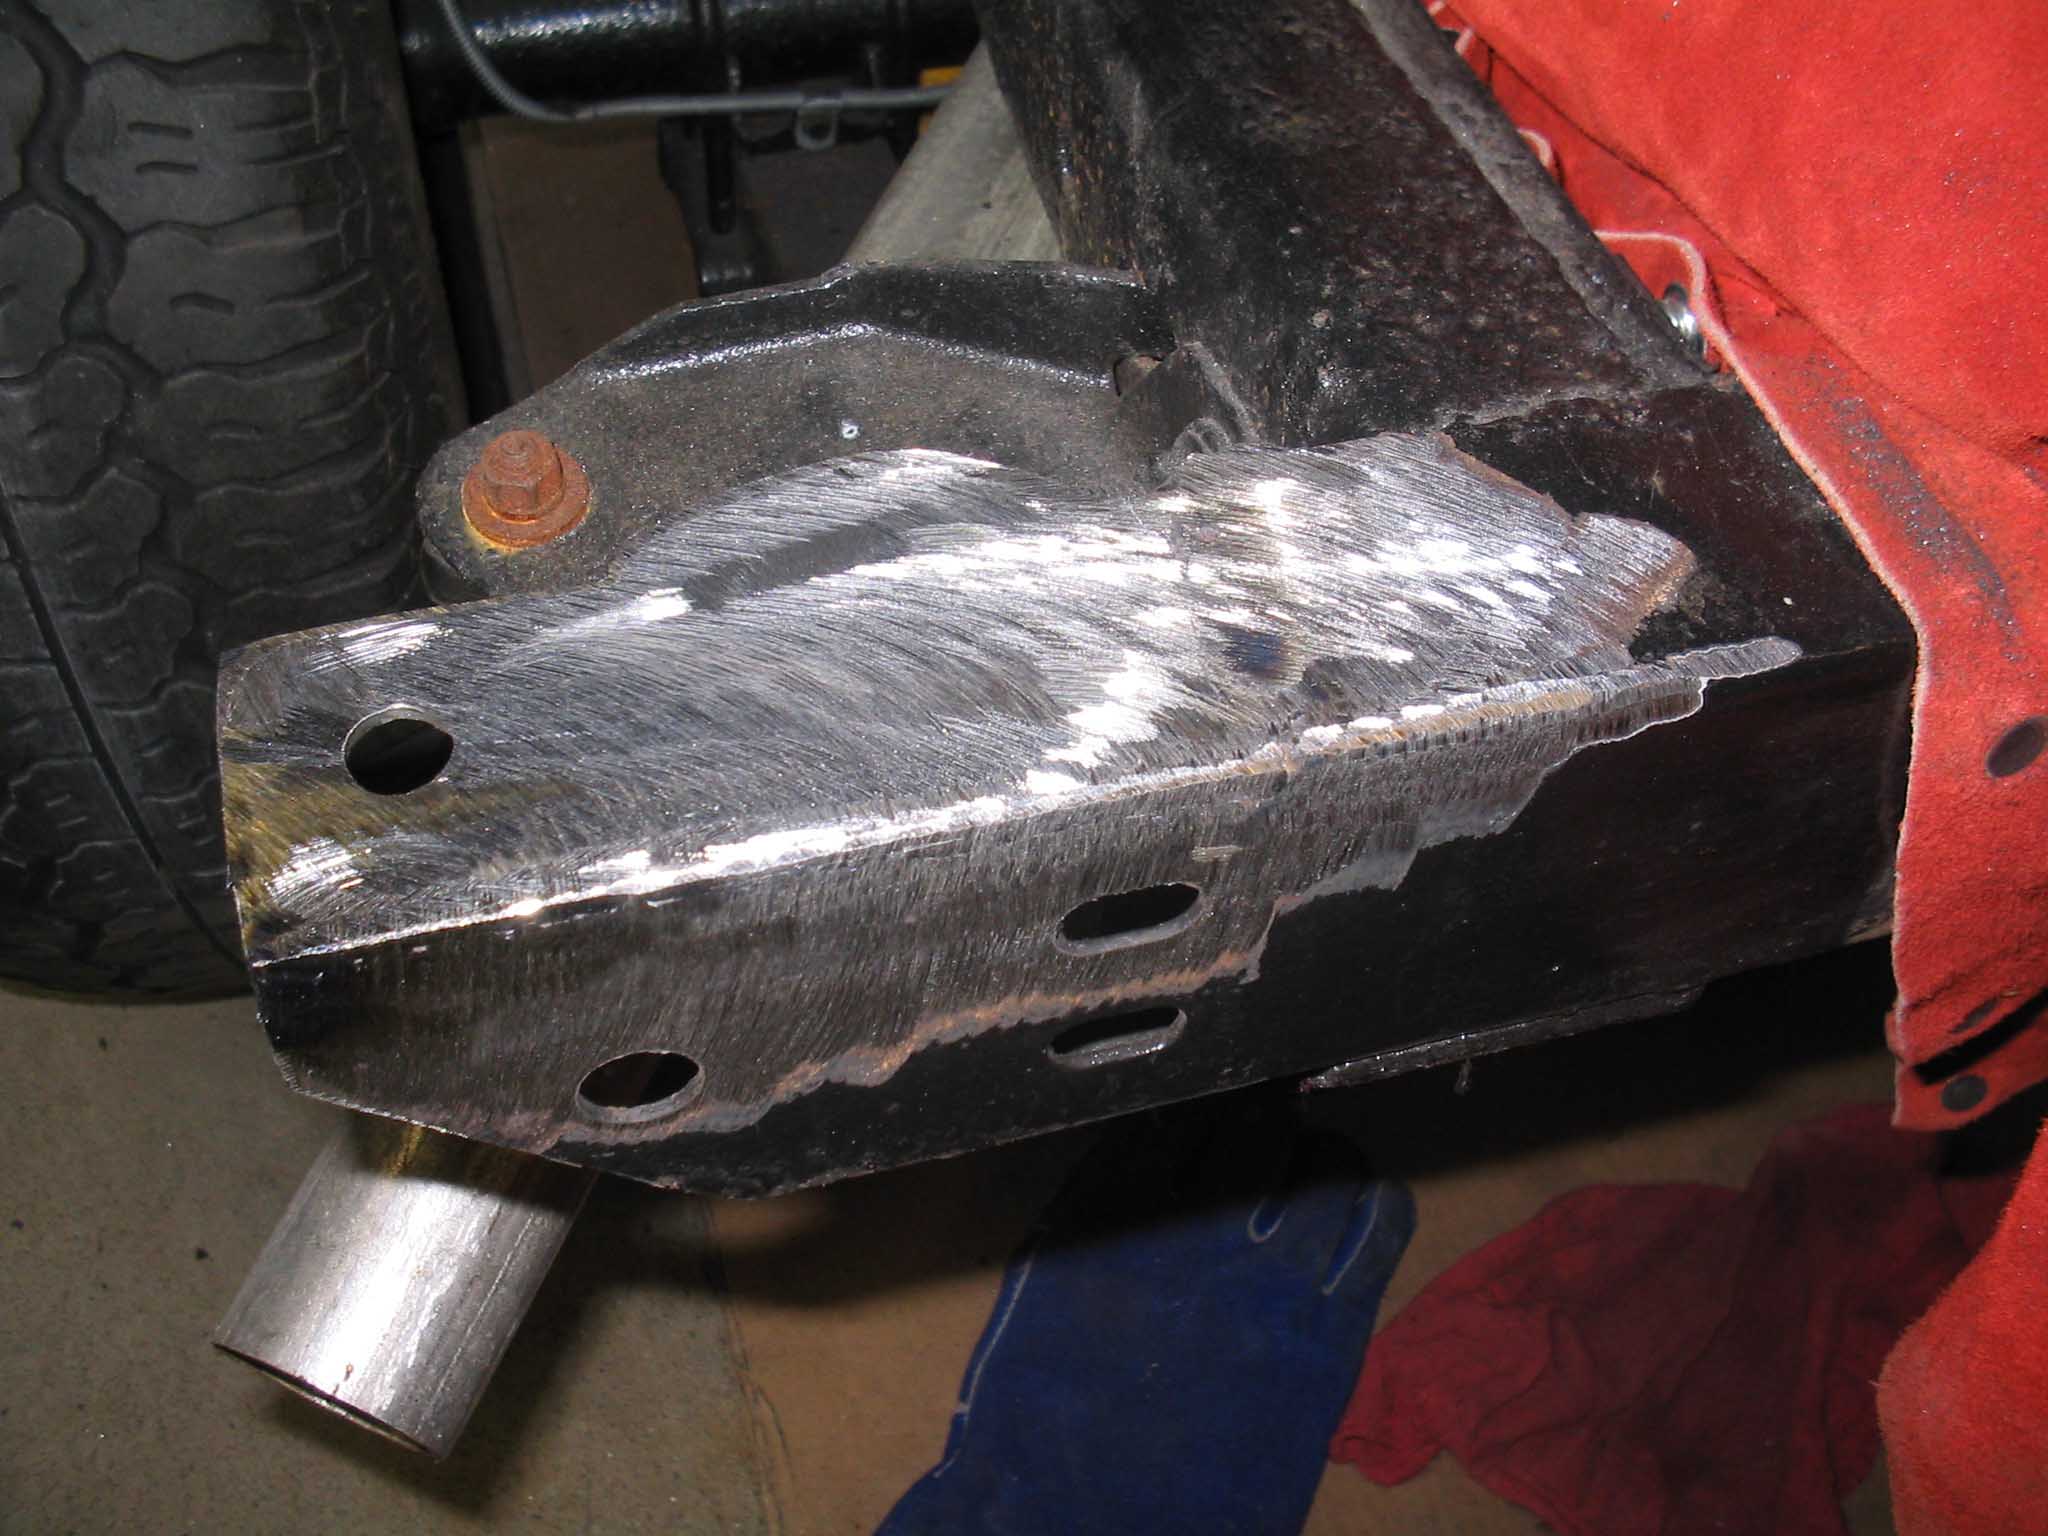
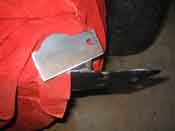
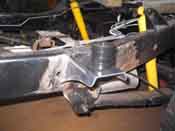
| So the next step in the project was to get back to the frame and make sure that
all the places where the frame horns were cut off were then ground down clean so the welding would take hold. Also,
at the same time, it was noticed that the rear frame cross member was a little thin on material for where
the body mounted to the frame.
|
| |

|
|
|
|
| |
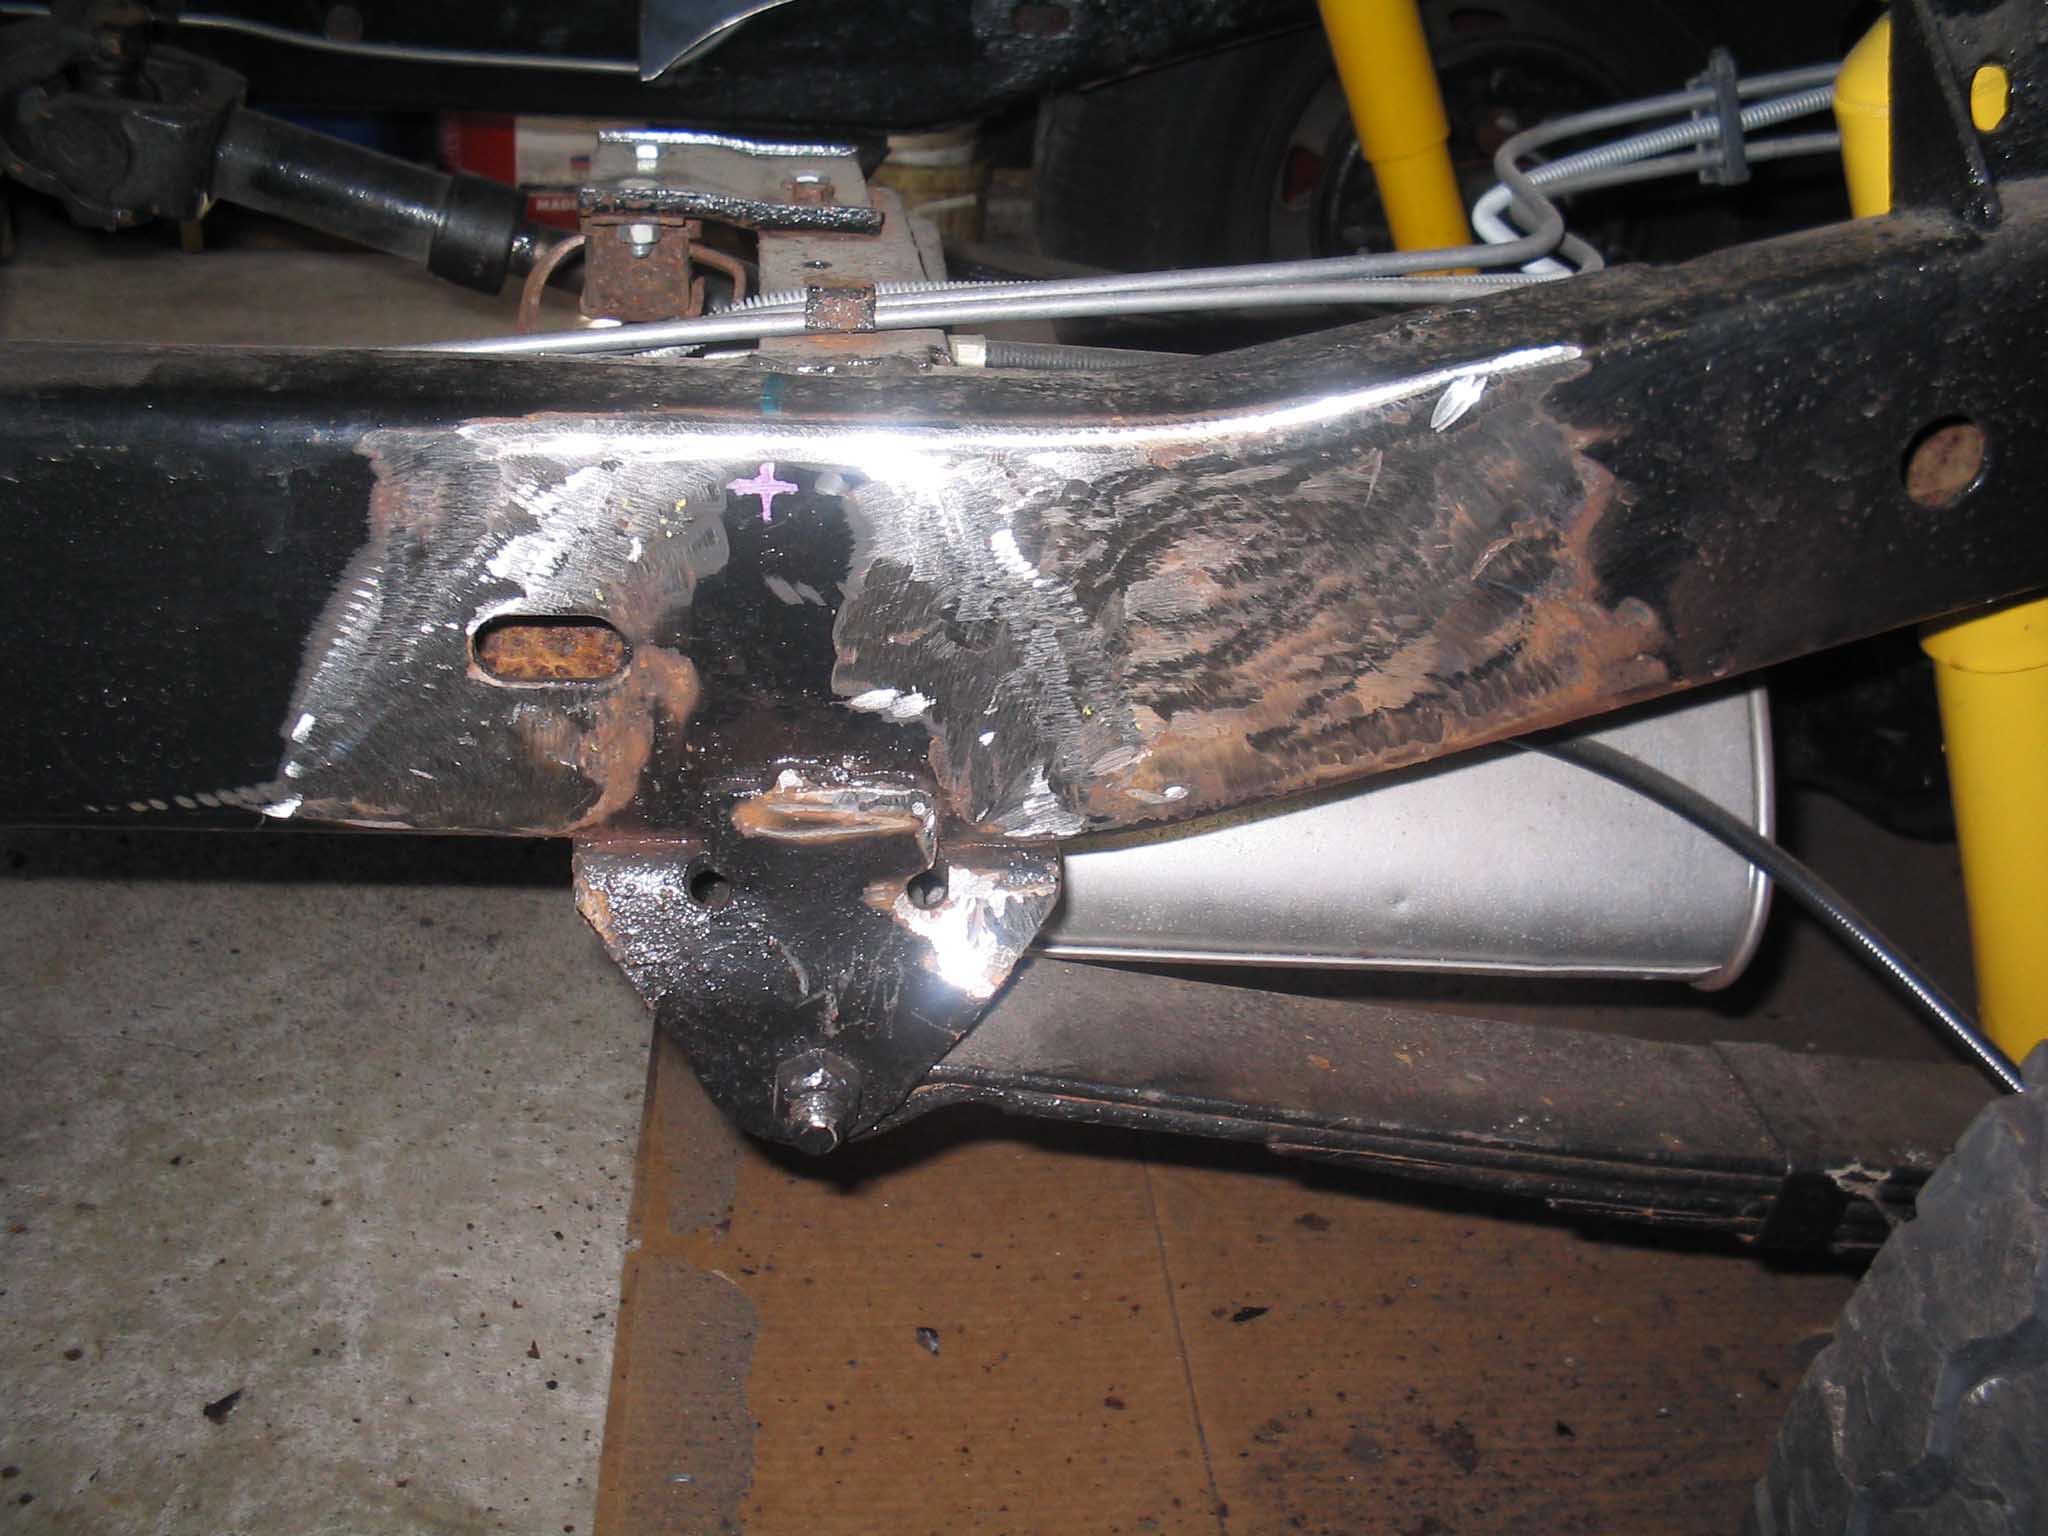
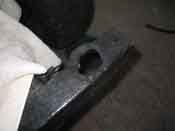
| With the grinding done on the frame, the rear frame cross member was cut out
and some new pieces were fabricated and once they are welded in, the hole can then be cut for the frame
body mounts to be placed in. We are going with a 1" poly body lift on this Jeep, so a YJ kit was ordered
up and once we tap all the holes in the underside of the body, we will put the Jeep back on the frame
and continue on with the buildup.
|
| |

|

|

|
|
| |
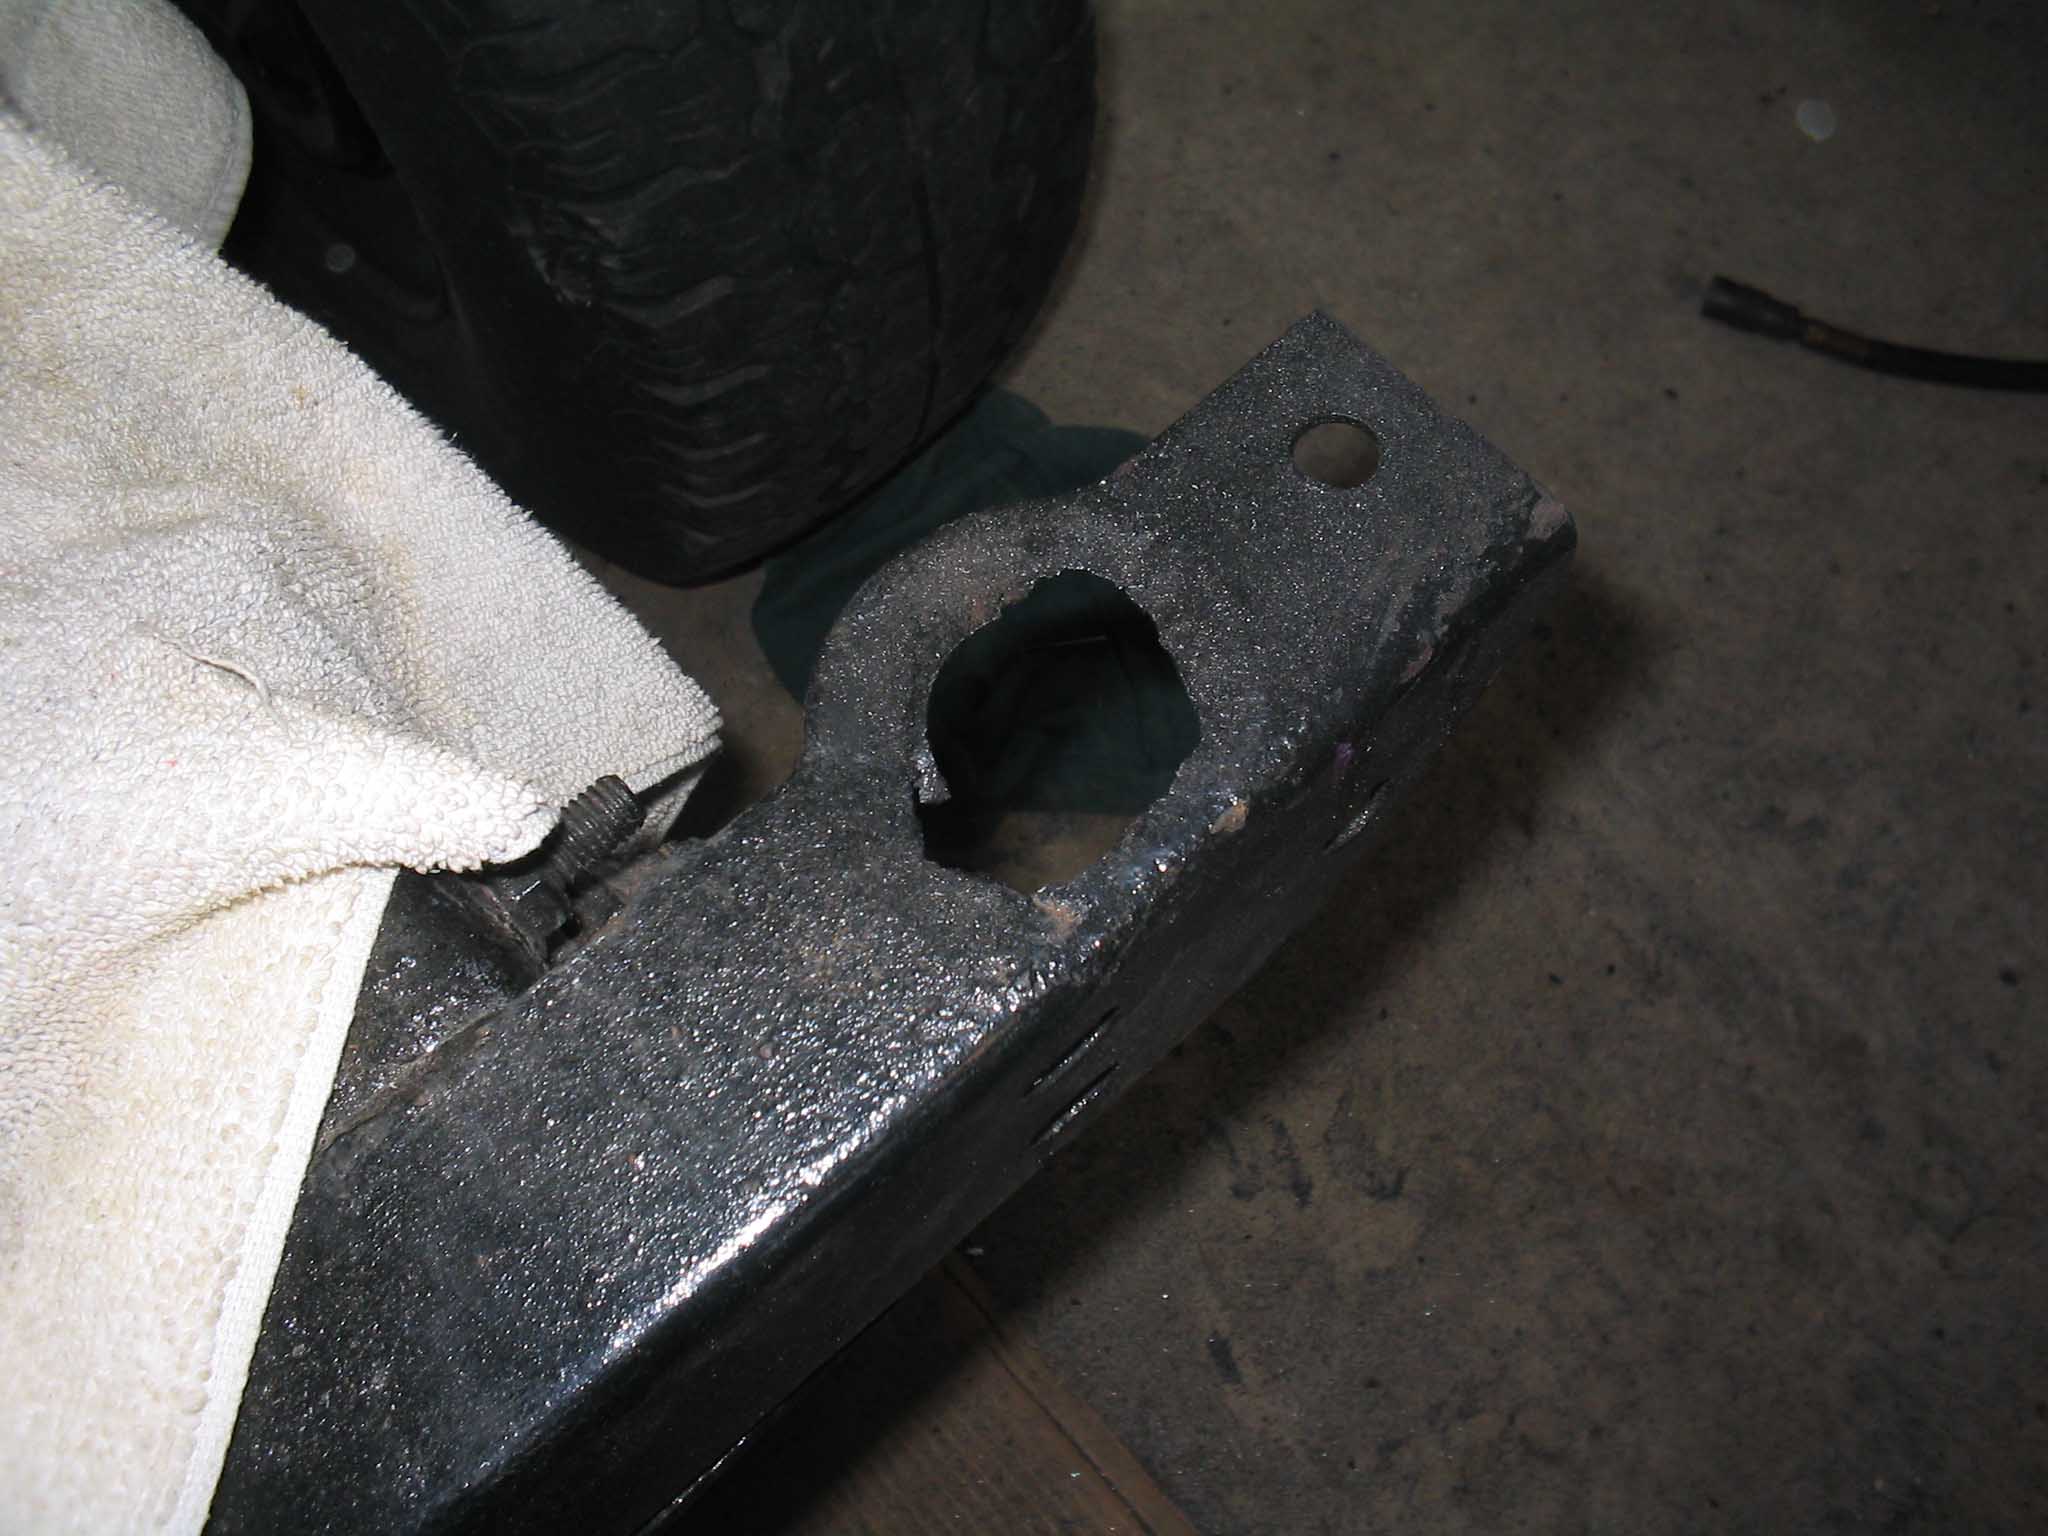
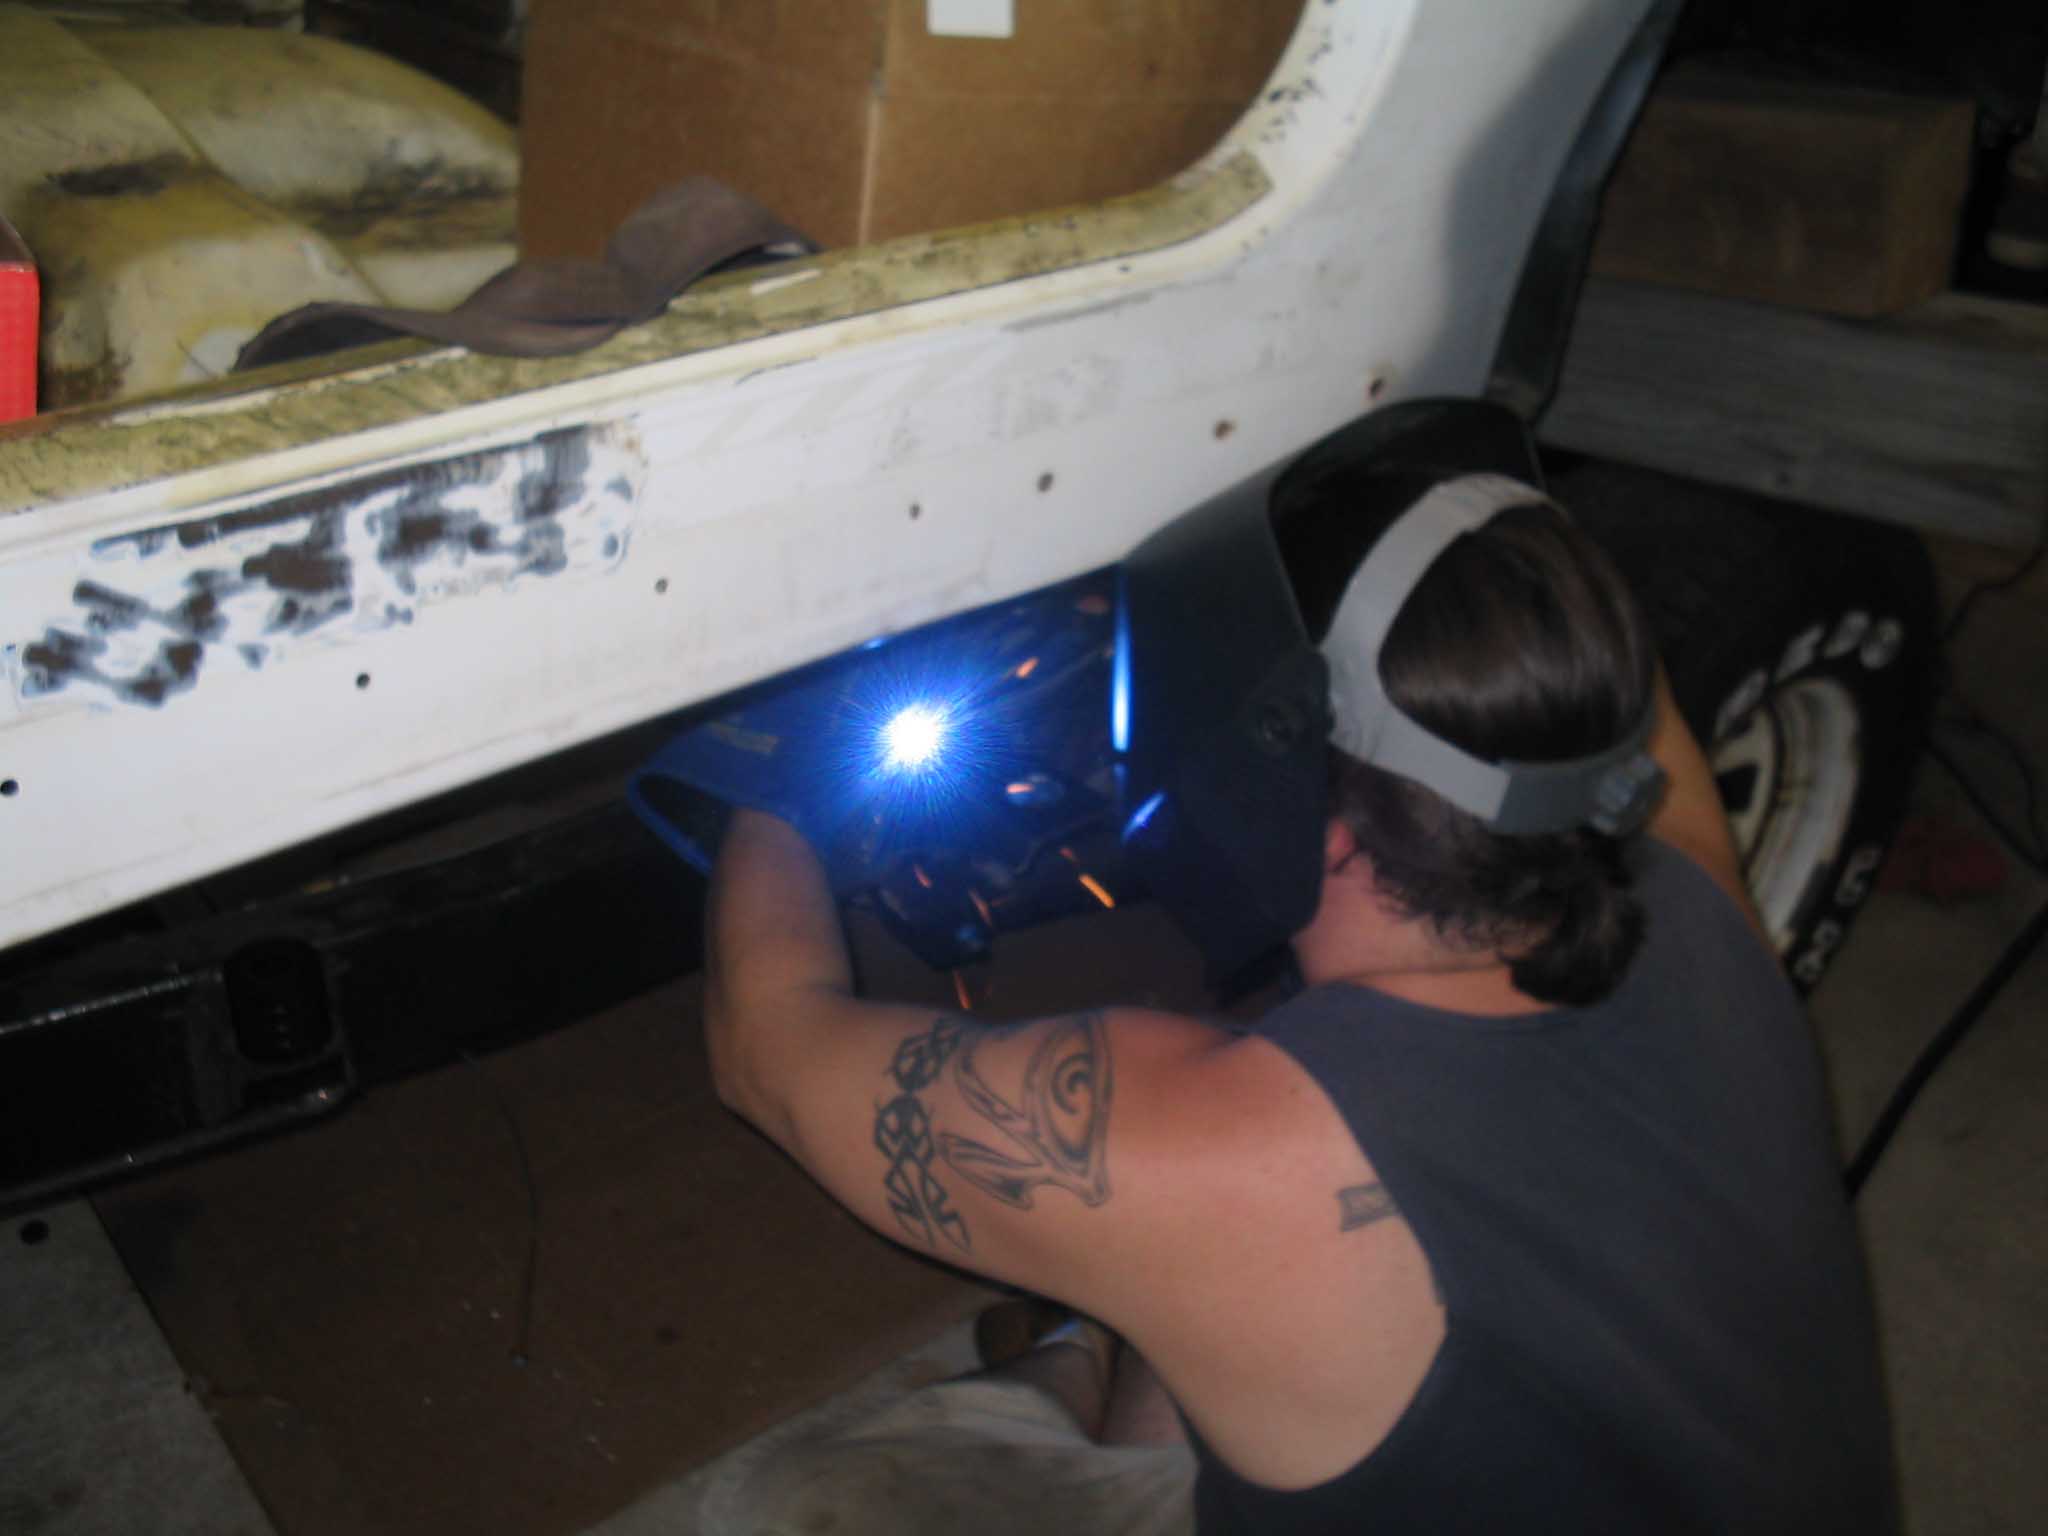
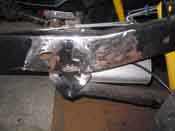
So, another day, and some more progress on the Jeep. Today I was able to
get a ton of welding and grinding done on the Jeep. Basically I replaced the back to corners of the
rear cross member and I welded in the new body mounts on the Jeep frame for the YJ offset frame mount
positions. Also I had to open up the holes on the CJ frame to account for the larger hockey puck
openings of the 1" body lift kit that is going on the Jeep. All in all, a lot of work was done, but
still far from the finish line.
NOTE: I realize I had a tank top on in the photo of me welding, trust me, it didn't take long to realize
that I didn't have the proper attire on. Make sure you wear arm protection (and leg) or you will get
burnt.
|
| |
|
|
|

|
| |
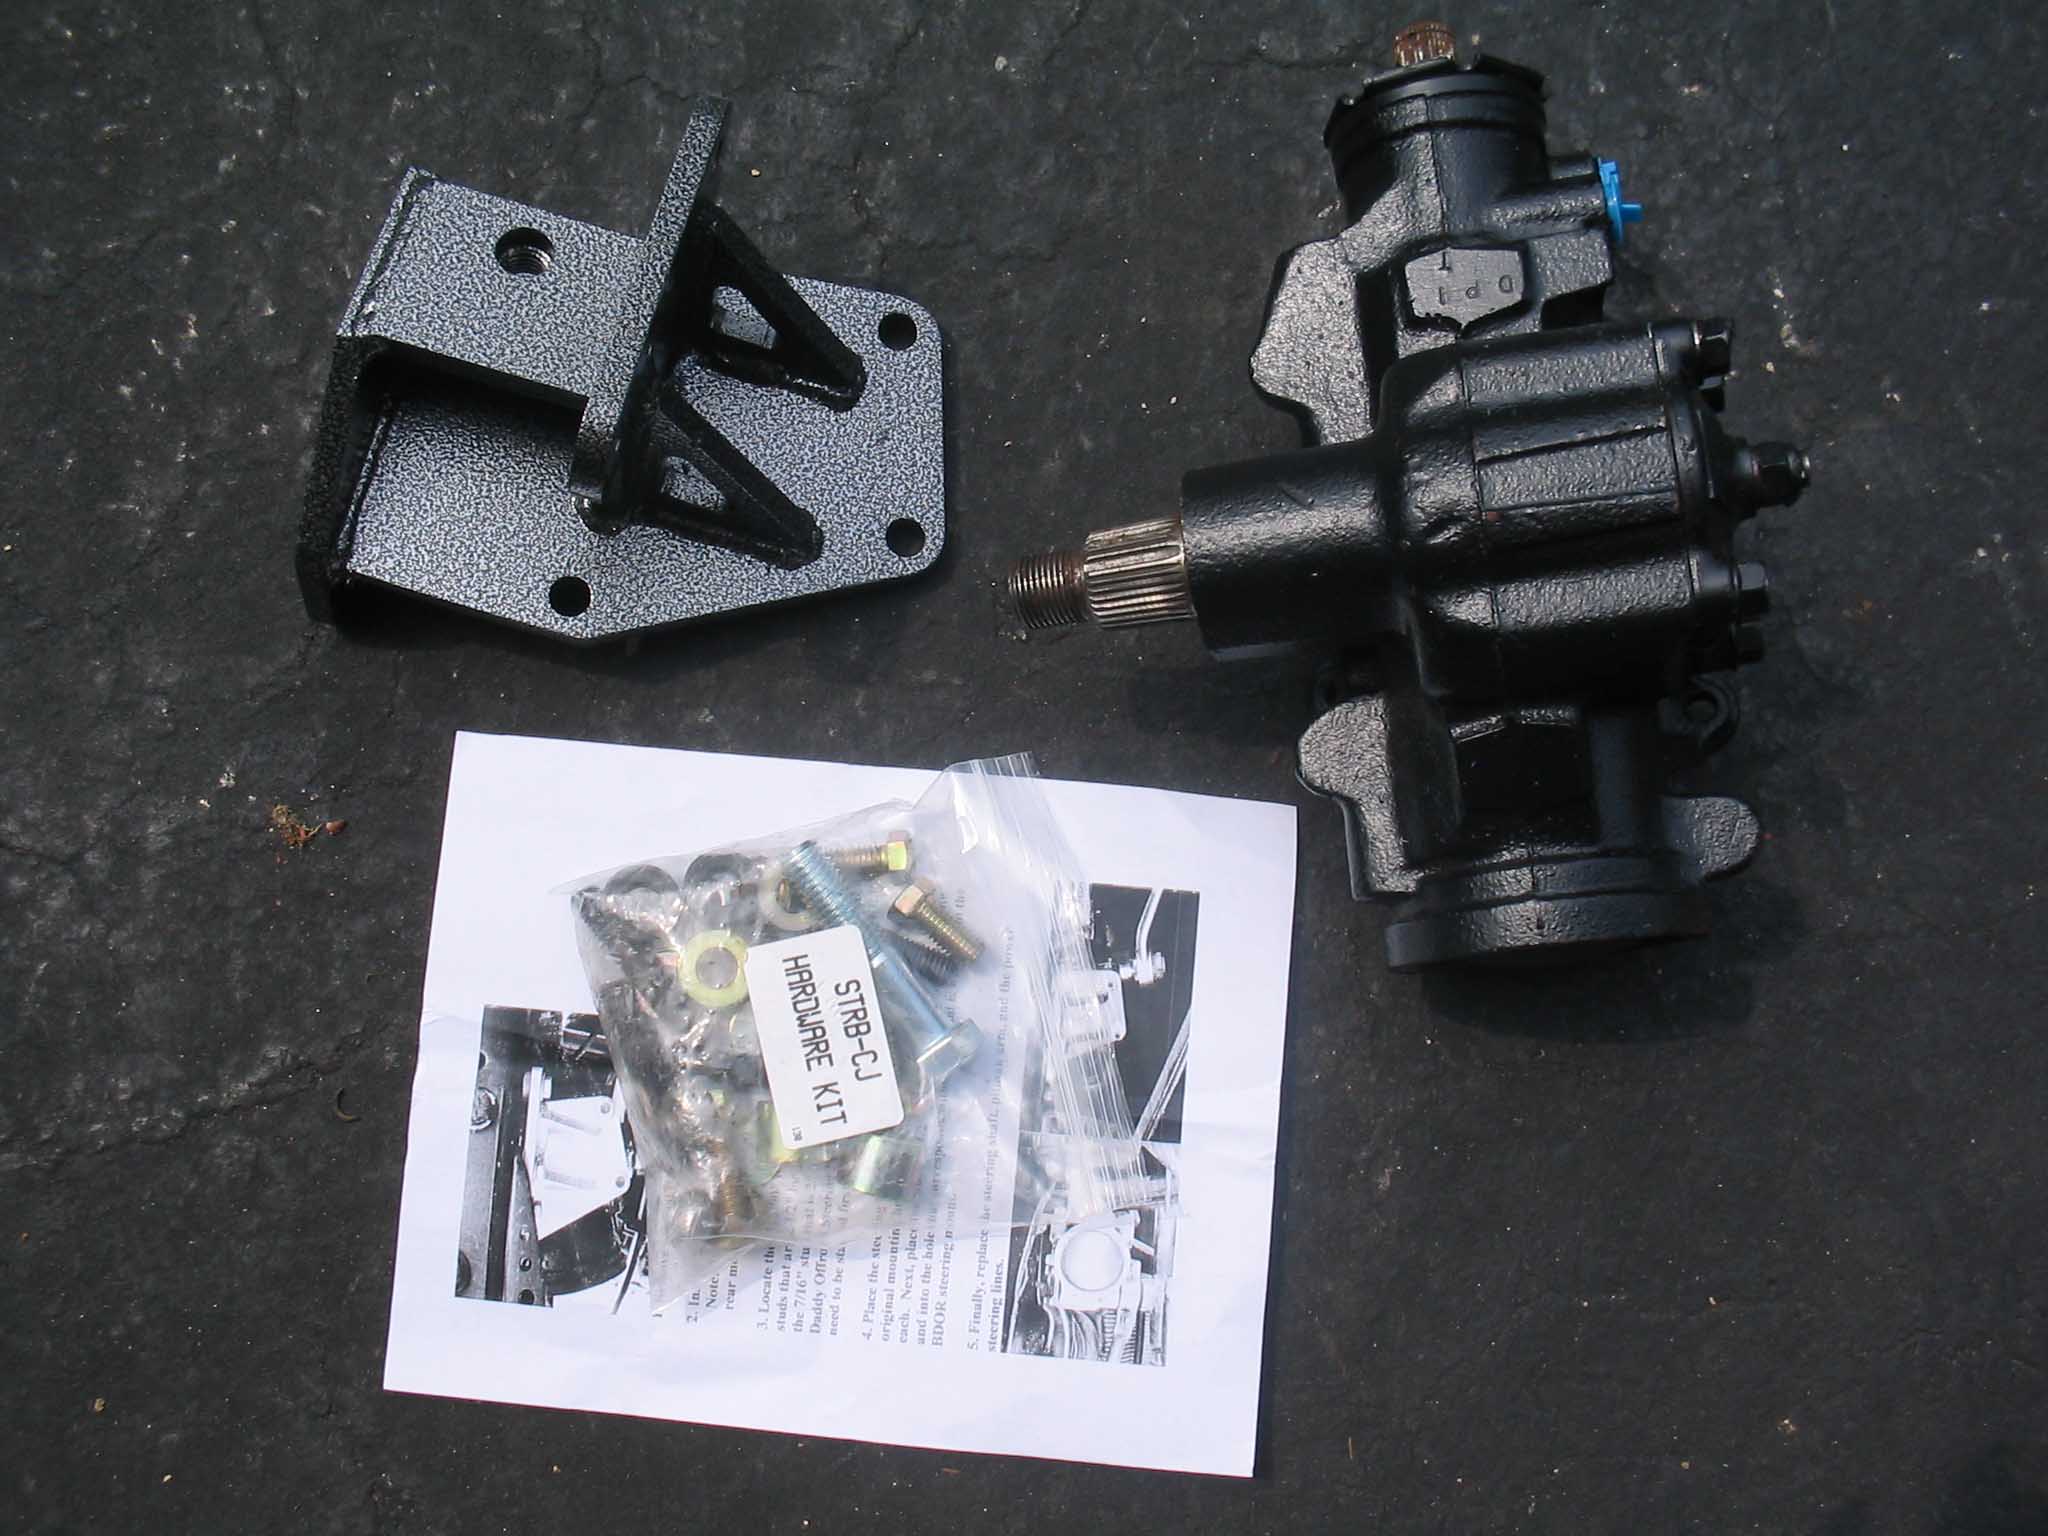
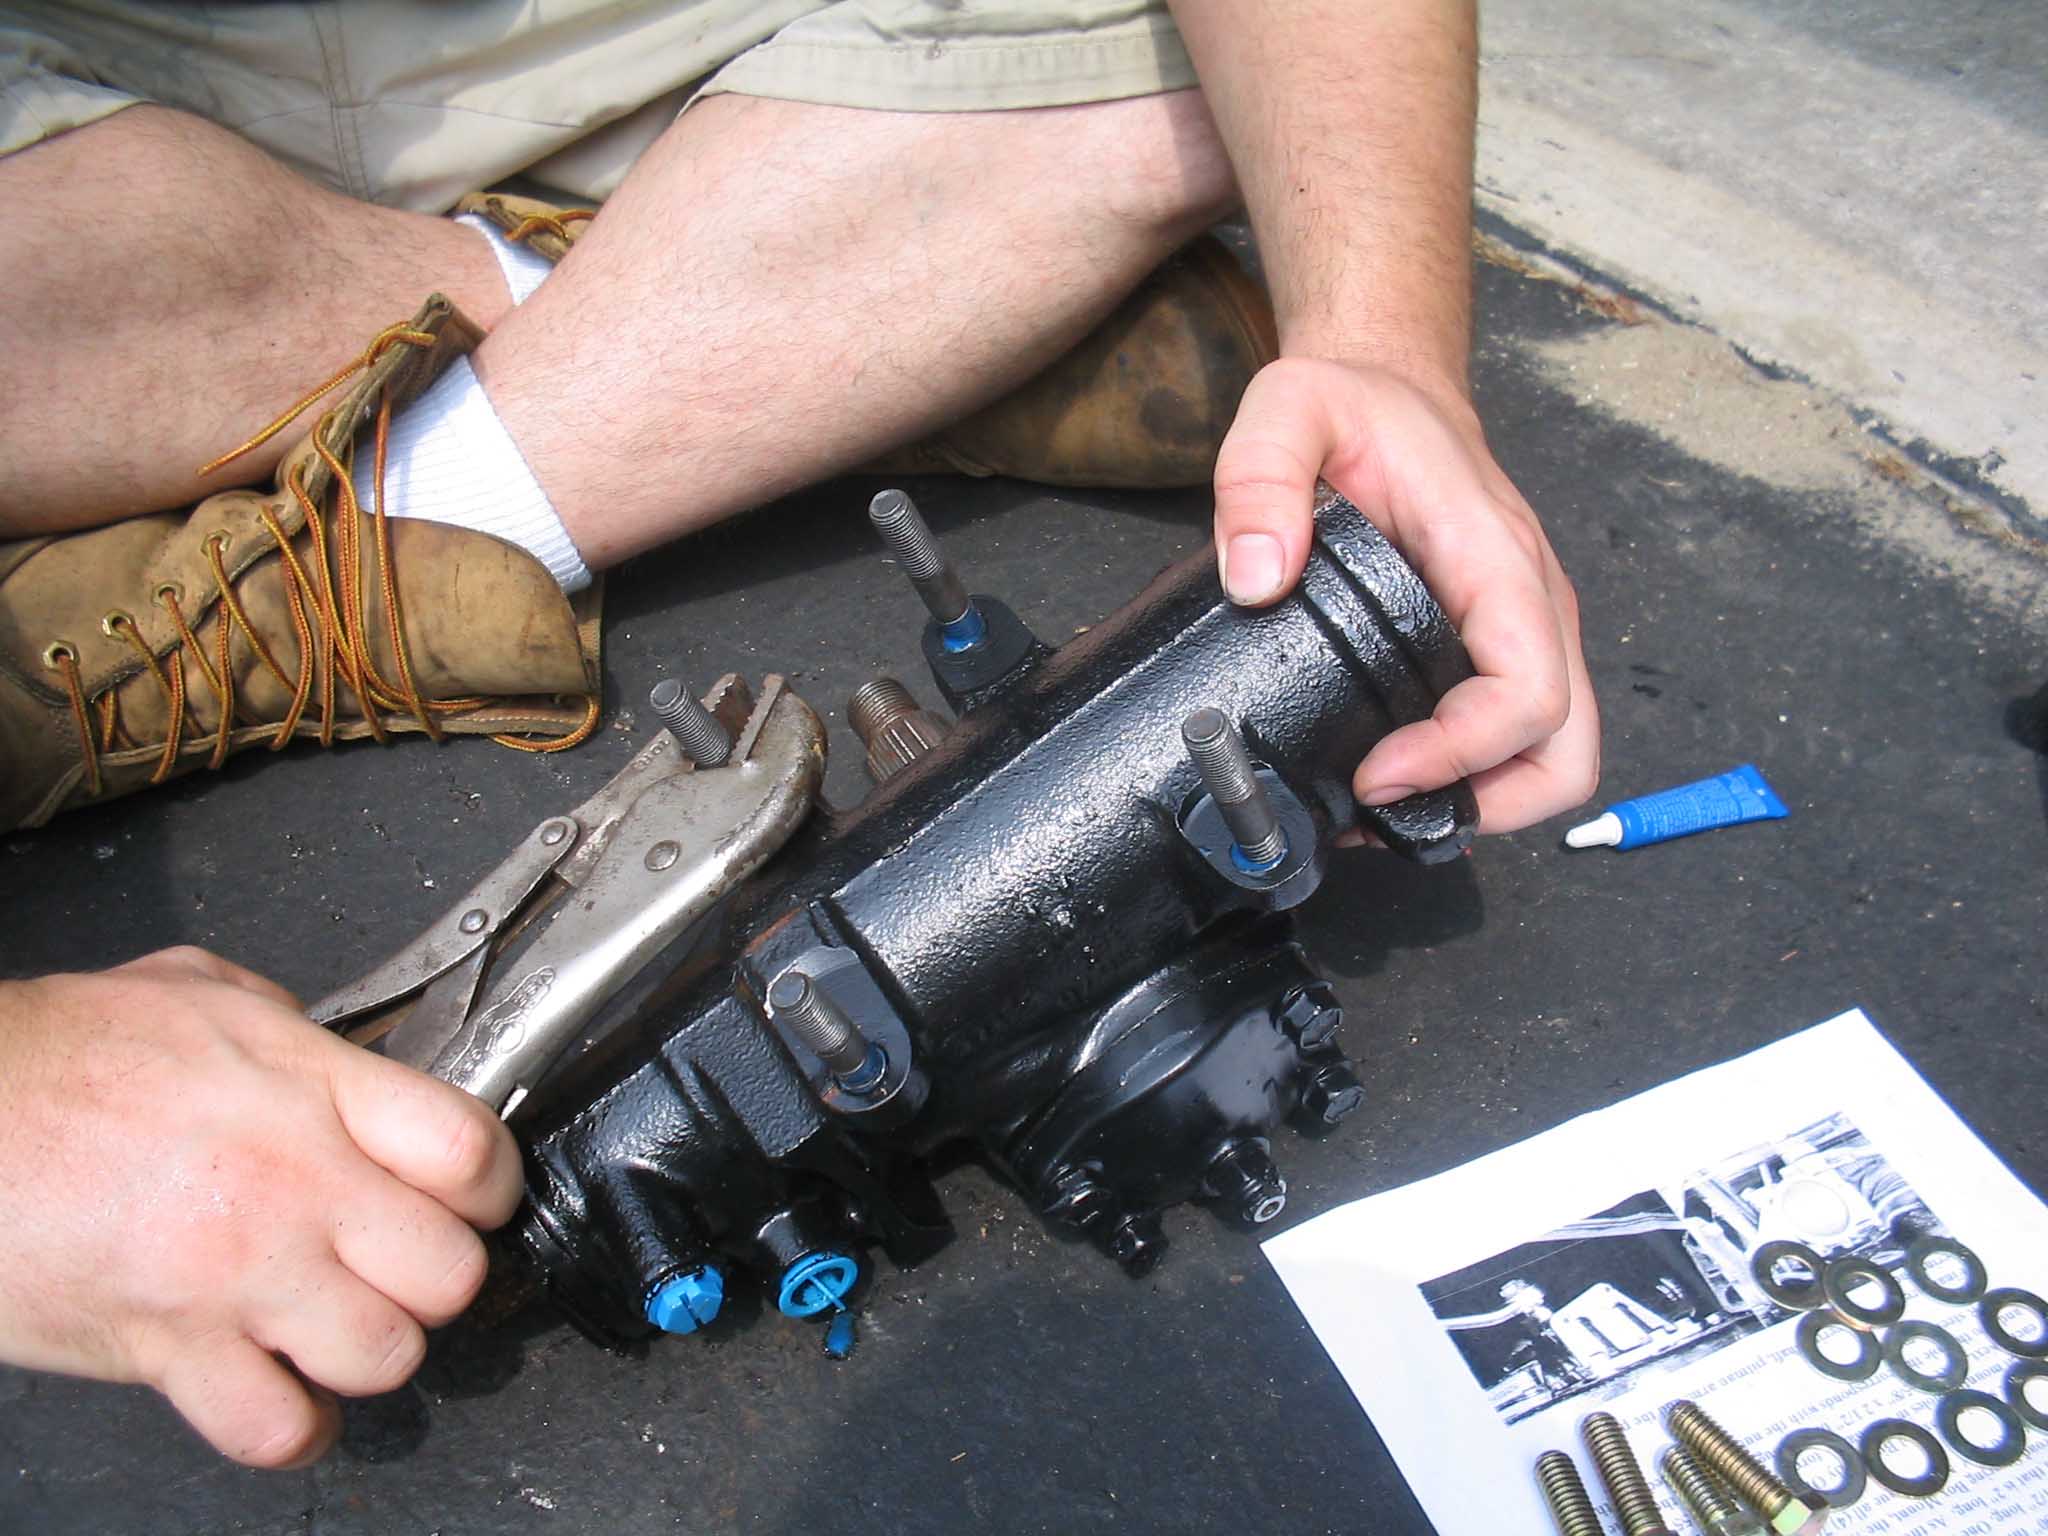
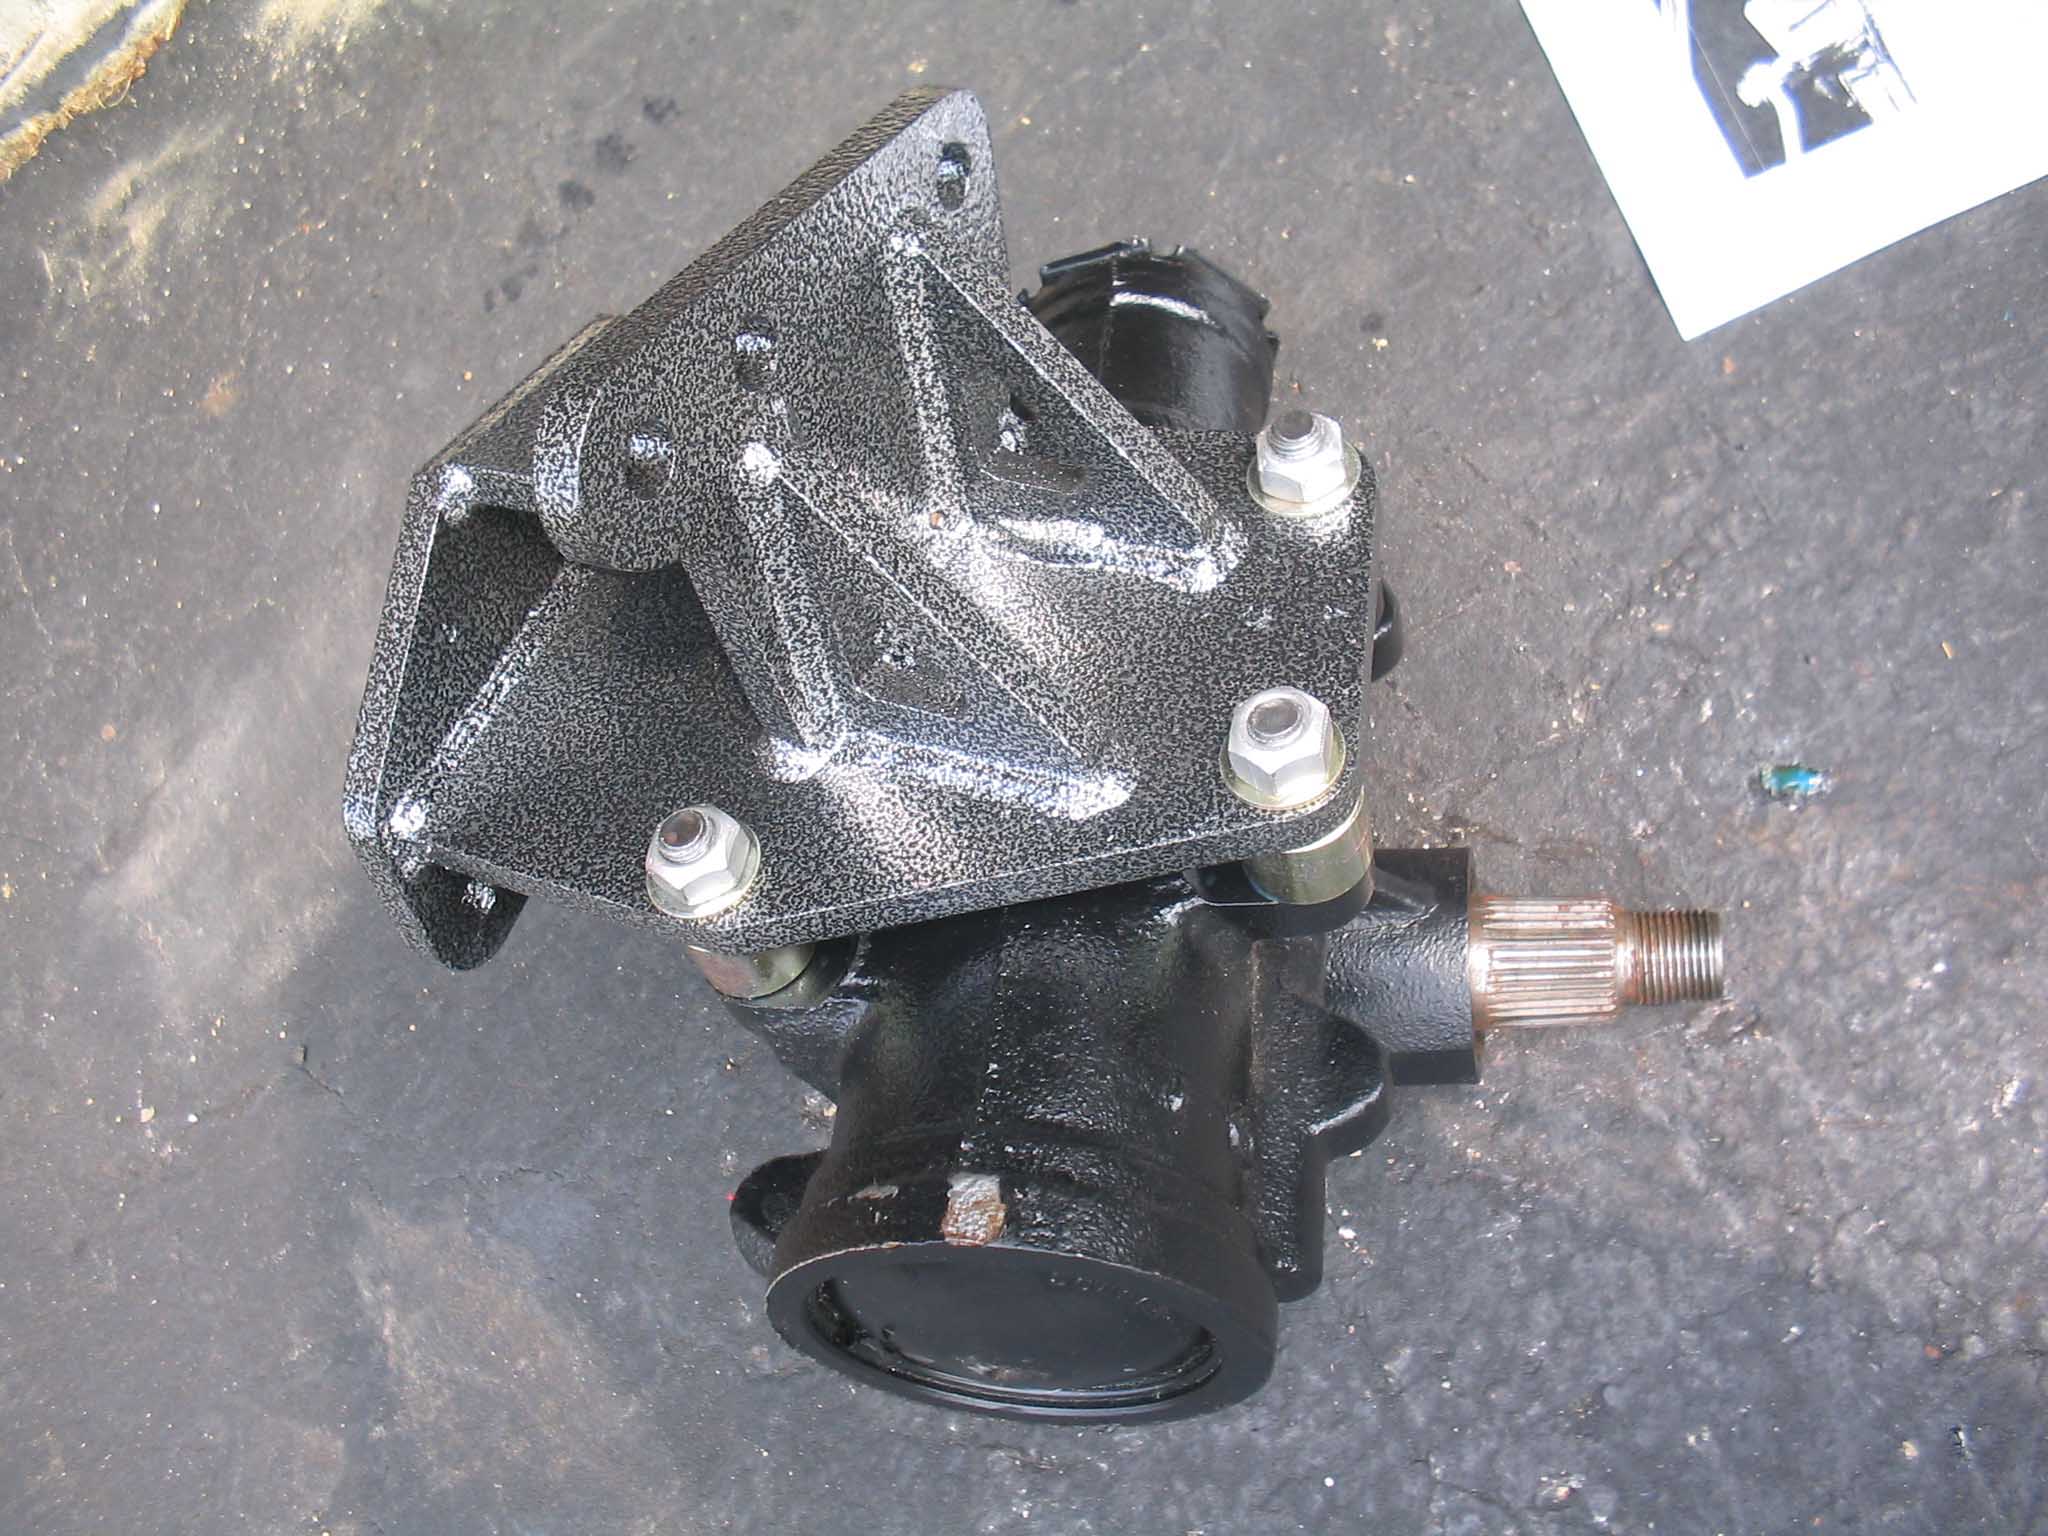
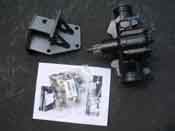
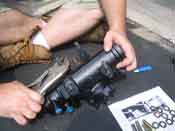
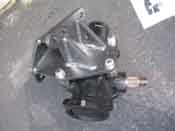
So today (07/05/05) we set out to do something about the power steering
in the Jeep. When the Jeep was purchased it came with a new power steering gearbox. The old one was
fine, but the new one is better, so I opted for a
Big Daddy
steering bracket to help stabilize the forces of the power steering on the Jeep. The old steering gear
was removed and the new one went on in its place. The old one is going up on eBay with the mount
and the pitman arm, as it is easier to get a new pitman arm to put on. All in all this took about 2 hours
to go on and now the Jeep will be all the better for it.
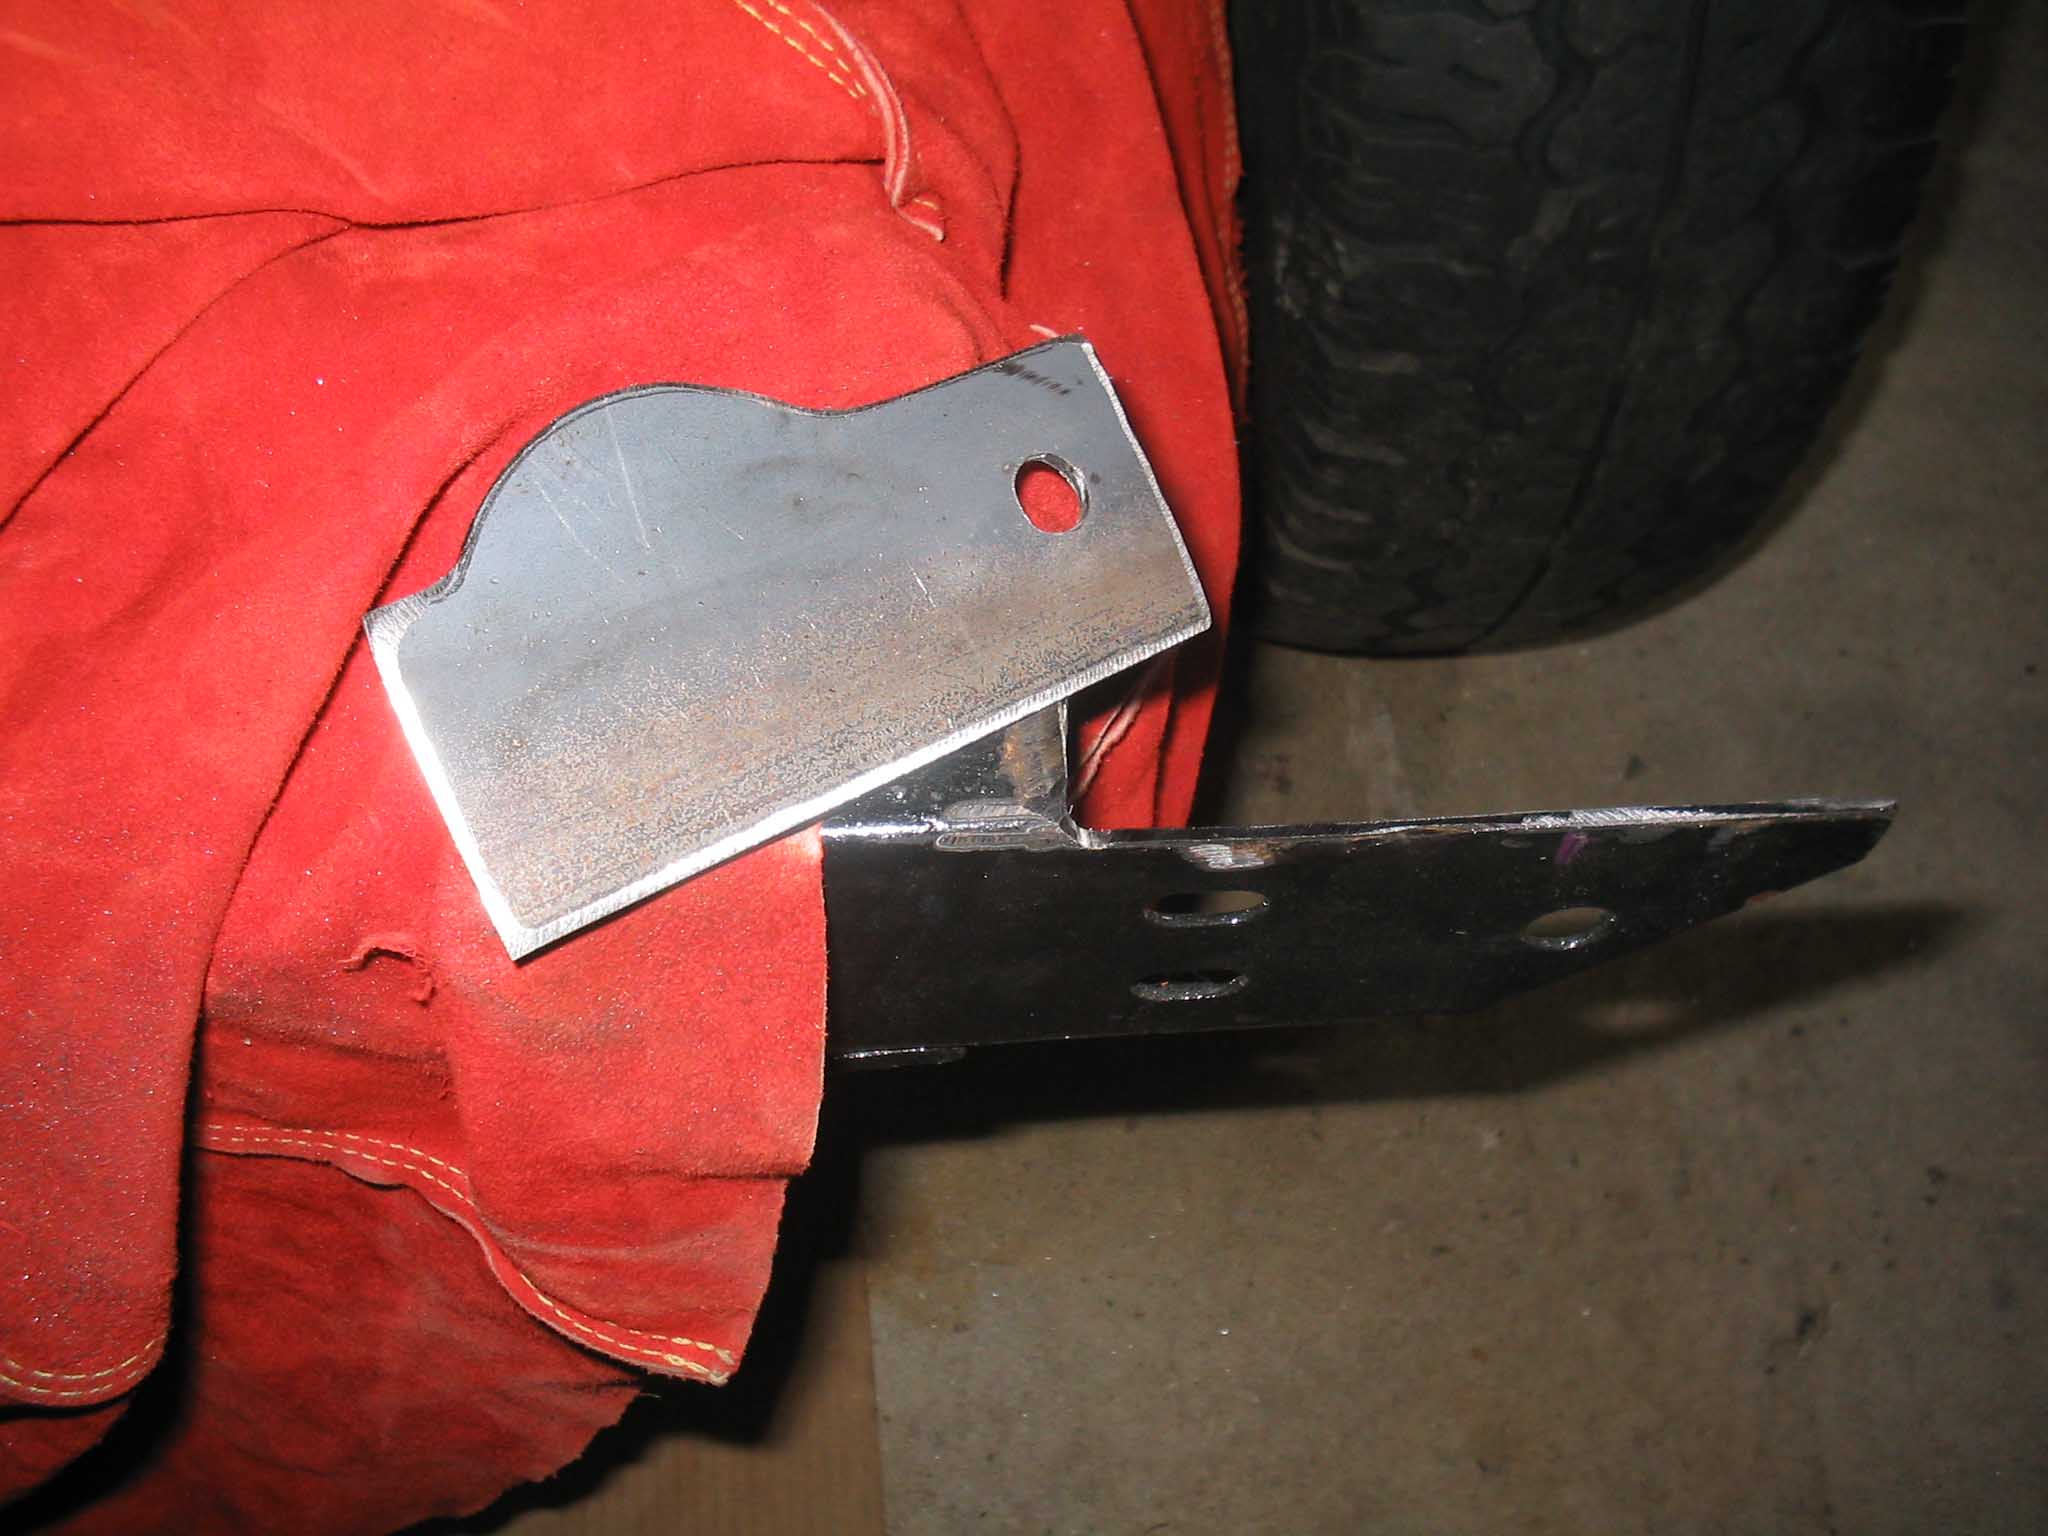
Also, some more items to note. The frame ears of the CJ frame have been ground out a bit to make room
for the YJ body lift. All the spacers are in place and ready to go, I just have to fix a couple things
on the body and then that should be good to go. All the frame areas that were ground down have now been
prepped and painted to protect from rust and the rear is all set with holes in the new locations for the
body spacers. A few more hours and the body should be all set on the frame and we should be ready for
paint and herculiner. Once that is all in, then it is time to get the body back together and wire her up.
|
| |
| << Previous |
Next >> |
|