|
|
| Third Project Build-up - part #9 |
| |
|
1
2
3
4
5
6
7
8
9
10
11
12
13
14
15
16
17
18
19
20
21
22
23
|
| |
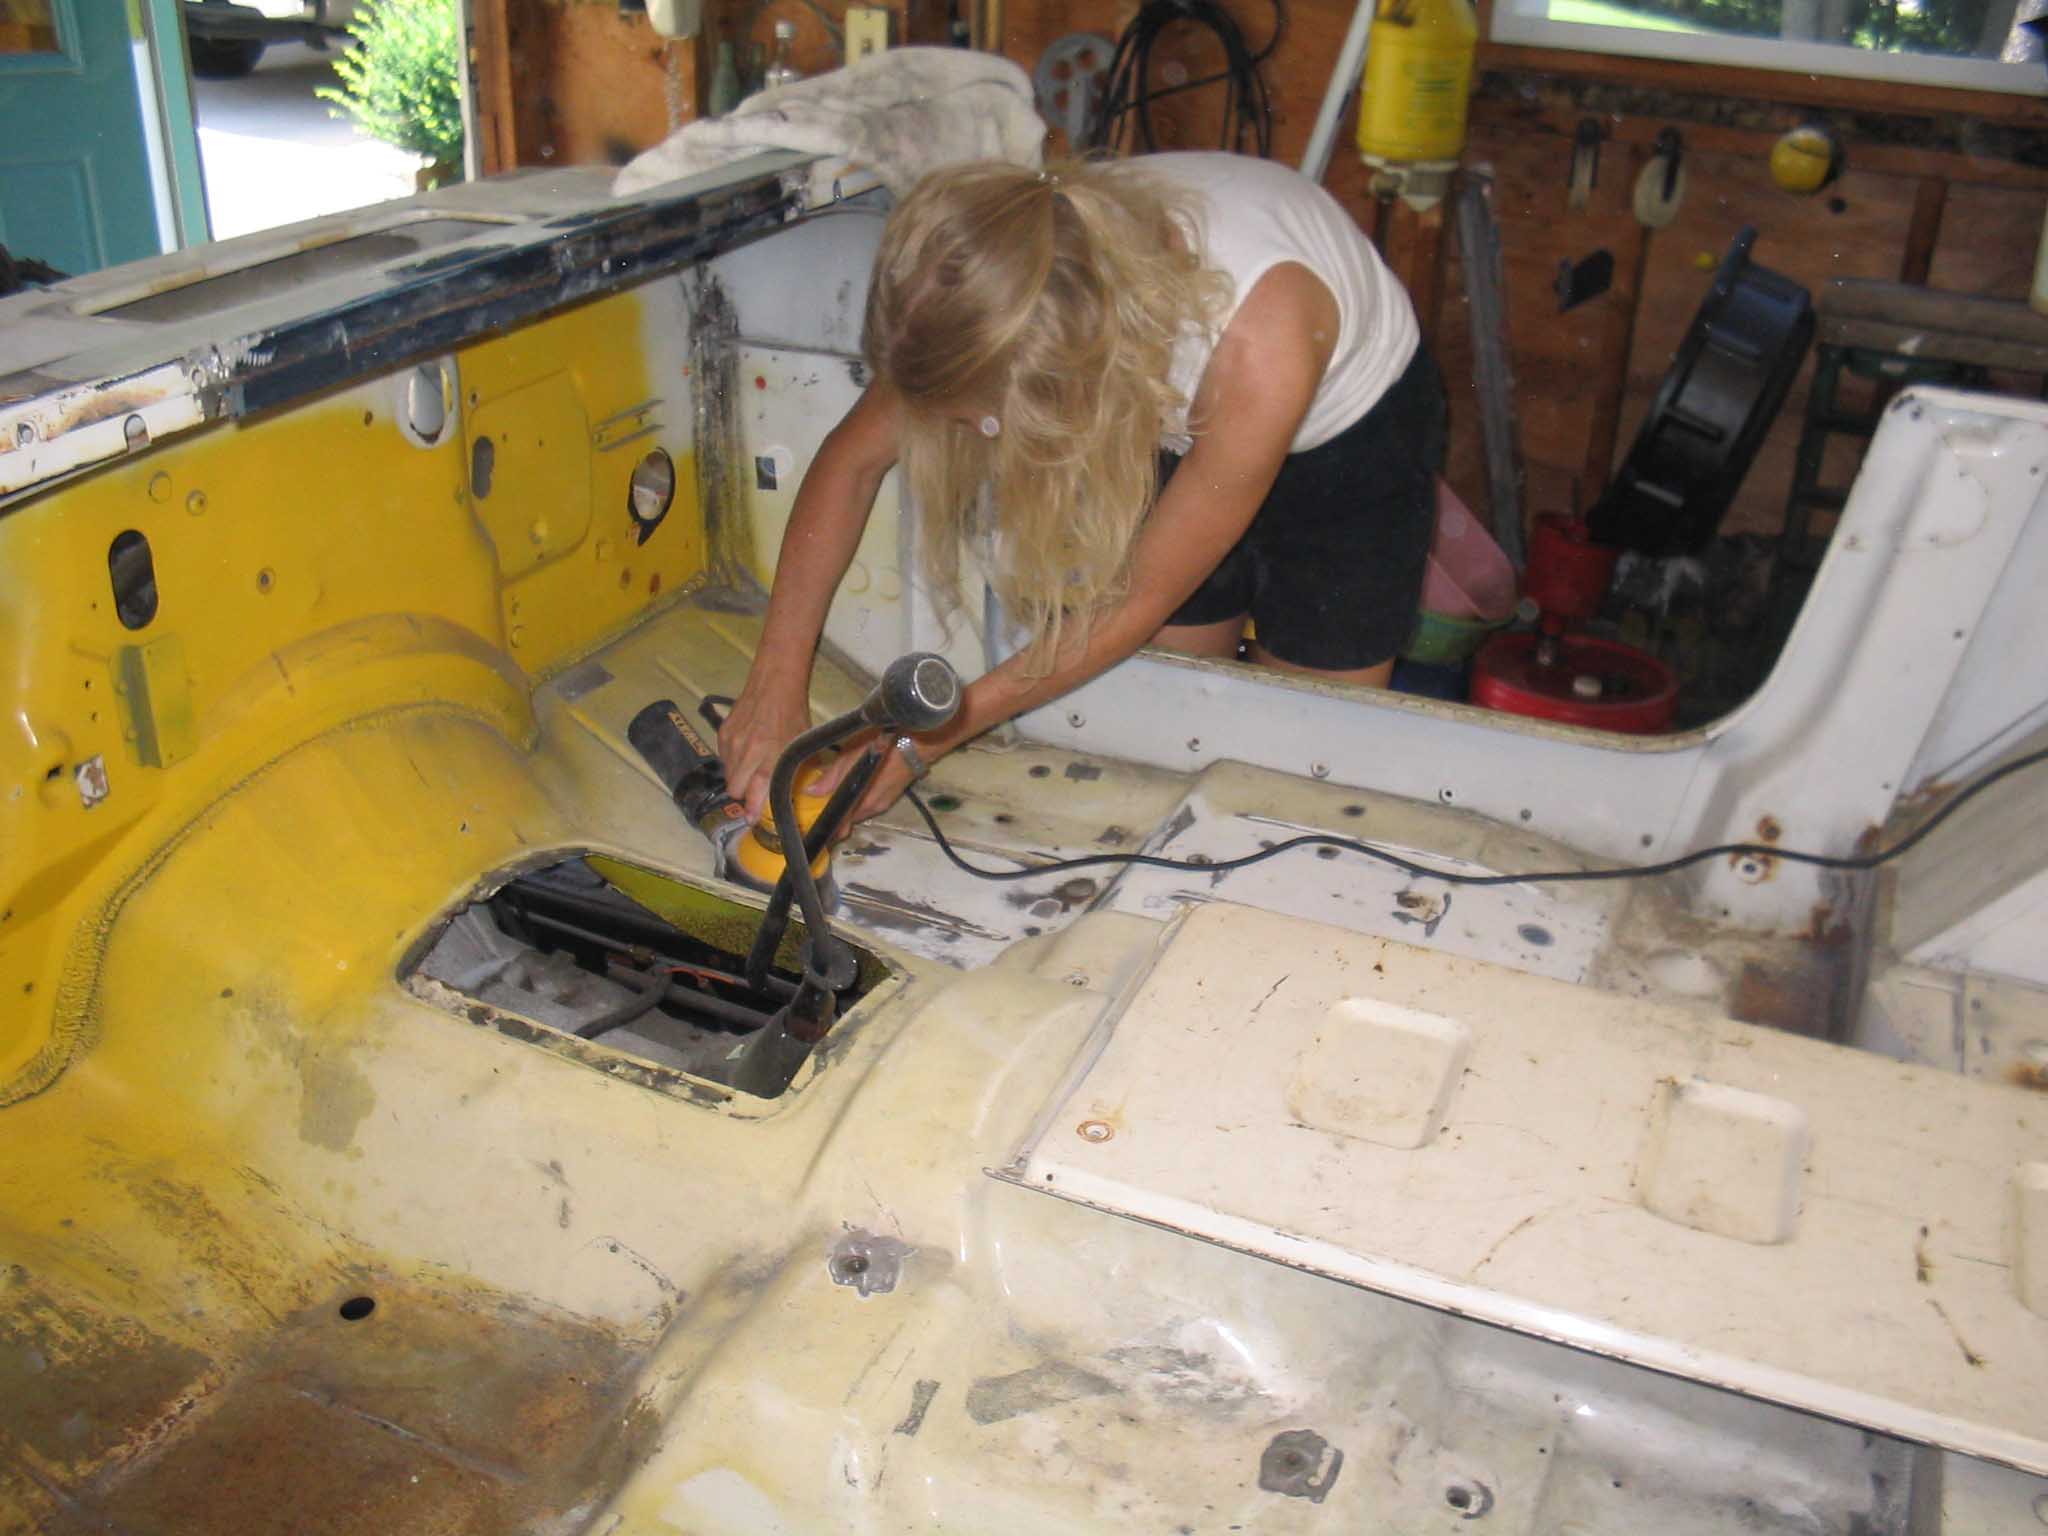
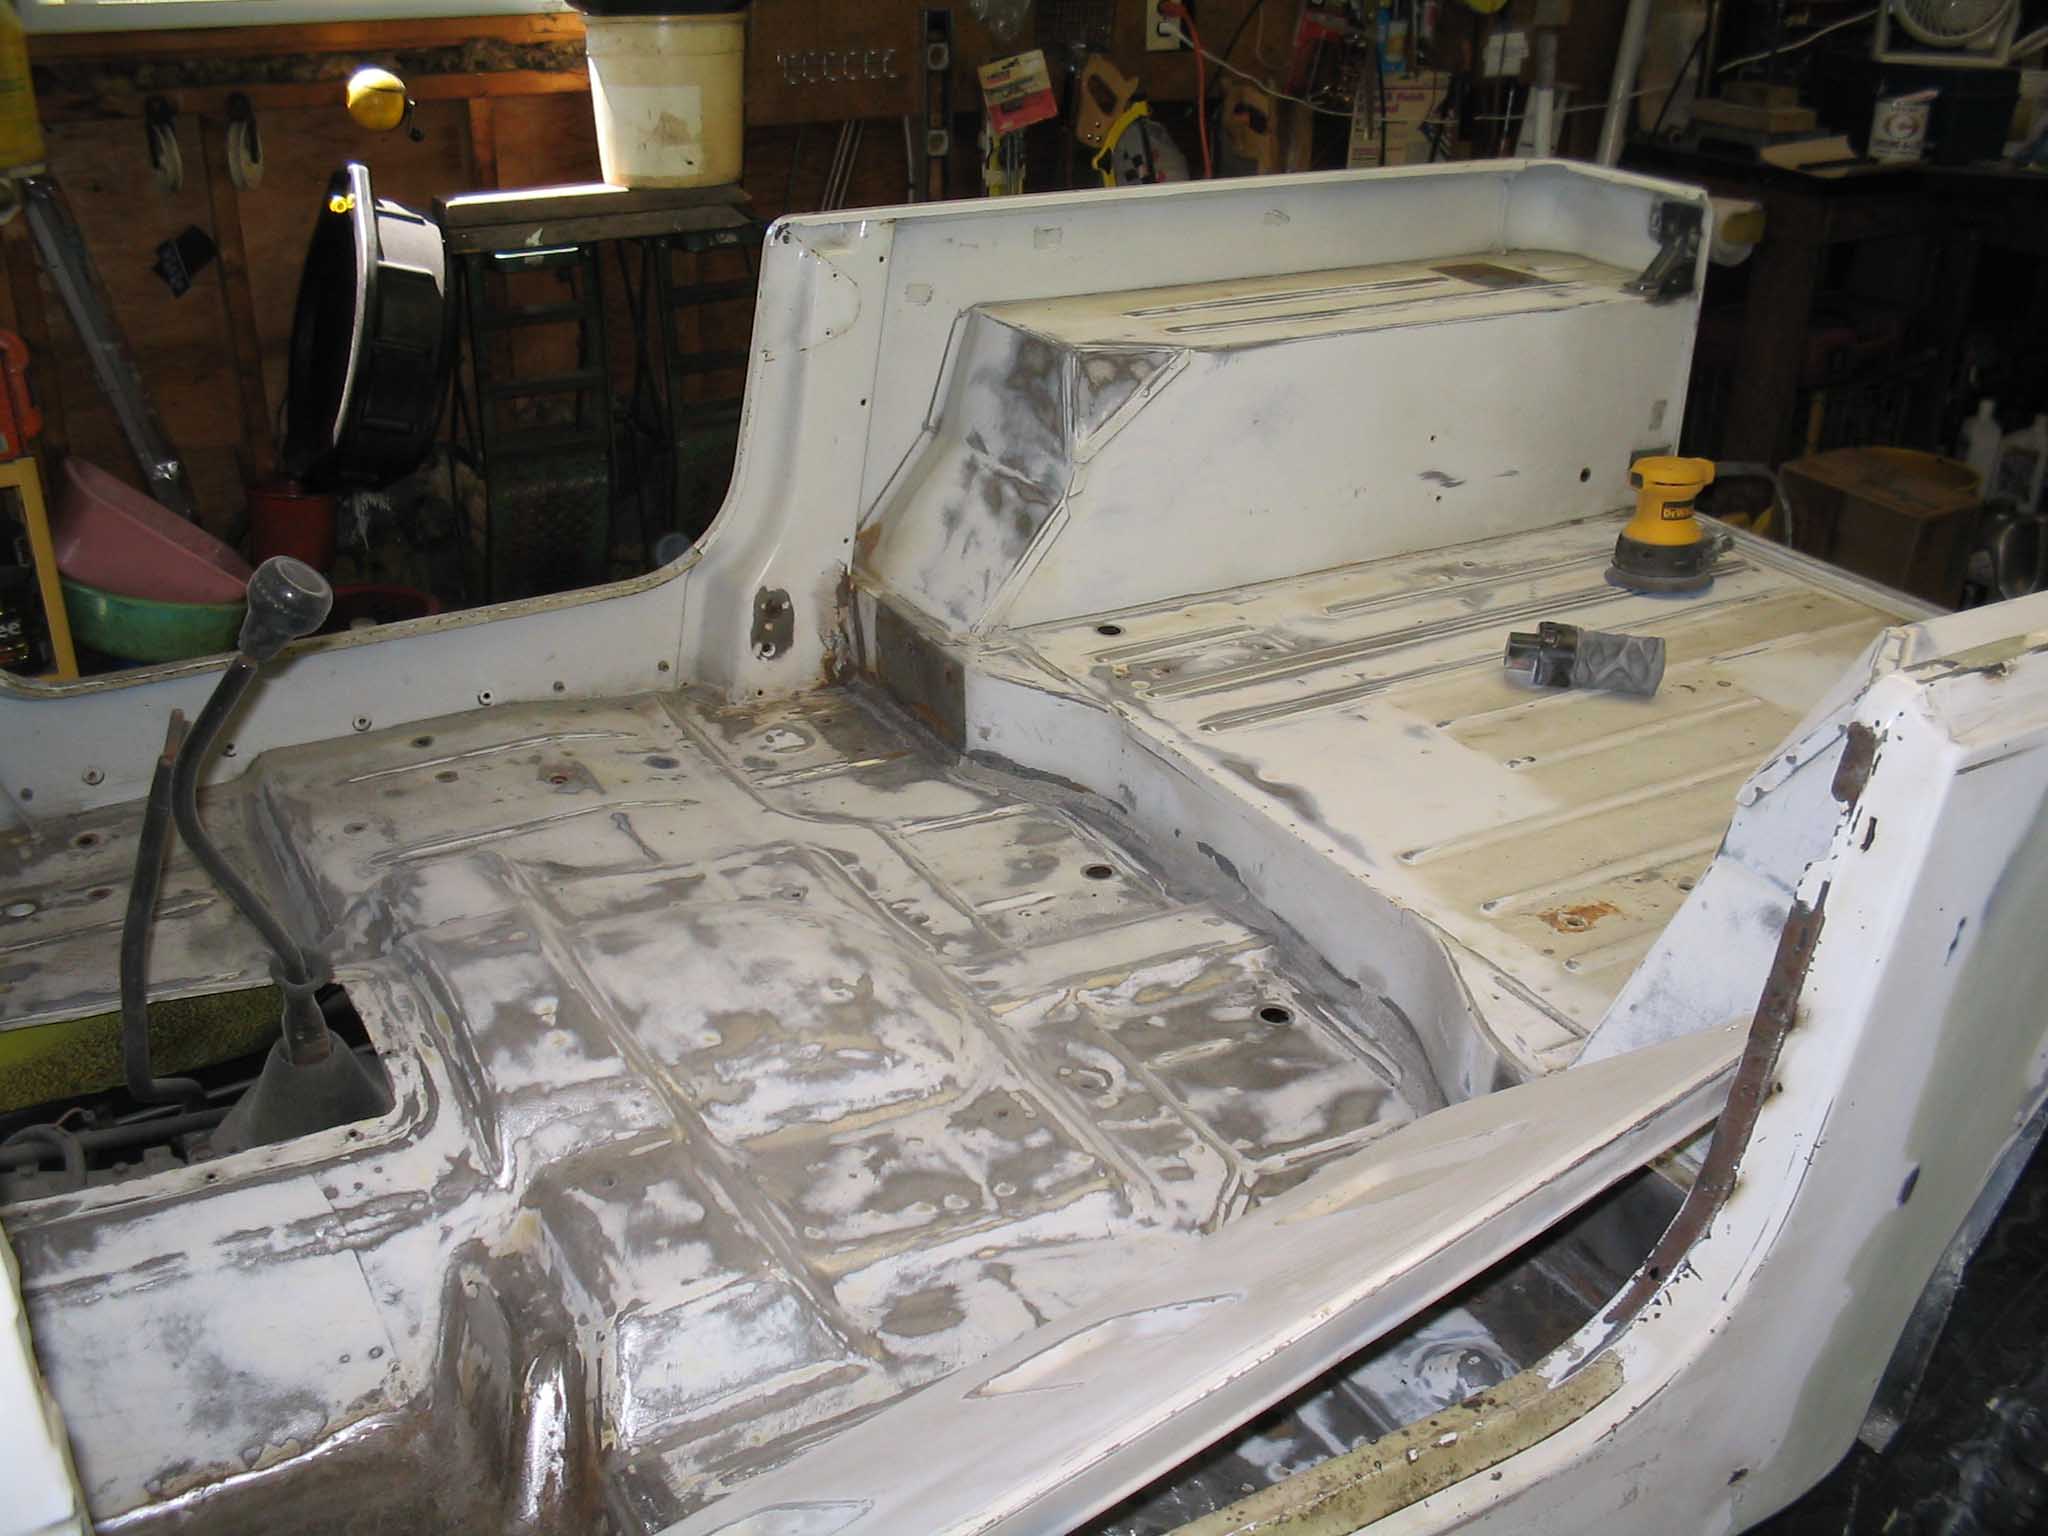
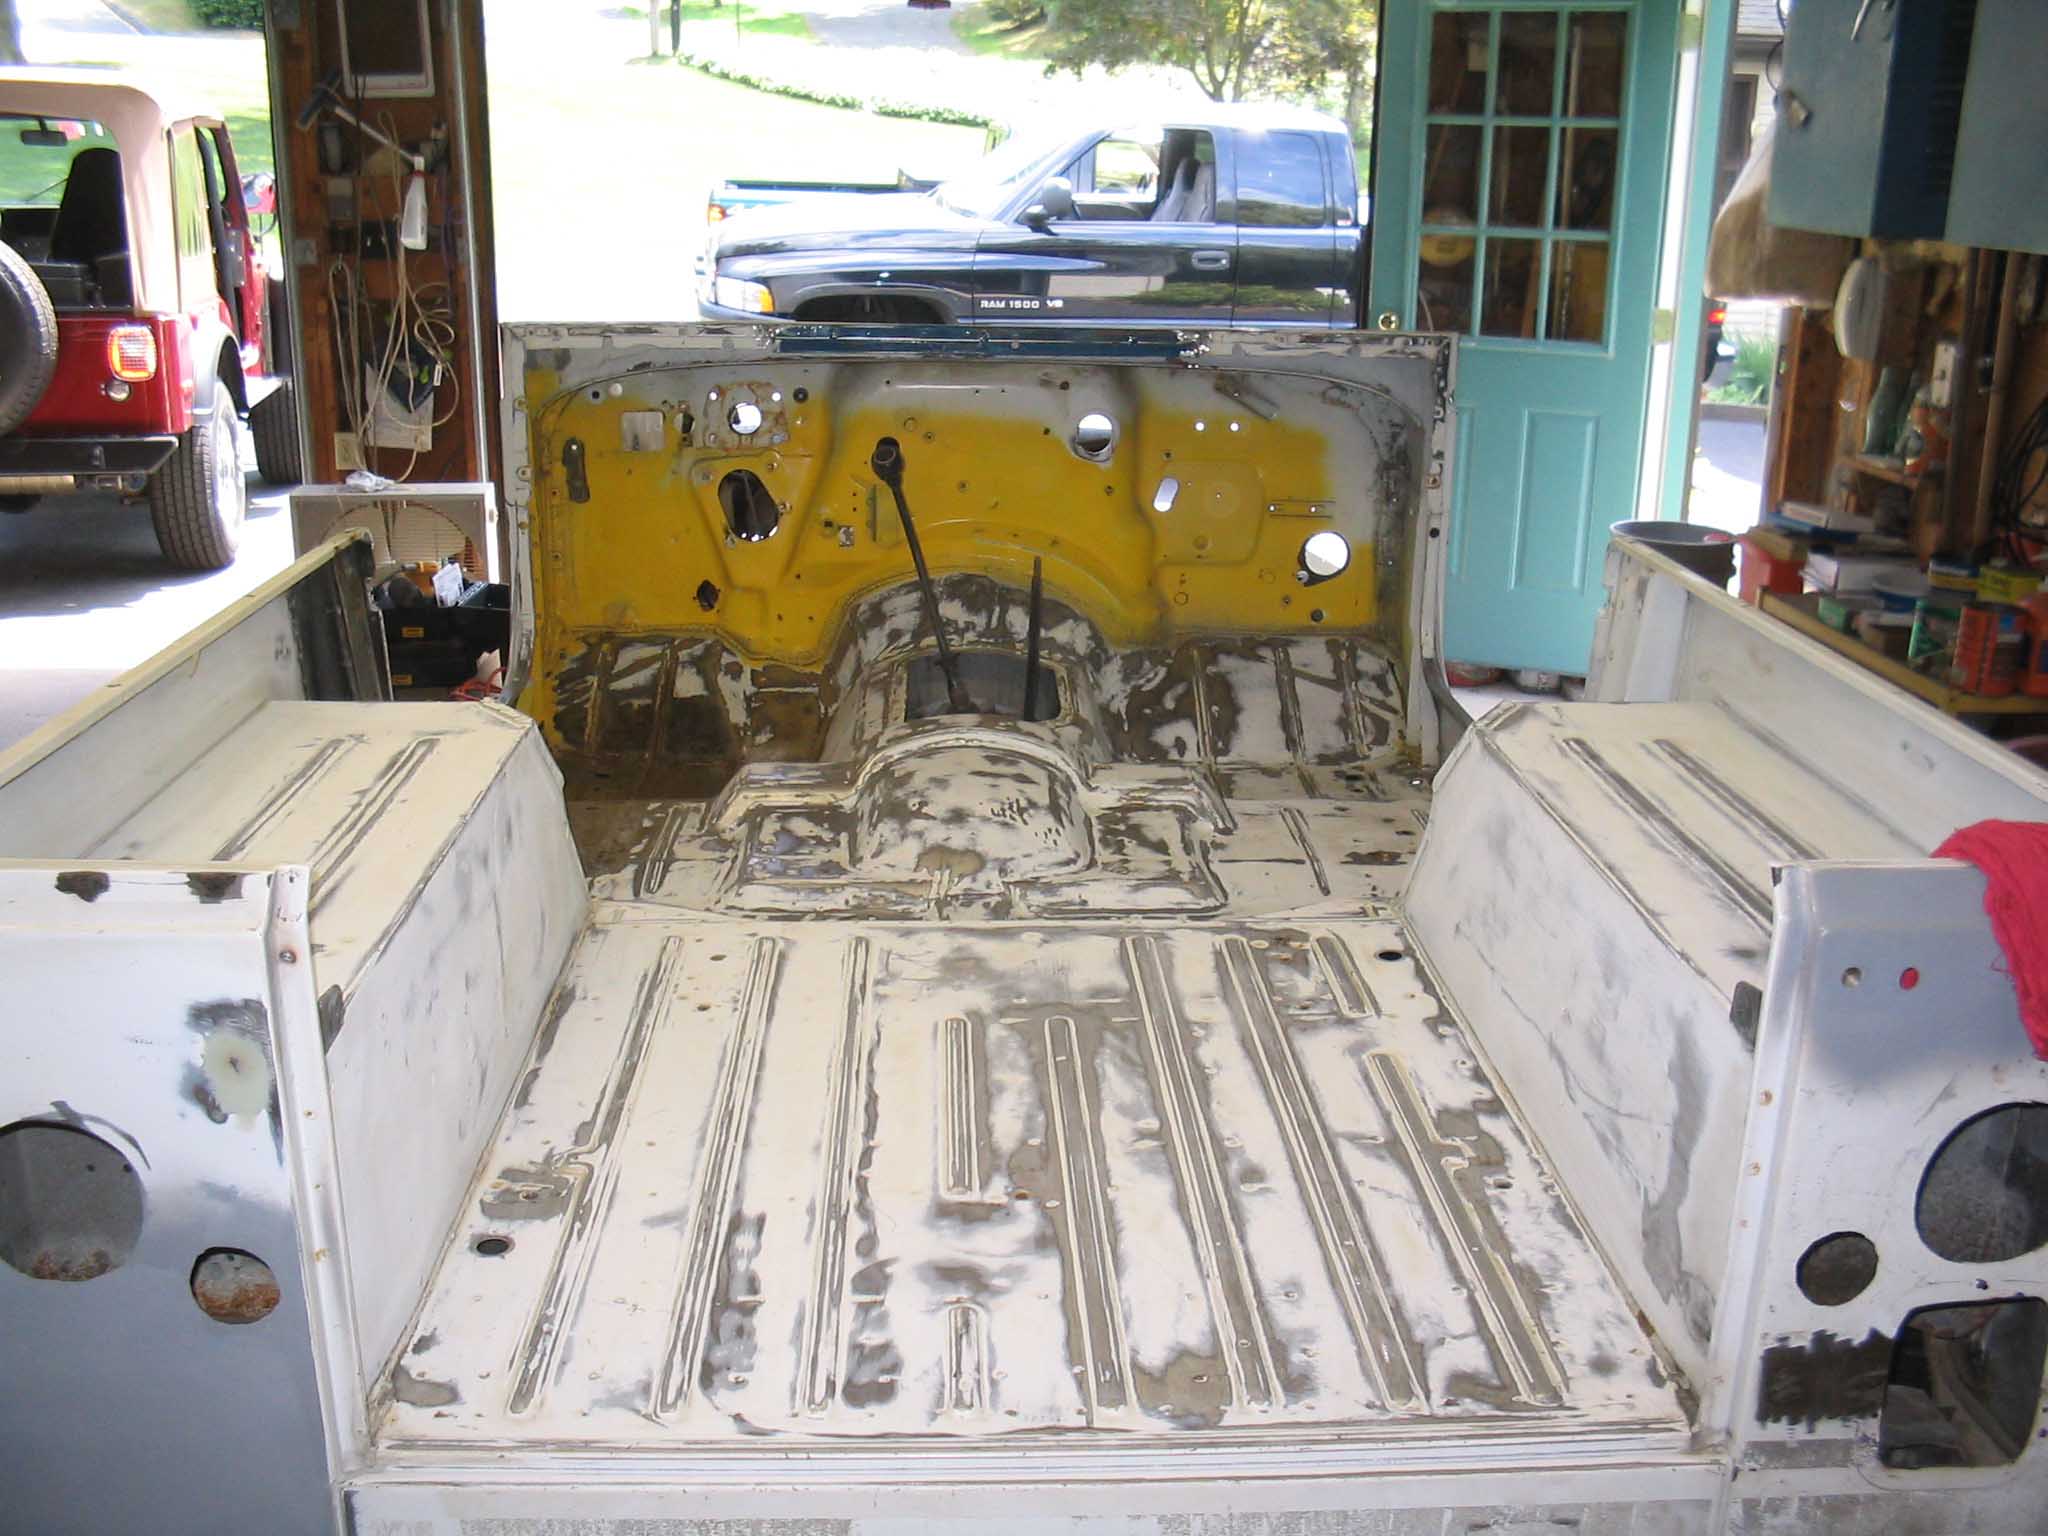
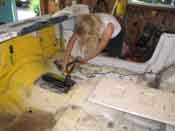
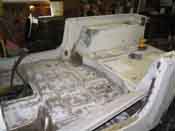
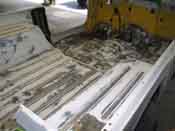
So the weekend of the 30/31 was another good one for the third project Jeep. The
prep work for the next step of the tub was performed. The next step involves herculining the tub so we will be
able to protect it and make sure that no more deterioration of the tub will be able to happen. With all tubs,
rain and the elements take it's toll over time. This step will put a protective layer on it ensuring that we
won't have any rust spots forming and will make sure that over time, the only damage that will result is if the
tub goes out on the trail and gets knocked around.
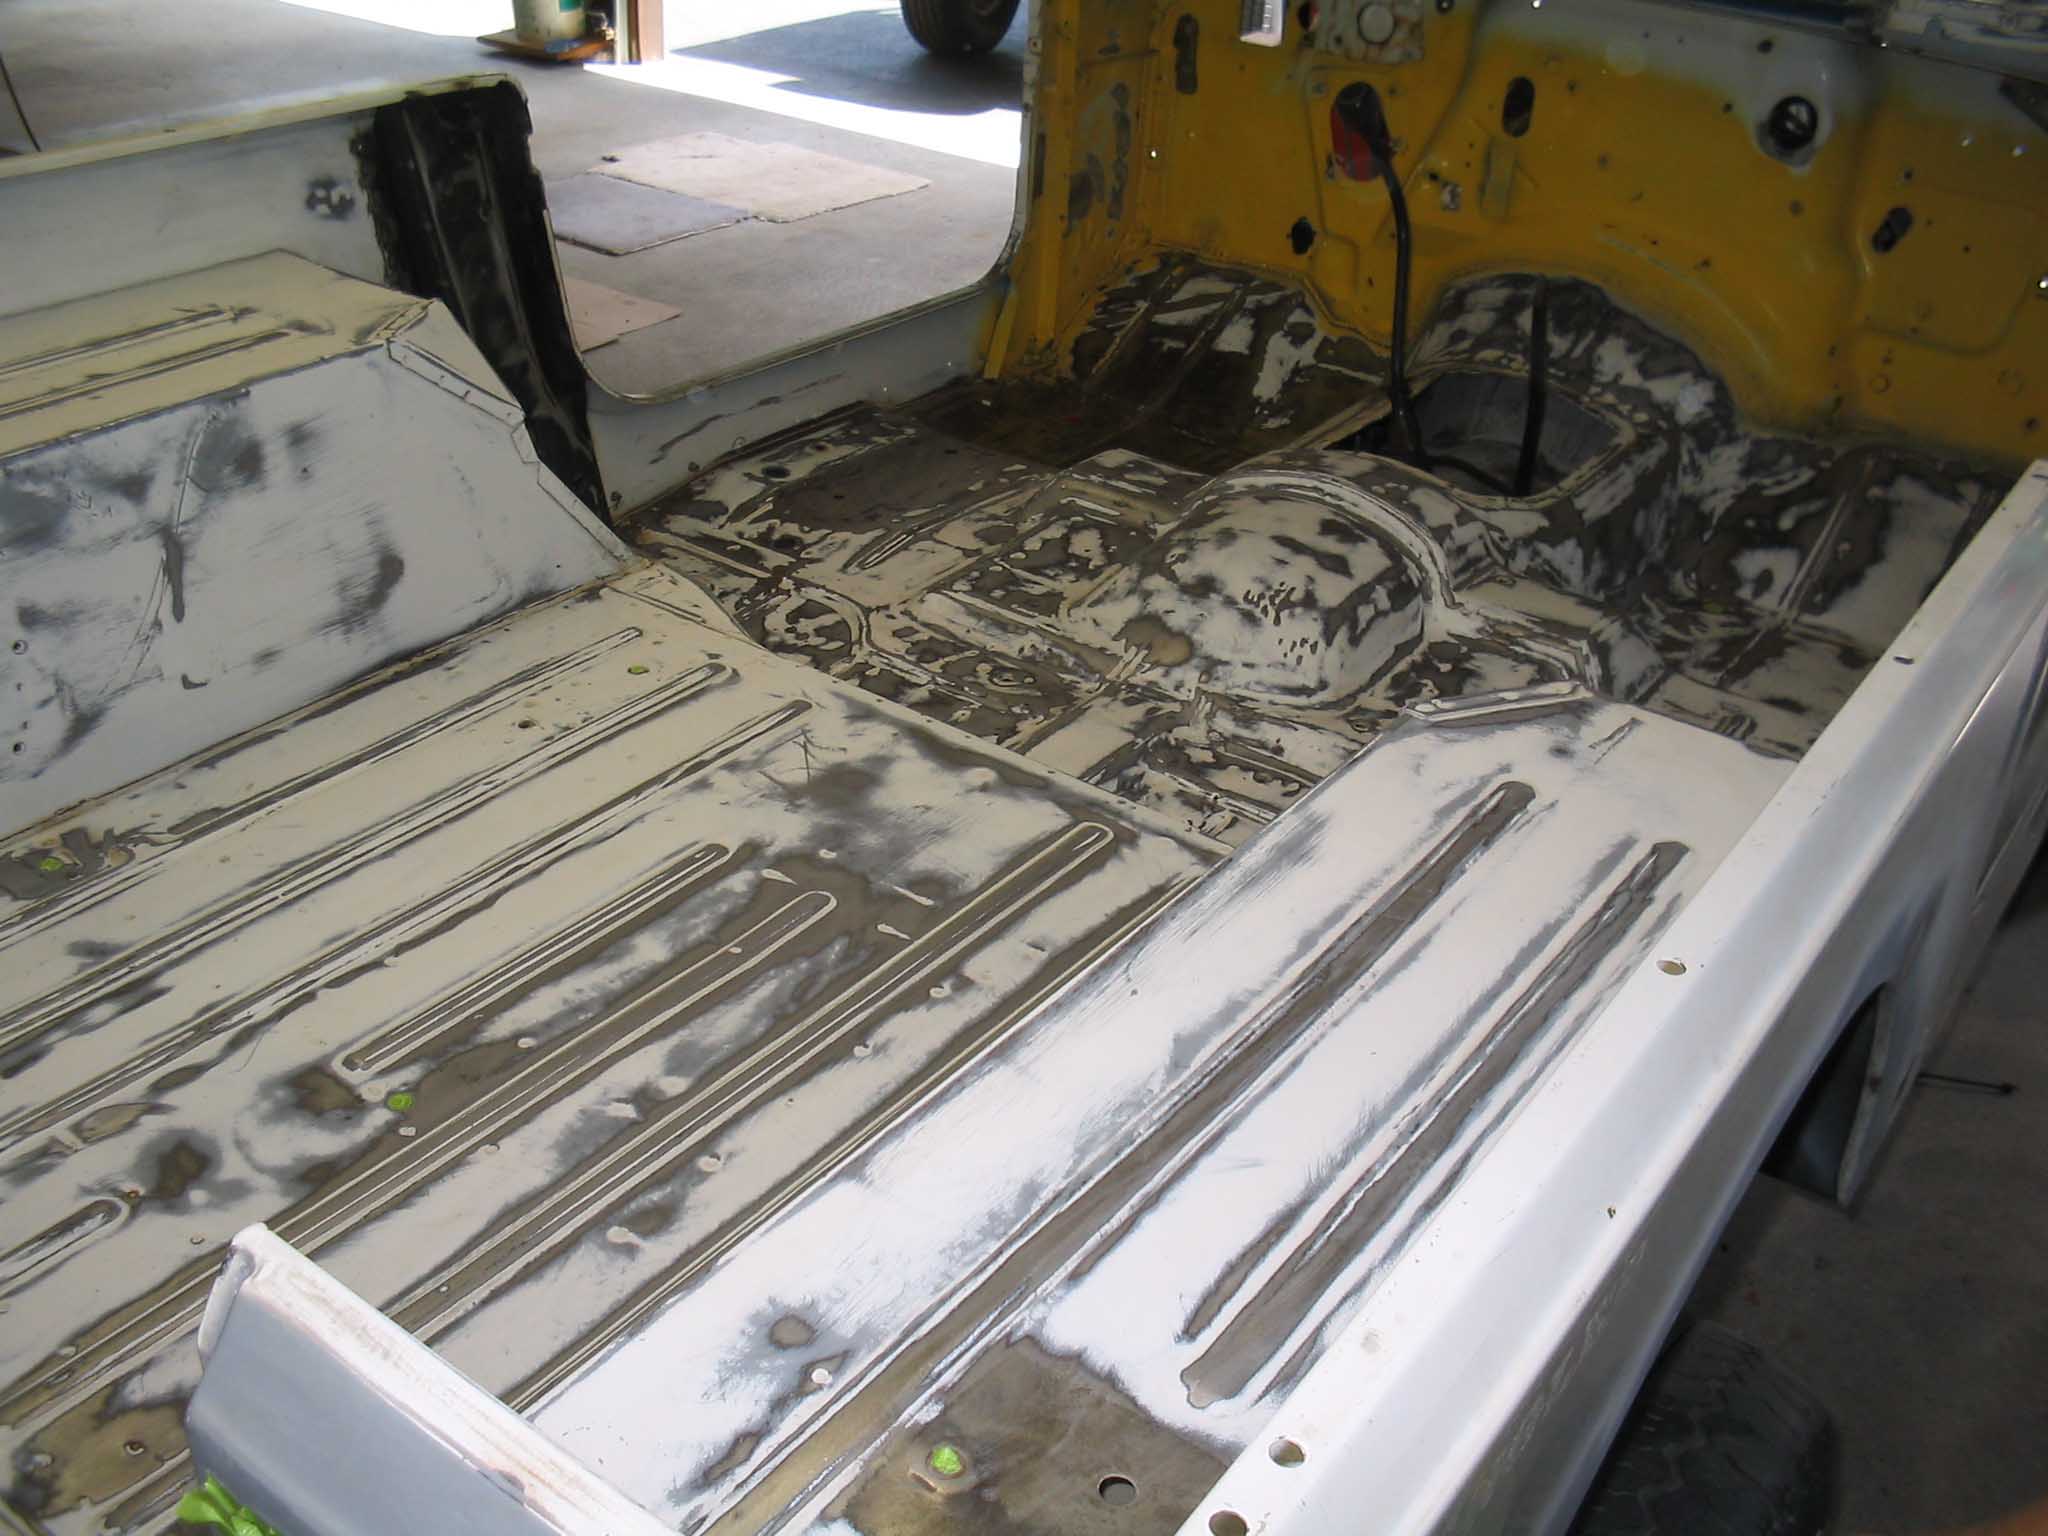
Jen showed that she is not just another pretty face by getting down and dirty with the hand sander. In order for
the herculiner to be applied and properly stick to the tub, we need to scuff the surface of the tub so we get
good adhesion to it. The kit recommends that we use a scotch brite pad to scuff the surface thus ensuring that we
get a good bond. We (Jen) went one step further and put the hand sander to use with some 60-grit sand paper and
we took off most of the old paint and really scuffed up the surface, thus ensuring good adhesion when we put the
herculiner on the tub. Next weekend we will finish up the sanding and then we will apply the herculiner.
|
| |
|

|
|
|
| |
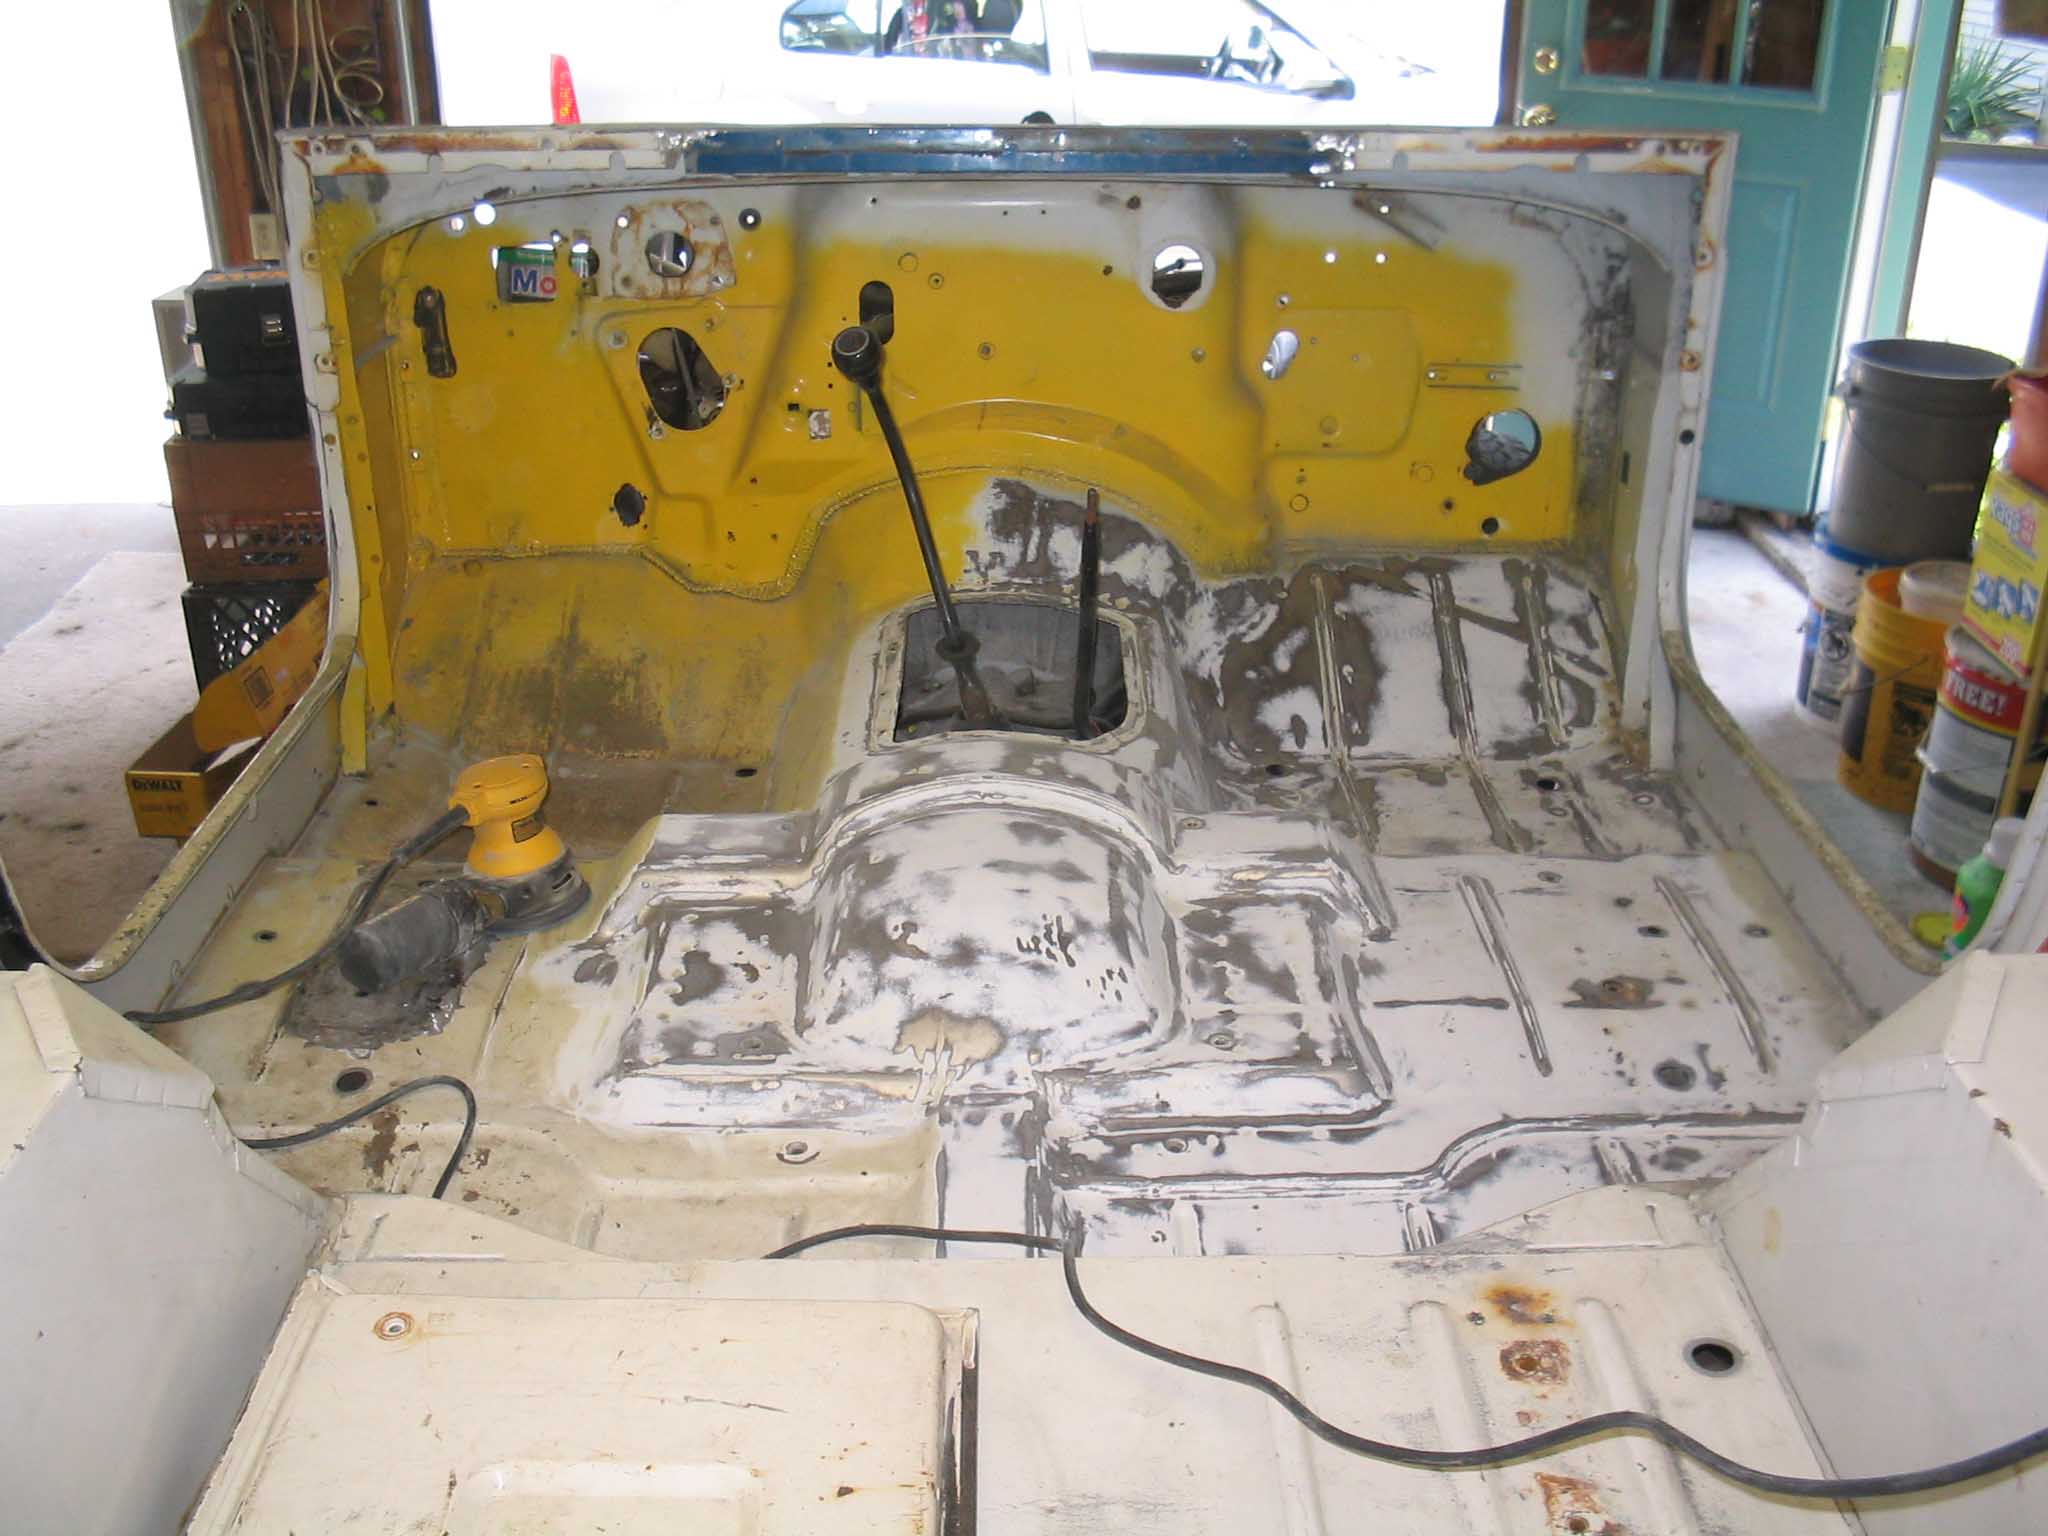
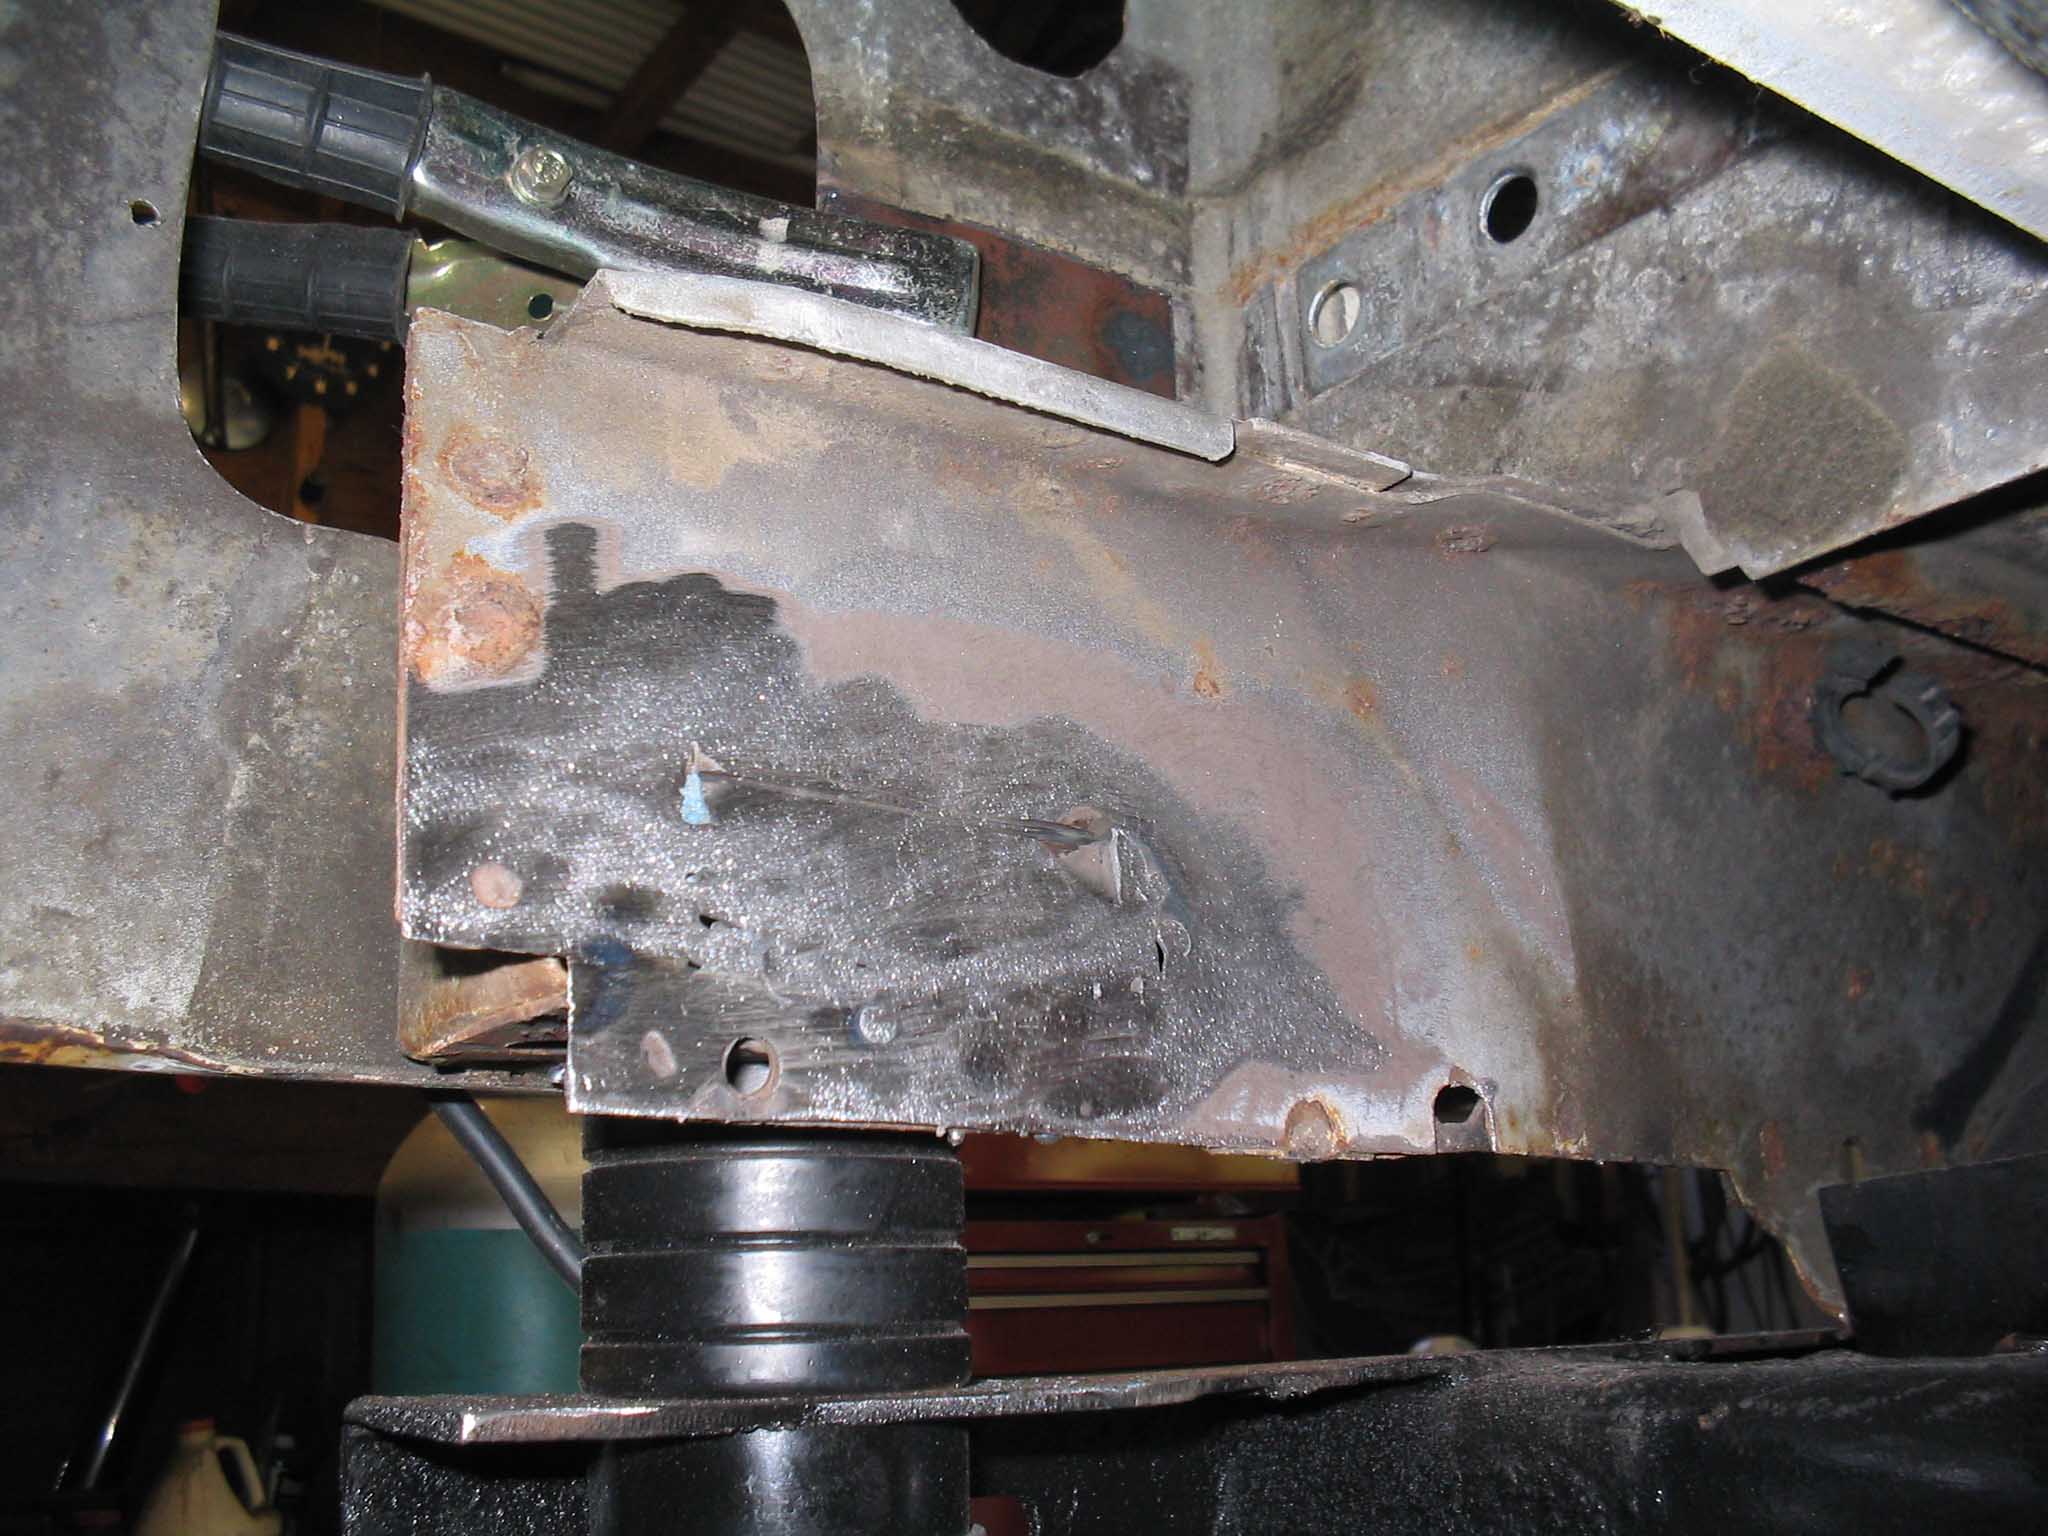
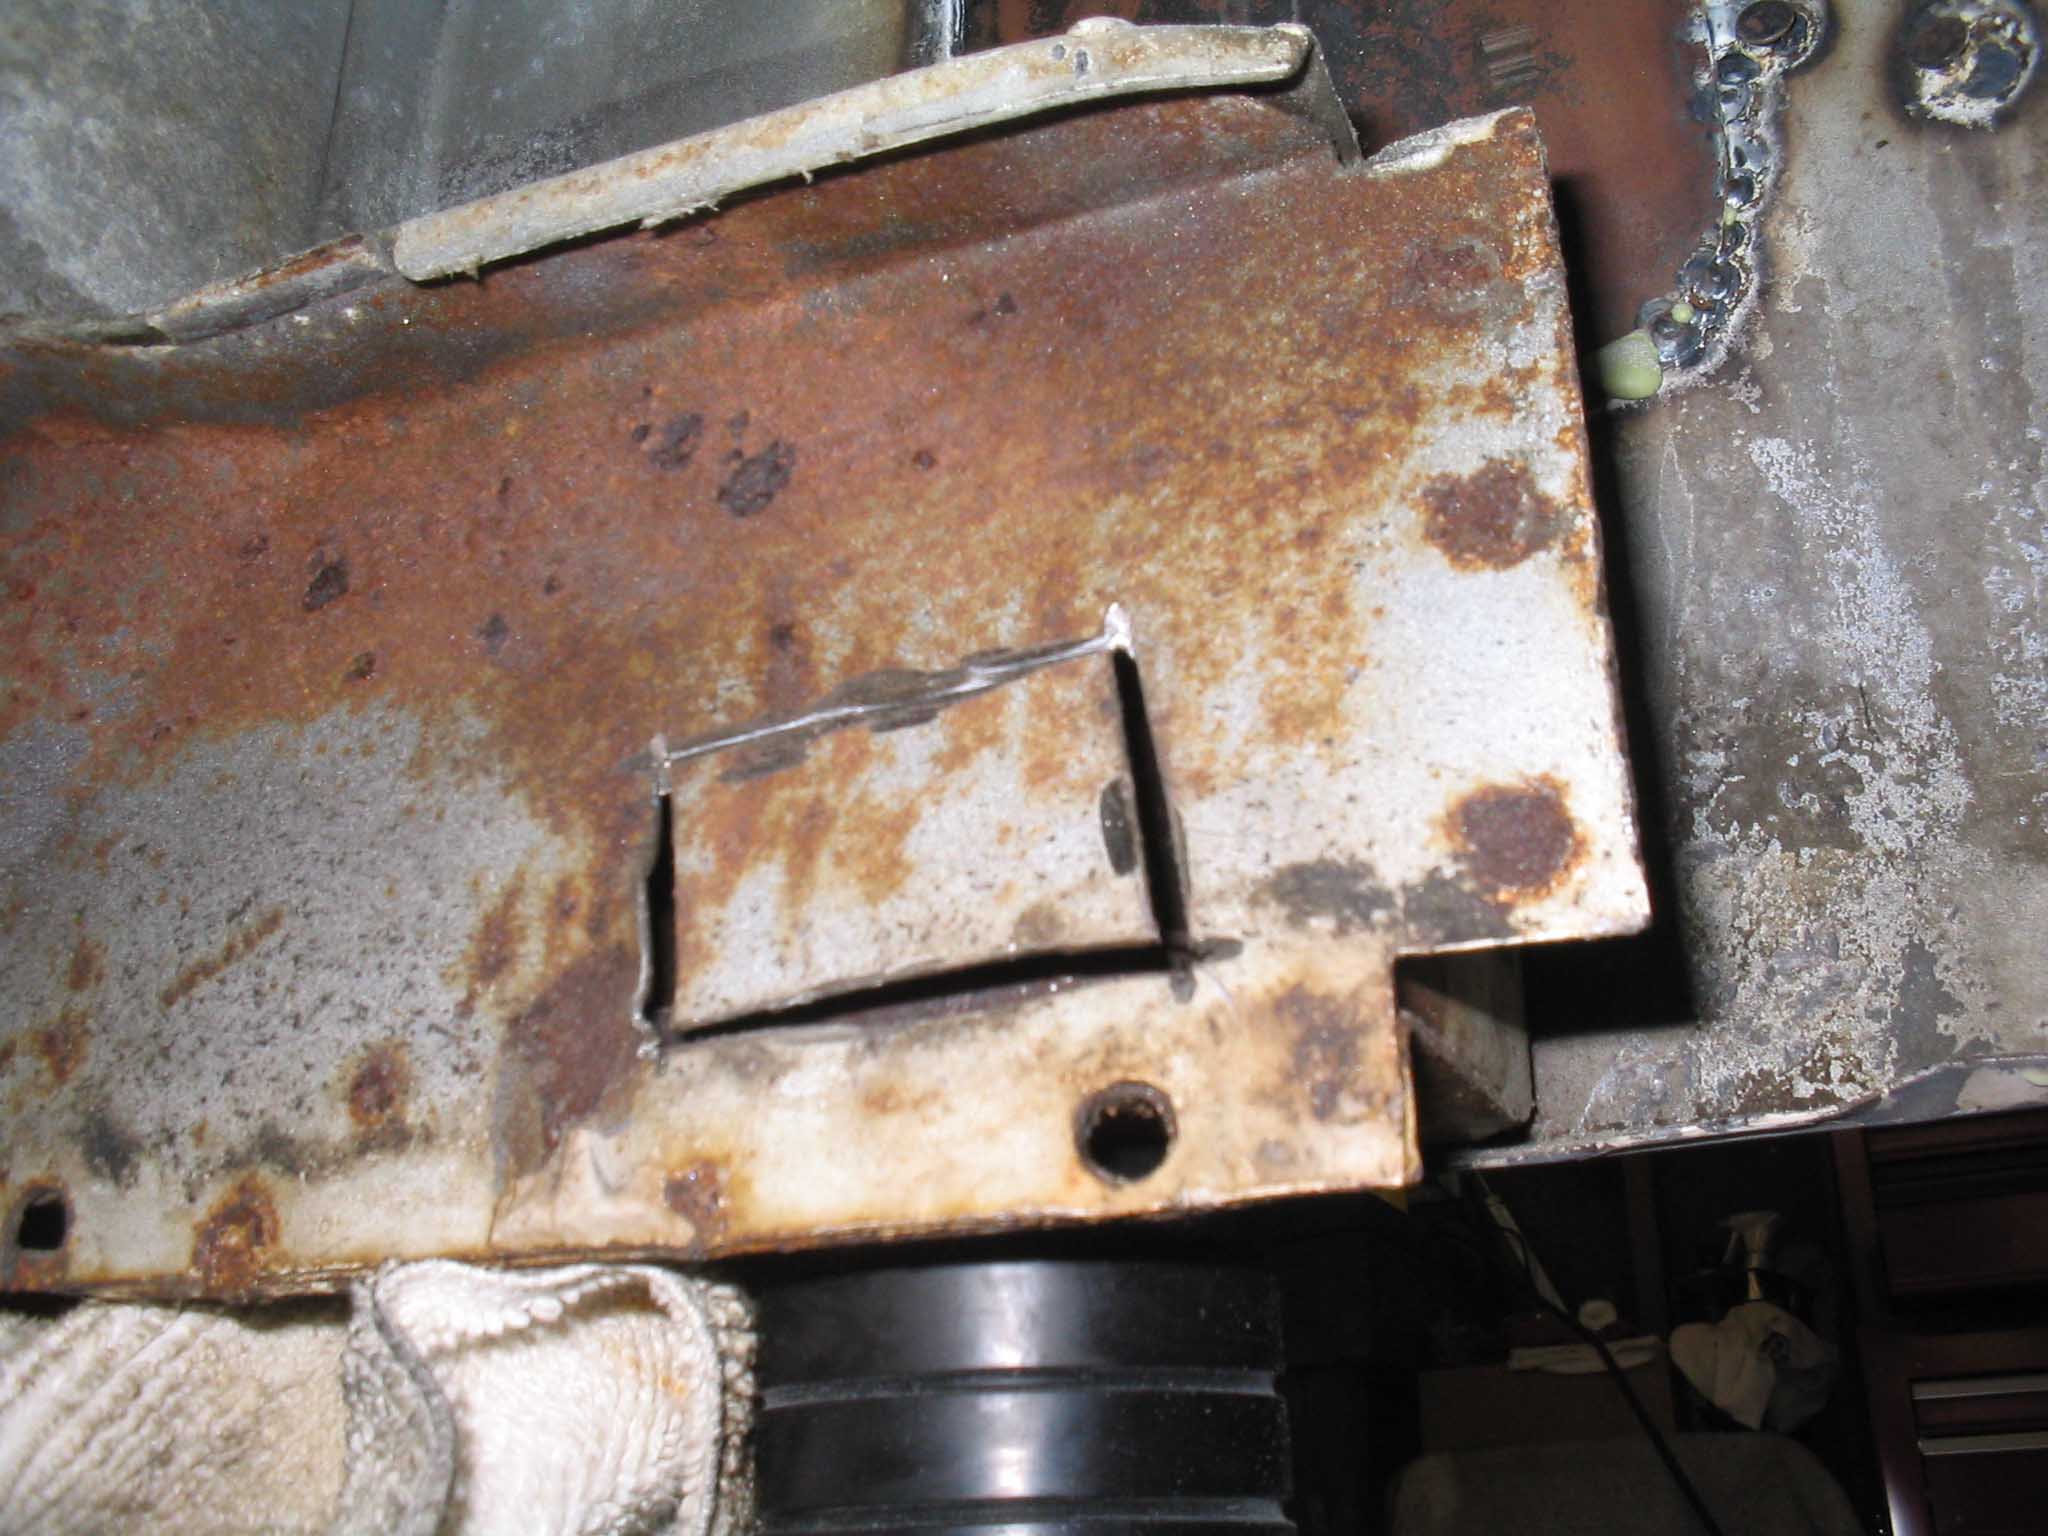
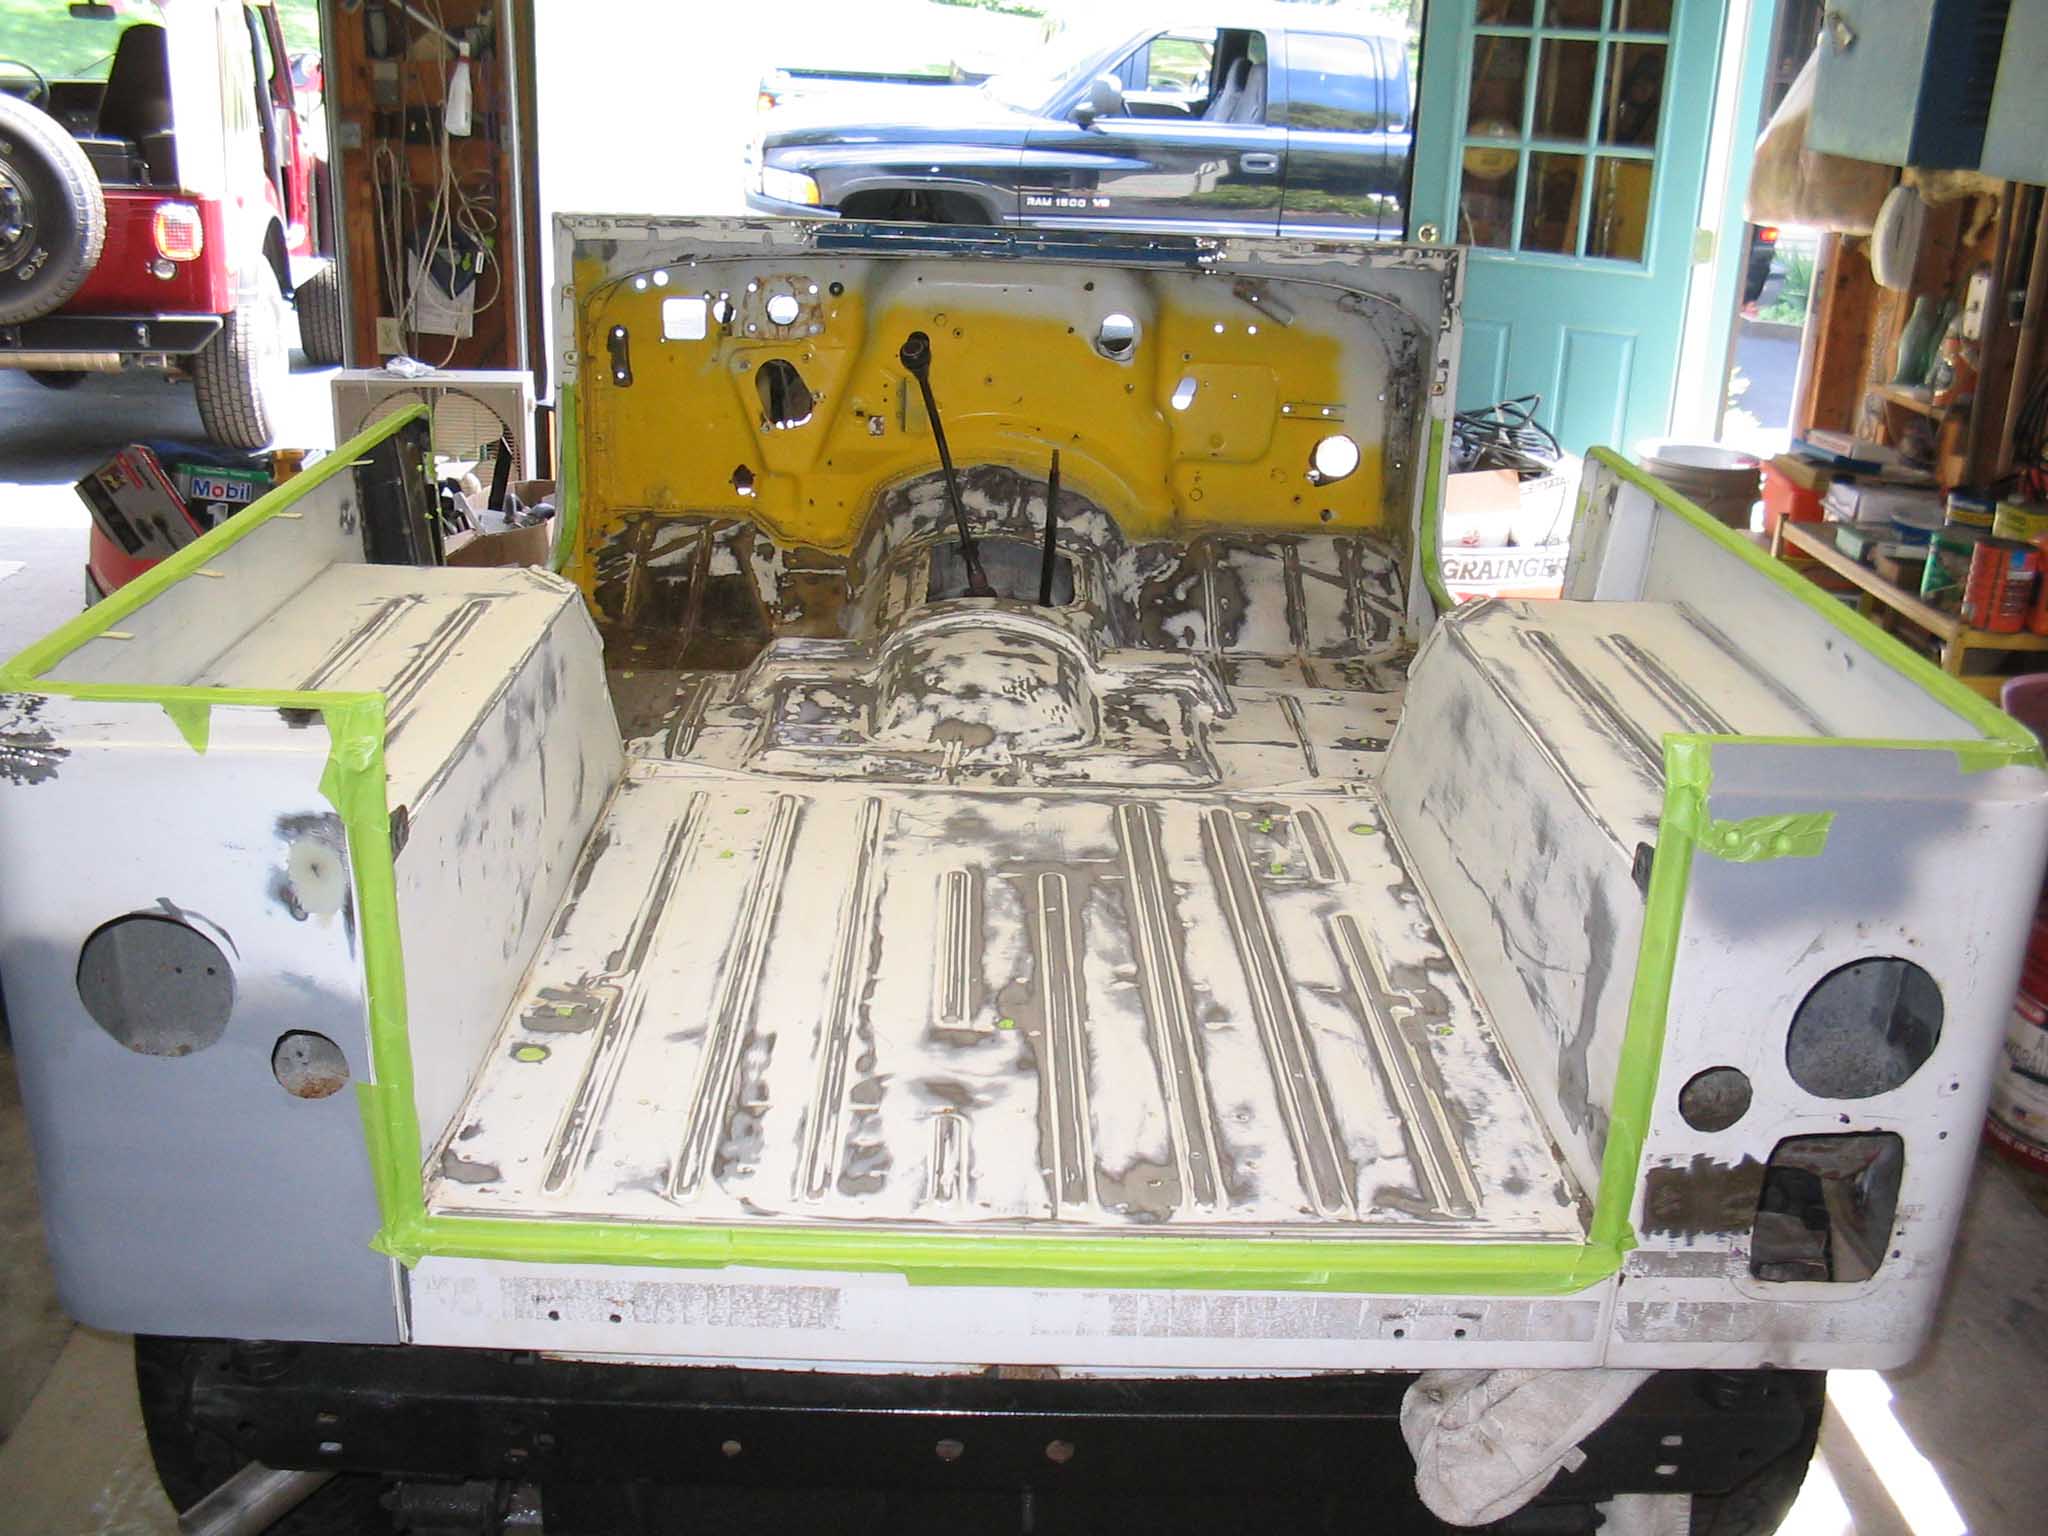
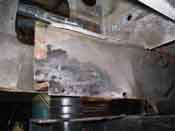
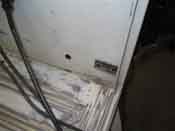
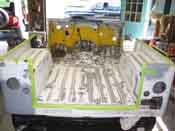
I was able to finish up the welding of the 2 areas of the rear tub that had to
be cut in order to remove the body mount bolts that broke off inside the tub mount areas. This area was ground
down and then welded up and then ground again ensuring that we won't have any issues in the future of any
deterioration of that area when the Jeep is driven in the elements.
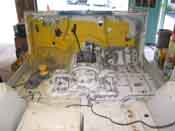
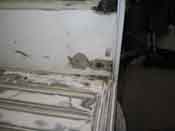
As you can see from the other pictures, Jen really did a great job removing the paint for the herculiner to be
applied in the next upcoming segment of the third Jeep project buildup.
|
| |
|
|
|
|
| |
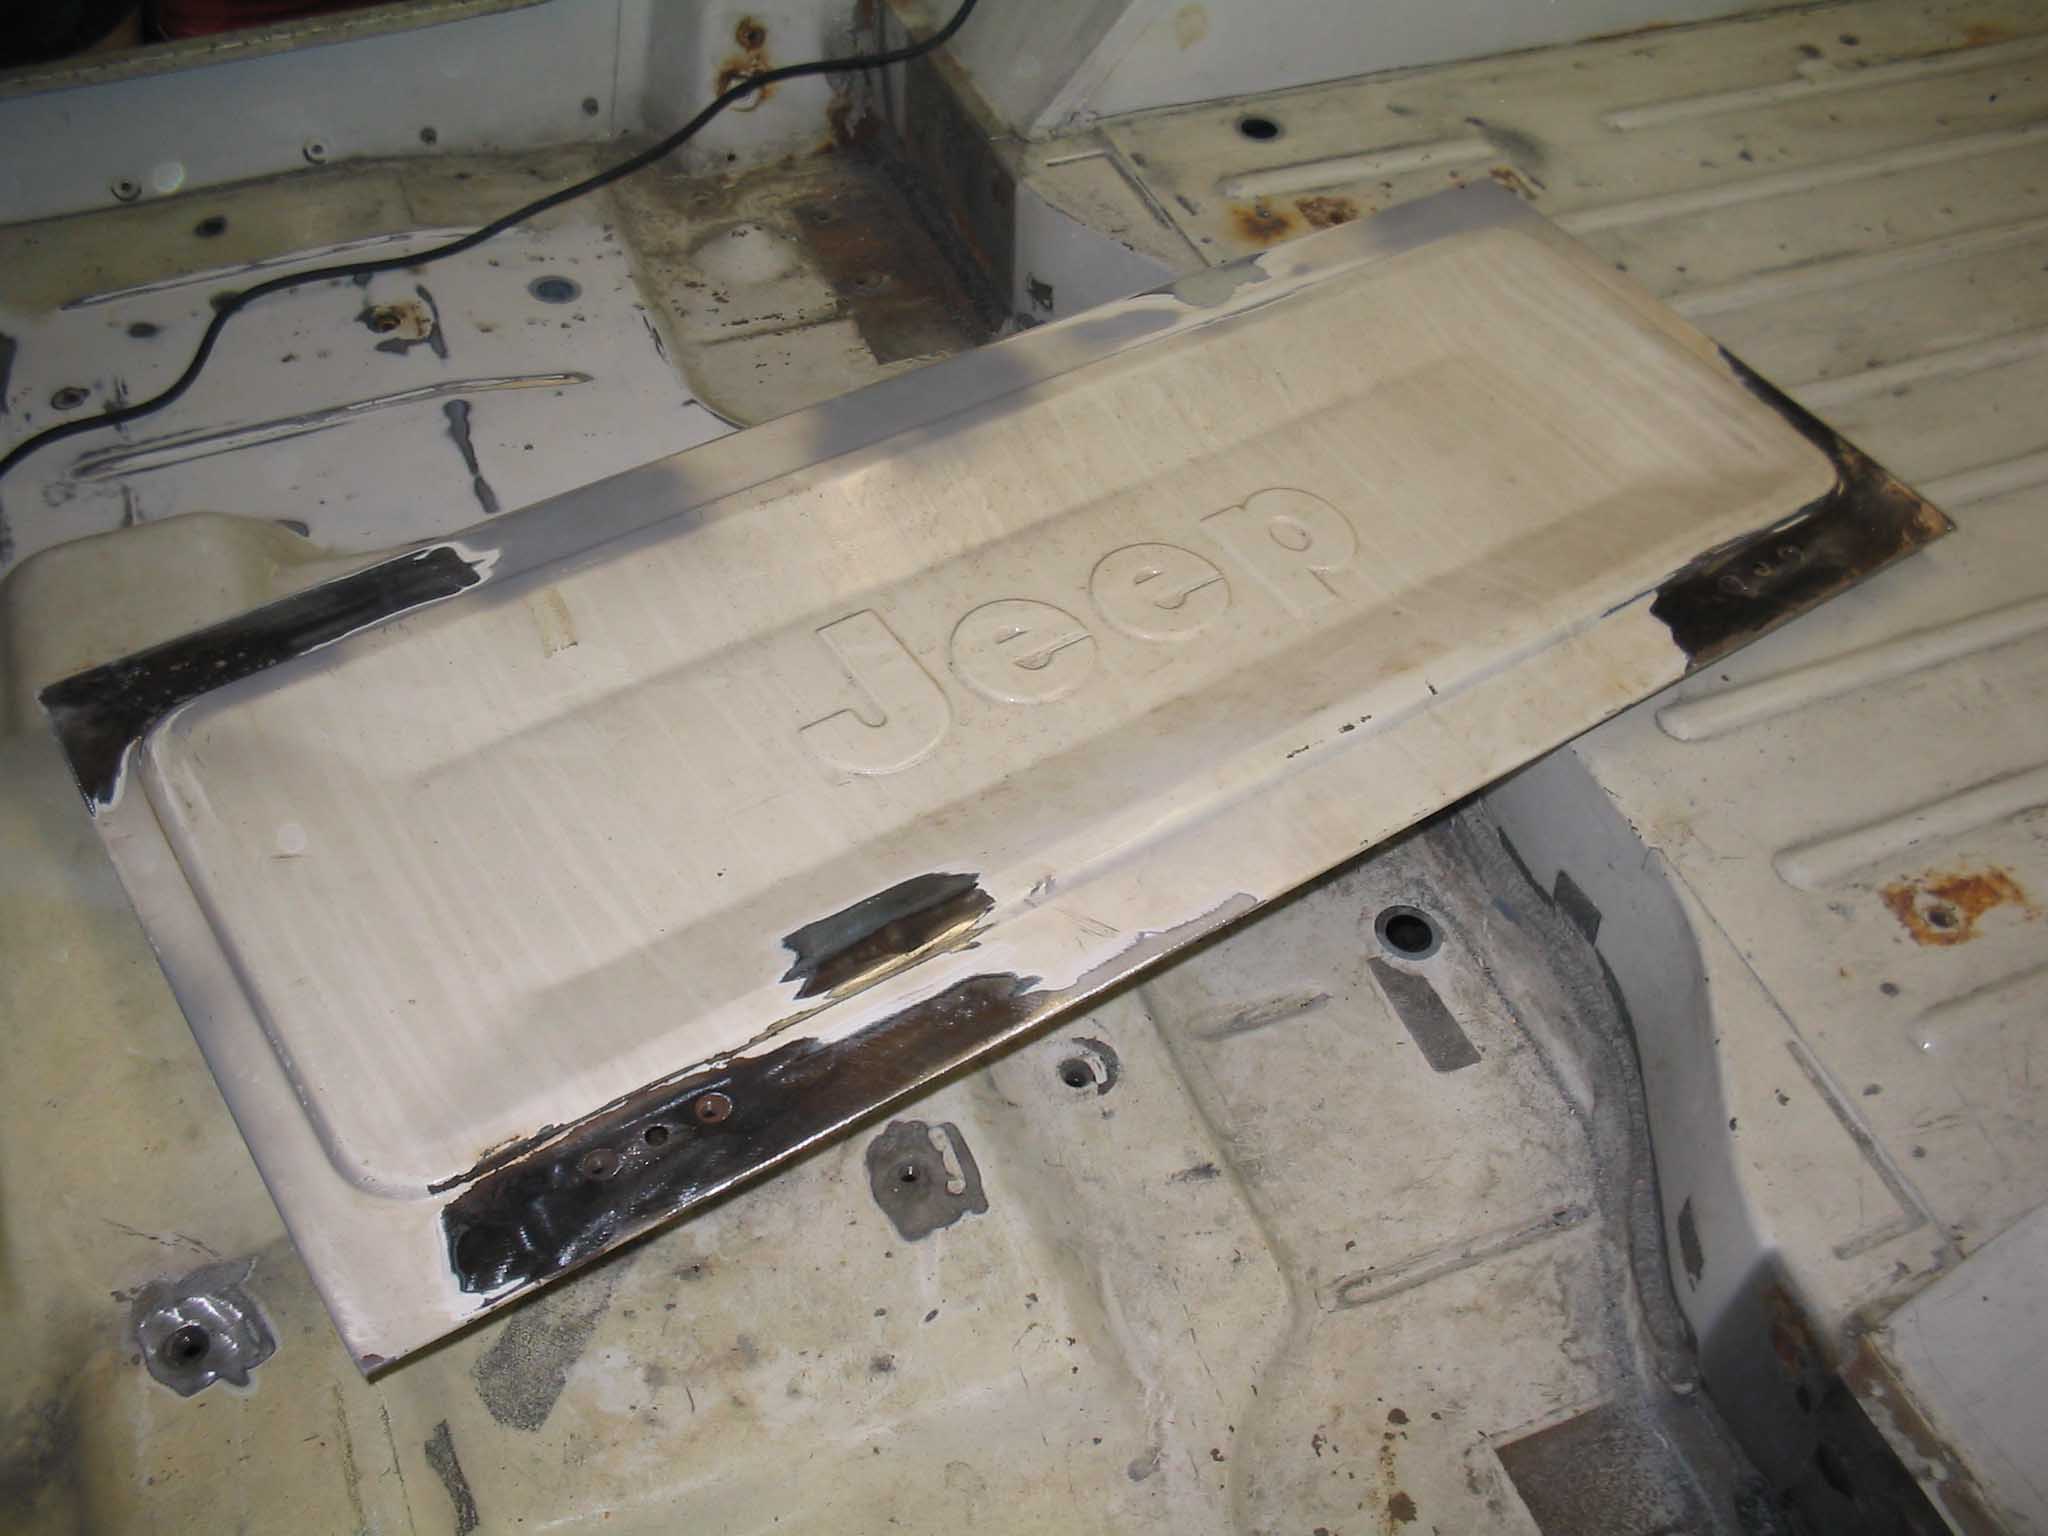
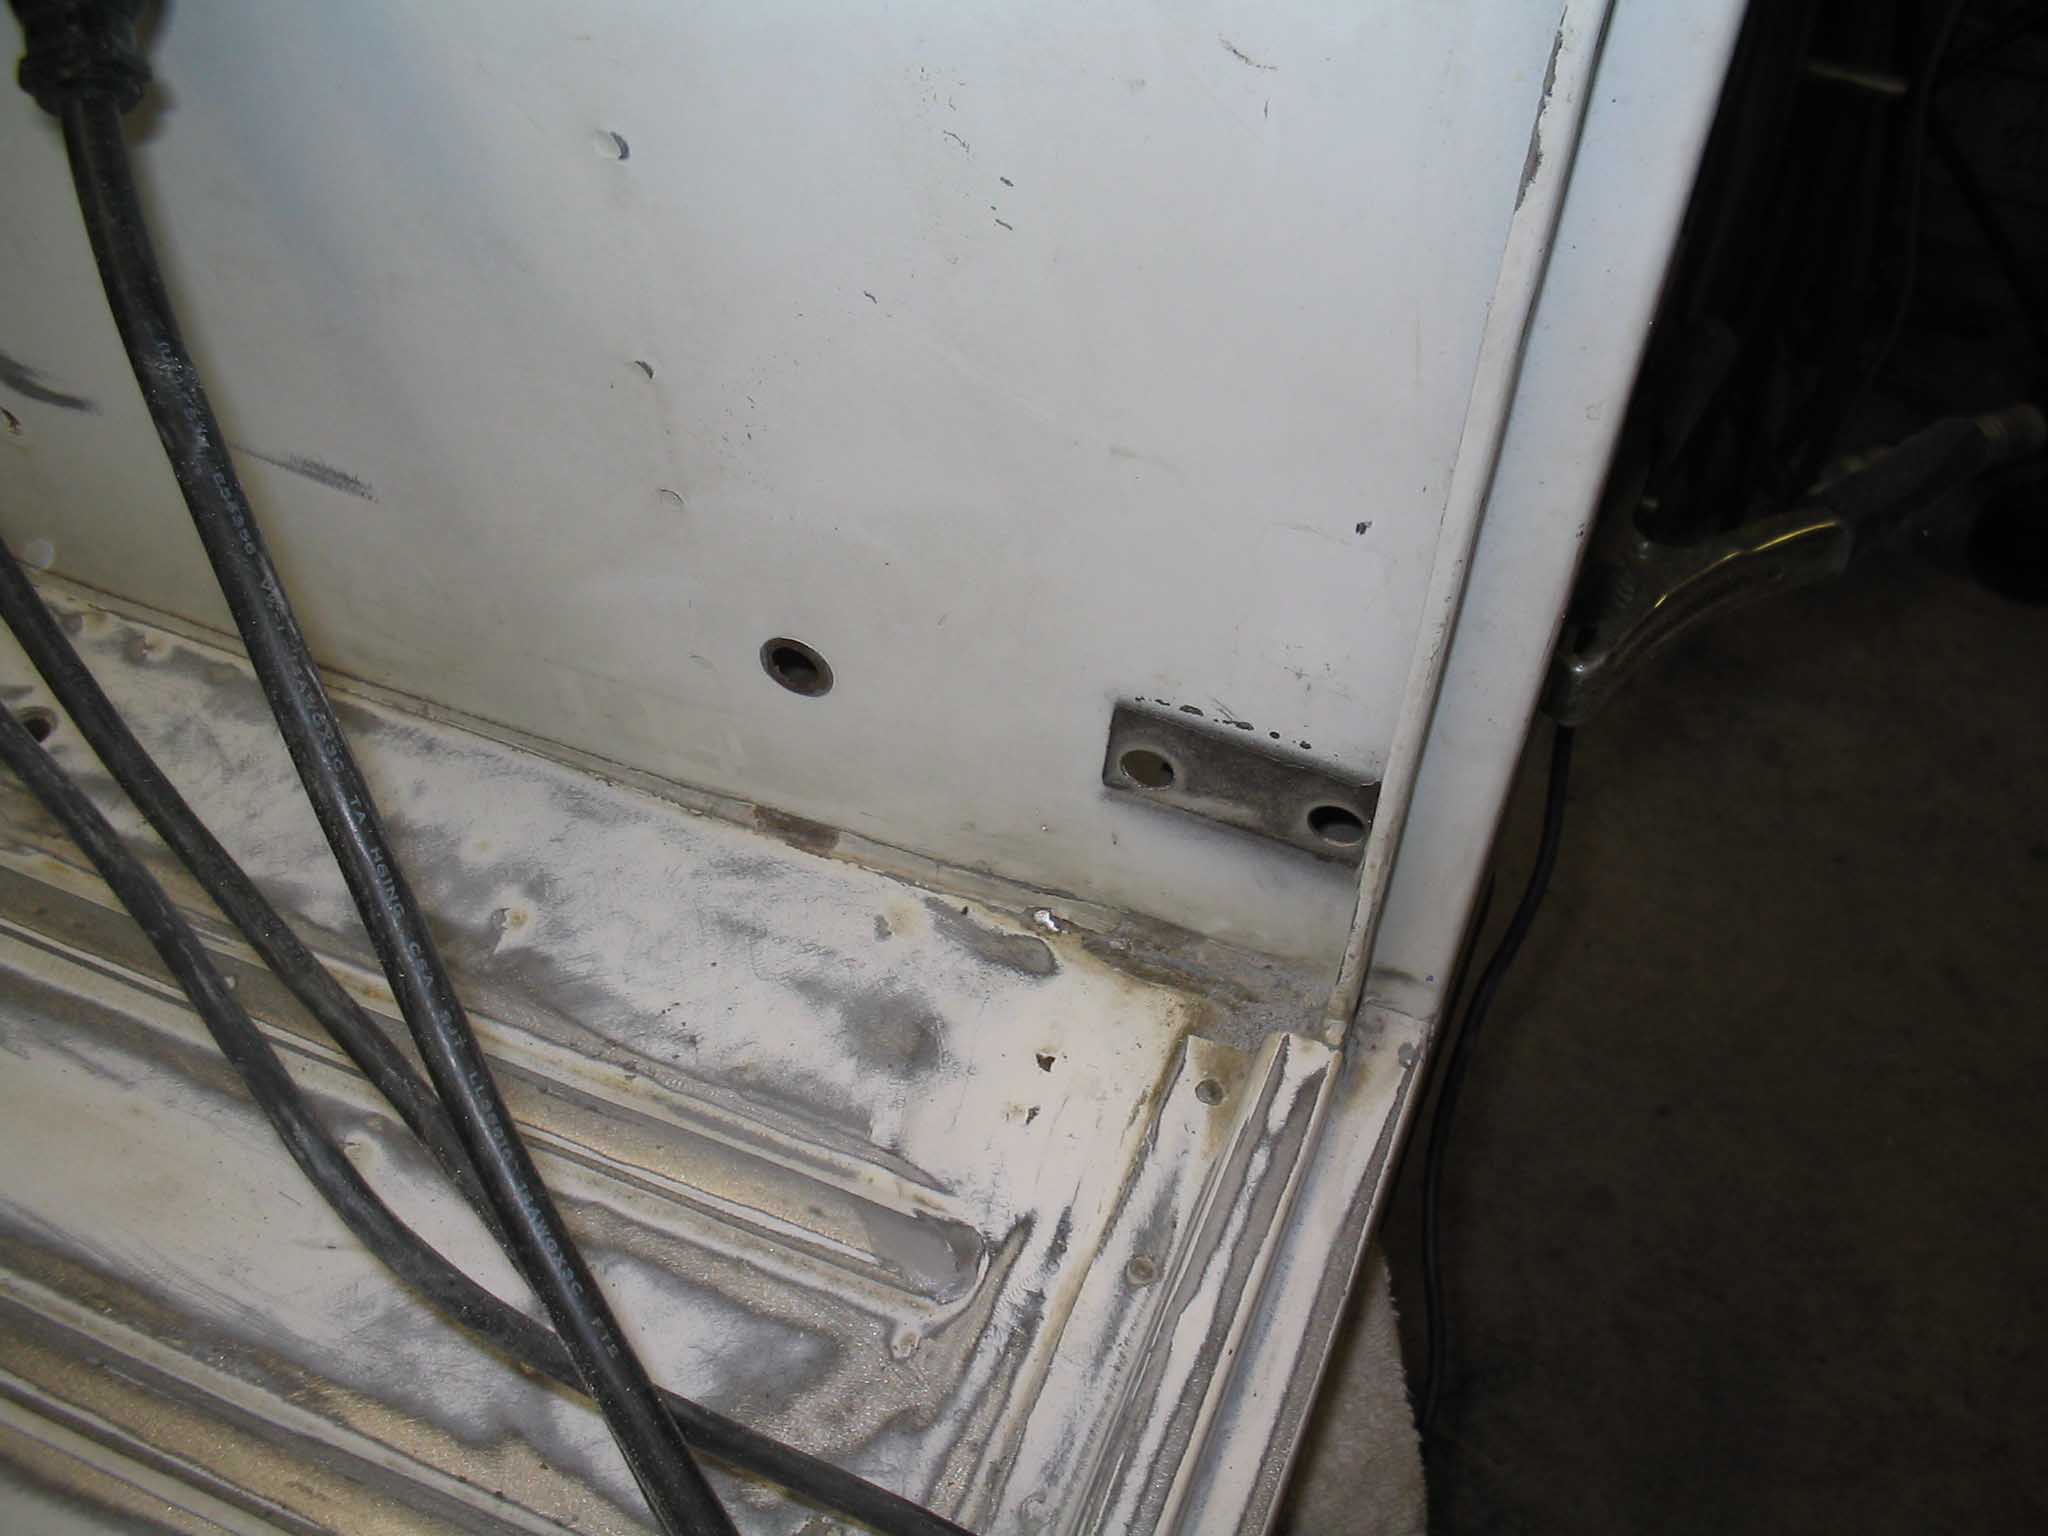
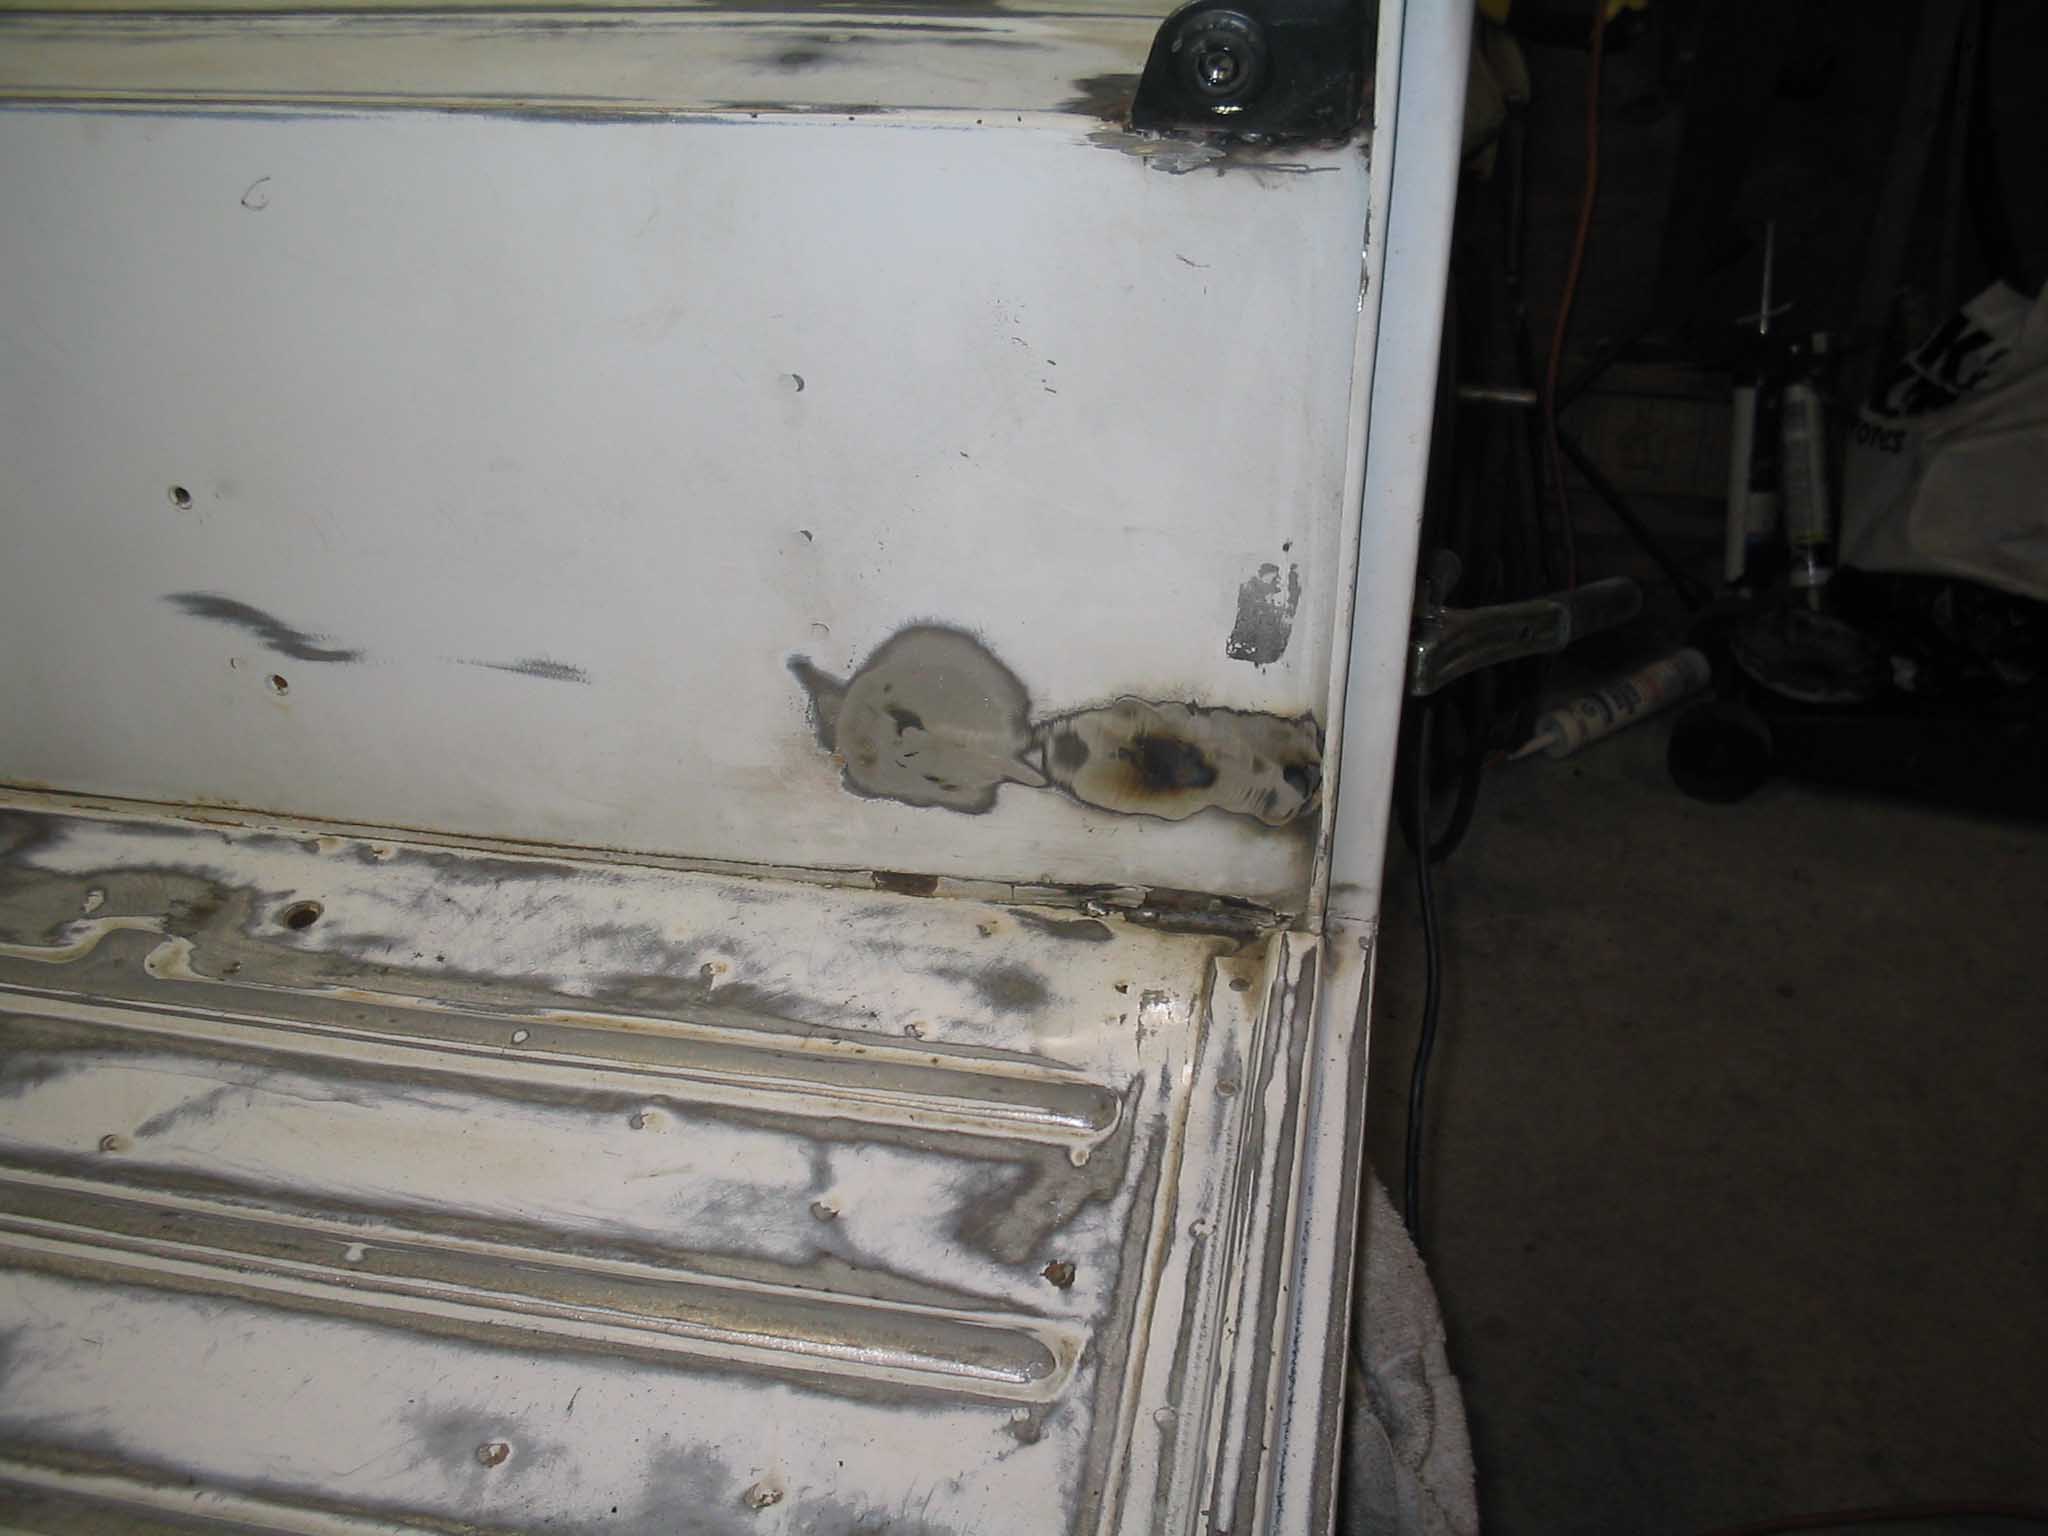
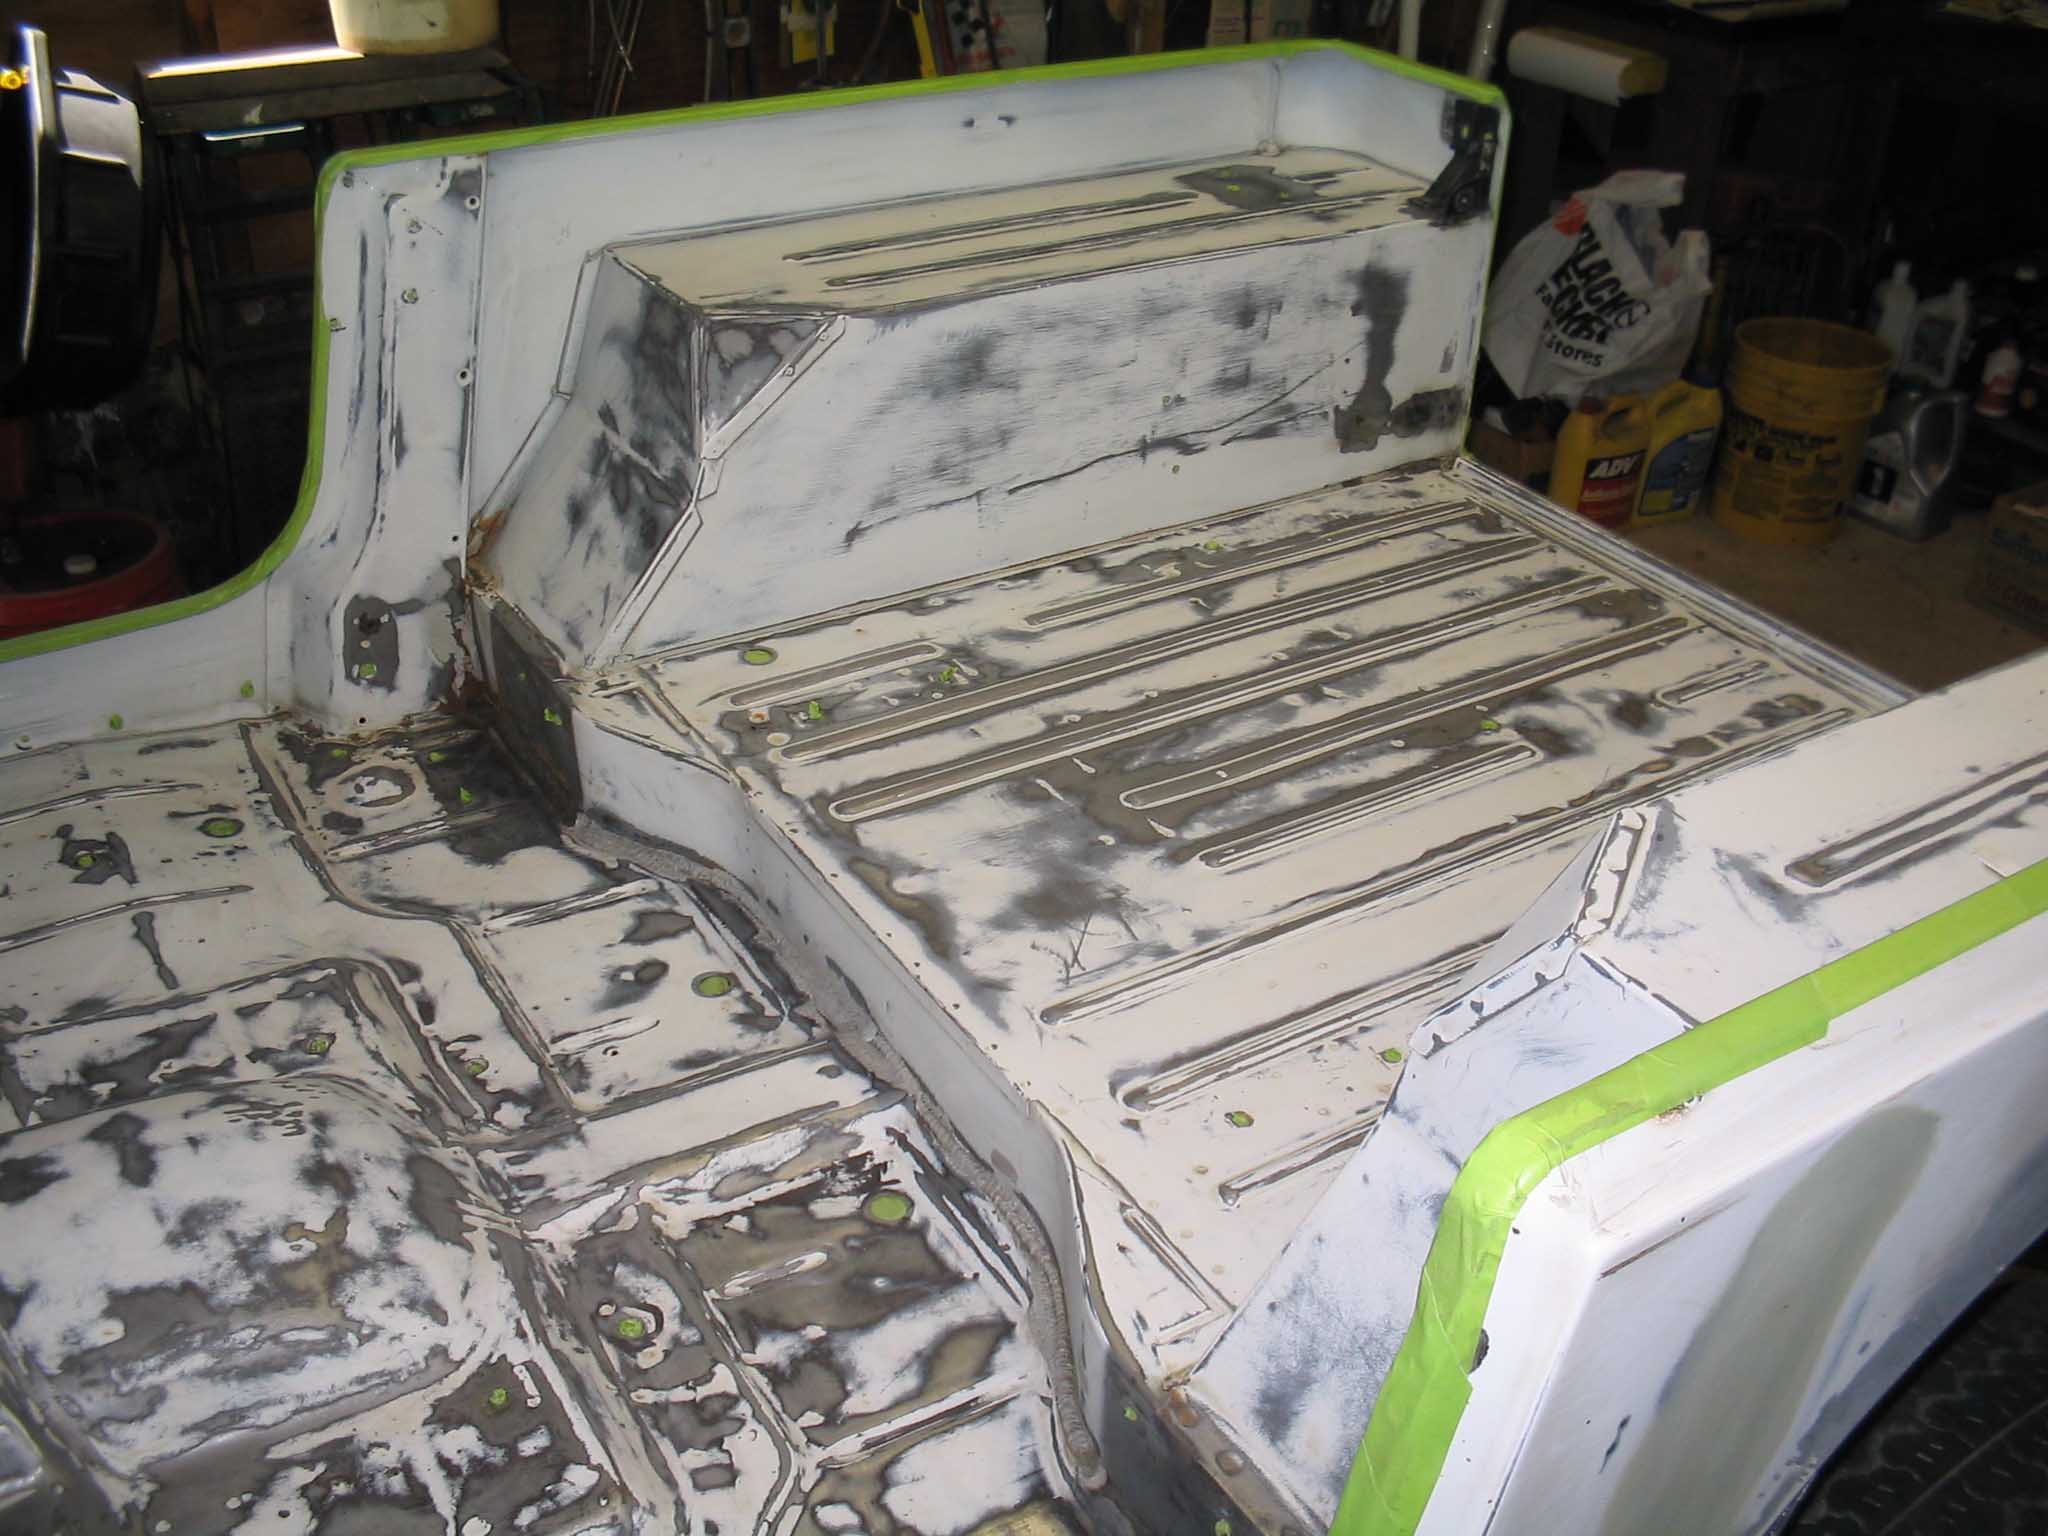
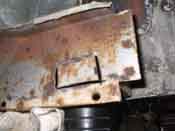
The next steps that were taken were to fill in the holes that were left by the
YJ tailgate mounts that allowed the tailgate to swing out. These were 3 holes of the same diameter that were
welded shut by using some scrap slugs we had sitting around the garage.
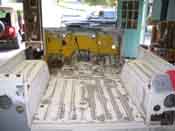
With the holes cleaned up, more work was done to the tailgate to prepare it for the final sanding and it's
destiny with the herculiner and finally the paint sprayer once we get the bodywork finished. After we put the
herculiner on and spray the tub, we will finally be able to assemble the Jeep and finally get it out of the
garage and into someone's hands to enjoy the Jeep for the rest of the summer and many years to come.
|
| |
|
|
|

|
| |
| << Previous |
Next >> |
|