|
|
| Project "Free Jeep" a.k.a Project "FJ" - part #13 |
| |
|
1
2
3
4
5
6
7
8
9
10
11
12
13
14
15
16
17
18
19
20
21
22
23
24
25
26
27
28
29
30
31
32
33
34
35
36
37
38
39
40
41
42
43
44
45
46
47
48
49
50
51
52
53
54
55
56
57
58
59
60
61
62
63
64
65
66
67
68
69
70
71
72
73
|
| |
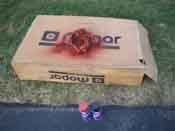
(12/11/06) Things are moving along. I was able to get a lot of the parts that I
ordered in and put away until I need them. I also already told you about the great deal on fenders and such, so
that was a good part of last week. Finally I was able to get the axle all the way torn apart, get the sand blaster
setup and working along with finally getting all the parts necessary to put it back together.
Aside from all that, this Jeep is finally on its way.
|
| |
|
|
|
|
| |
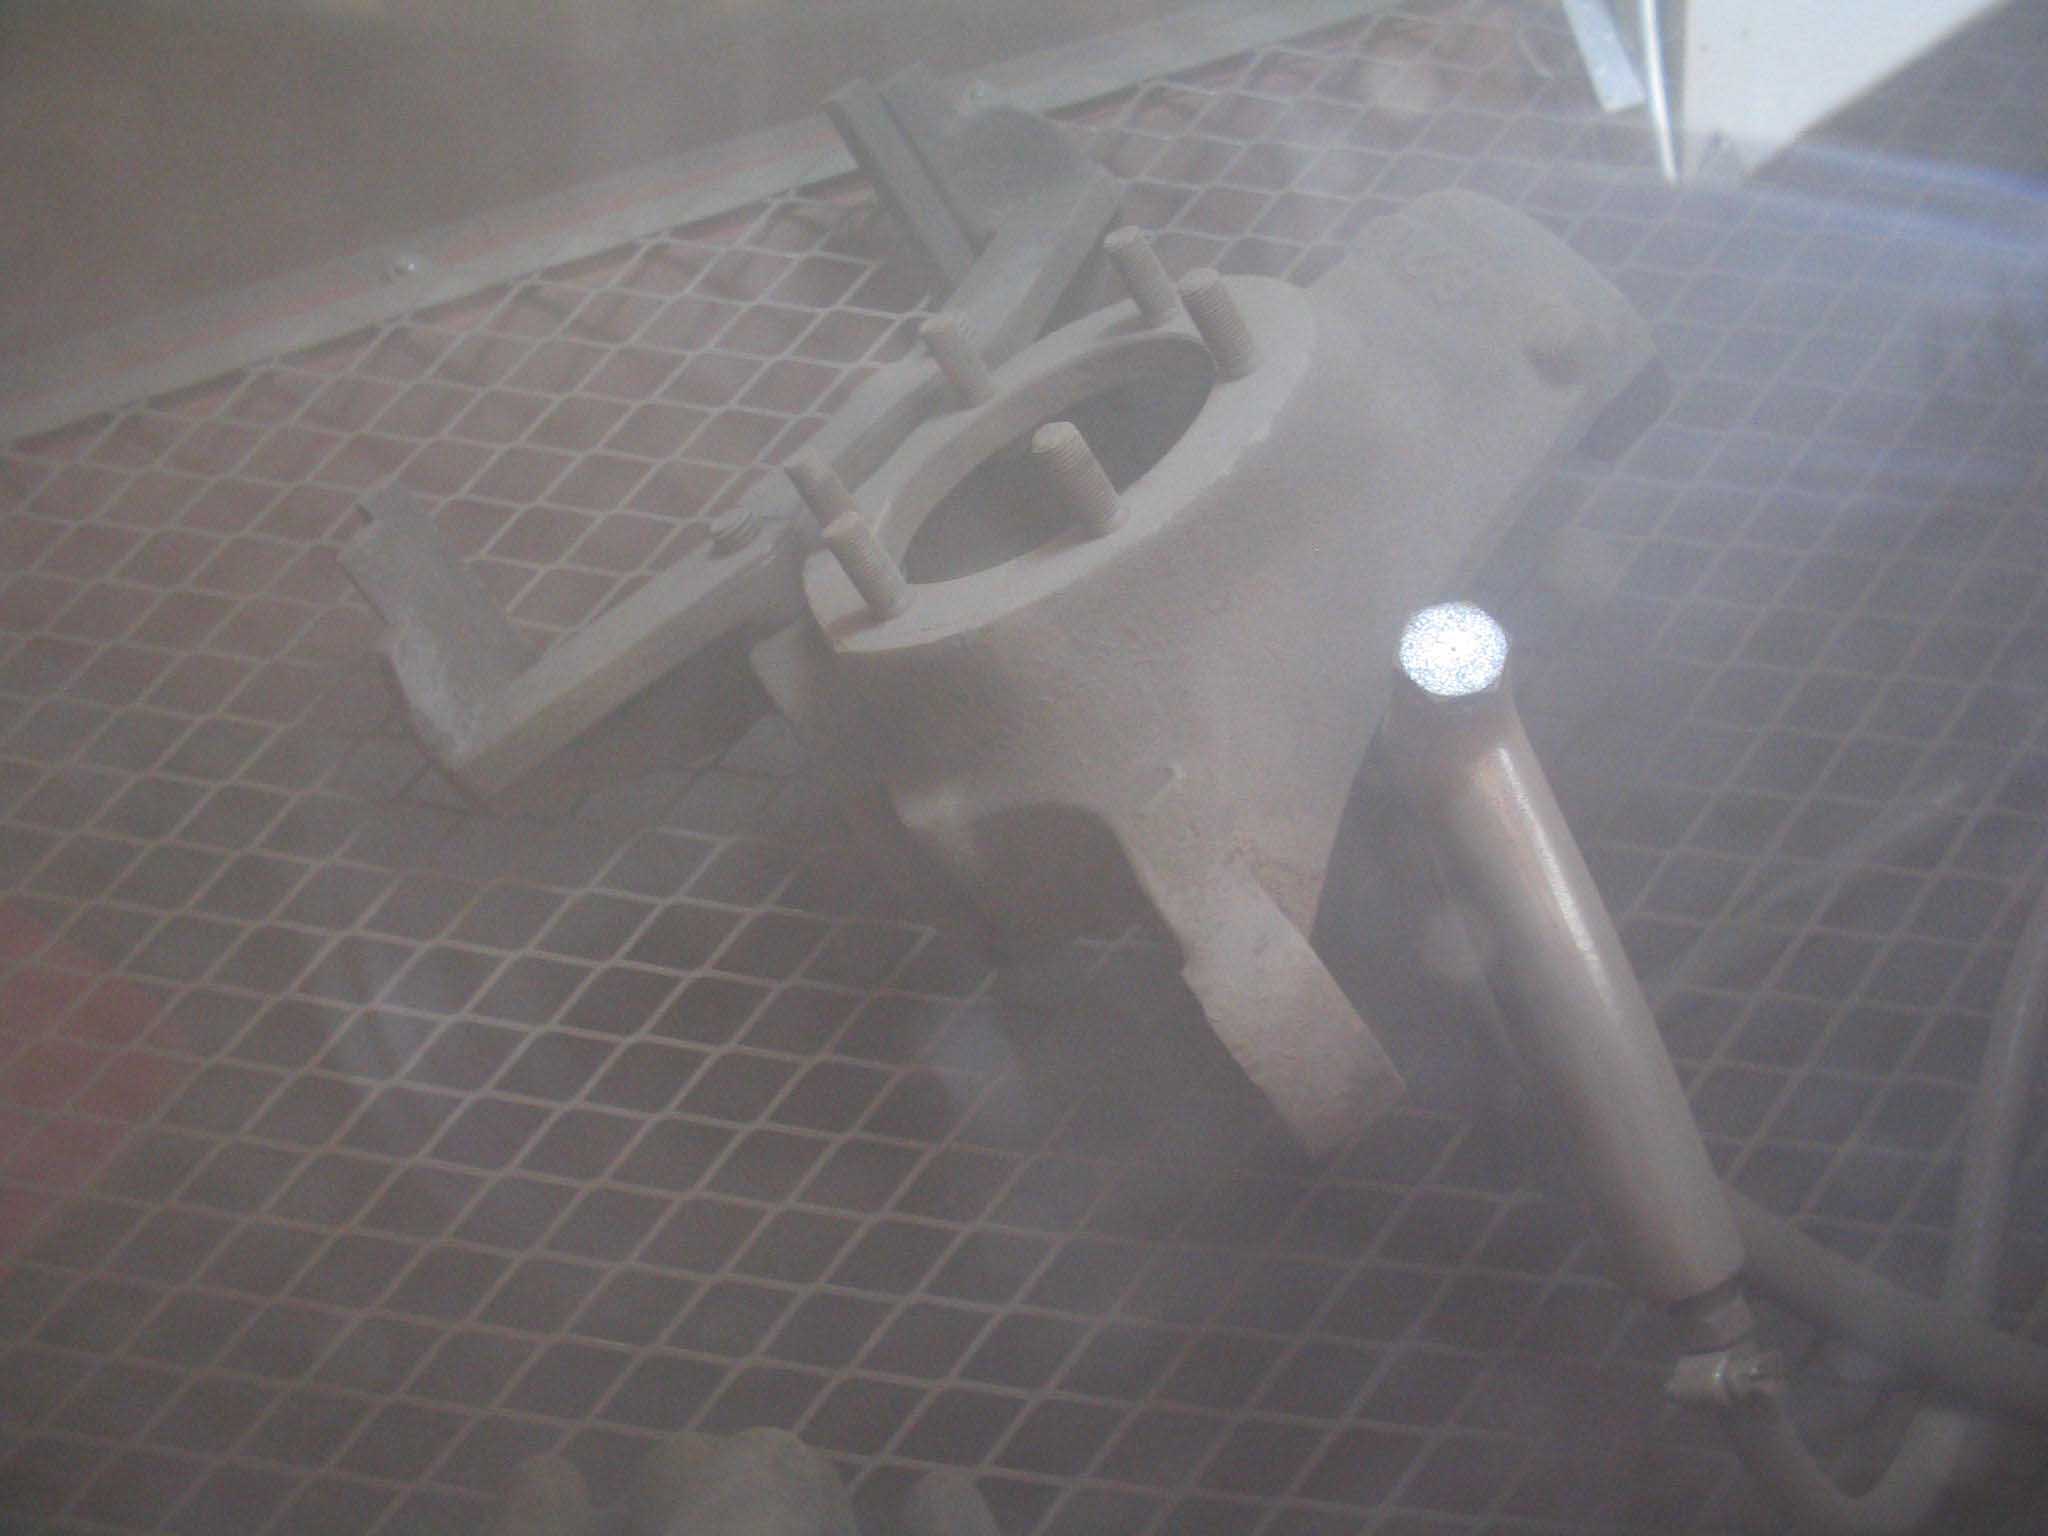
As I noted before, I got a sand blast cabinet, but the media I had was too coarse
and it wasn't working too well with the setup that I had, so I was able to get some 80 grit aluminum oxide and
it really did a nice job in knocking off all the crap that was on there. NOTE: This stuff is nasty though.
You need to wear a mask so you don't inhale any of it. Even though there was a cabinet involved, it still leaks
out a little bit of dust and when it does, there may be silica with it and that can cause some harm to you, so just
wear a mask and you should be all set.
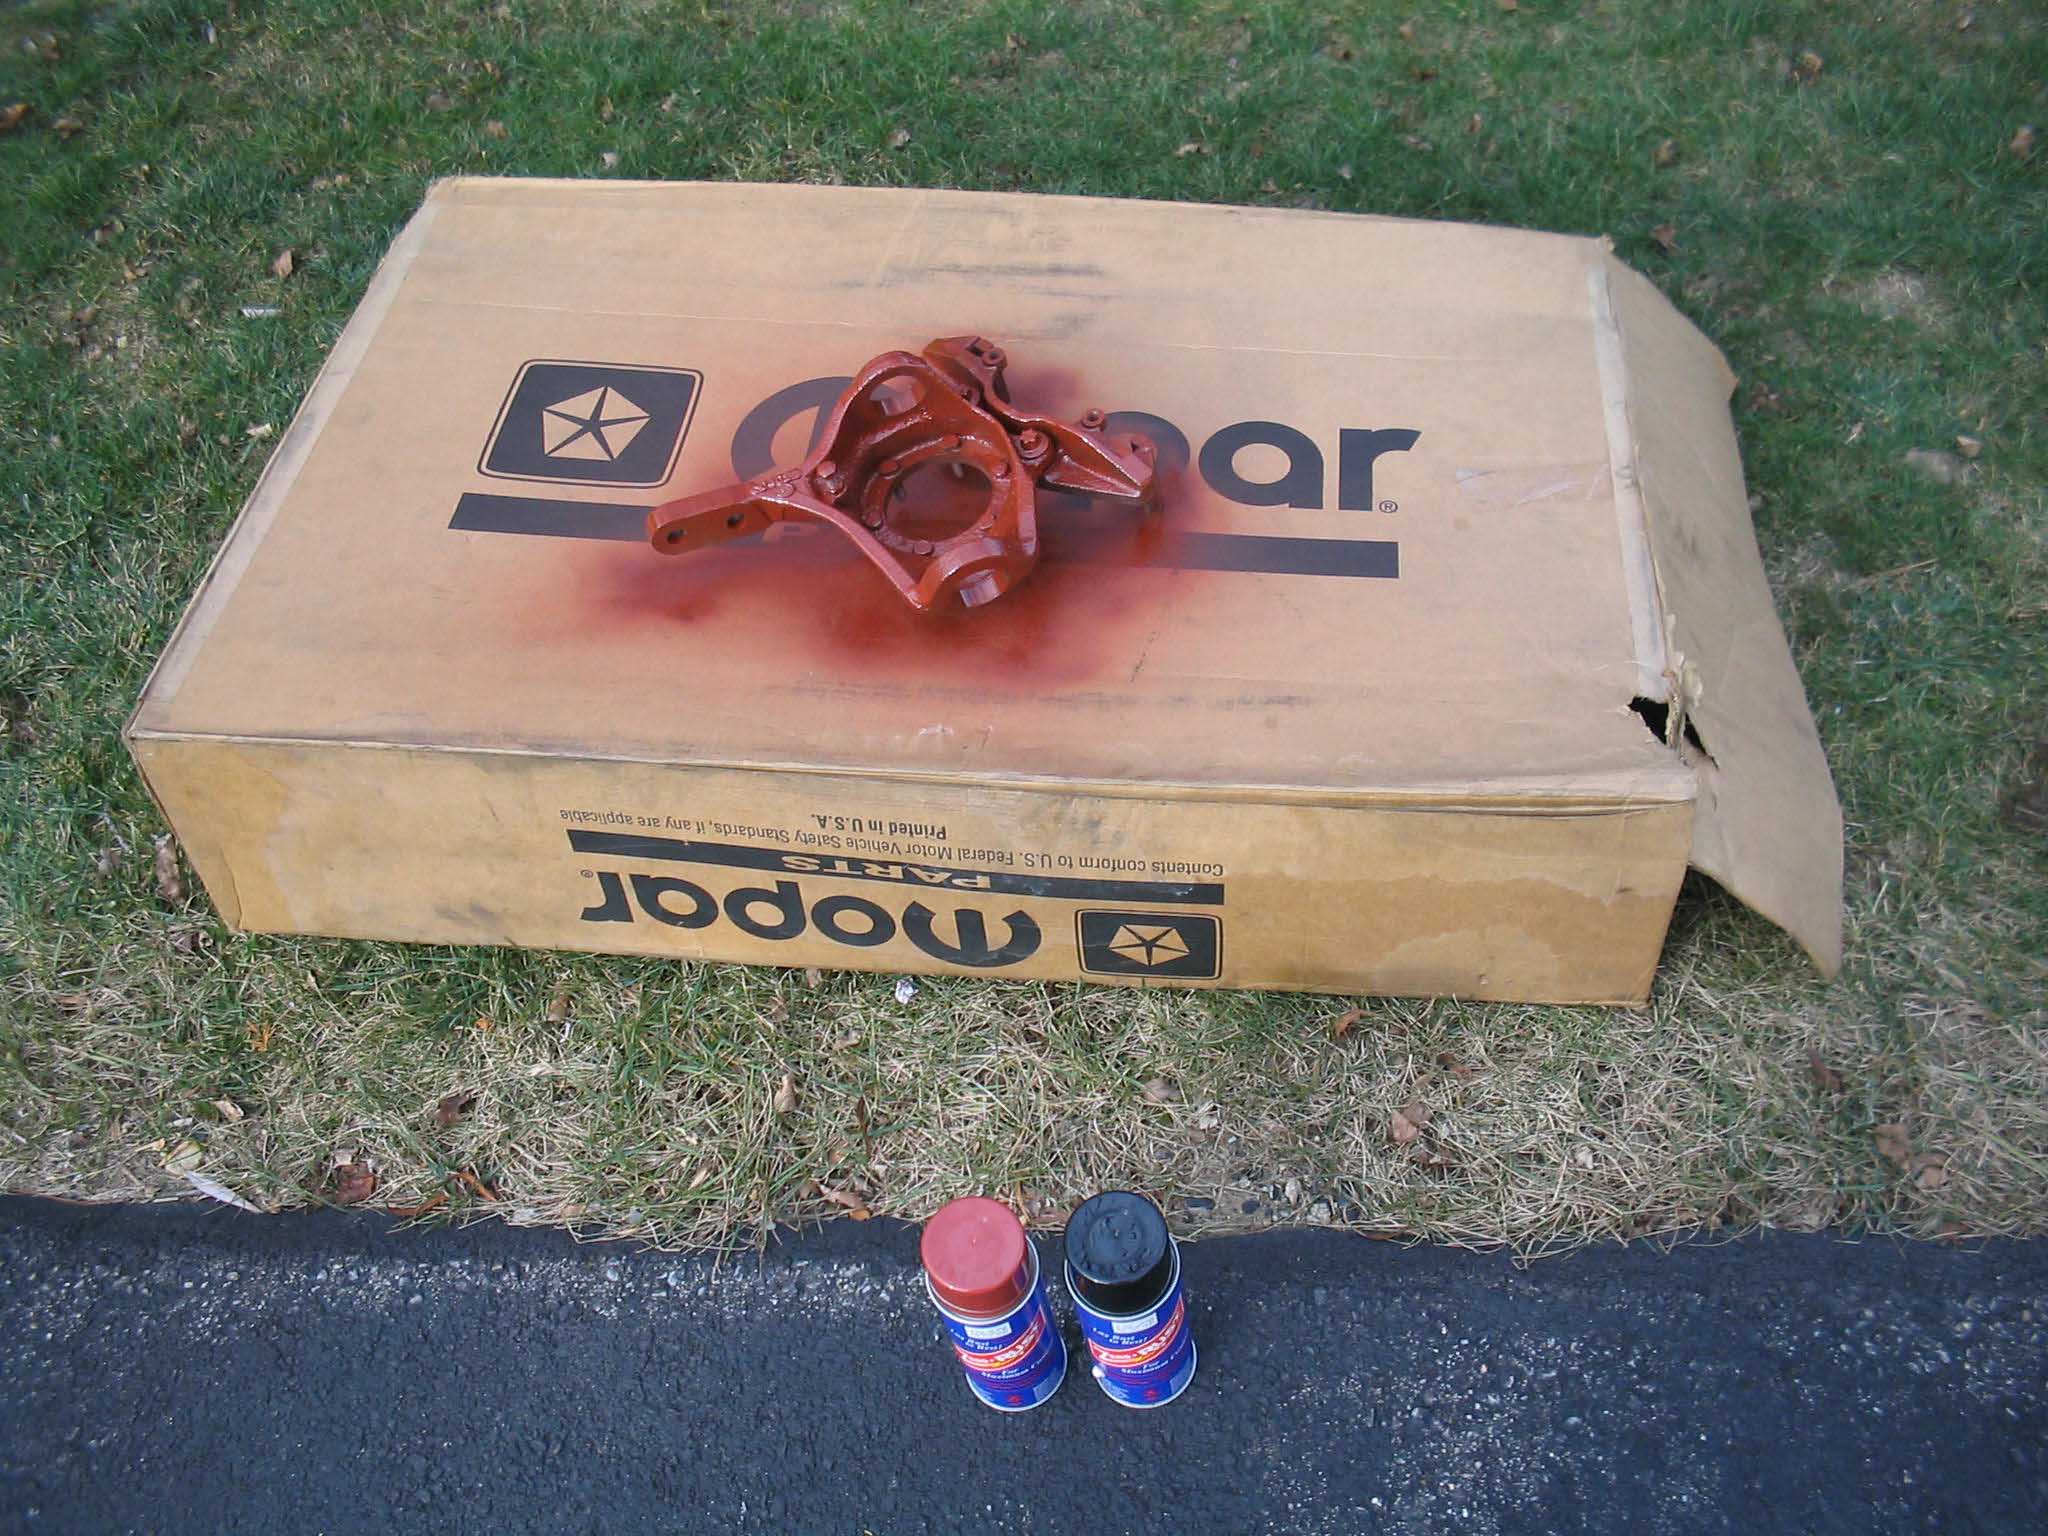
So, after the blasting, I was able to use the ZeroRust that I ordered to put 2 coats of red oxide on and then 2
coats of black. This 2 coat of each system is recommended by them and makes for total coverage. The red shows
through until the black completely covers it. I did this on my Orange Jeep's frame and 4 years later, it still
looks like the day I did it.
|
| |
|
|
|
|
| |
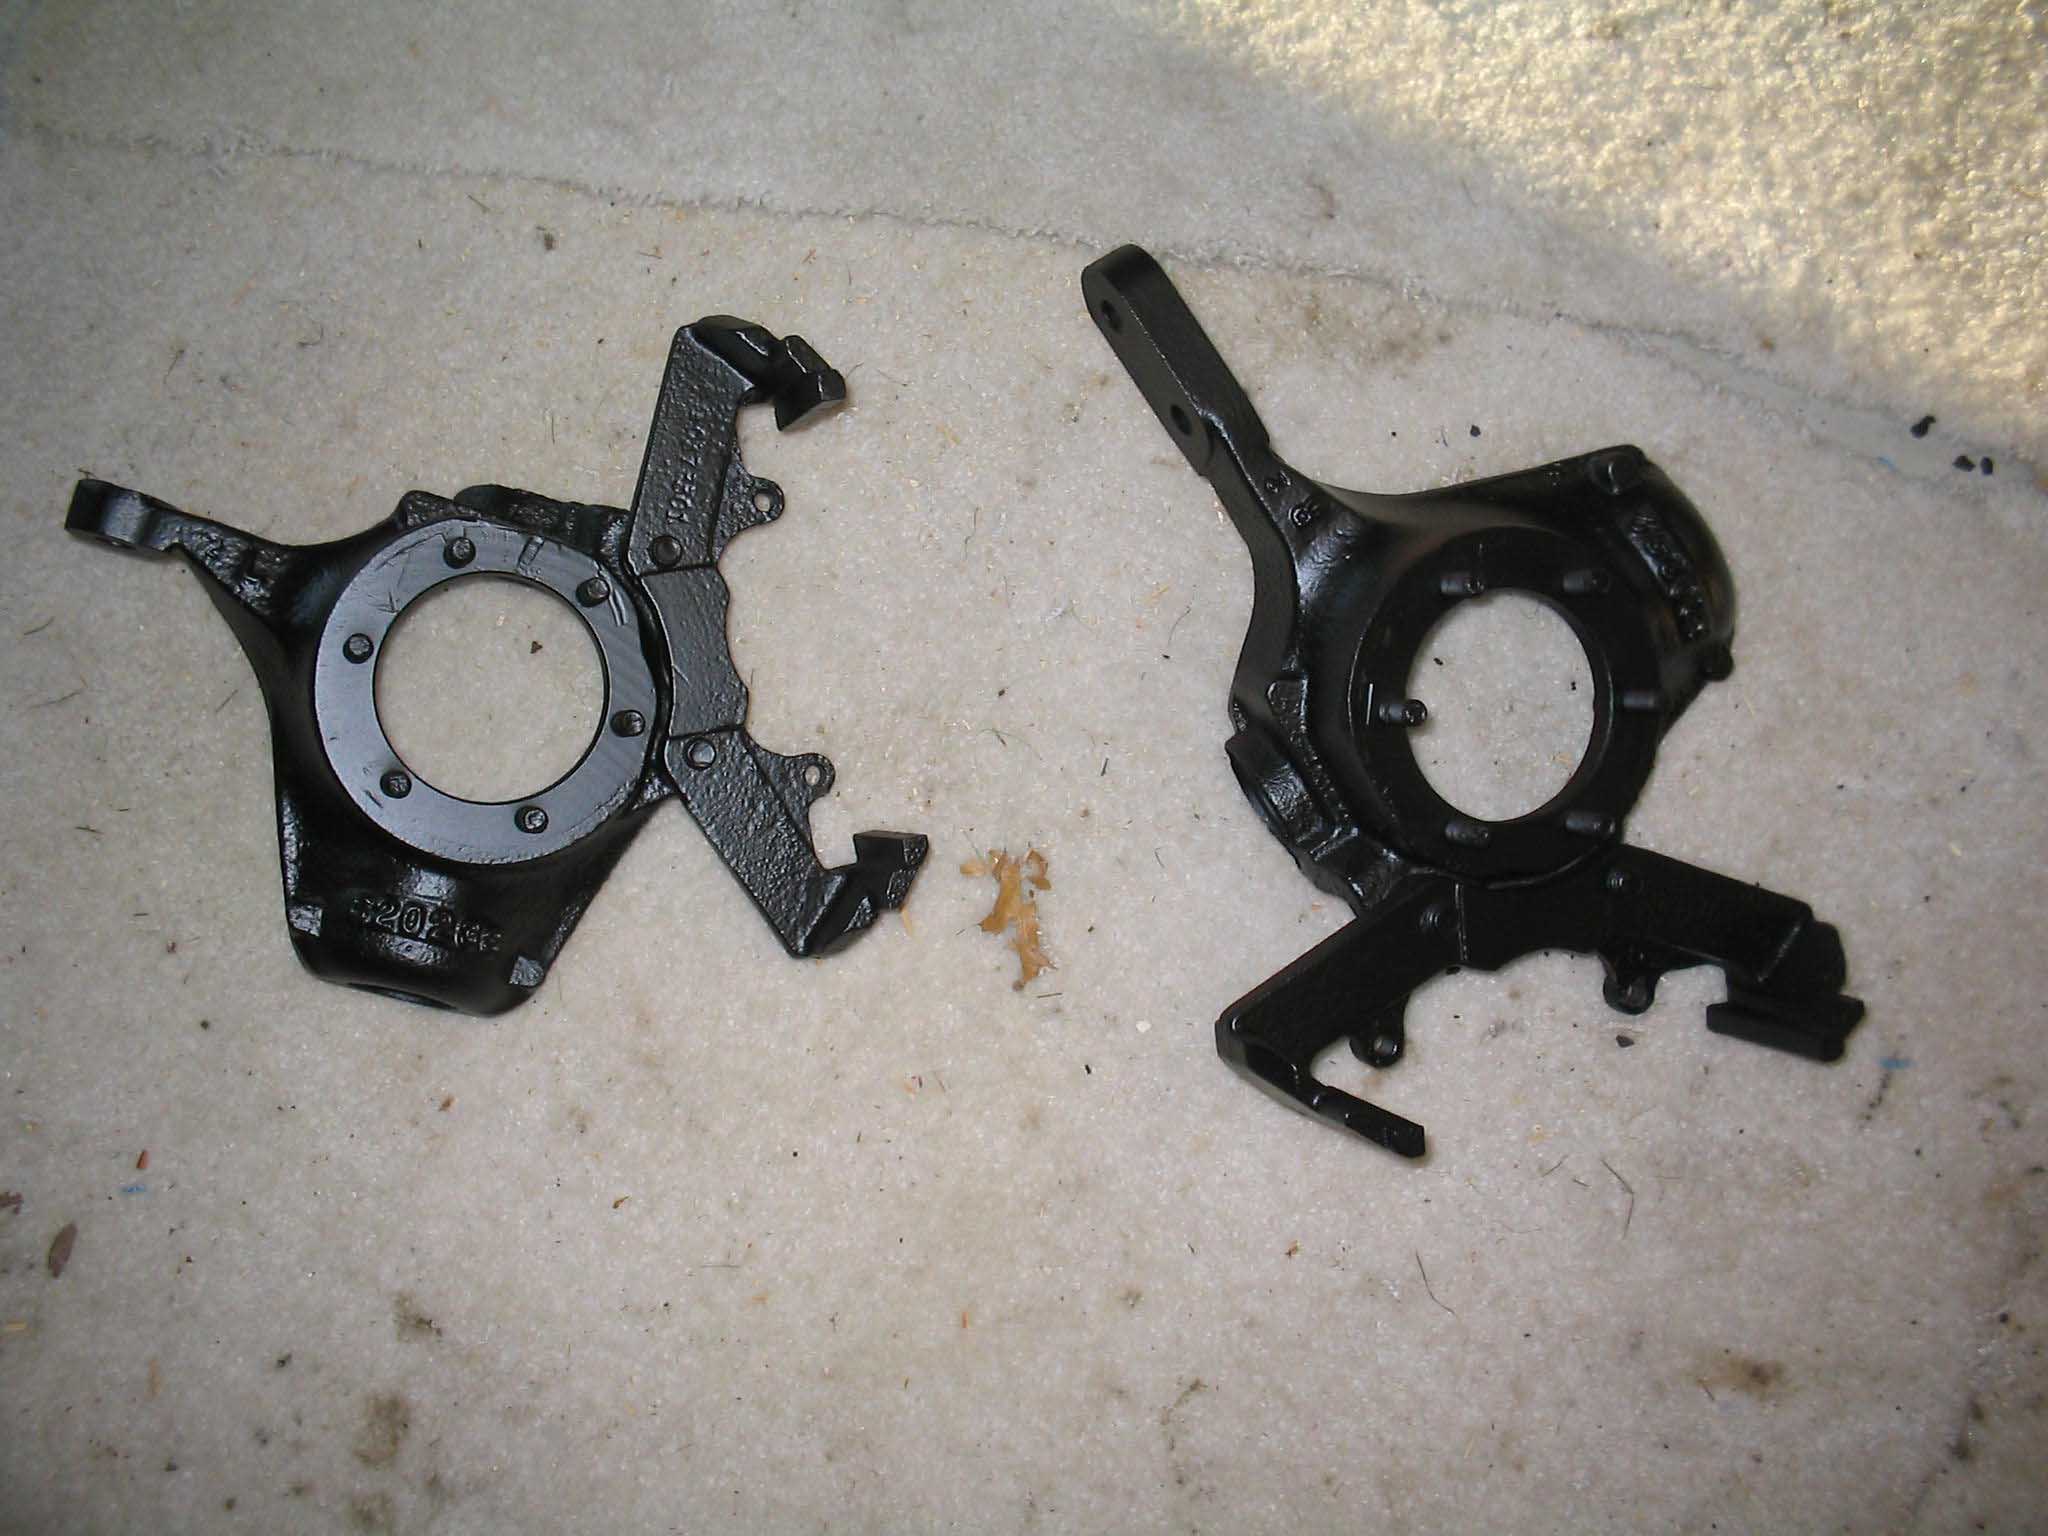
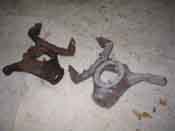
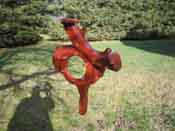
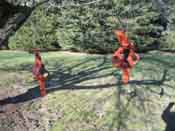
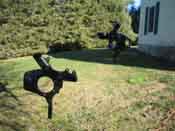
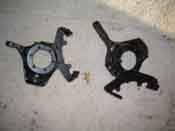
Hanging the knuckles from the tree was the best way to do the painting. Keep in
mind also that it was 12/10/06 when I did this in New Hampshire to boot. It was 50 degrees yesterday... I can't
believe it, but I am not complaining, as I am sure the cold weather is on the way. So, with the knuckles painted
and drying, I went to the rotors and knocked the 5 bolts through with a hammer and then separated the rotor from
the hub with a pry bar. One was really rusted on, one wasn't so bad.
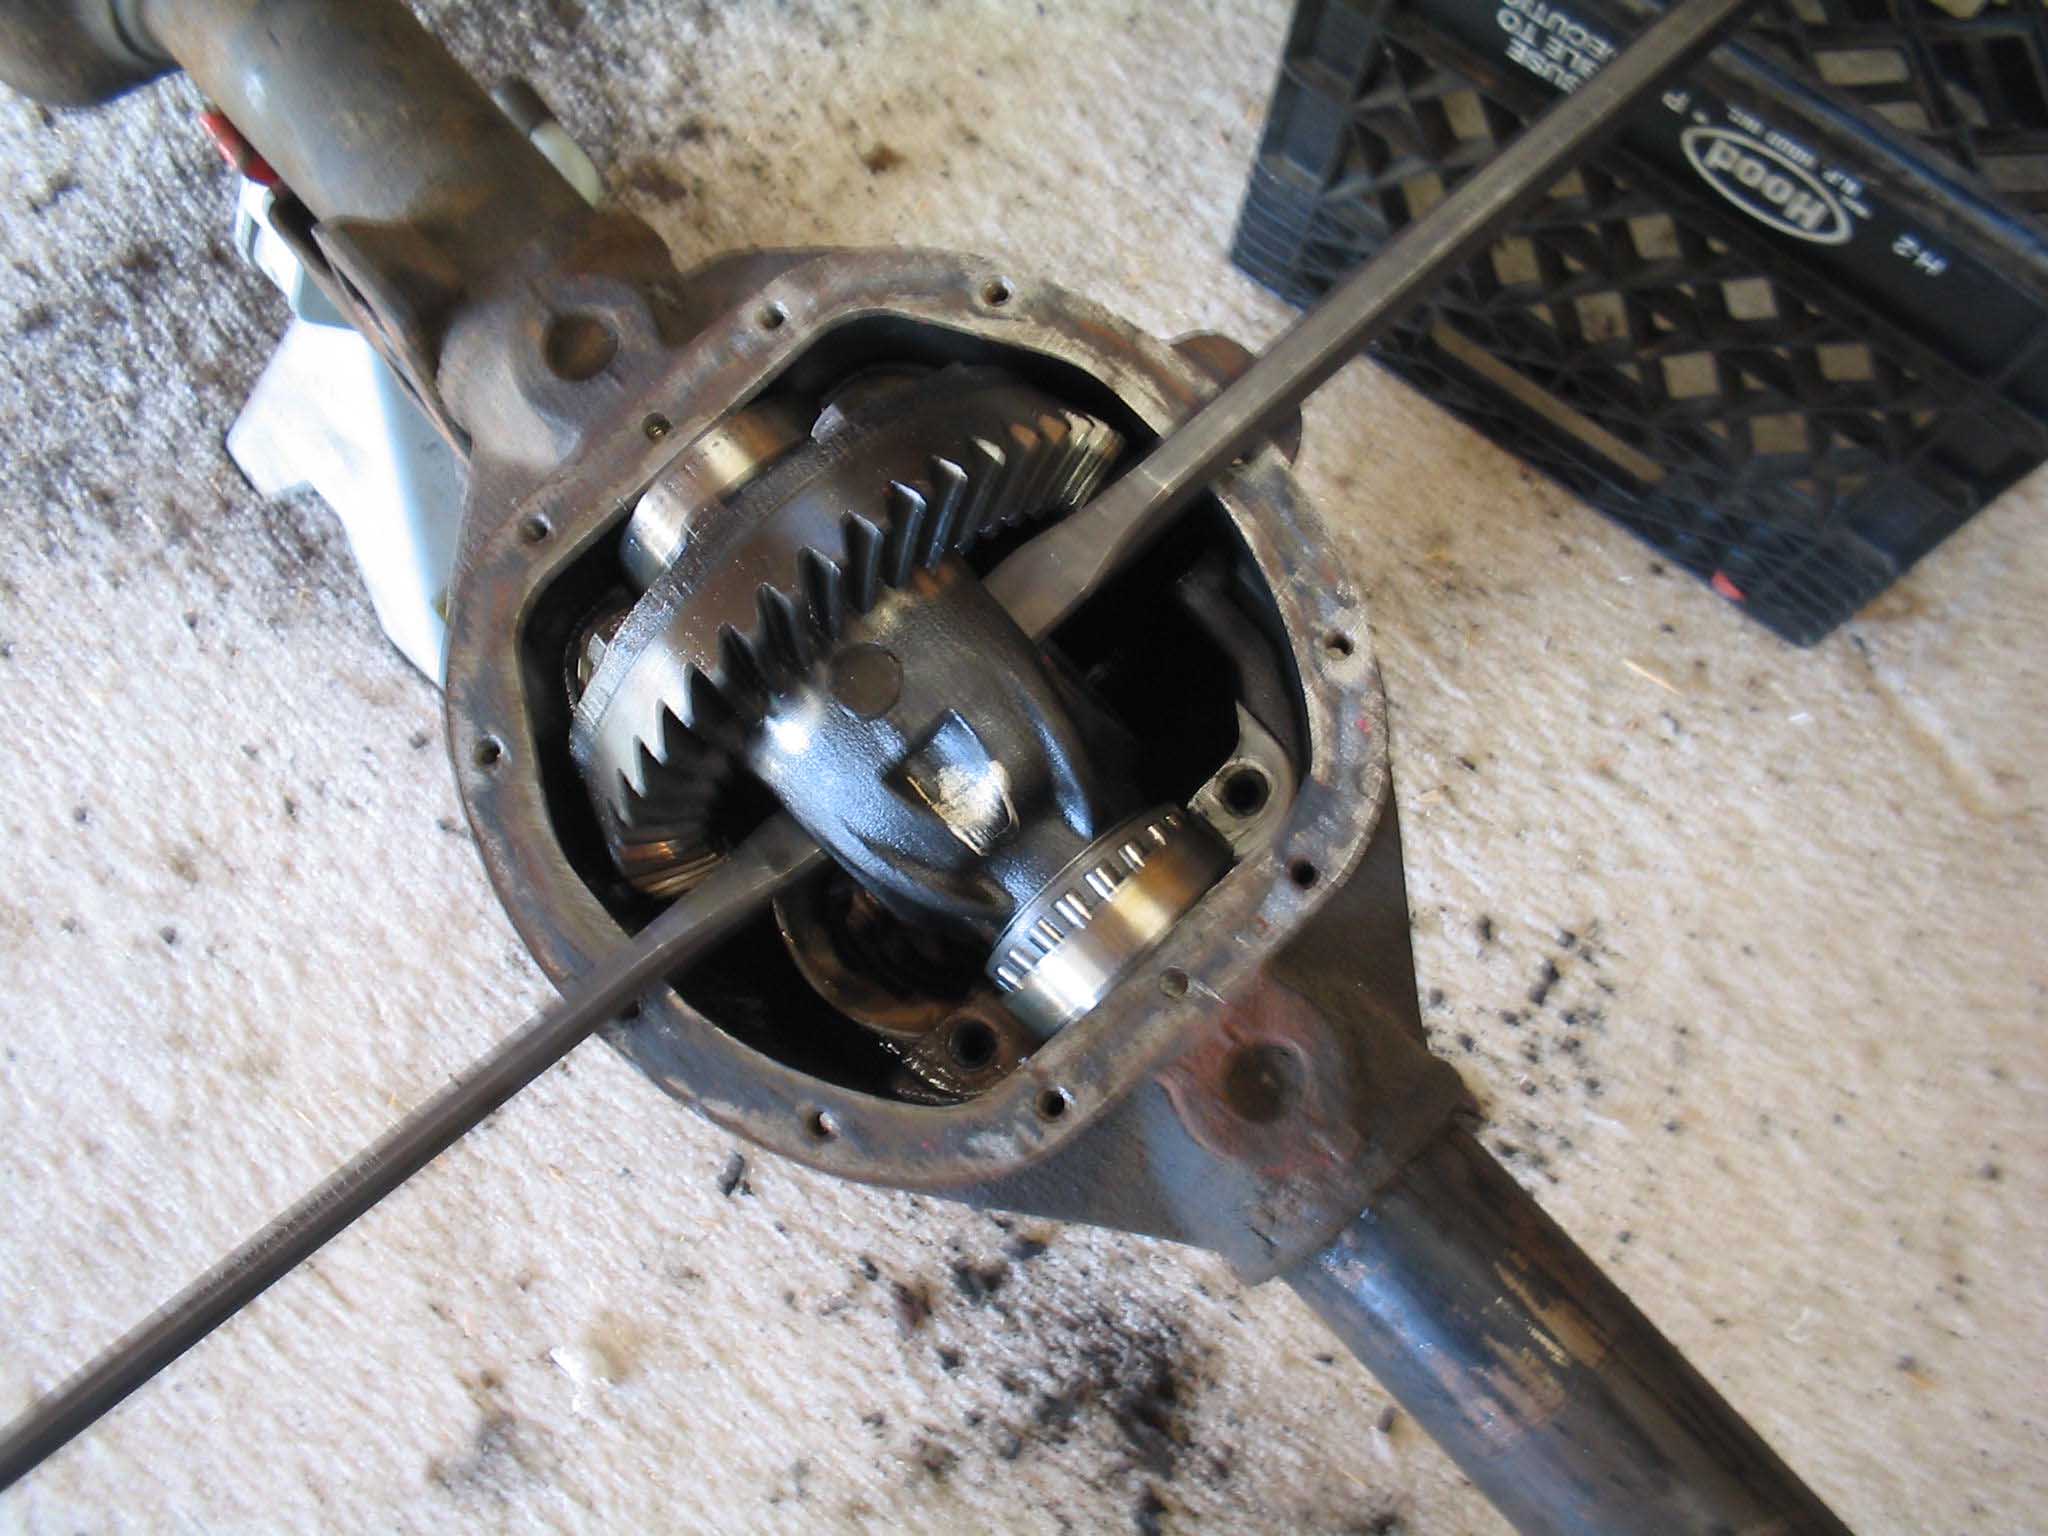
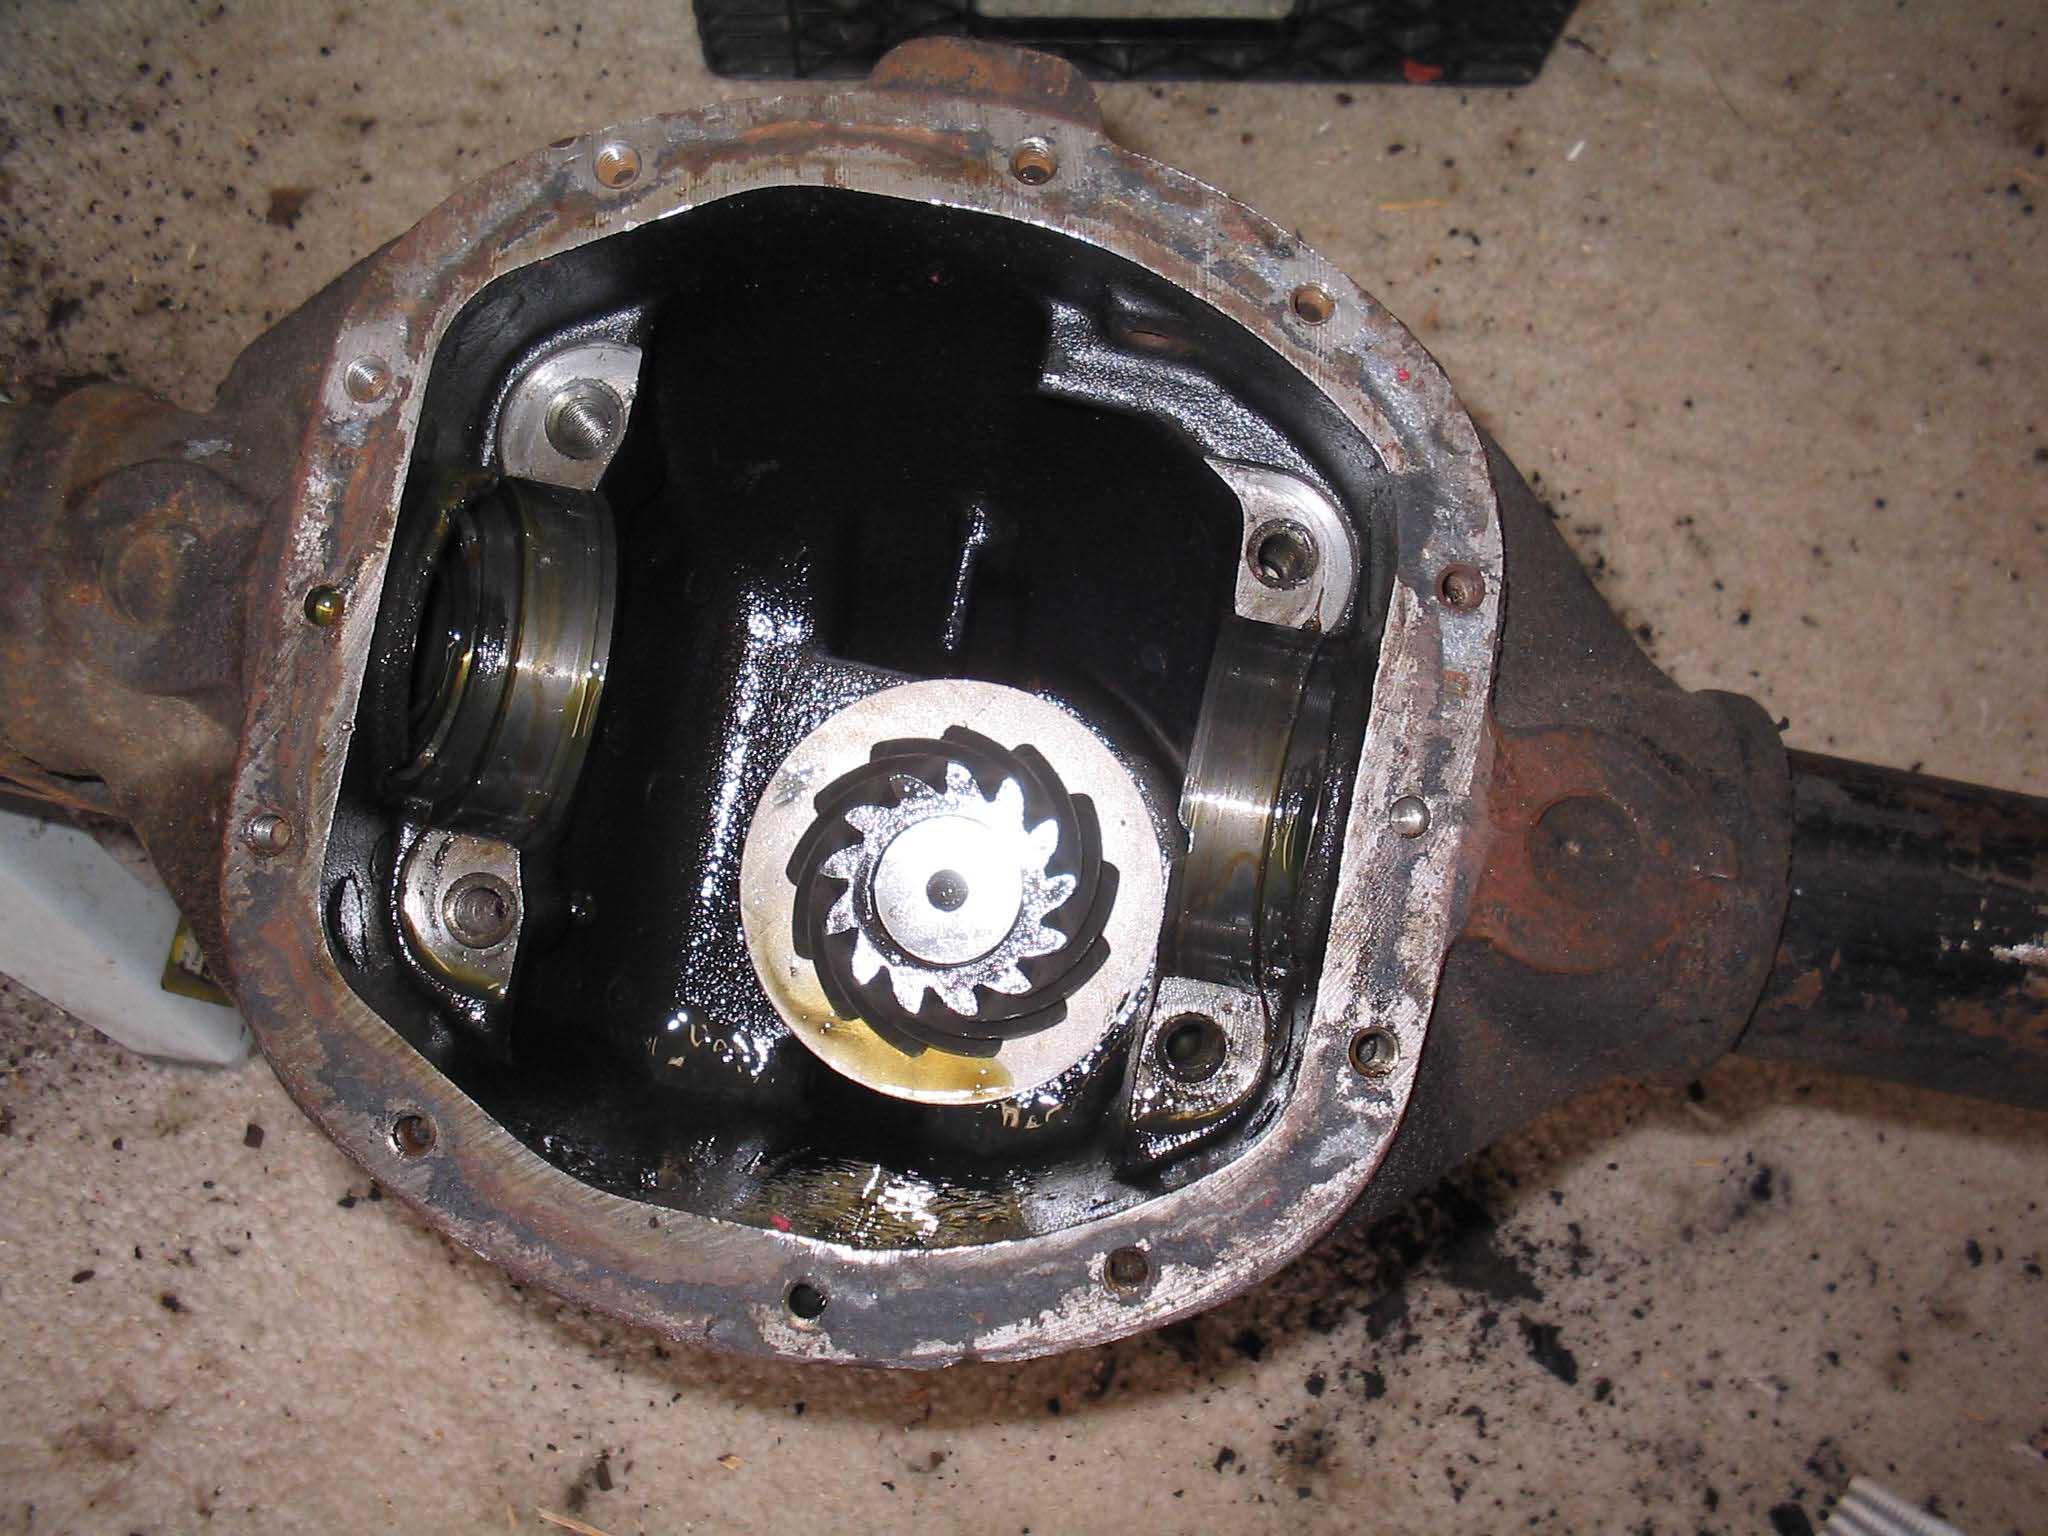
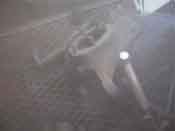
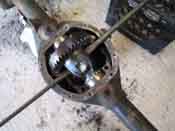
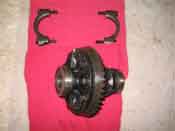
With the finally coat drying on the knuckles, I turned my attention to the front axle. I needed to get the
carrier assembly out of the axle housing and I didn't have a case spreader, so I remembered reading somewhere that
you can use 2 pry bars to do this. Remember, this is on the cheap, so I don't have time to rent tools and such.
So, with a little force, it popped right up and I was able to take it out and lay it aside. I always put things
in the order they come out and the orientation to the part I am working on, so I laid it down in between the
2 end caps so I know how it goes back together.
|
| |
|
|
|
|
| |
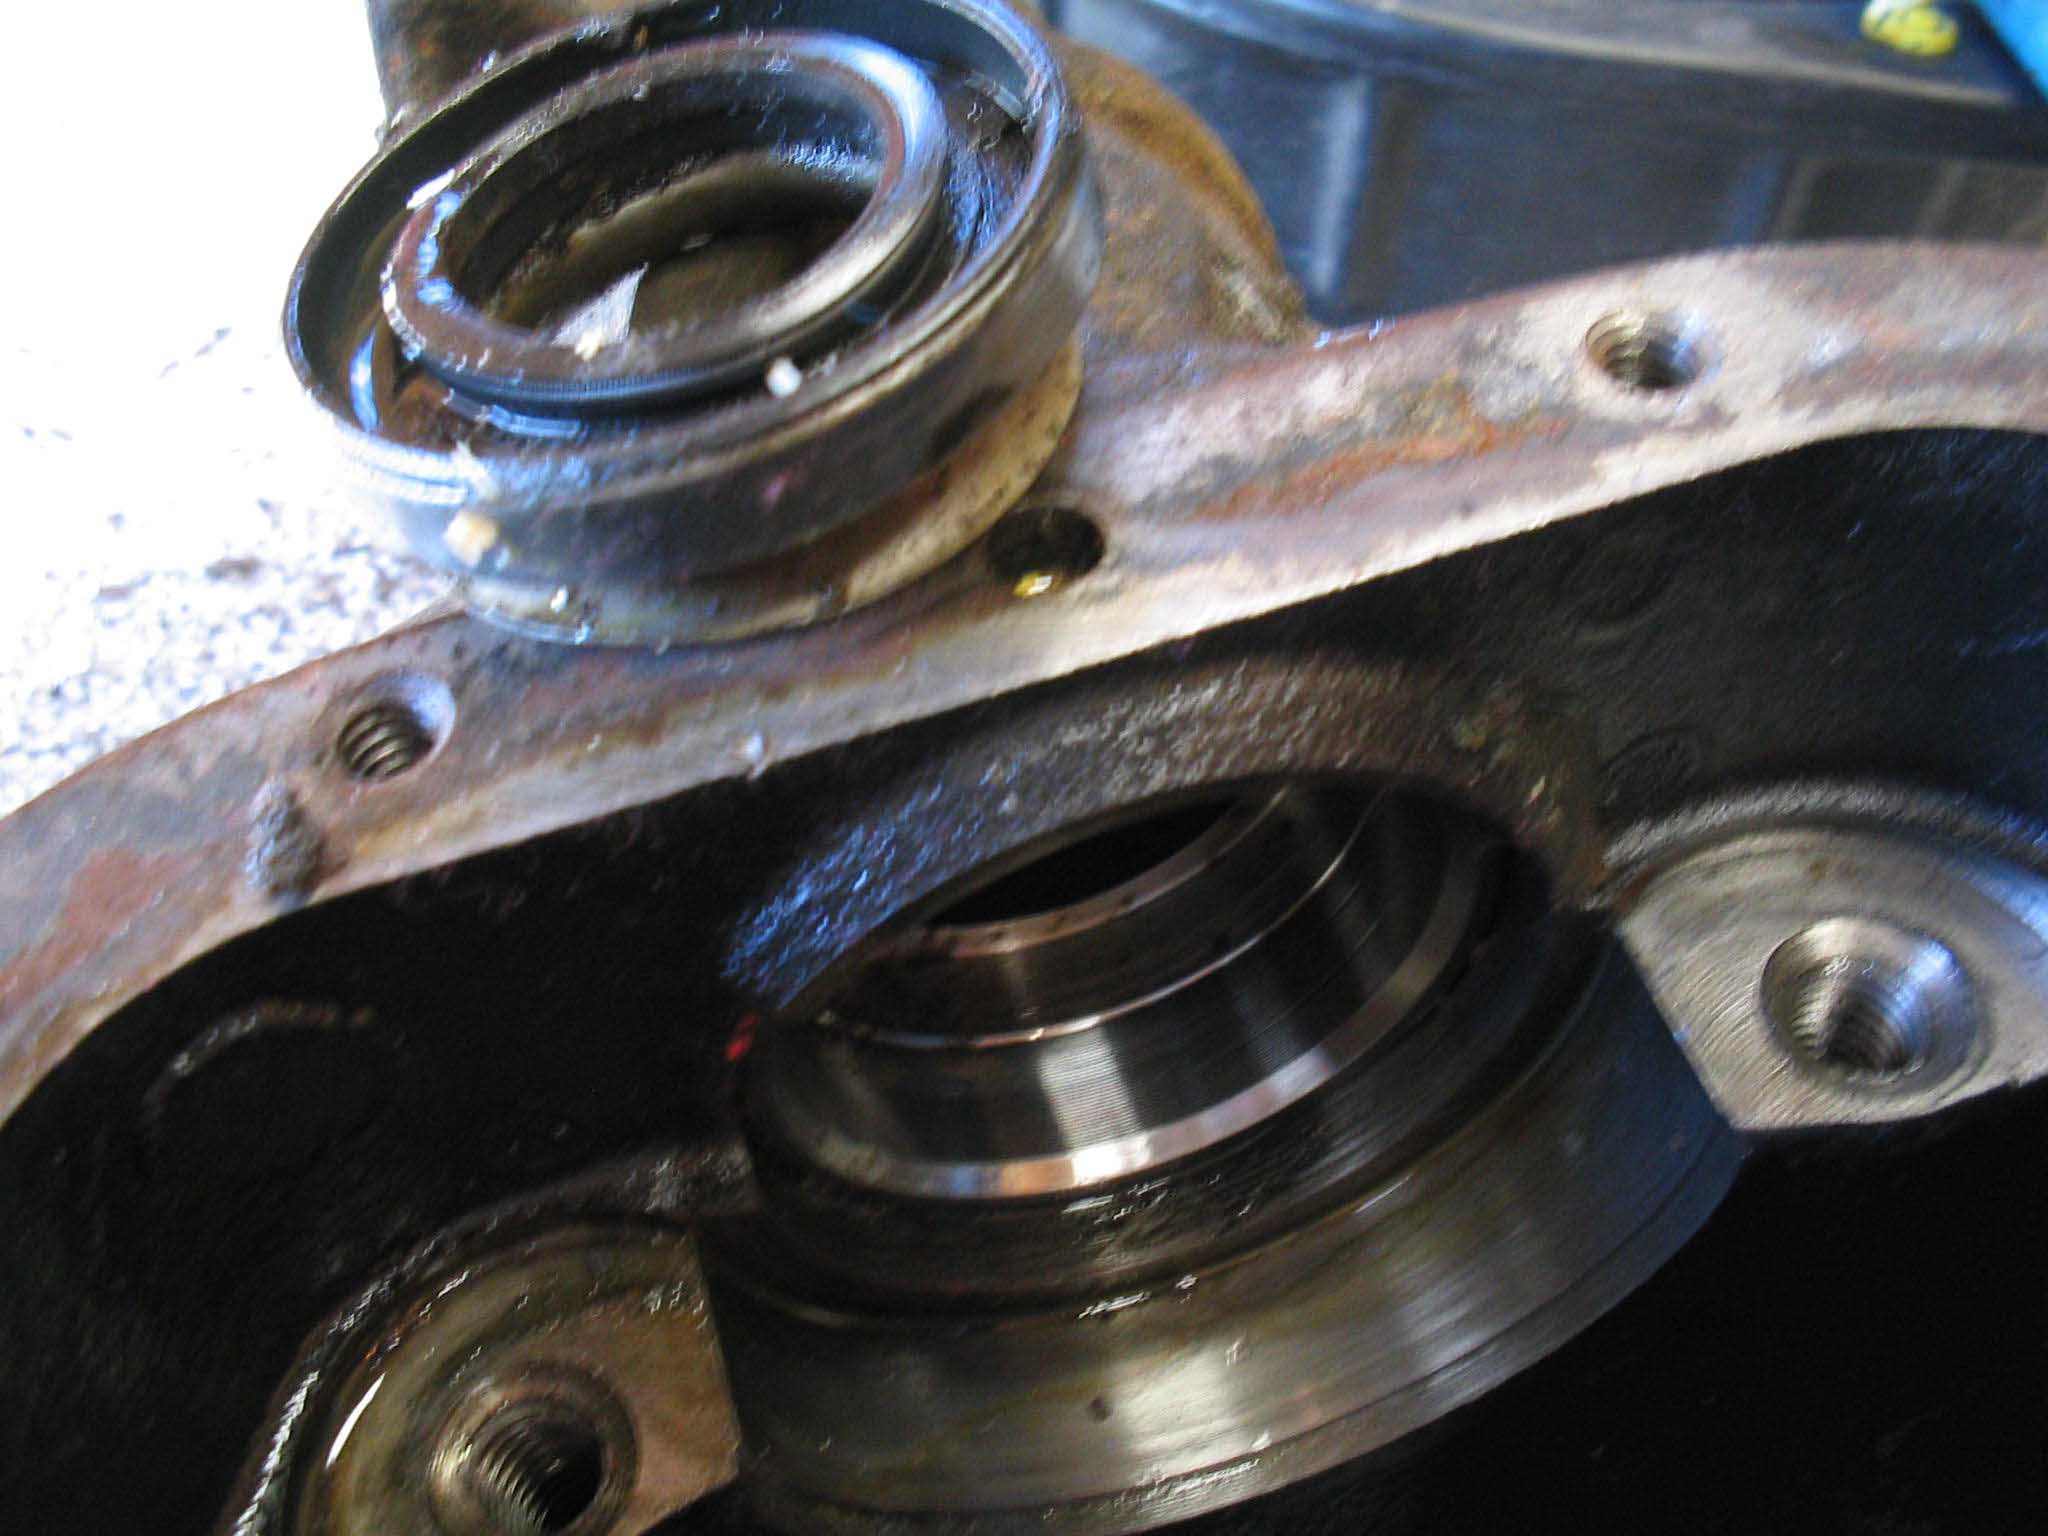
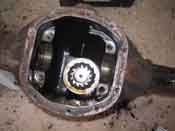
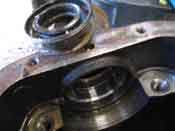
I was able to knock out the inner axle oil seals with another pry bar by sliding
it down the axle tube and knocking it with a hammer. They popped right out and I was on my way to check the
knuckles. Since it was such a nice day it really dried quickly and the paint came out looking great.
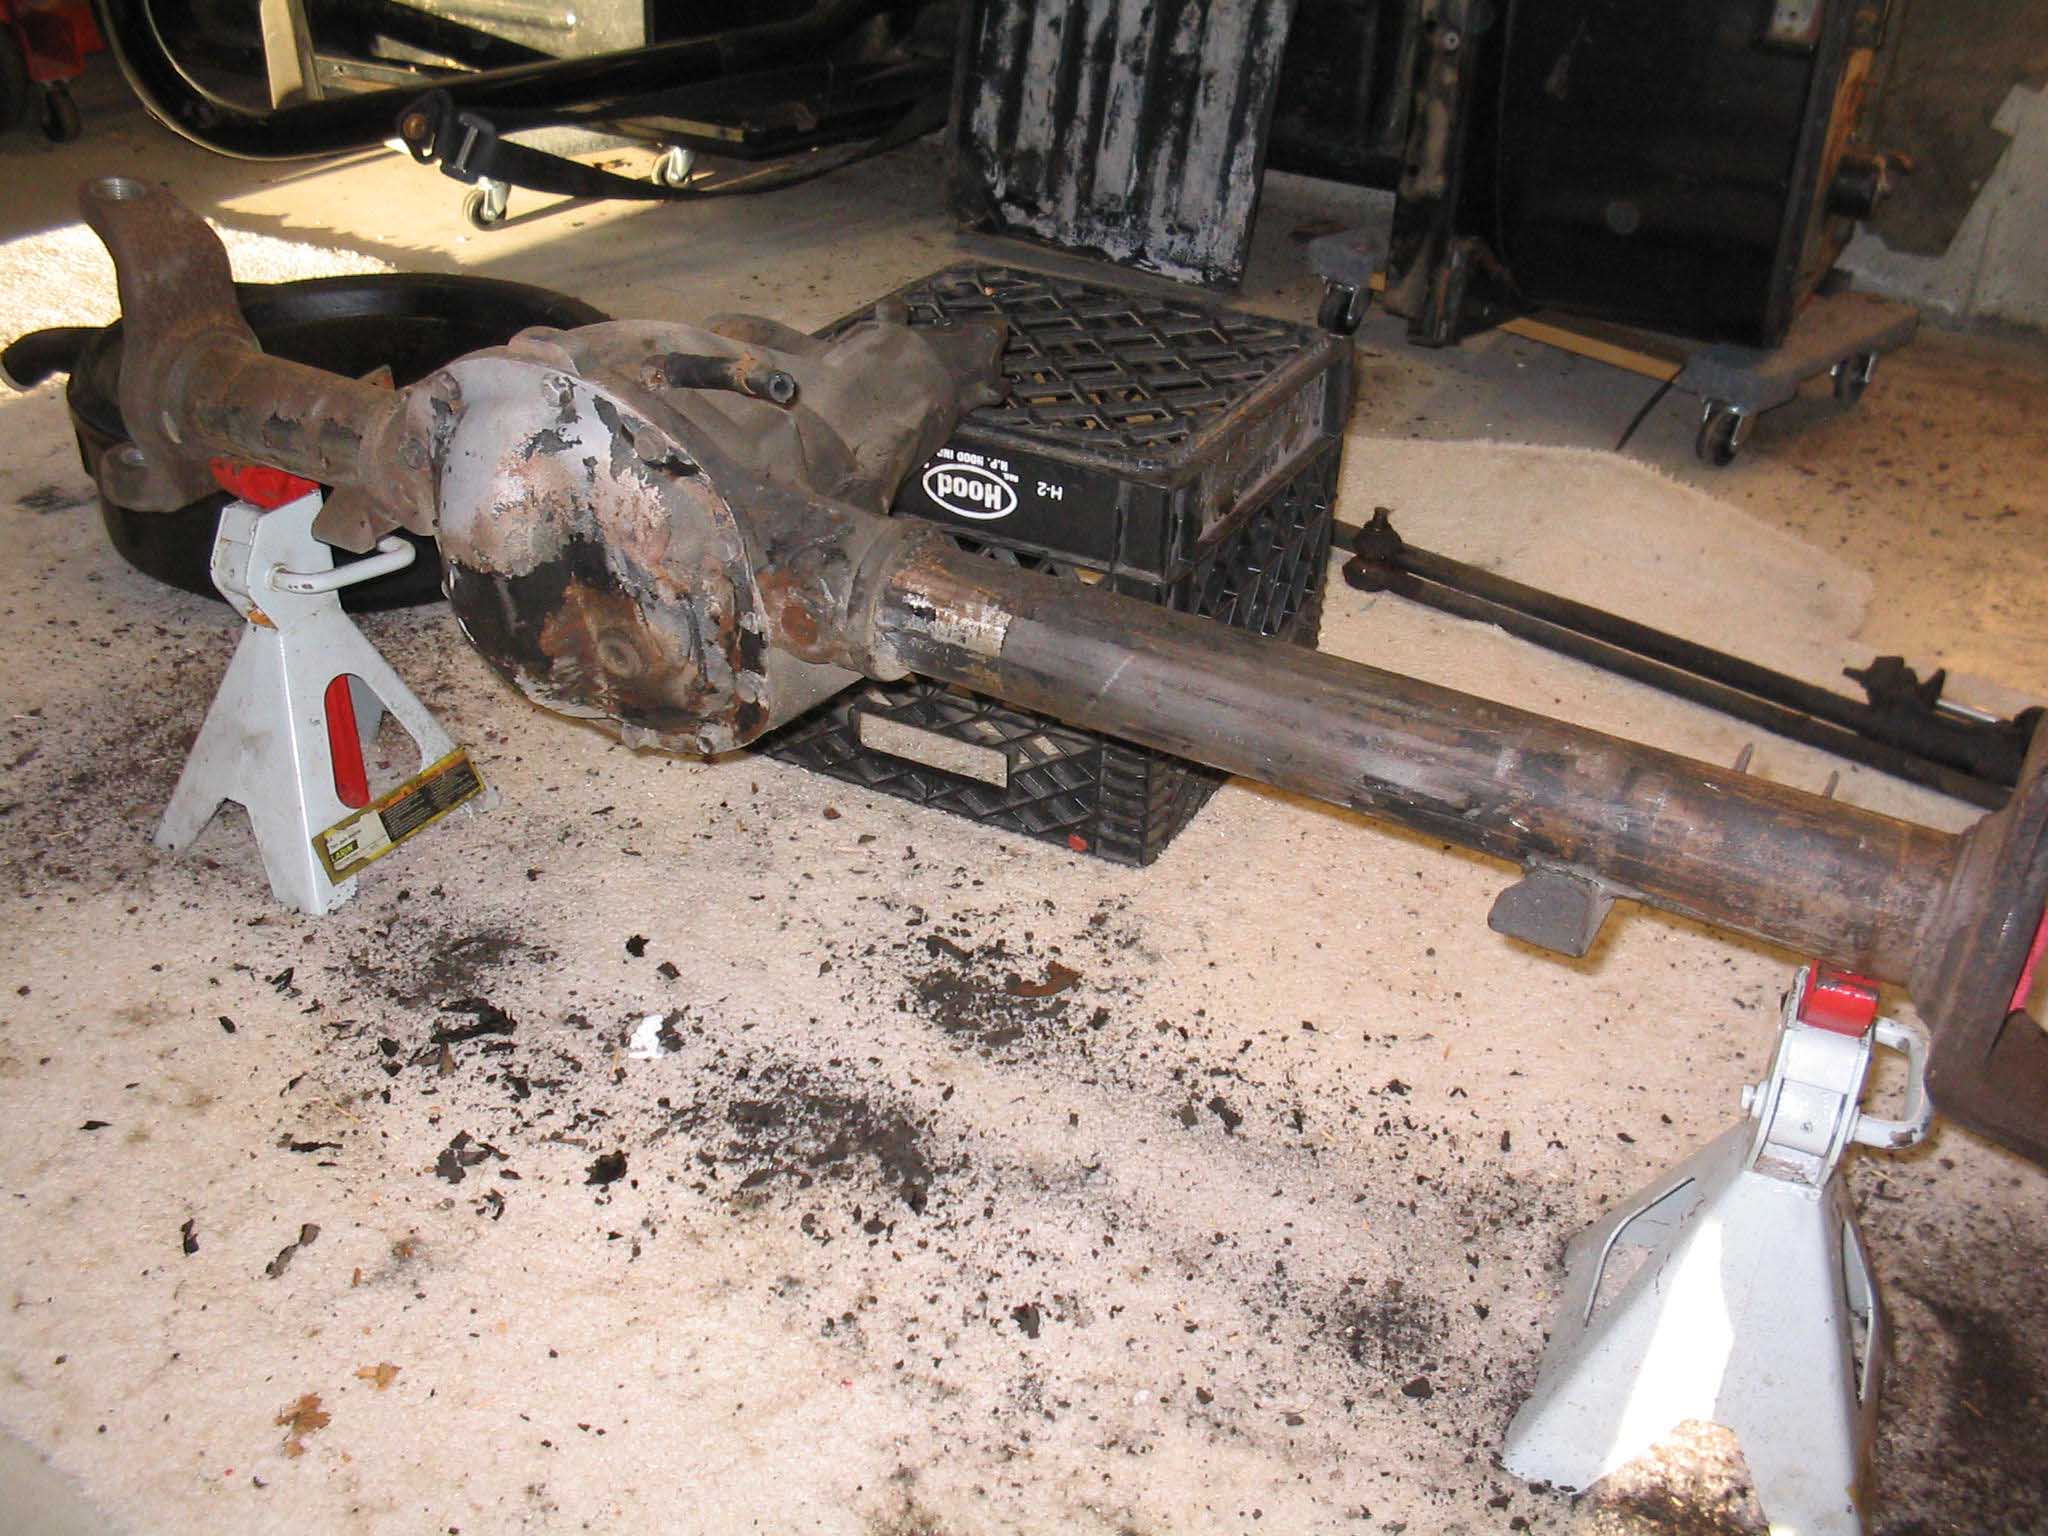
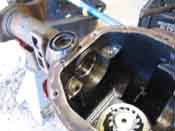
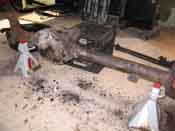
Next was tackling the axle housing itself. It is full of dirt, oil, and grease, so I scraped off what I could with
a razor and scraper and then I took some fine play sand and tried to sandblast the housing outside. This had
mixed results. Although it did blow off a lot of crap, it made a huge mess and blew all over the place, not to
mention the gun became jammed 2 times due to the "fine" sand not being so "fine" and having rocks in there. Either
way, it was a trial and I was able to get it pretty clean. More cleaning to come but the Jets were coming on and
I had to get in to shower up and watch them.
|
| |
|
|

|
|
| |
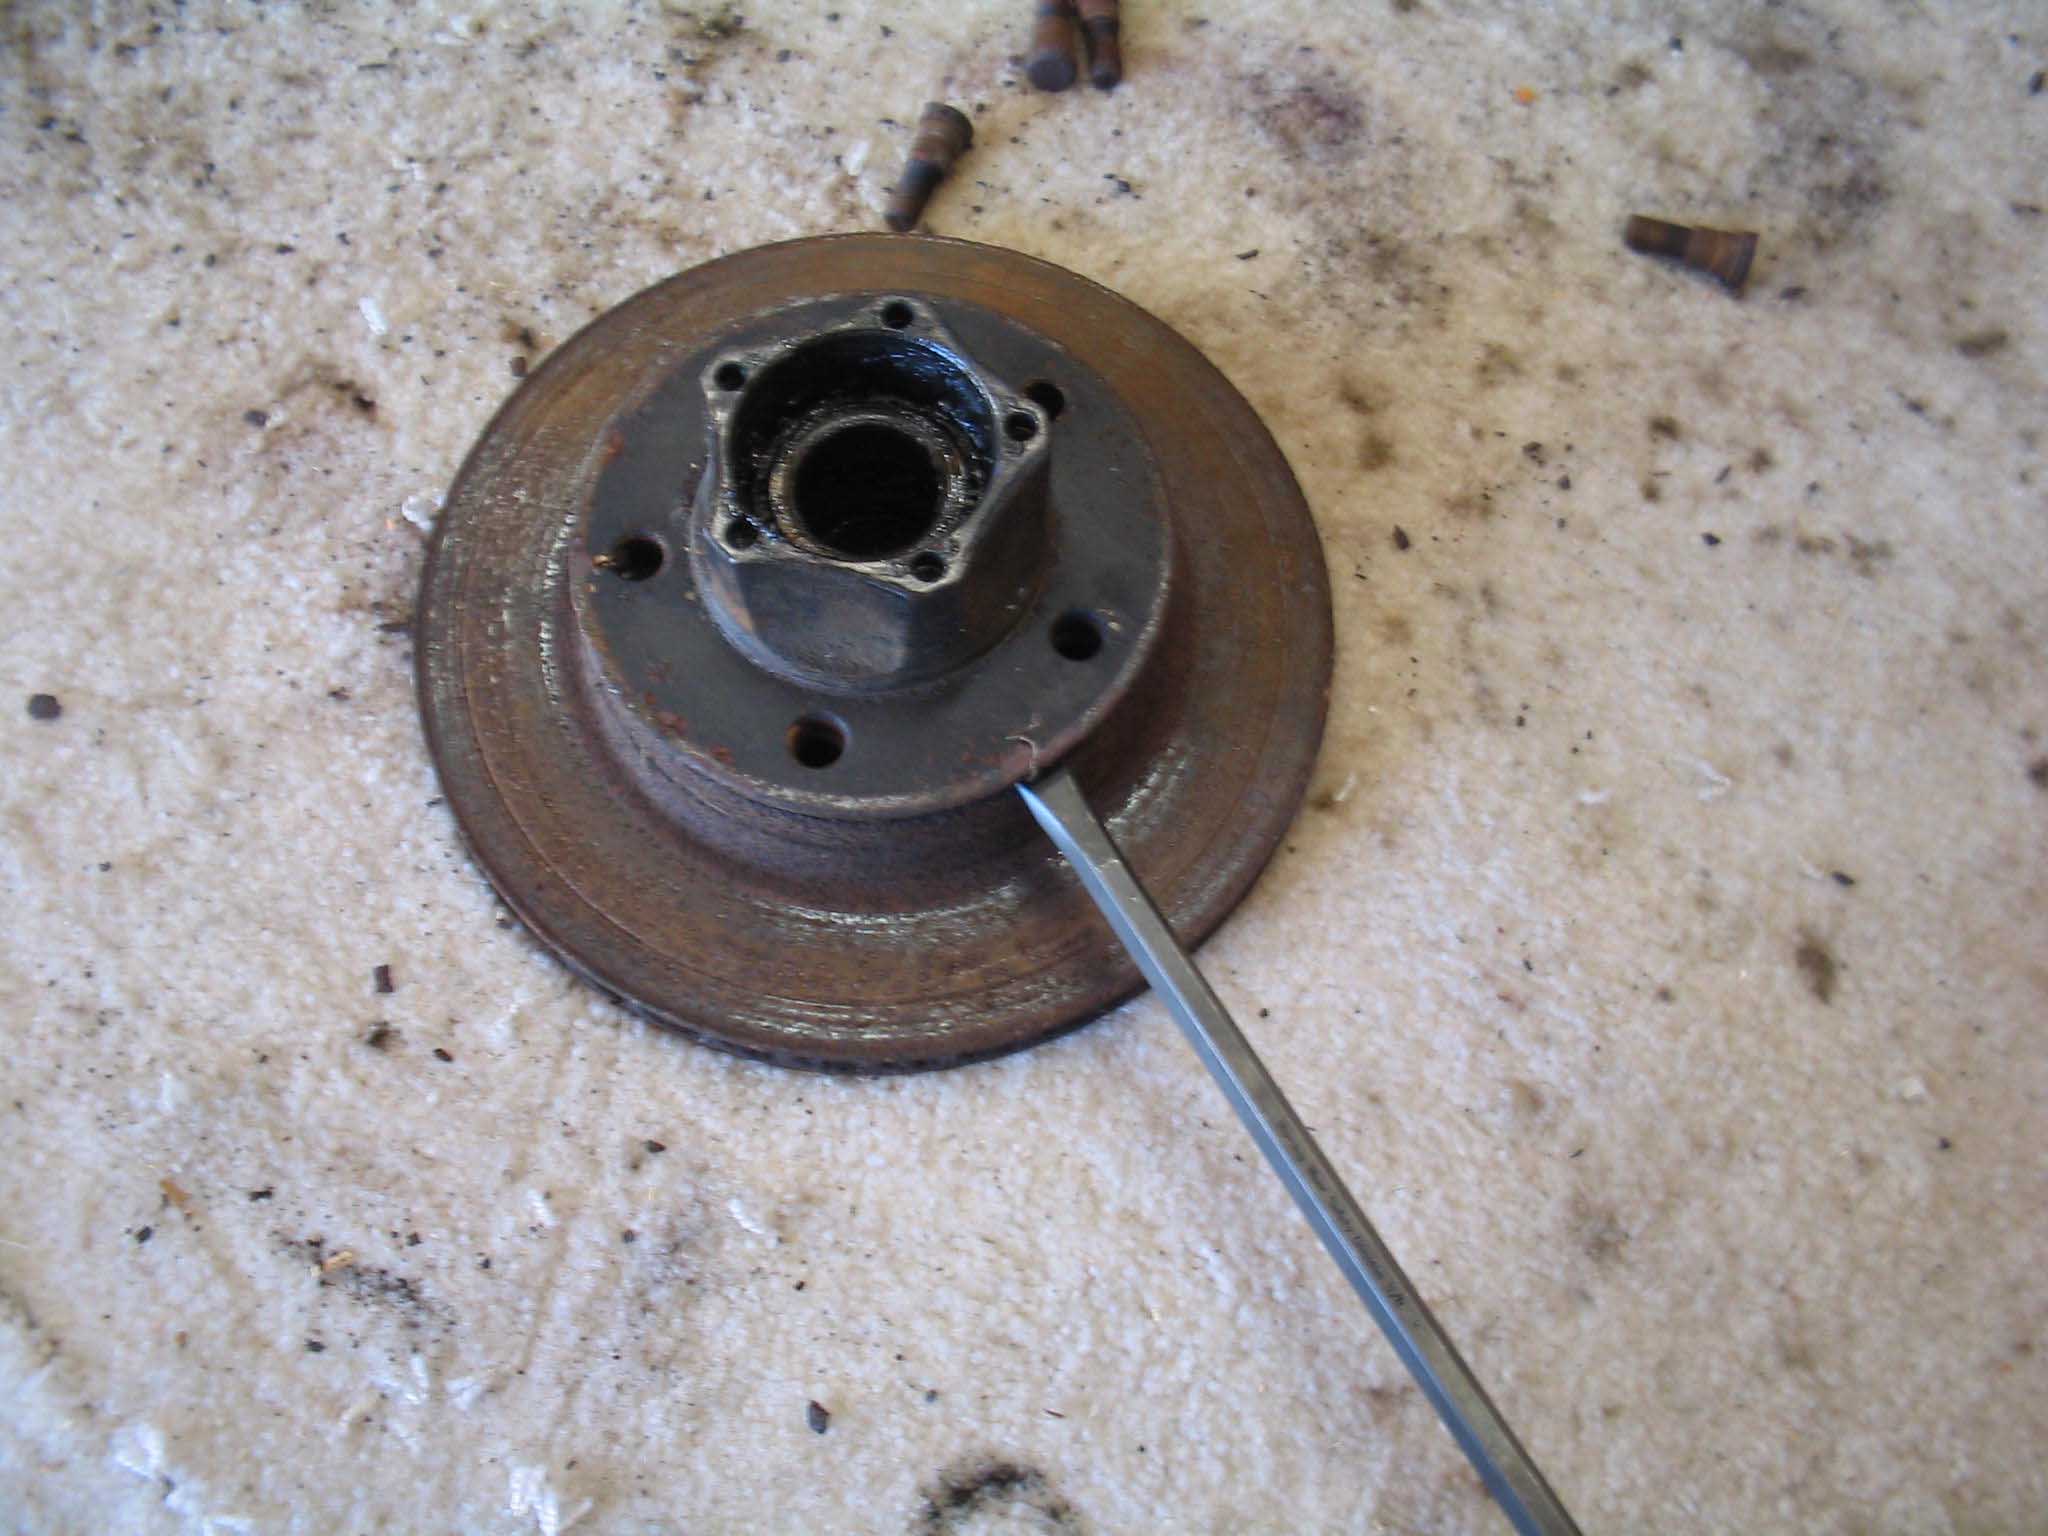
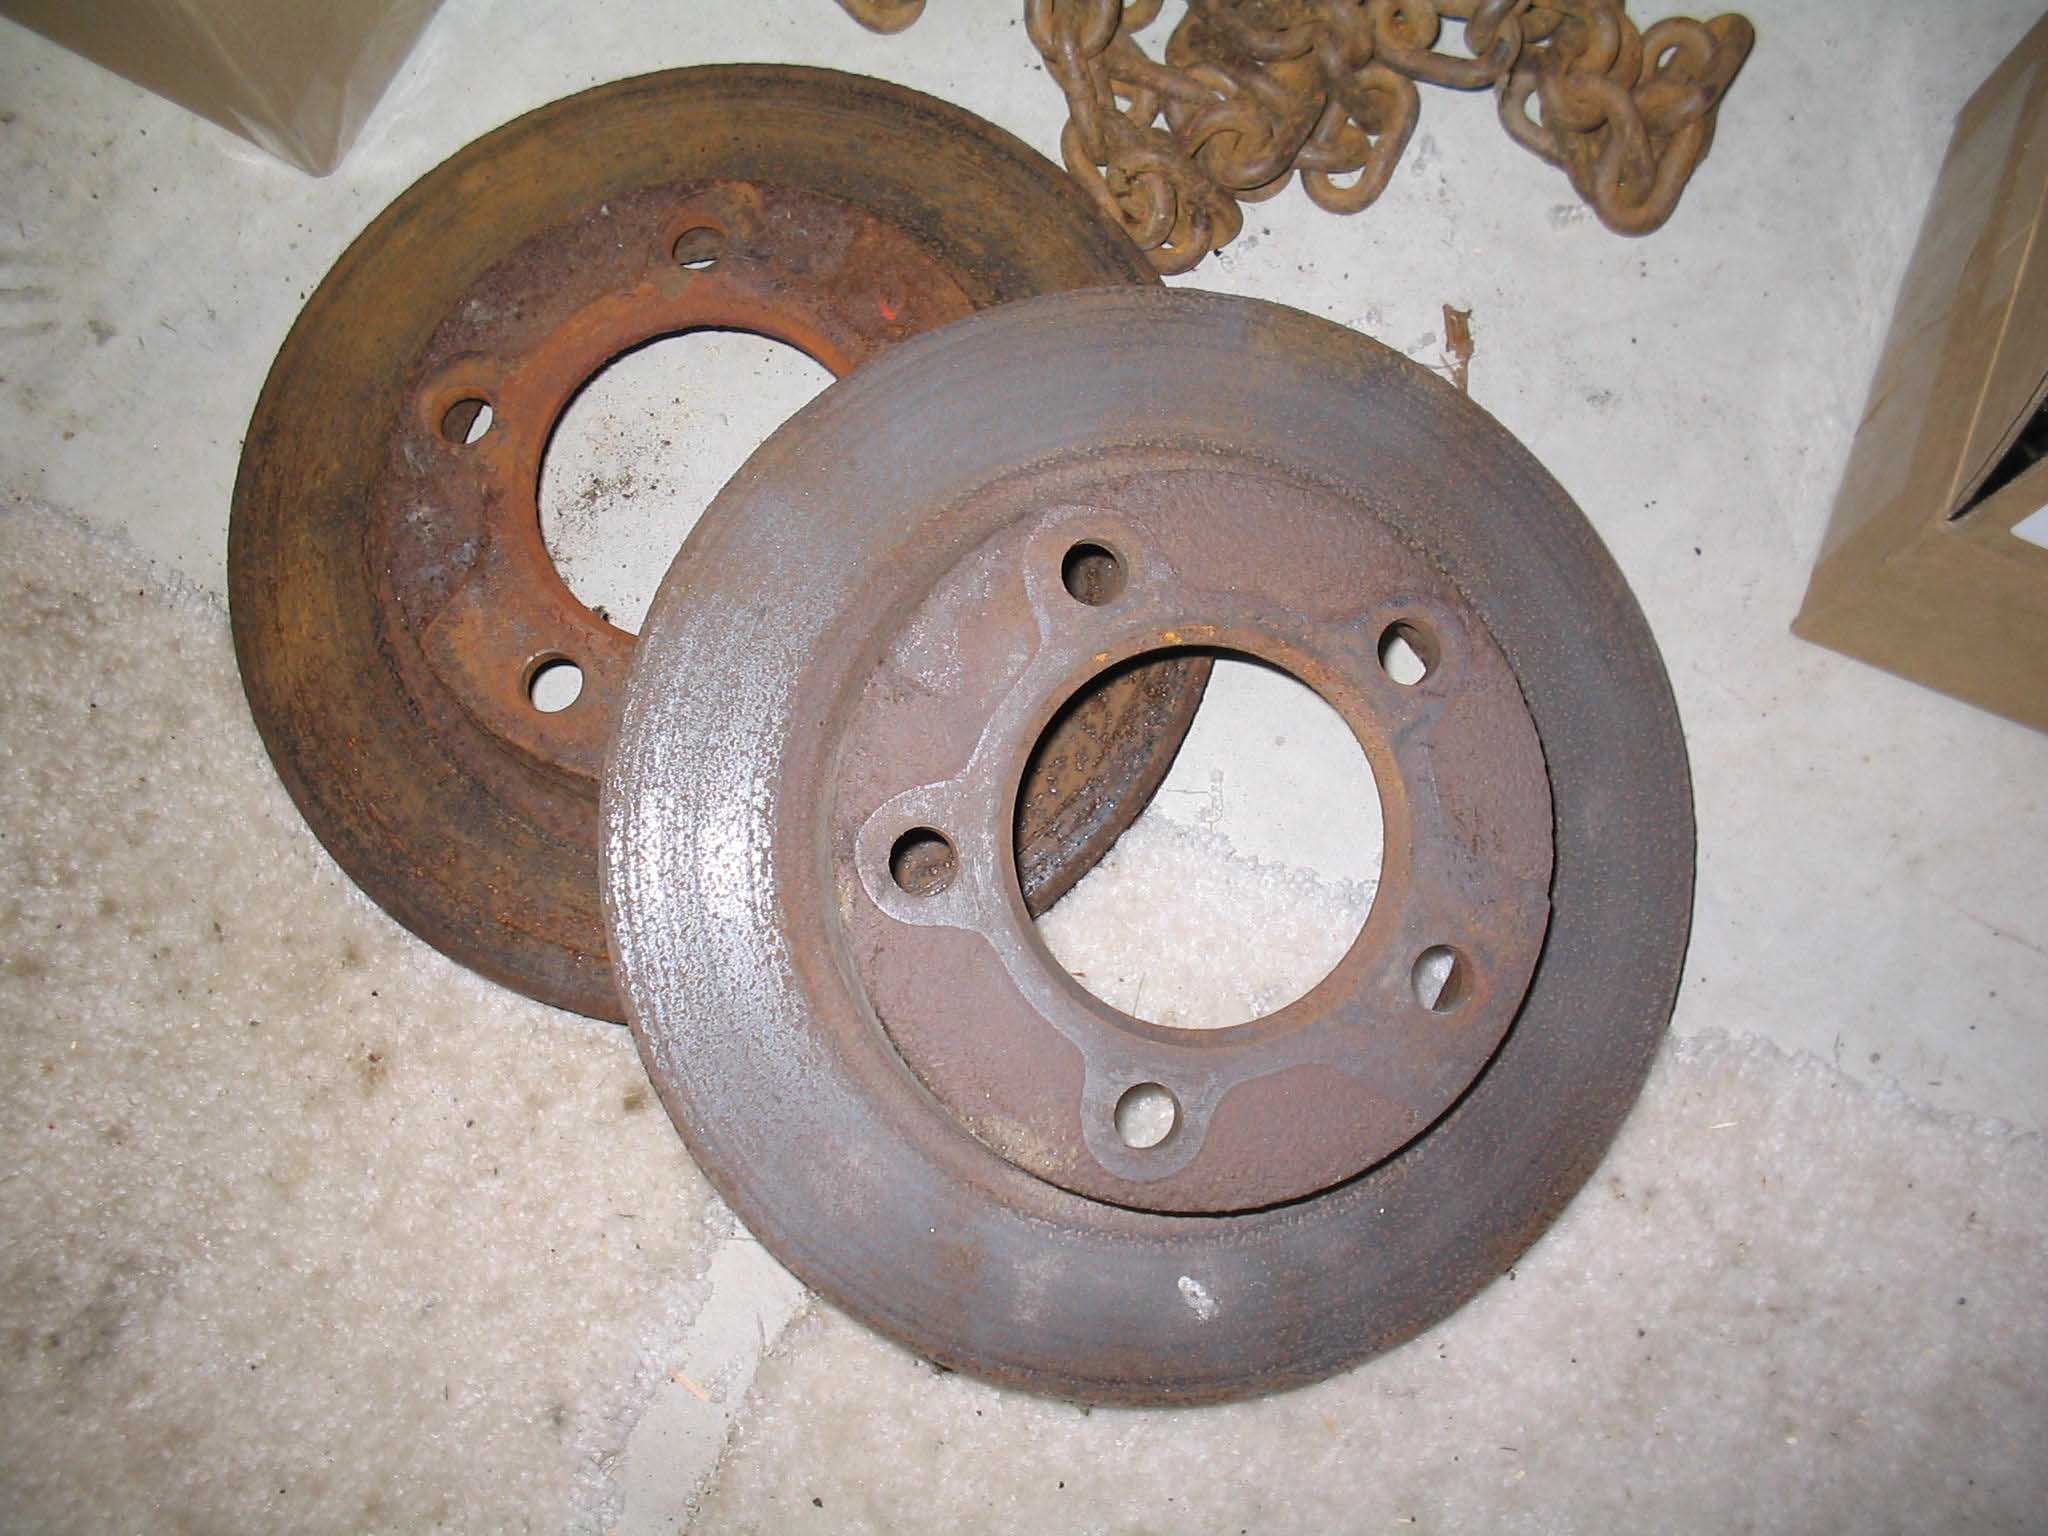
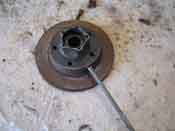
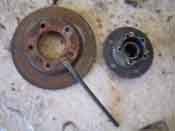
Last thing to note. I sandblasted the rotor to show a little detail. As I said before, I am replacing them with
new rotors, but I wanted to show why. If you take a close look at the cleaner one, you can see a lot of pitting.
This can be turned down and you can have a nice clean rotor, but it will take a bunch of material with it, resulting
in less life for the rotor. I didn't want to do a brake job again on this front axle, so I went new. It is up
to you and what you want to do.
cb (12/11/06)
|
| |
| << Previous |
Next >> |
|