|
|
| Project "Free Jeep" a.k.a Project "FJ" - part #16 |
| |
|
1
2
3
4
5
6
7
8
9
10
11
12
13
14
15
16
17
18
19
20
21
22
23
24
25
26
27
28
29
30
31
32
33
34
35
36
37
38
39
40
41
42
43
44
45
46
47
48
49
50
51
52
53
54
55
56
57
58
59
60
61
62
63
64
65
66
67
68
69
70
71
72
73
|
| |
| (03/018/07) Yesterday was St. Patrick's Day and it snowed so much, it was ridiculous.
Actually it snowed on the 16th into the 17th, but who's counting? So, I got up after going to a party last night
and realized that I hadn't put much up on the Free Jeep project in a while, so I figured I would take the time
to reorganize the section a bit as the number of pages has grown considerably as well as put up some new pictures
of what I have been up to.
|
| |
|
|
|
|
| |
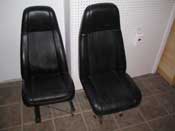
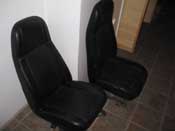
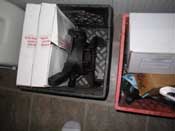
| I picked up a set of Jeep Logo seats off of
CraigsList and they are in really great shape. I am not
sure if I will use them for this project, but it is good to have another set. I have this other set, but only
one of the seats is good and the other one really needs to be given some major TLC. So, in searching the forums
I found an entire ignition system to go with the engine I have that doesn't have a setup. I had to relocate a
lot of items from the garage because I am doing a lot of work out there that is messy.
|
| |
|
|
|
|
| |
Basically I decided to work on the garage and forgo the Jeep stuff right now. I
am insulating, sheet rocking as well as updating the electrical, lighting and storage situations out there, so that
has been taking all of my weekends up. That, combined with the snow we keep getting doesn't exactly afford me the
time to get a lot done on Jeeps, but I am able to sneak out and pick up some parts when I see a good deal.
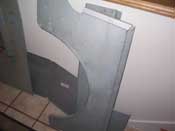
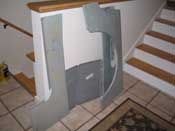
Which was the case with the body panels. These were on
CraigsList again and only the floor pan was advertised. I
called the guy up, went up there and he had a bunch of other parts. He also is interested in some that I have, so
it was a good trip.
|
| |
|
|
|
|
| |
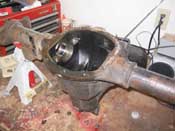
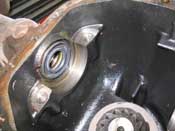
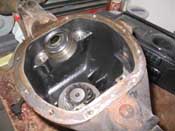
Next, I had to cover up the axle as the carrier and other parts were in danger of
getting sheetrock dust on them from all the sanding and eventual painting I had to do in the garage. In the
last installment back on page 14, I had just finished up putting the ball joints into
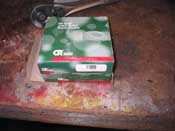
the knuckles and before that I had taken out the inner seals. Now the seals needed to be put back in.
You would think this was an easy job, but it really isn't. There is no room inside the carrier to tap in the seal.
So, I improvised with a long rod and a socket. Worked great. Just realize this is an axle out of the Jeep that
I can move around, as I like. If it was still located in the Jeep, I am not so sure it would be that easy.
|
| |
|

|
|
|
| |
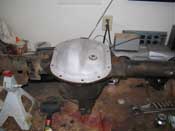
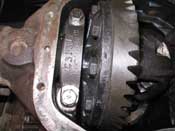
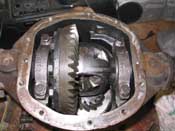
| Moving on... I put both seals in and reinstalled the carrier. Put the carrier
main caps back in the right orientation like we had marked on page 11 and then
torque down the studs to 40-50 ft/lbs. The cover bolts will be torqued to 20 ft/lbs.
|
| |
|
|
|
|
| |
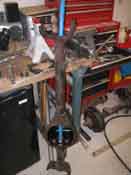
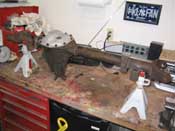
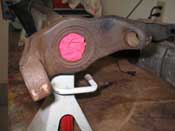
A little time in the sandblast cabinet makes the cover look better, but I still
need to get the whole thing cleaned up and painted. The red rags in the end will keep the debris out until I can
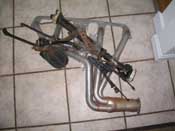
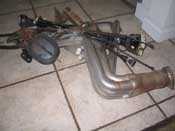
reassemble the ends. The last 2 things I got were a collection of parts including some clutch parts, cable,
drive shaft and a Hedman header, and finally I picked up a HEI distributor setup, but for the life of me, I can't
find that picture anywhere and I have already put it away, so the next time you see it will be on the engine.
I hope to get back on this project soon as the garage is coming to a close soon with all the work I have done. I
picked up a new welder to help with the framework that needs to be done and finally I have a lot of cabinets
coming in to help organize the garage a bit. Don't forget about all those license plates and signs that I need
to make it look like a workshop as well...
cb (03/18/07)
|
| |
| << Previous |
Next >> |
|

