| Project "Free Jeep" a.k.a Project "FJ" - part #44 |
| |
|
1
2
3
4
5
6
7
8
9
10
11
12
13
14
15
16
17
18
19
20
21
22
23
24
25
26
27
28
29
30
31
32
33
34
35
36
37
38
39
40
41
42
43
44
45
46
47
48
49
50
51
52
53
54
55
56
57
58
59
60
61
62
63
64
65
66
67
68
69
70
71
72
73
|
| |
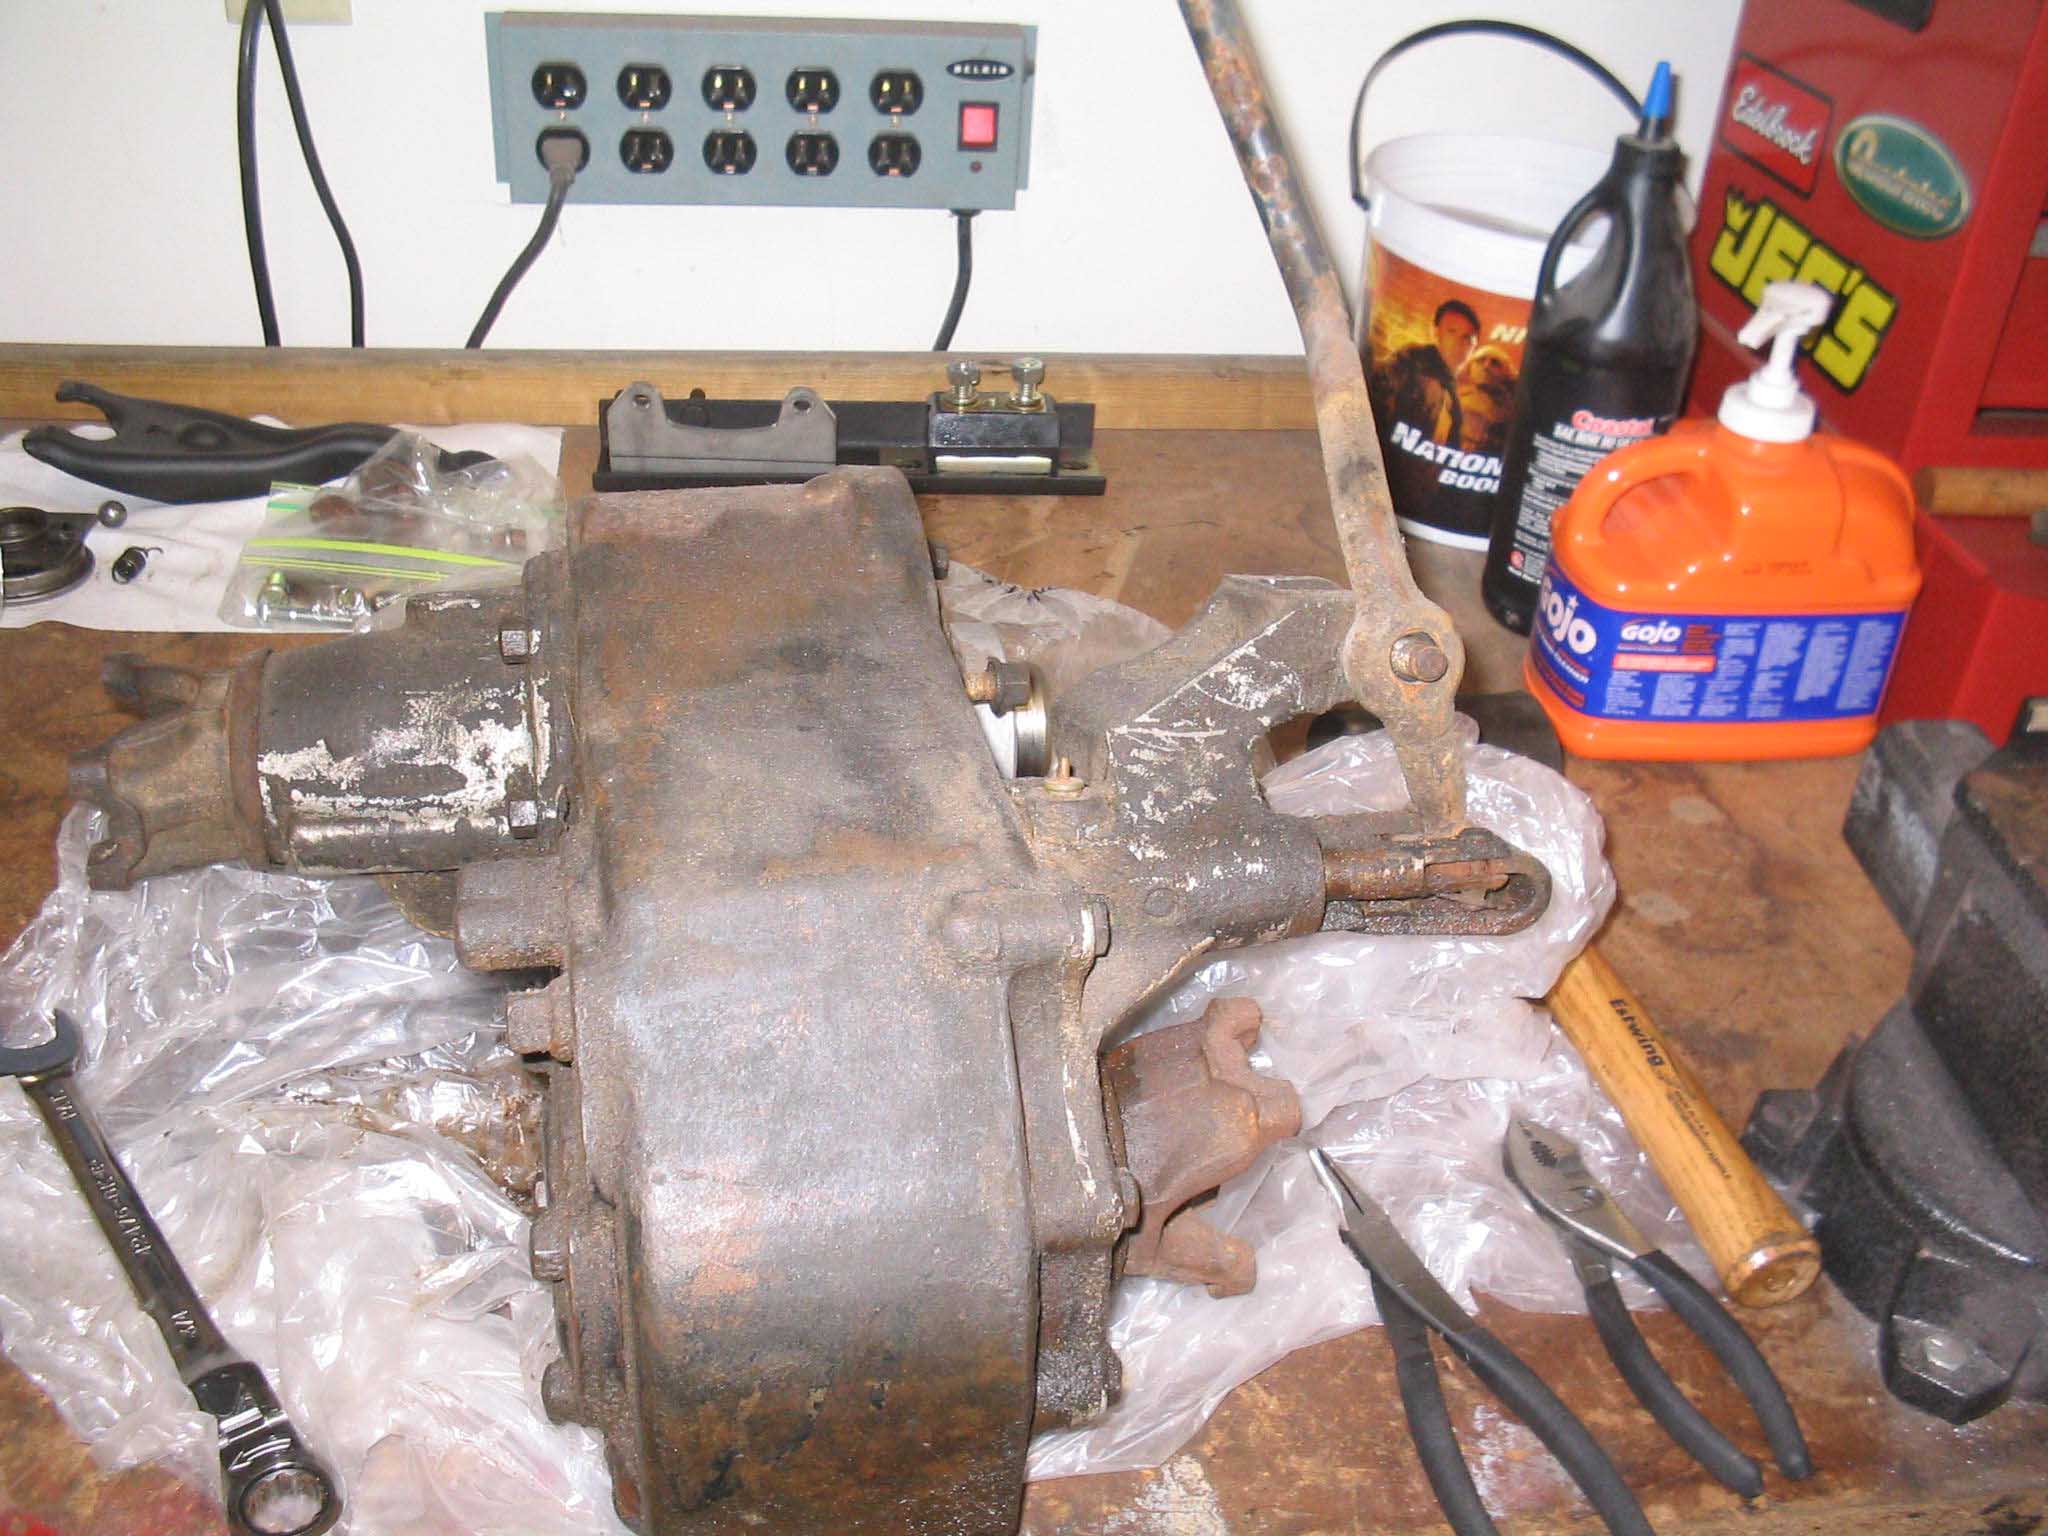
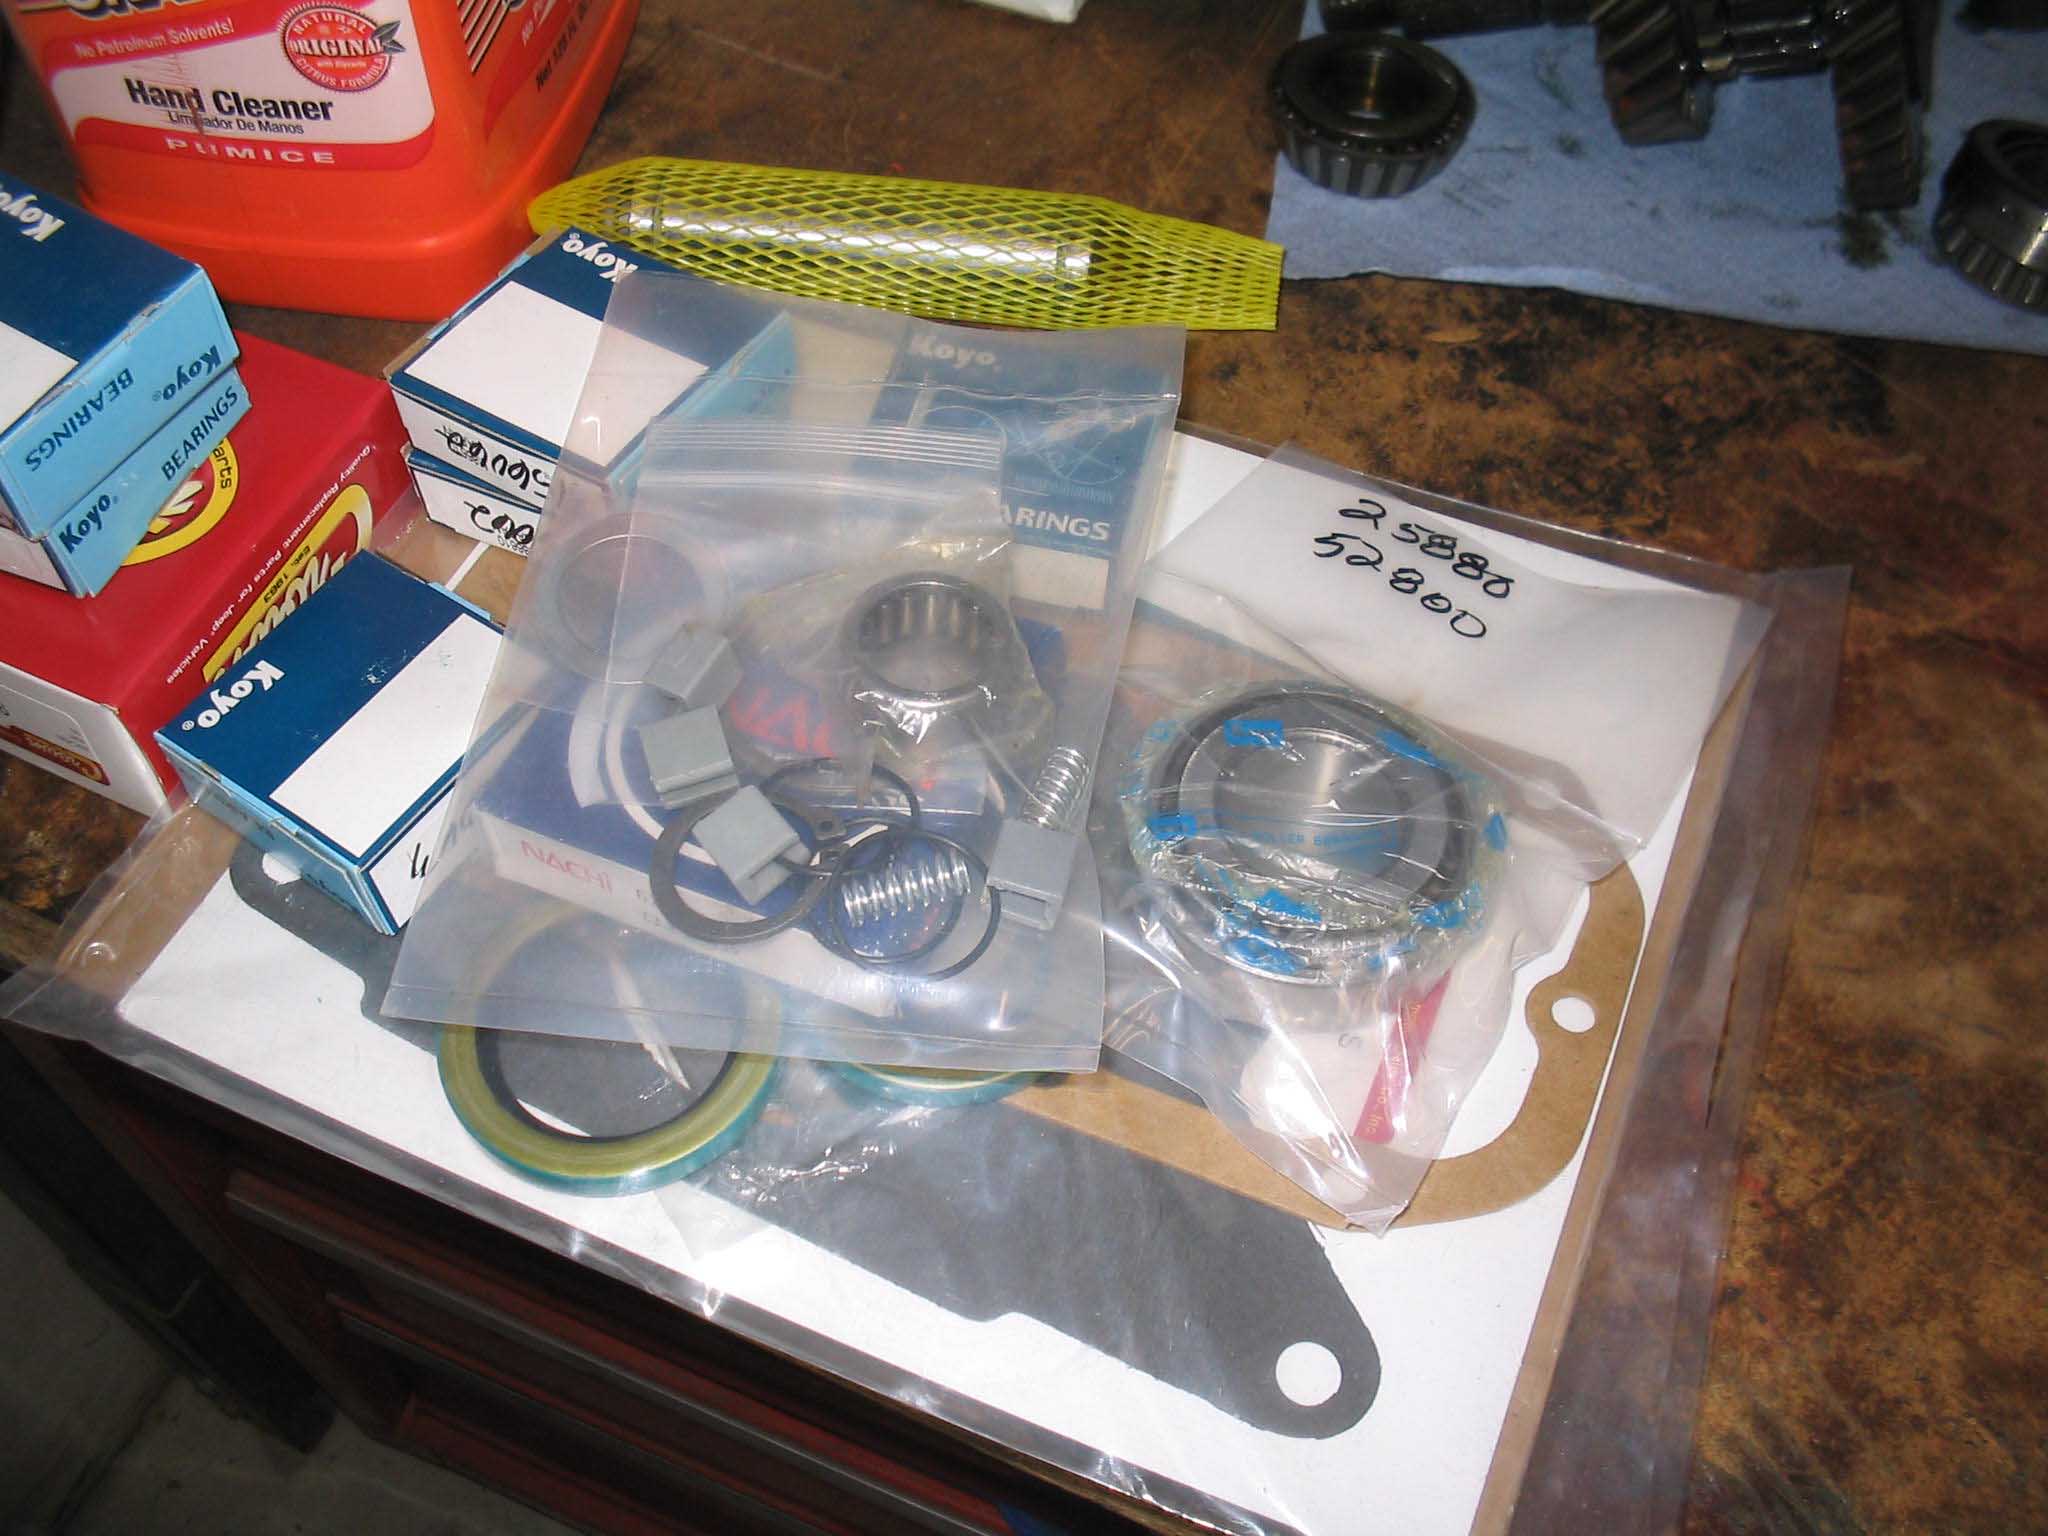
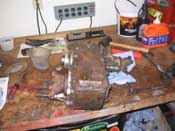
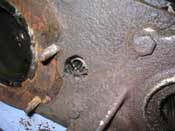
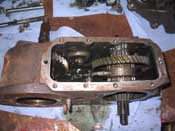
(02/12/08) I was able to start tearing down the transfer case finally! I was
waiting for the rebuild kit (and instructions) from Novak and they finally came in.
The kit came packed up nicely and everything looked like it was there. I started
by removing the shifter as indicated in the disassembly instructions. With that out of the way, I noticed it
was leaking oil when I flipped it over, so I proceeded to drain that.
|
| |
|
|
|

|

|
|
| |
|
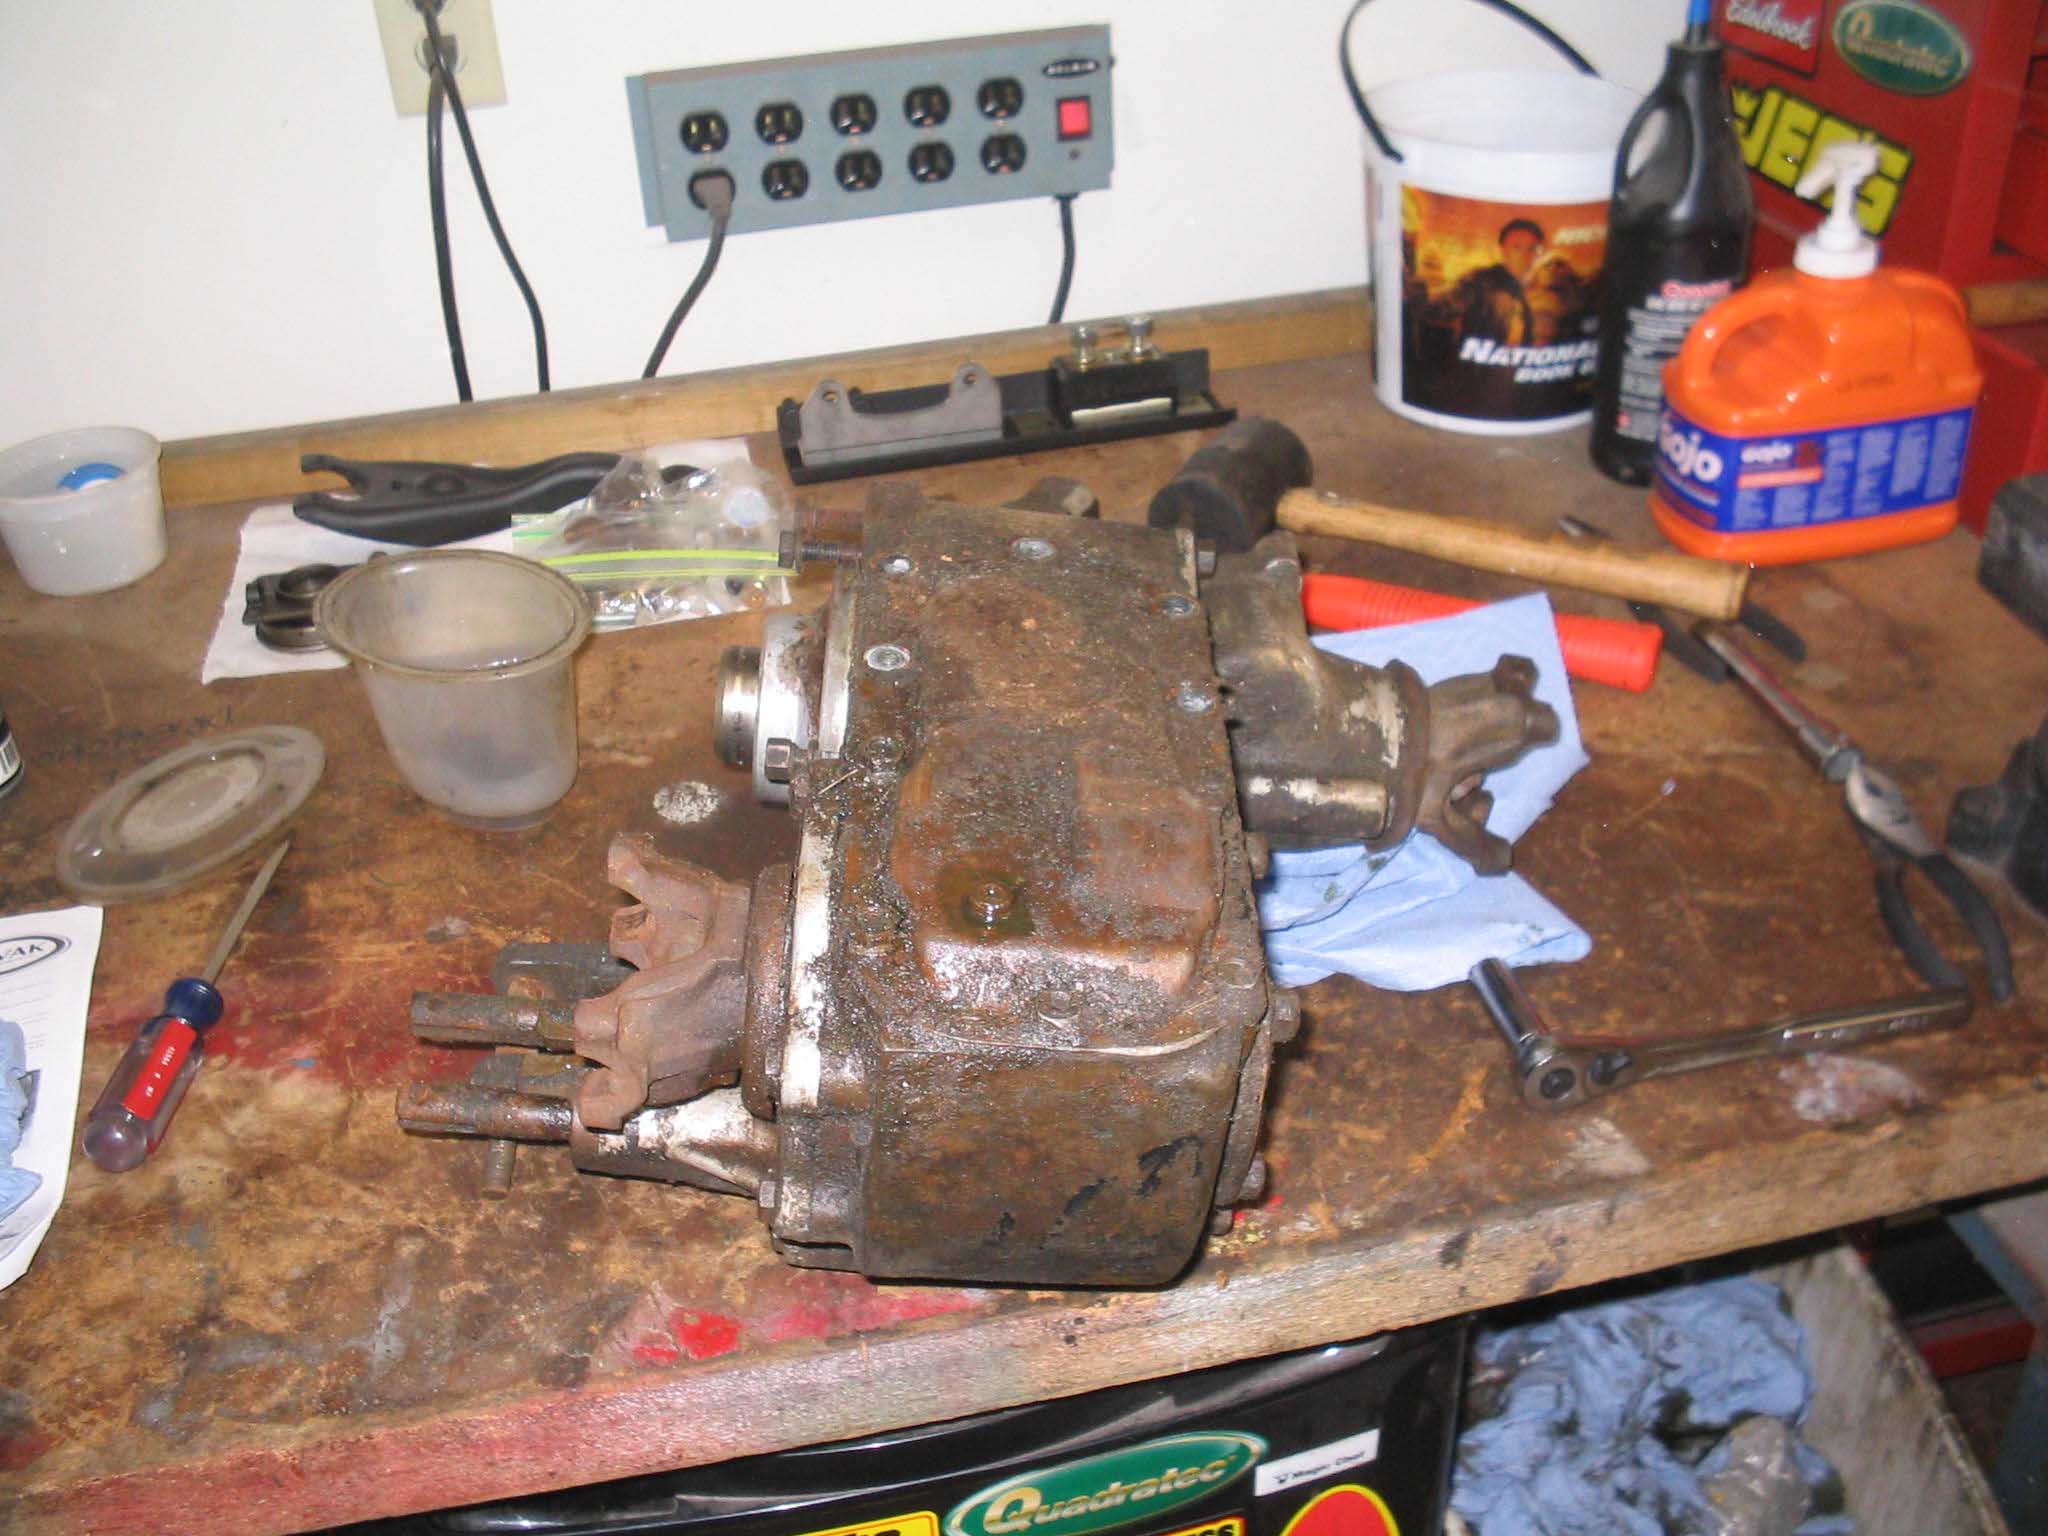
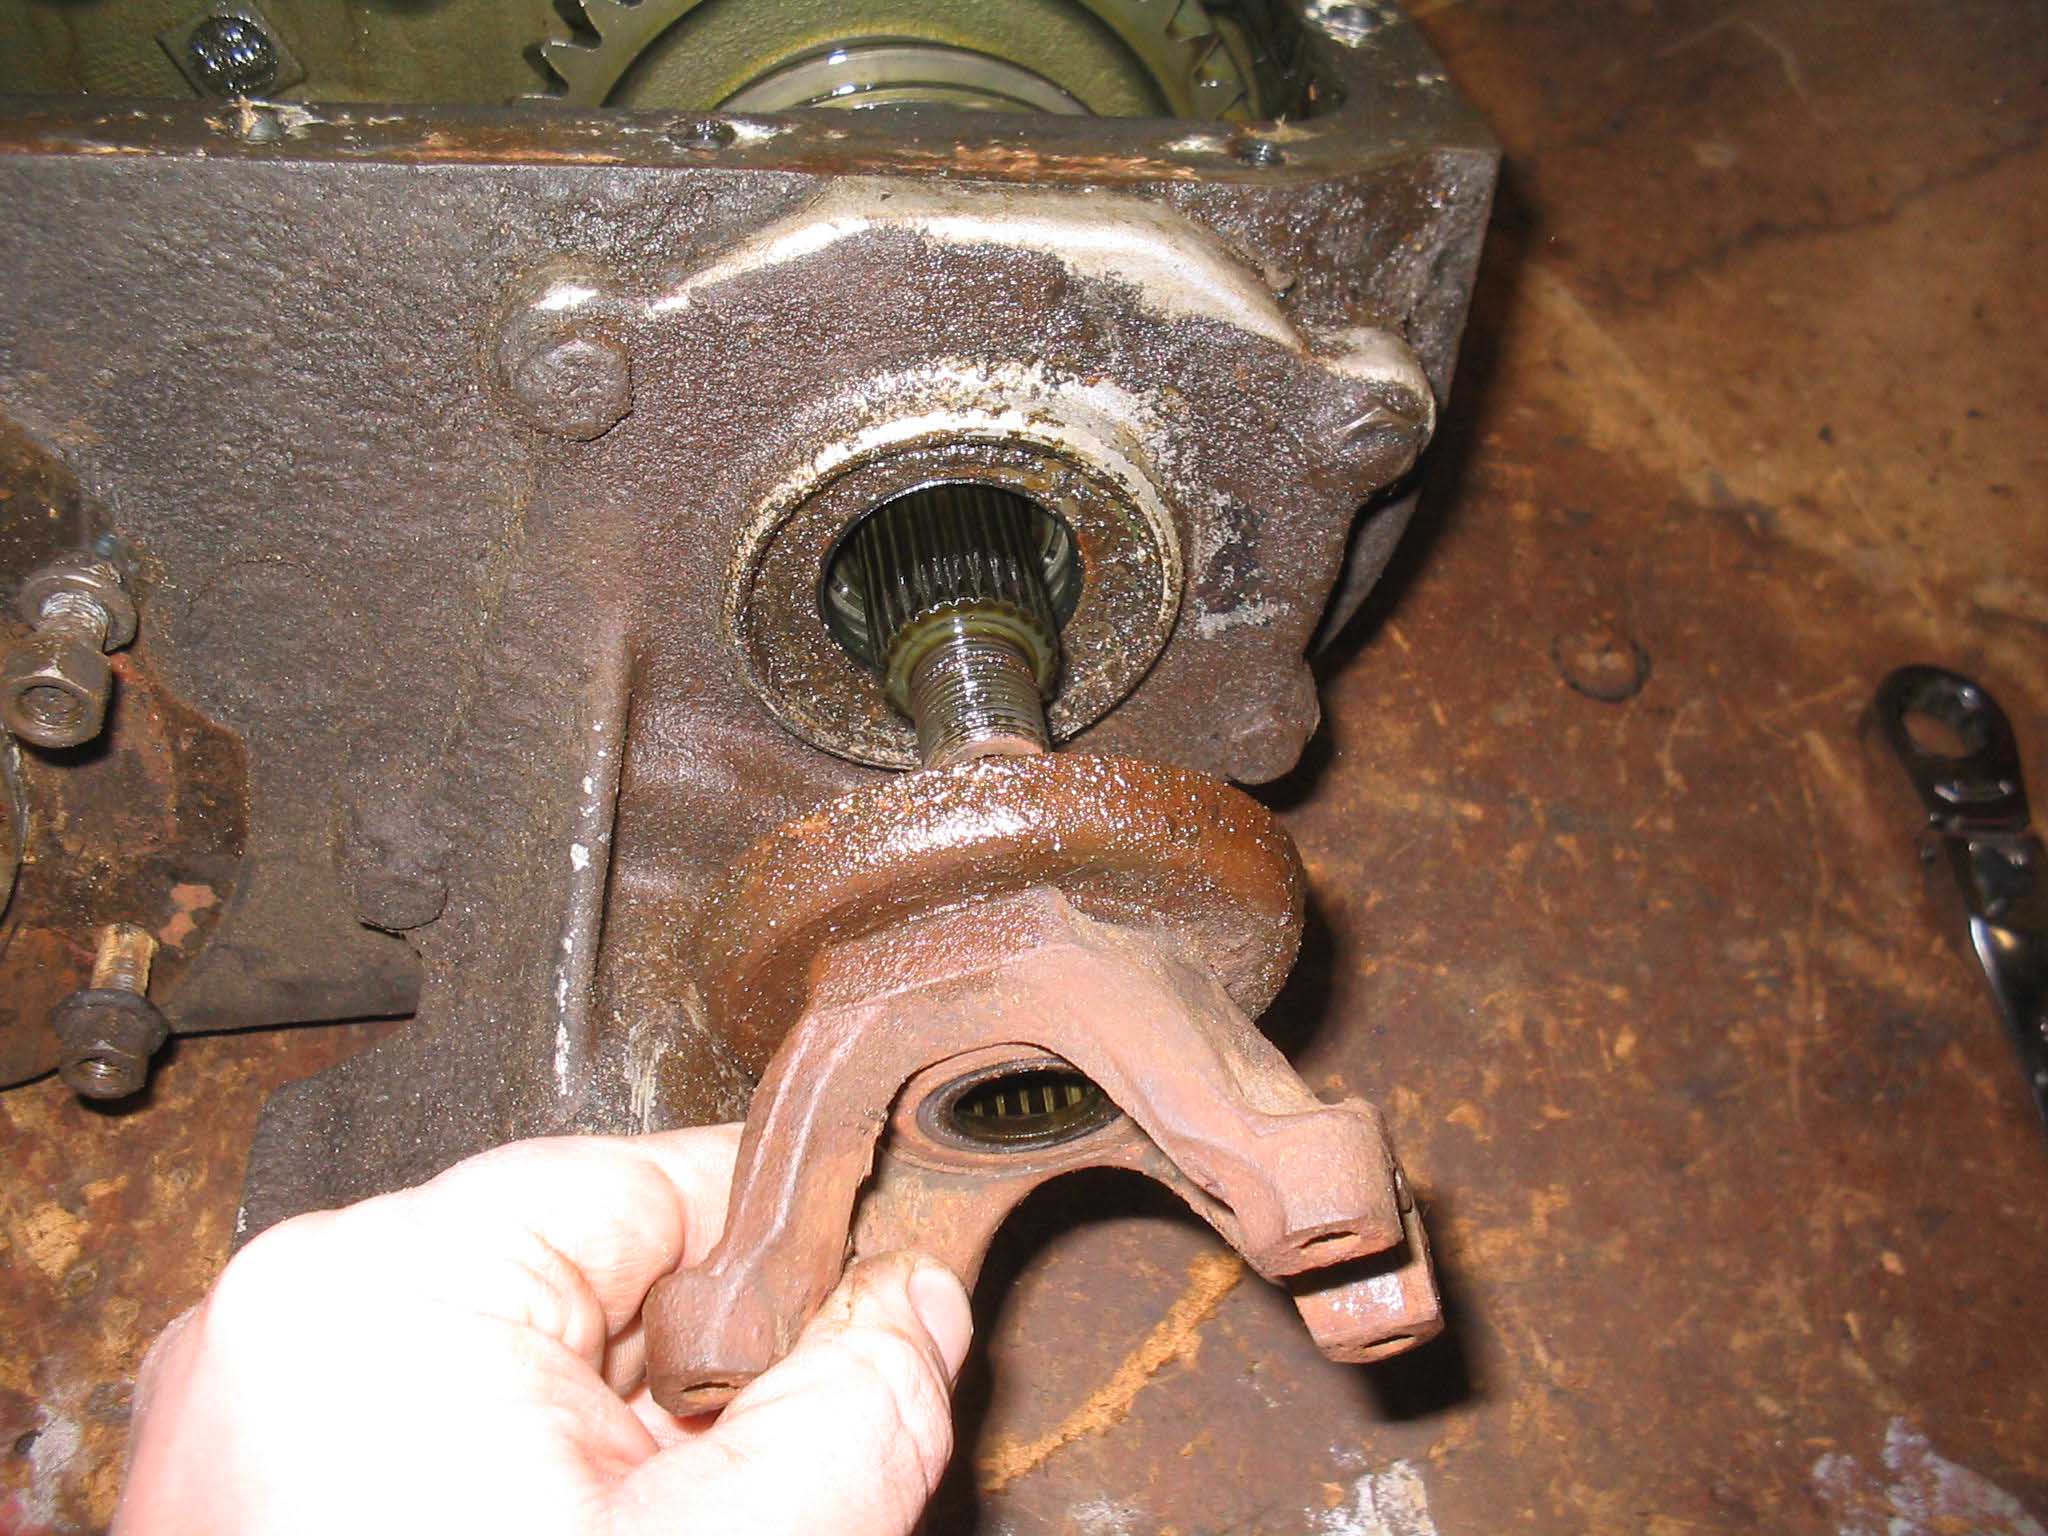
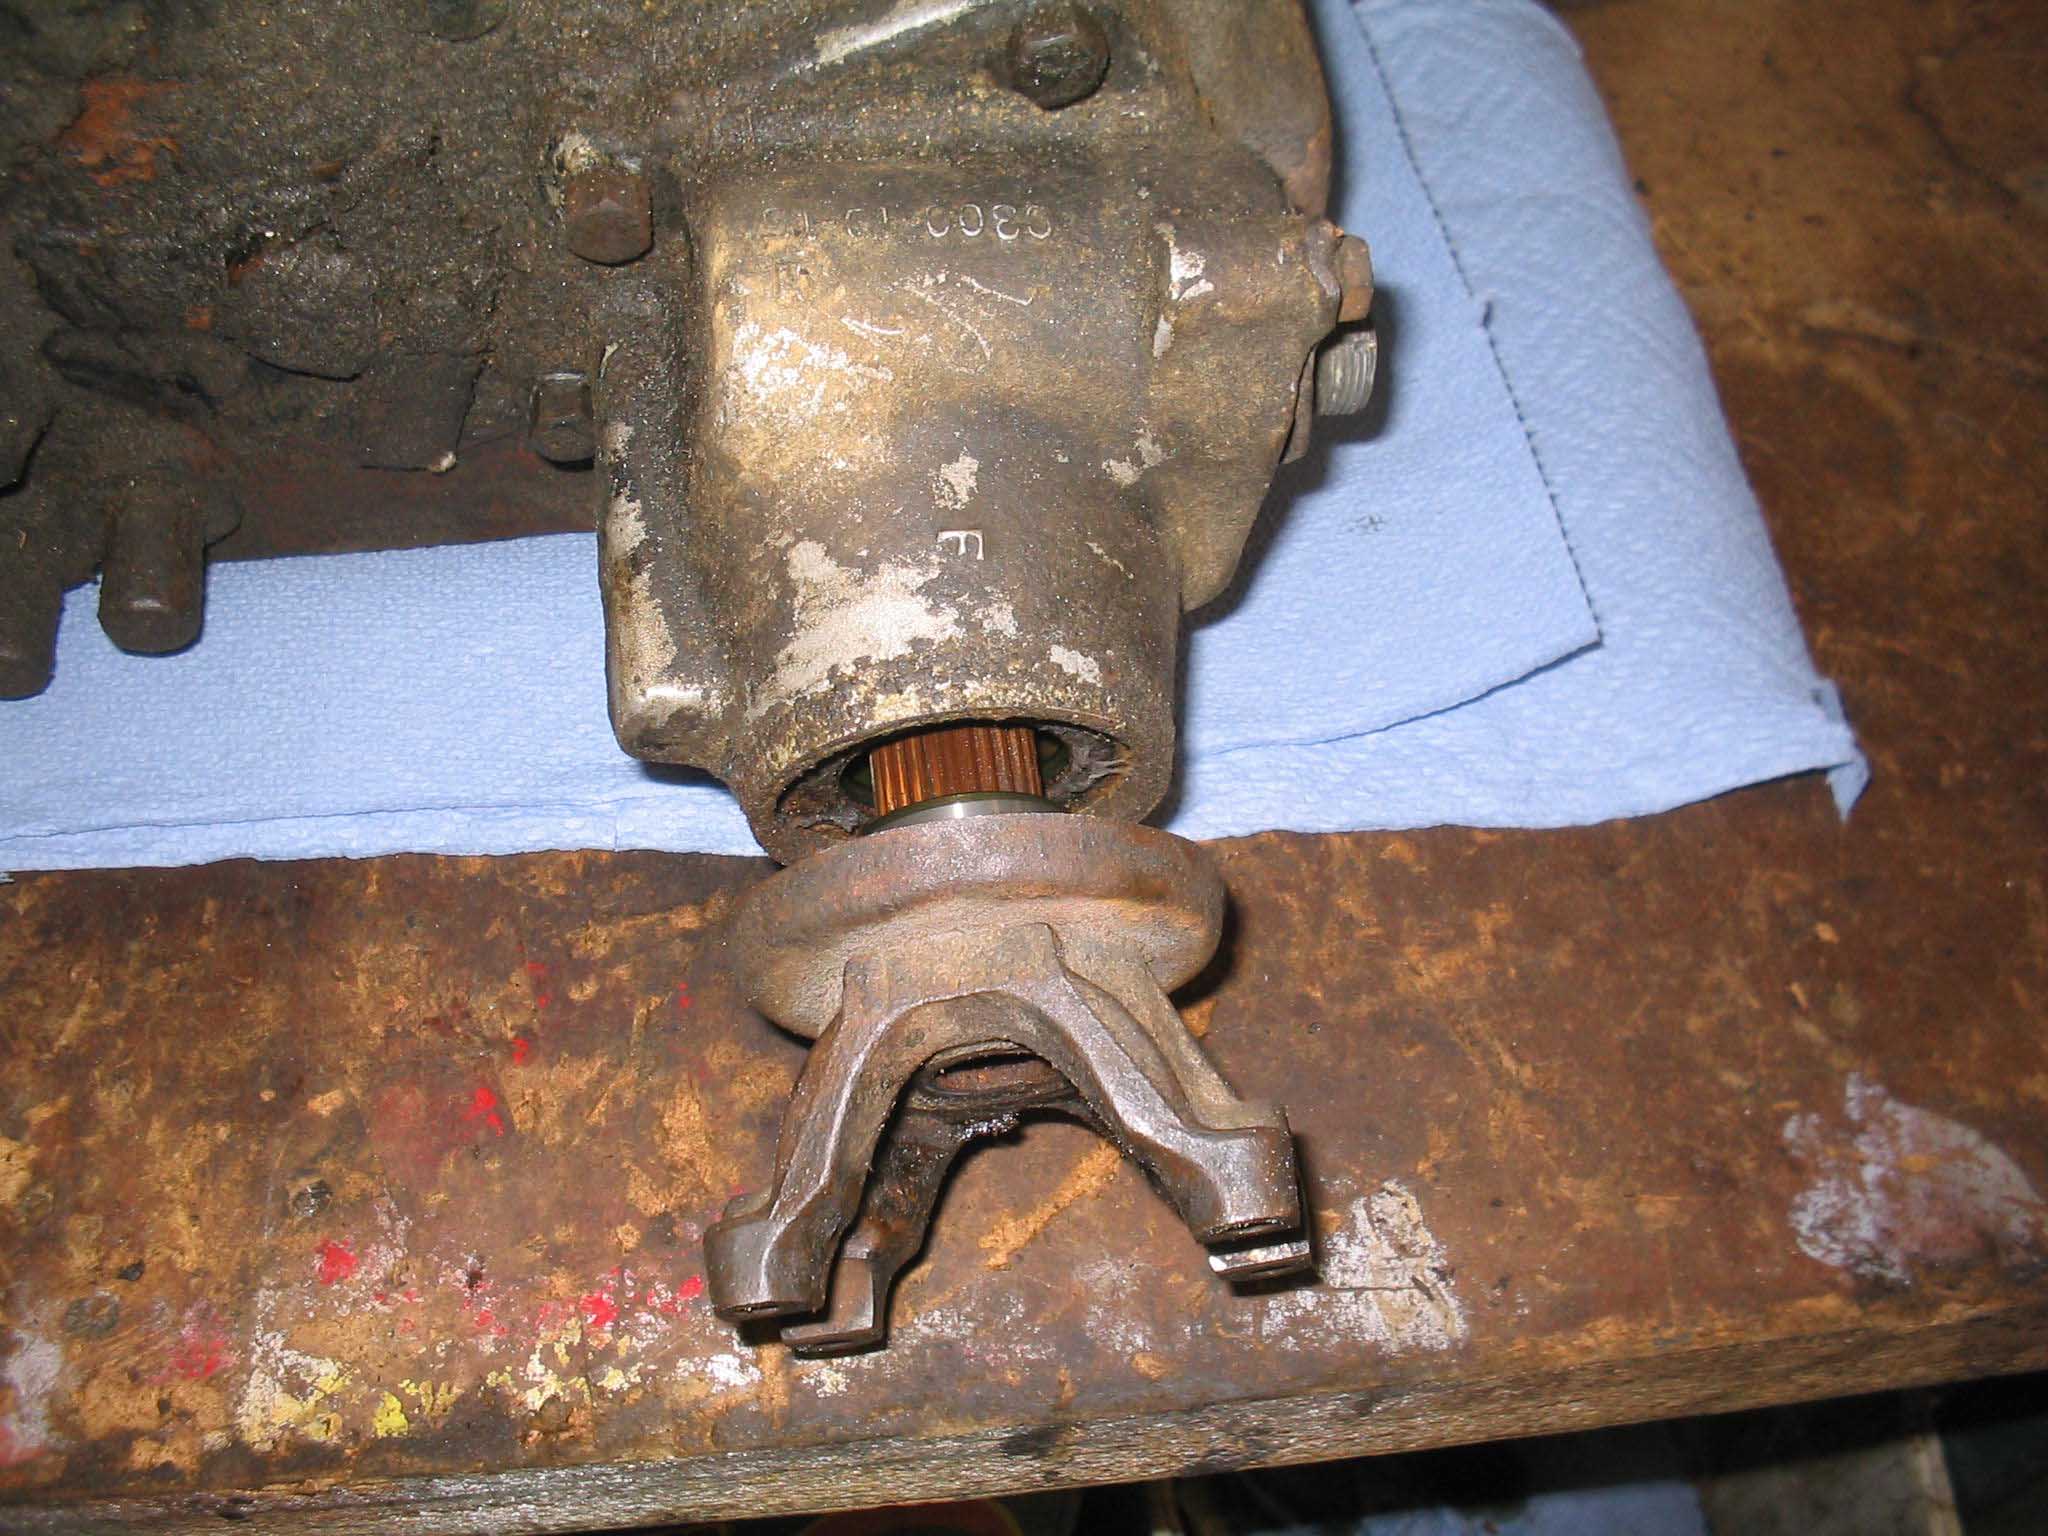
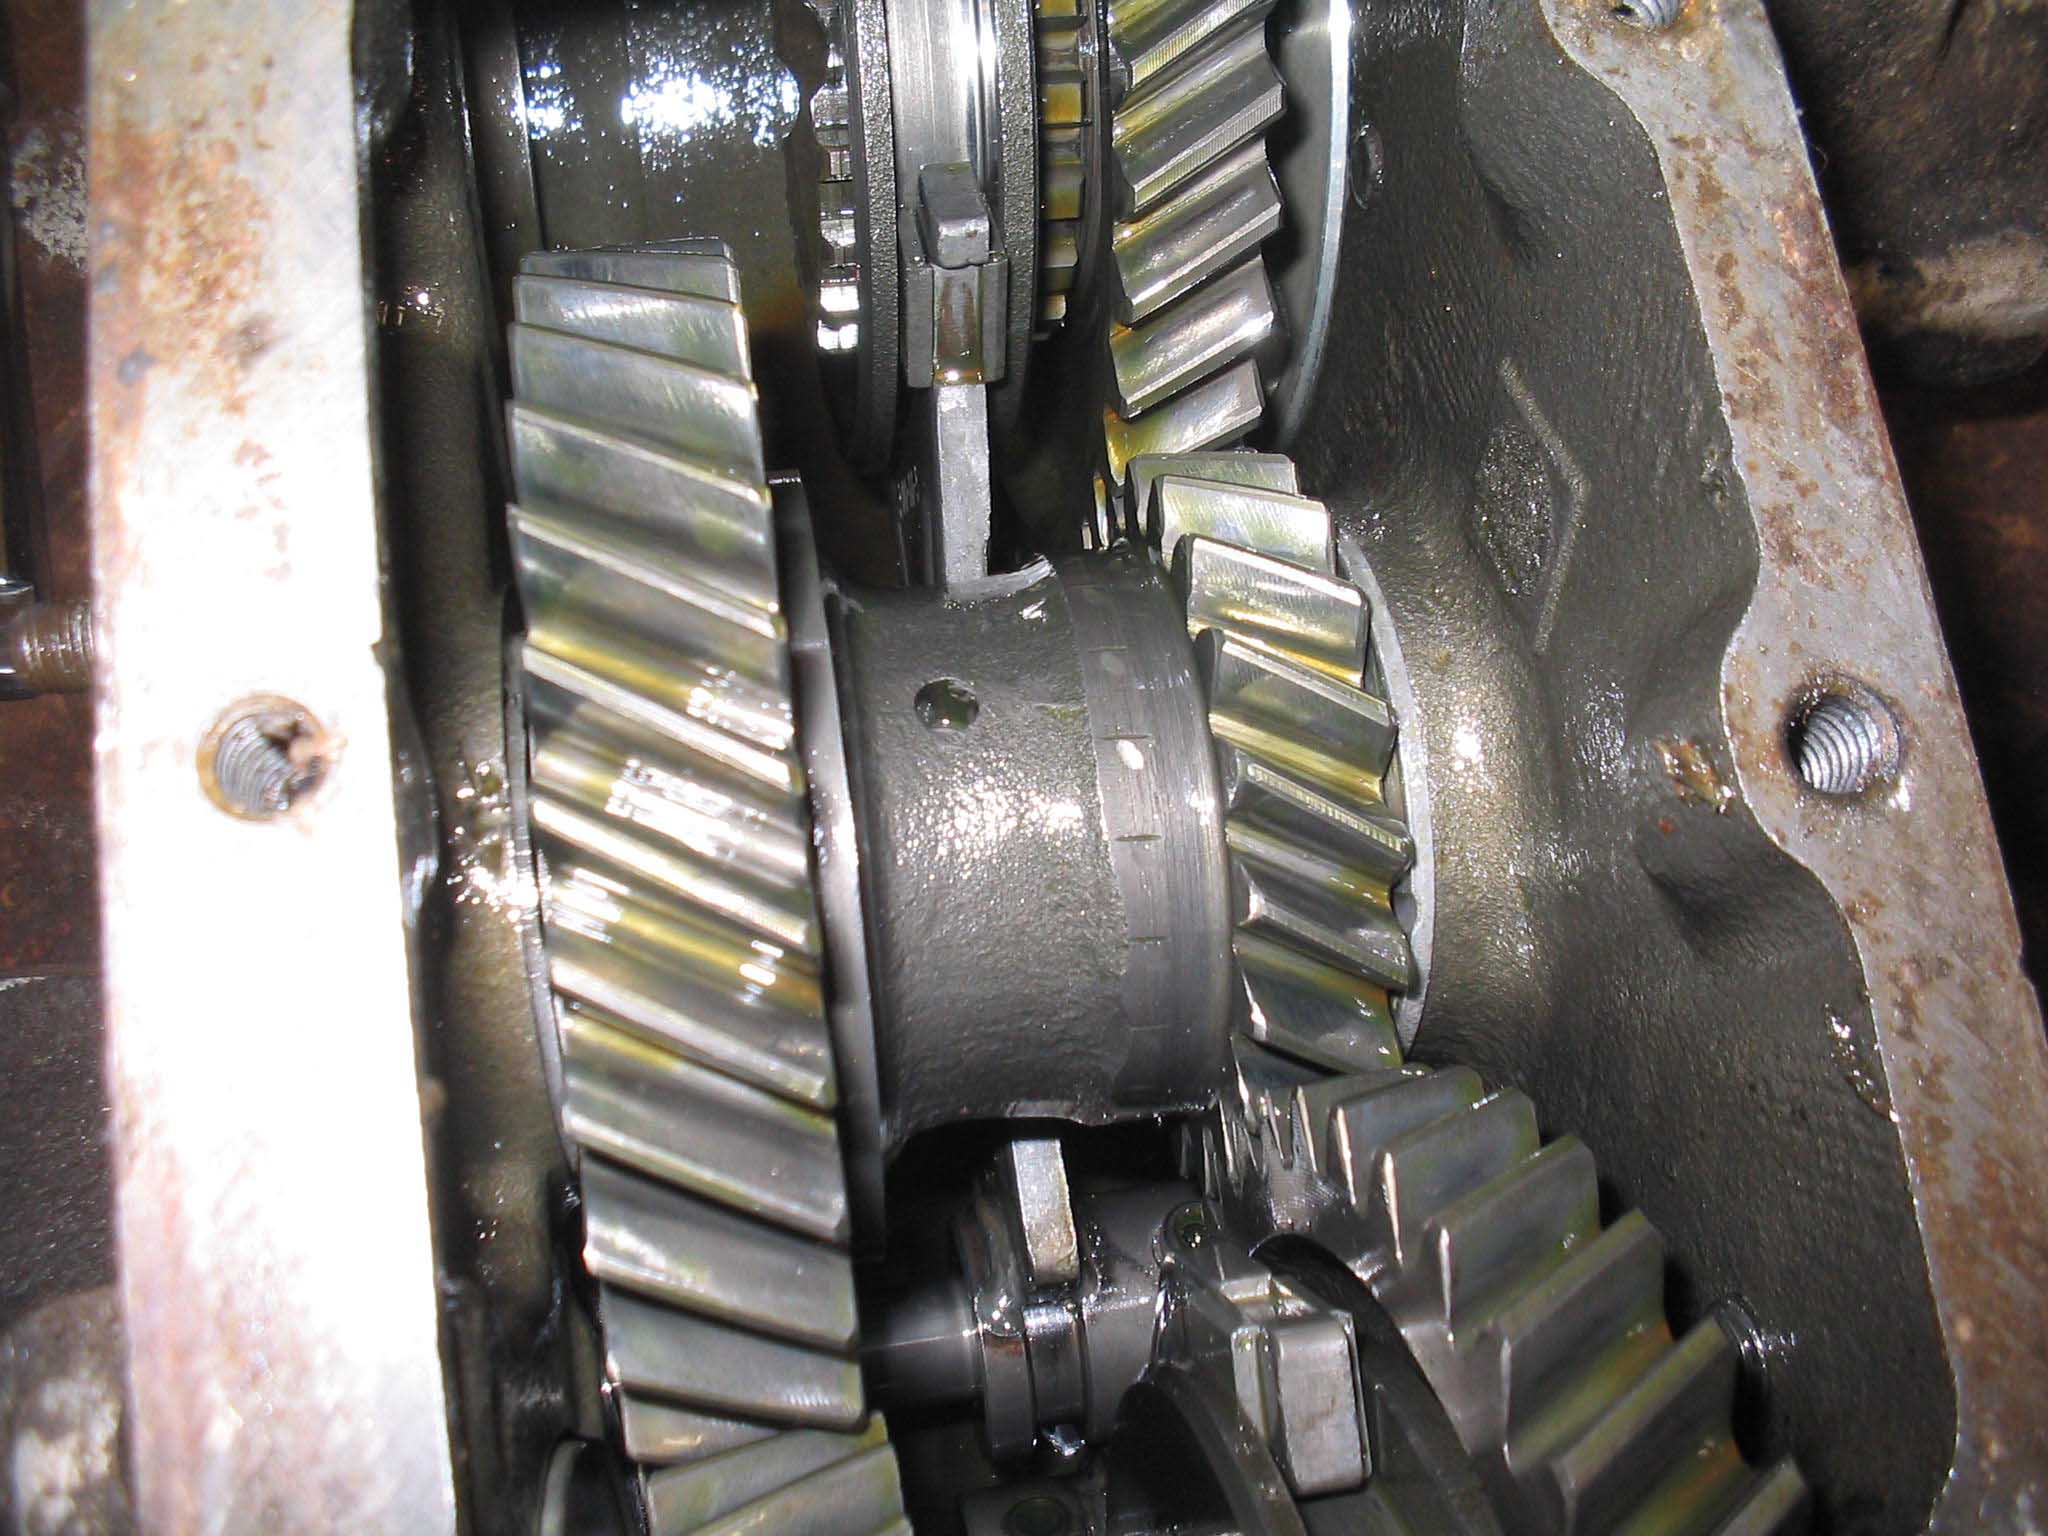
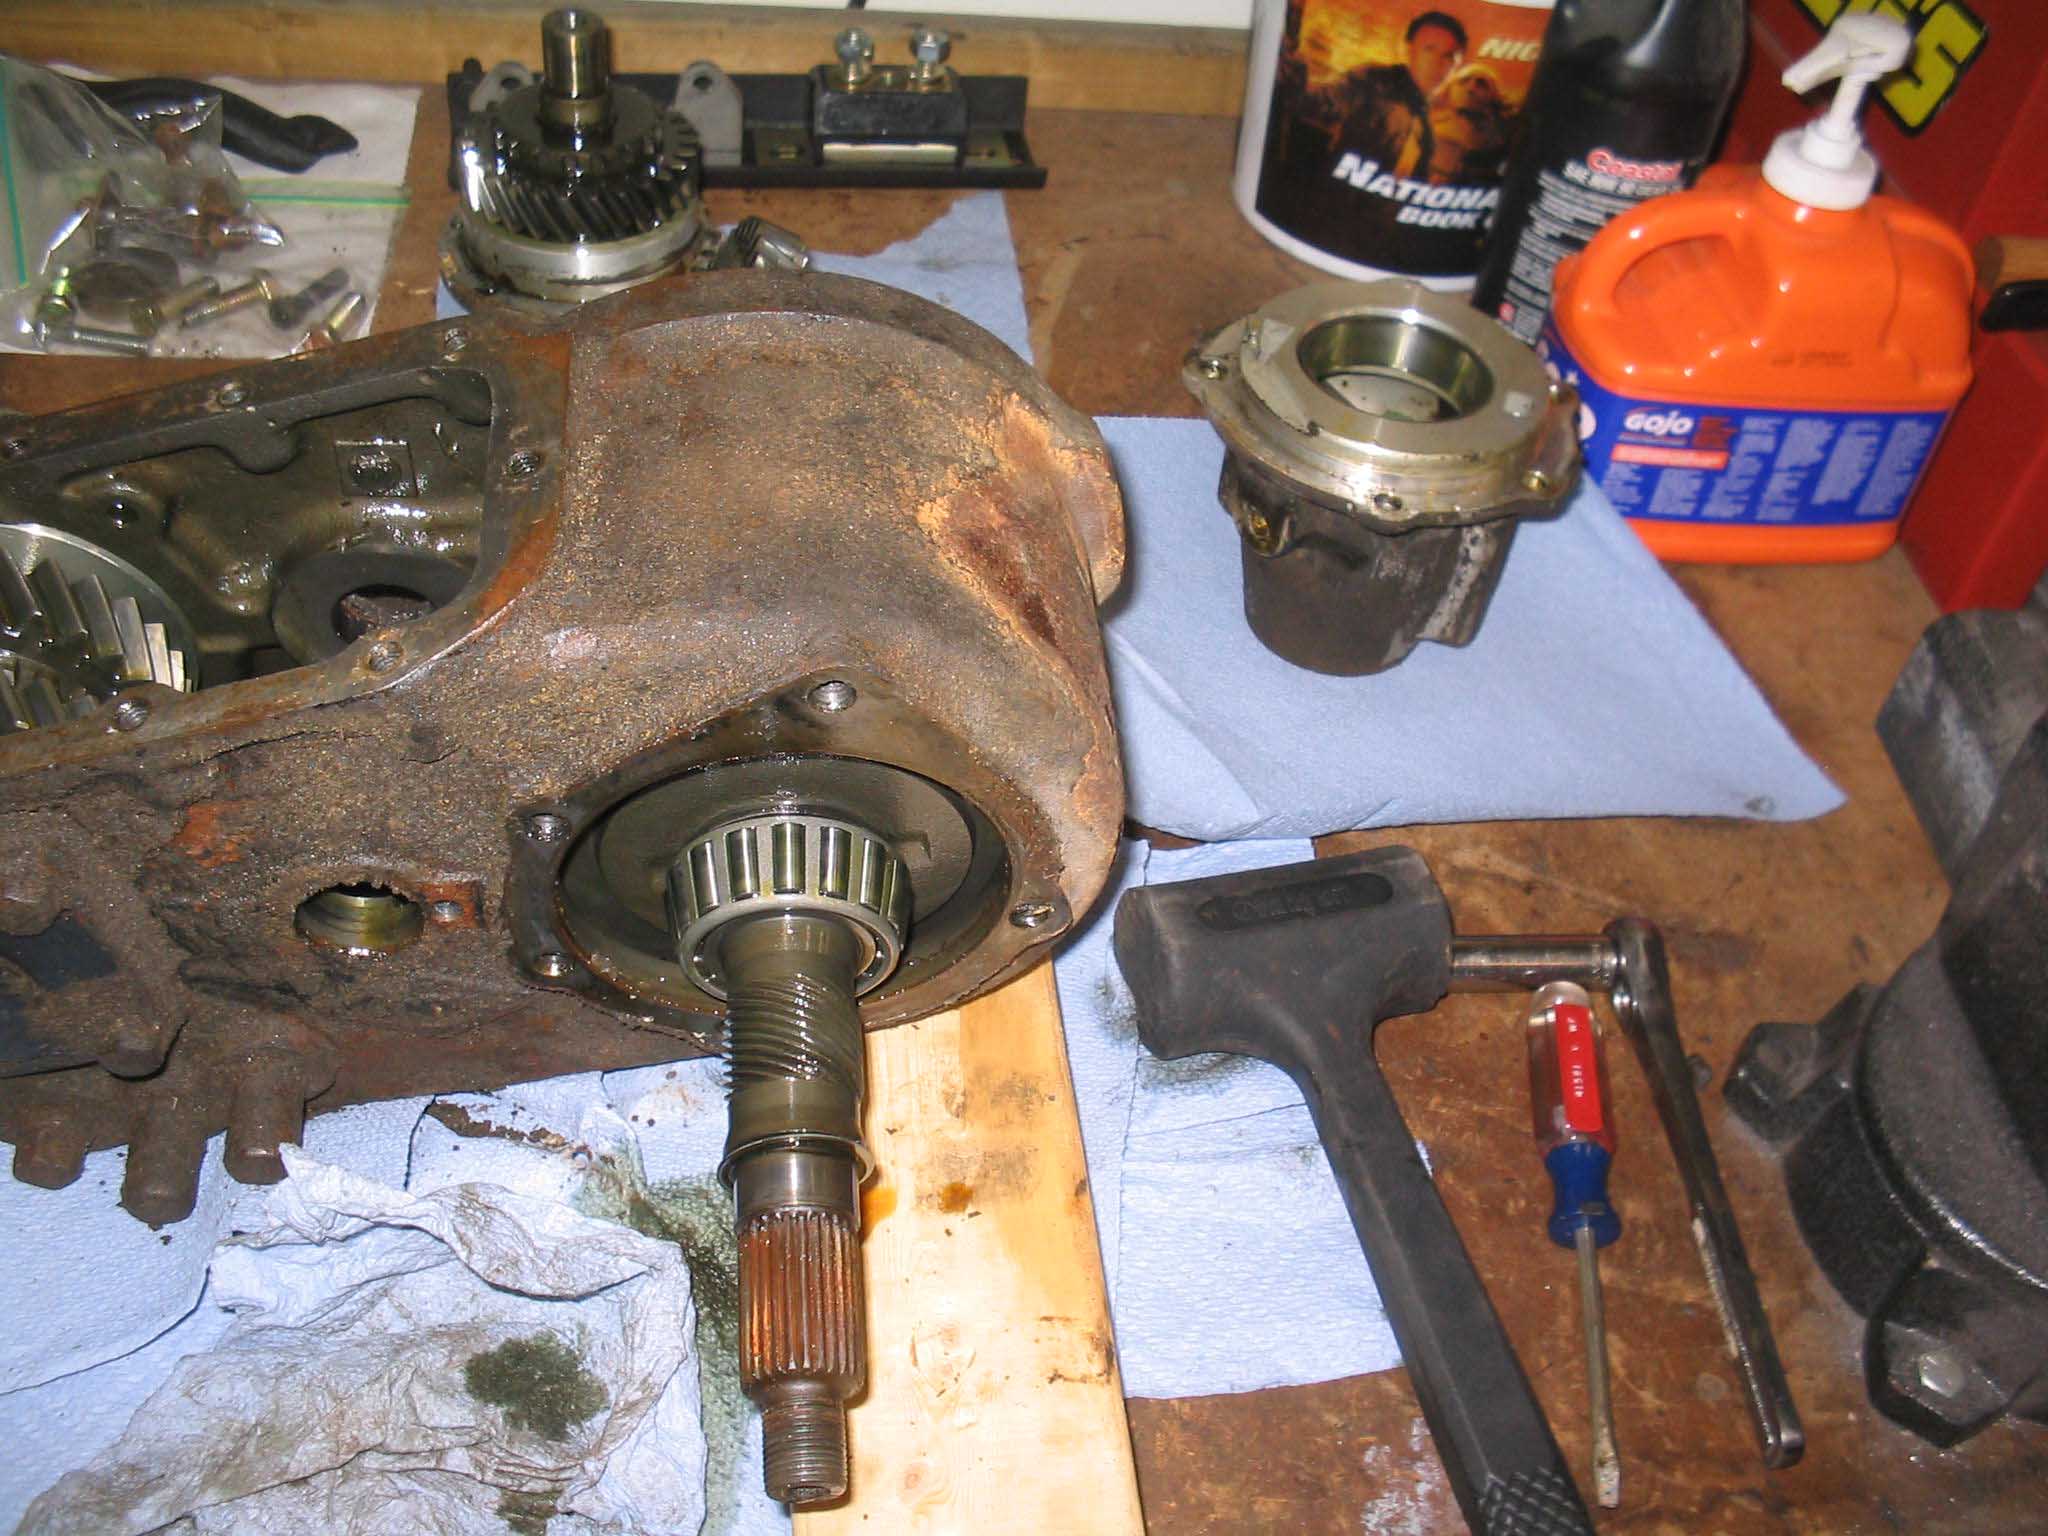
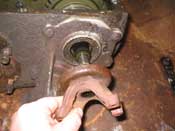
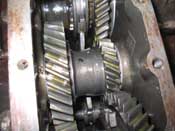
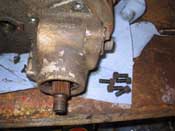
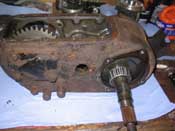
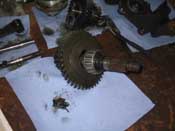
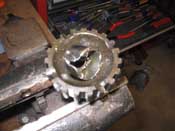
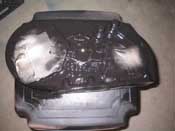
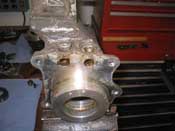
The bottom cover was next and was stuck on there pretty good. After that was removed and cleaned up, I was
then able to remove the yokes and pull them off. With the yokes removed, the 6 bolts were removed from the input
shaft area and the input shaft was removed. I called it quits here for the night.
|
| |

|
|
|

|

|
|
| |
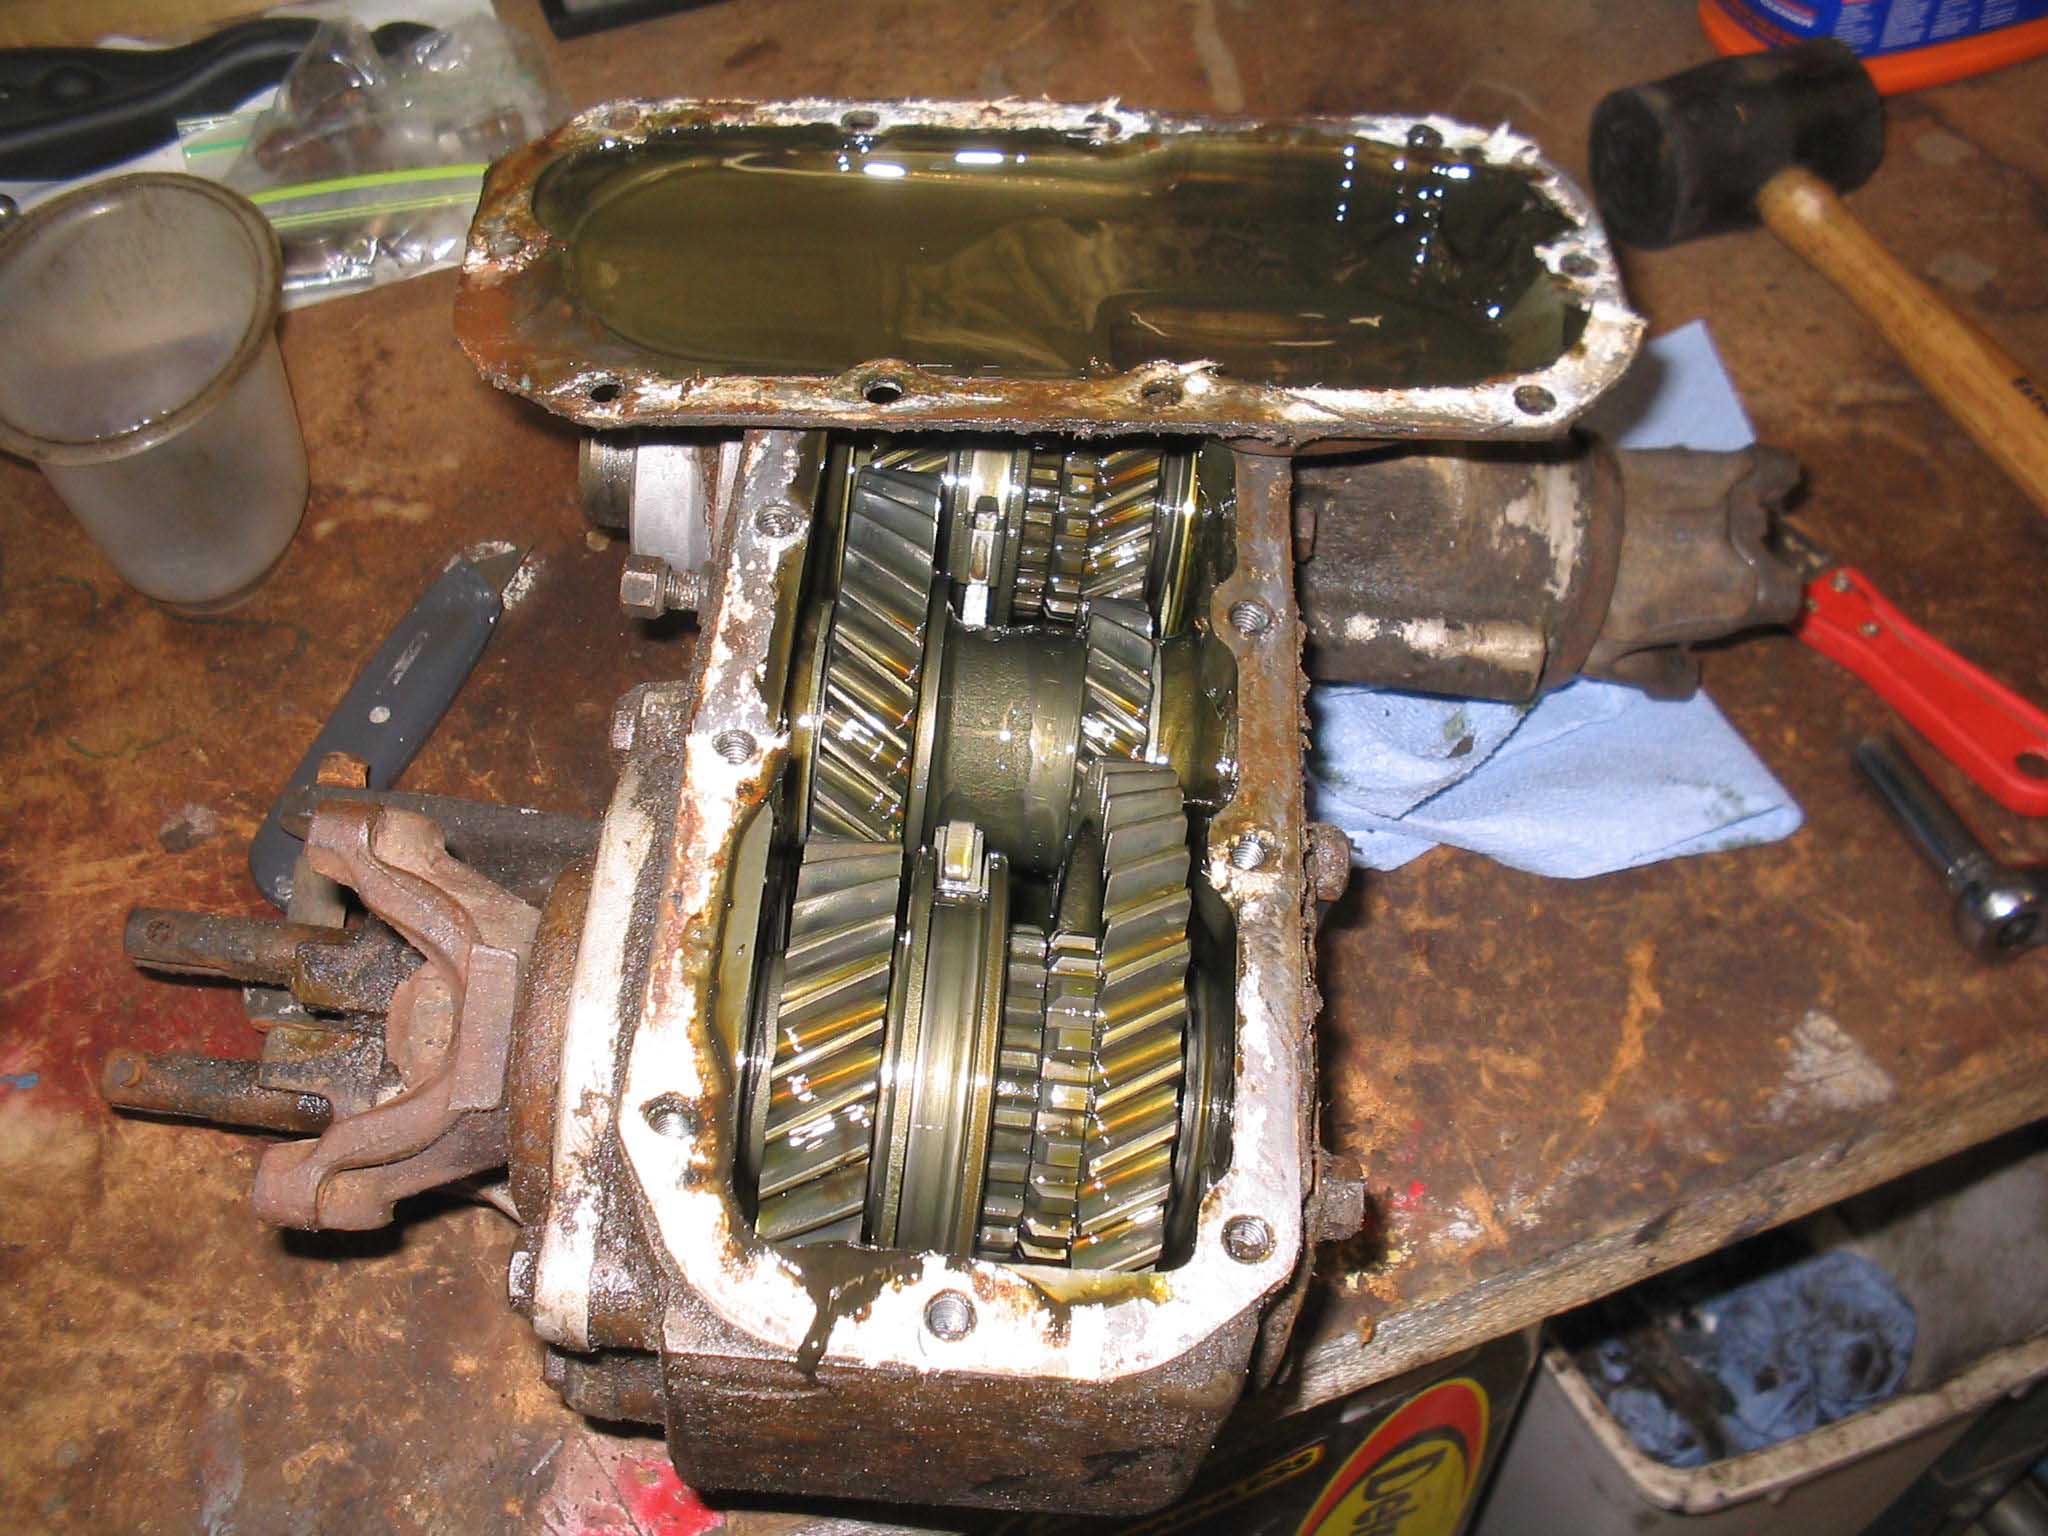
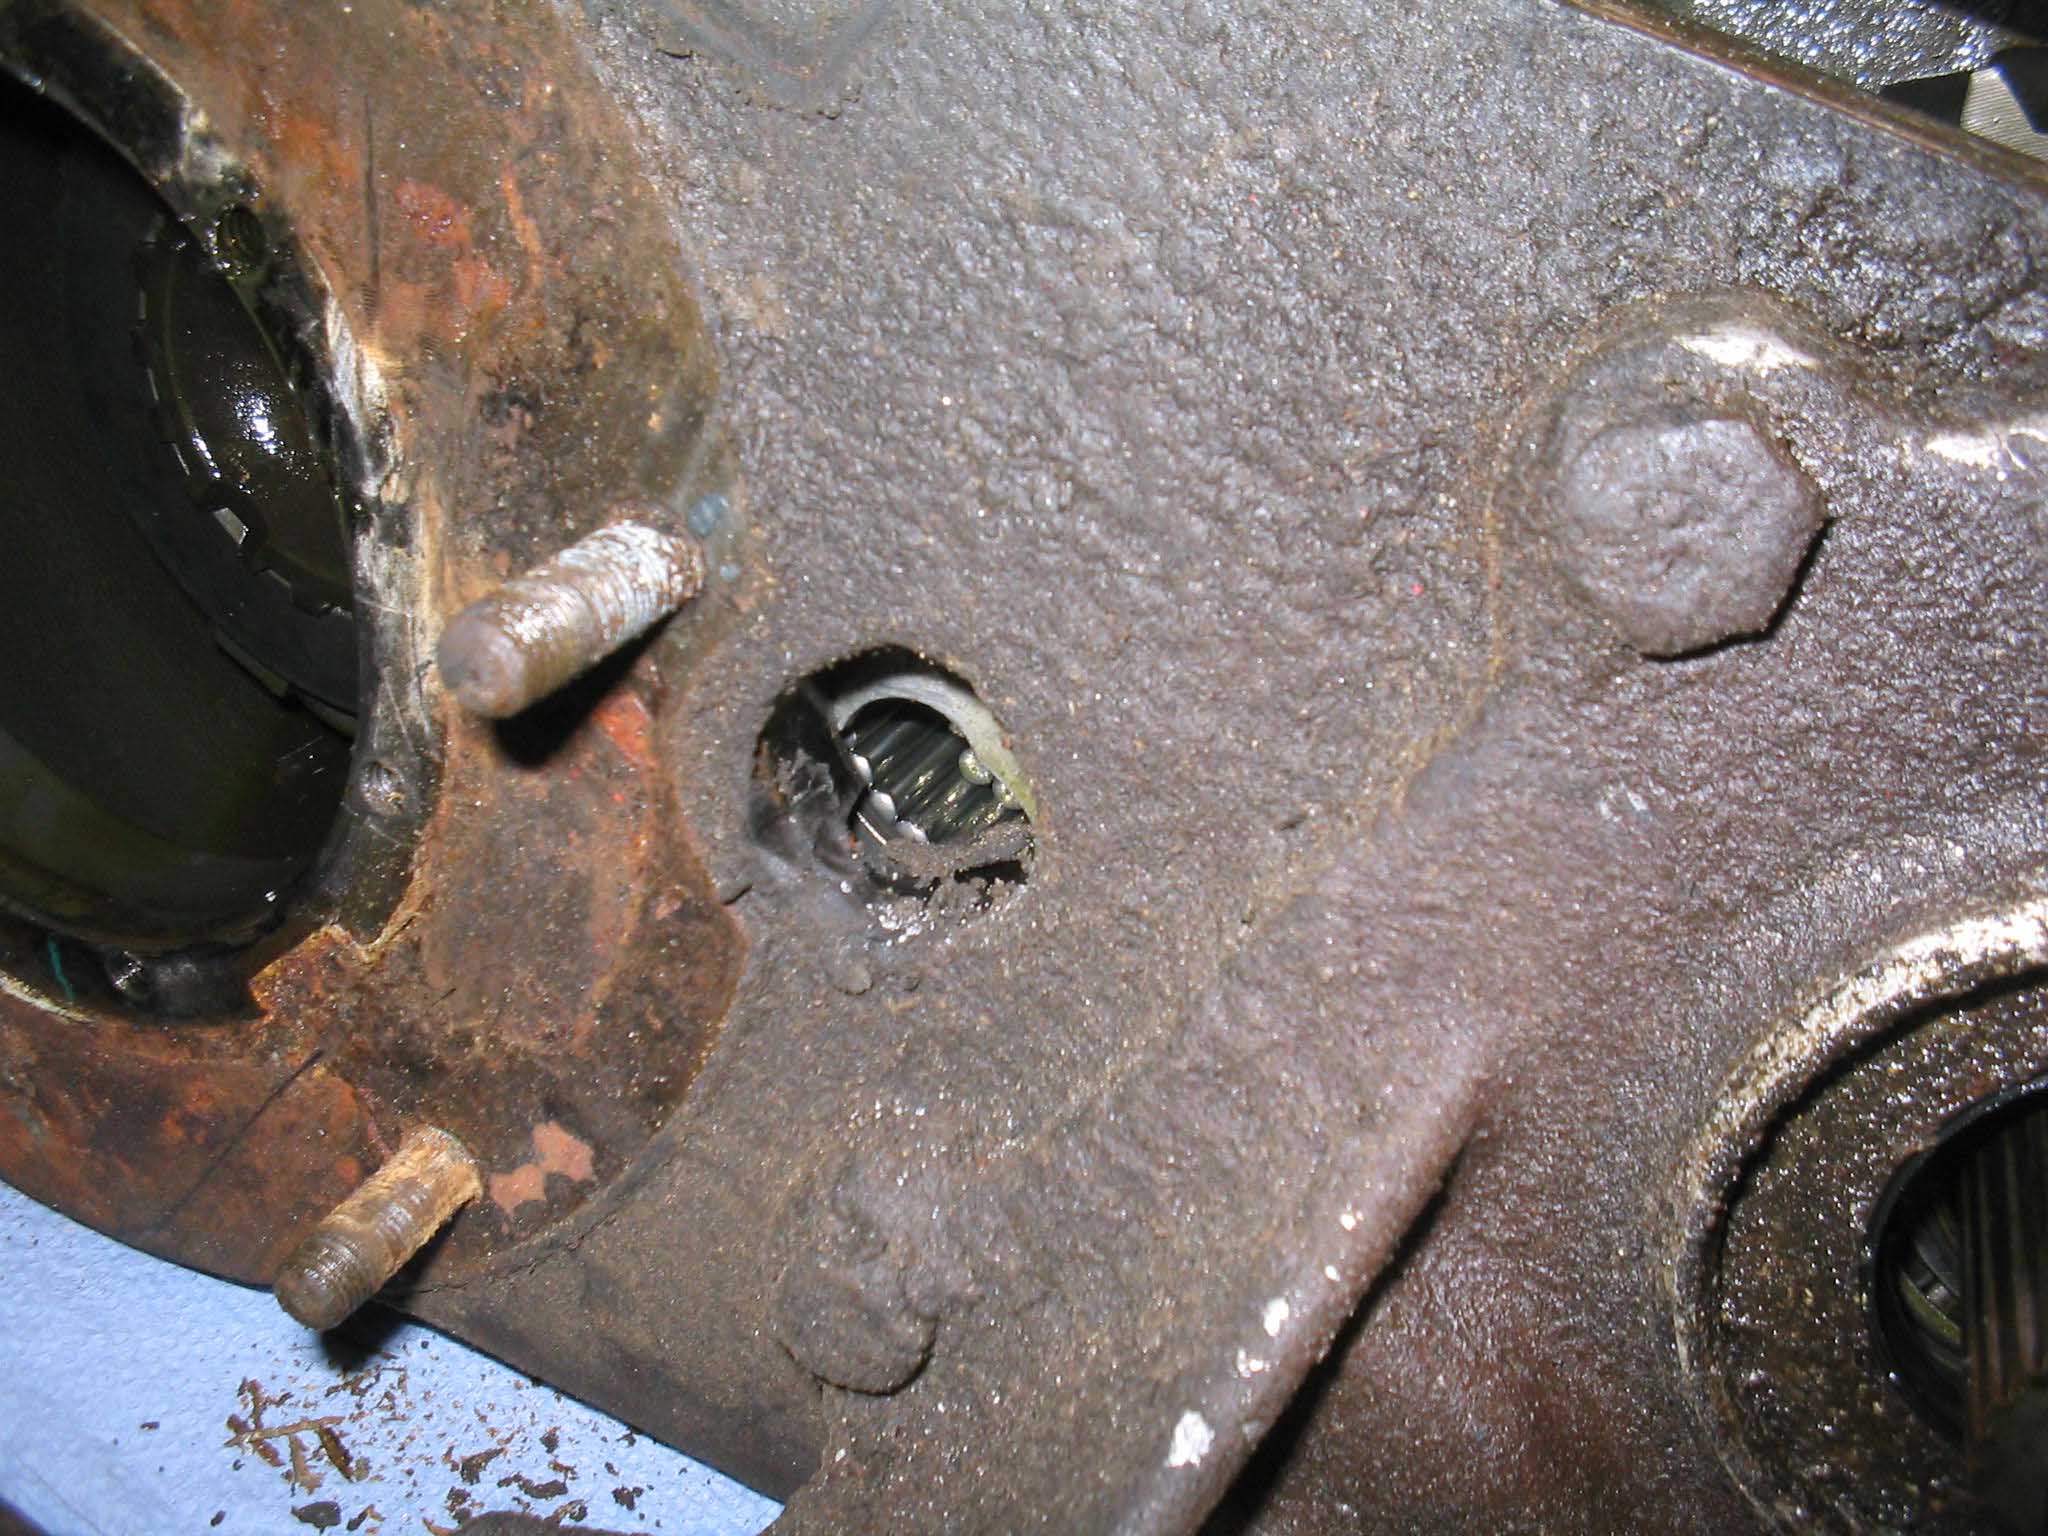
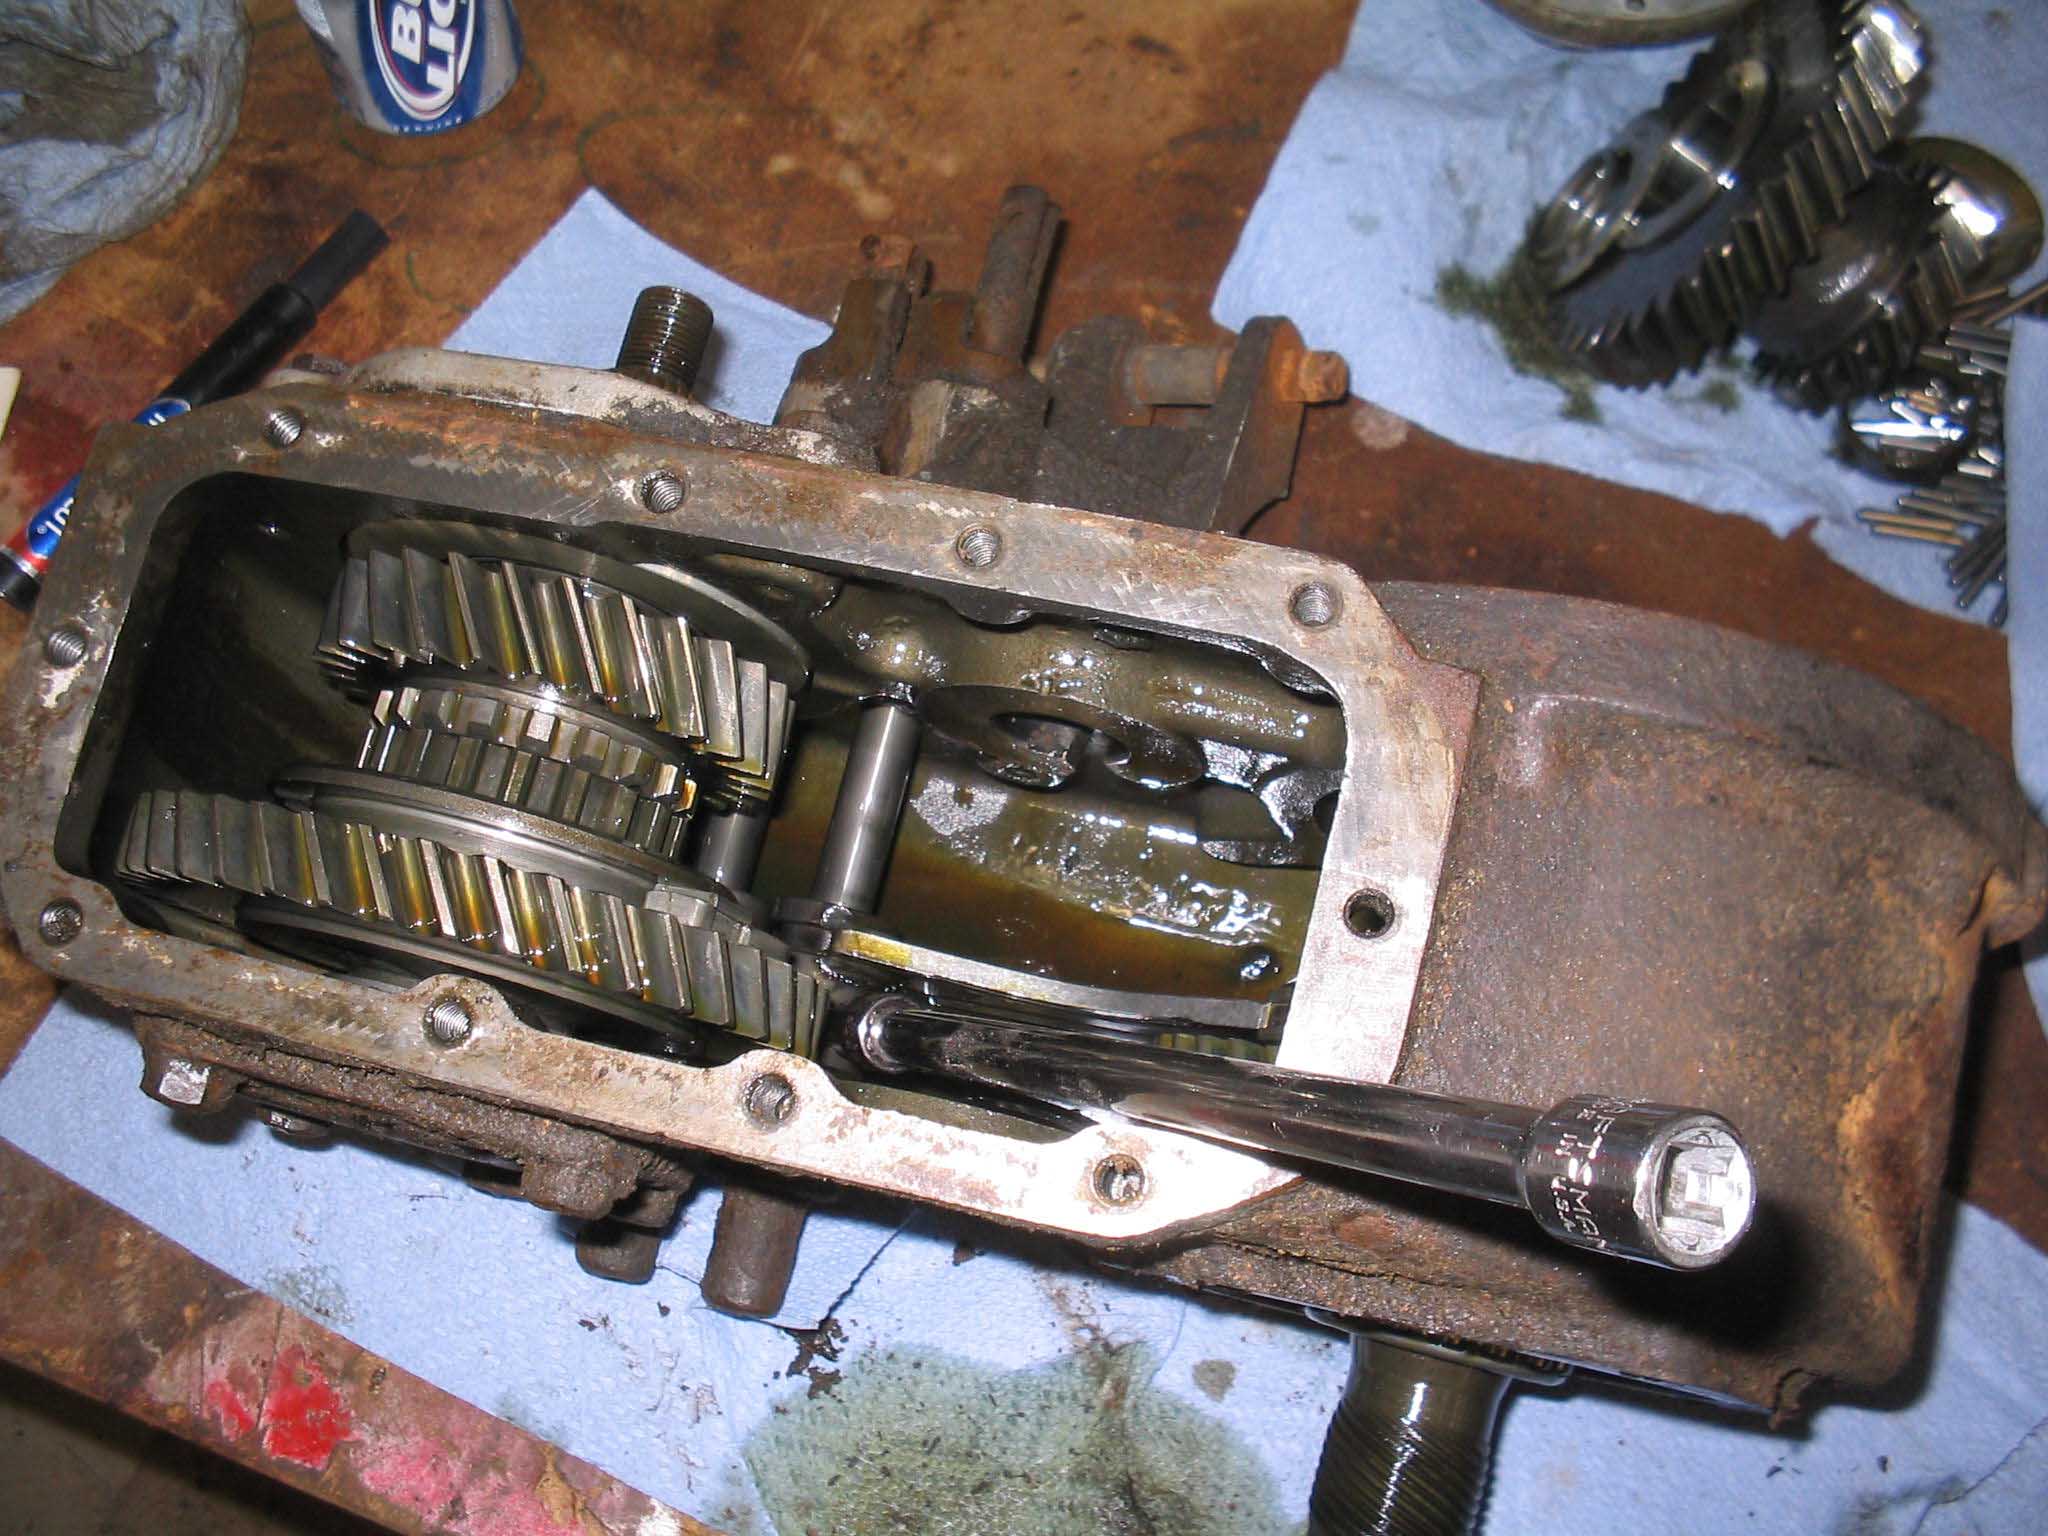
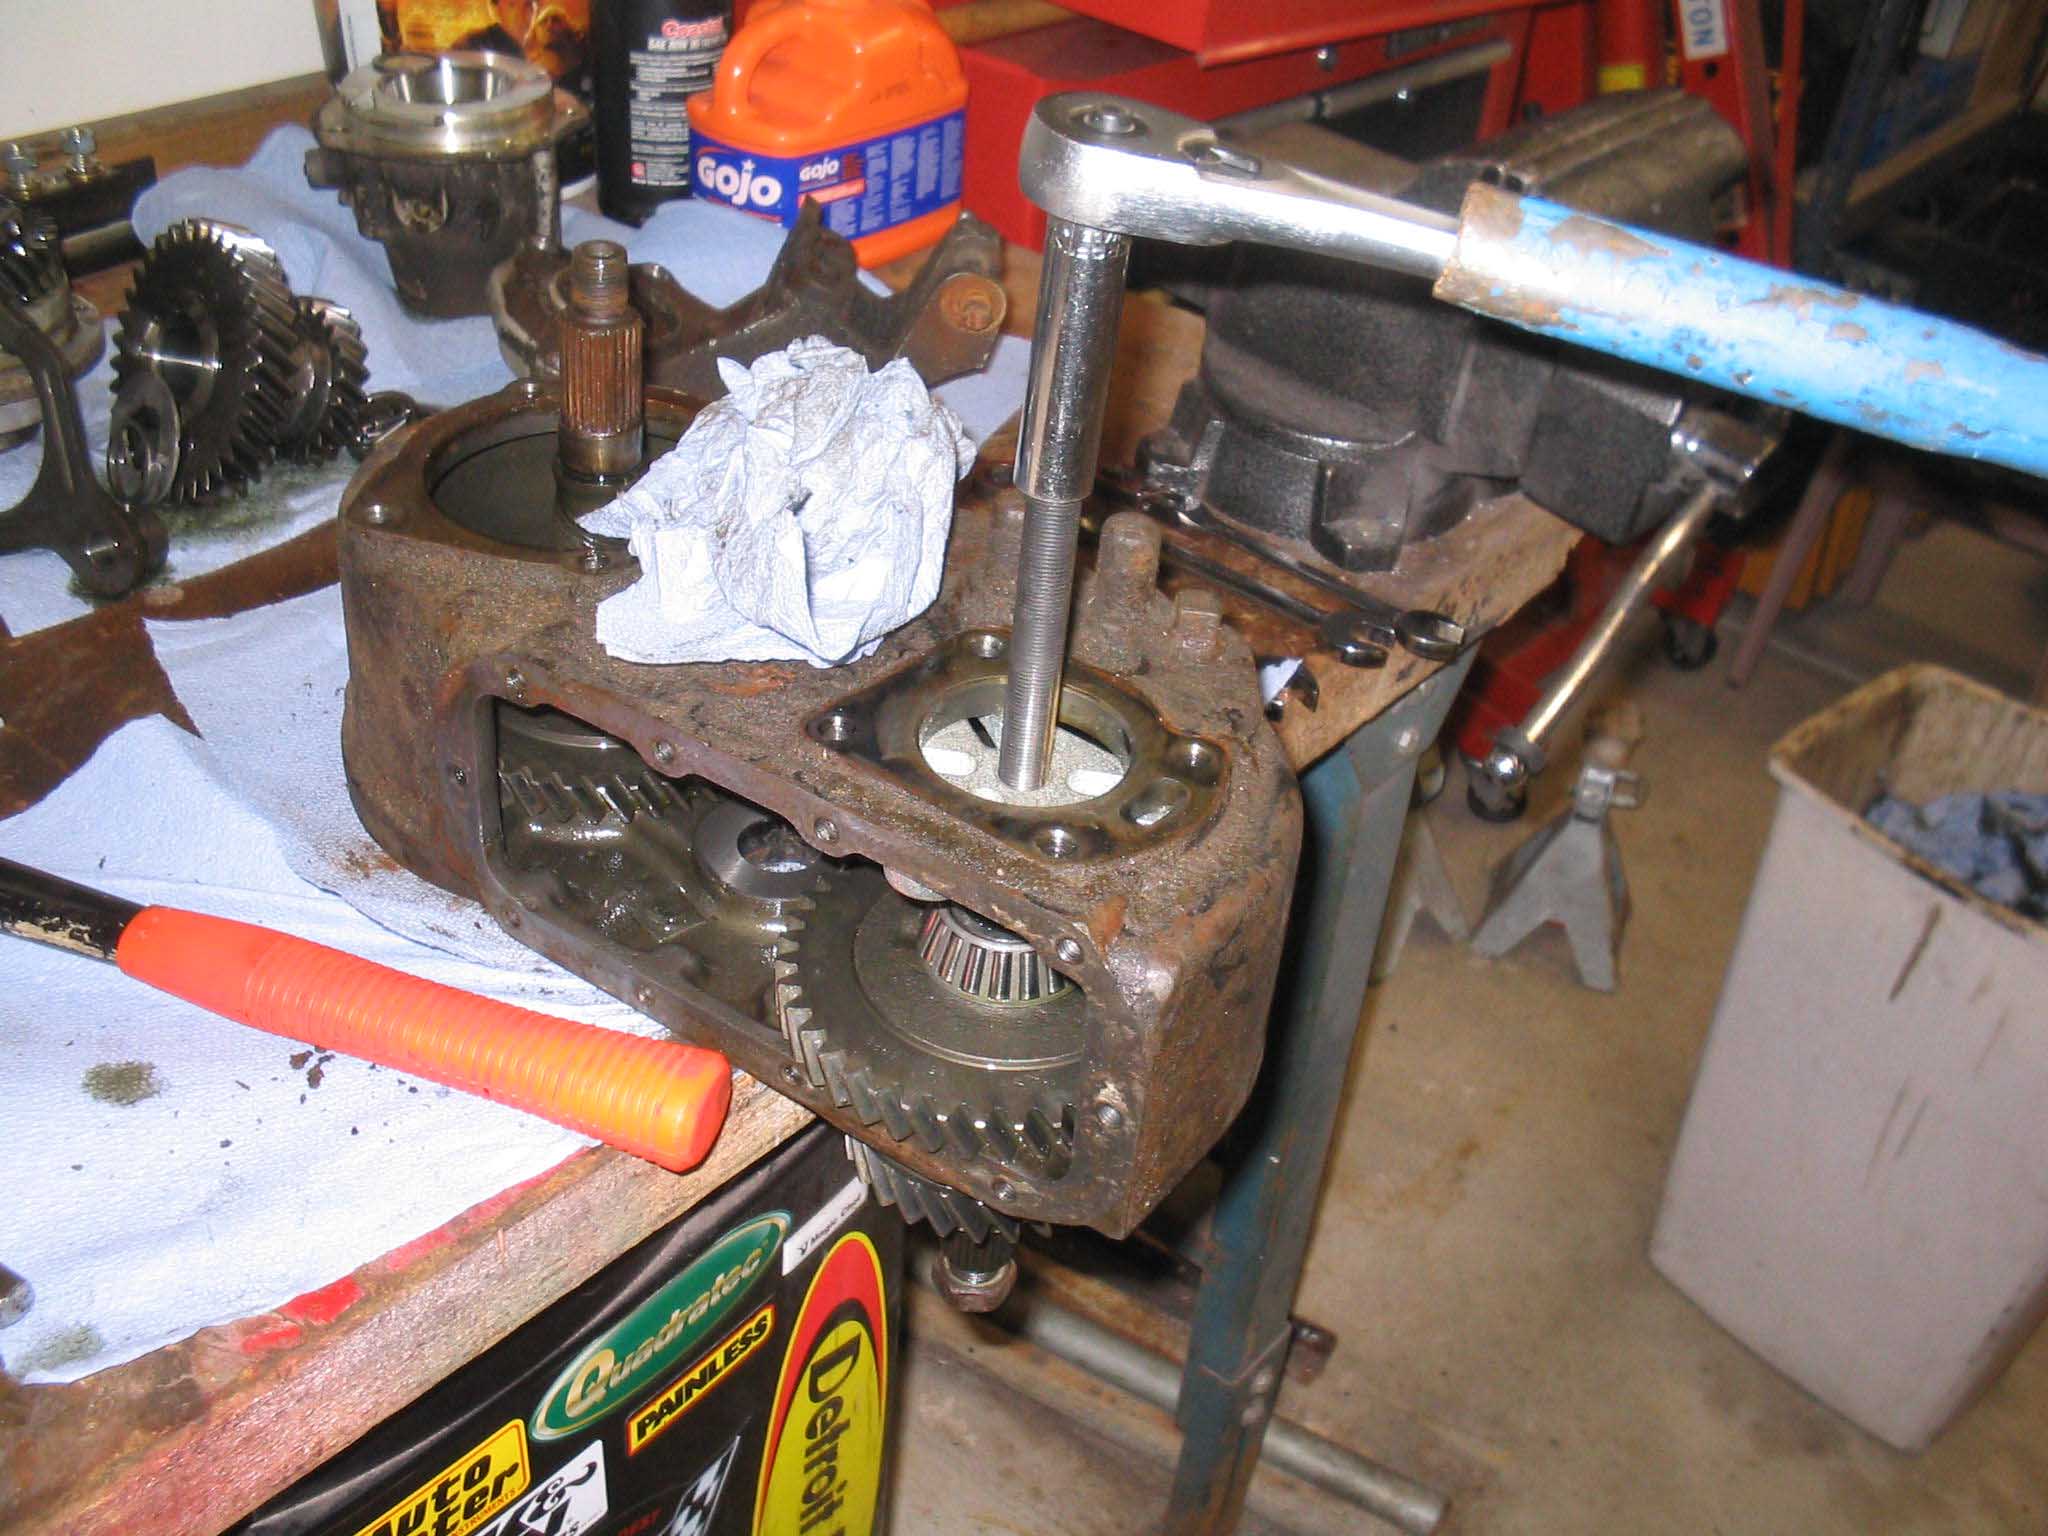
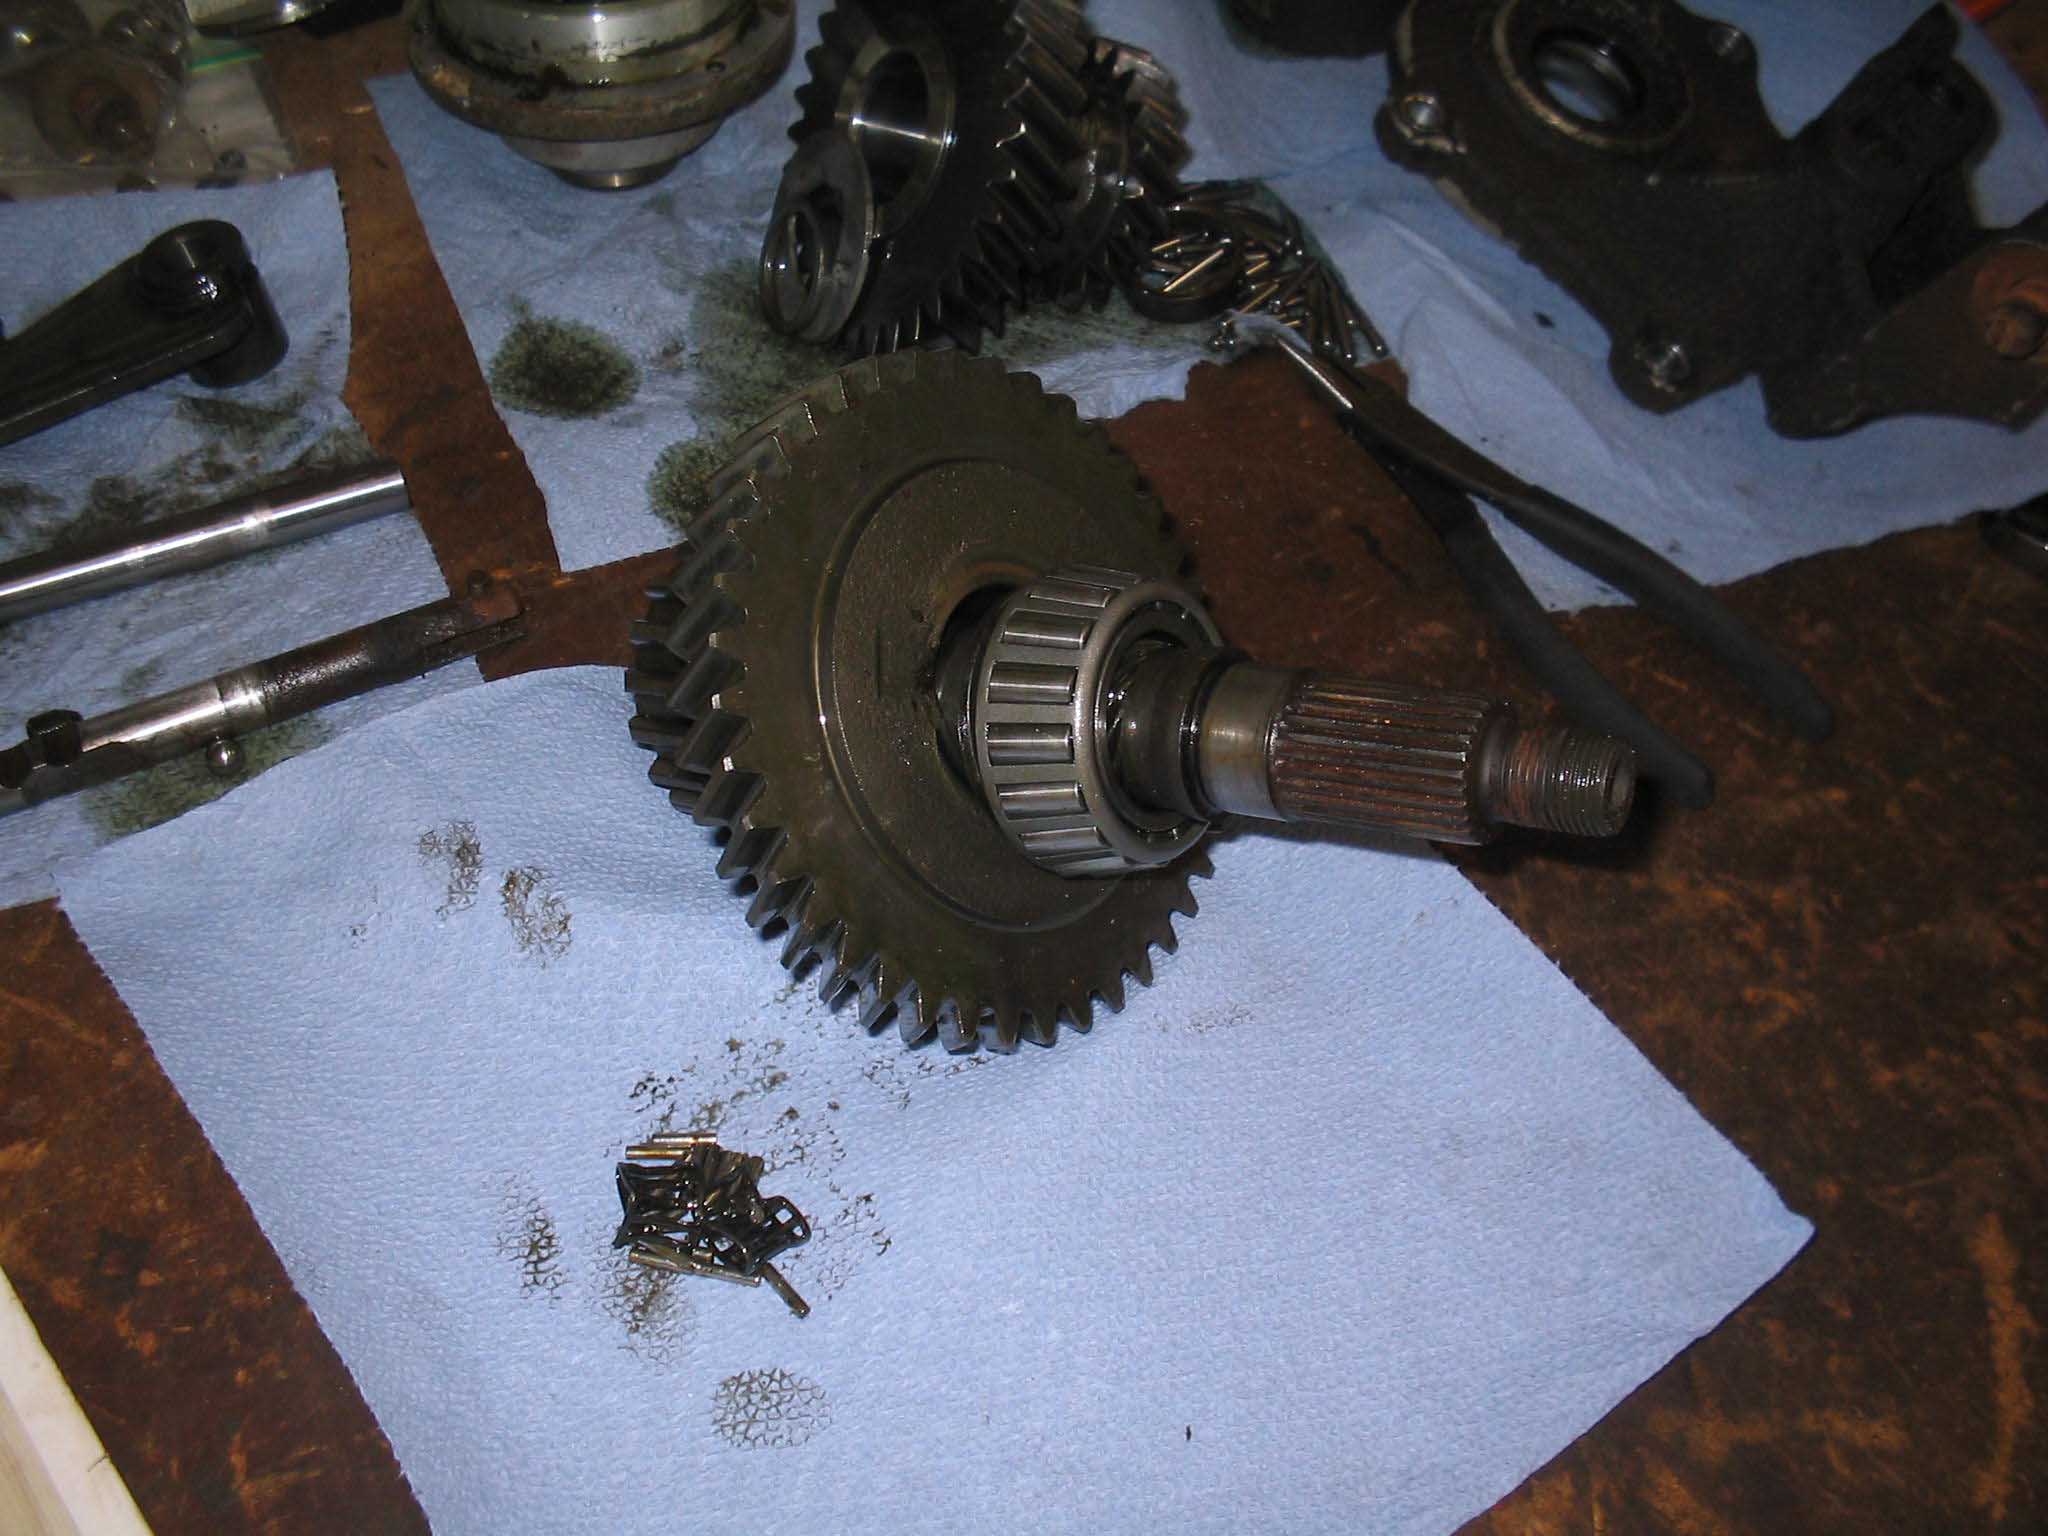
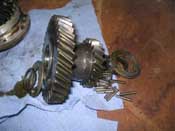
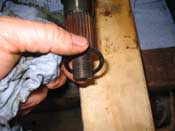
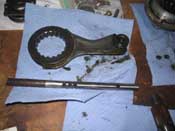
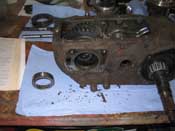
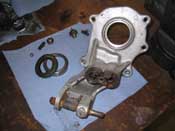
| (02/13/08) I was able to get a few more hours in on the transfer case last night. I
started out by removing the lock tab for the main shaft or in this case, intermediate shaft. I then used a punch,
removed the rod by punching it through the back of the case and then pulled the intermediate shaft out. With this,
some washers, retainers, and bearings fell out.
|
| |
|
|
|
|

|
|
| |
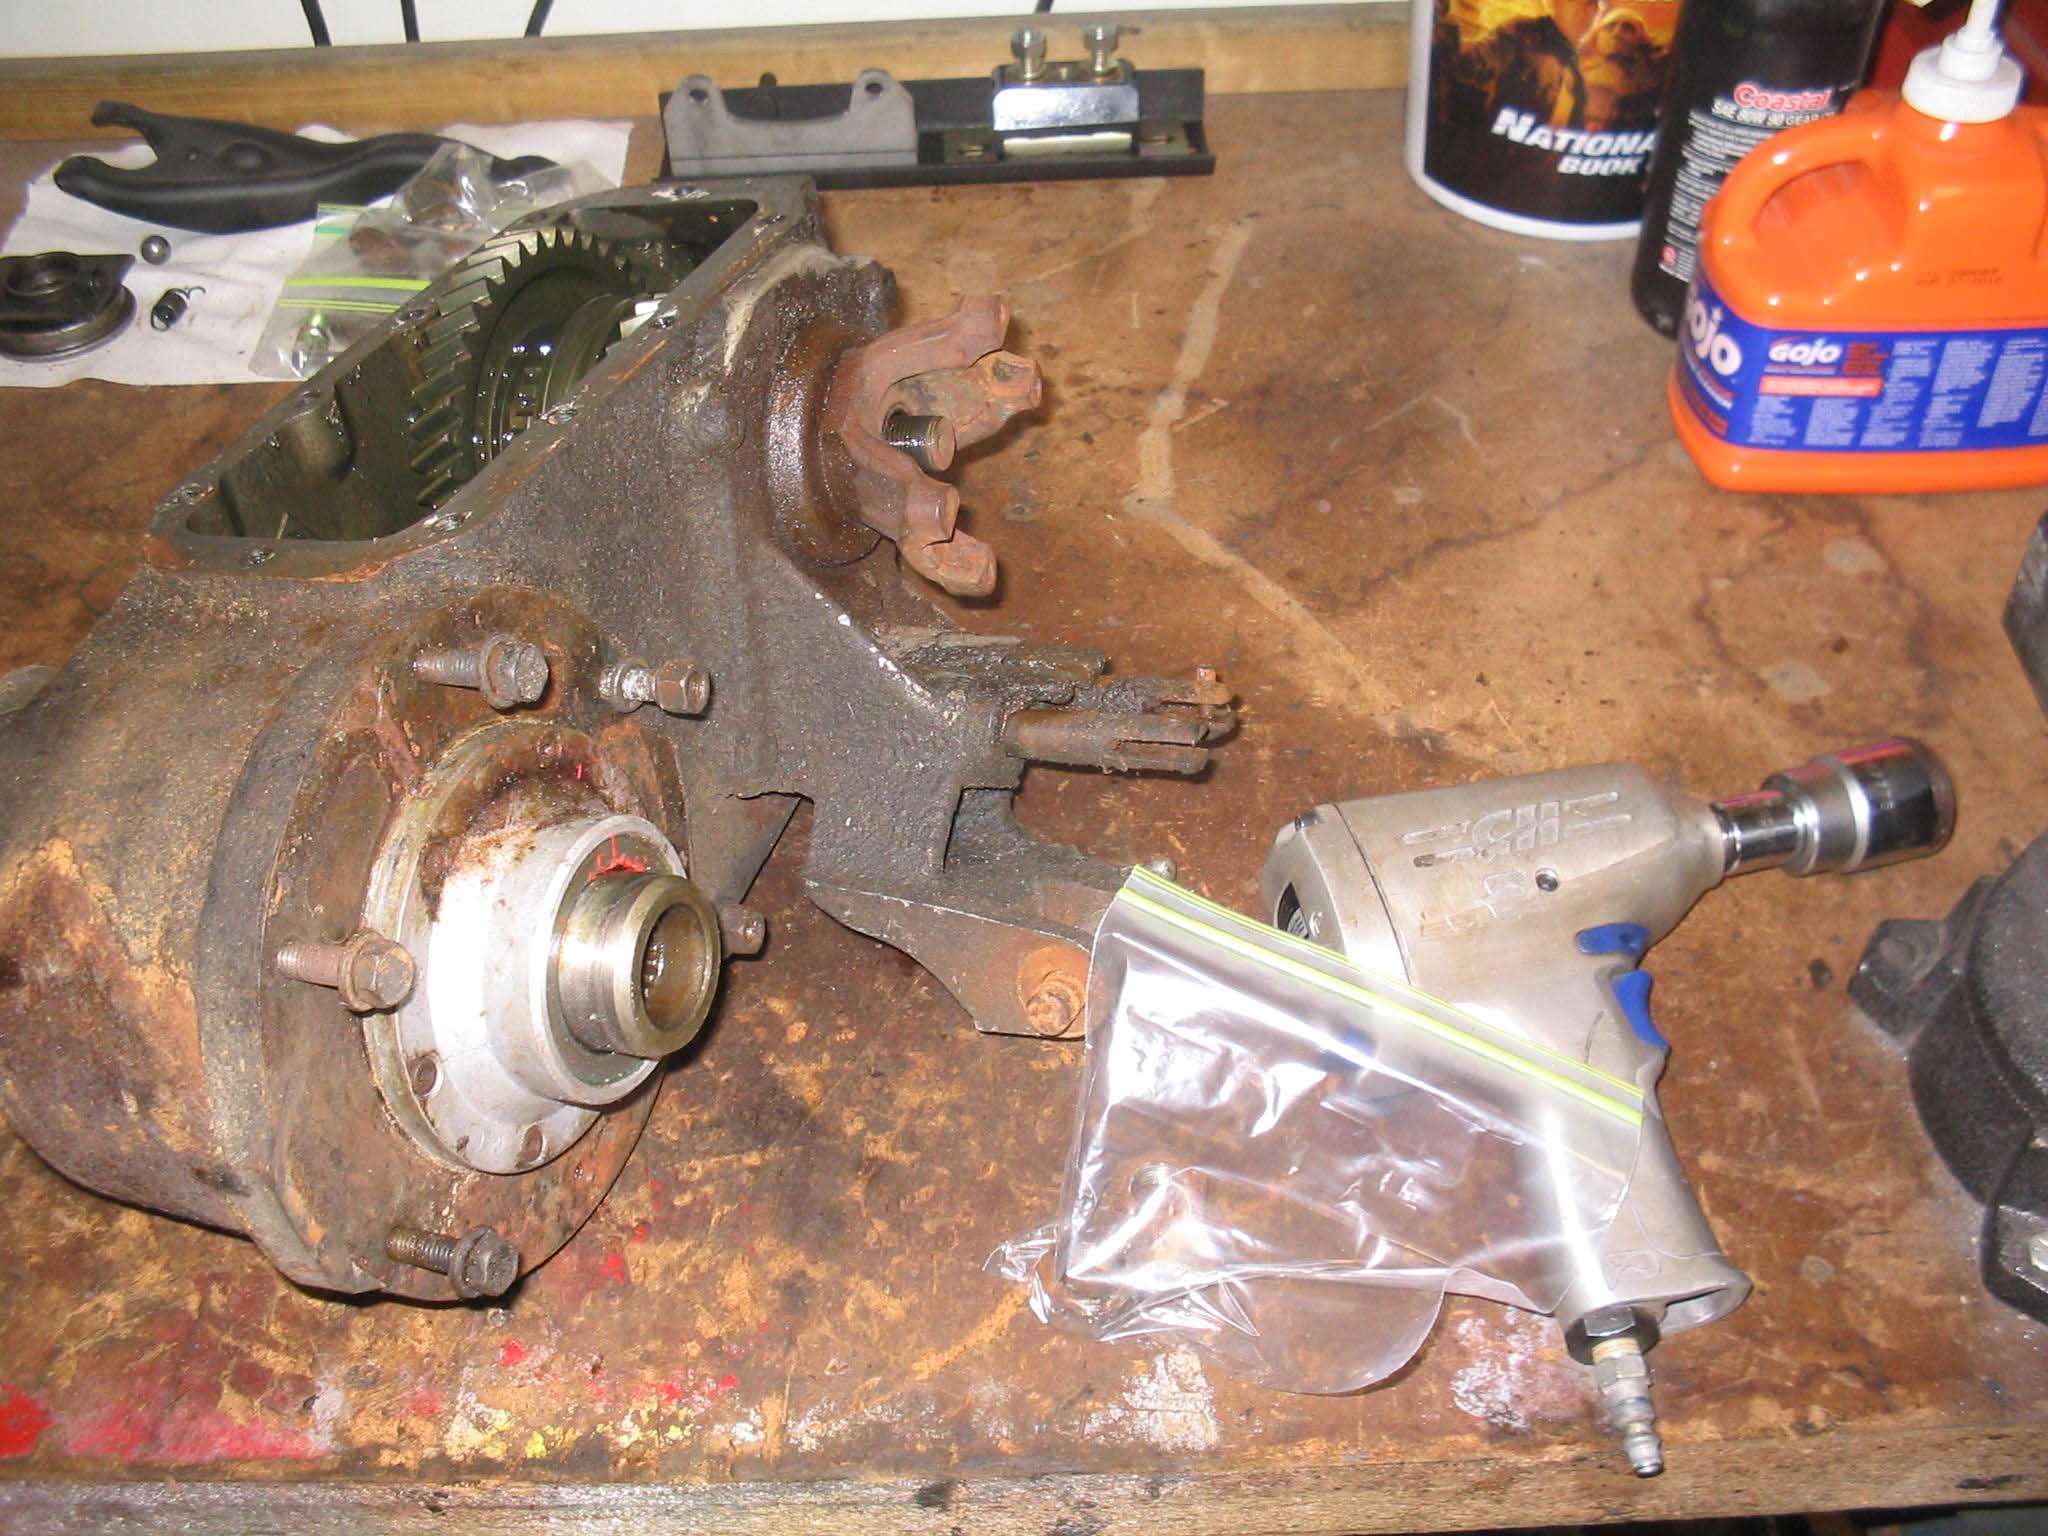
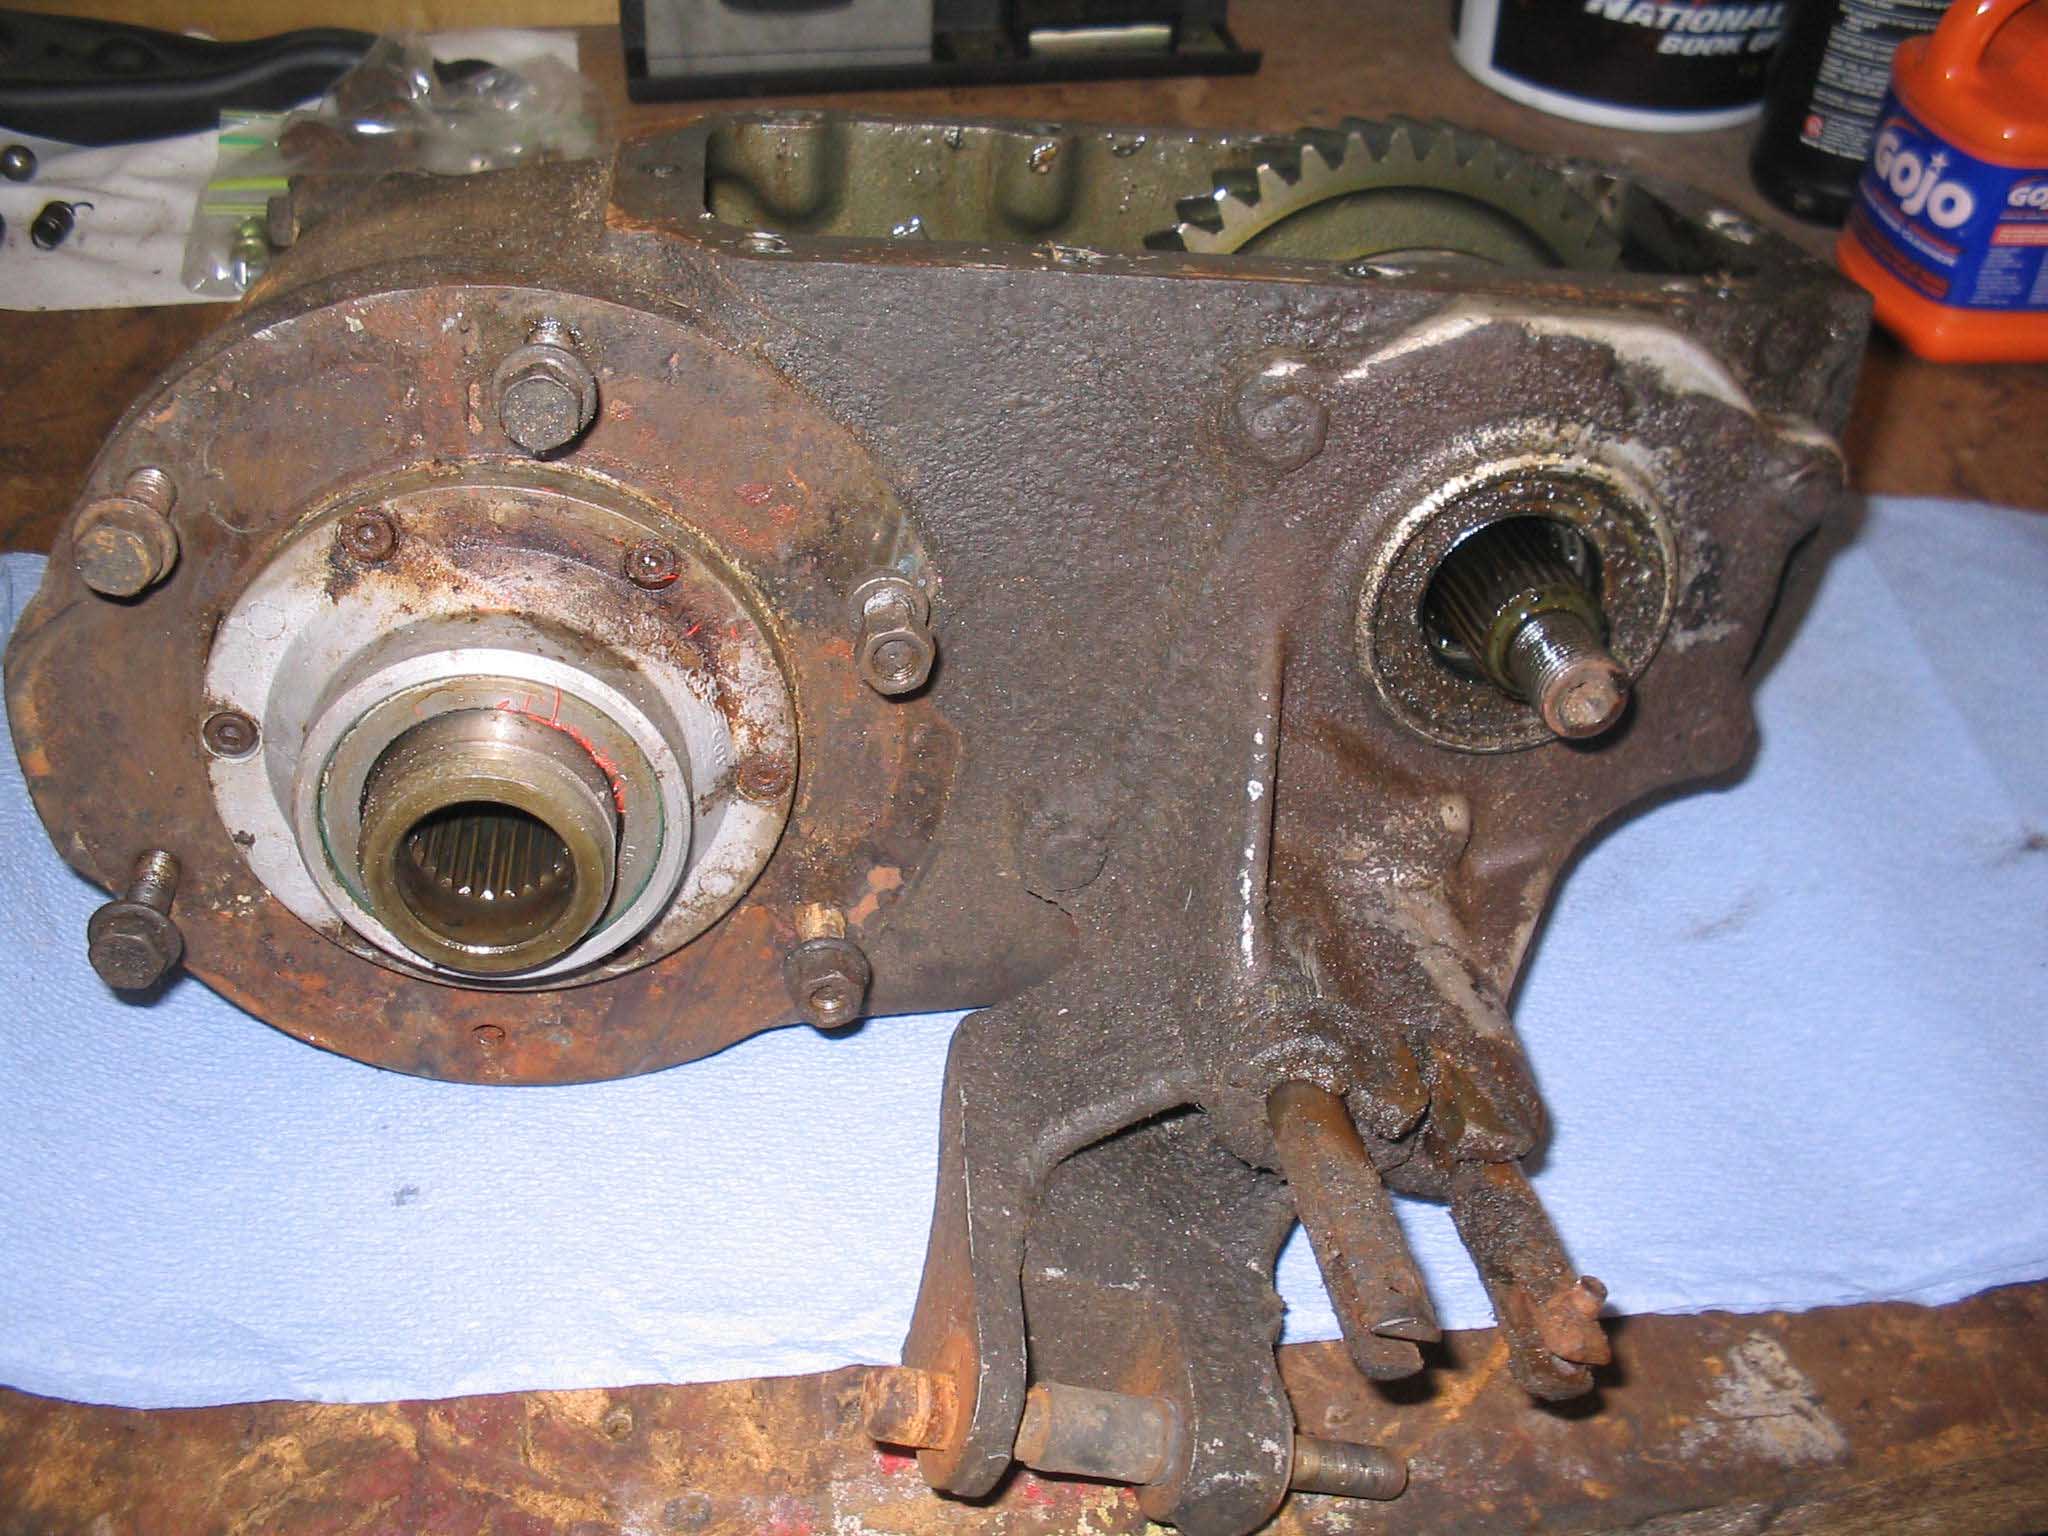
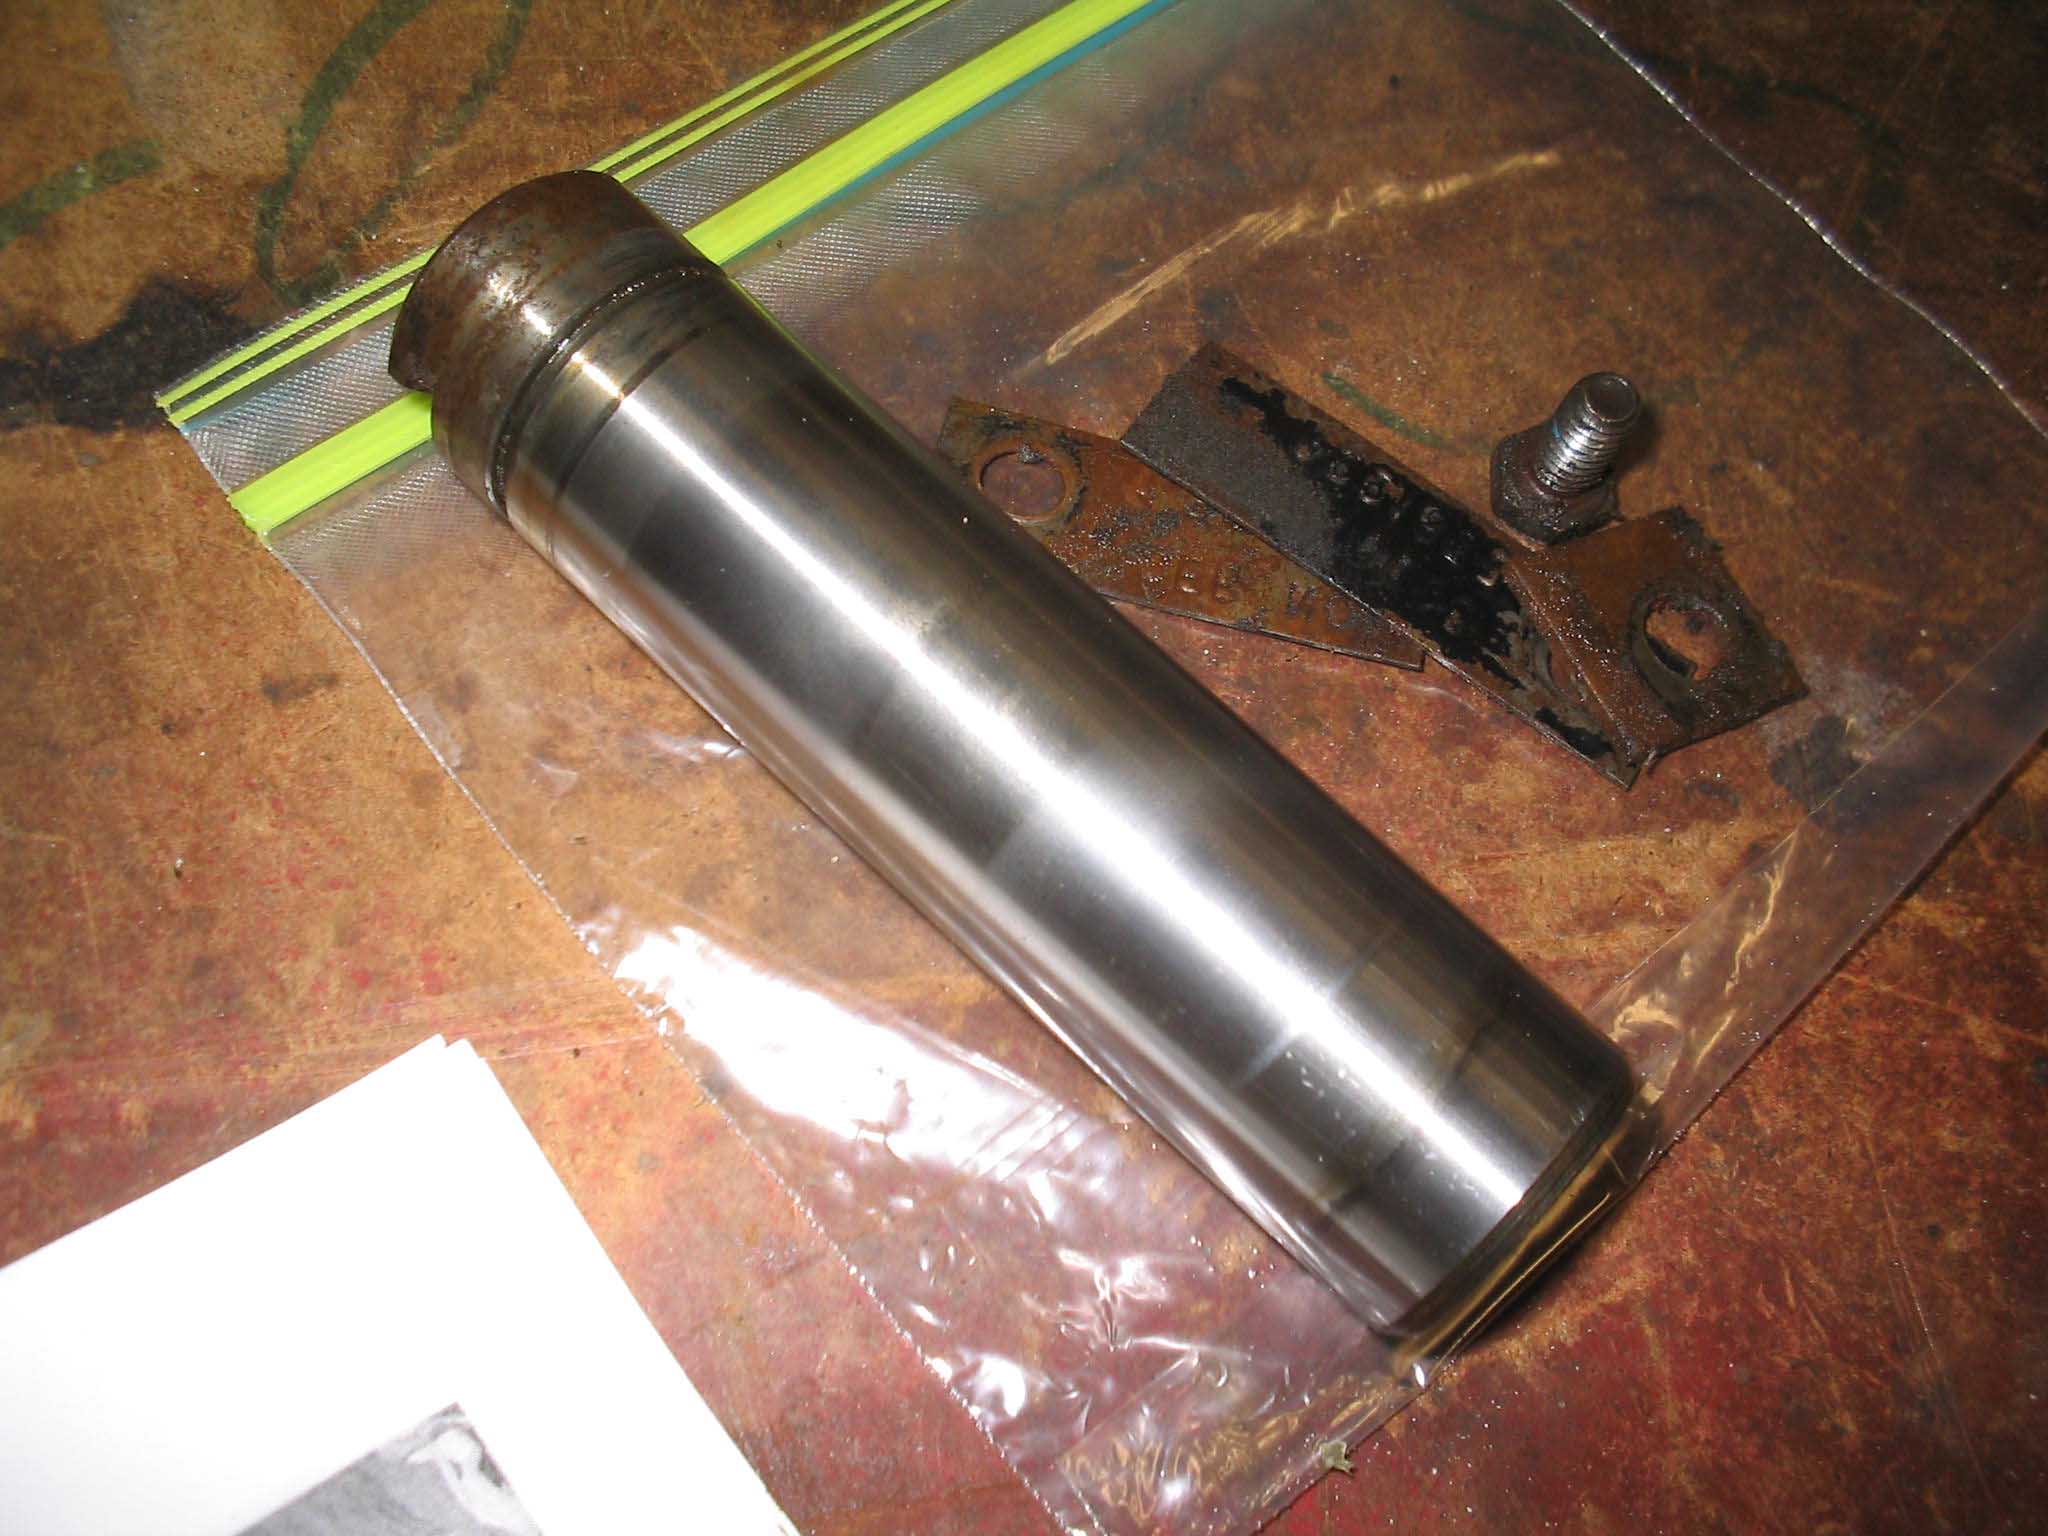
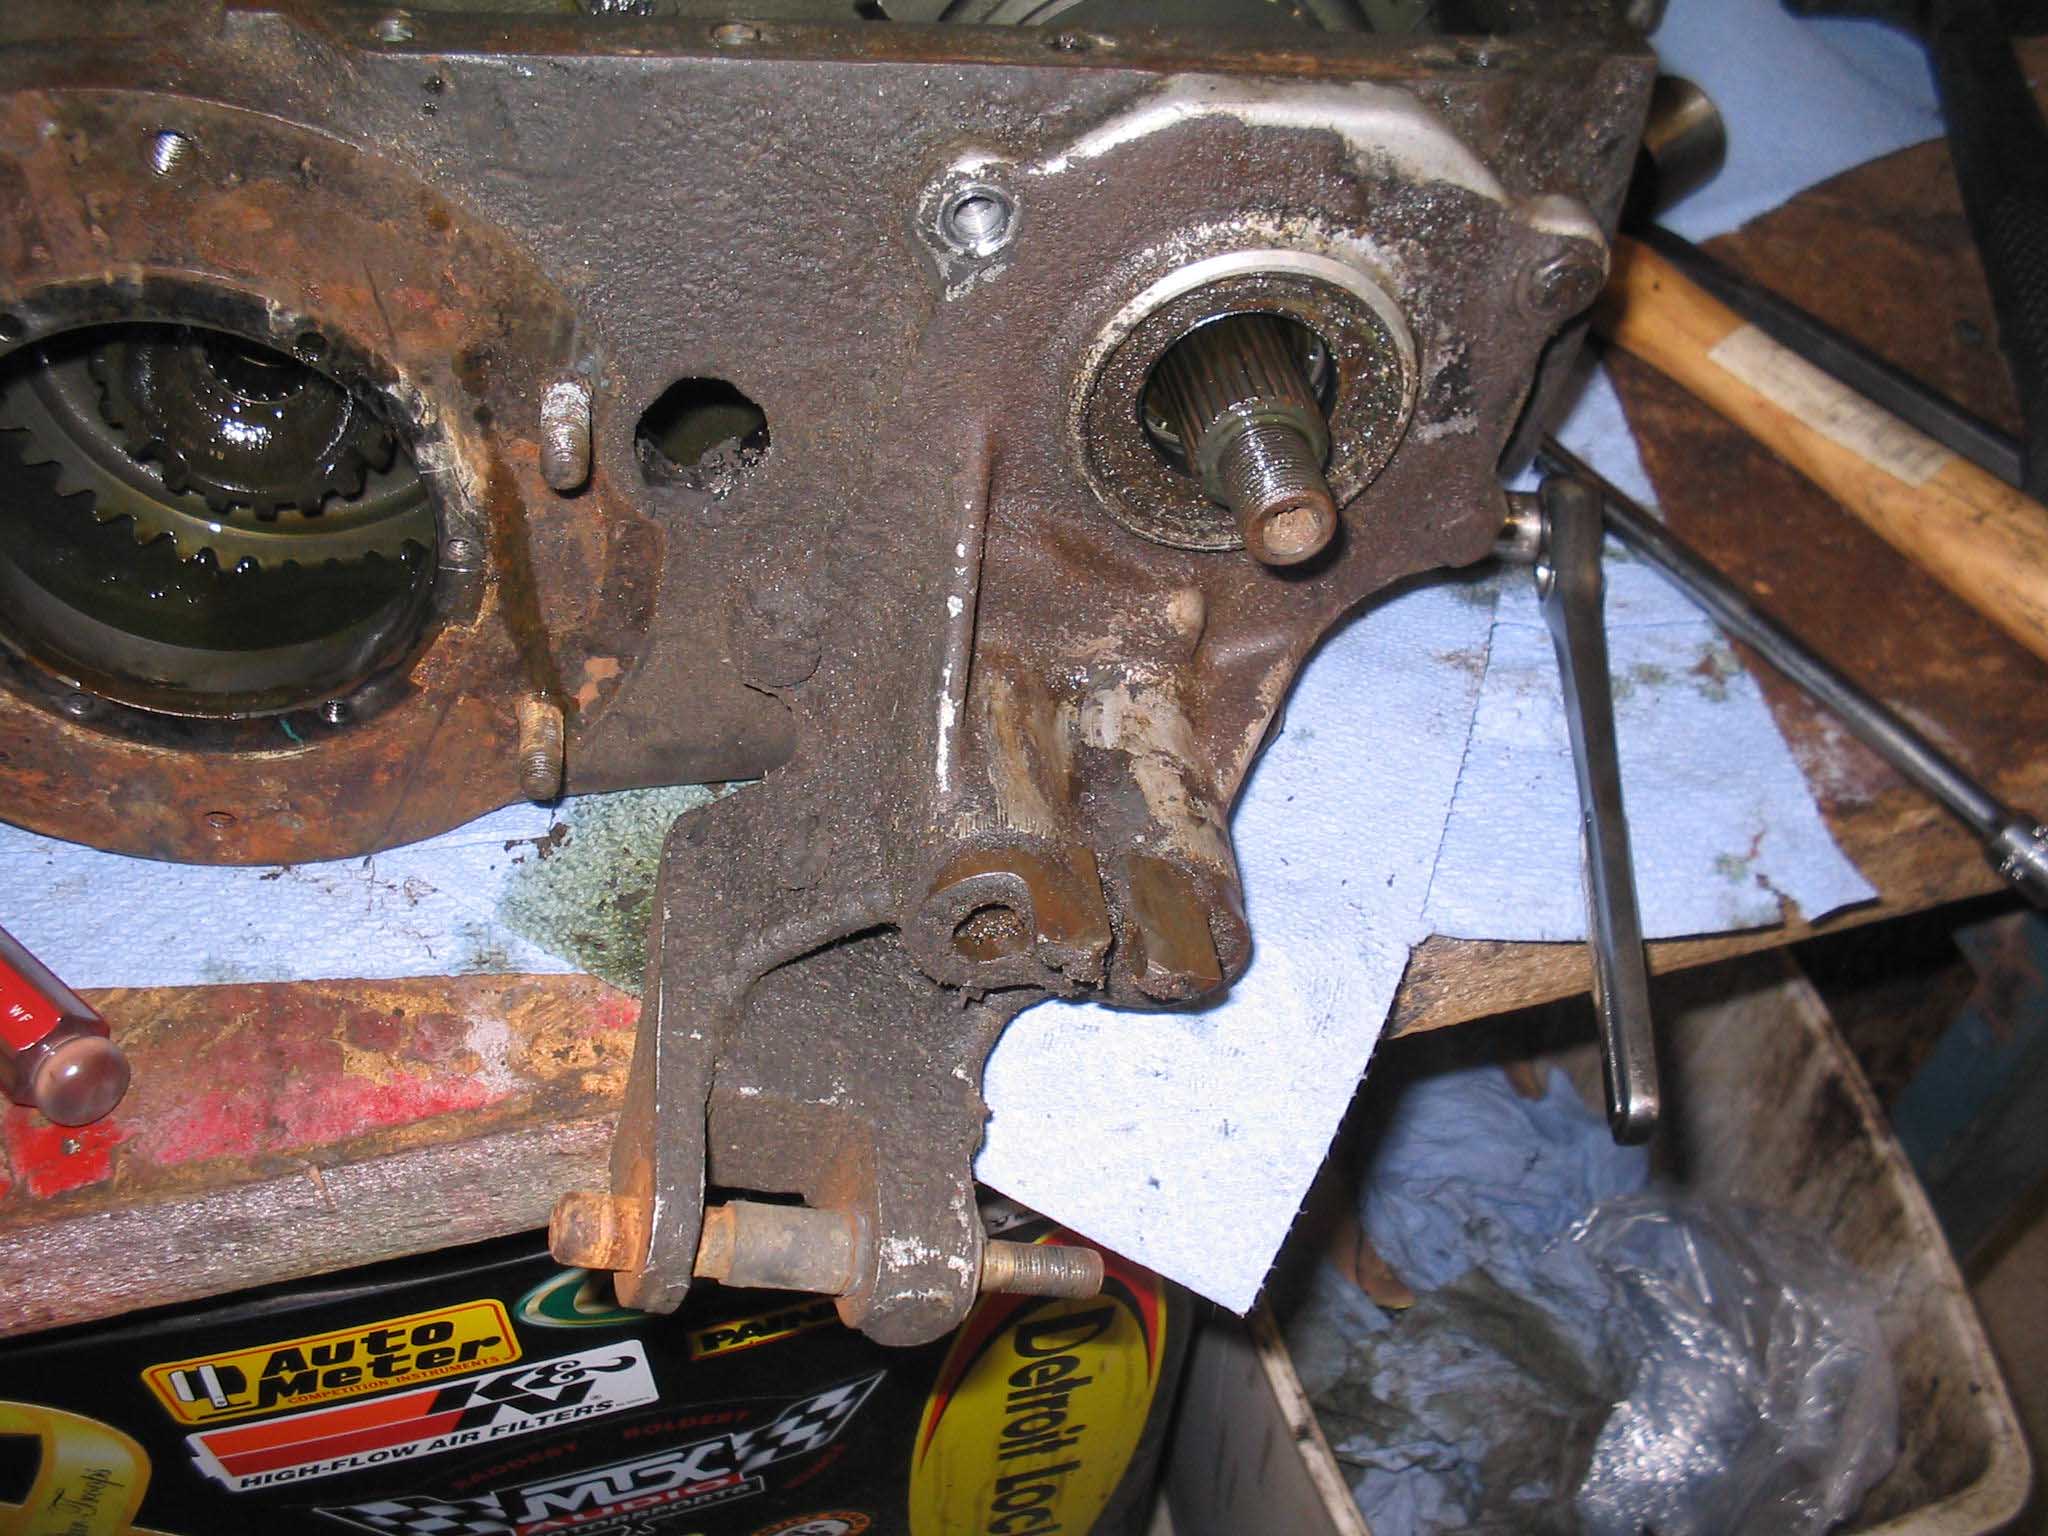
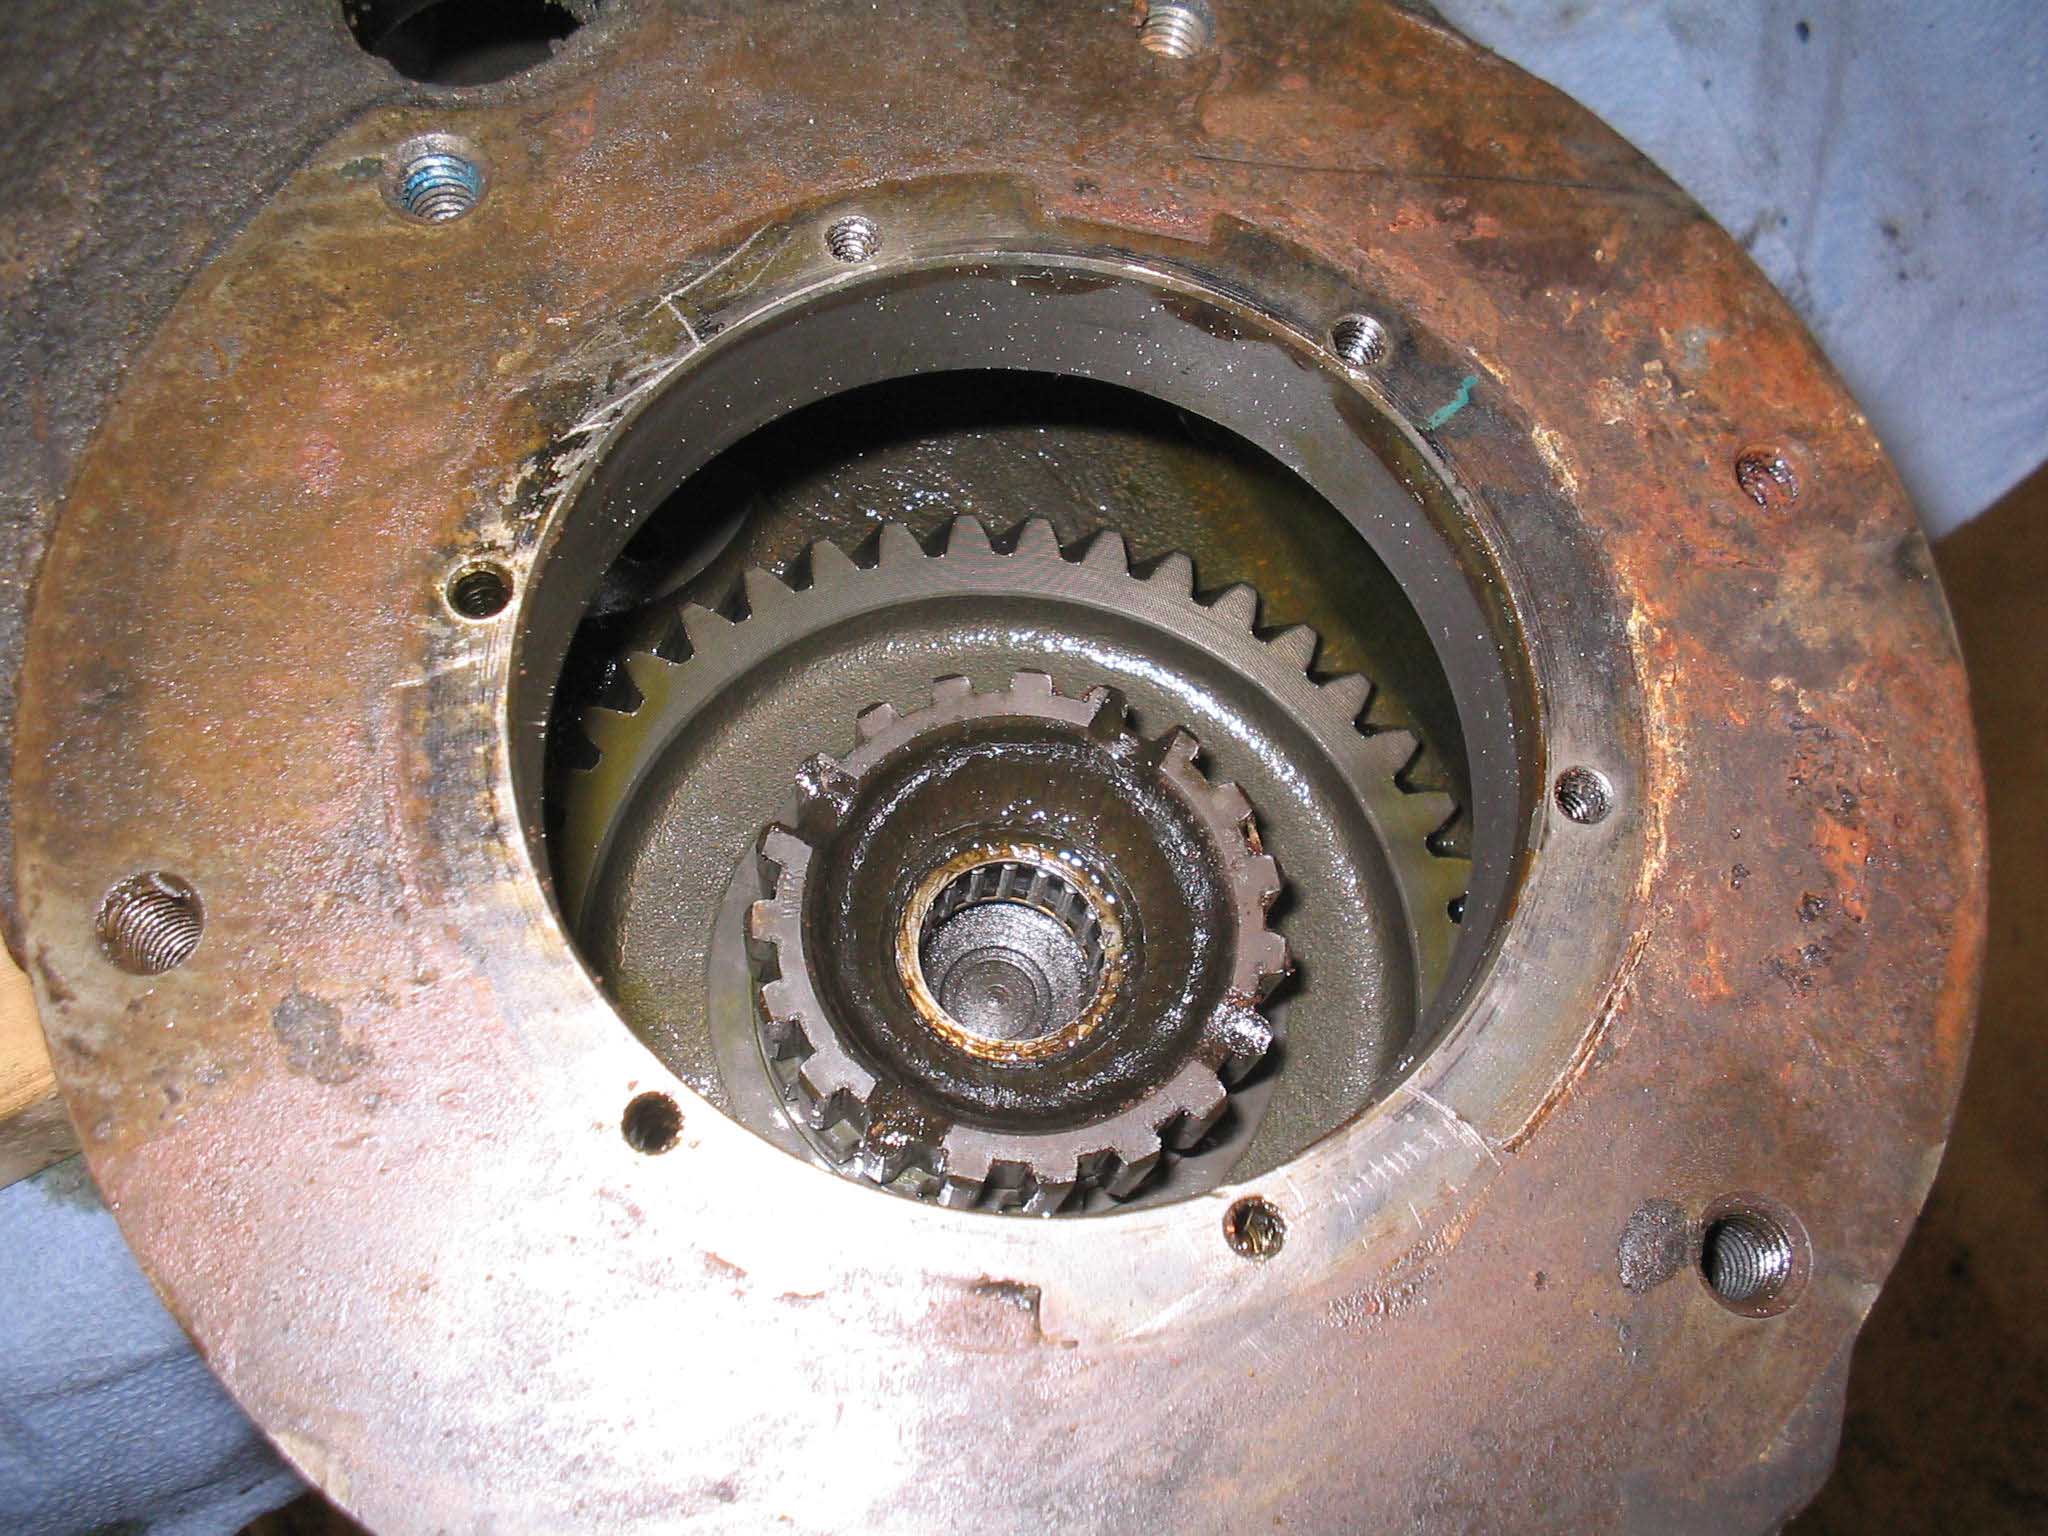
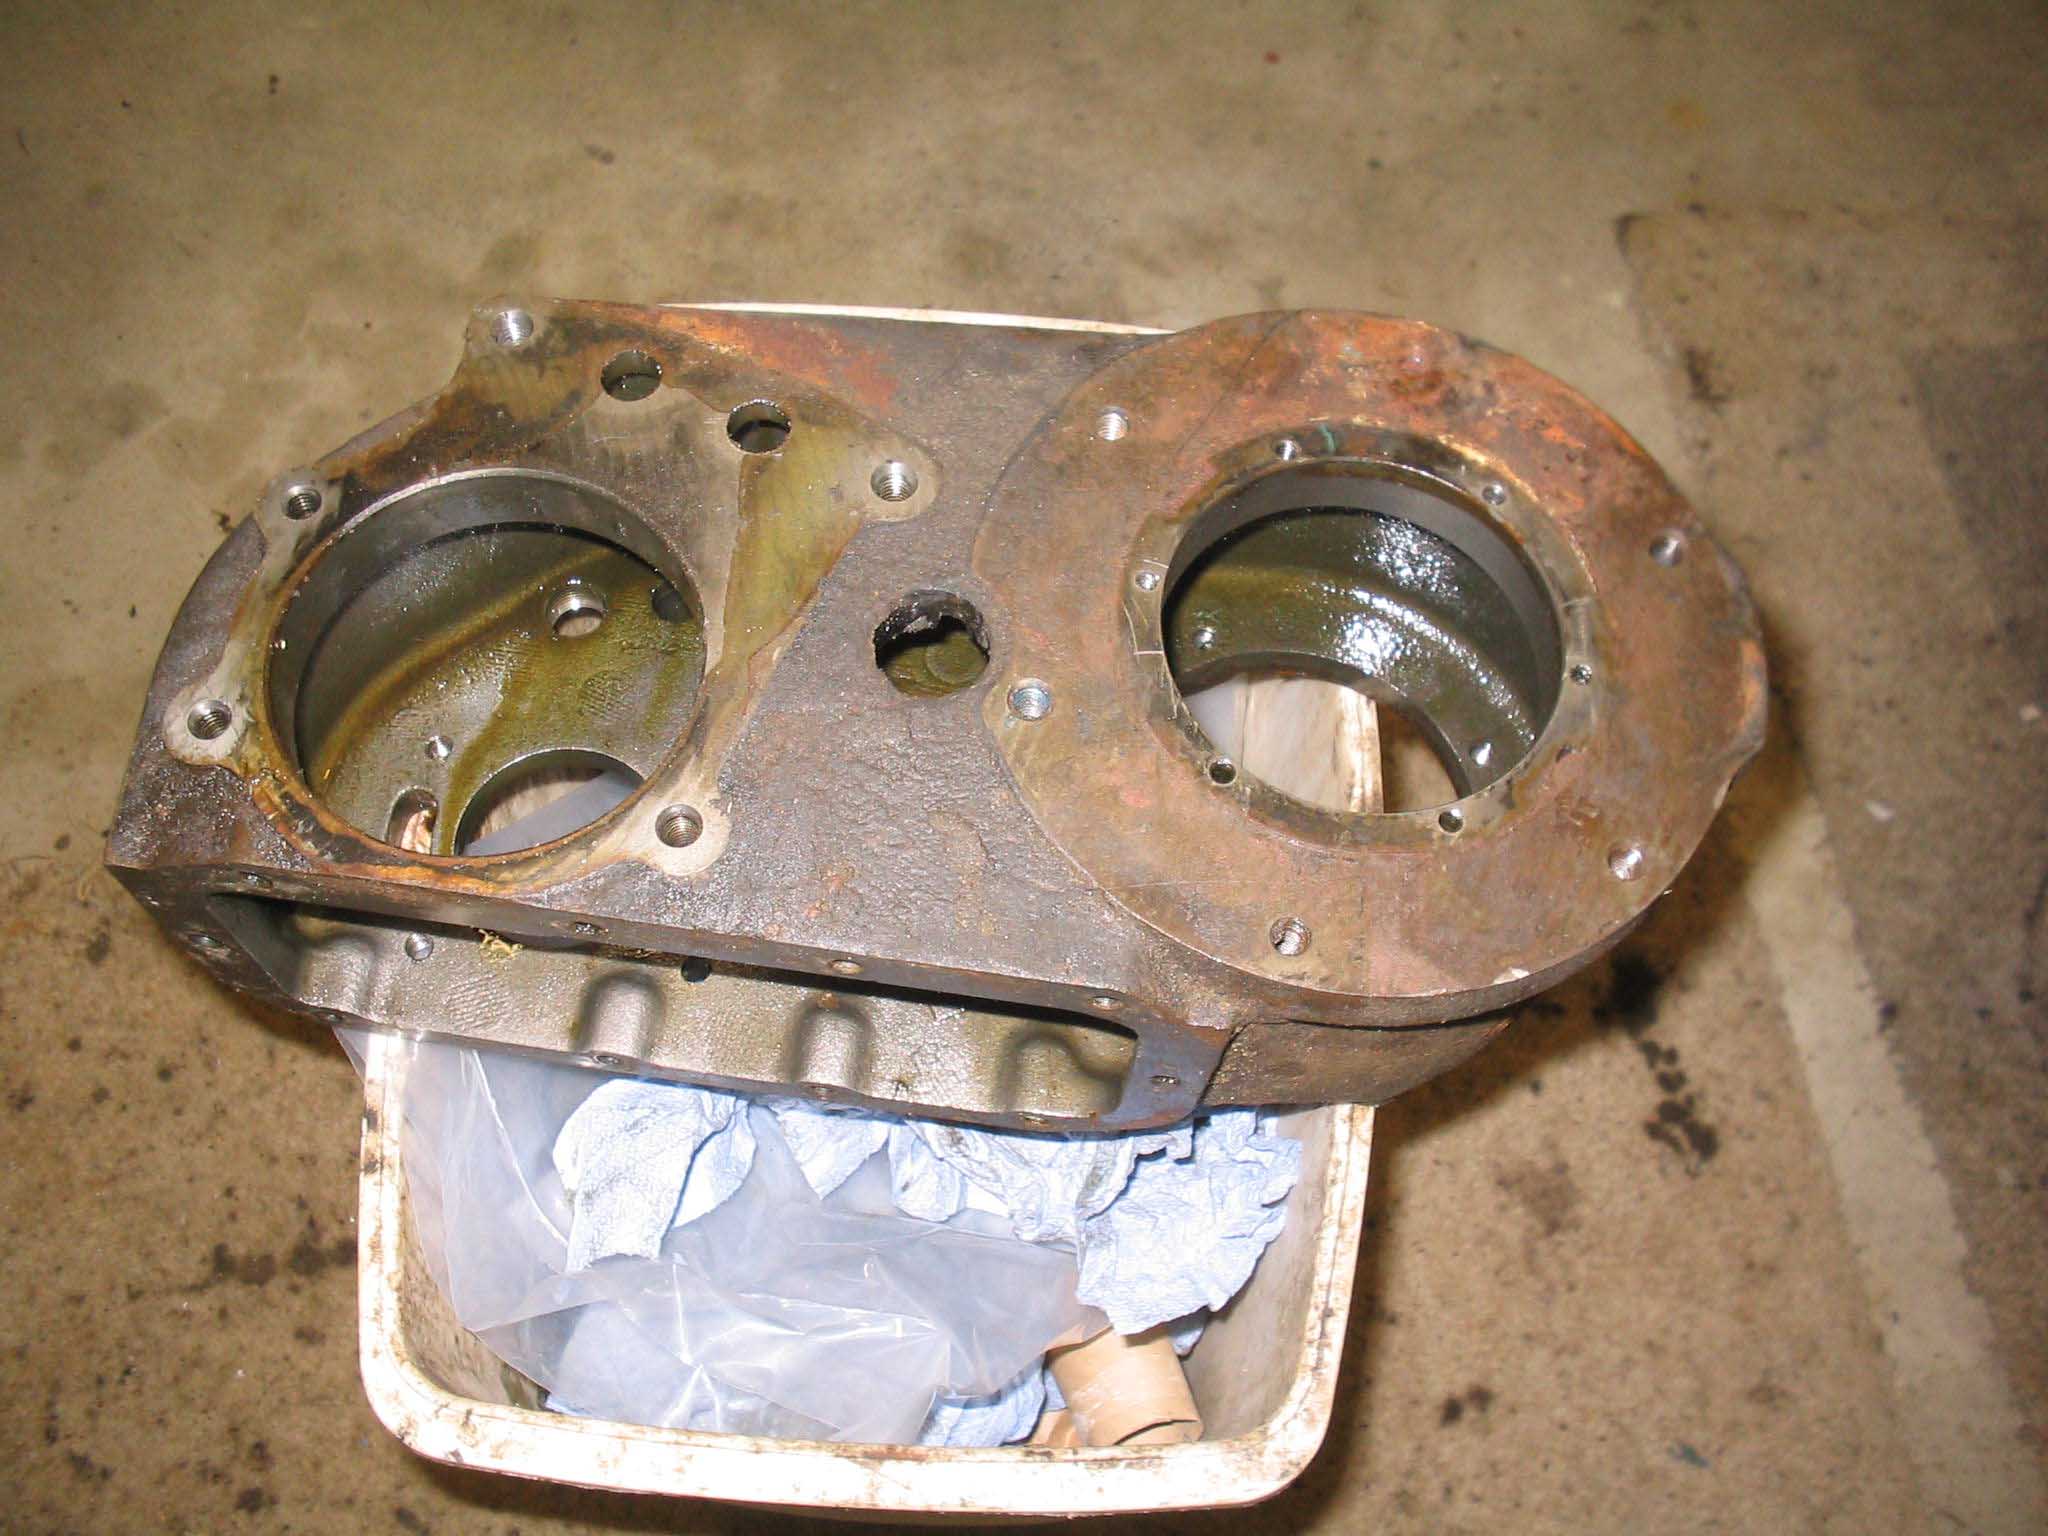
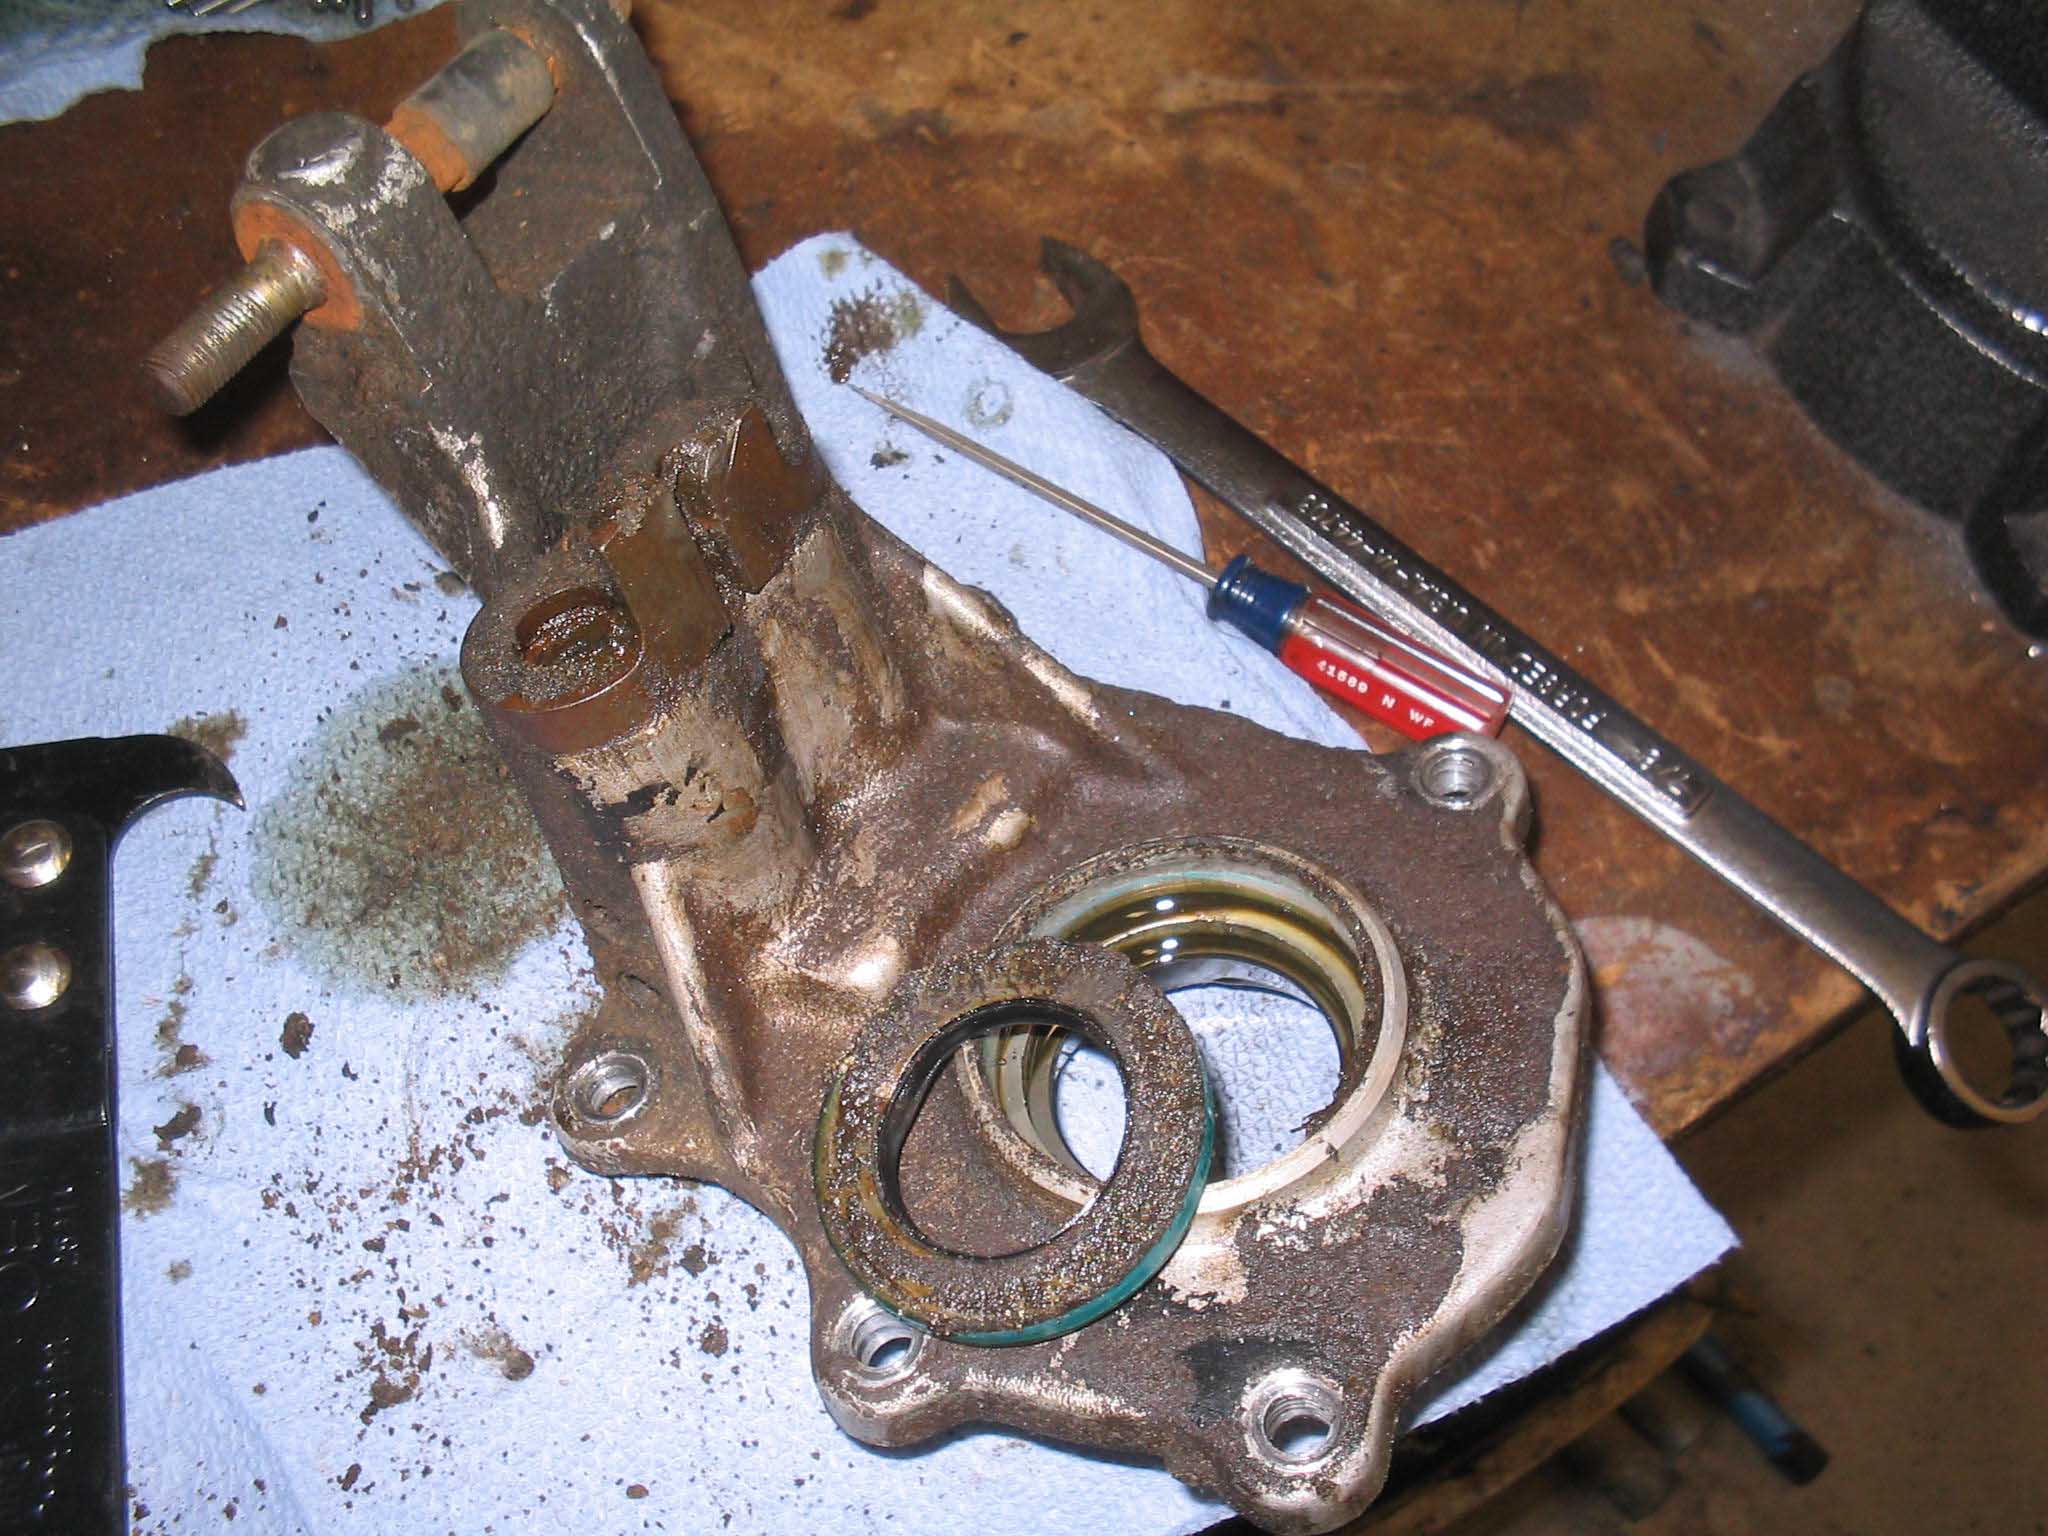
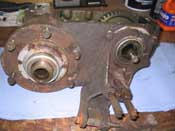
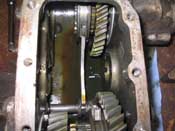
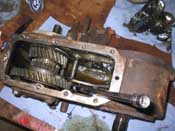
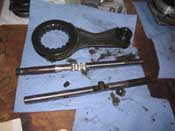
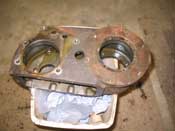
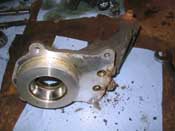
| With the intermediate shaft out of the way and the bearings removed from the
bottom of the case, I moved onto removing the rear output shaft cover. This came off pretty easily and then I
was able to remove the shims from the shaft and then was able to take the setscrews out of the shafts. With
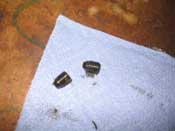
the setscrews out, the rods slid out. There was warning about ball bearings flying around. This is because
the shafts are held in place with springs and bearings, just like a transmission. I found one of them, so the
other one is still in the case.
|
| |
|
|
|
|
|
|
| |
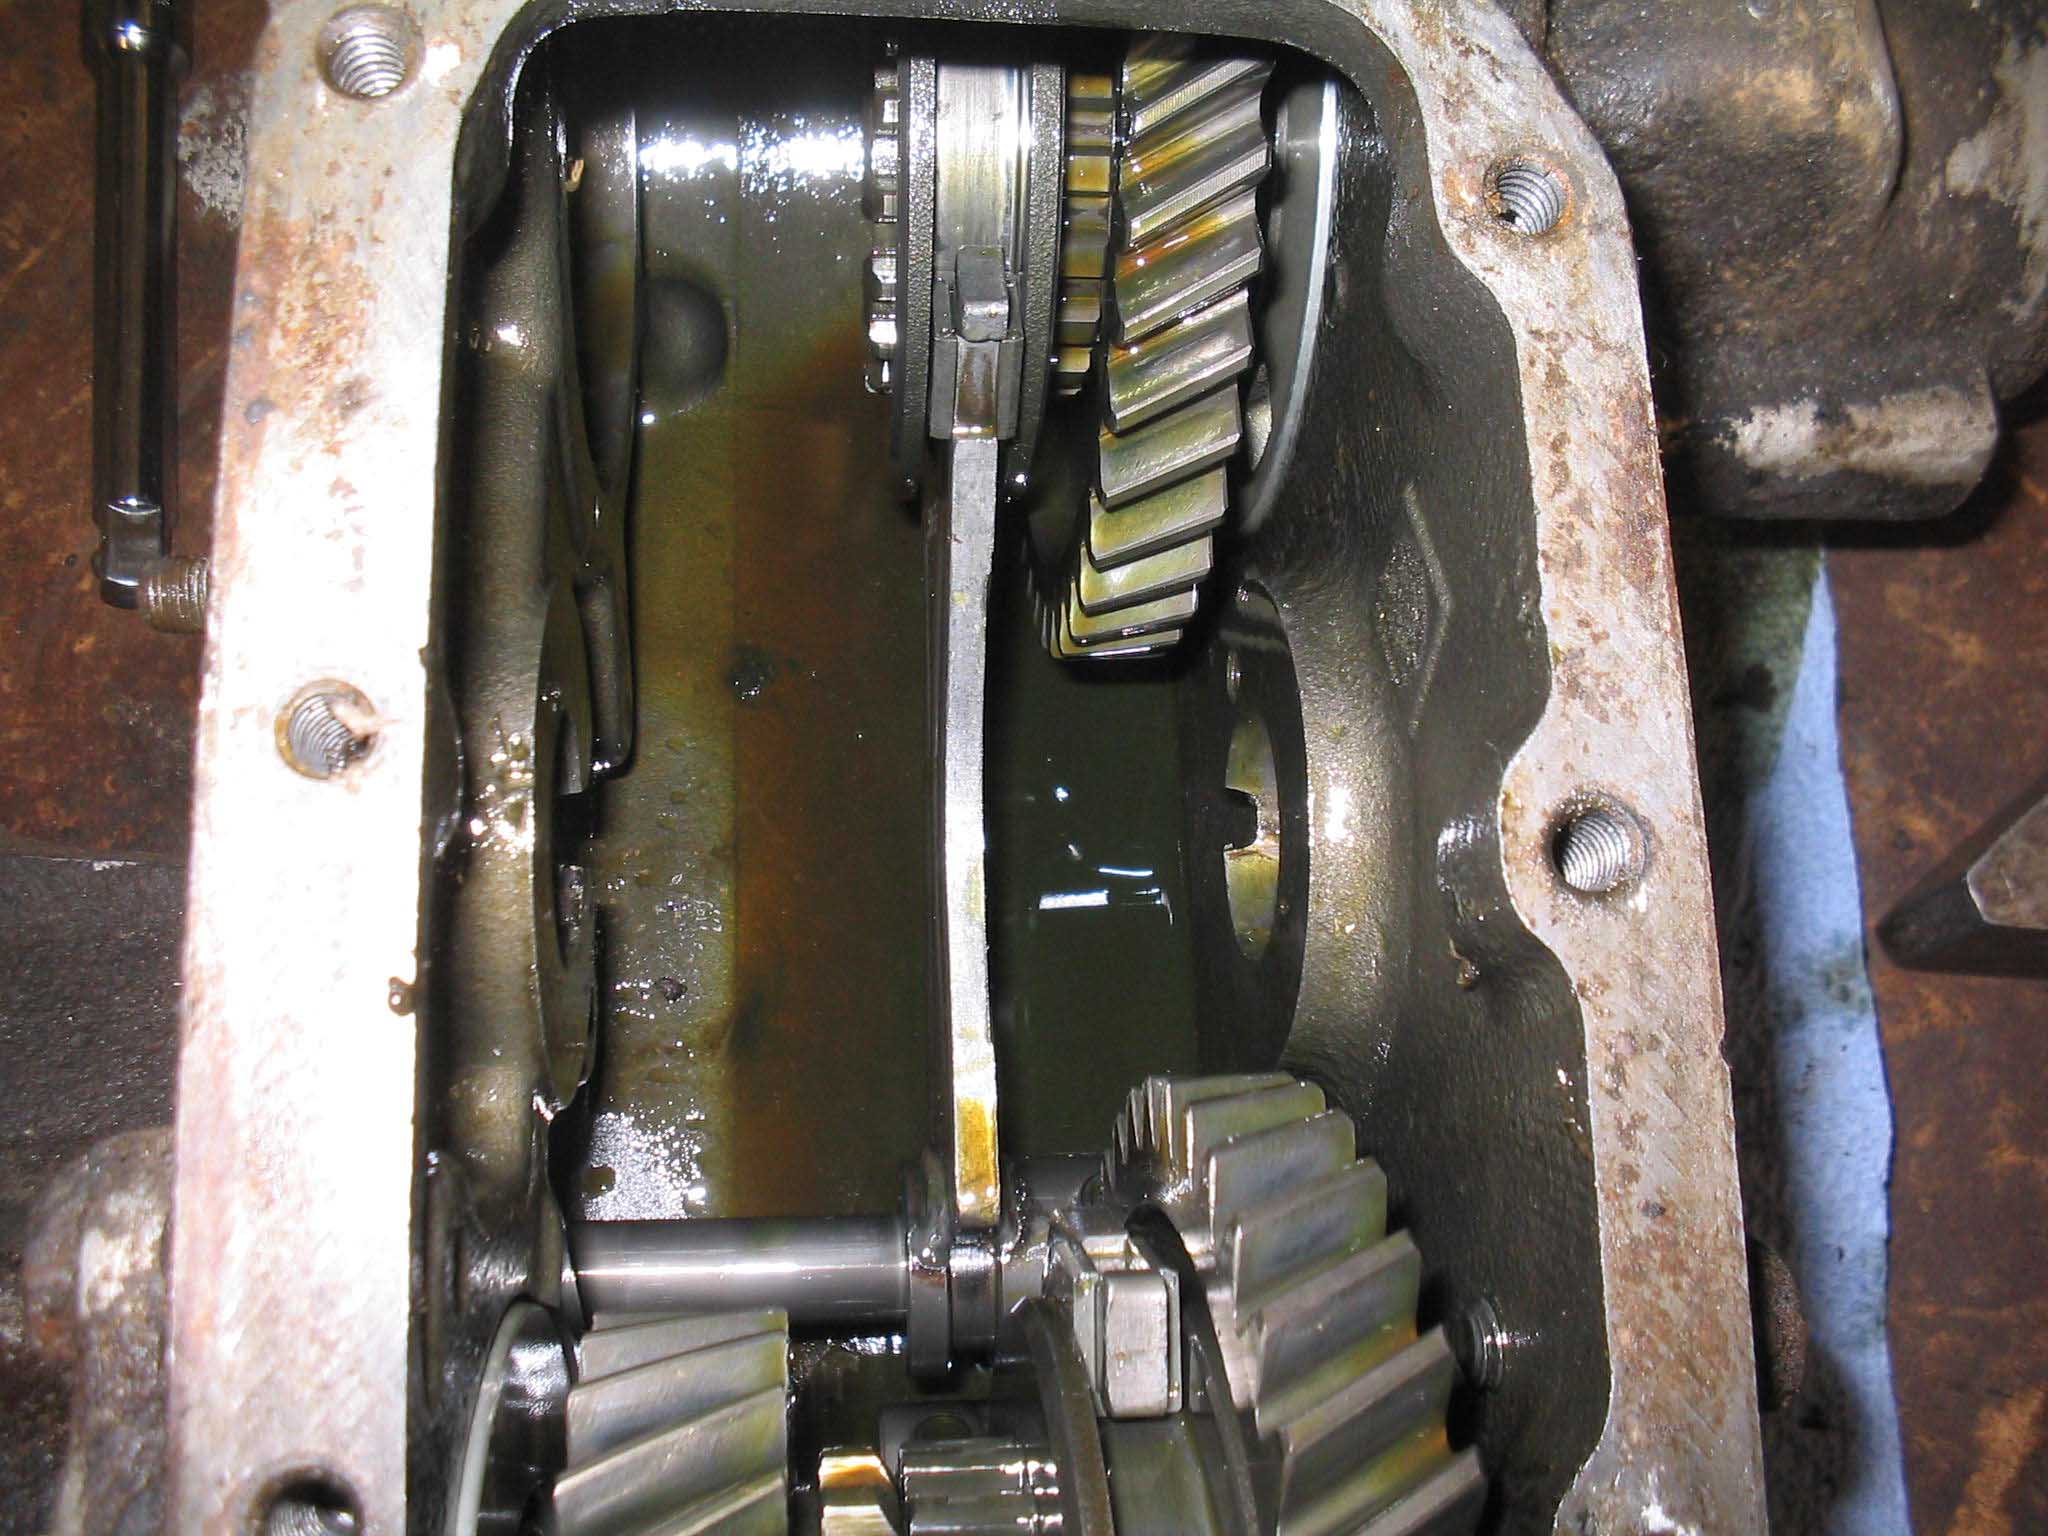
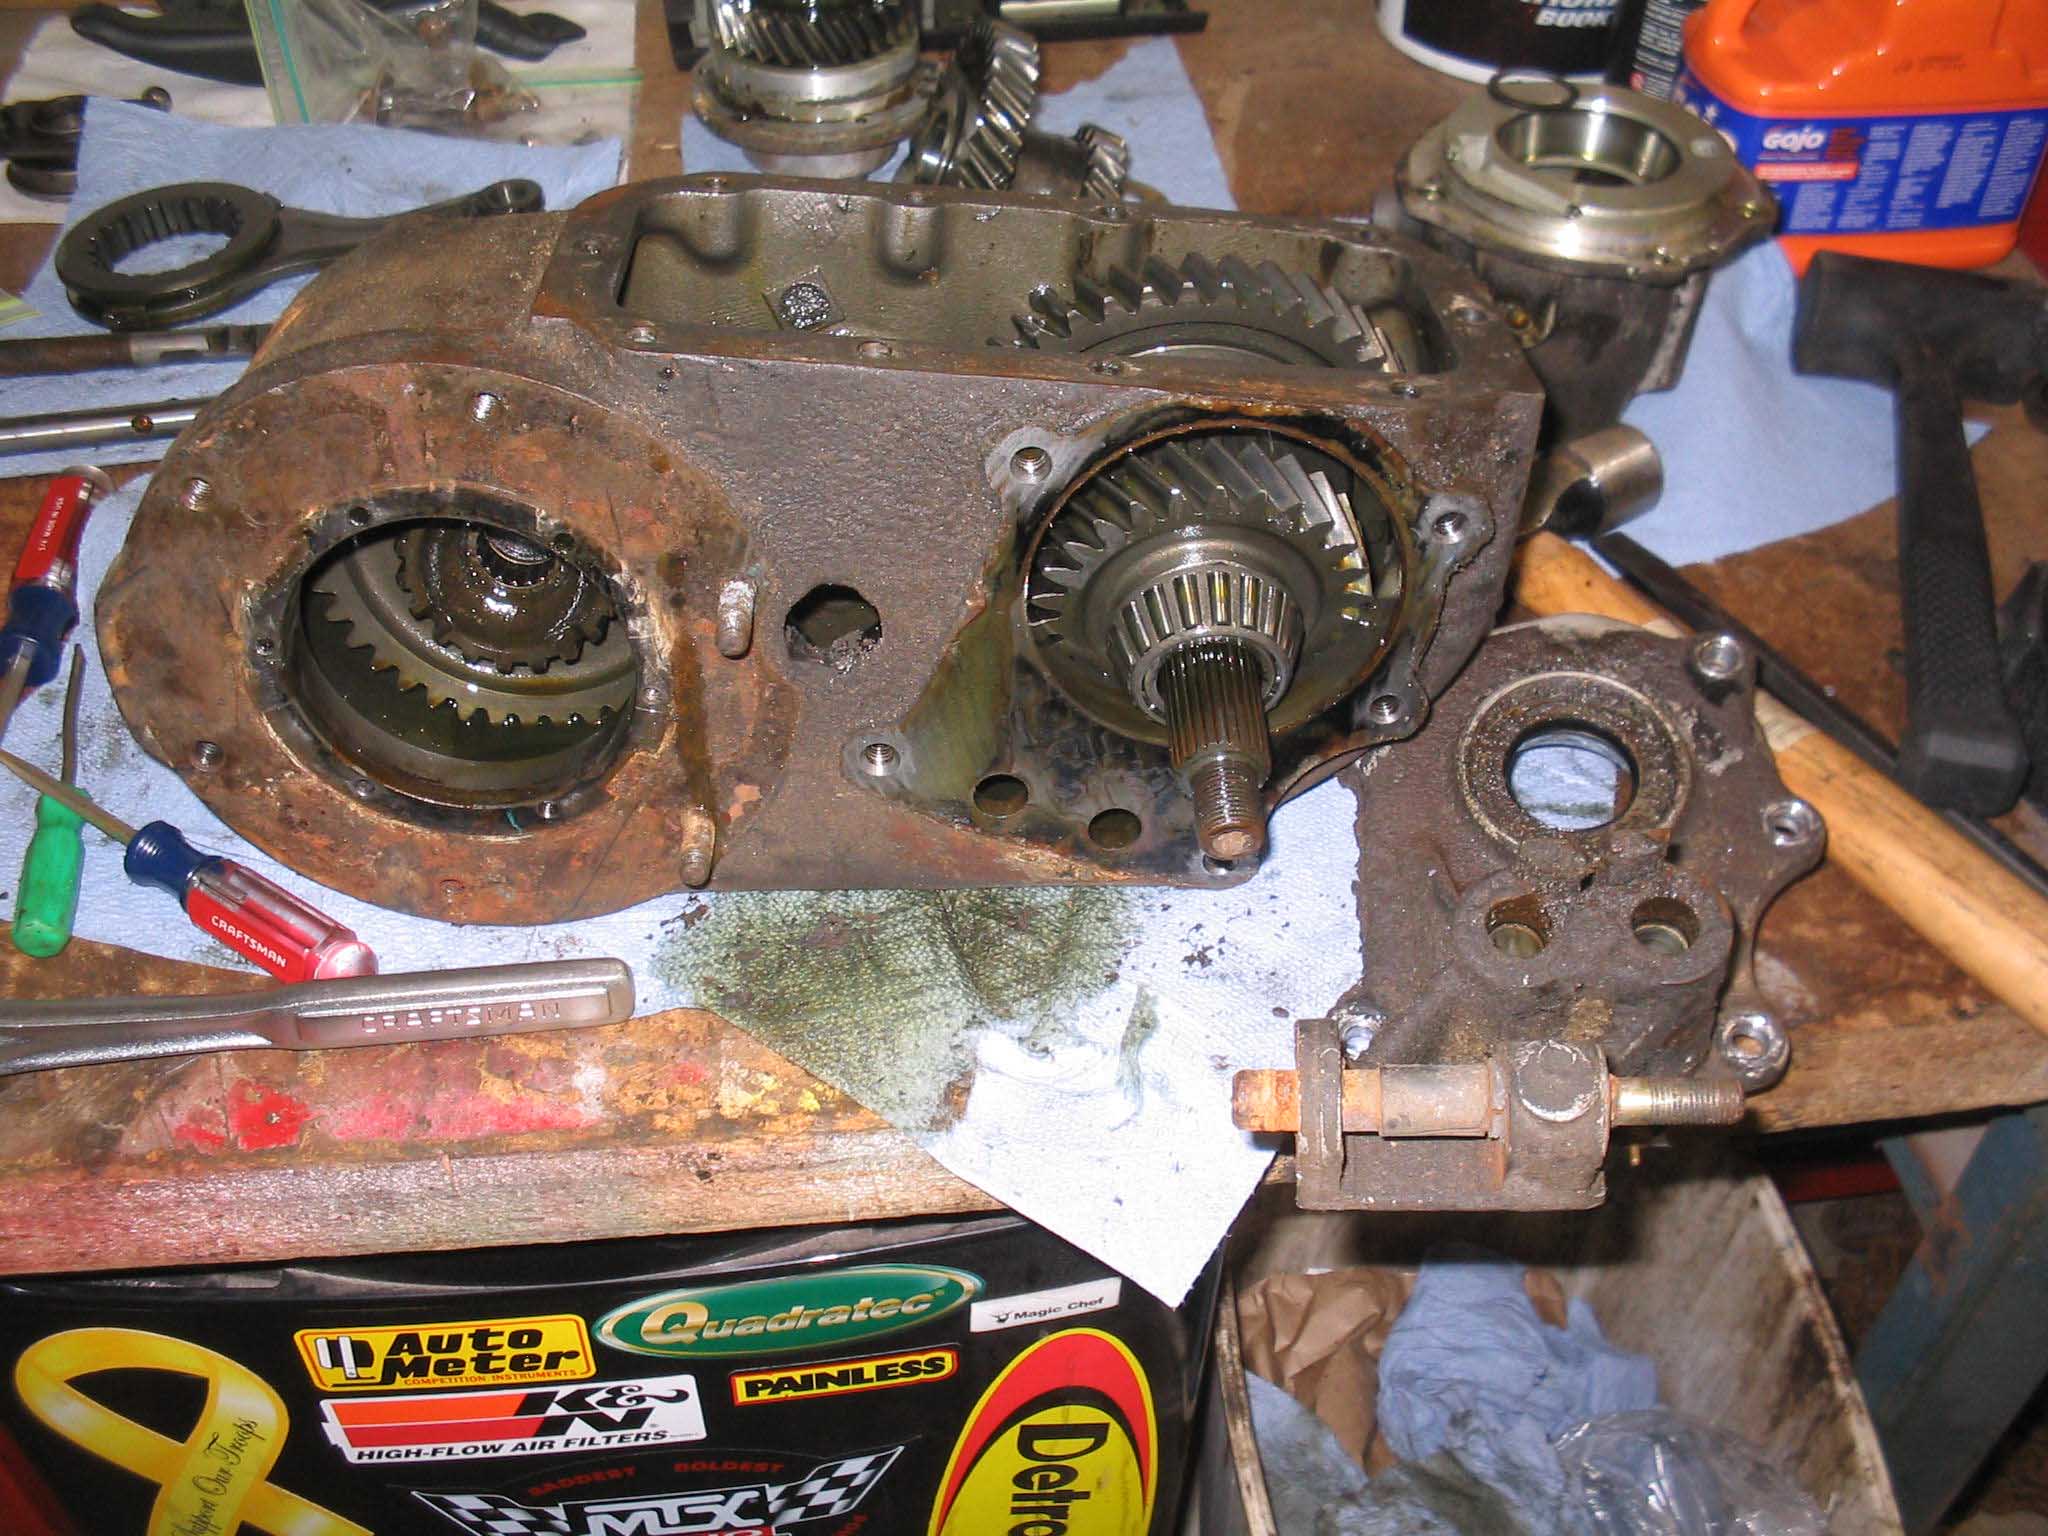
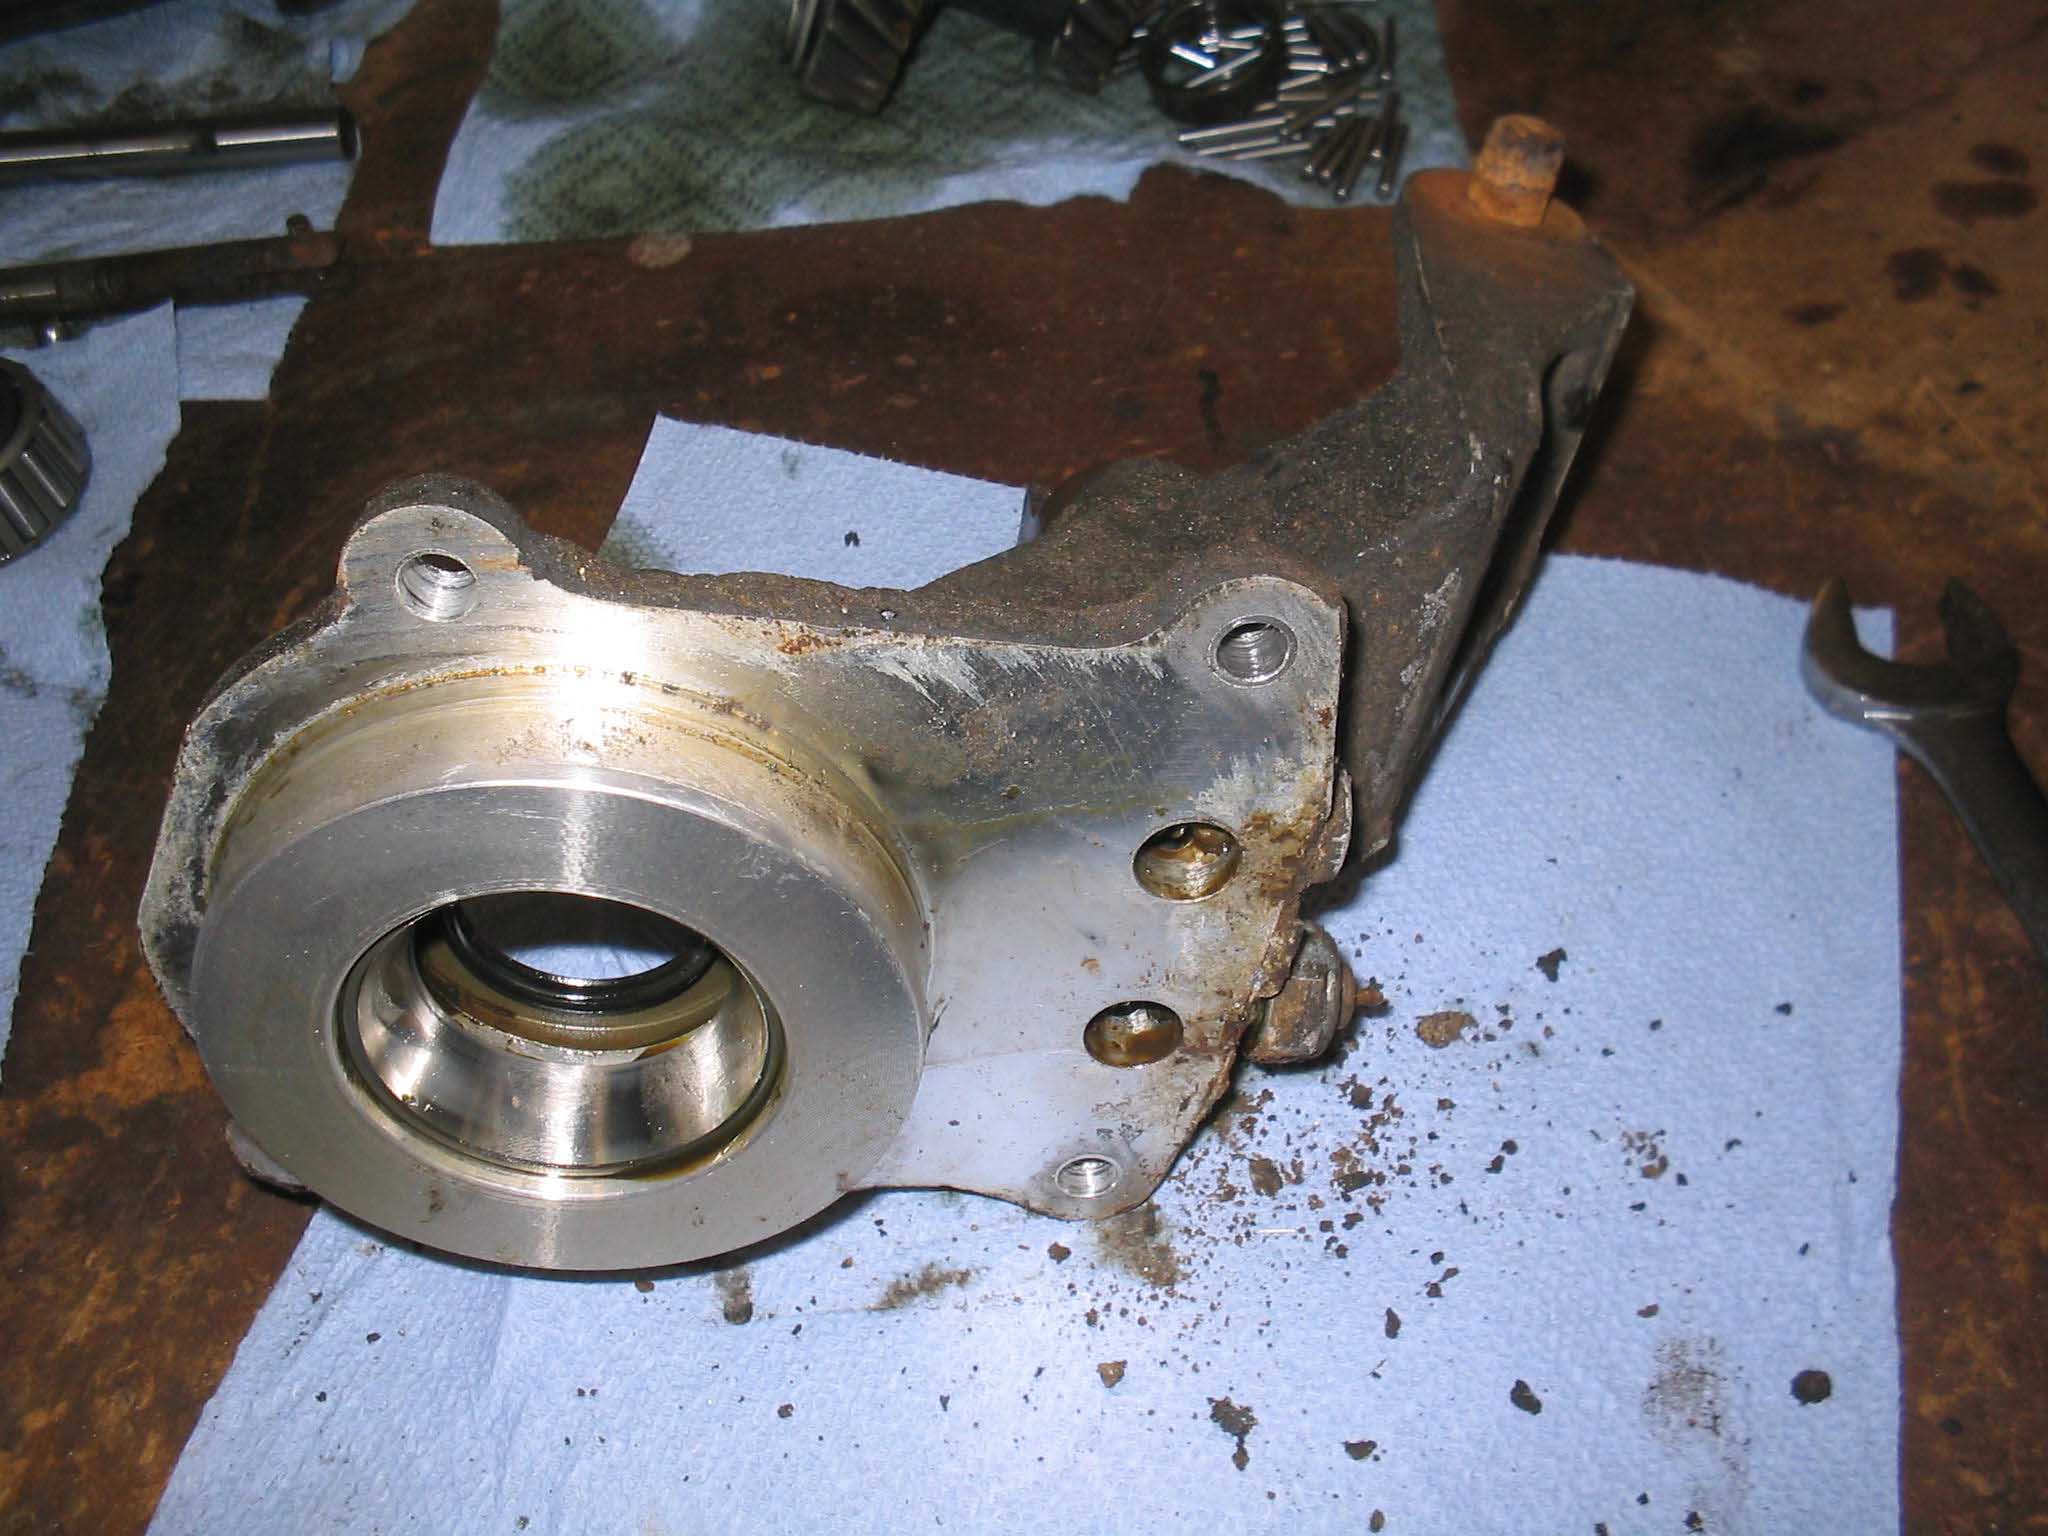
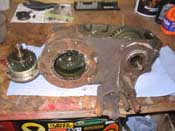
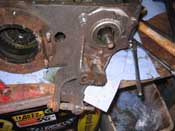
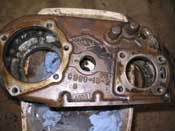
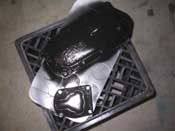
I finished up the evening by removing the front output shaft cover; it came off
without even having to do anything. With it out of the way, I cleaned up a bit and went inside for some grub.
NOTE: I am doing this teardown NOT in order of the instructions. They want to rebuild and replace
stuff along the way when items are pulled out of the case. I would like to do this, however, I have to clean a
lot of this stuff up and I would prefer to do this all at once. So, when the tear down is complete, I will
clean the case, paint it up and then start the rebuild of all the pieces. It is a much cleaner and easier
process IMHO.
cb (02/13/08)
|
| |
|
|
|

|
|

|
| |
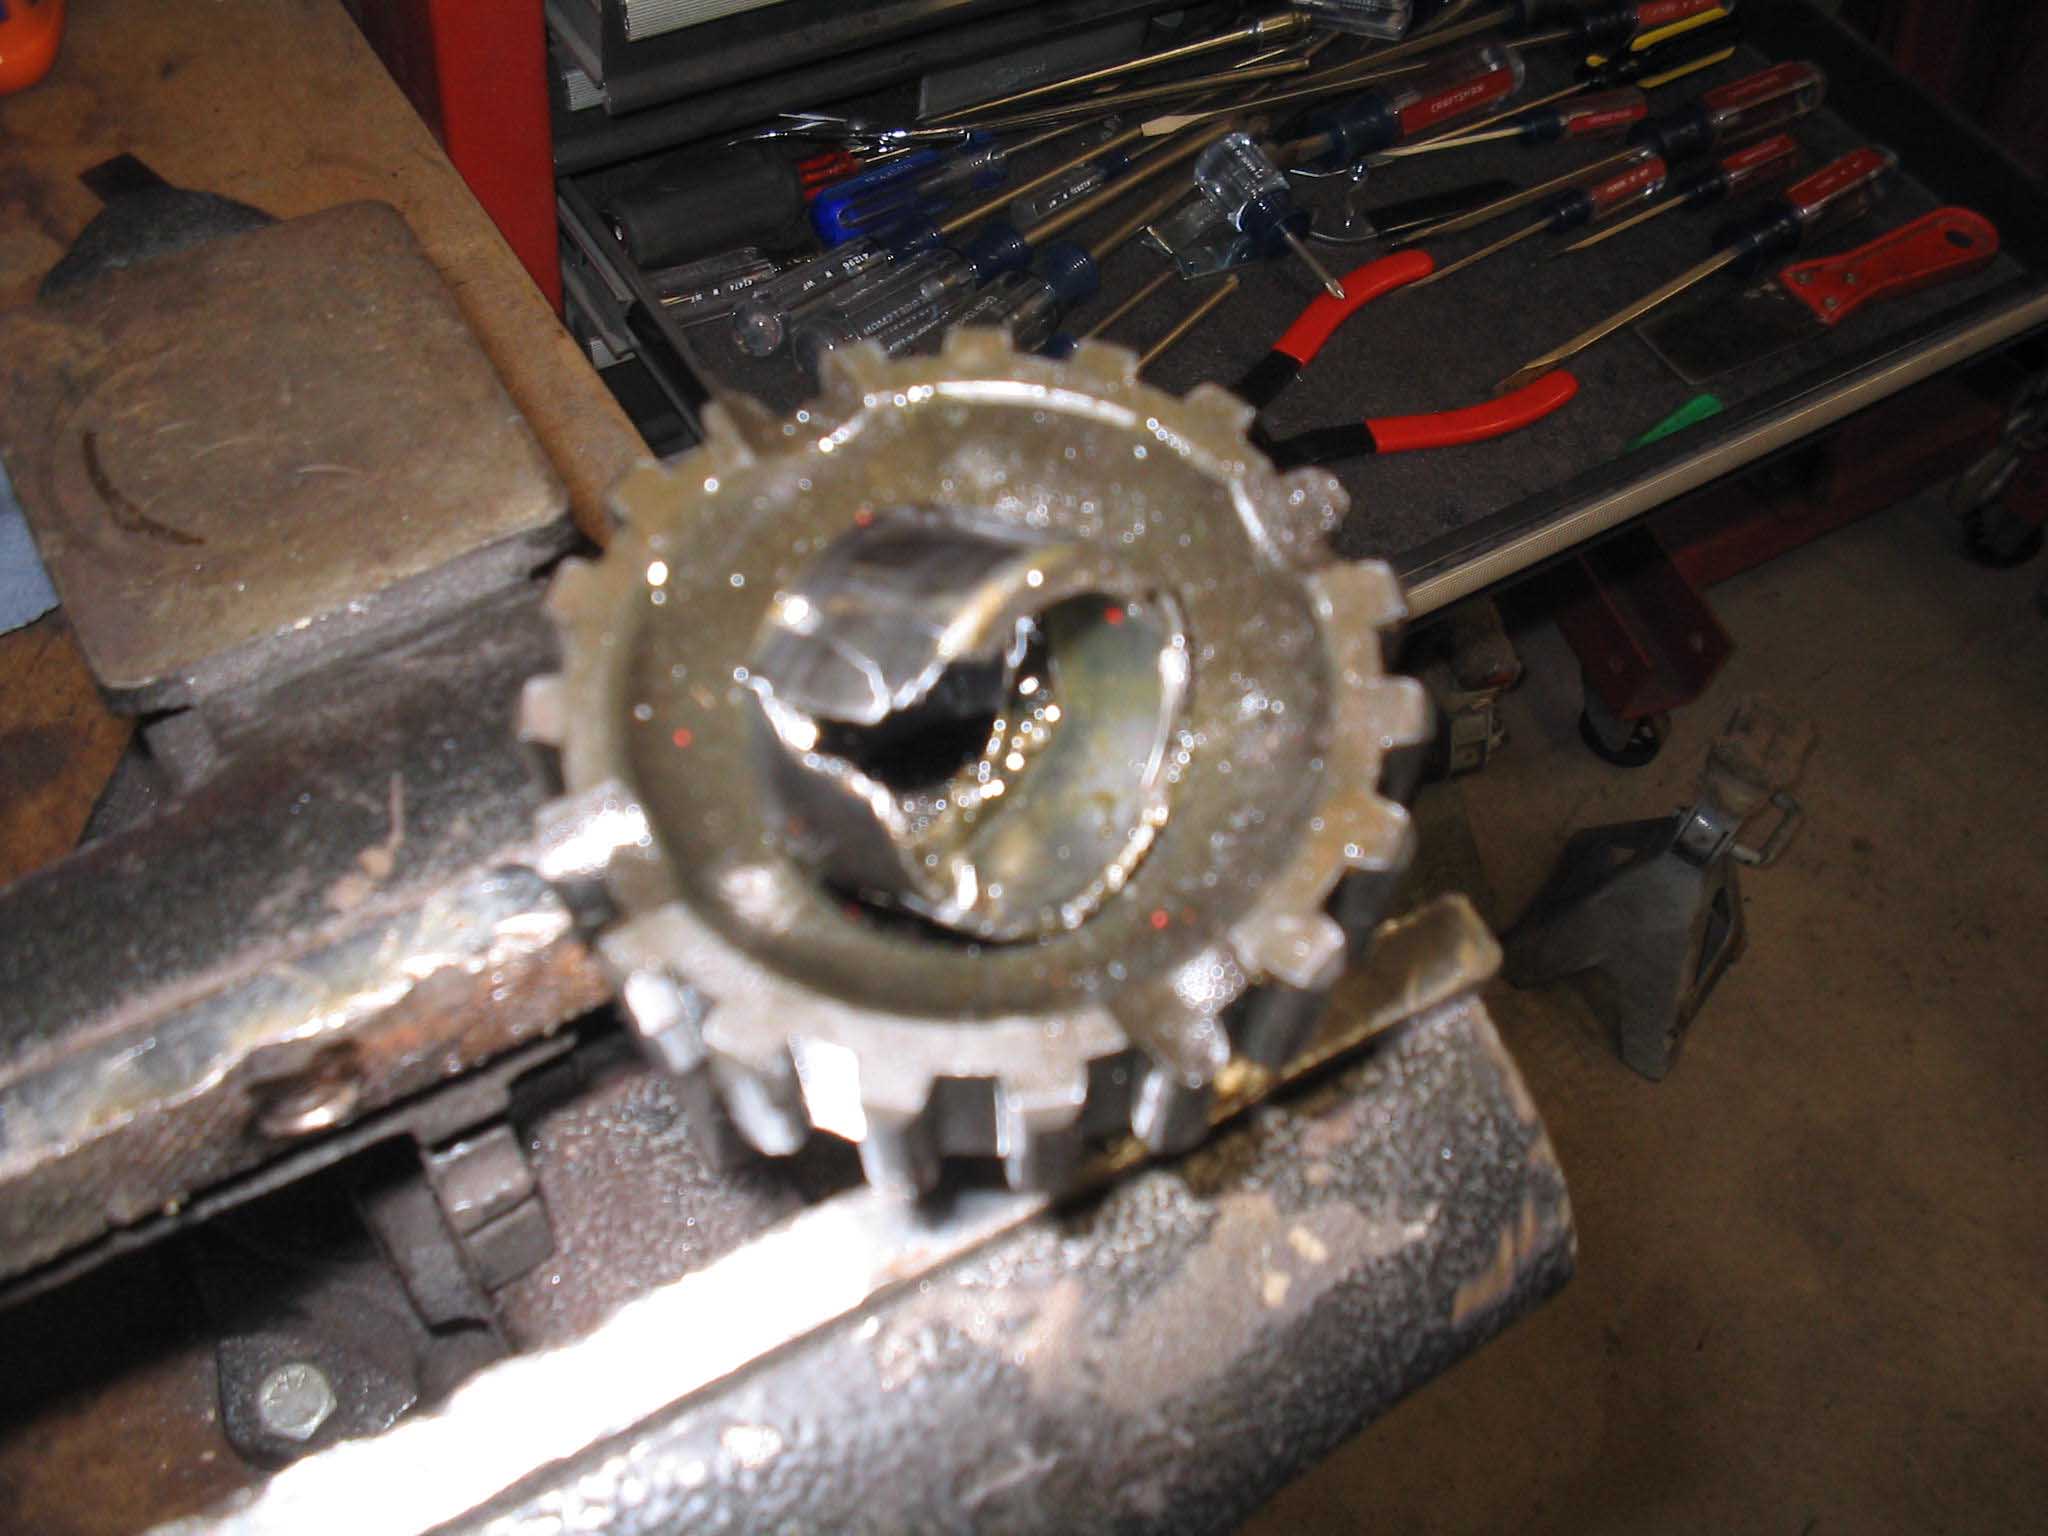
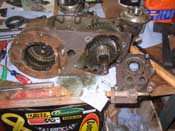
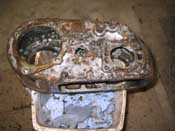
| (02/14/08) Last night I was able to get the entire transfer case cleaned out and
started cleaning it up so I can paint it. It all came apart pretty easily, however, that being said, I am a
little concerned with what Novak refers to "a backyard mechanic could enjoy rebuilding a D300". That makes me
smile...
|
| |

|
|
|
|
|
|
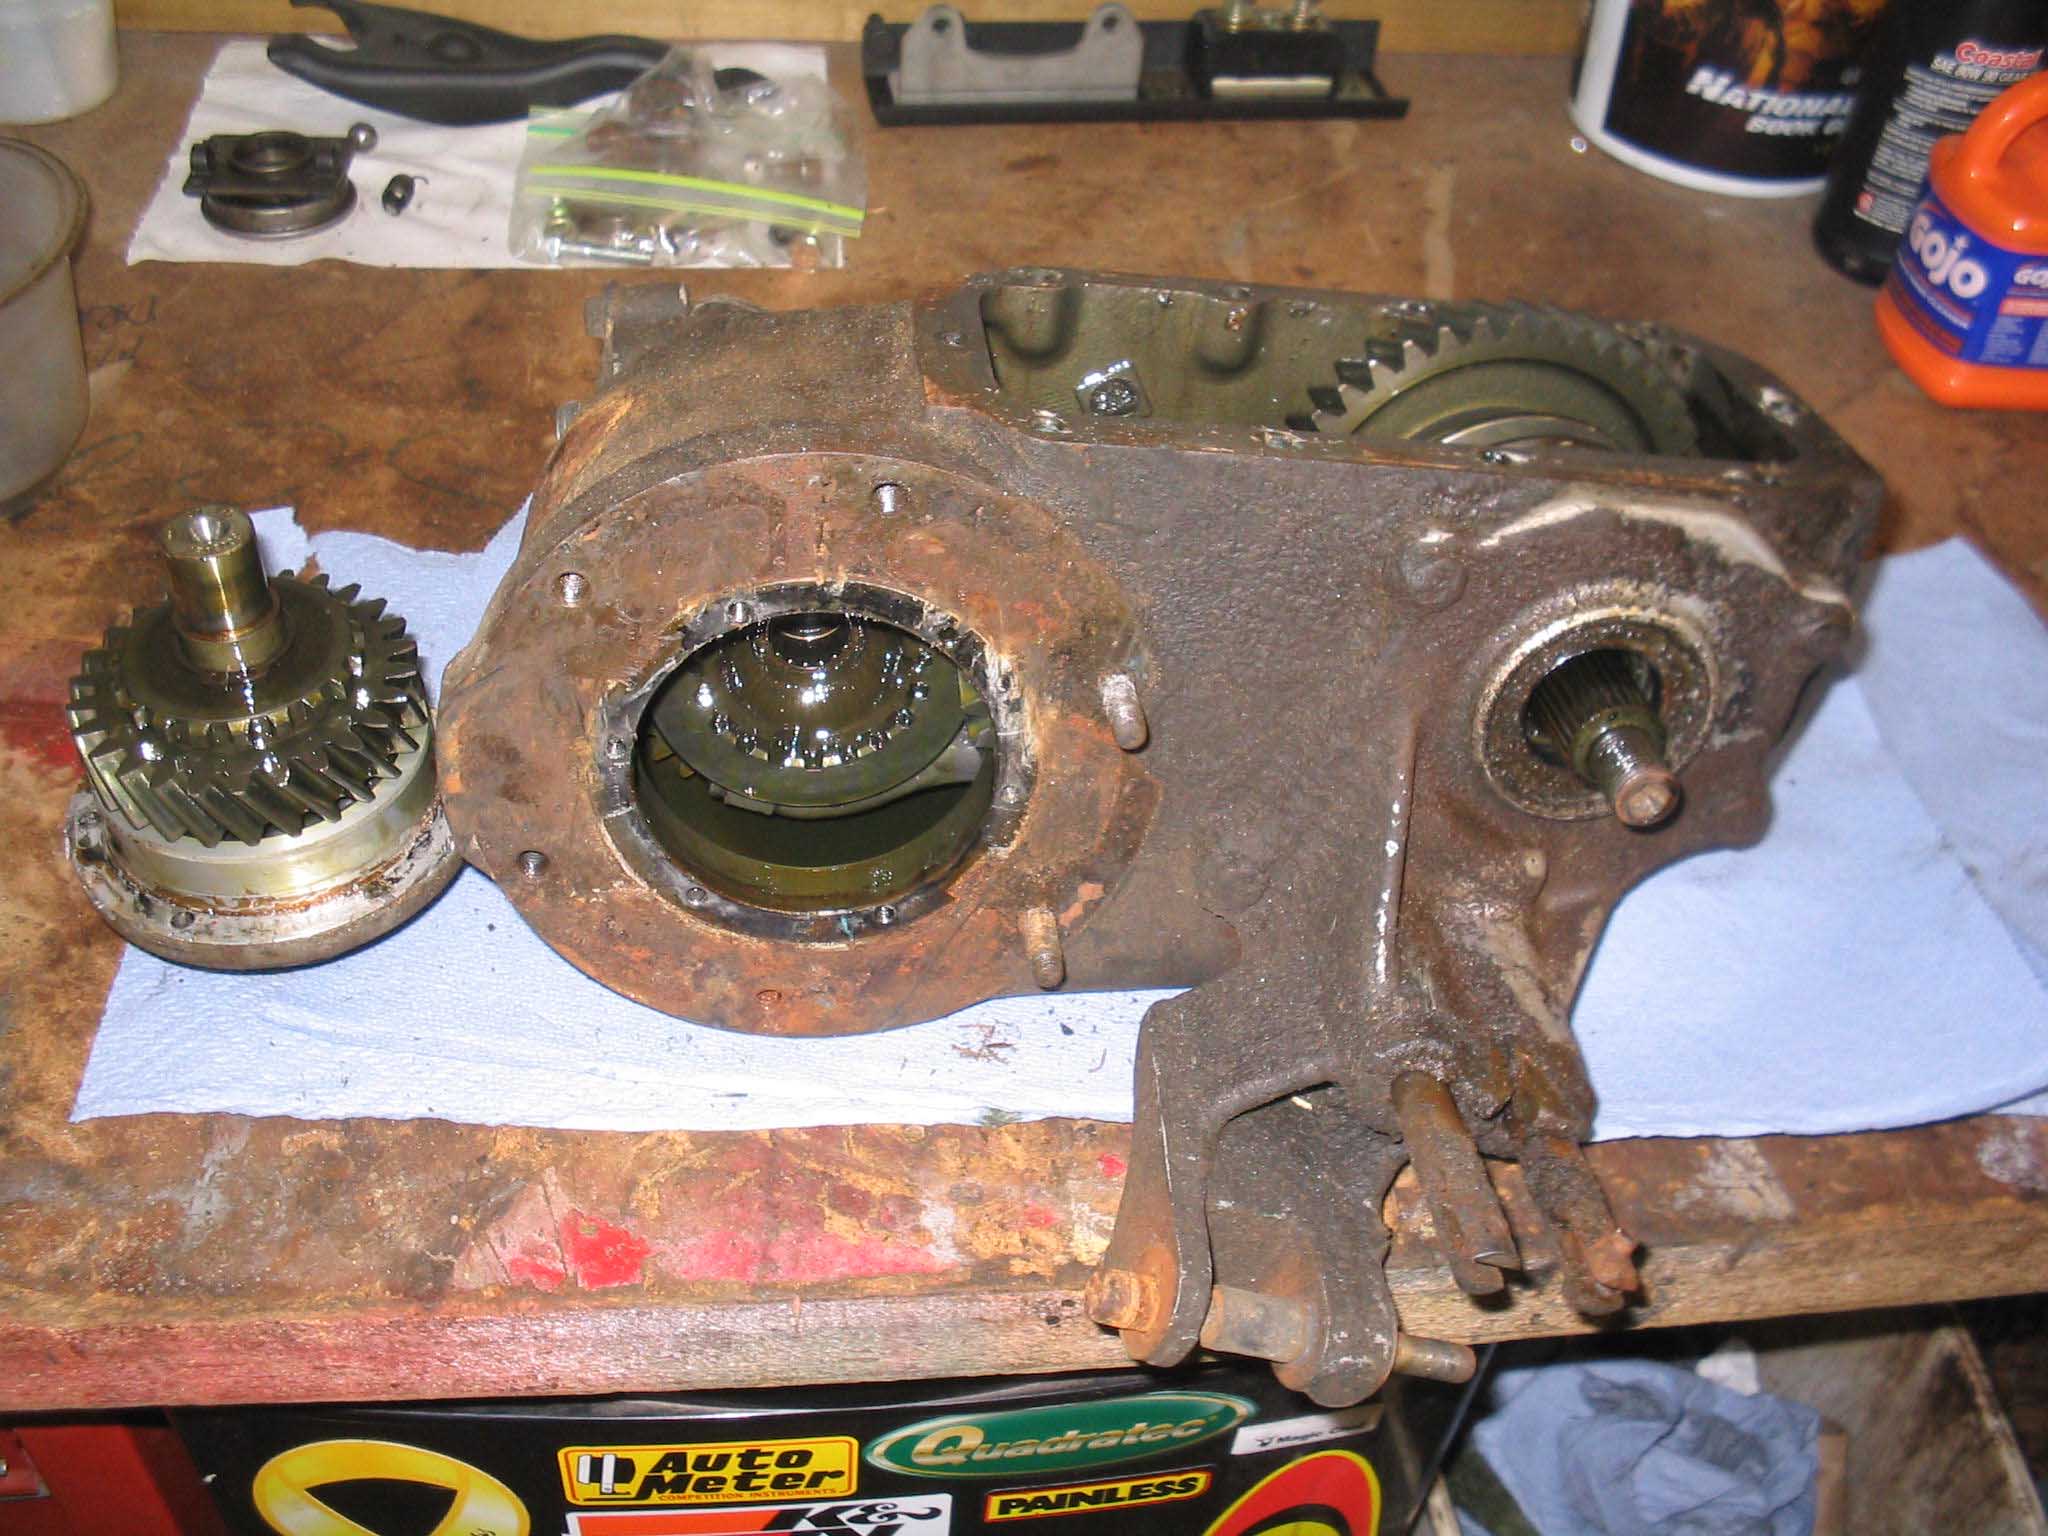
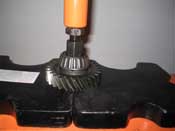
| |
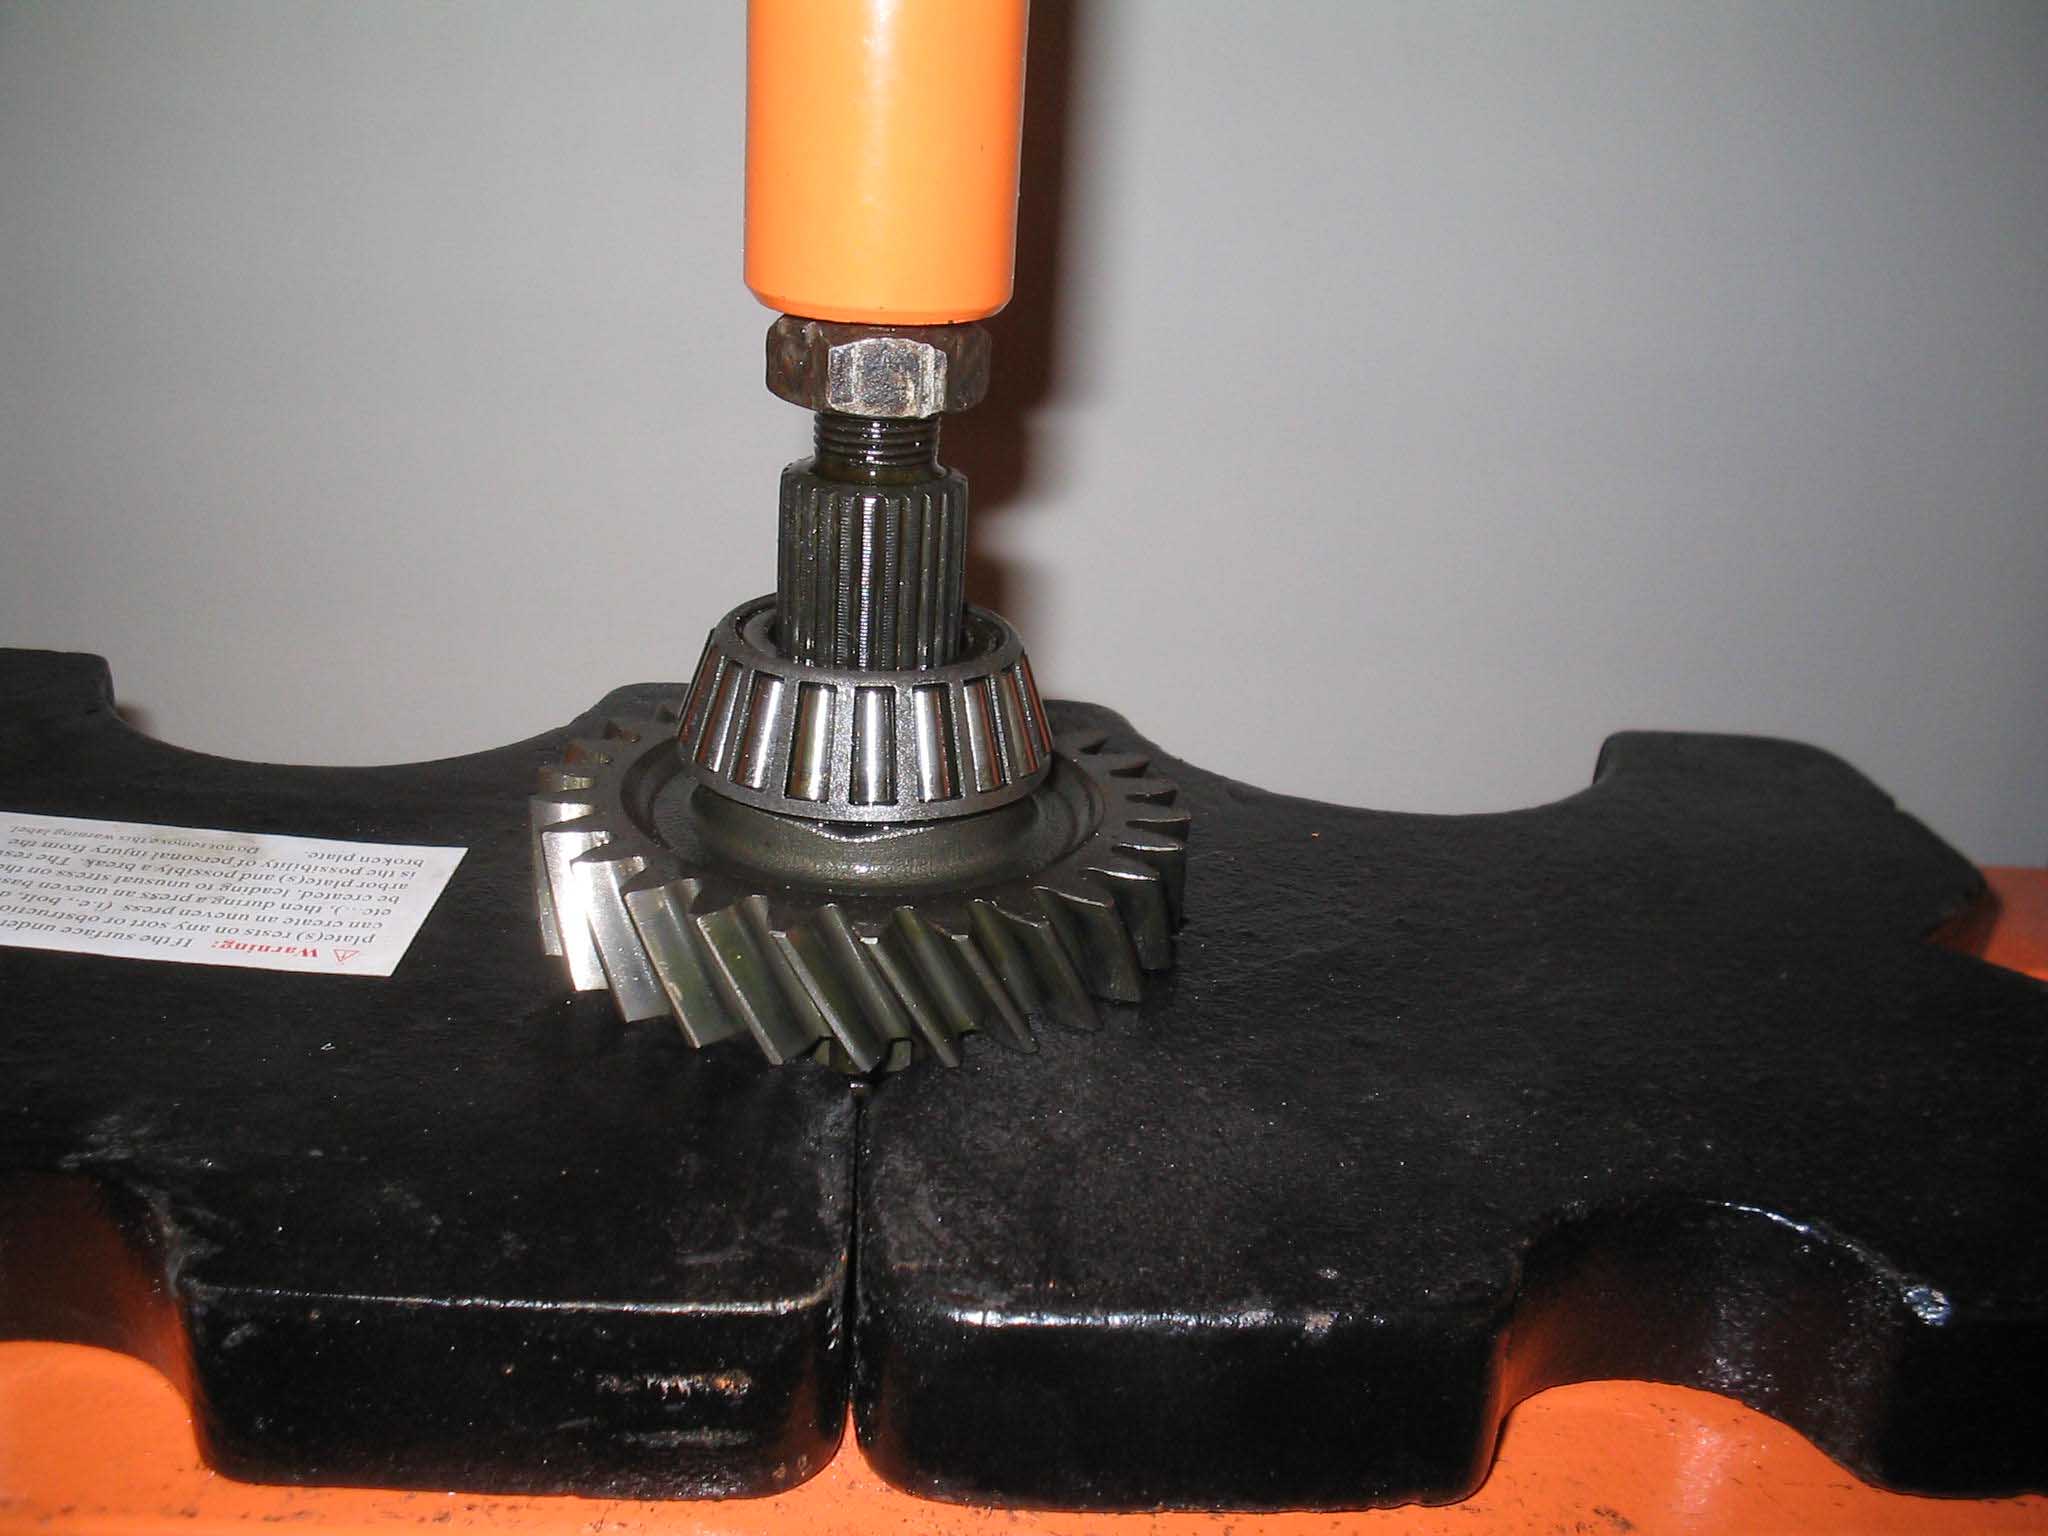
Basically, if you don't have a press, you aren't going to be able to take this
apart and put it back together again. It did come apart a lot quicker this time around as I believe that the
directions for the D300 rebuild are far superior to that of the T-18 rebuild directions. That, coupled with the
fact that I did the transmission first, I am more aware of how these shafts/gears are put together. I still have
to get 1 more bearing off and clean/paint the case, but all in all, I am happy with the progress. I don't want to
jinx myself and say I will be done this weekend, but it is a remote possibility.
cb (02/14/08)
|
| |
|
|
|

|
|
|
| |
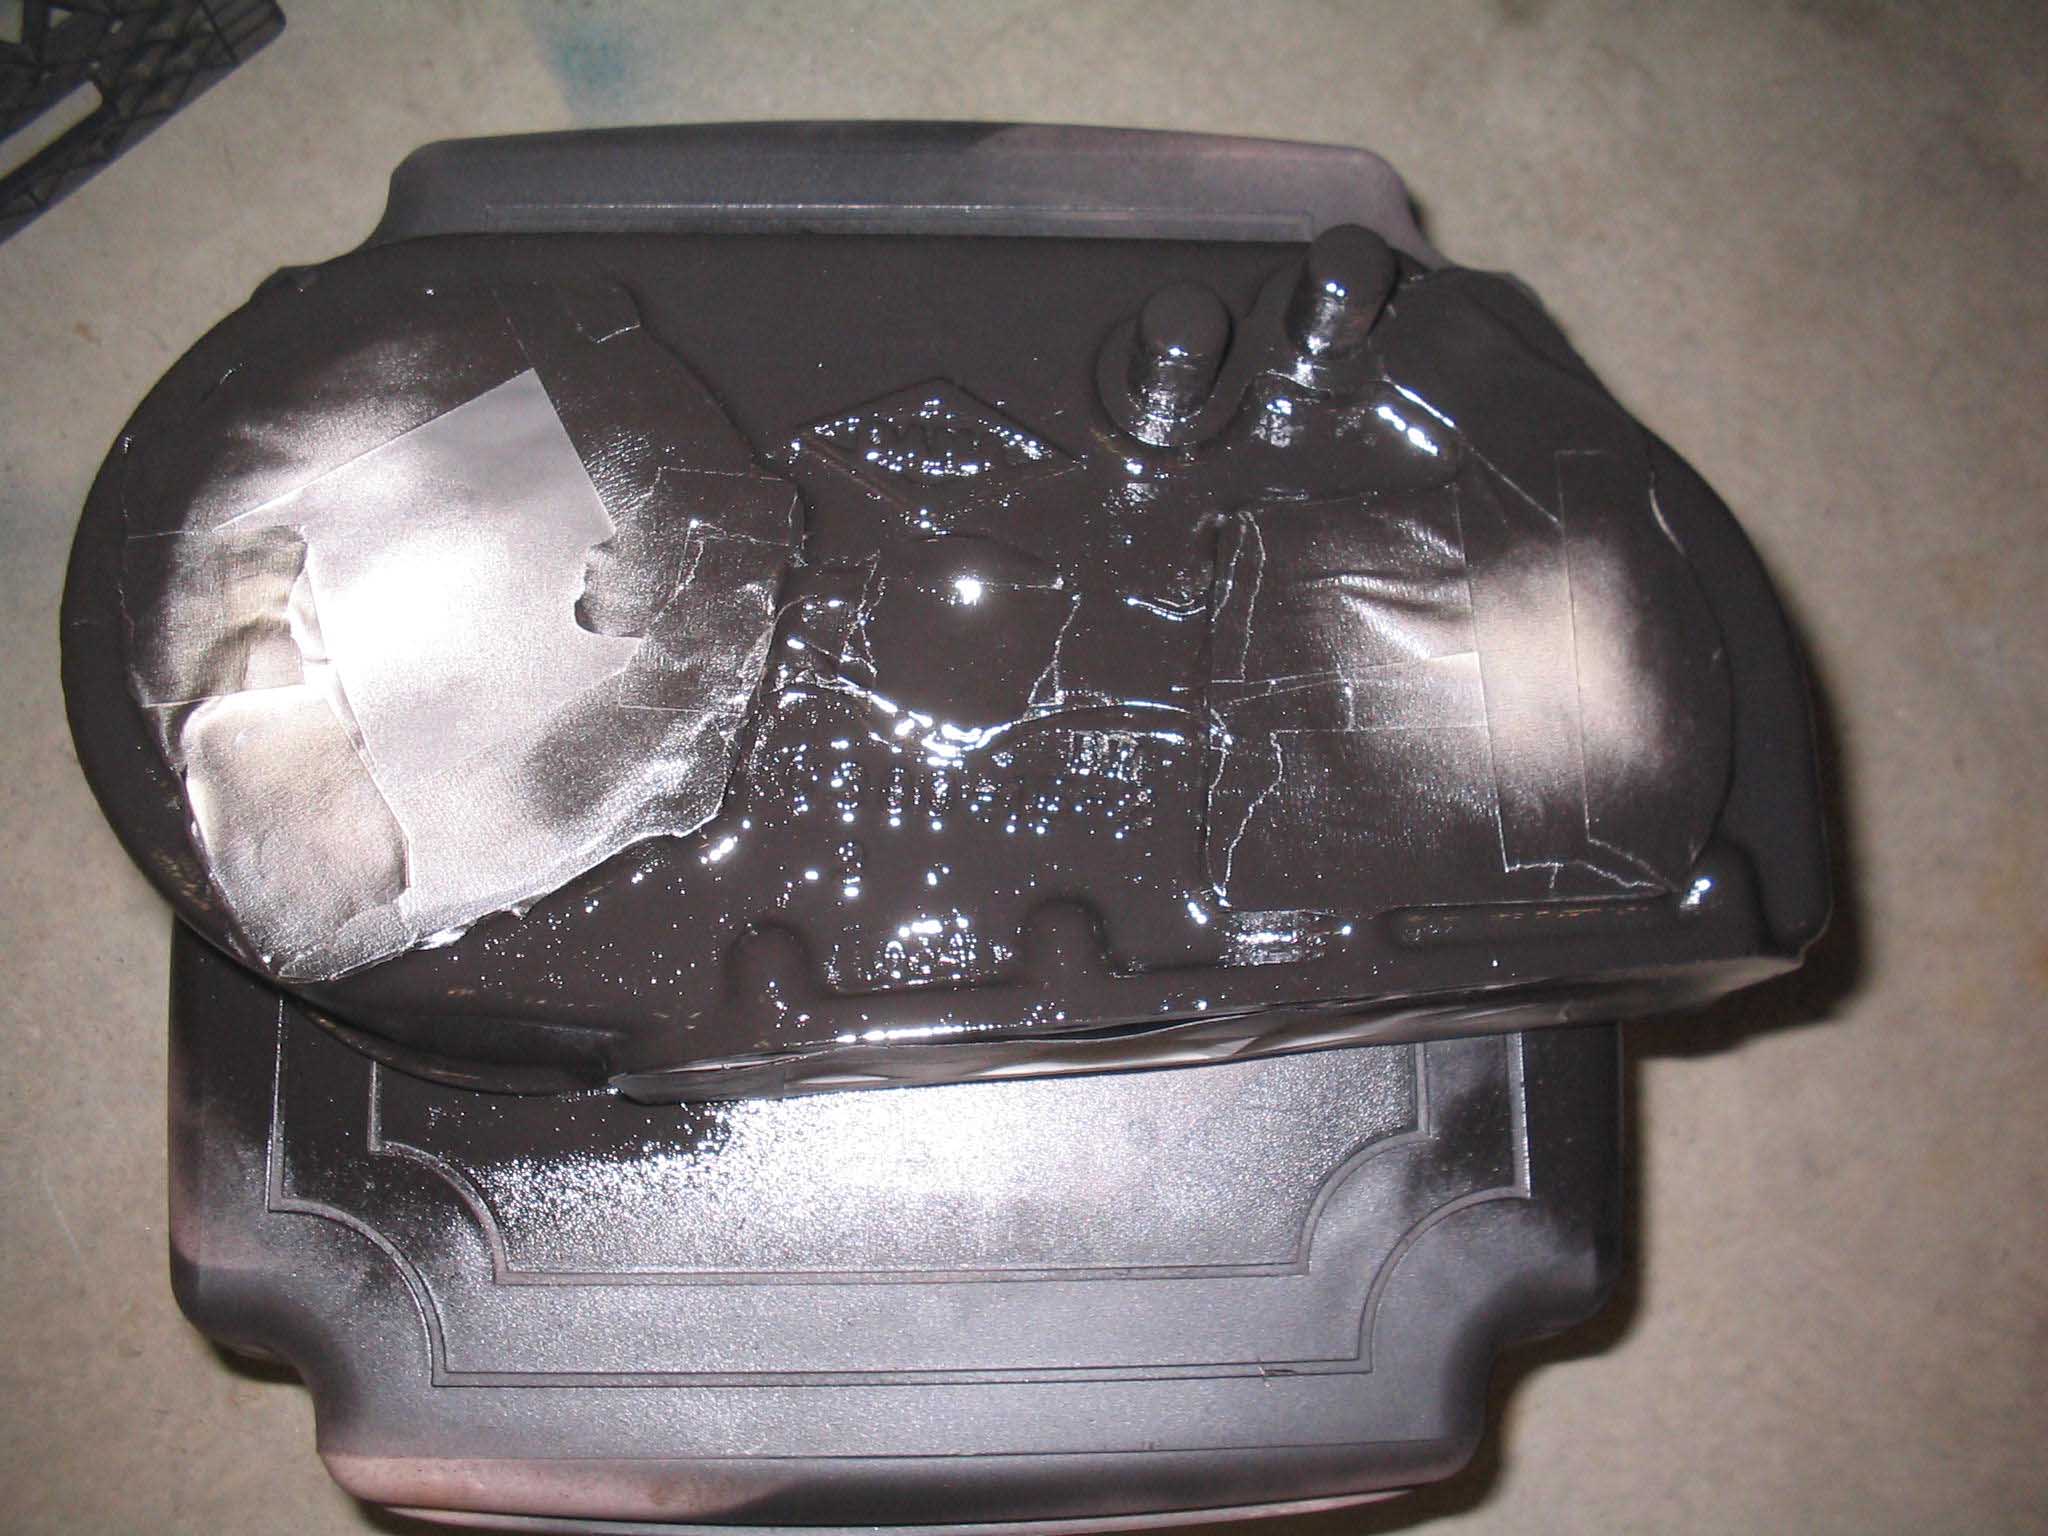
(02/15/08) I was able to clean up a lot of parts and get them ready for paint.
I sprayed them before I went in and now today, I hope to finish the cleaning of the aluminum parts and start
the rebuild process. Just a few more things to do and I should be able to put this back together.
cb (02/15/08)
|
| |
| << Previous |
Next >> |