|
|
| Project "Free Jeep" a.k.a Project "FJ" - part #49 |
| |
|
1
2
3
4
5
6
7
8
9
10
11
12
13
14
15
16
17
18
19
20
21
22
23
24
25
26
27
28
29
30
31
32
33
34
35
36
37
38
39
40
41
42
43
44
45
46
47
48
49
50
51
52
53
54
55
56
57
58
59
60
61
62
63
64
65
66
67
68
69
70
71
72
73
|
| |
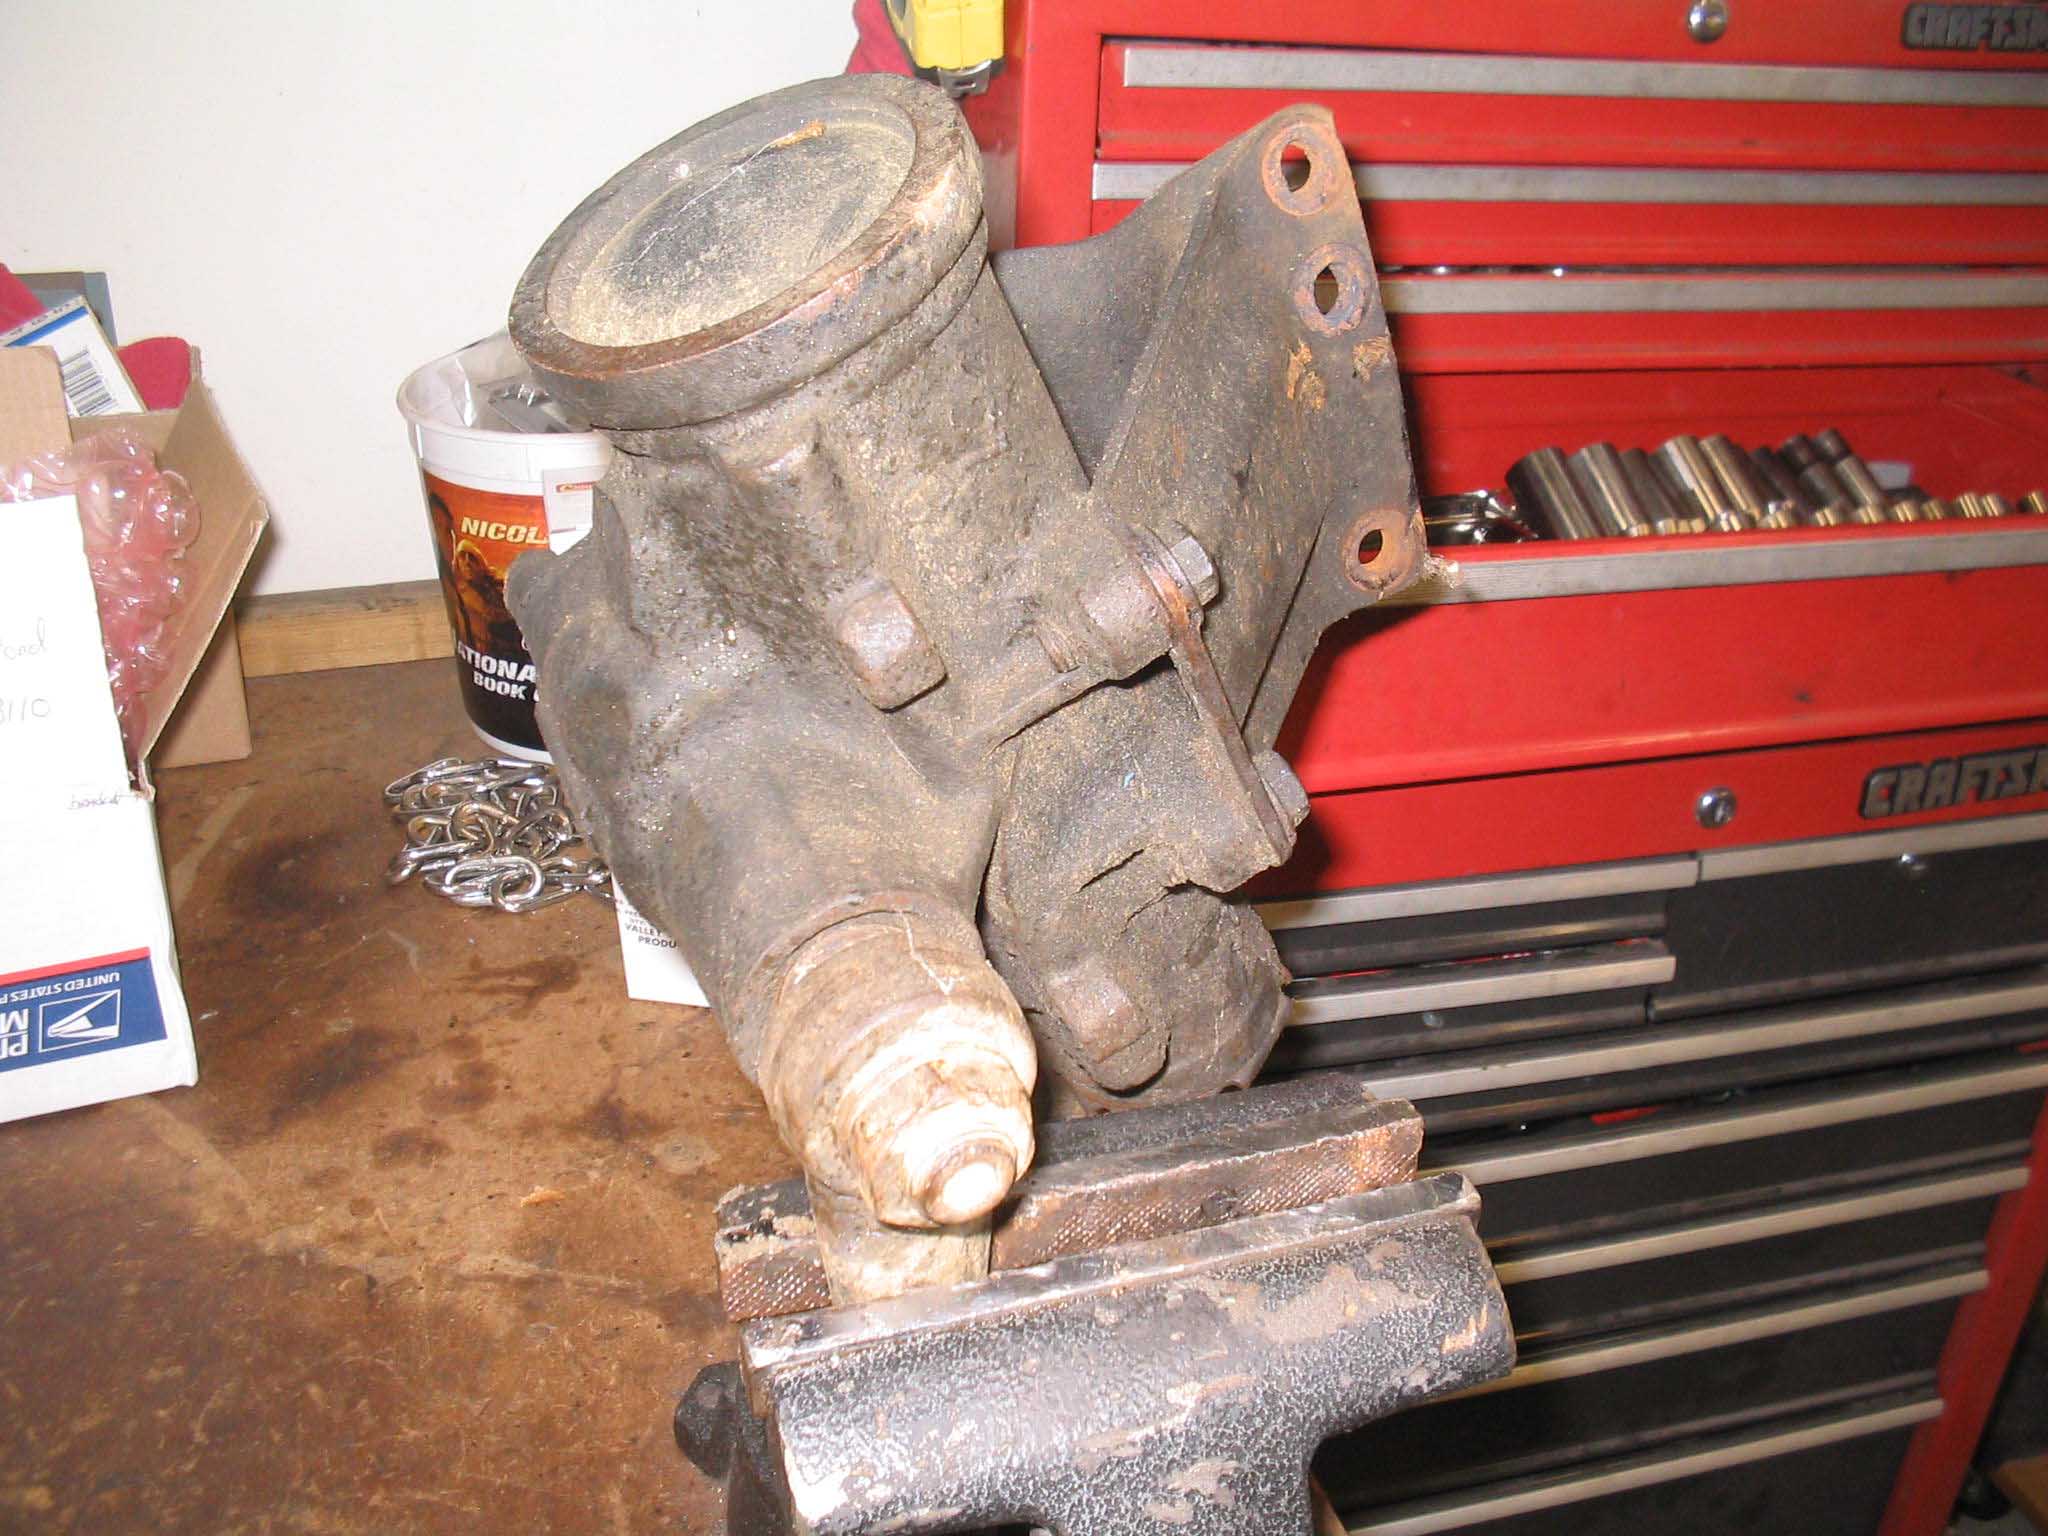
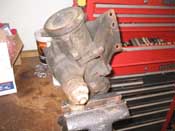
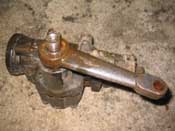
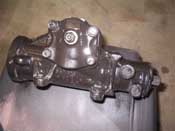
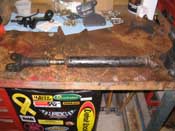
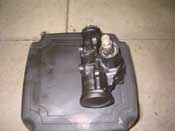
| (03/09/08) I don't have a whole lot to report. I went out to the shed and fished
out the power steering gear. Now that I have the pump situated, I wanted to put on the new steering bracket and
make sure everything fit. I thought it would be a quick thing, but alas, it was not.
|
| |
|

|
|
|
| |
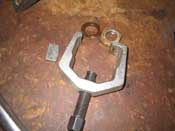
I got the old mount off, which is great because that takes some doing with those
inverted "star" bolts, so I thought I was on my way to easy street, but then the pitman arm puller broke and I was
left to soak the pitman arm in pb blaster and go out and get a new one. I just picked one up and I am headed
outside in a few to continue the work.
cb (03/09/08)
|
| |
|
|
|

|
|
|
| |
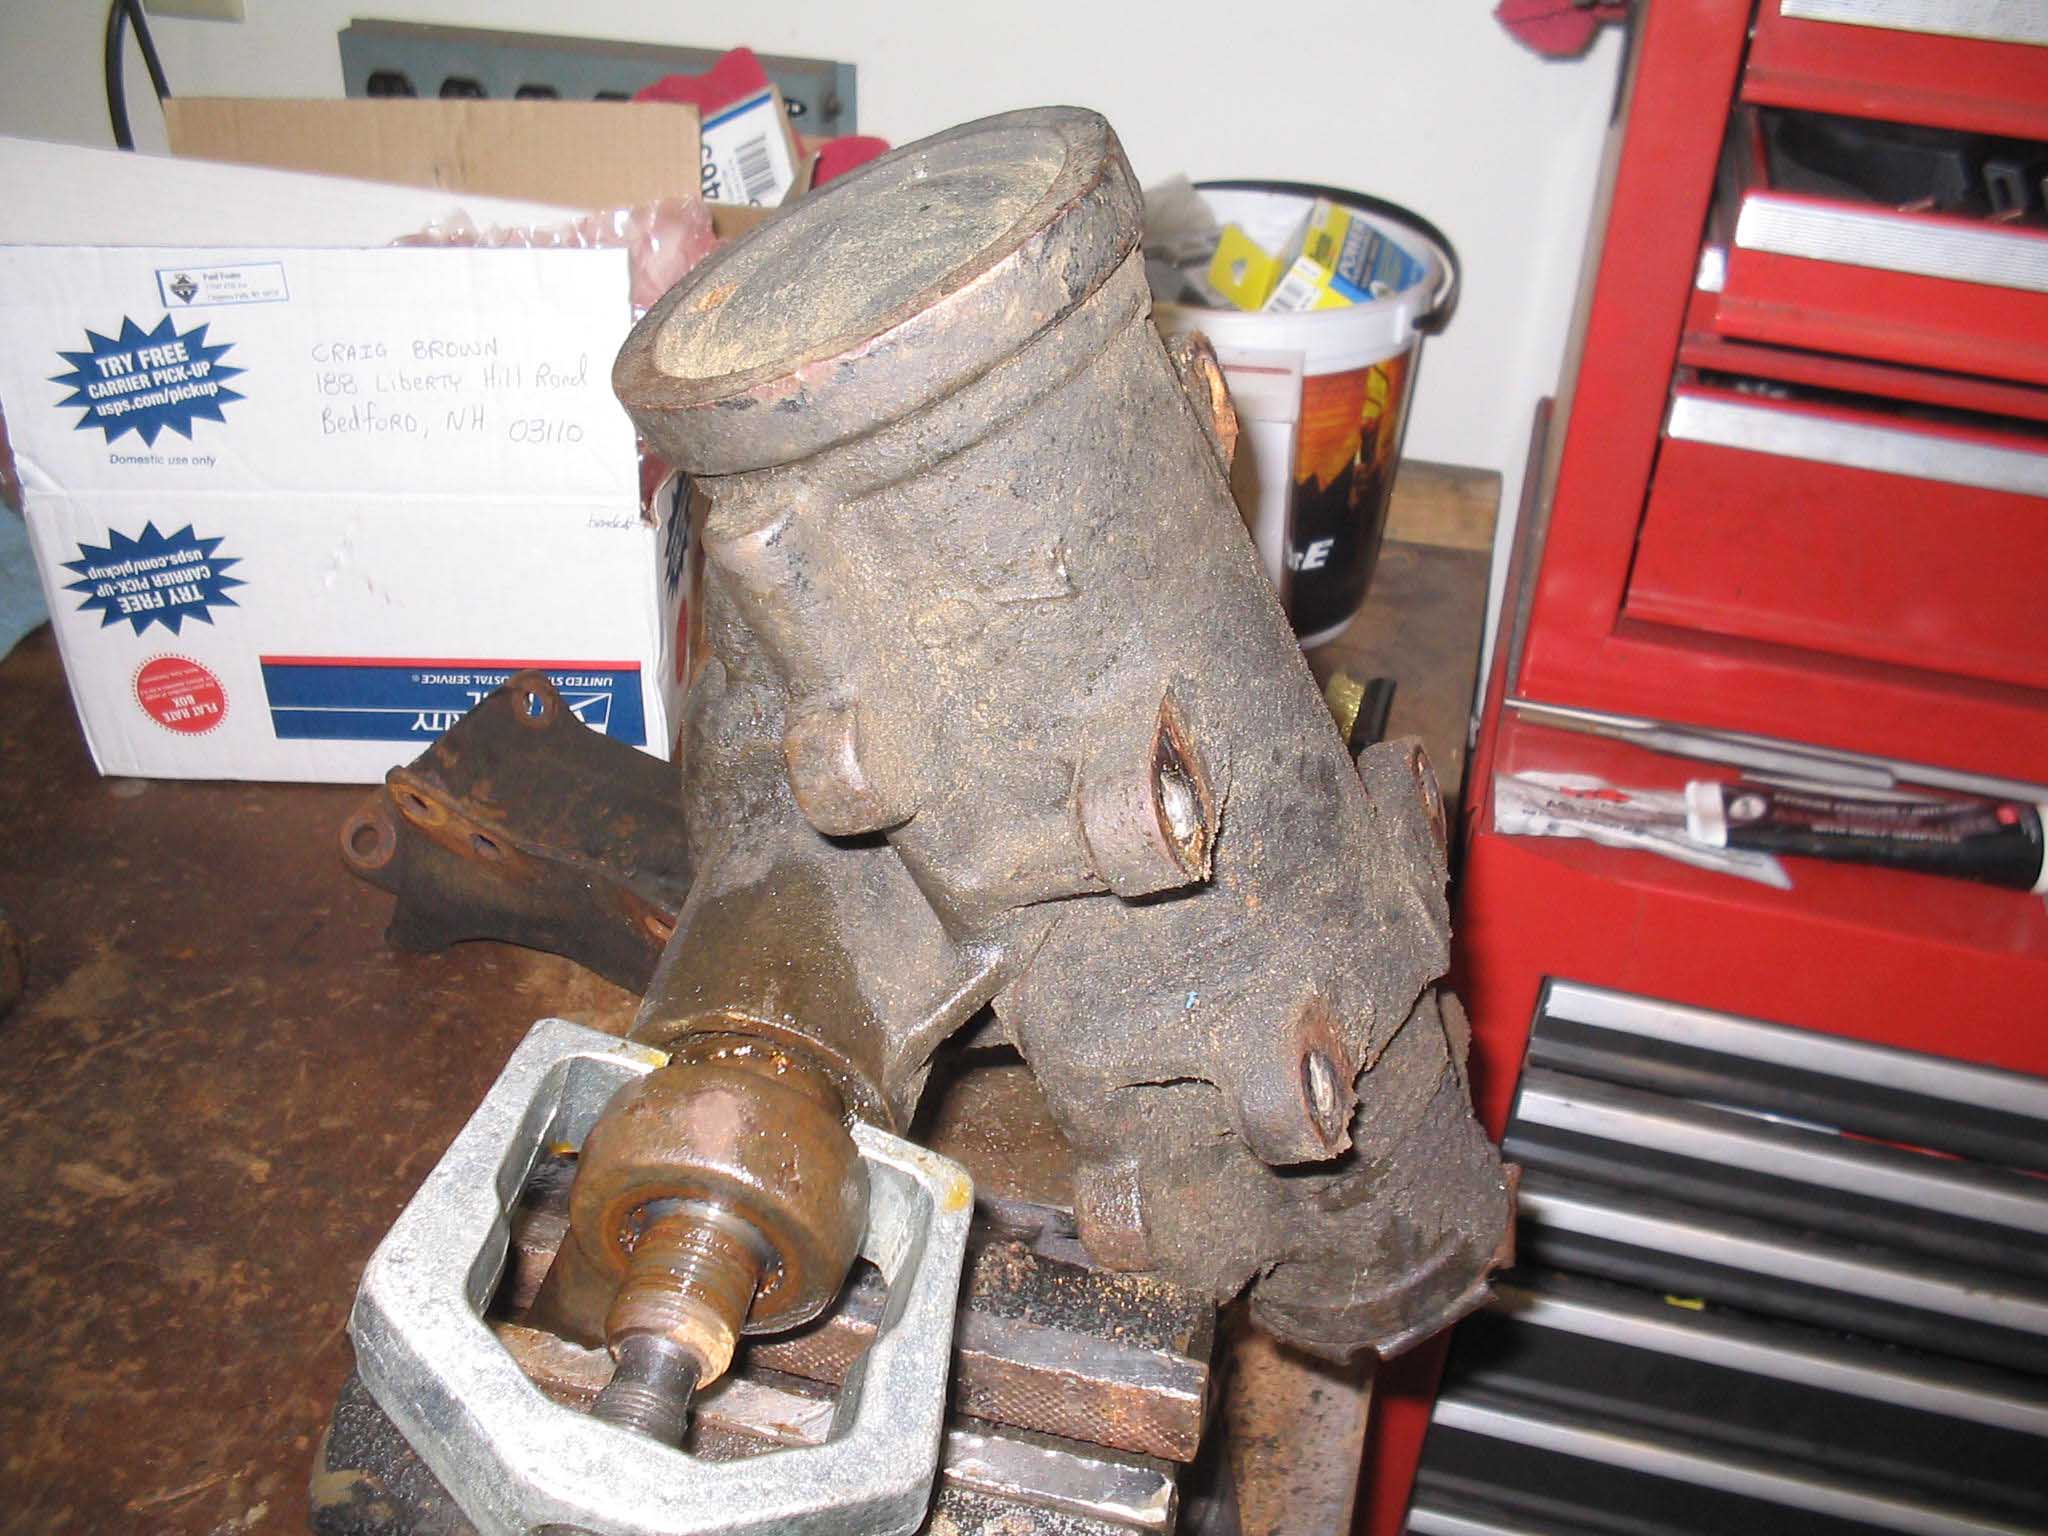
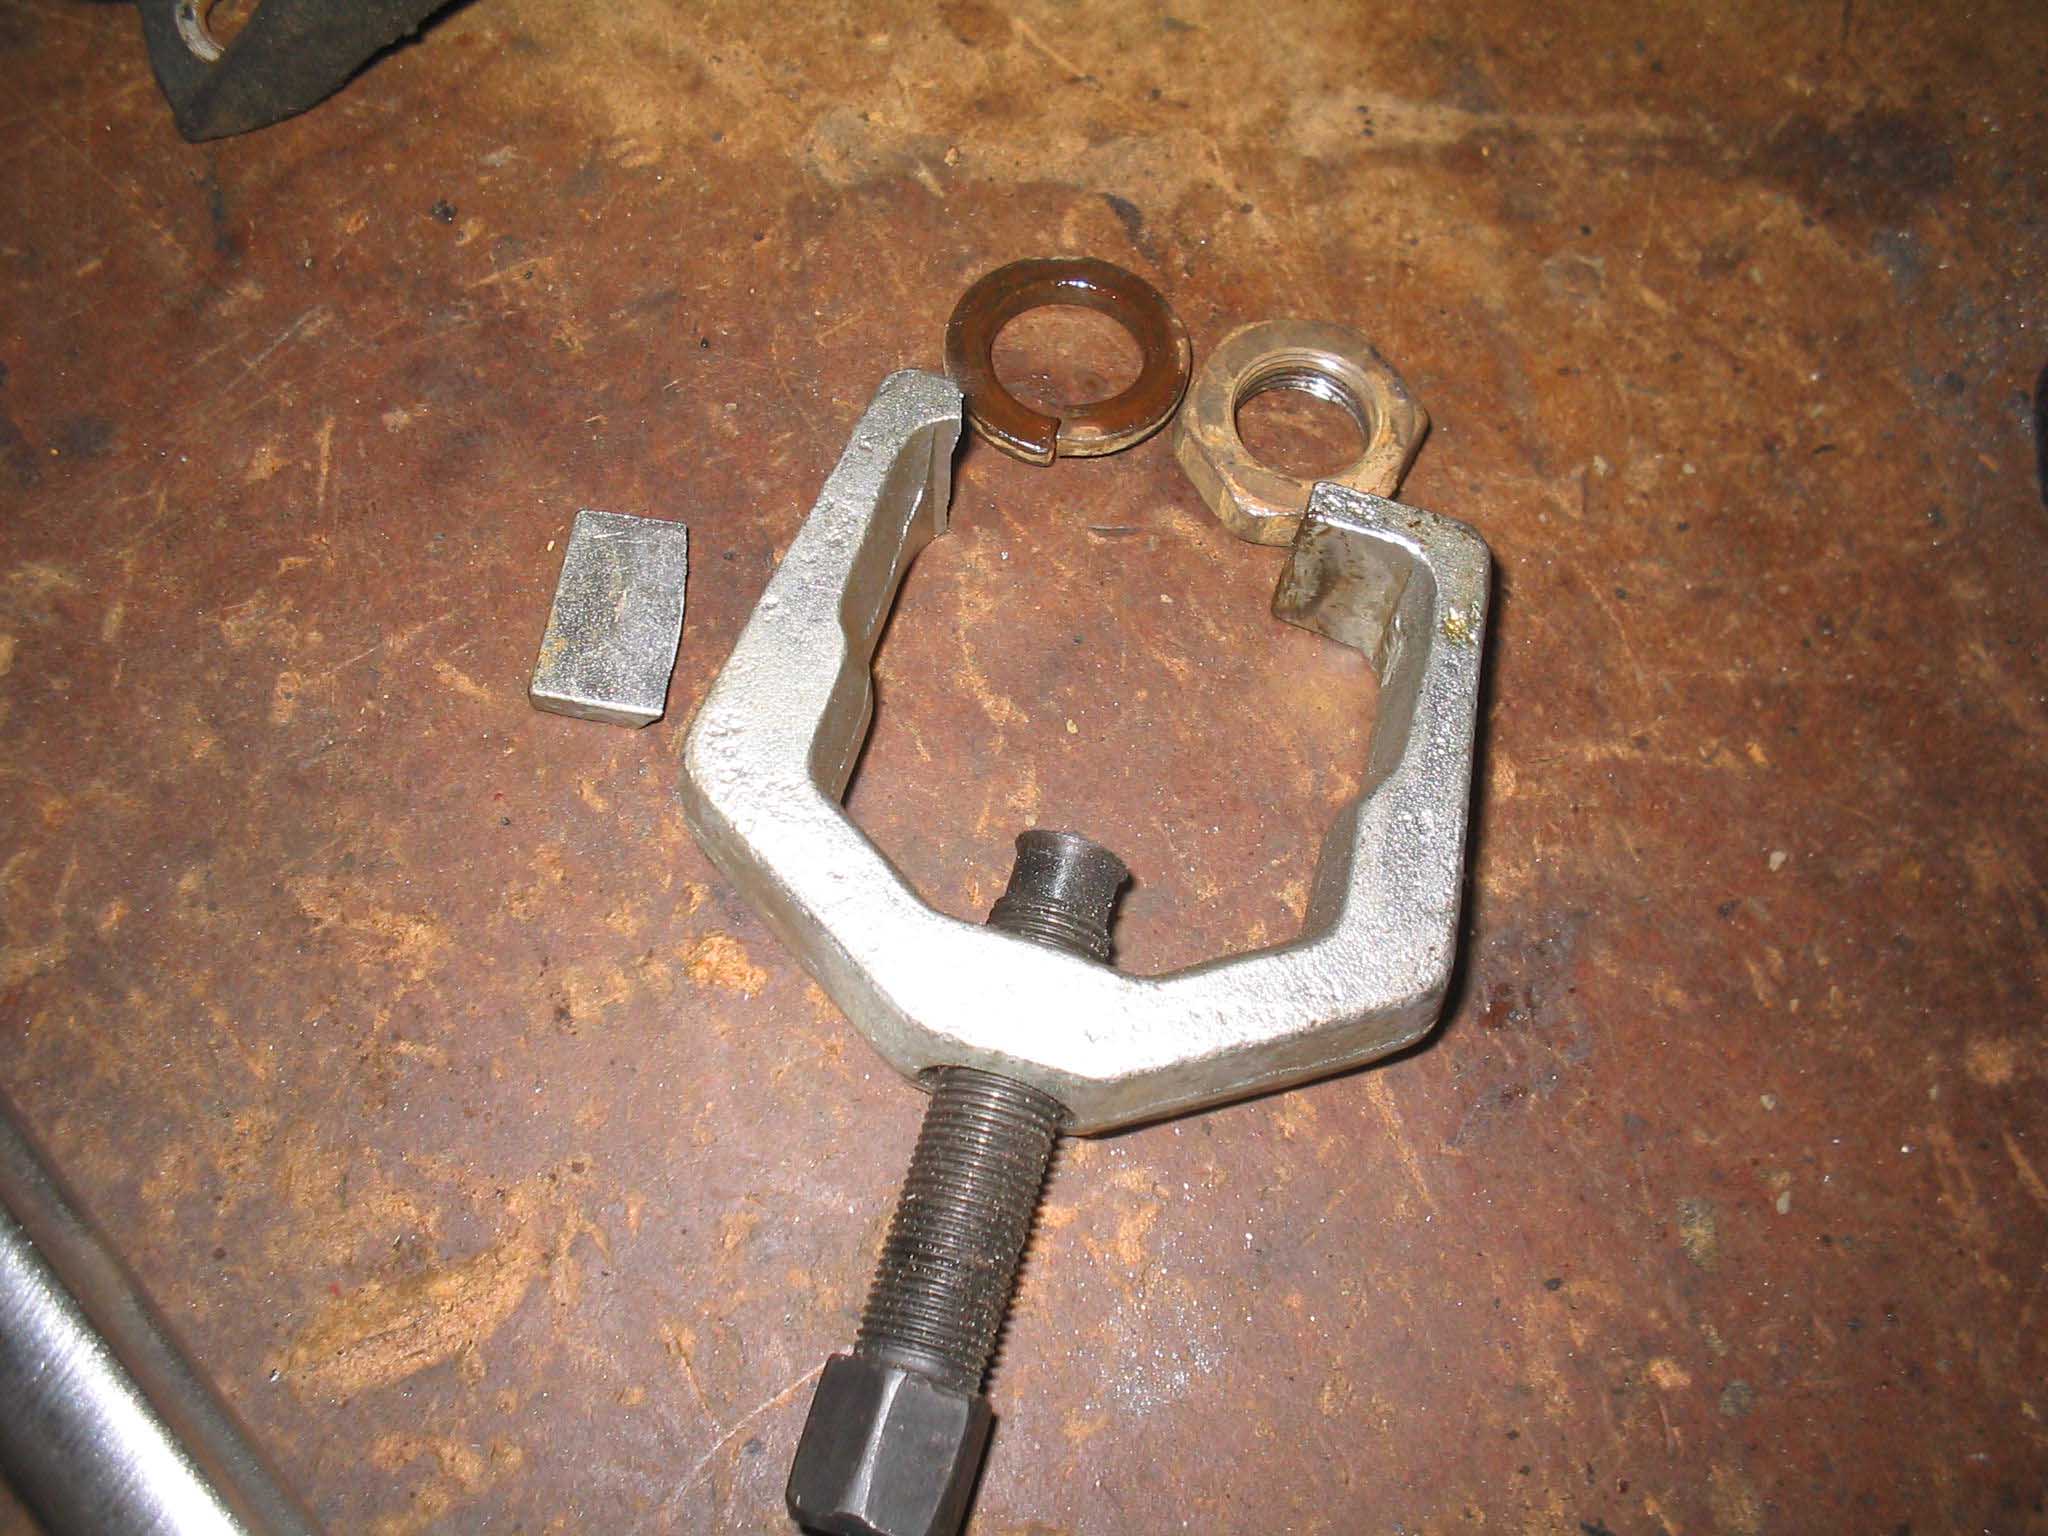
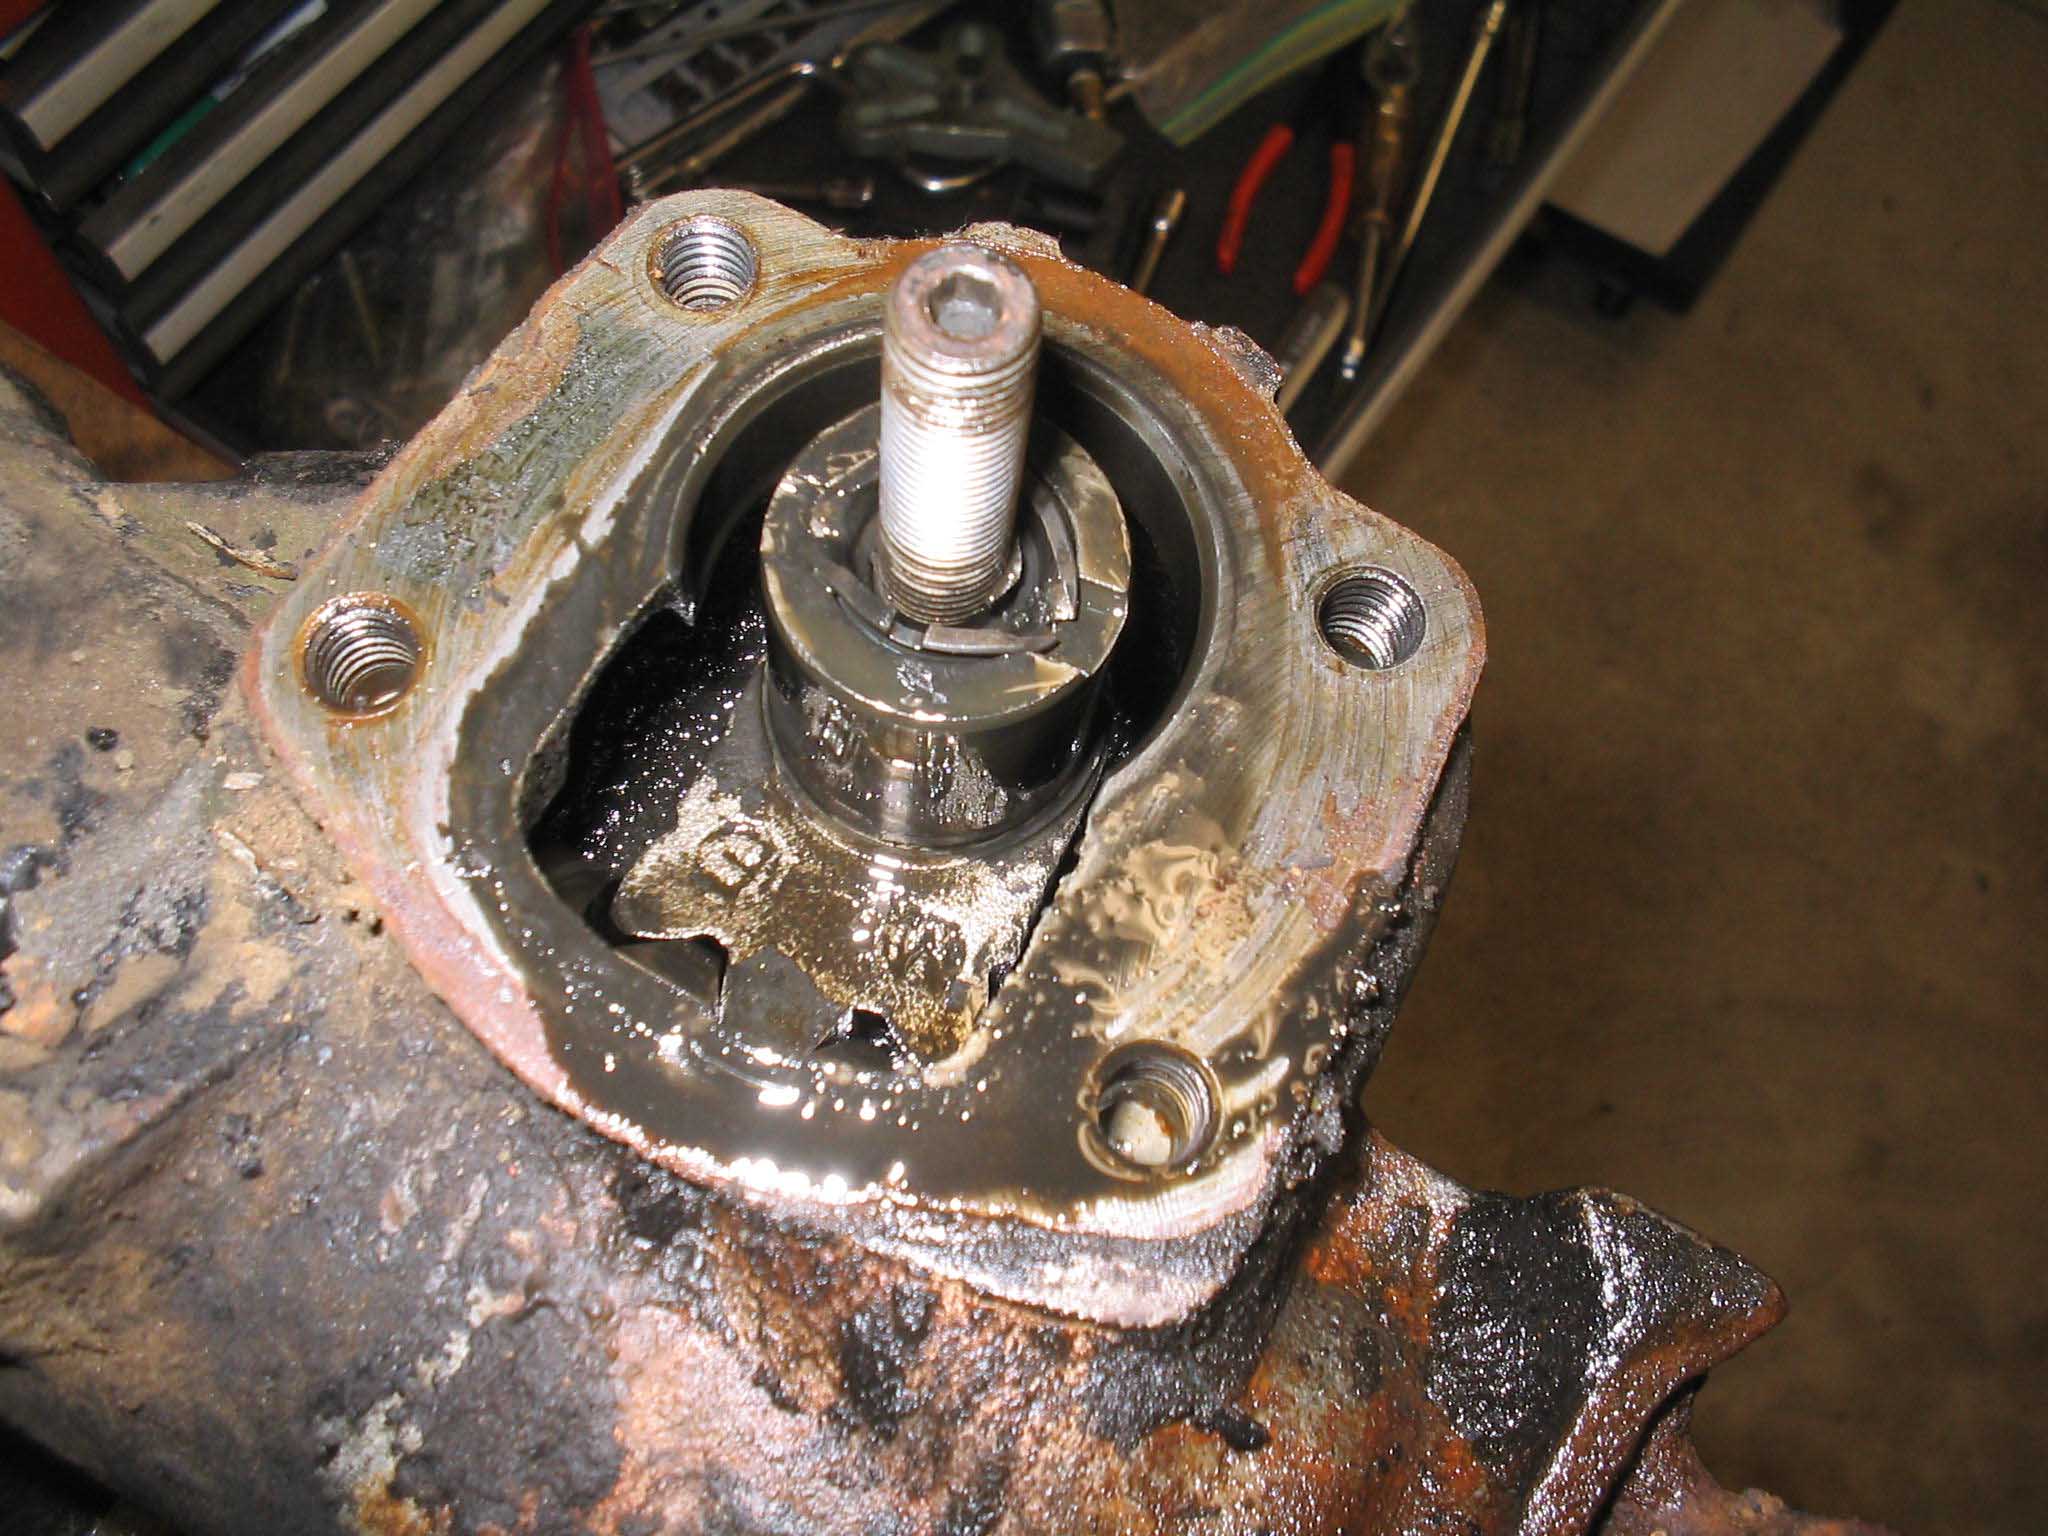
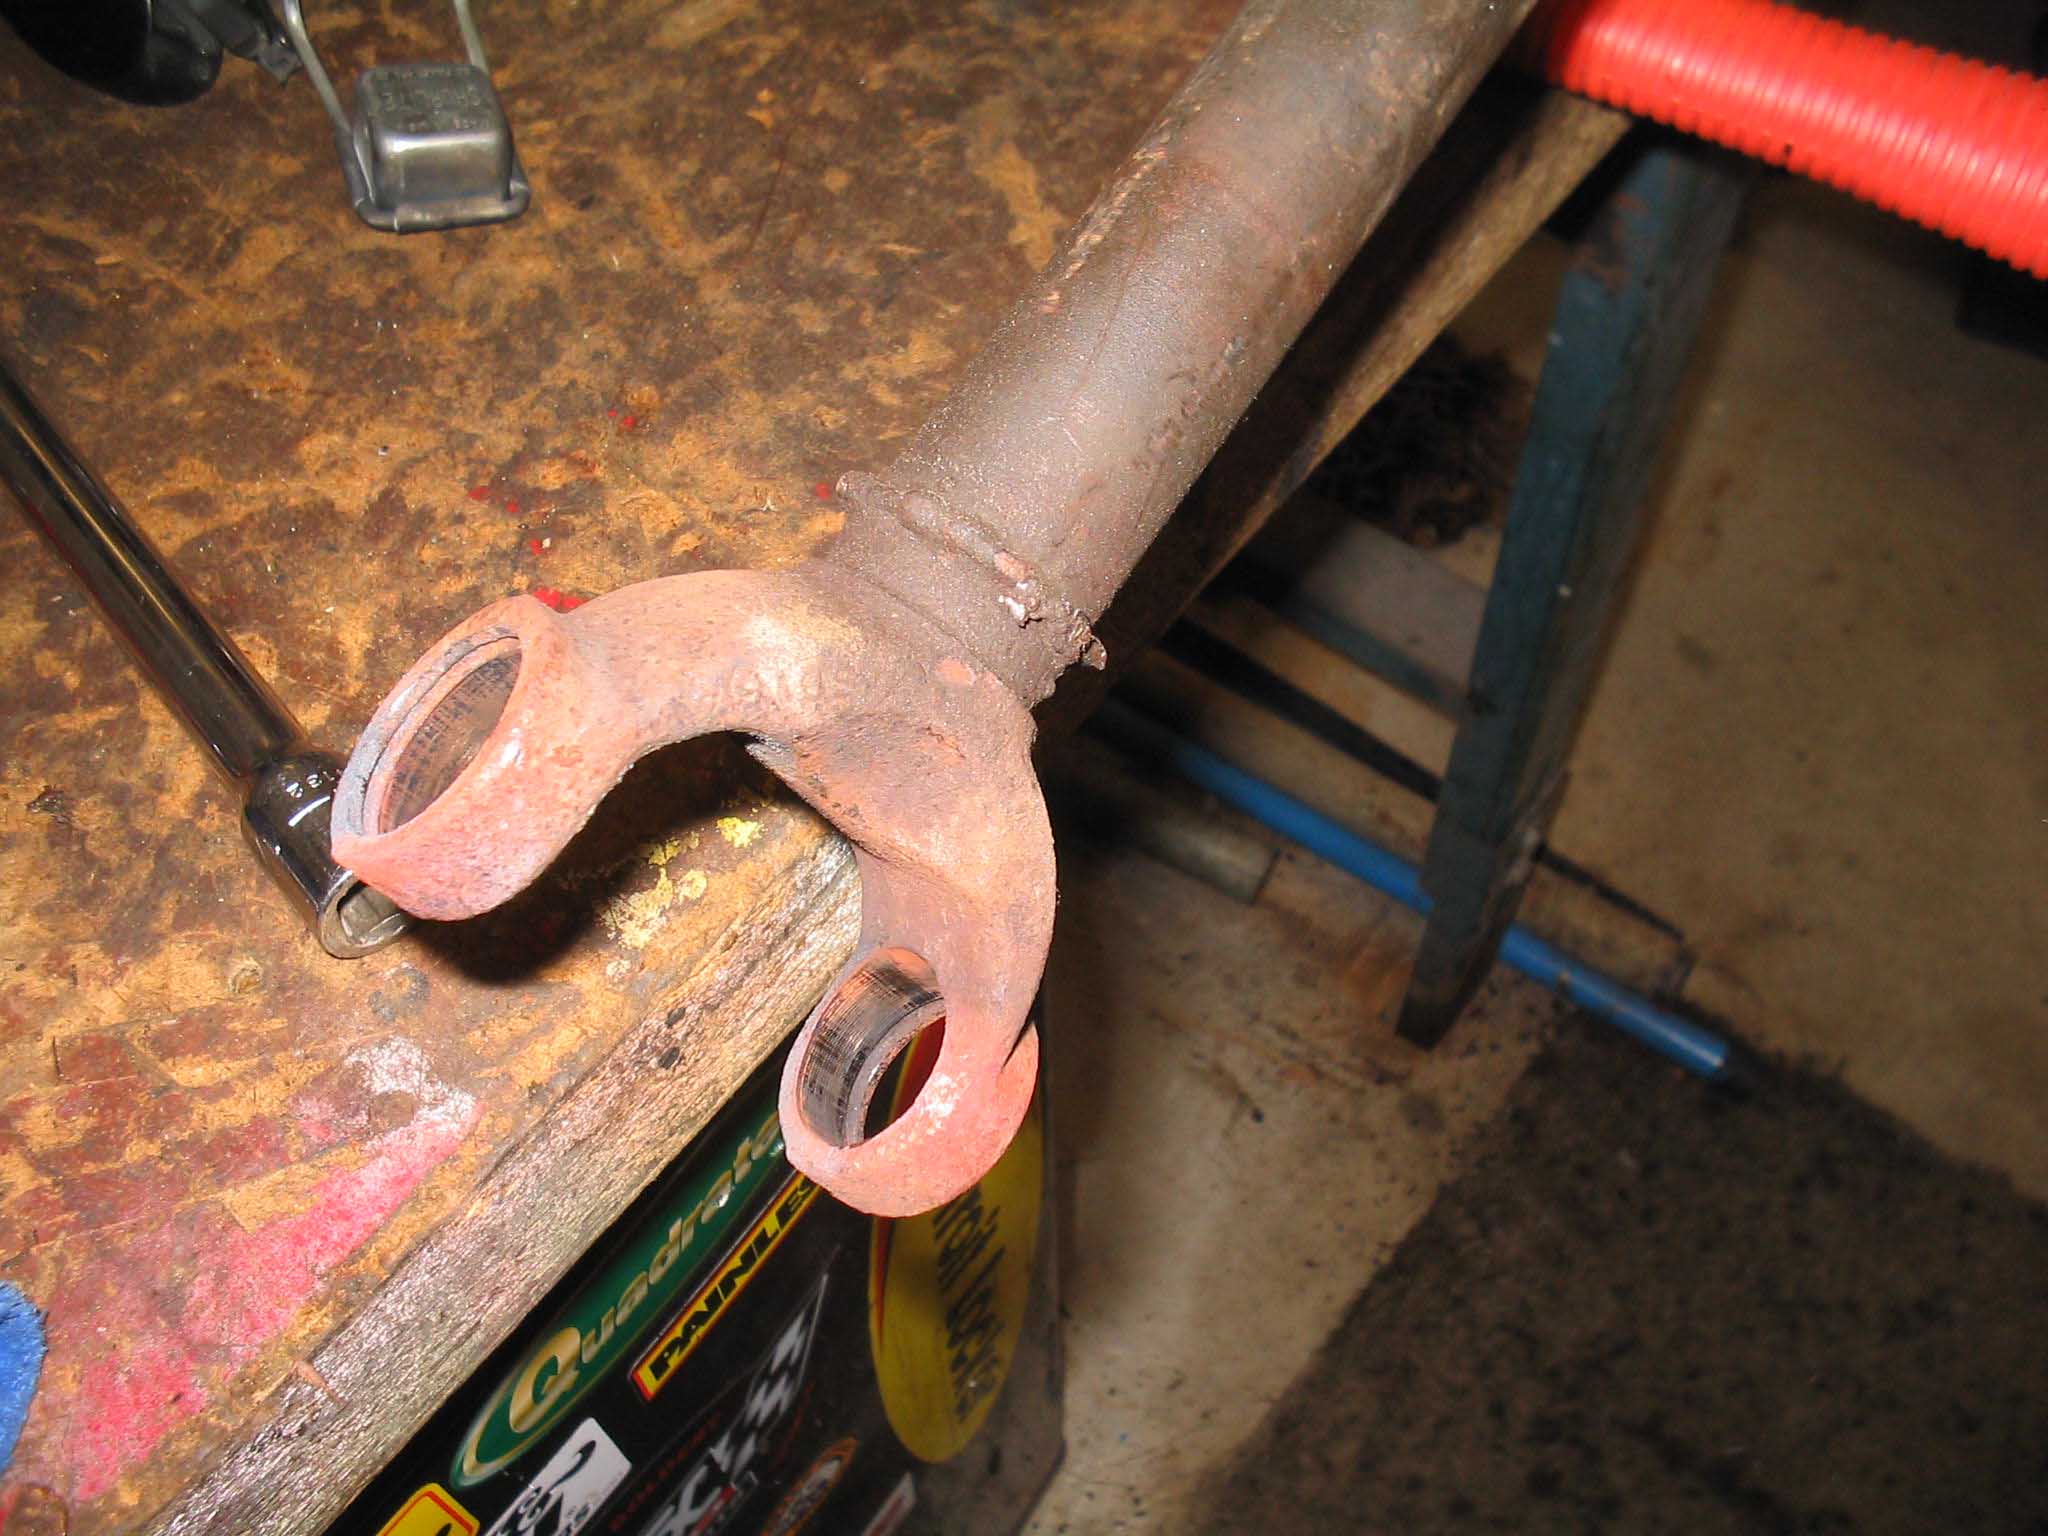
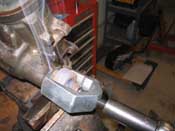
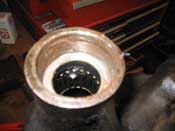
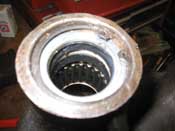
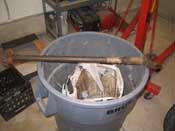
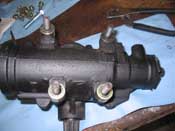
(03/10/08) I started out the day with my new pitman arm puller trying to
get the old pitman arm off. This wasn't too successful. I tried and tried, but even with the pb blaster trying
to break up the rust, it didn't work out too well for me.
So, I fired the torch up and heated up the pitman arm with the puller in place and with that tension and the heat
it popped right off. Here is the downside though. I had been cleaning the power steering gearbox earlier and
the previous night and the cleaning fluid was in the trashcan. One little spark and up it went. You can
see later in the pictures that the top of the trash can melted. Make sure you have a fire extinguisher on hand!
|
| |

|
|
|

|
|
|
| |
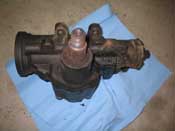
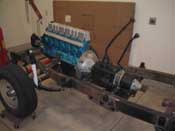
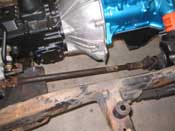
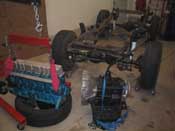
| I then moved onto cleaning up the gear and painting it. With that set, I attempted
to put the transfer case in place. The shifter had to be taken off to get it in place as it was hitting the side
of the T-18. It is a tight fit, but I think it will work out just fine. I didn't get all 6 bolts in either, I
only got 4 but the others will go on with no problem, I just have to contort to get them in there!
|
| |
|

|
|

|
|

|
| |
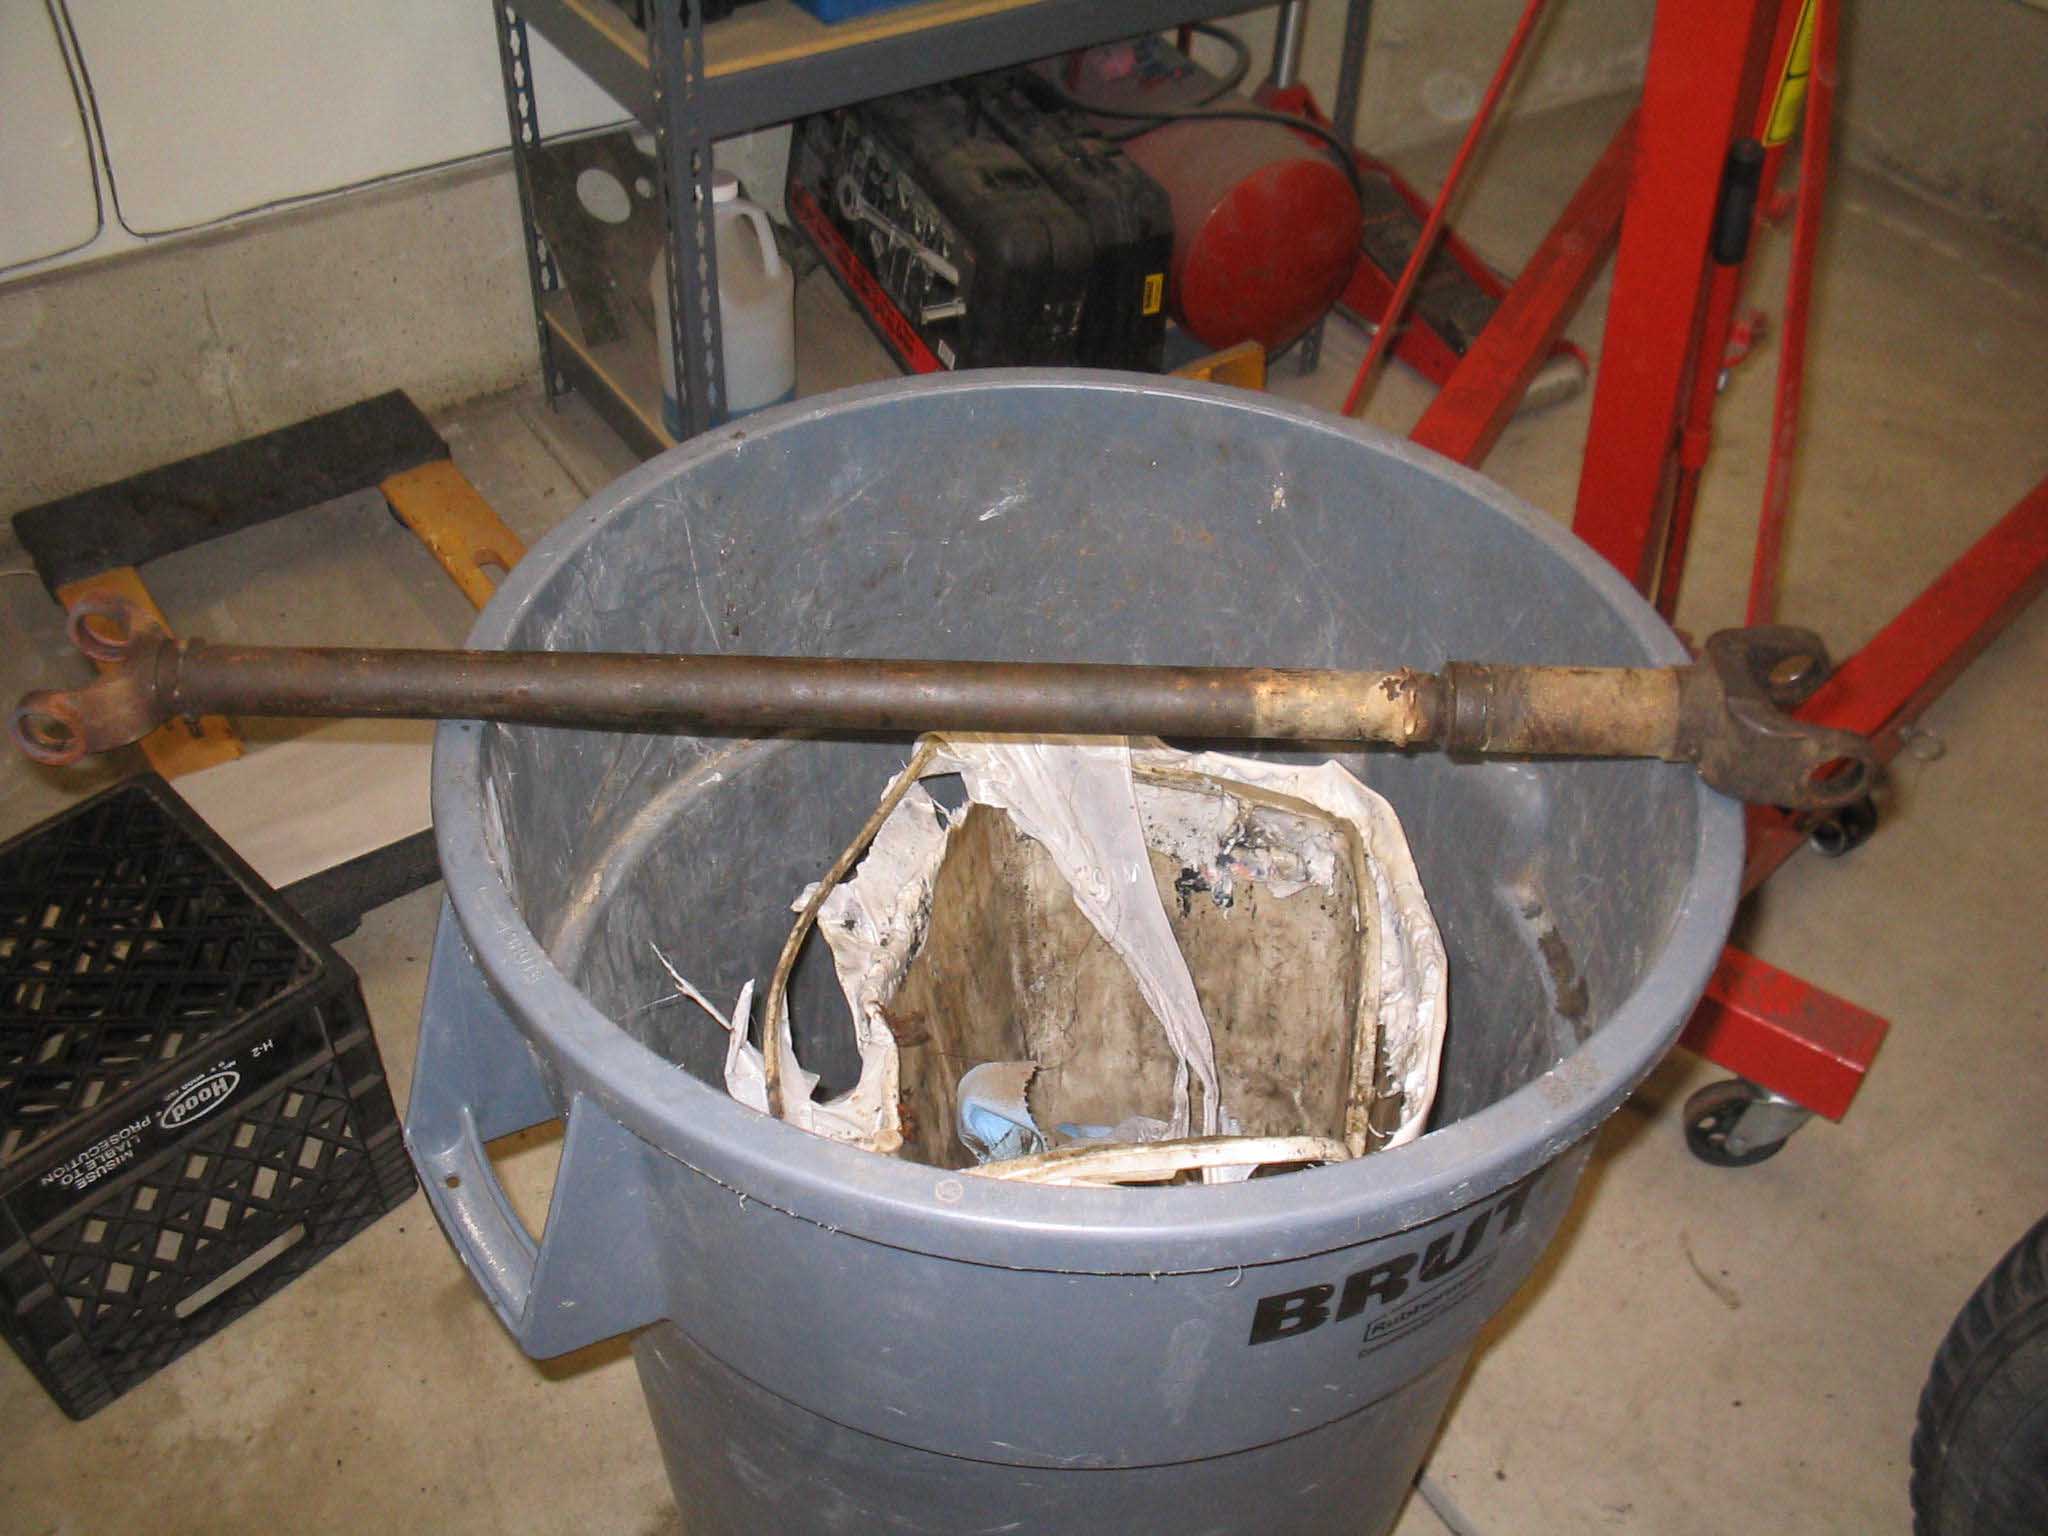
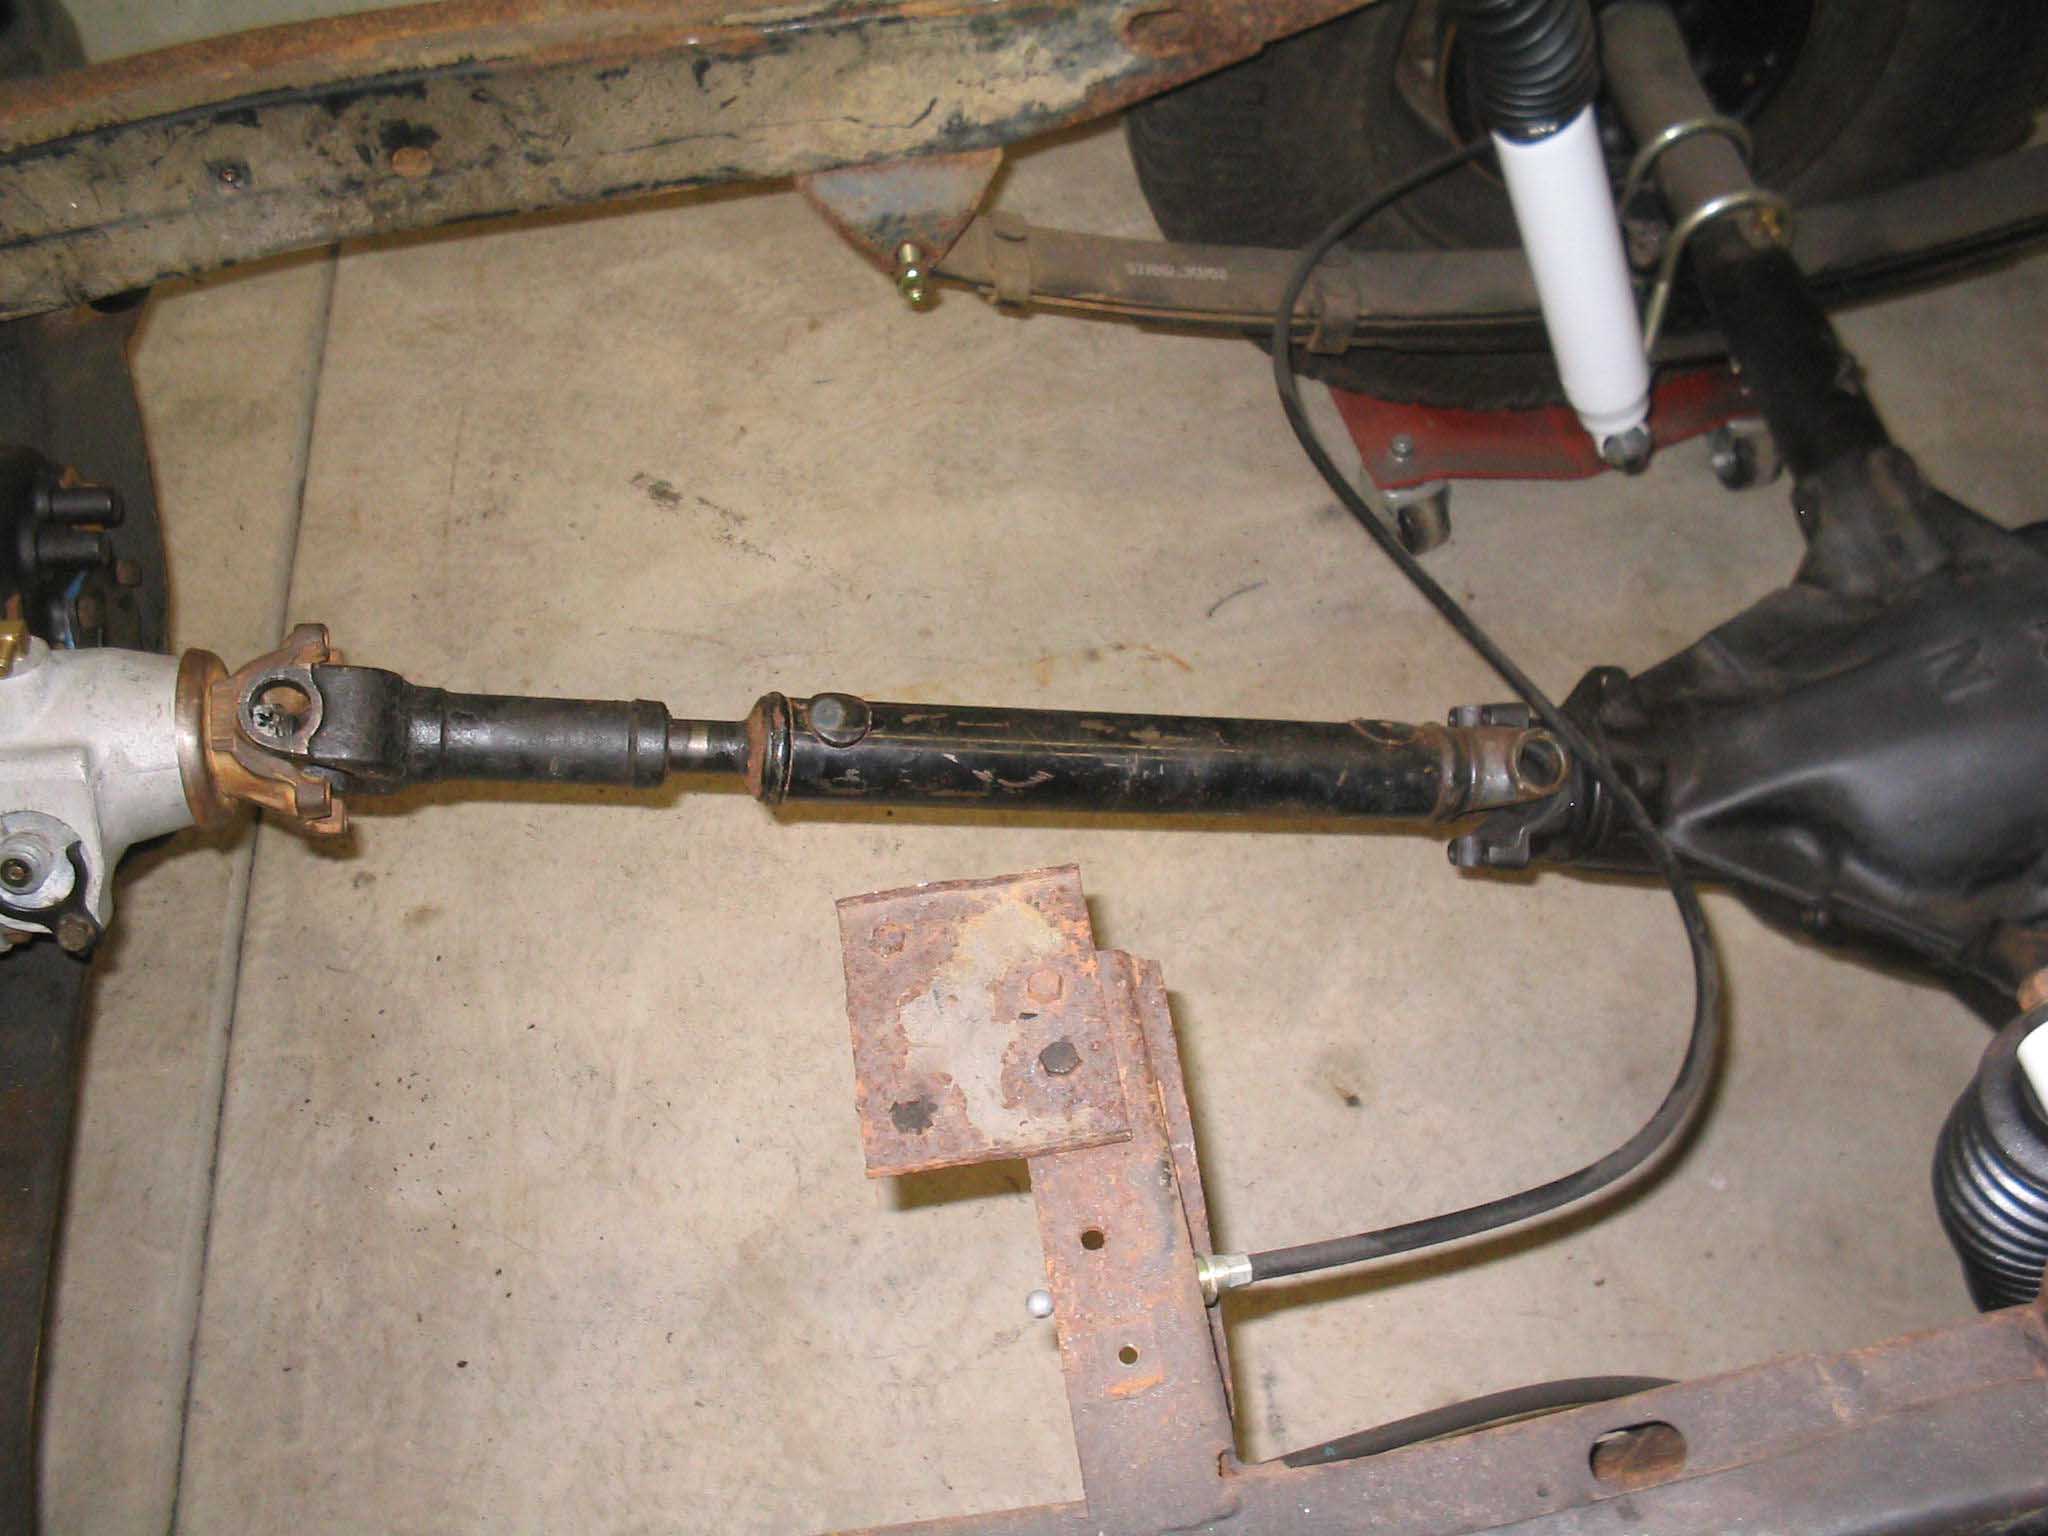
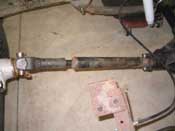
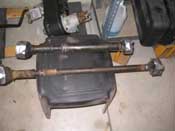
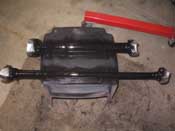
I tried out the drive shafts that I had gotten over the years. They seem like they
will work, I just have to get the rear cut down a bit and maybe the front one a bit, not sure really. I have to
find a driveline shop and explain what it is that I want to do.
I laid out the parts for the gear box mount to make sure they were all there and tomorrow or later this week I hope
to get around to installing the new mount and gear box.
cb (03/10/08)
|
| |

|
|

|

|

|
|
| |
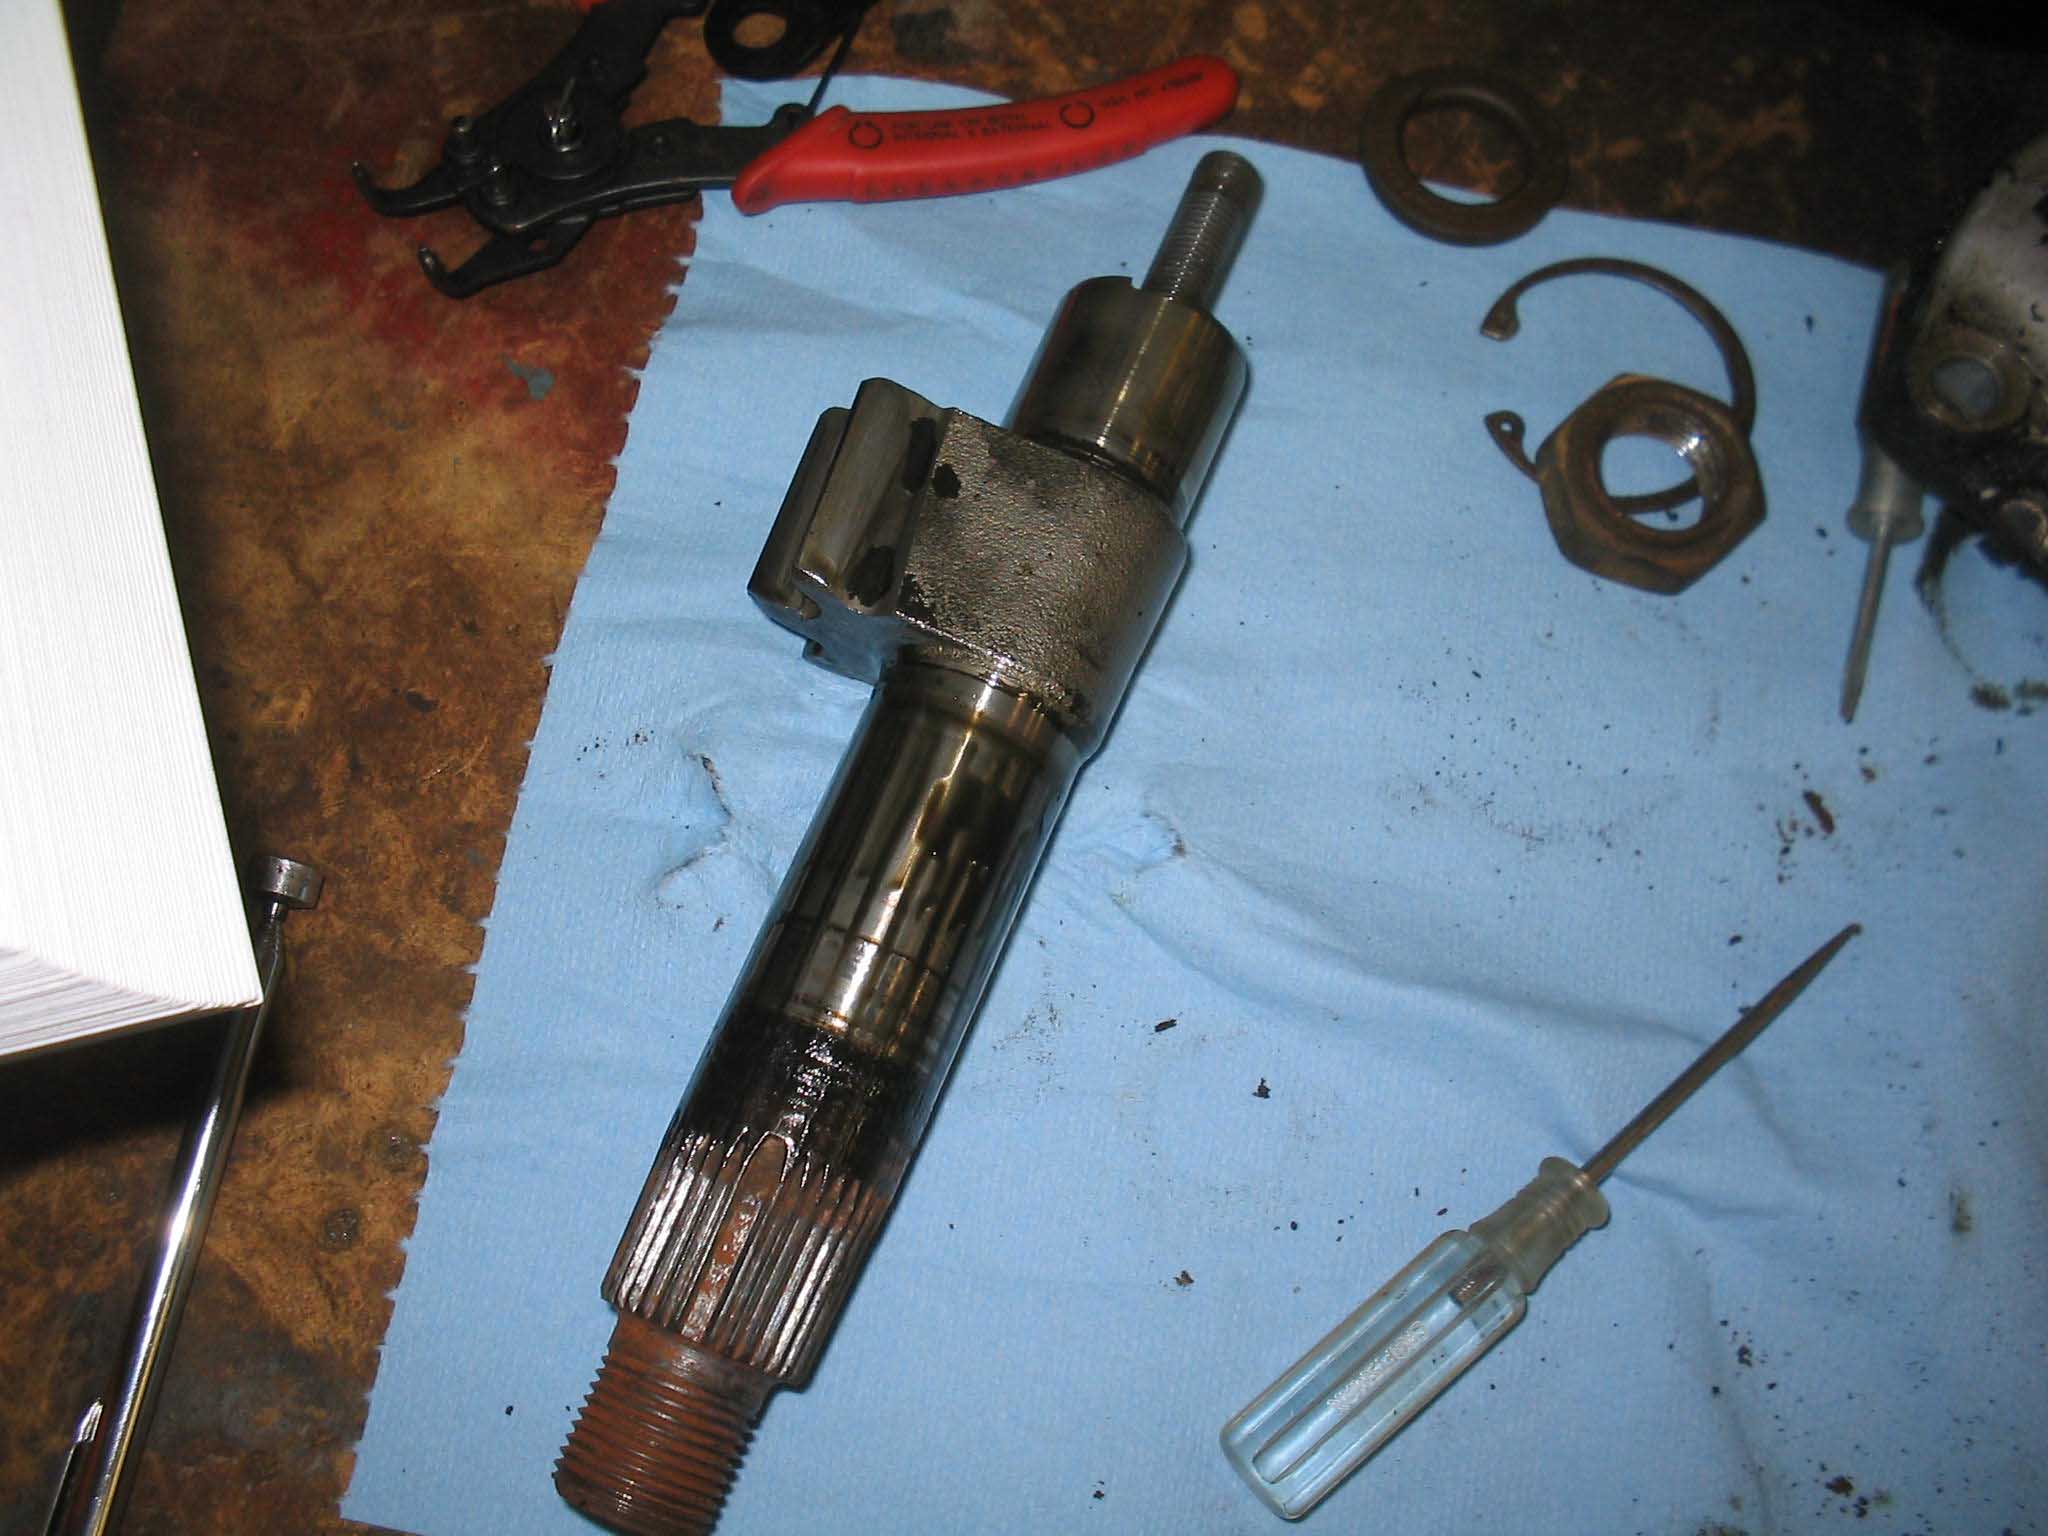
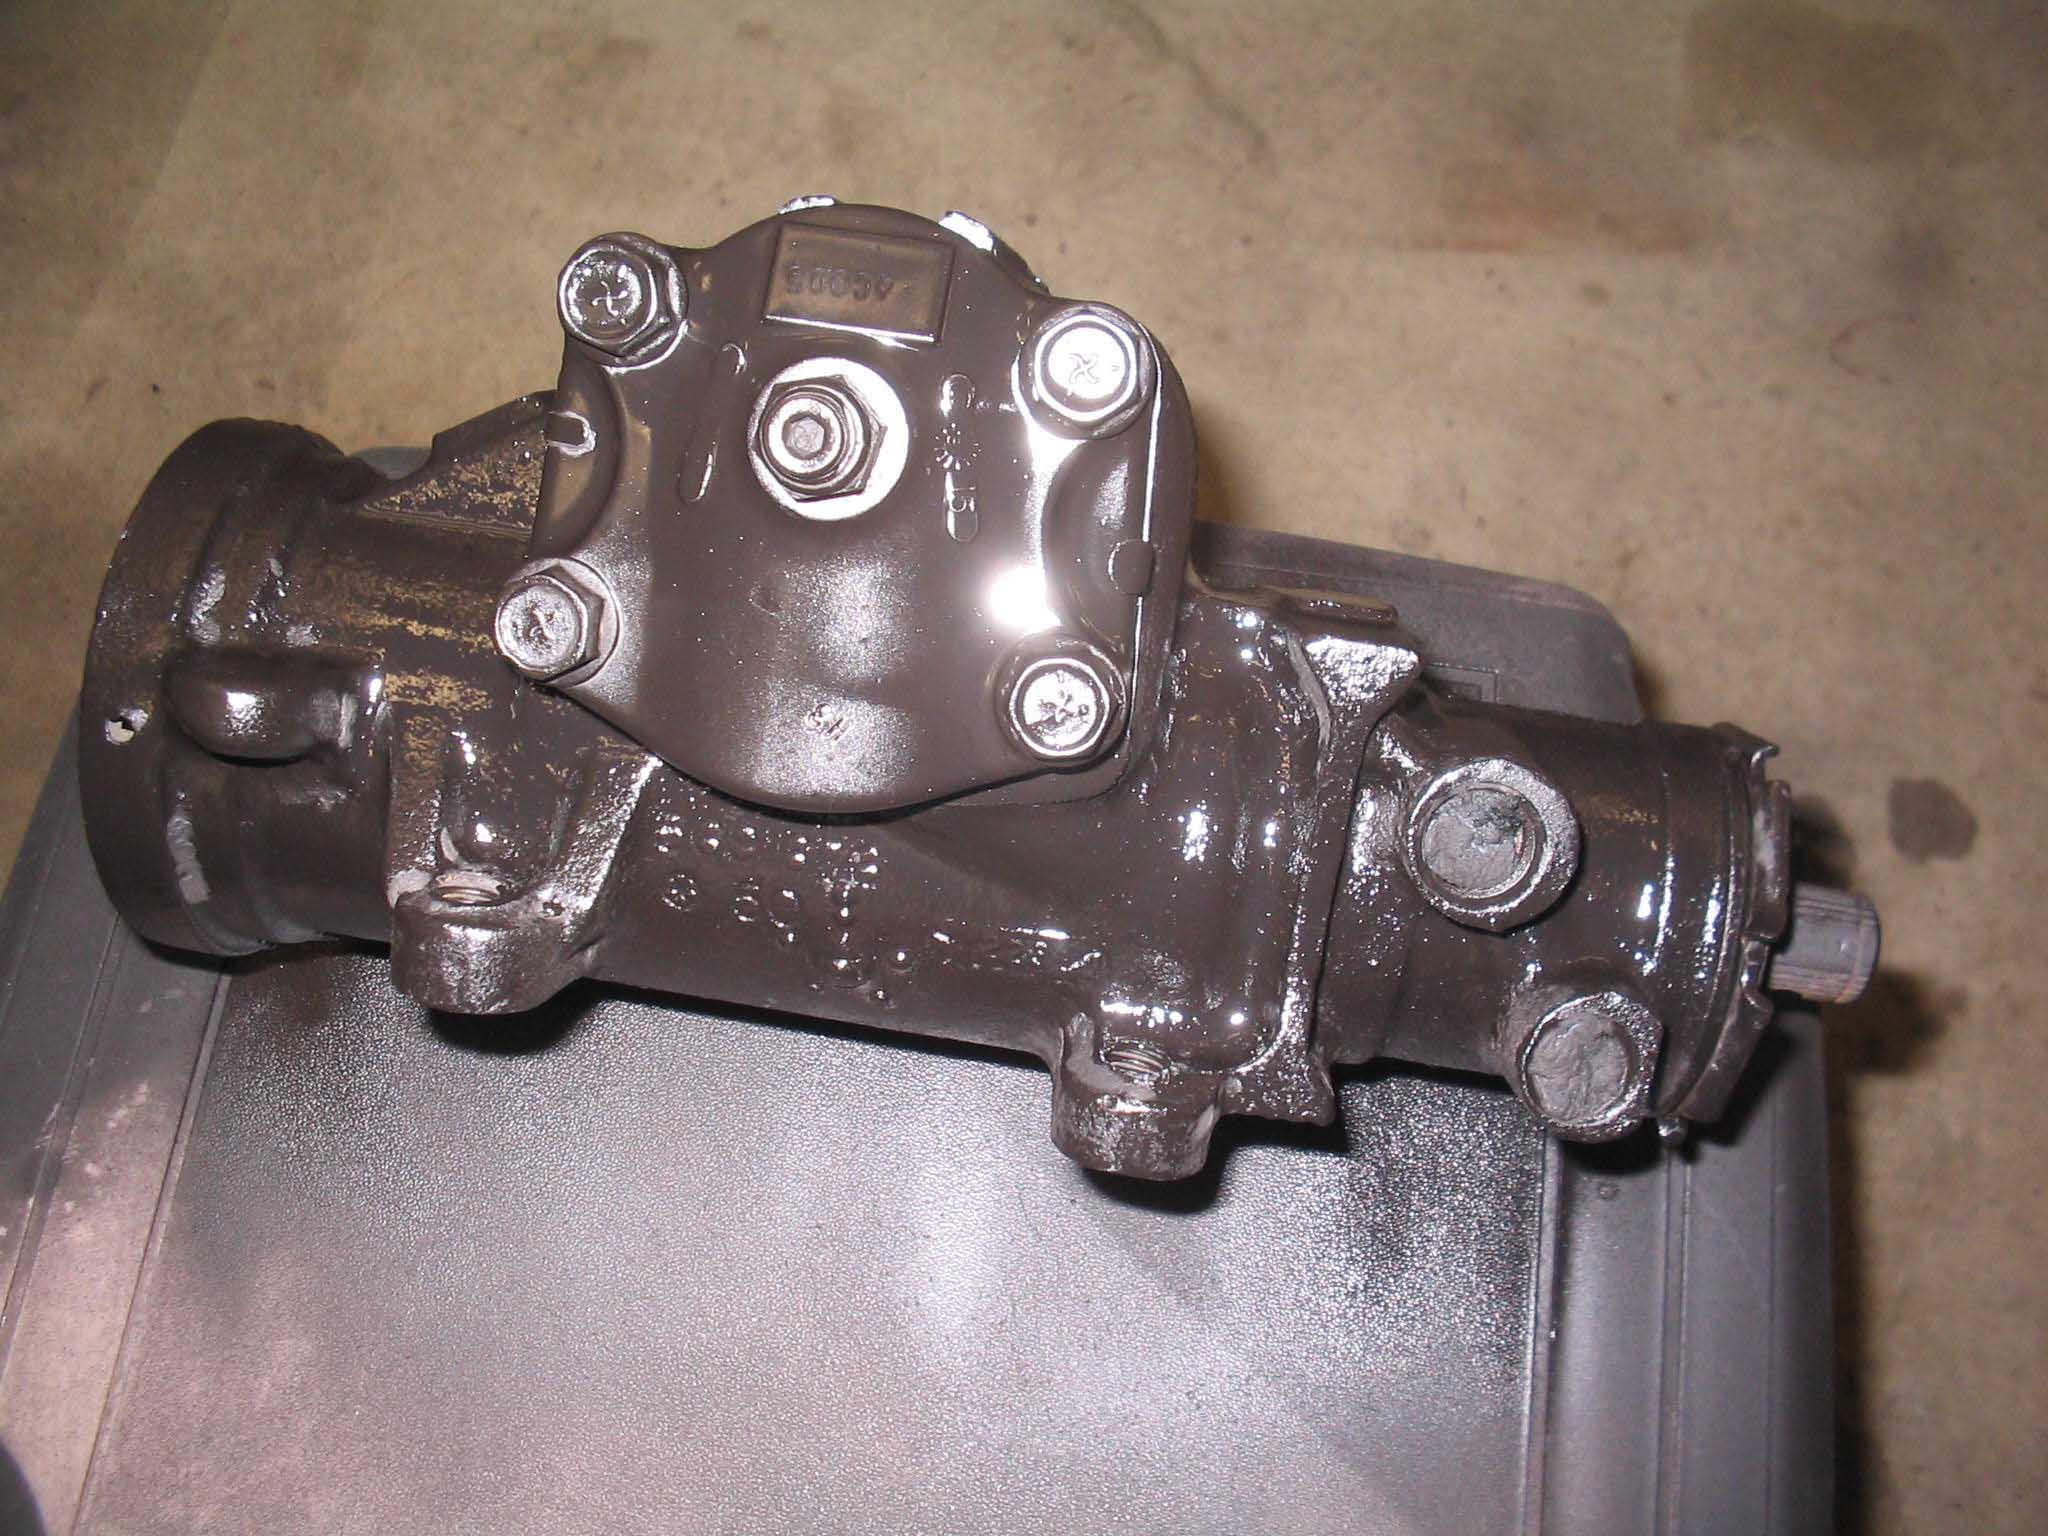
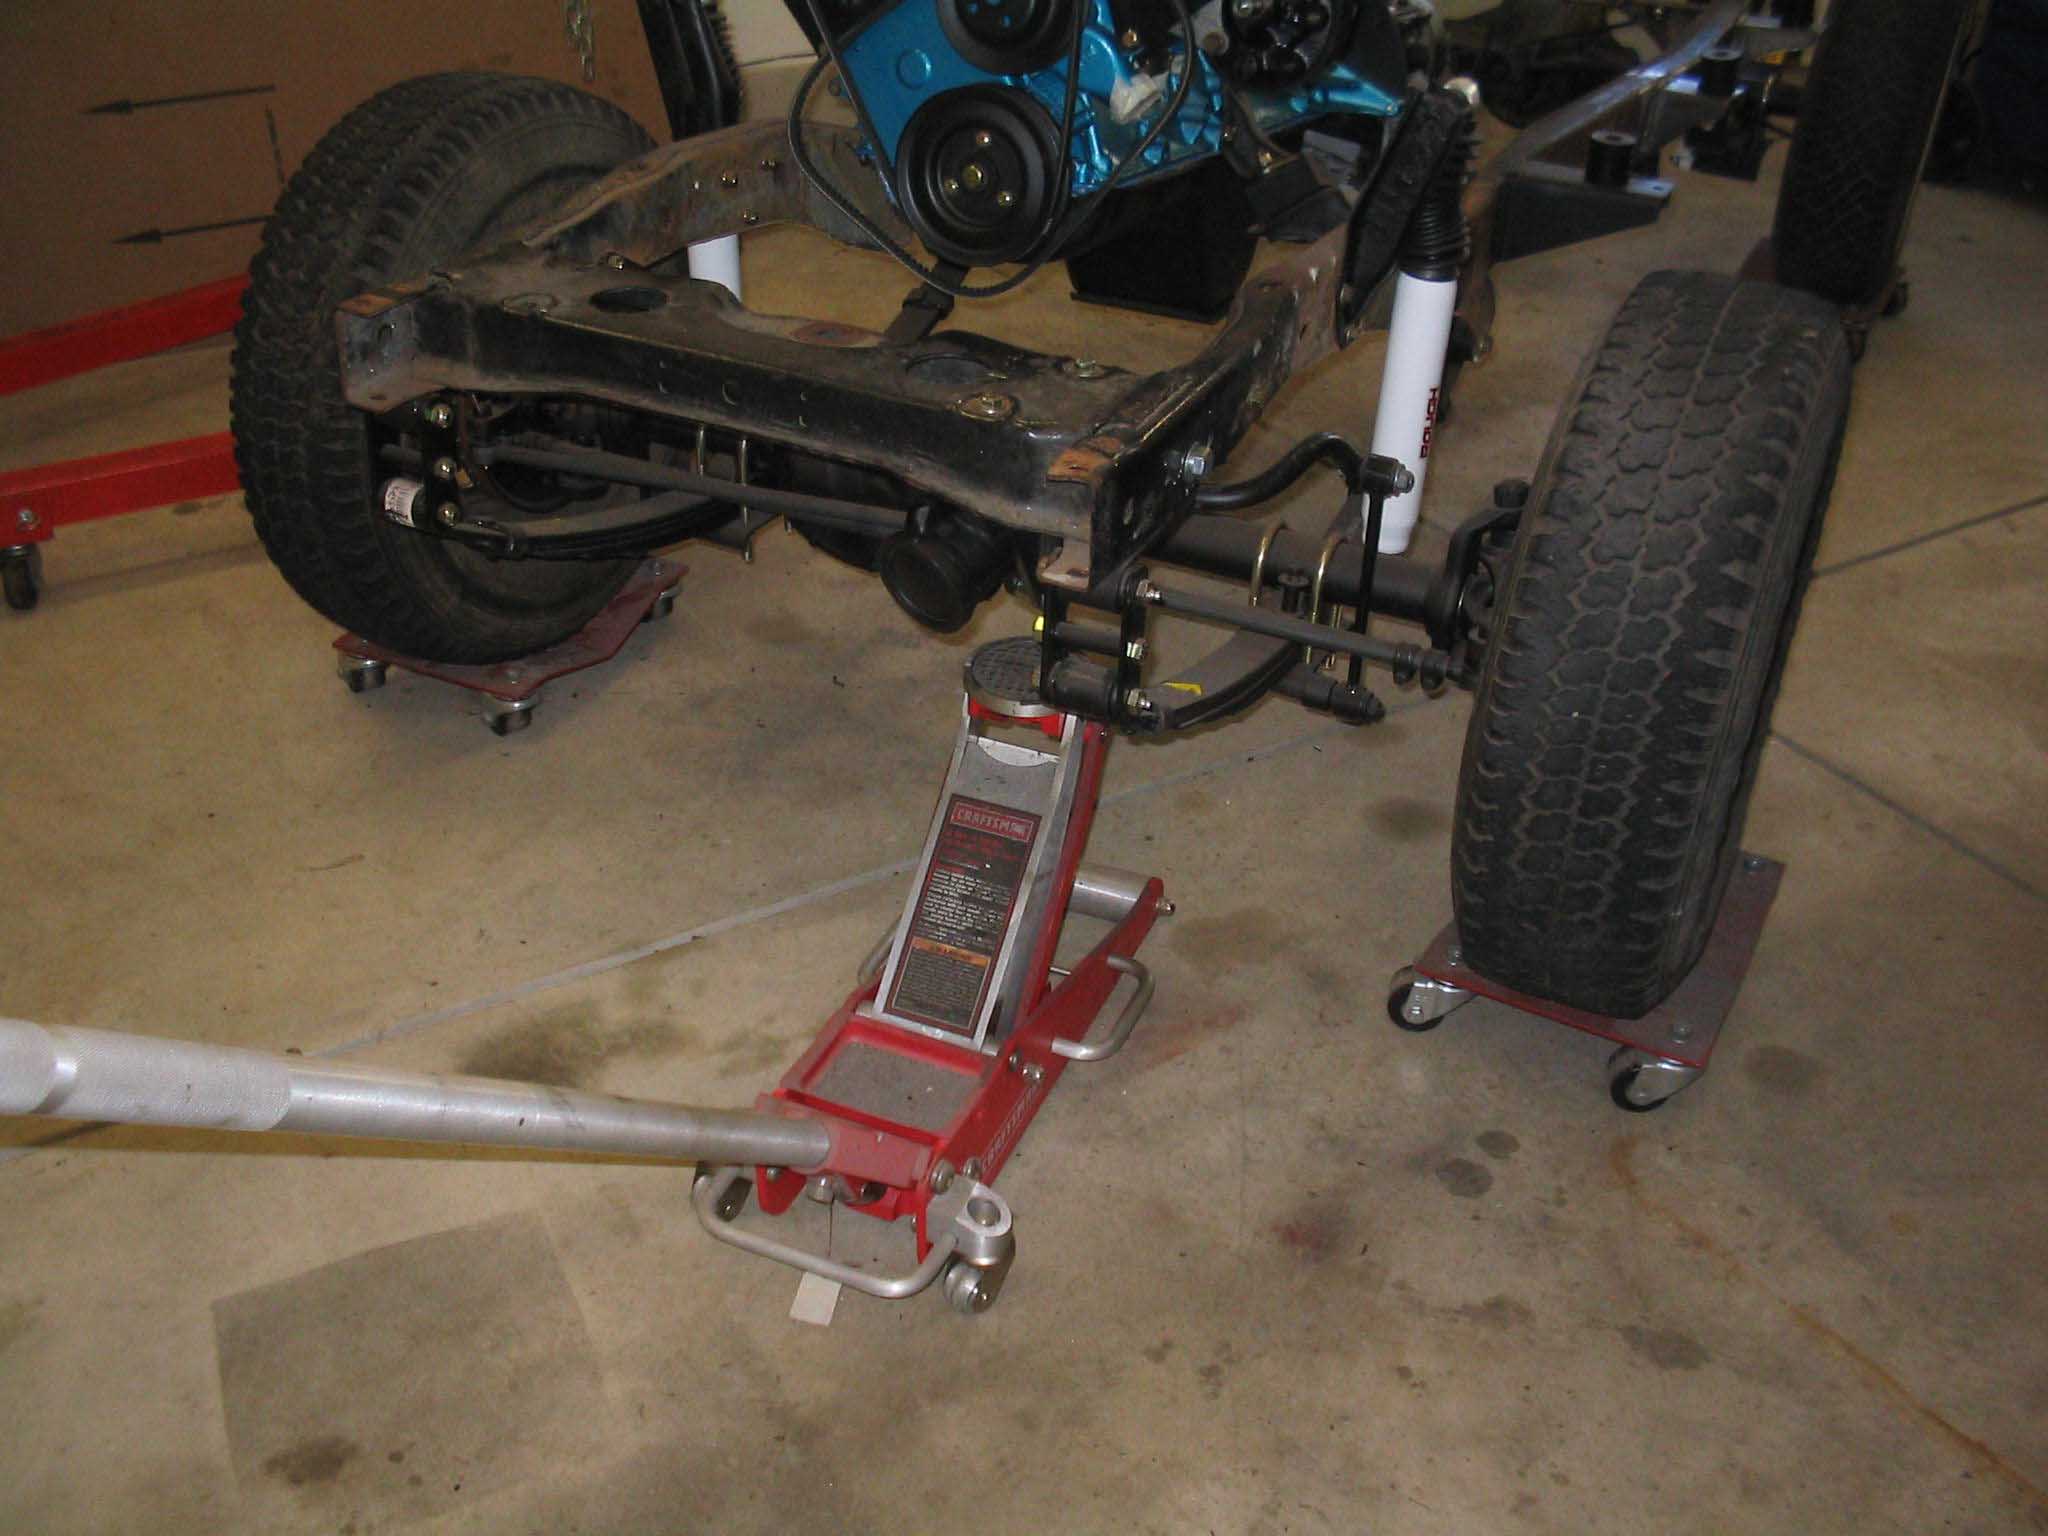
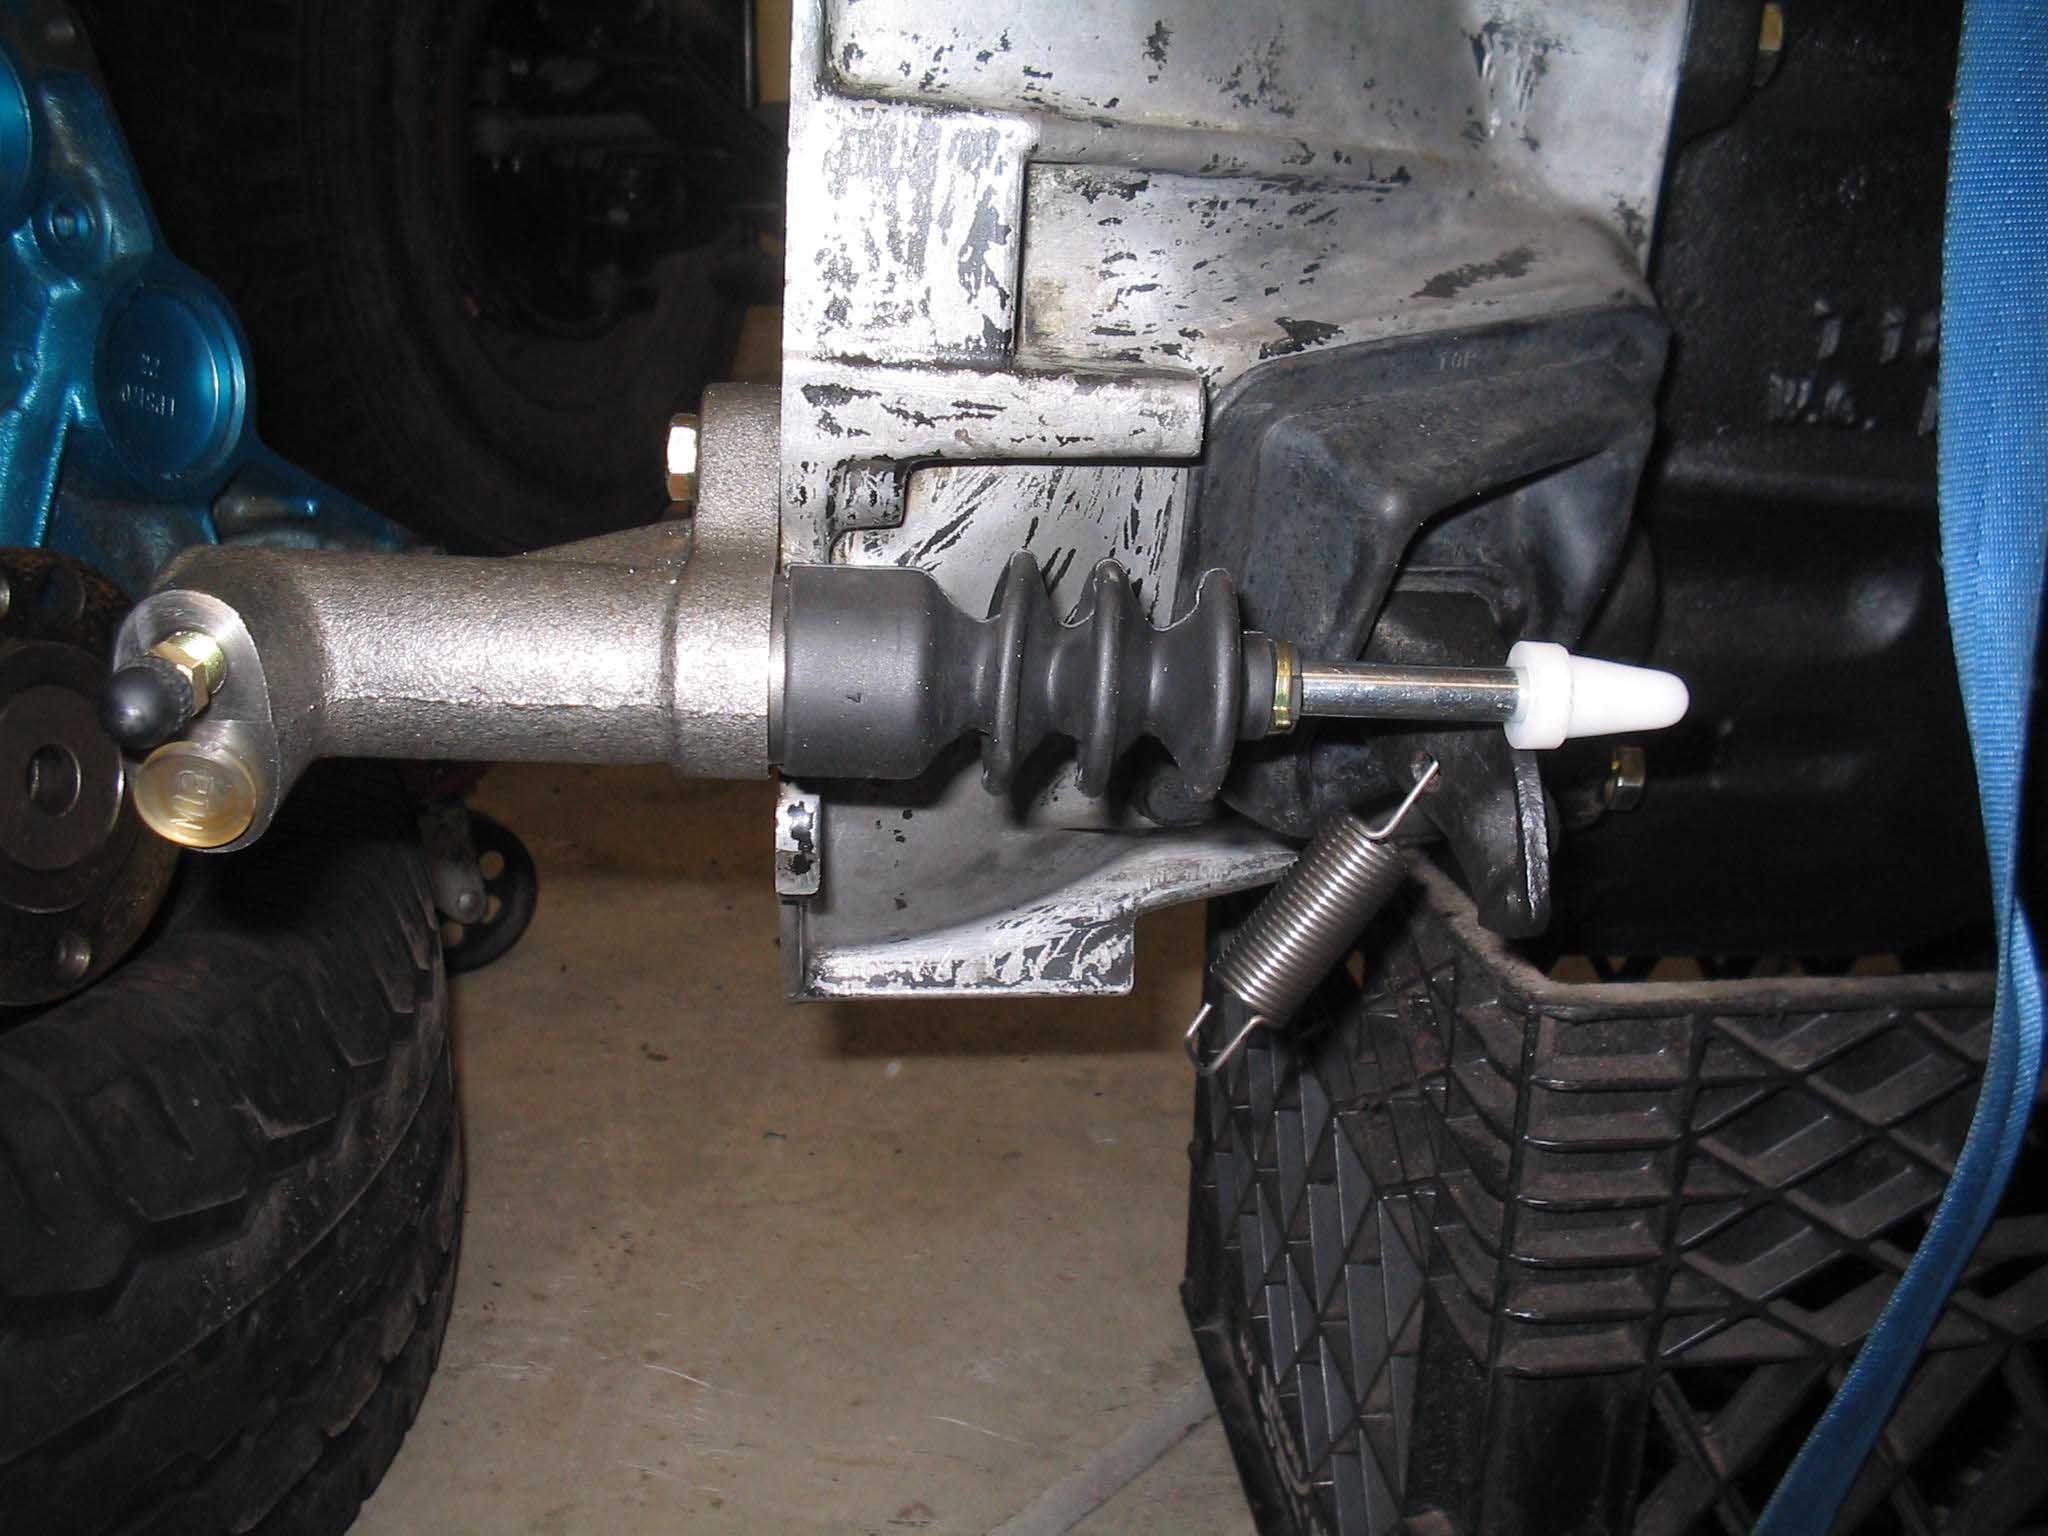
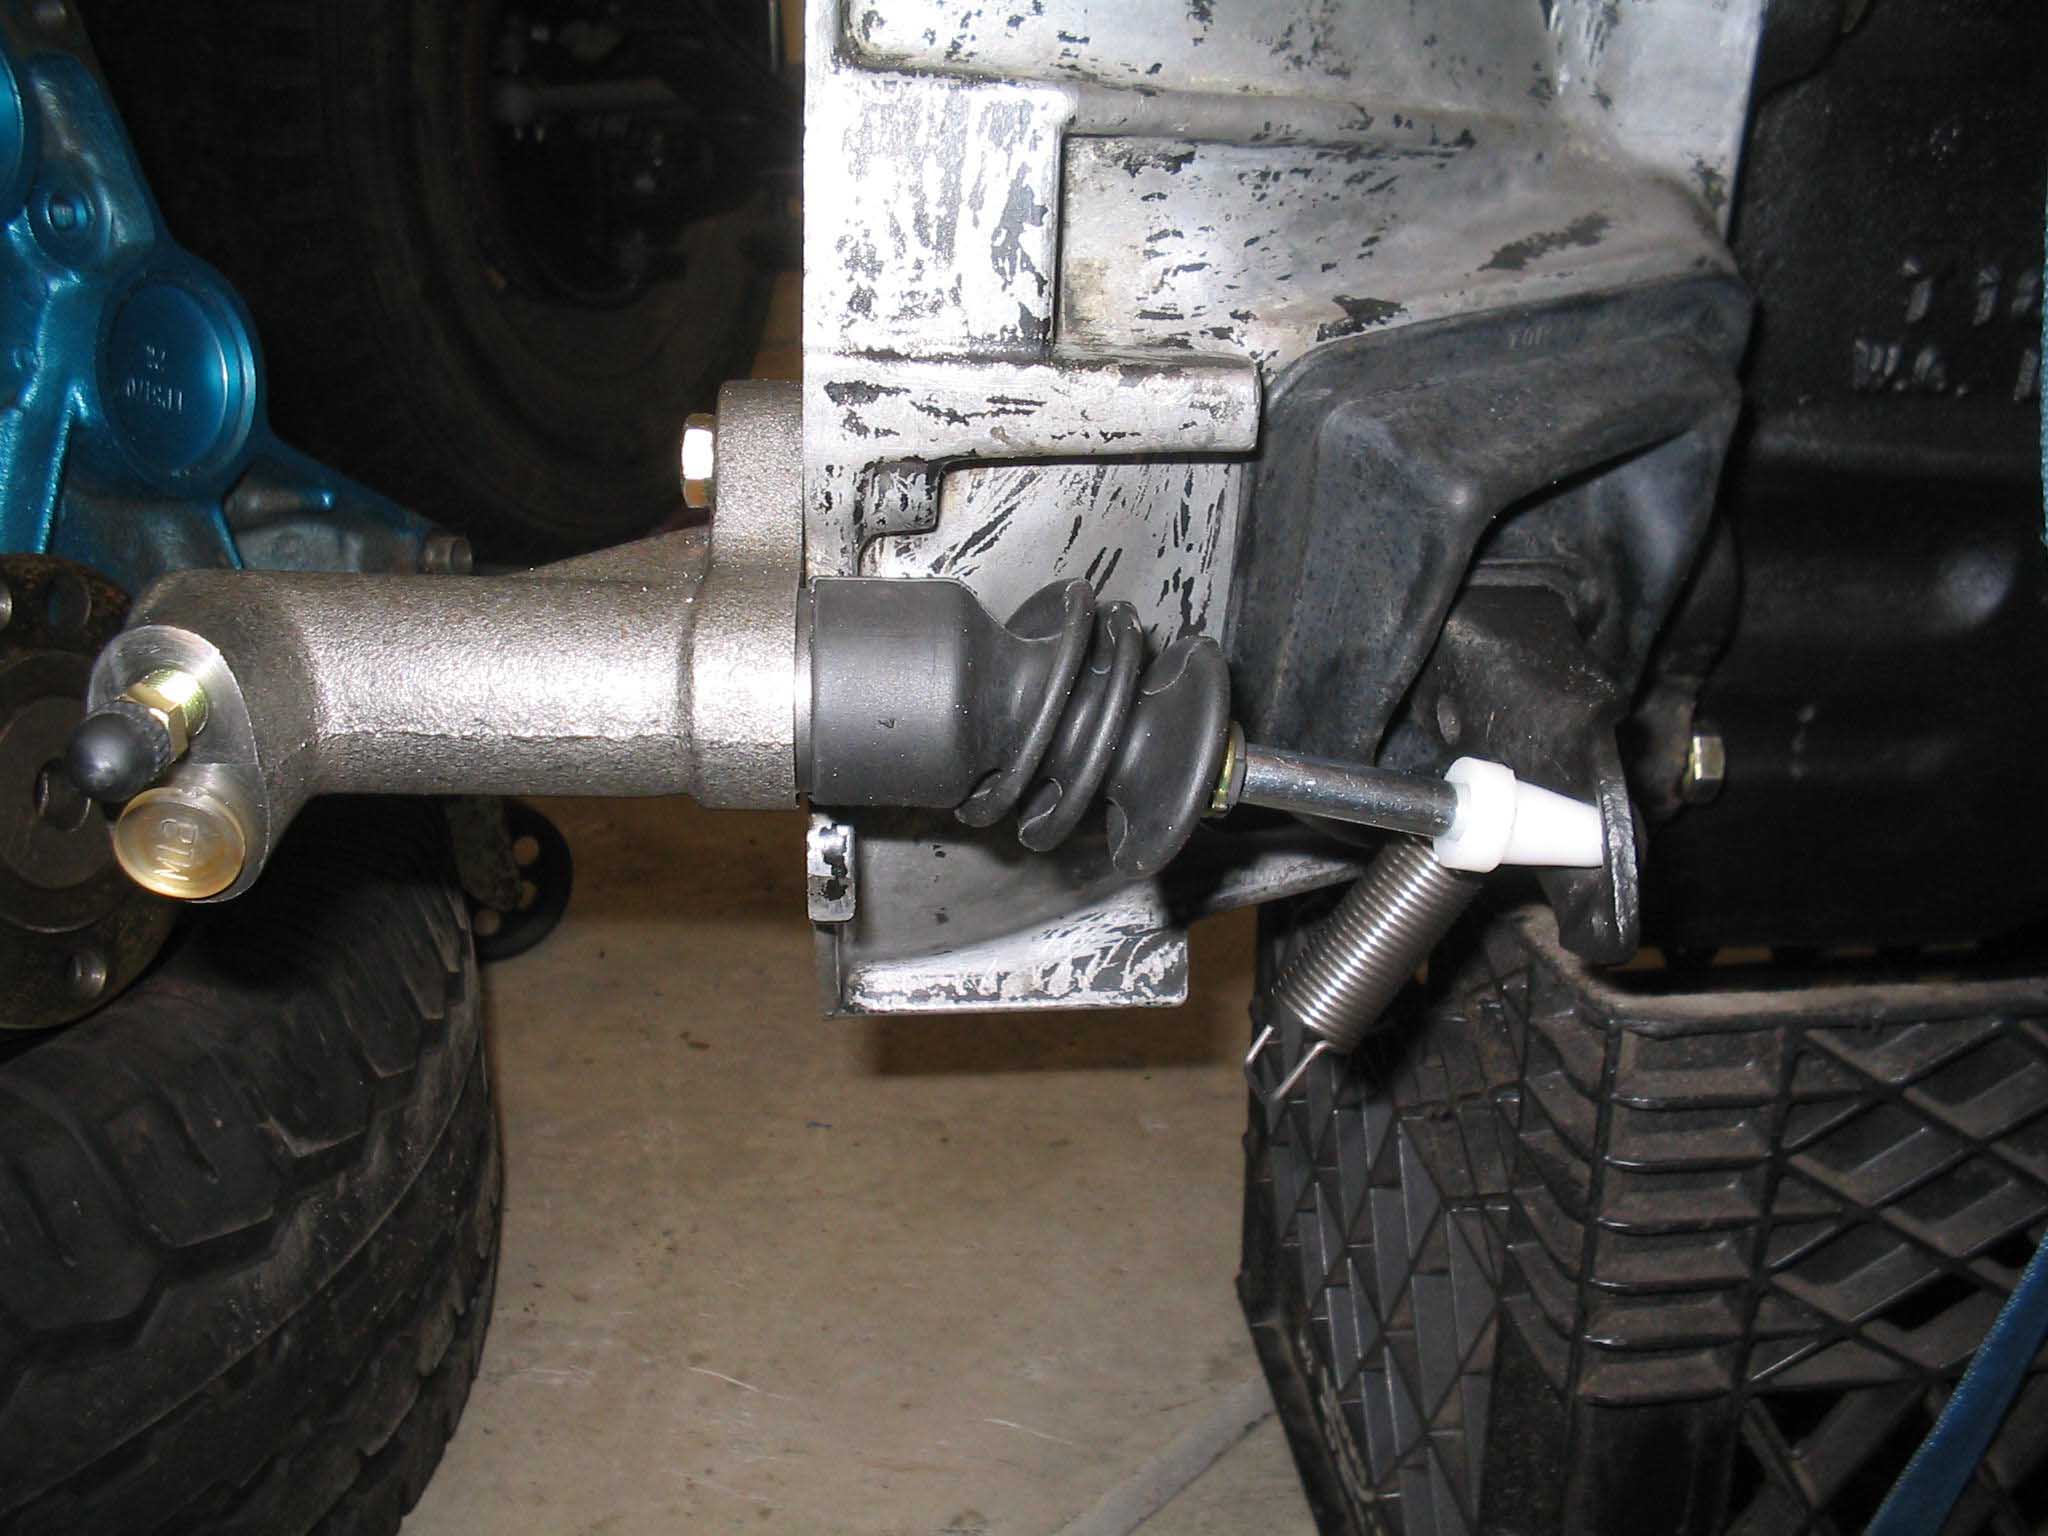
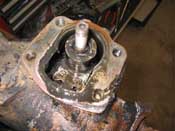
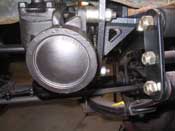
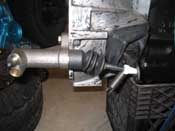
(03/14/08) I haven't been out to the garage all week, but I finally got around to
posting some pictures up there that I had done last weekend and on Monday.
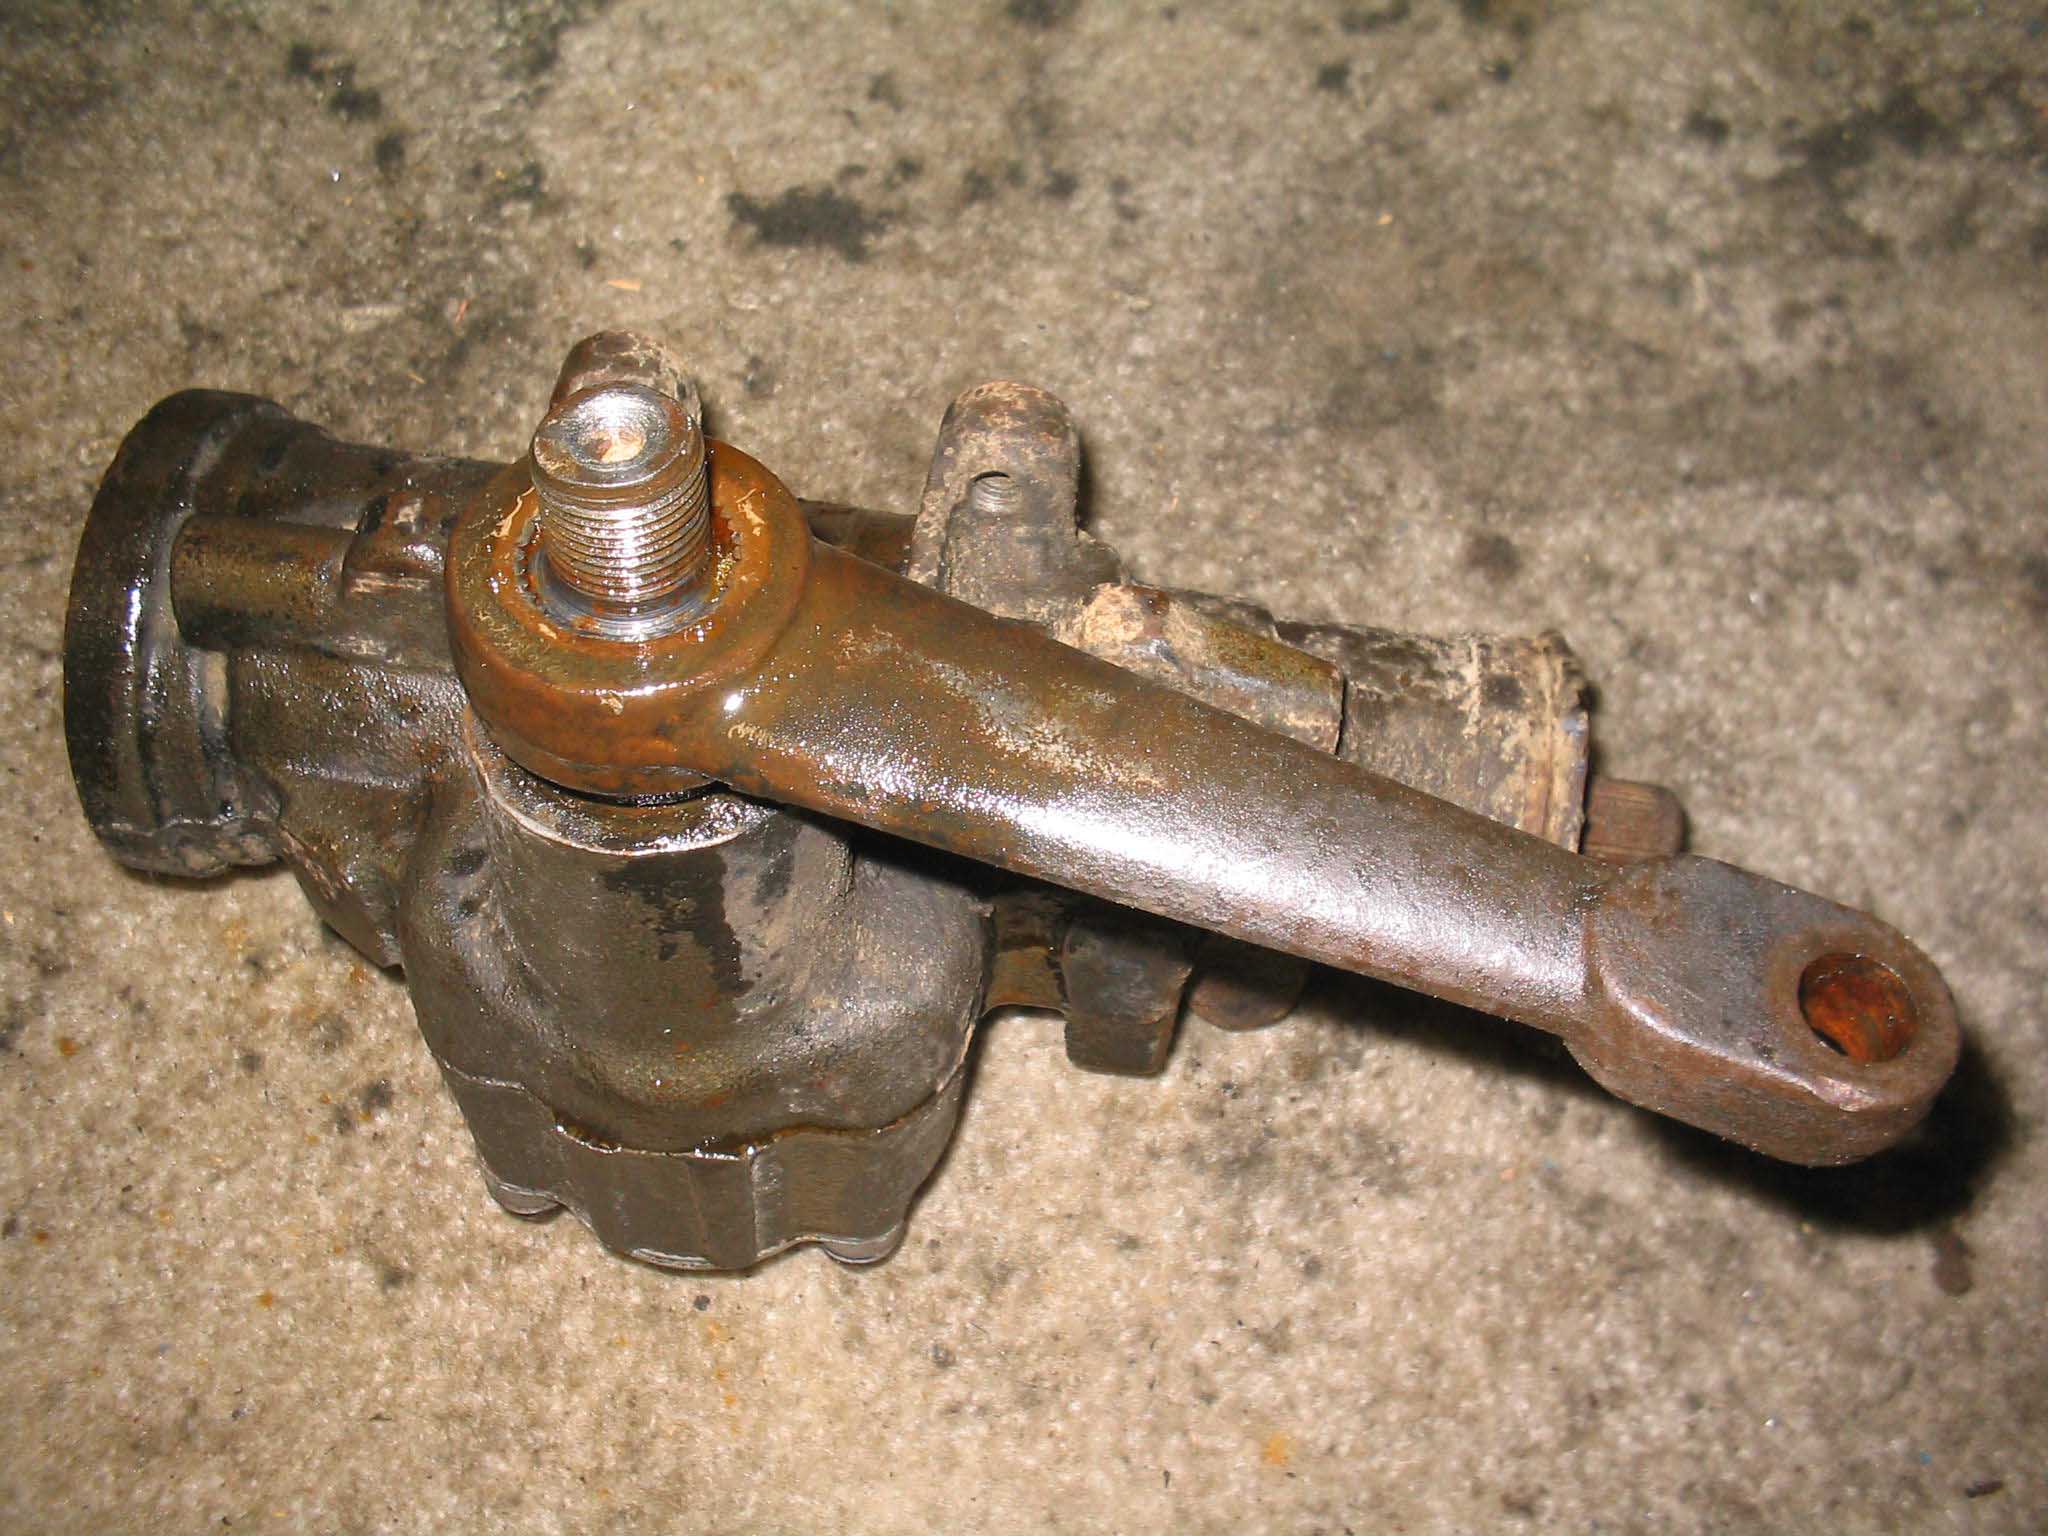
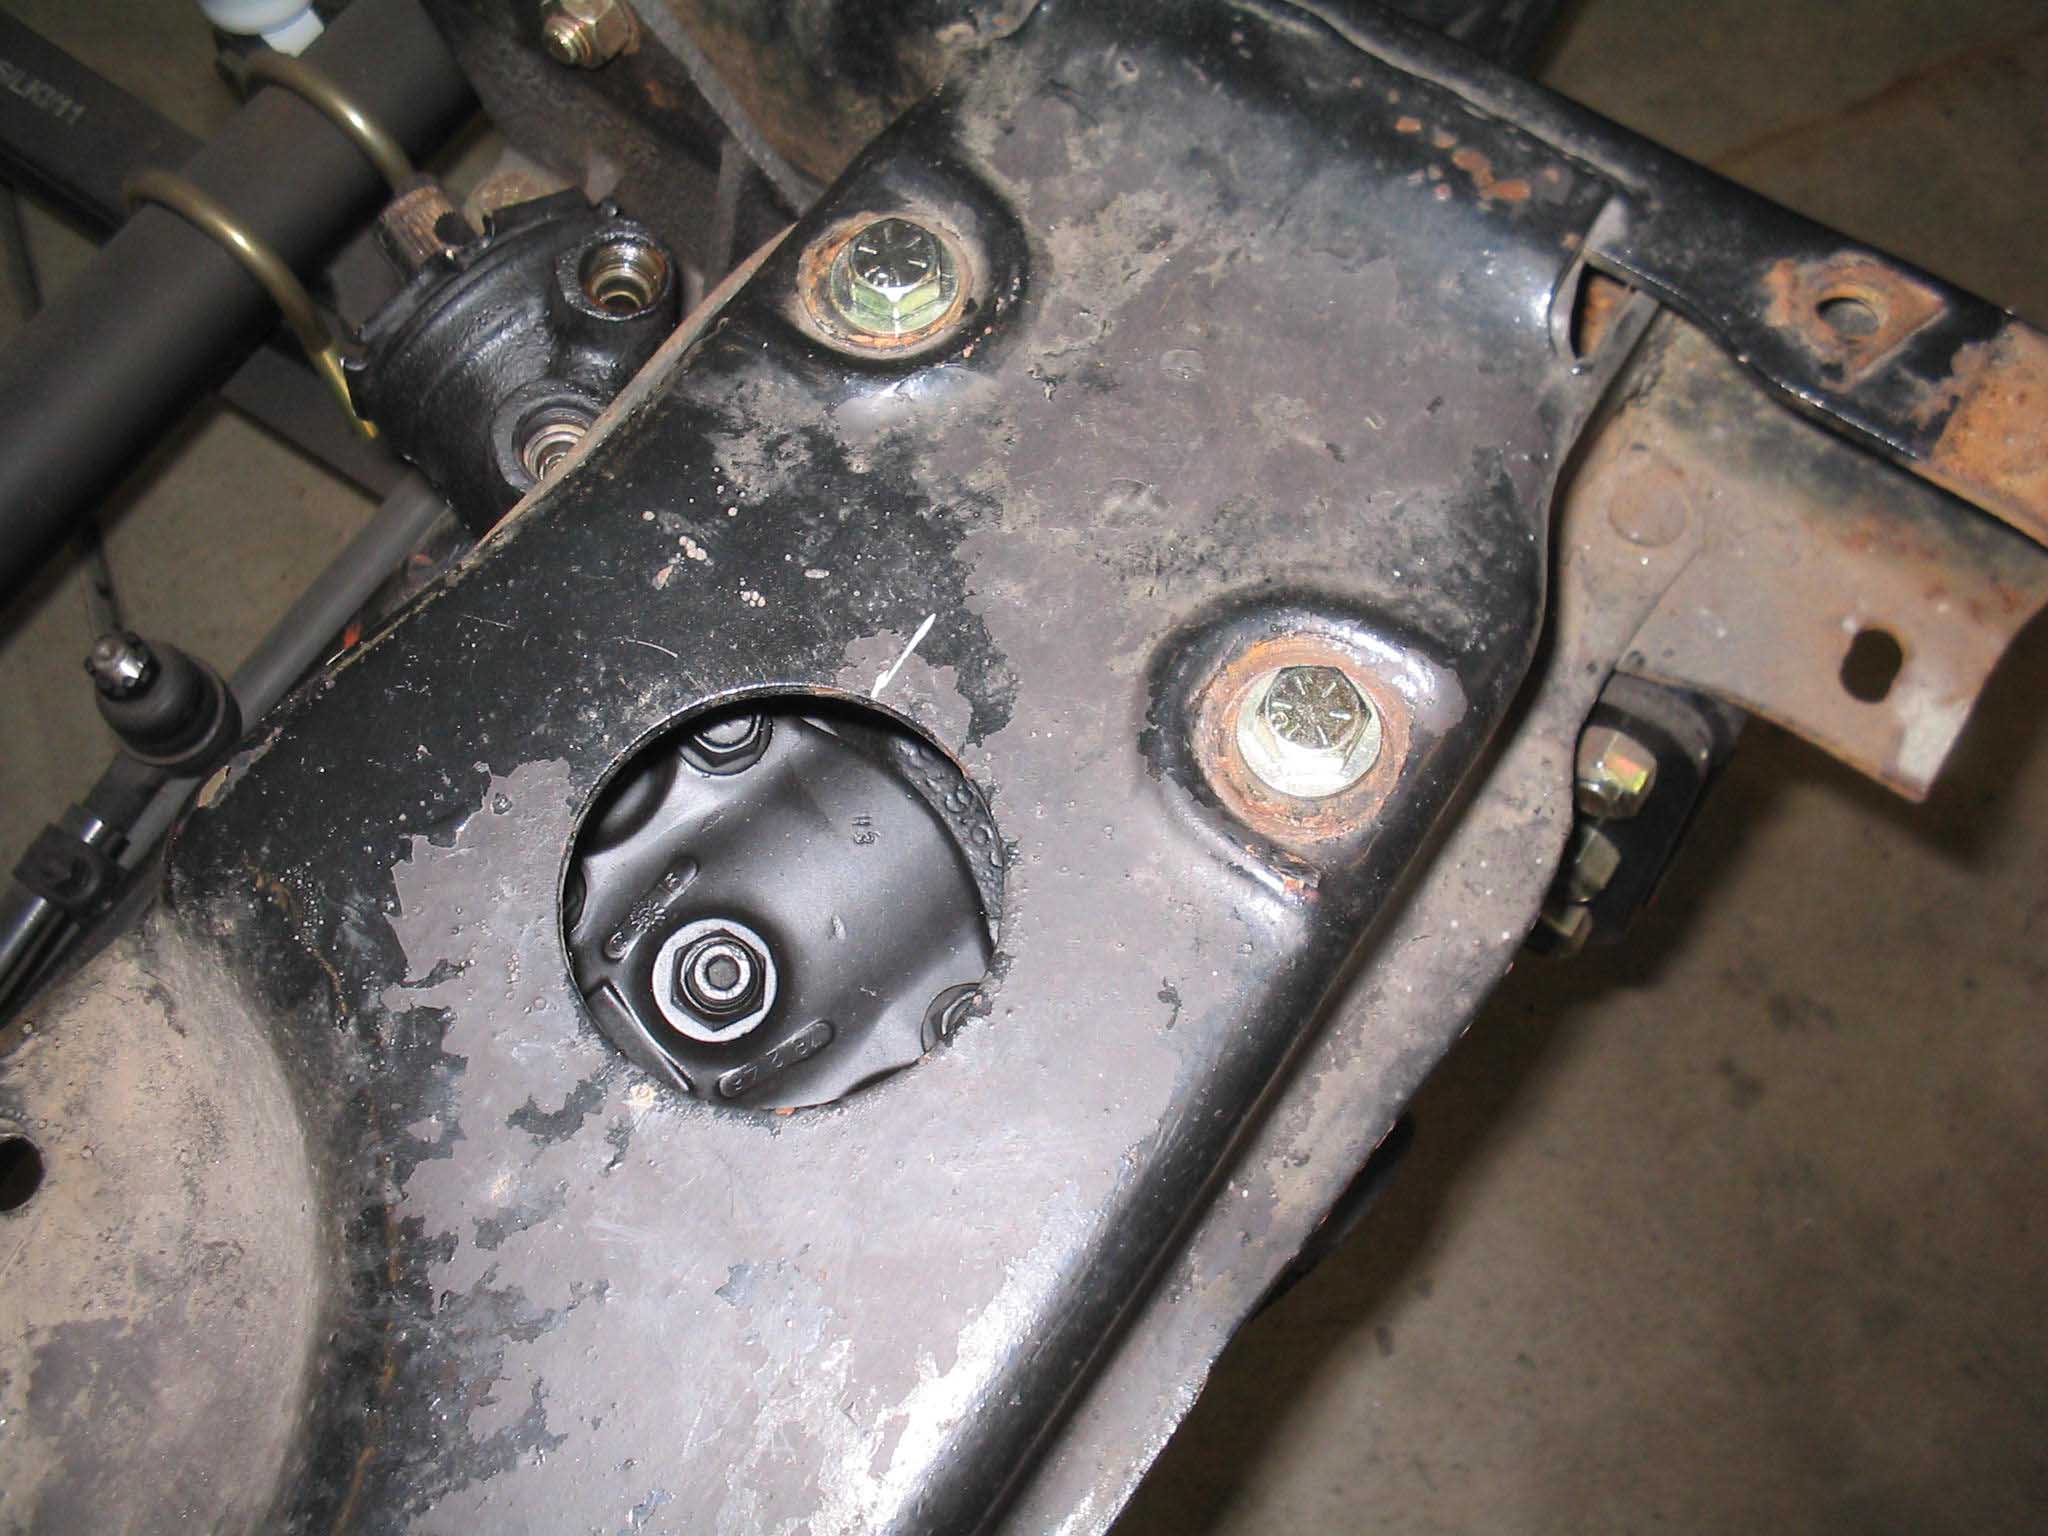
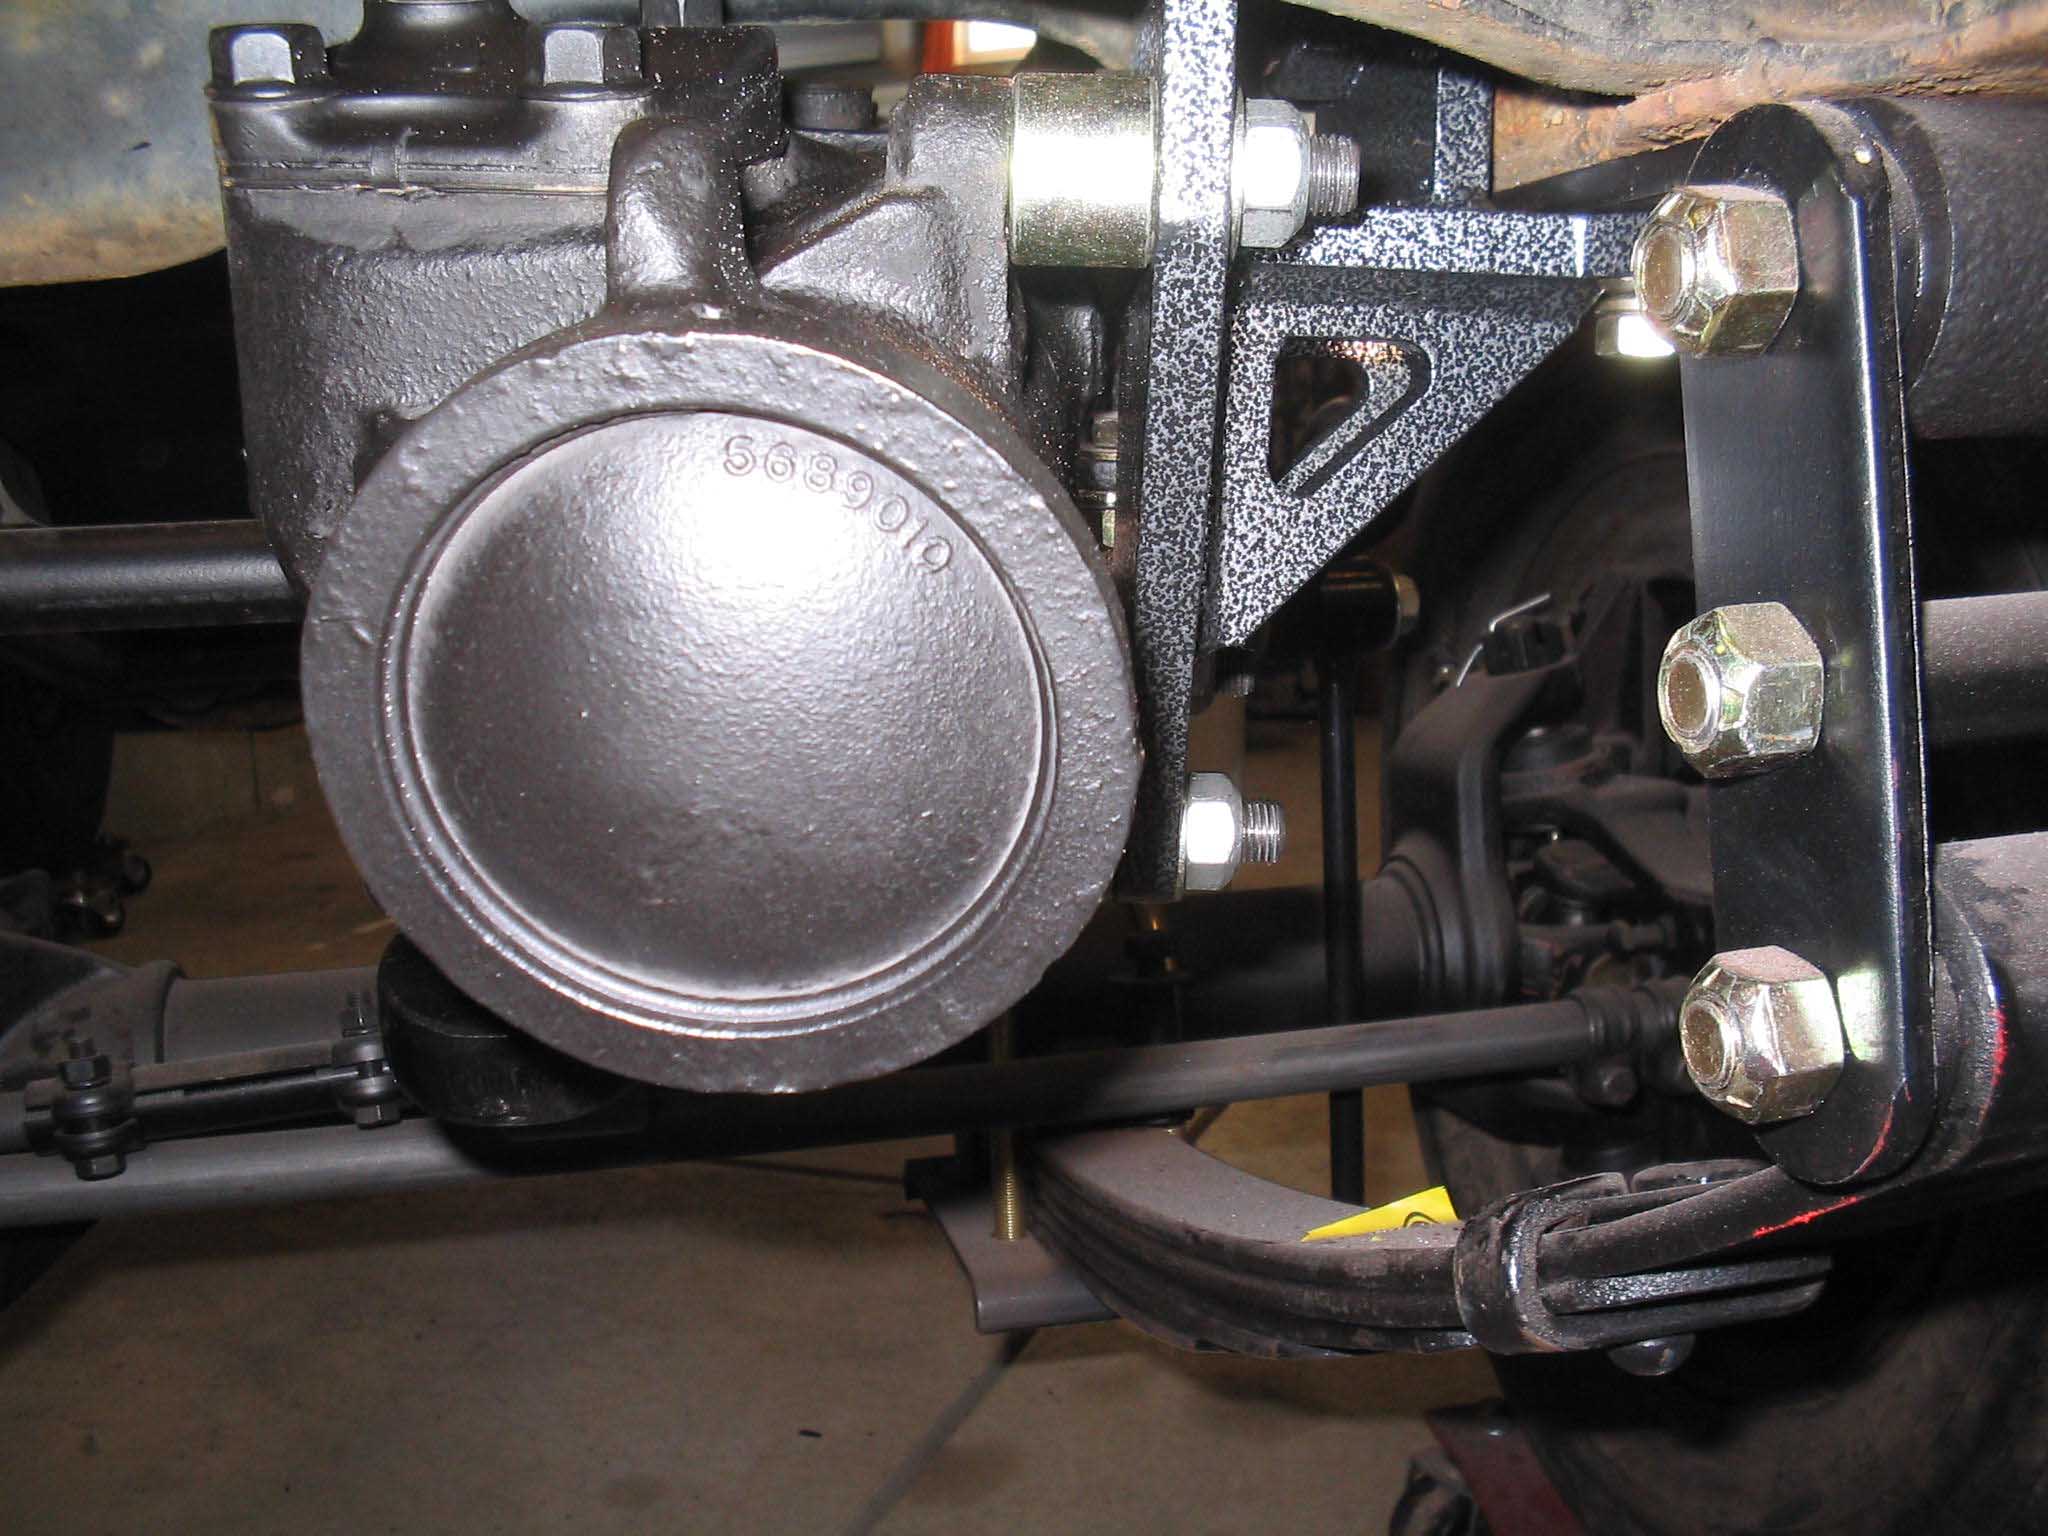
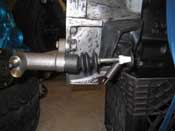
I was able to get the power steering box bracket bolted onto the power steering gear and get it into the Jeep for
a test fit. I have done this before 4-5 times and it is all over the website, but basically the kit comes with
the bolts you need and you stick them in the holes, slap on the bracket and then bolt it in. This, plus
rebuilding the box takes like 5 hours... LOL. Wait, I am not kidding... I had to chase some threads, clean out
some crud, open up the top holes on the frame a bit for clearance. Basically a whole lot of things that you
don't expect you will have to do. It just takes time.
|
| |
|

|

|
|
|
|
| |
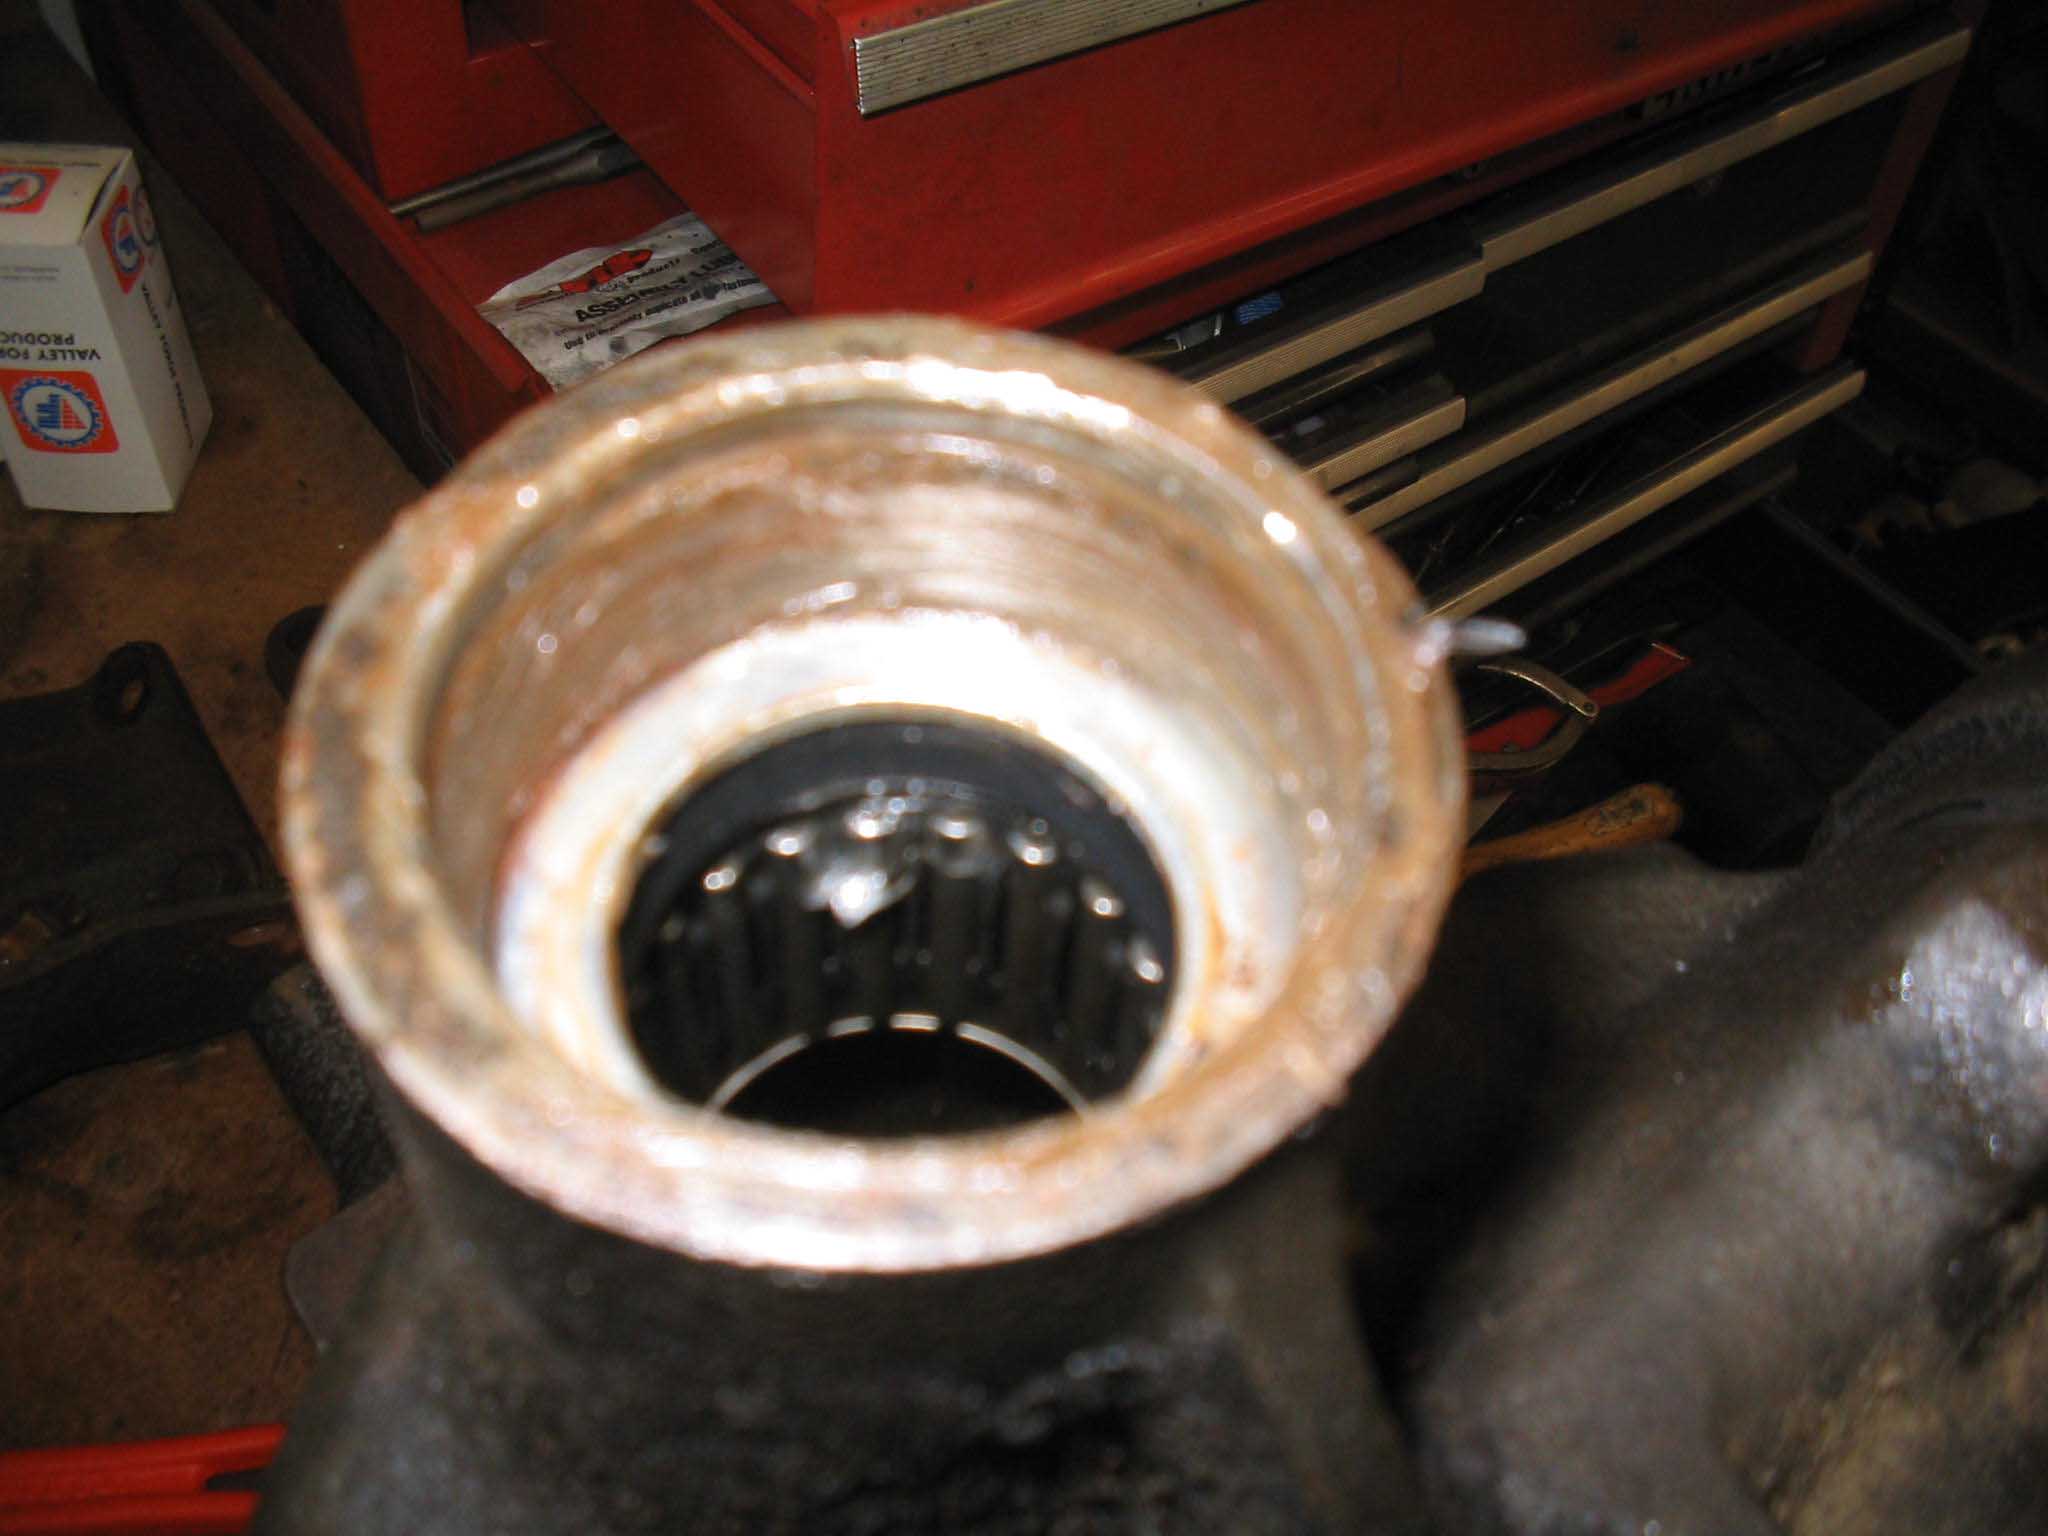
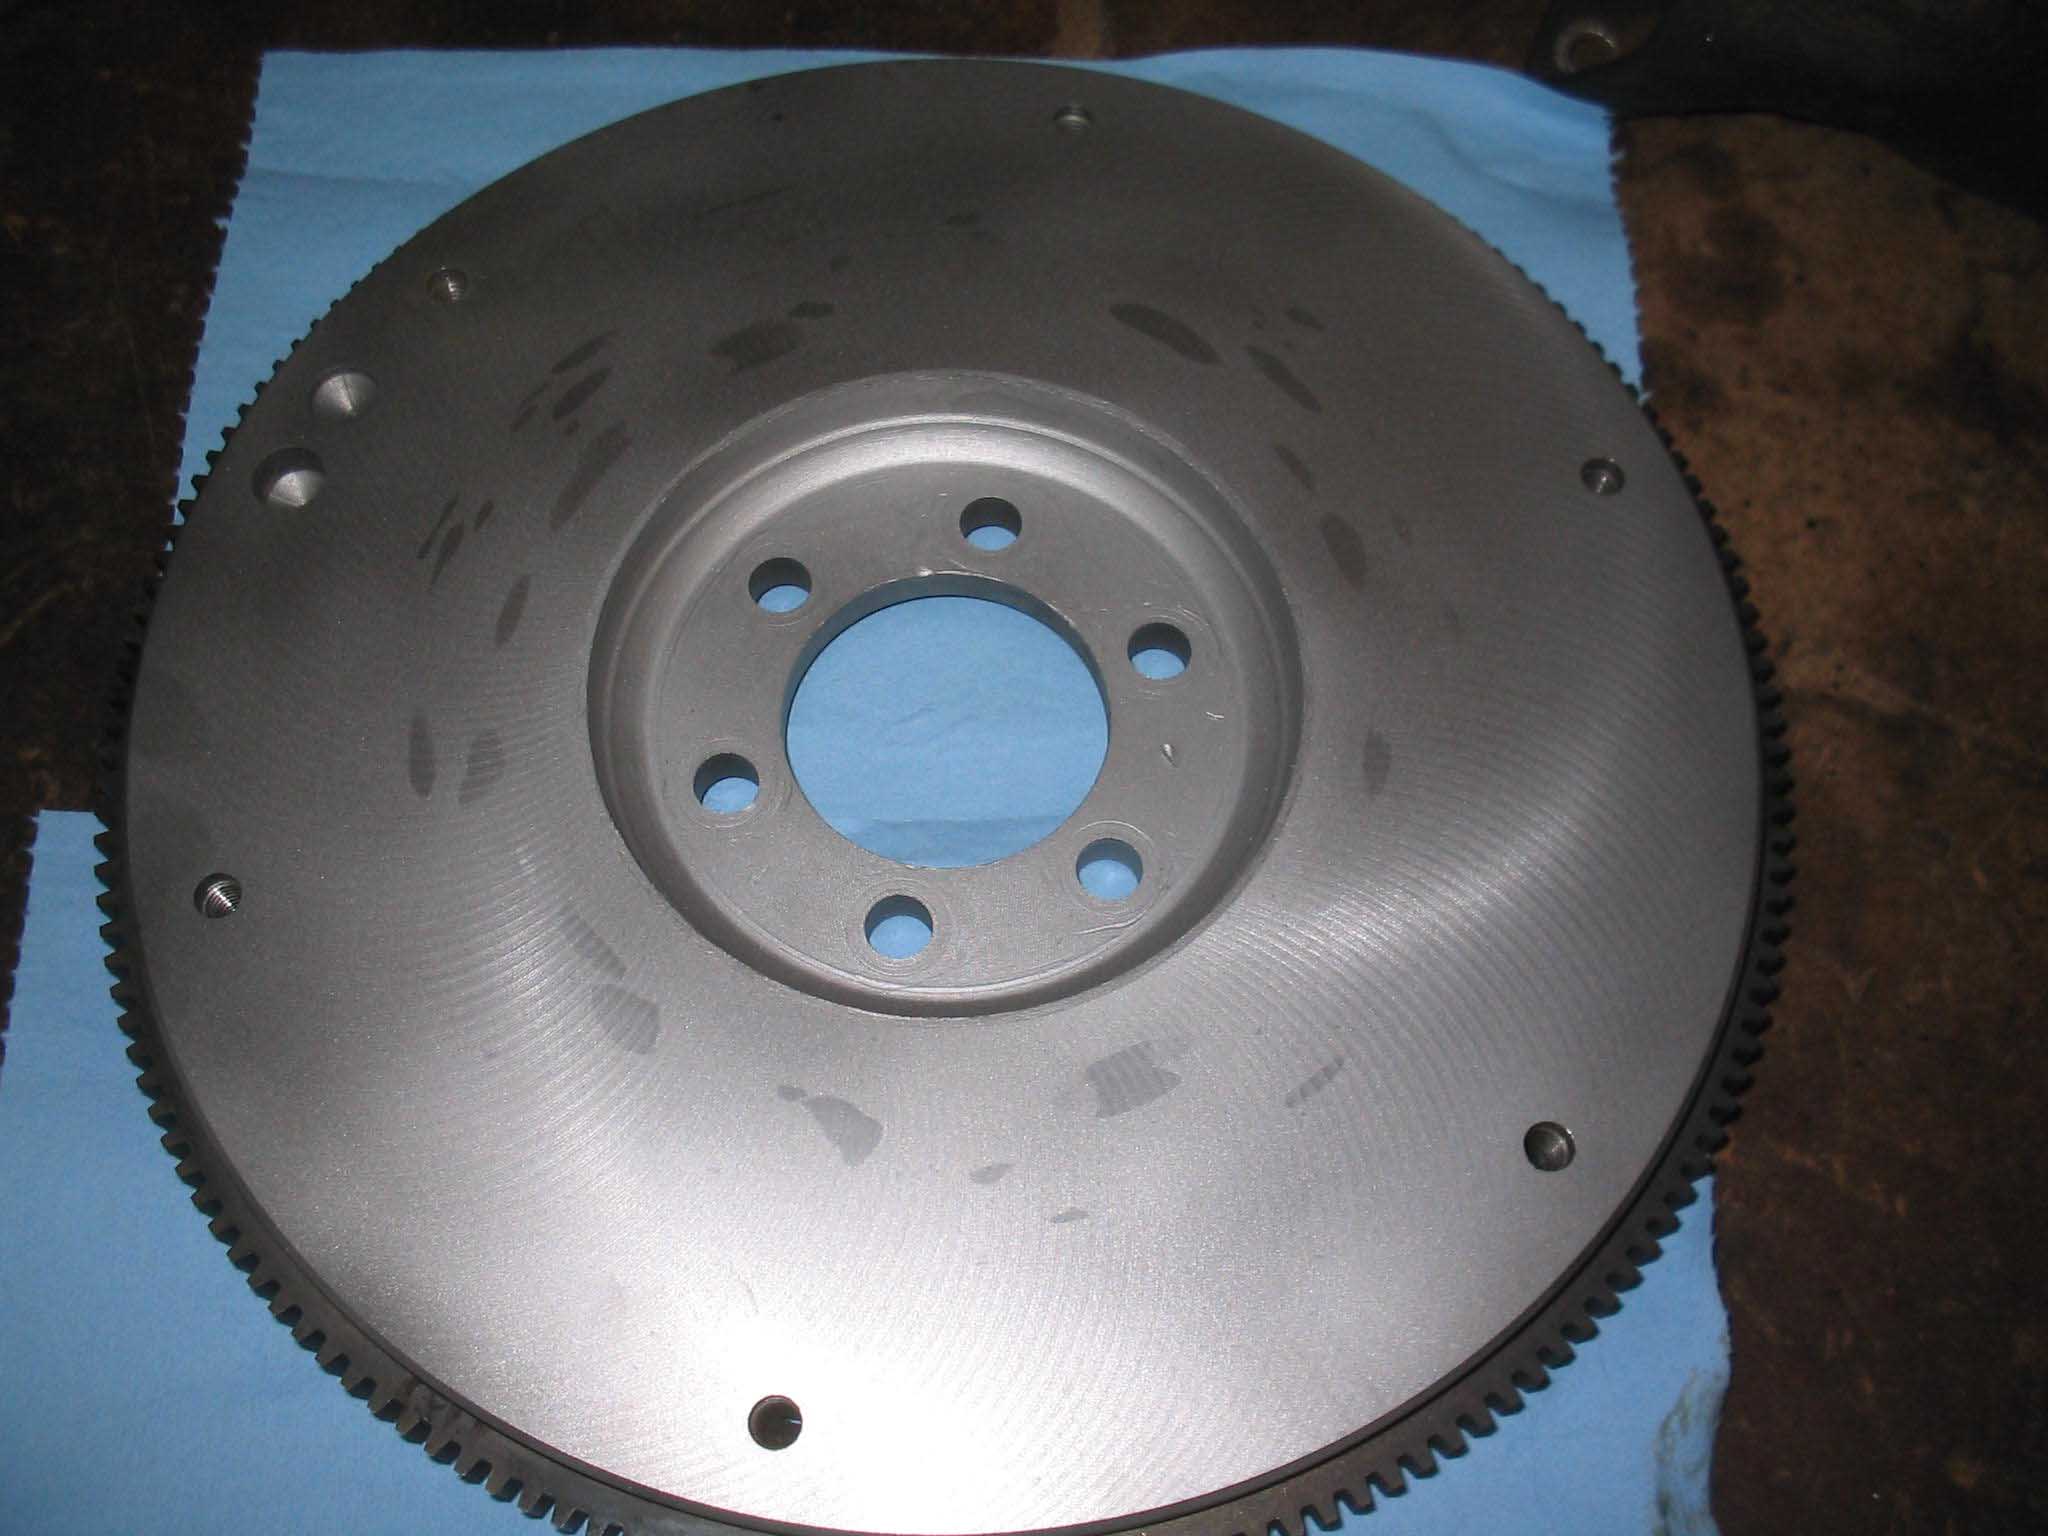
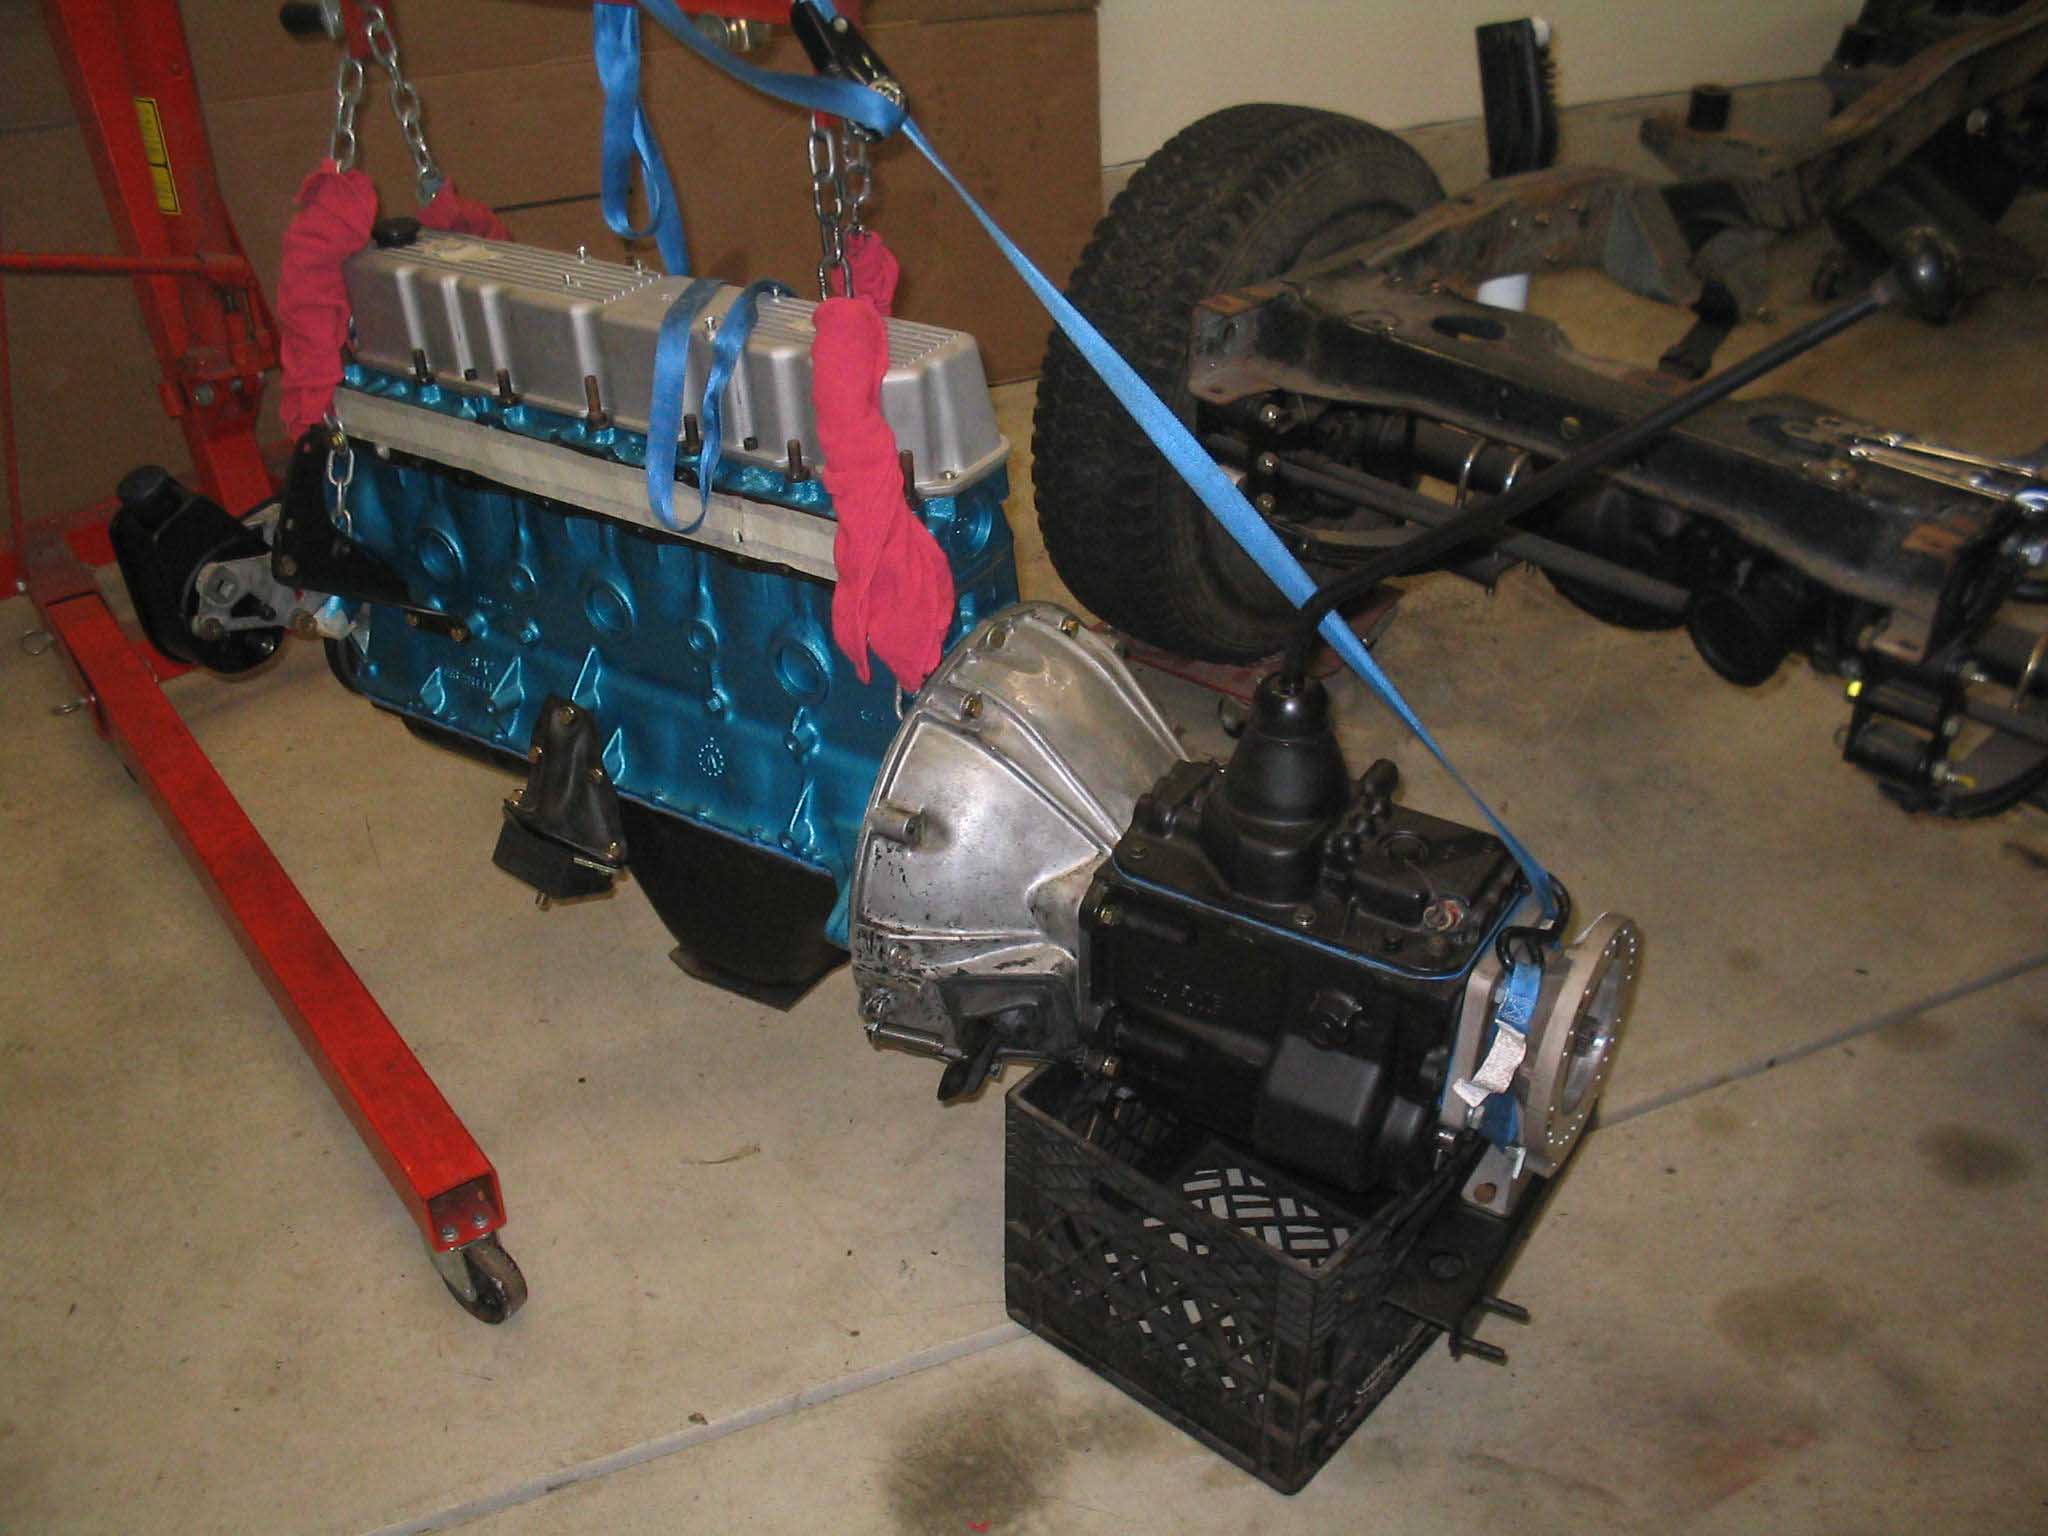
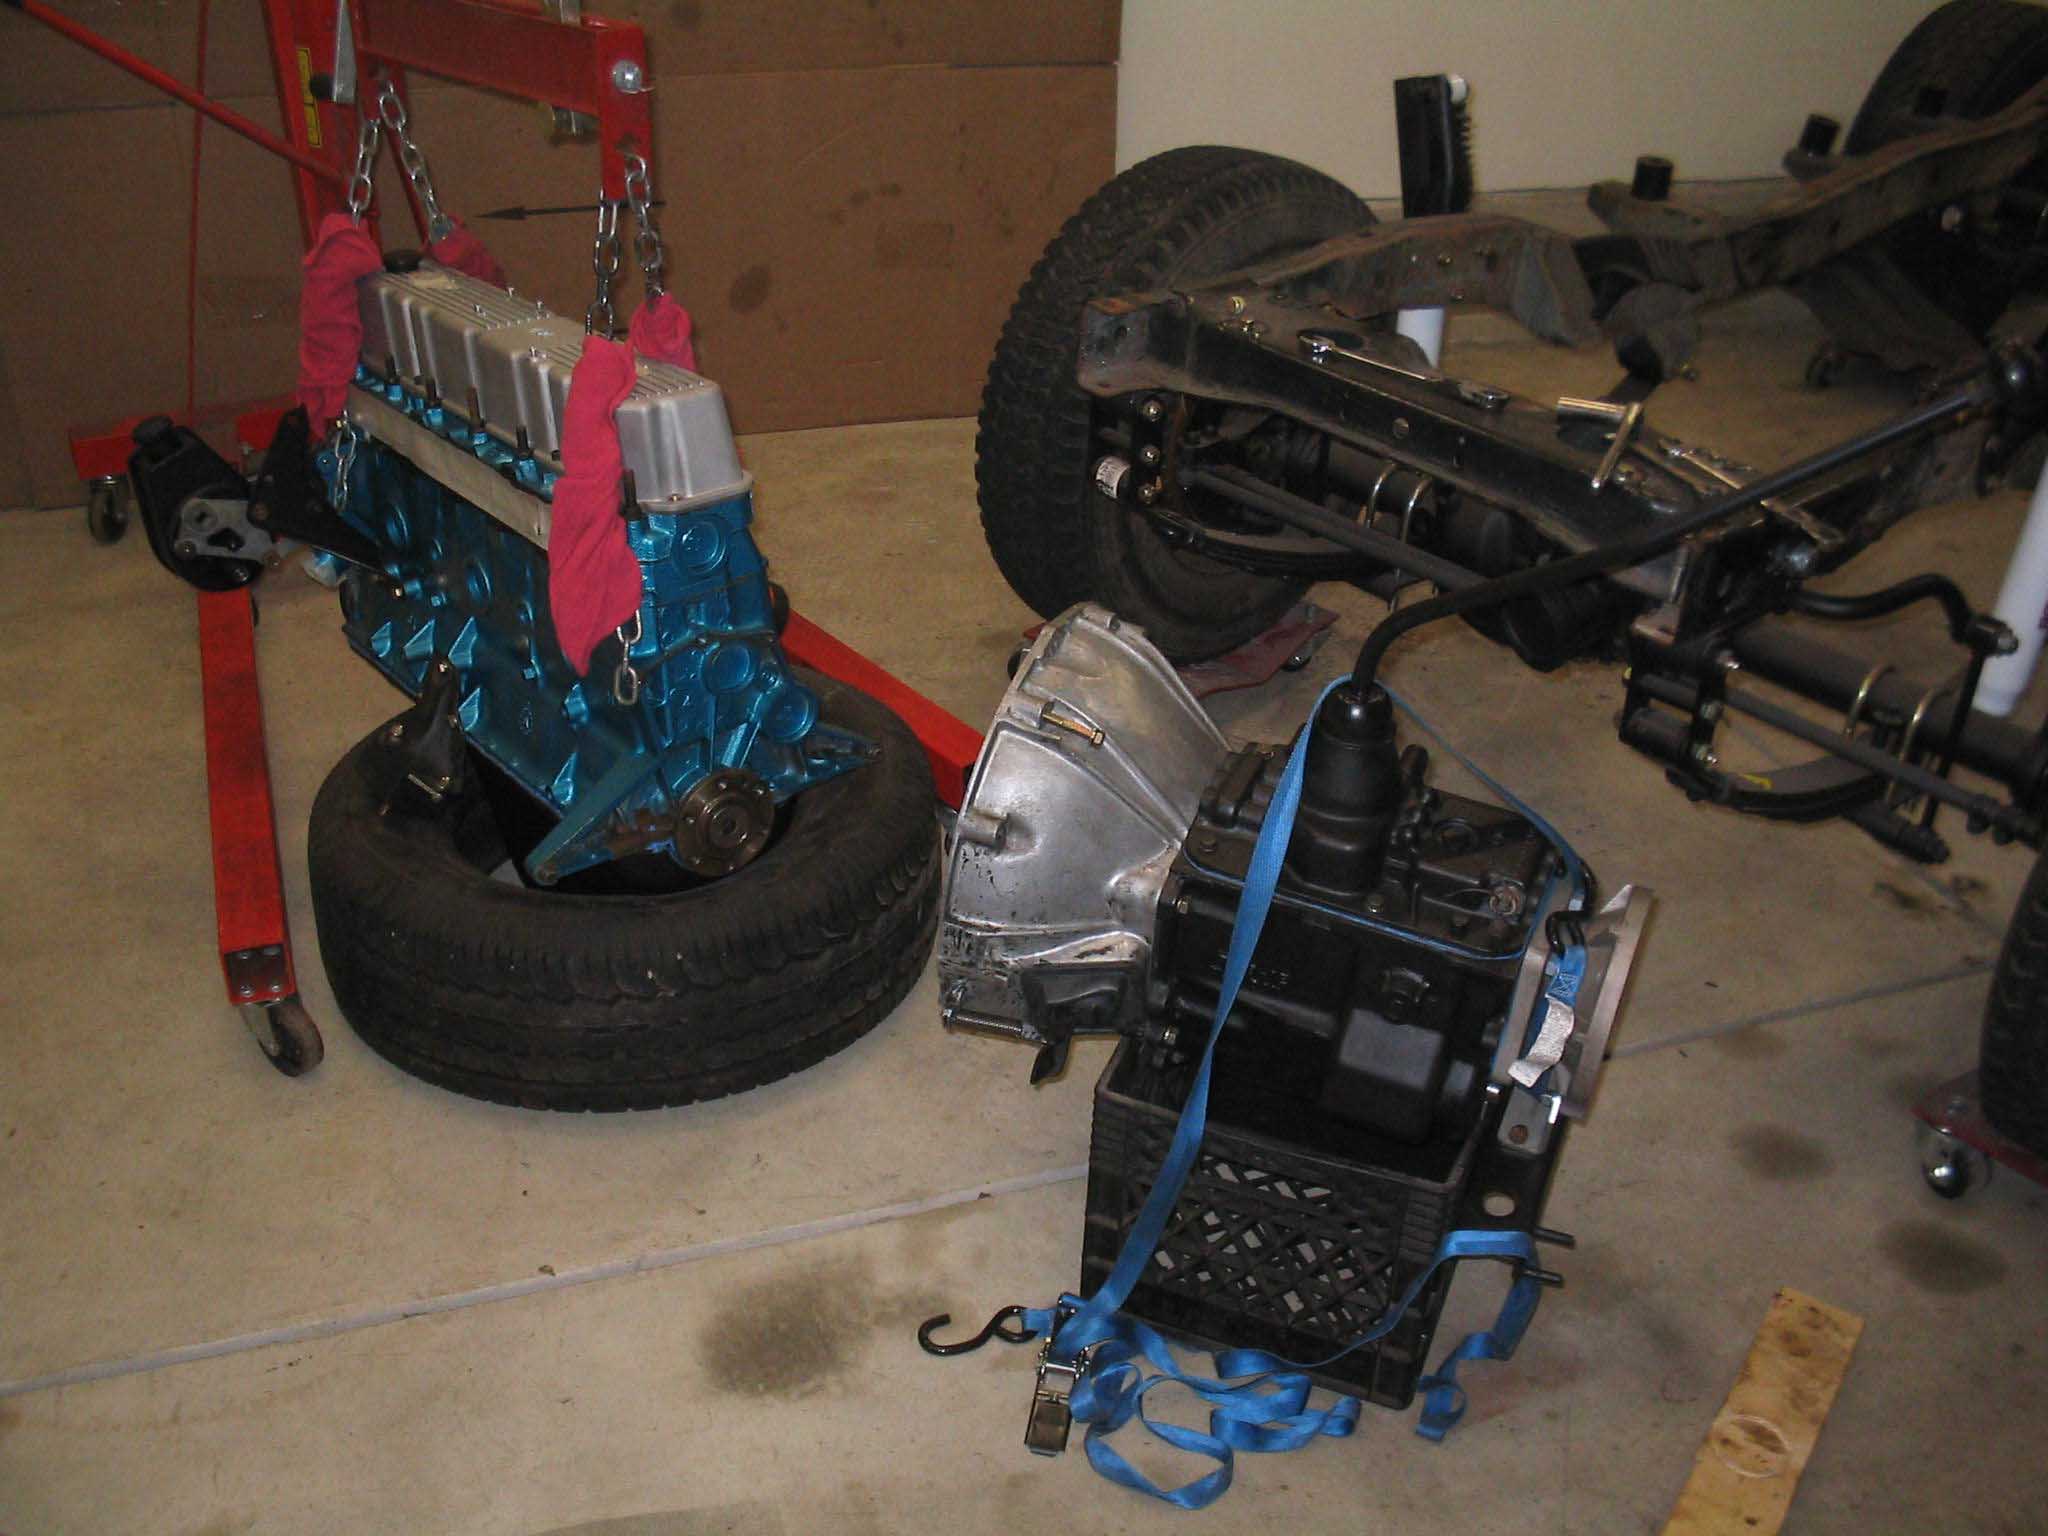
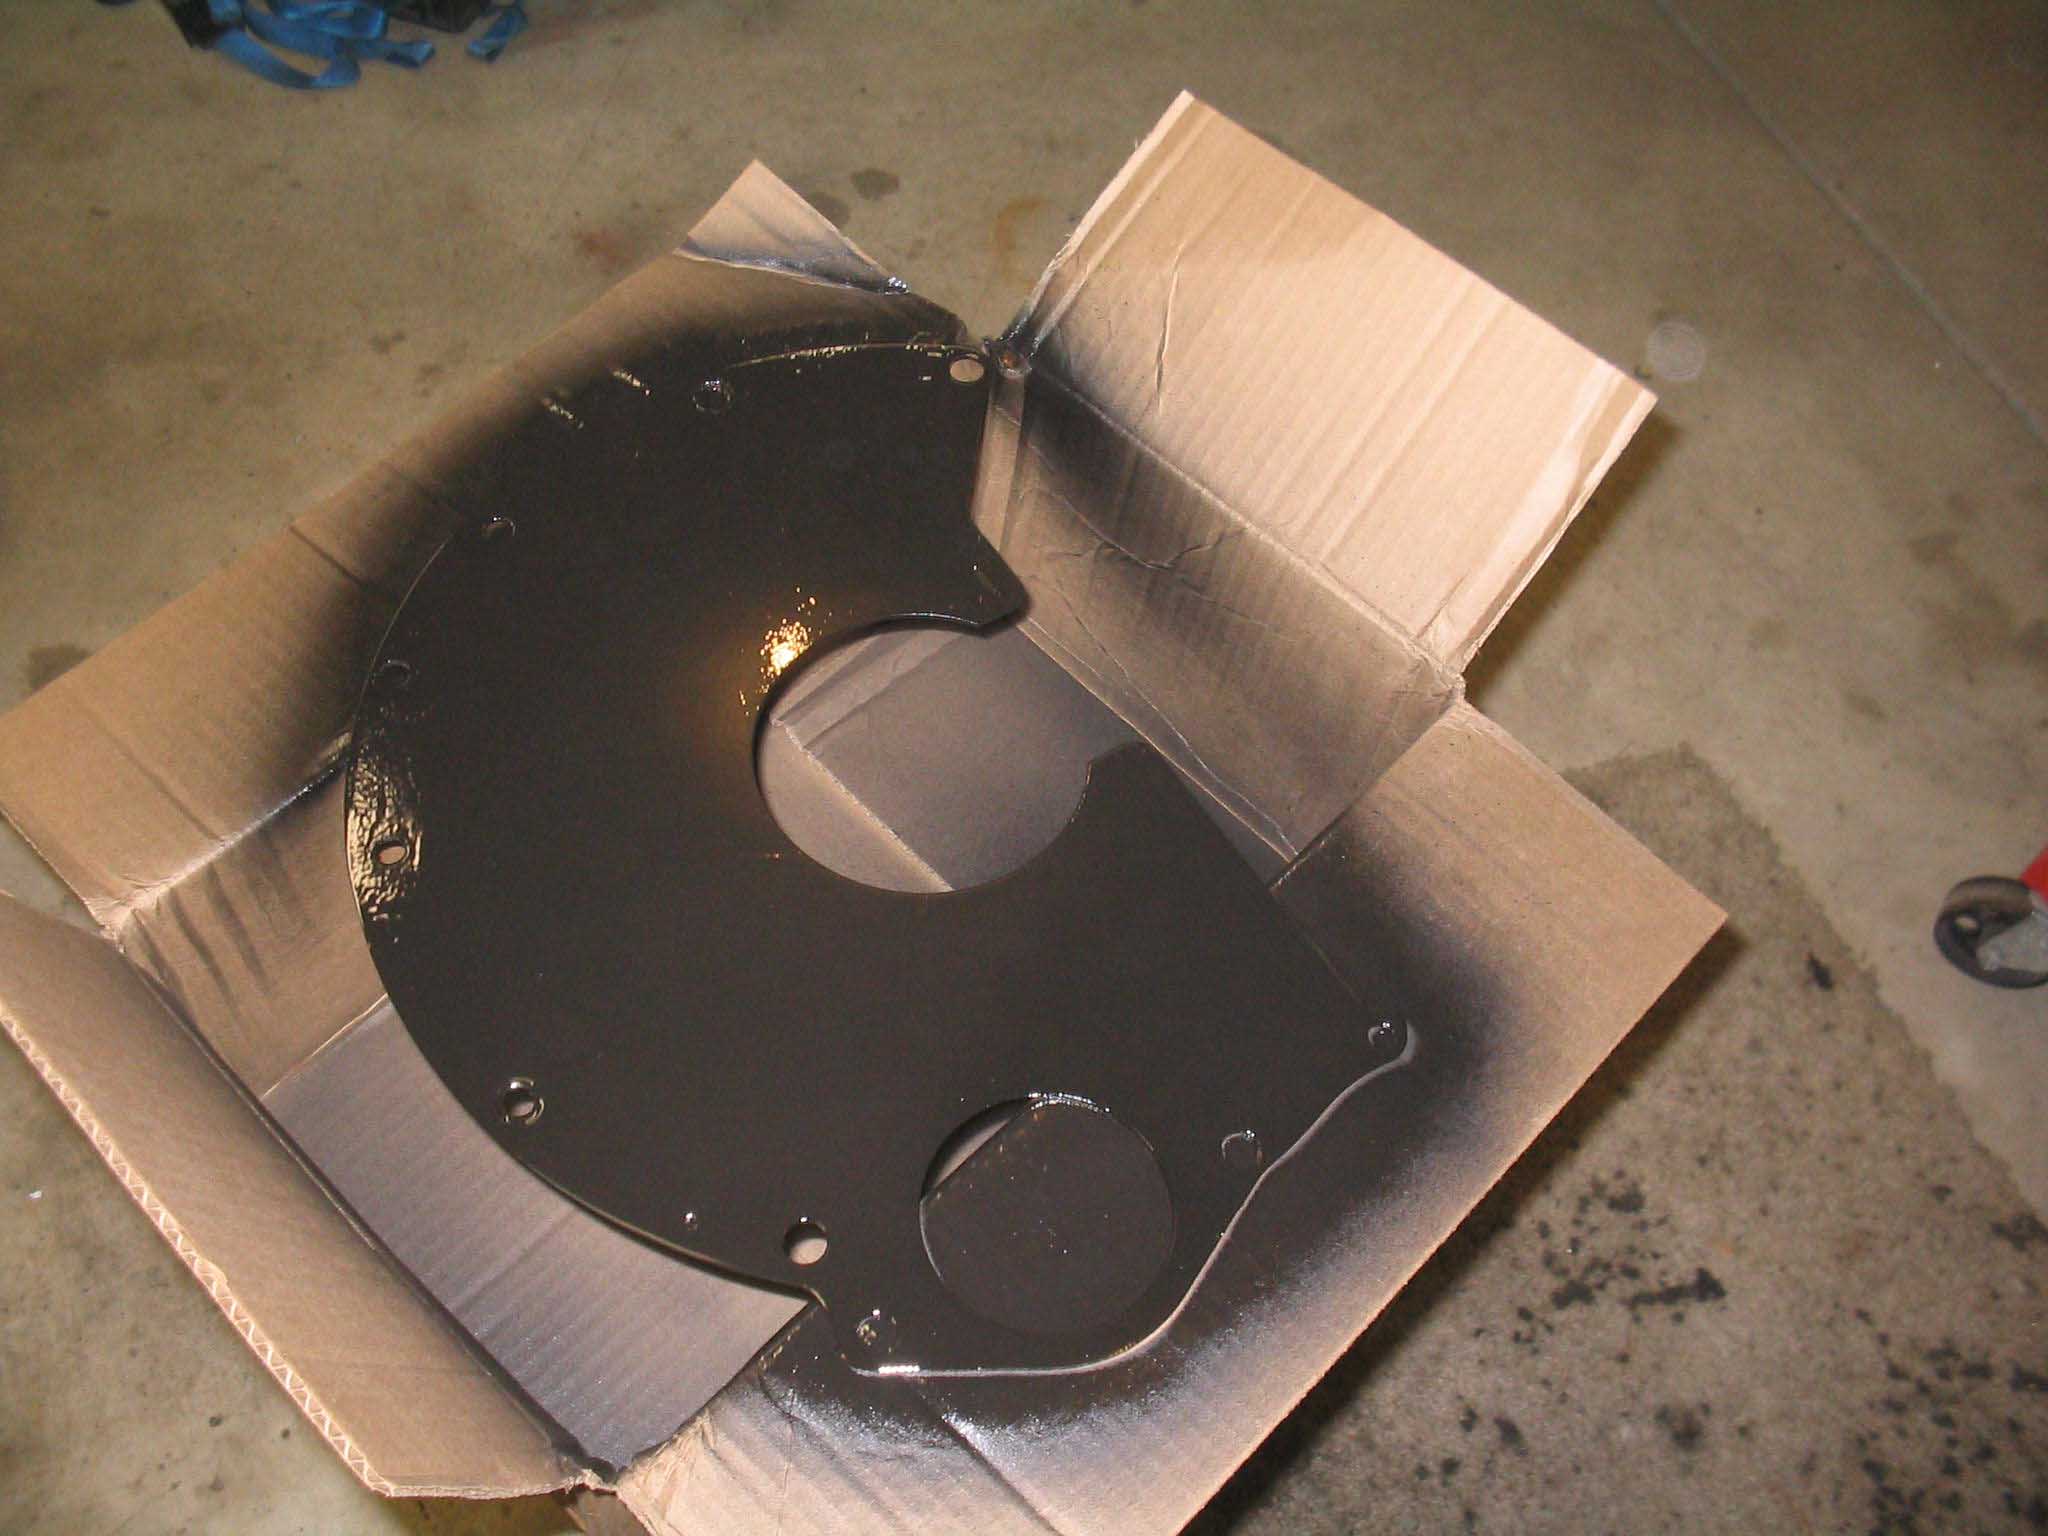
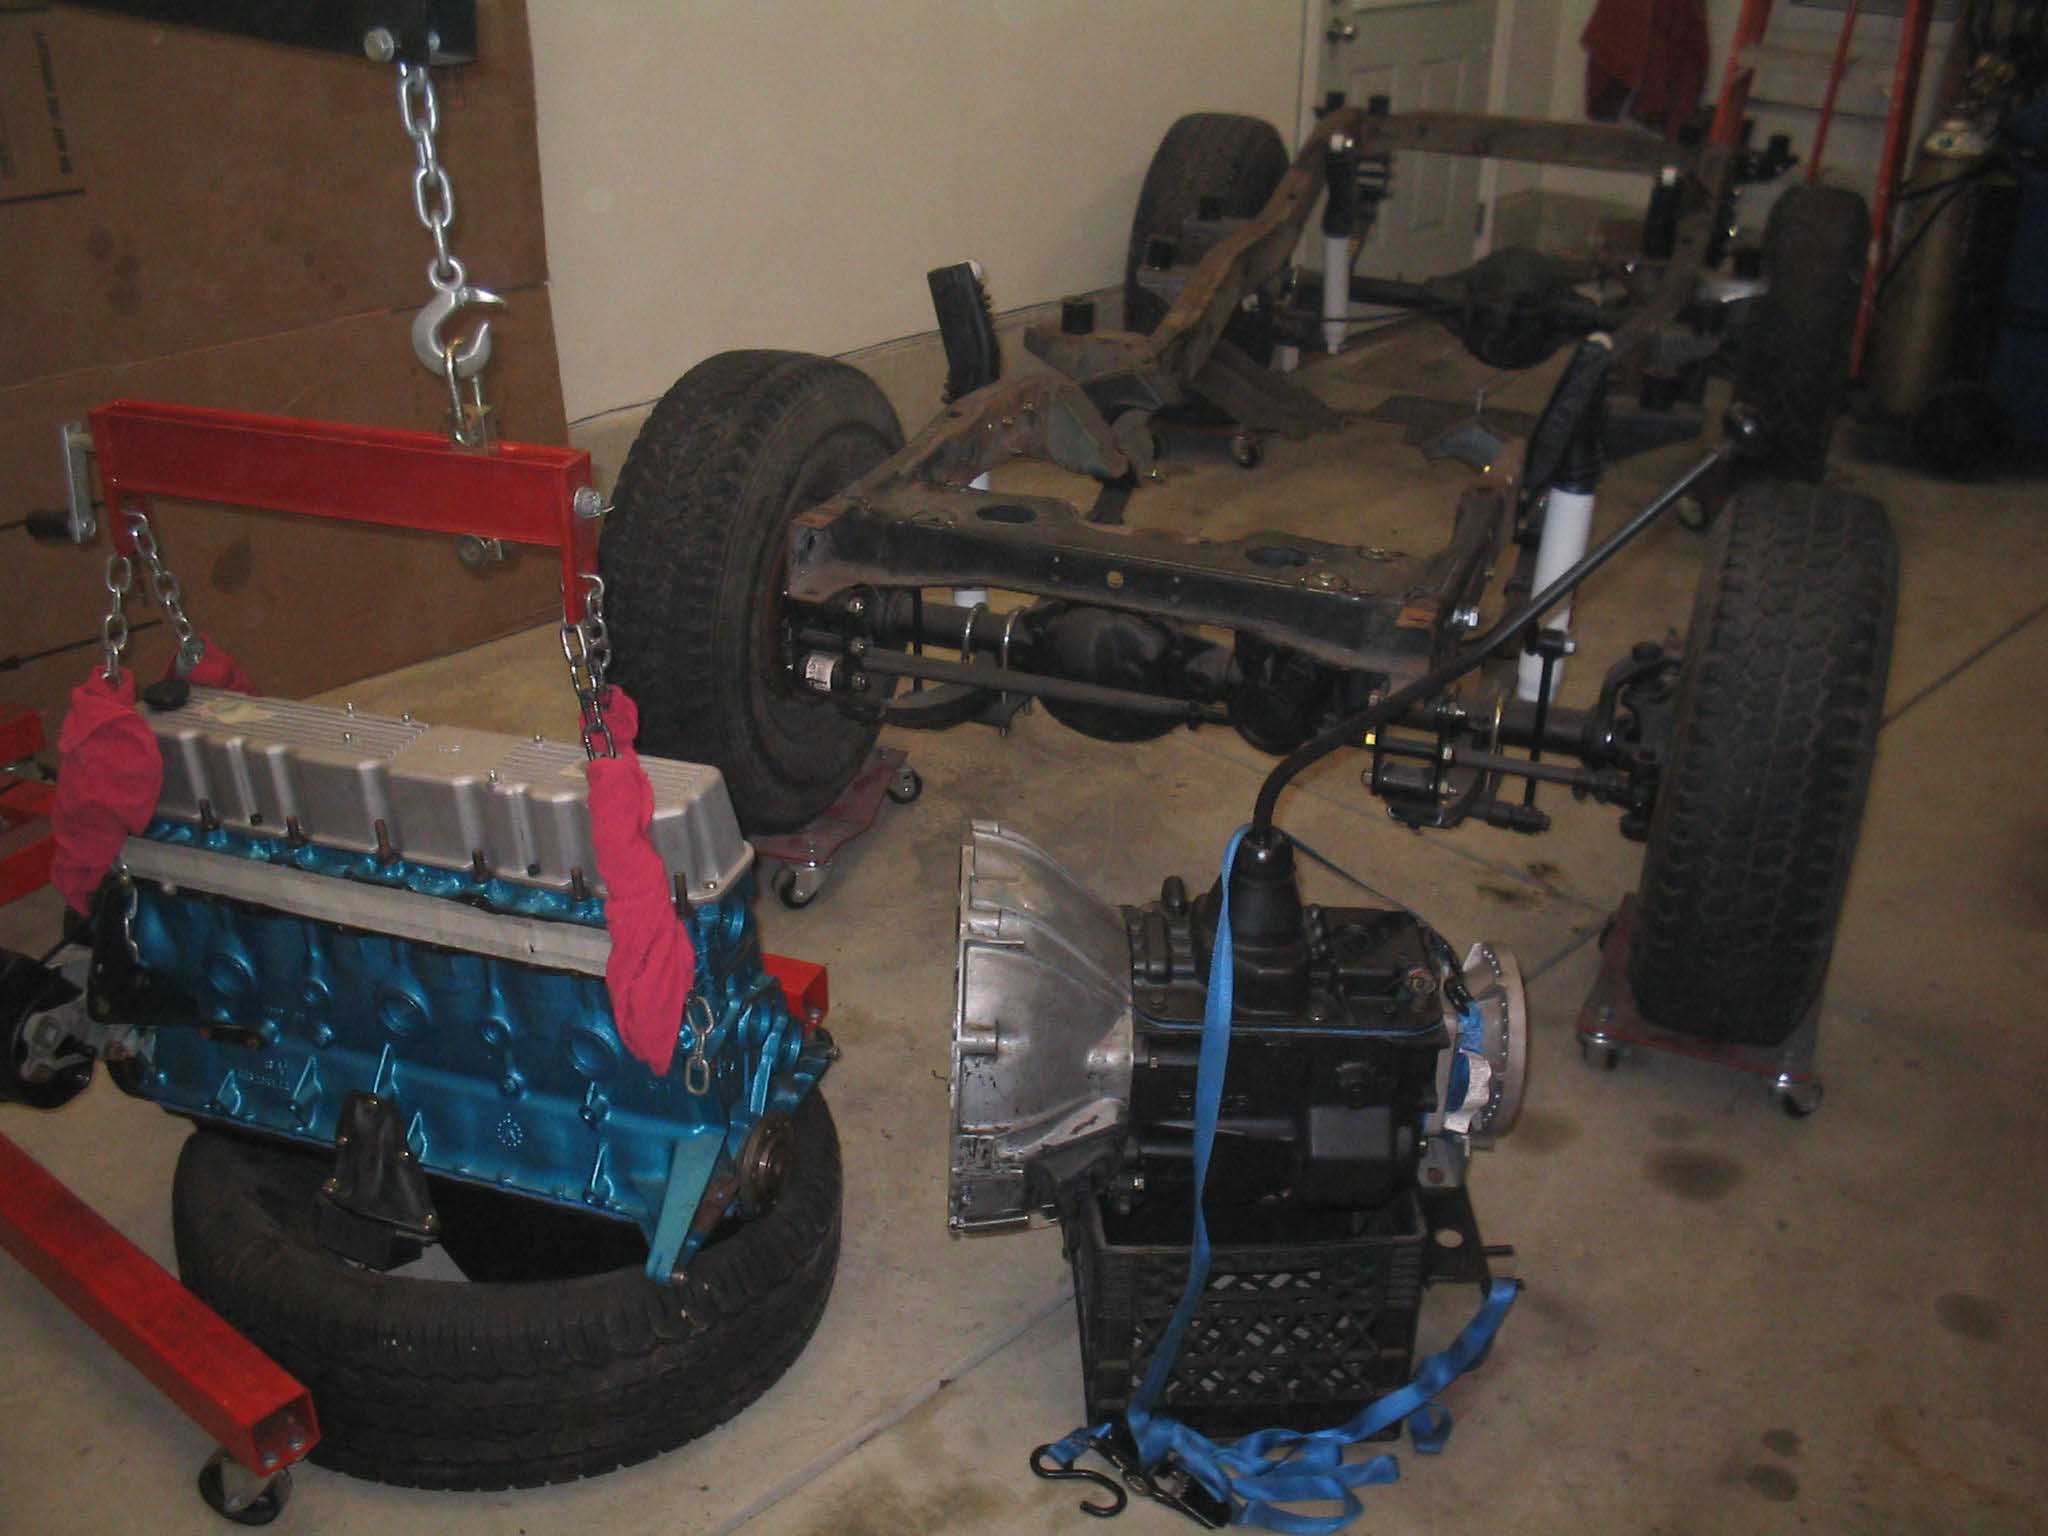
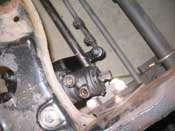
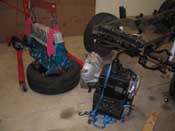
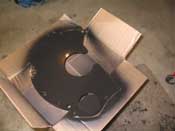
| So, after the power steering box install was completed, I decided to yank out the
drive train to put the clutch in. Simple enough in theory, but it took a bit longer then I expected. Basically,
I couldn't separate the bell housing from the engine due to the fact that the dowel pins holding it in where inside
of existing ones. I didn't check when I put it together, but someone had left the old ones in the bell housing.
So, when I put the ones in that were on the engine block, it kind of squished them in there. So, I separated
the 2 with a hammer and screwdriver, but I marked up the separator plate, so I had to re-paint that.
|
| |
|
|
|
|
|
|
| |
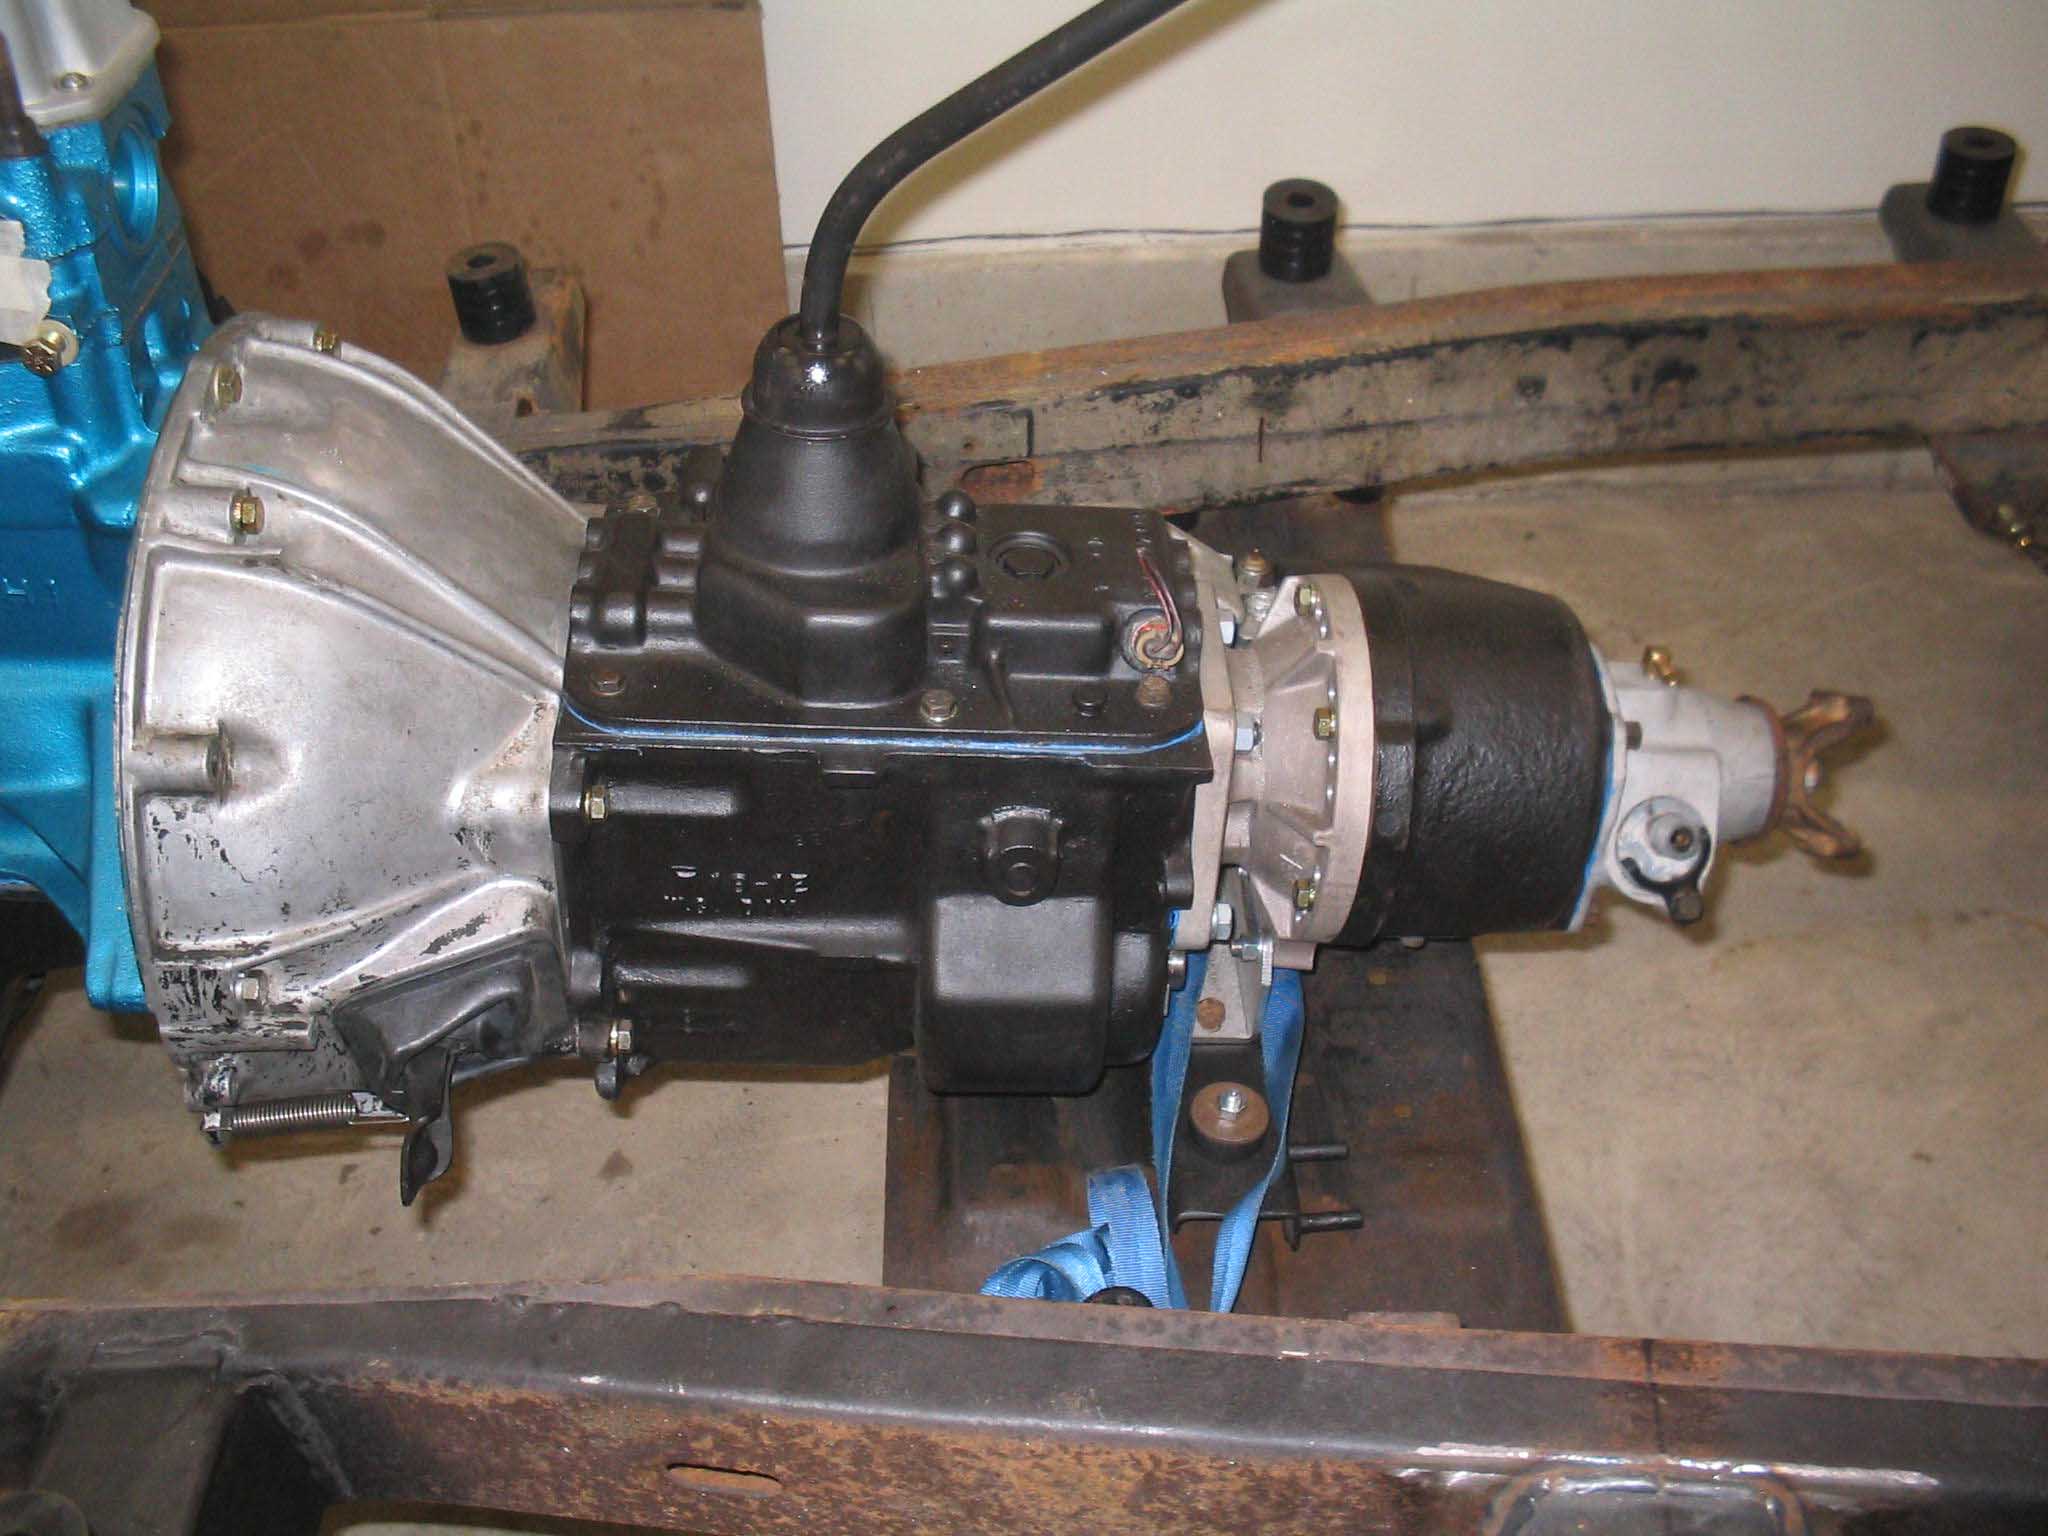
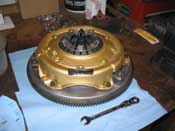
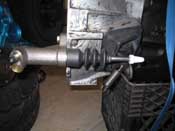
So, with the power steering in, the engine broken down, I was able to test the
clutch fit and that all seems to be good. I do this because trying and hoping when putting it together rarely
works out for me, so I take the few minutes ahead of time to check it out. I finished up by trying out the
hydraulic clutch setup on the bell housing, and as you can tell from the pictures, I am having an alignment
issue. I will resolve it today I hope.
cb (03/14/08)
|
| |
| << Previous |
Next >> |
|