| Project "Free Jeep" a.k.a Project "FJ" - part #30 |
| |
|
1
2
3
4
5
6
7
8
9
10
11
12
13
14
15
16
17
18
19
20
21
22
23
24
25
26
27
28
29
30
31
32
33
34
35
36
37
38
39
40
41
42
43
44
45
46
47
48
49
50
51
52
53
54
55
56
57
58
59
60
61
62
63
64
65
66
67
68
69
70
71
72
73
|
| |
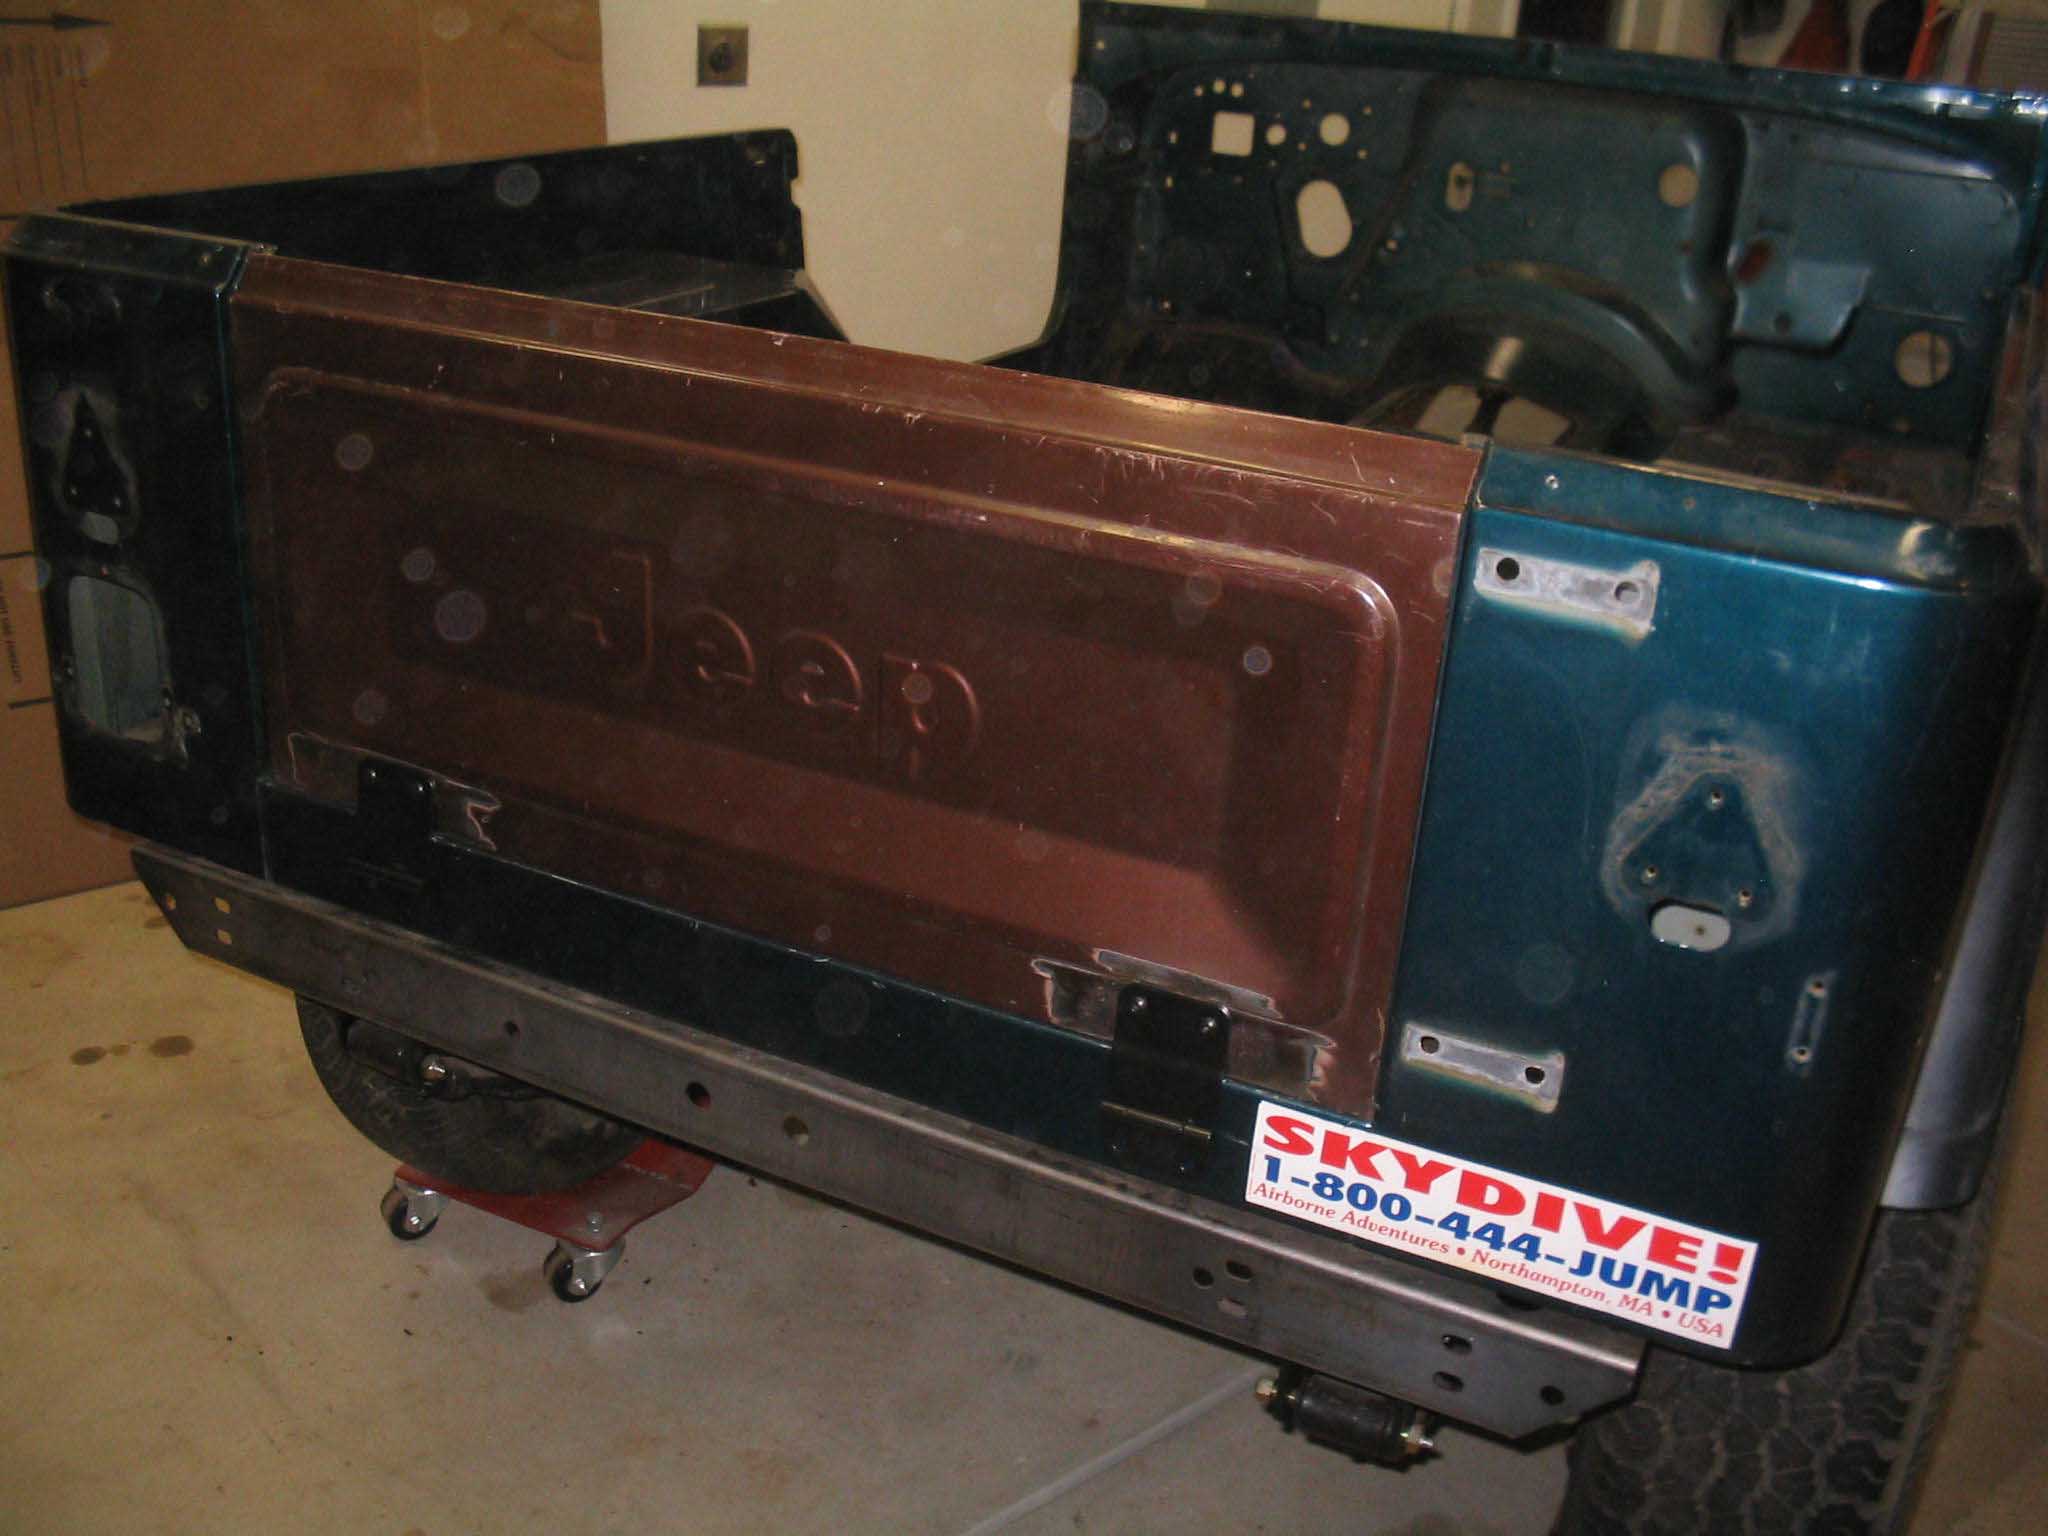
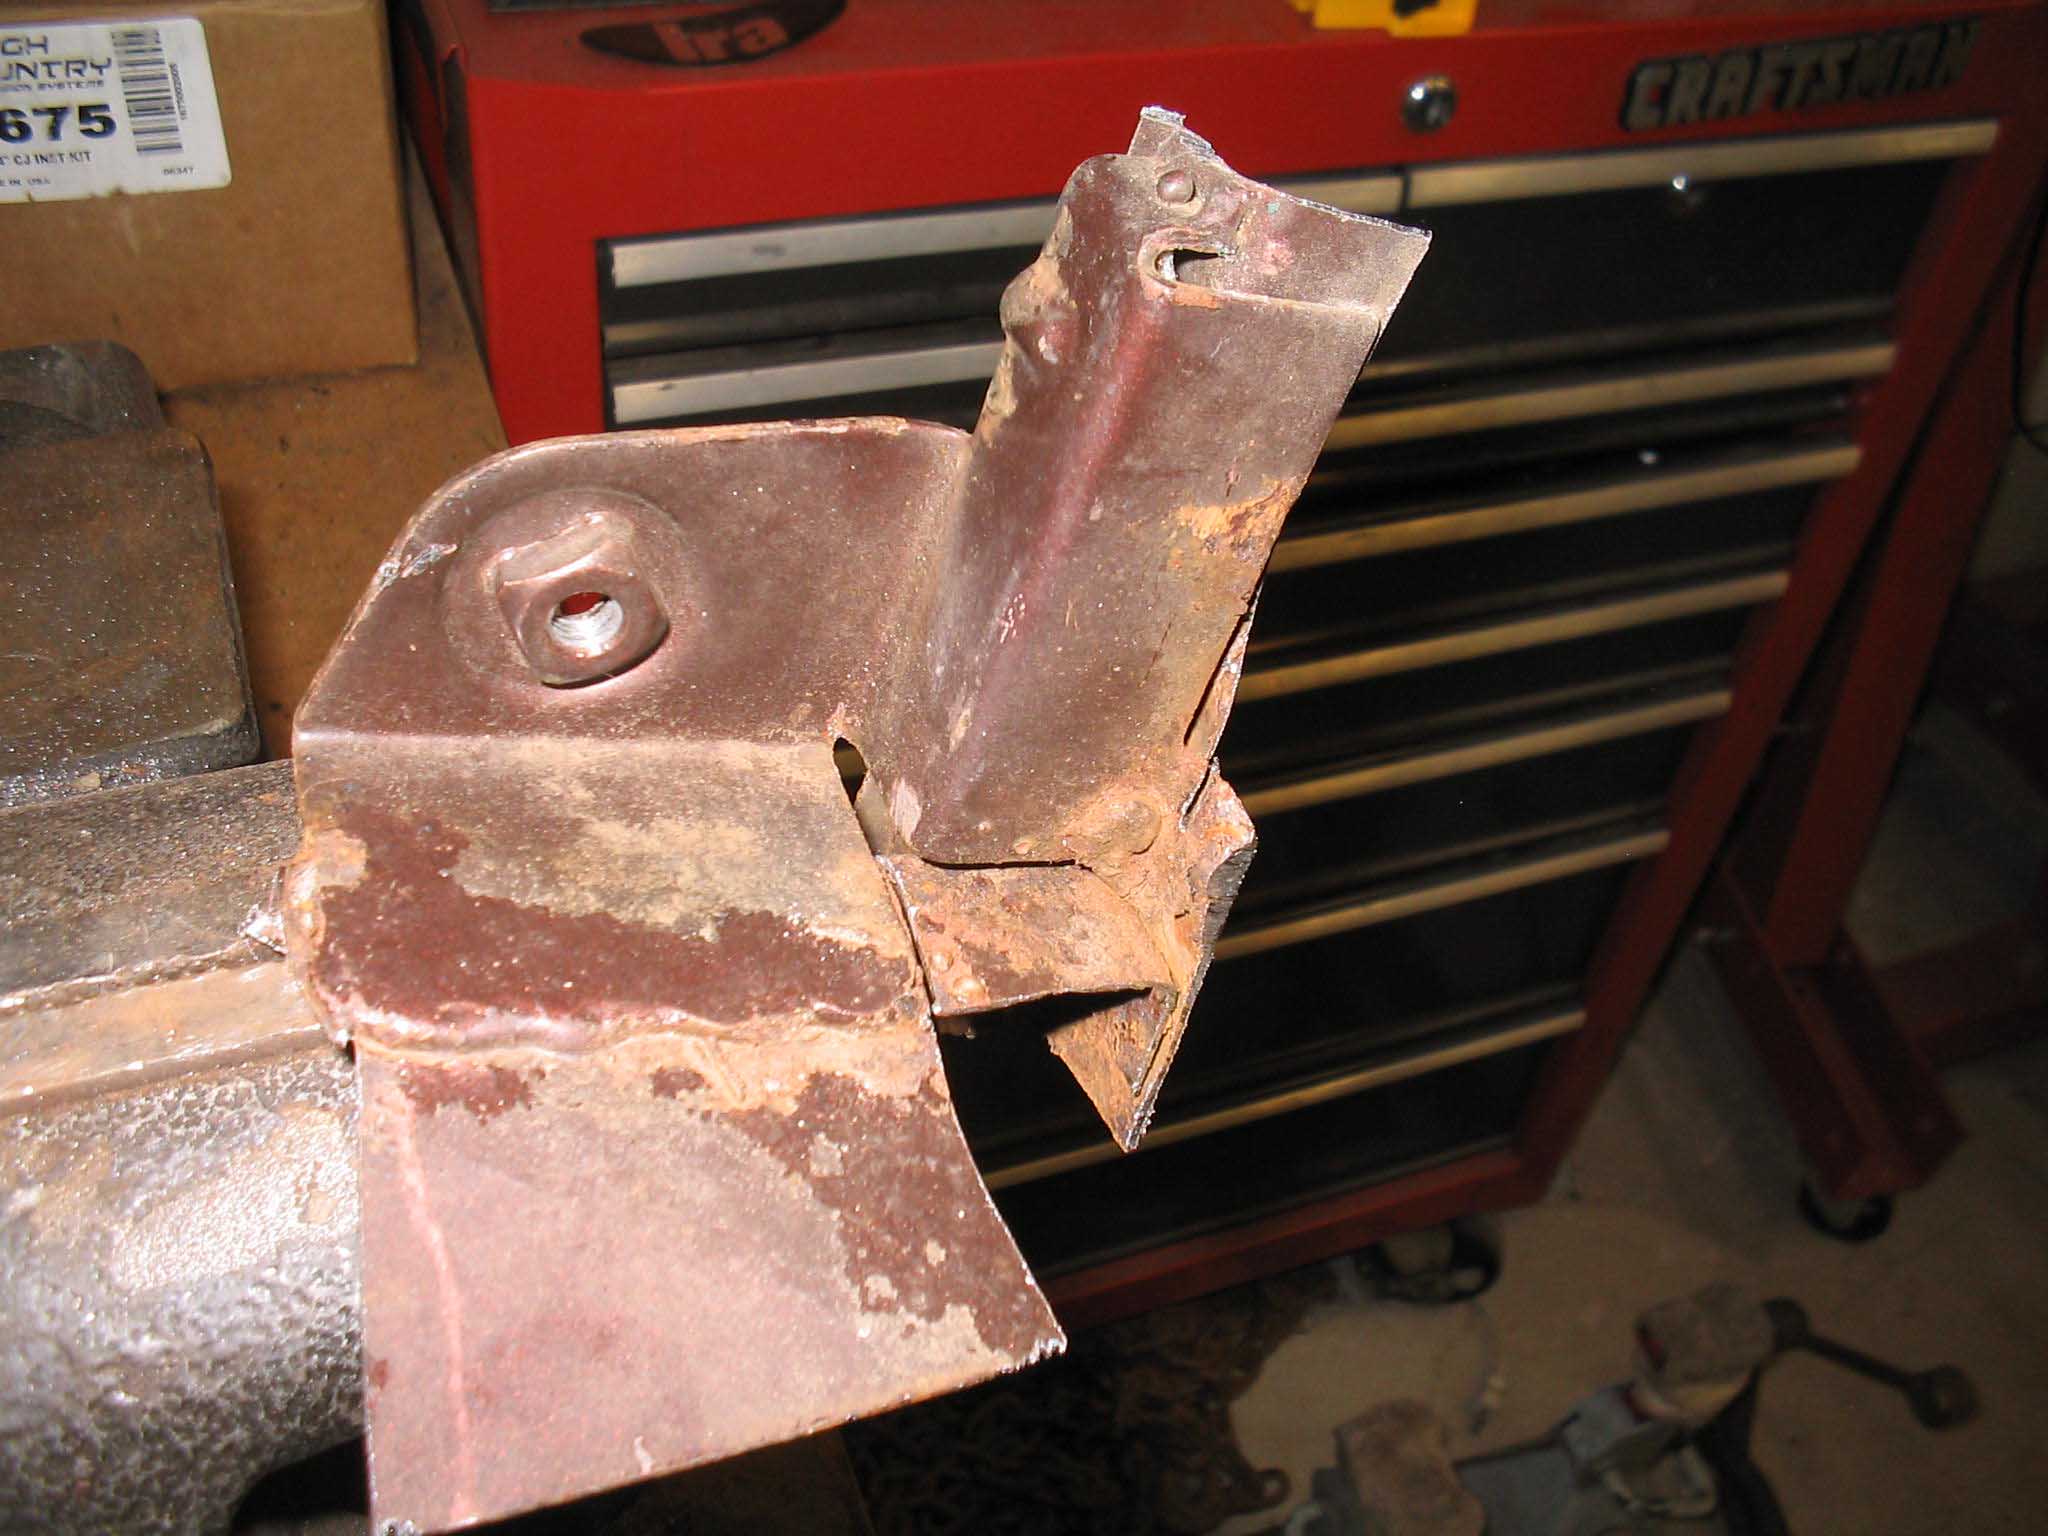
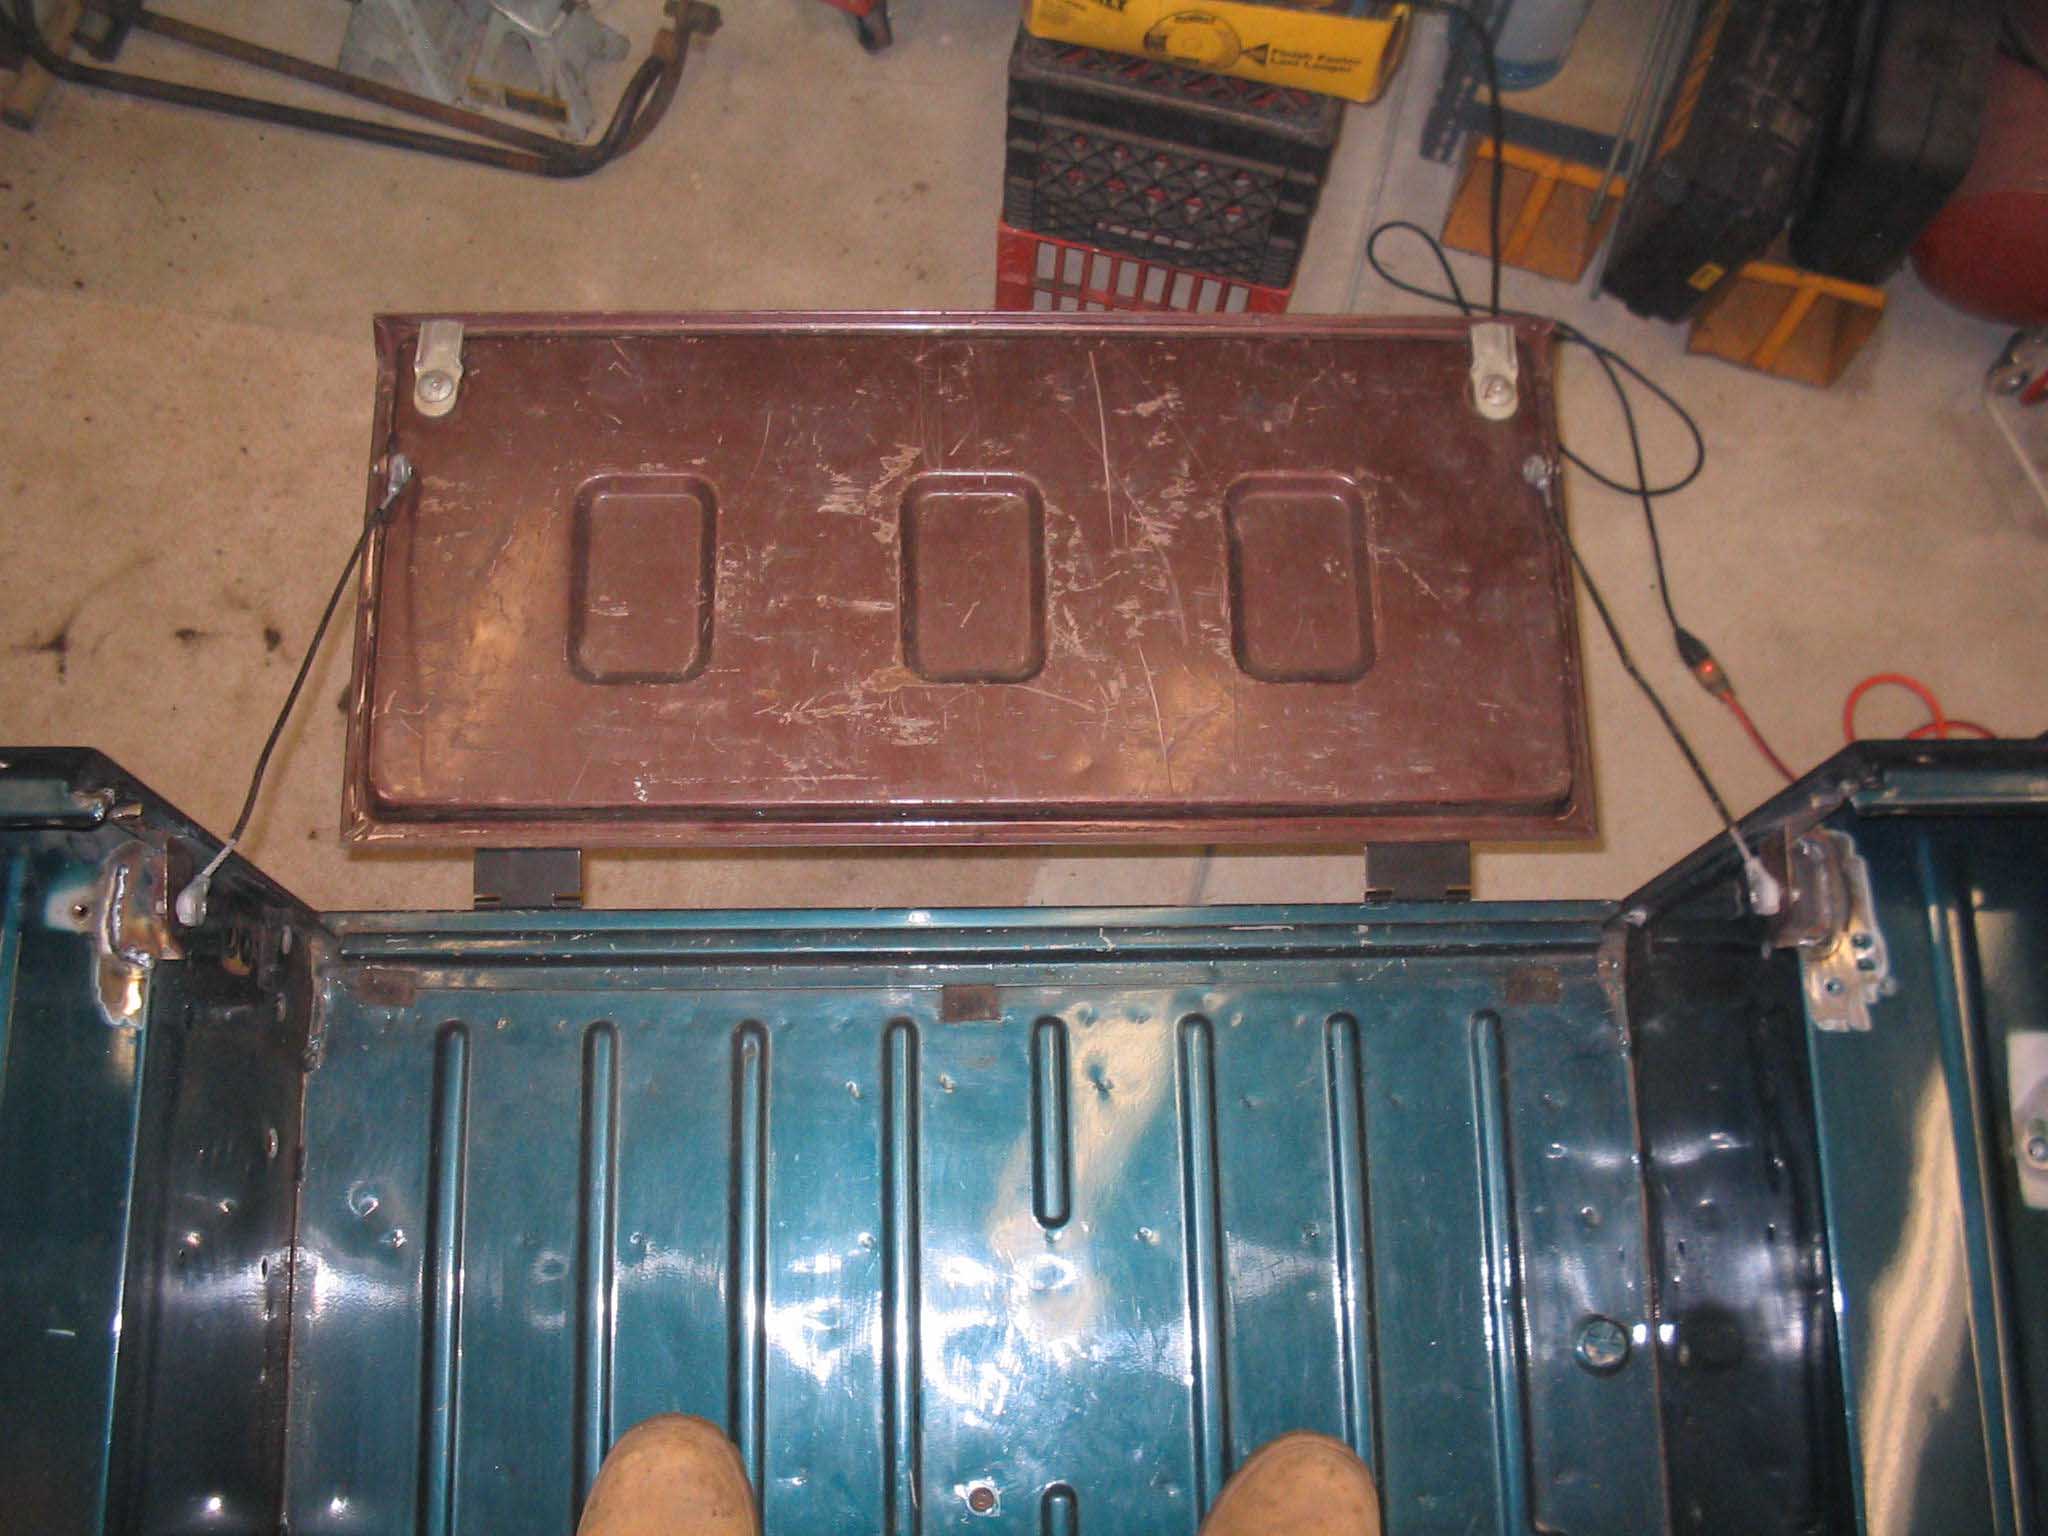
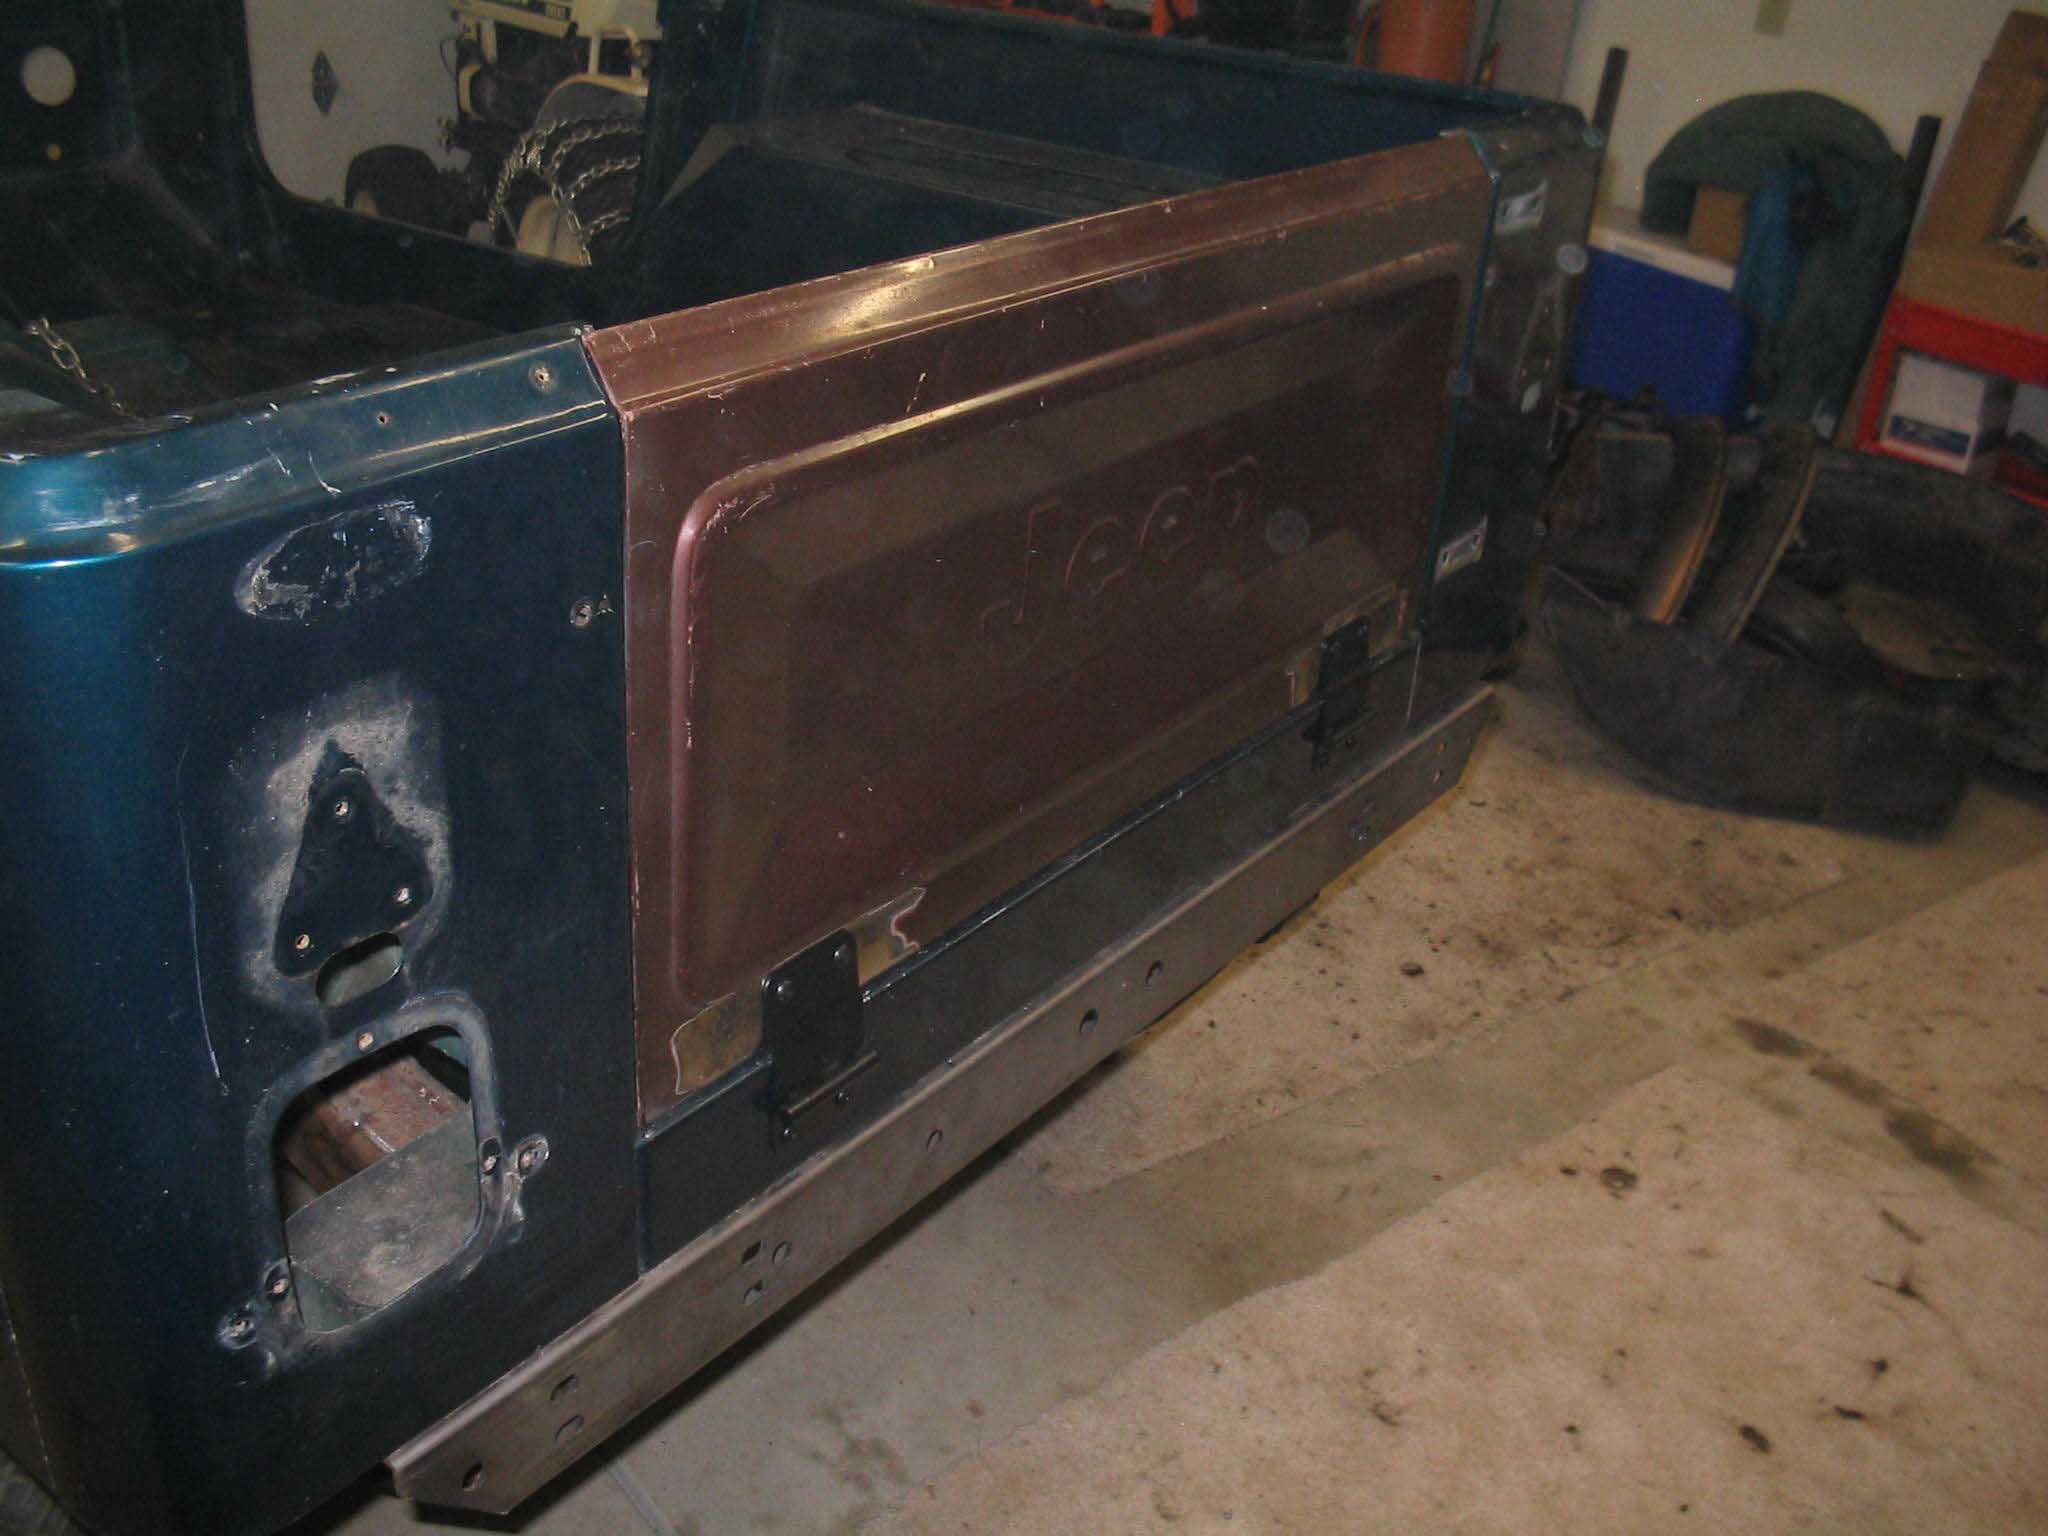
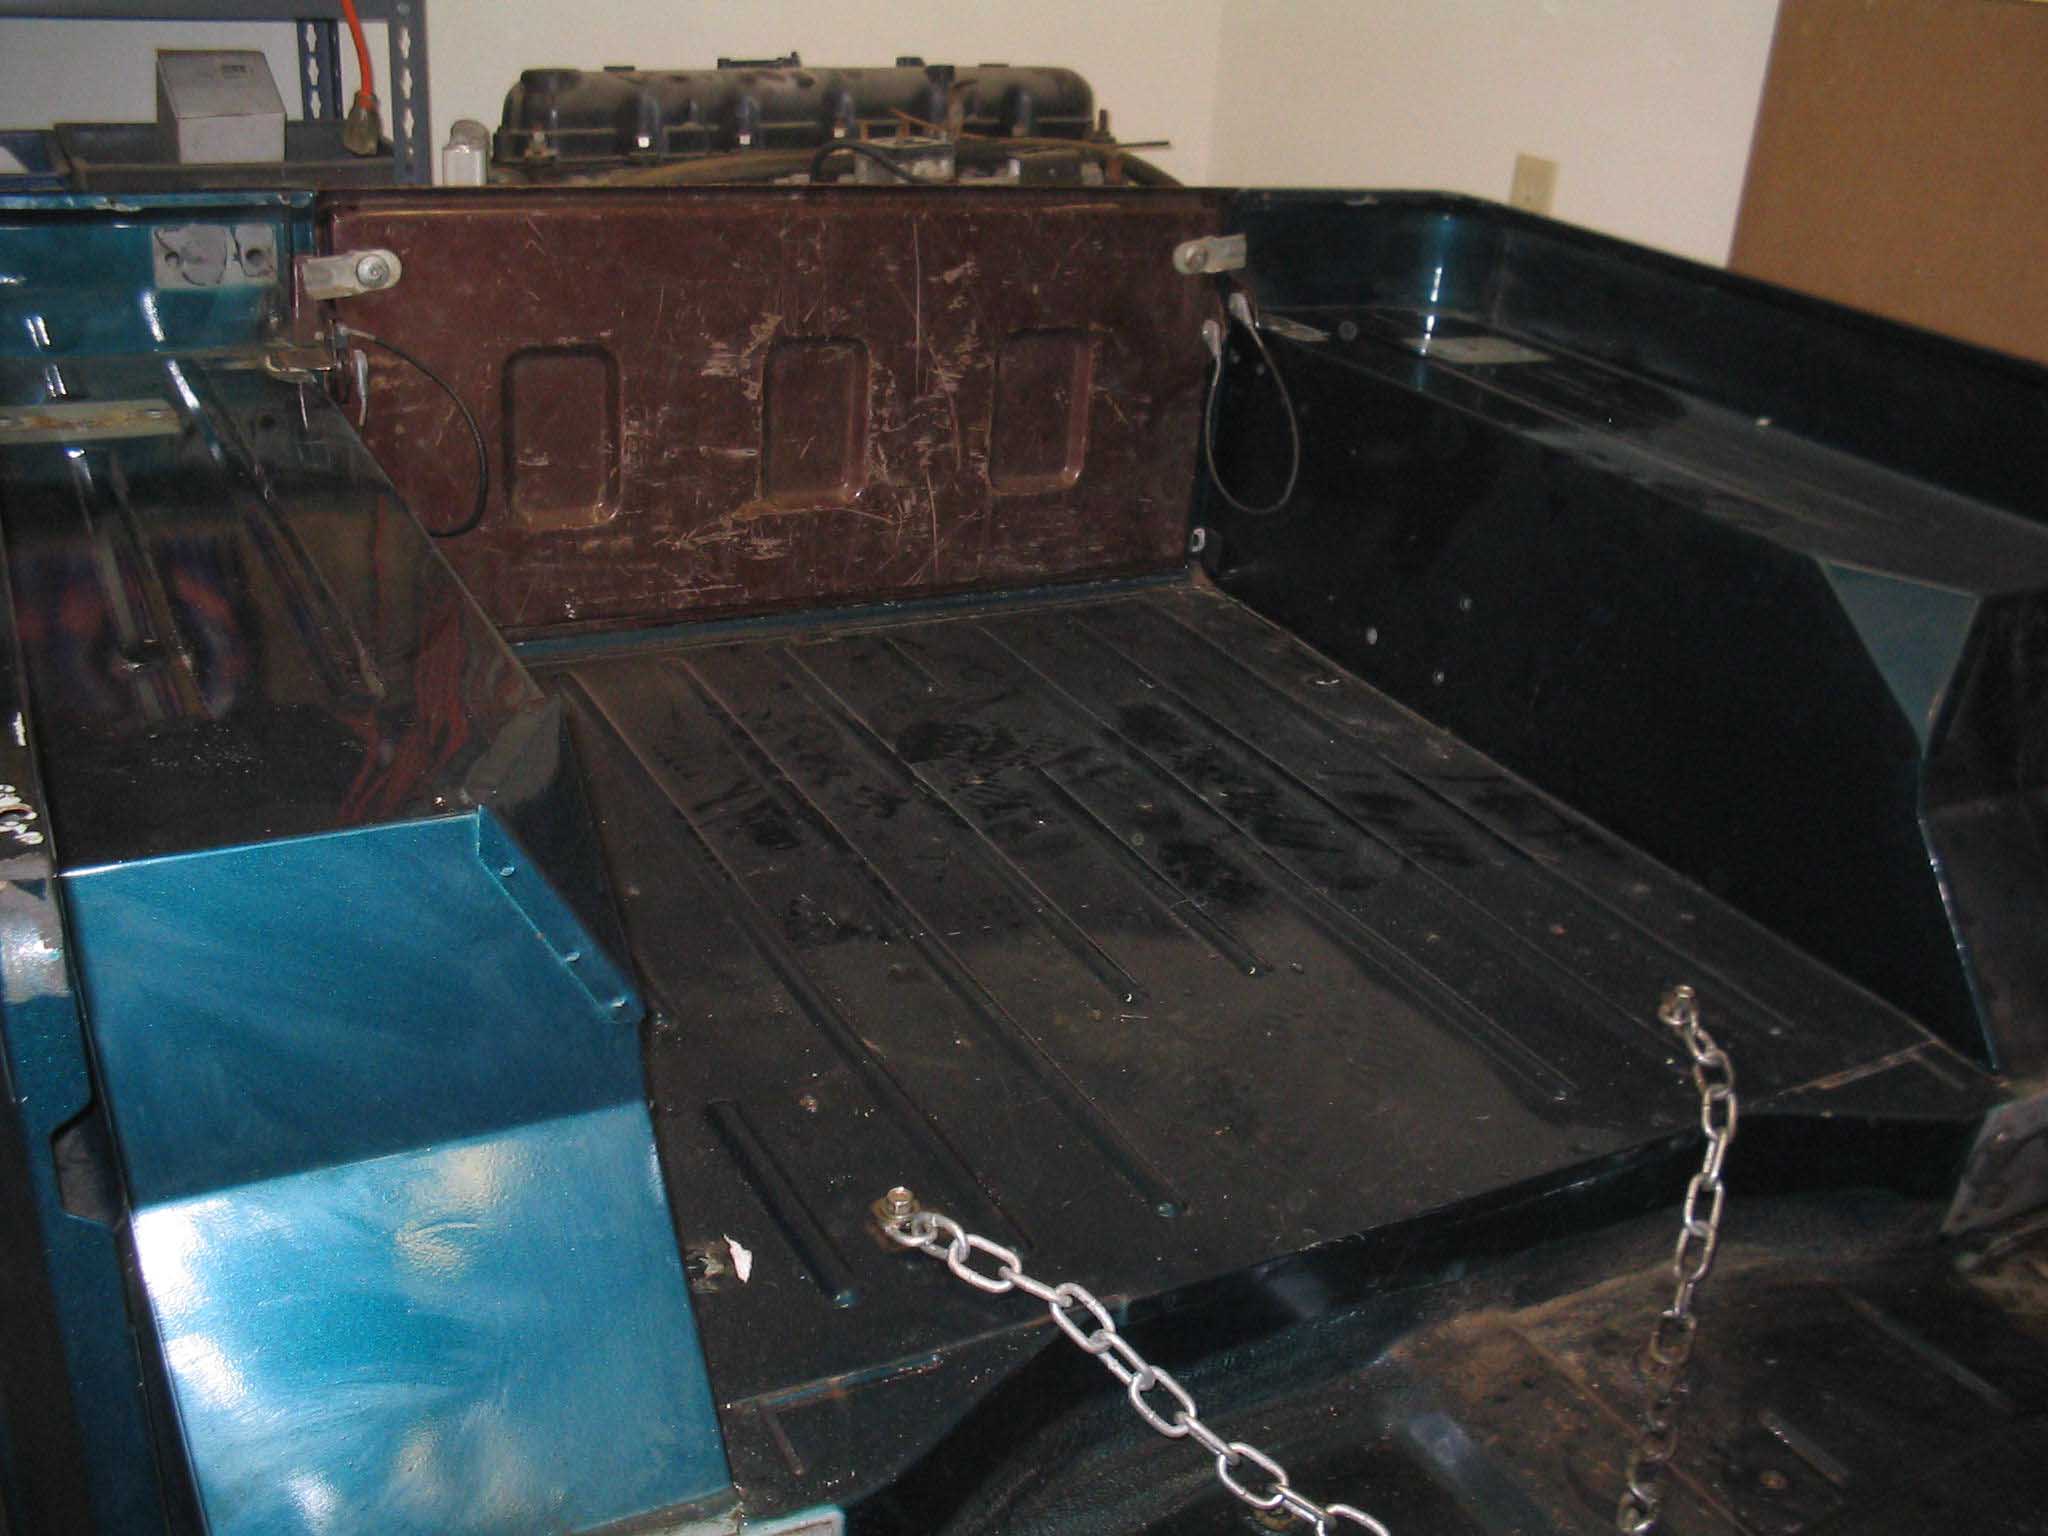
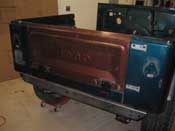
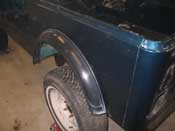
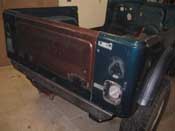
| (11/15/07) Today was a good day in that I was able to sneak out to the garage
for a few hours this evening before Jen came home and I was able to attach the driver side fender flare by
drilling holes for that and using the new hardware that came in the mail. Also in the mail came the rear tailgate
hinges, so I went to work on modifying the rear end to accept the CJ tailgate.
|
| |

|
|
|
|
| |
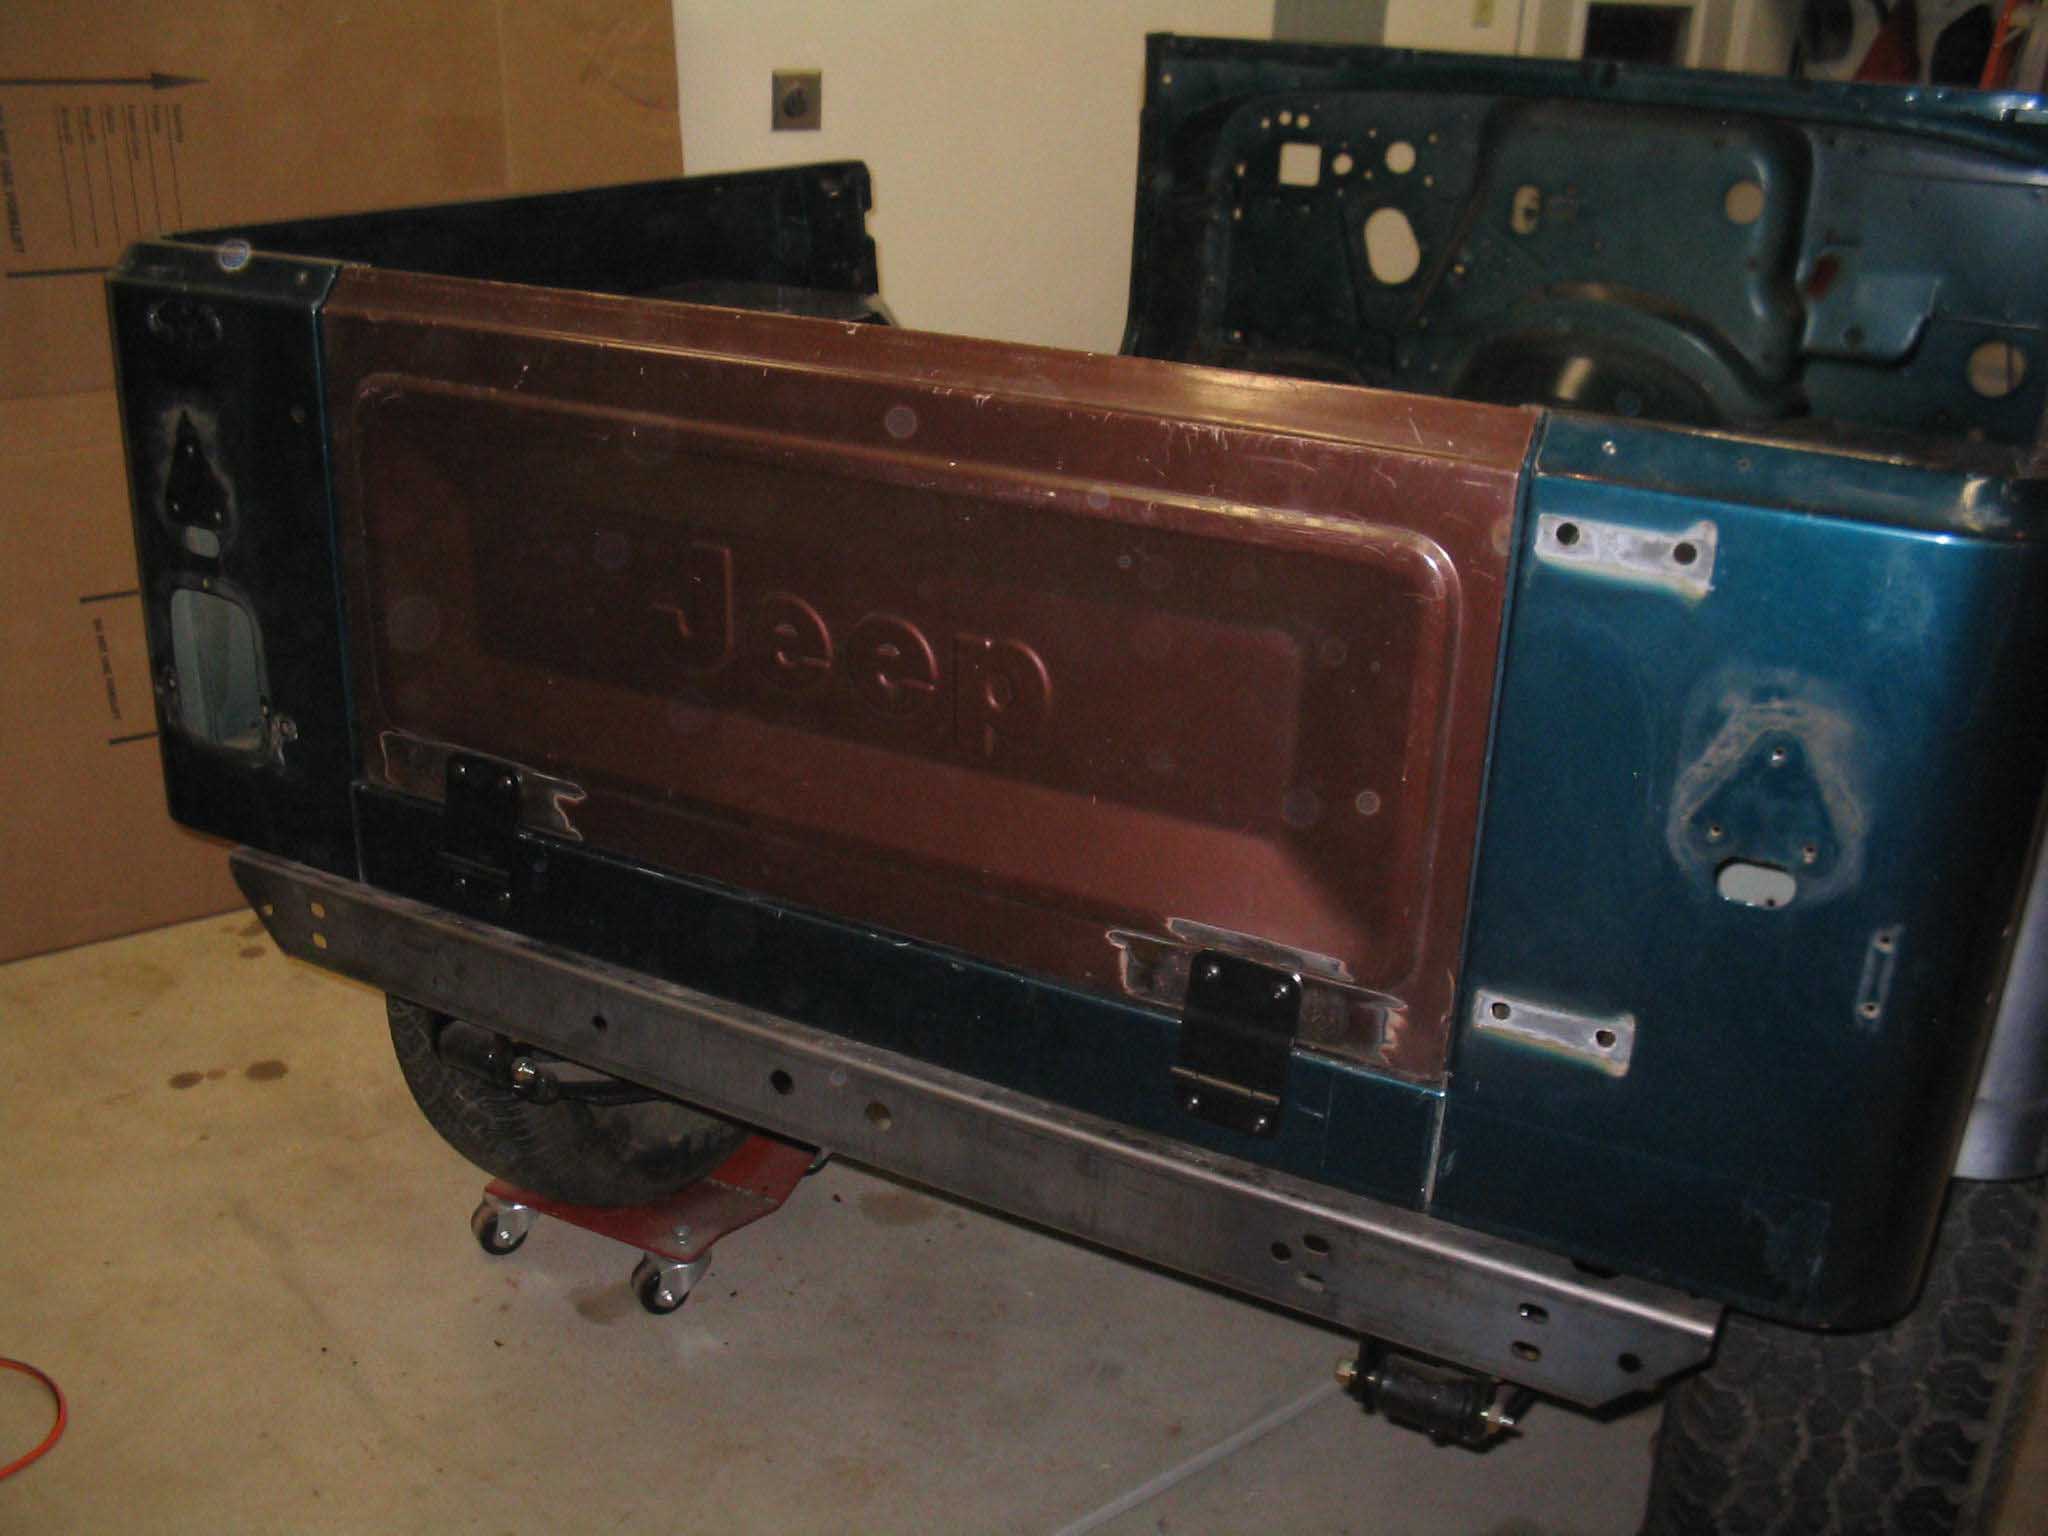
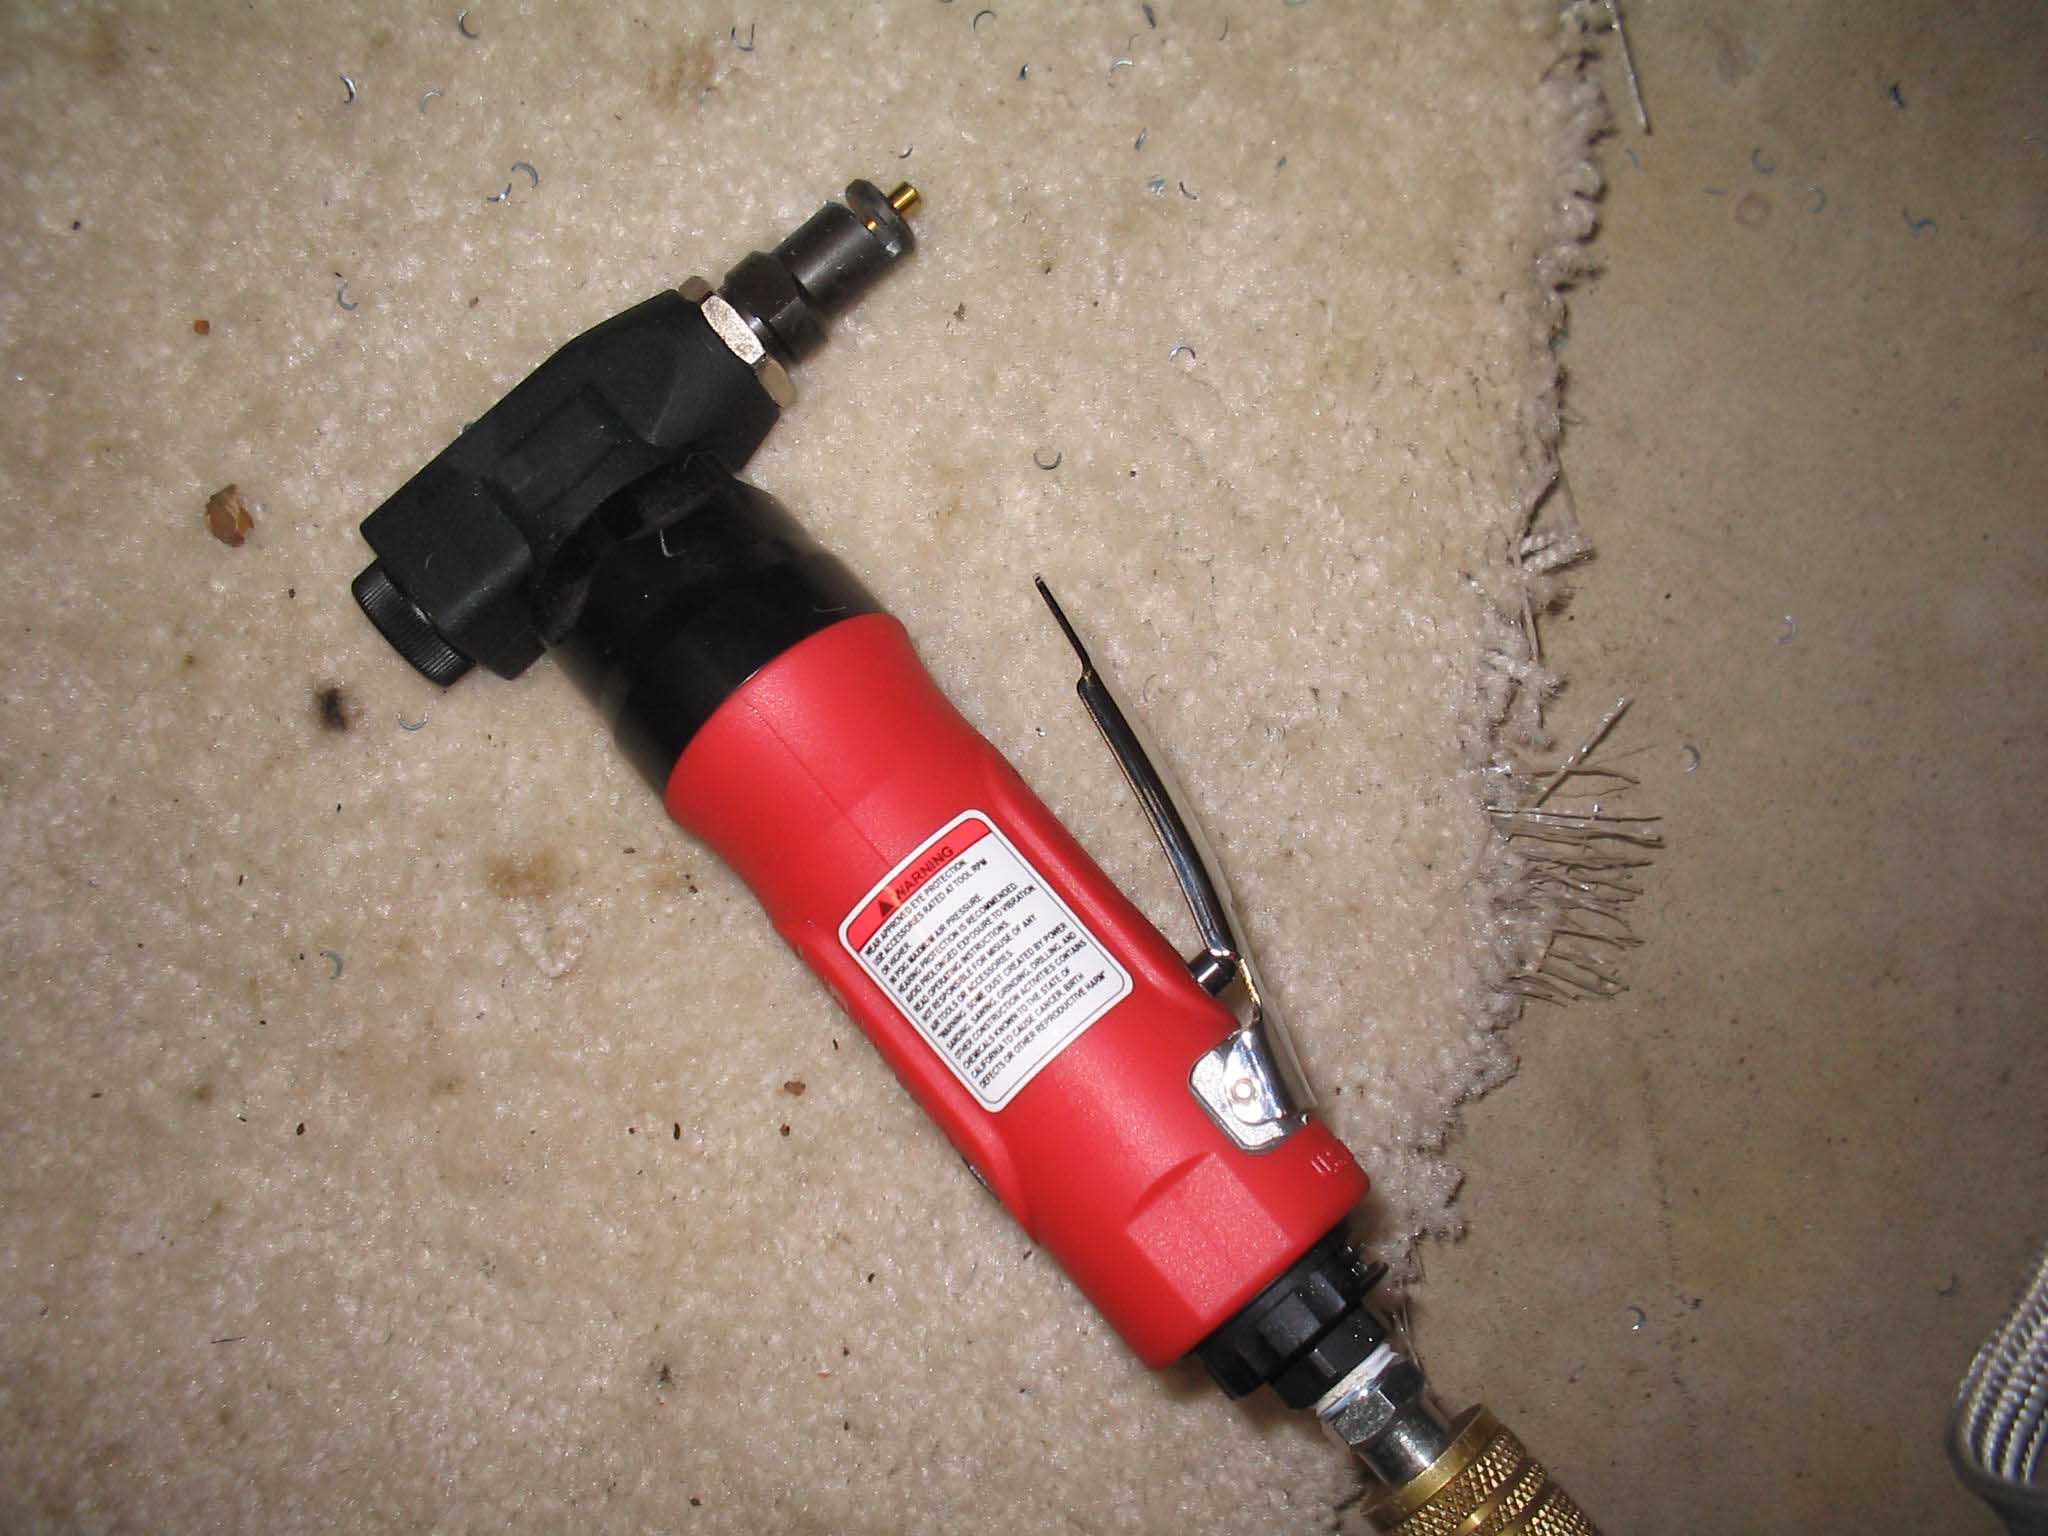
| When you have the right tools, projects inherently become a lot easier. Last
time I did this type of conversion, I had a cutoff wheel, this time around, I had a little buzz saw as well as
some other new tools that helped me to separate, drill, and then cut the metal.
|
| |

|

|
|

|
| |
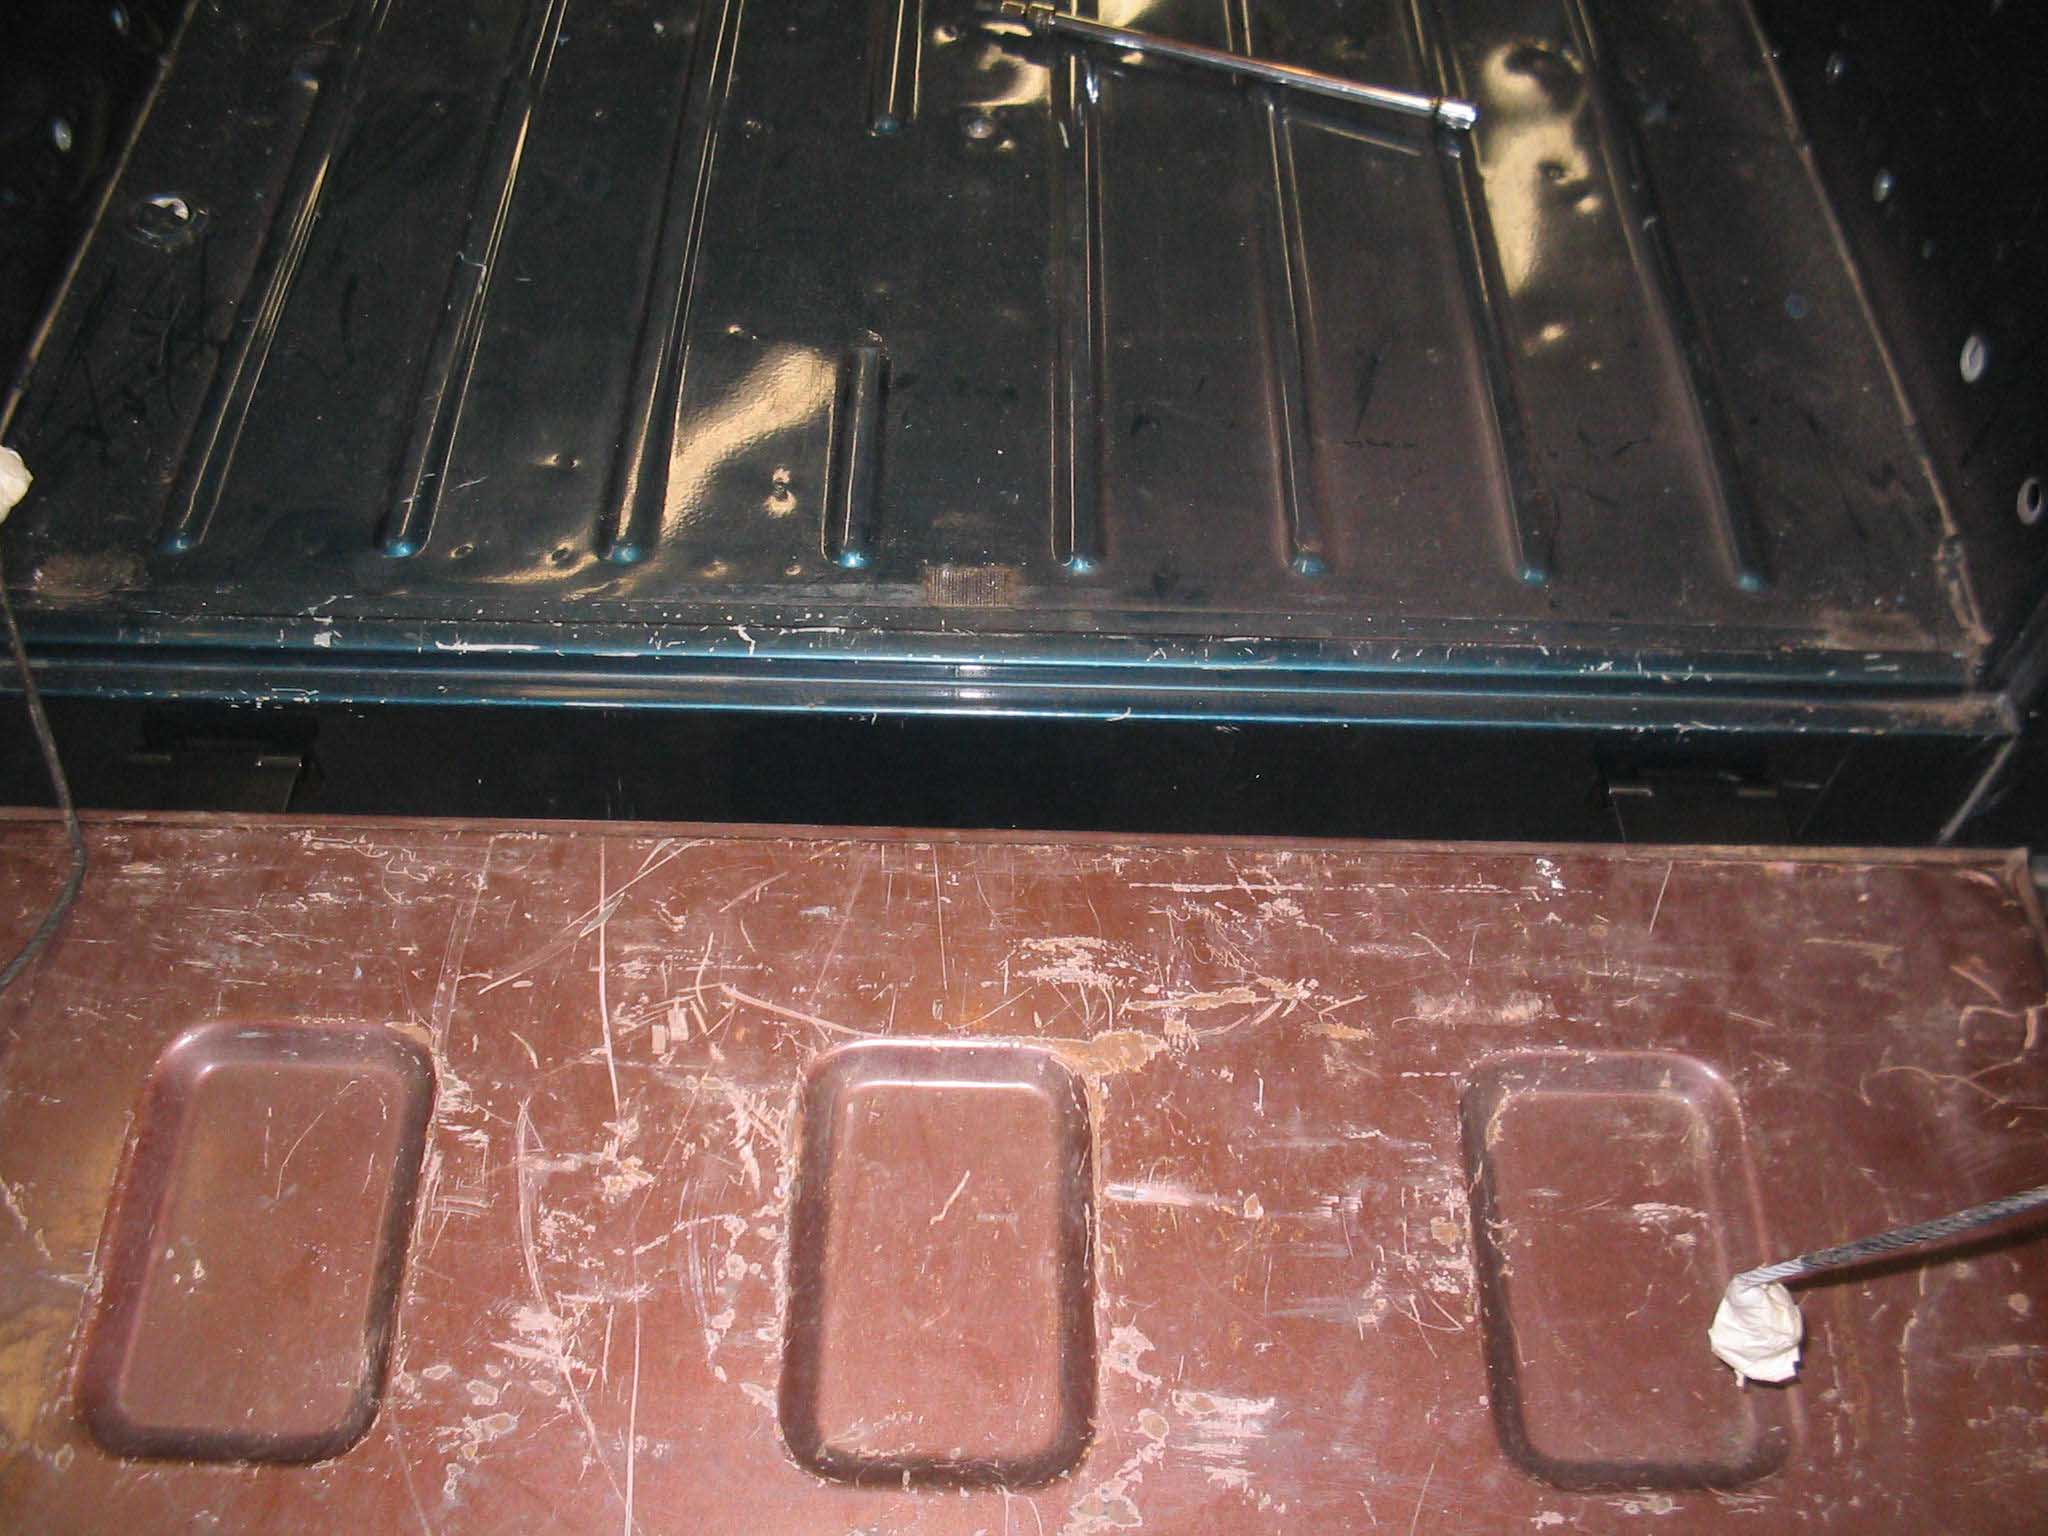
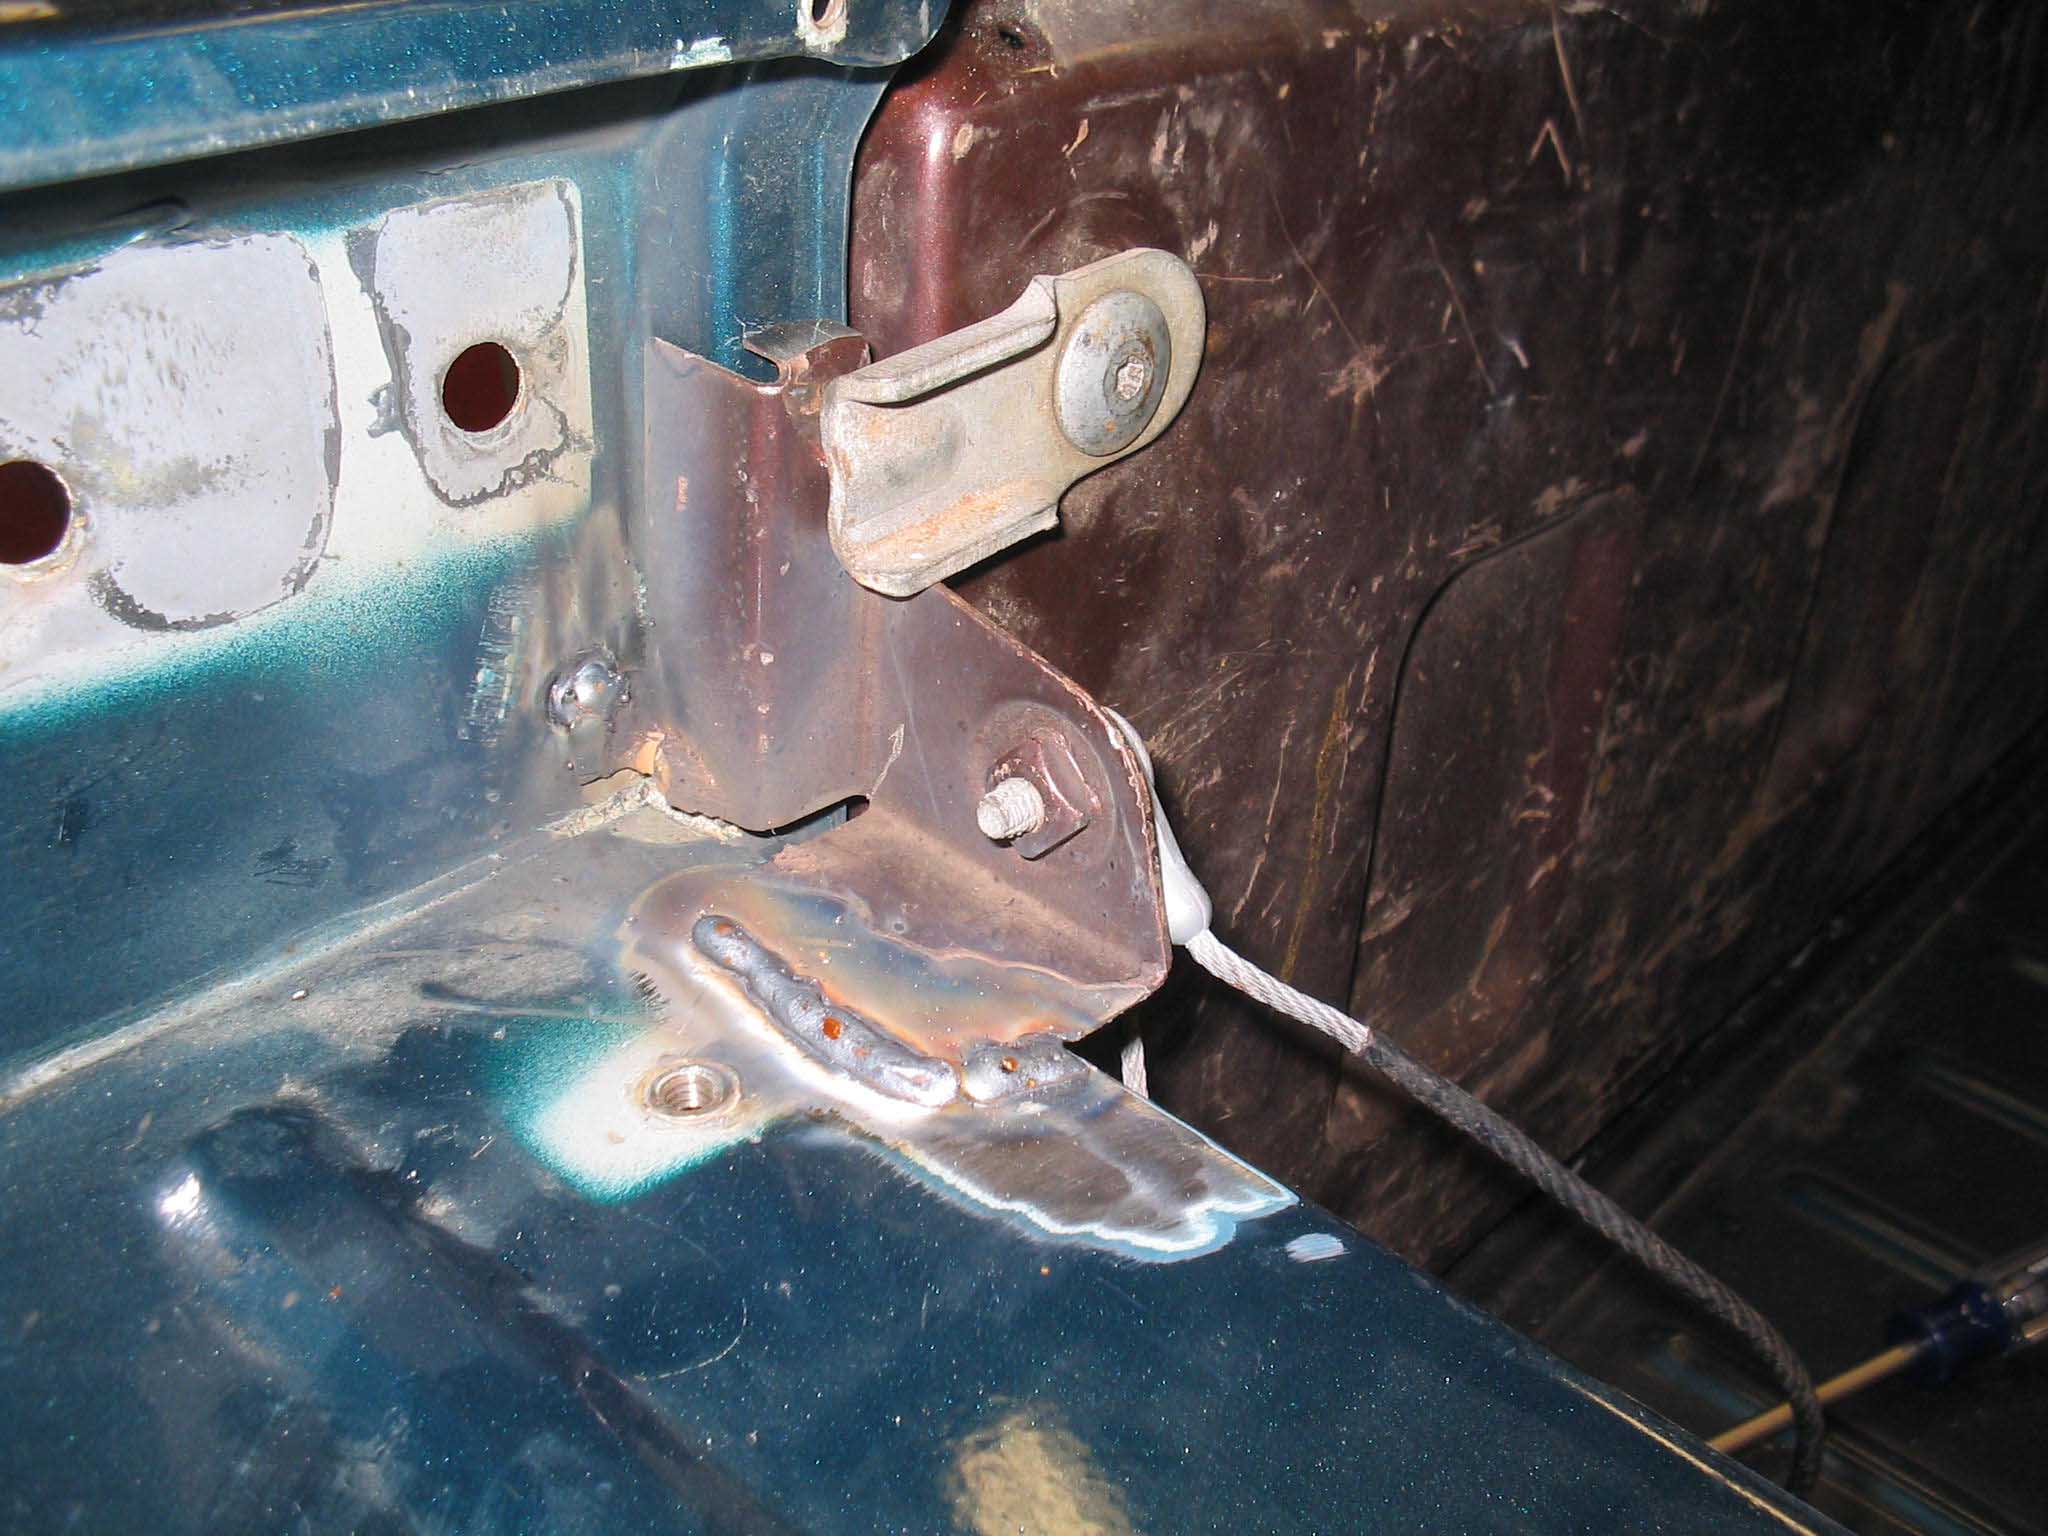
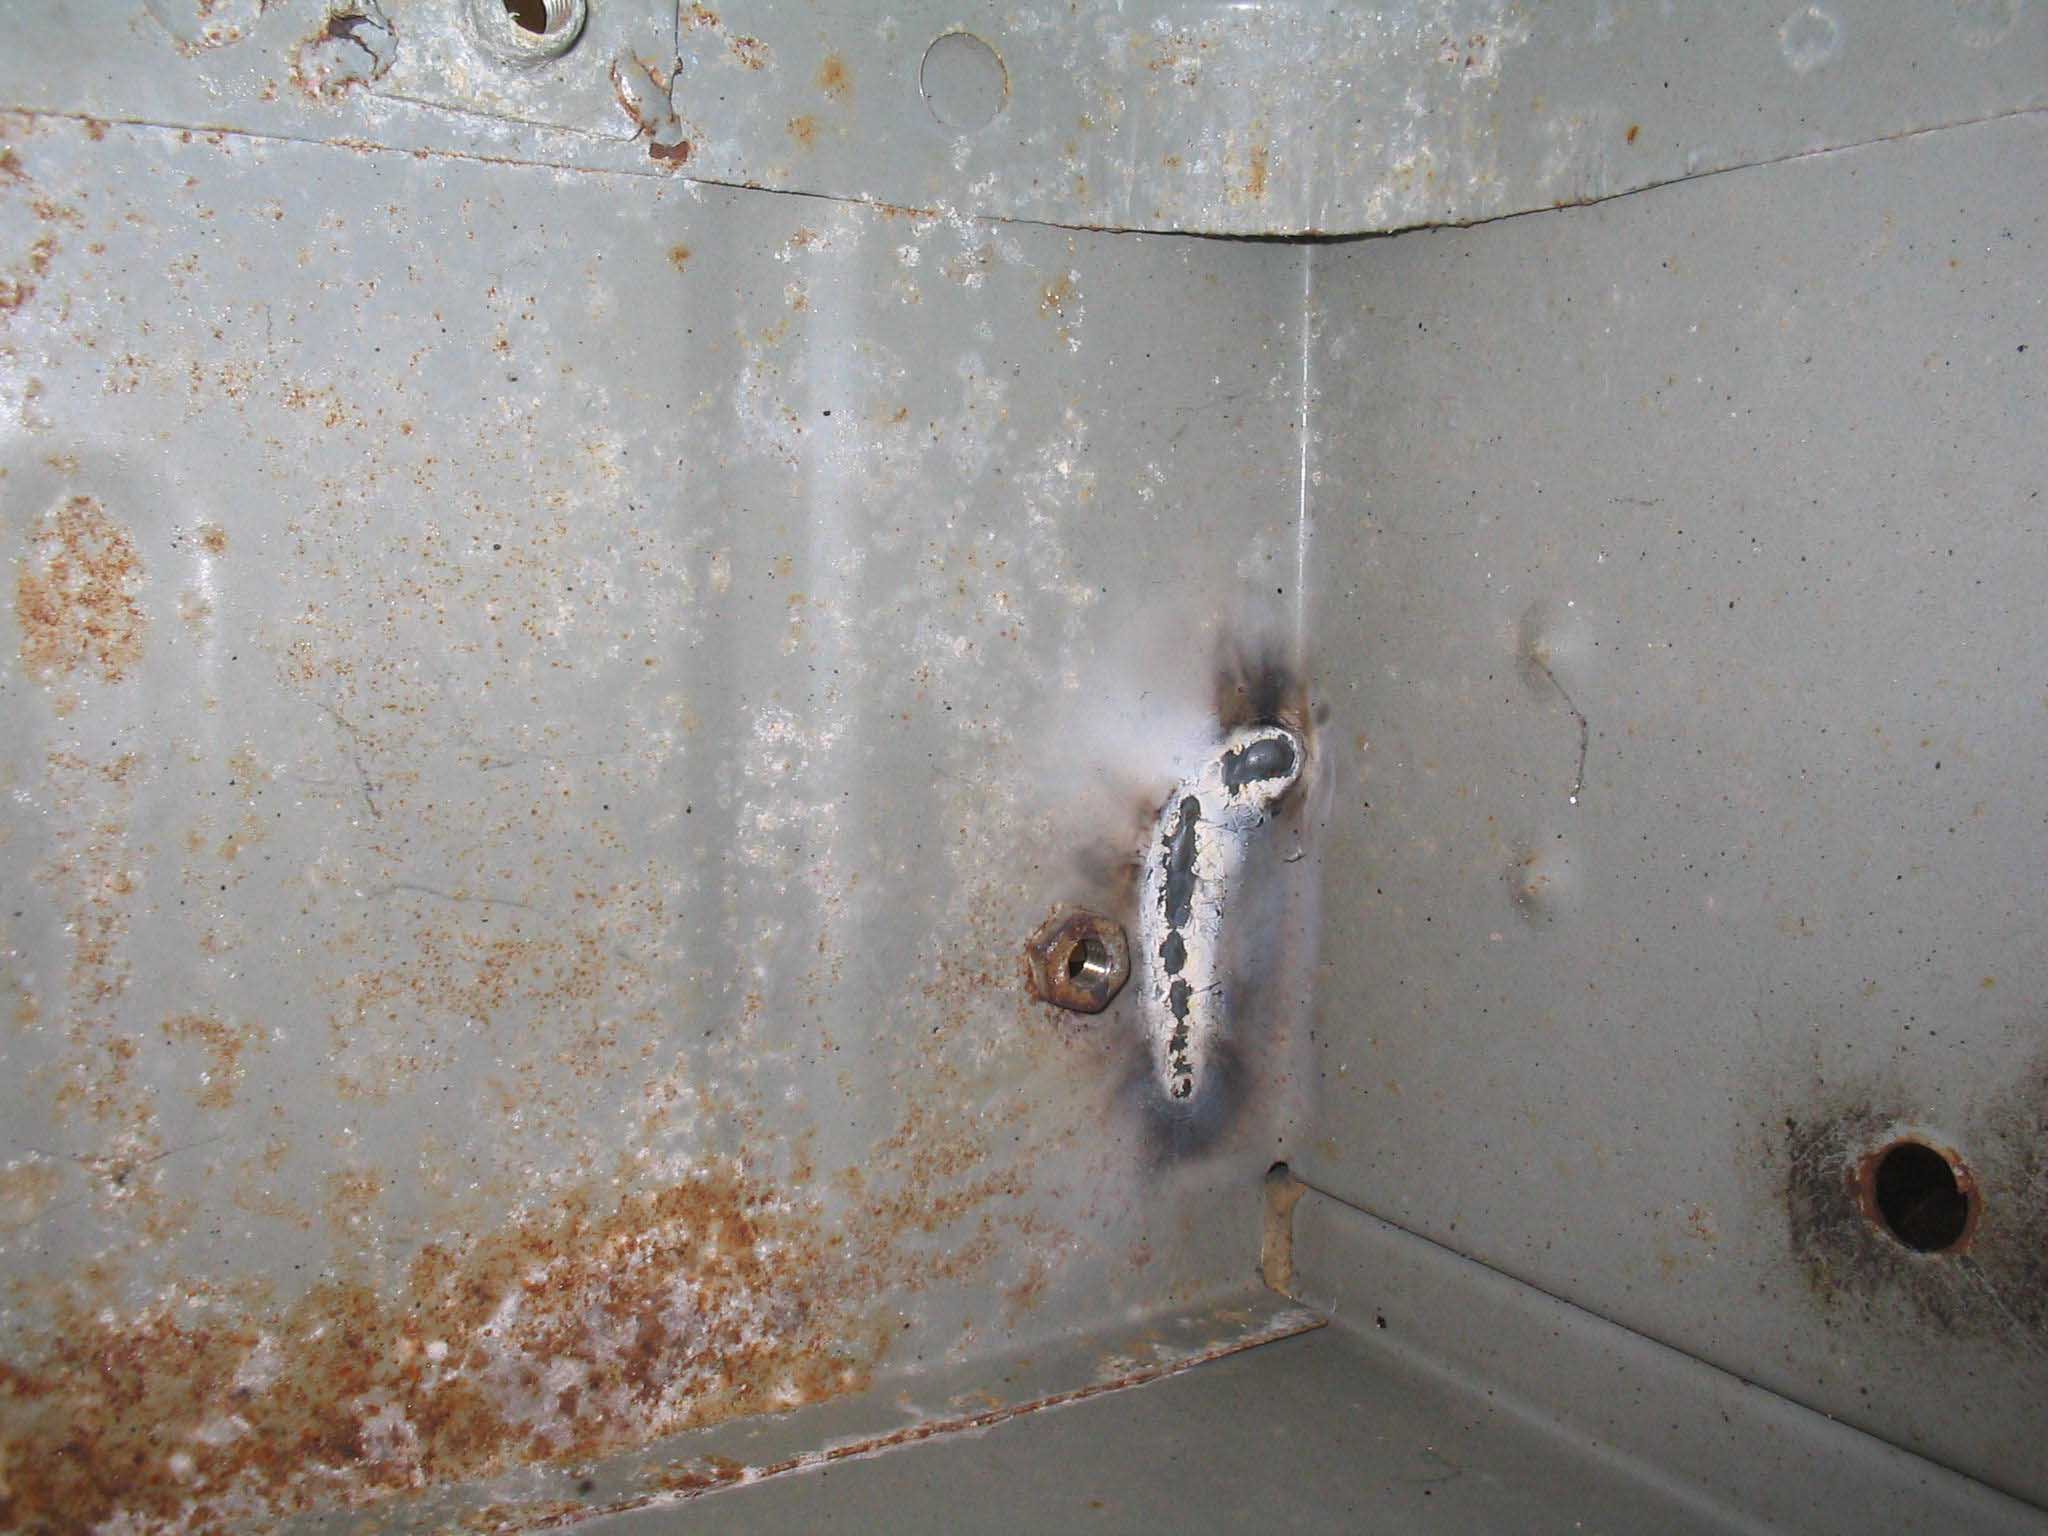
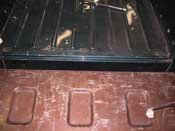
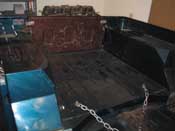
| I had picked up a tailgate and the corresponding cables and connectors quite a
while ago. We just cut off the ends of the tailgate and I kept it all for later use. Last night I was able
to cut it all up, clean it up and weld it into place. I love that new welder! I was able to look underneath
to make sure there were proper penetration and I went on to finish up the other side.
|
| |

|

|
|

|
| |
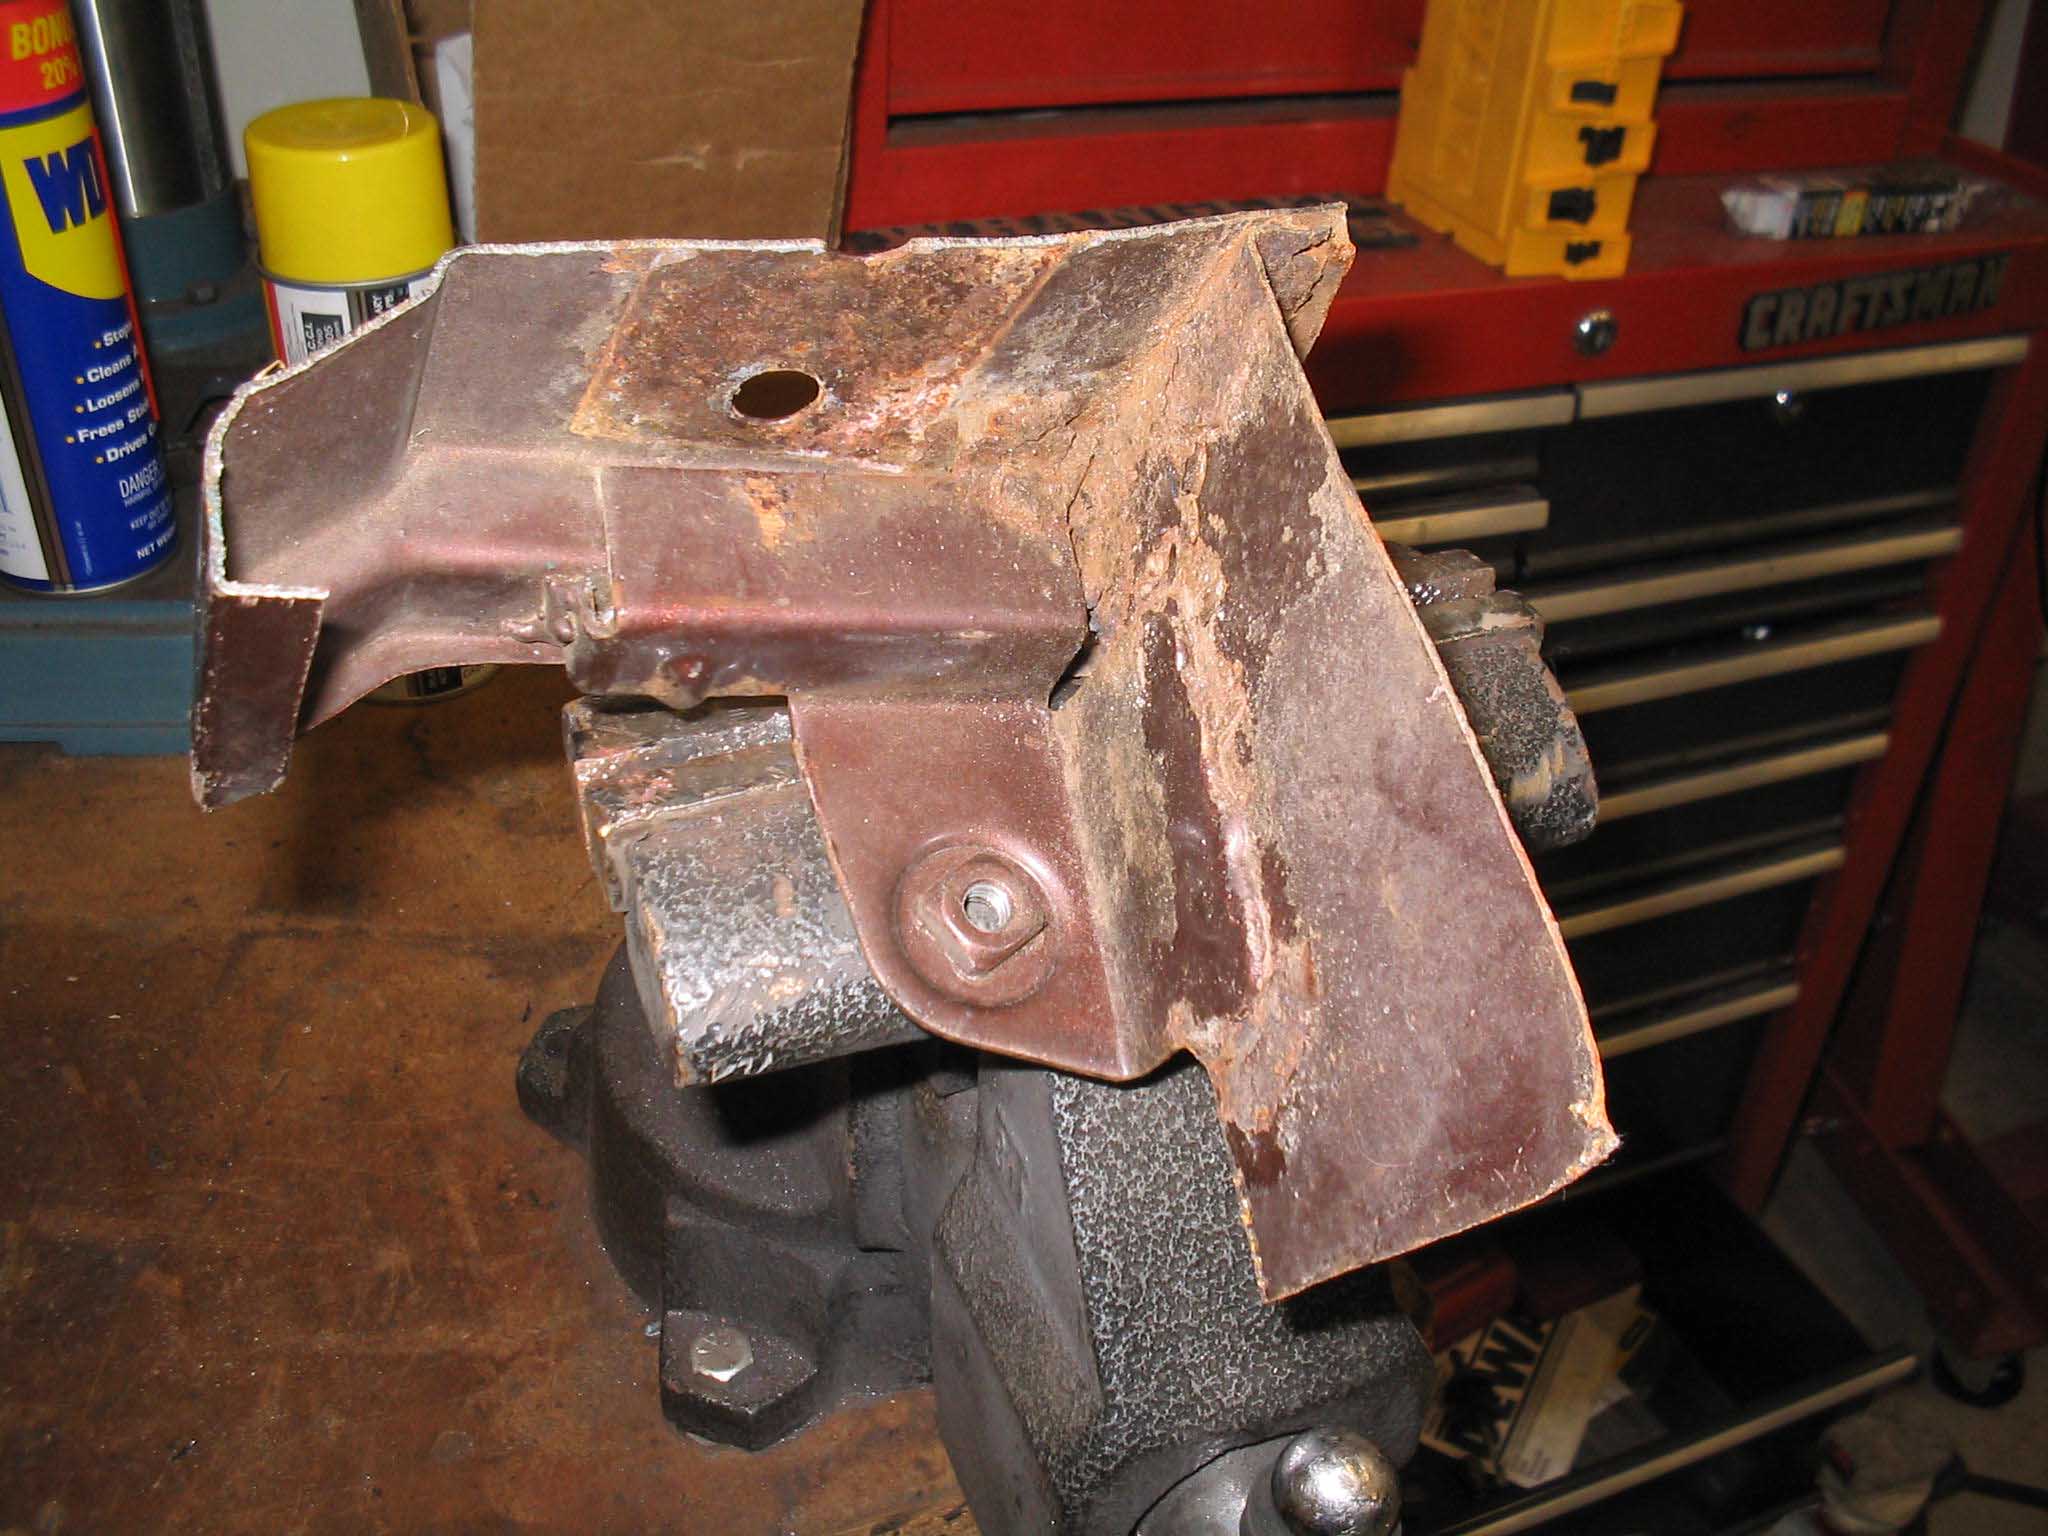
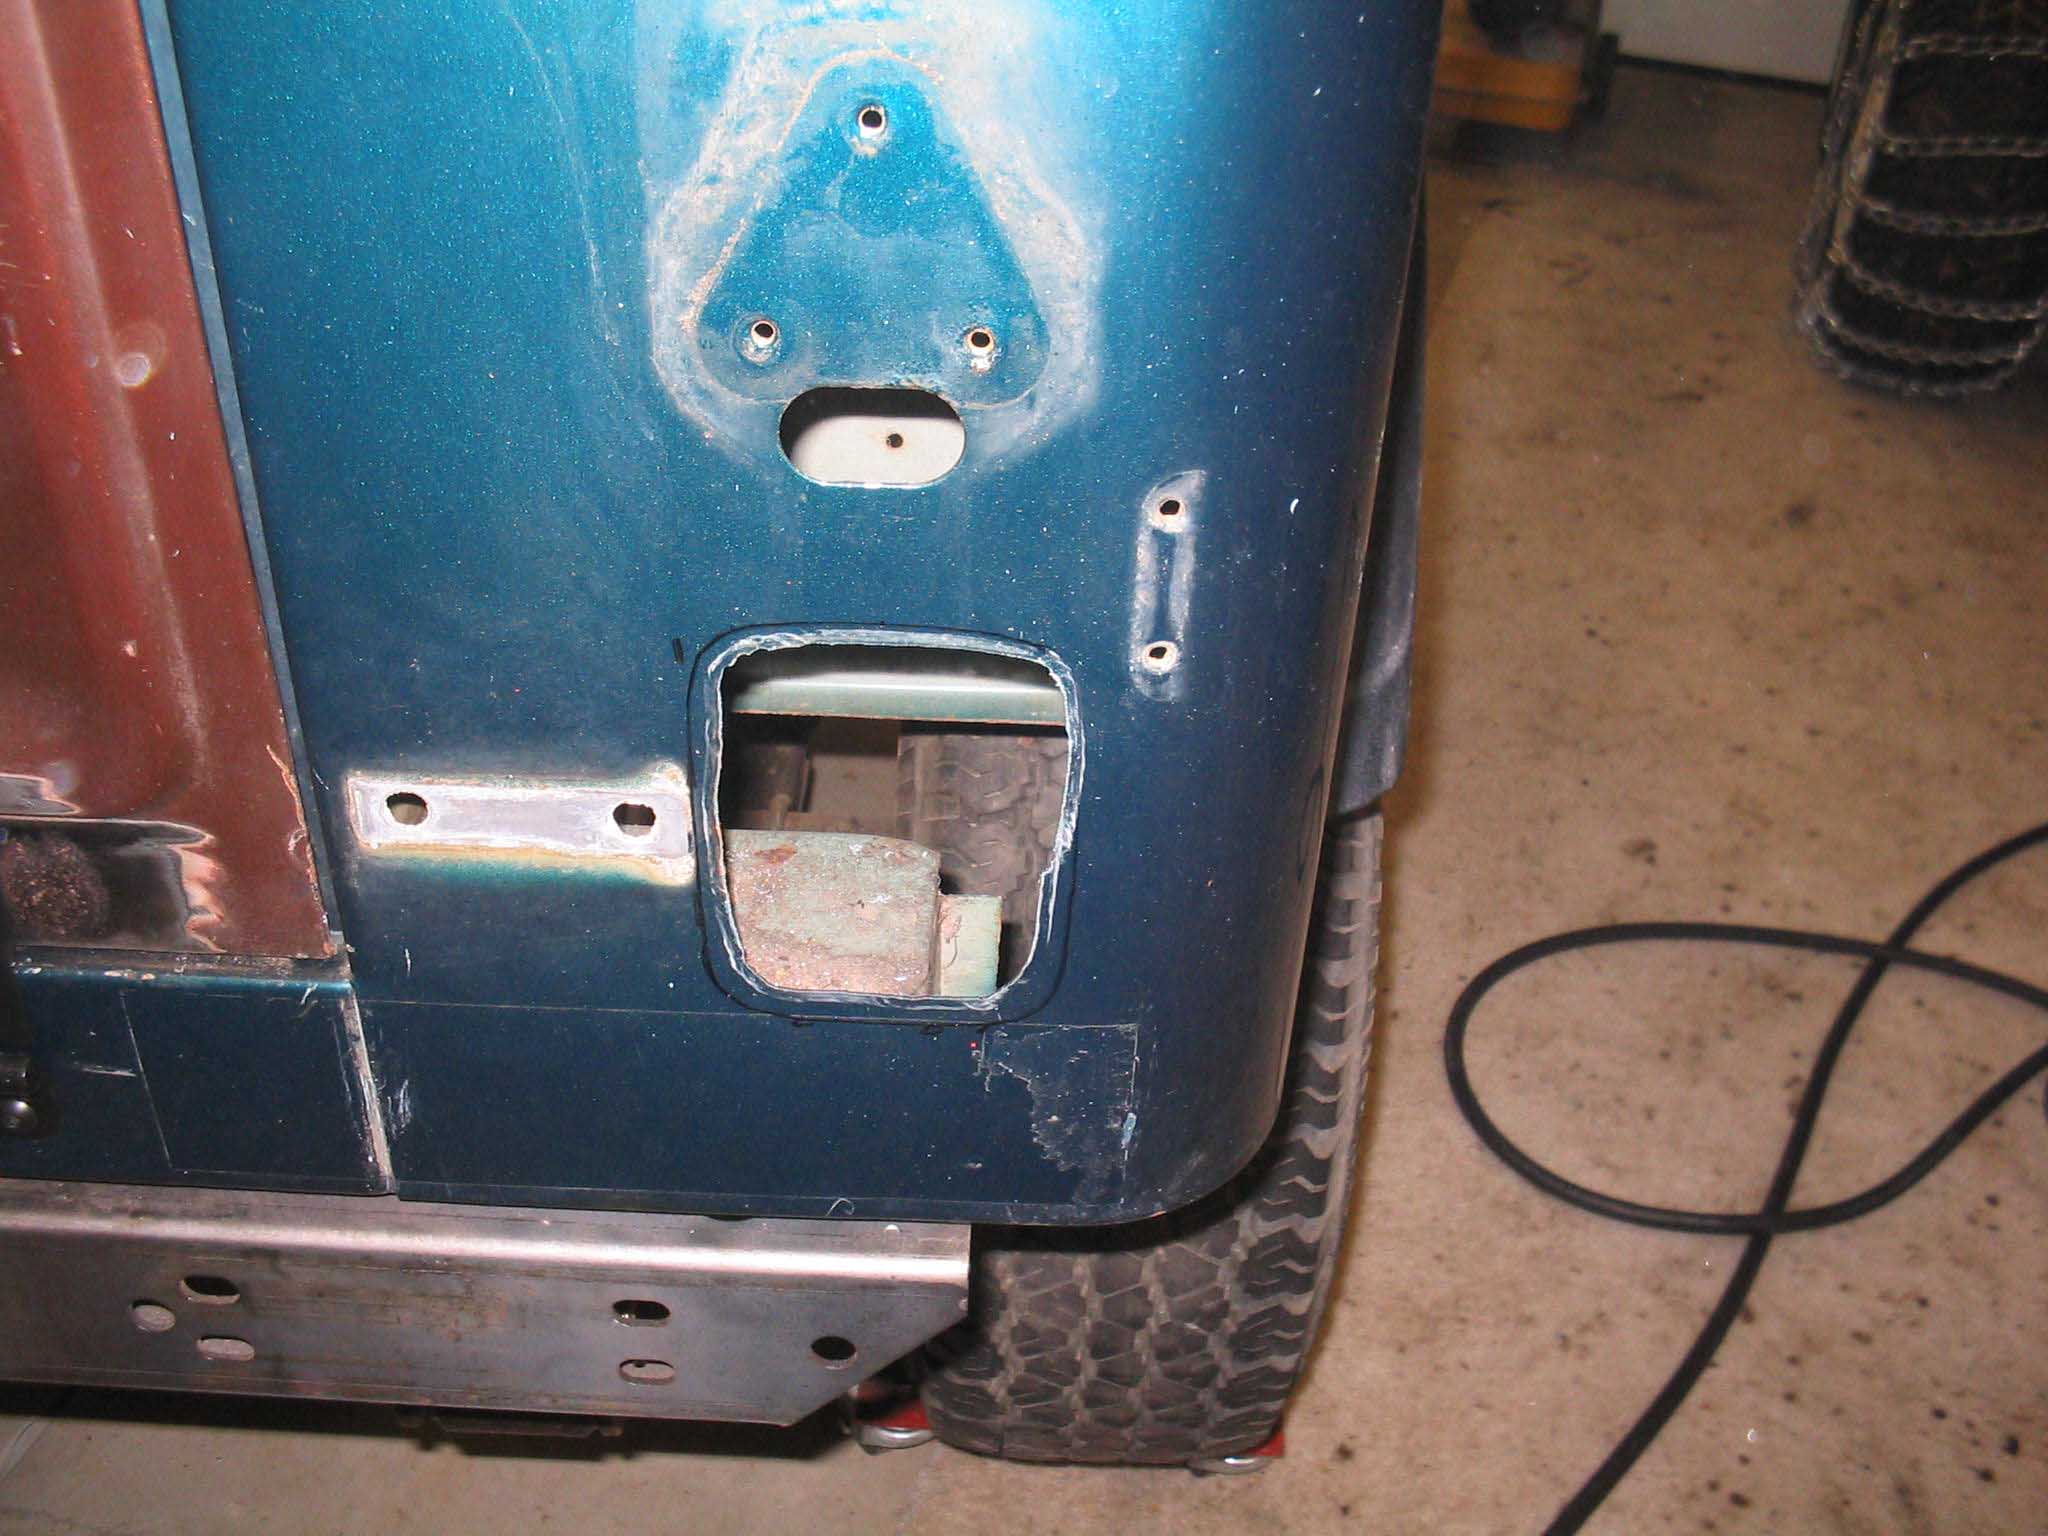
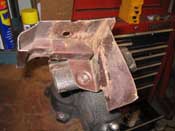
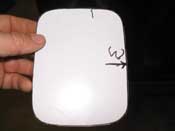
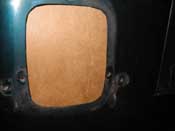
| With the brackets in place I moved onto getting the fender flares in place and
then finally onto cutting templates out for a patch panel for the driver side gas filler hole. With the
template in place and the new toy, I was able to start cutting out the filler hole on the passenger side as well.
|
| |
|
|
|

|
| |
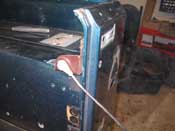
| I am impressed with the quick work the new tool made of the metal. I drilled a
pilot hole, then opened it up a bit with a larger drill bit and then when I could get the little mouth in there,
I went to down cutting. It is an air hog as you need some CFM to run it, but all in all, it made quick work of
it. Last time I used a jig saw, this time, not question it went much much faster!
|
| |

|
|
|
|
| |
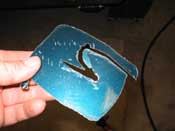
I have to fill a few holes here and there and the fuel filler is not the one we
will use. The one I had was a 78 and requires a much larger hose that you can't really find anywhere, not to
mention that the 24 gallon tank that is going in here has the smaller hoses to boot, so we have to find another
one to use.
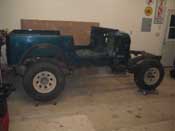
Anyway, there is some cleanup to do at the rear of the Jeep, but for the most part, it is starting to resemble a
CJ. Next up is probably welding in some body mount supports and then removing the body and flipping it to see
what needs to be extracted from the underside.
cb (11/16/07)
|
| |
| << Previous |
Next >> |