| Project "Free Jeep" a.k.a Project "FJ" - part #54 |
| |
|
1
2
3
4
5
6
7
8
9
10
11
12
13
14
15
16
17
18
19
20
21
22
23
24
25
26
27
28
29
30
31
32
33
34
35
36
37
38
39
40
41
42
43
44
45
46
47
48
49
50
51
52
53
54
55
56
57
58
59
60
61
62
63
64
65
66
67
68
69
70
71
72
73
|
| |
| (04/27/08) Sometimes the house takes over and you have to spend time doing that.
This is basically what has been happening lately. The snow has melted and now it is time to get everything
geared up for the spring/summer.
|
| |
|

|

|
|
|
|
| |
| 40 bags of mulch, some cutting of metal for a birdcage project, some tube cutting
for more bird cage items, getting and cutting pvc to protect bird houses from squirrels, killing bee nests in
the bird houses, returning items, recycling items, getting new paint supplies, and finally spreading the mulch
and helping out here and there really took up a lot of the time this weekend. The good news, I was able to squeeze
in a couple hours here and there.
|
| |
|

|

|
|
|

|
| |
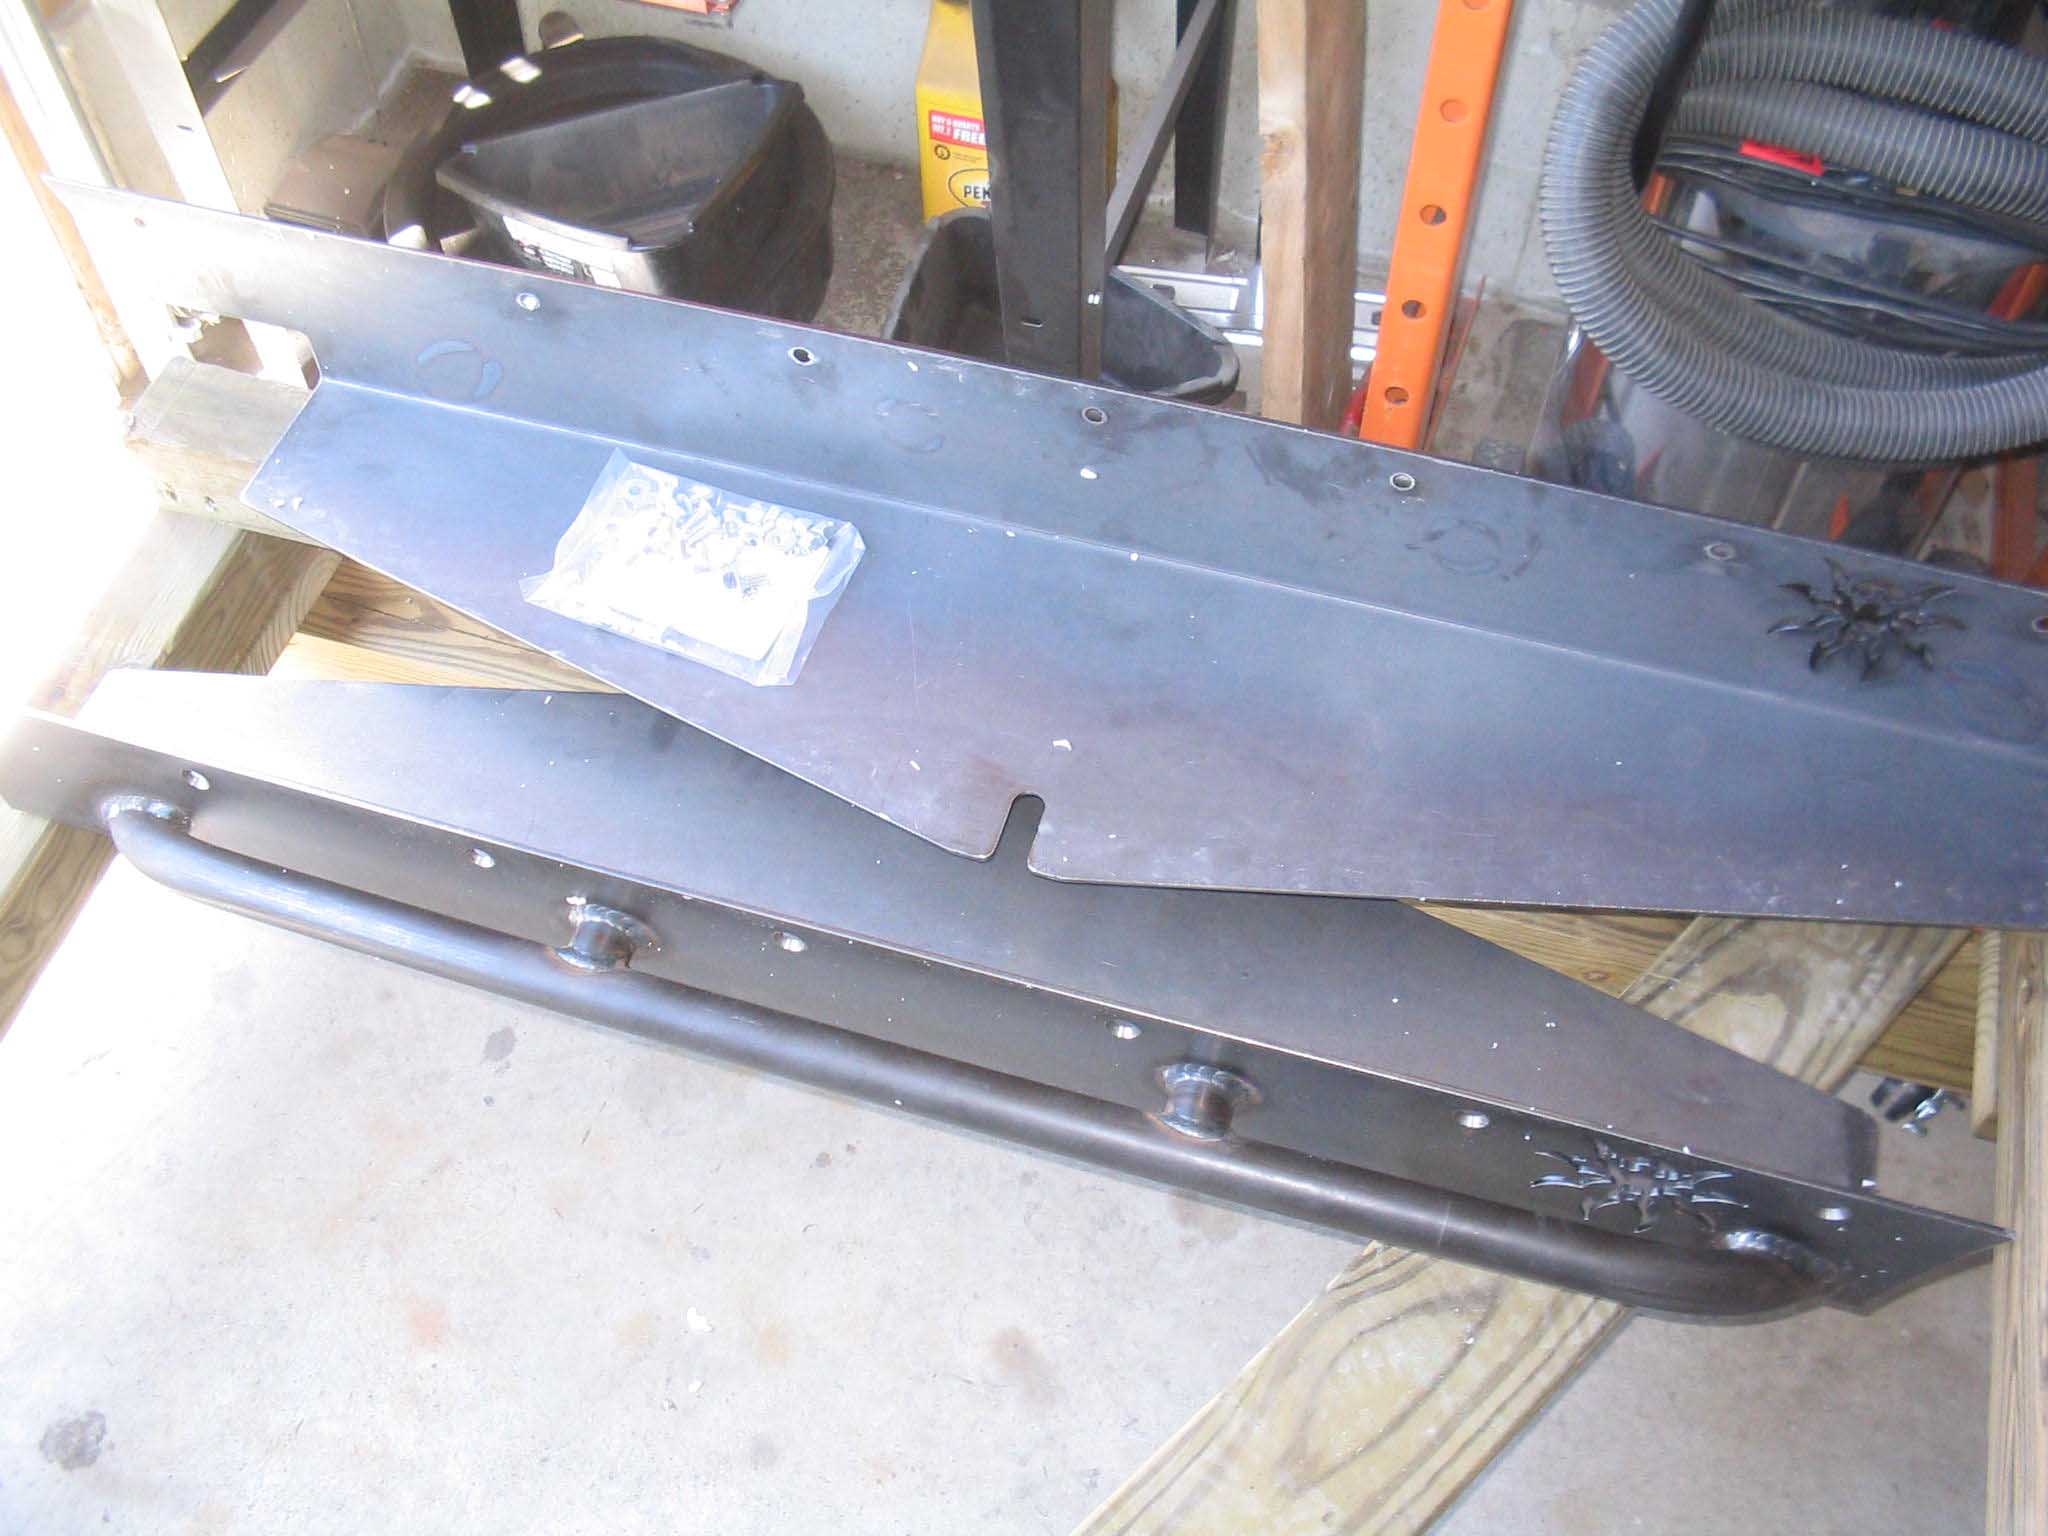
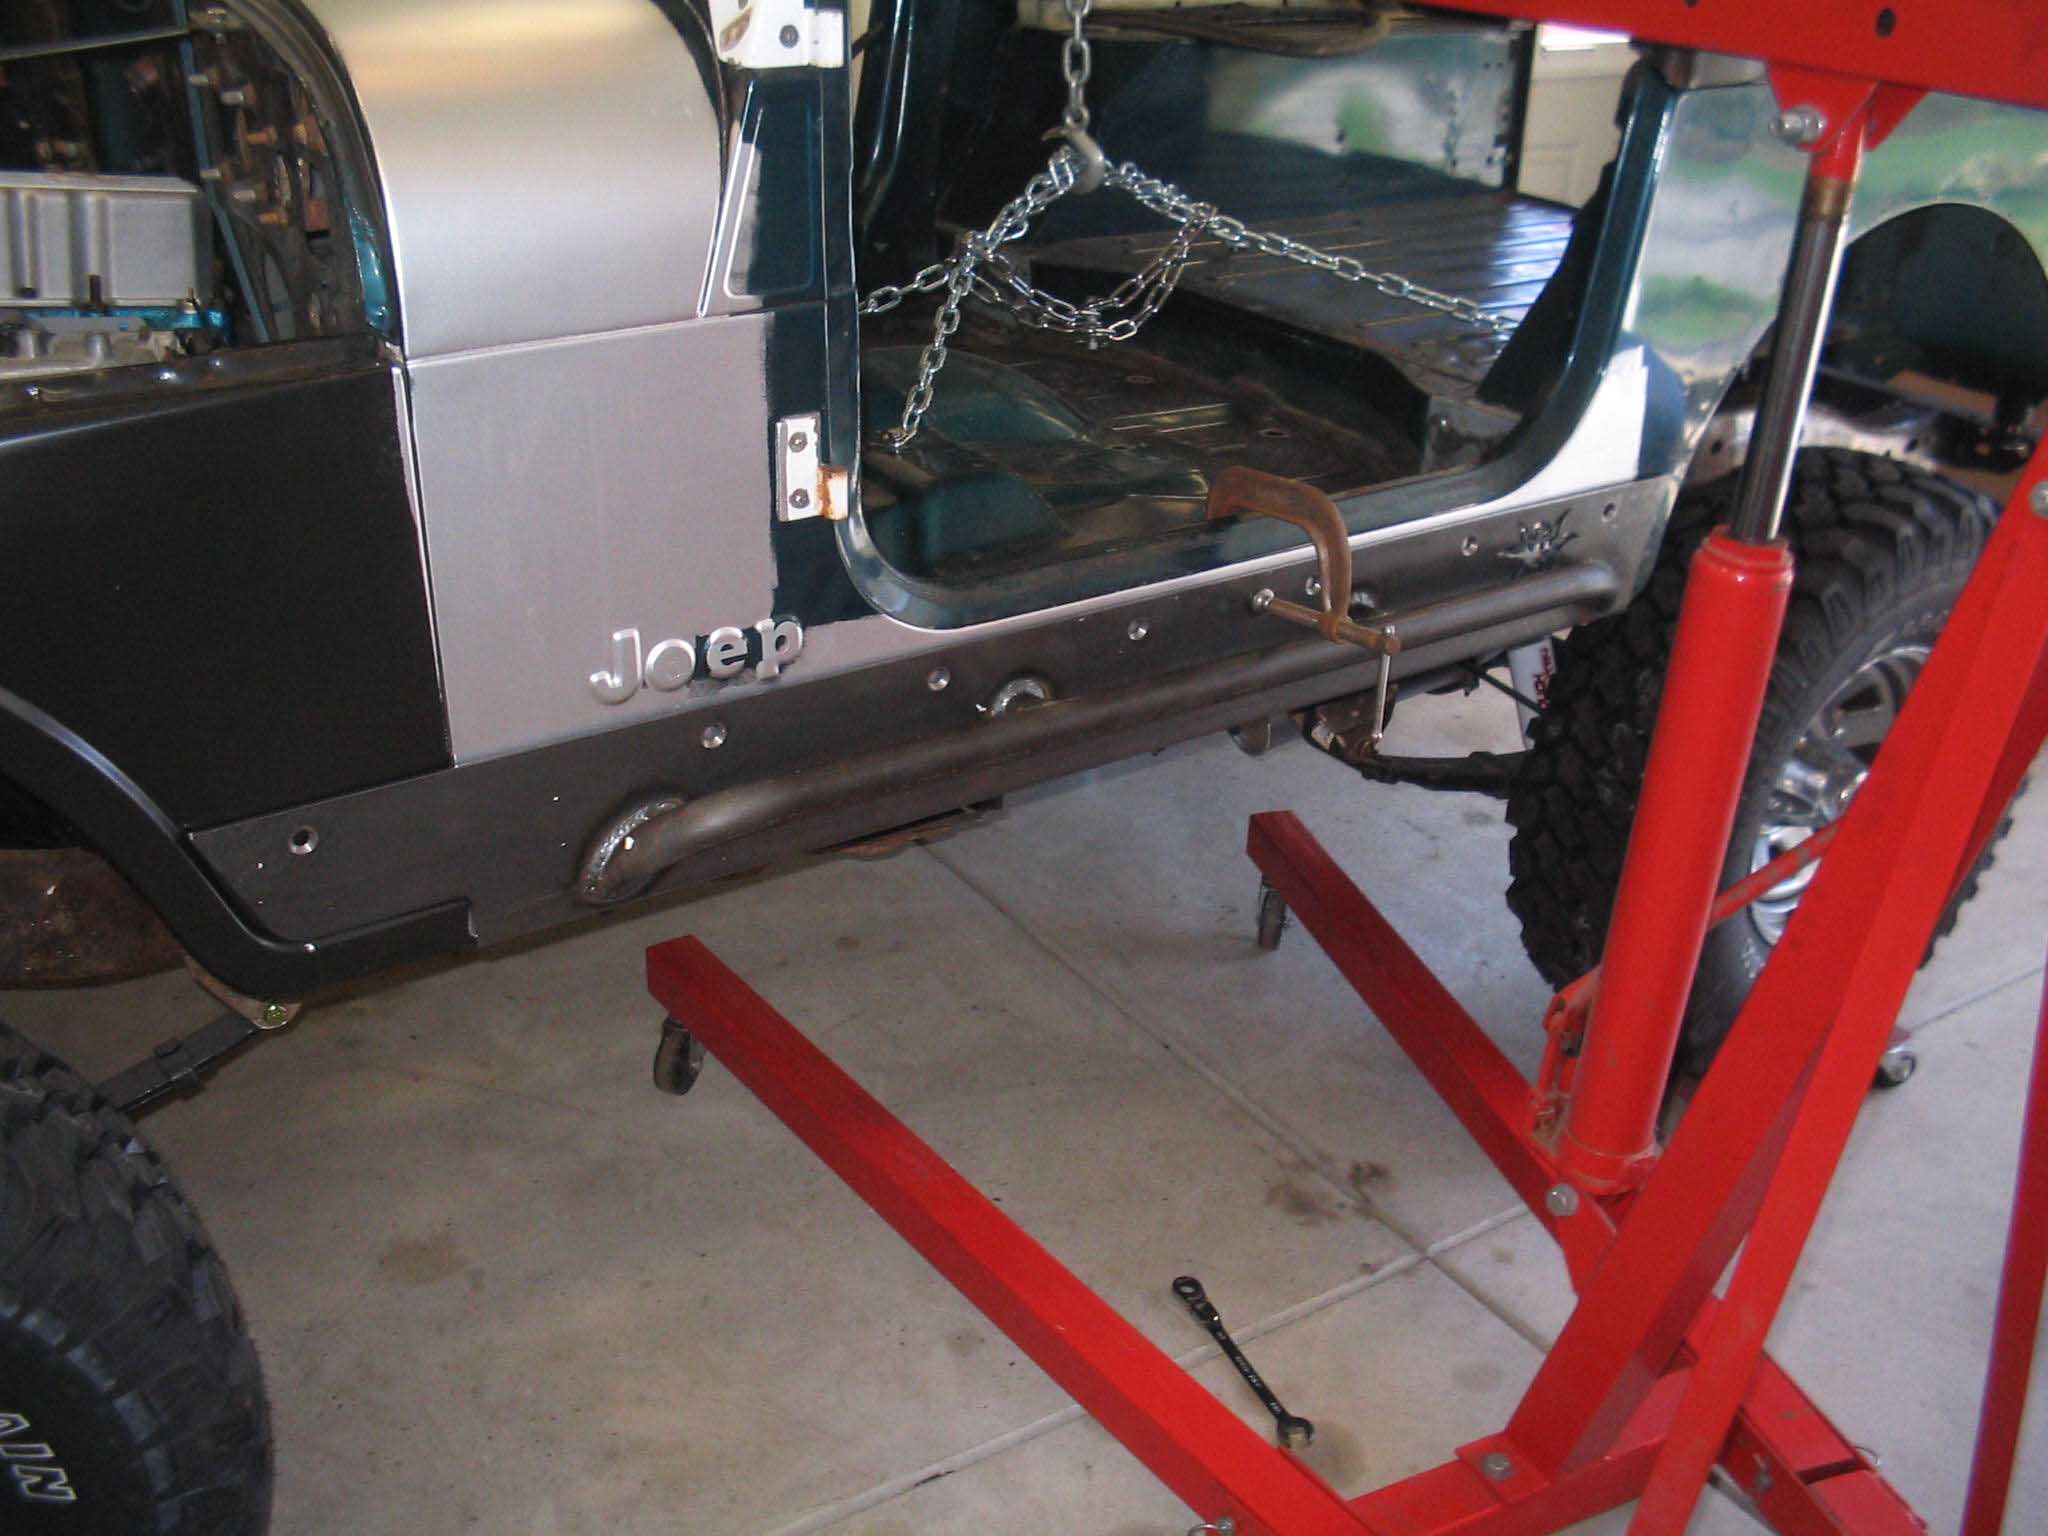
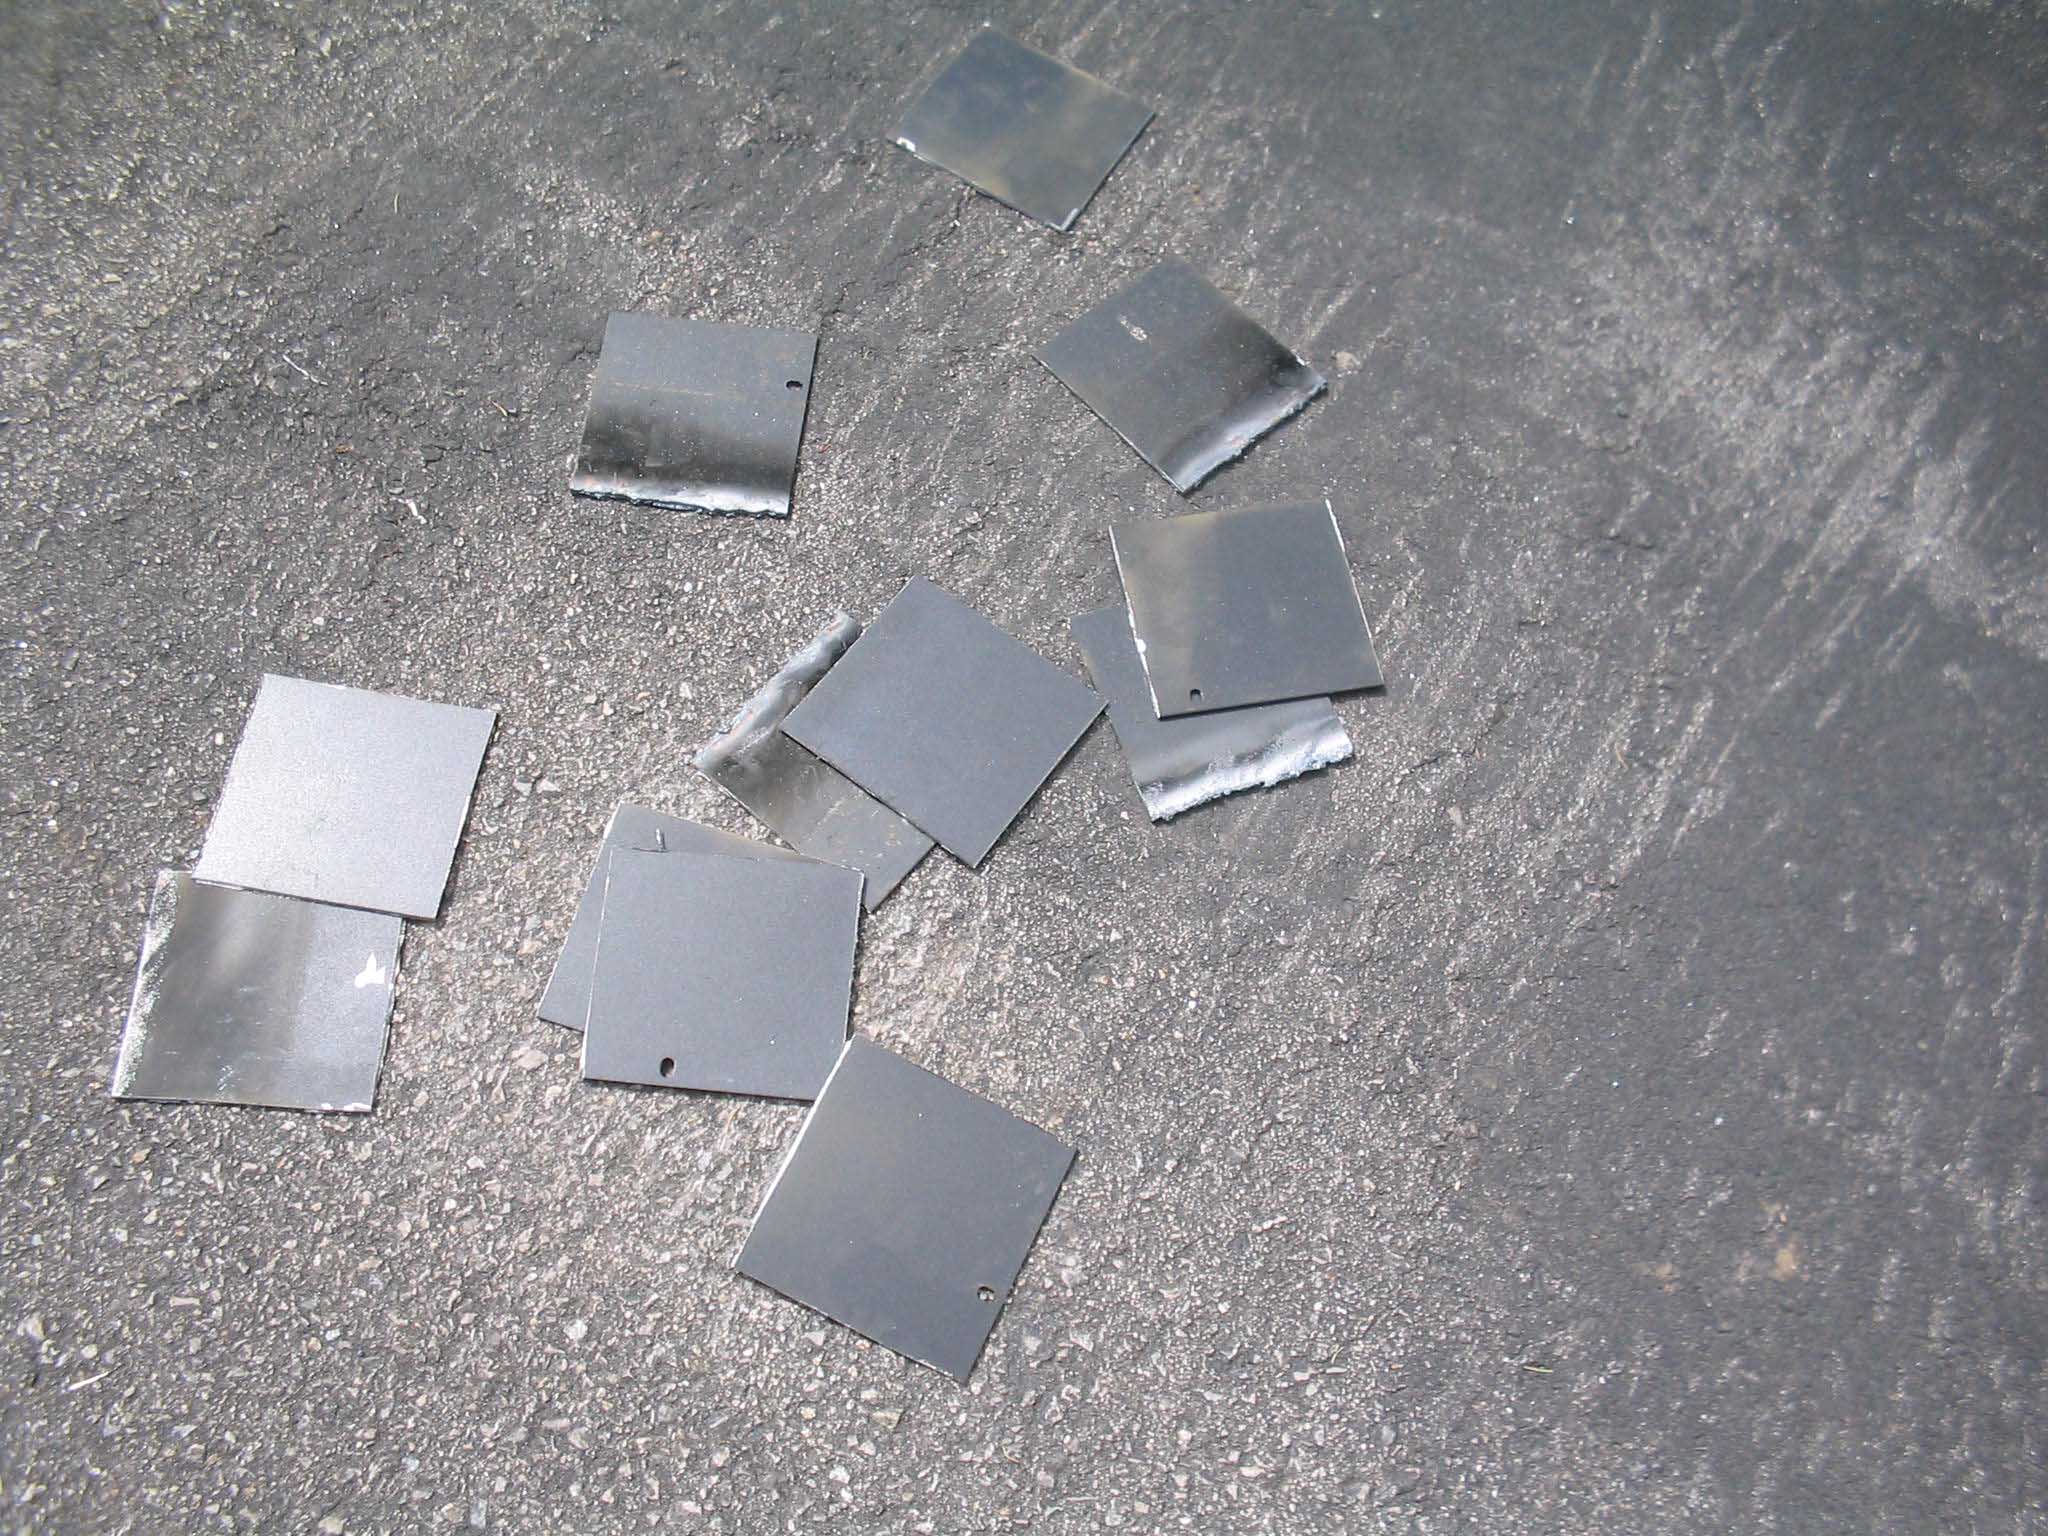
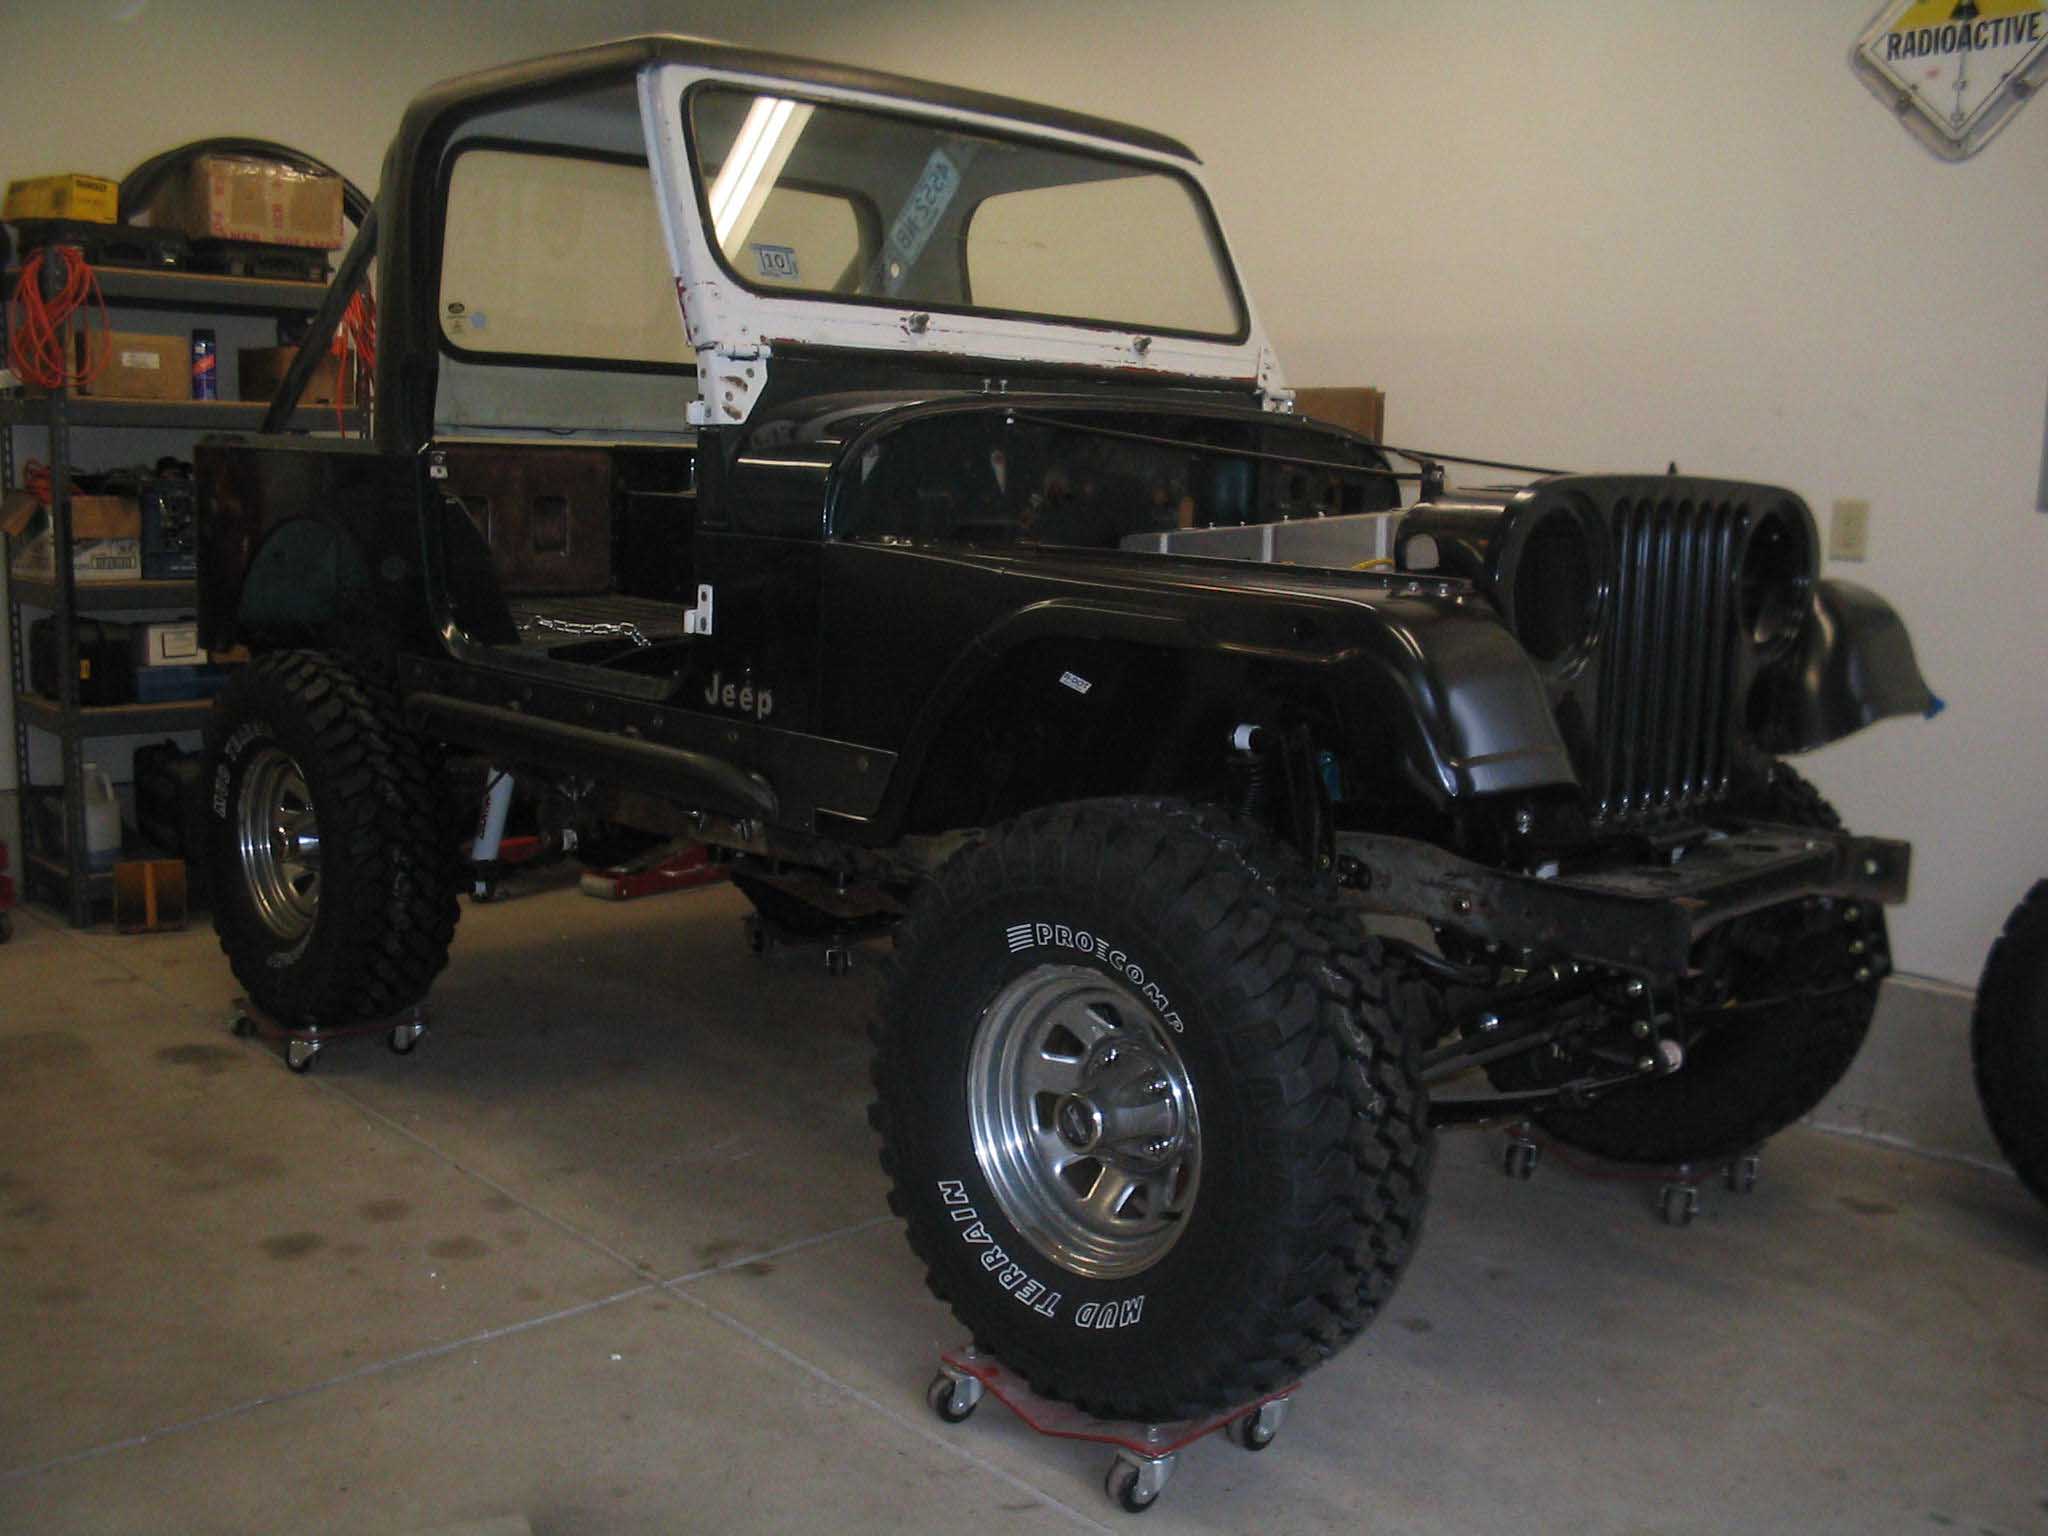
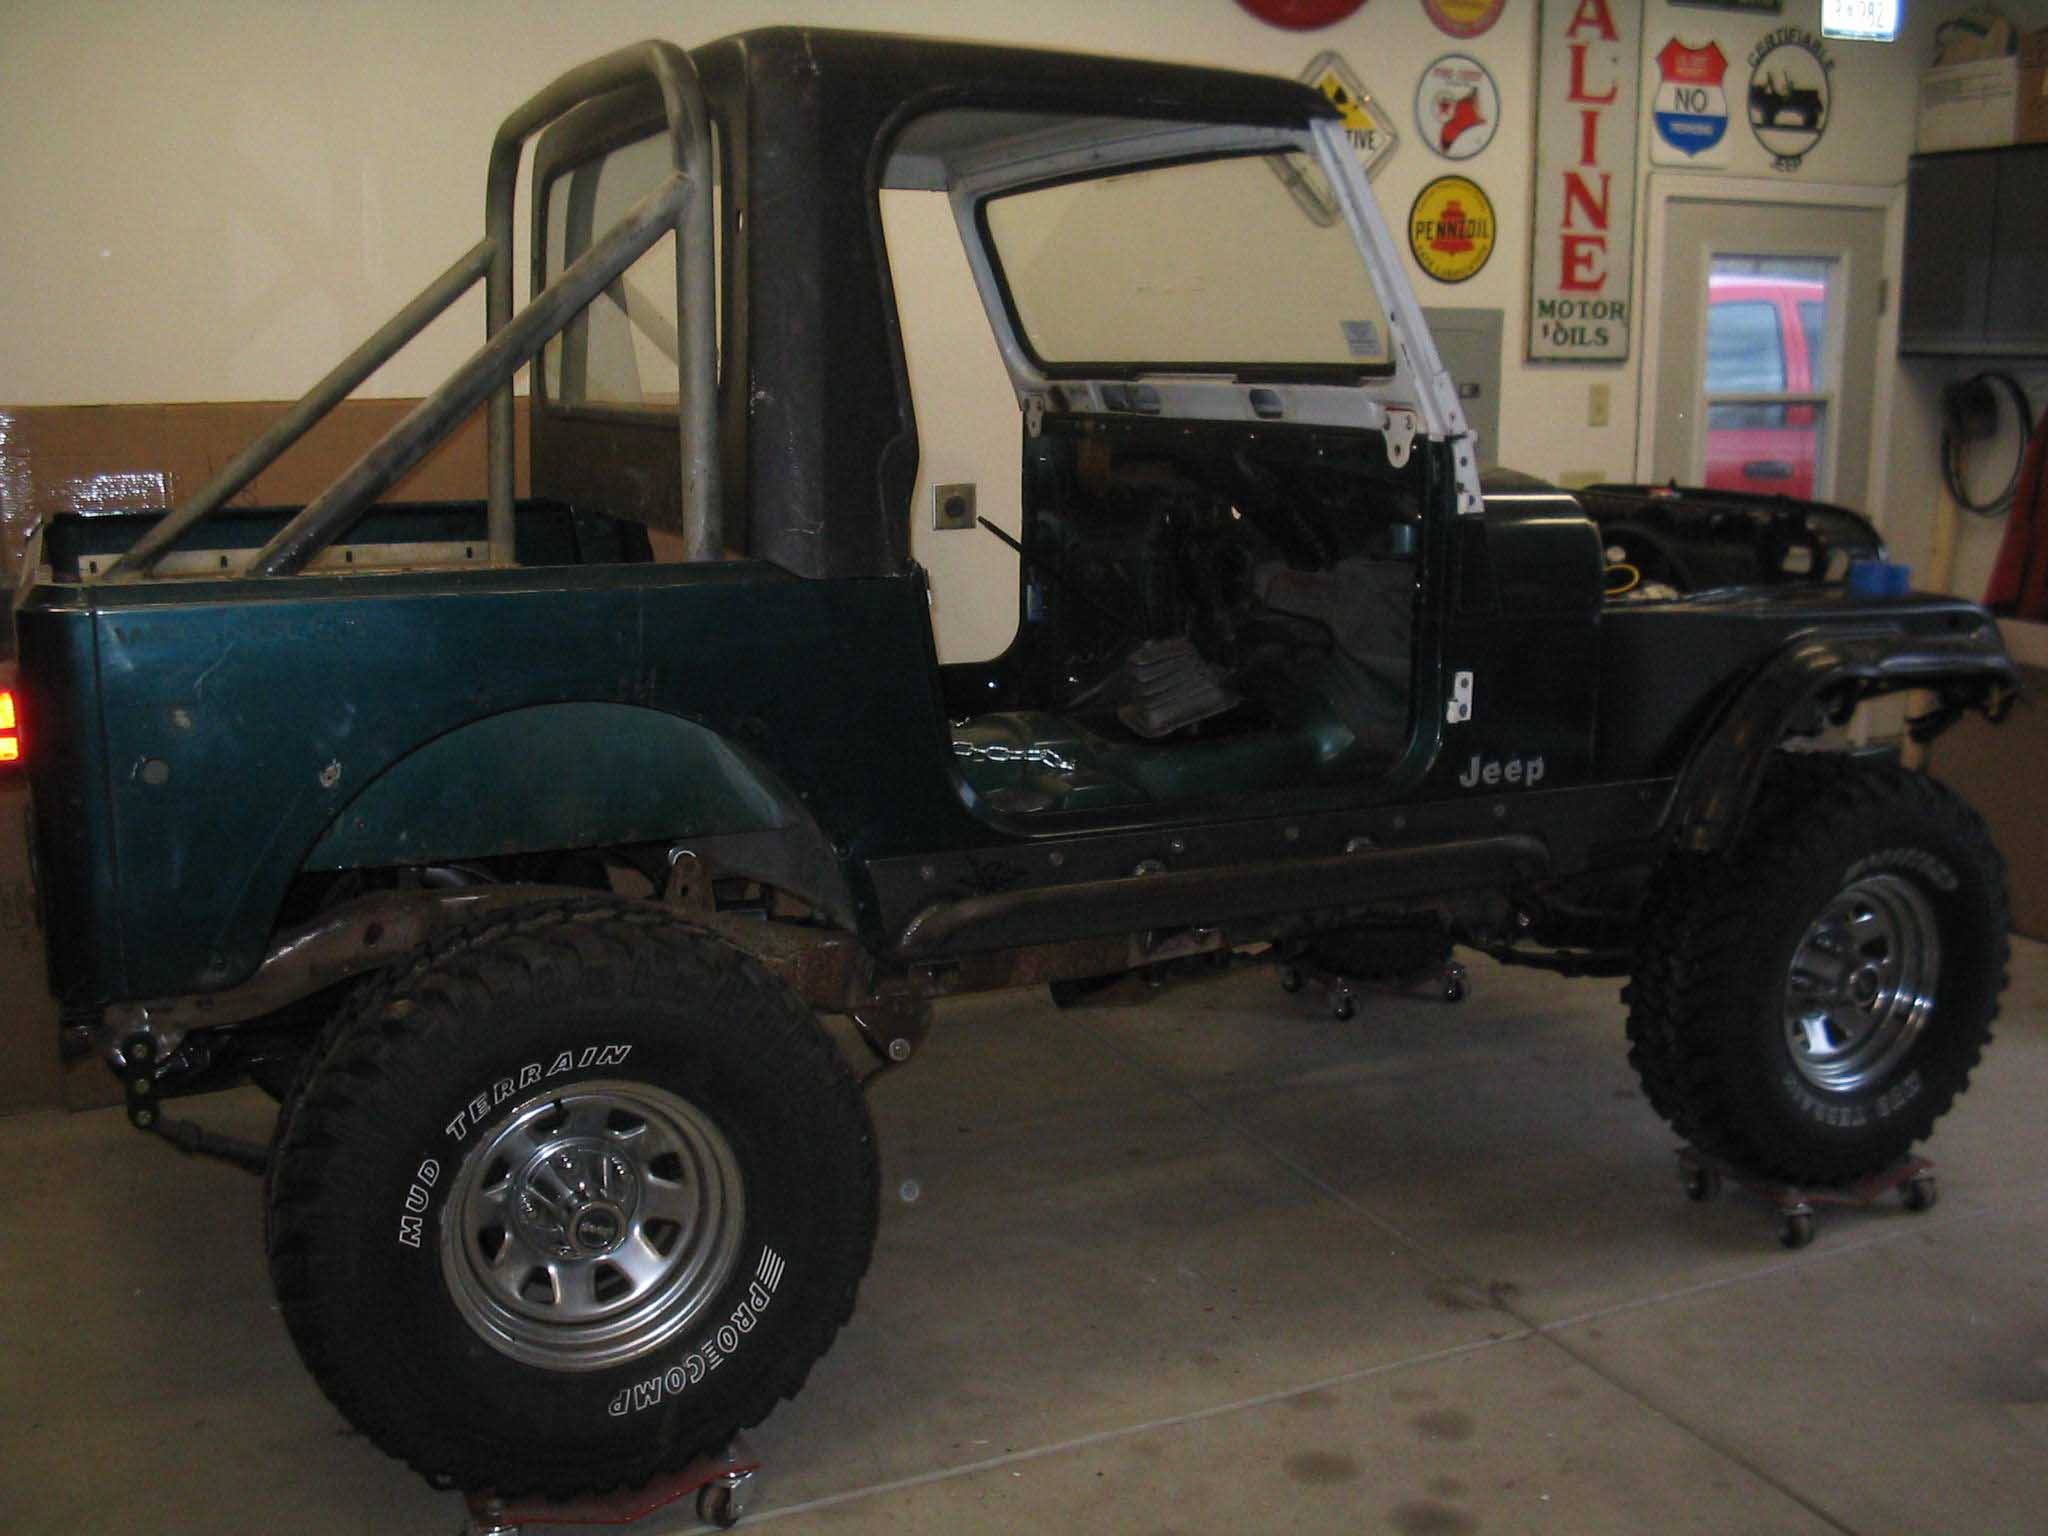
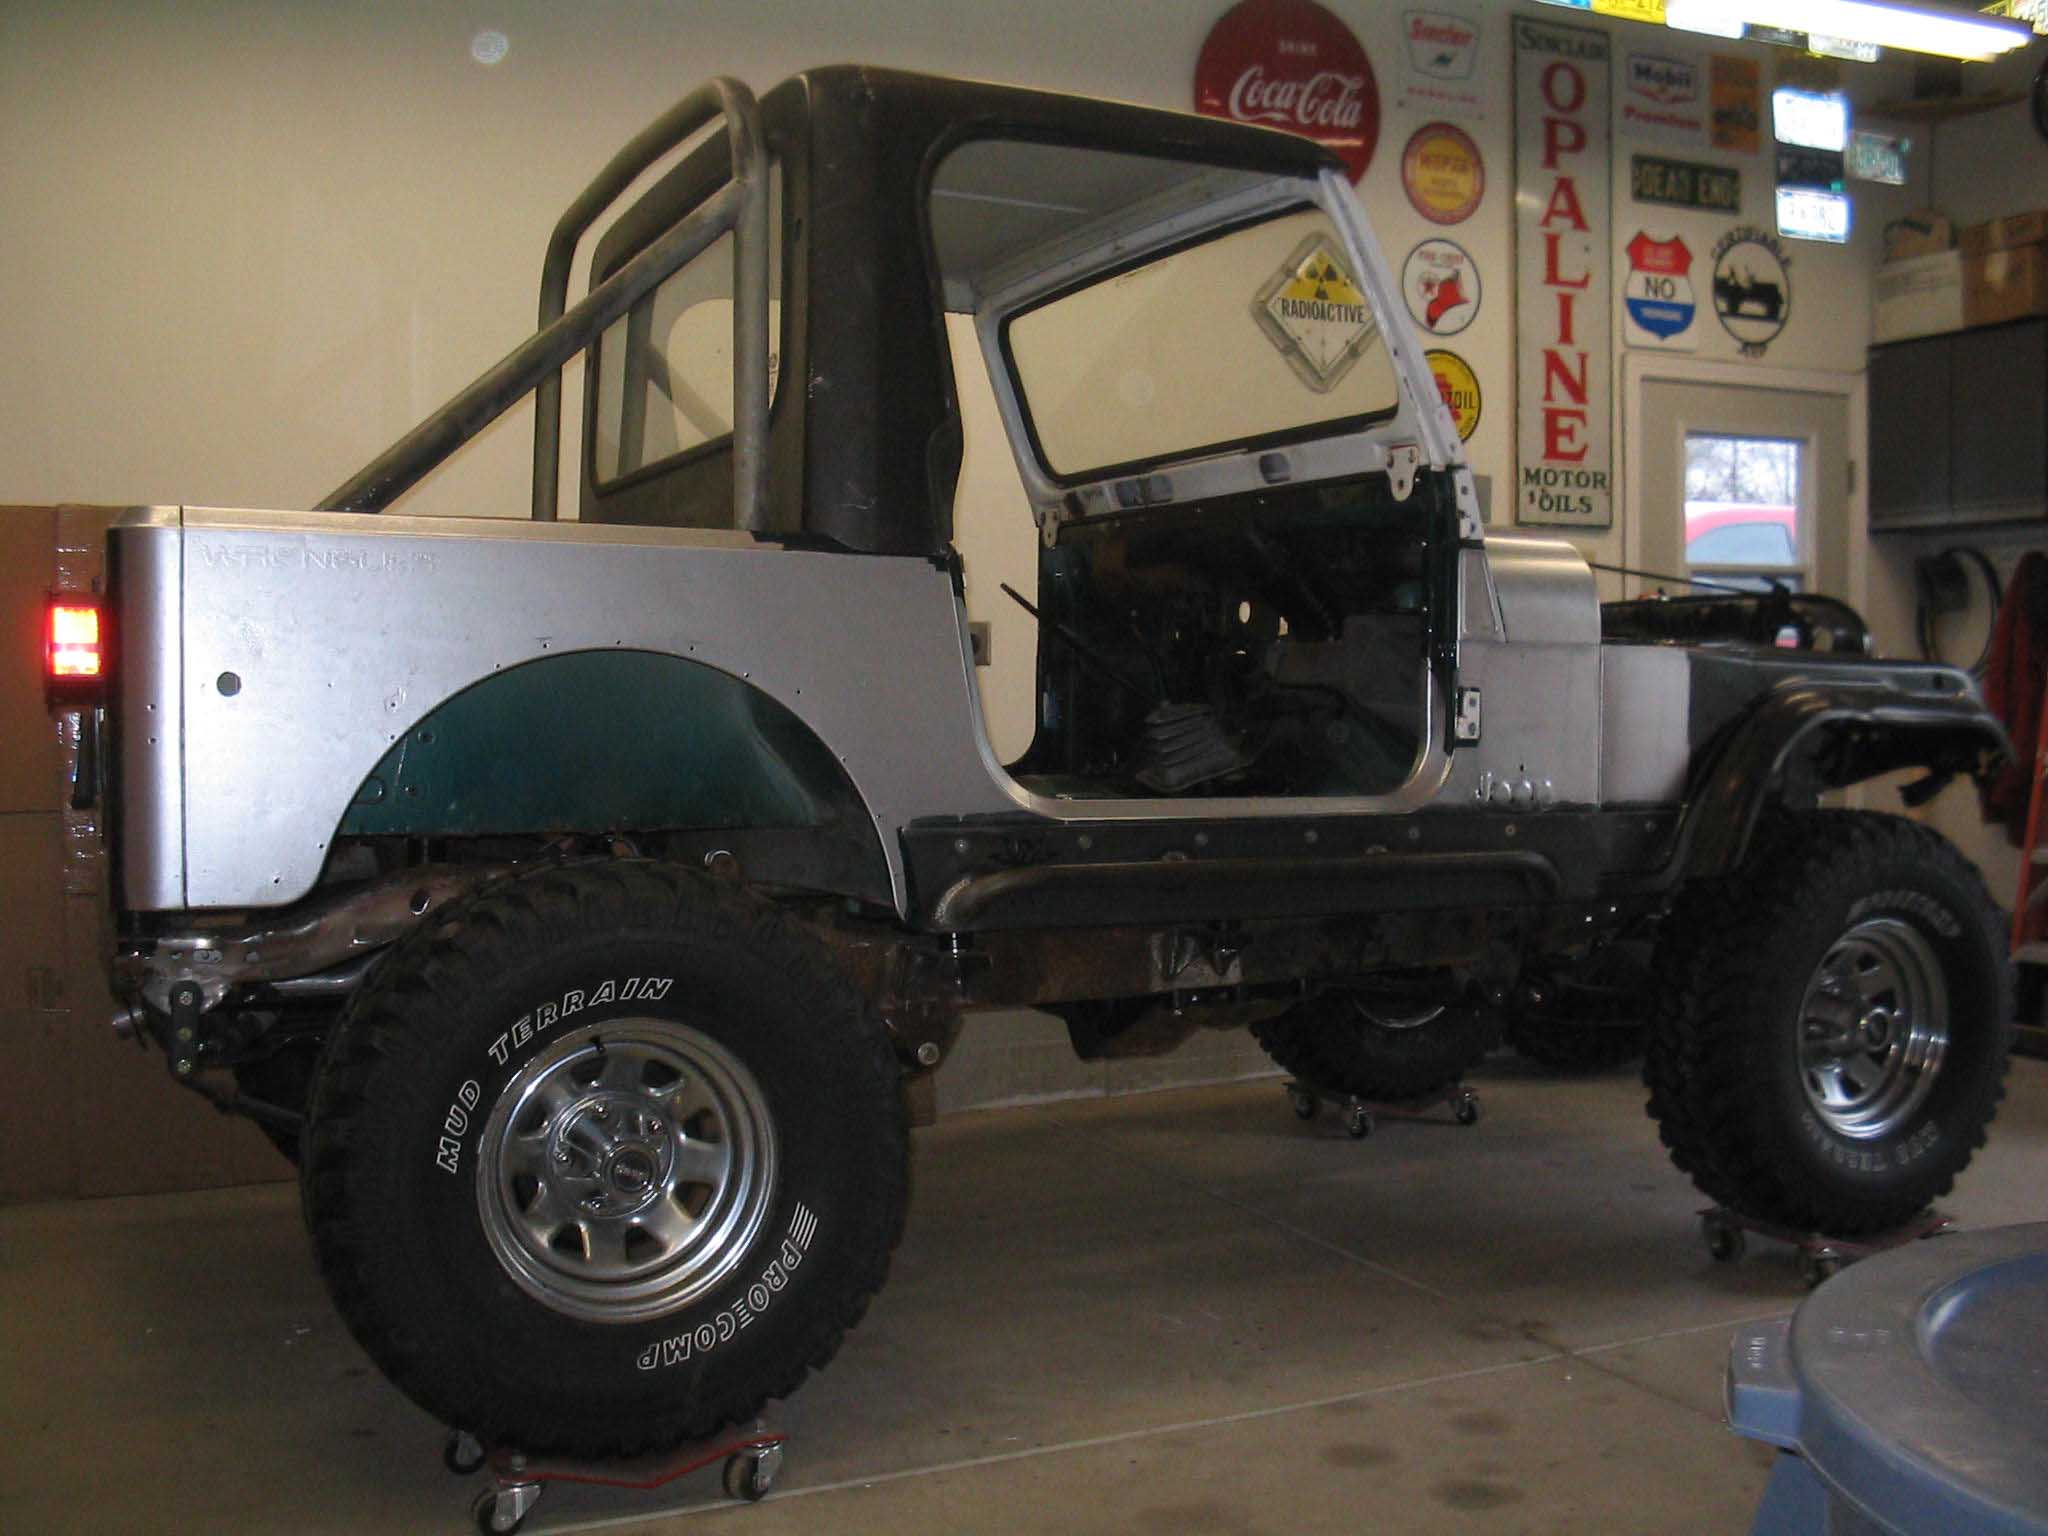
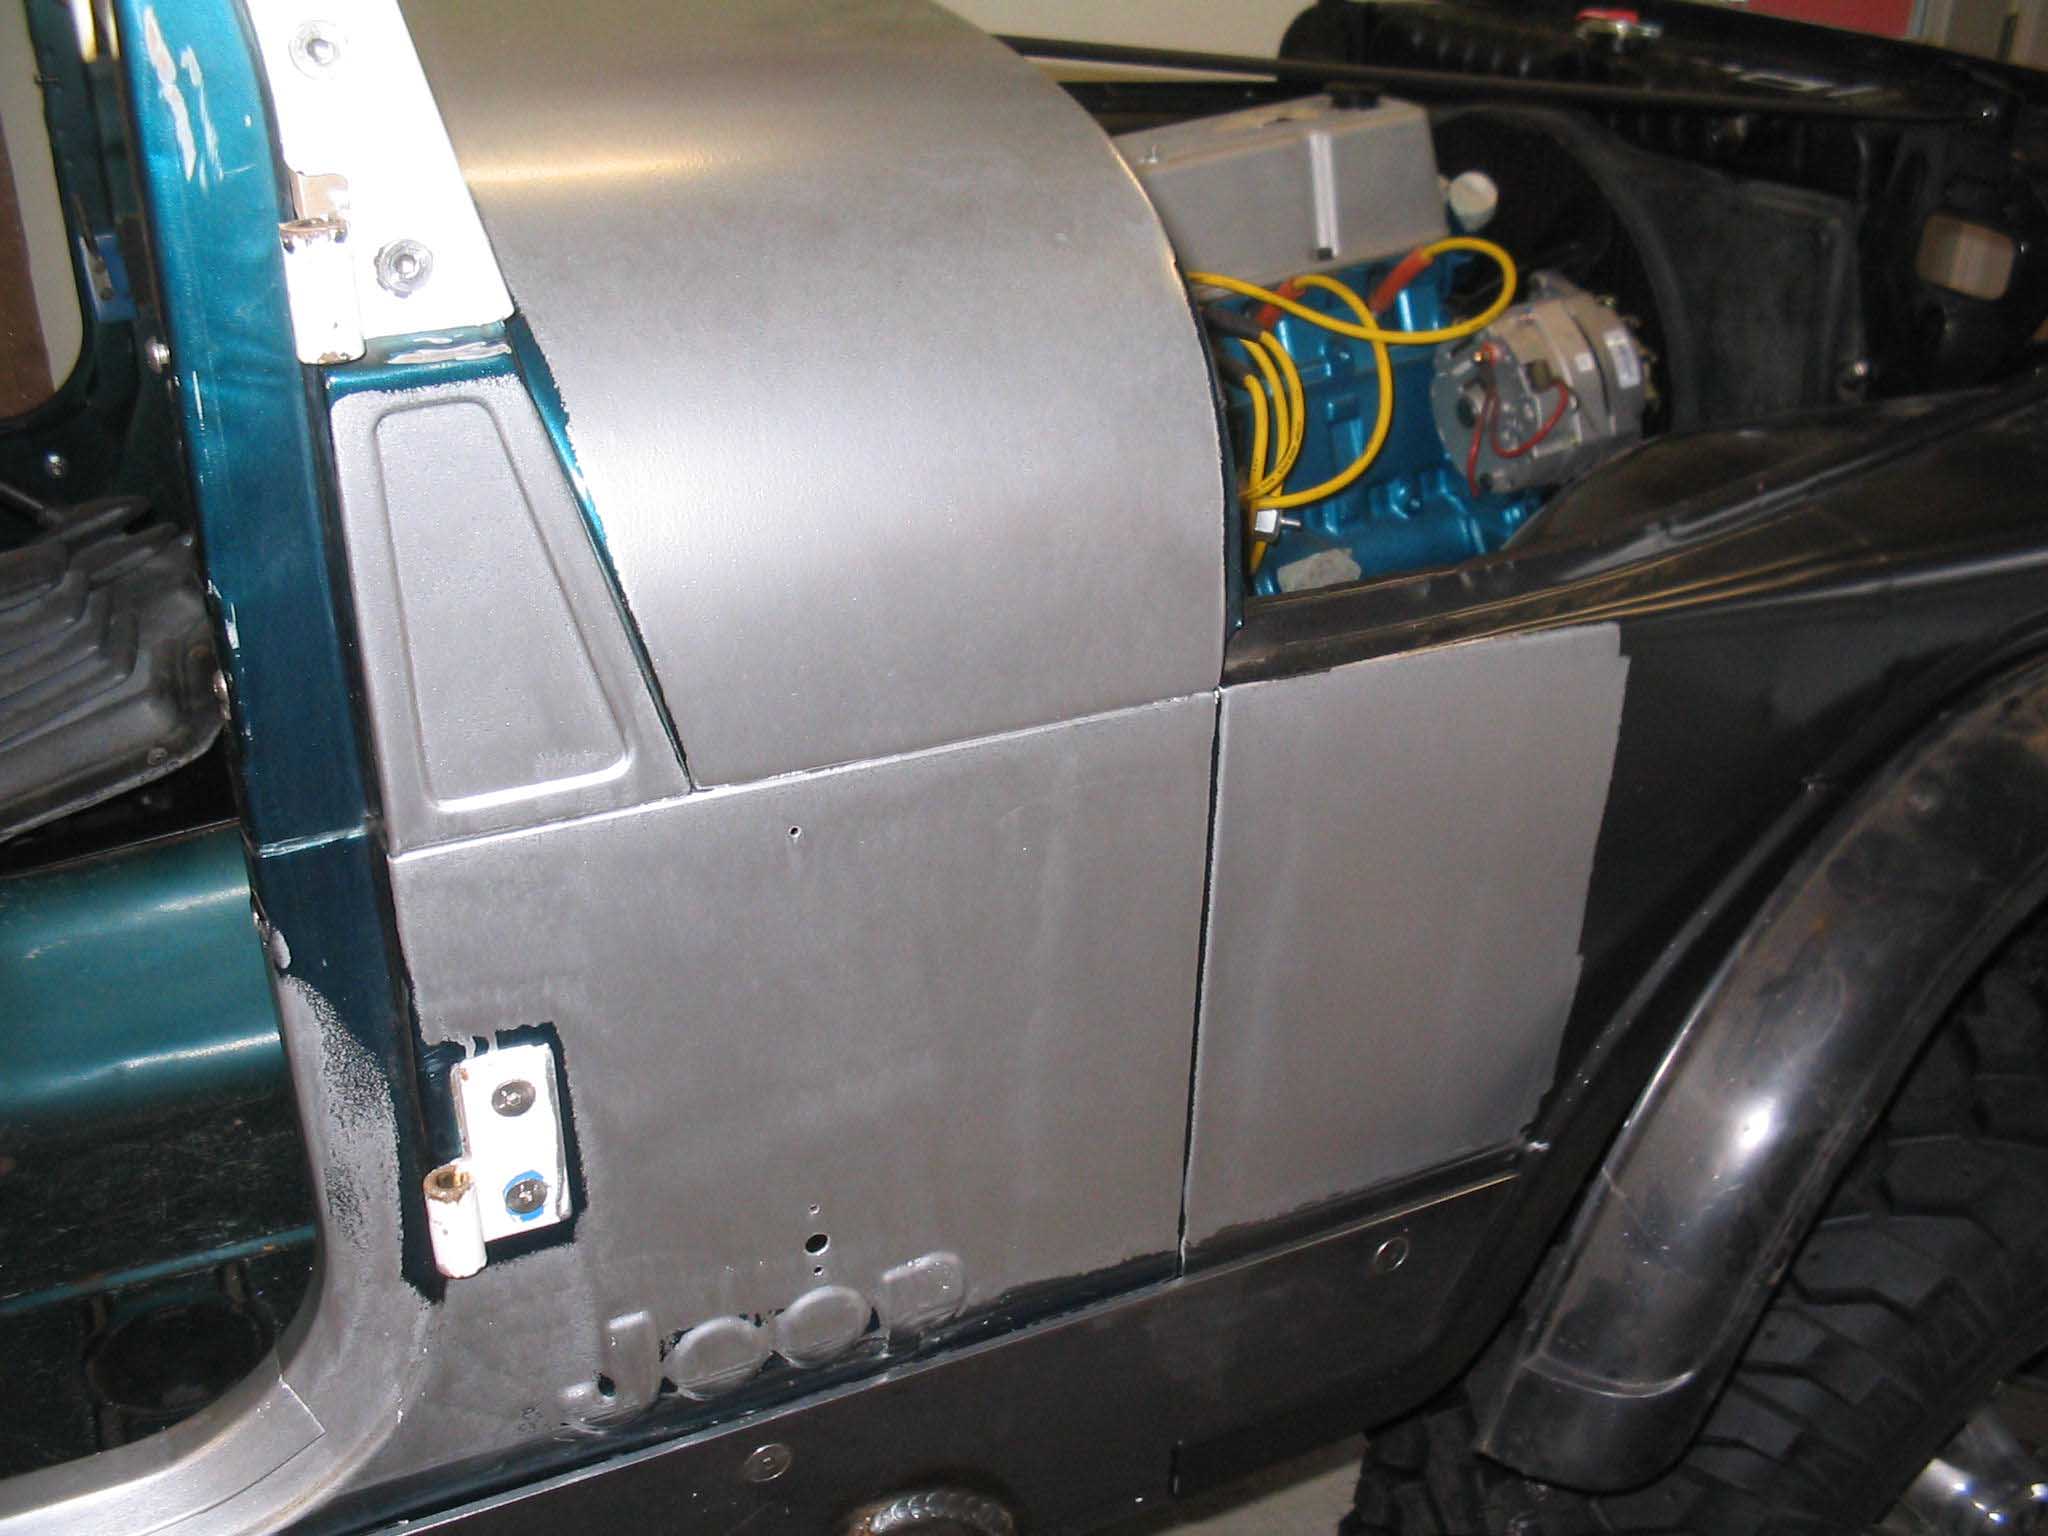
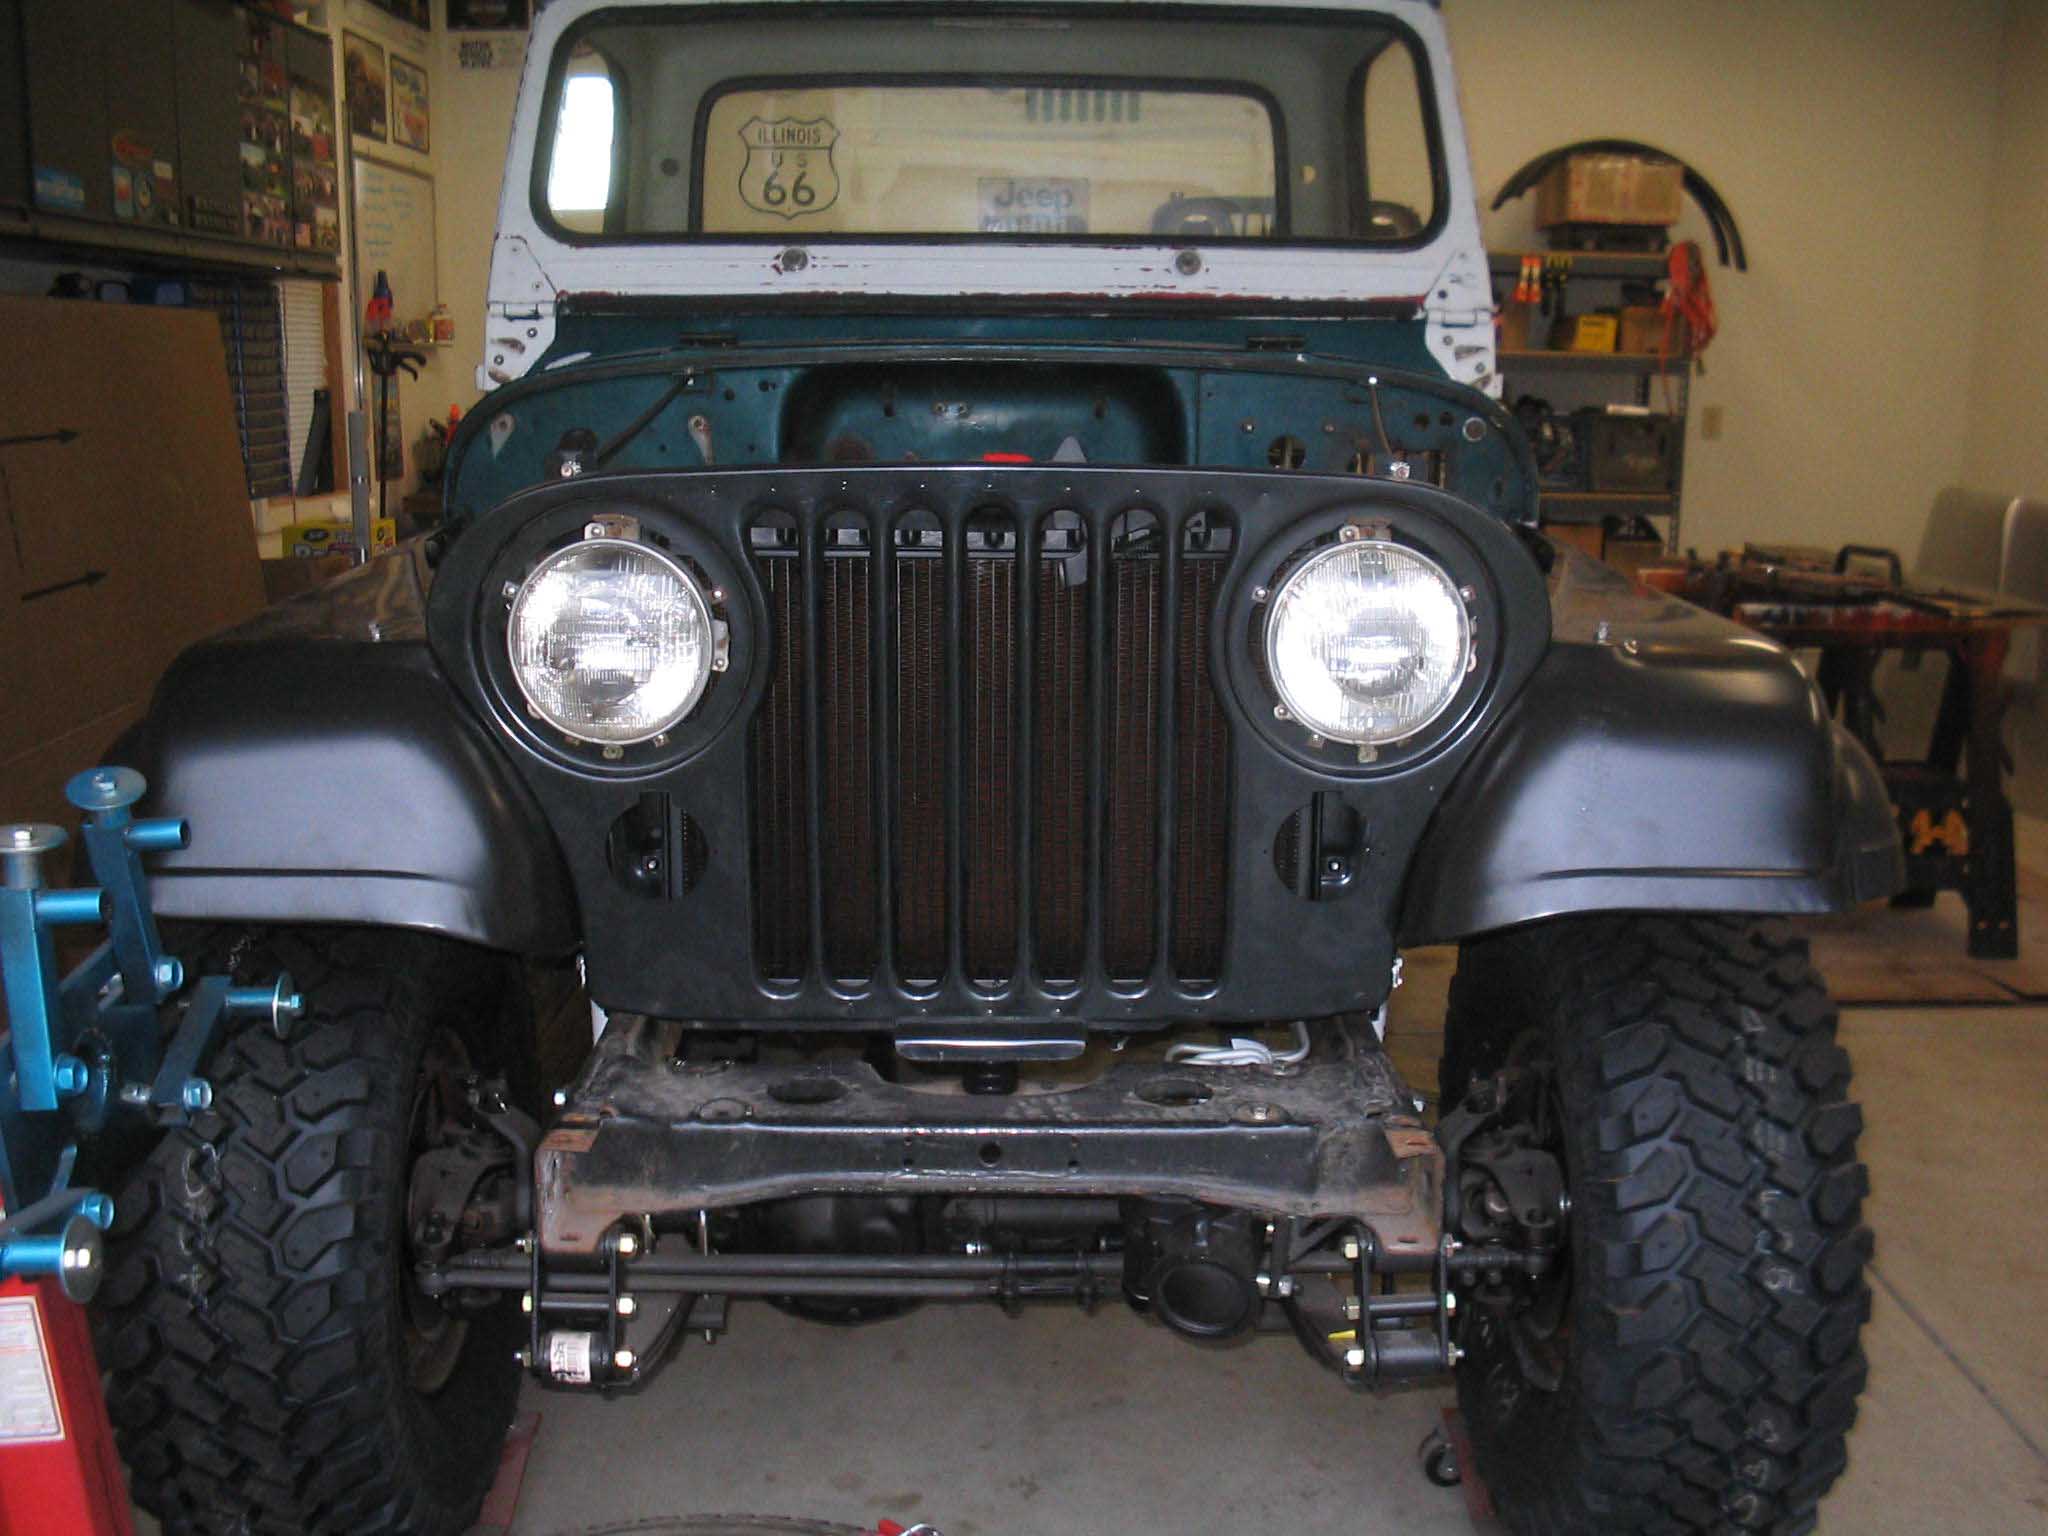
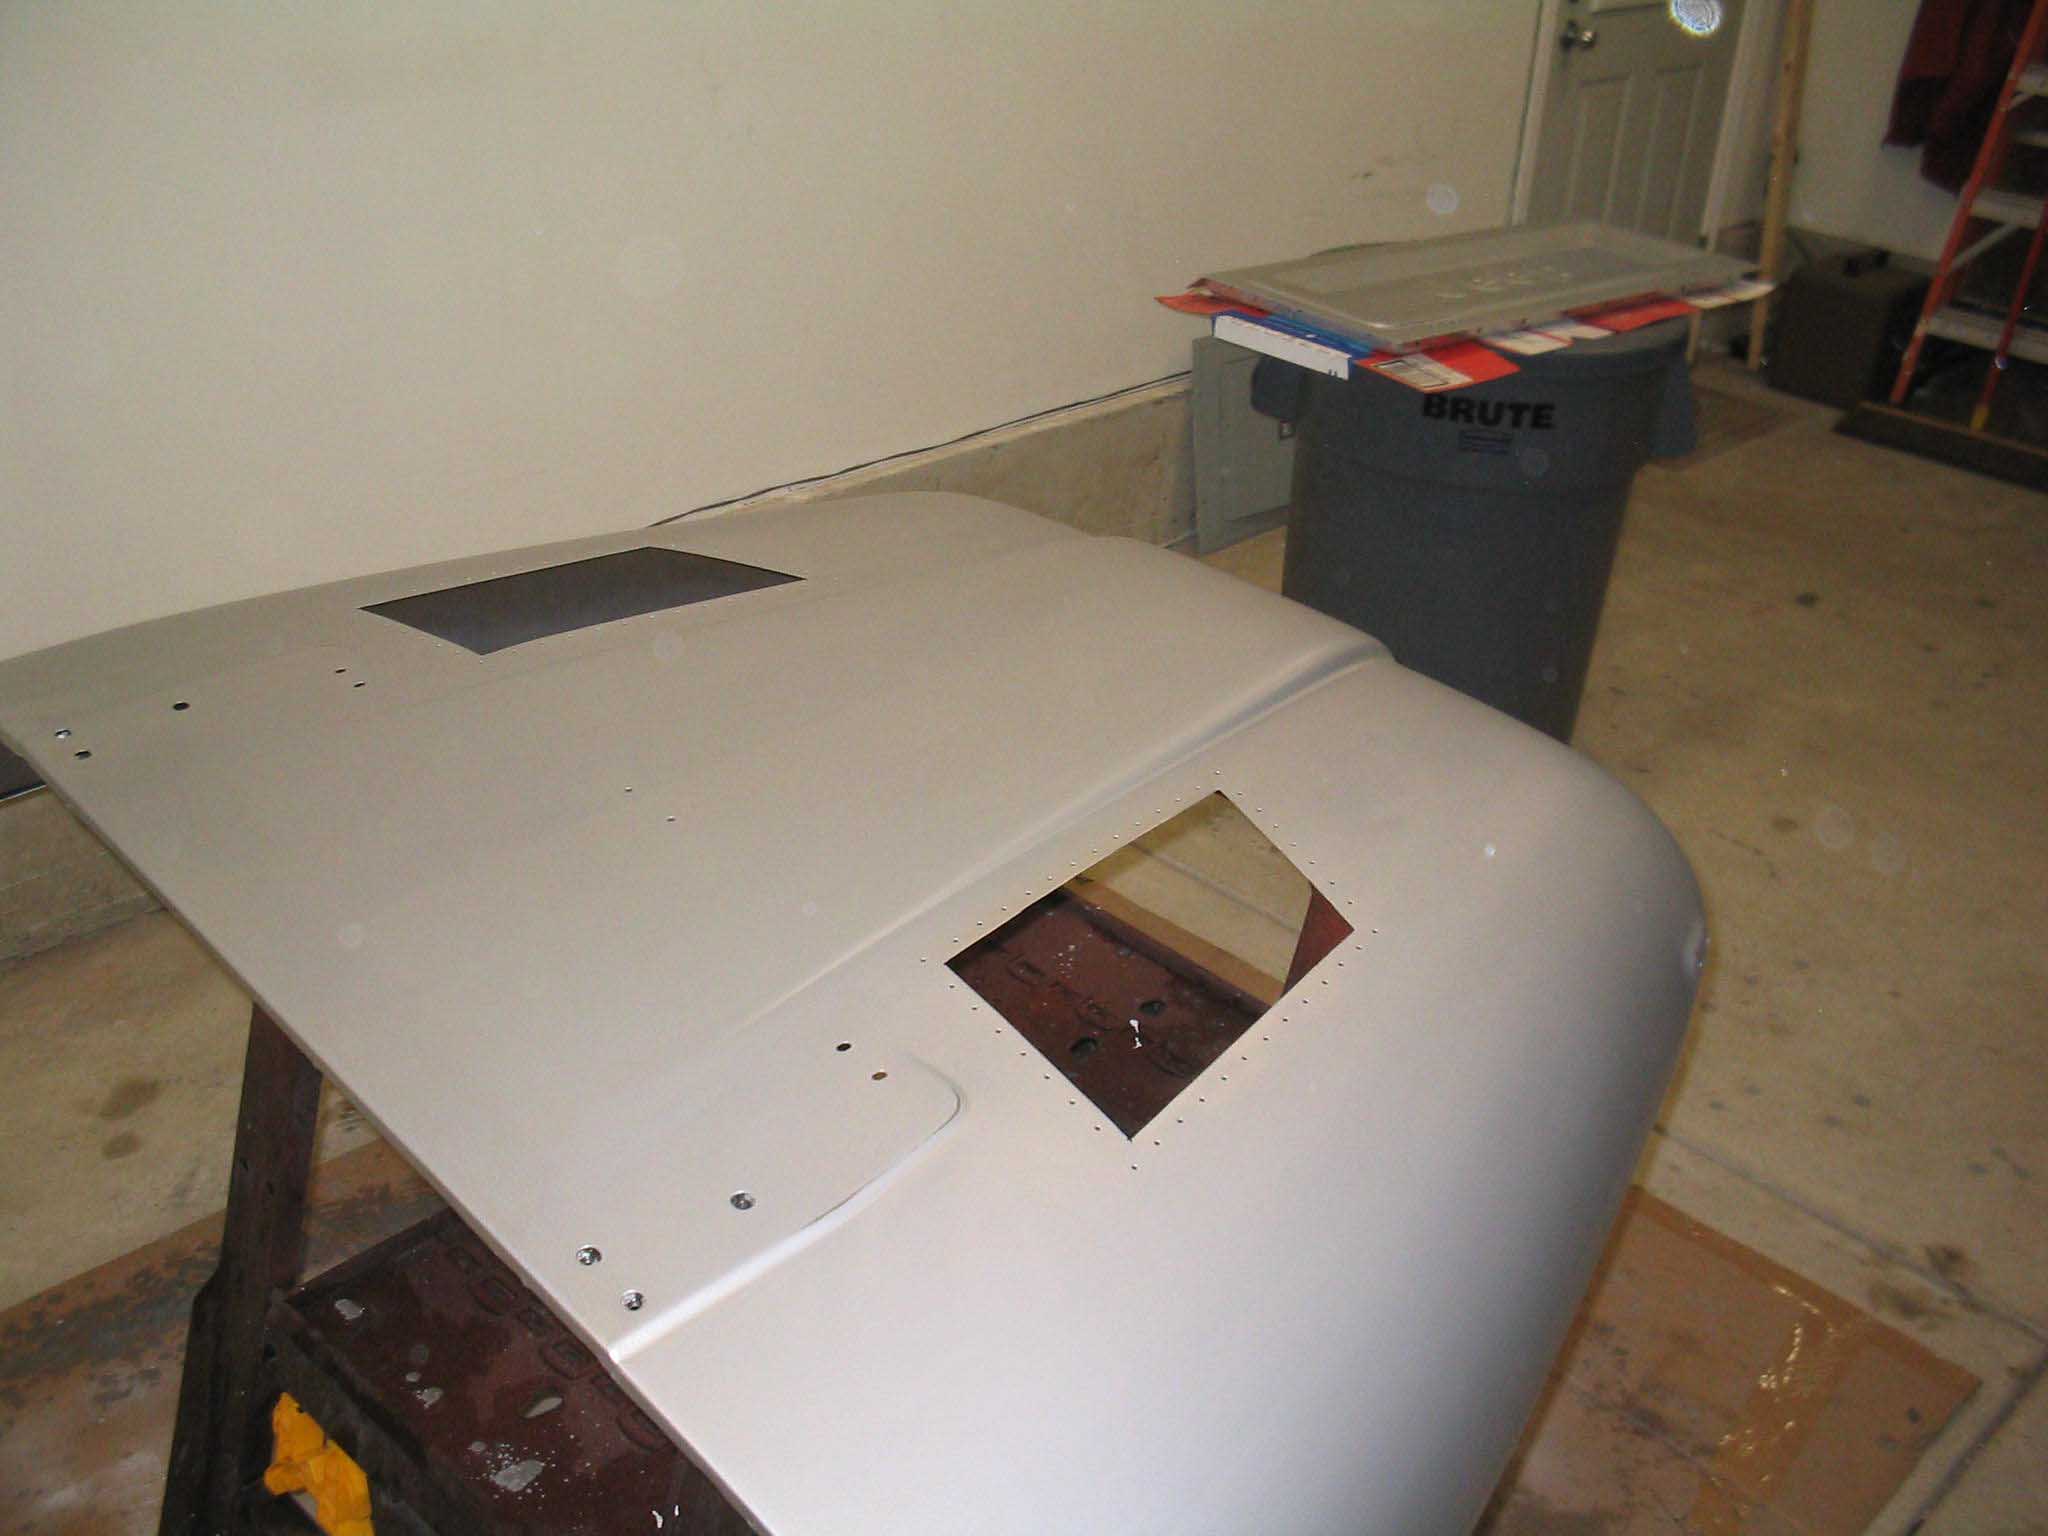
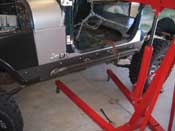
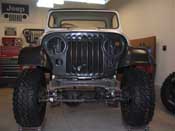
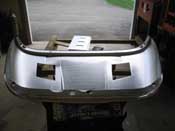
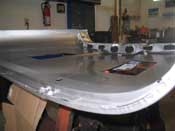
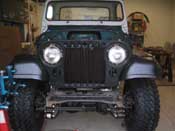
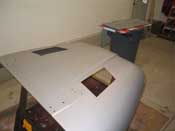
| The UPS guy dropped off my latest shipment from 4wd.com hardware and it was nice
to see the Poison Spyder Rocker Knockers arrived undamaged and ready to be mocked up. I had one side on when
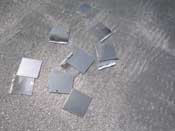
my wife asked if I could help her cut some metal plate for a bird cage at the rescue that she volunteers at. We
cut it with a torch, then an angle grinder and that seemed to be better so we spent some time doing that and then
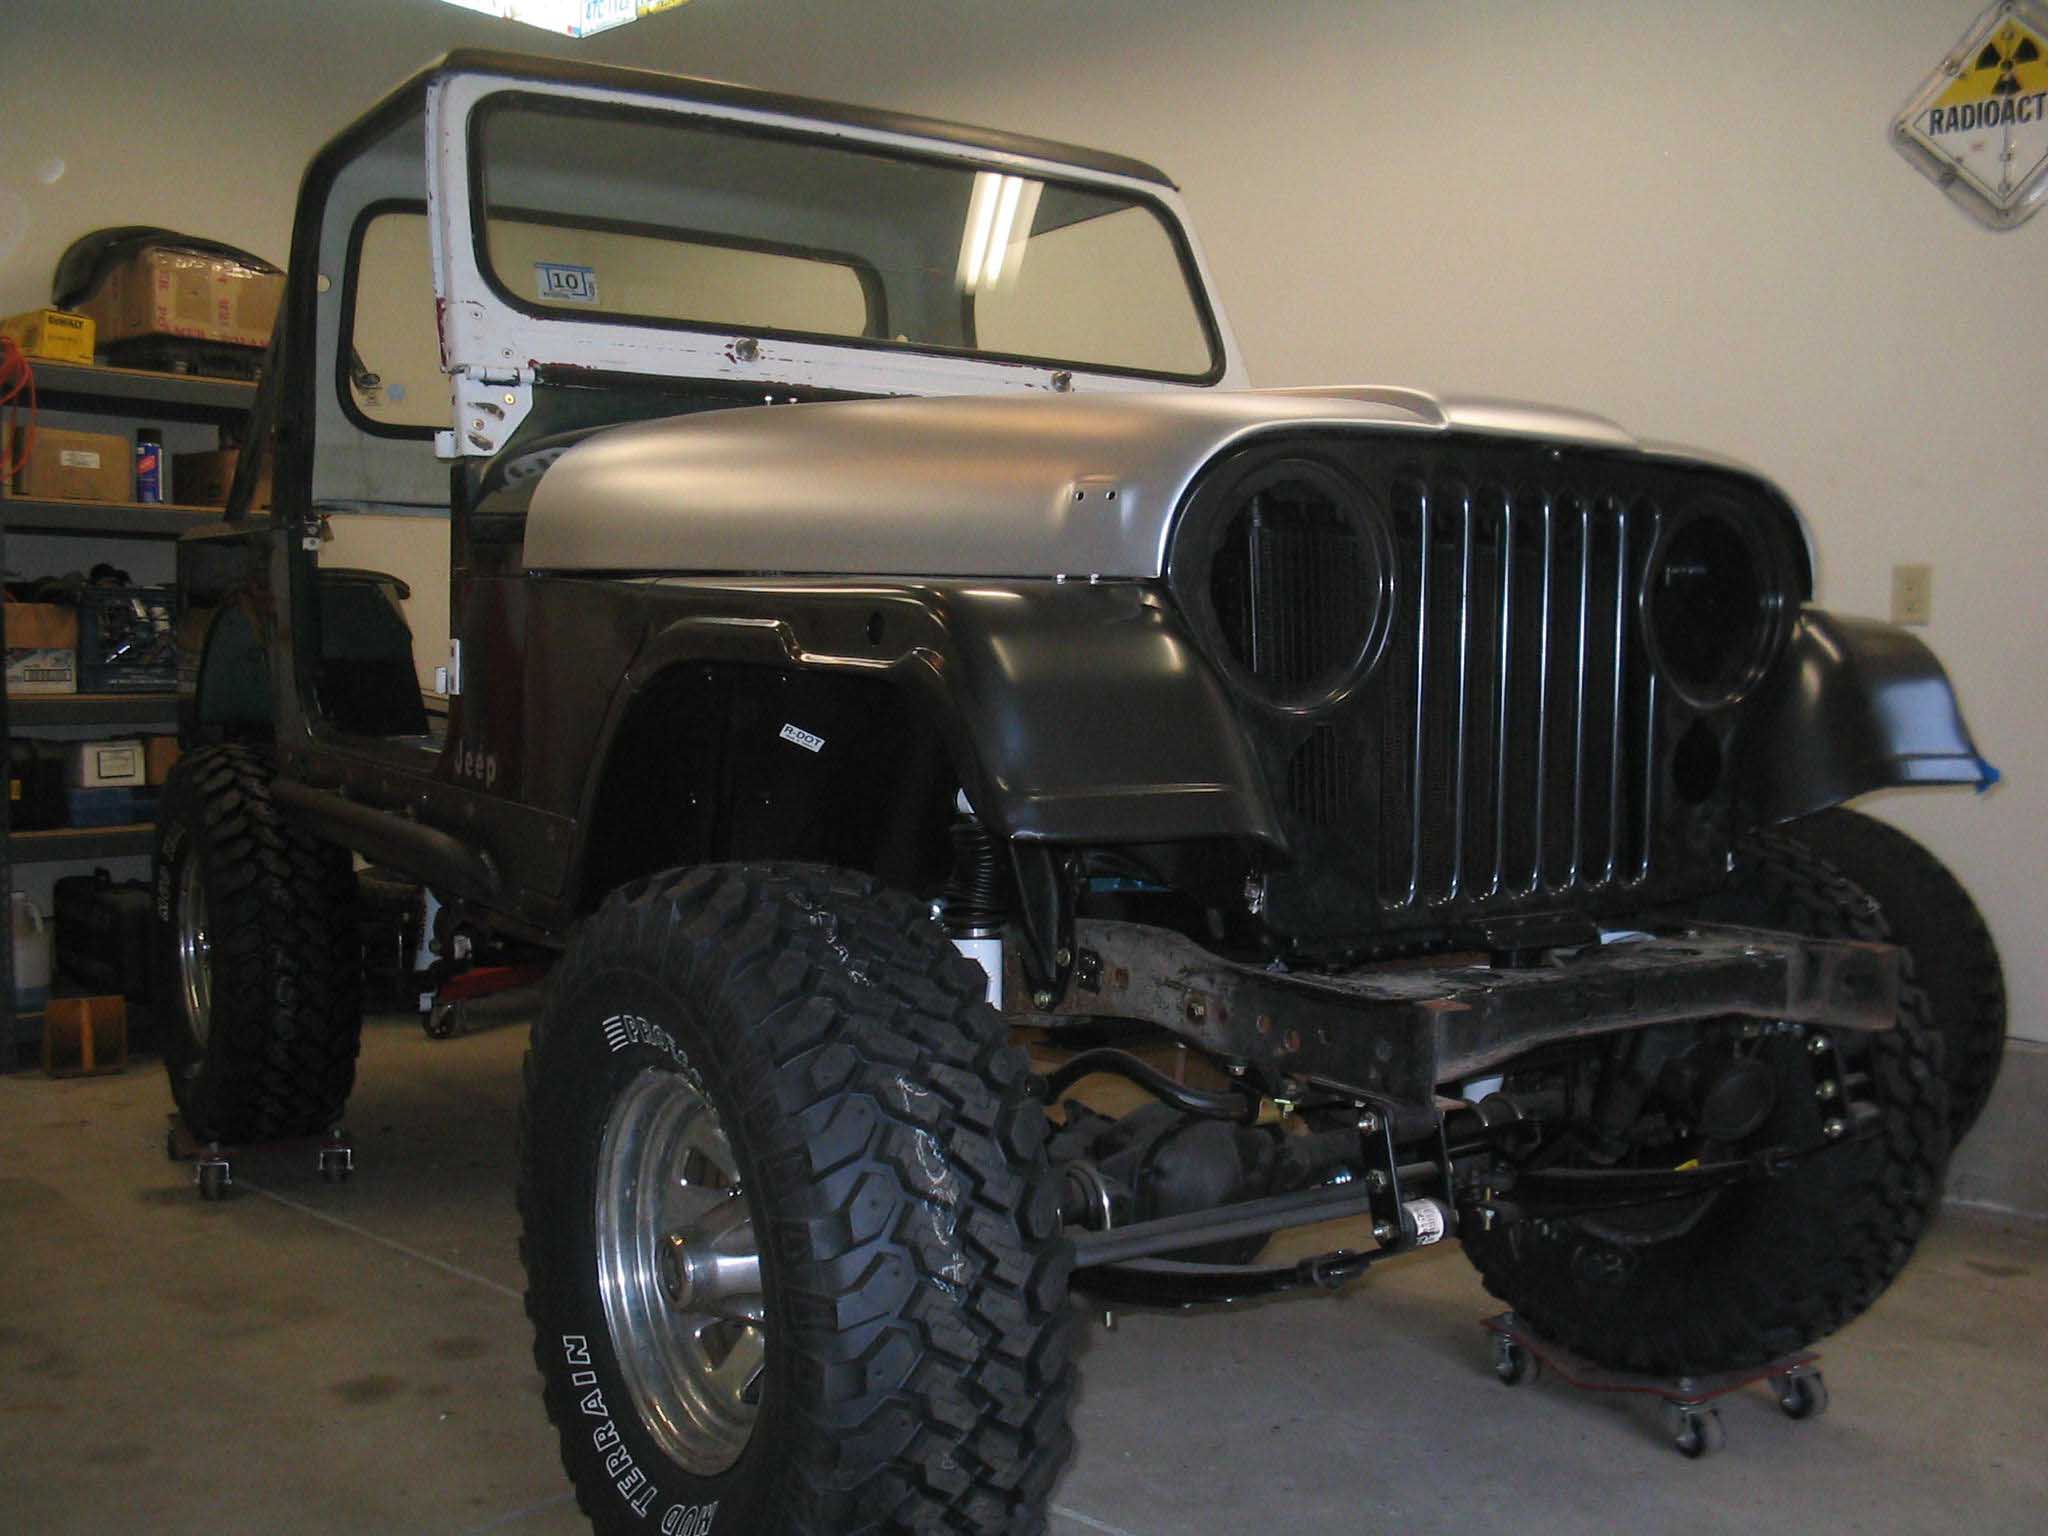
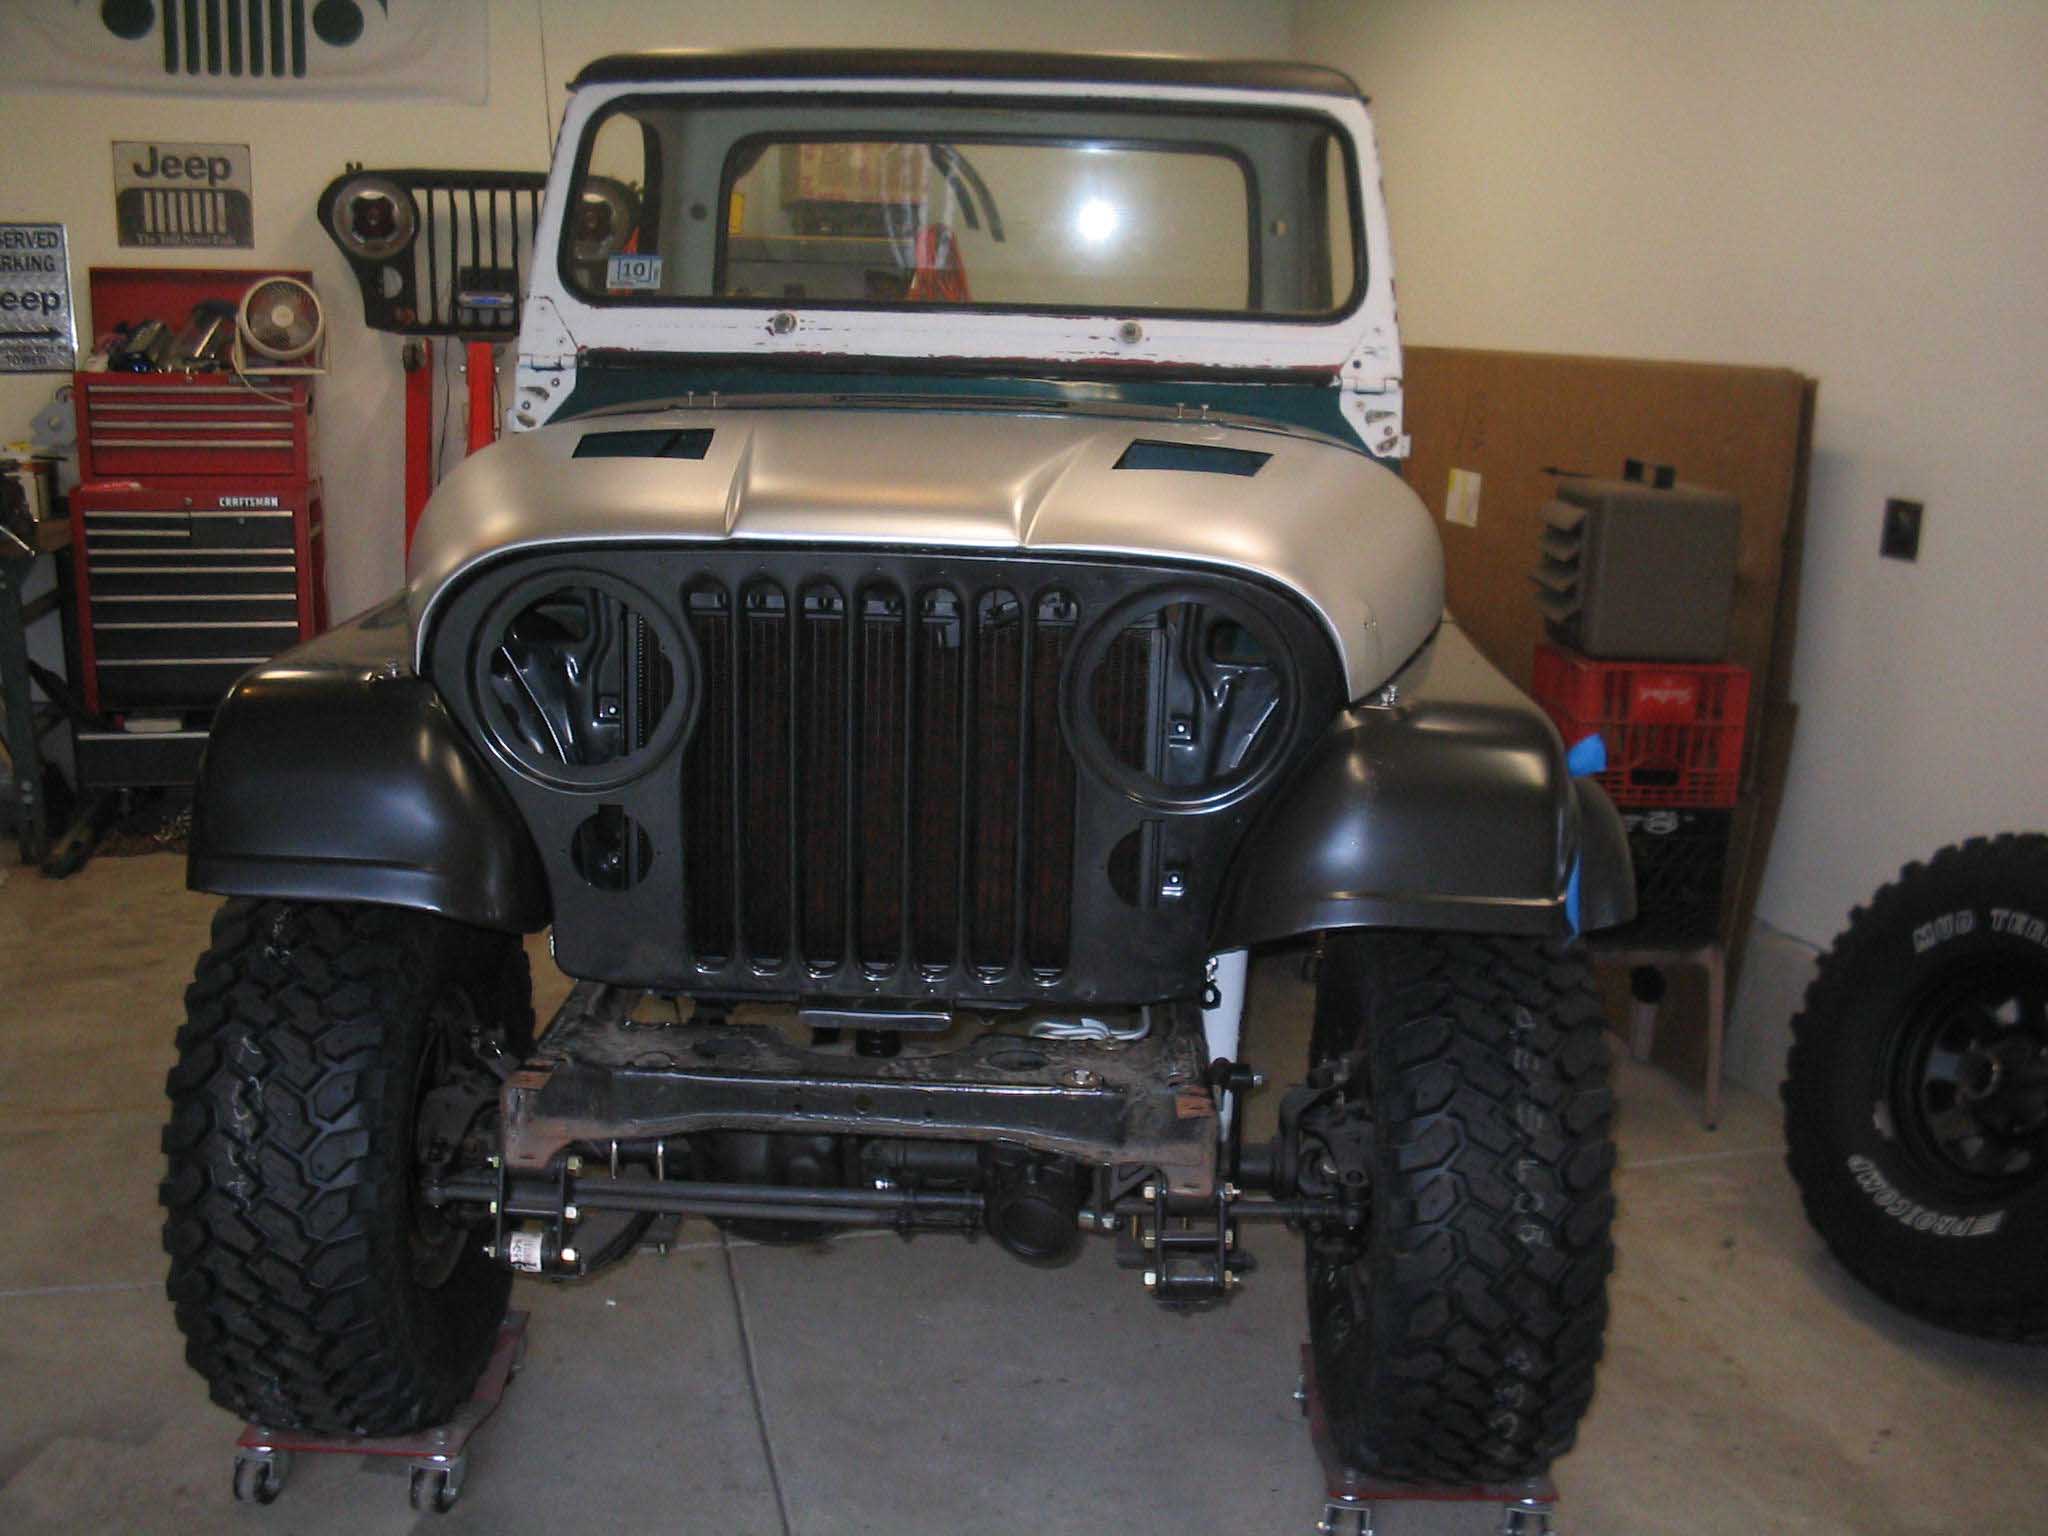
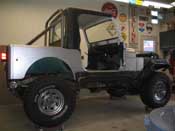
I got back to the Jeep. I turned the Jeep around to work on the other Rocker Knocker and then put the hood and
tailgate in place to see how it might look when it is finished. It is starting to look like a sheet of aluminum
foil!
|
| |
|
|

|
|
|
|
| |
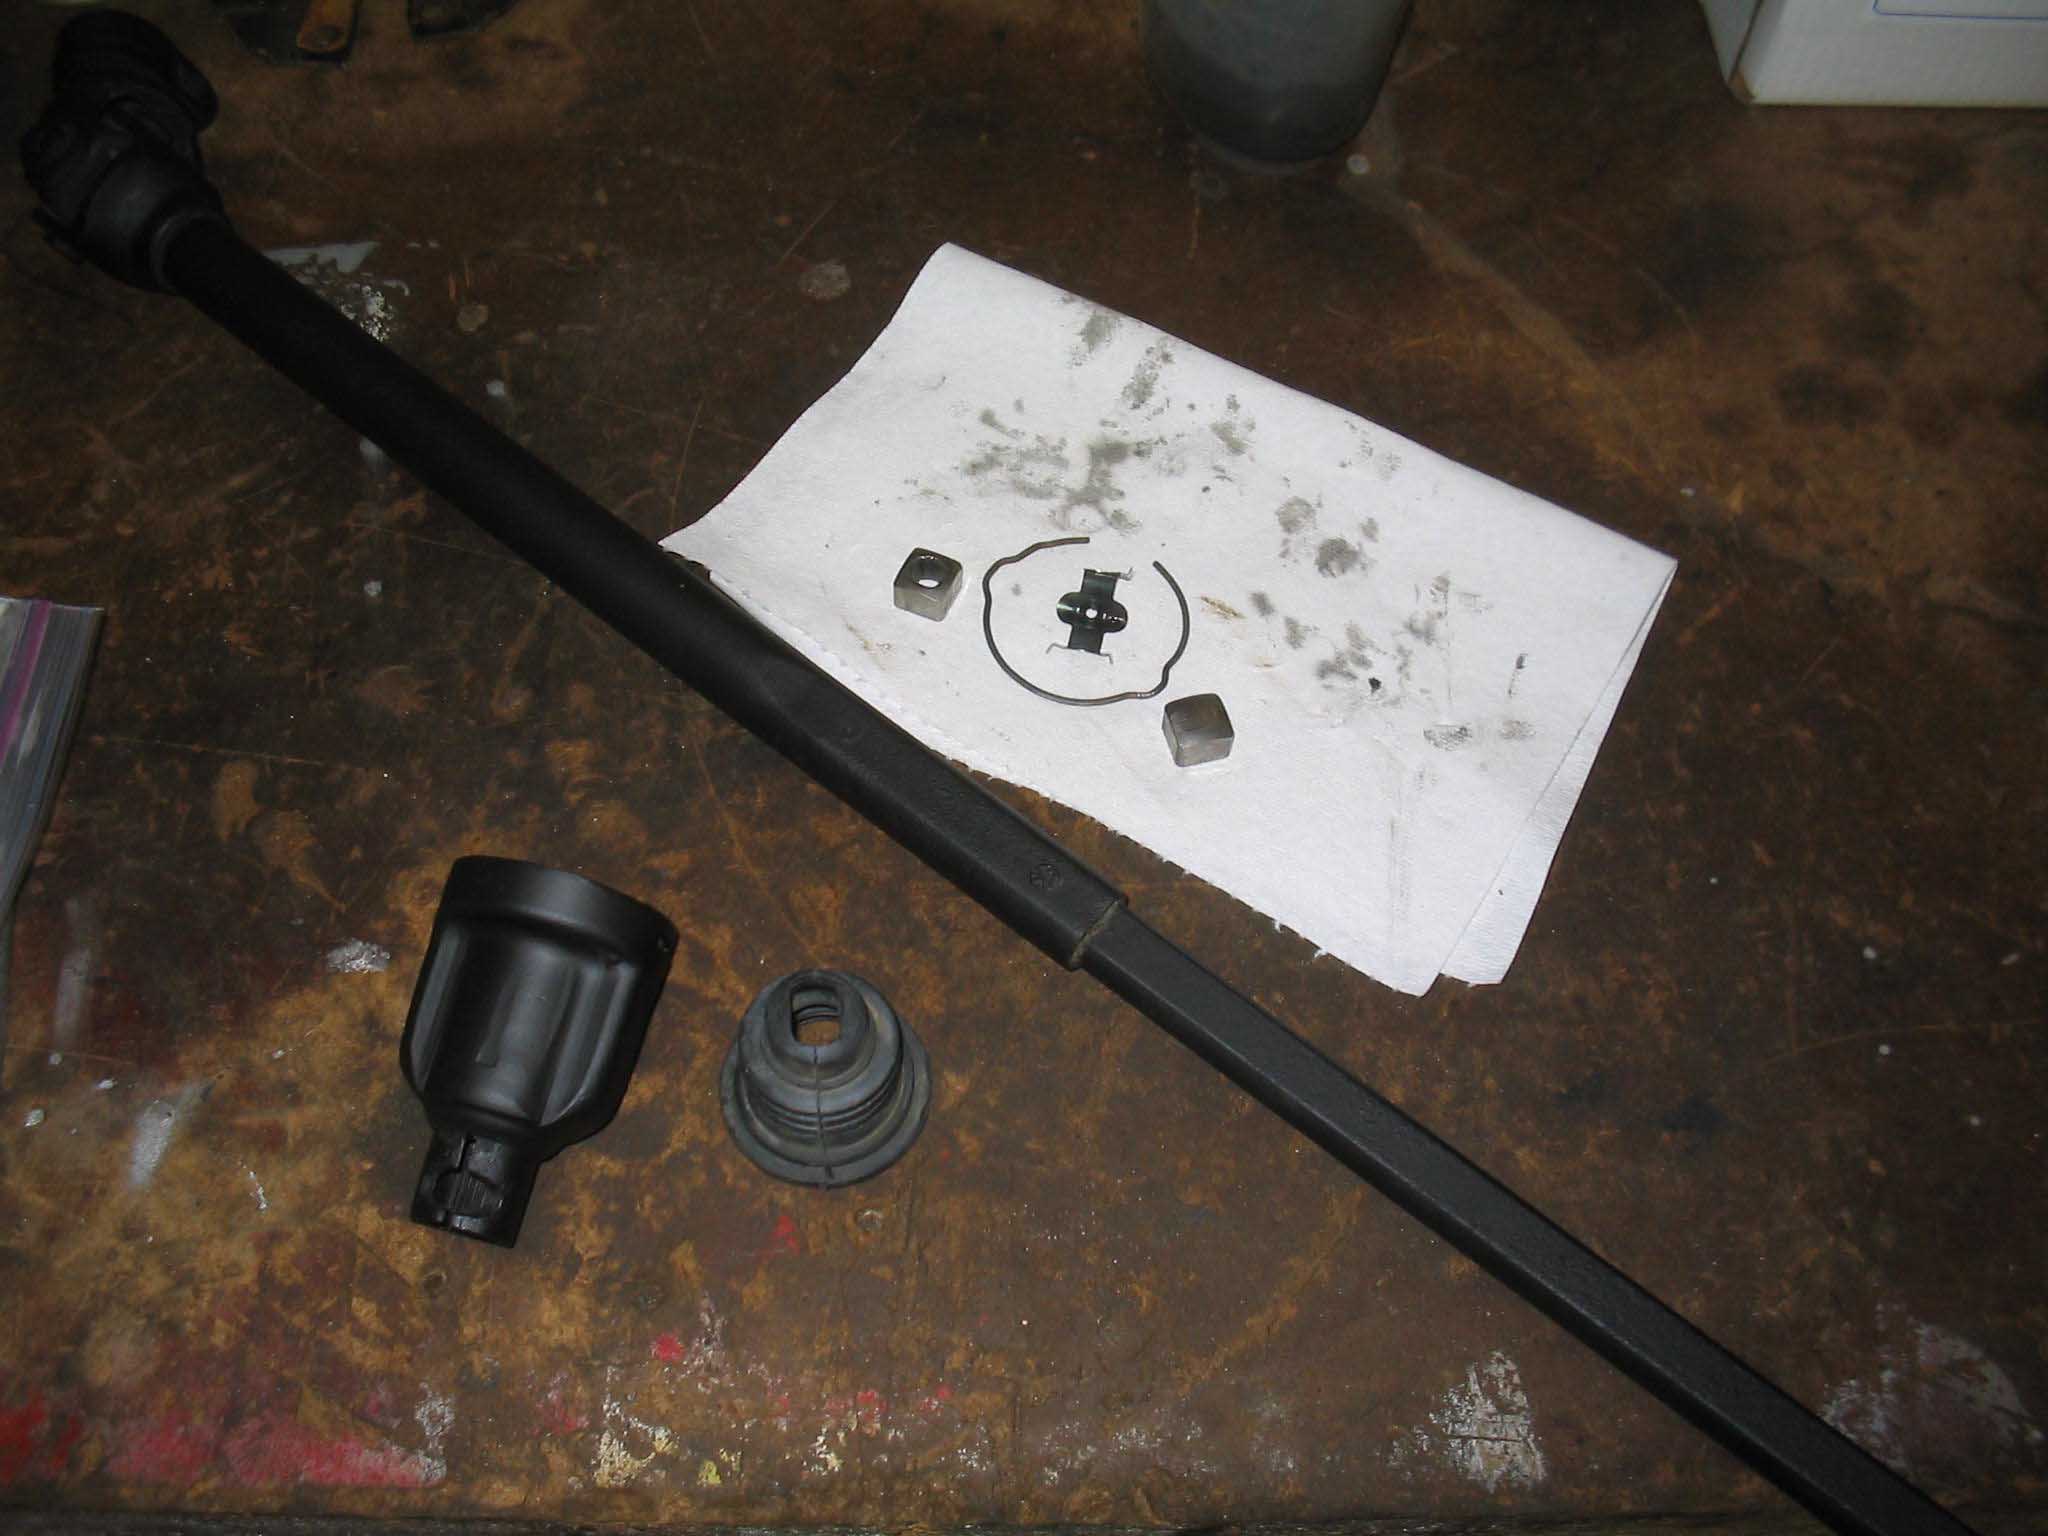
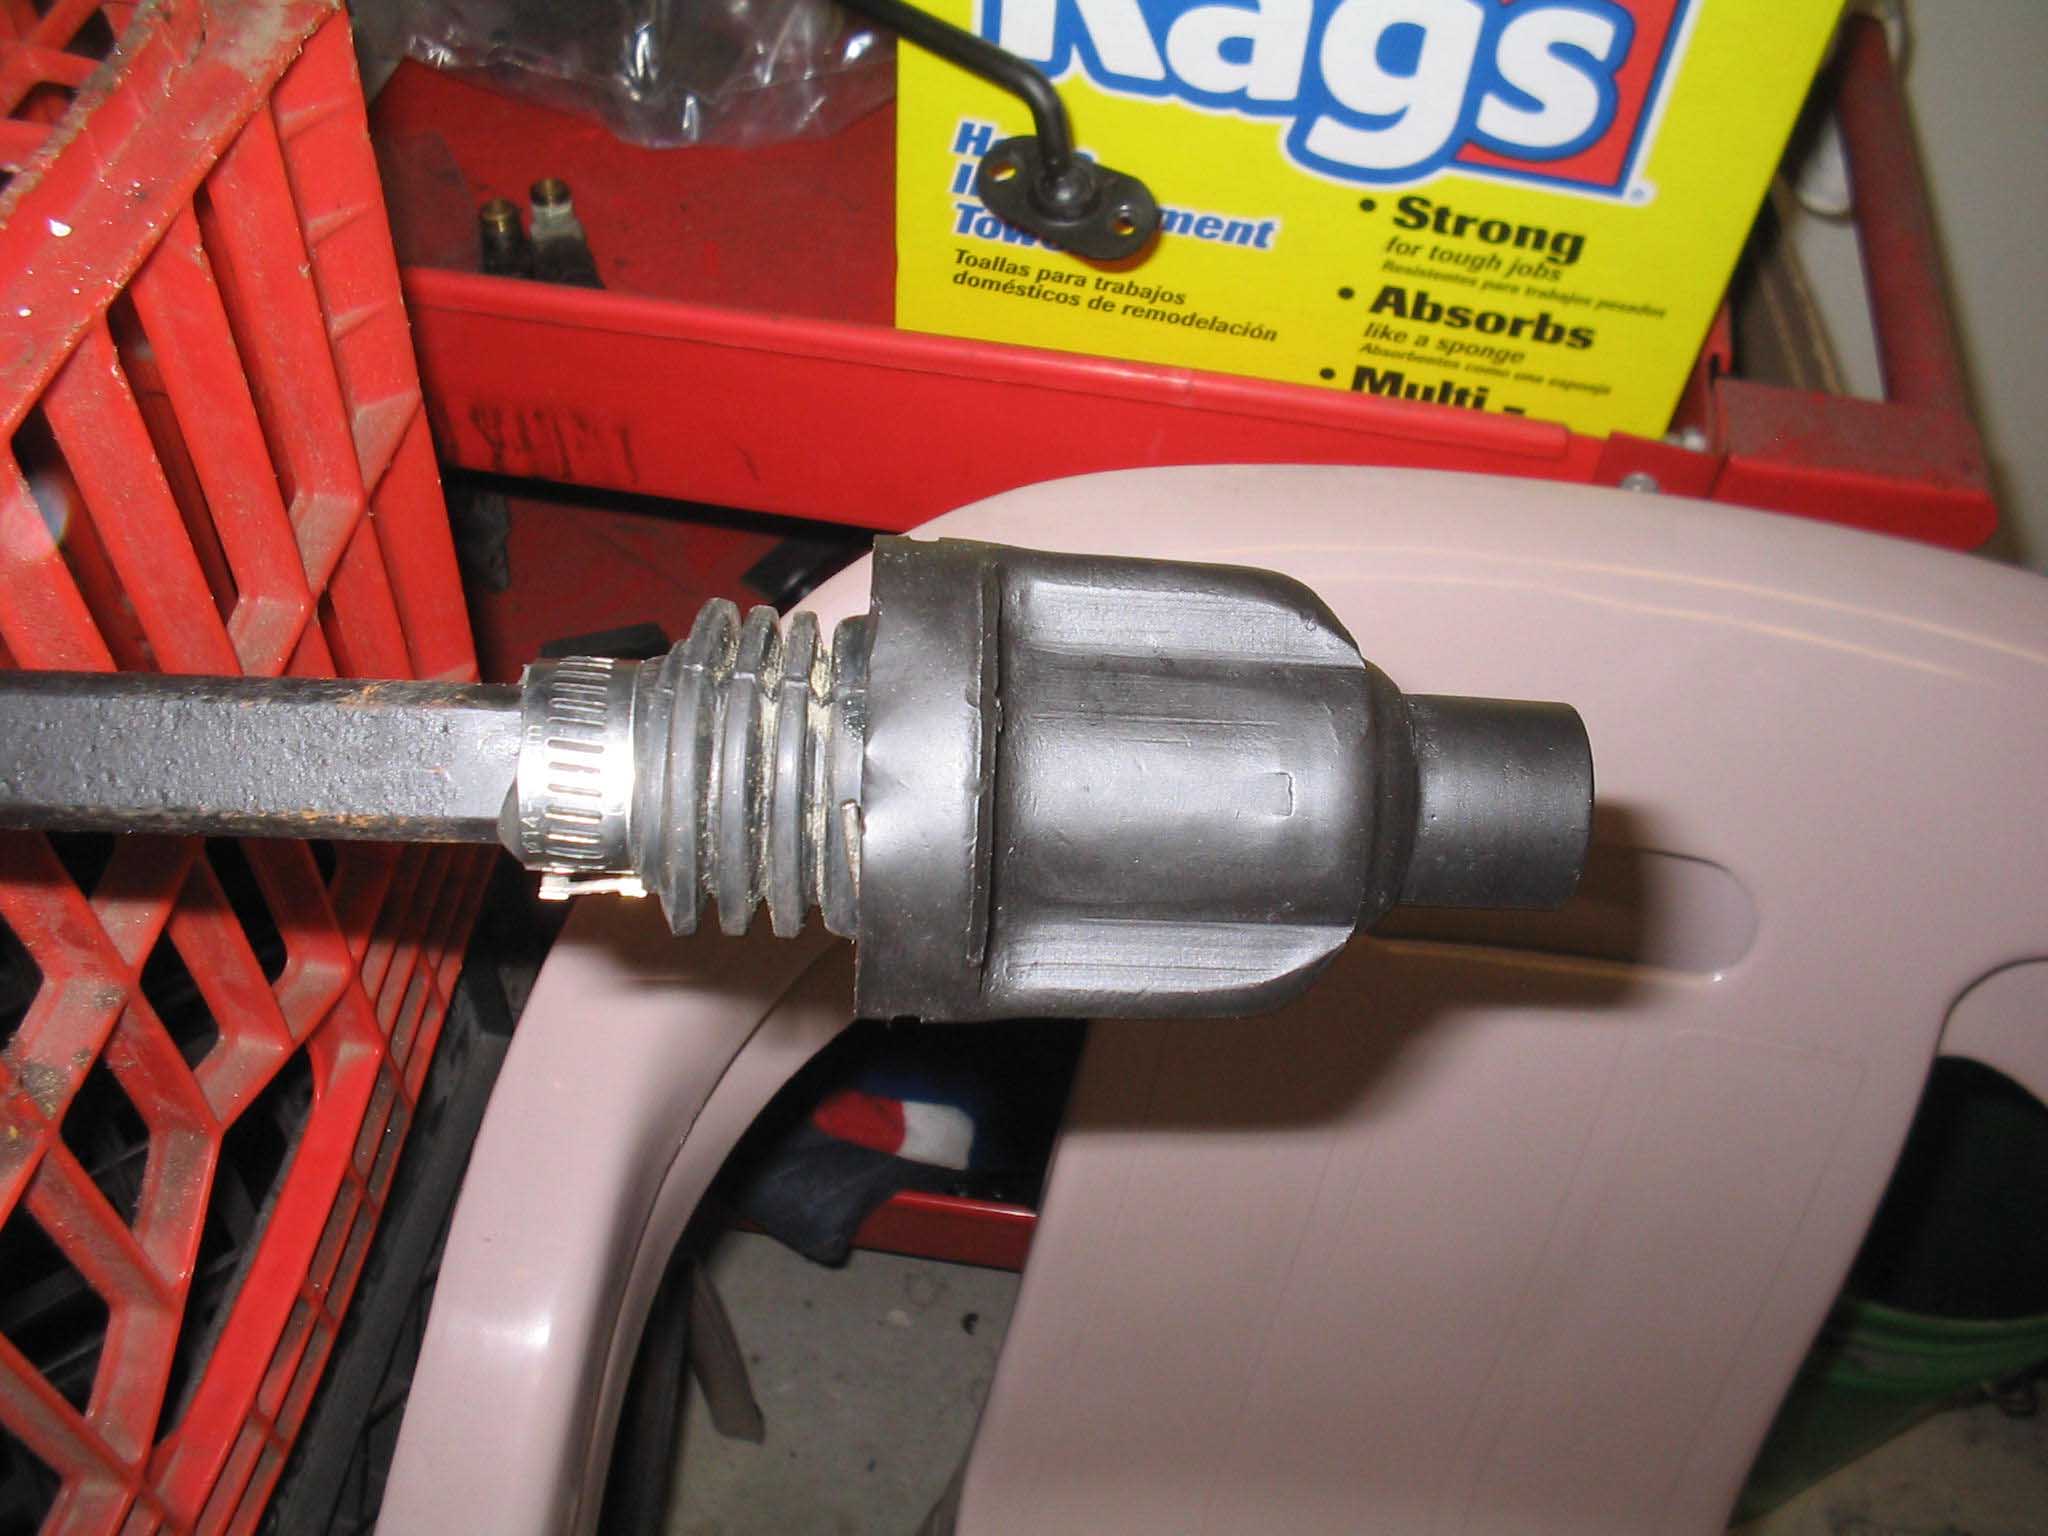
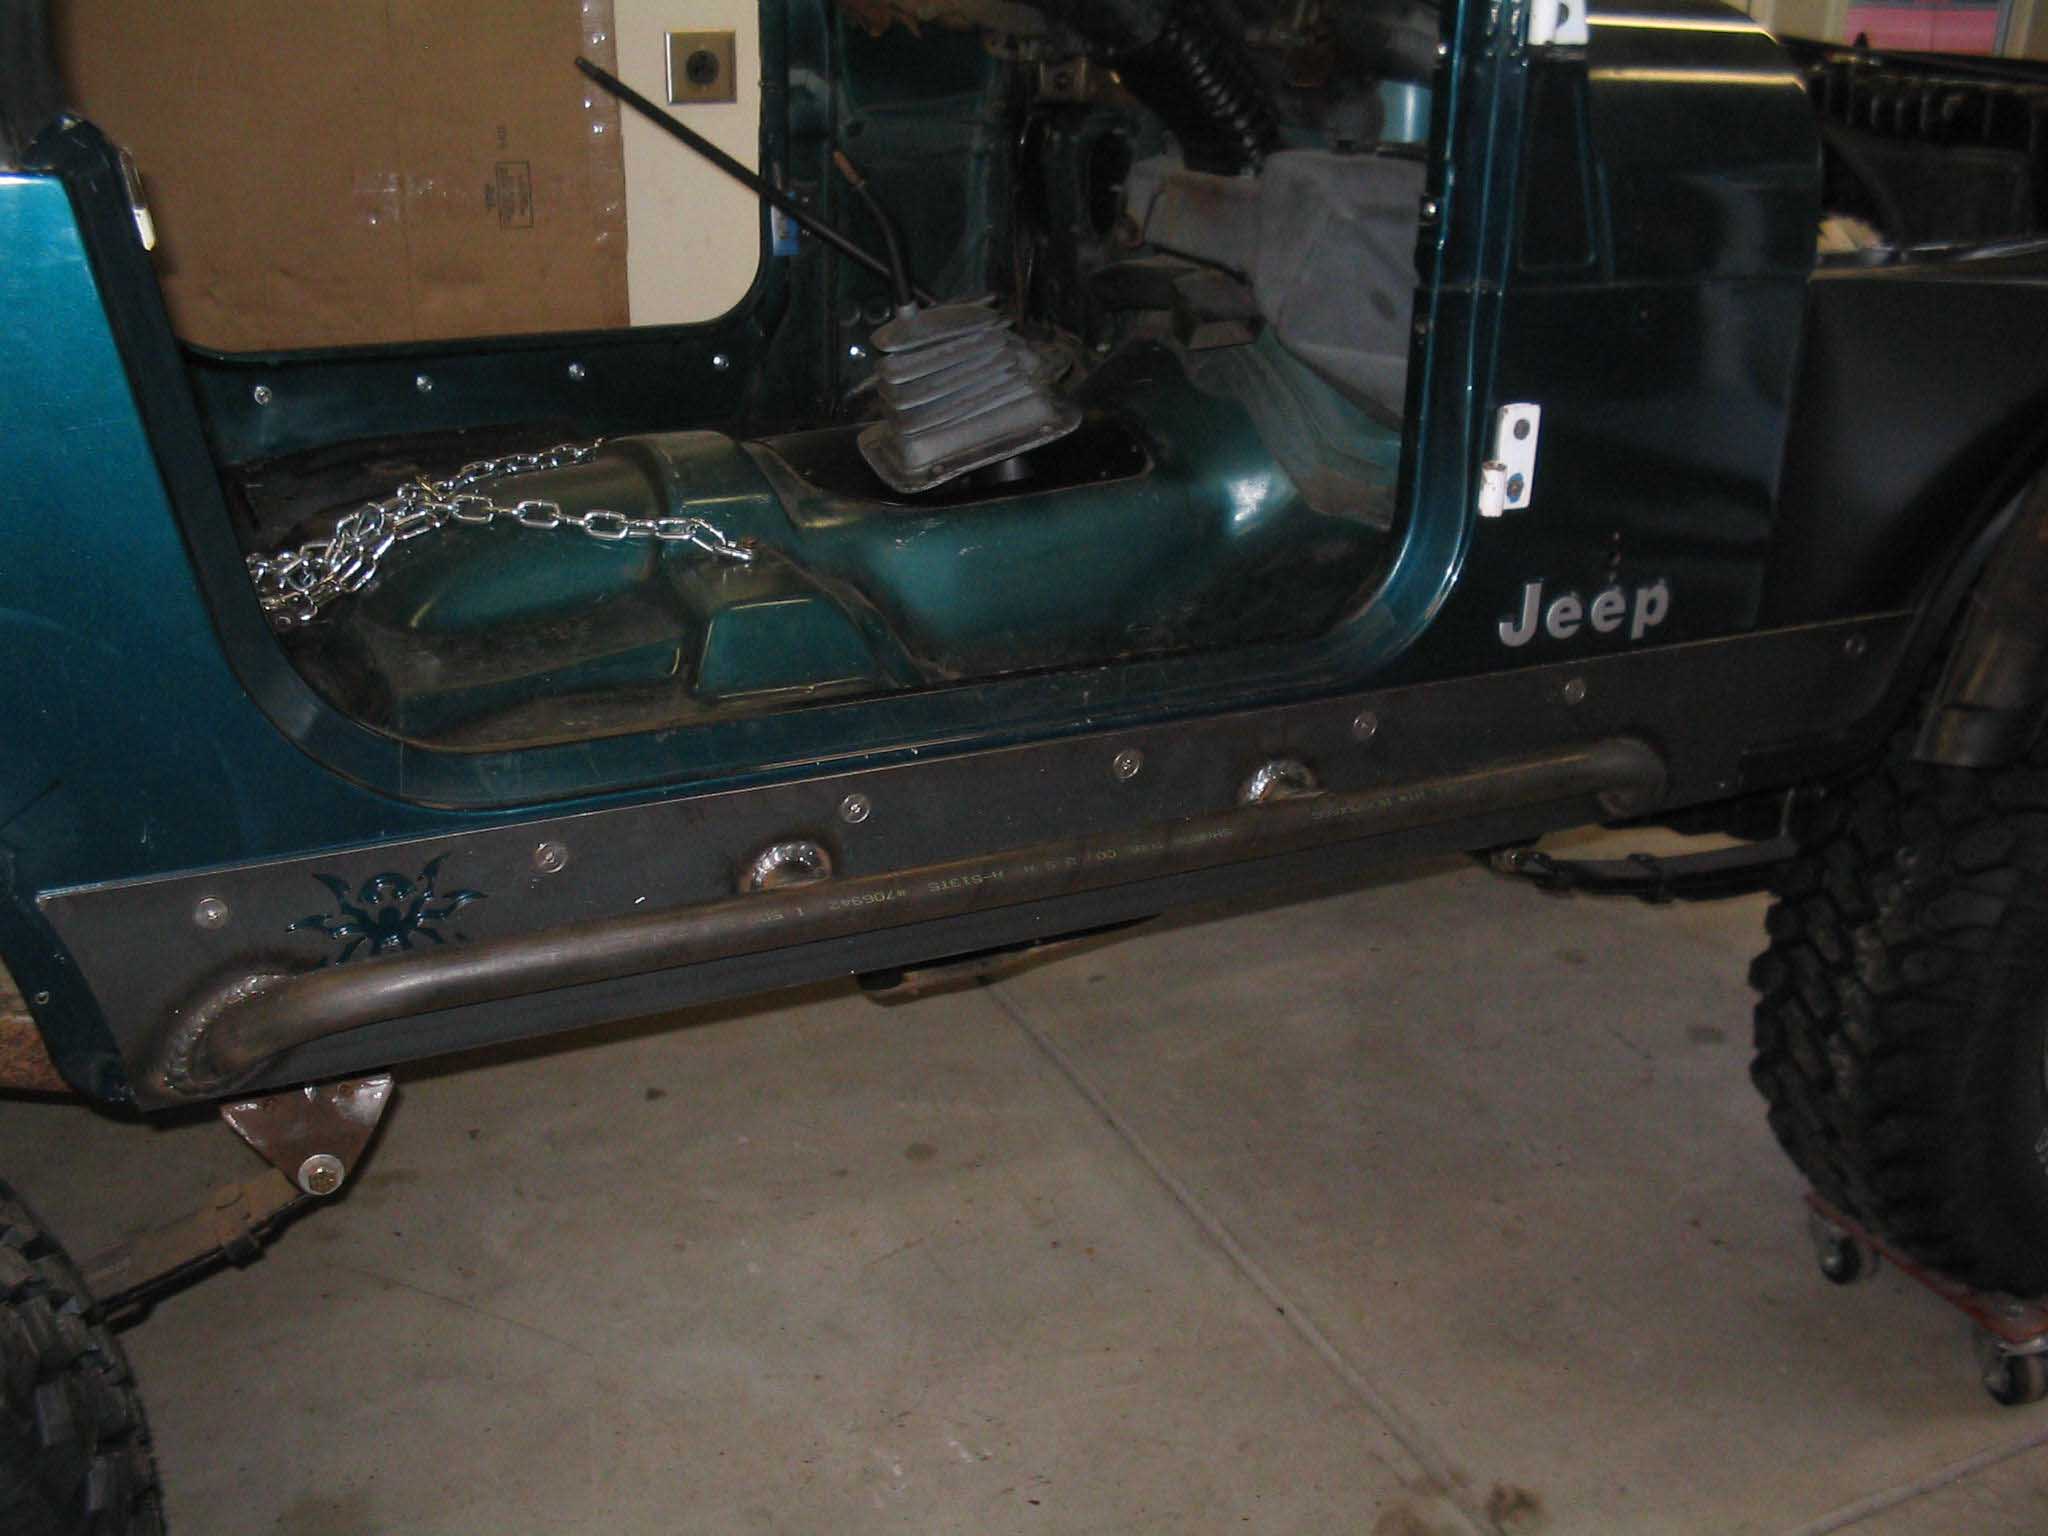
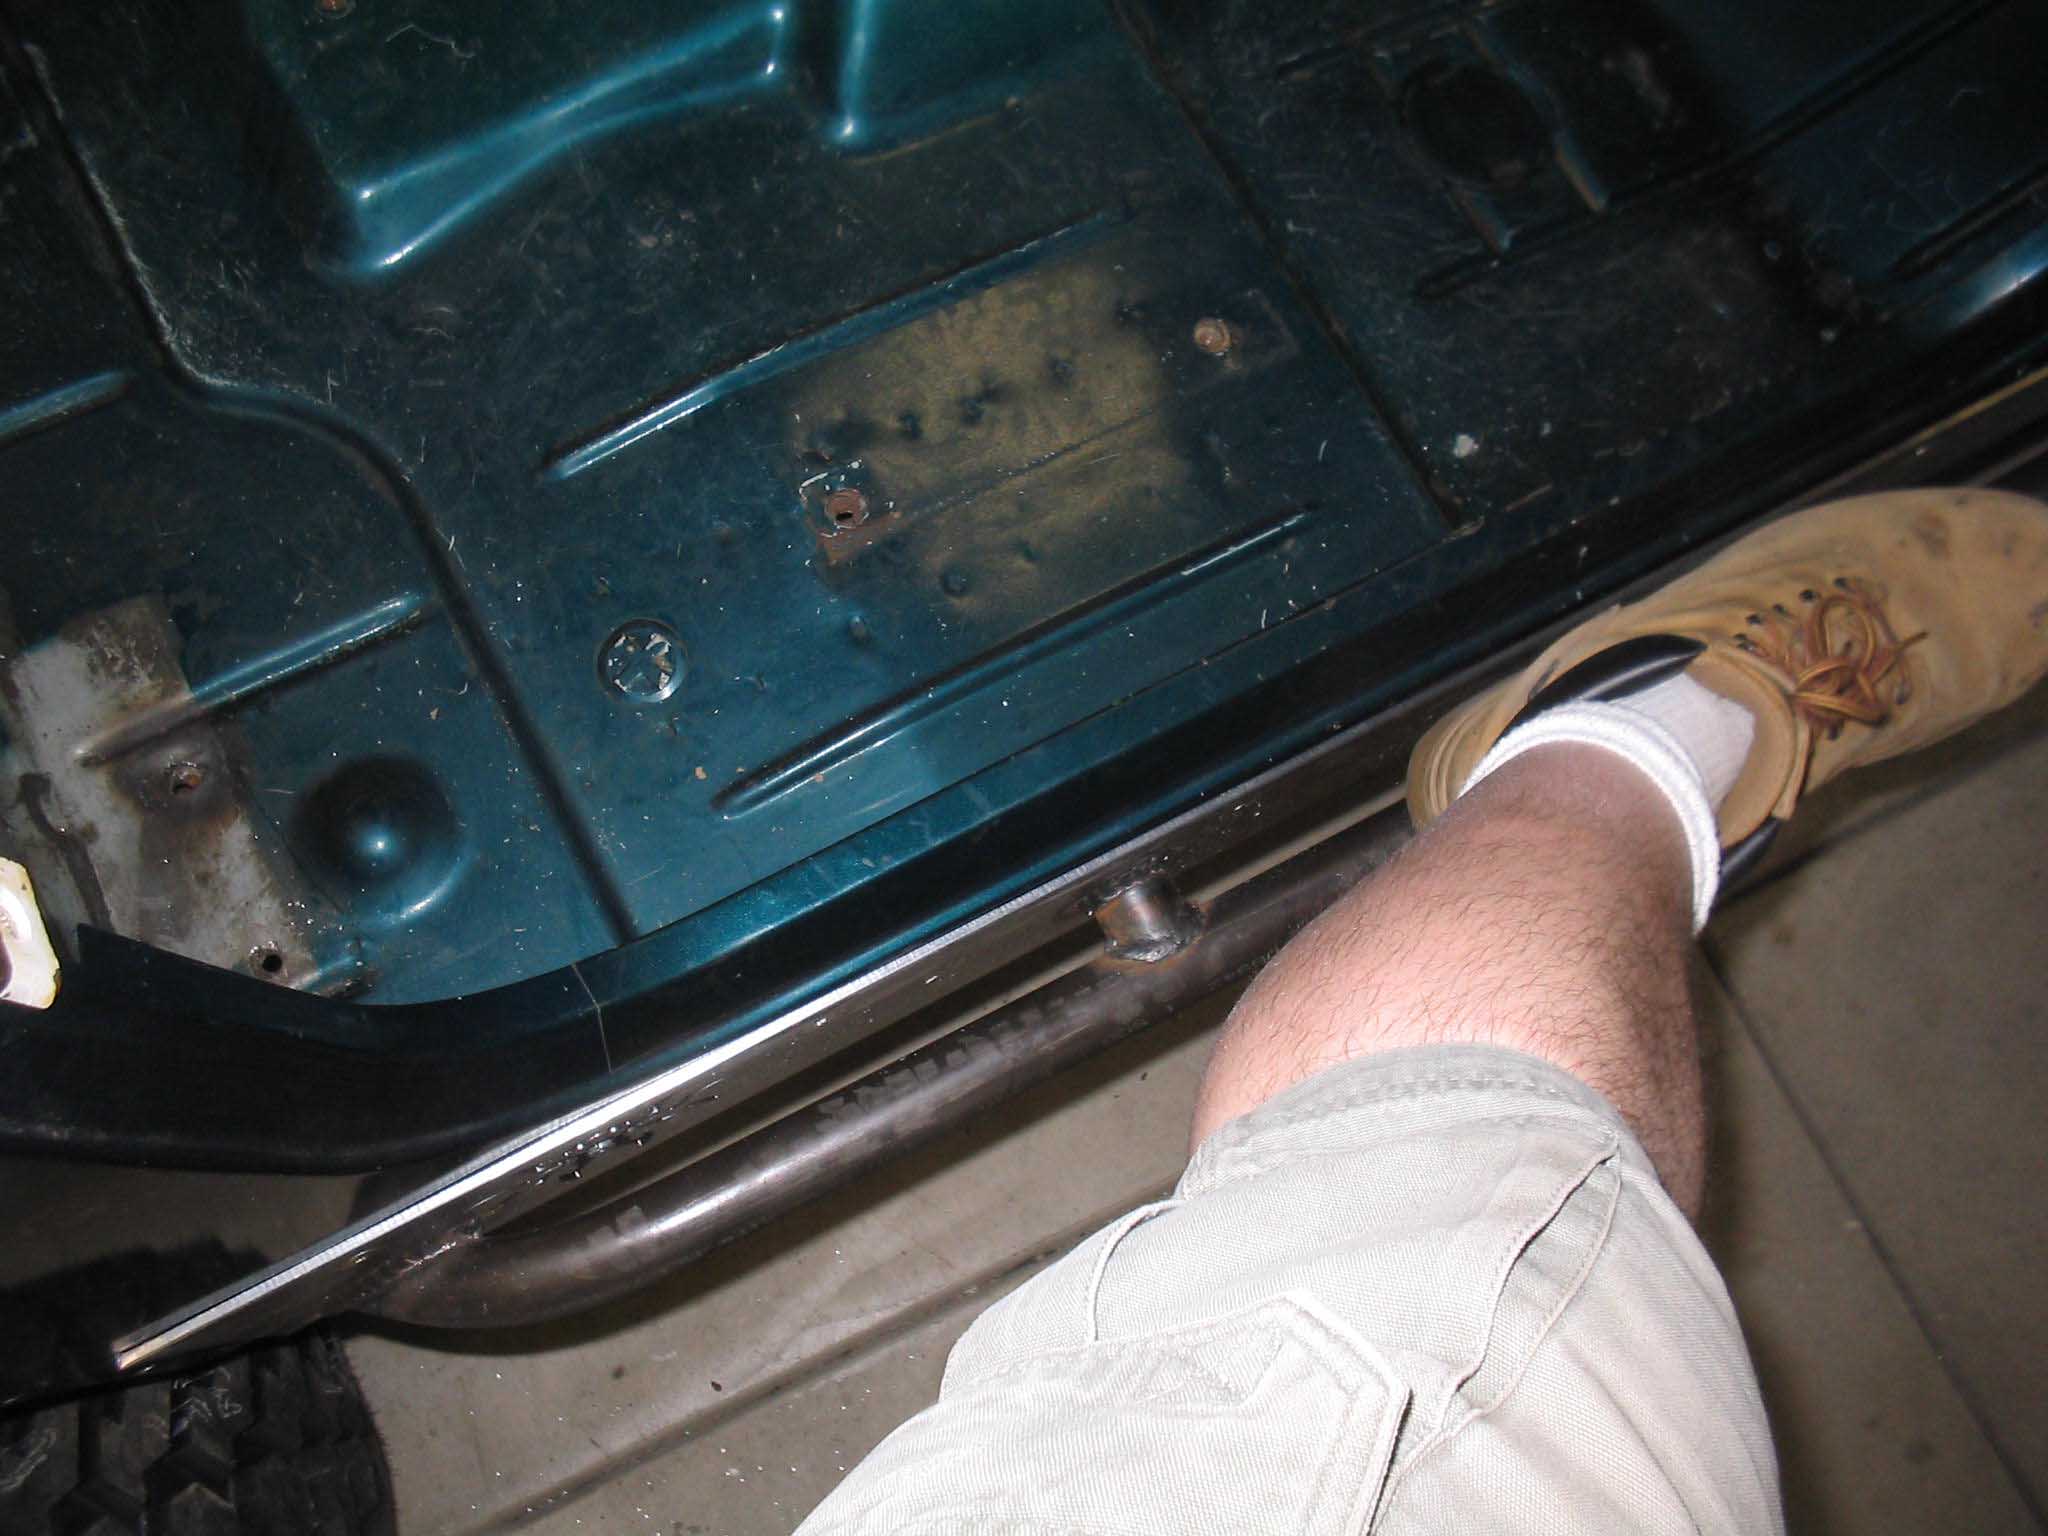
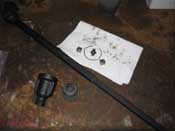
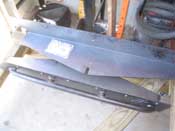
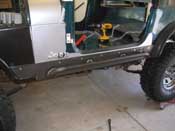
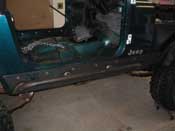
| I finished up with the Rocker Knocker installation and moved onto the lower boot
for the steering shaft as that had been torn. That went on OK, but I could use the original band clamp that was
there, so I just put on a hose clamp and that seems to be OK. We will check for clearance issues when it is
installed later on in the project.
|
| |
|

|
|
|
|

|
| |
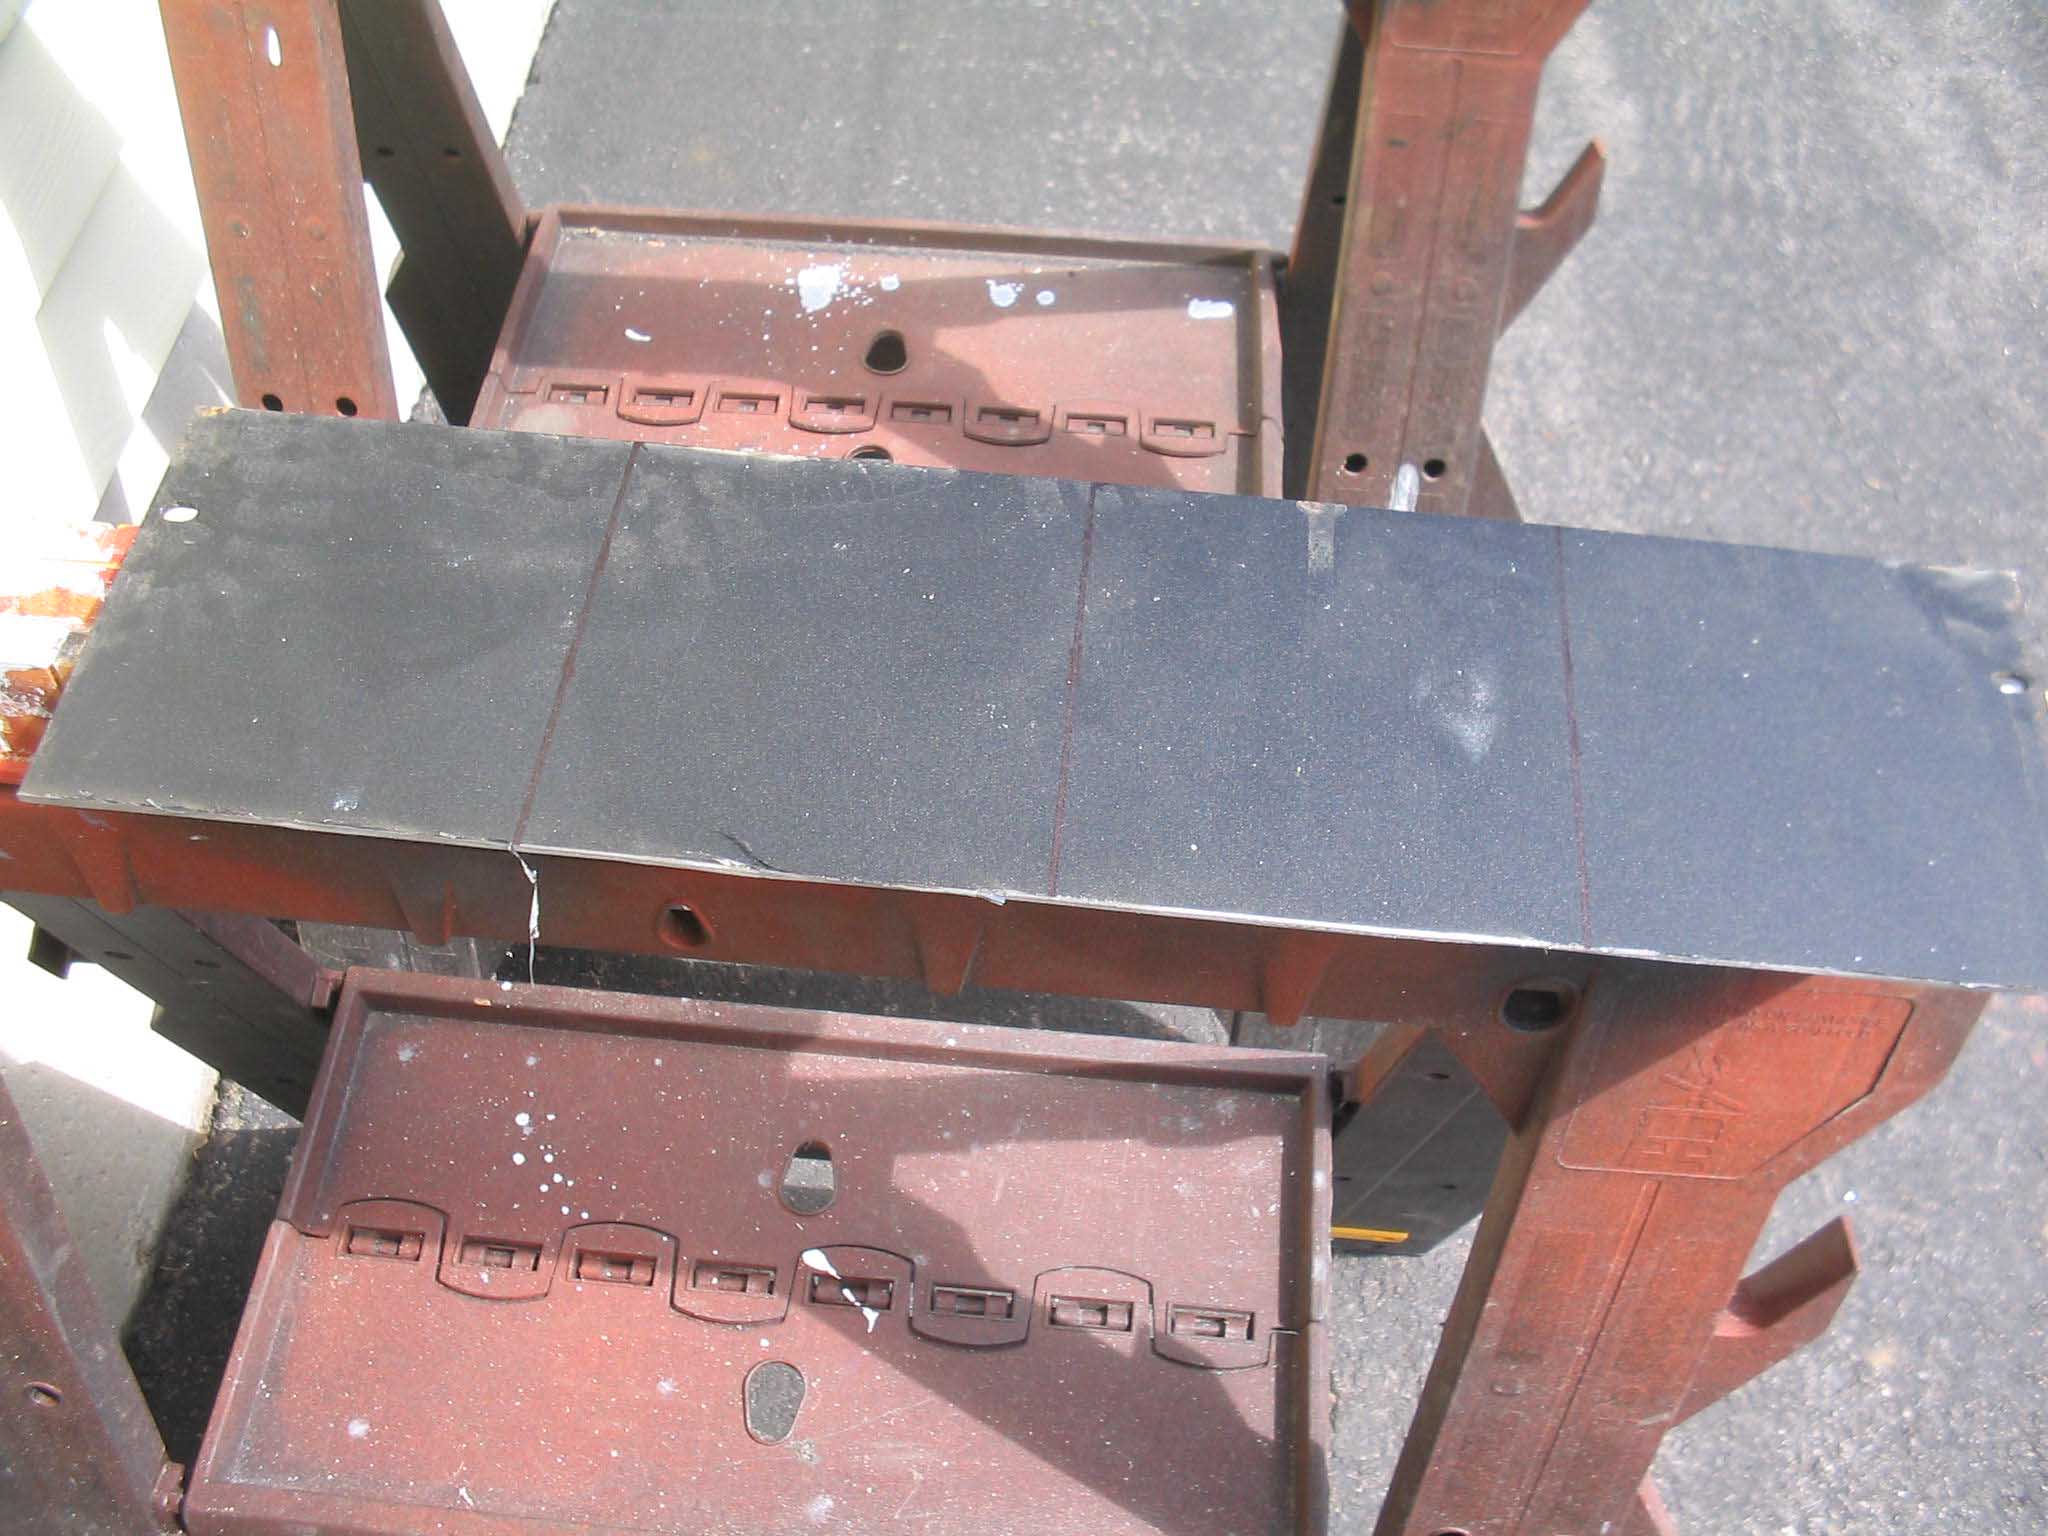
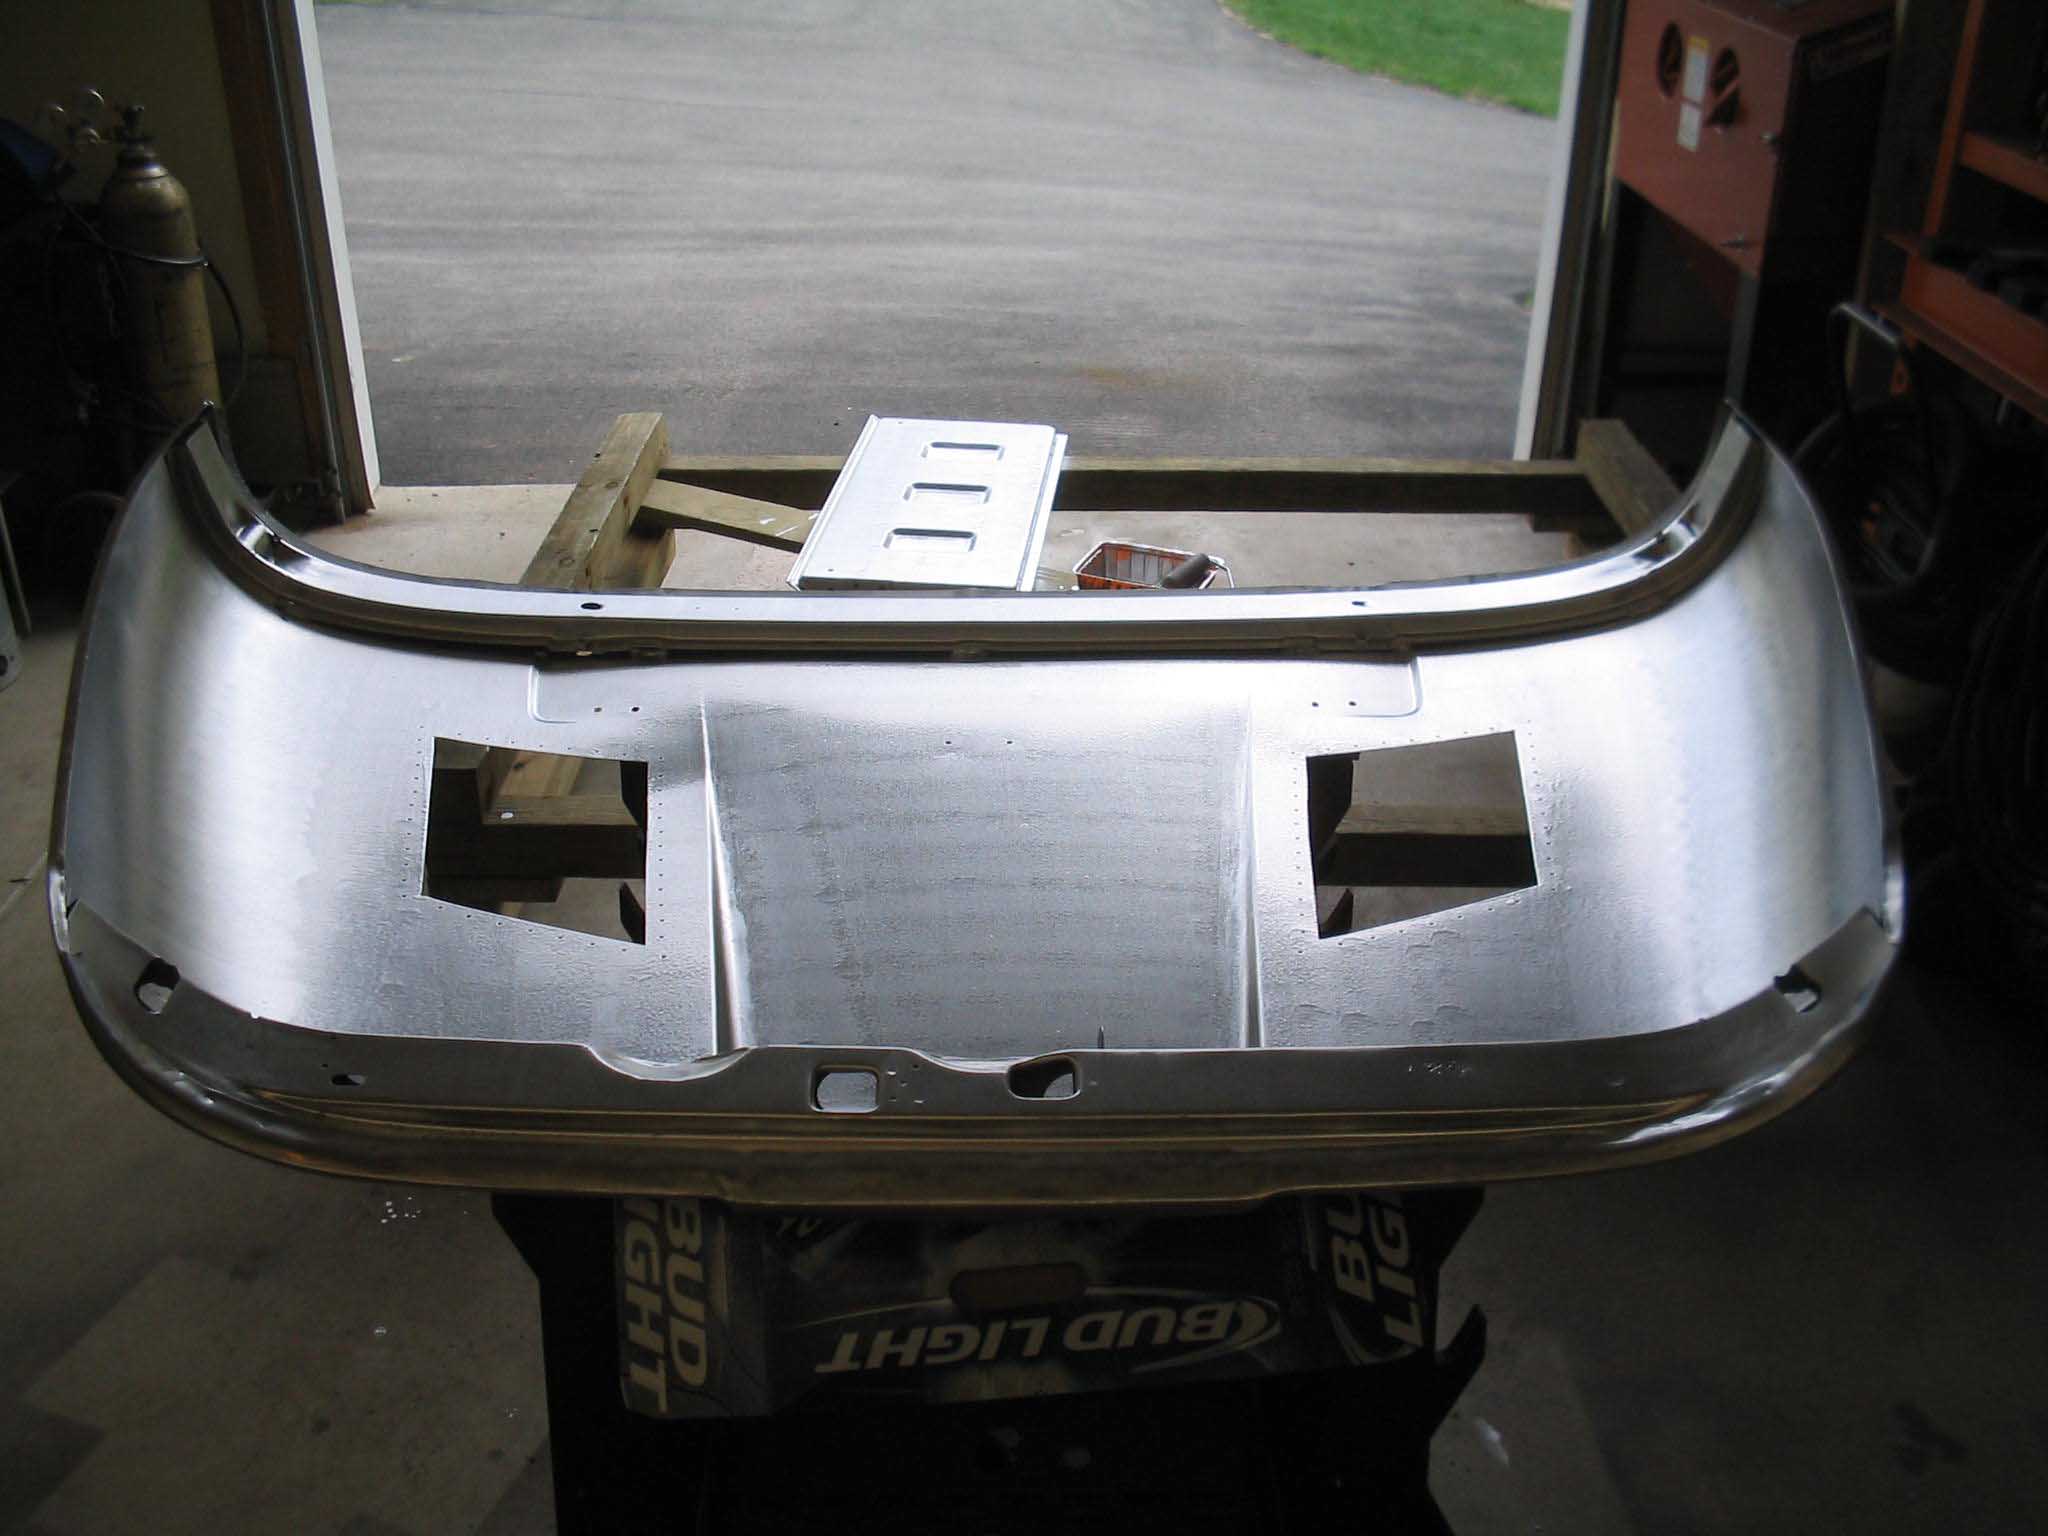
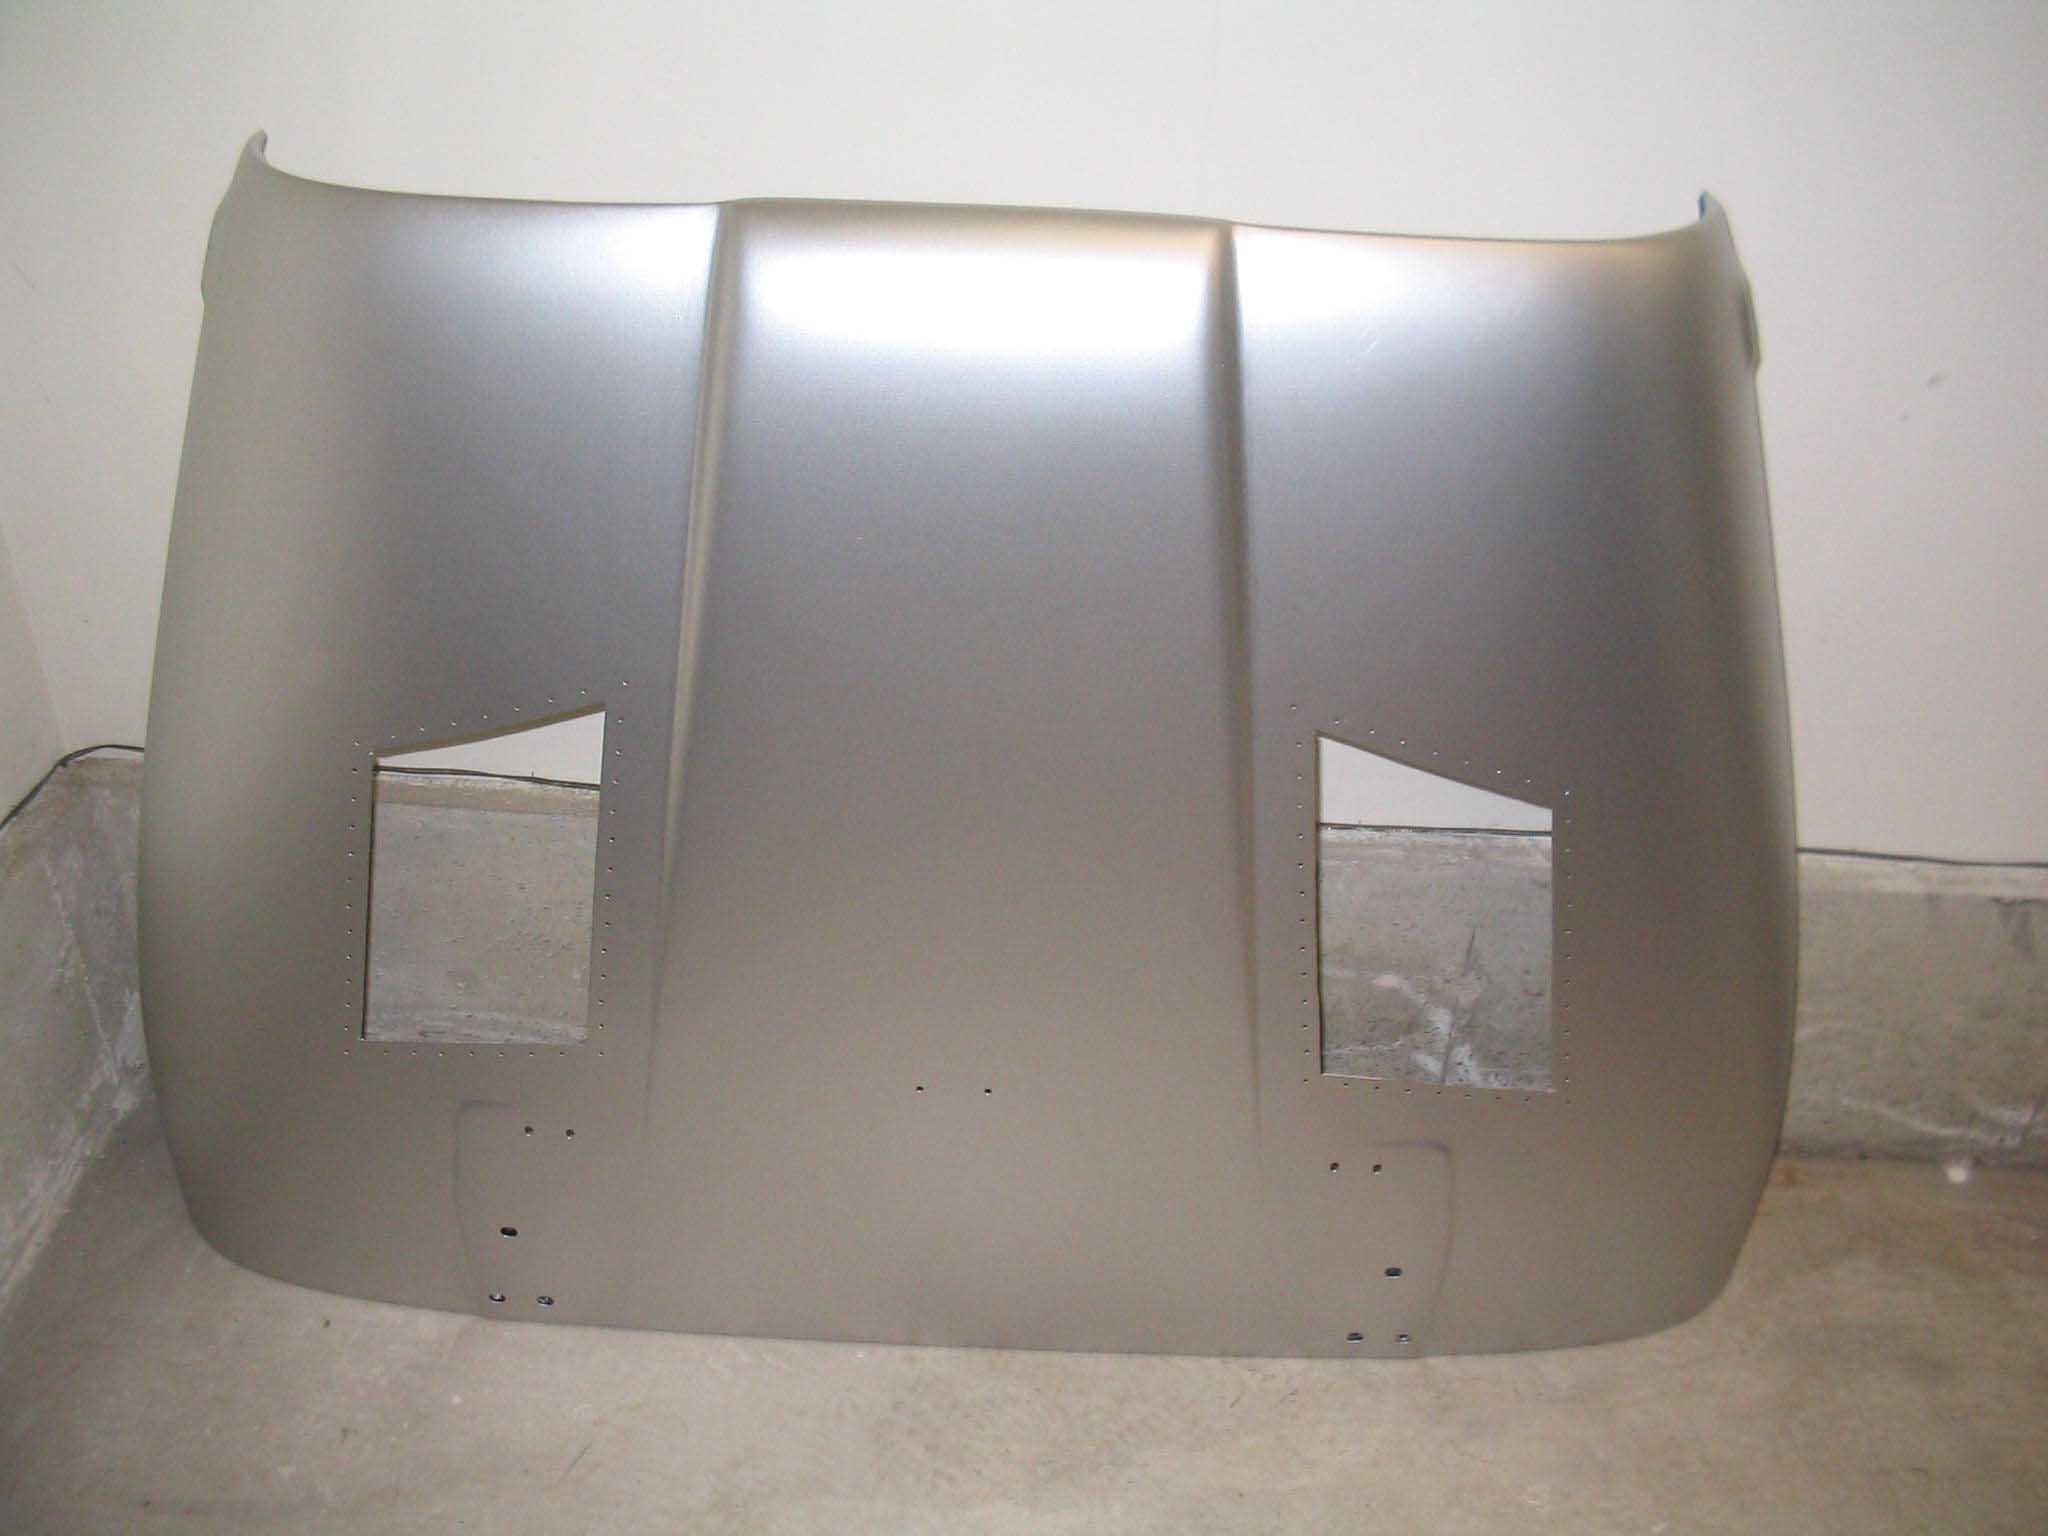
| I snapped up some pictures and called it quits for Saturday night and we showered
up and went out for some grub. Sunday started and really I didn't get out to work on the Jeep until 3 pm or so.
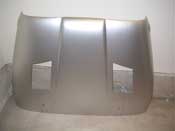
What I did was sand down the inside of the hood and inside of the tailgate and got them ready for a coat of paint.
|
| |

|
|
|
|
| |
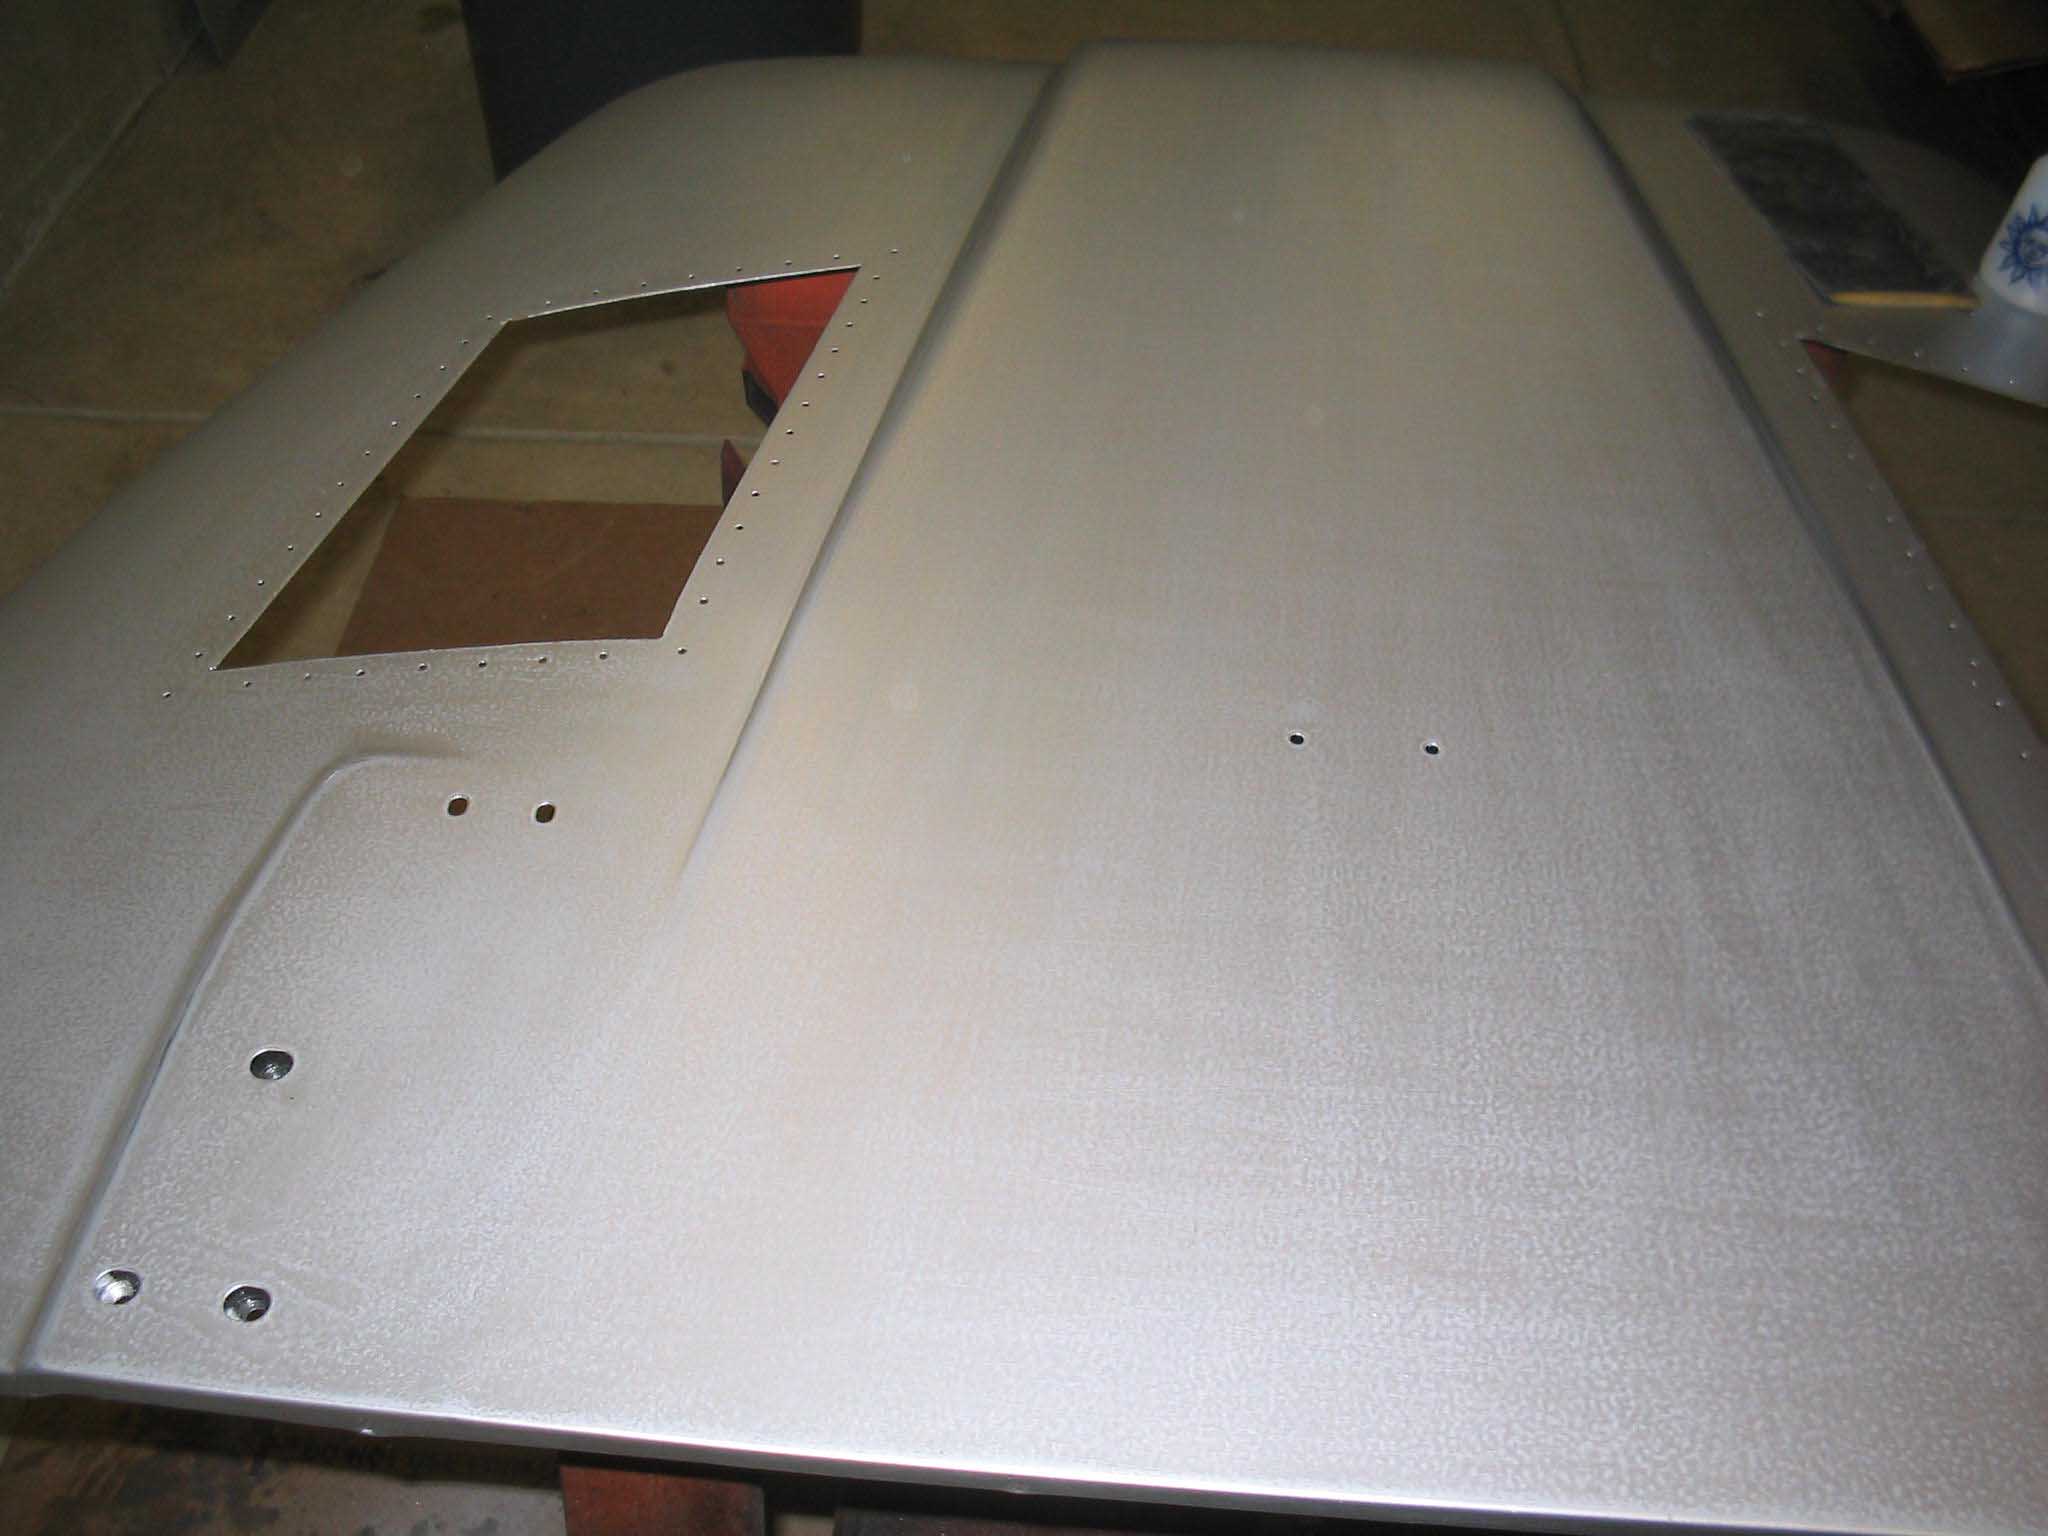
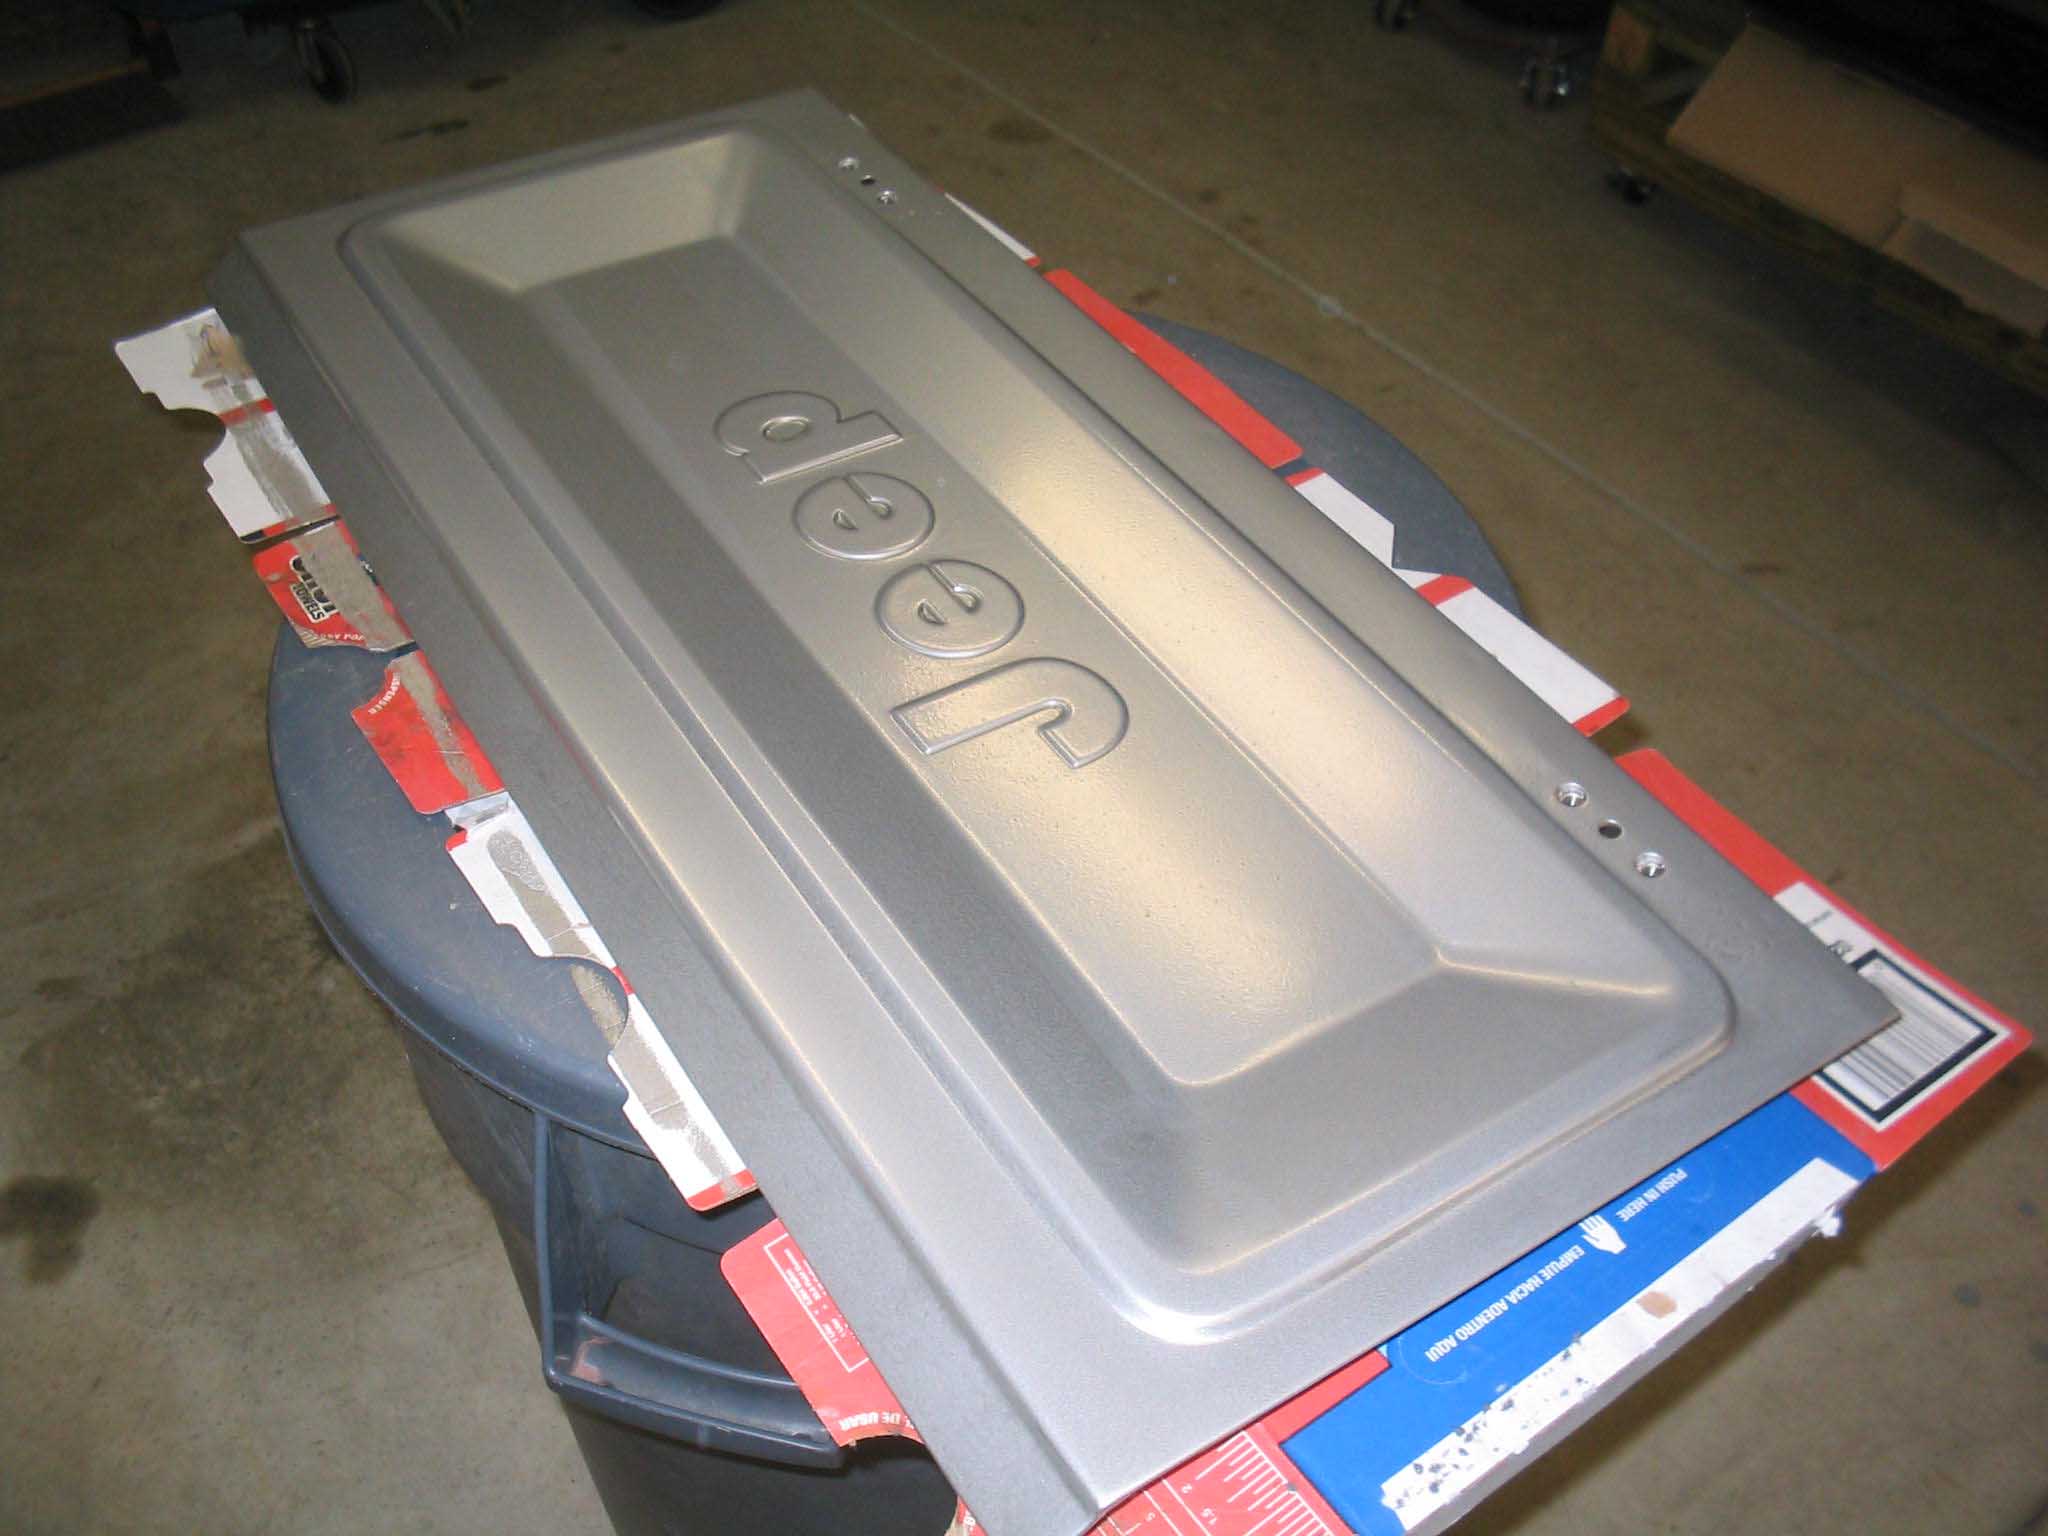
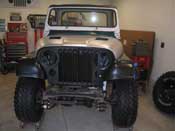
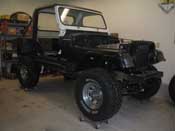
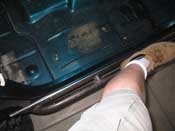
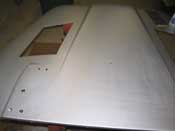
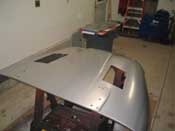
It took some time, but the hood and tailgate are now sitting in paint and with the
leftover paint I had, I was able to get some on the Jeep to see how it will look. Again, that is ZERO bodywork,
I just wiped it down with some cleaner and slapped it on... it does give an idea of how it will look. The hood
looked to be drying OK, so I called it a day and went inside. I know it doesn't look like much, but when you
sand, wet sand, prep, clean, and then paint, it really does chew up a lot of time.
cb (04/27/08)
|
| |
|

|
|
|
| |
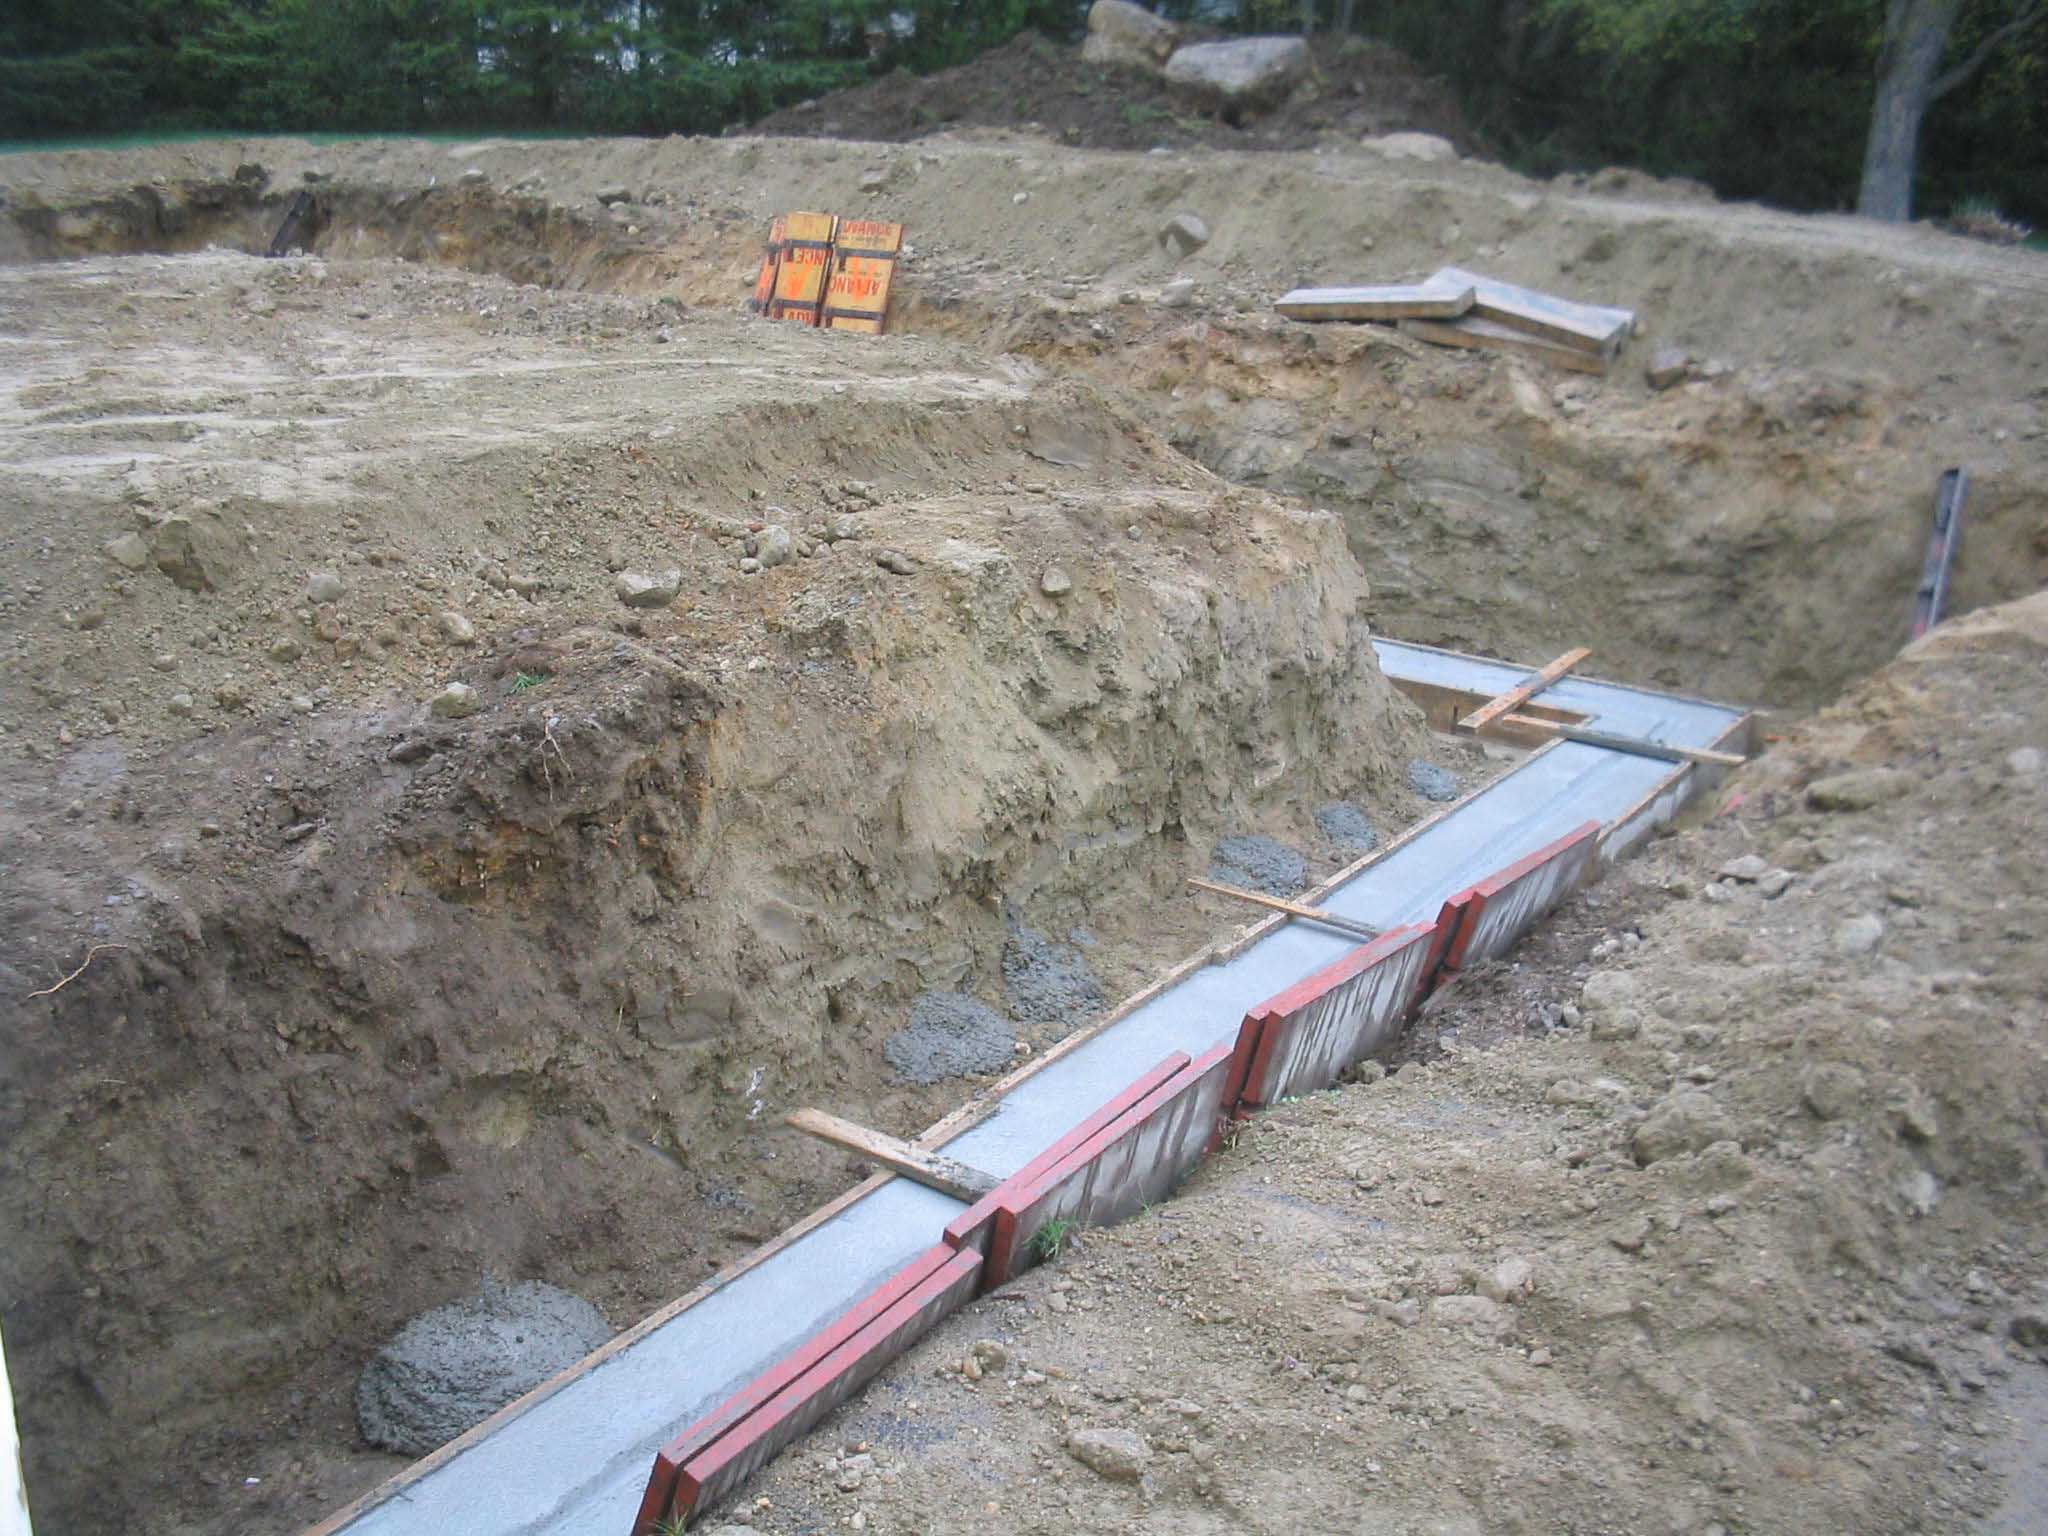
| (05/04/08) It has been a few days since I was able to get back on the Jeep project.
I went to CT for a couple of days and when I returned home, I was able to see that my backyard had been opened up
and some concrete footings had been placed in a trench. That was nice to see, however, there is a lot more time
and a lot more money that has to go into that before the new 30x40 garage is built. I hope 5-6 weeks and it
will be done.
|
| |

|
|
|

|
| |
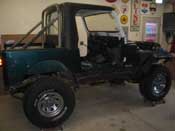
| I was able to throw on yet another coat of paint on the hood and tailgate. This
is coat #4, so I let that dry and then I wet sanded on Saturday night and threw coat #5 on. This is really a
lot of work, but it is starting to turn out pretty interesting. I have to say, for a roller, it doesn't look
all that bad.
|
| |
|
|
|
|

|
|
| |
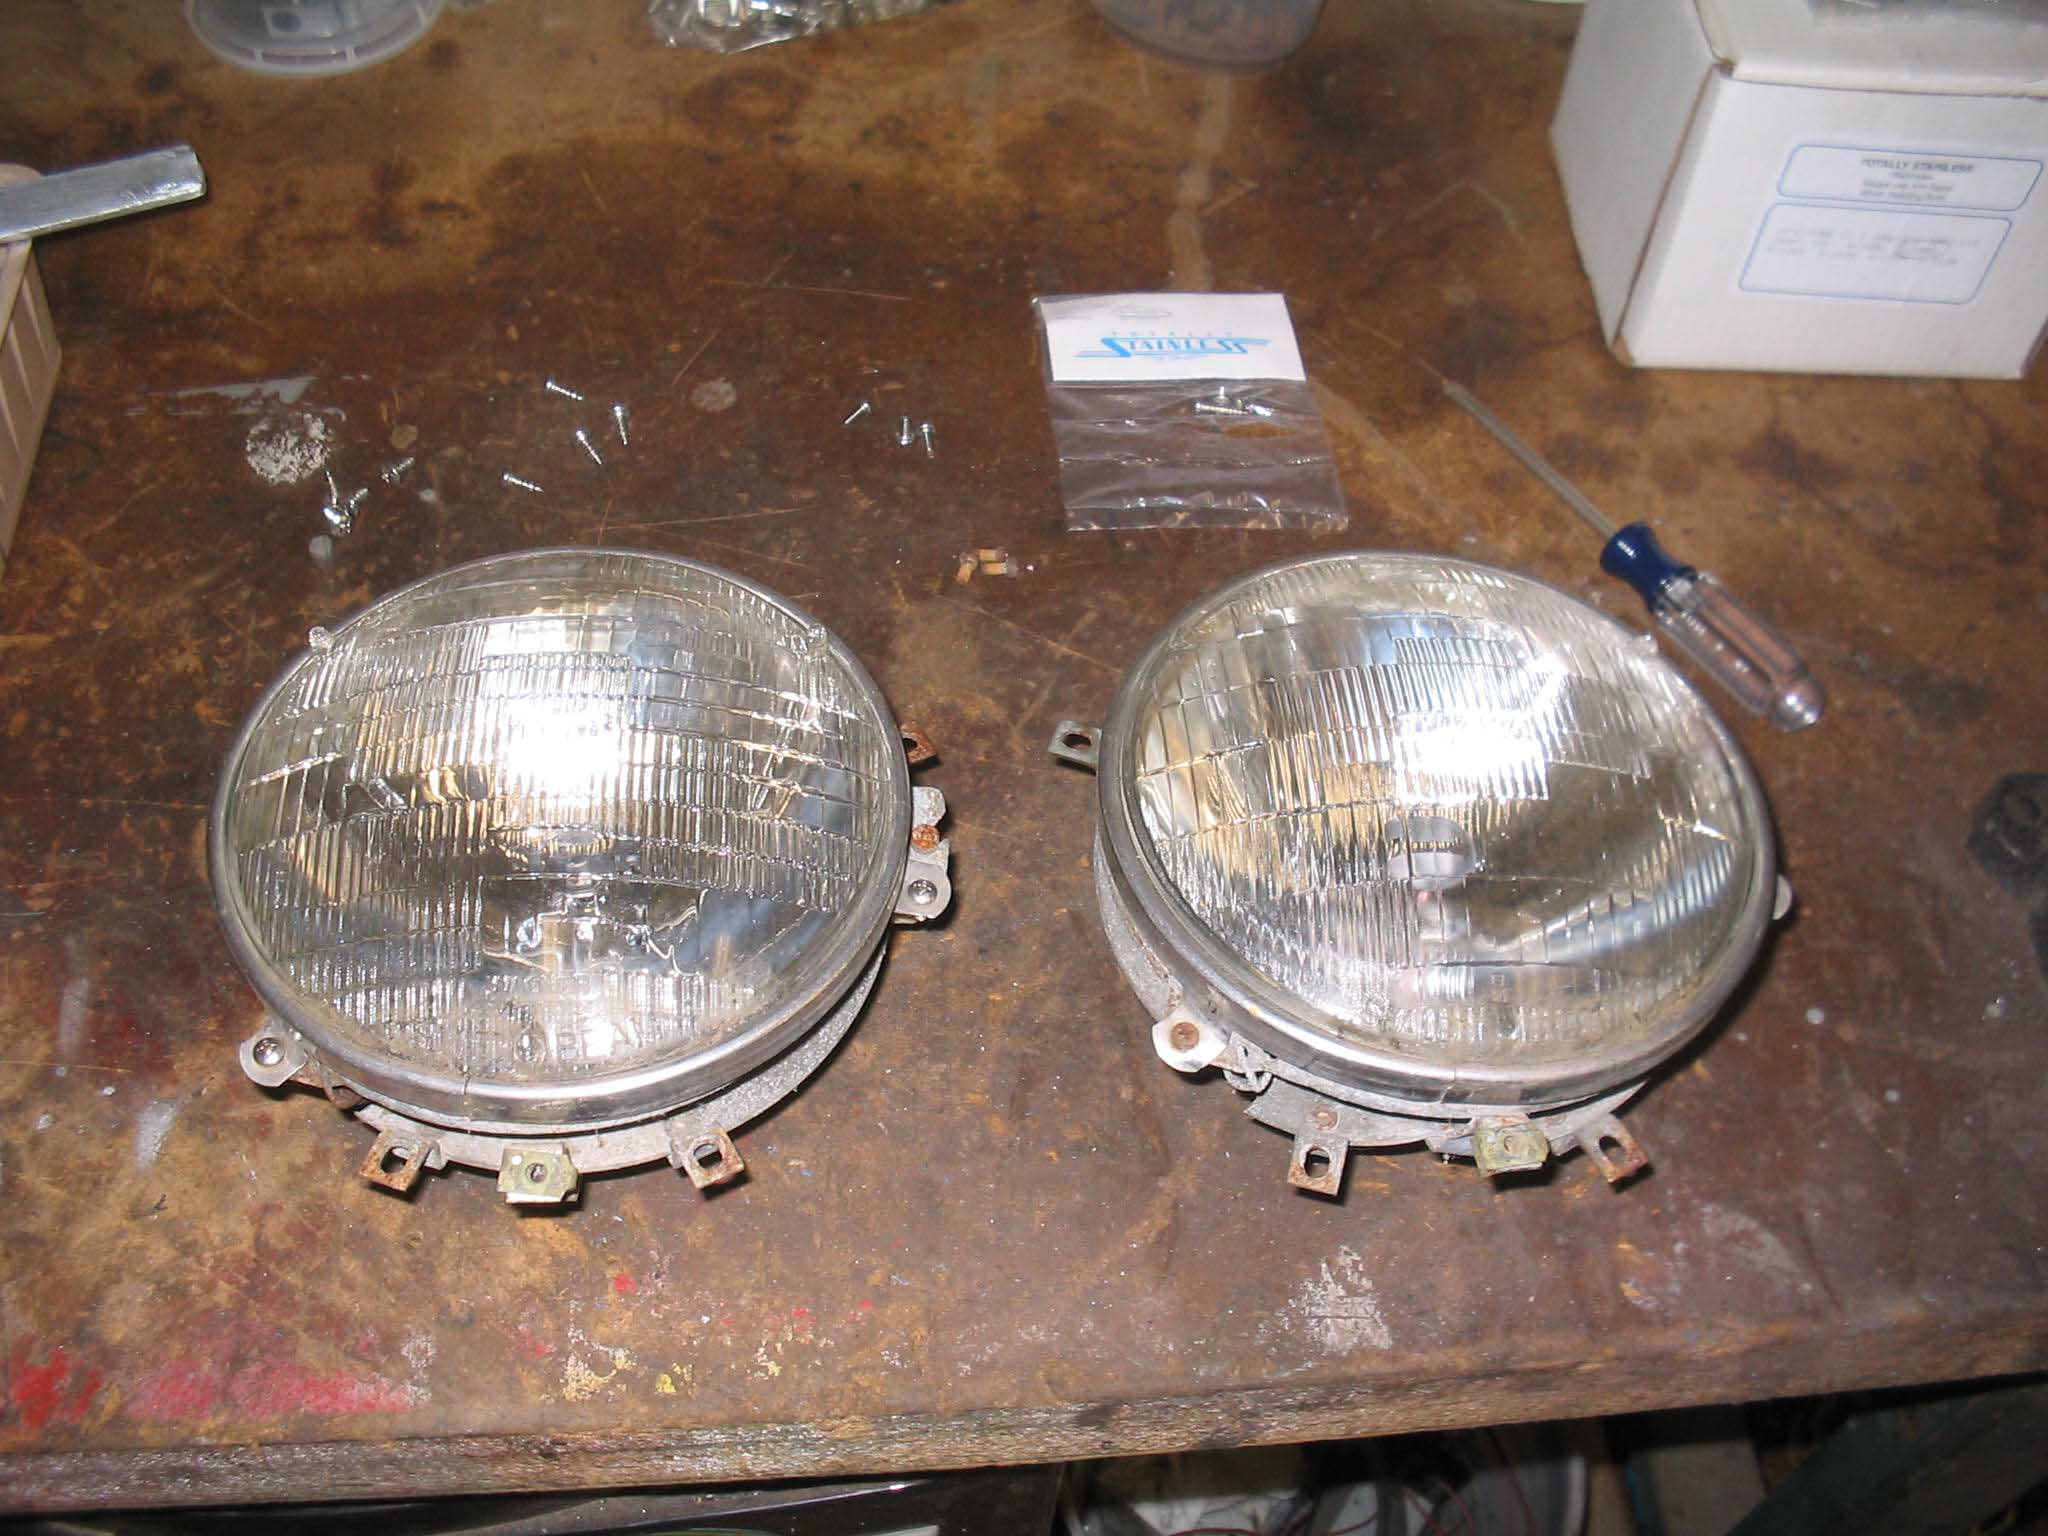
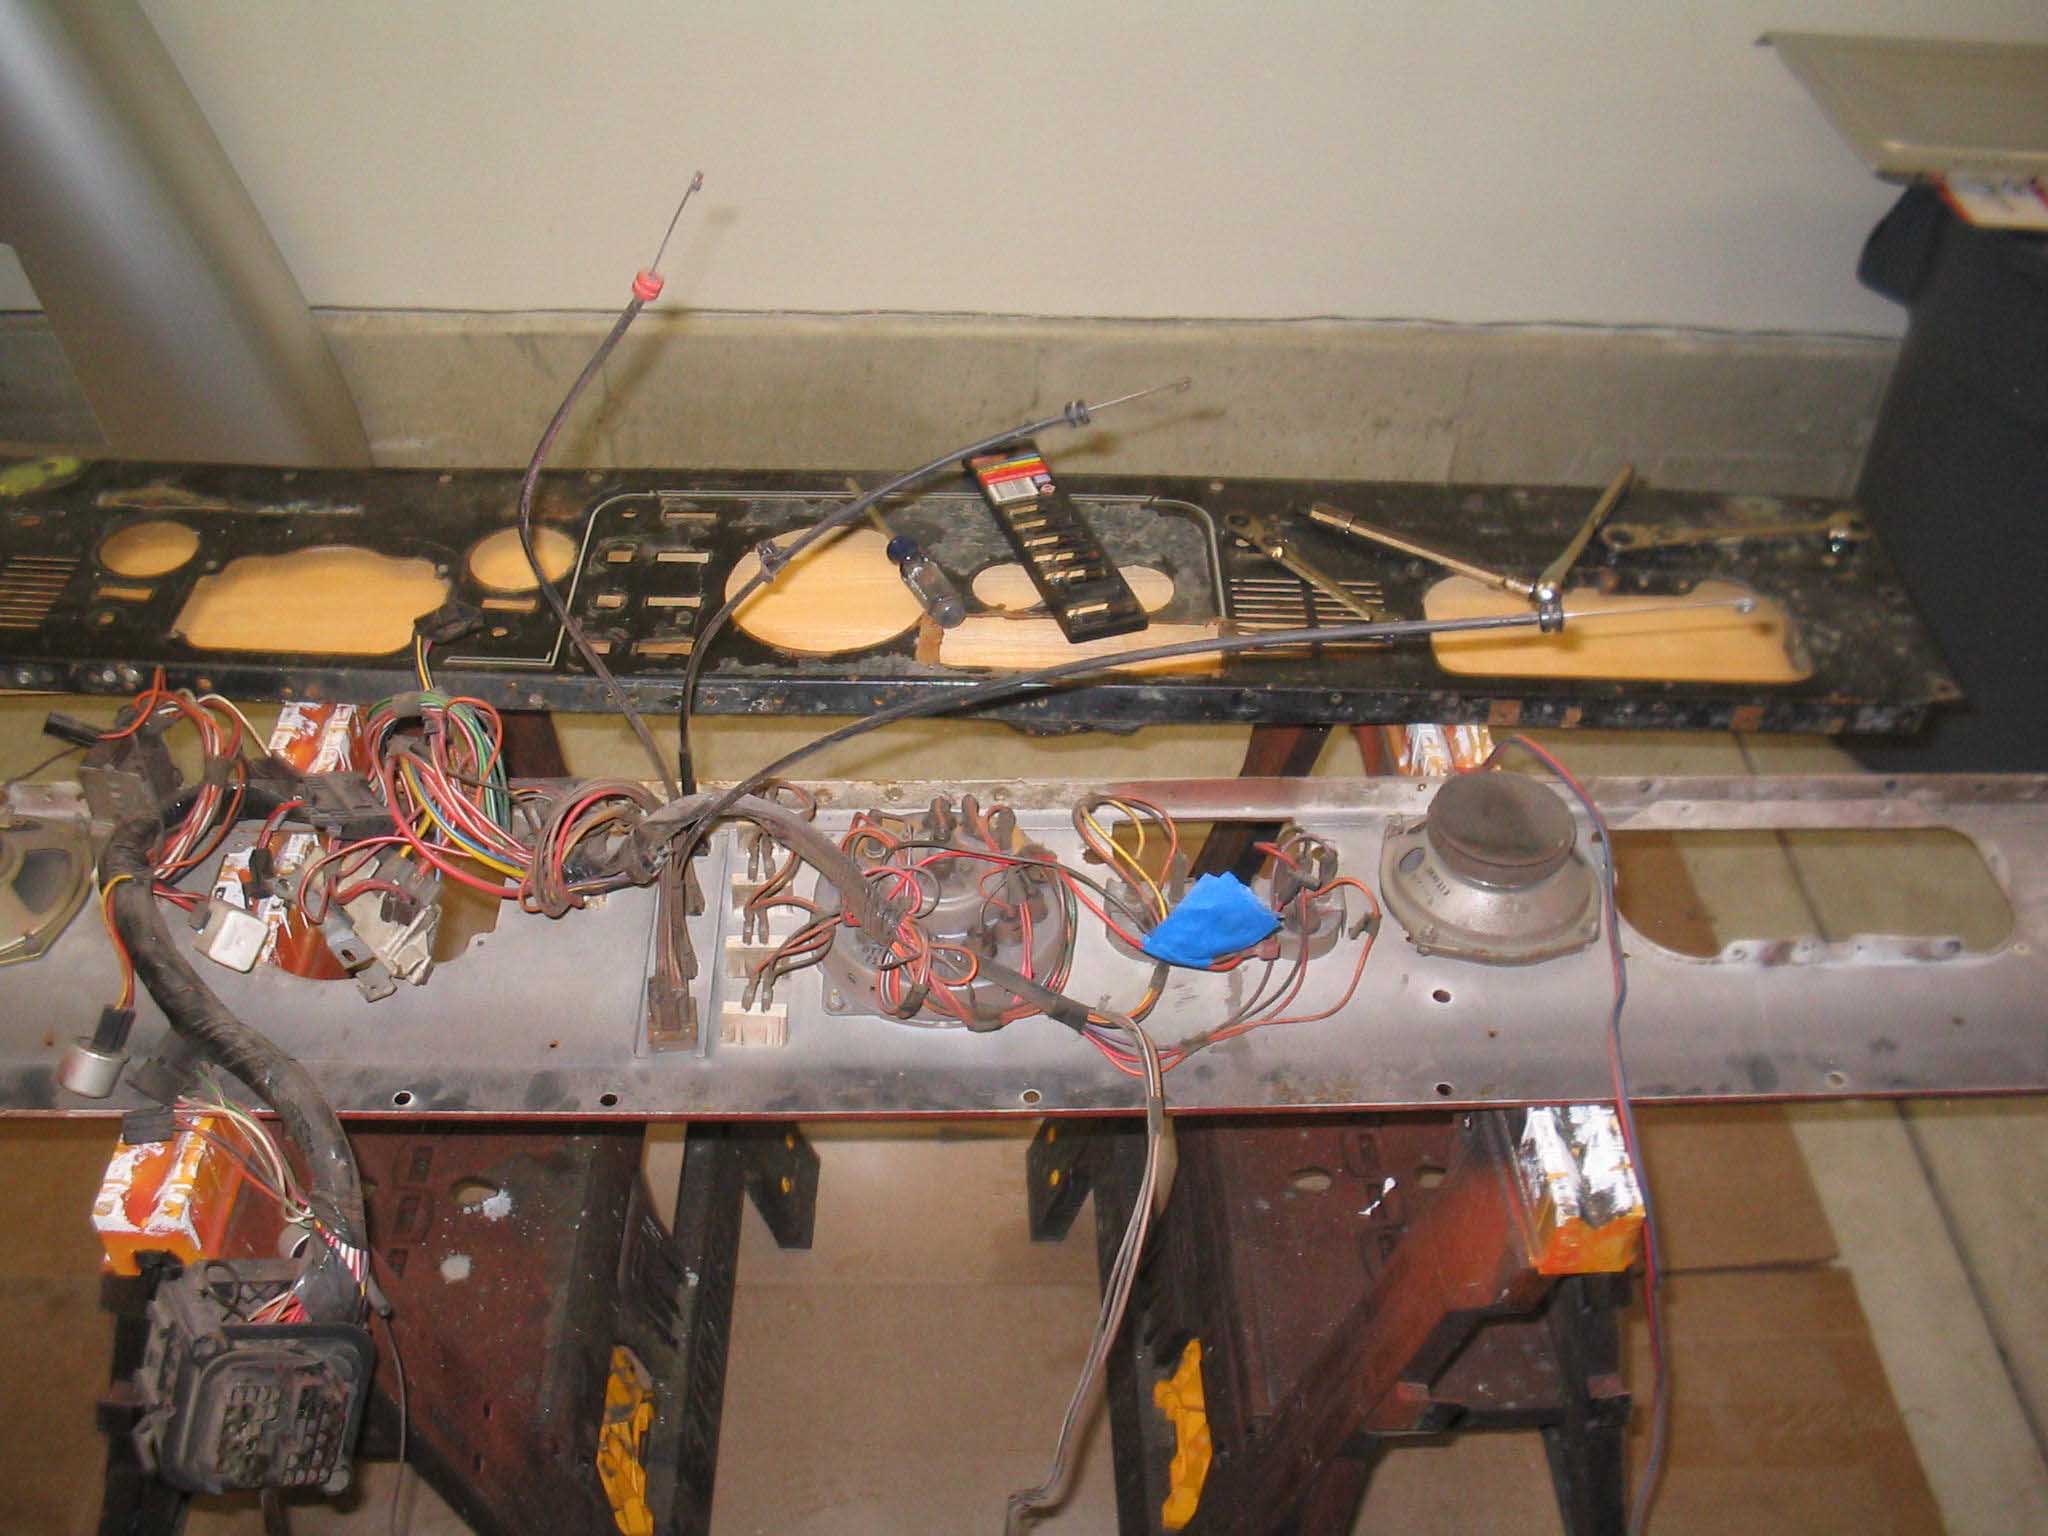
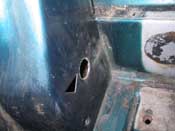
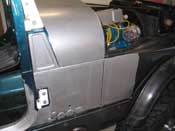
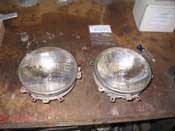
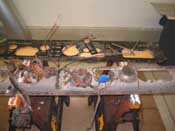
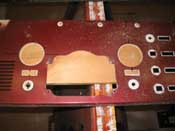
I also dug up the headlight buckets and they were outfitted with some stainless
hardware and put in the Jeep. They are in OK shape, not sure if the bulbs work or not, but we will find that out
with the wiring phase. The outer bezels were cracked and broken, so I will have to order up a set of those soon.
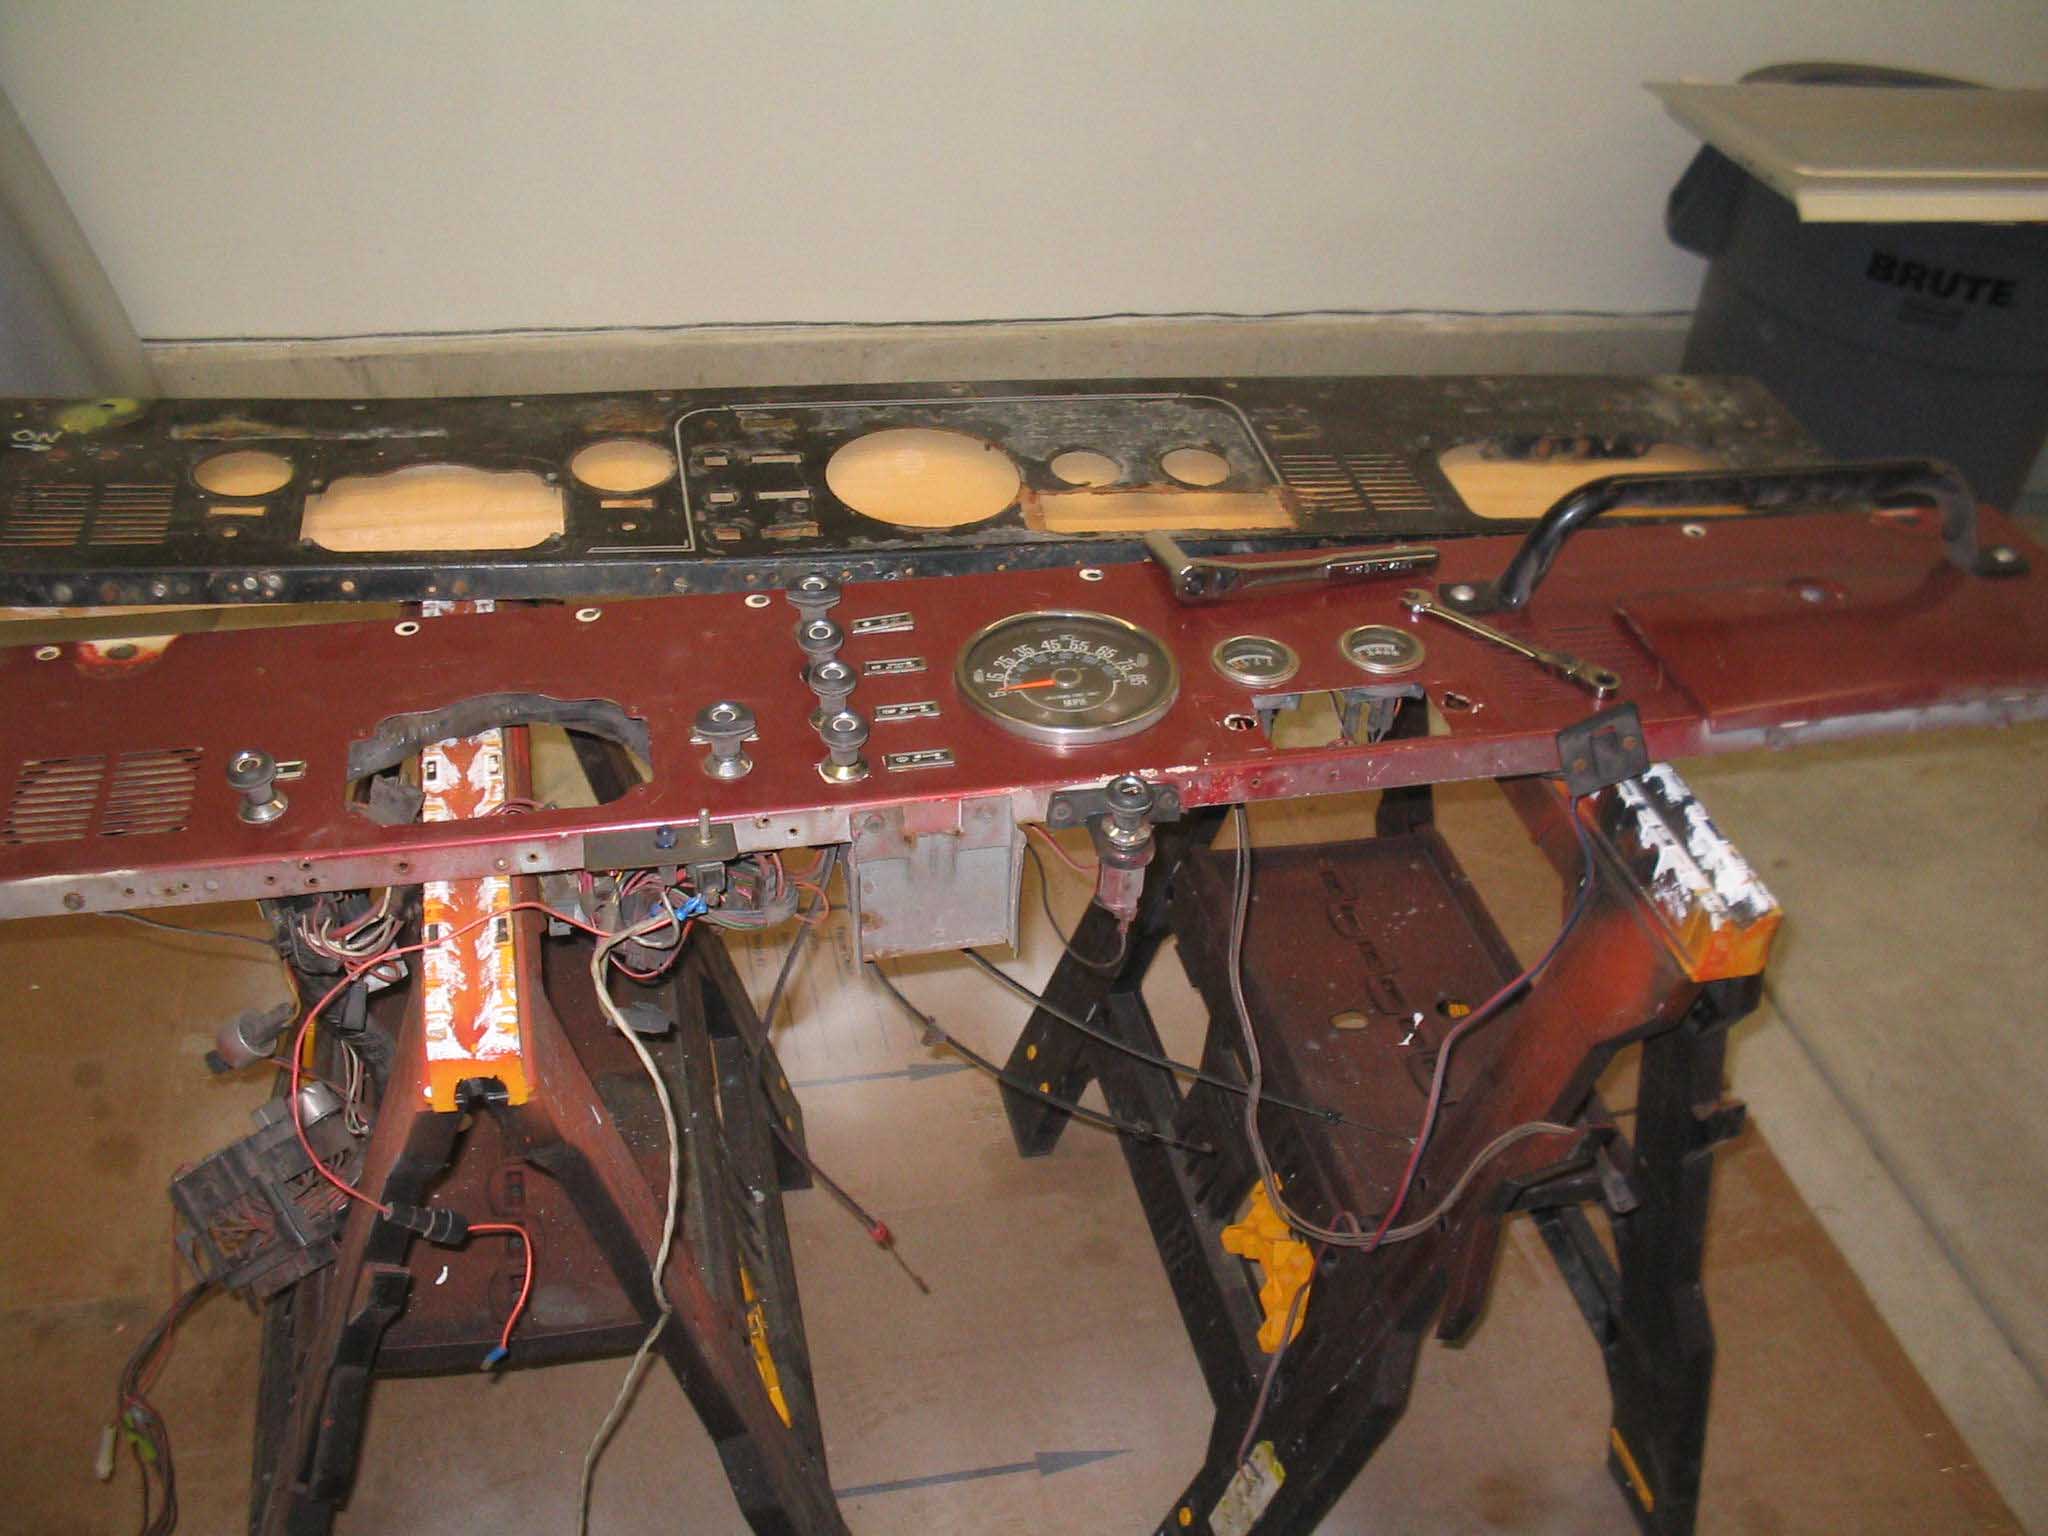
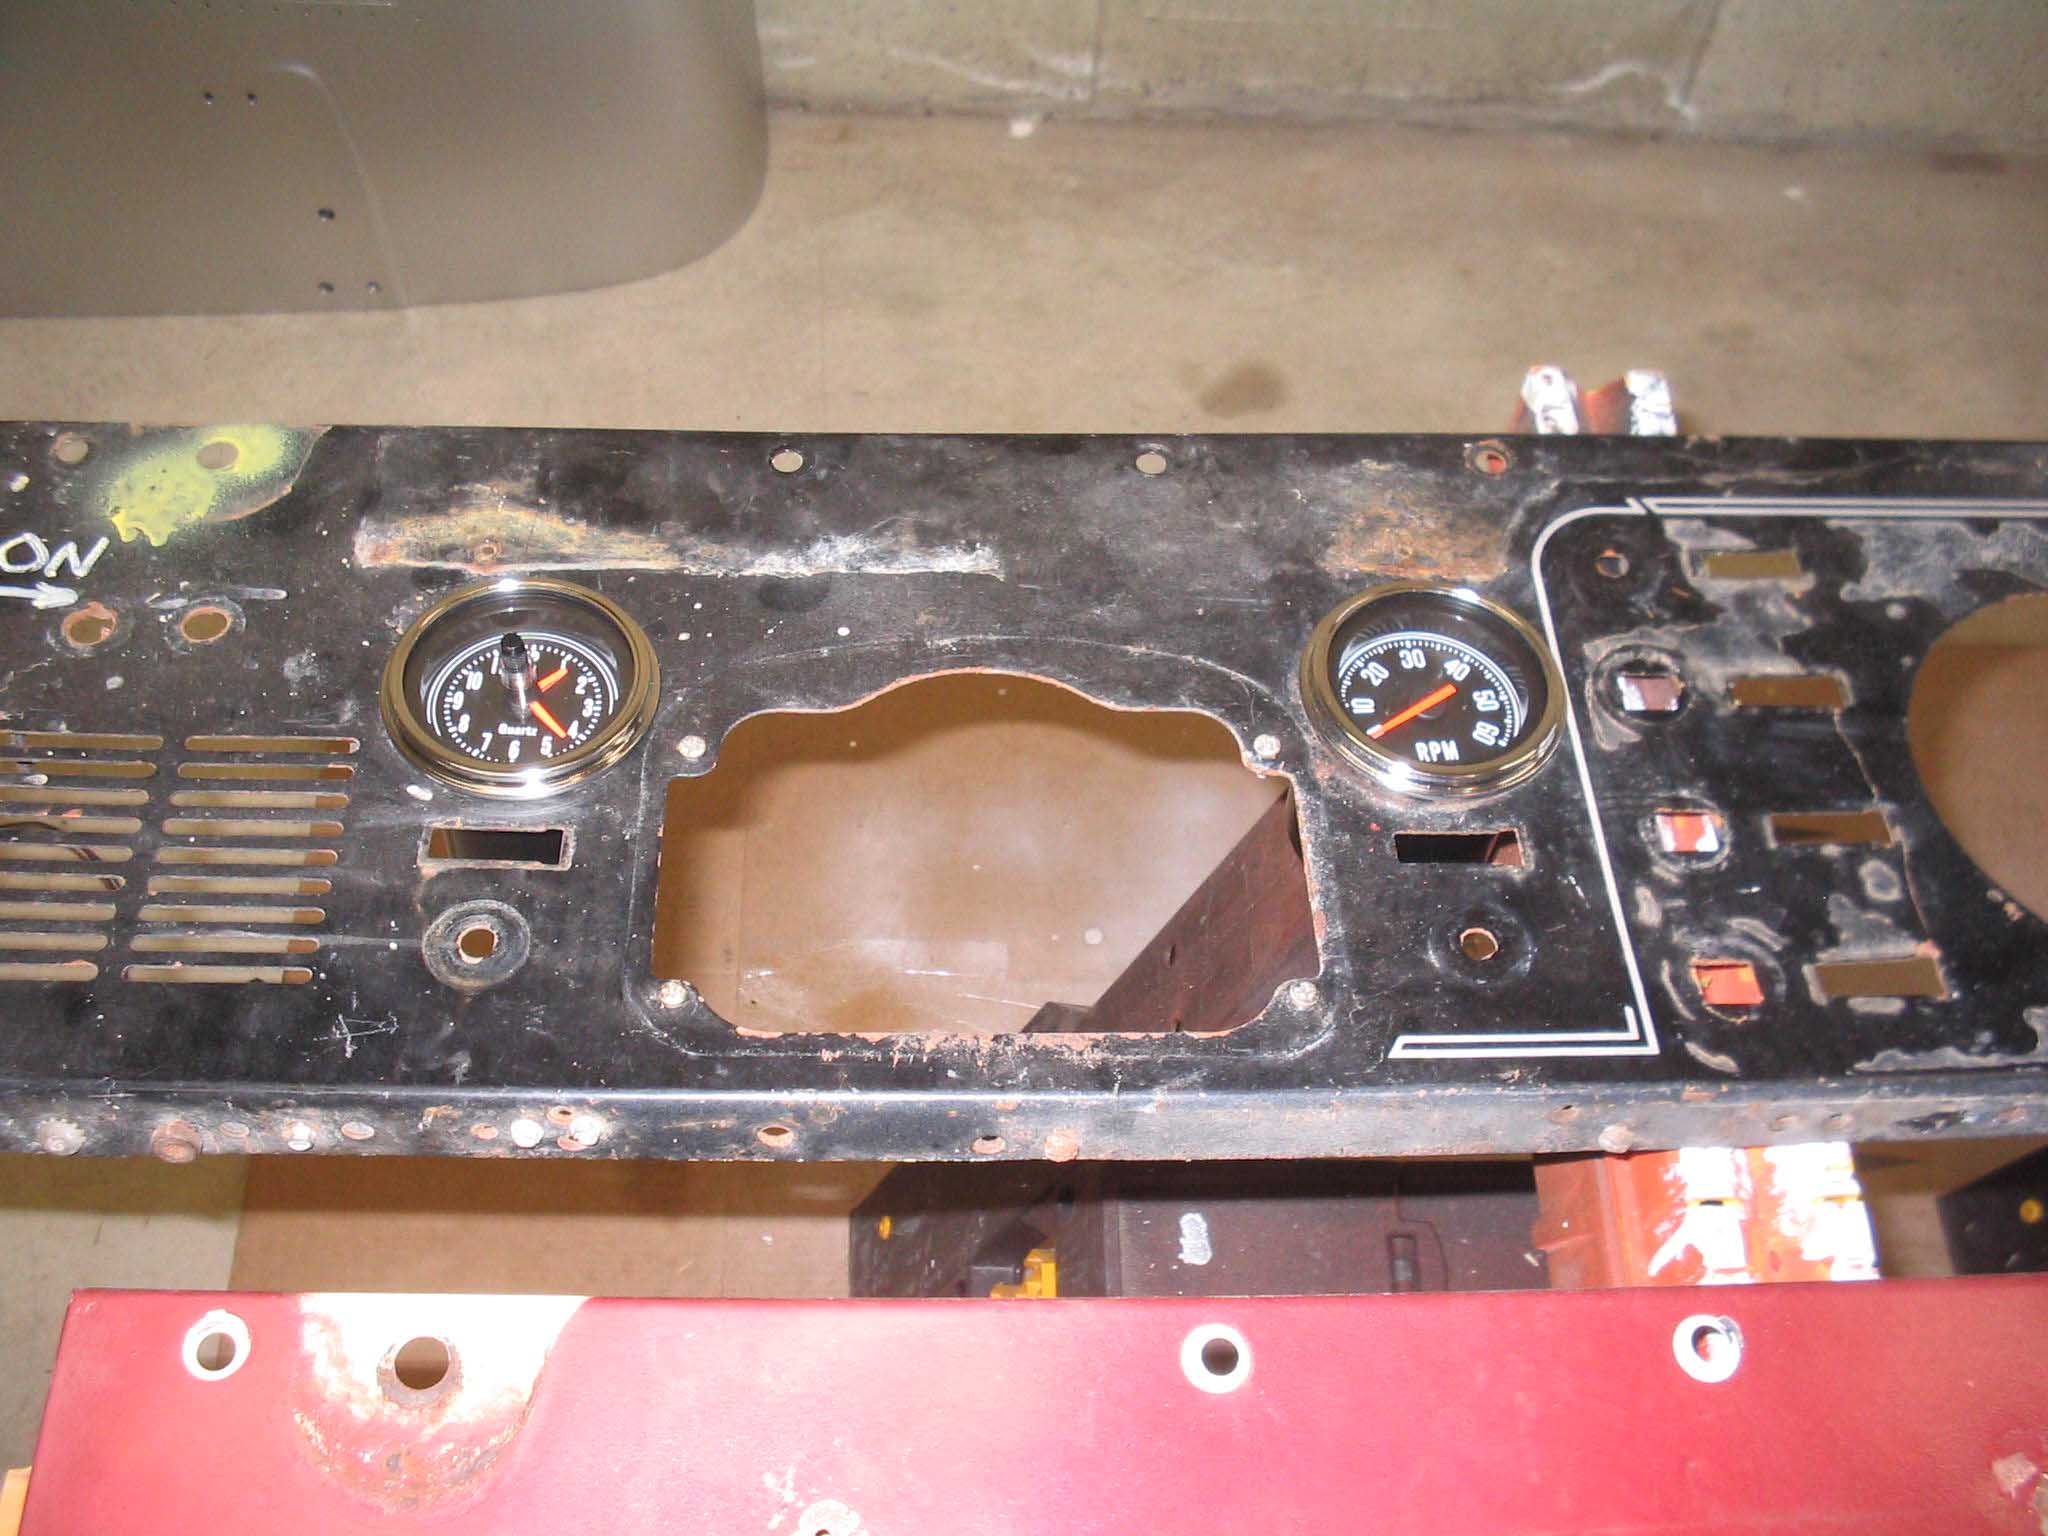
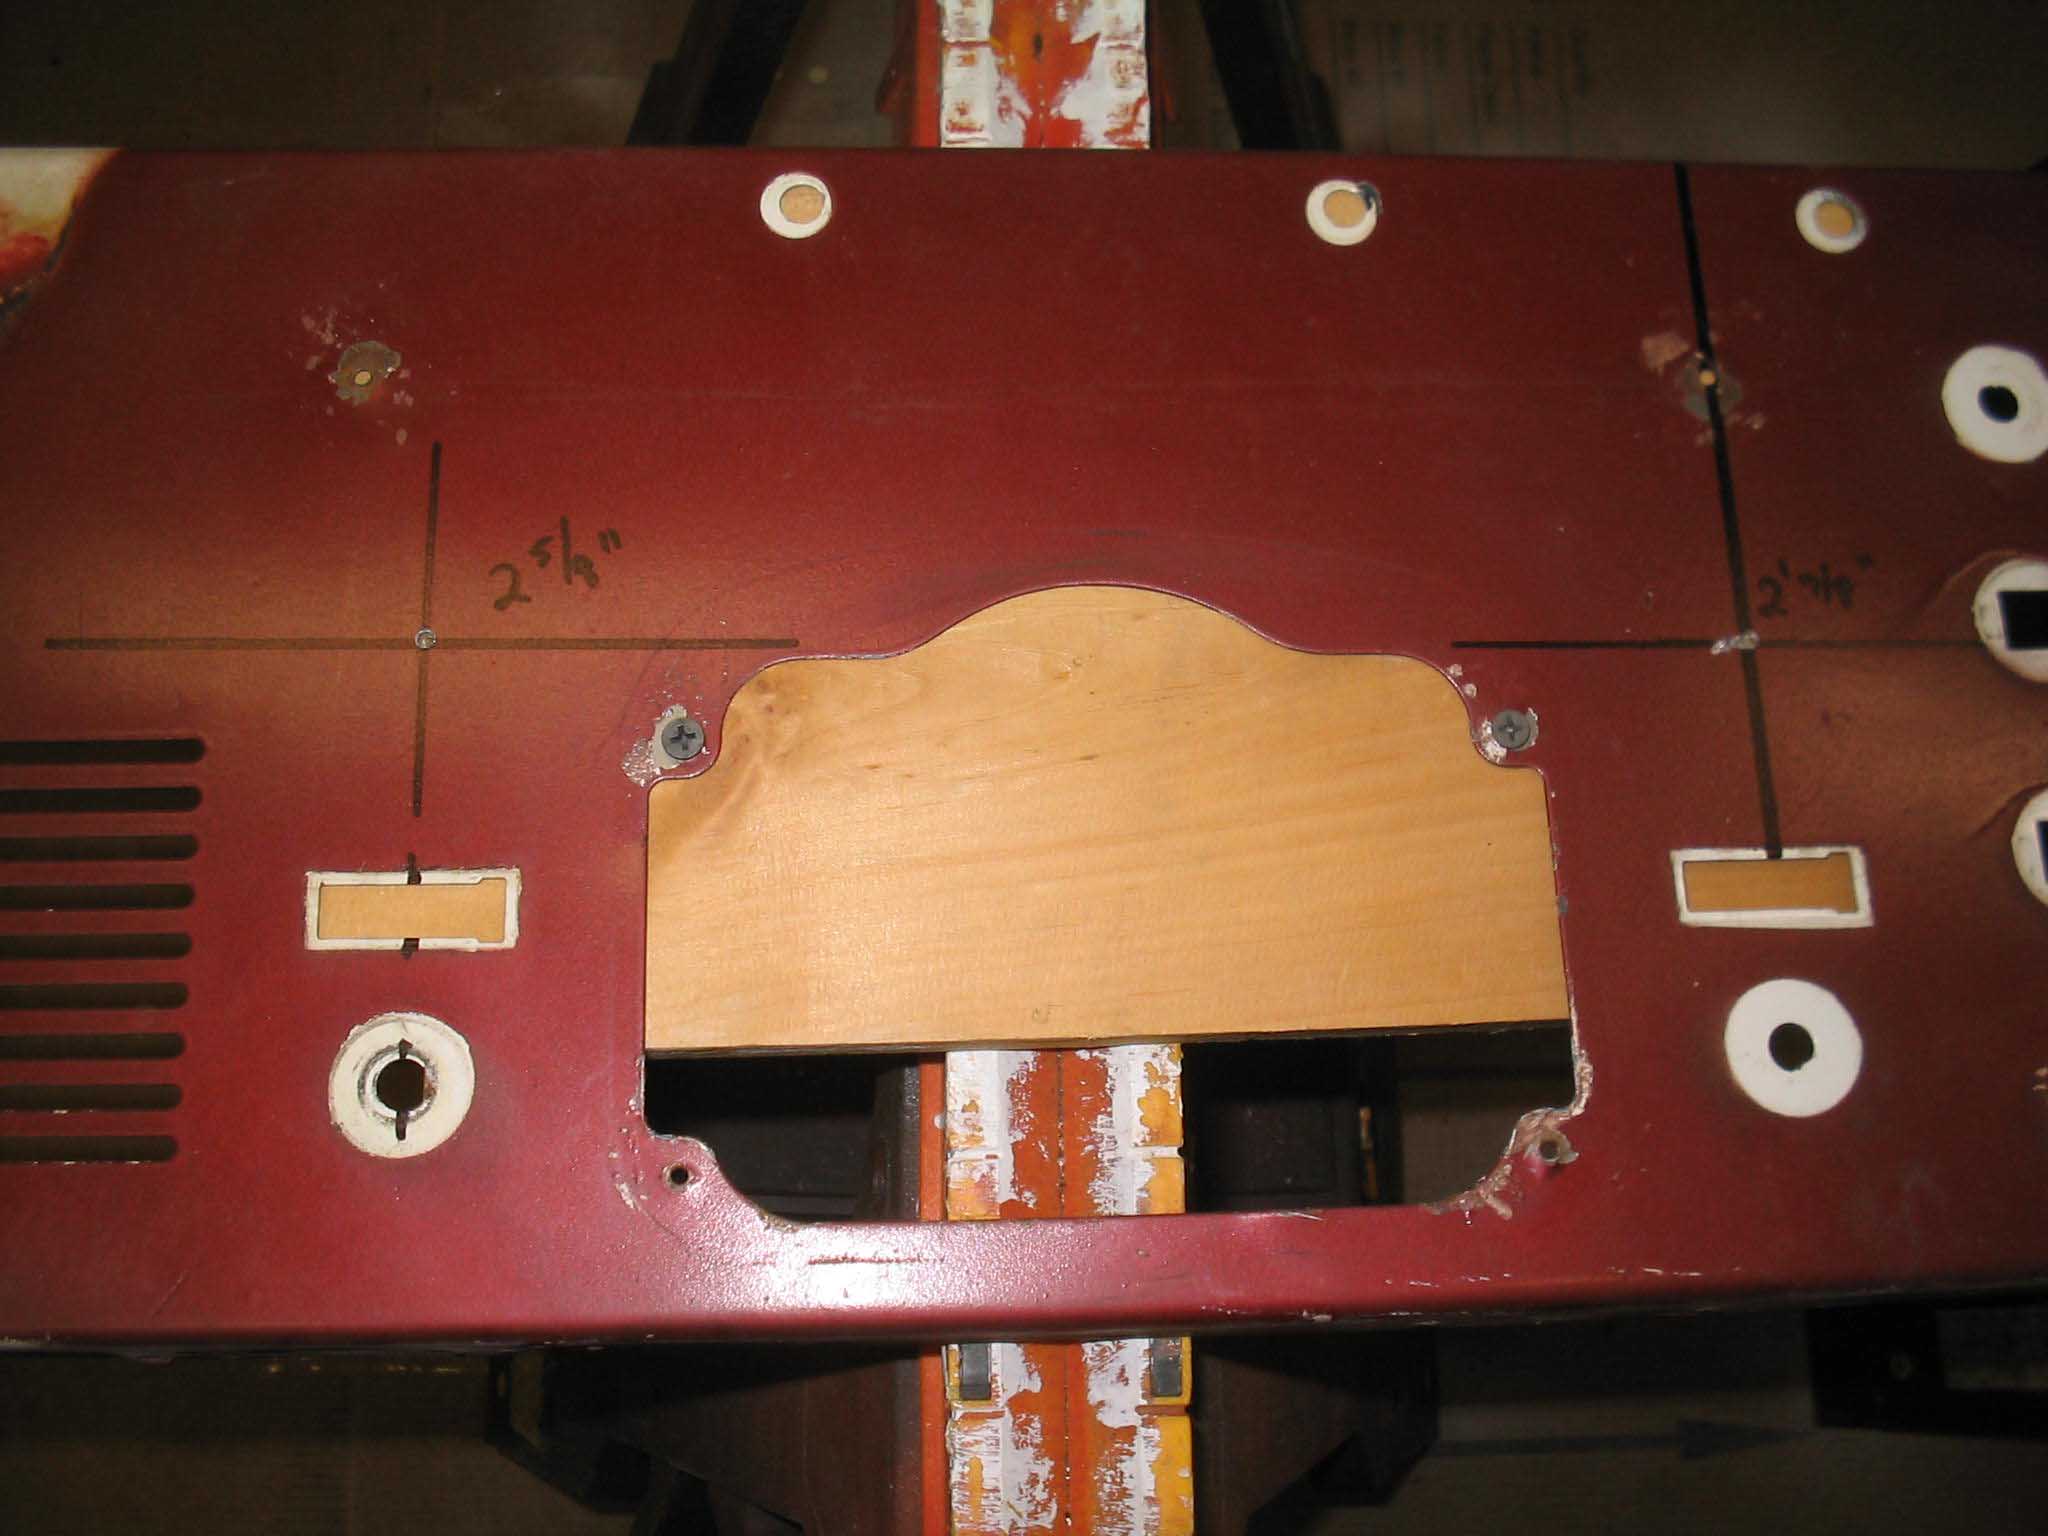
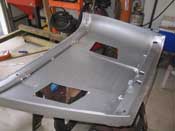
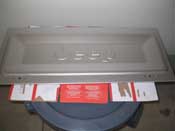
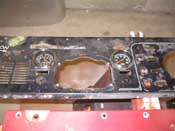
The real amount of work that got done was on the dash. I have a few of them lying around, so I had to take the
best one and then use the old beat up Laredo dash as a template to put the holes in place for the clock and
tach setup. I am not sure if this is something everyone knows, but the holes are slightly different in size.
The clock is 2 5/8" and the tach is 2 7/8". I went to get hole saws and they had the first one, but only a
2 3/4" for the other. It wasn't much of an issue though. As you can see the hole for the tach was just a little
small and I cleaned up the hole with a file and then it slid in without any issues.
|
| |
|
|
|

|
| |
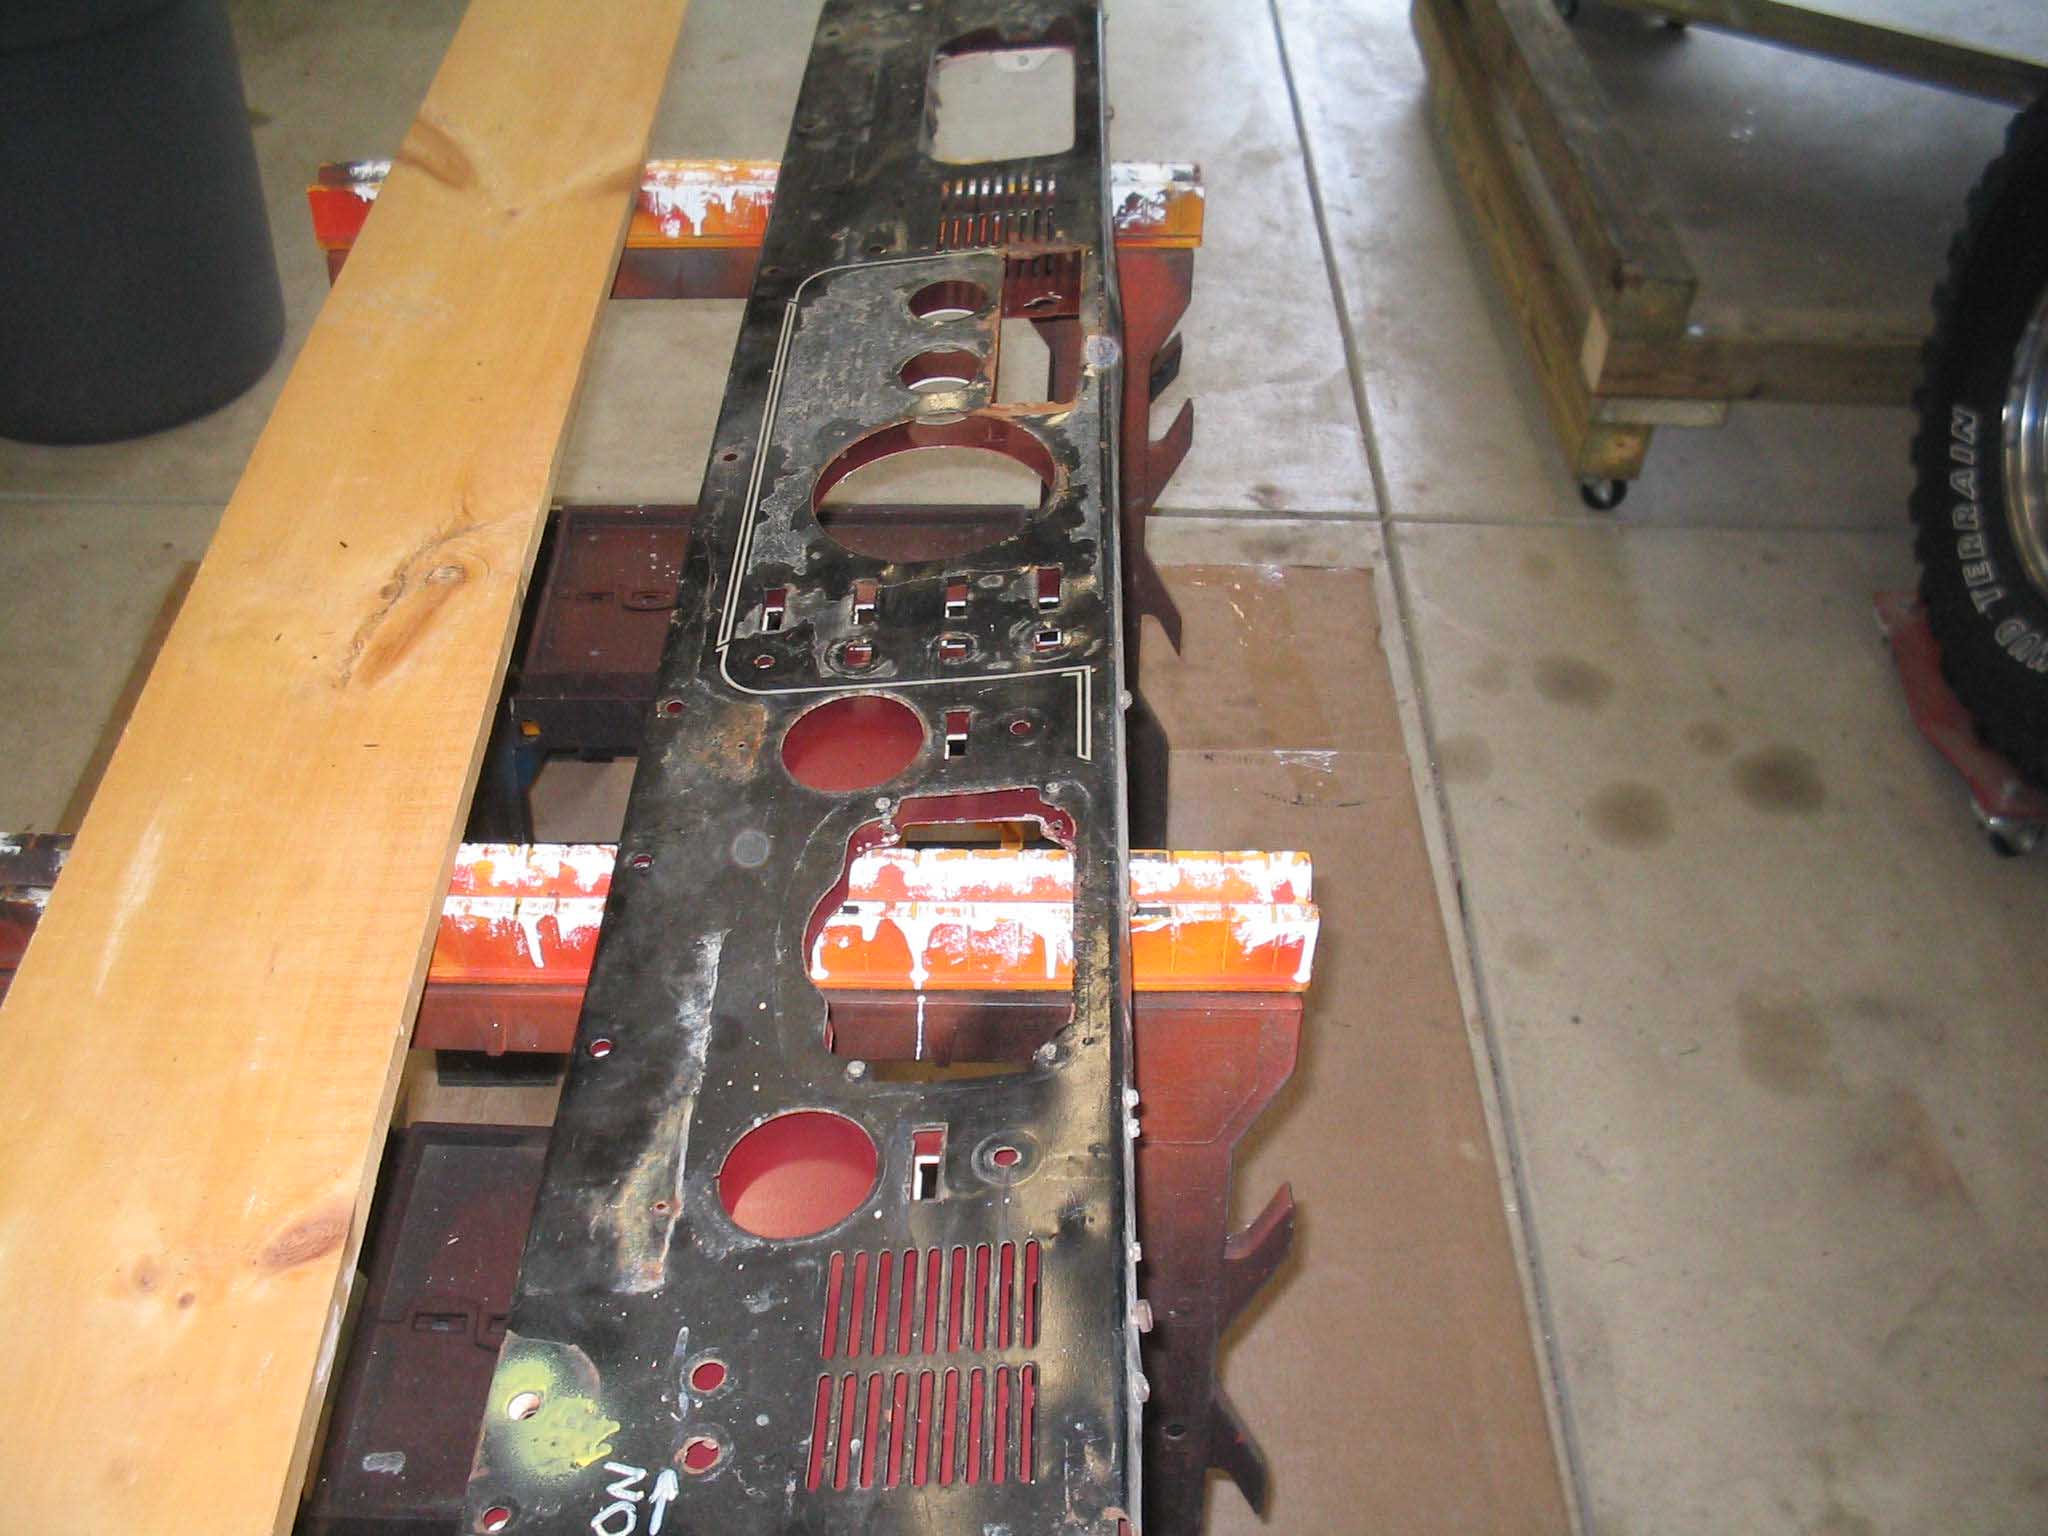
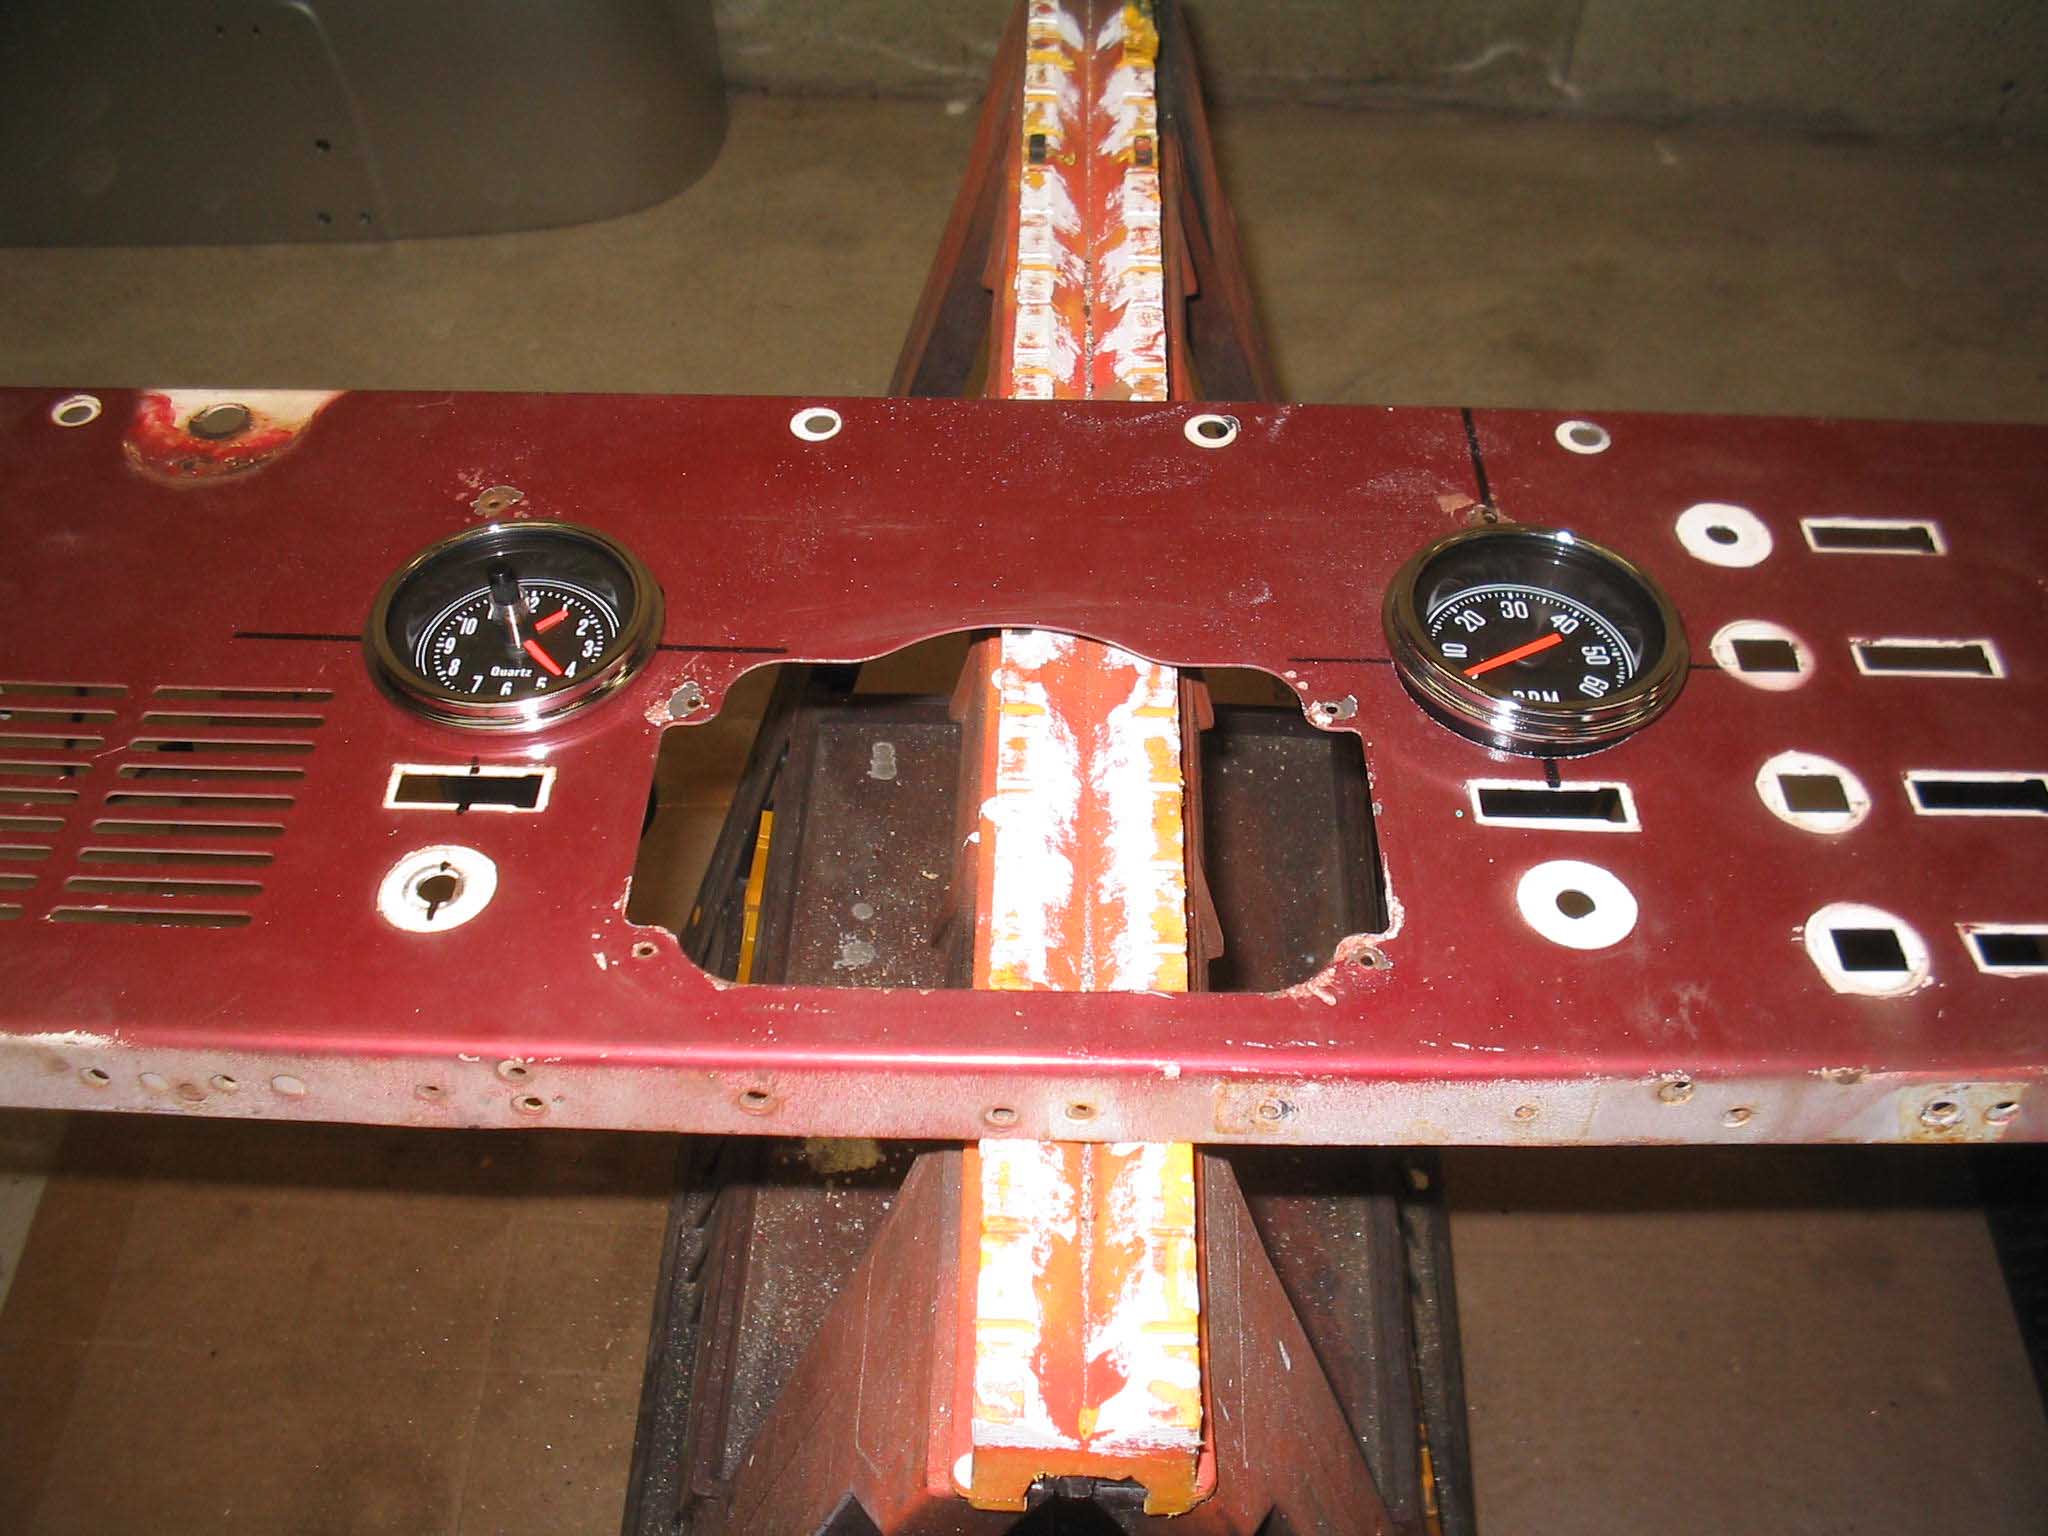
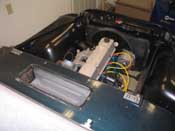
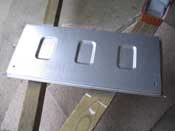
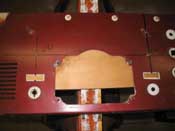
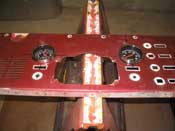
The test fit of the dash was done to make sure the holes for the windshield hold
down would be OK and they were marked and drilled out. A DIN style radio opening was also cut out and cleaned up.
With a whole lot of sanding, the dash was cleaned up and then the backside painted up black to prevent any future
rusting issues.
The evening concluded with the hood and tailgate being wet sanded with 800 grit on the fourth coat of paint and
then coat #5 went down smooth as glass. Coat #6 will go on tonight and then I will wet sand with 1000 grit and see
where we are. It is a lot of work, but the results are pretty interesting.
cb (05/04/08)
|
| |
<< Previous |
Next >> |