|
|
| Project "Free Jeep" a.k.a Project "FJ" - part #41 |
| |
|
1
2
3
4
5
6
7
8
9
10
11
12
13
14
15
16
17
18
19
20
21
22
23
24
25
26
27
28
29
30
31
32
33
34
35
36
37
38
39
40
41
42
43
44
45
46
47
48
49
50
51
52
53
54
55
56
57
58
59
60
61
62
63
64
65
66
67
68
69
70
71
72
73
|
| |
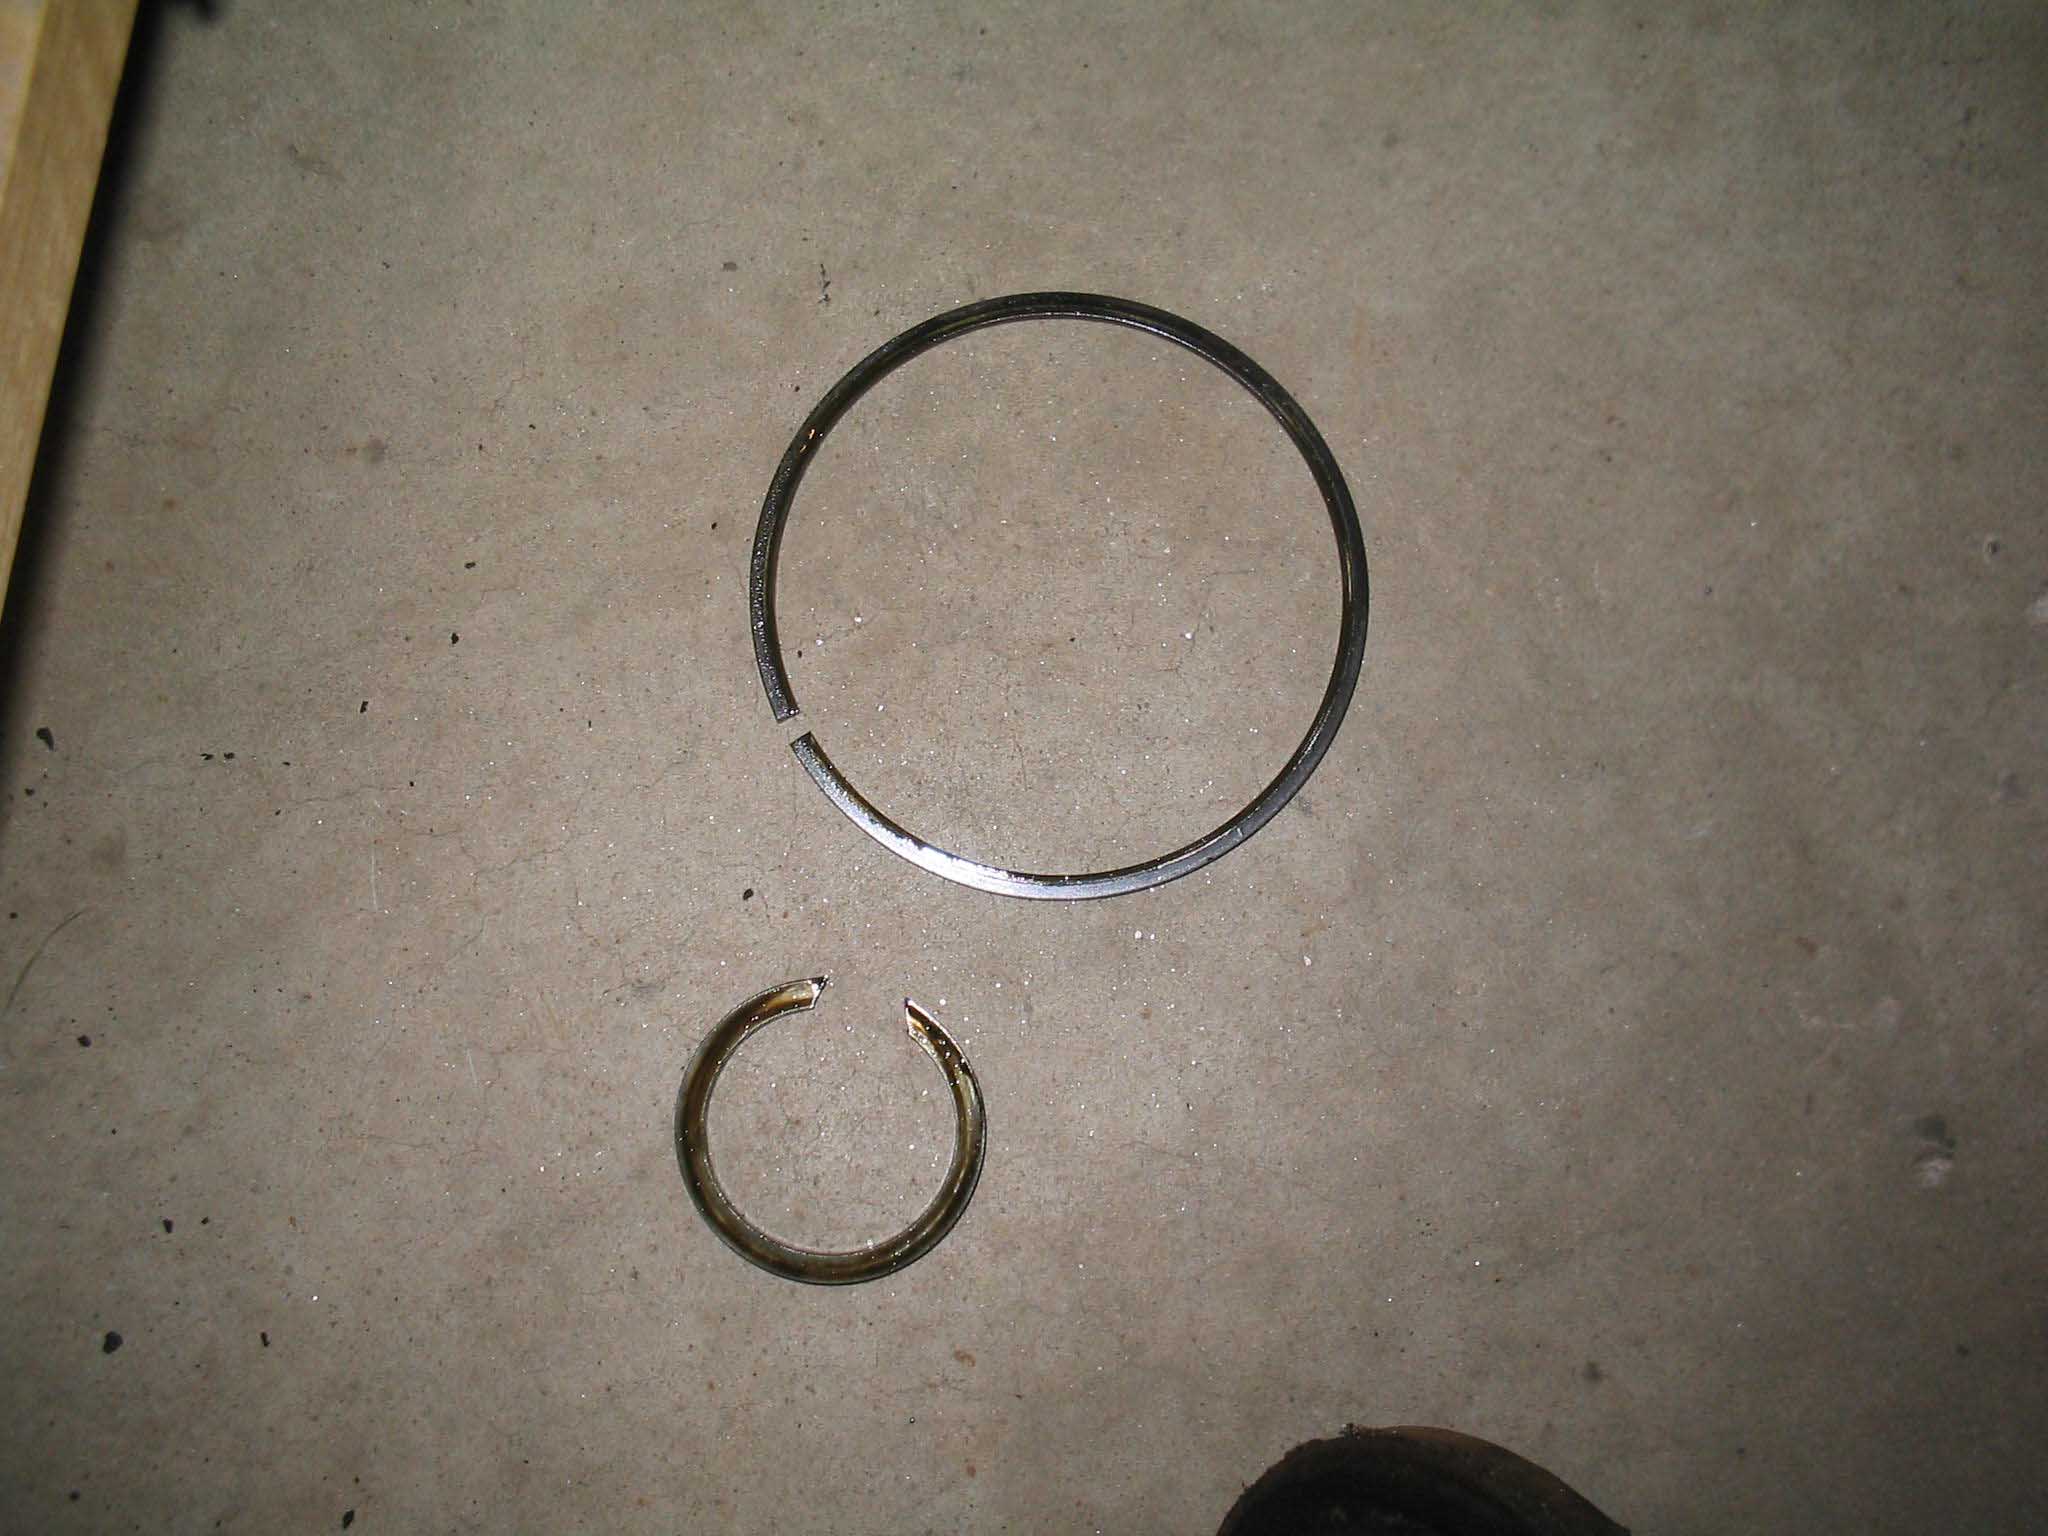
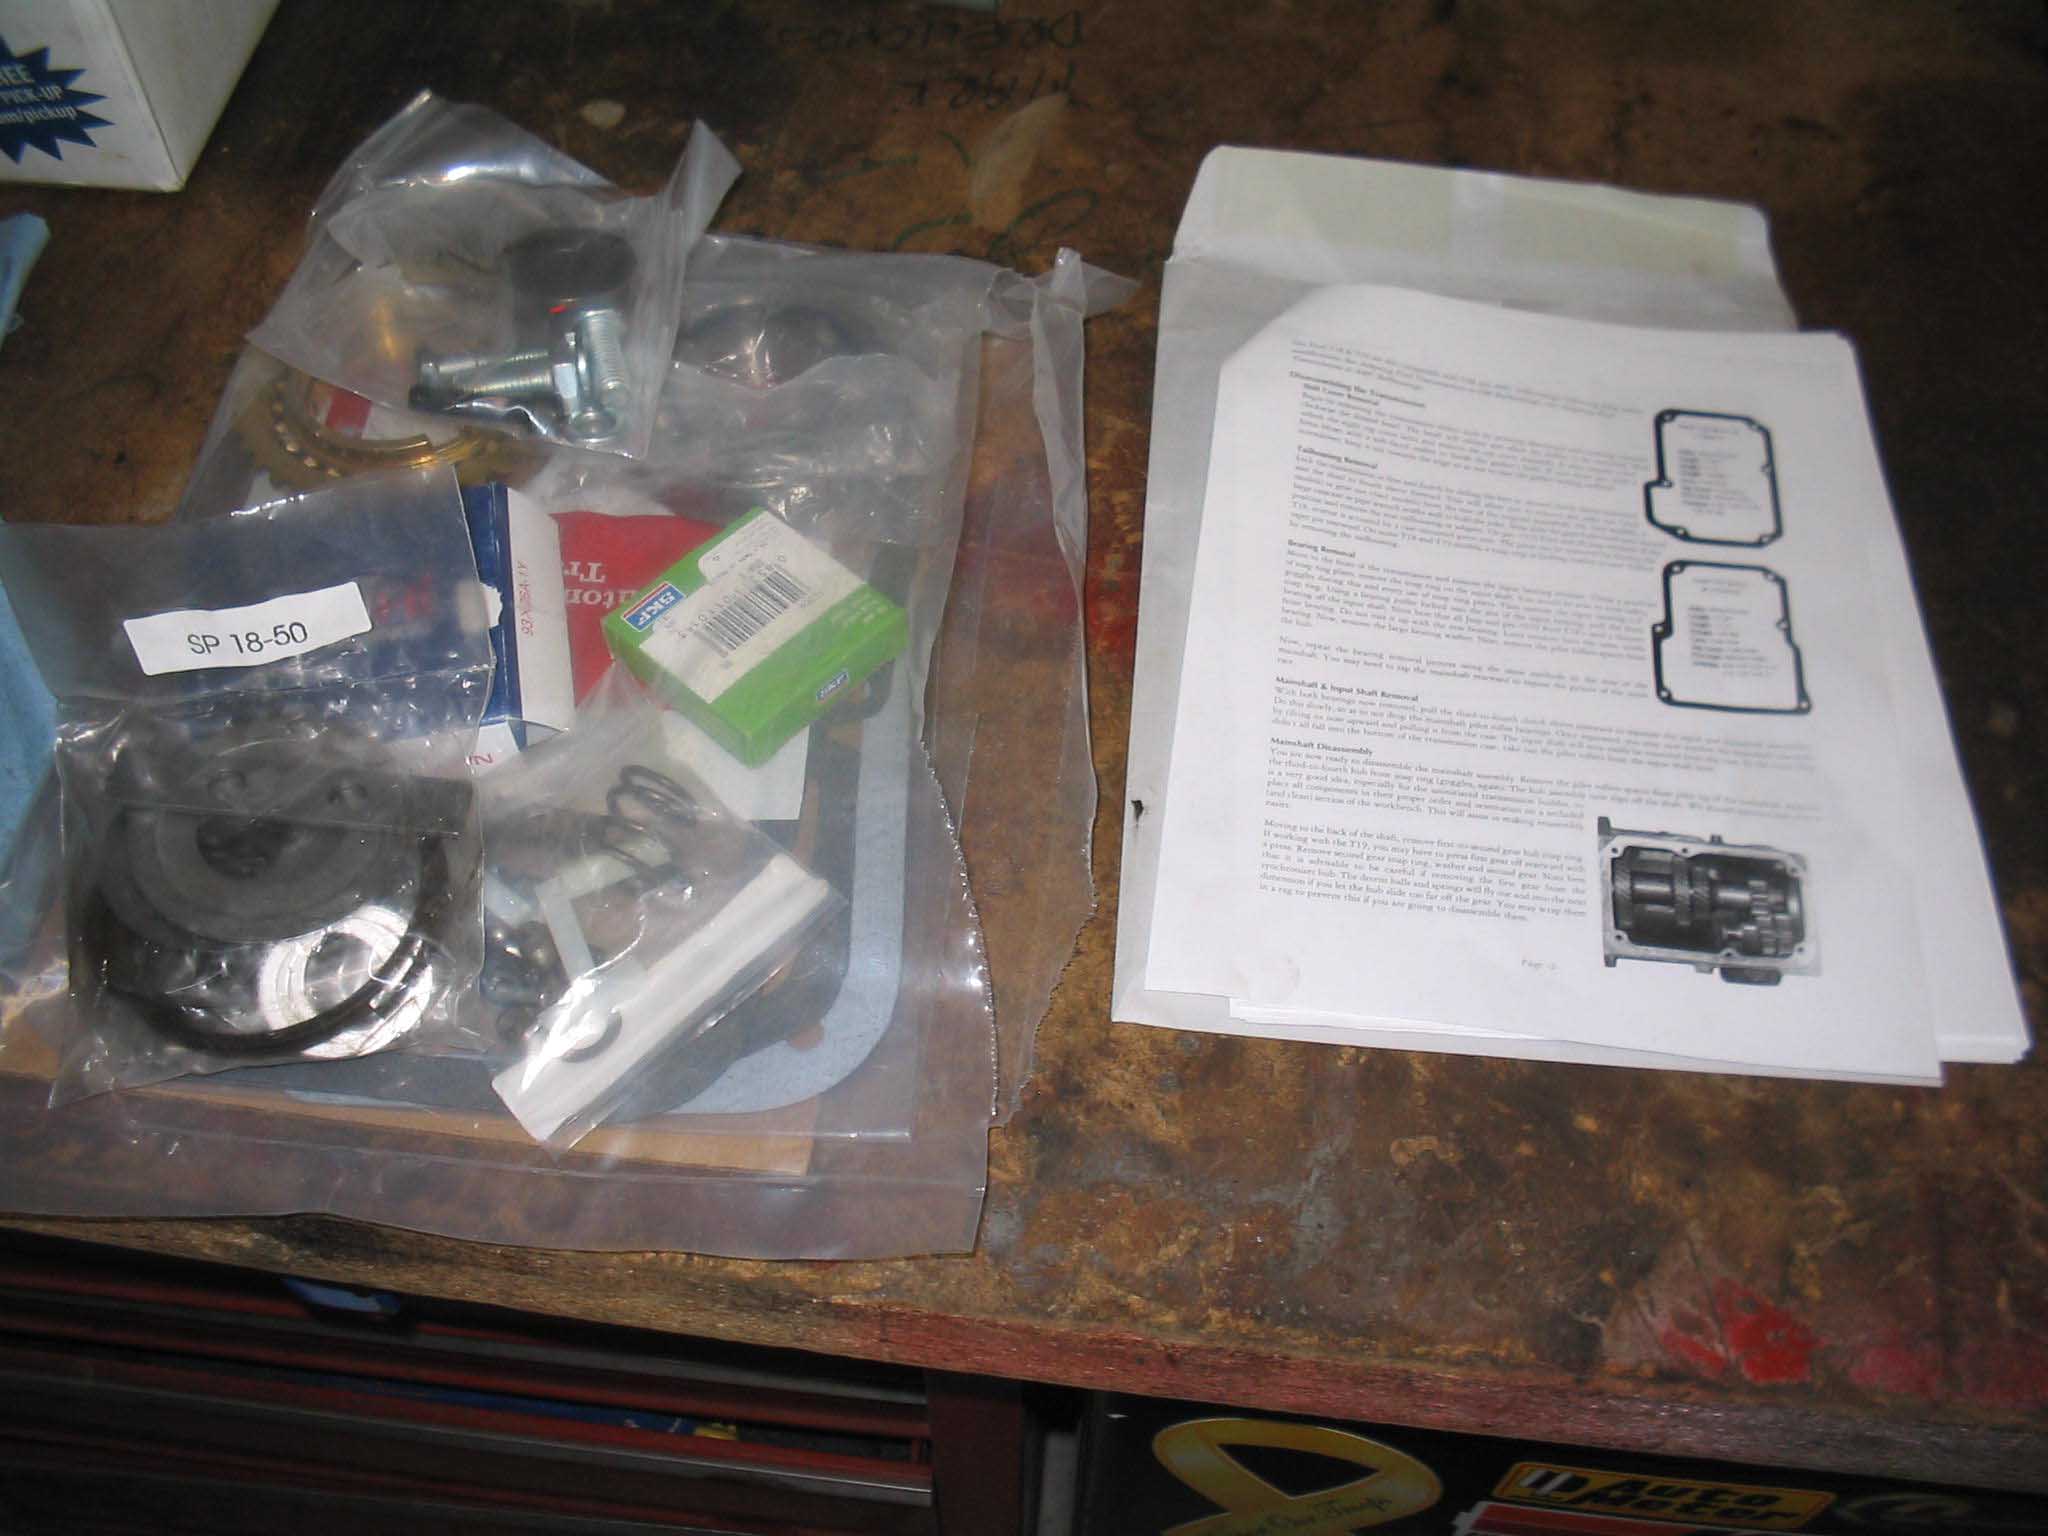
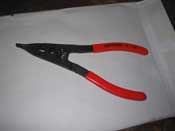
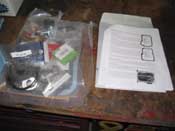
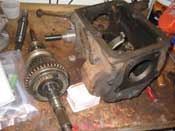
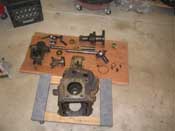
| (01/25/08) Apparently when you get these kits from a manufacturer, you are supposed
to read the directions to let you know what tools you may or may not need. I did NOT read the directions and thus
didn't know I needed a "lock ring pliers". This differs from that of a SNAP ring pliers. So, I went out and got one,
thus the first picture that you see.
|
| |
|
|
|
|
| |
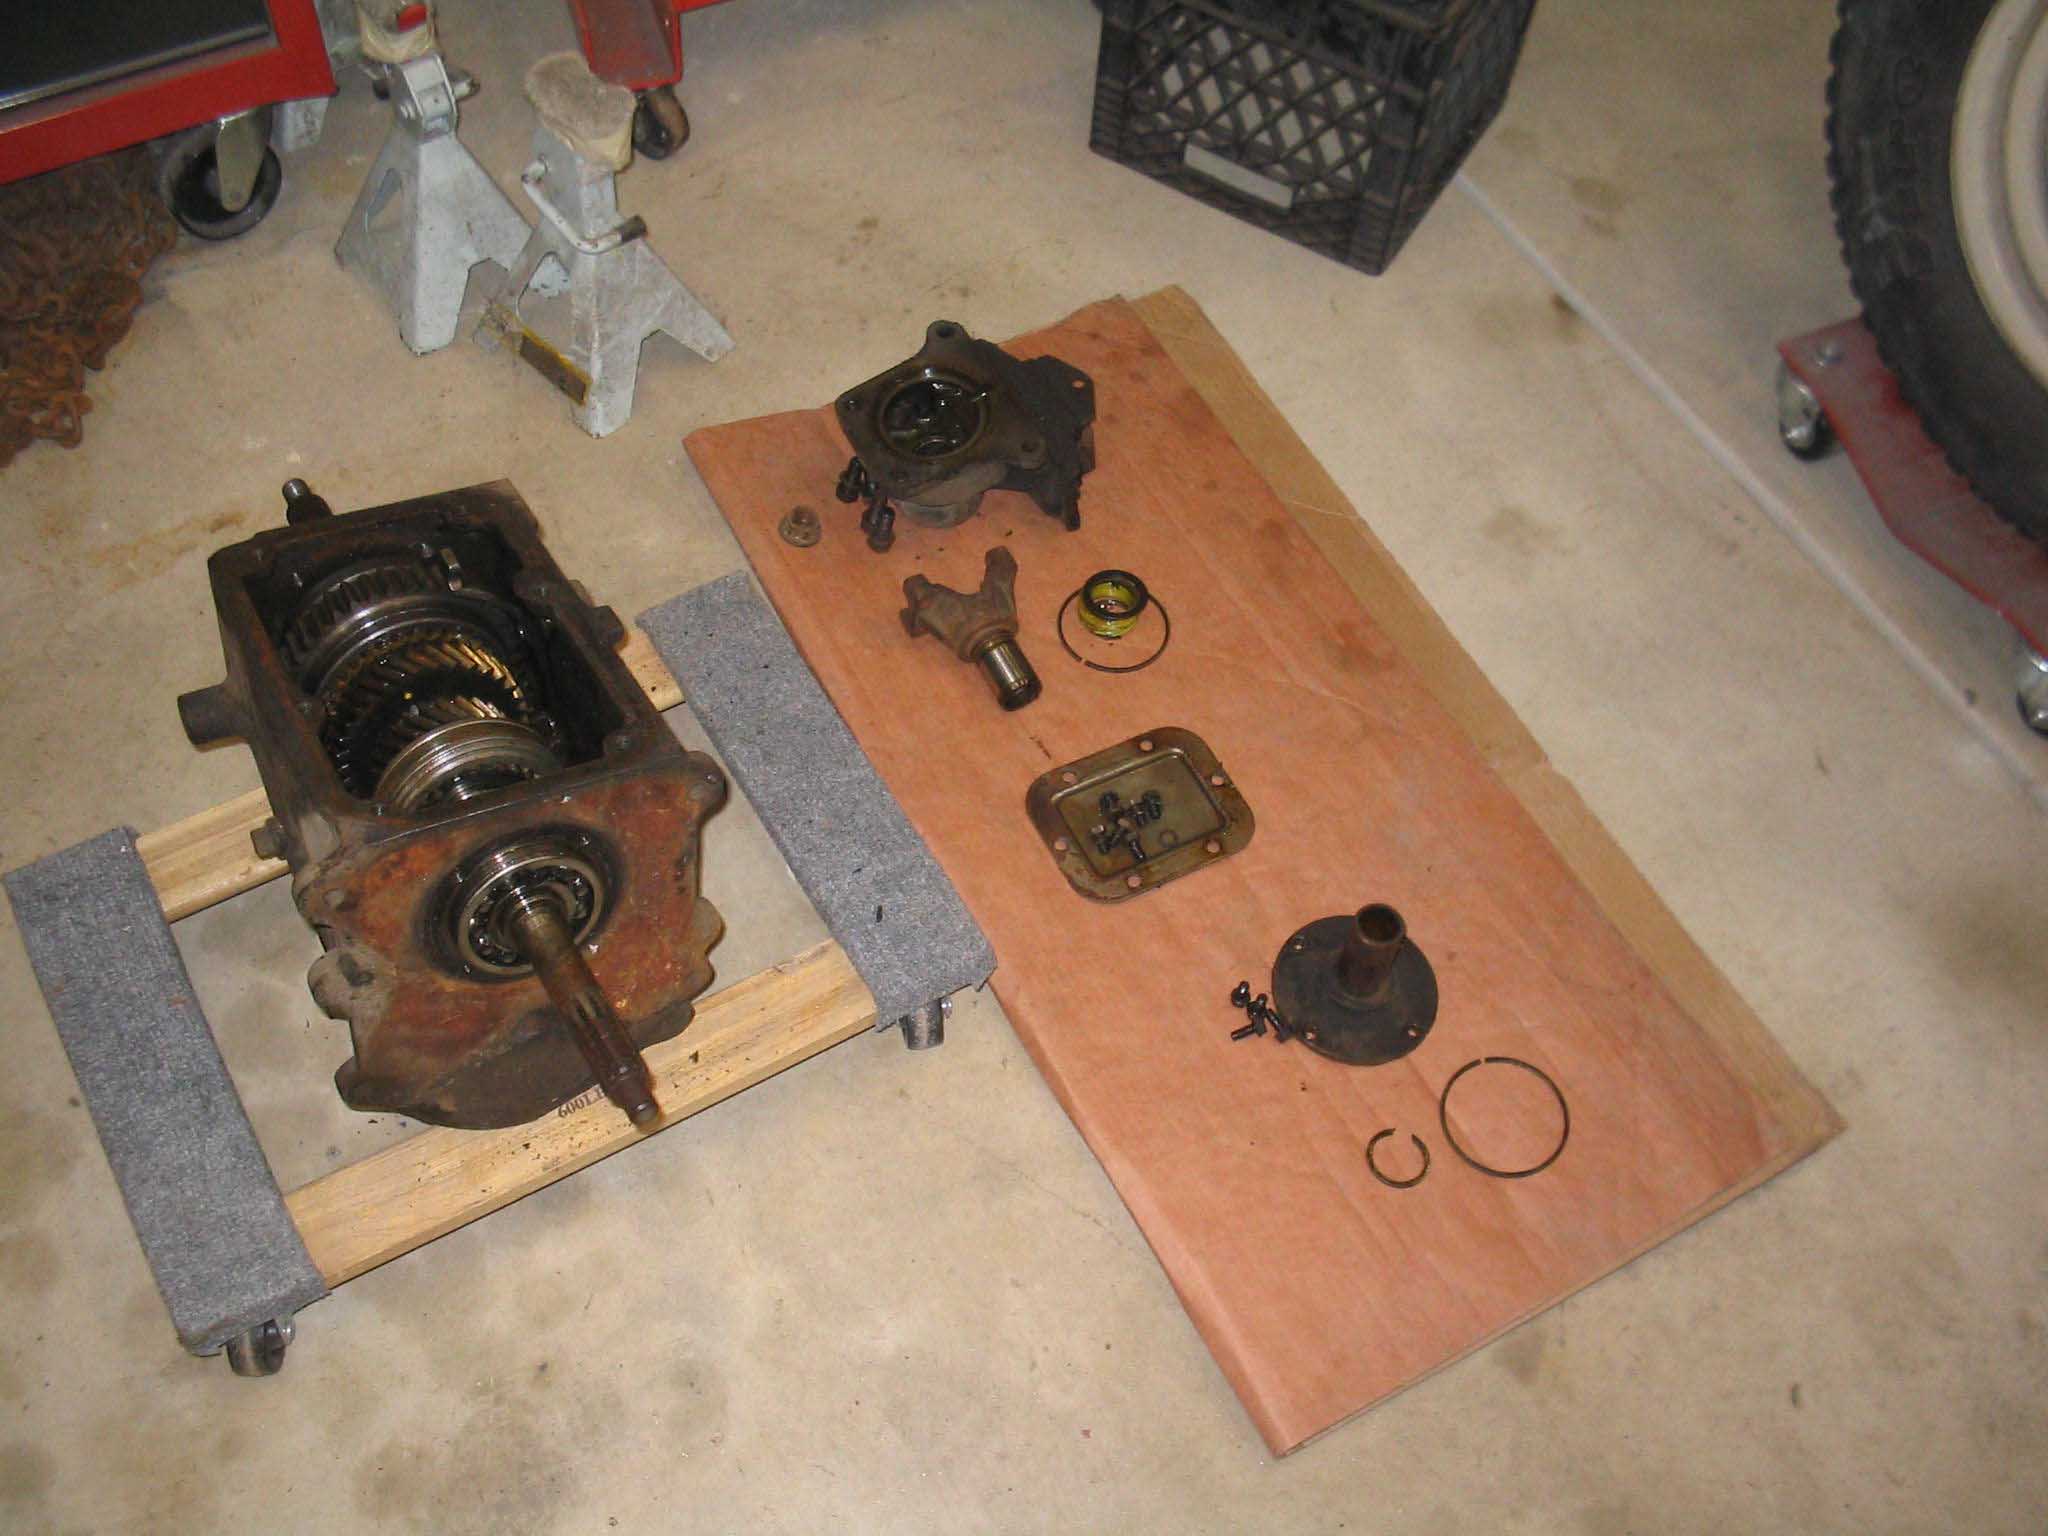
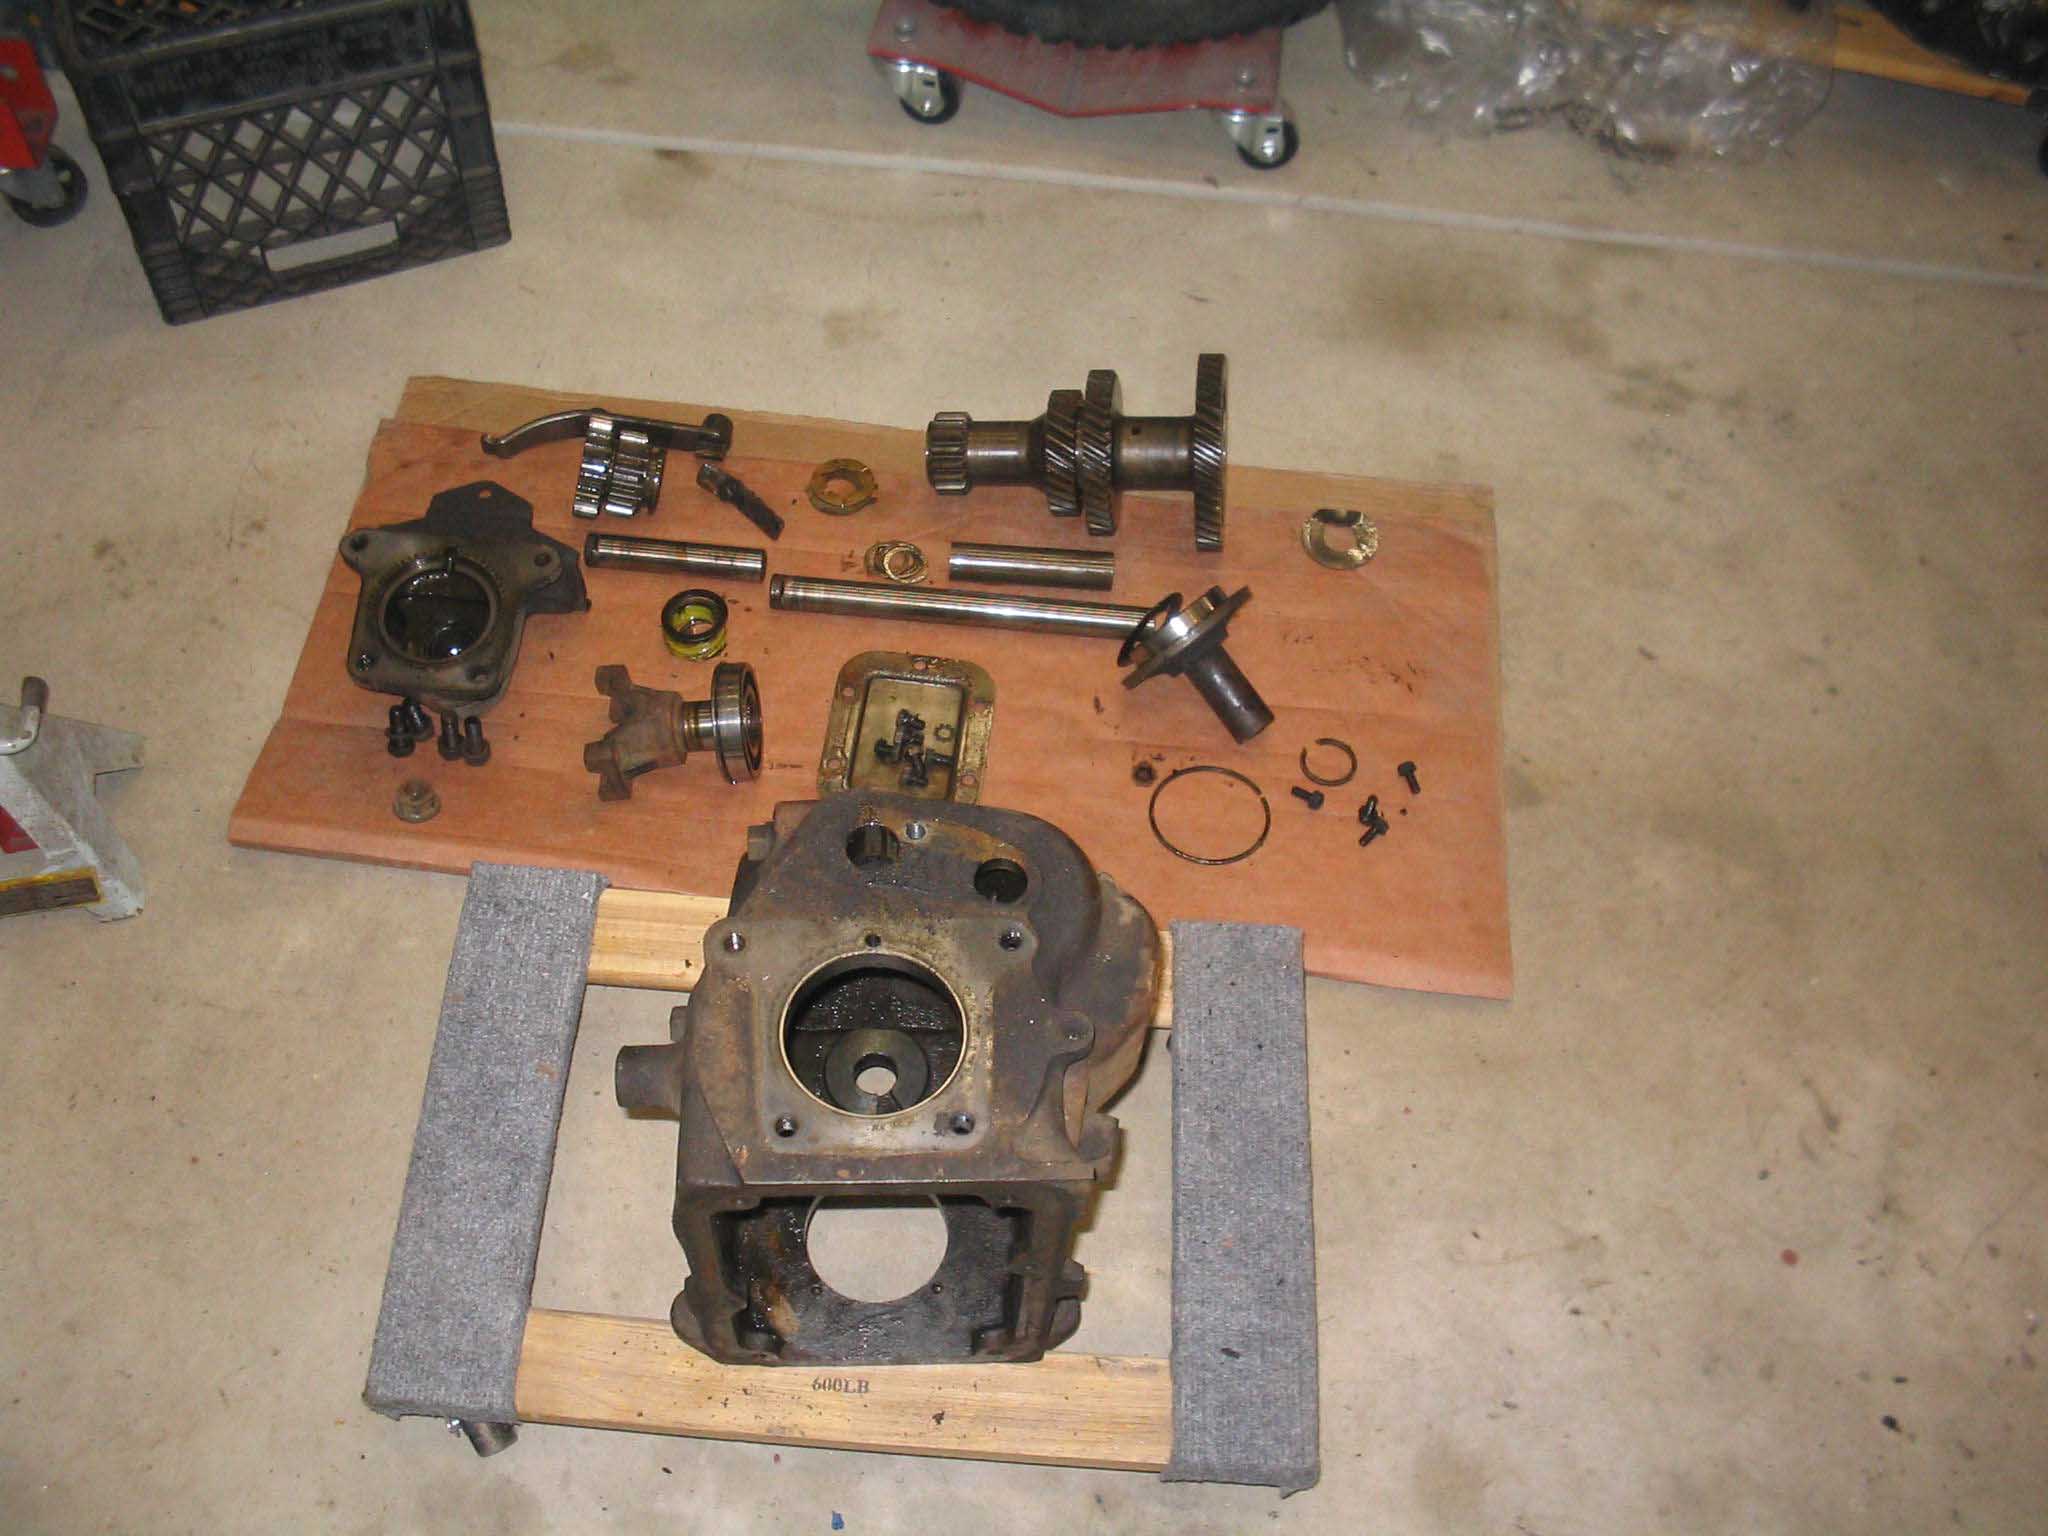
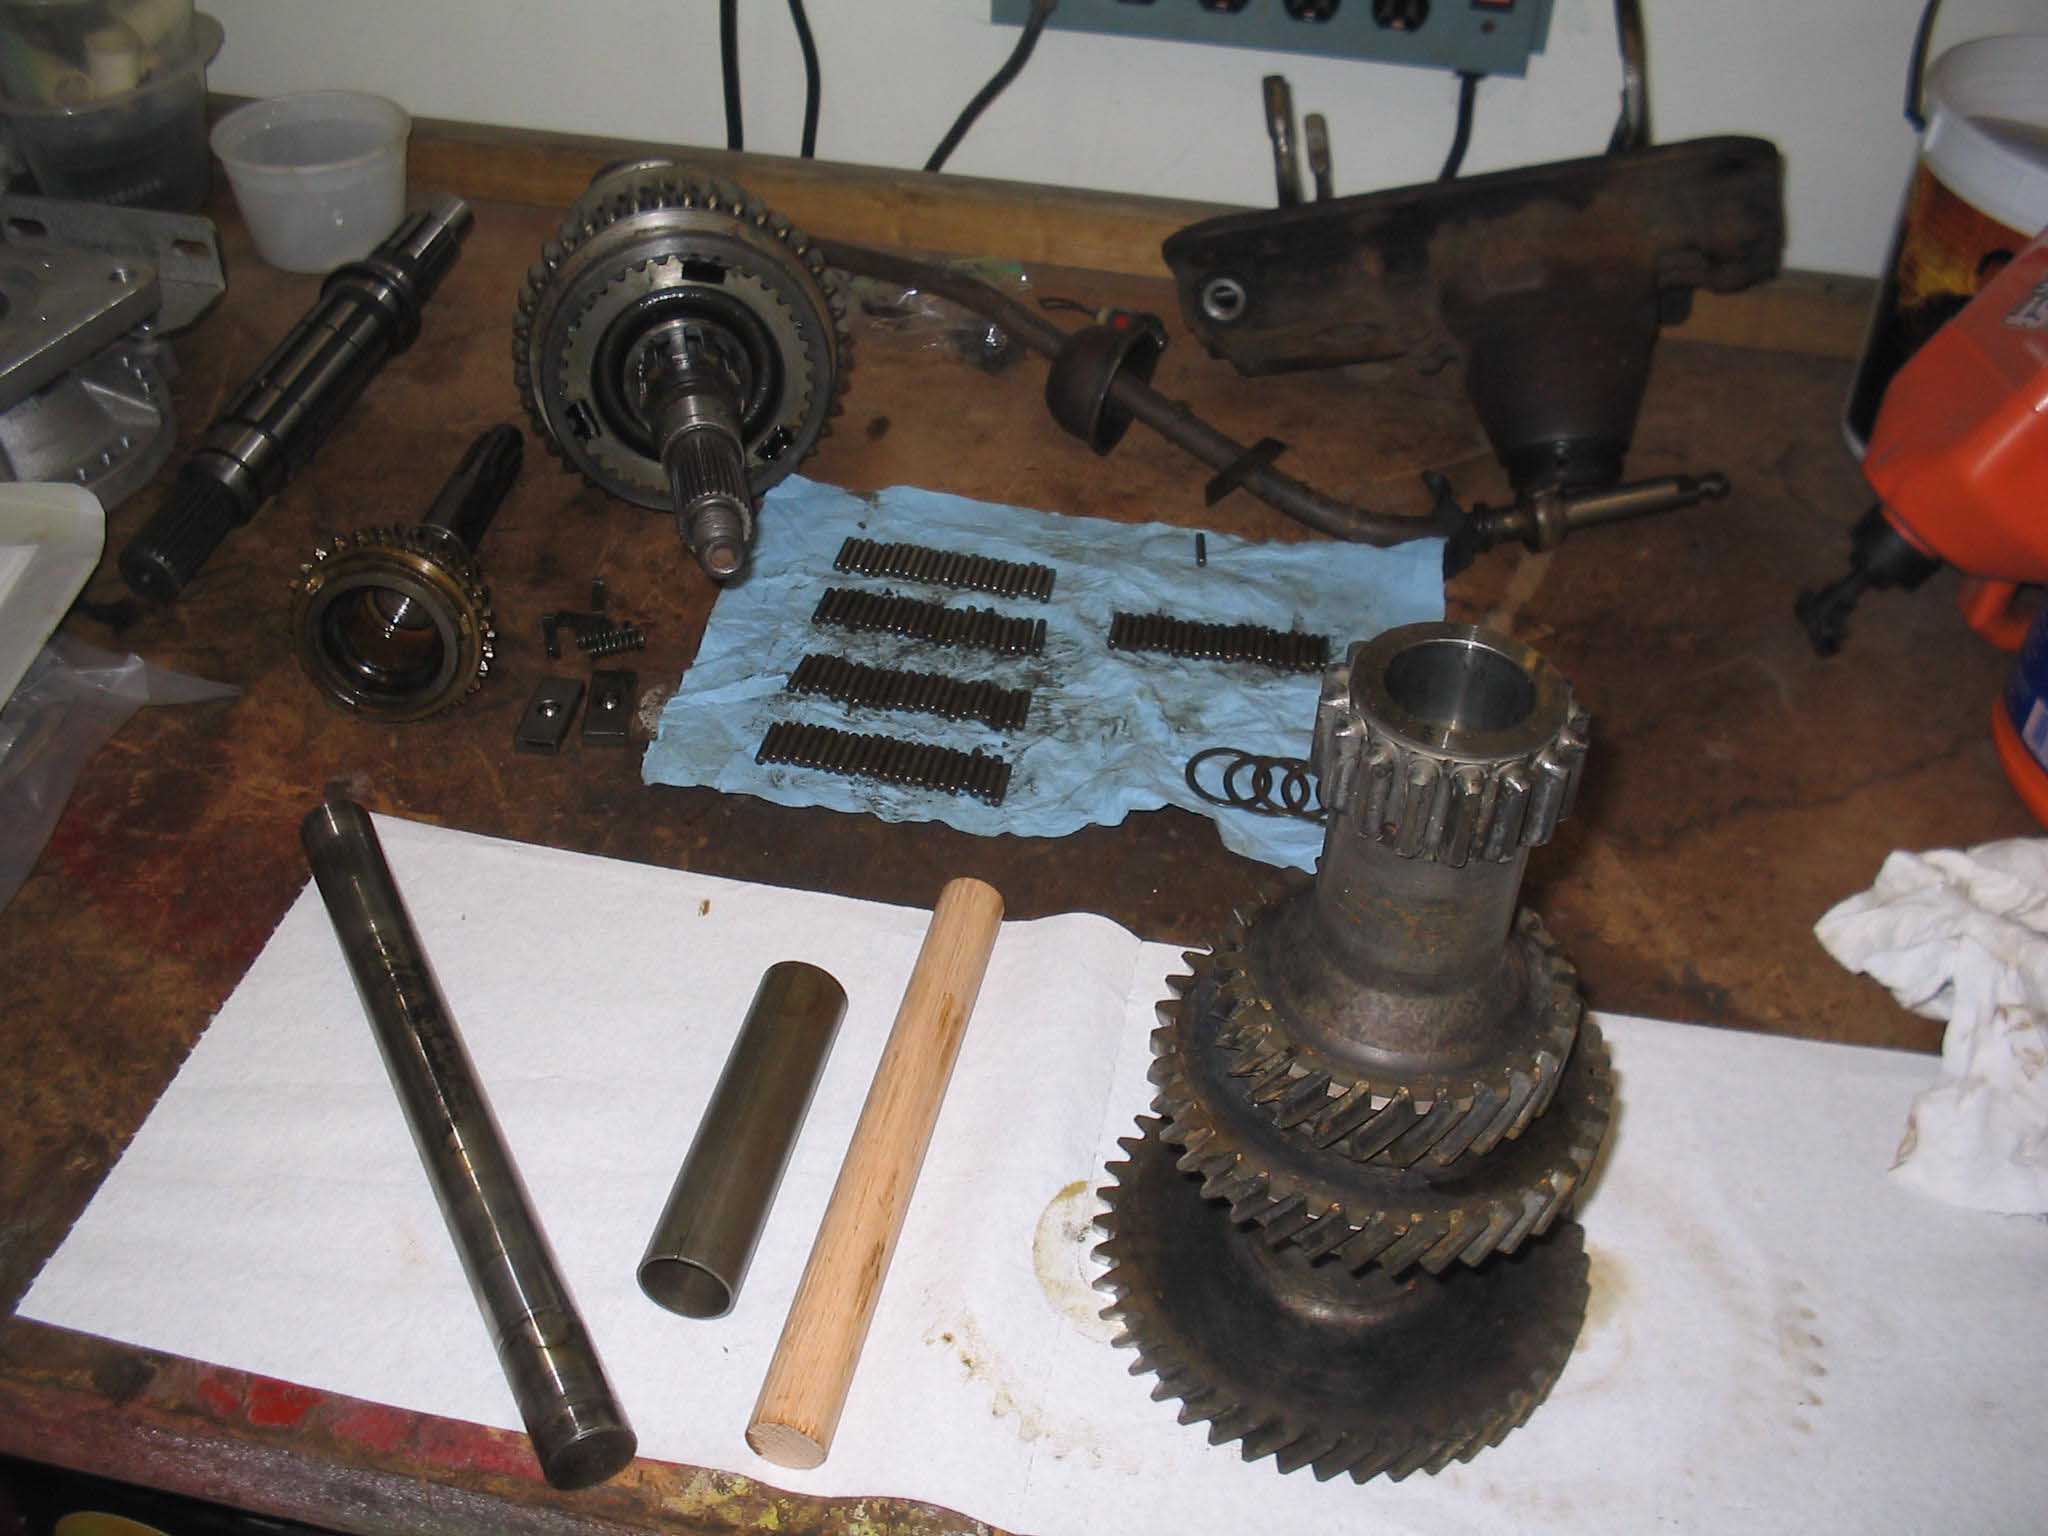
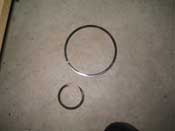
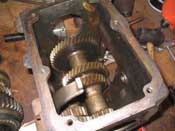
| I was able to get all the lock rings off and get all the parts organized and that
is when I read that you need to have a bearing puller to complete the next steps, so tomorrow afternoon I am off
to get one of those as well.
|
| |

|
|

|
|
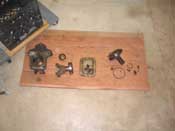
| |
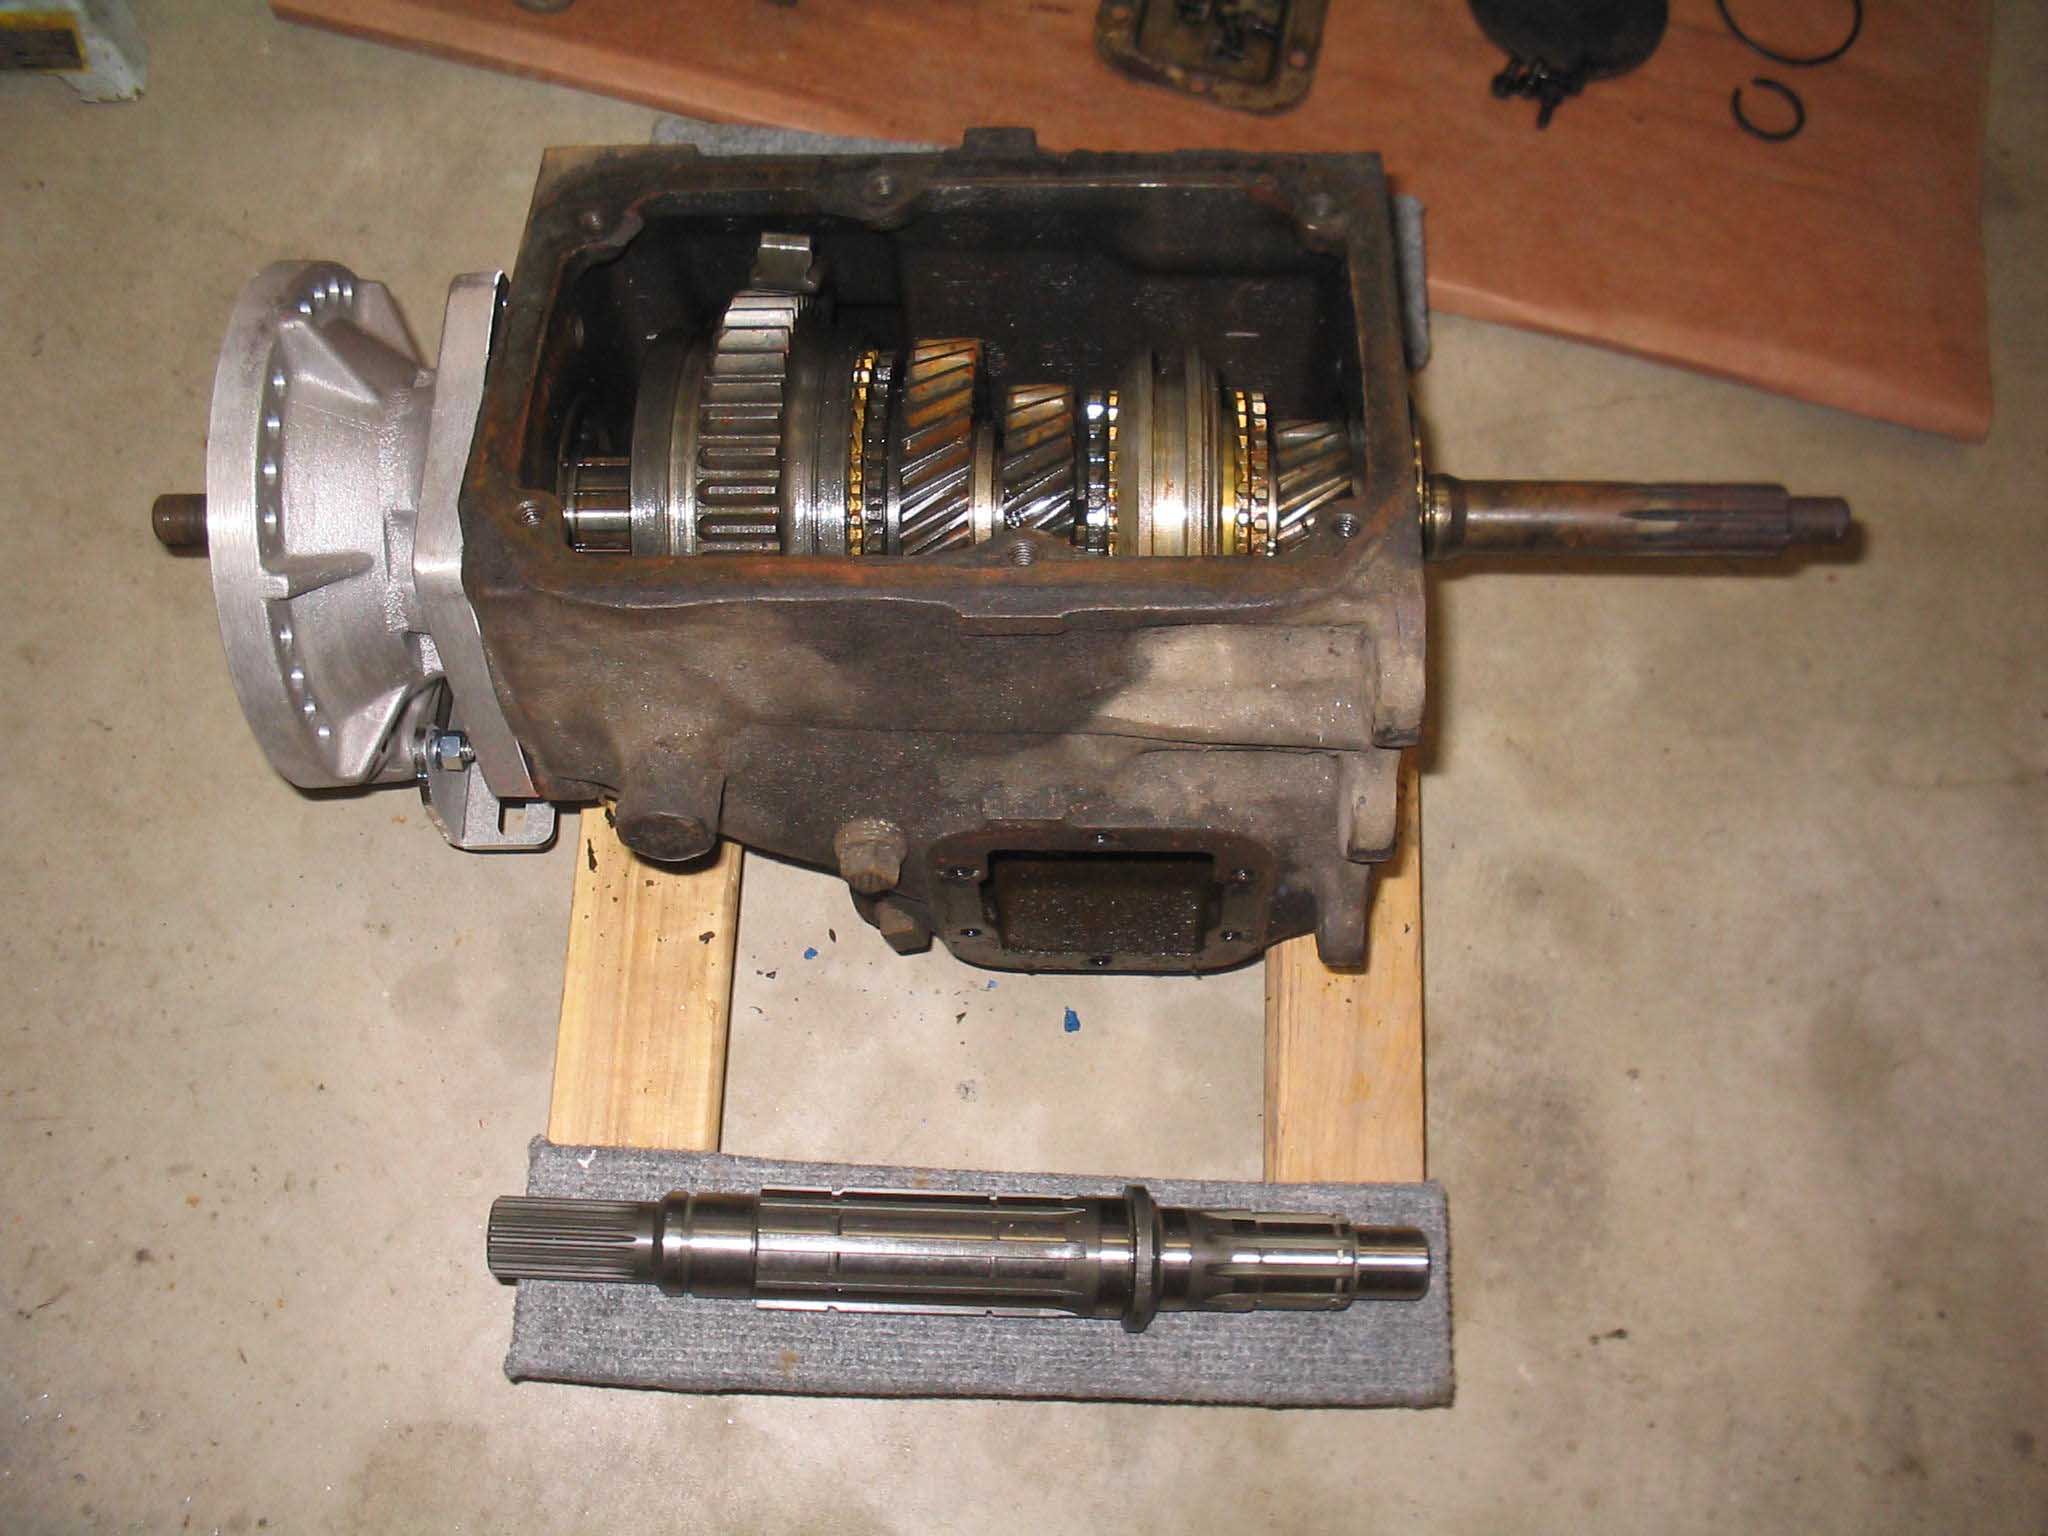
I couldn't do a whole lot more, so I finished up in the garage and tried out the
machined parts where they will ultimately end up going and everything seems to line up with where it is supposed
to go, so that at least makes me happy!
I also talked to the engine rebuilder today. He is going to bore the cylinder walls in the block and do the crank,
more then likely it will be .30 on the block, .10 on the crank mains and rods. As for the head, it was in rough
shape and for that, I will be looking for another that will work with this application. More on this when I get
more information.
cb (01/25/08)
|
| |

|
|
|
|
| |
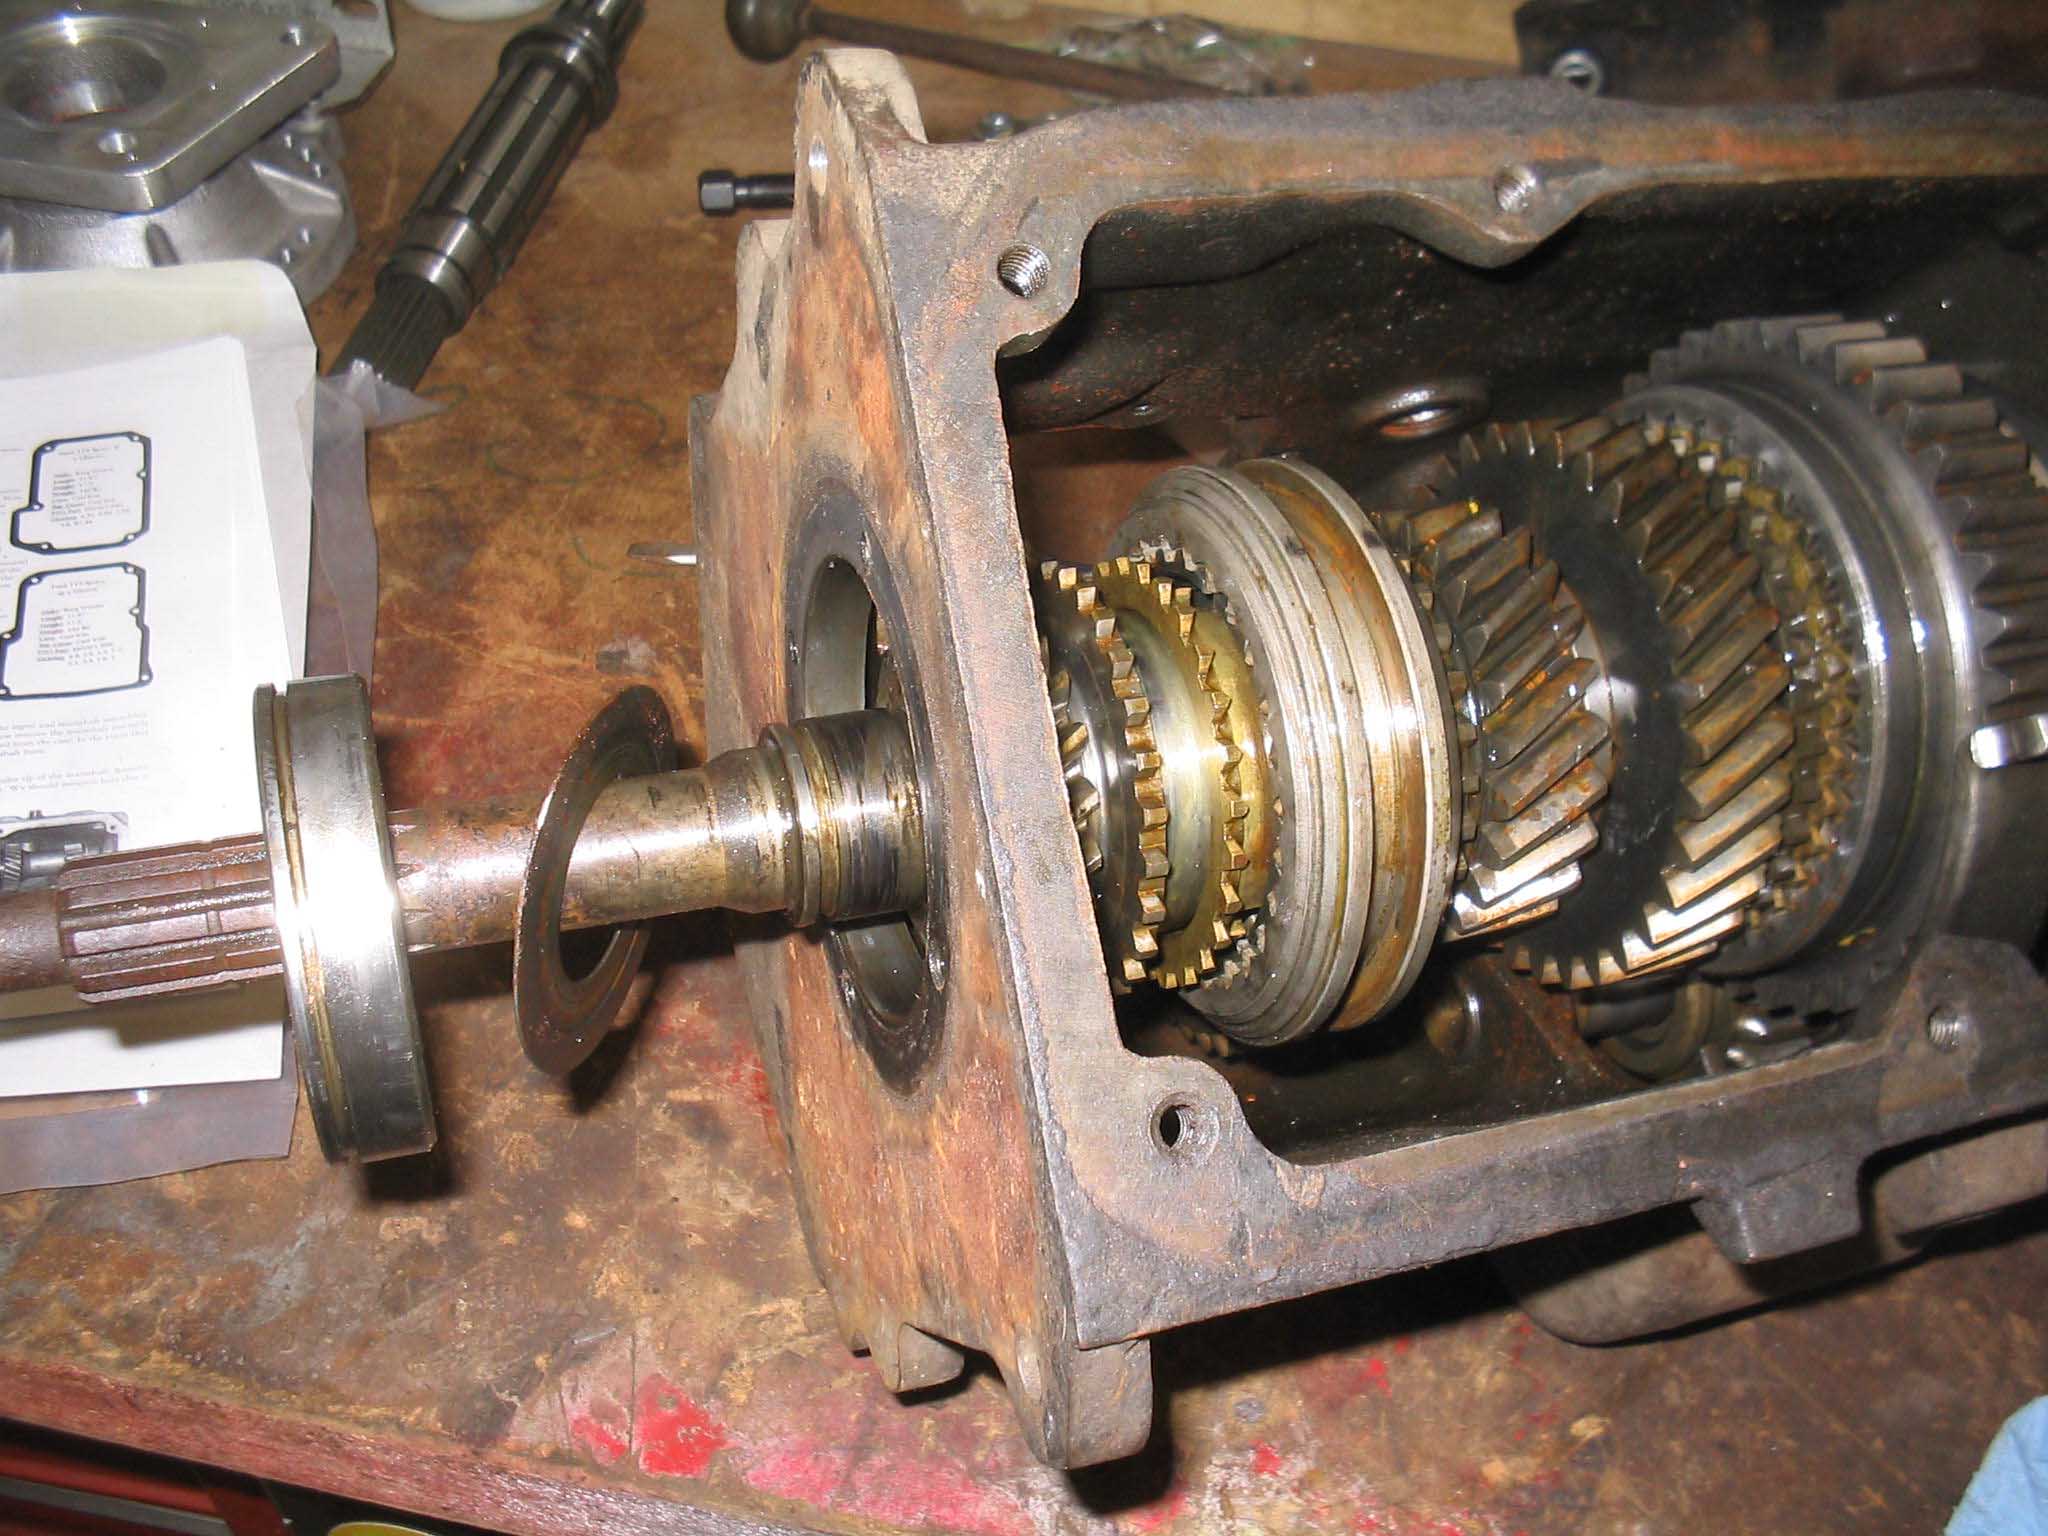
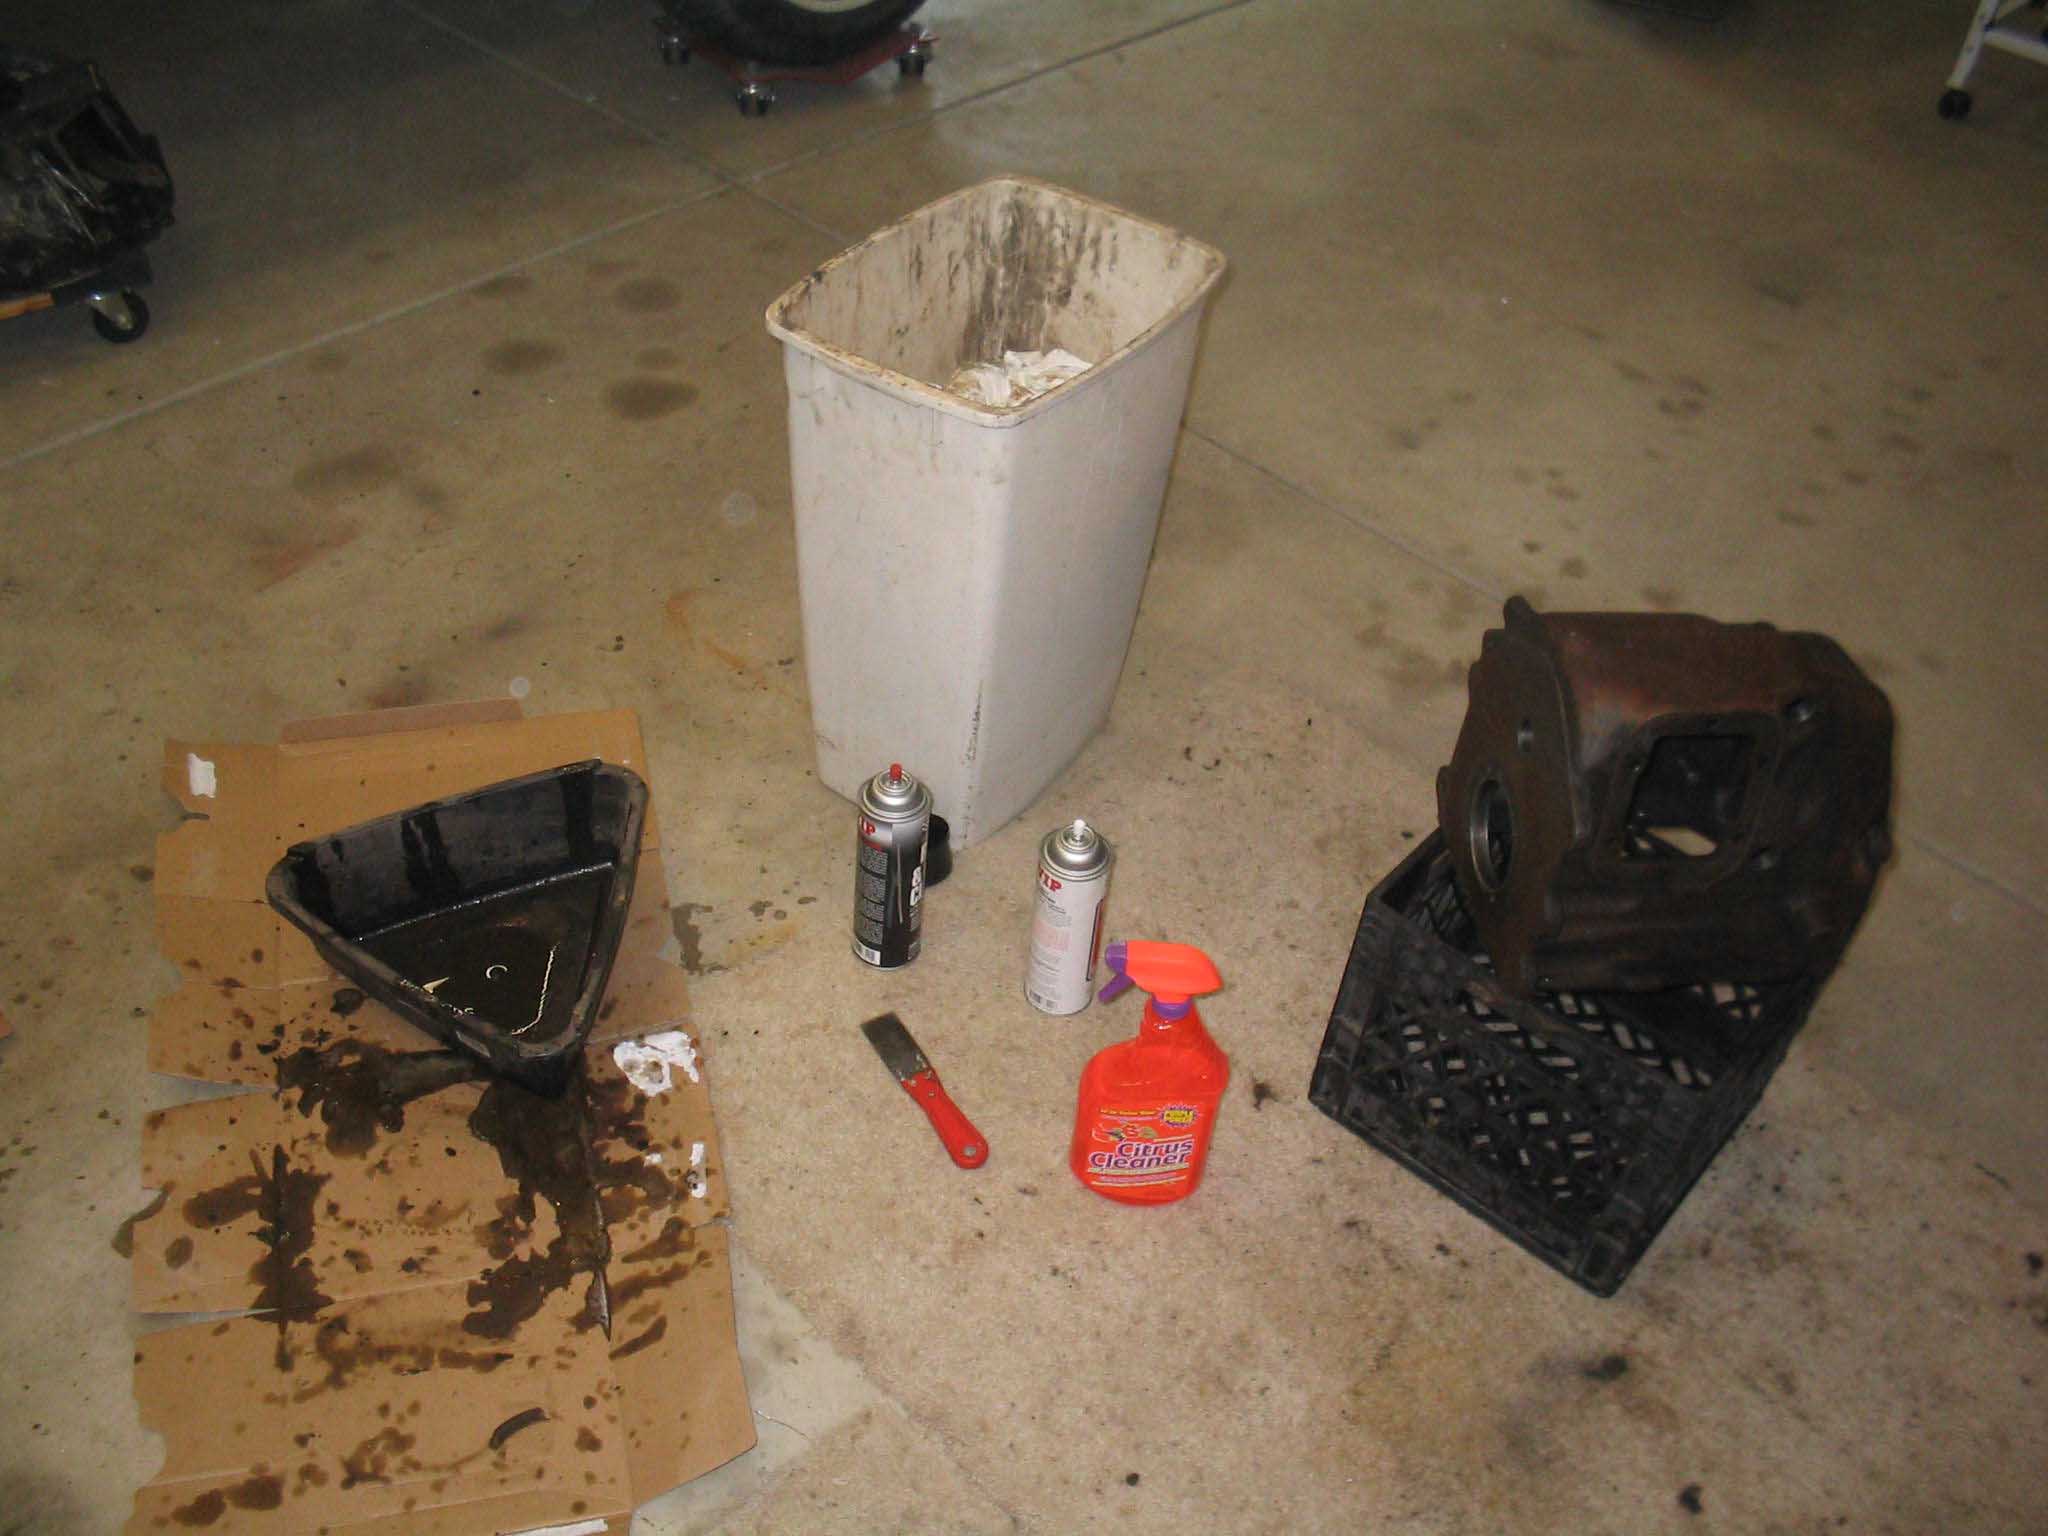
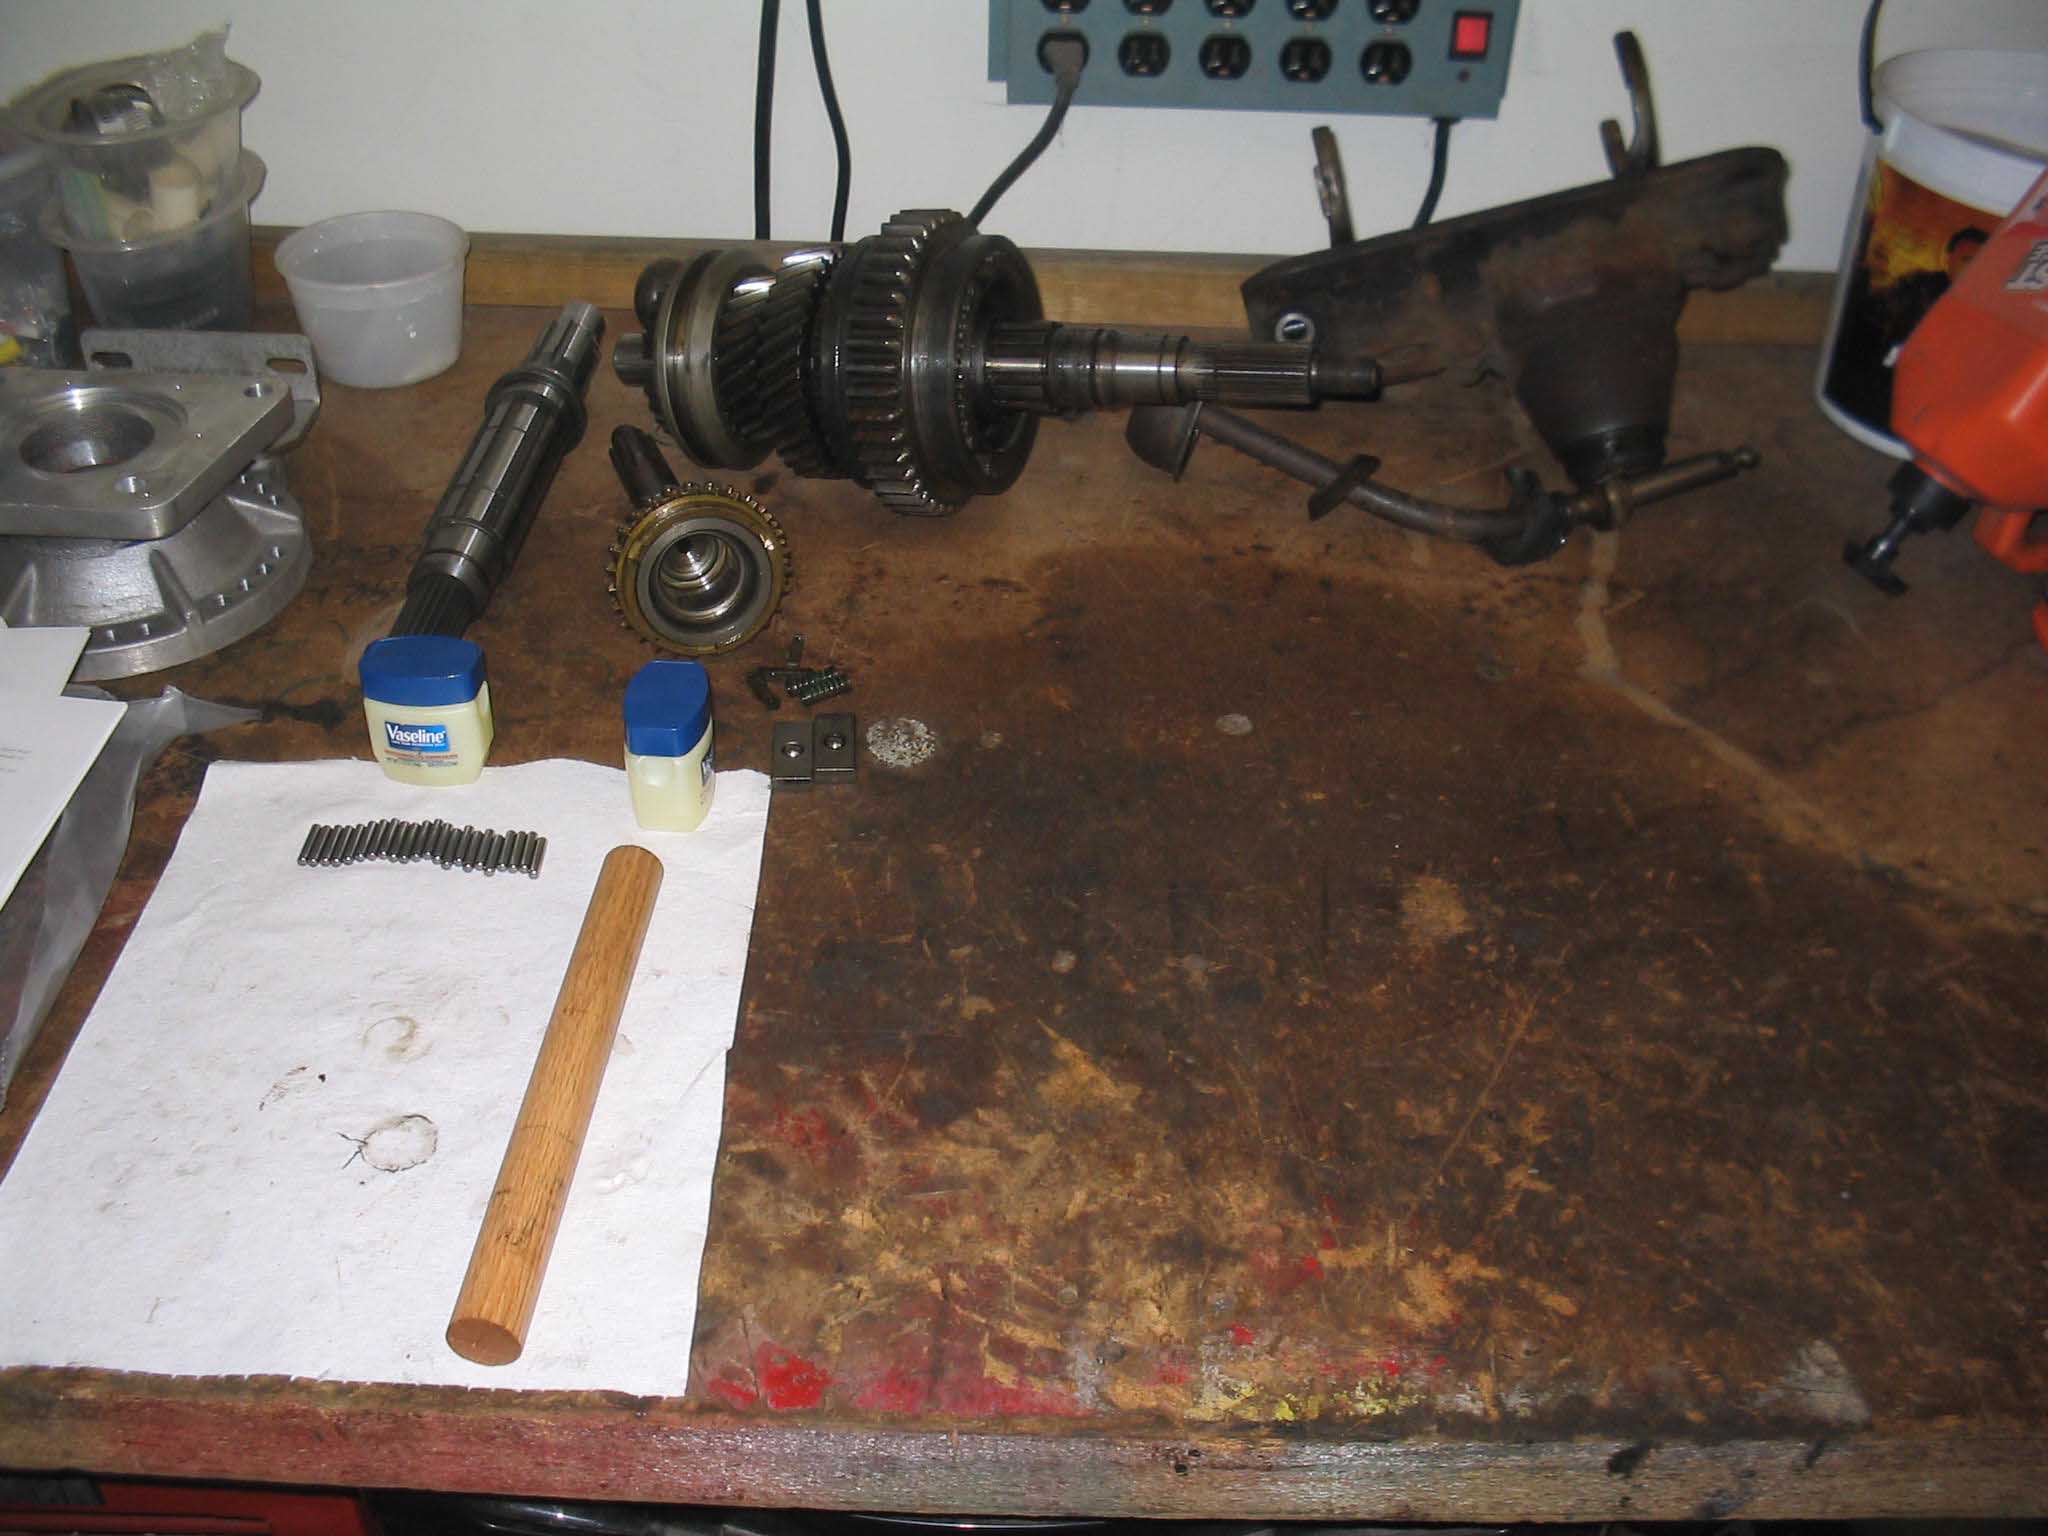
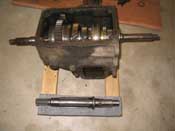
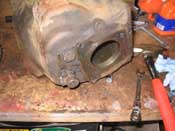
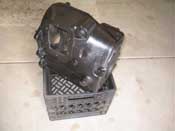
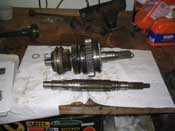
| (01/26/08) I have to say that I am happy with what I got done tonight. In 2 hours,
I was able to finish the disassembly of the T18 Ford 2WD transmission and now I can clean up the case, get some
part needed for reassembly and then hopefully start the reassembly tomorrow or Sunday when I get some more time.
|
| |

|
|
|
|
| |
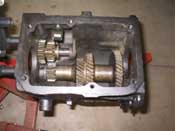
Basically what I did was follow the Novak and a few website directions to get the
whole thing apart. I wish someone had told me to move the 1st/2nd gear cluster up and 3/4 back when removing
the gear from the case but it isn't a big deal, you learn along the way.
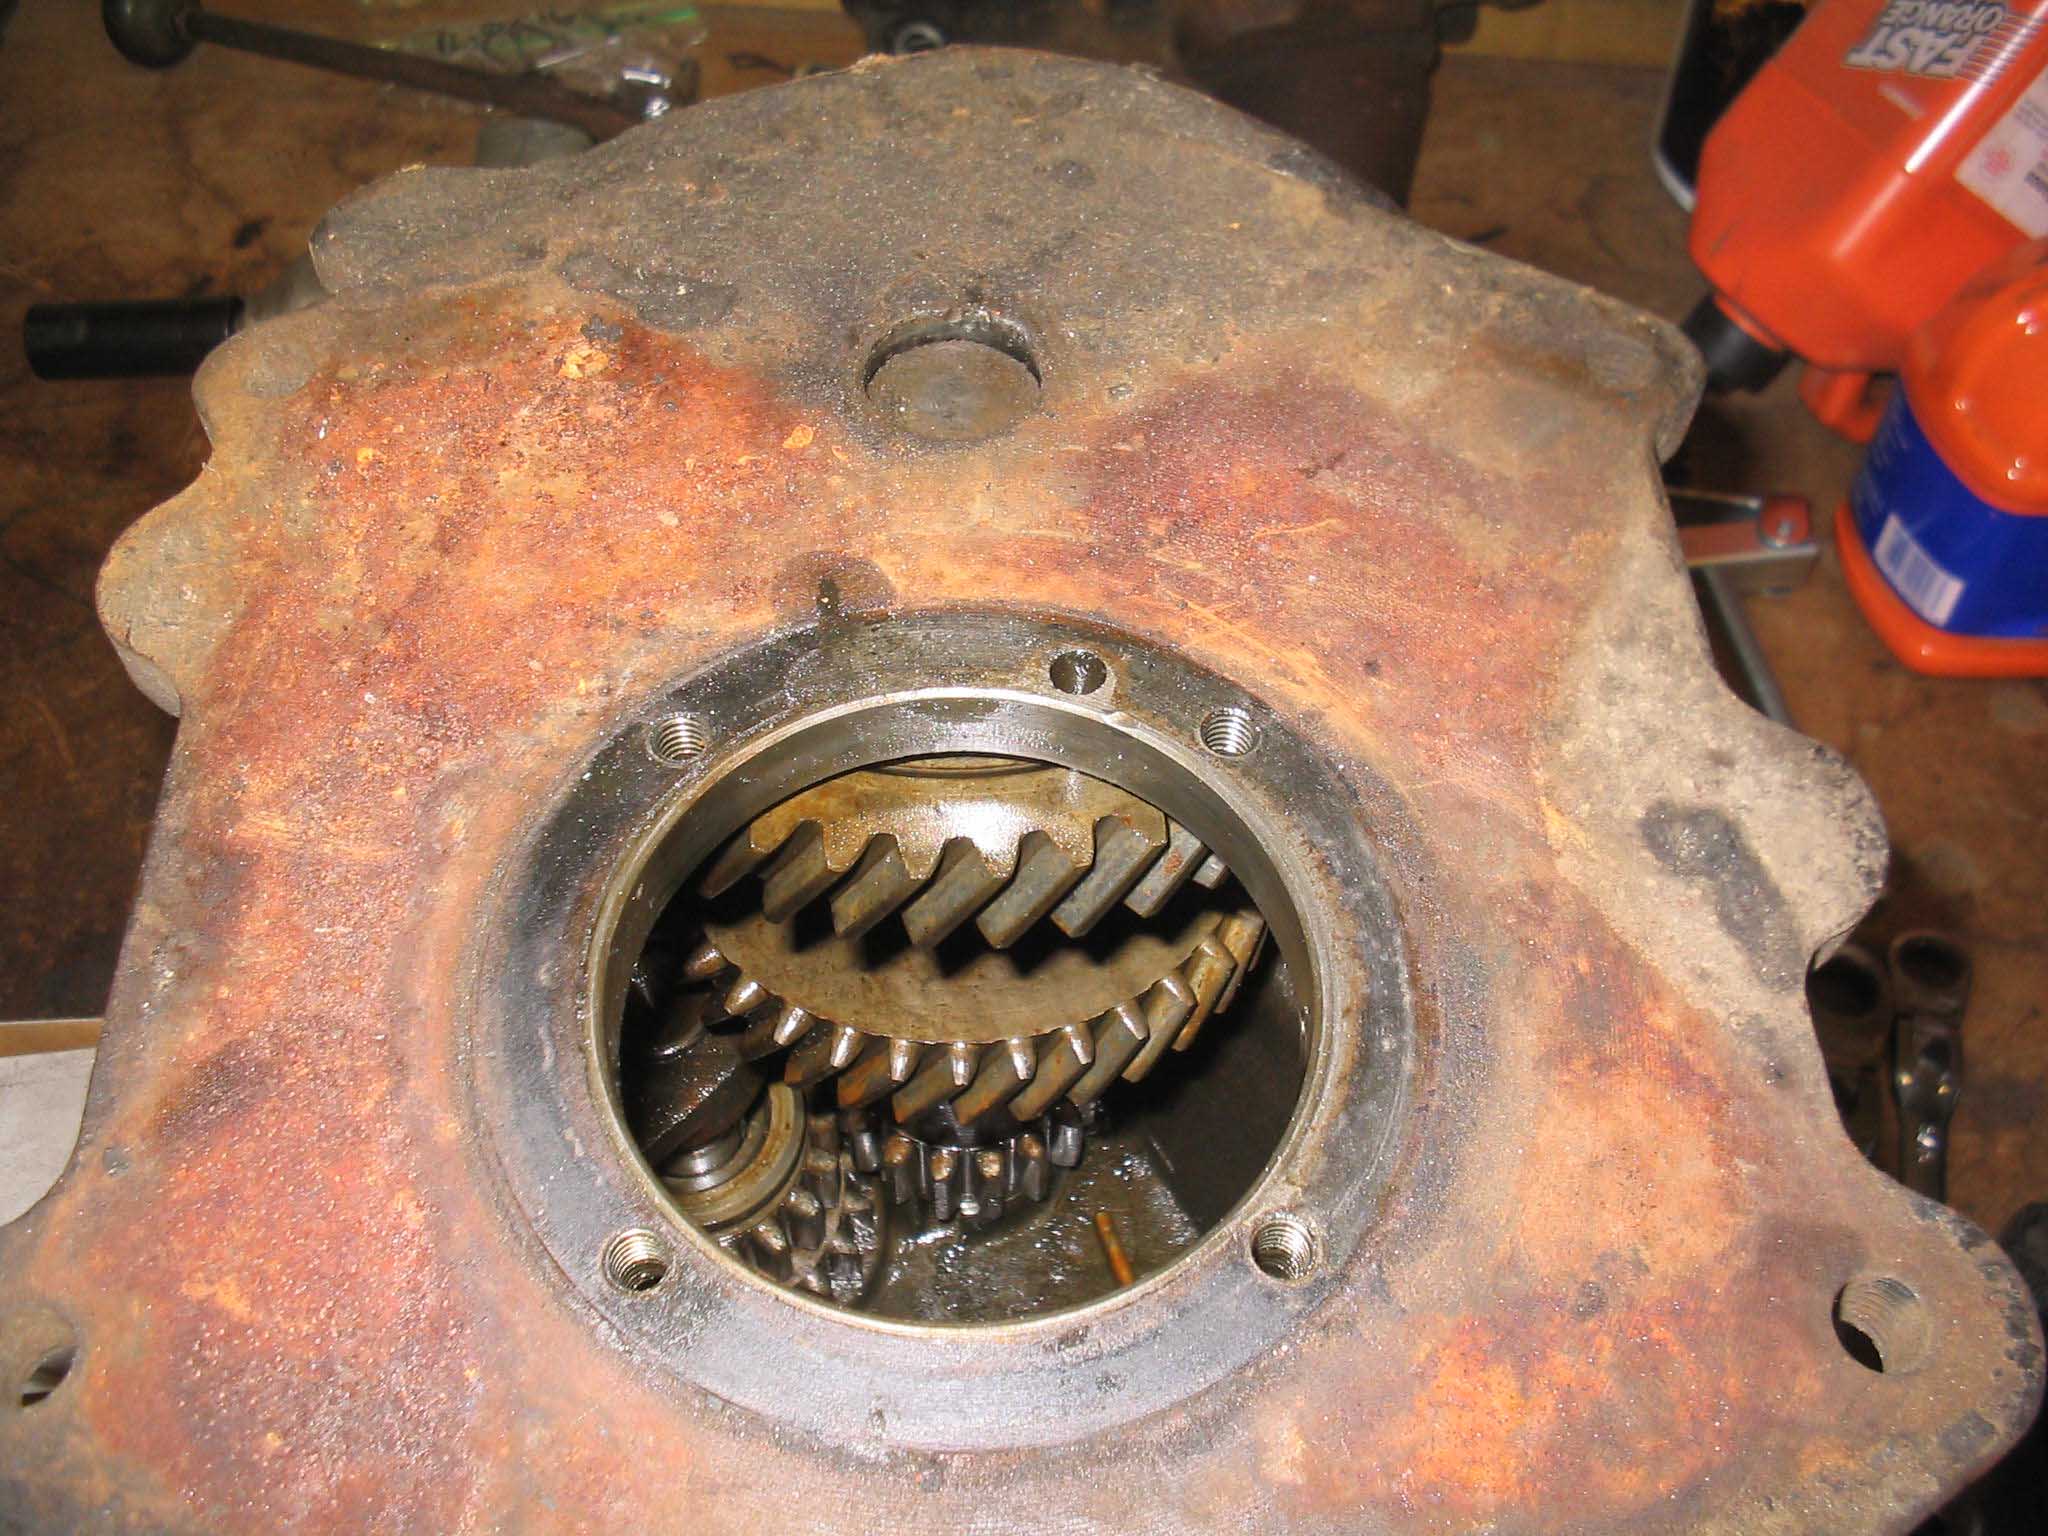
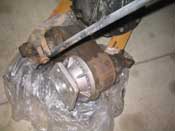
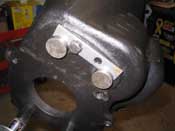
Also, something to note, when you go to remove the counter shaft (lower one), there is a retainer called the
reverse idler and countershaft retainer that needs to be removed prior to knocking the shafts out of the gear
assemblies. This would have been very valuable information when doing this shaft removal, but it is all-good.
According to a lot of articles, you will need a 1" dowel cut to the length of the countershaft, petroleum jelly
and apparently 4 sets of hands to put it all back together. I look forward to seeing my hands mutate!
cb (01/26/08)
|
| |

|

|
|
|
| |
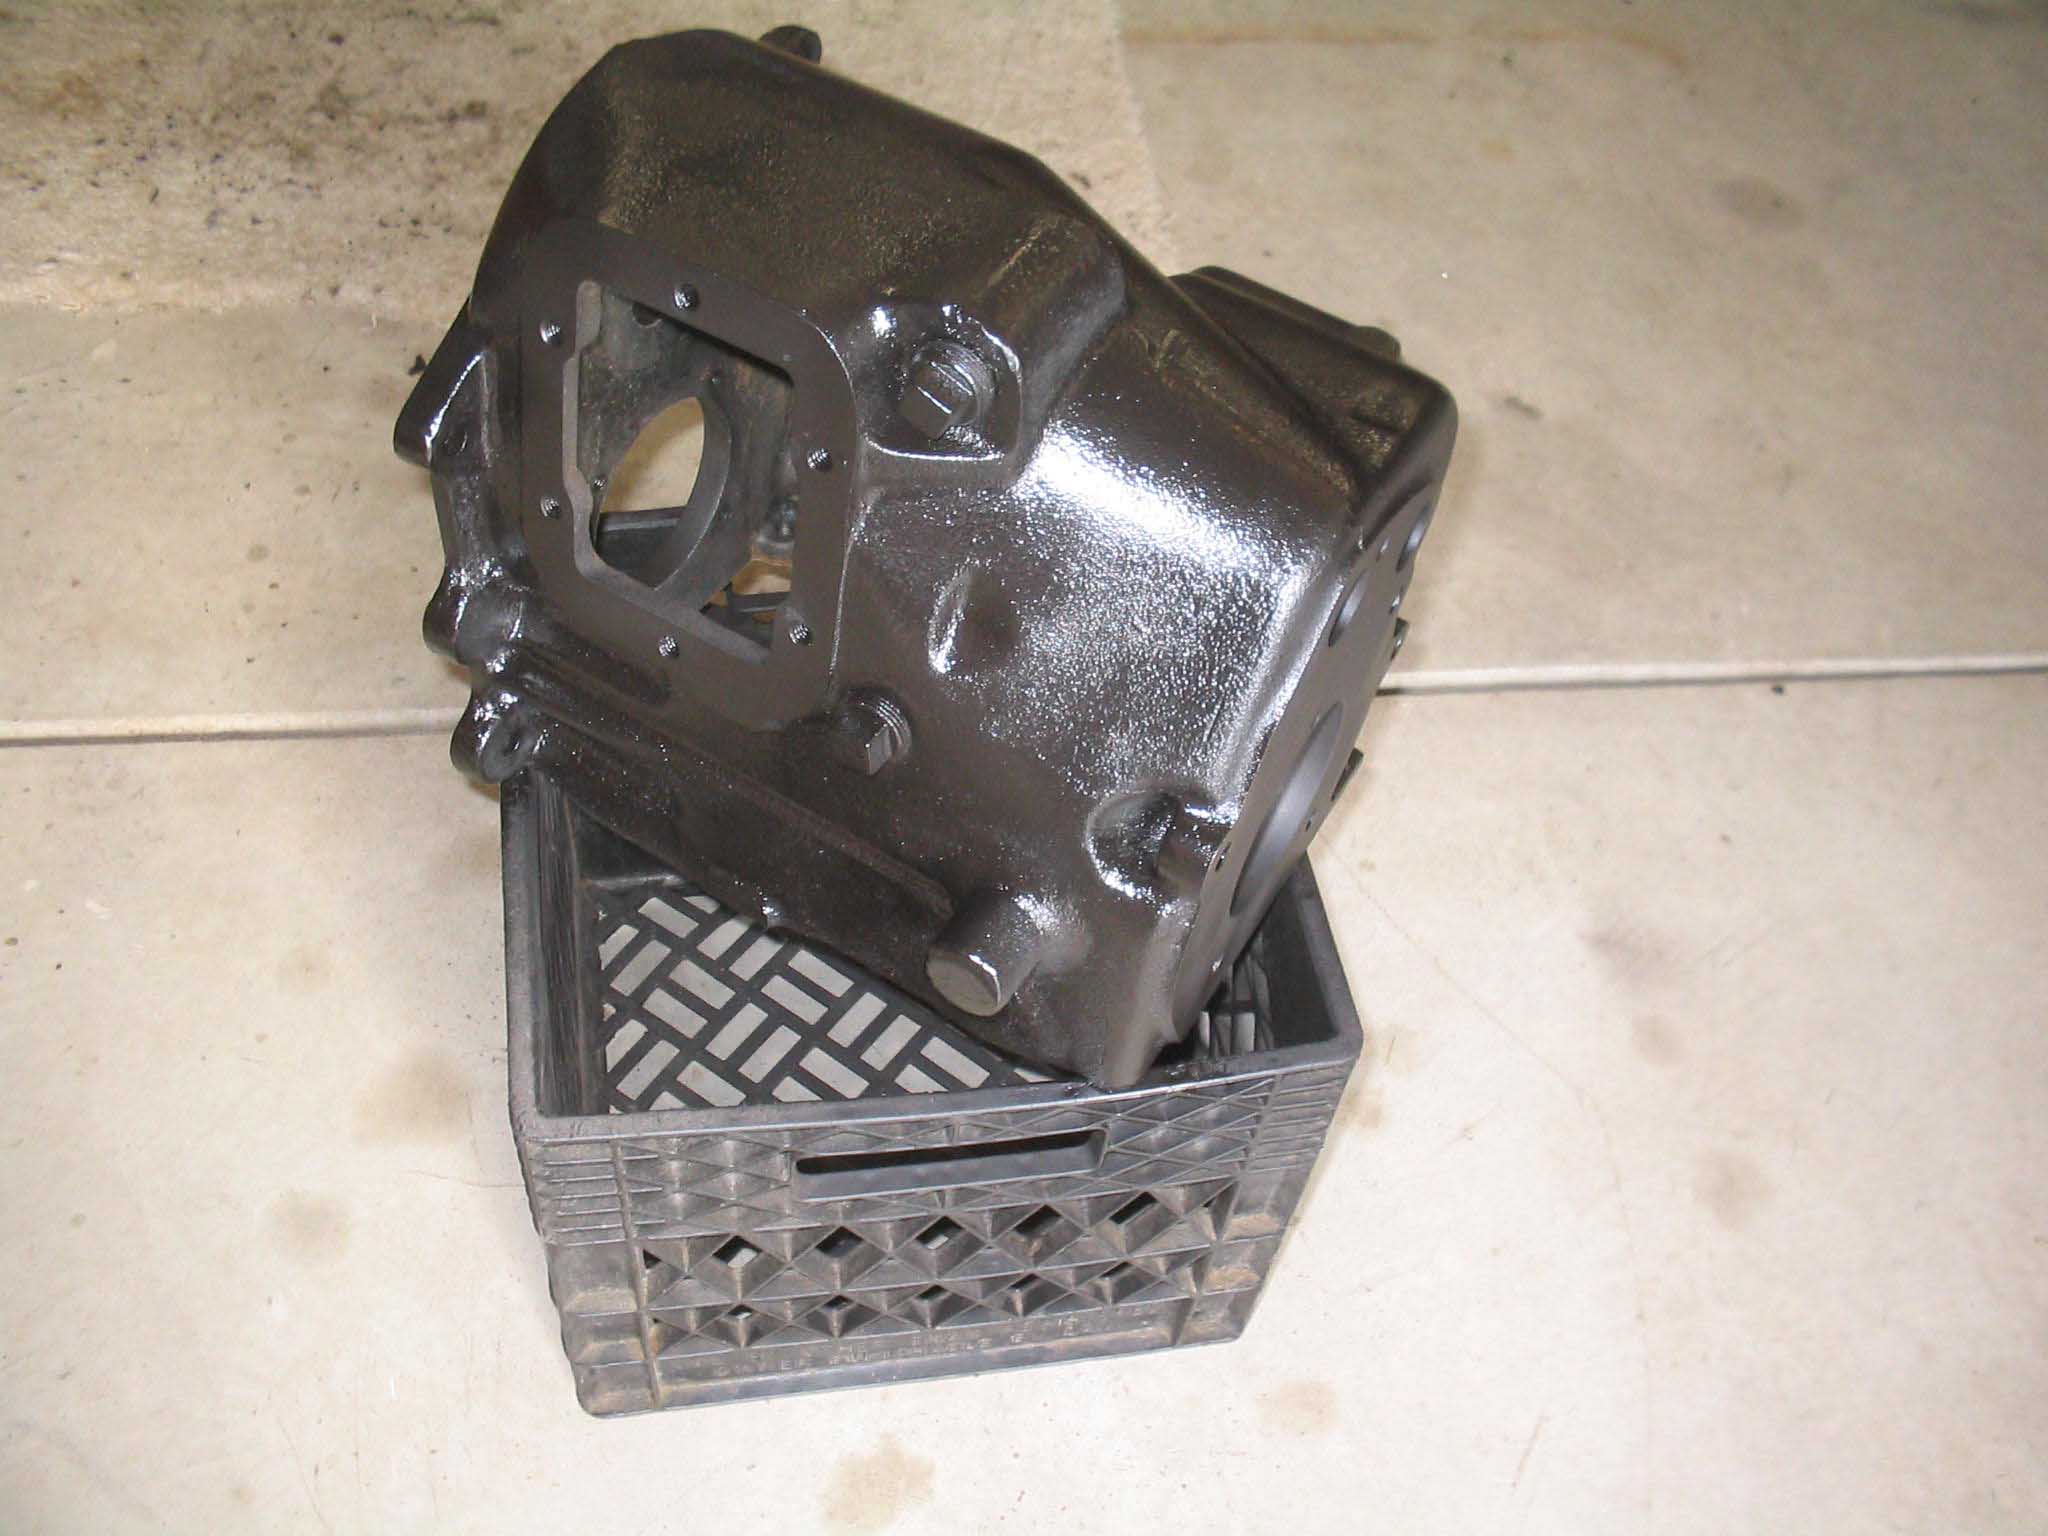
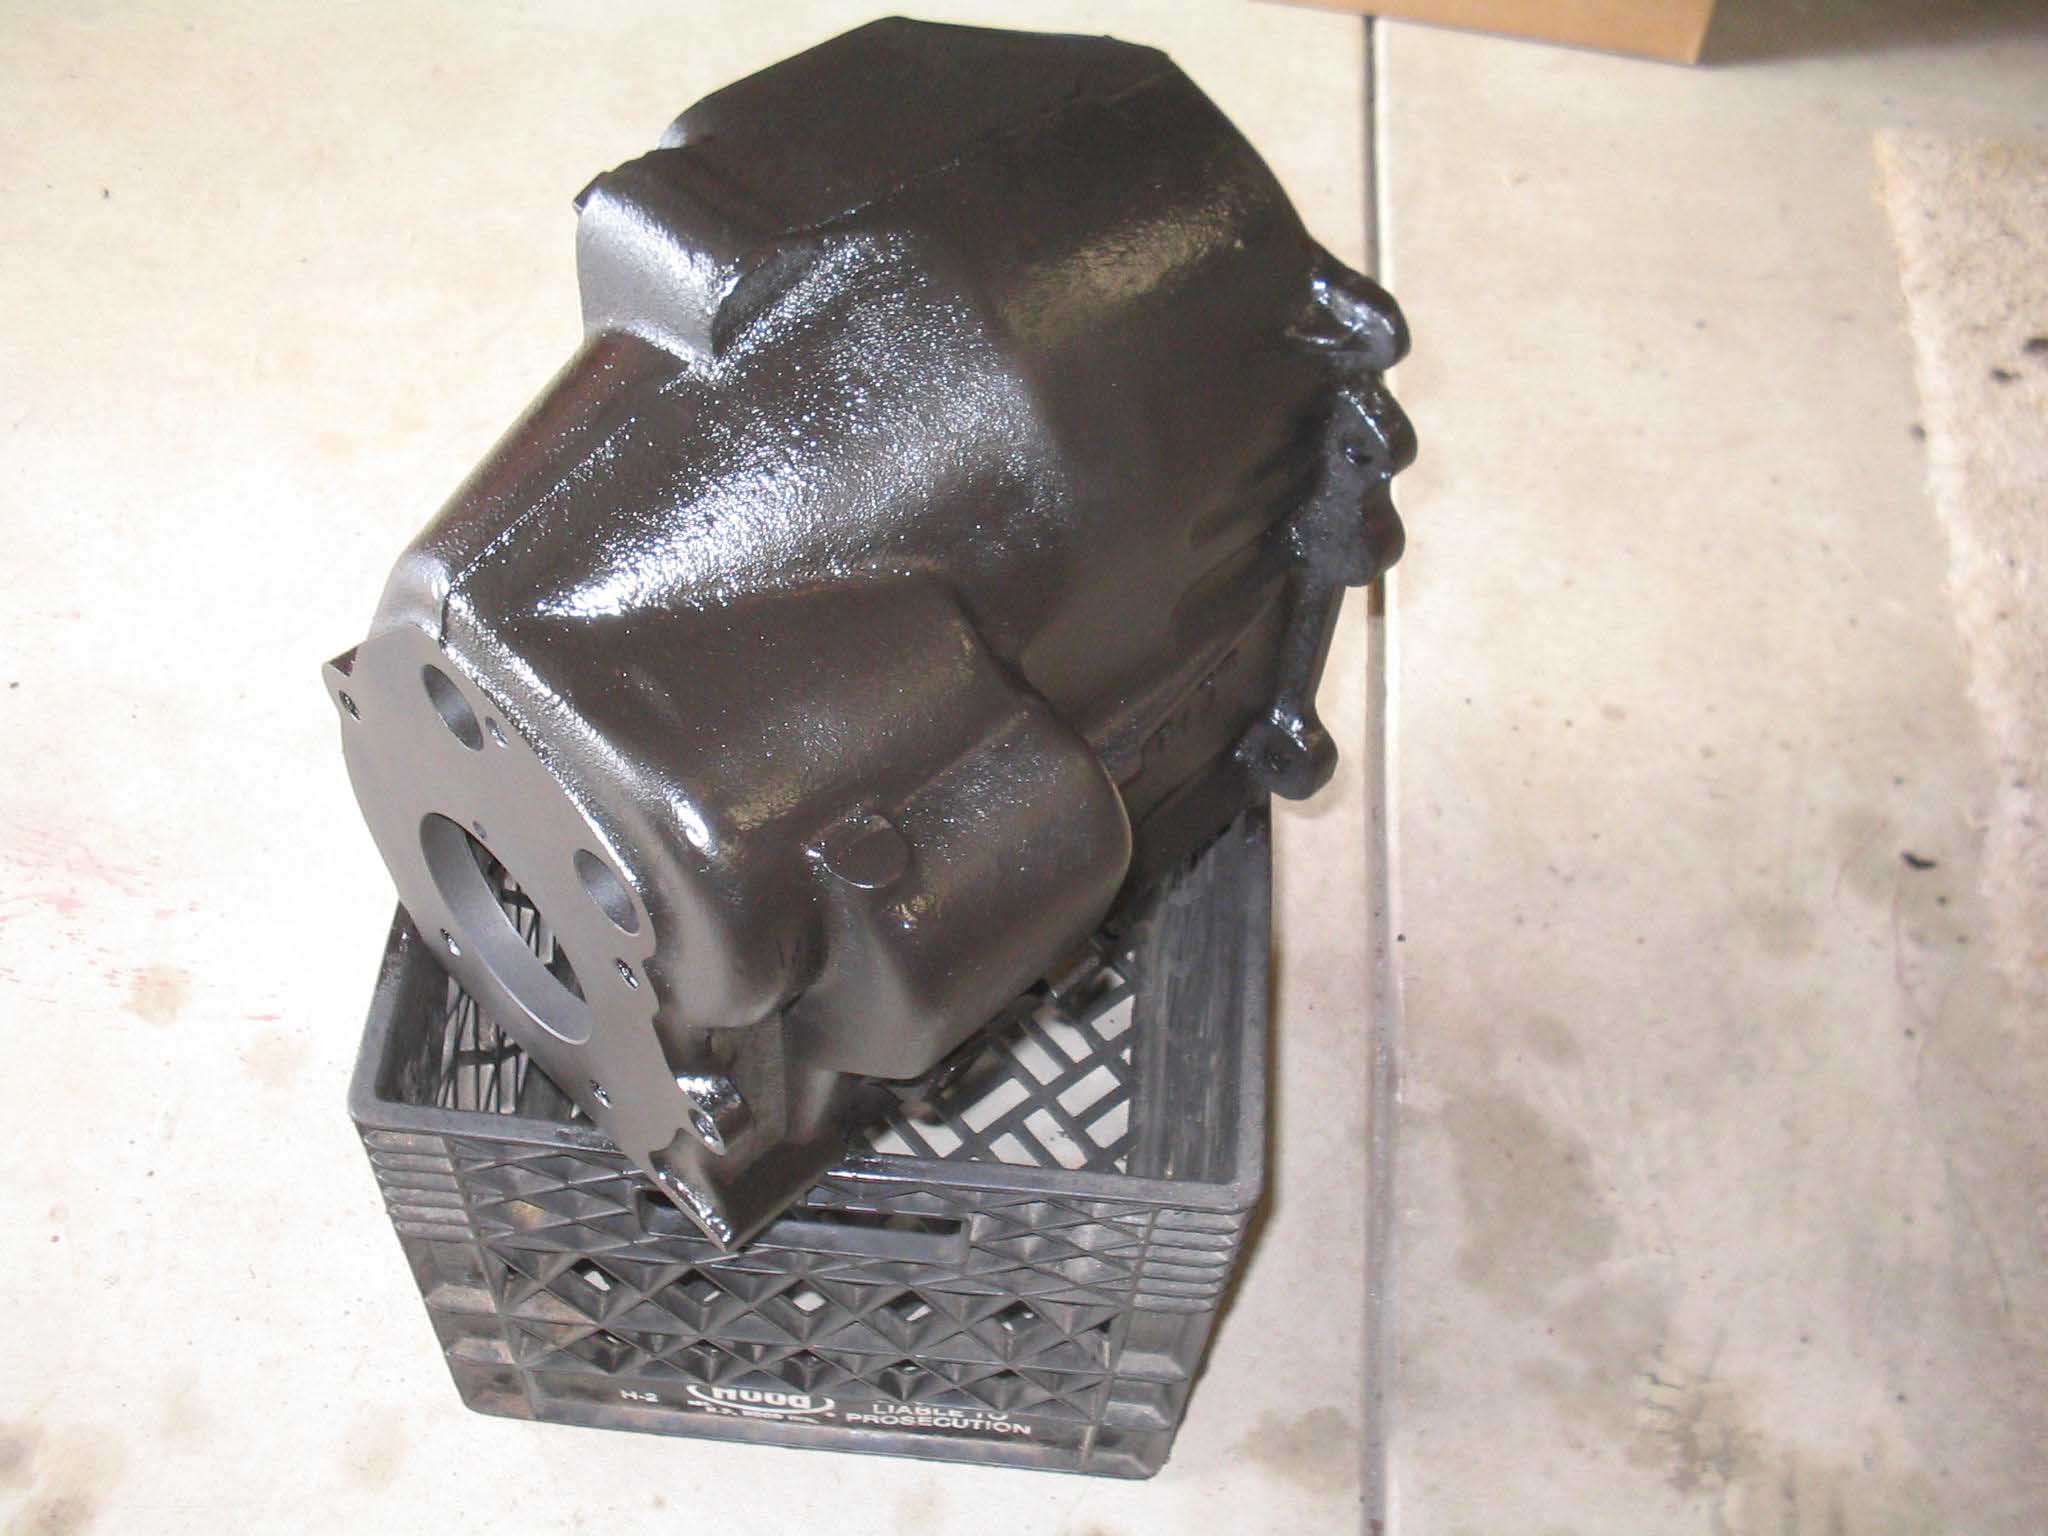
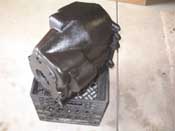
| (01/27/08) It took 6 hours, but the transmission is cleaned up, degreased,
prepped, painted, and partially reassembled. An awful lot in my opinion considering I had to run out and get a
wooden dowel, some Vaseline (petroleum jelly), and a whole lot of rags.
|
| |
|

|
|
|
|
|
| |
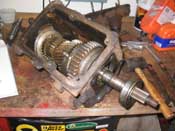
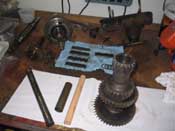
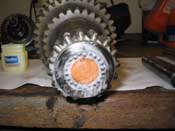
| I started by cleaning and painting everything up. I then had to do some work on
some bird stuff for my wife's volunteer work, but I then moved back onto the transmission and started
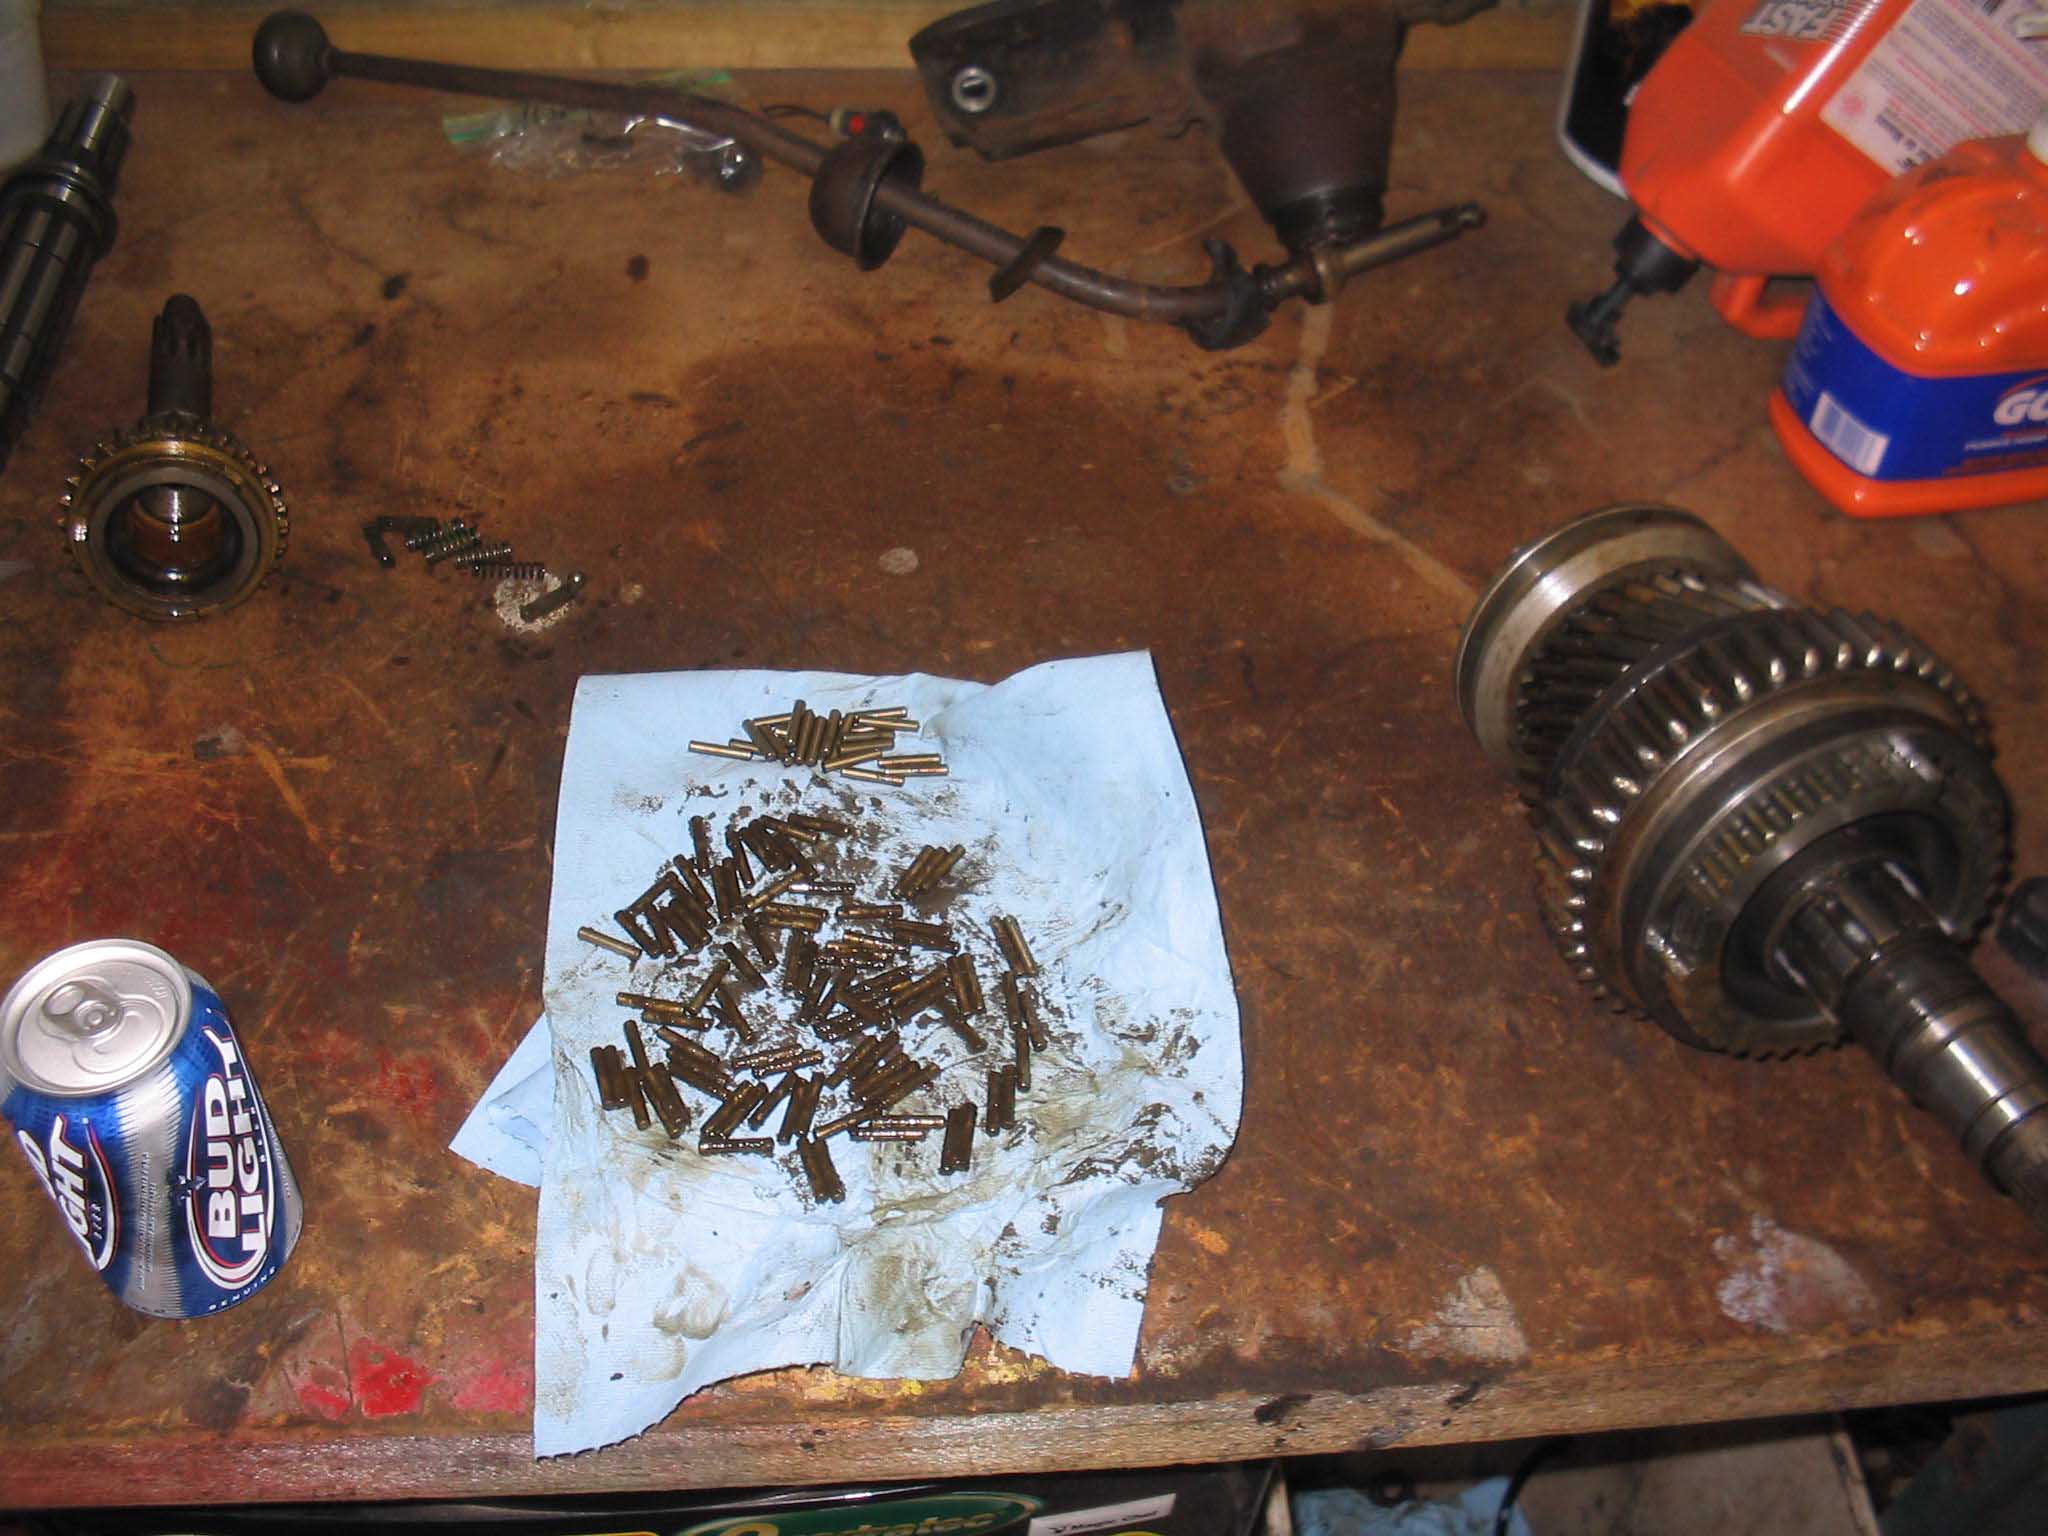
getting the countershaft setup. Everything looked OK to me from what I saw of the teeth. None were chipped or
rust pitted, so I just shot if full of some cleaner and got all the grease off, double checked, and I was on
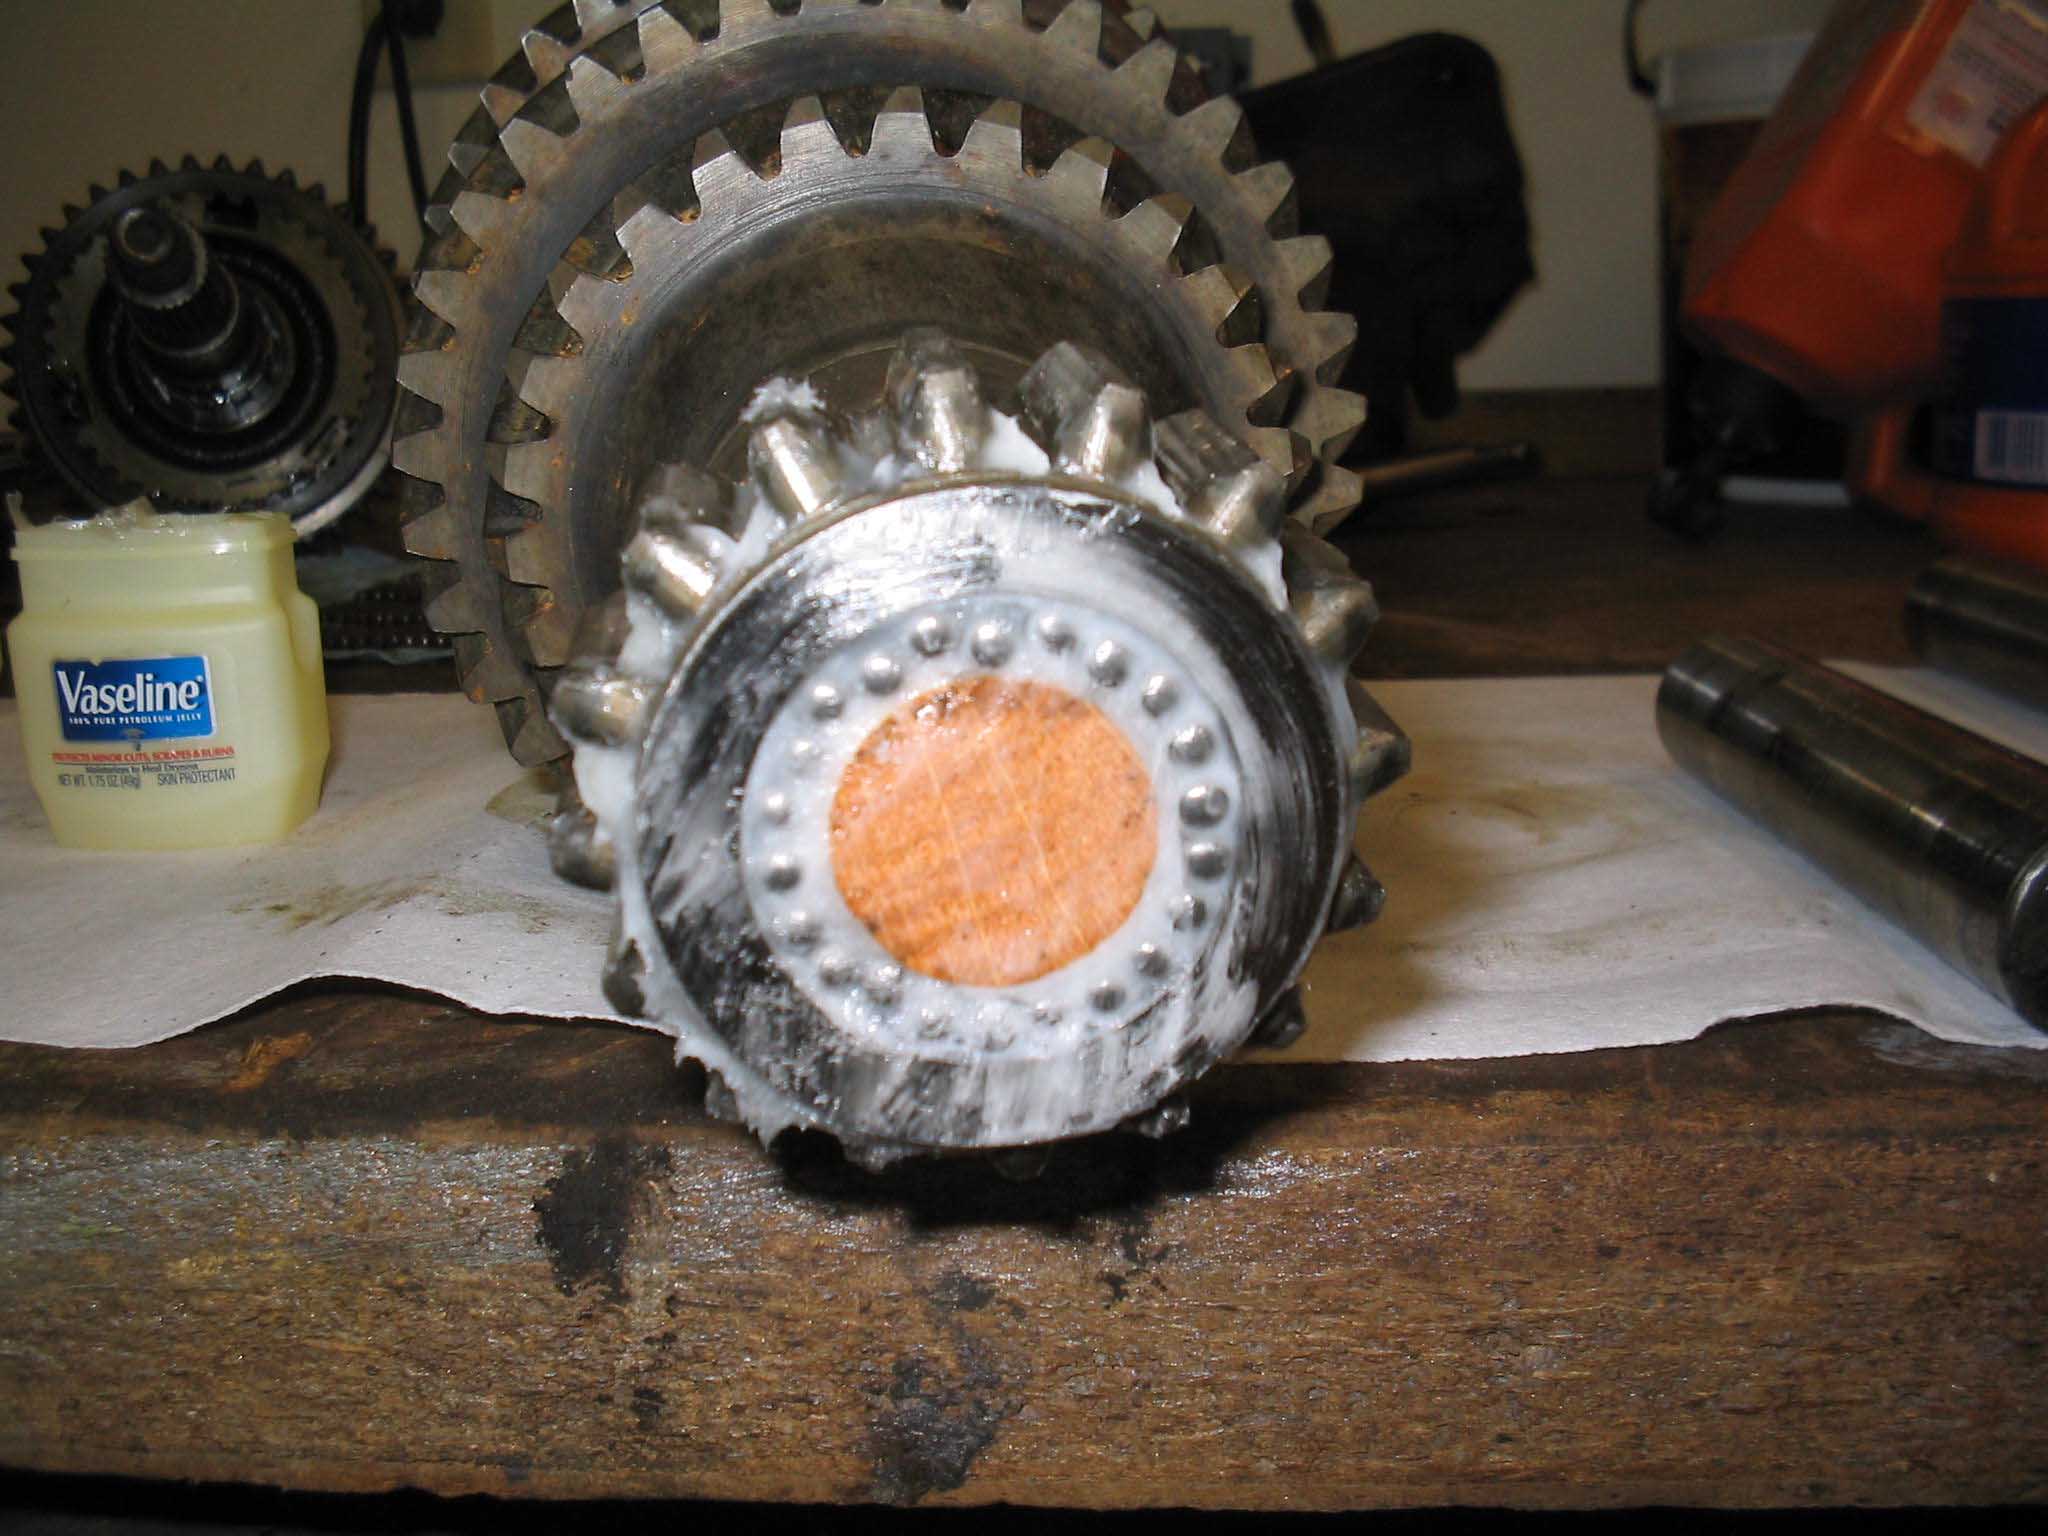
my way to stuffing it full of Vaseline and getting 88 roller bearings in place.
|
| |
|

|
|
|
| |
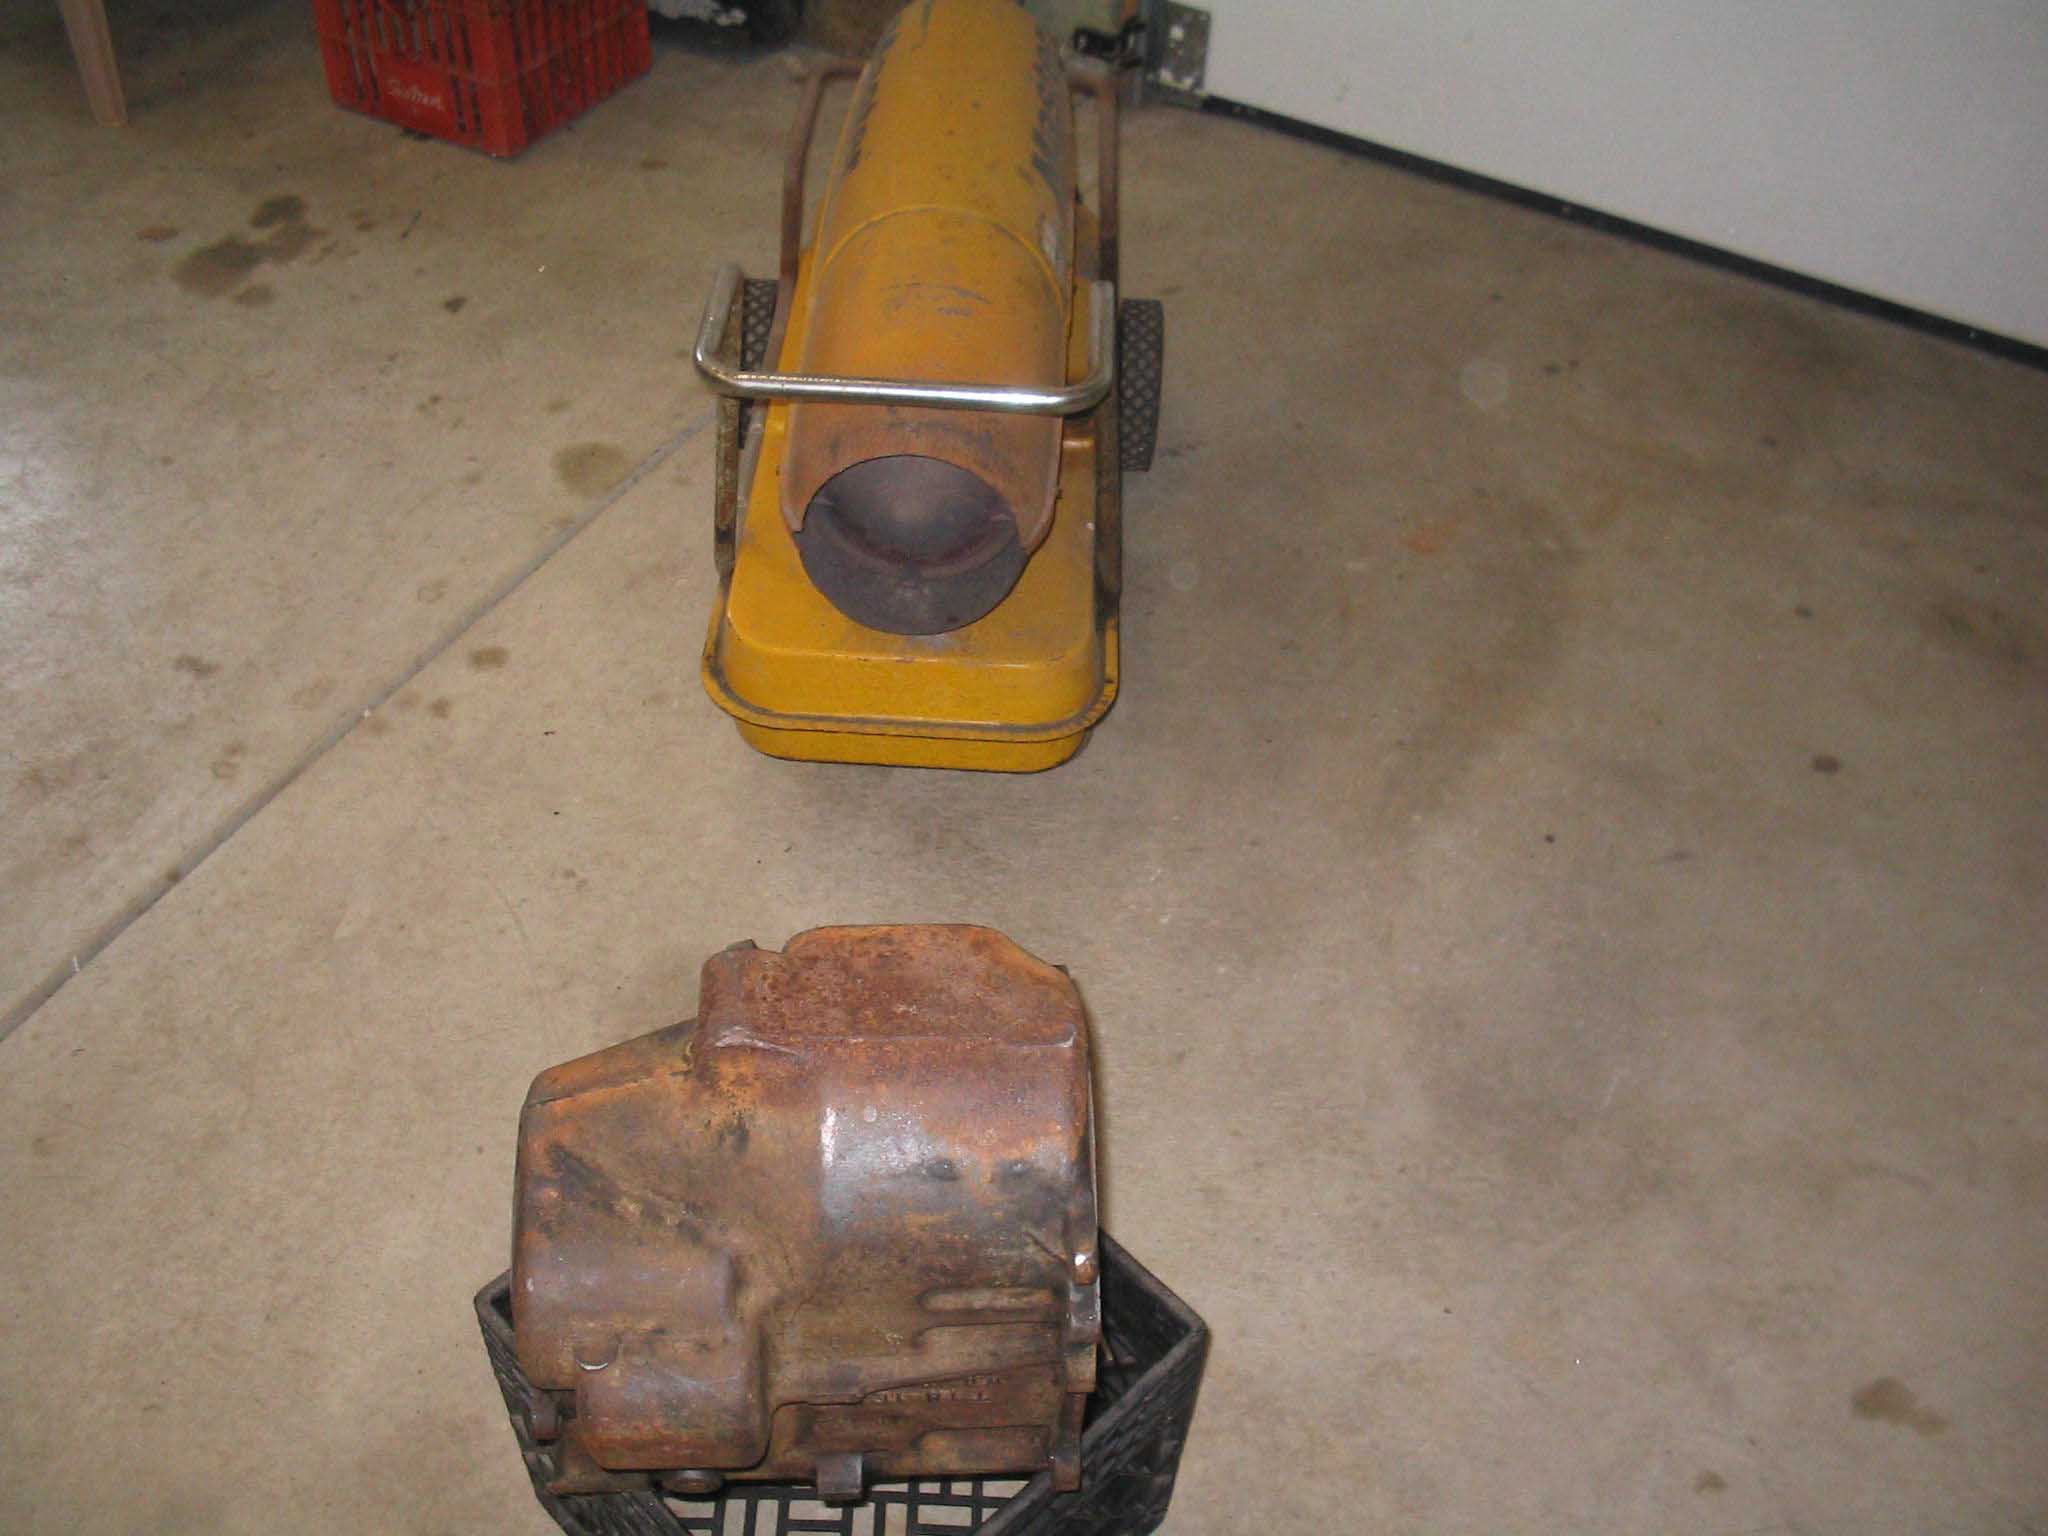
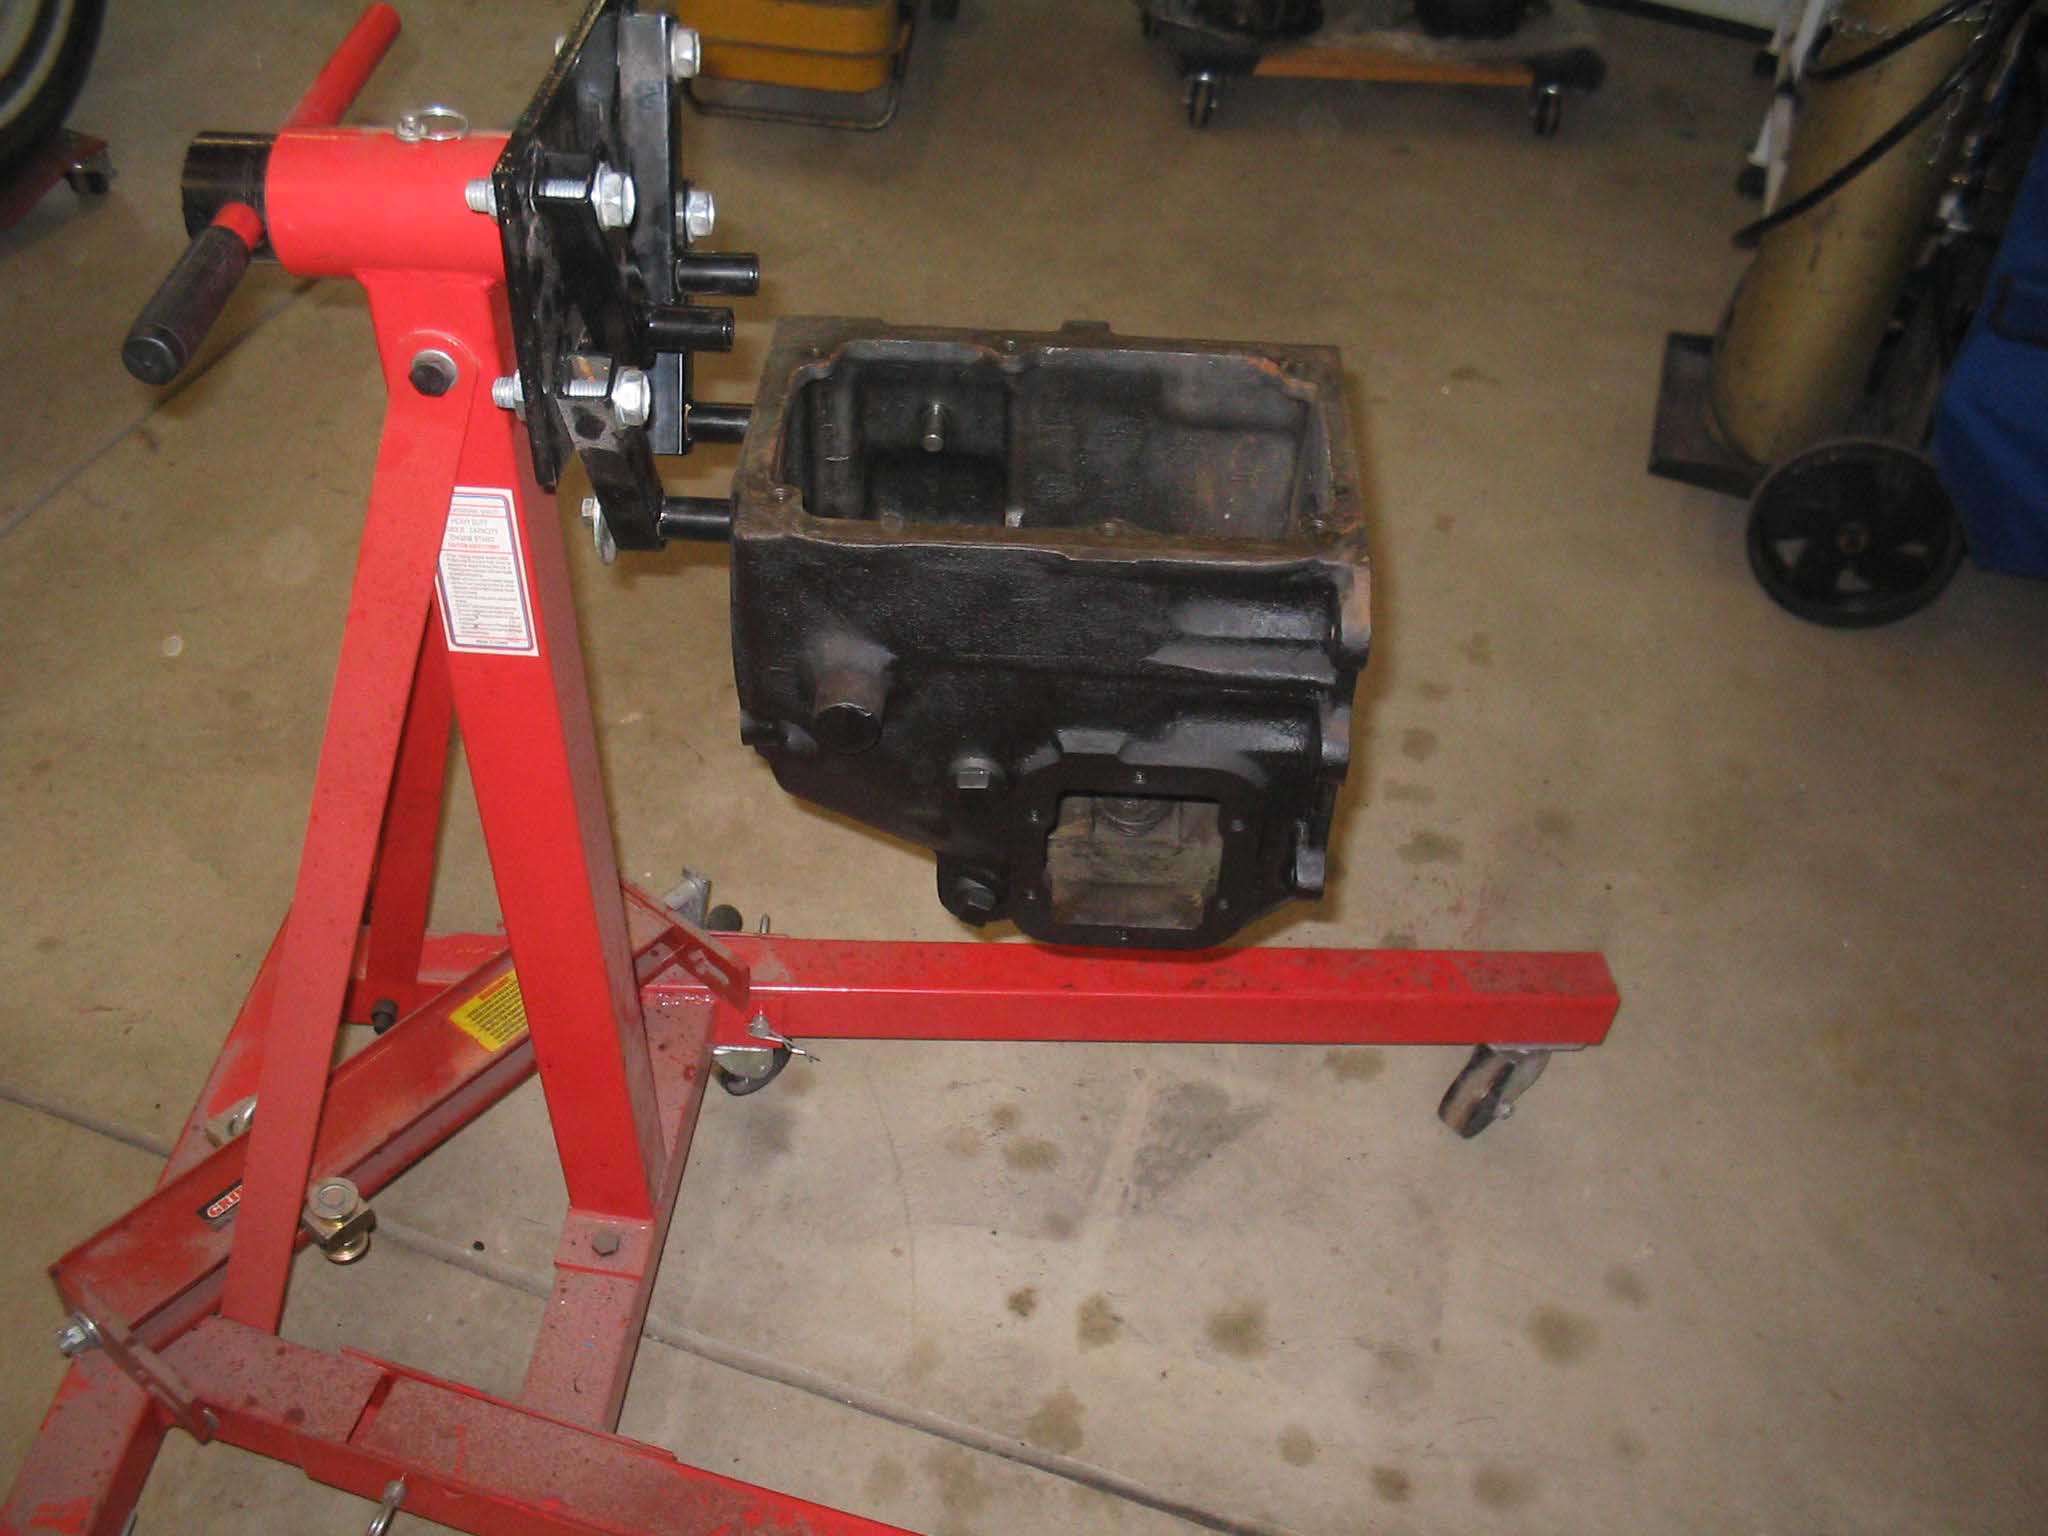
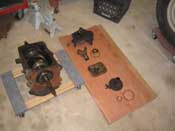
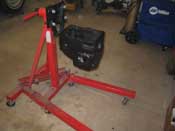
The Vaseline helps to hold the bearings in place; the dowel keeps them there until
you drop the countershaft into the transmission. This is when I need to grow some more hands... Jen came out
and helped a bit and with a LOT of finagling, it finally went in place. During this time, I realized the engine
stand could be used for something other then an engine!
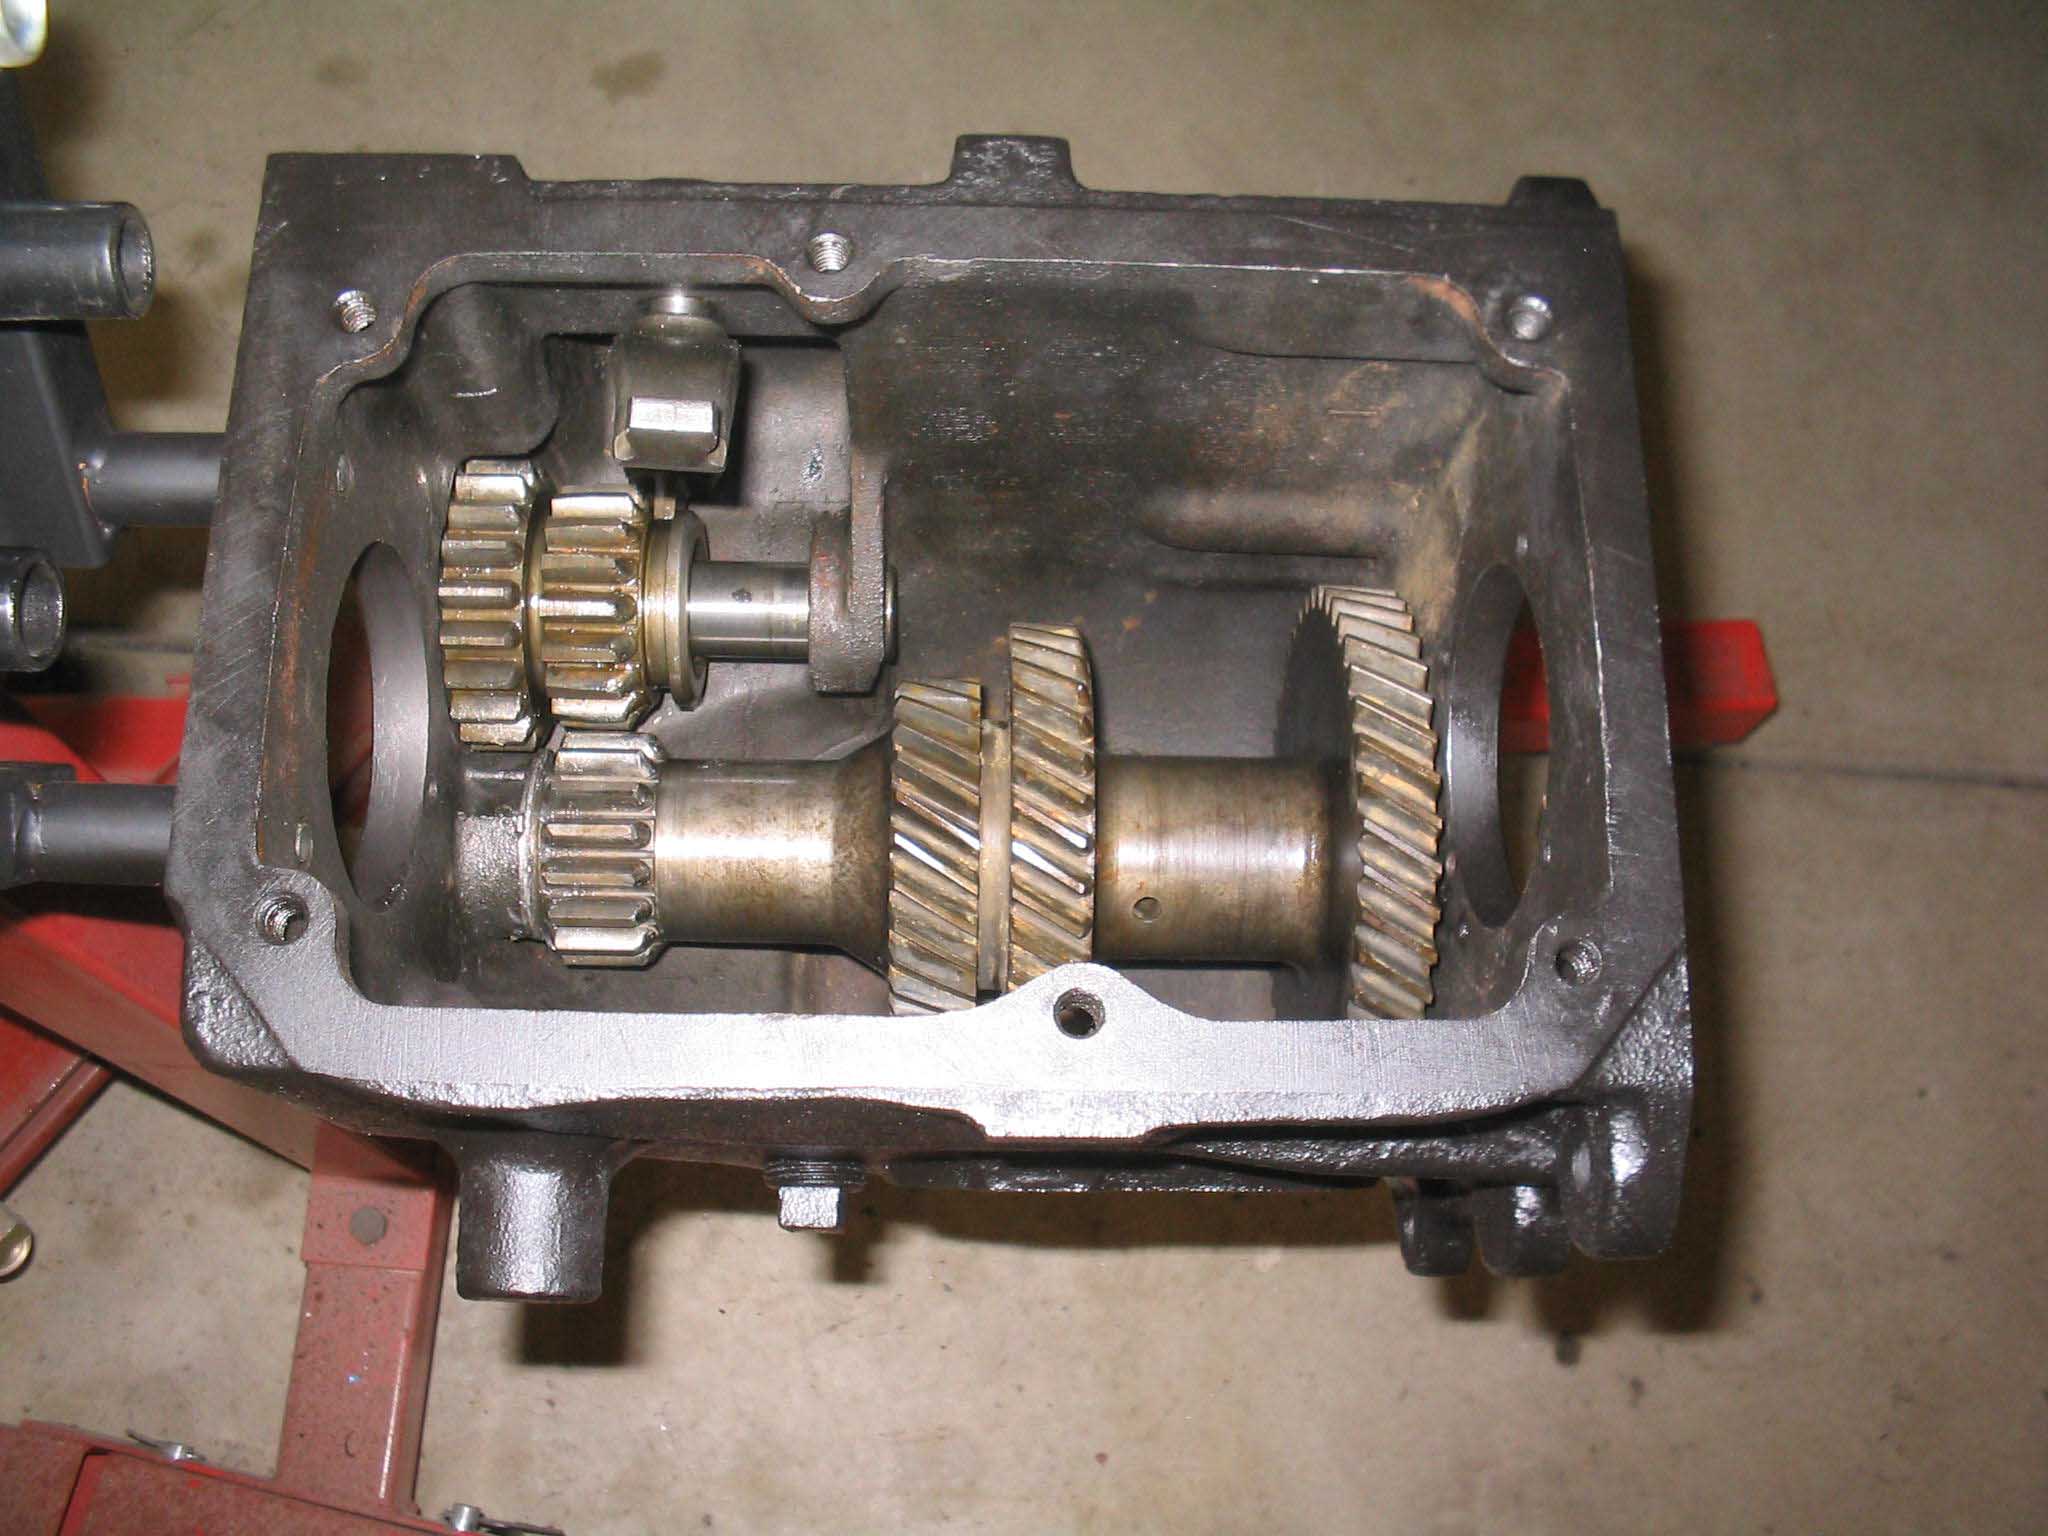
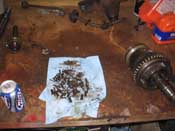
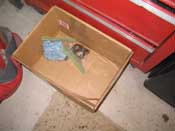
From the shots of the floor, the bench, and the box, you can see that the parts are starting to make their way
into the transmission and the box is where all the used parts are going. I will keep them around until I find
someone with a Ford 250 that might be able to use them.
I finished up with the new shaft and the old shaft and taking clips off and moving the parts over to see how it
would fit. I plan on getting all the clips in place today and getting the shaft totally moved over and hopefully
back into the transmission by the end of the day!
cb (01/27/08)
|
| |
| << Previous |
Next >> |
|