| Project "Free Jeep" a.k.a Project "FJ" - part #45 |
| |
|
1
2
3
4
5
6
7
8
9
10
11
12
13
14
15
16
17
18
19
20
21
22
23
24
25
26
27
28
29
30
31
32
33
34
35
36
37
38
39
40
41
42
43
44
45
46
47
48
49
50
51
52
53
54
55
56
57
58
59
60
61
62
63
64
65
66
67
68
69
70
71
72
73
|
| |
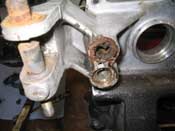
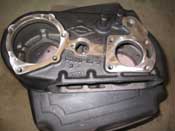
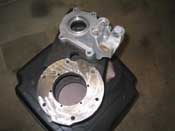
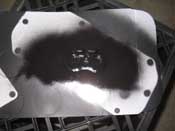
| (02/16/08) I was able to get out and flip the transfer case and cover up the
underside open parts and spray it down in the morning when I got up. Because I did that, I was able to go out
last night and get the unsprayed areas sanded down and ready to accept the new bearings, seals and gears.
|
| |
|
|
|
|
| |
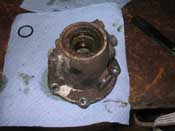
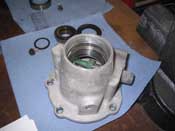
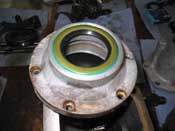
| Just doing that was not enough however. The rear output shaft and the front input
shaft needed to be further broken down and cleaned up. There are bearing races and seals in these two items and
need to be replaced. These parts are included in the kit.
|
| |
|
|
|
|
| |
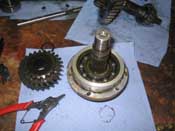
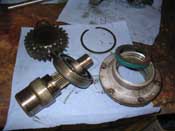
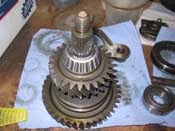
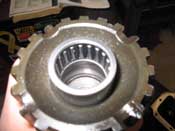
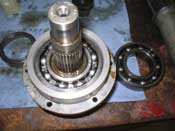
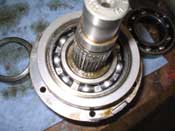
| I painted up the 2 remaining parts that needed cleaning and painting and I moved
onto disassembling the gears that needed to be rebuilt. The front bearing looks similar to the T-18 Ford
bearing, and it needs to be removed with a weird internal snap ring. It is not removed in the traditional way.
I used 2 screwdrivers and was able to get it out. I was then able to use the vise to lightly tap out the shaft
from the bearing. None of the instructions indicated that I should rebuild it at this point, so I am going to wait
until tomorrow to rebuild everything.
|
| |
|
|
|
|
| |
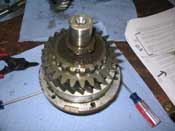
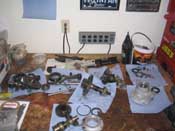
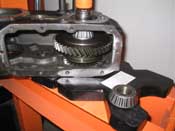
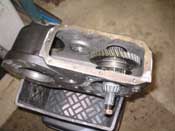
I finished off the night by taking a picture of all the parts that go into the
transfer case. It is truly amazing that, first, someone thought this up, and second, that all those parts fit
so snugly into a small case and with all those part, they end up giving you 4-wheel drive.
cb (02/16/08)
|
| |
|
|
|
|
|
|
|
|
| |
| (02/17/06) I spent 7 hours in the garage today. I was able to start putting
the transfer case back together. I followed the directions pretty much word for word. I also copied the TSM
directions and followed them. It turned out good so far. I will try to give a play by play as to what I was
able to accomplish.
|
| |
|
|
|
|
|
|
|
|
| |
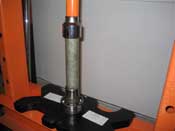
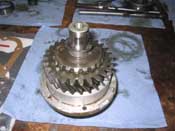
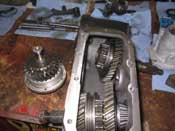
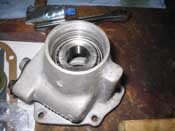
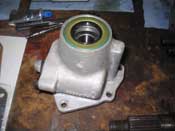
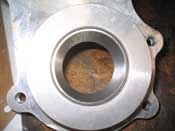
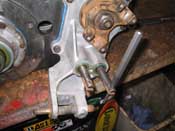
| As I stated earlier, a press is VERY helpful during the reassembly process. It
starts by putting the input shaft together, placing the assembly in the case, putting the weird bearing race in
the shaft, and then finally putting the oil seal in the retainer. With that done, the input bearing was
pressed into place and then the snap ring was installed. This takes a little doing, but it is pretty easy to do,
once you figure out what is stationery and what is moving.
|
| |
|
|
|
|
|
|
|
|
| |
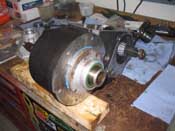
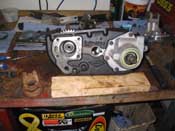
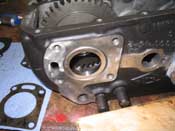
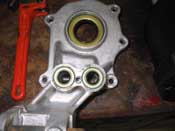
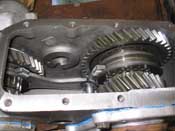
I then moved onto the rear and was able to put some oil seals in, some new
bearings, and finally some new races. Remember that there was A LOT of cleaning done during this process, some
sanding, and finally some painting. If you want to do this, you have to really plan this out. It is a bit
overwhelming when you take this apart, but it is all-doable if you just keep it organized.
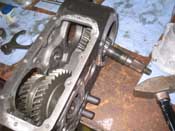
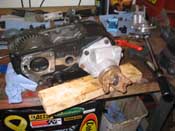
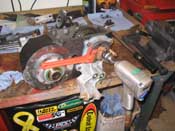
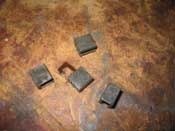
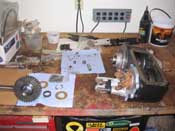
Finally, the yokes were put on, the clutch sleeves were put in place and some of the parts were replaced. The
shift rods were then sanded down a bit with emery cloth and then put in place. I then put the setscrews in place
and made sure everything shifted correctly. With that all done, one final picture was taken to show how little
is left to do. We will see if that is actually correct or not.
cb (02/17/08)
|
| |
| << Previous |
Next >> |

