|
|
| Project "Free Jeep" a.k.a Project "FJ" - part #59 |
| |
|
1
2
3
4
5
6
7
8
9
10
11
12
13
14
15
16
17
18
19
20
21
22
23
24
25
26
27
28
29
30
31
32
33
34
35
36
37
38
39
40
41
42
43
44
45
46
47
48
49
50
51
52
53
54
55
56
57
58
59
60
61
62
63
64
65
66
67
68
69
70
71
72
73
|
| |
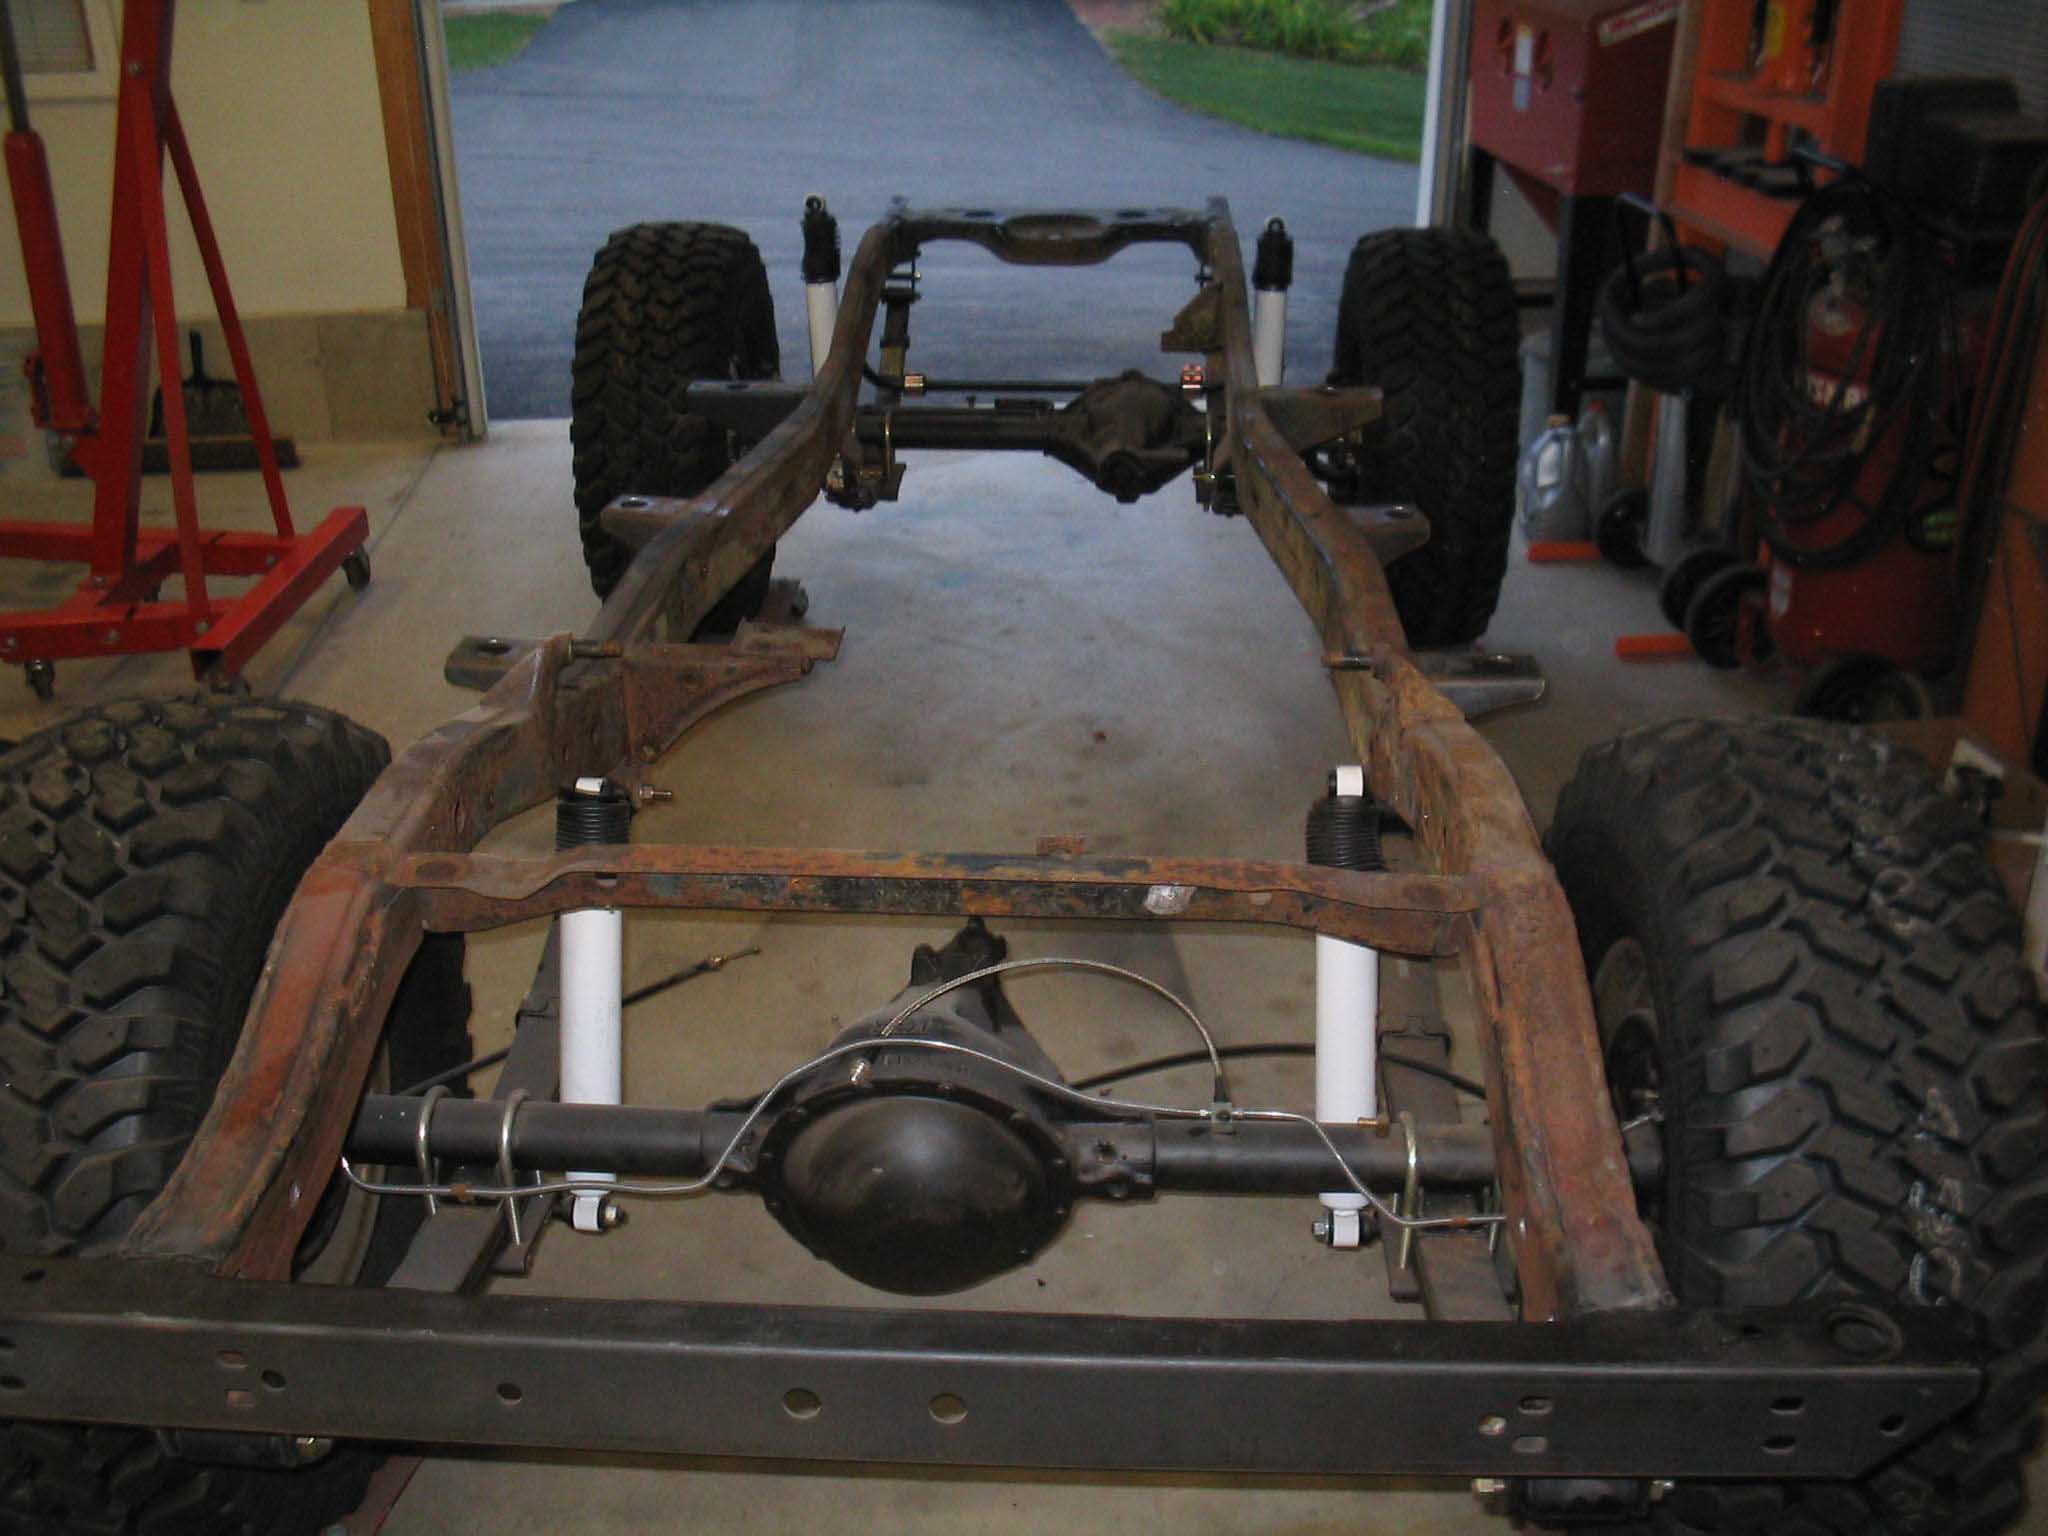
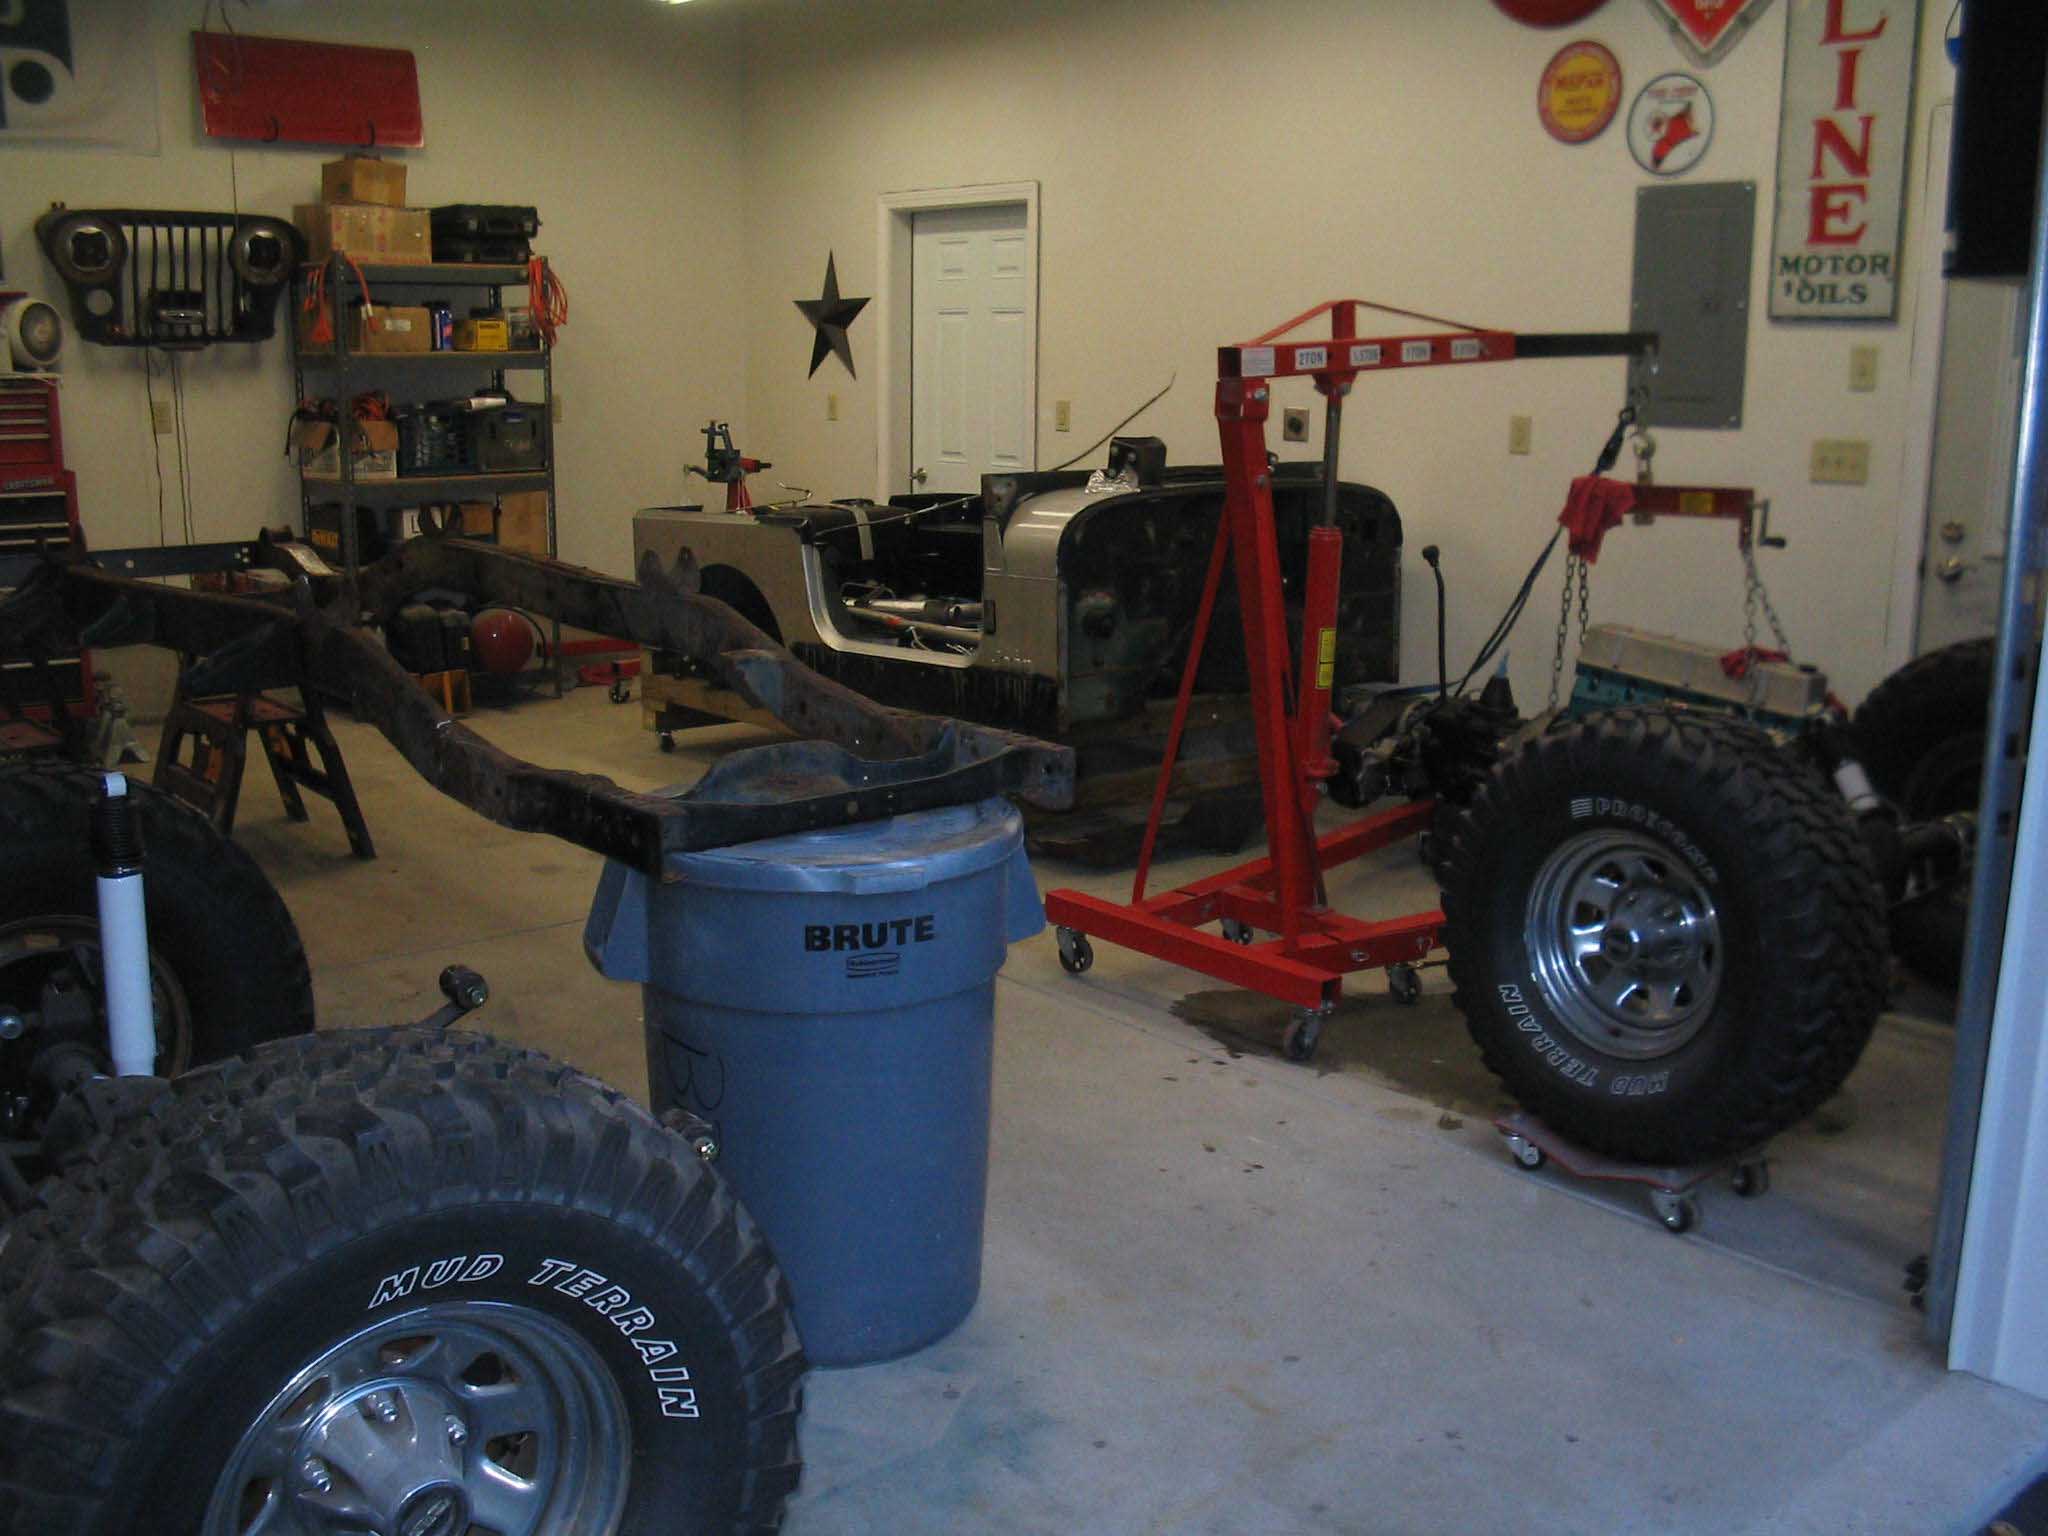
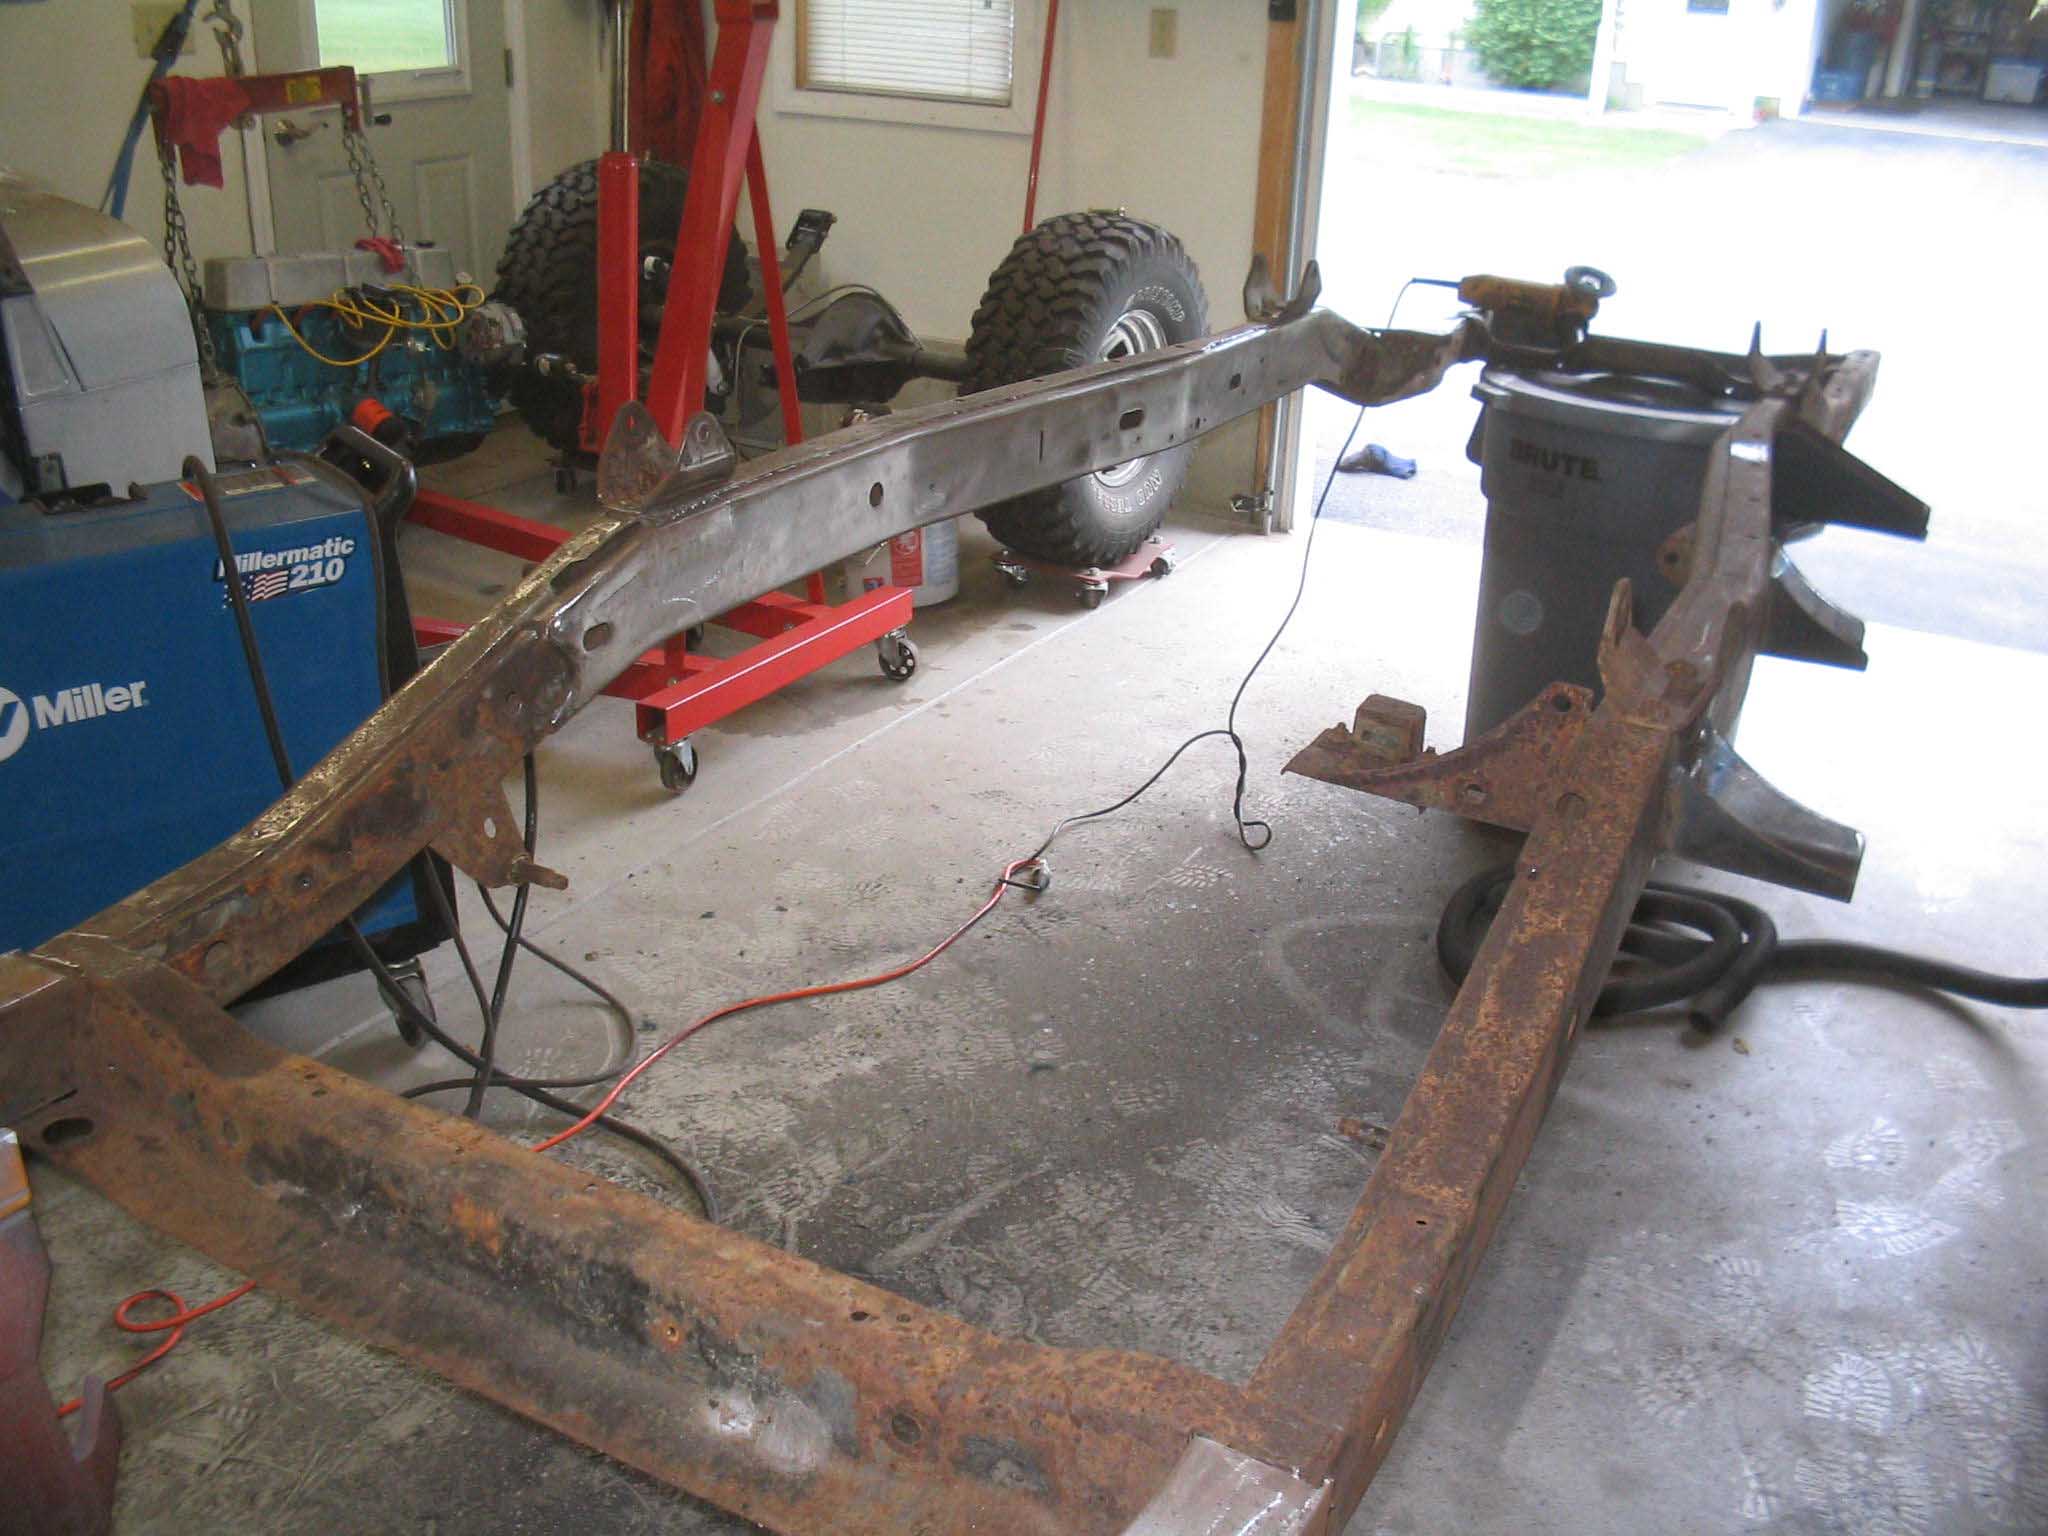
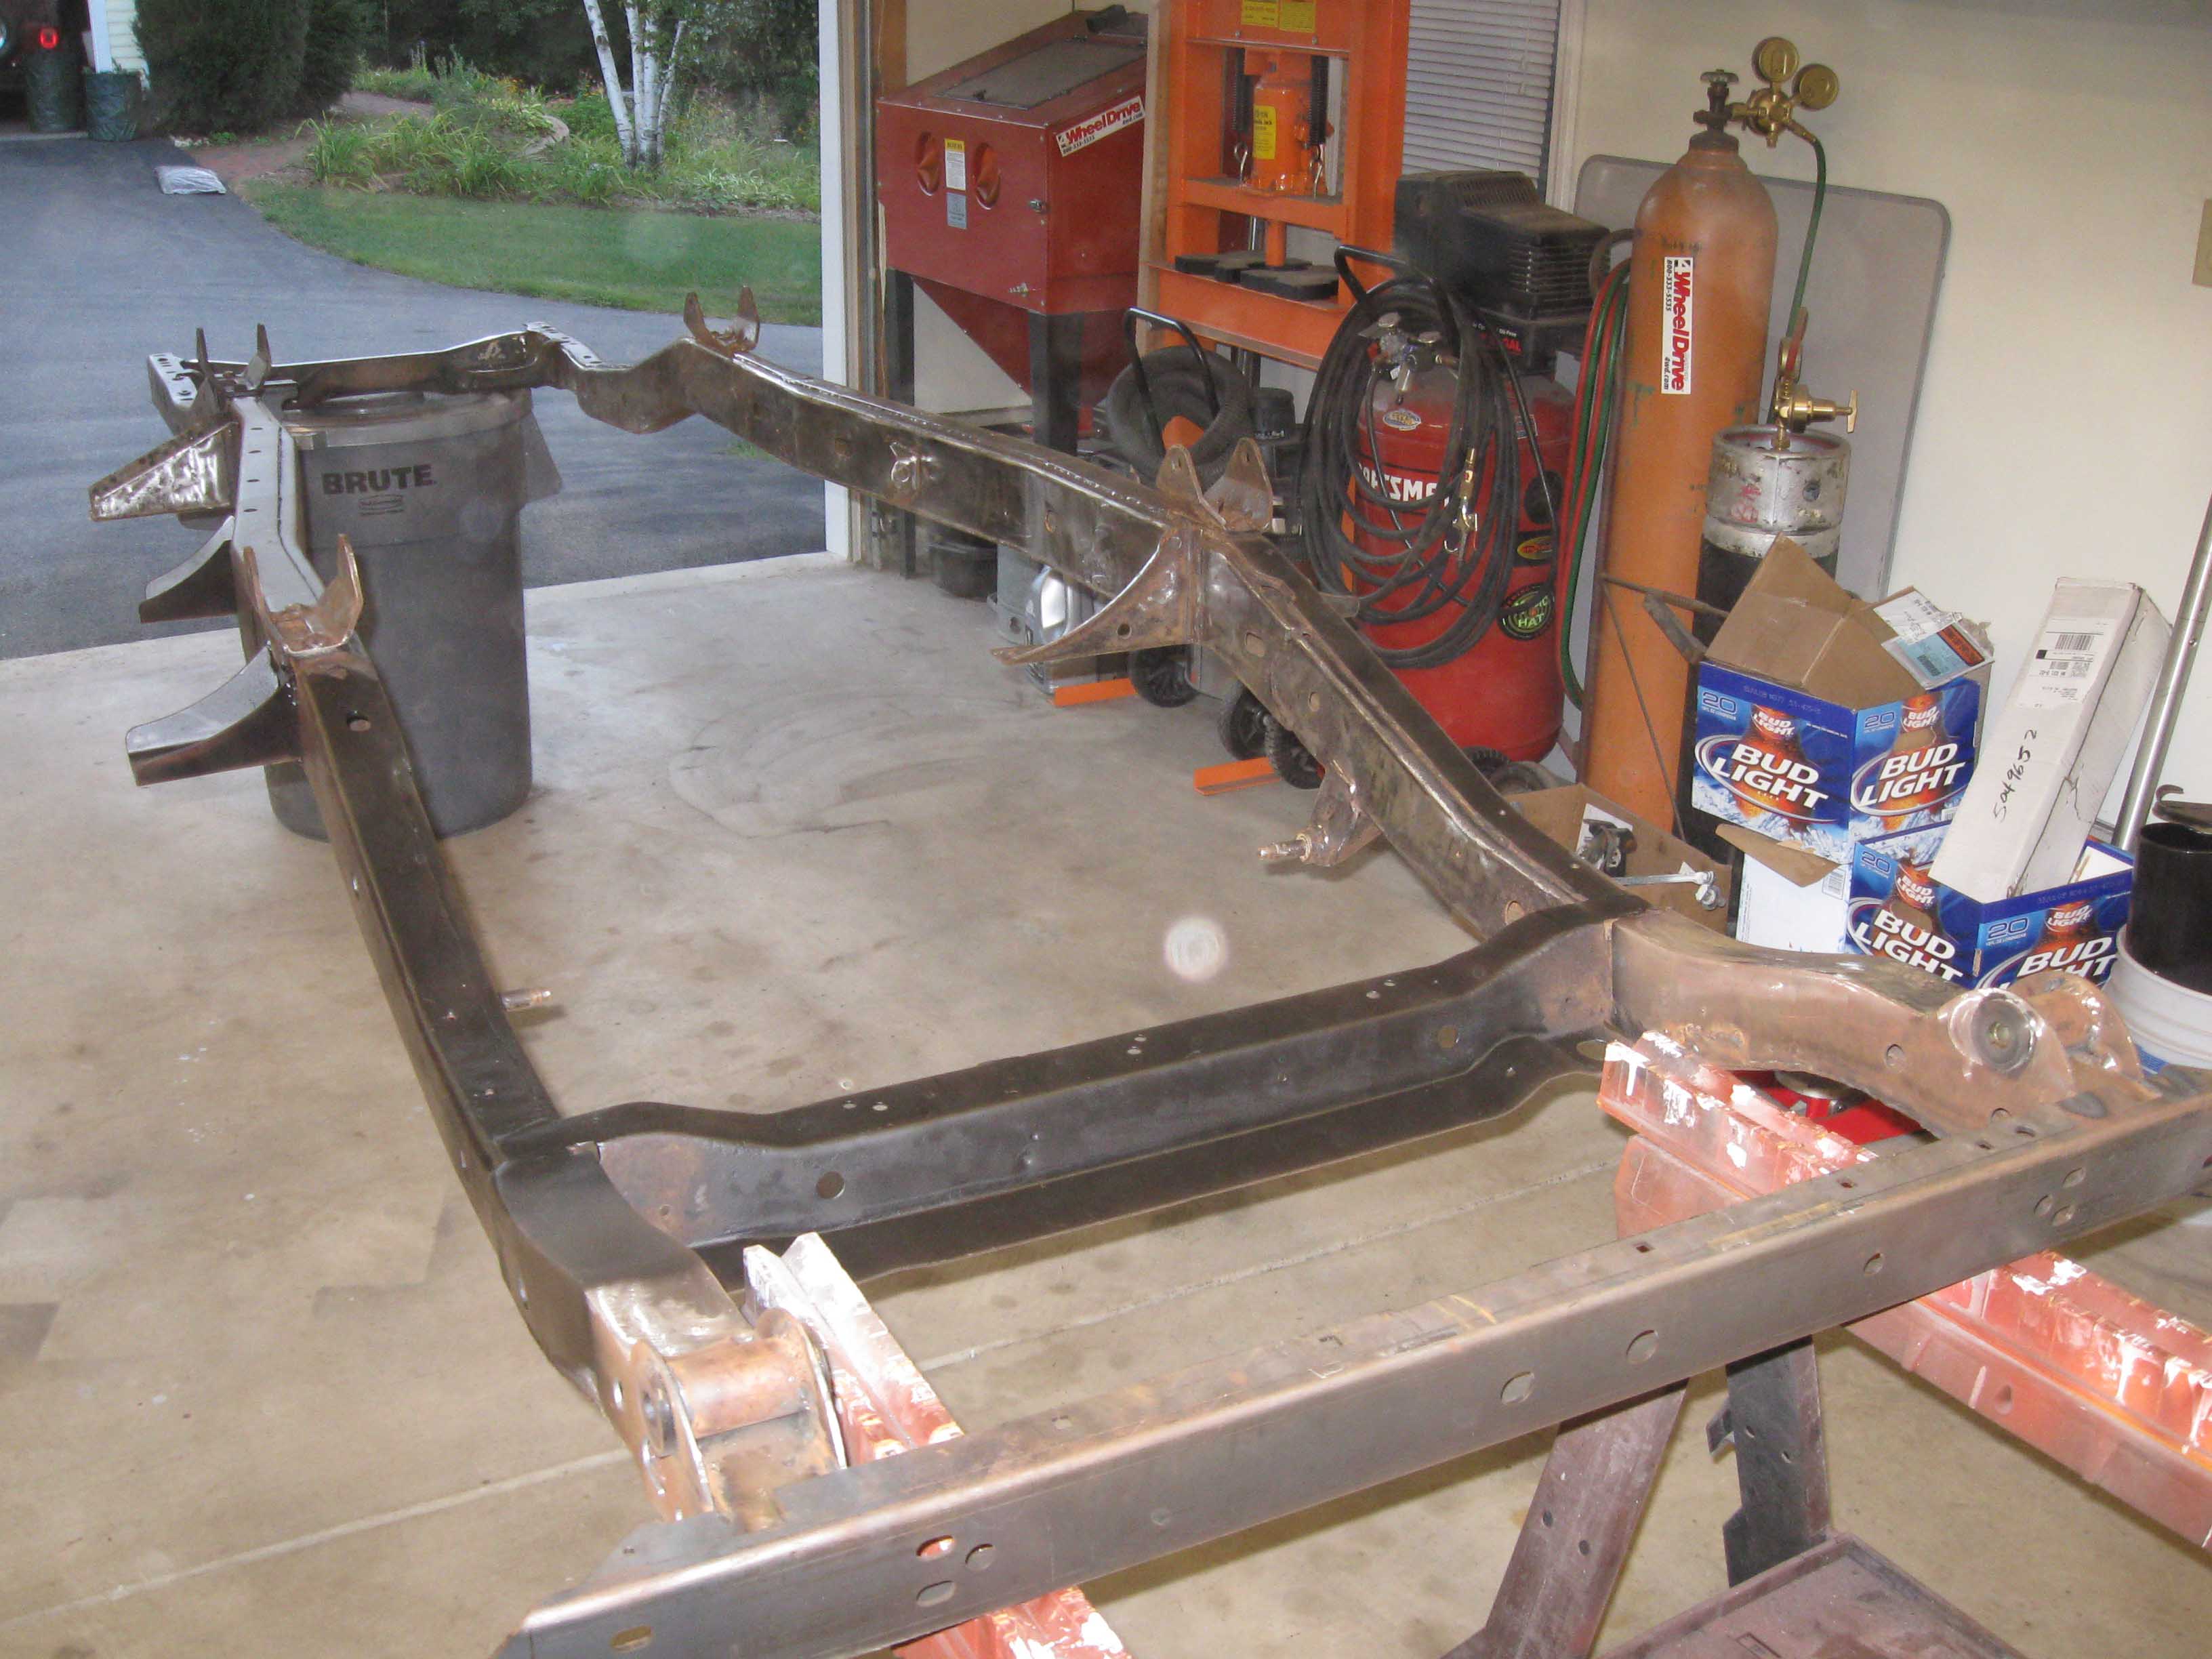
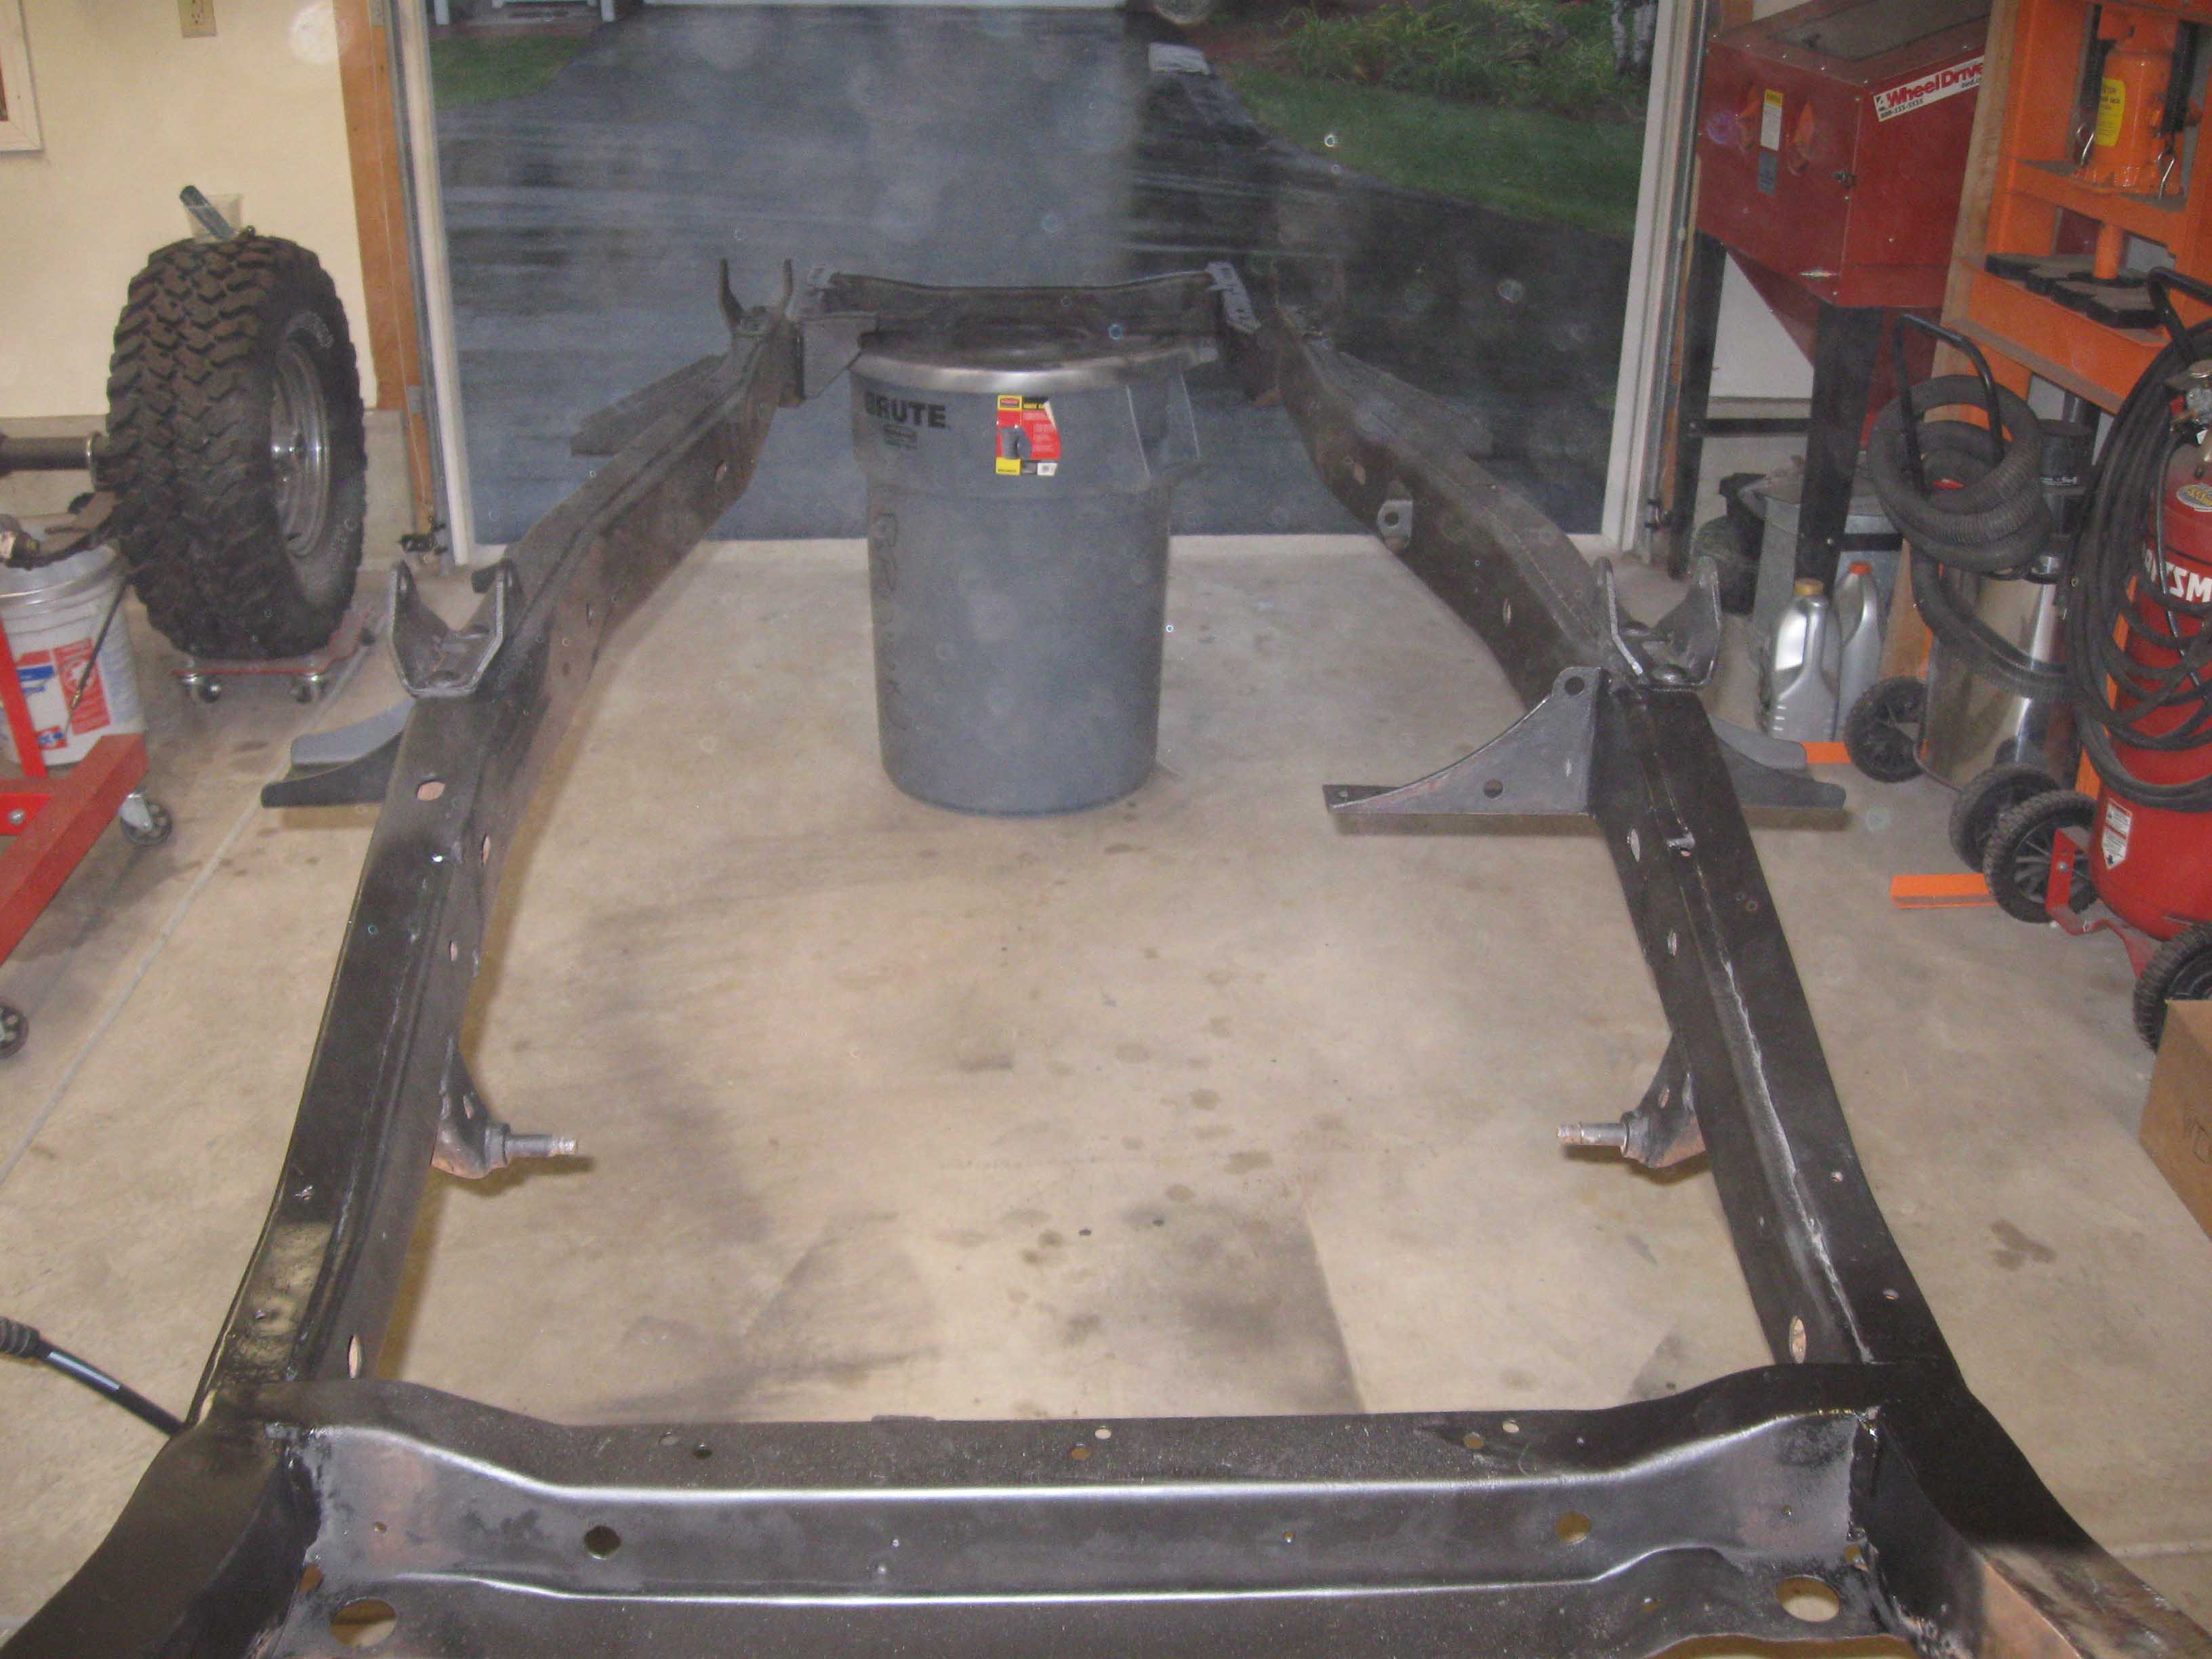
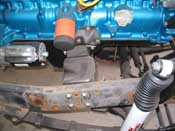
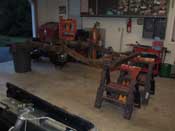
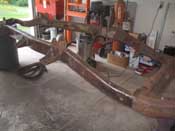
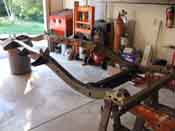
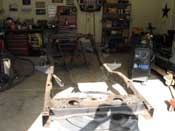
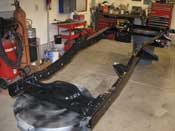
| (09/03/08) Things are moving well in the tear down. I had 2 hours last night and
was able to strip the frame of pretty much everything. I got the drive train, skid plate, the entire front end
components out and disconnected the shocks and such. I plan on disconnecting the axles and rolling them out of
the way leaving the frame. Once the frame is out, then we can attack that and get her welded up and cleaned up.
|
| |
|
|
|
|
| |
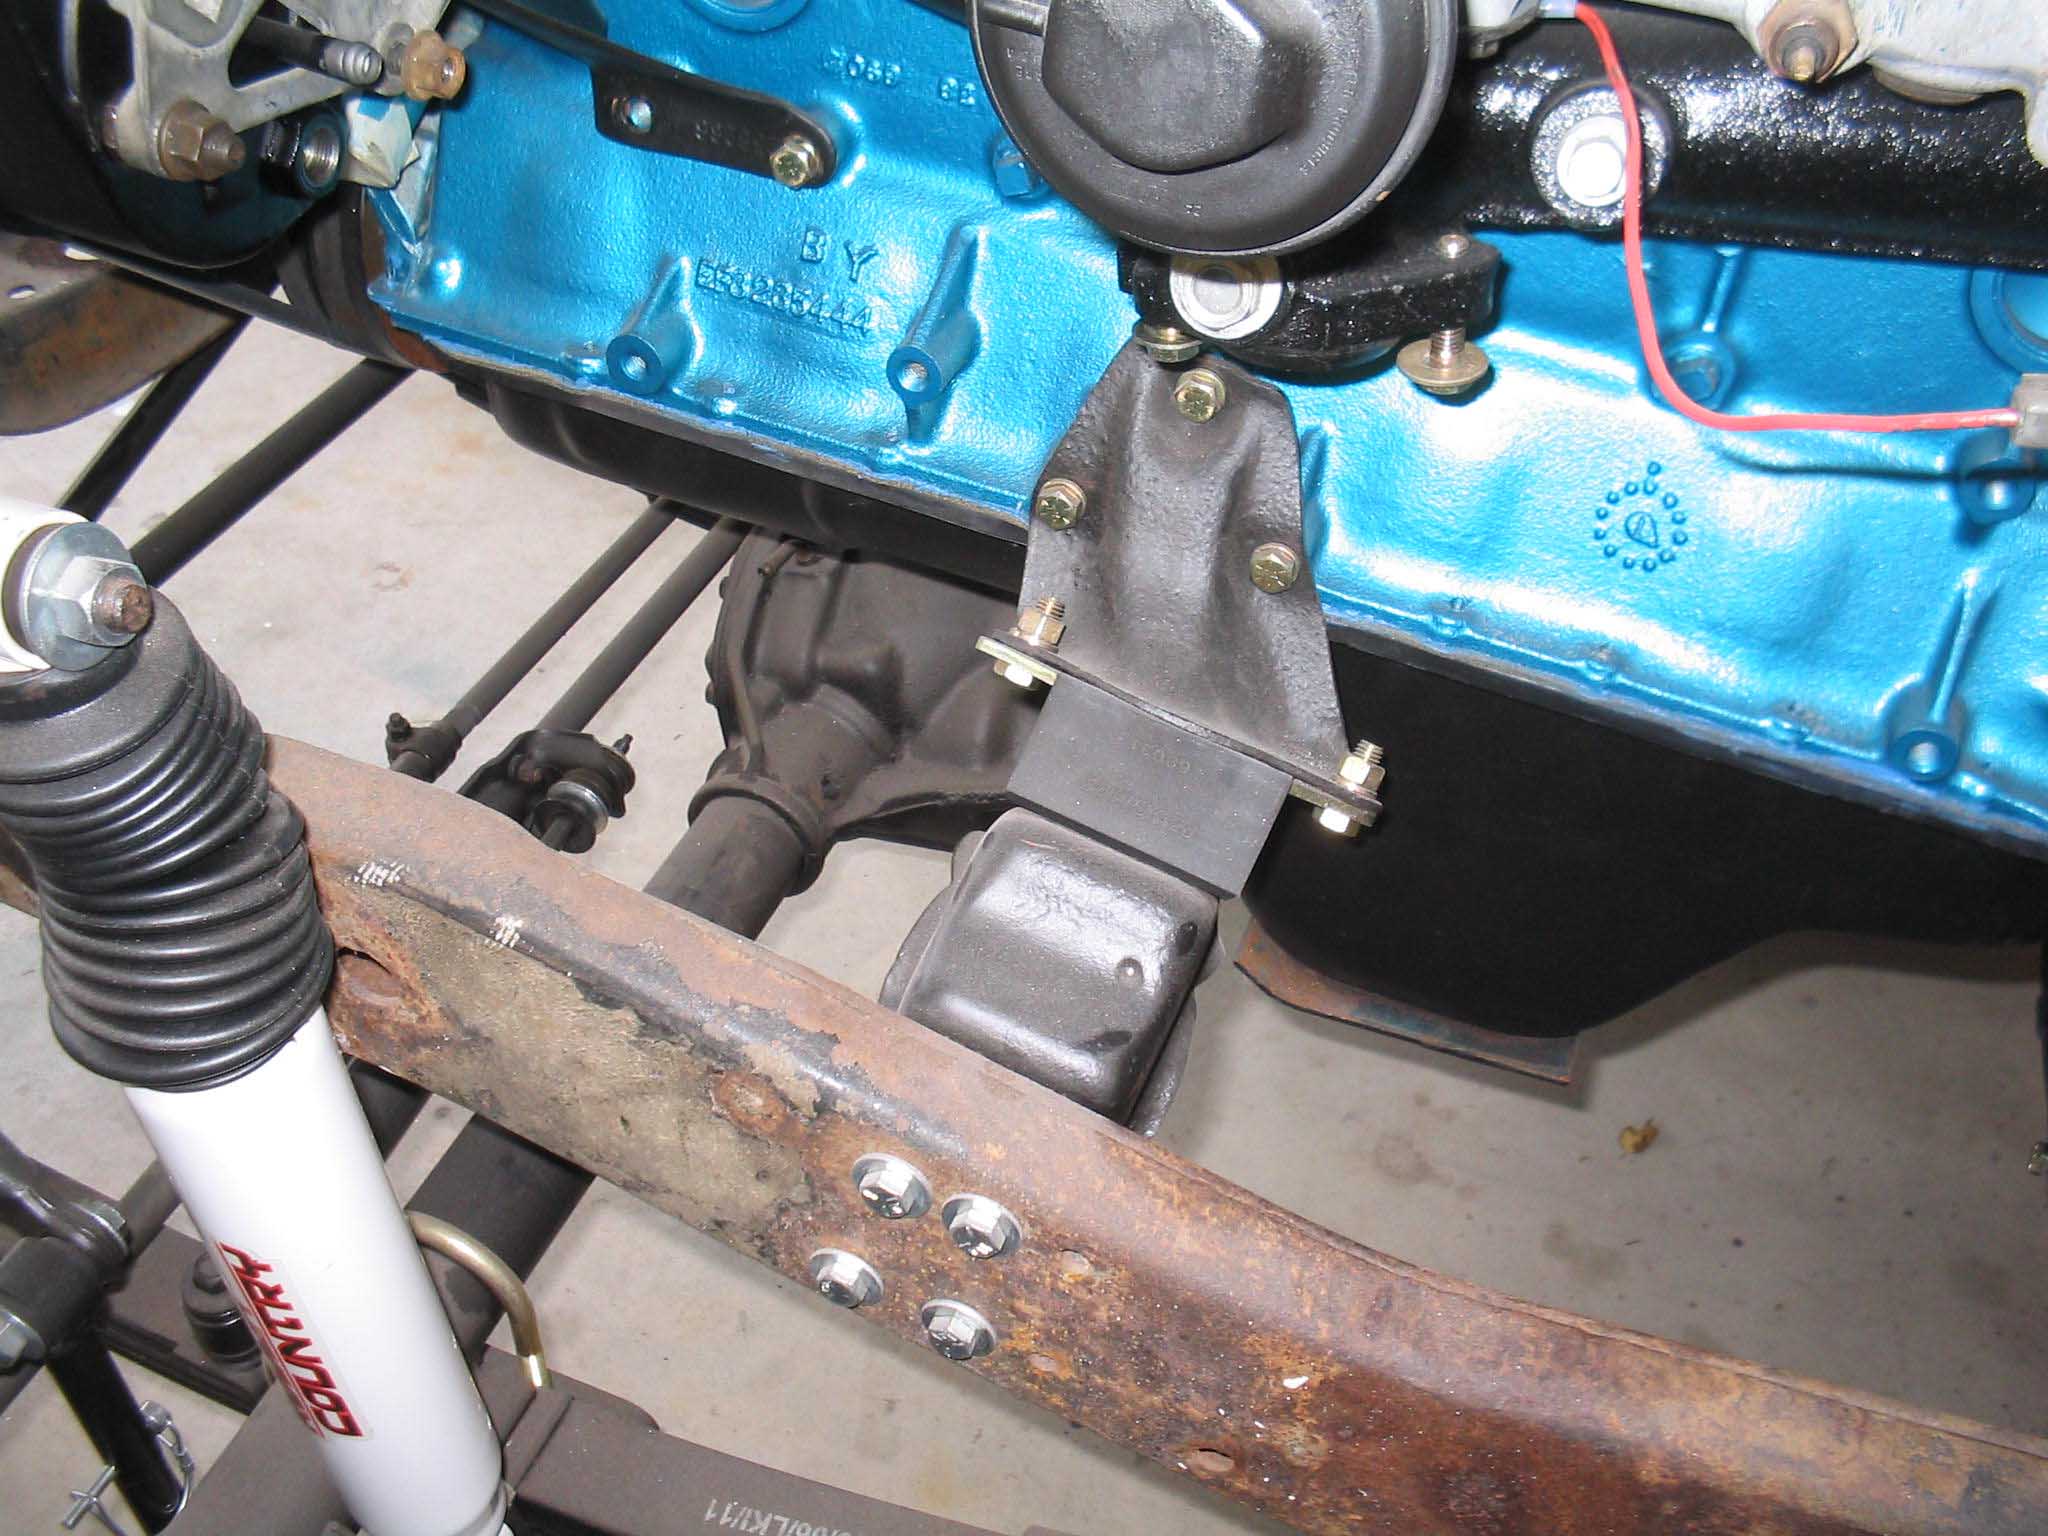
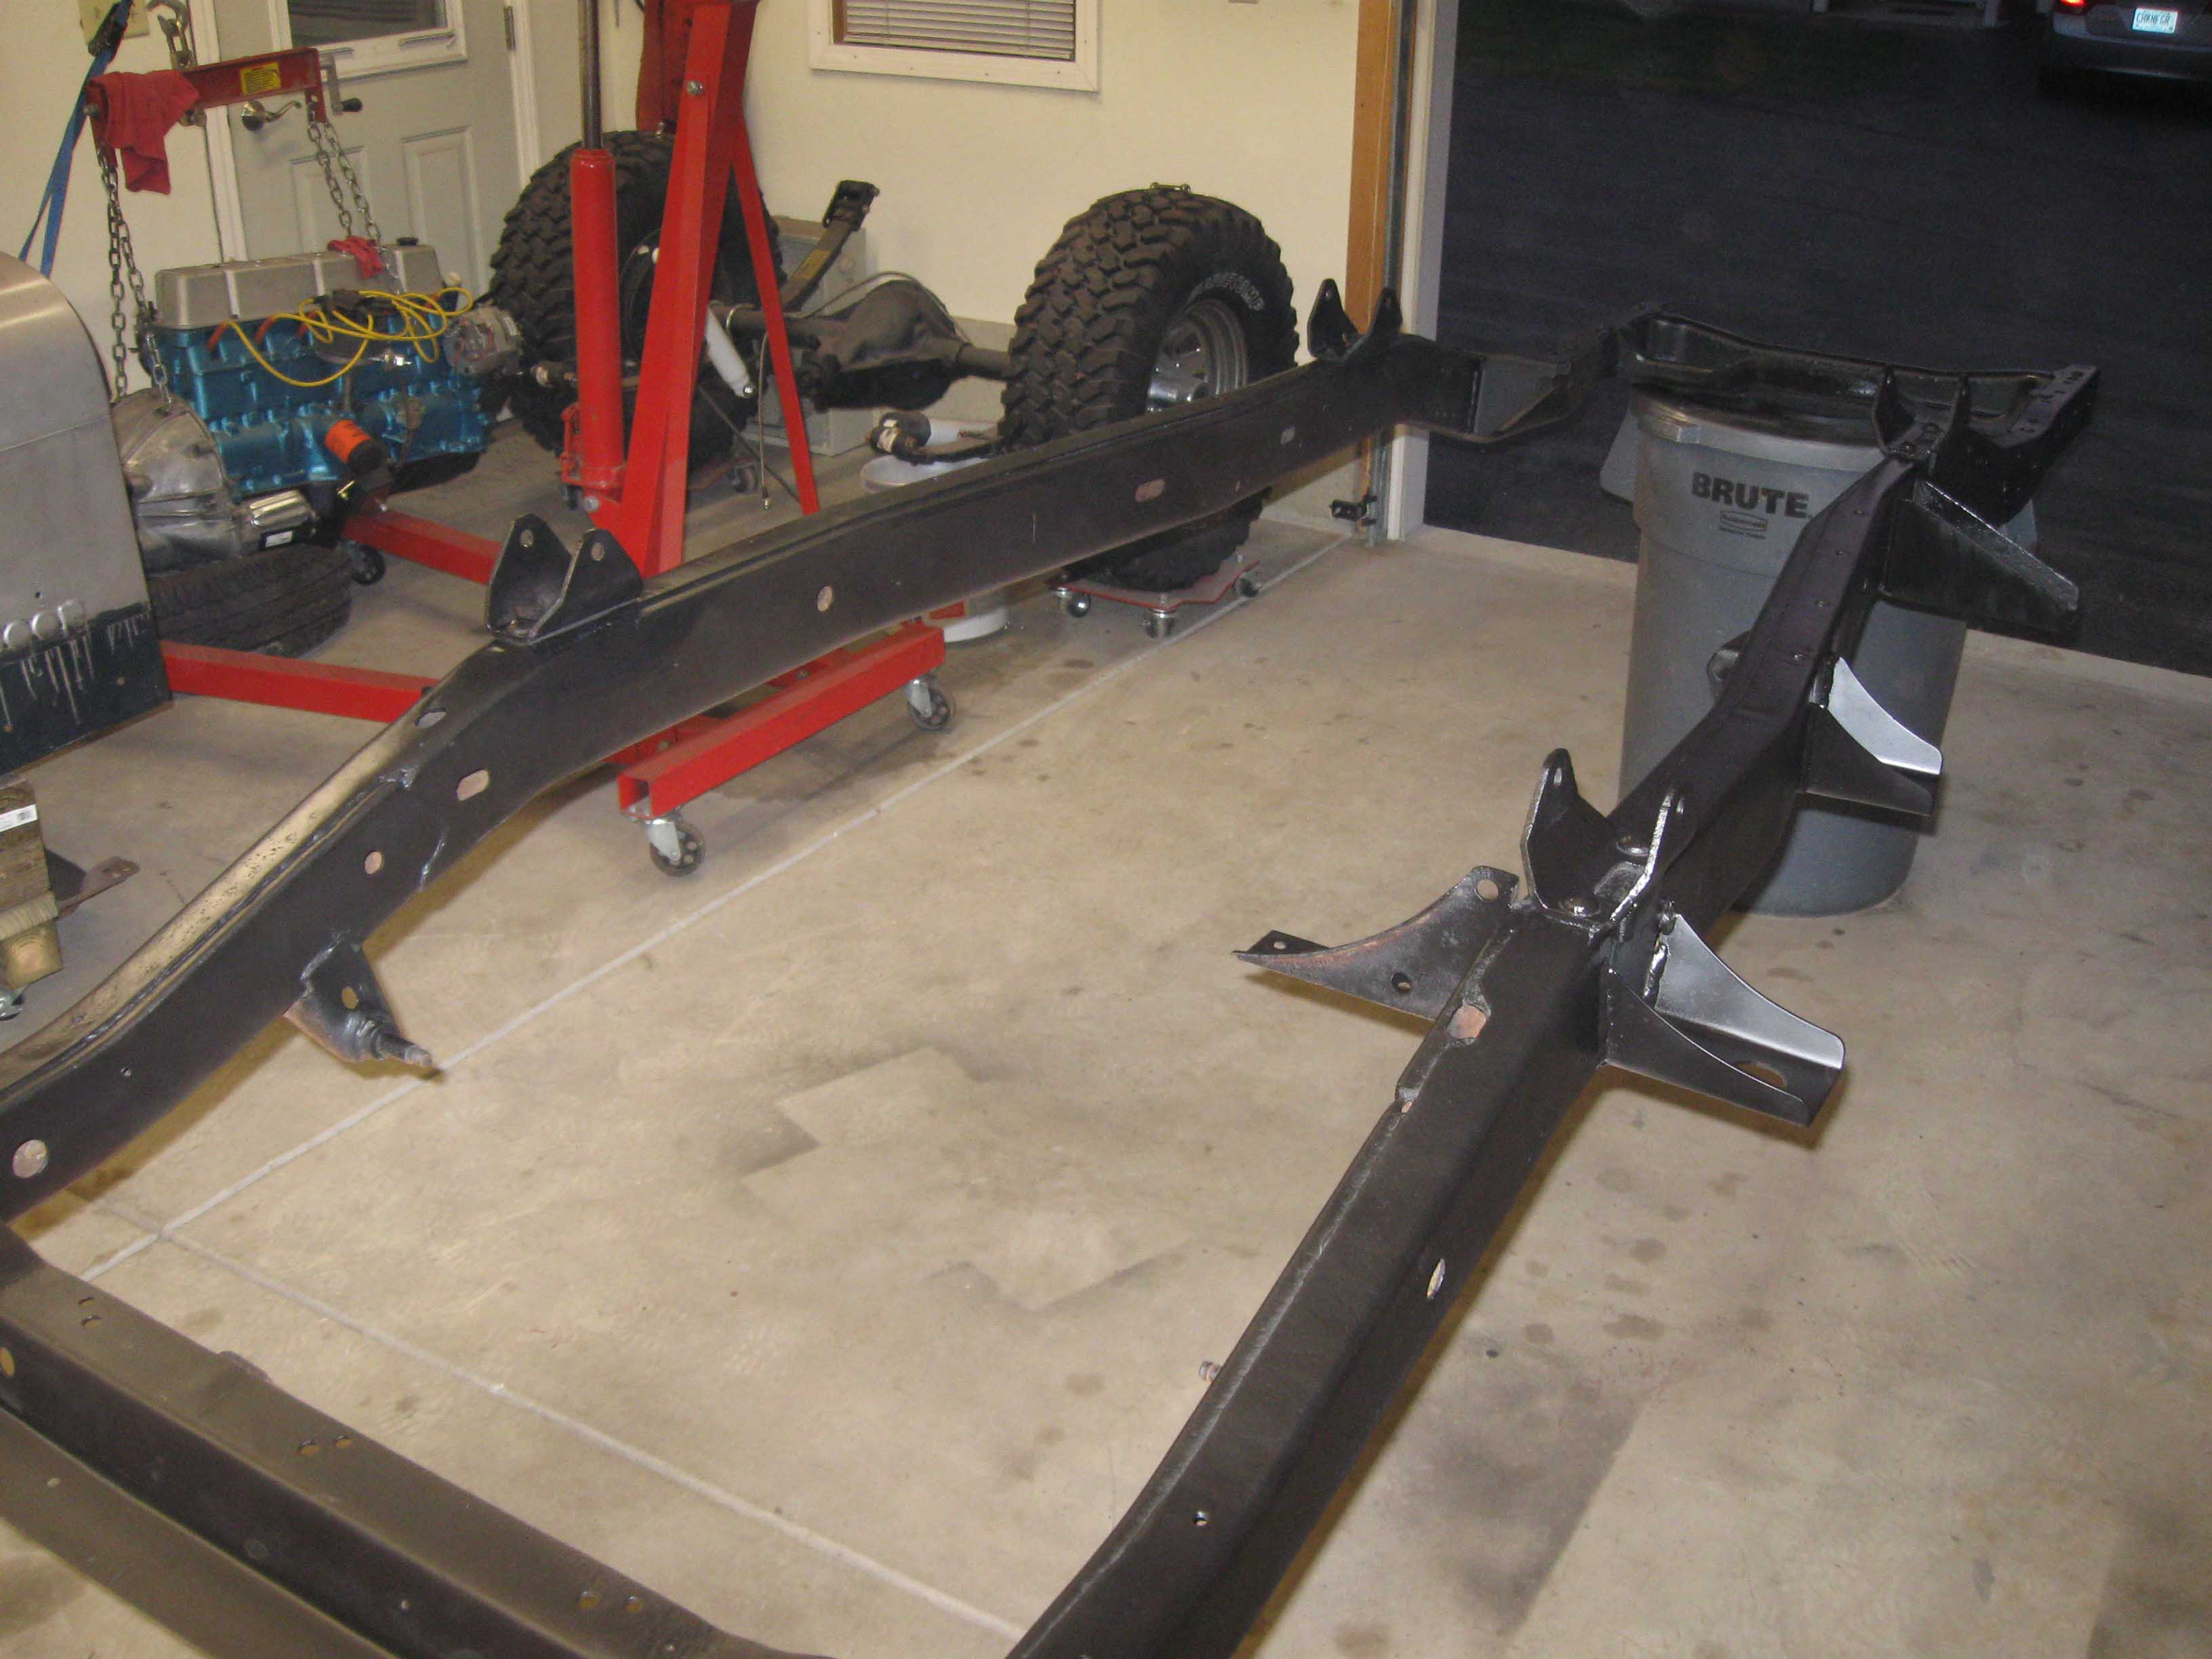
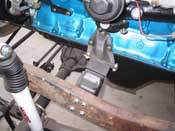
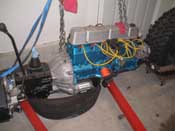
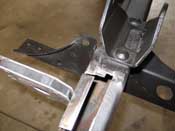
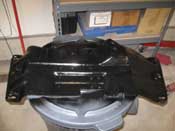
I take a lot of pictures, I realize that, but you can never have too many for the
reassembly process. I have taken 2 of the motor mounts here, which illustrates where the boltholes are, and which
ones to use for what side. These things get messed up in your head when it is sanded and painted, so this is a
good way to remember what is what. I hope to have the frame getting welded tonight!
cb (09/03/08)
|
| |

|
|
|
|
| |
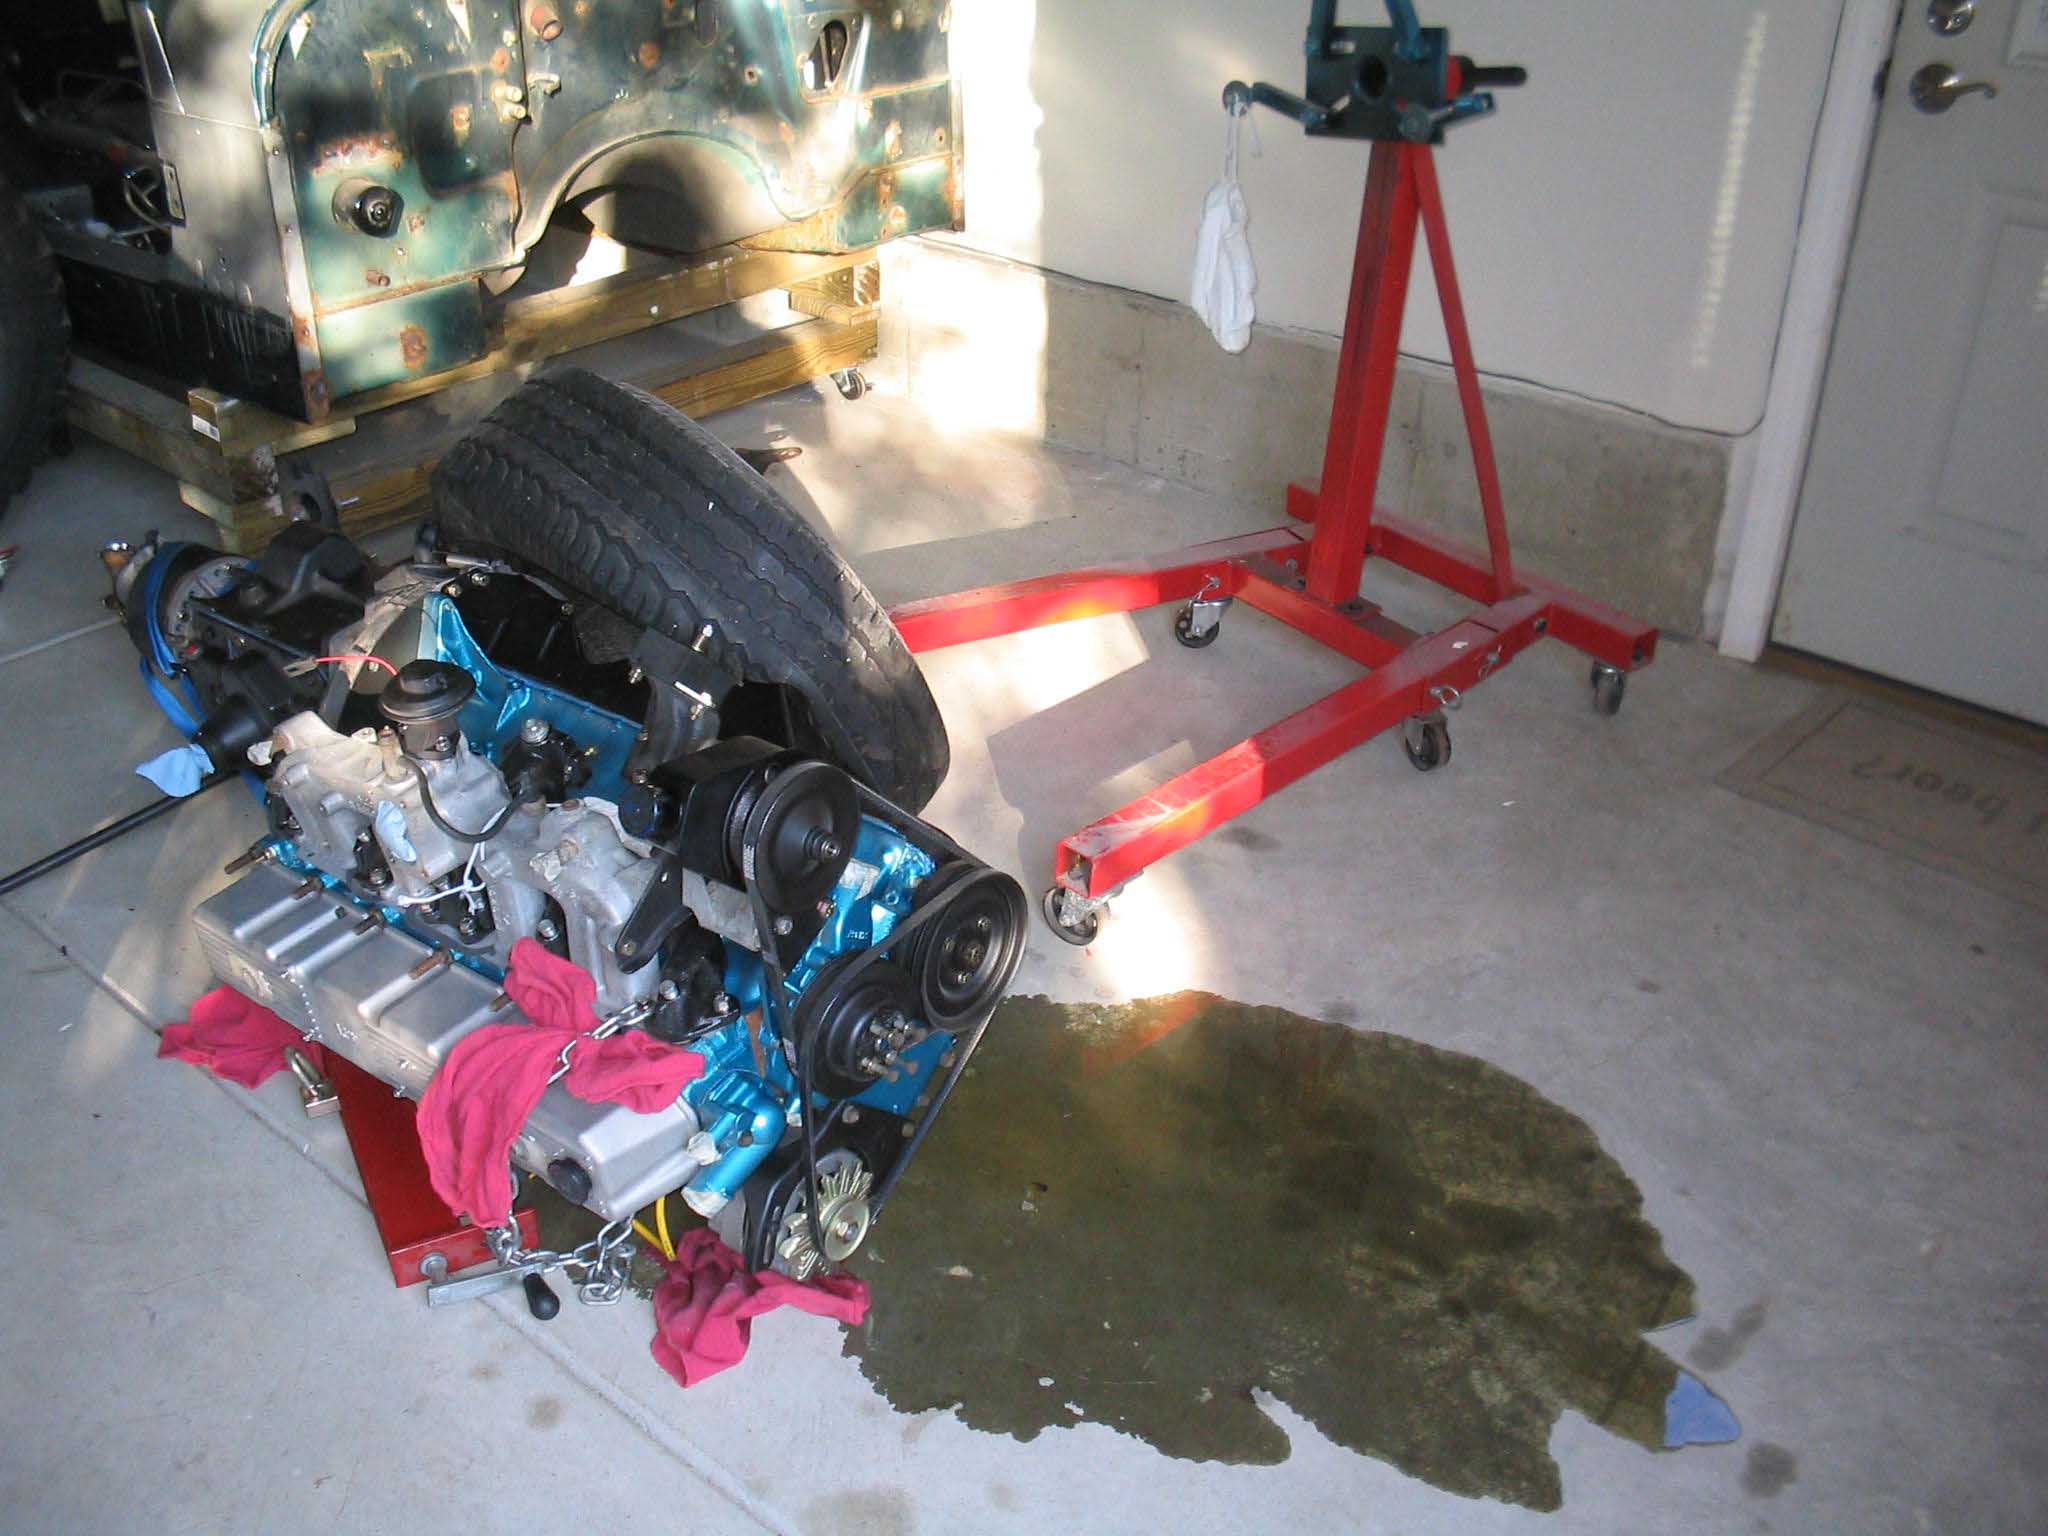
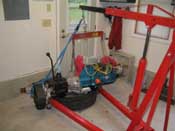
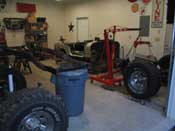
(09/04/08) No welding took place last night... as you can see in the picture,
I saw that first picture above when I entered the garage and almost threw up...
I saw the engine that I have worked so hard to put together, with the drive train intact, lying on its side.
I had gone out at lunchtime for a few minutes to re-arrange a few things in the garage to get it ready for
taking the axles out that night. It was resting on a tire up against the engine stand and I tried to move
it manually by hand and it didnt move... 6 hours later, it was on its side.
So, the good news so far is that I think only the distributor cap and the oil filter are the injured parties.
I have to do some more detective work to see, but basically I pulled the plugs and manually turned the engine
over by hand... the distributor turned, no weird sounds. The oil on the floor poured out of the fuel pump hole,
so that is actually good news too, no breaks in the block or the head. The whole thing was resting on the
engine leveler and the transfer case, so that is also some good news. Nothing seems to be broken, so that
is also some good news.
cb (09/04/08)
|
| |
|

|
|
|
|

|
| |
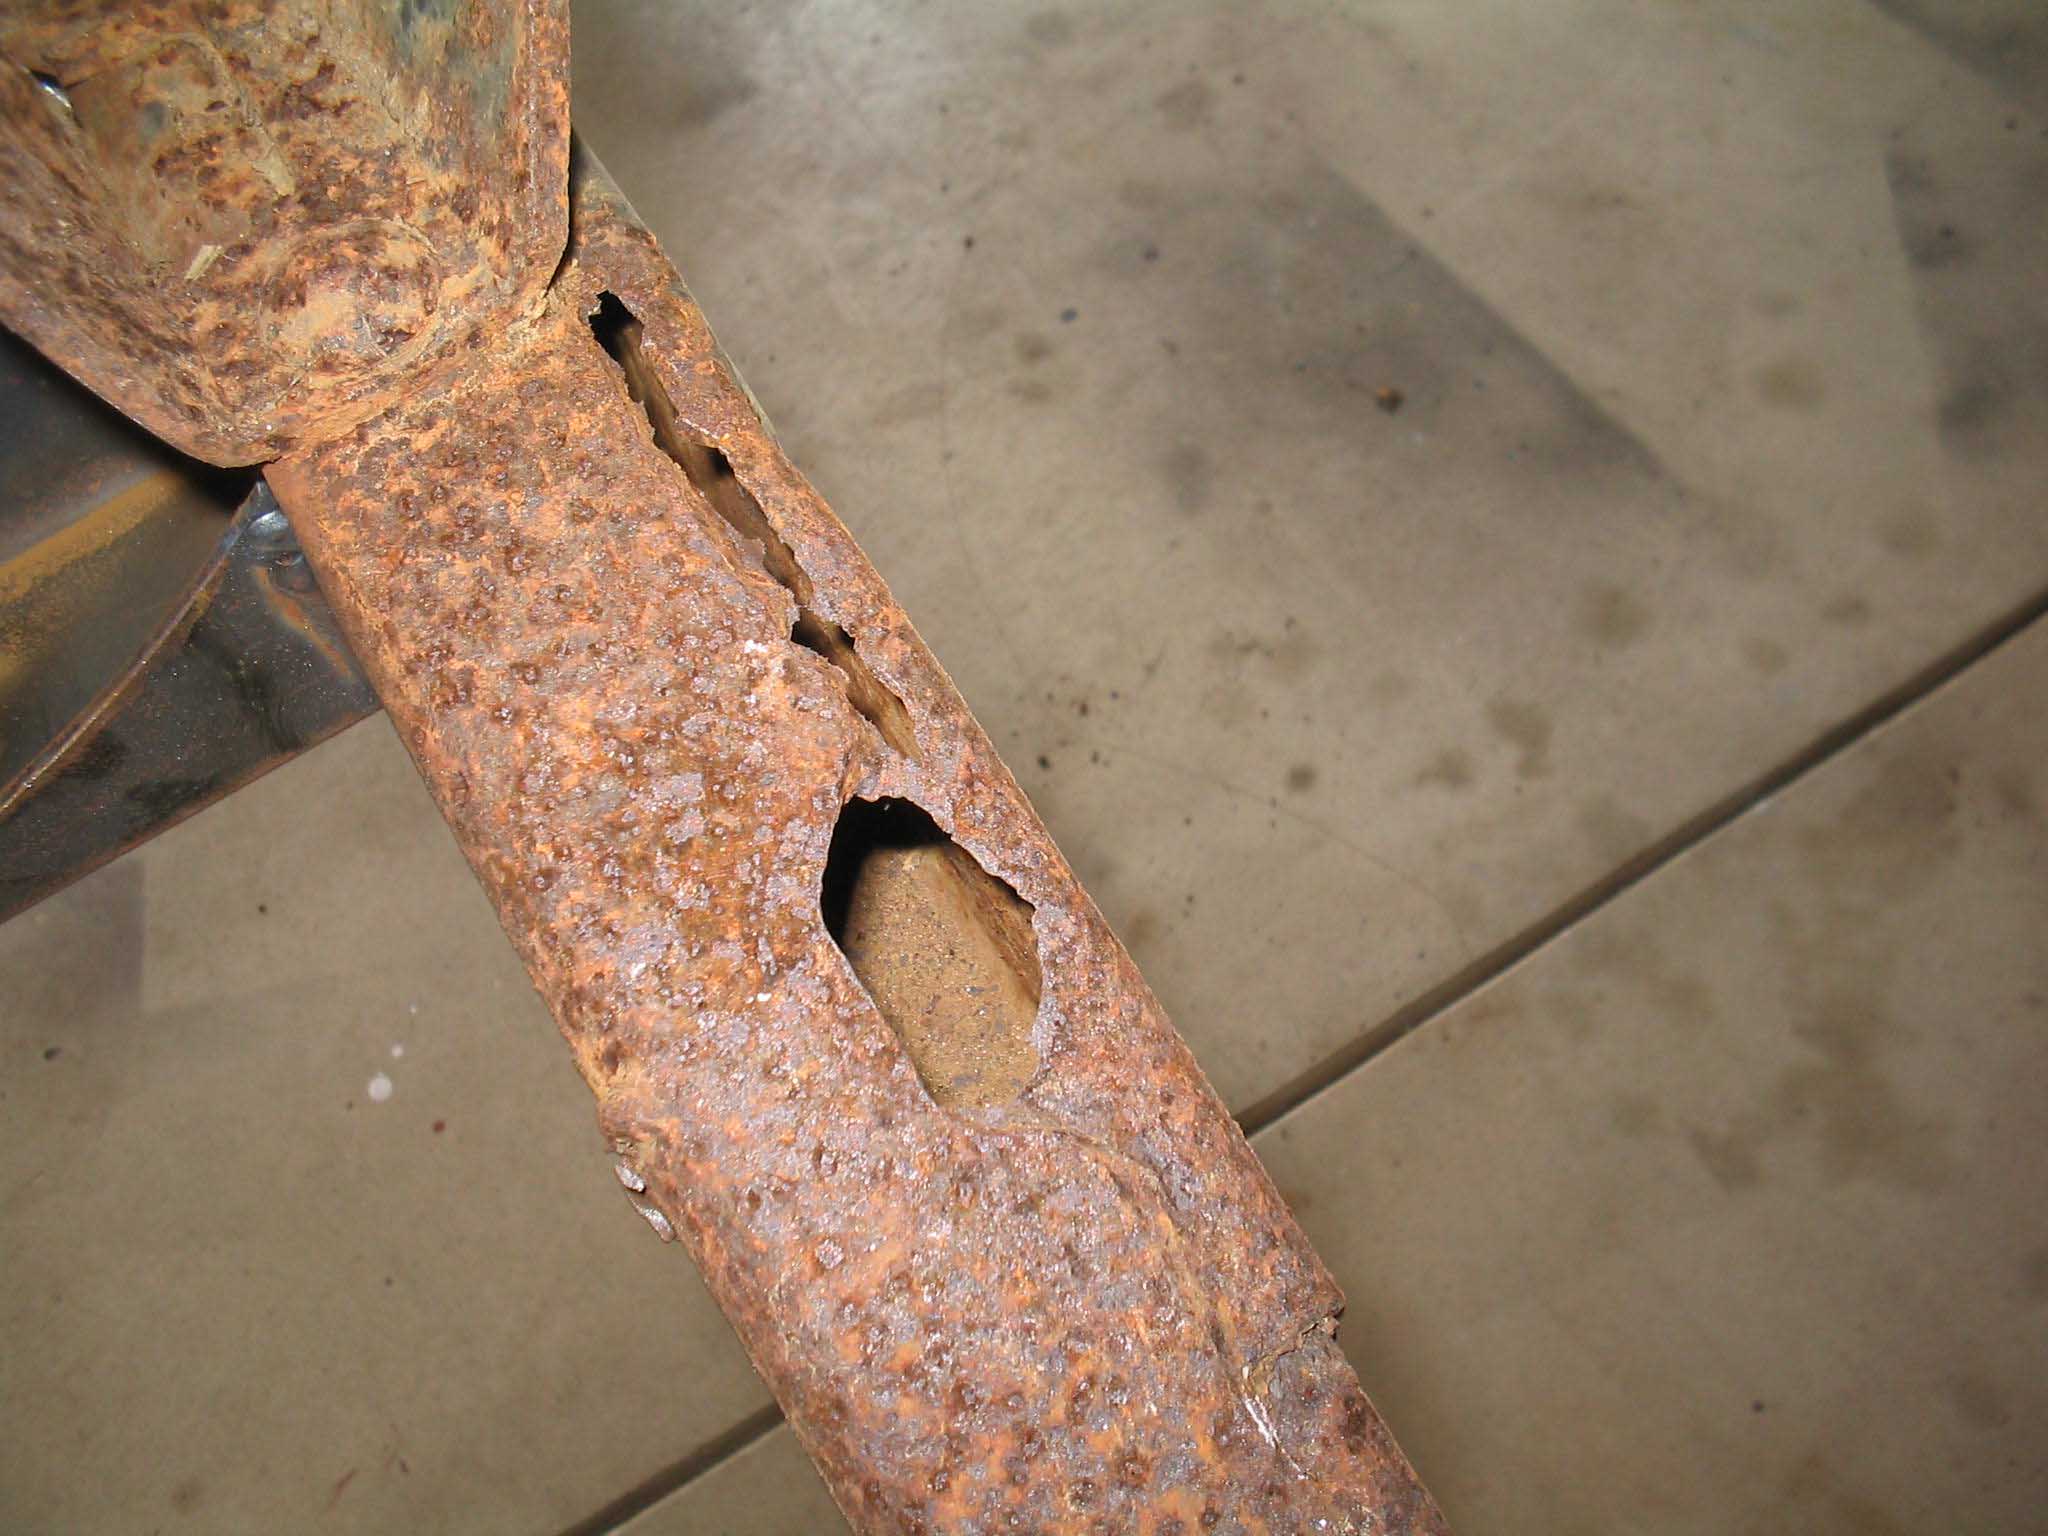
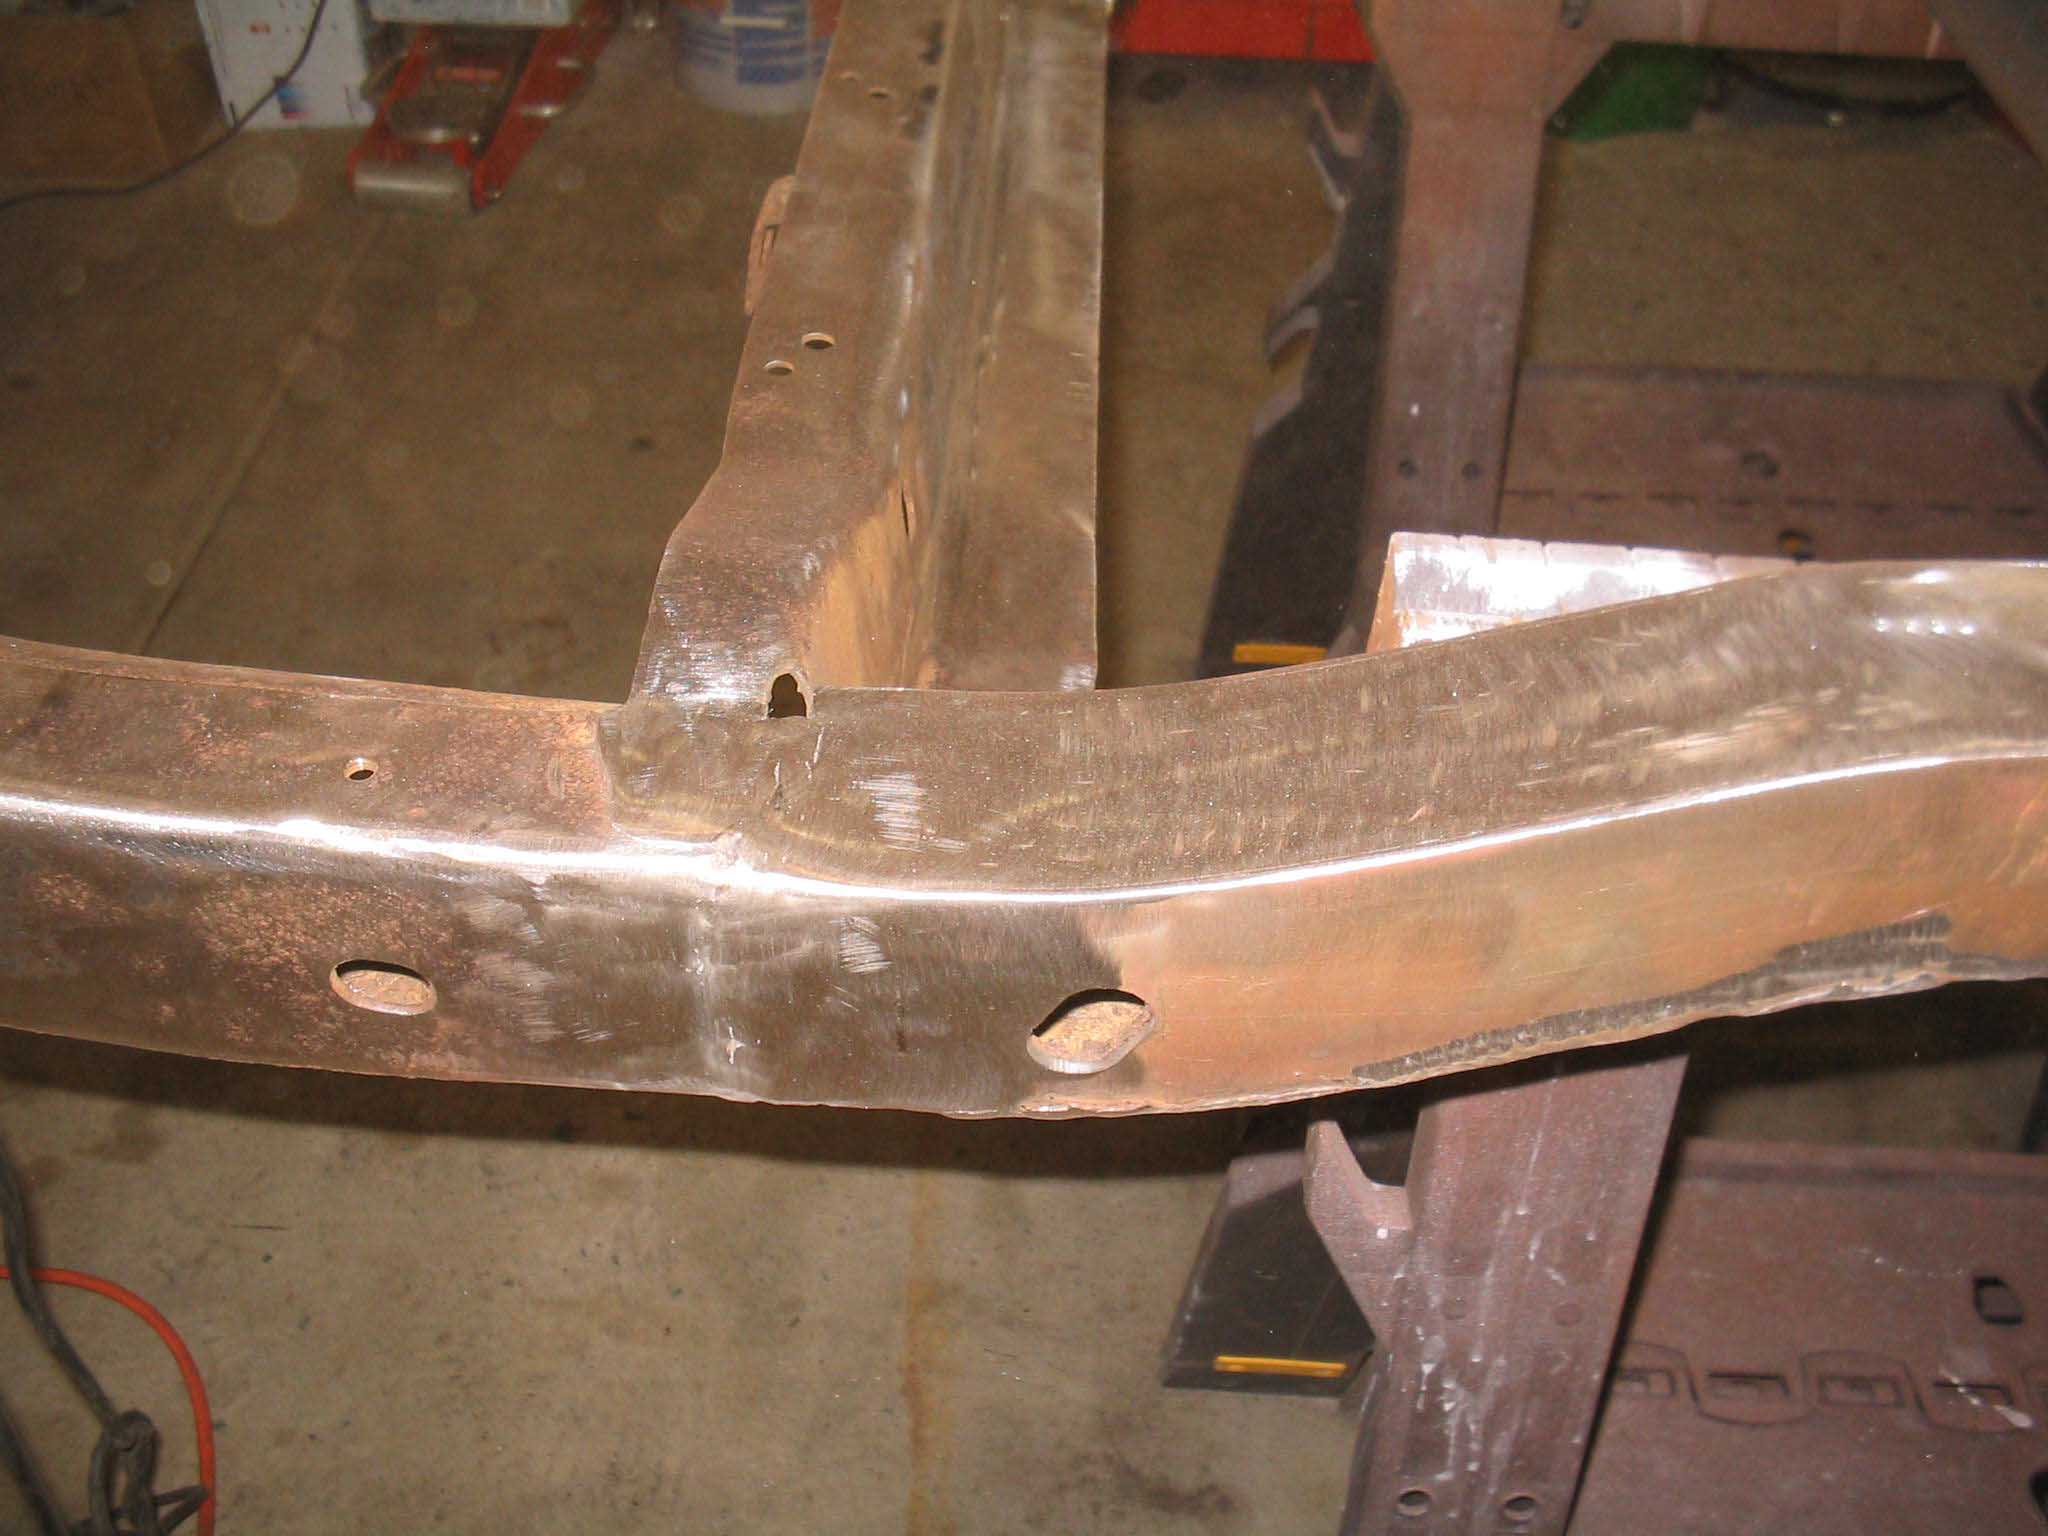
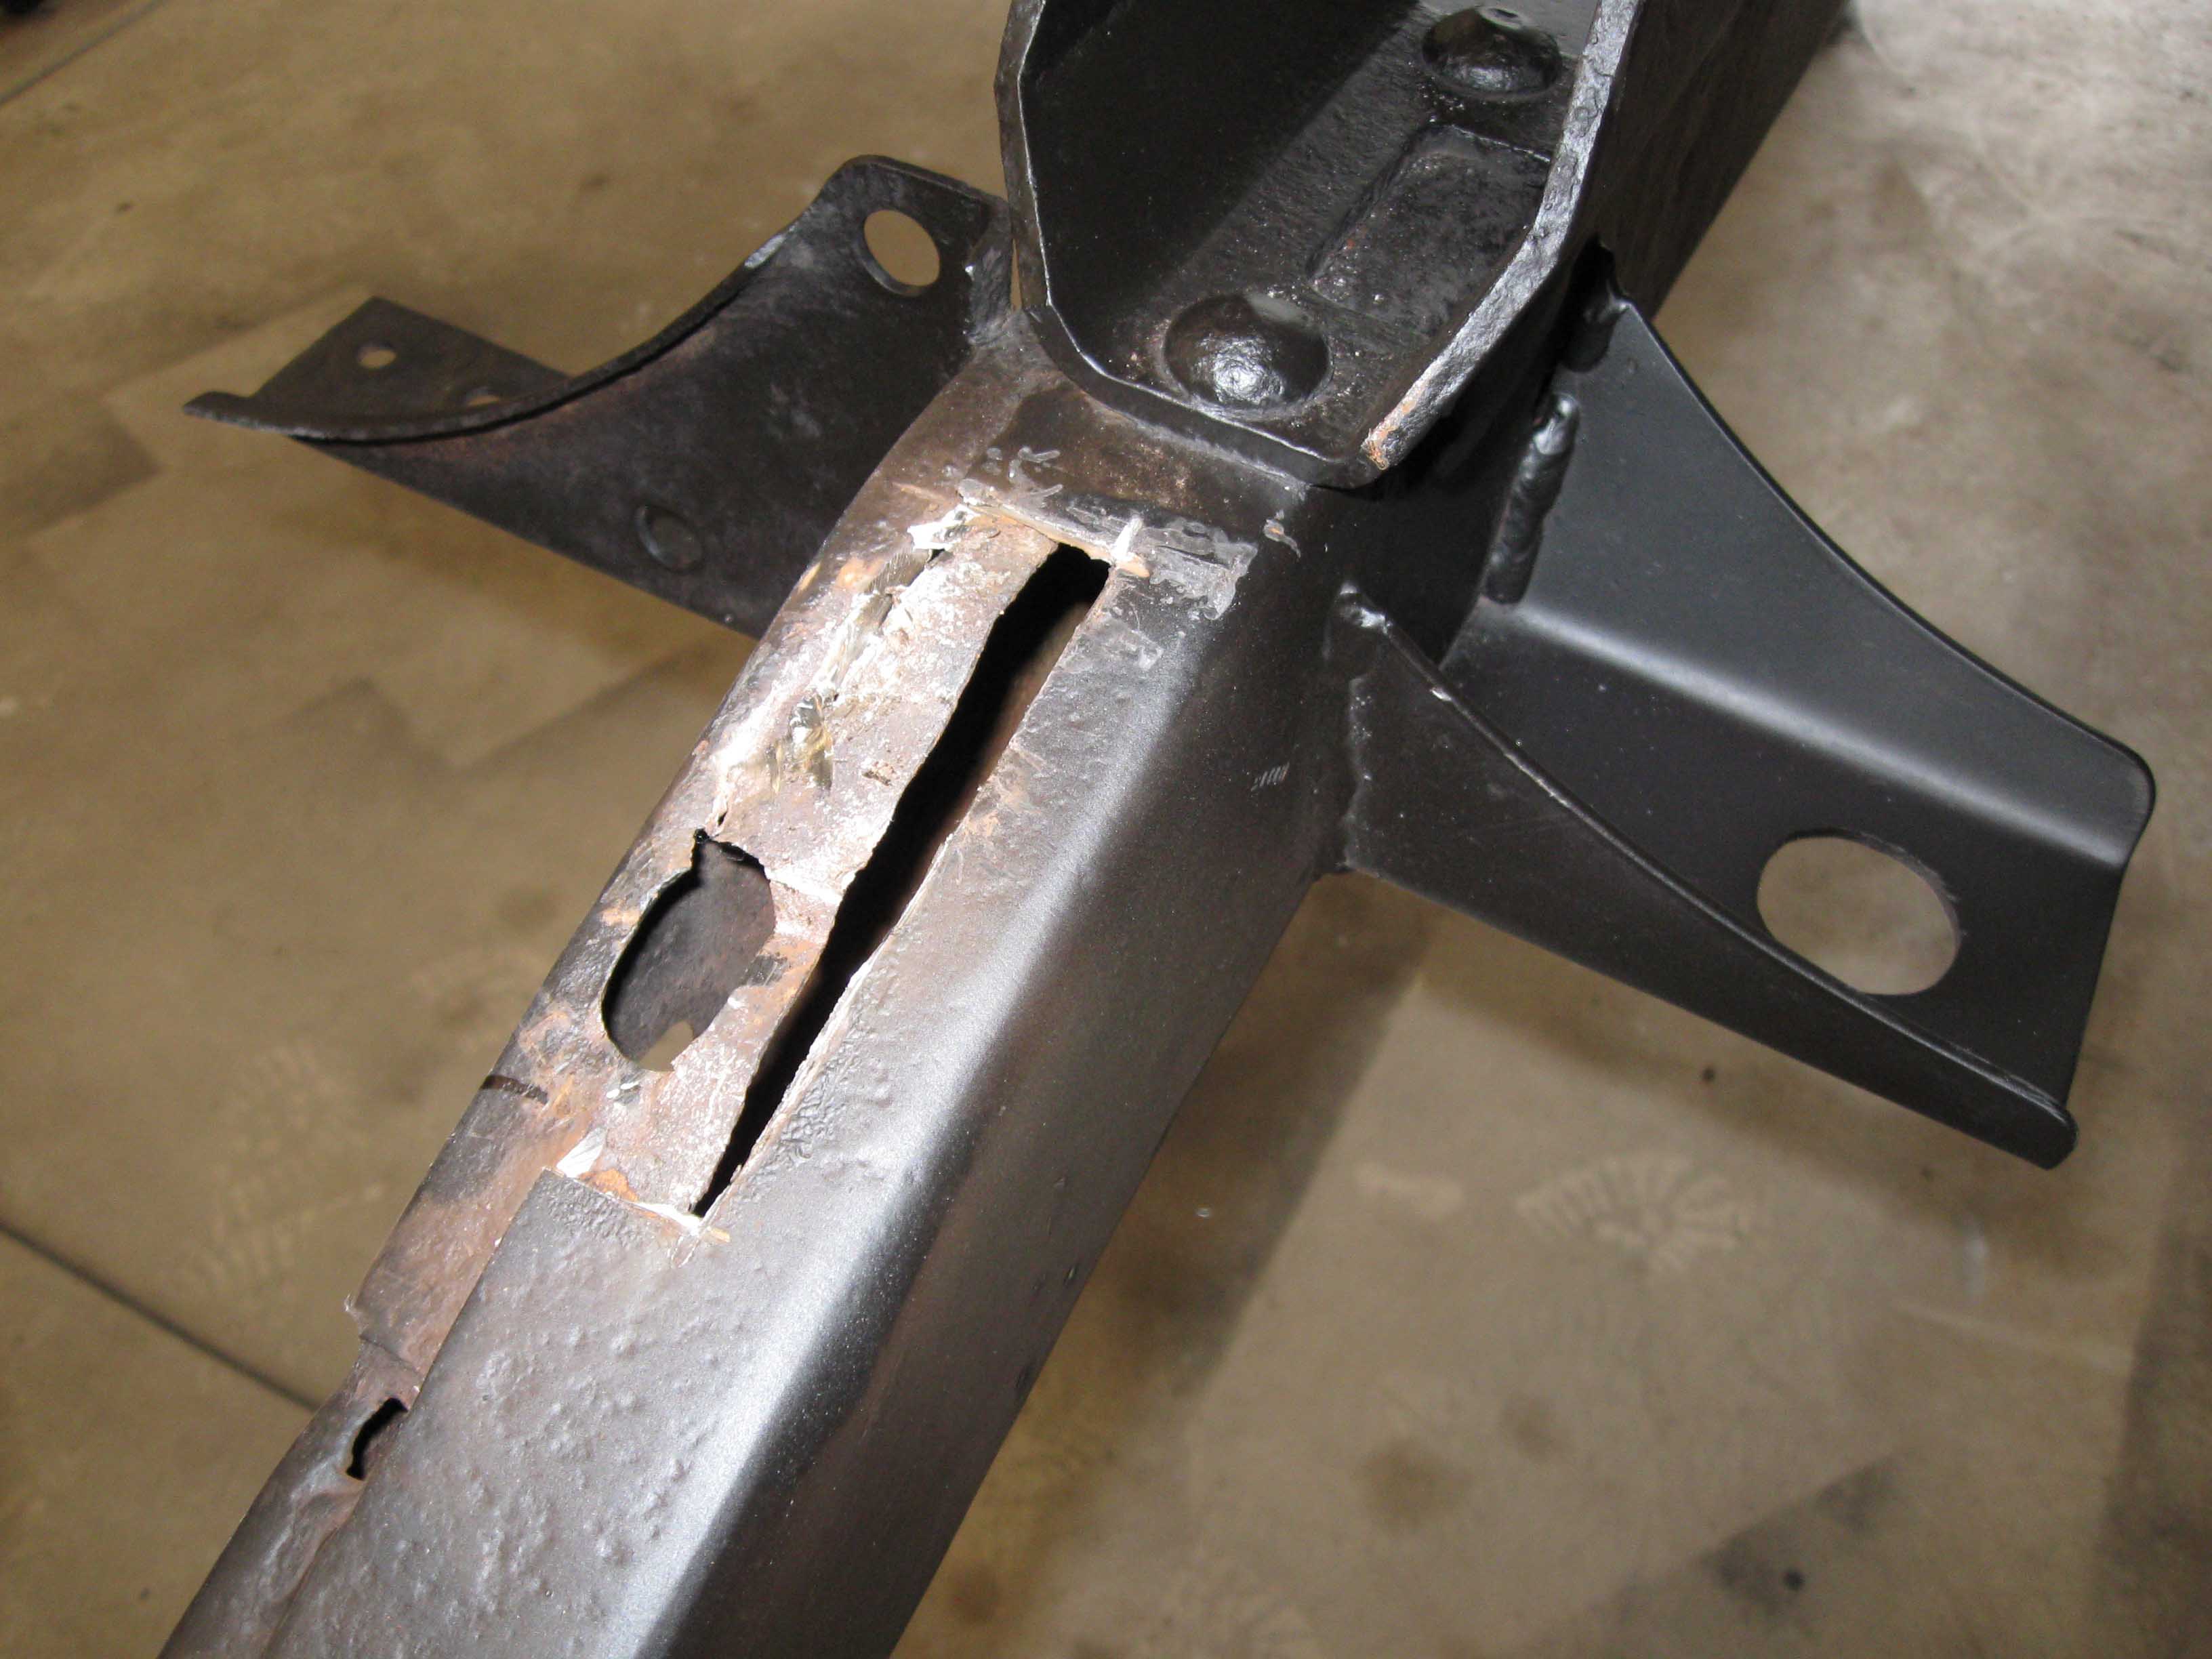
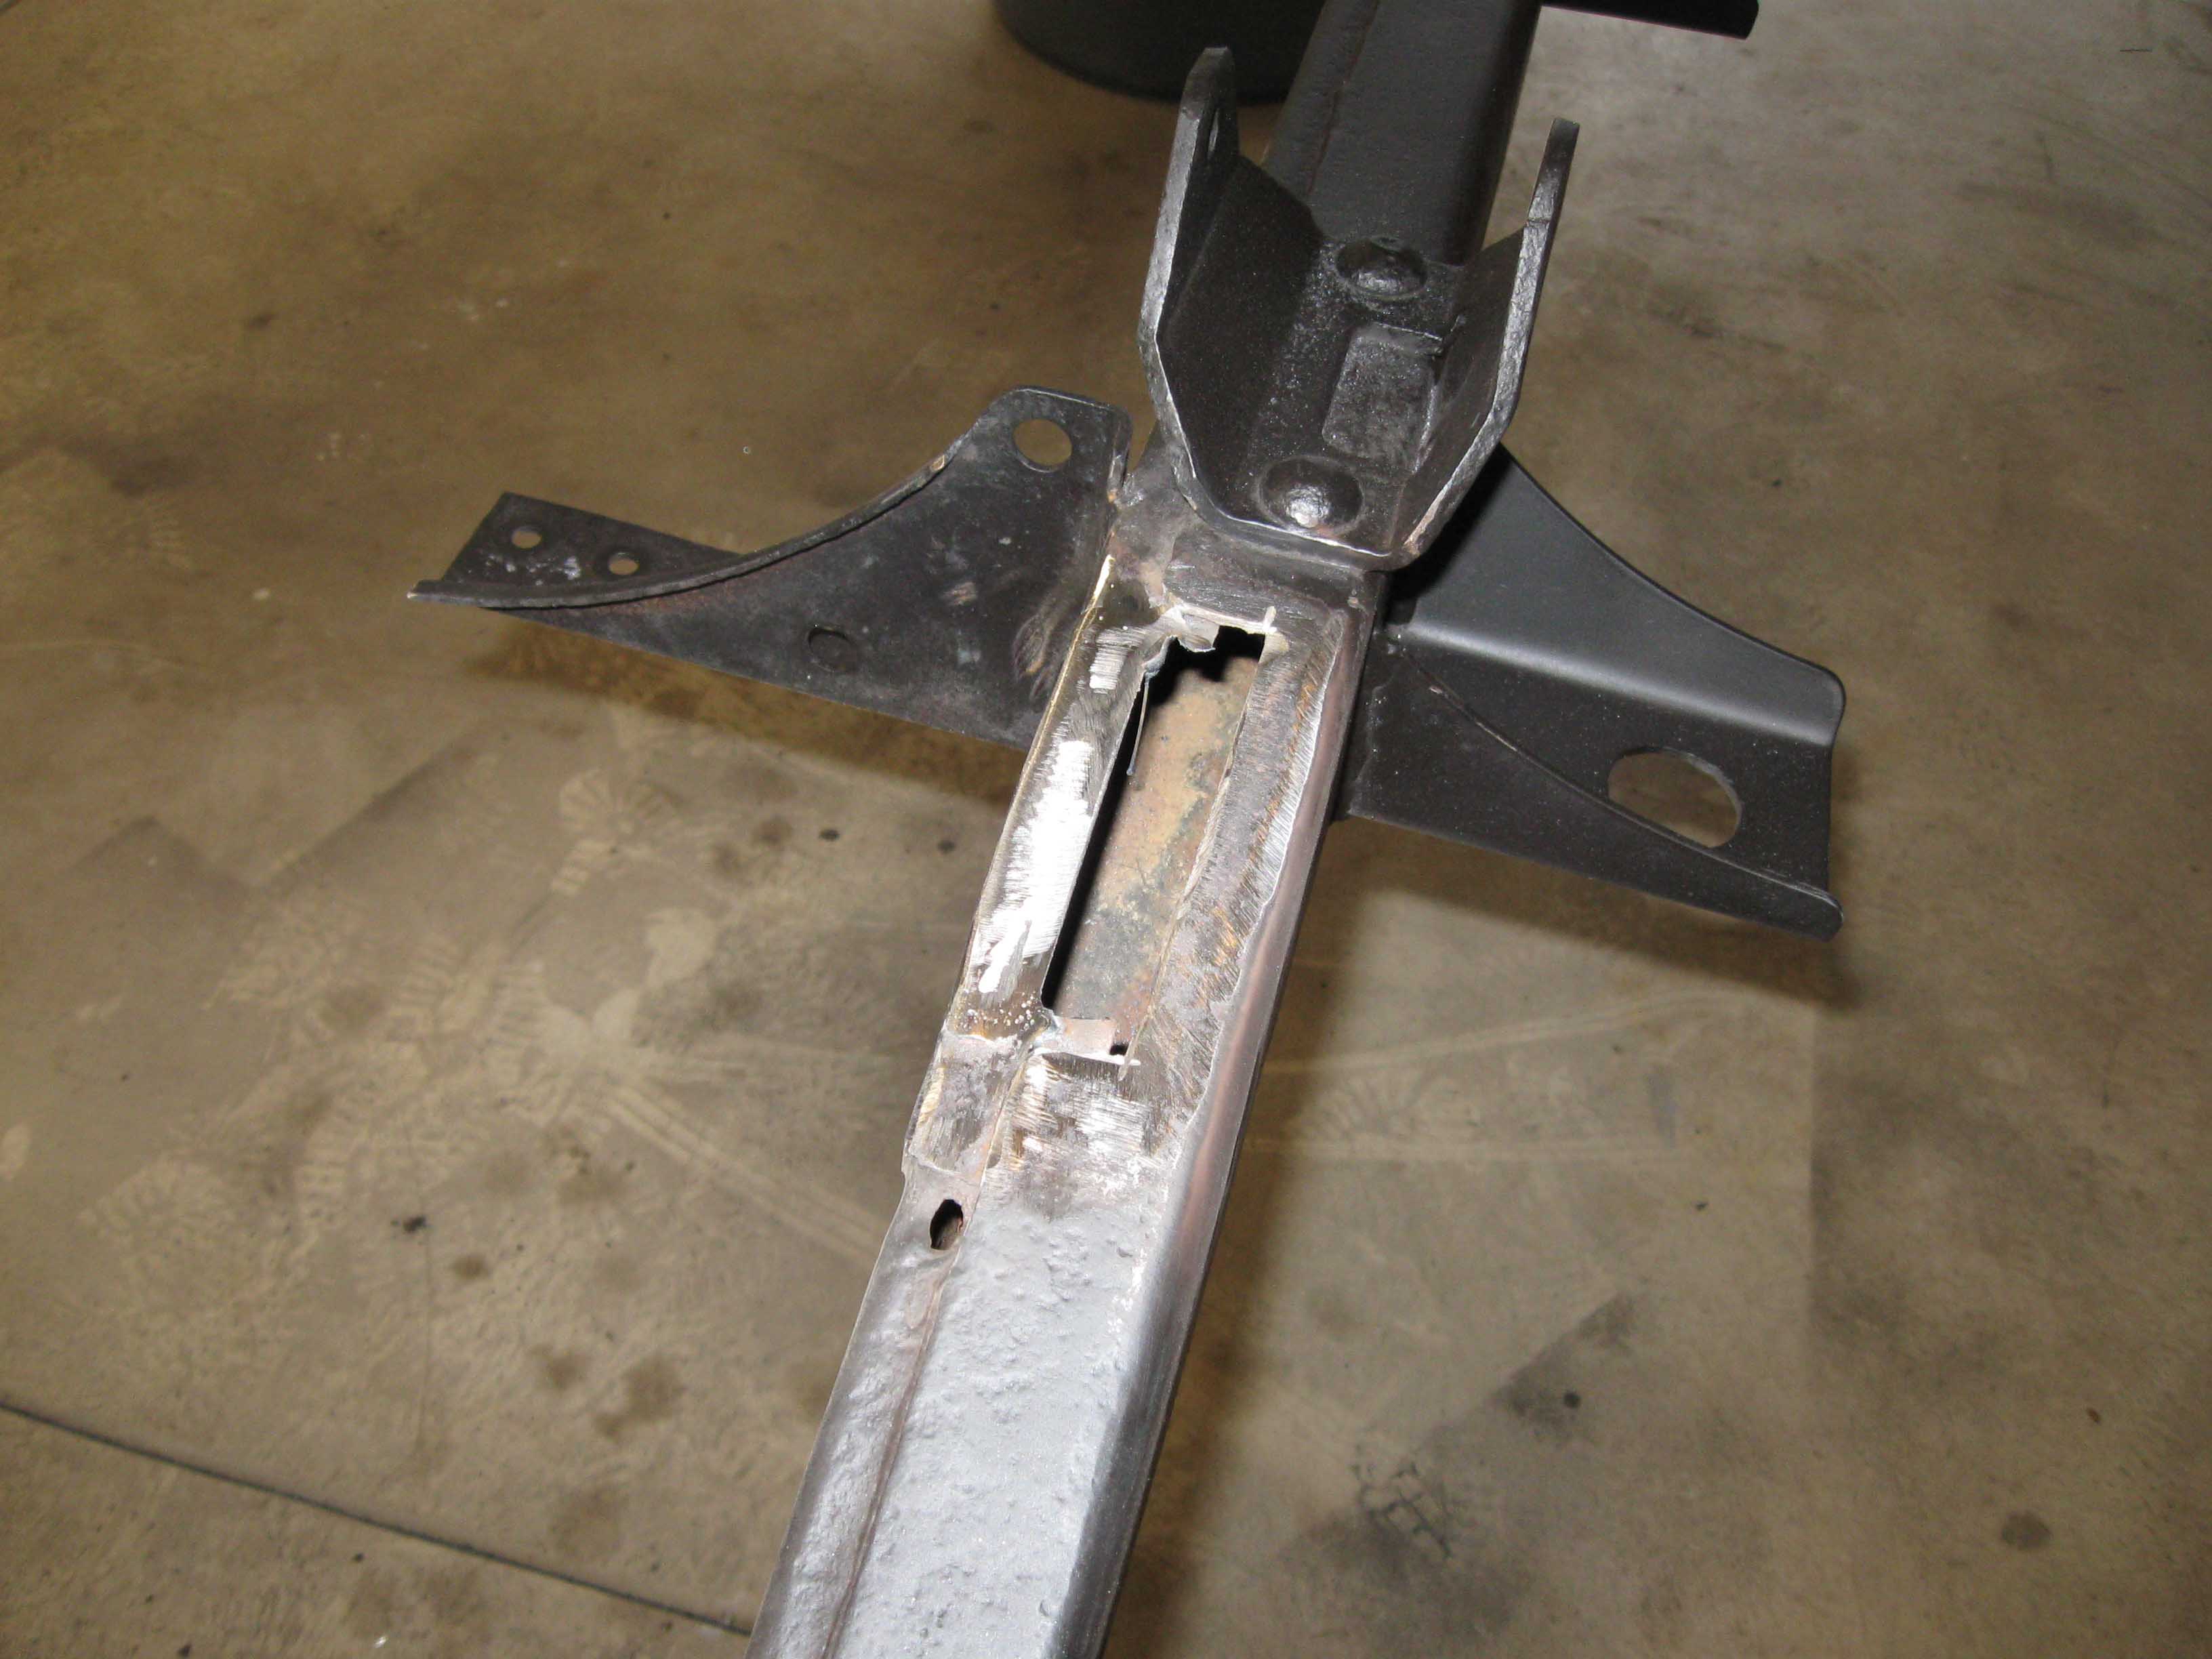
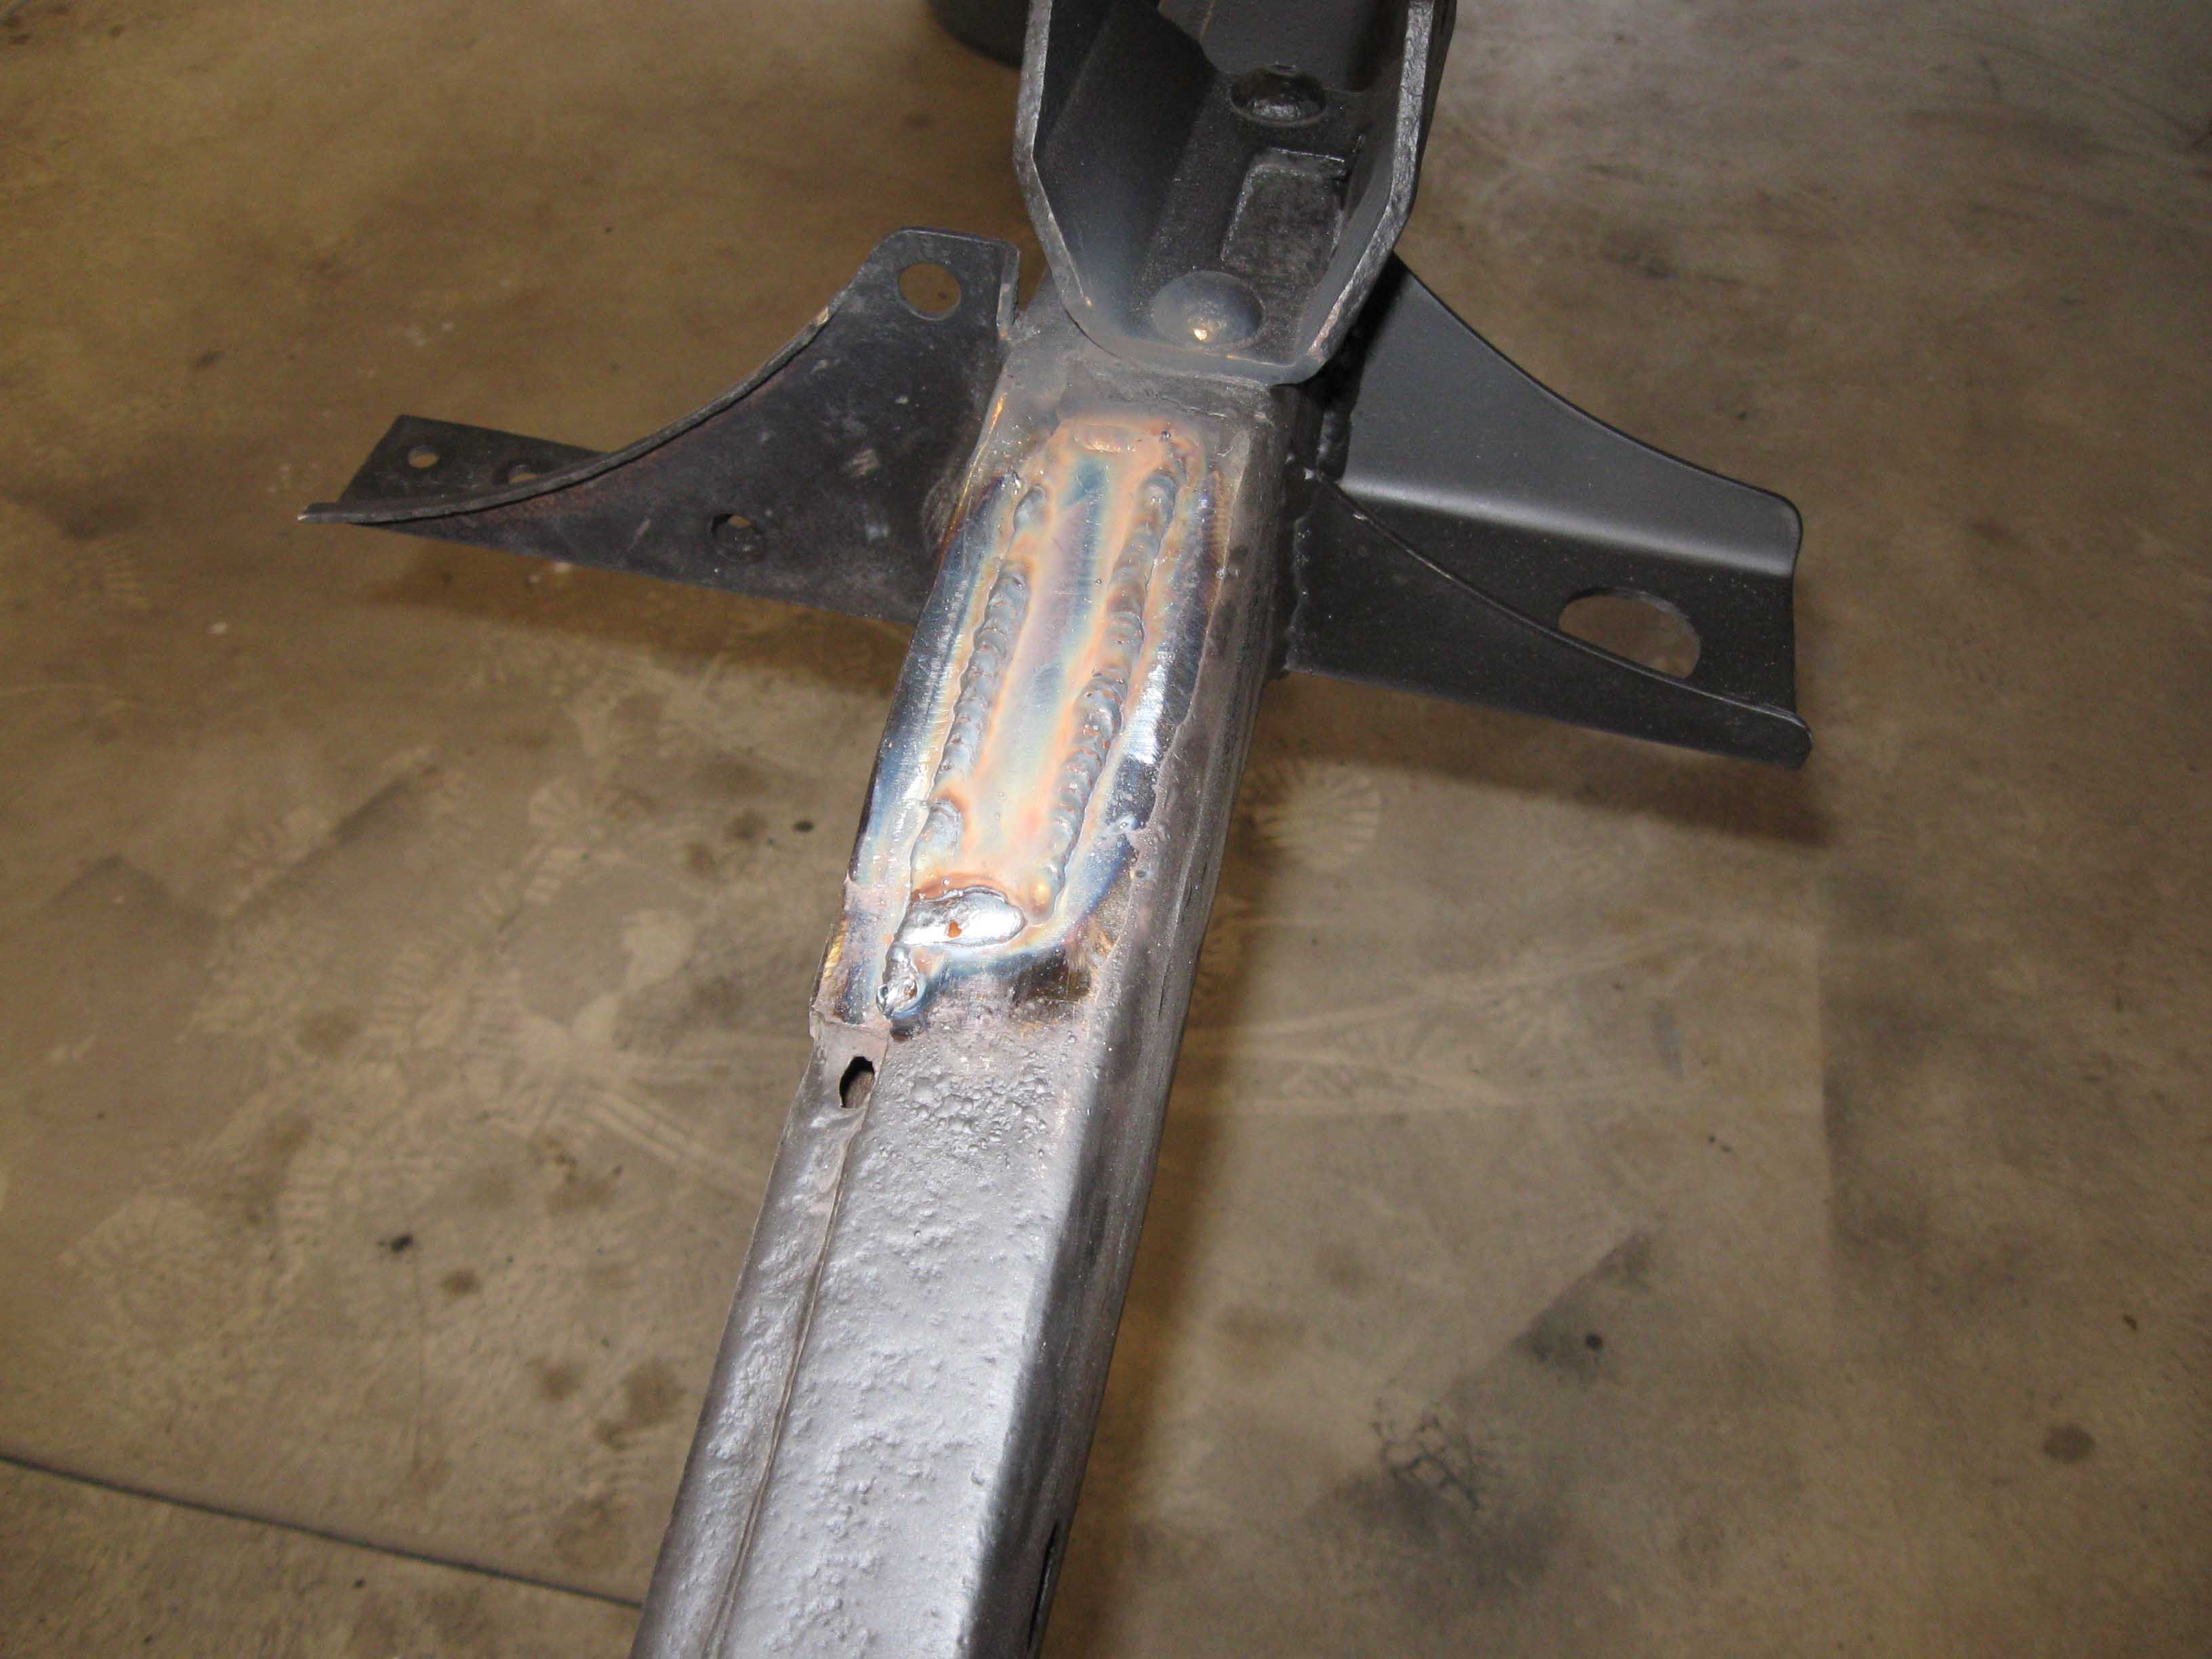
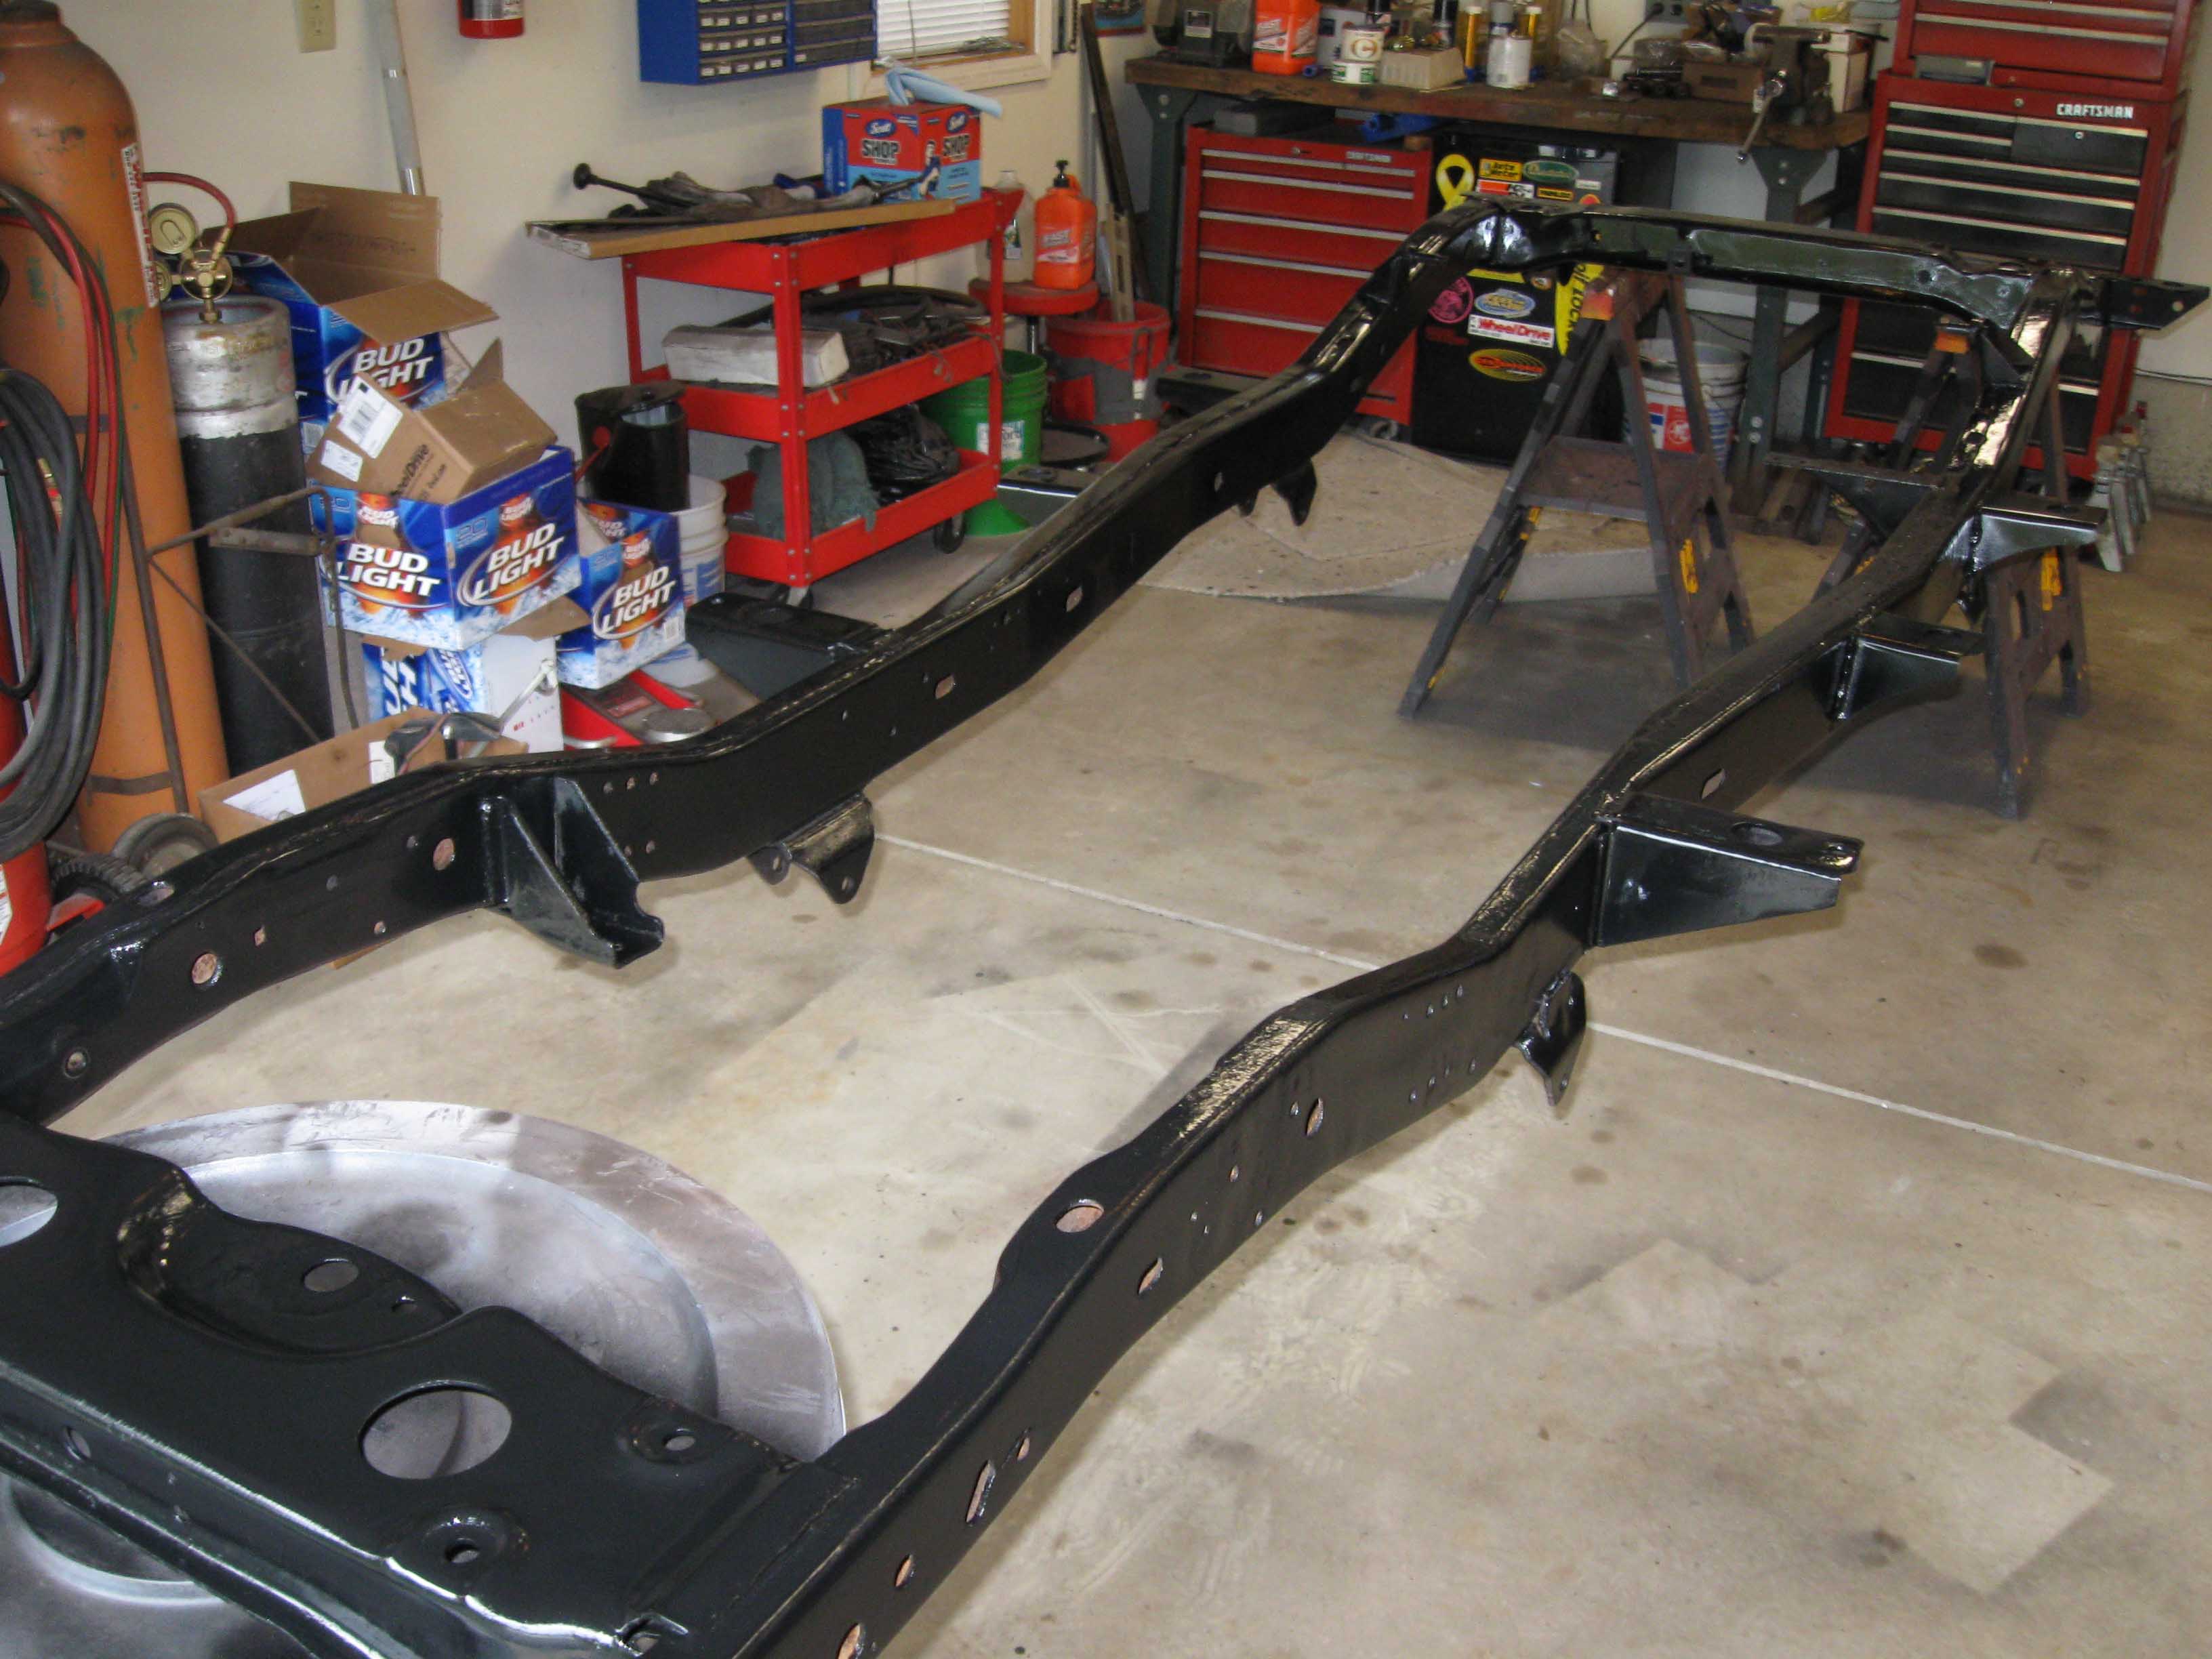
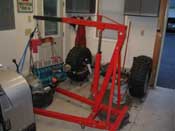
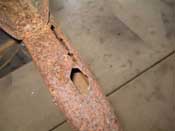
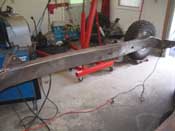
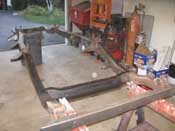
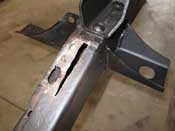
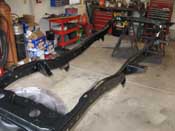
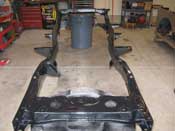
| (09/11/08) I finally got a day where the yard work was done, the traveling calmed
down and I was home for a bit alone, so I started in on the frame. There was only one soft area, so after
stabbing it with a screwdriver for a bit, I was able to cut out the bad metal and weld in a new piece of
angle iron and then cut out another piece for the top and then plated it. A few hours with a grinder and some
of the blue grinding discs and the passenger side frame rail was pretty much cleaned up on the underside and
inside and outside of the frame rails.
|
| |
|

|
|
|
|
|

|
|
| |
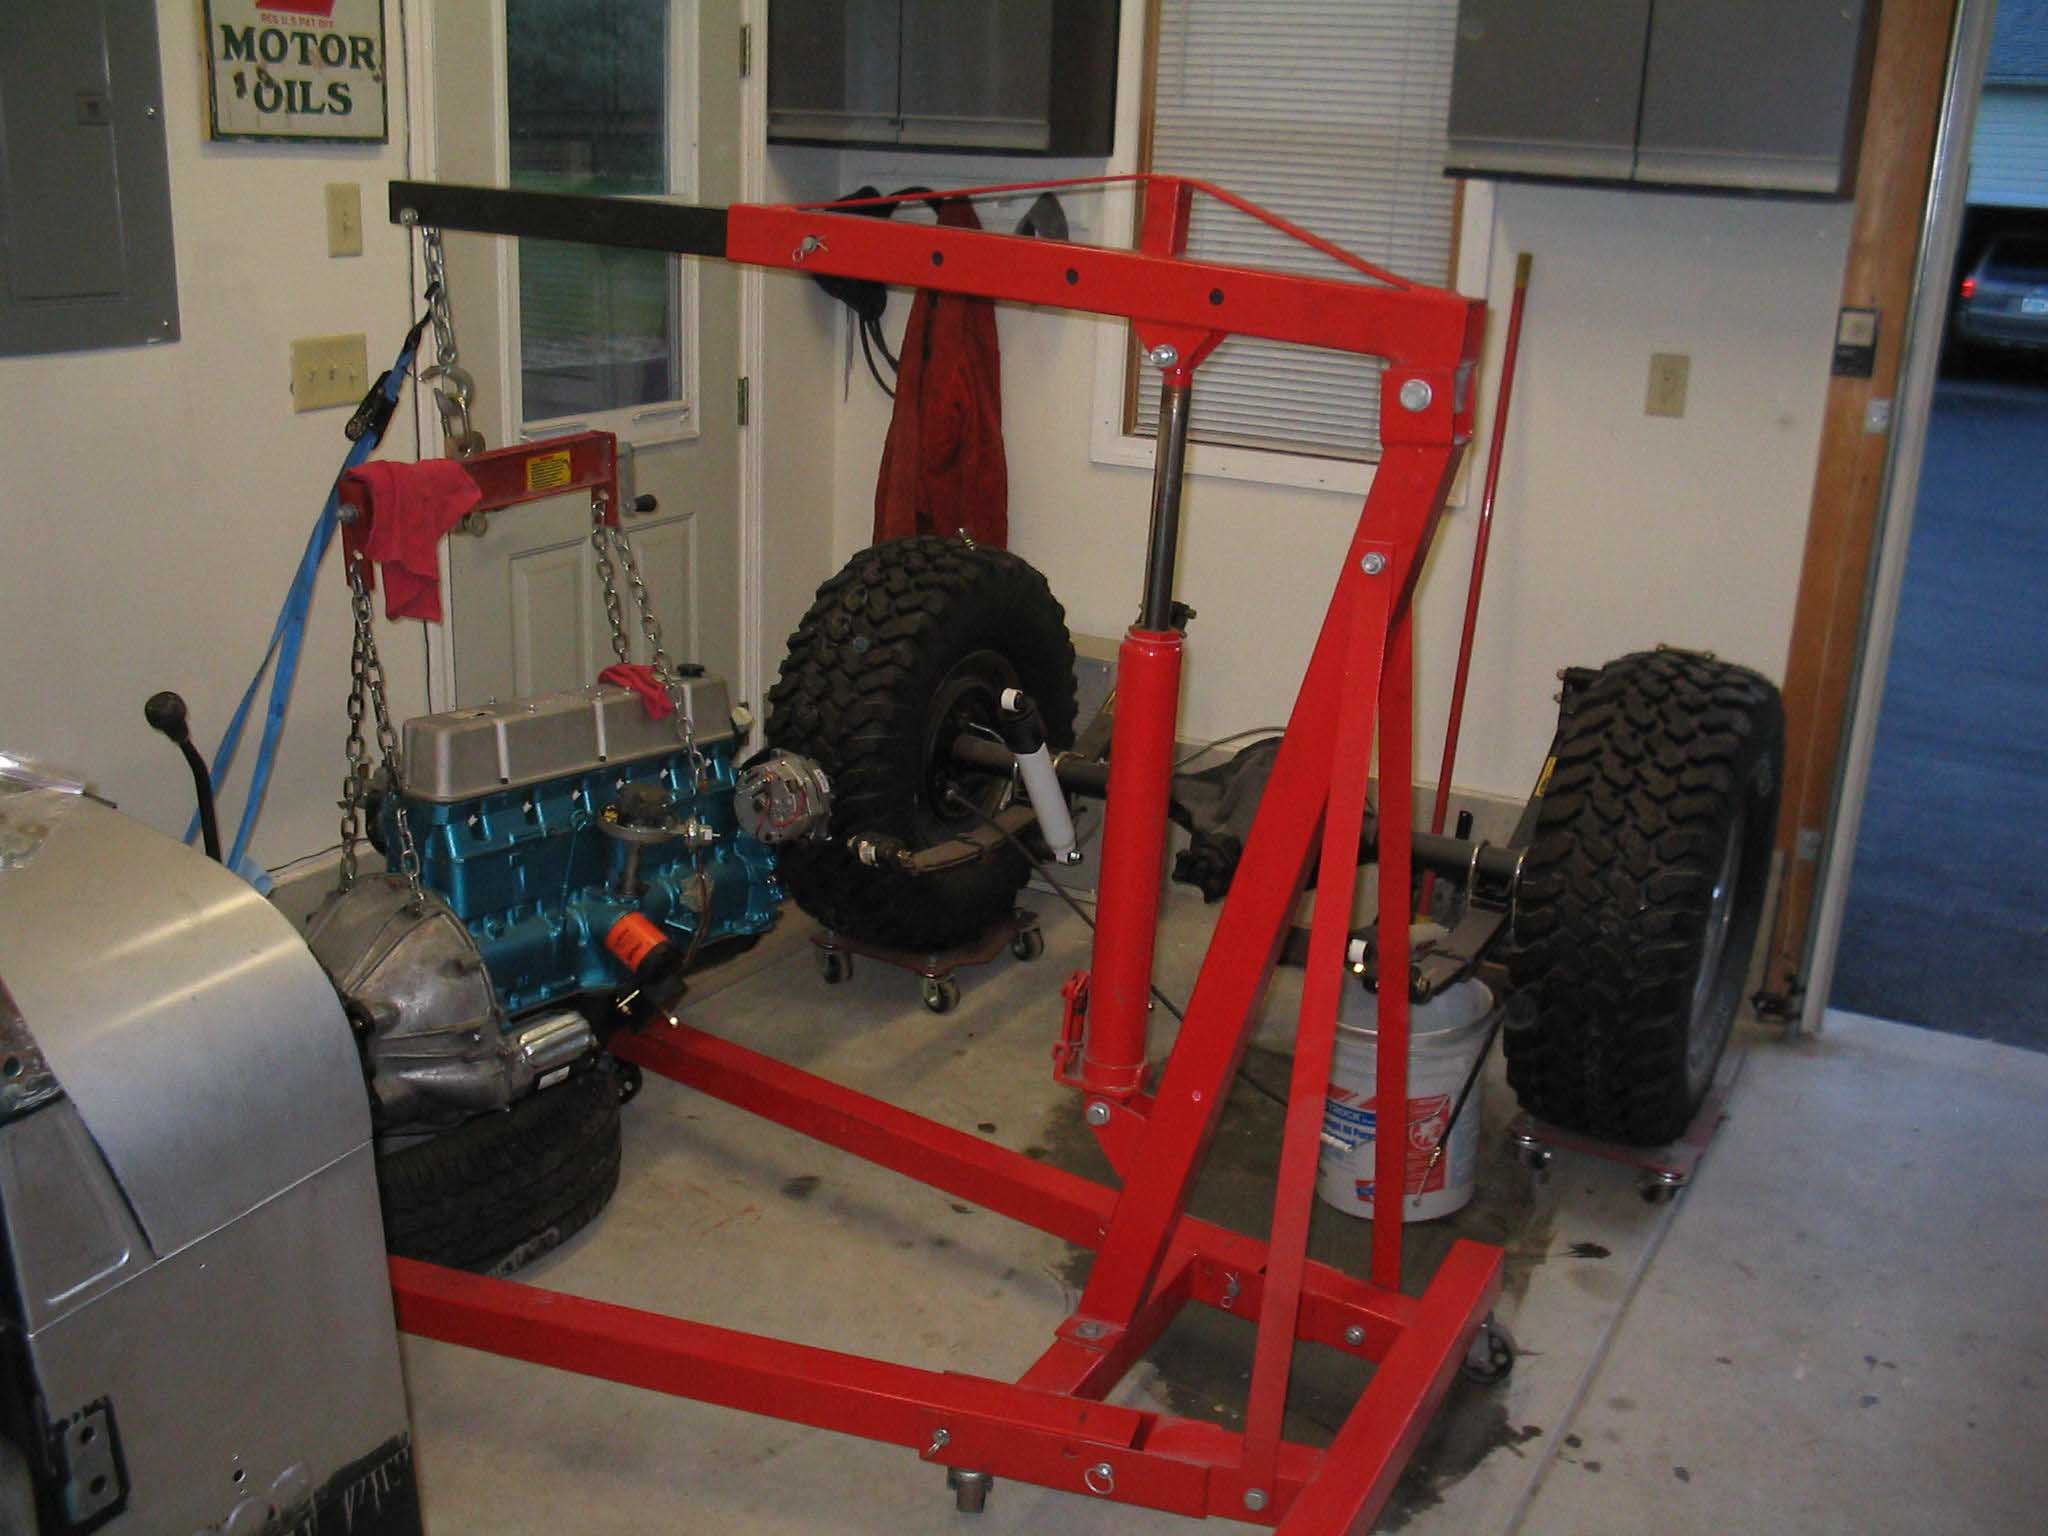
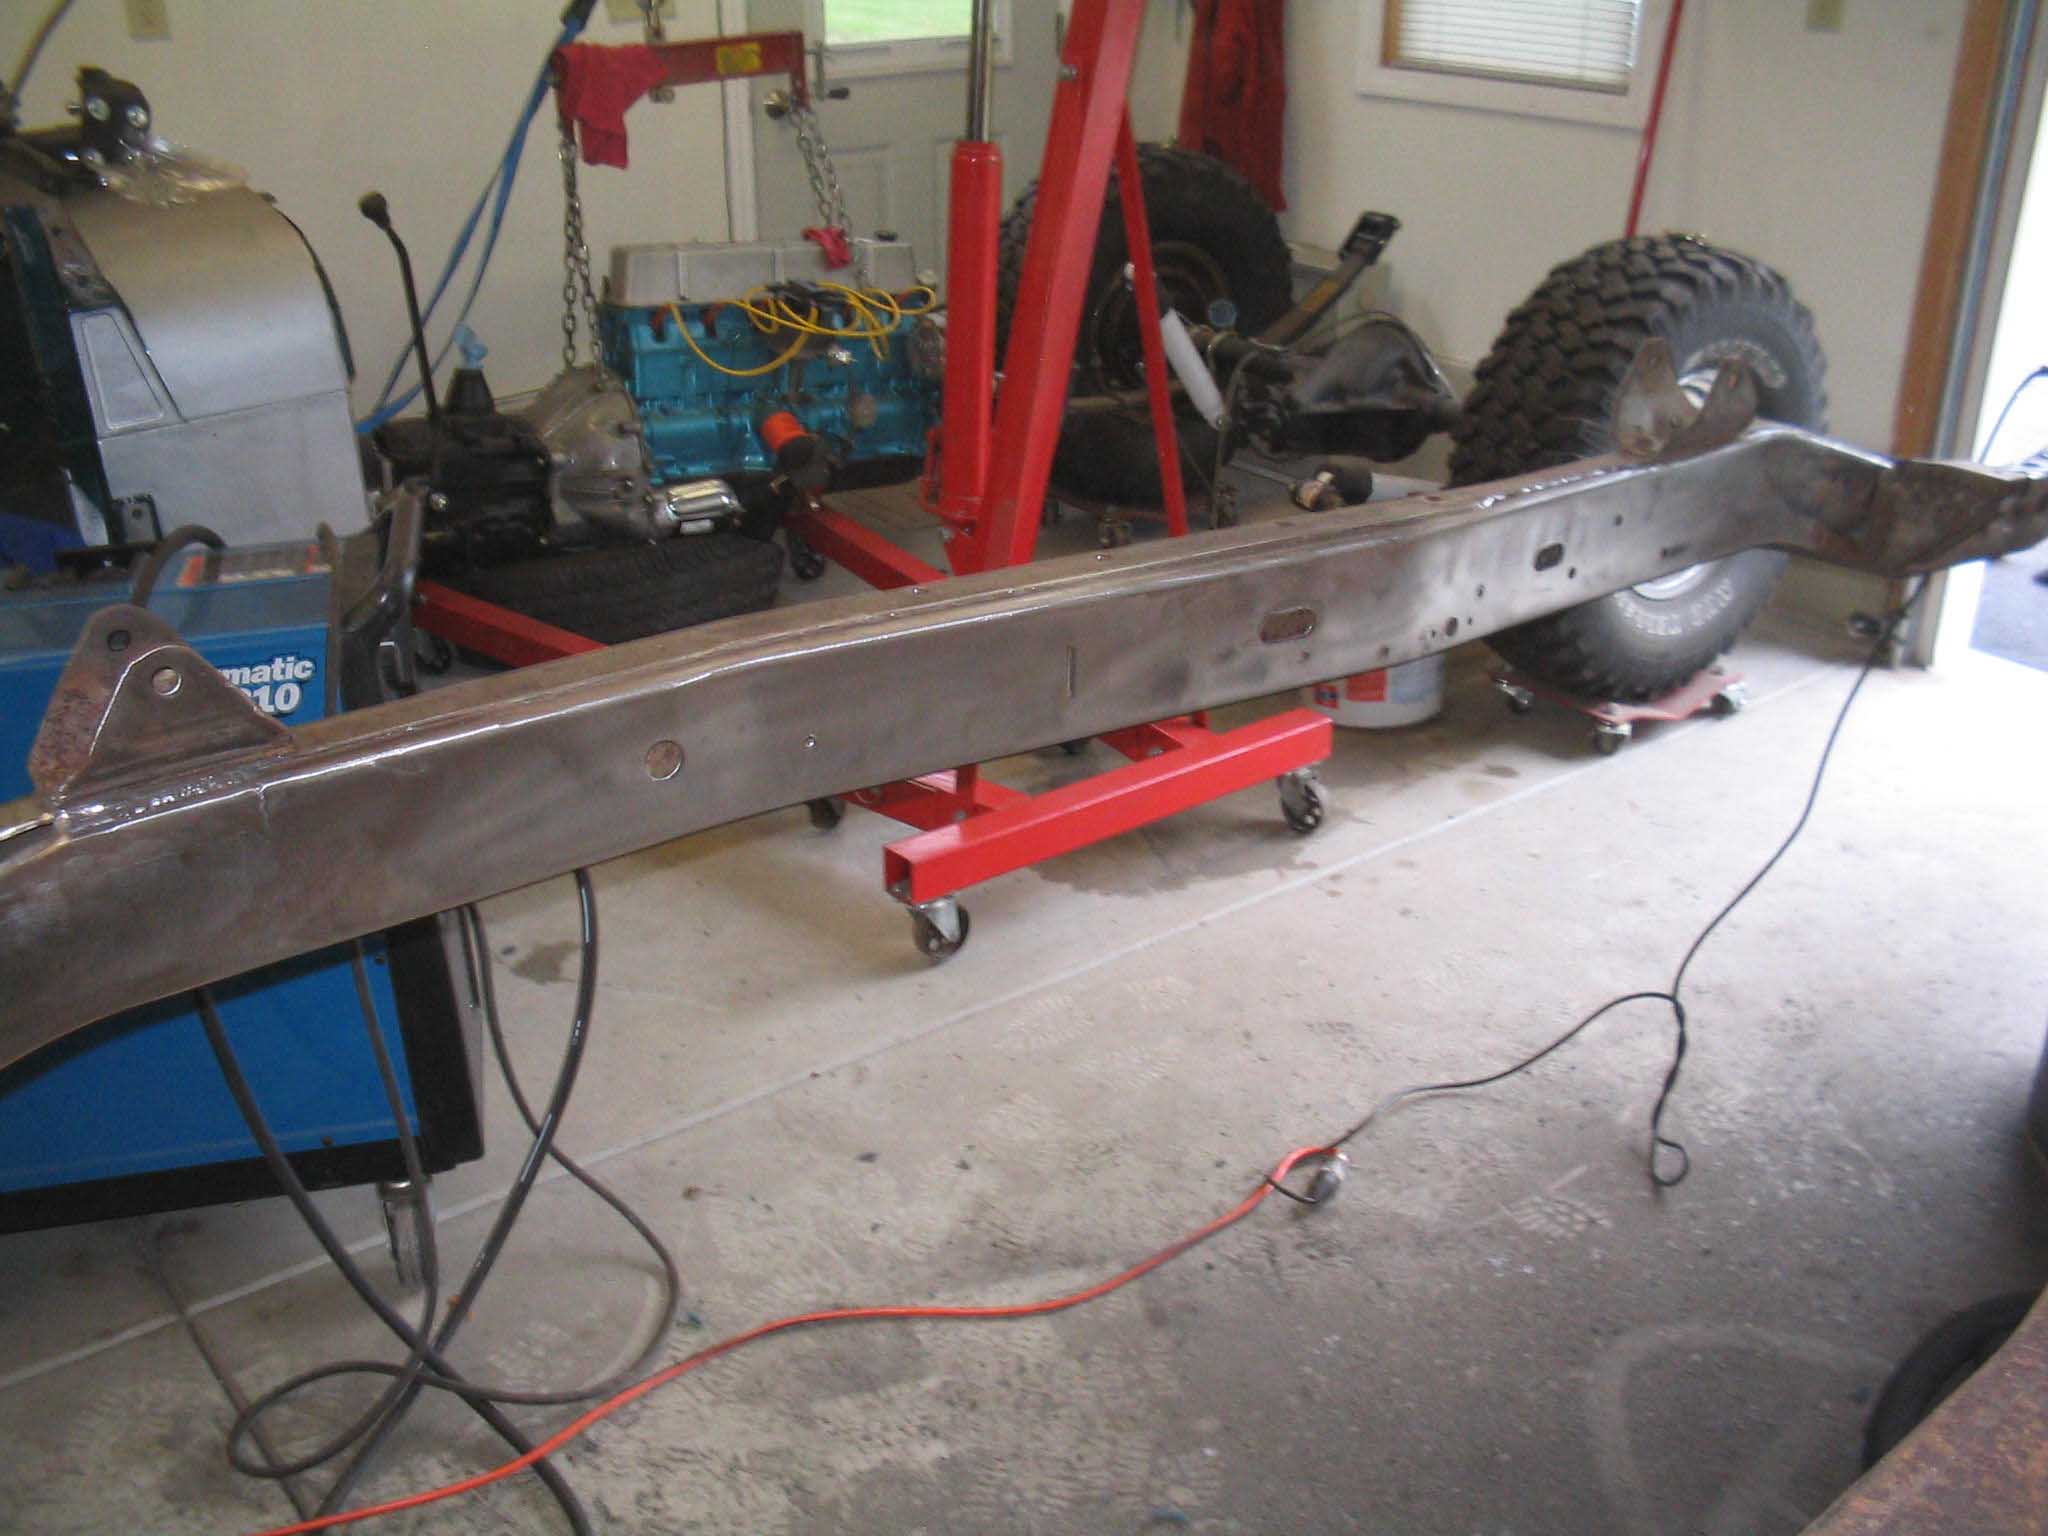
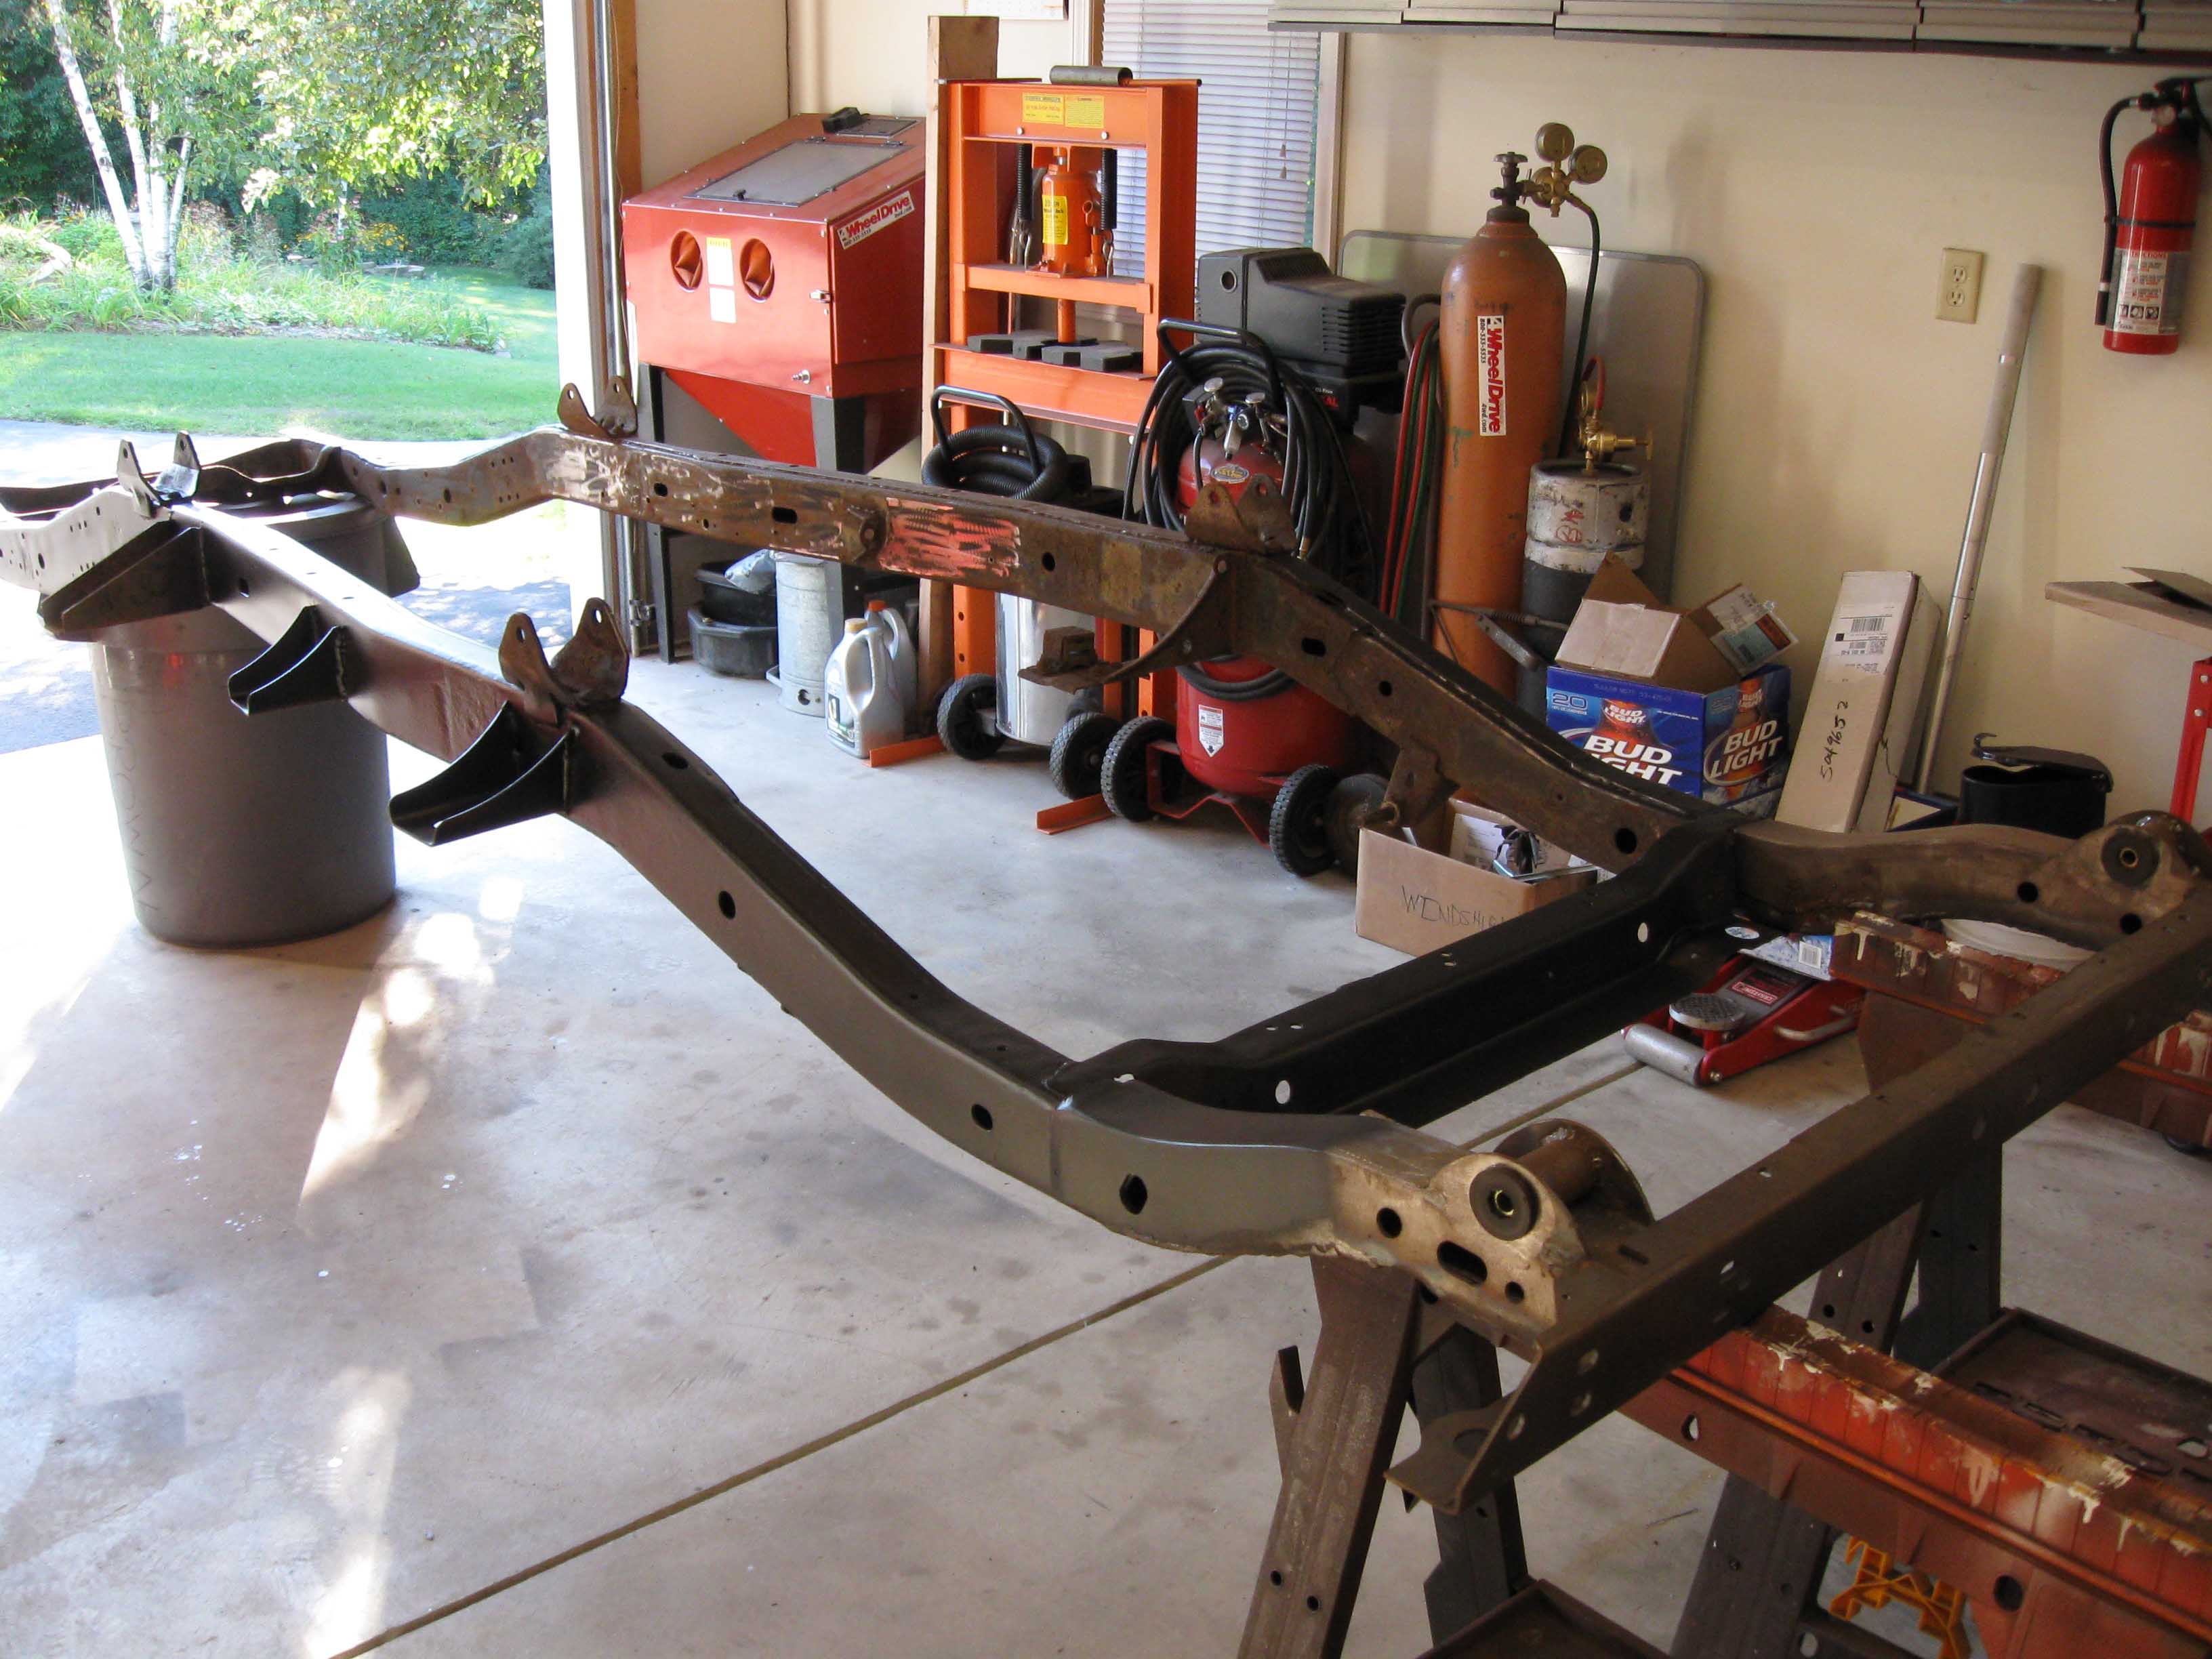
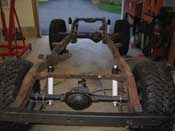
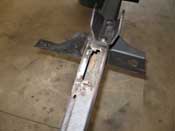
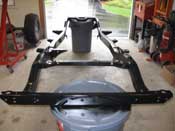
(09/11/08) I welded up the rear a bit too. On the underside where the frame
rail caps went, I never did much but tack it into place when I was mocking it up. I was able to finish a bit
of welding on that and then grind that up; clean it up and then I started painting. The engine/trans combination
is also back upright and the distributor seems to be better now that it has its new parts.
Last night I headed out for 2 hours with the grinder on the driver side frame rail. I still need to weld up
the rear end area on both underside. I need to fix one more soft spot that I found and drill out yet another
broken bolt (I have done 3 already). All in all, things are progressing along nicely. Oh yeah, one last thing,
I have run out of zero-rust paint as well, need to order up some of that. Also, need new respirator discs as they
are pretty much clogged up with all the scale and dirt that has come out of this frame... my advice, buy a new
one and have it dipped as it will save you a ton of time/money/energy and your back in the long run!
cb (09/11/08)
|
| |
|
|
|
|

|
|
| |
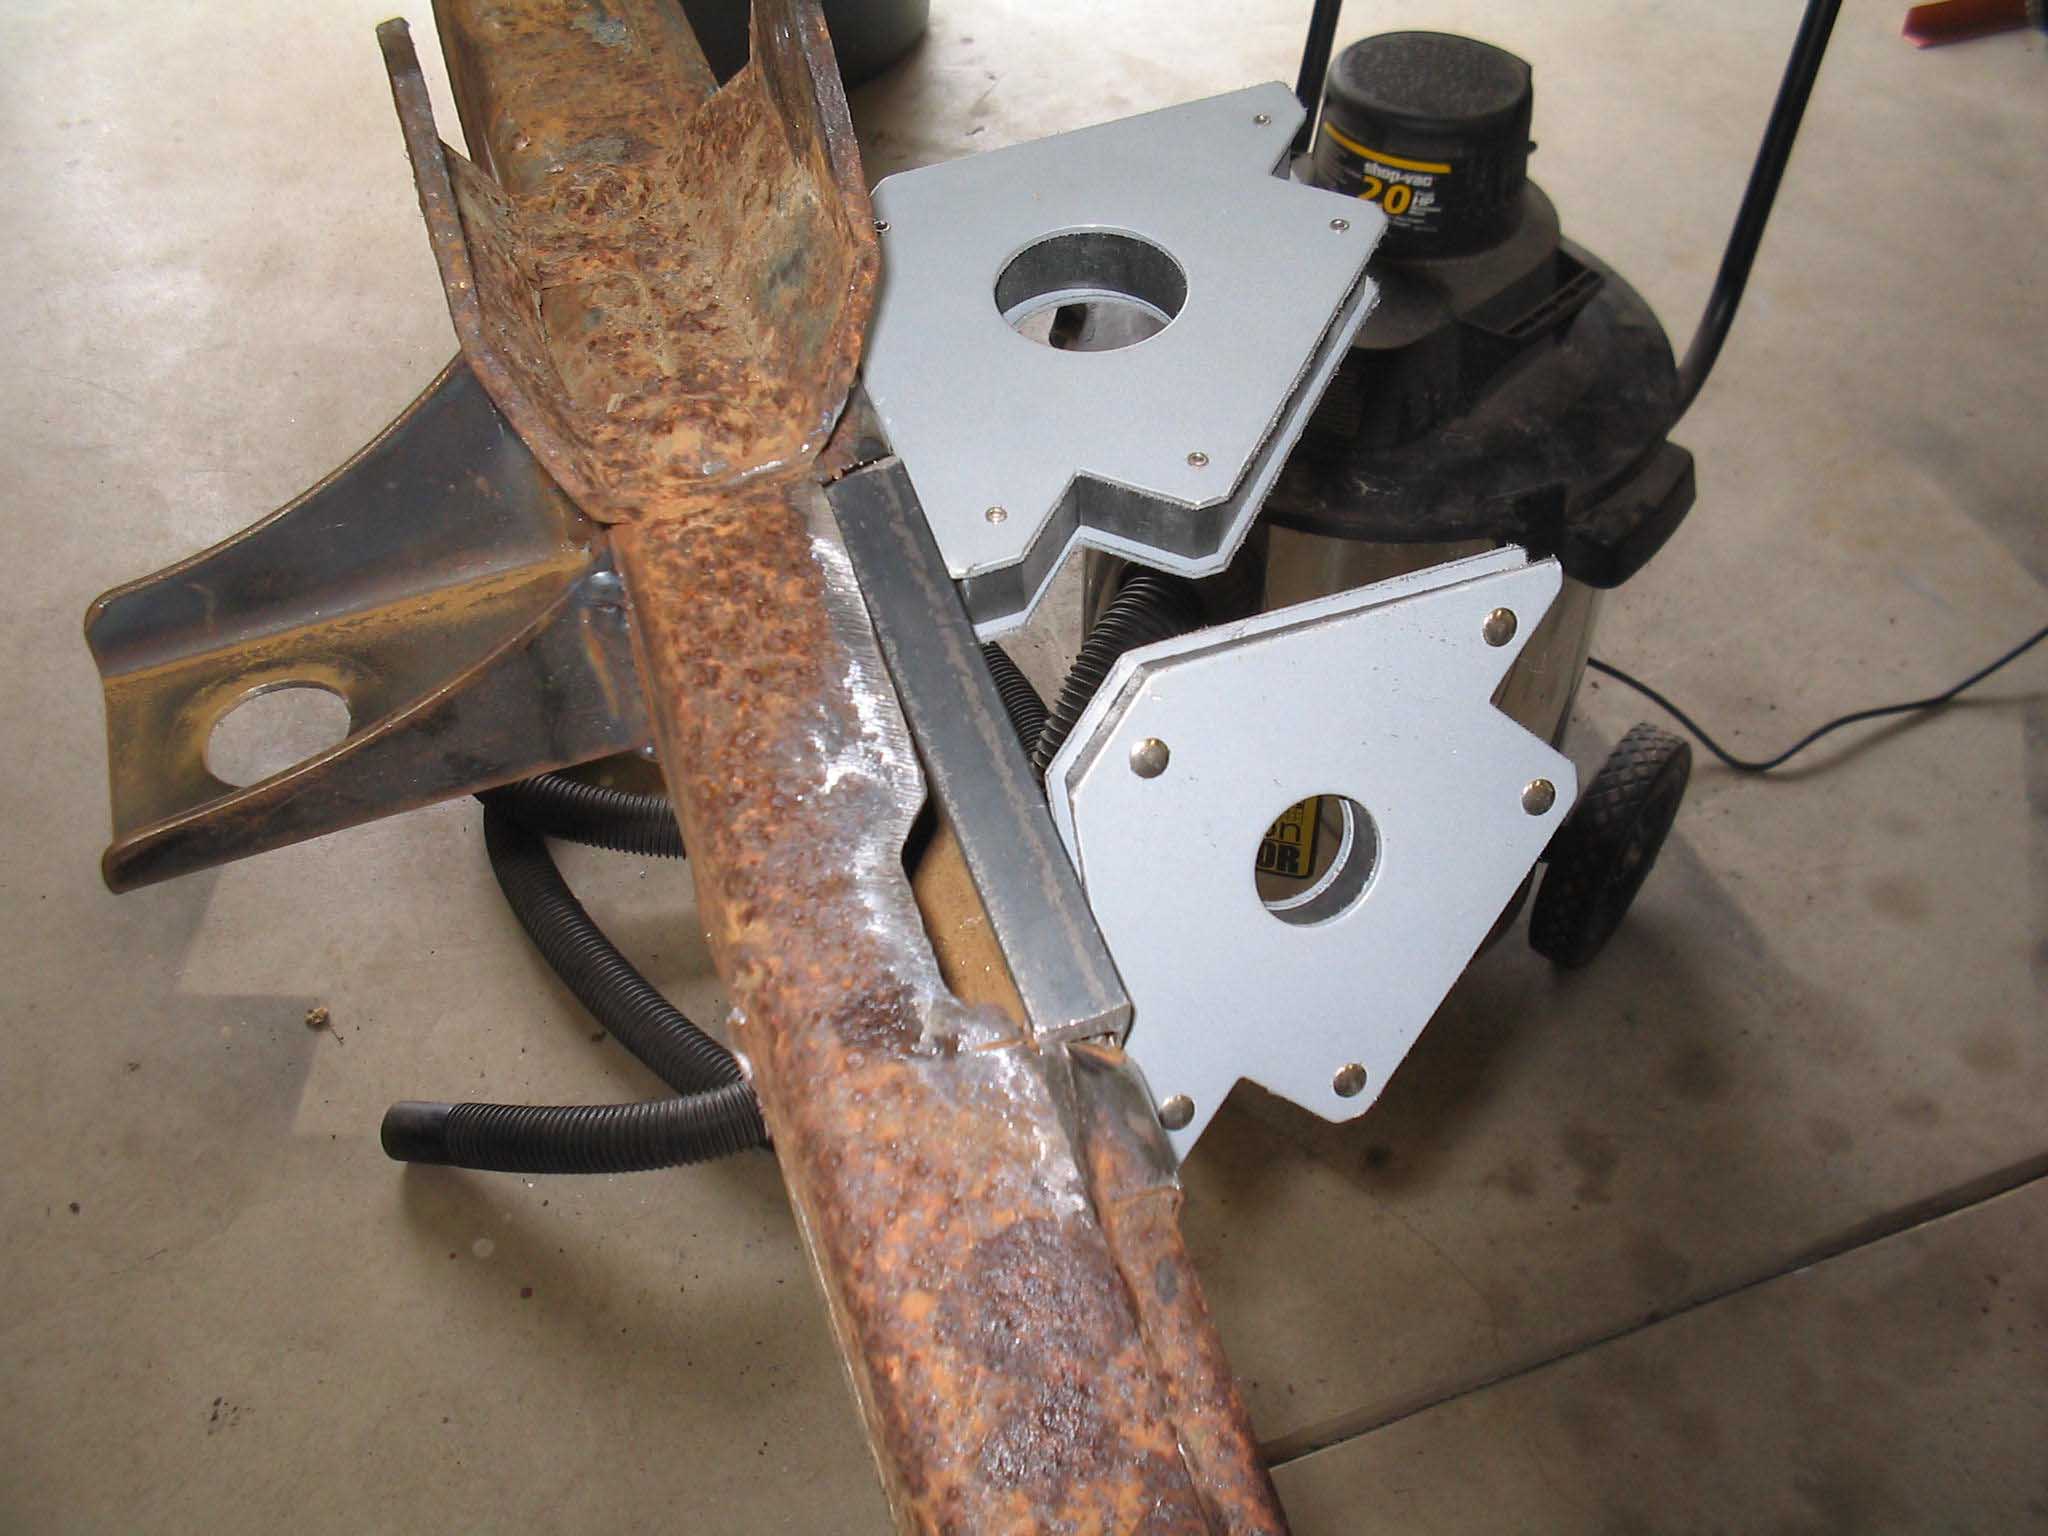
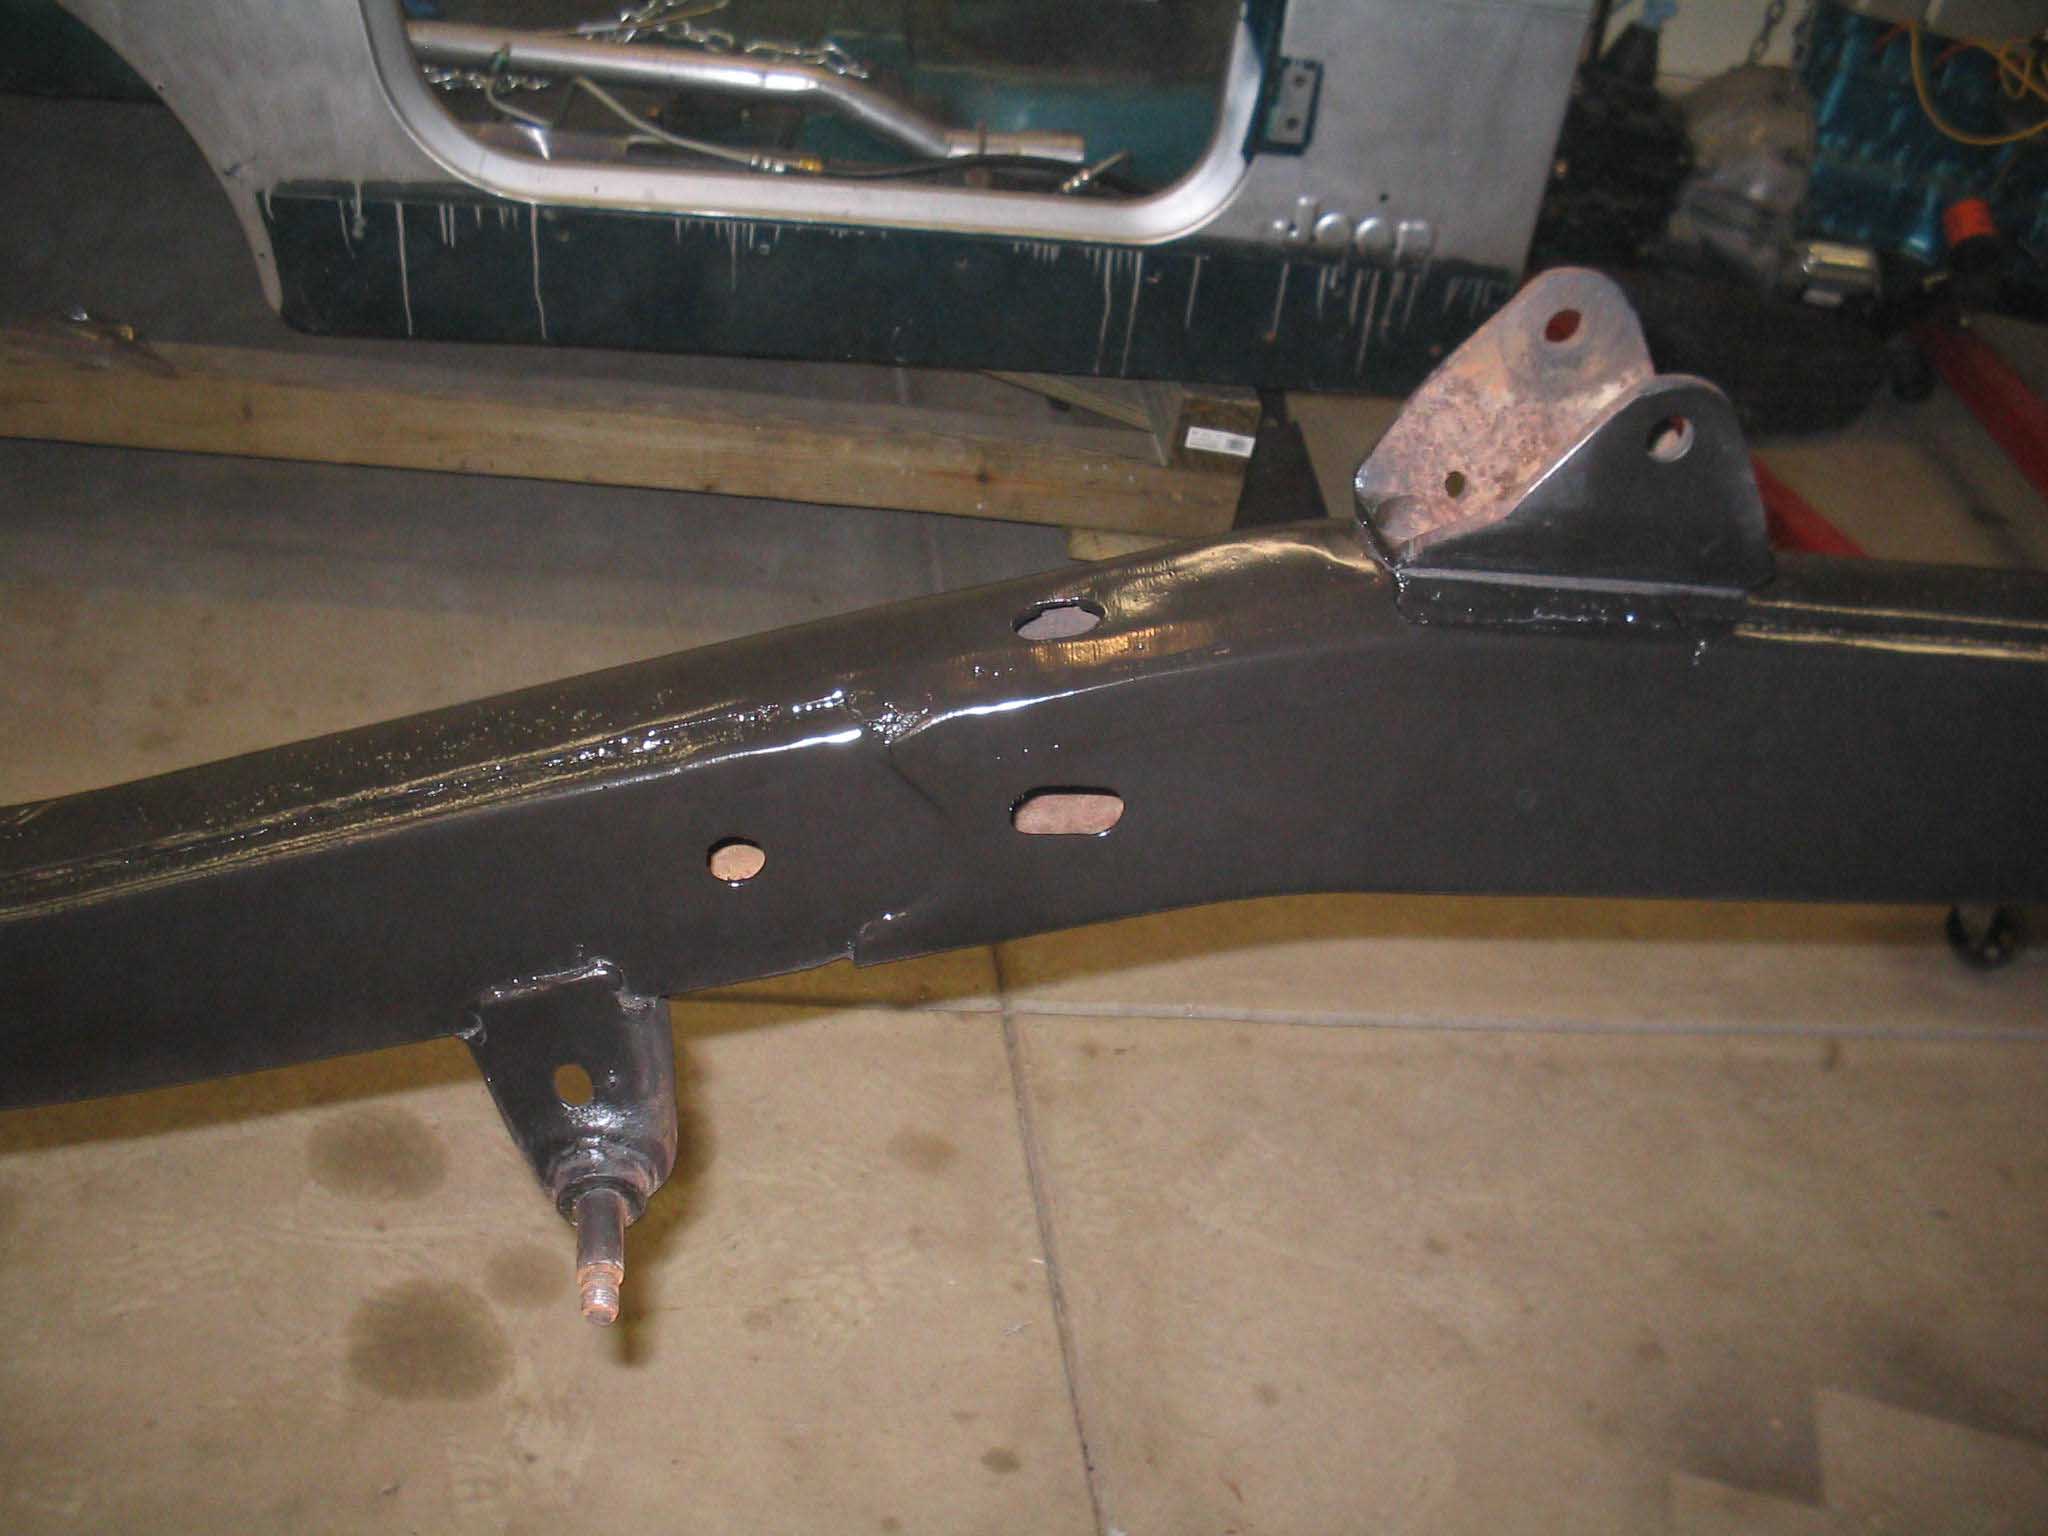
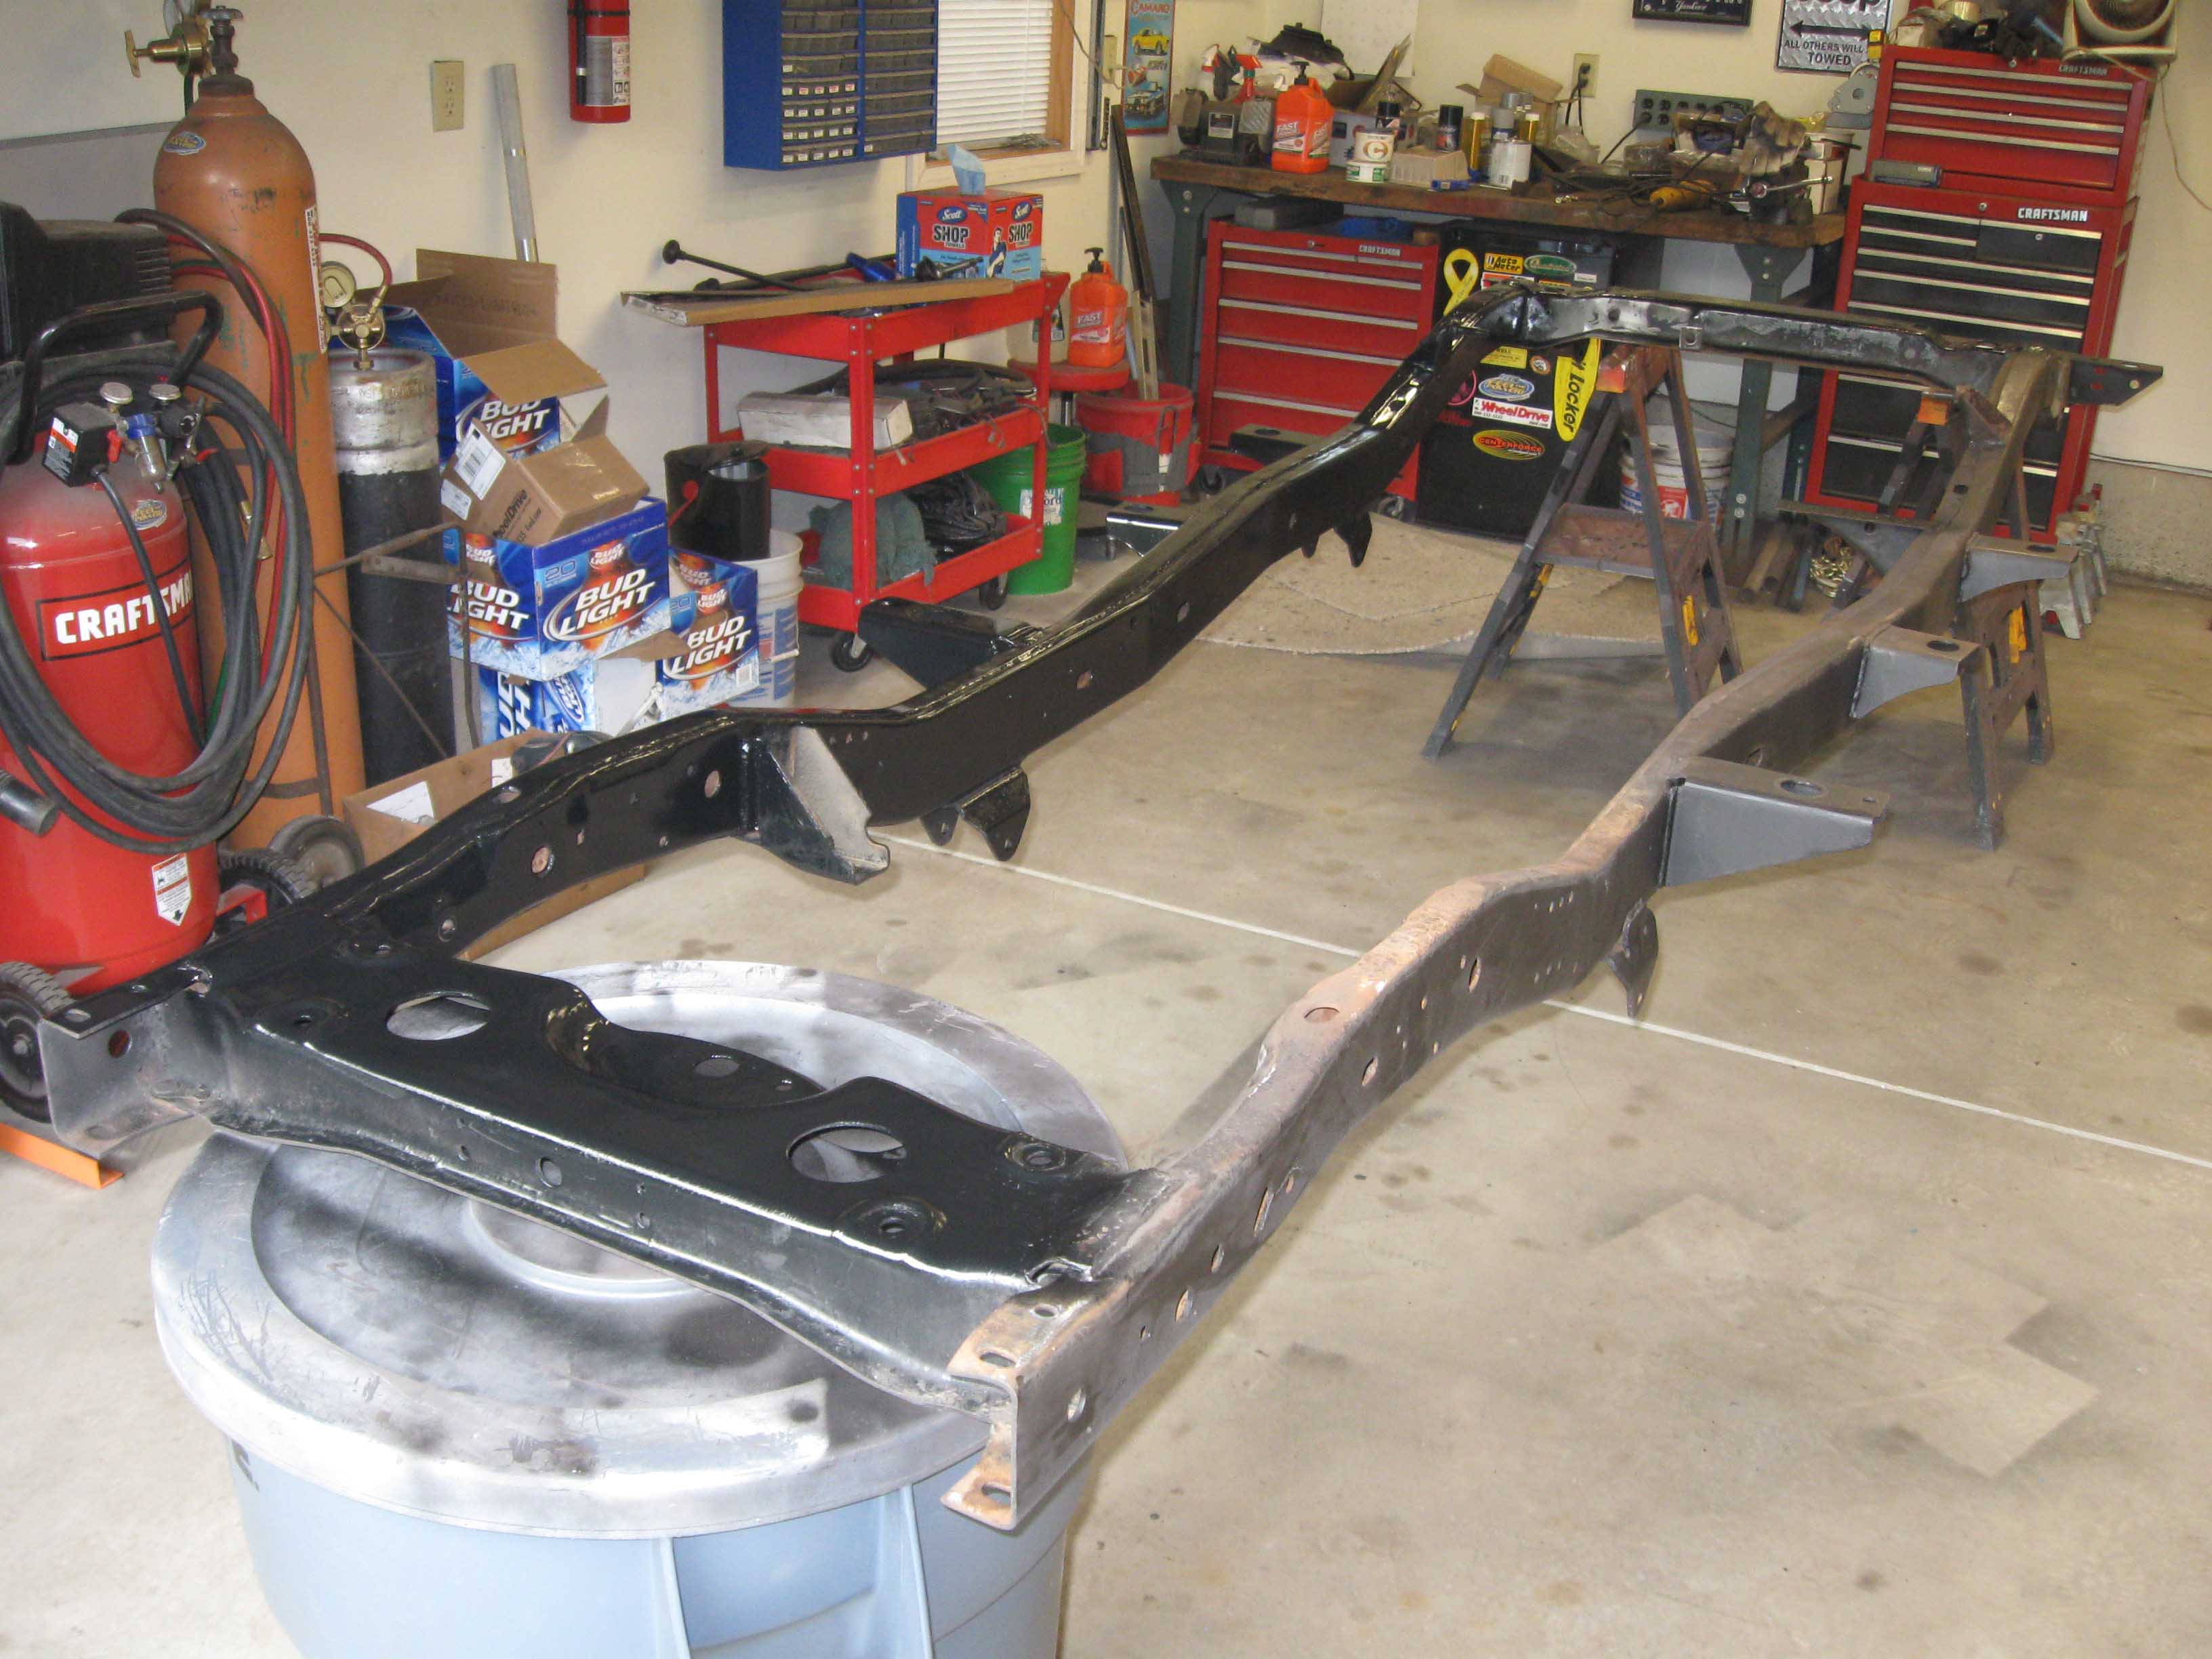
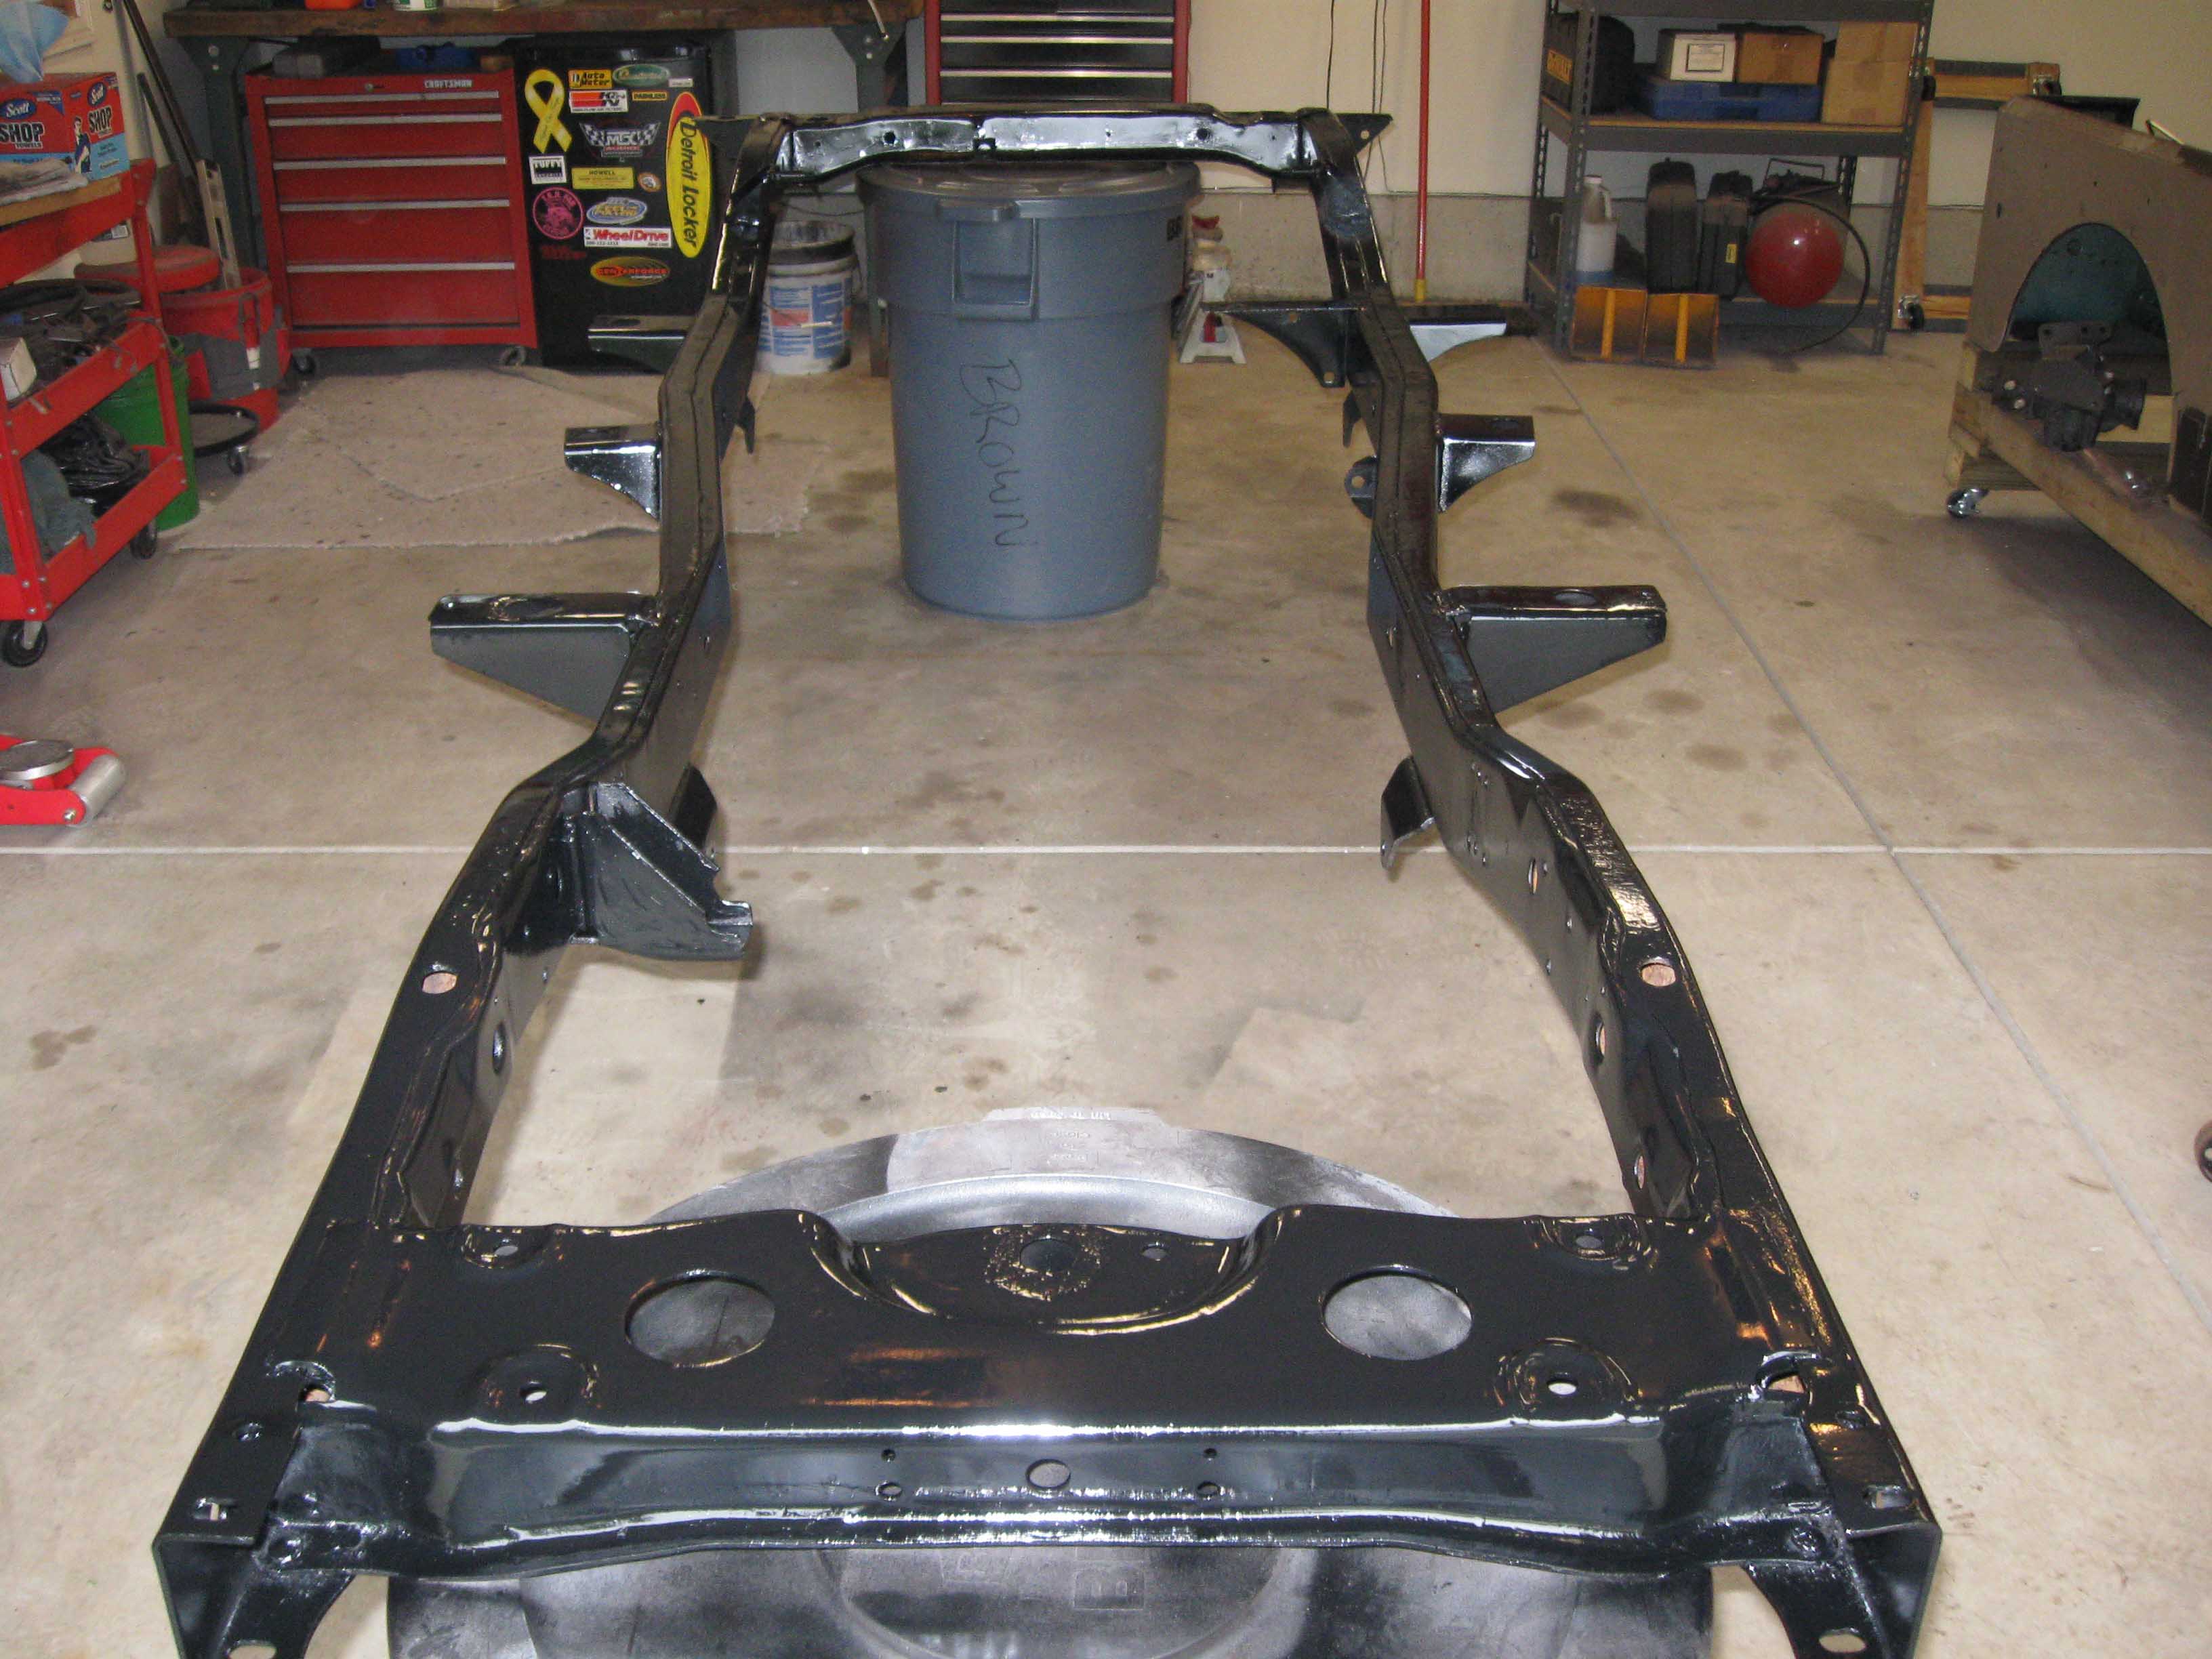
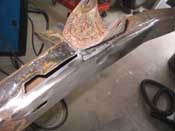
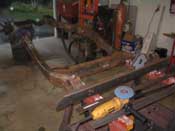
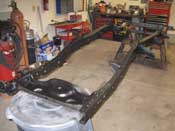
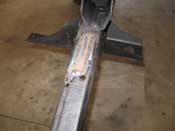
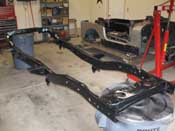
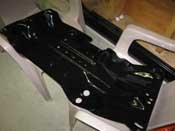
| (09/14/08) I spent another 11 hours working on the frame over the weekend. I cut
out some other spots that were a little soft and replaced it with some decent metal. I then flipped the frame
over after a good cleaning and painting and then went to work on the top of the frame.
|
| |
|

|
|
|
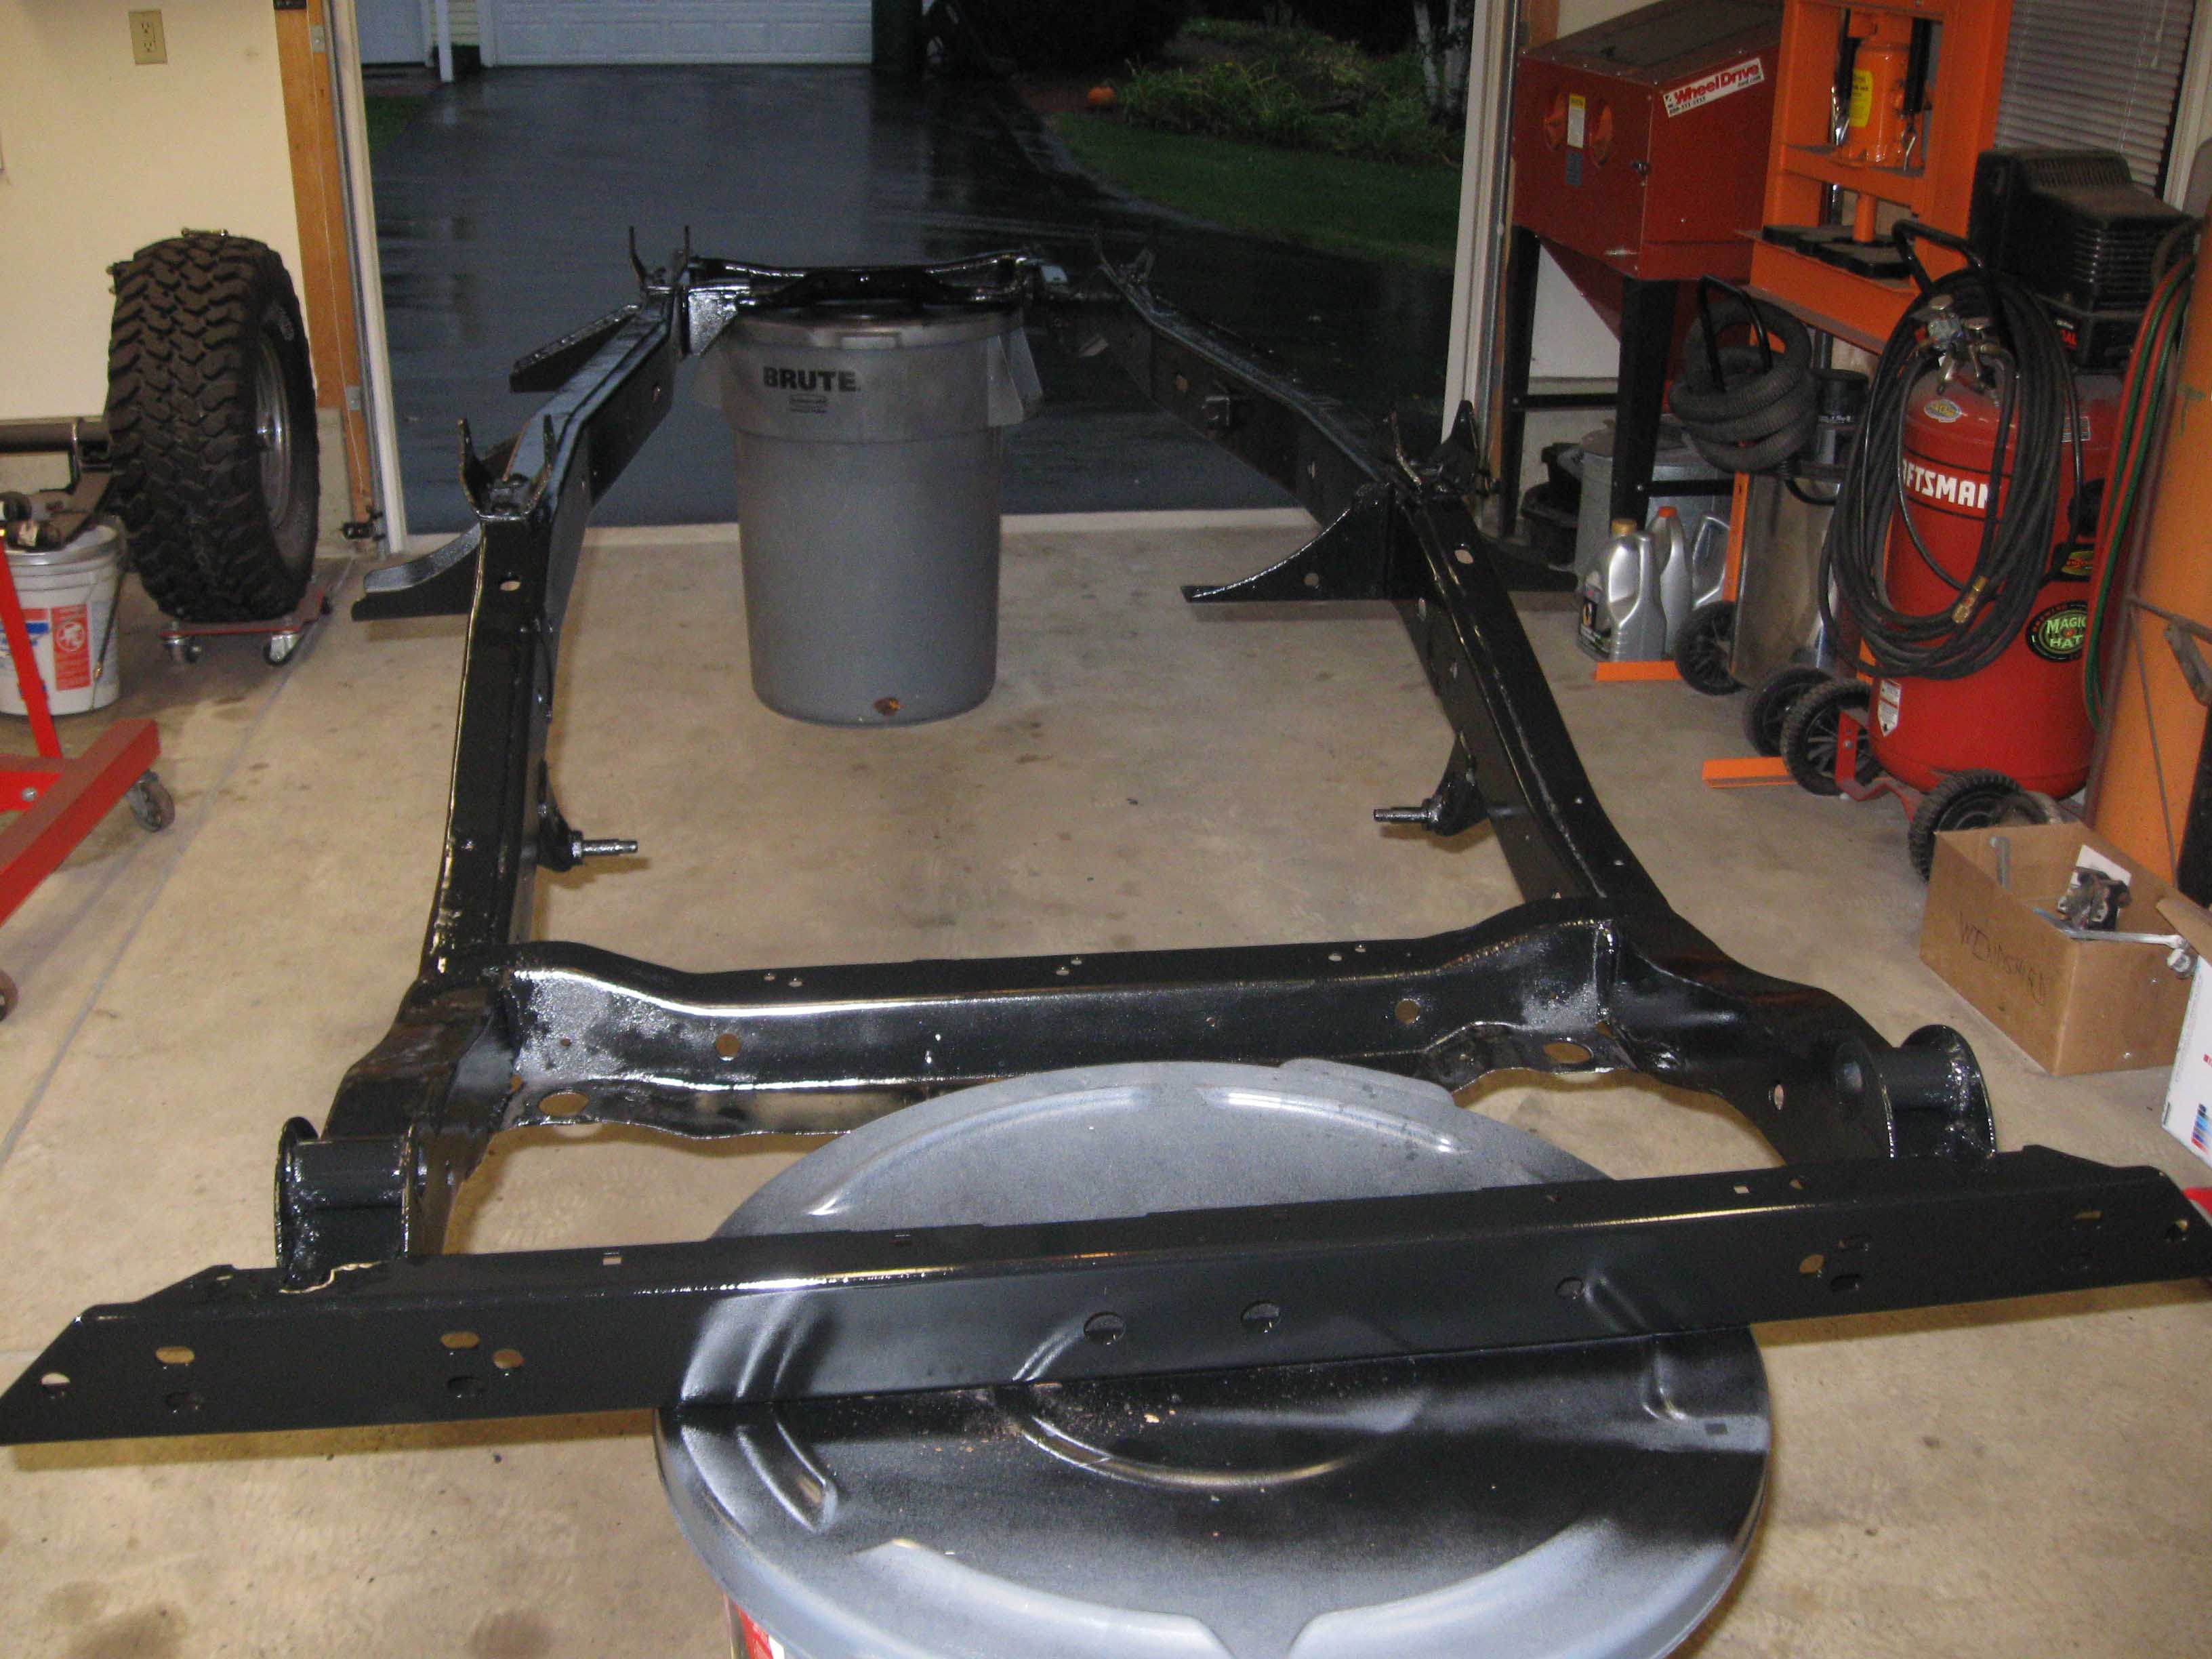
| |
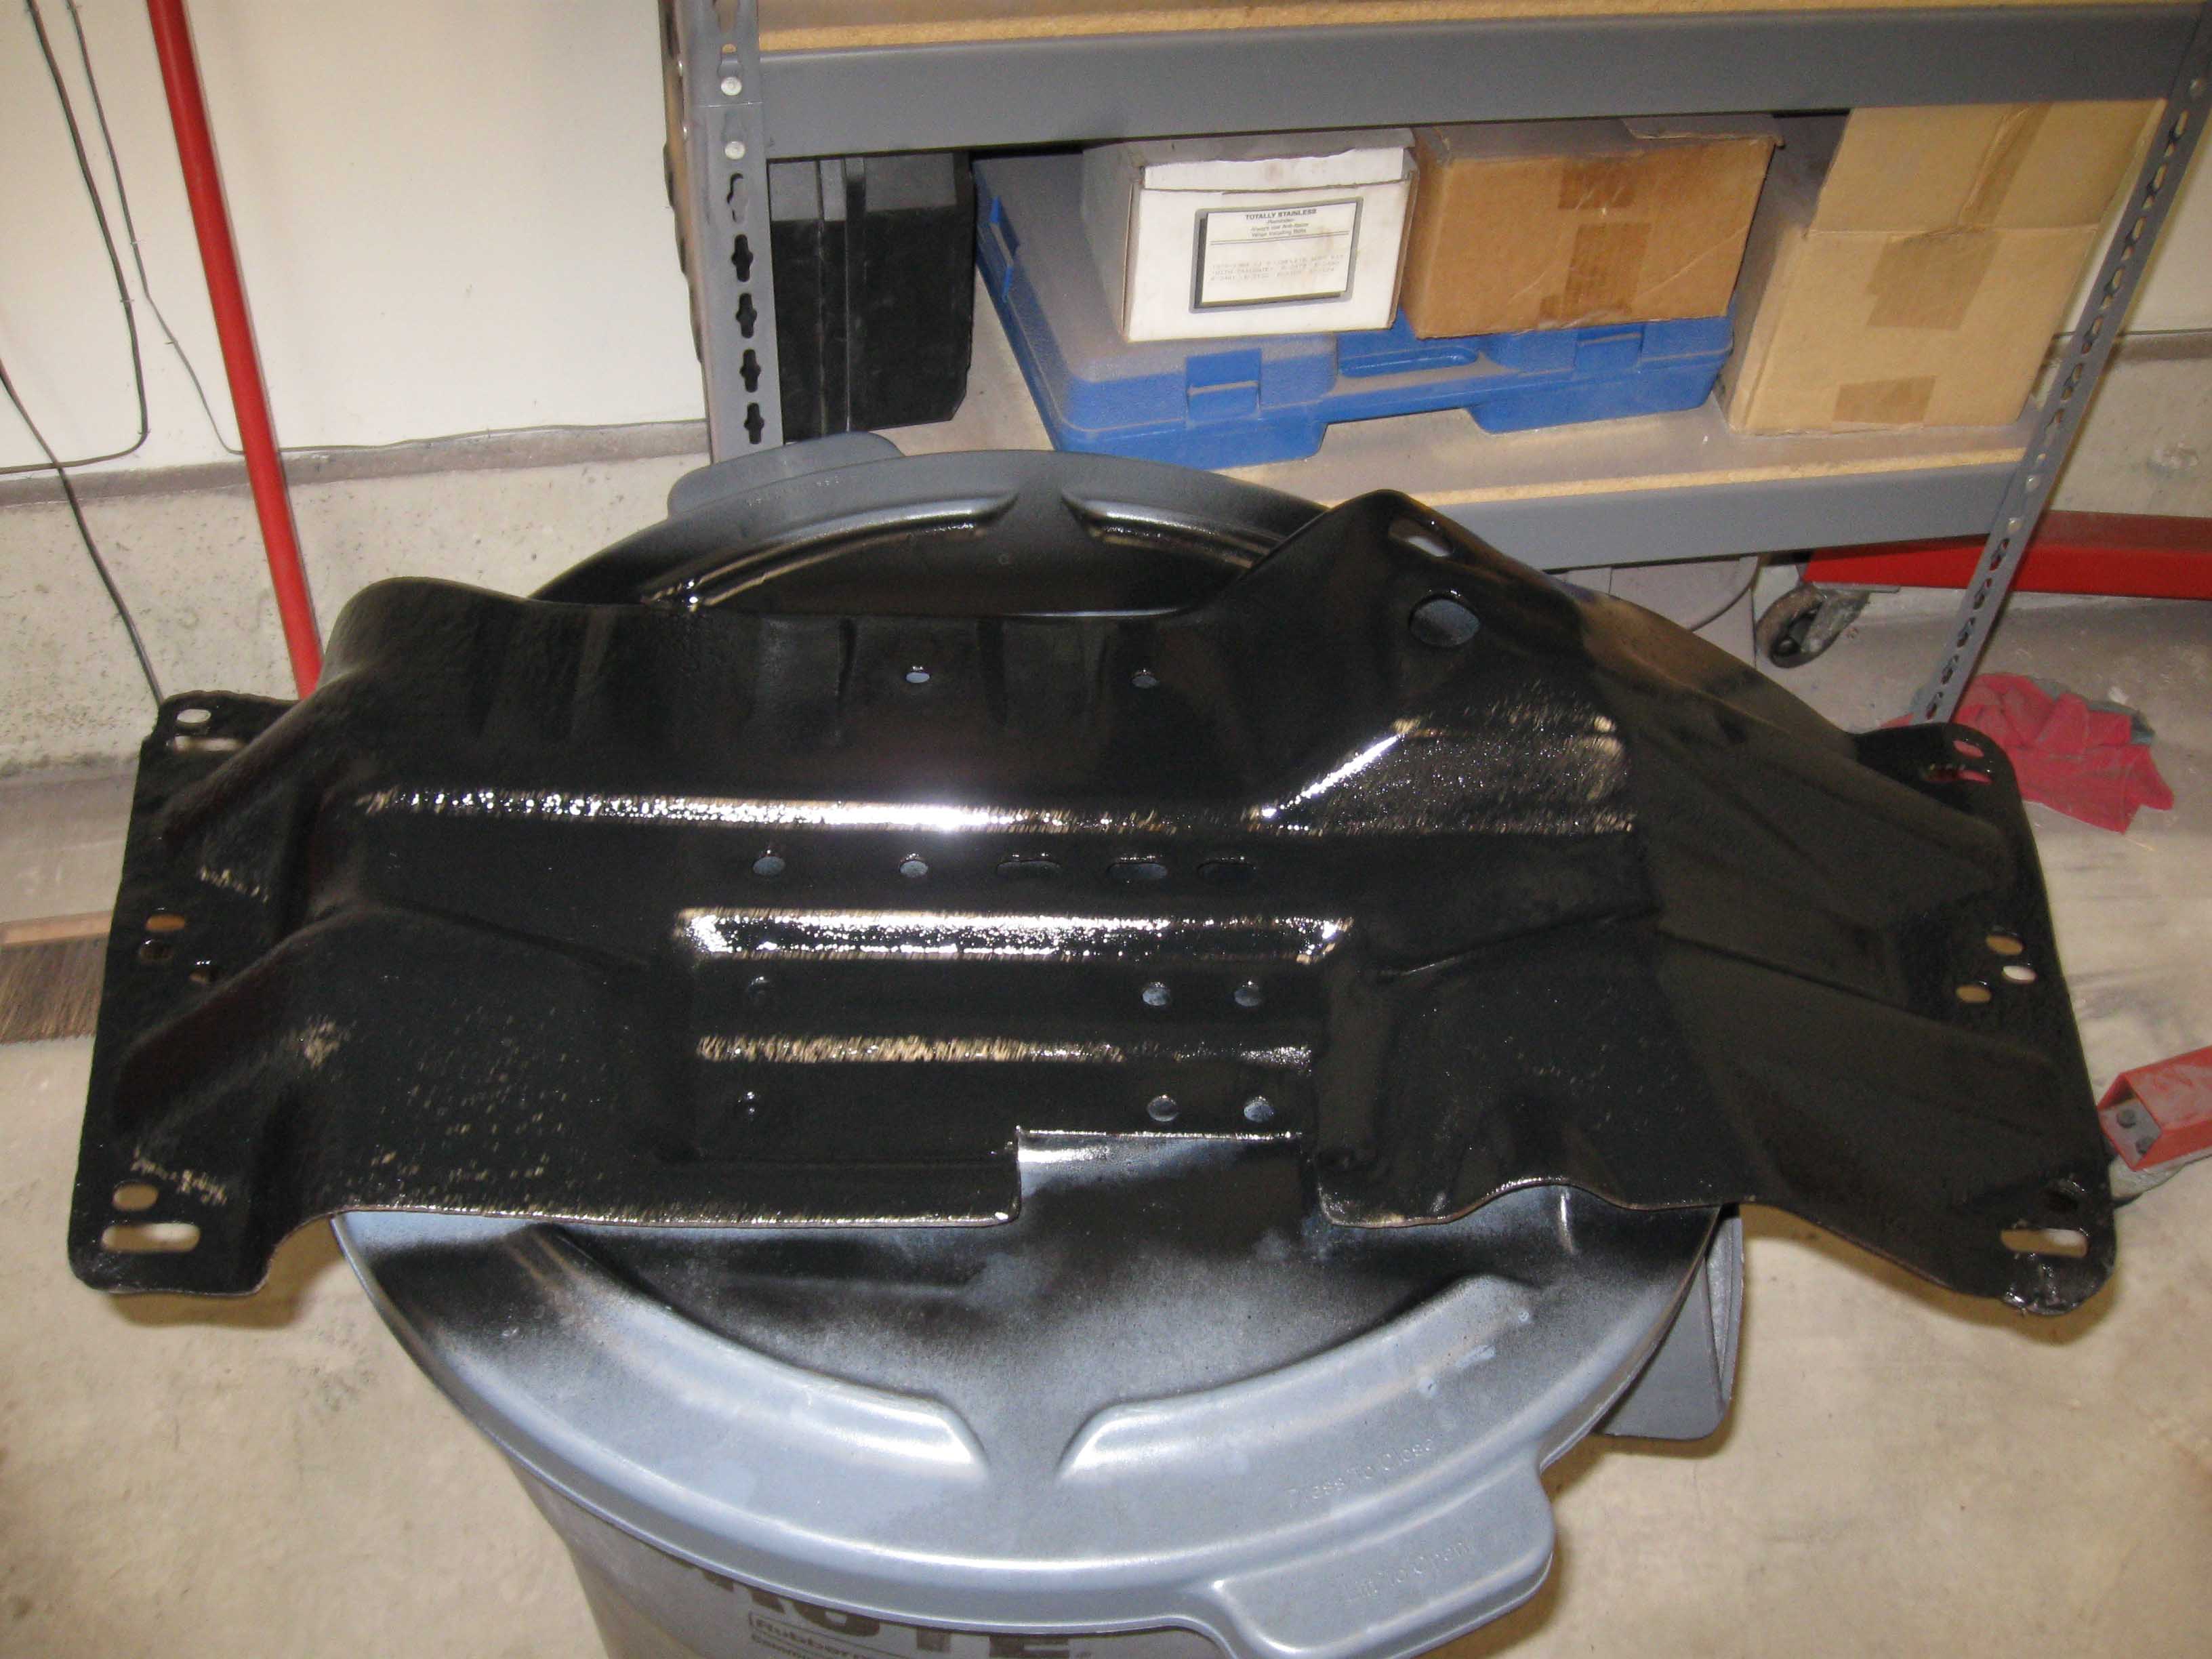
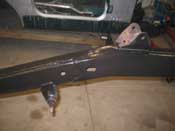
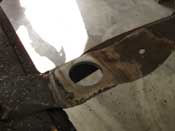
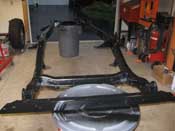
I had to replace the intermediate body mounts as well as the frame was a little
thin there. I cut out some metal, welded it in, and then I went and put a hole there with a hole saw. All in
all, it will work. I then cleaned up with belly skid, painted the underside of that and then painted the frame
after a ton of cleaning.
For those of you that don't know what it takes to clean a frame and then put it back together... it ain't fun. It
takes many showers, lots of laundry, some burns on the skin and finally a dirty garage overall. Oh yeah, lots of
sanding/grinding discs as well as a whole lot of sweat and tears.
cb (09/14/08)
|
| |
|
|
|
|
|
|
| |
(09/27/08) Well, life seems to just happen all around you and then you have no
time to work on the the things that you would like to work on. I don't know how weeks go by and I can't get
anything done, but when it comes to either preparing to heat your house for the winter or paint the frame,
I think you know what wins out.
cb (09/29/08)
|
| |
| << Previous |
Next >> |
|