|
|
| Project "Free Jeep" a.k.a Project "FJ" - part #25 |
| |
|
1
2
3
4
5
6
7
8
9
10
11
12
13
14
15
16
17
18
19
20
21
22
23
24
25
26
27
28
29
30
31
32
33
34
35
36
37
38
39
40
41
42
43
44
45
46
47
48
49
50
51
52
53
54
55
56
57
58
59
60
61
62
63
64
65
66
67
68
69
70
71
72
73
|
| |
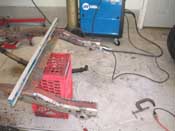
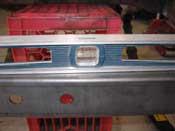
(10/21/07) After all the wedding thank you notes were done and we were all set
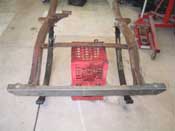
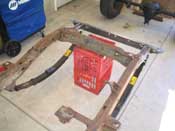
in the house, I was able to sneak outside for a bit and get some fitting and welding done for the rear frame
horns and the rear crossmember. It took a lot of time getting everything just right and lined up, but as you
can see from the level, both sides were in agreement.
There was a lot of trimming and cutting involved, but once it was in place, I burned a little metal and we look
to be in good shape. I knocked off early and went out with Jen to watch the Jets game. It wasn’t pretty,
the Jets lost and didn't look so great in the 4th quarter, but enough about the game, back to the Jeep.
|
| |
|
|
|
|
| |
I was all done for the day, I cleaned up the shop, but everything away and that
is when I saw the rear axle just sitting there... I figured, what the heck, I have a few minutes, I will just
take out the greasable bolts for the shackles and roll that bad boy in place, put it back together and be in
time to take a shower and get to the game... WRONG!
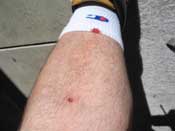
Whenever you are trying to get something done in a hurry, something will go wrong... in this case, my leg took
the brunt of it... I tried to tap out the bolt with a rubber mallet and it definitely had some stored up energy
because it shot out of there and hit me in the leg... hard! It when through the pant leg and left a bullet hole
in my leg. It finally stopped bleeding, but man did it hurt.
|
| |
|
|
|
|
| |
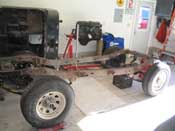
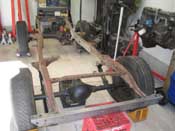
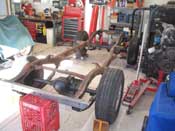
| I was then able to roll the rear axle under the Jeep but not yet attach it. I
figured I had done enough damage to myself and that could wait until later. I figure next weekend I will be able
to get some leaves raked and work on this a bit more. I just have to raise the frame and the u-bolts should go
right on. Once that is done, I will get the whole thing on roller skates like the front has and then put
the body in place to see what has to be done with it. I know I have to cut off the rear frame mounts as well as
a couple of the other ones, so that will be more welding.
|
| |
|
|
|
|
| |
I really don't know how I got along for so long on these projects without a good
solid welder. This welder is amazing in comparison to the old one I had. There is plenty of power to weld
whatever I need. I am very happy I bought it, but do realize that cost is always a factor. I saved up my pennies
and eventually was able to afford it. I recommend it to anyone!!
cb (10/21/07)
|
| |
|
|
|
|
| |
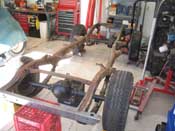
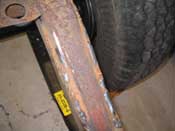
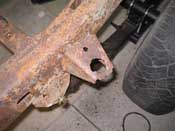
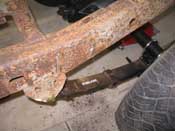
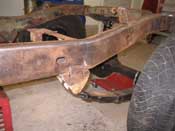
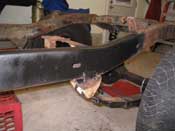
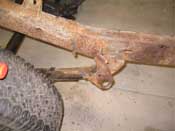
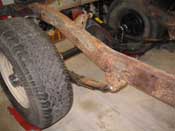
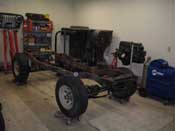
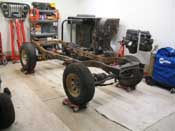
| I was able to cut off the 2 rear body mounts as they were trashed and had to be
put in a different position for the Wrangler Tub that is going on there... you can do the Wrangler tub one of 2
ways, I am going with the relocation of the body mount way, you can also just drill the tub.
|
| |
|
|
|
|
| |
I sanded down the area on the driver side and cleaned it up a little before
spraying a light coat of black rust proof paint on it, just to hold it until the frame is sandblasted... I didn't
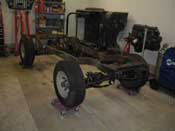
want any more surface rust then I needed. I was able to get the passenger side mount off right before quitting
time. I plan on grinding that down today, cleaning it up, and hopefully starting to tackle the tub to get the
bolts out of the mounting holes and maybe... just maybe, get the frame under the body so I can start the tub work
to see how much I have to replace... the other body mounts will be replaced as well, I just wanted to make
sure they are in the right place and we will replace them later.
cb (10/26/07)
|
| |
| << Previous |
Next >> |
|

