|
|
| Project "Free Jeep" a.k.a Project "FJ" - part #40 |
| |
|
1
2
3
4
5
6
7
8
9
10
11
12
13
14
15
16
17
18
19
20
21
22
23
24
25
26
27
28
29
30
31
32
33
34
35
36
37
38
39
40
41
42
43
44
45
46
47
48
49
50
51
52
53
54
55
56
57
58
59
60
61
62
63
64
65
66
67
68
69
70
71
72
73
|
| |
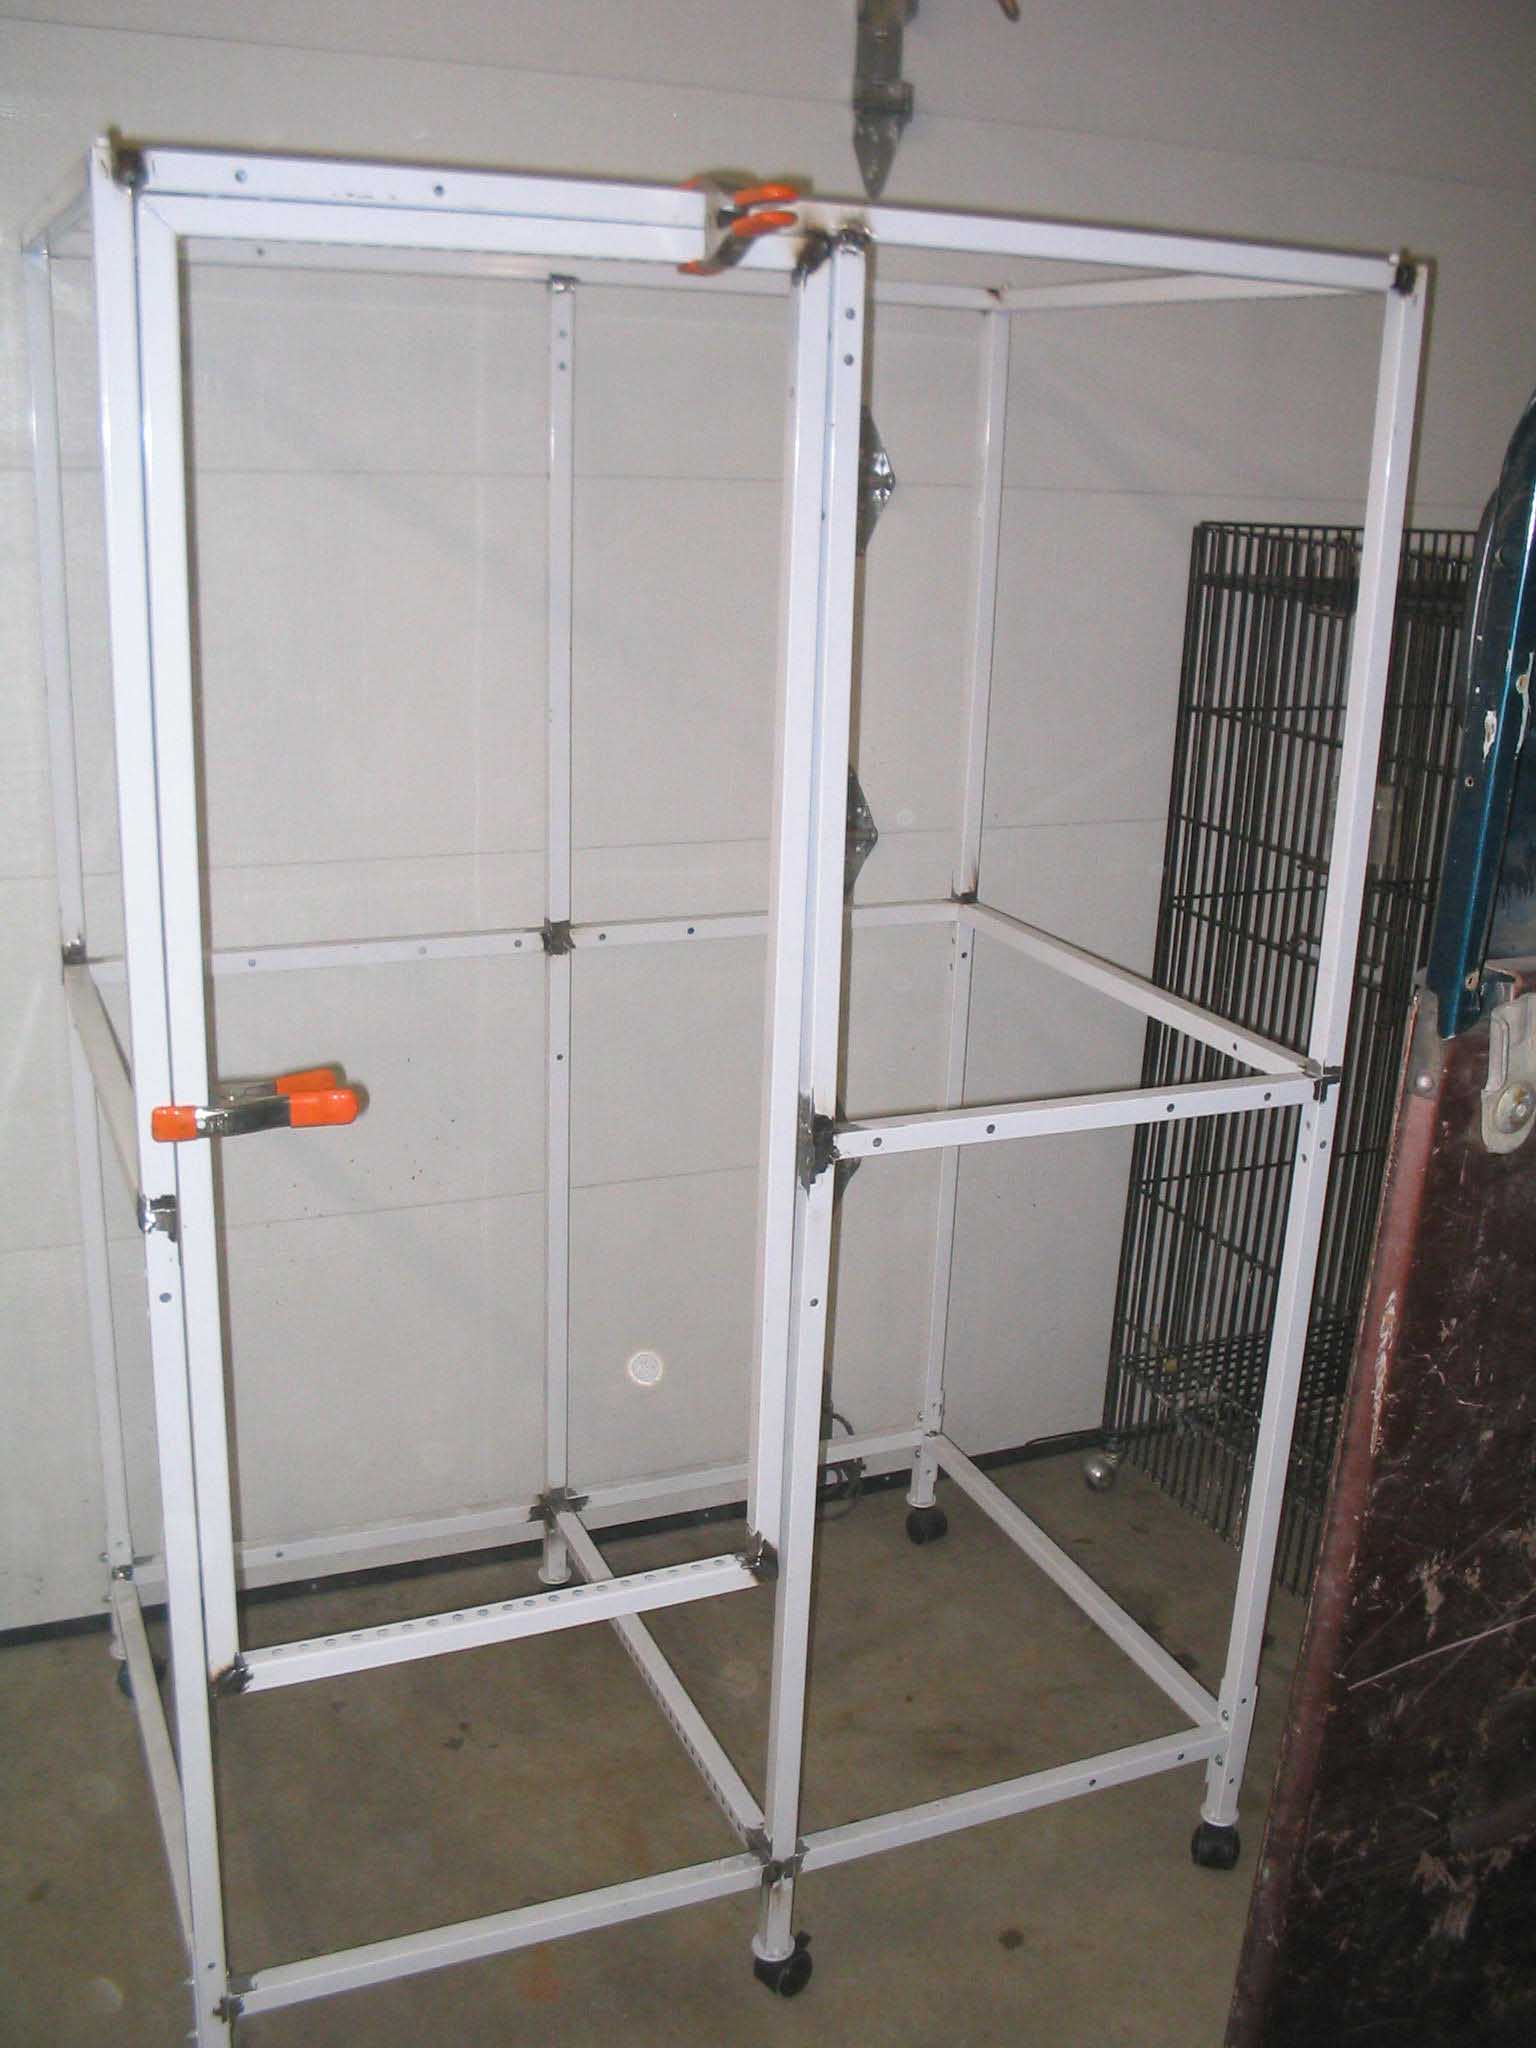
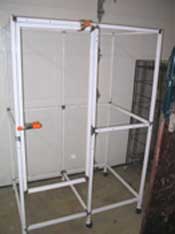
| (01/21/08) We took some time to try to get a bunch of work done on the "birdcage". I think there
are a few more hours left to work on it. We got some cross bracing cut and welded in. Also, we were able to make a door. I
hope the birdies enjoy they new surroundings. Next time, CraigsList! We could have probably paid $300 for a cage and have it
be worth not building this one, but it has been informative. My wife is starting to see when I give estimates of 10-15 hours to
do something, I am not joking around.
|
| |
|

|
|
|
| |
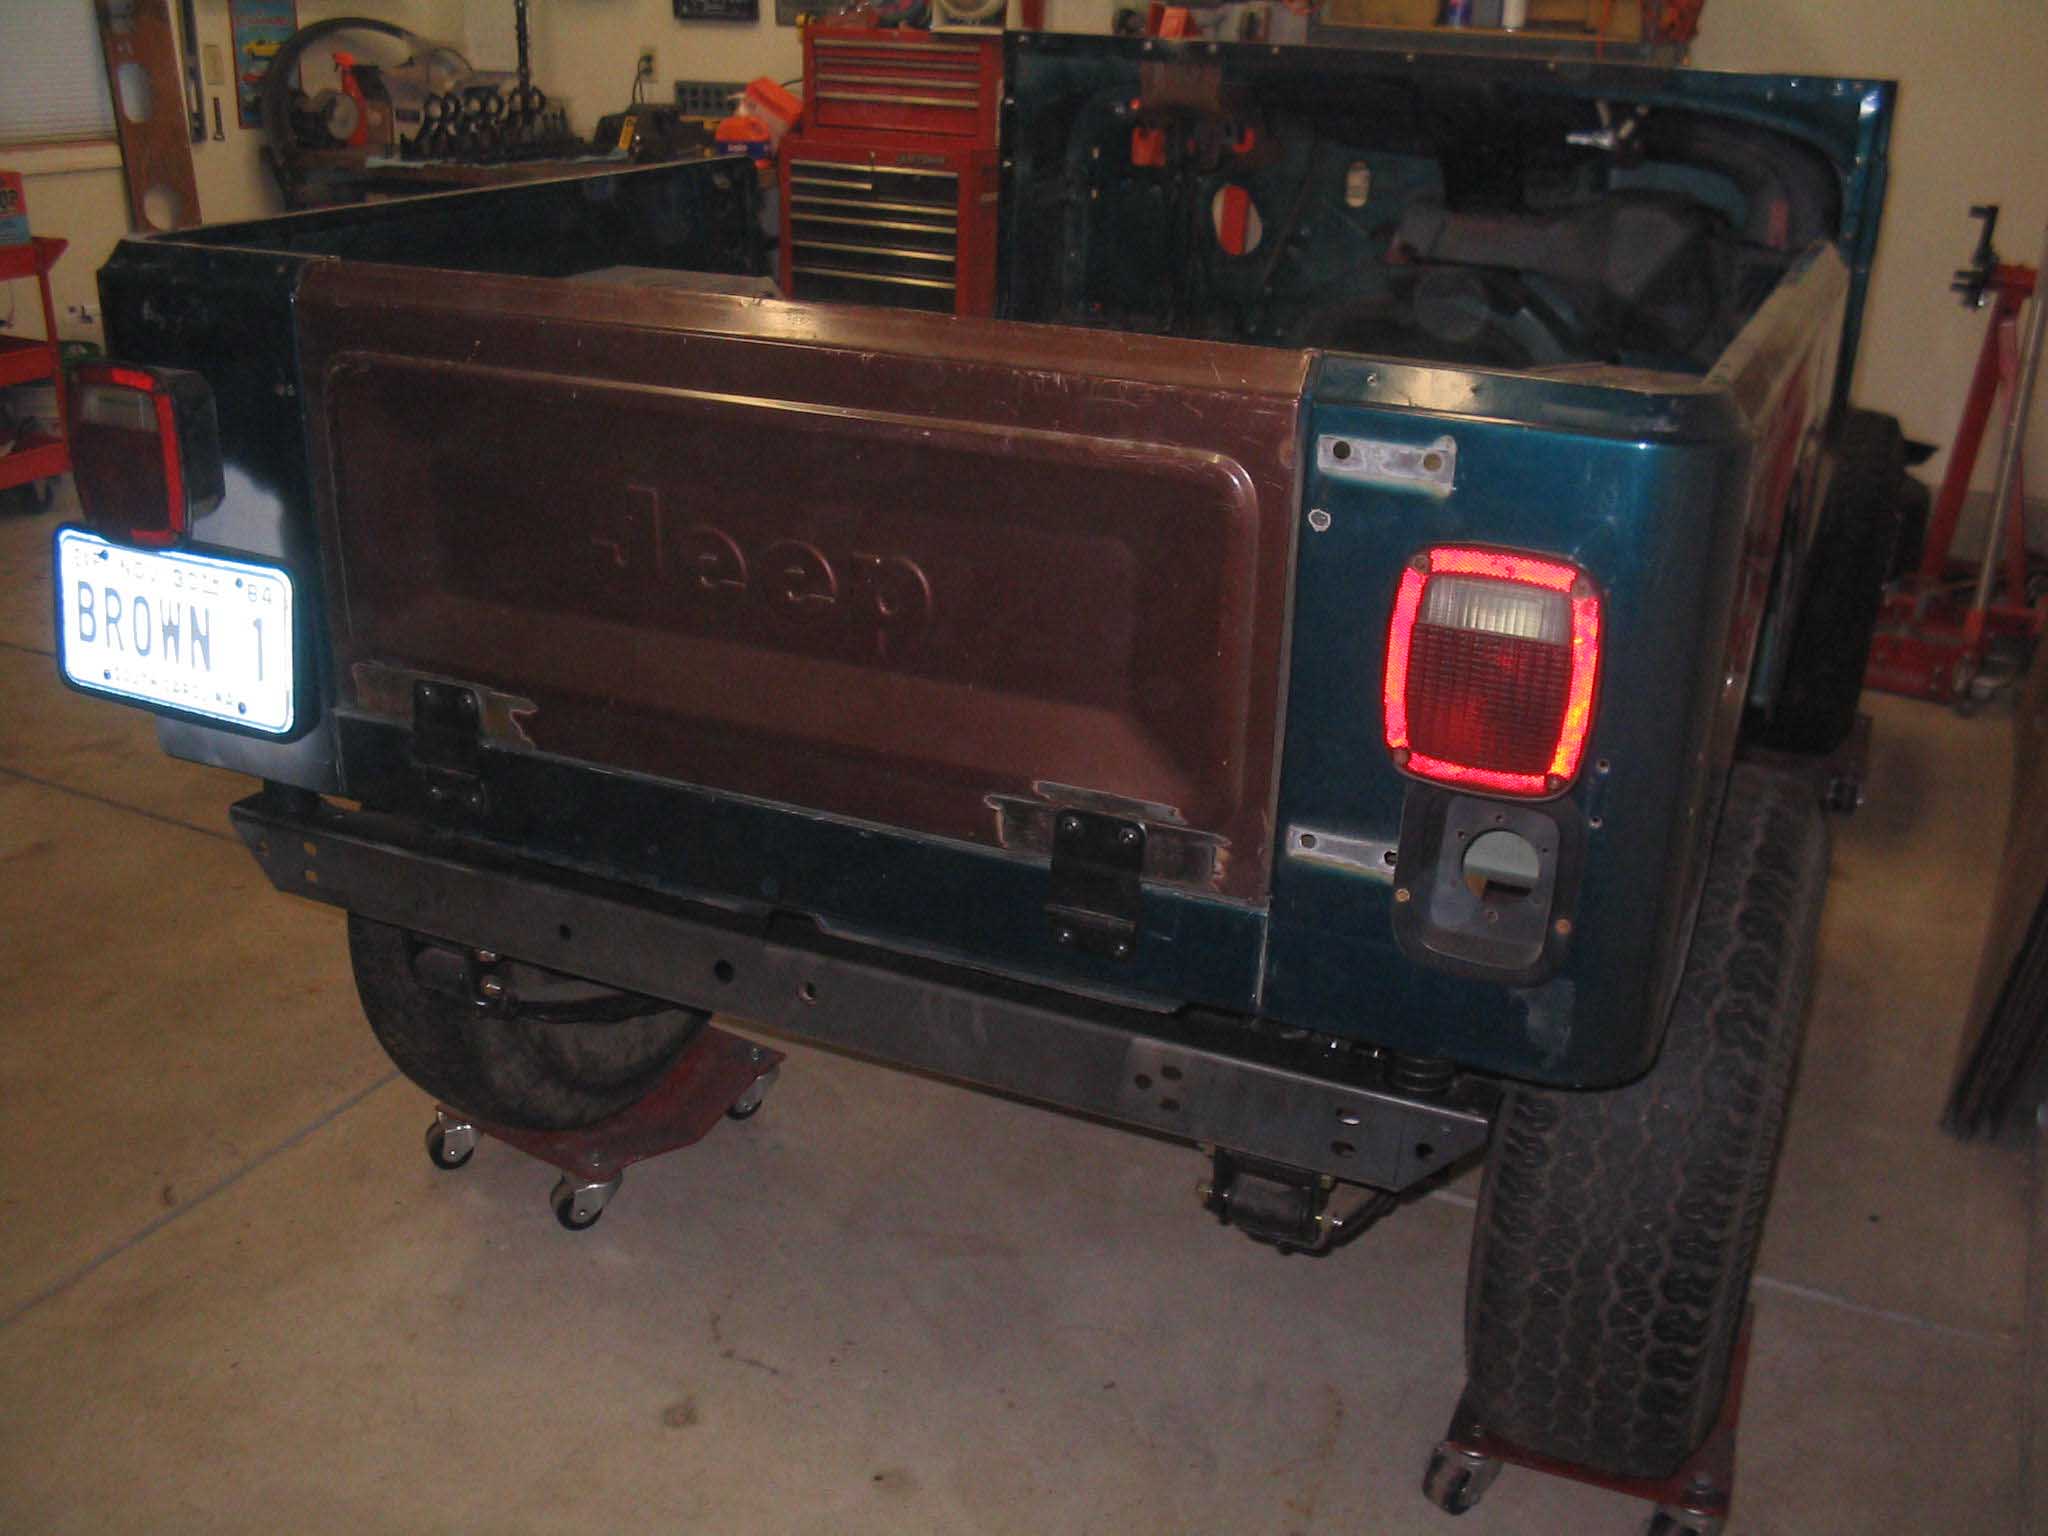
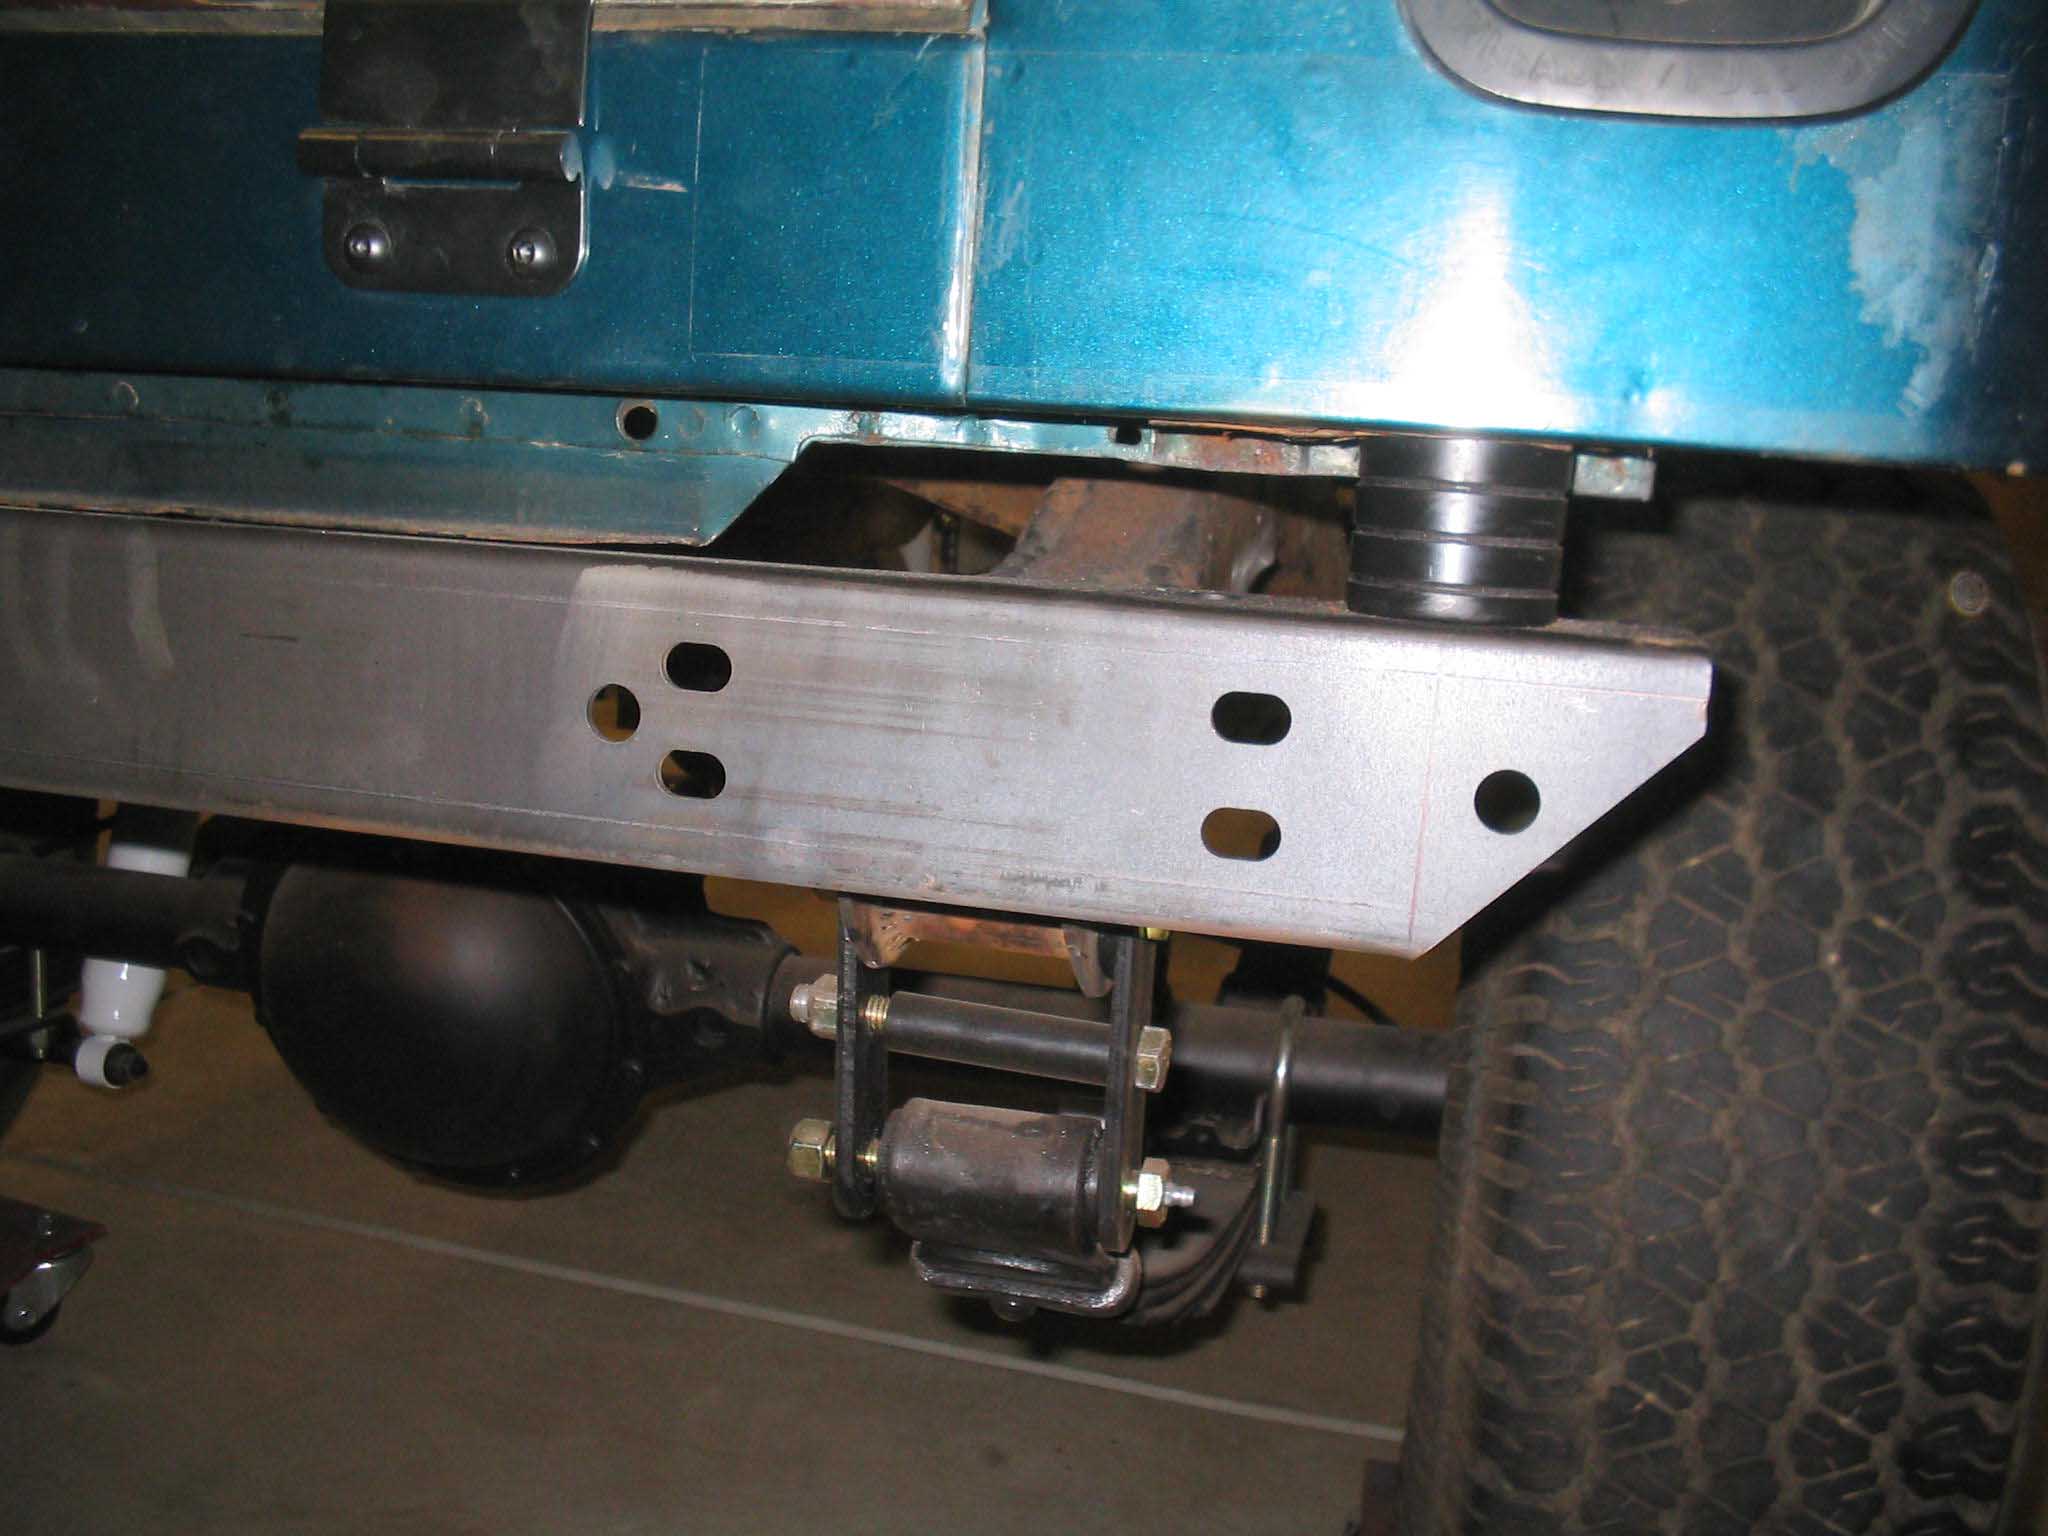
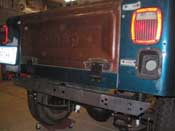
Anyway, I was able to then have her help out in putting the body on the frame. With all the
body mounts fixed up and all the body mount bolts drilled out or fixed up, I was anxious to see how well the body sat on the
frame. I have to say, I am pretty happy with the results. All the body mounts lined up to where they were measured for and
all the bolts went in and finger tightened up. Amazing what a drill/tap will do for you ;)
cb (01/21/08)
|
| |
|
|

|
|
| |
(01/22/08) I was in the garage for 7 hours... I worked on the Jeep for 1. Not a good ratio
I realize, but I was able to complete most of the "birdcage", so I am pretty happy to be almost done. I did do a little work
on the FJ pedals, but not a whole lot. Lots more to do, just need to find the time to get it done.
cb (01/22/08)
|
| |
|

|
|
|
| |
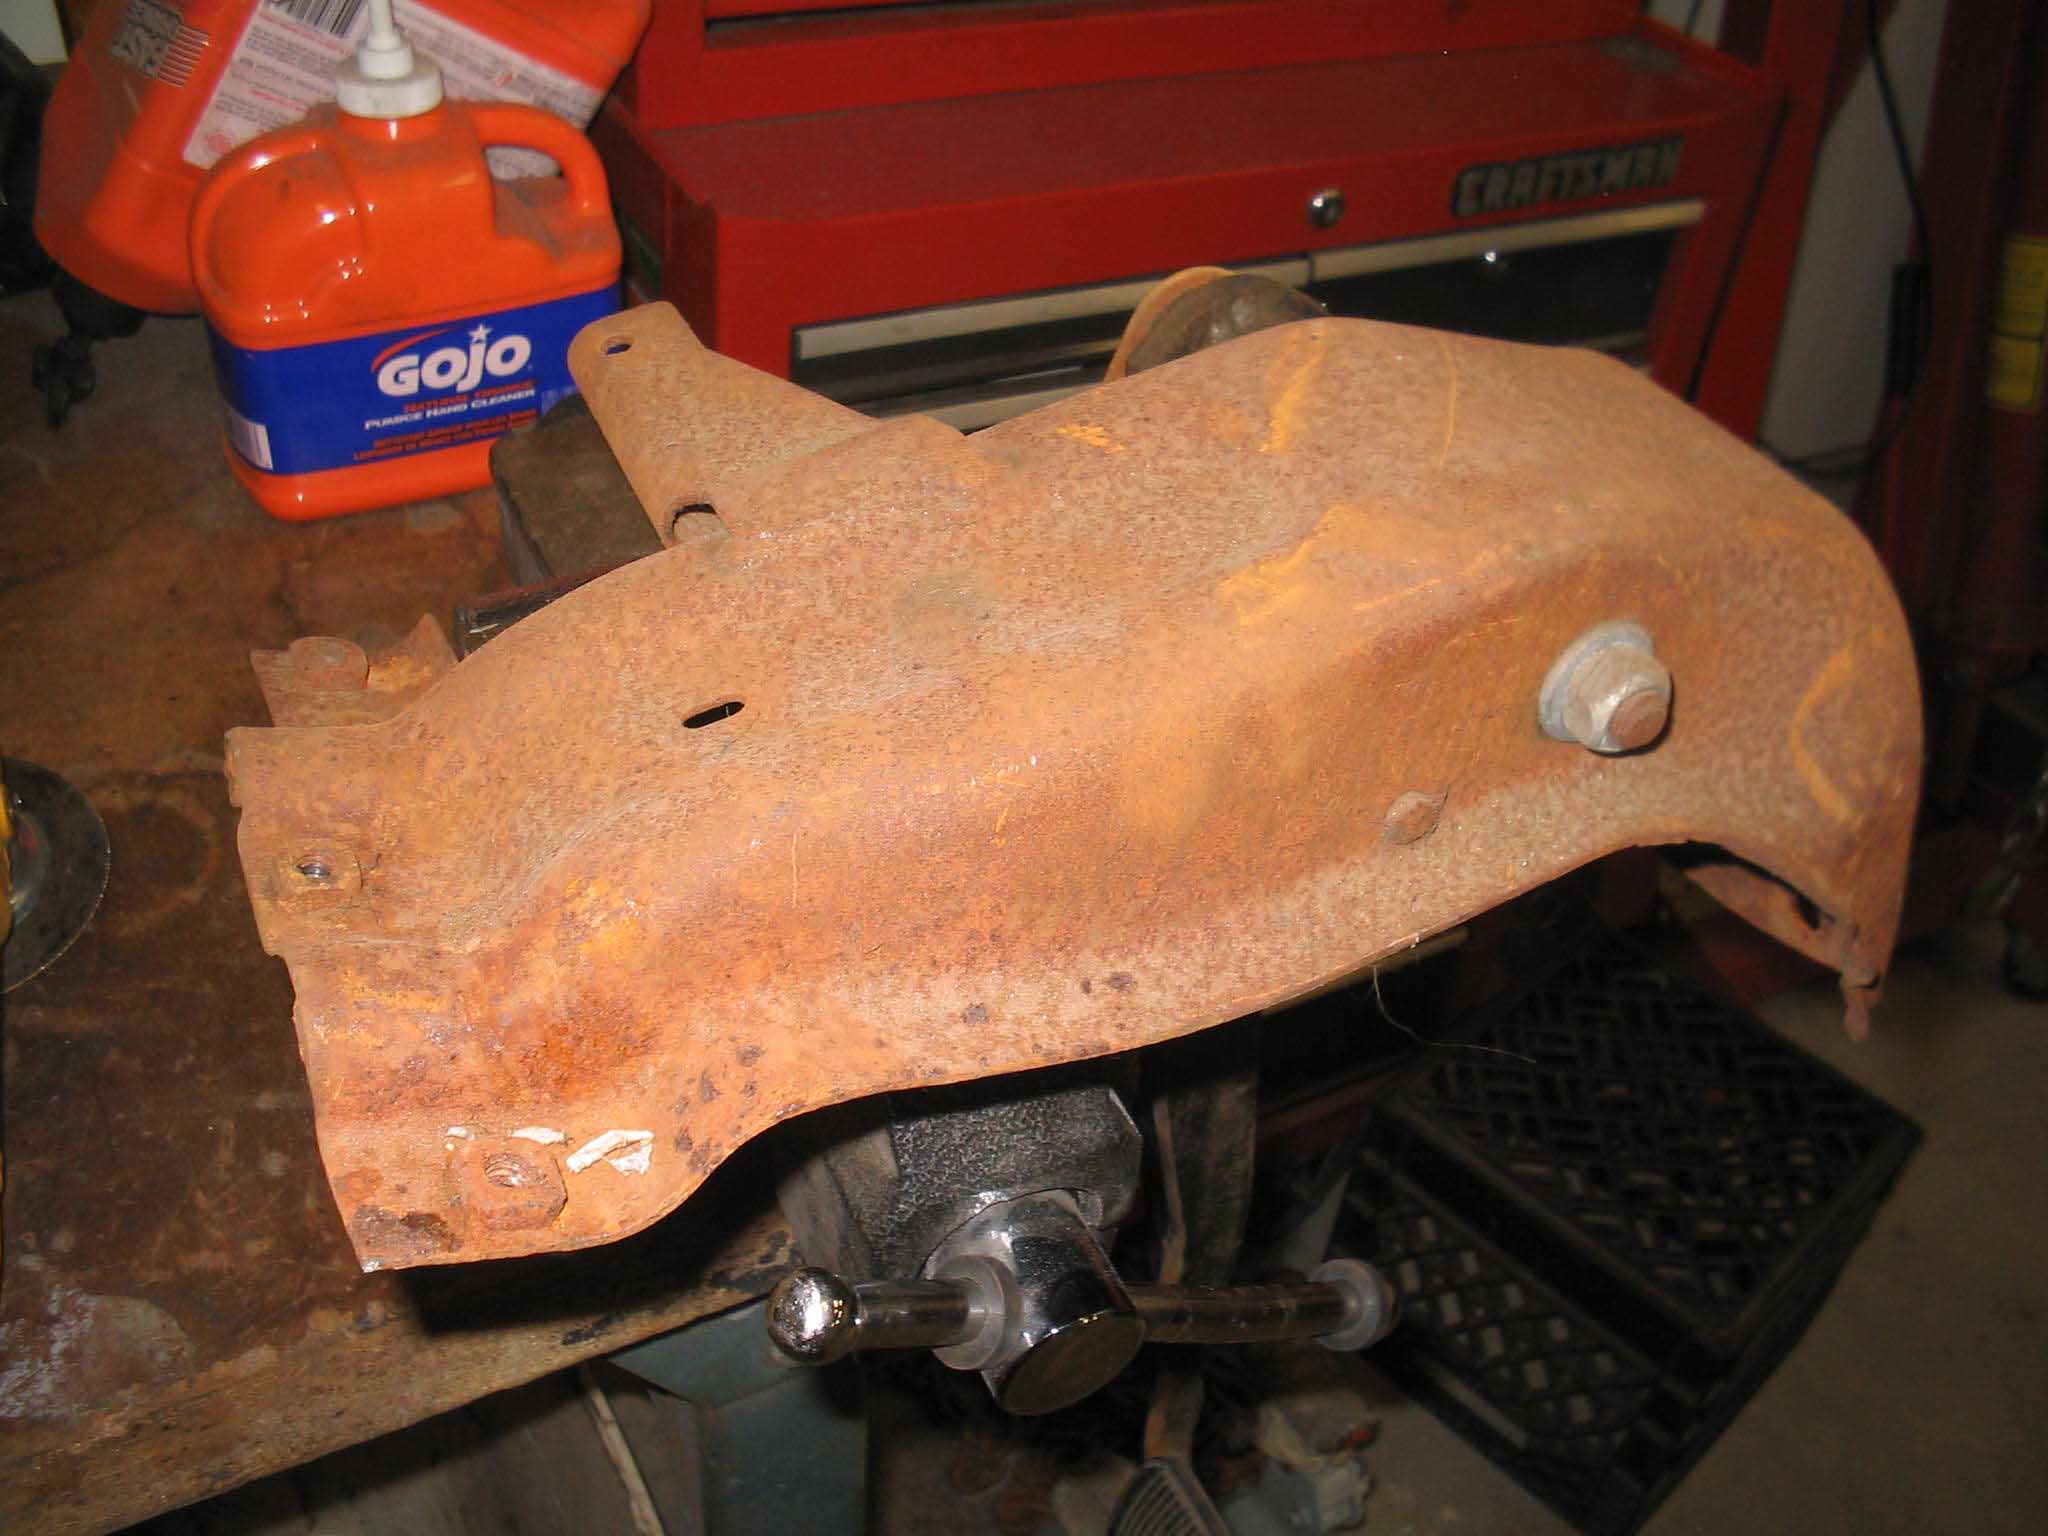
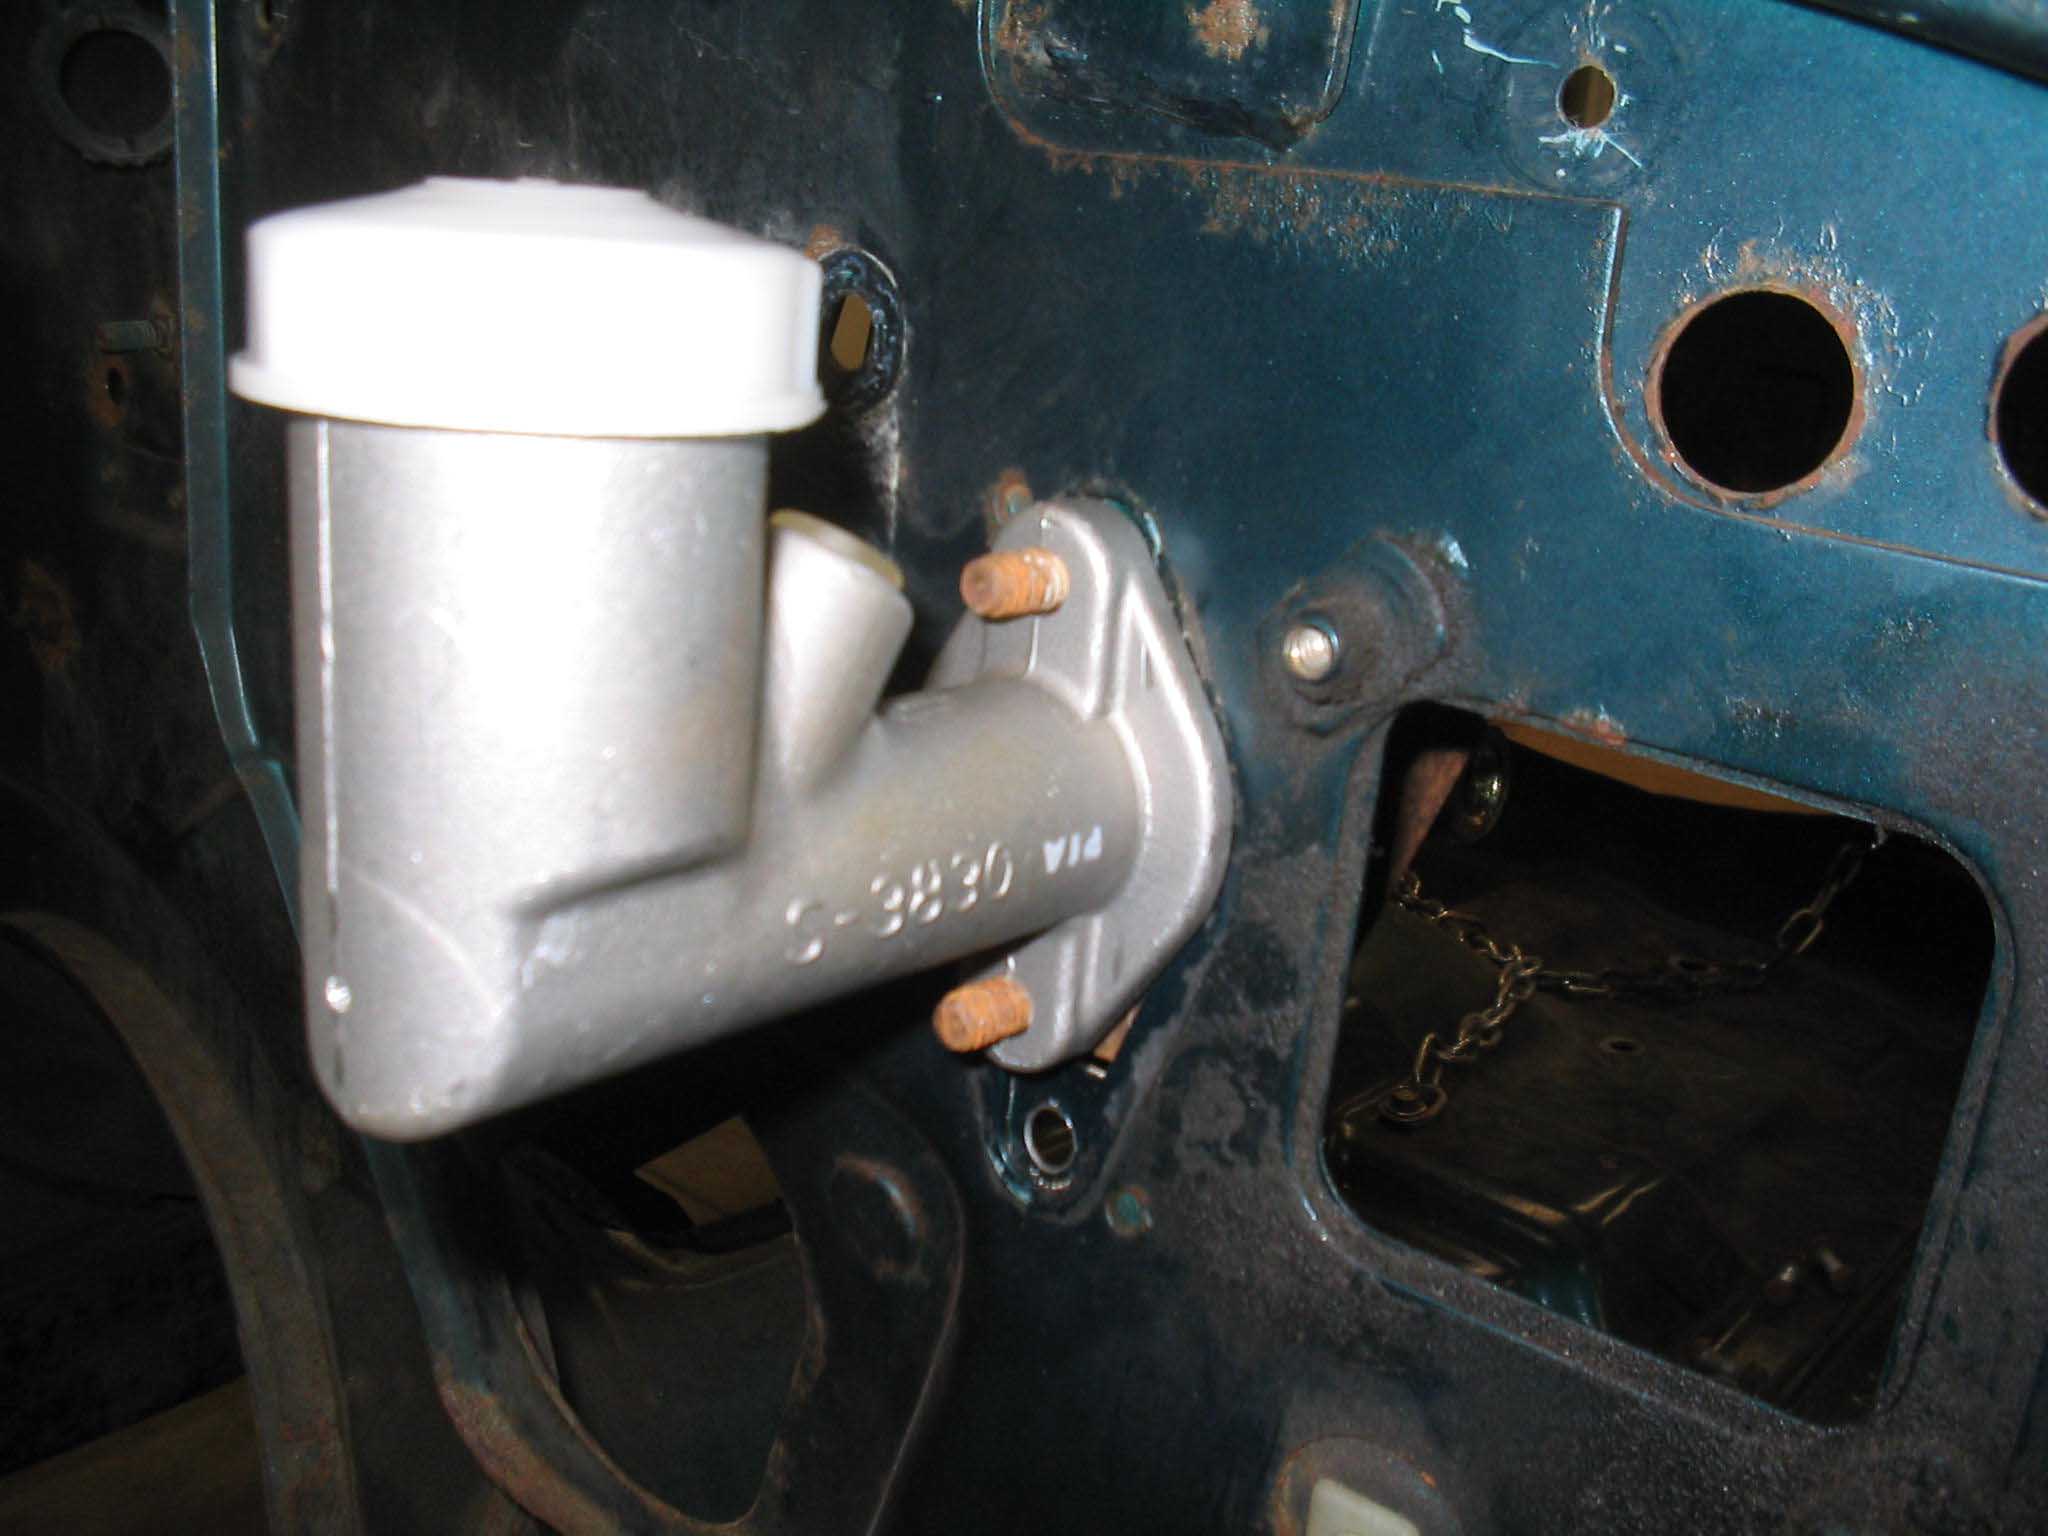
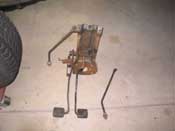
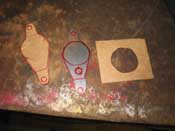
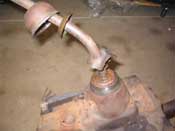
(01/23/08) I am a bit sick, but it rarely stops me from going out and looking at things so
I can visualize them in my head. Basically what I have here is a 1995 Tub with a setup for a hydraulic clutch going in that
is for a 4 cylinder I believe for a early 80's Jeep CJ. So, it looks like the opening for the YJ clutch master cylinder was
longer then that of the one I got from partsmike.com.
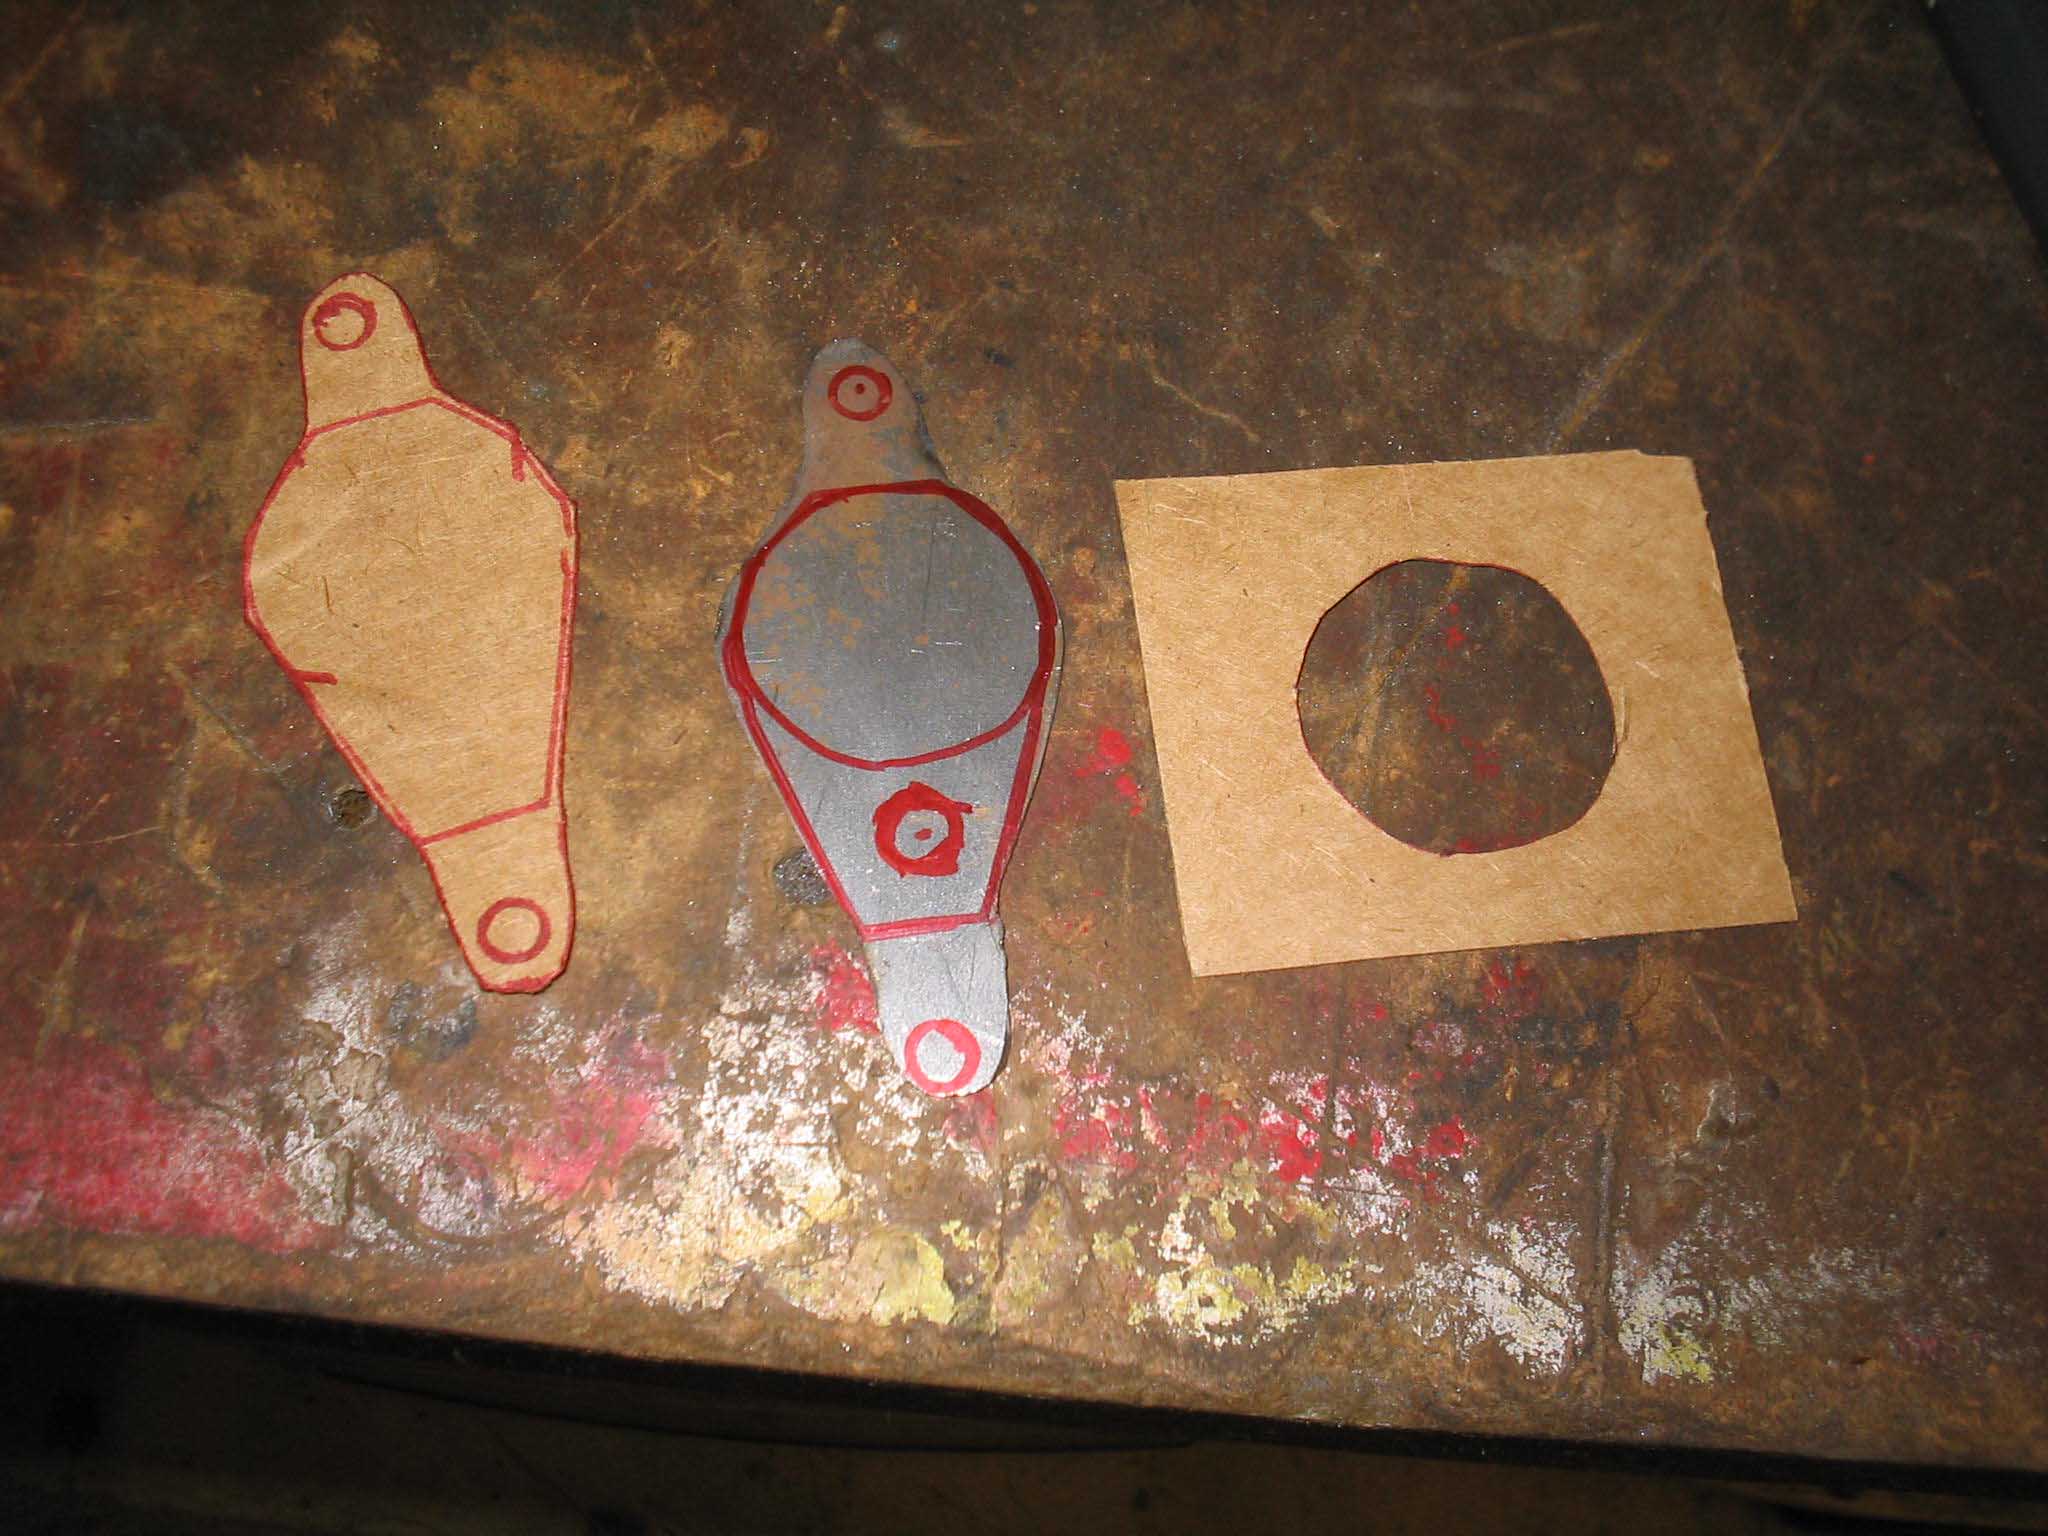
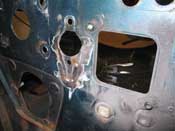
So, with a quick template and some cutting and grinding and finally some welding, it went in and looks like it will be OK to
fit the clutch master cylinder. The other issue I still have is getting the whole pedal assembly in there and working. The rod
end of the clutch master cylinder was the large diameter type and the one I had was a small diameter type, so I took apart the
CJ pedal assembly and swapped parts out and took off brackets in order to get it all to work. I hope to have it all working
by the end of the night. Now you can see why mocking everything up is a good thing. You uncover a lot of these issues up front
and you can fix them without fear of wrecking the paint.
cb (01/23/08)
|
| |

|
|
|

|
| |
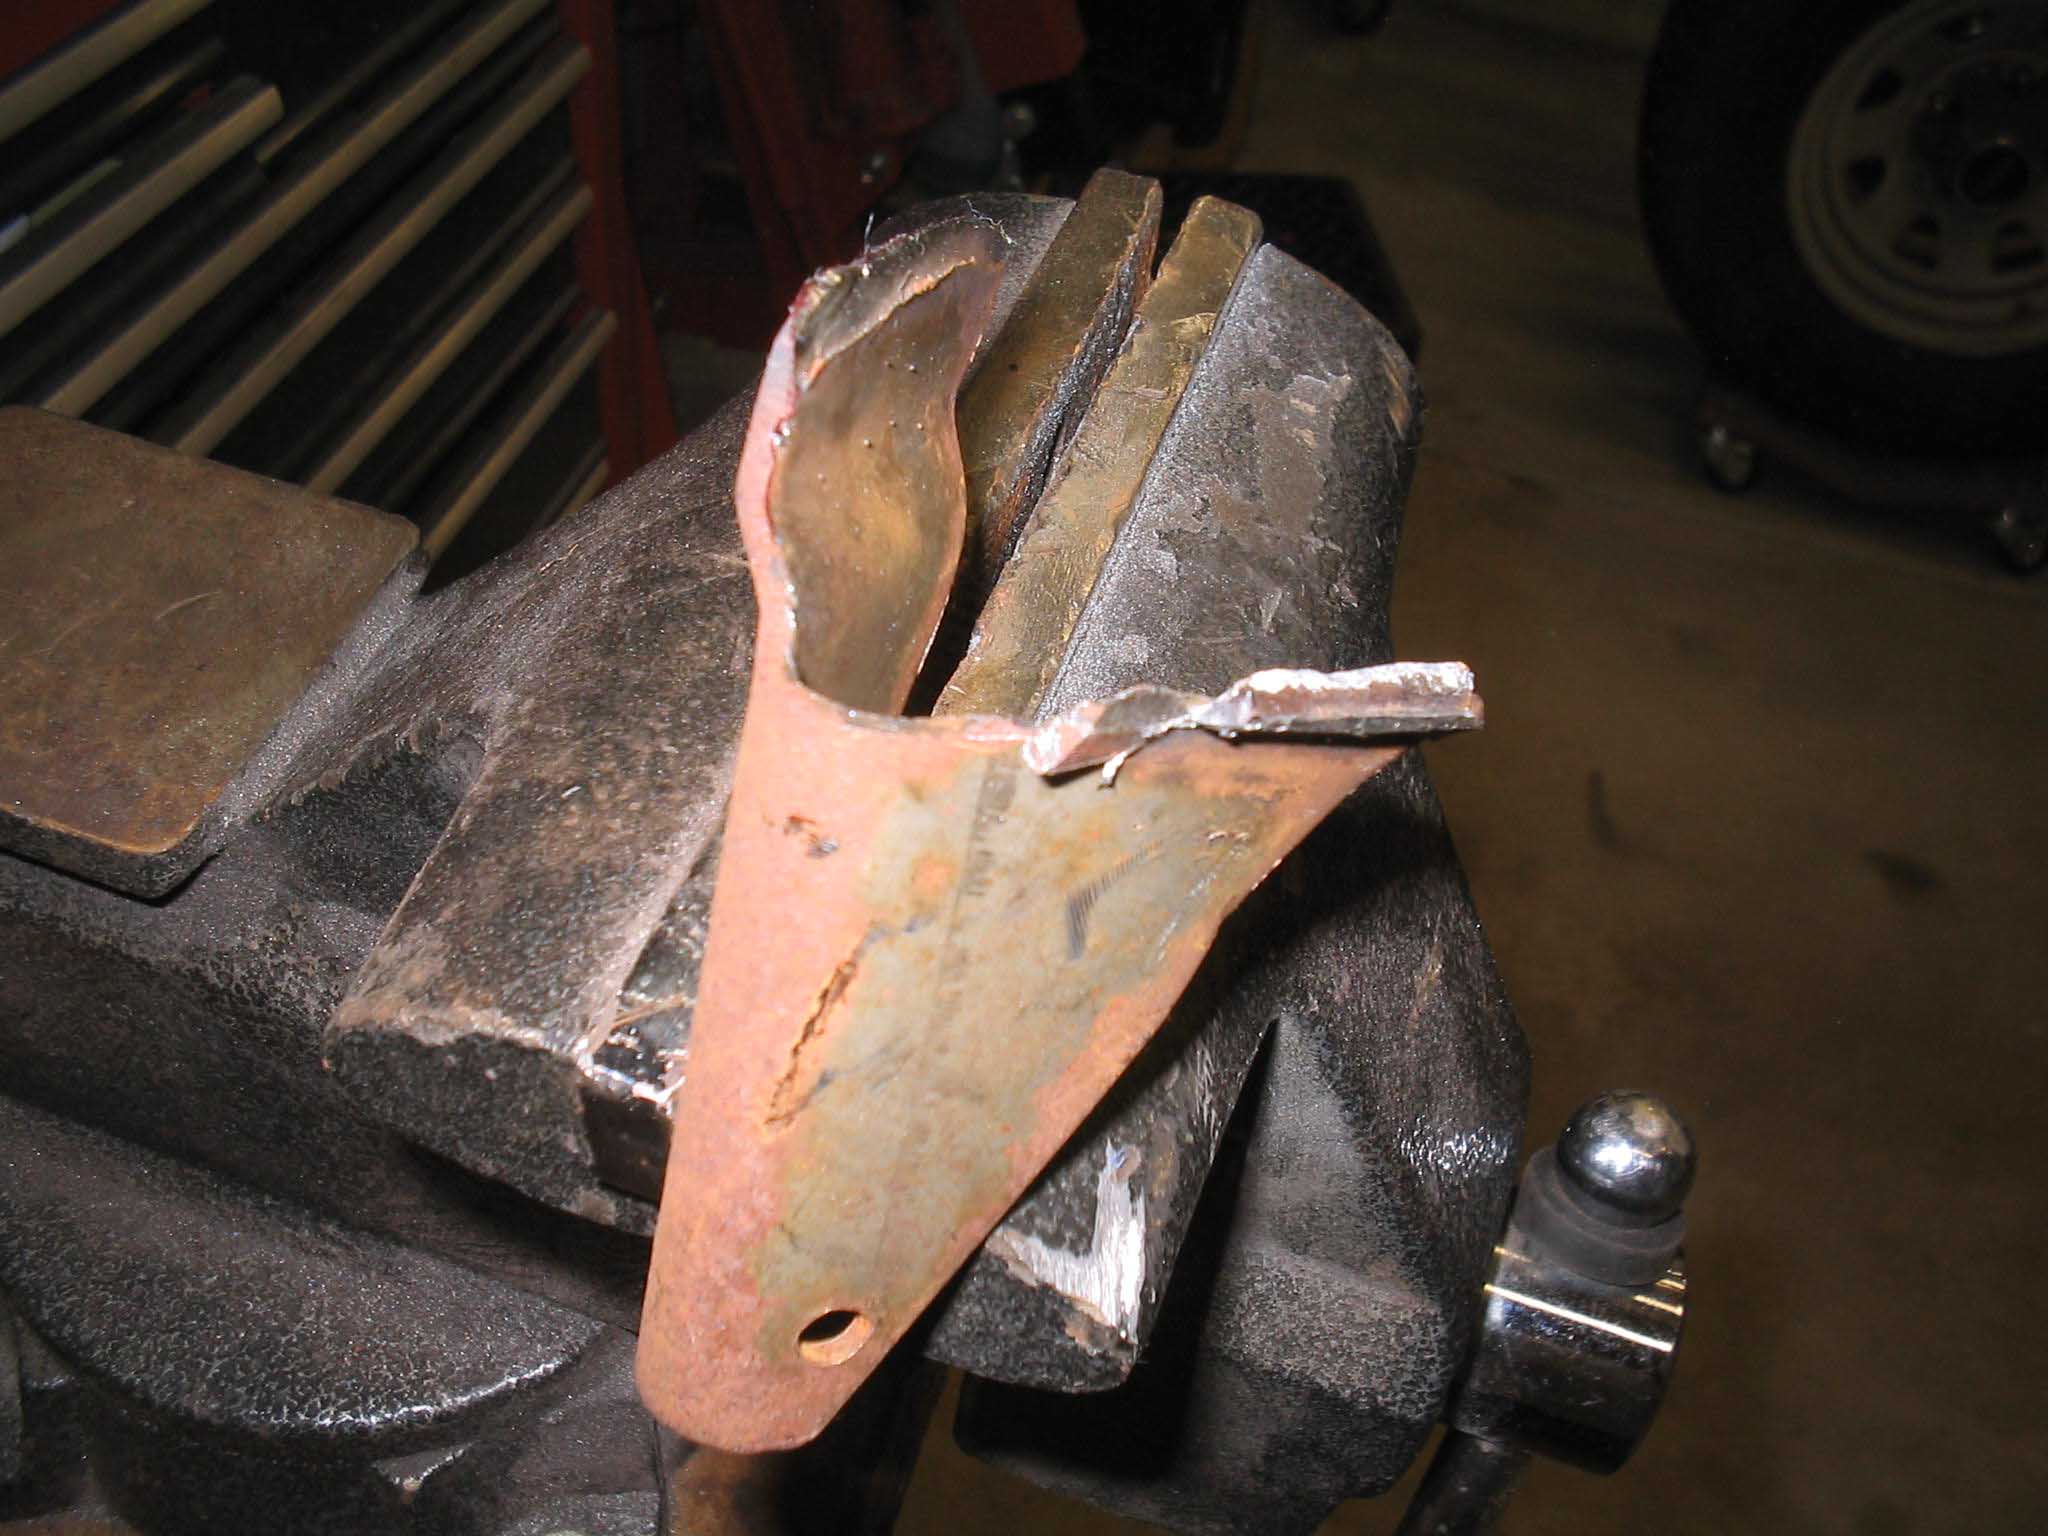
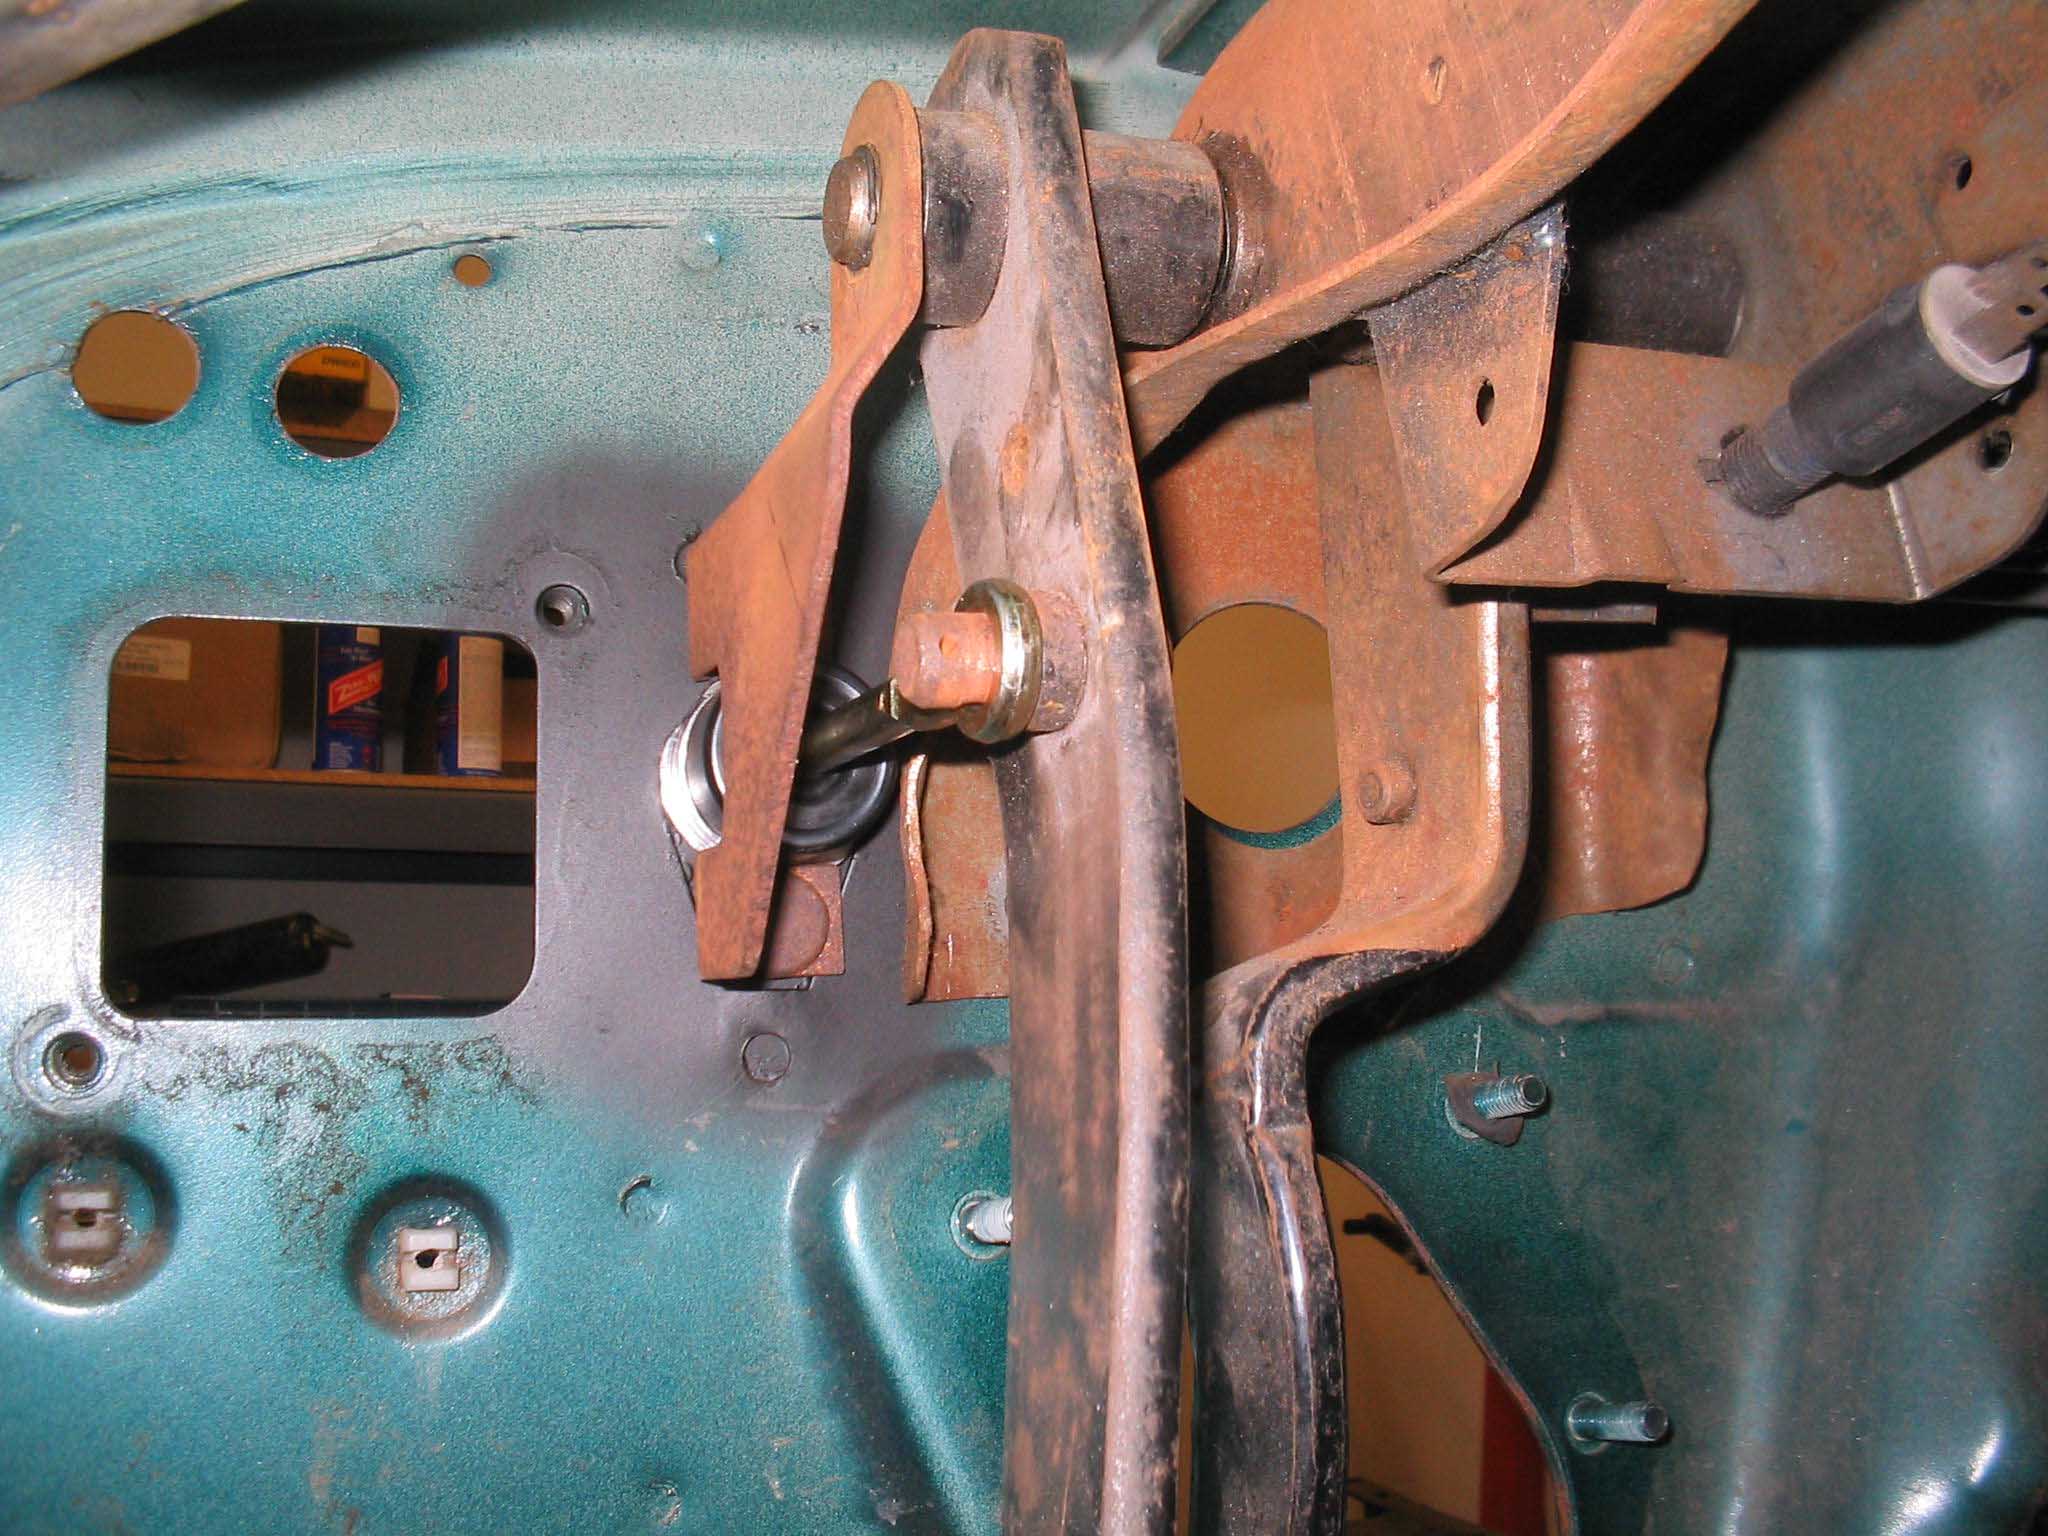
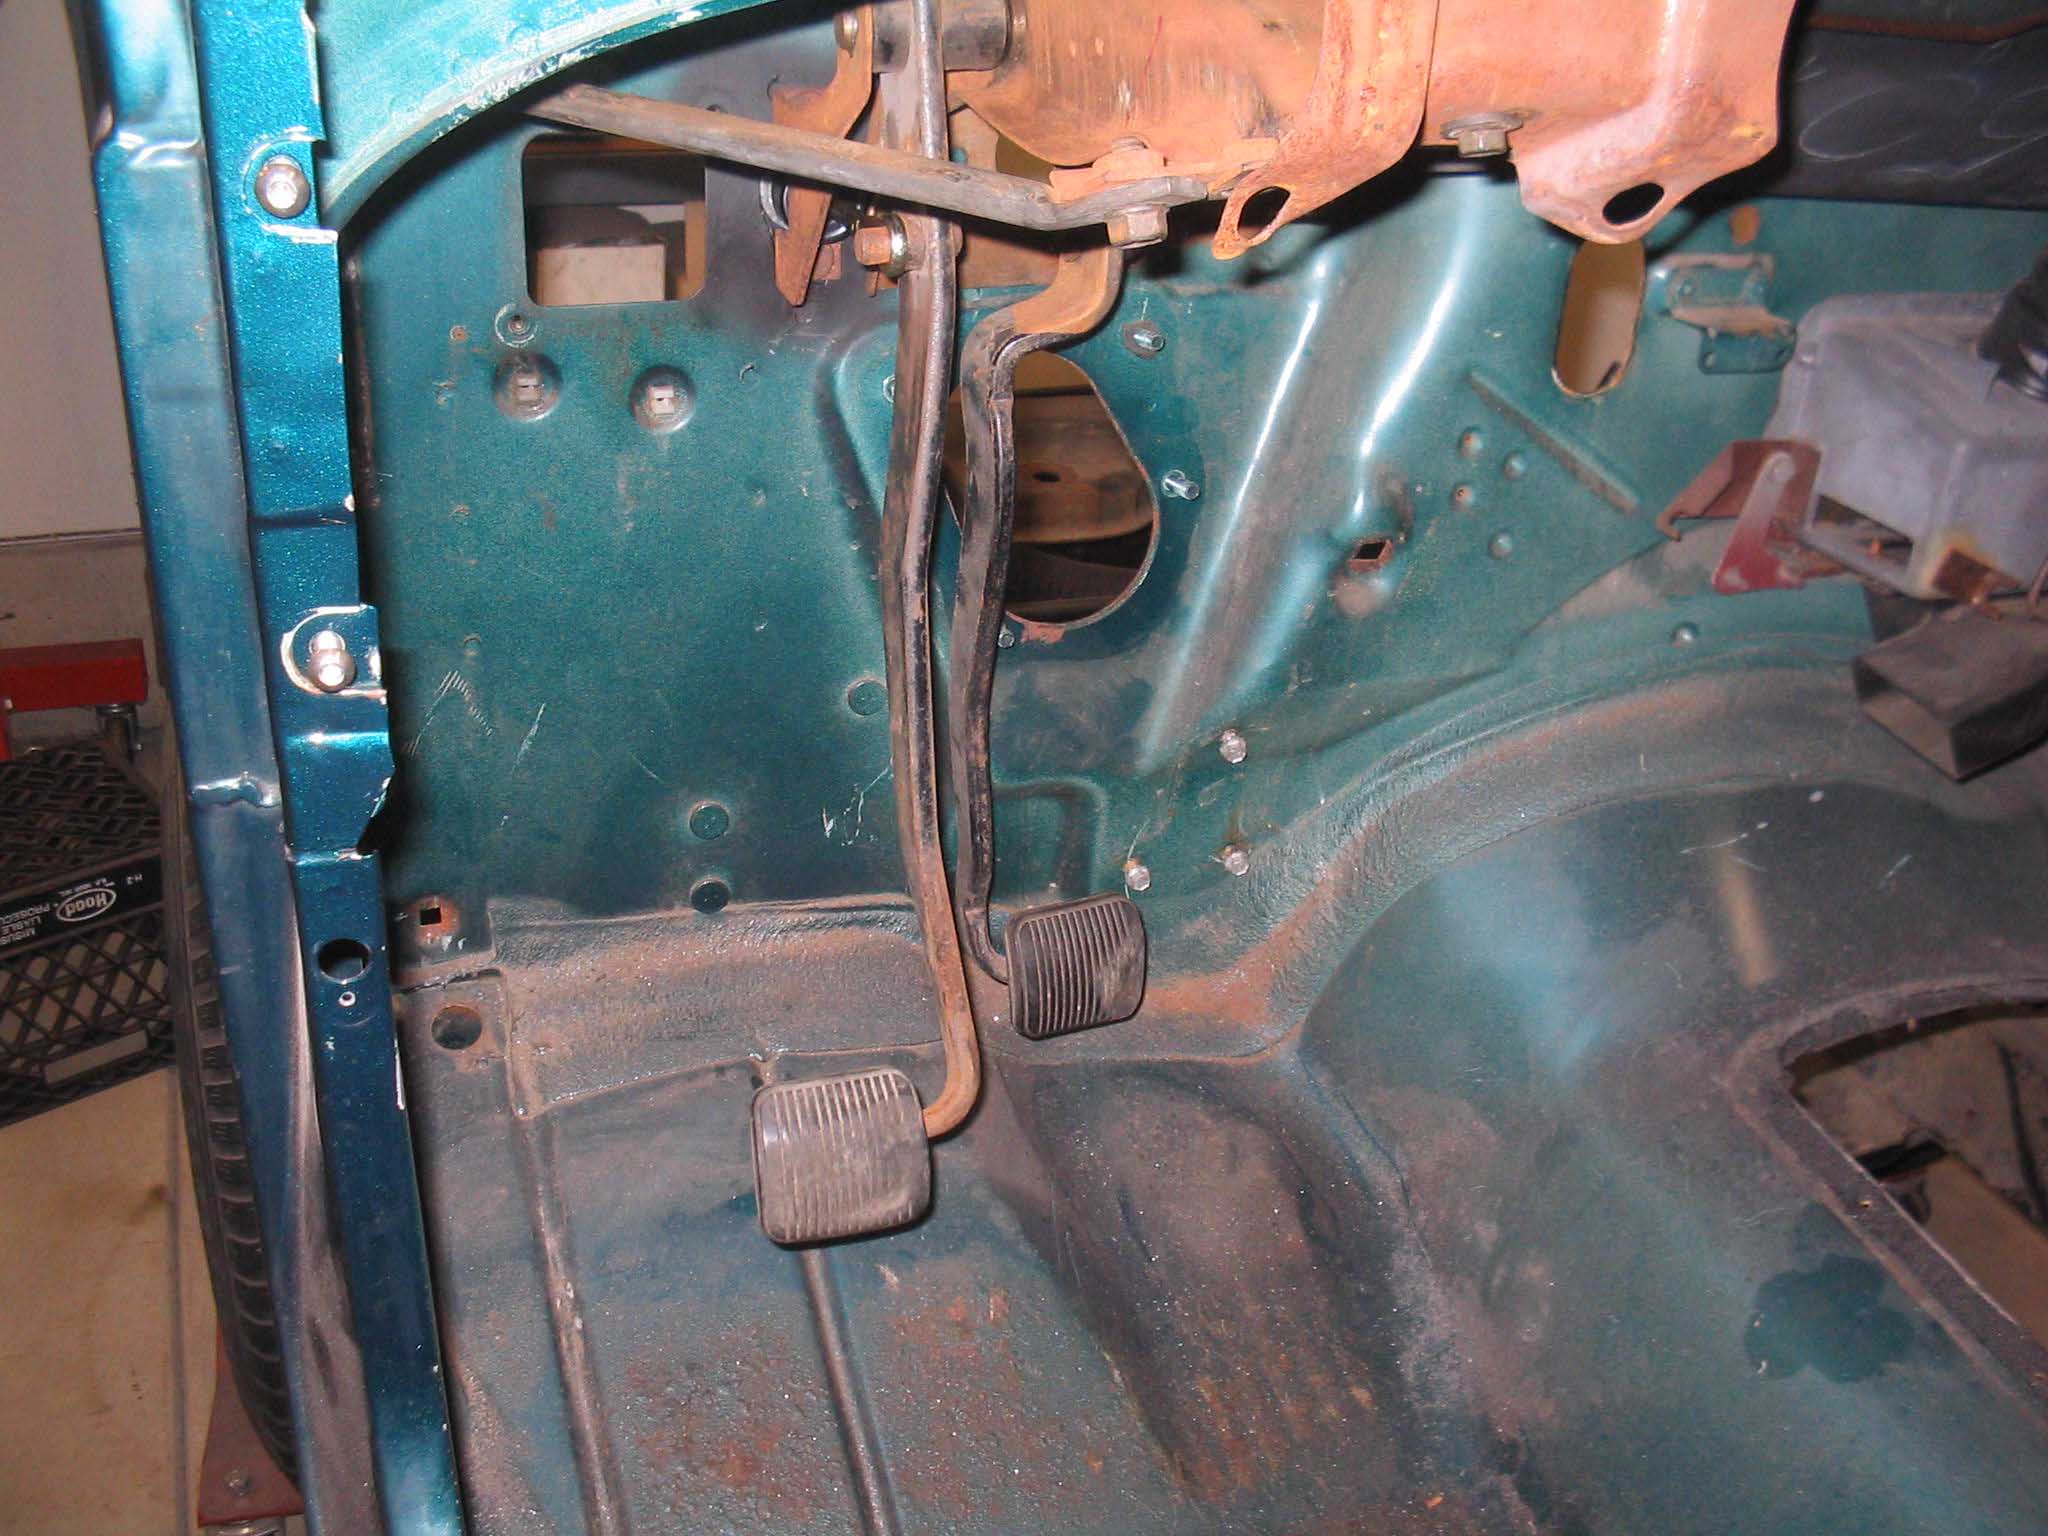
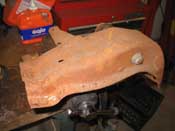
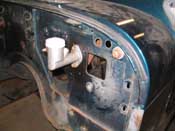
(01/24/08) I headed out to get through the clutch modifications on the firewall and
I spotted a pretty cool trail of smoke on a pink sky. Pretty neat, the picture doesn't do it justice.
With the paint dry, I was able to mock up the pedals and the clutch master cylinder. It was binding a bit and the
hold was a bit small, so I went back to the drawing board.
|
| |
|
|
|

|
| |
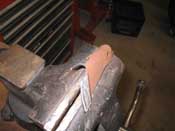
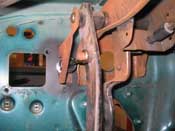
| I took apart the whole setup, made the hole a bit bigger and finally the bolt
plate a bit as well. Once that was done, it was all put back together. It looks like everything is functioning
now the way it should. The good news is that we don't need to weld on the spring plate on the top since the way
the clutch works is that it pushes the pedal towards you when there is fluid in there and when you step on the
pedal, it moves the fluid down towards the slave cylinder.
|
| |
|
|
|
|
|

|
| |
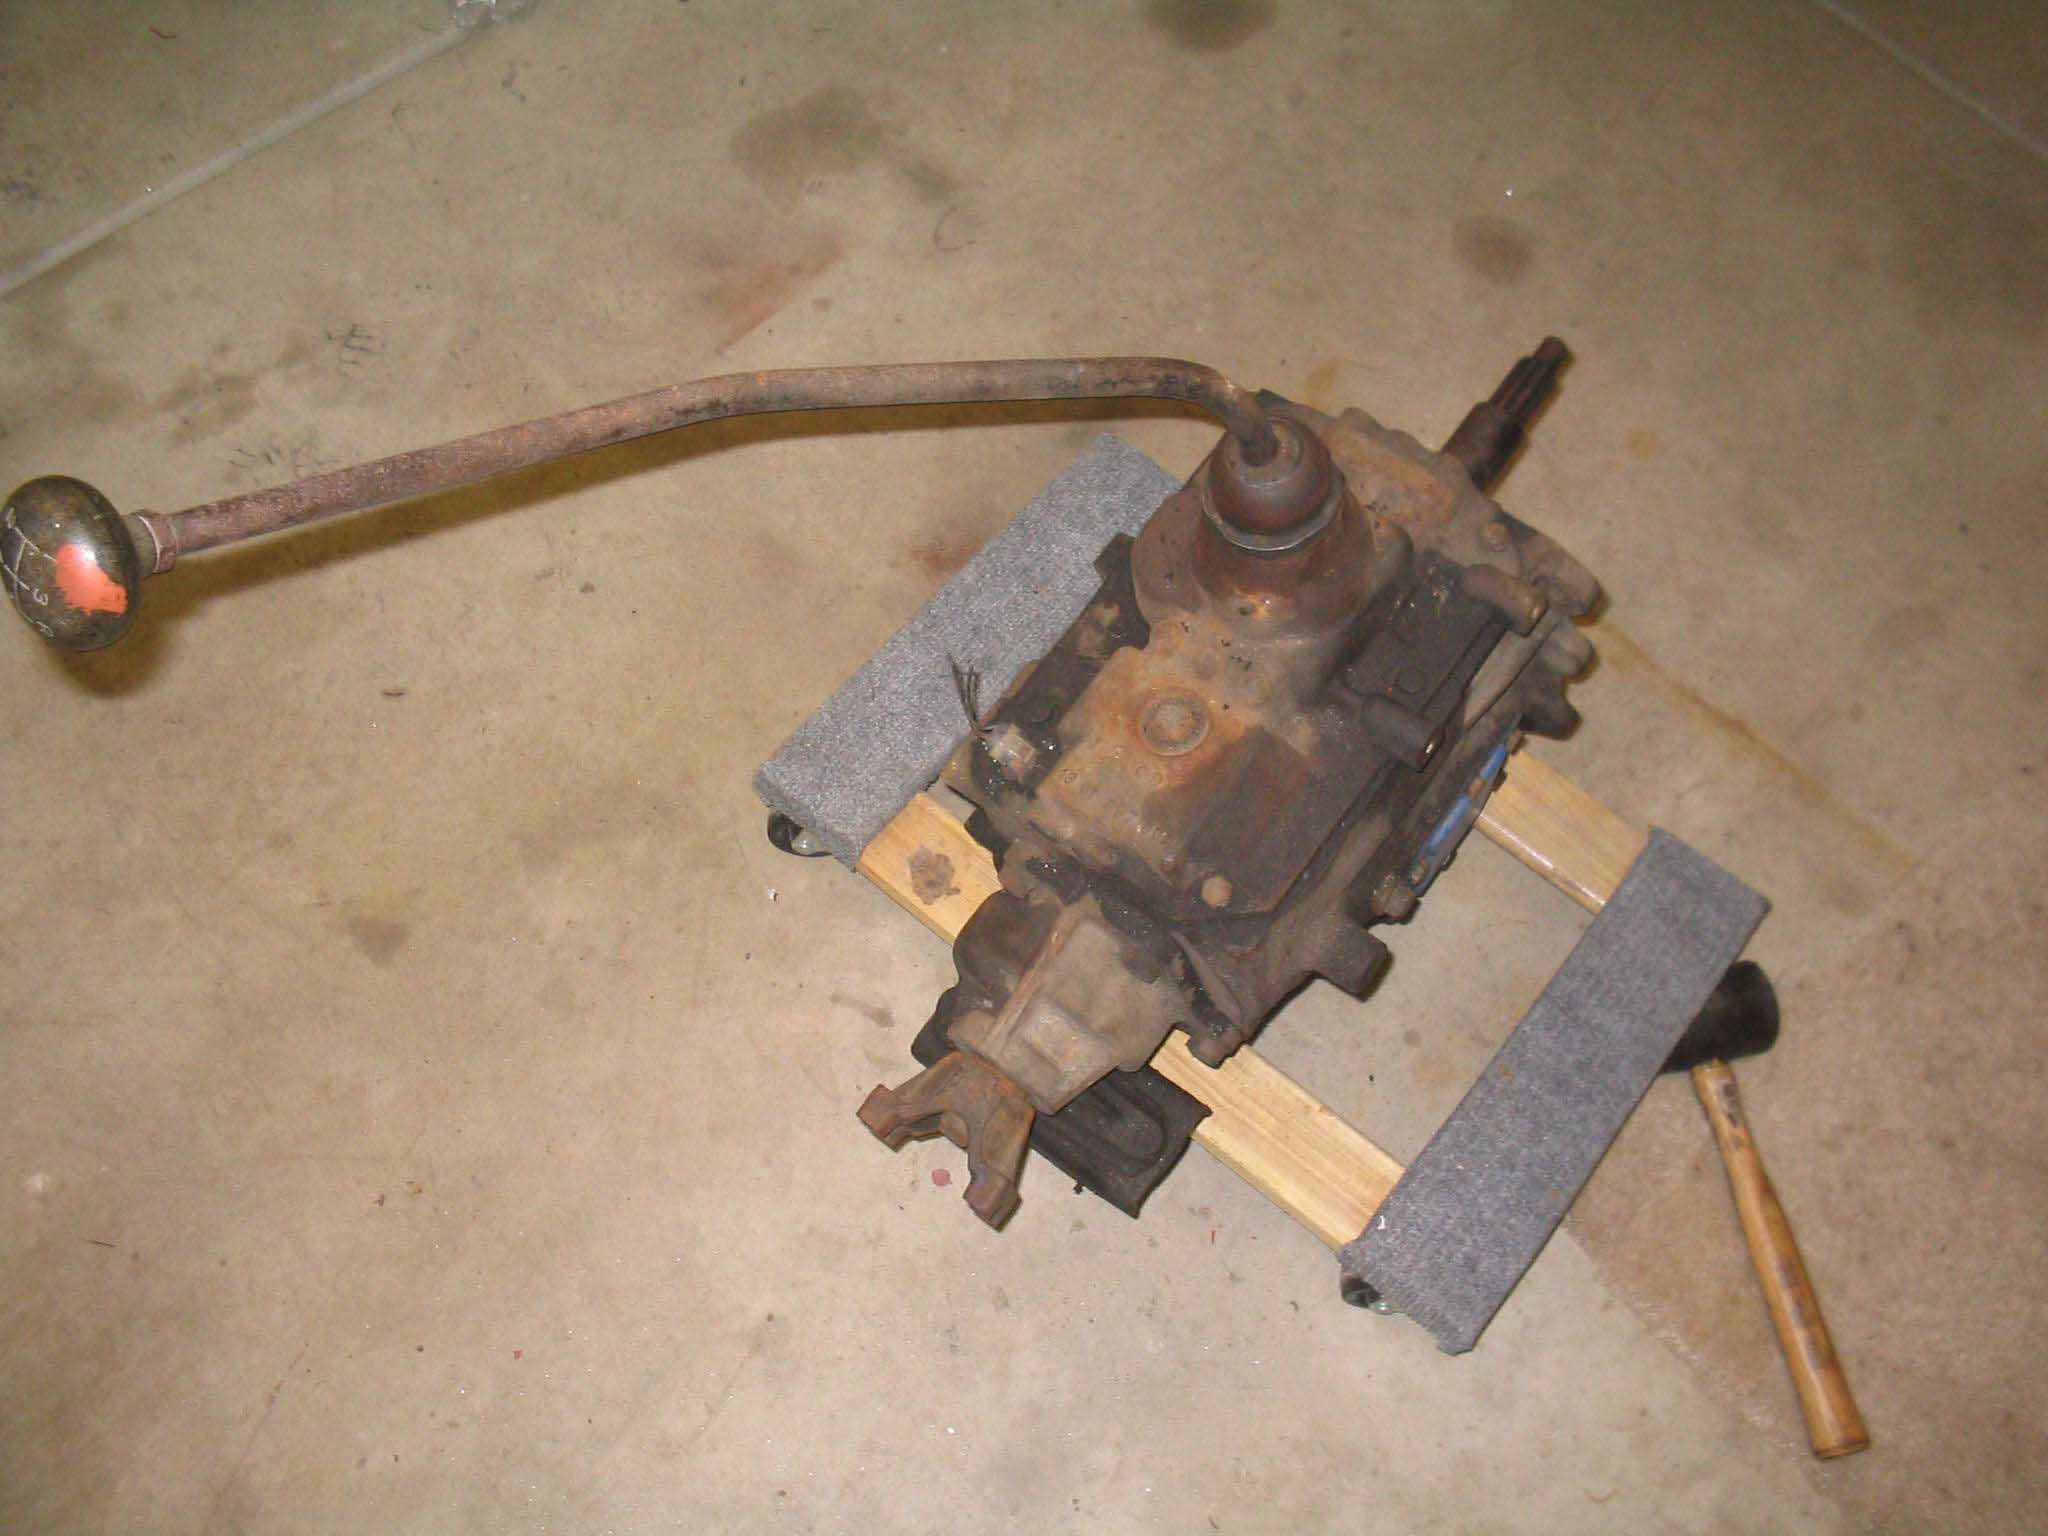
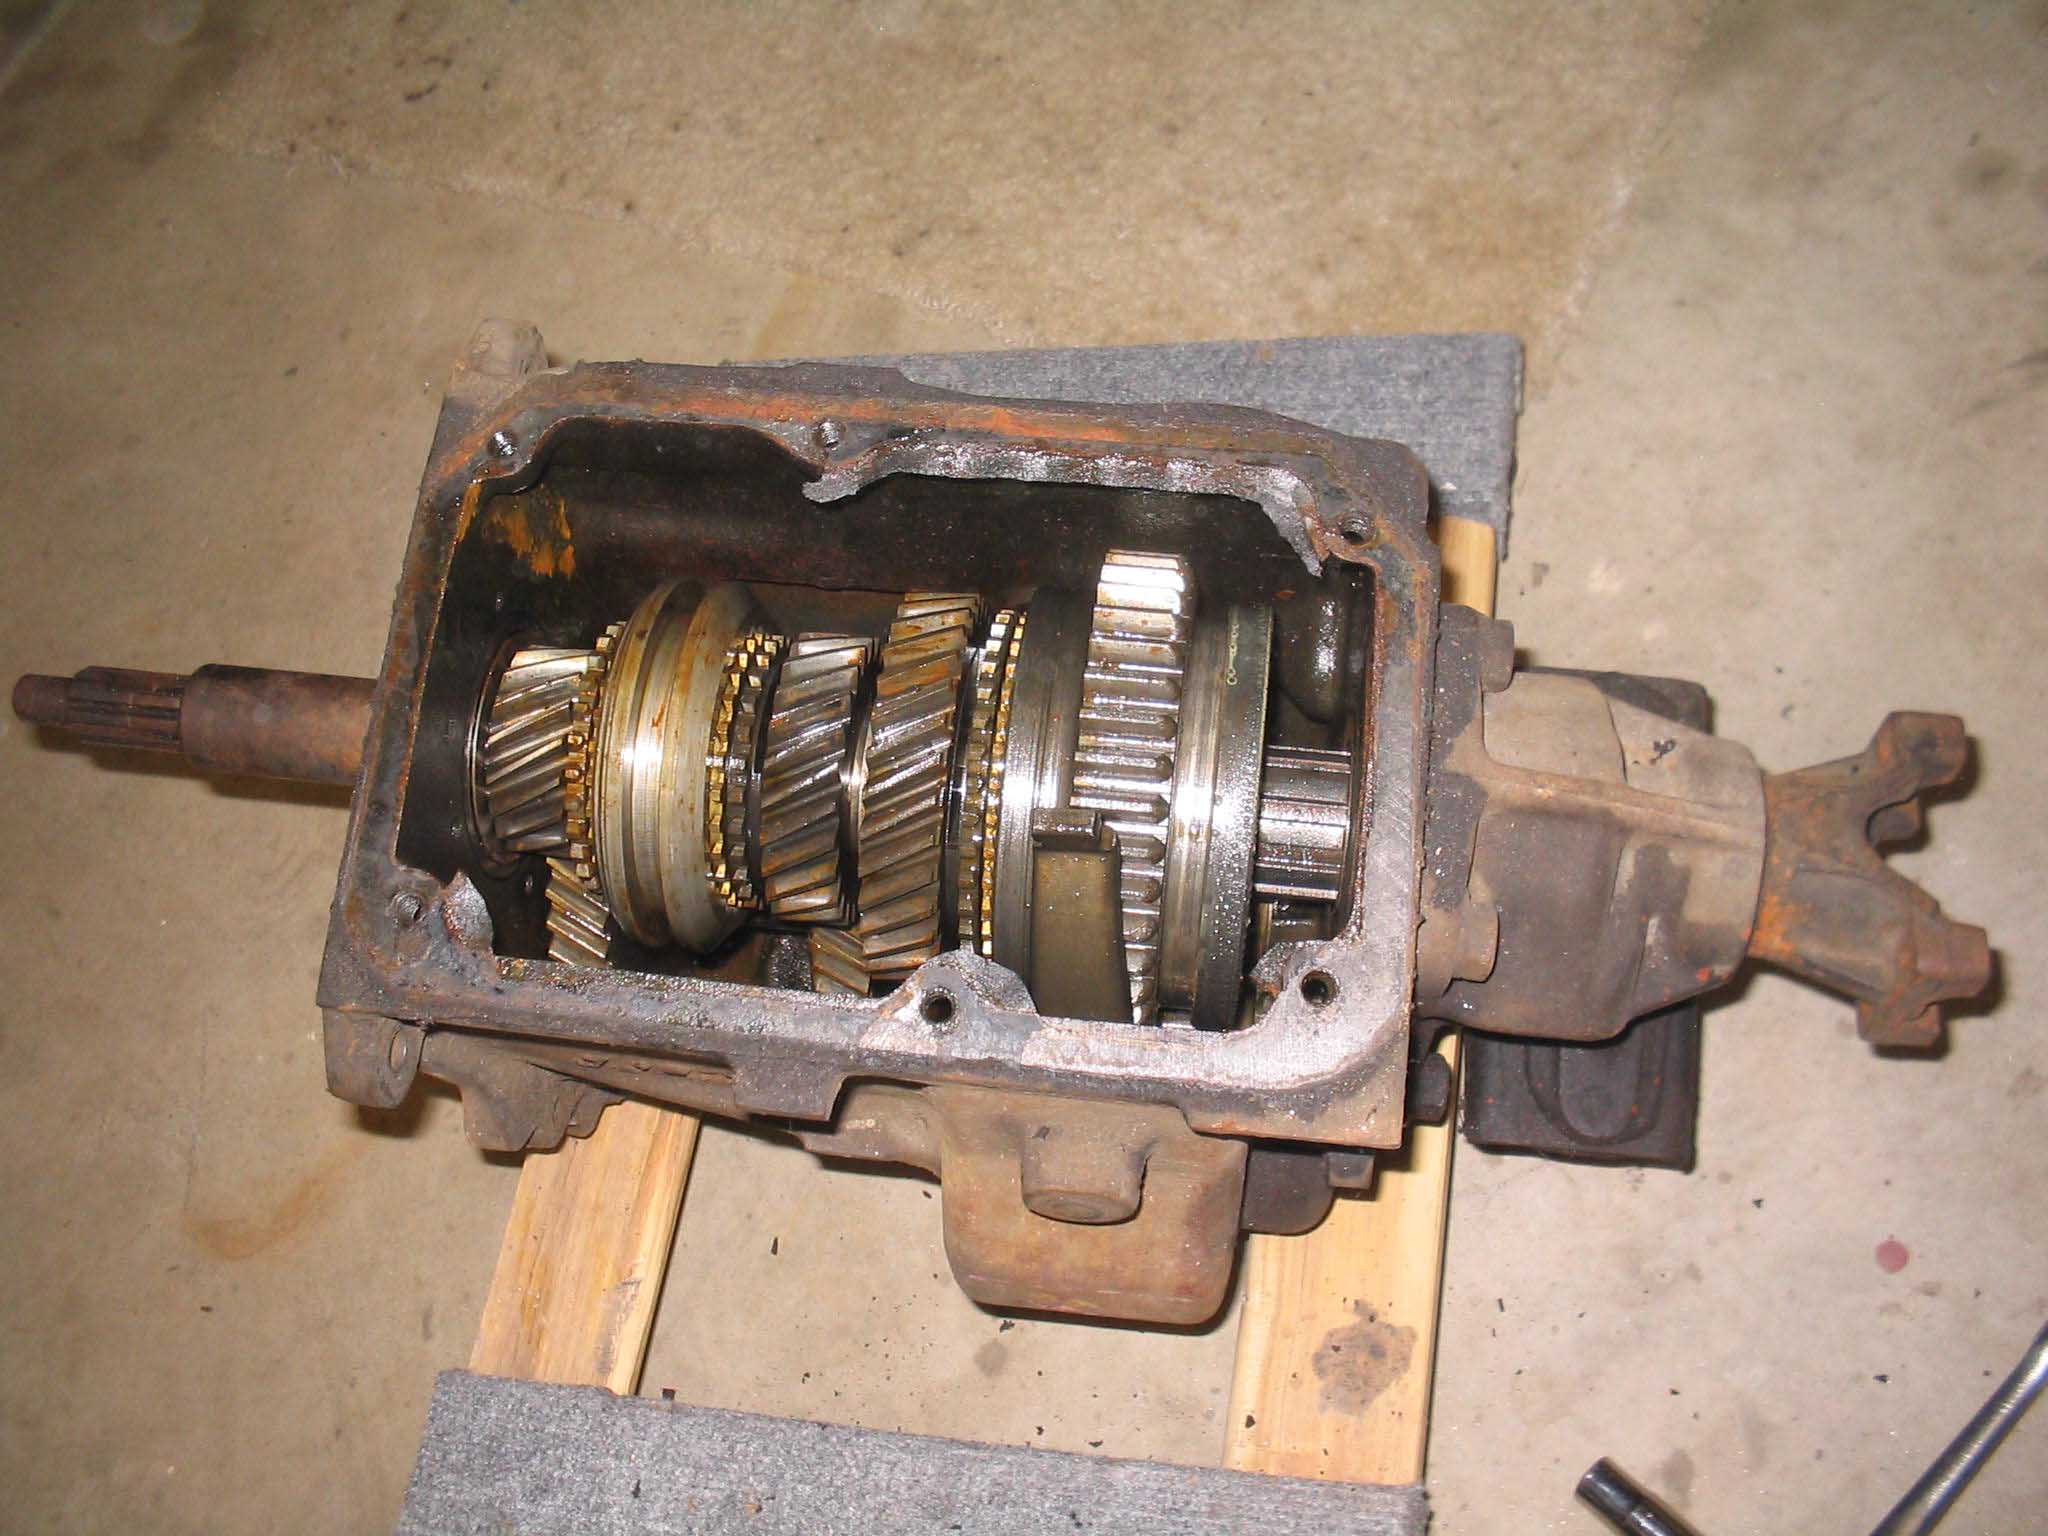
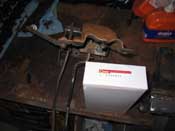
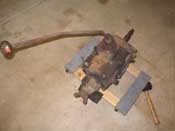
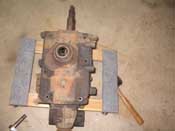
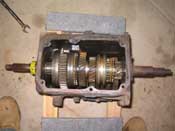
Next up was the transmission rebuild. I received the Novak rebuild kit the other
day and it arrived well packed and with what seems to be all the pieces necessary to complete the task. I have
never done anything like this before, so I was really excited to get to it.
You first start with removing the shifter. The Novak manual is pretty good, but they could elaborate a bit more for those of us who have
never taken a transmission apart. I did some research before the kit got here and I was able to find a site like
this, which shows a typical rebuild
|
| |
|
|

|
|
| |
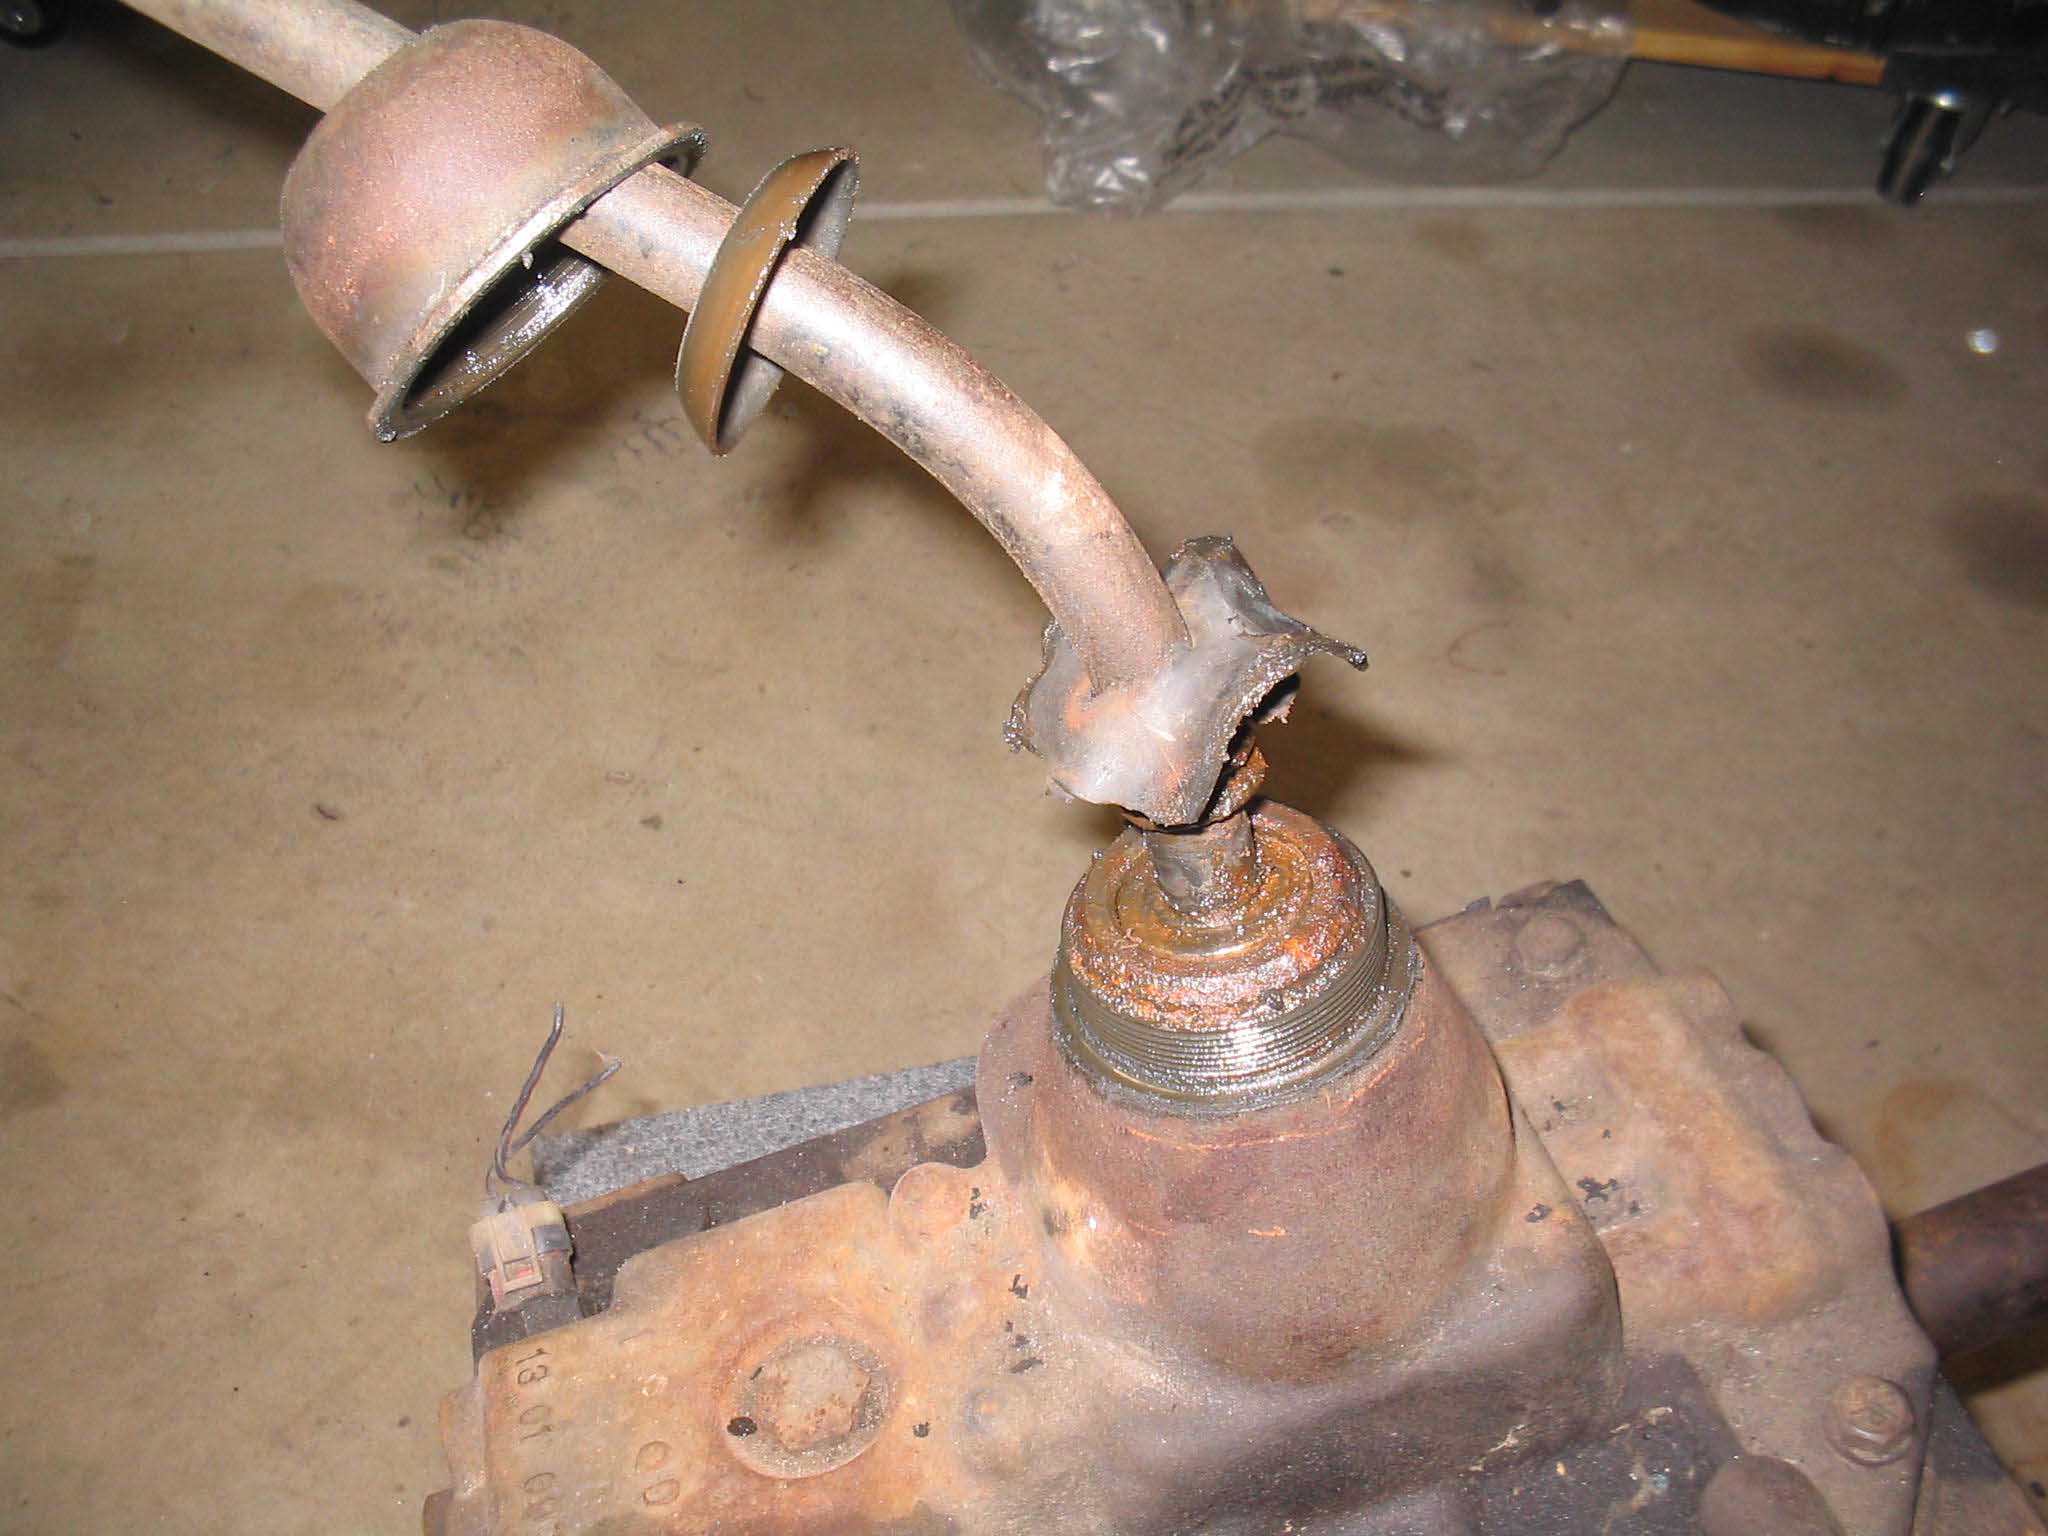
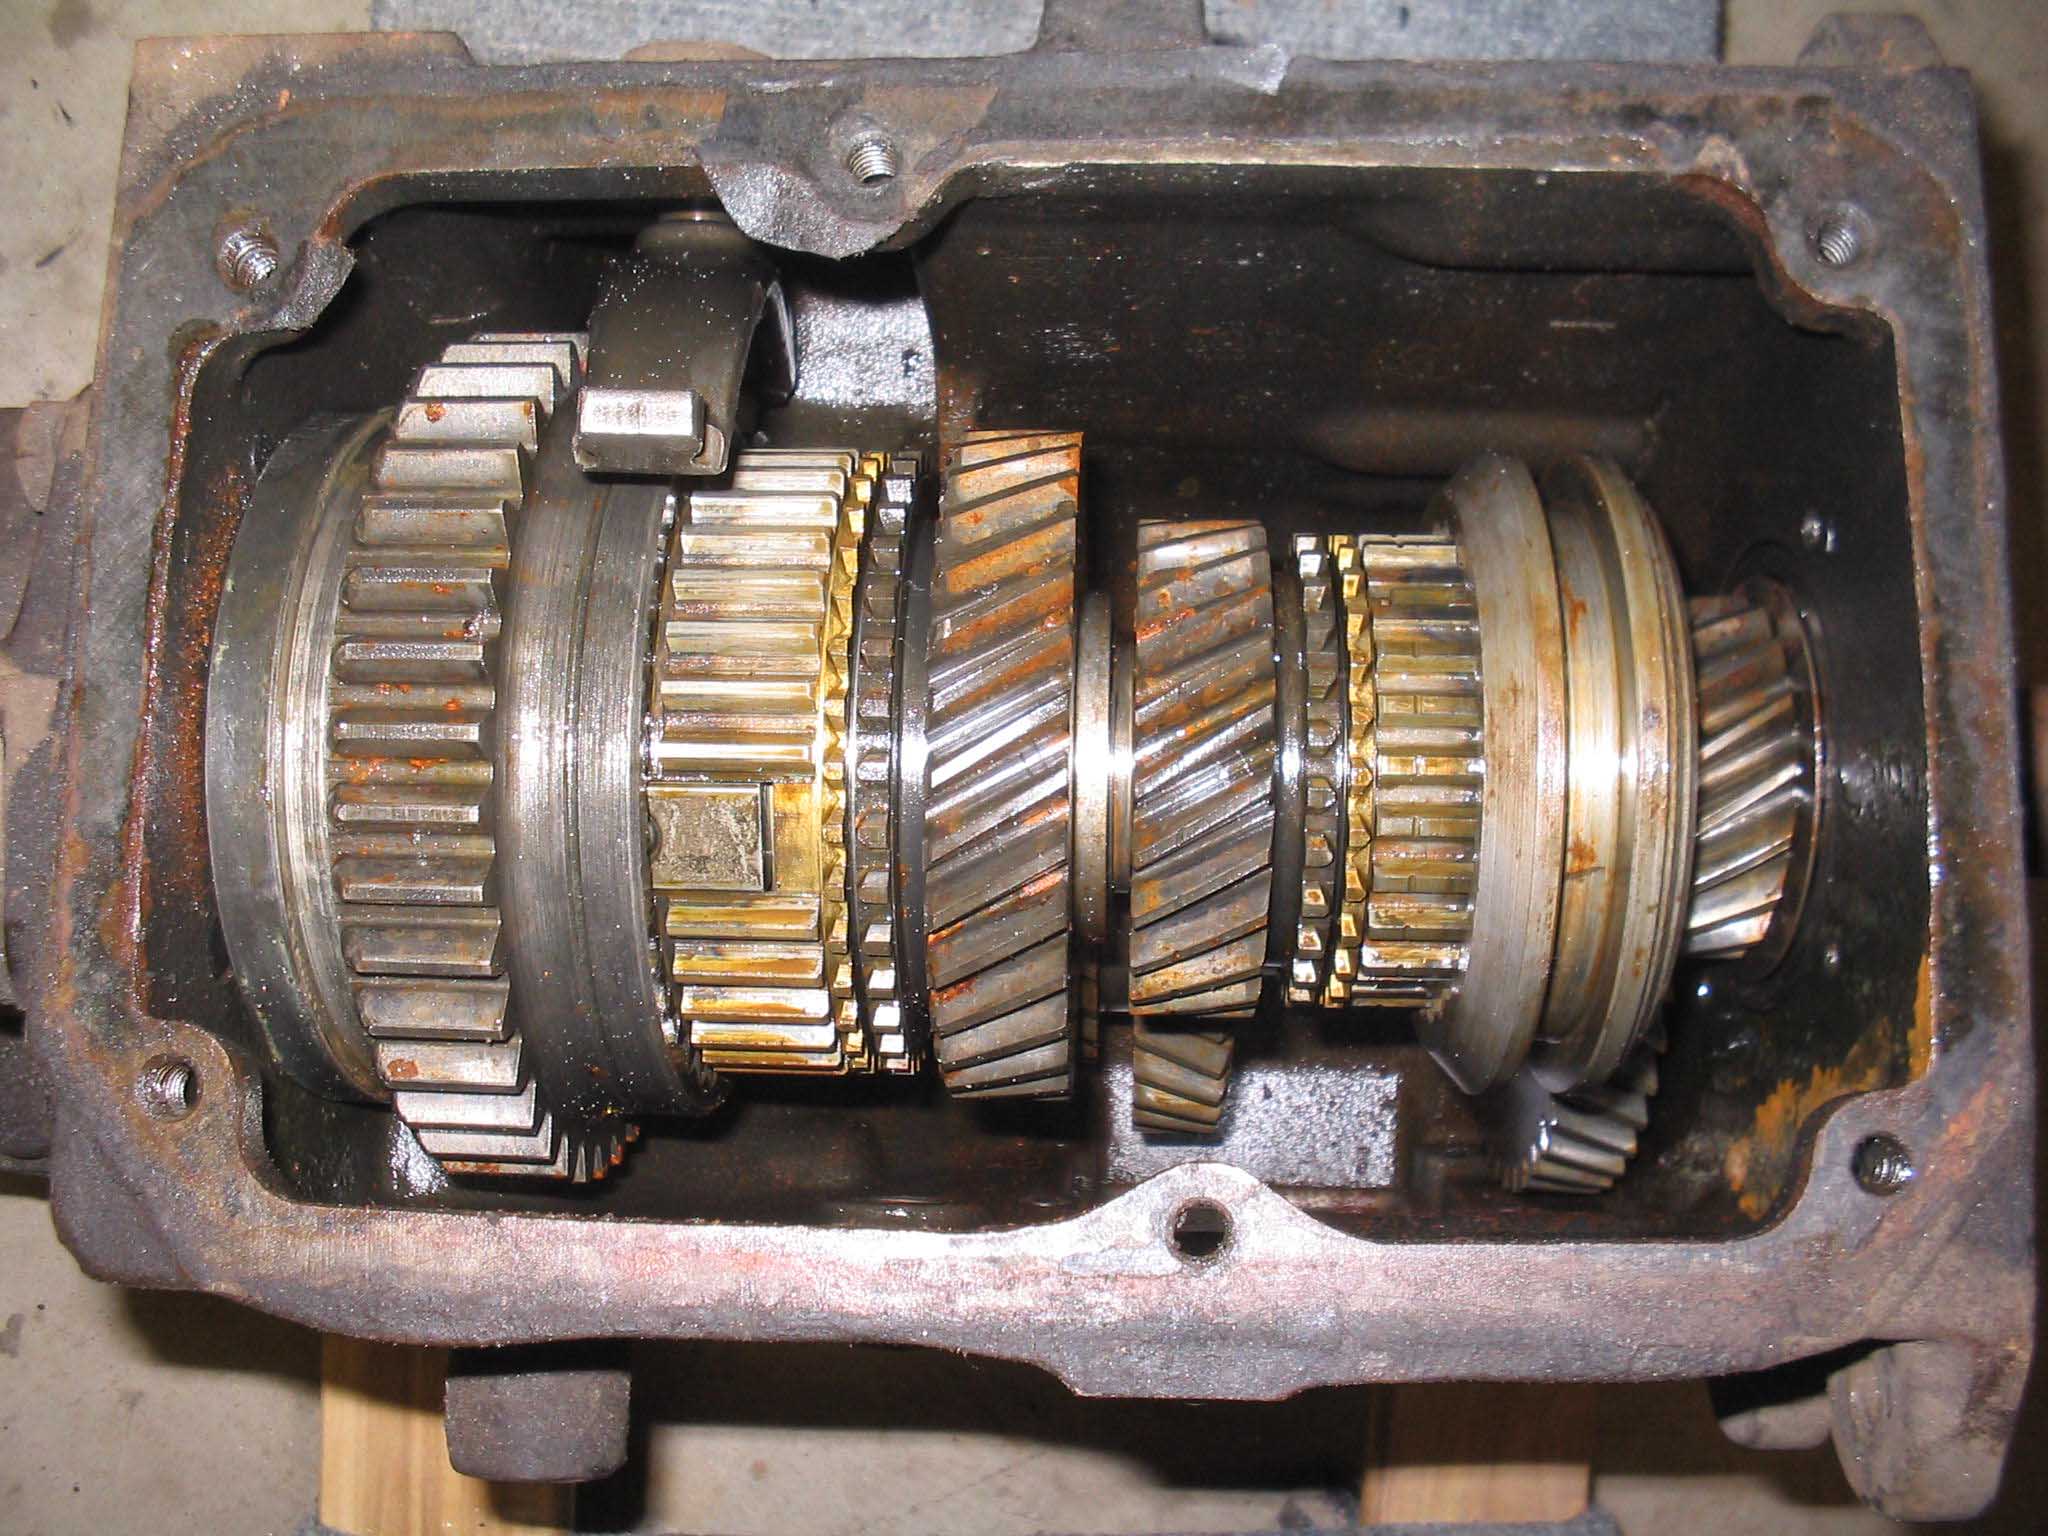
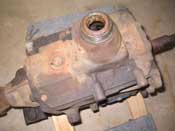
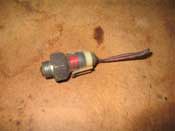
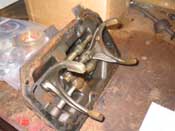
You remove the shifter by unscrewing the domed cap... with the shifter removed; keep your eye out for a little
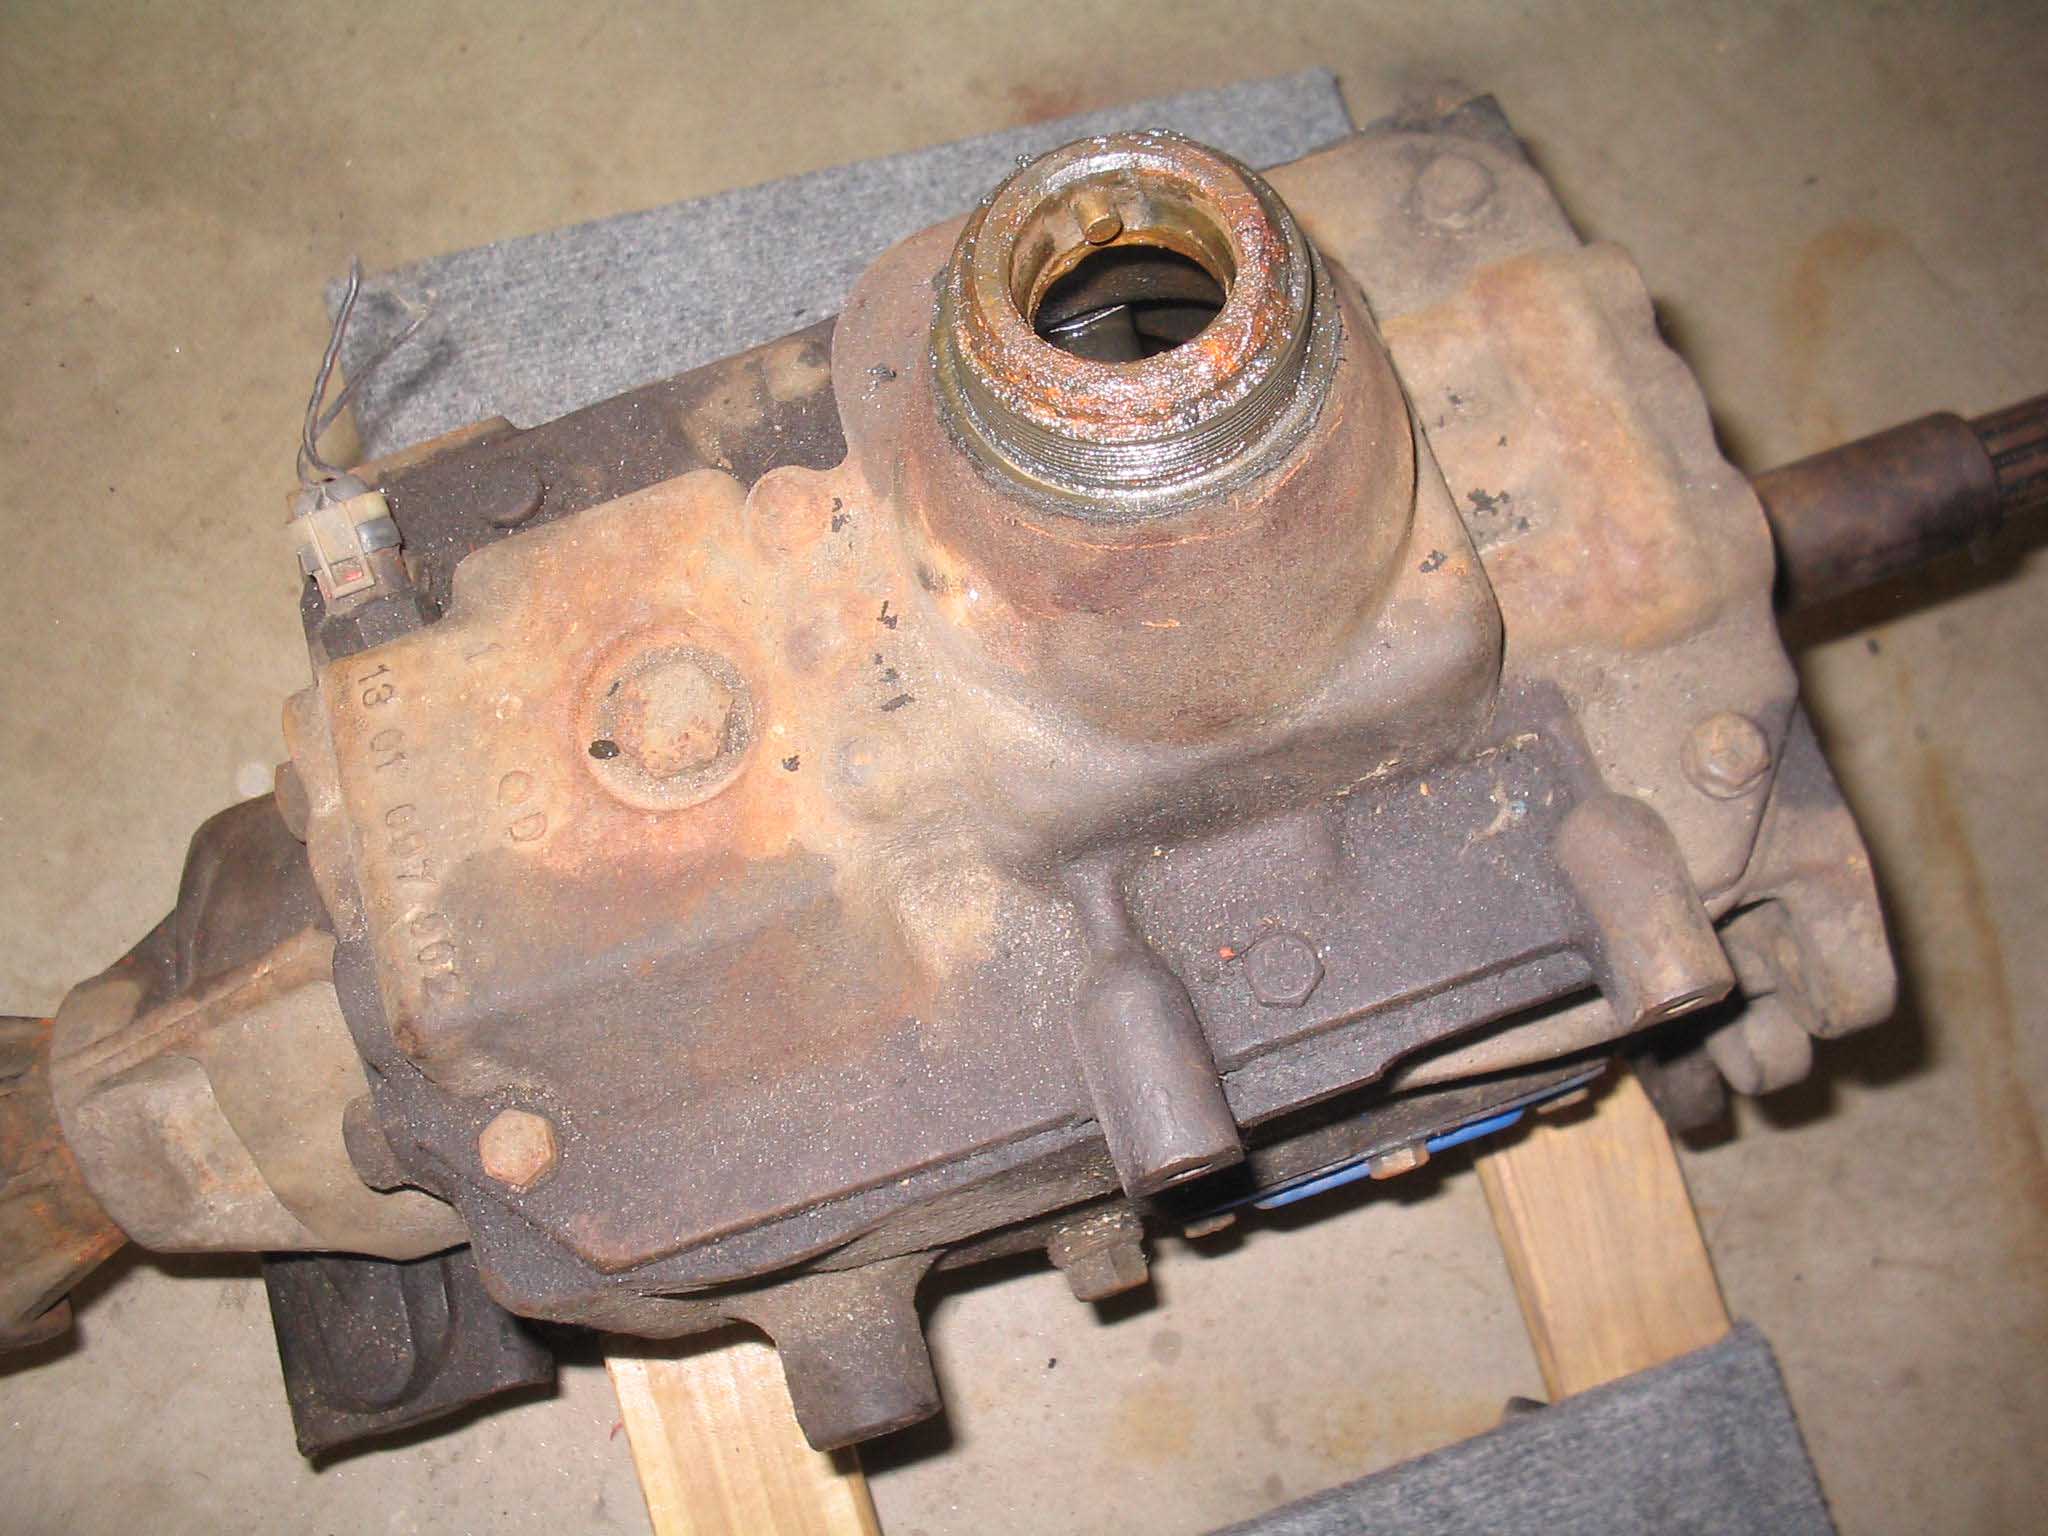
pin at the top of the cover plate. This pin helps to locate the shifter. With the shifter removed, you move
onto the top of the transmission. The instructions say 8 bolts; I only had 6, so there was a little
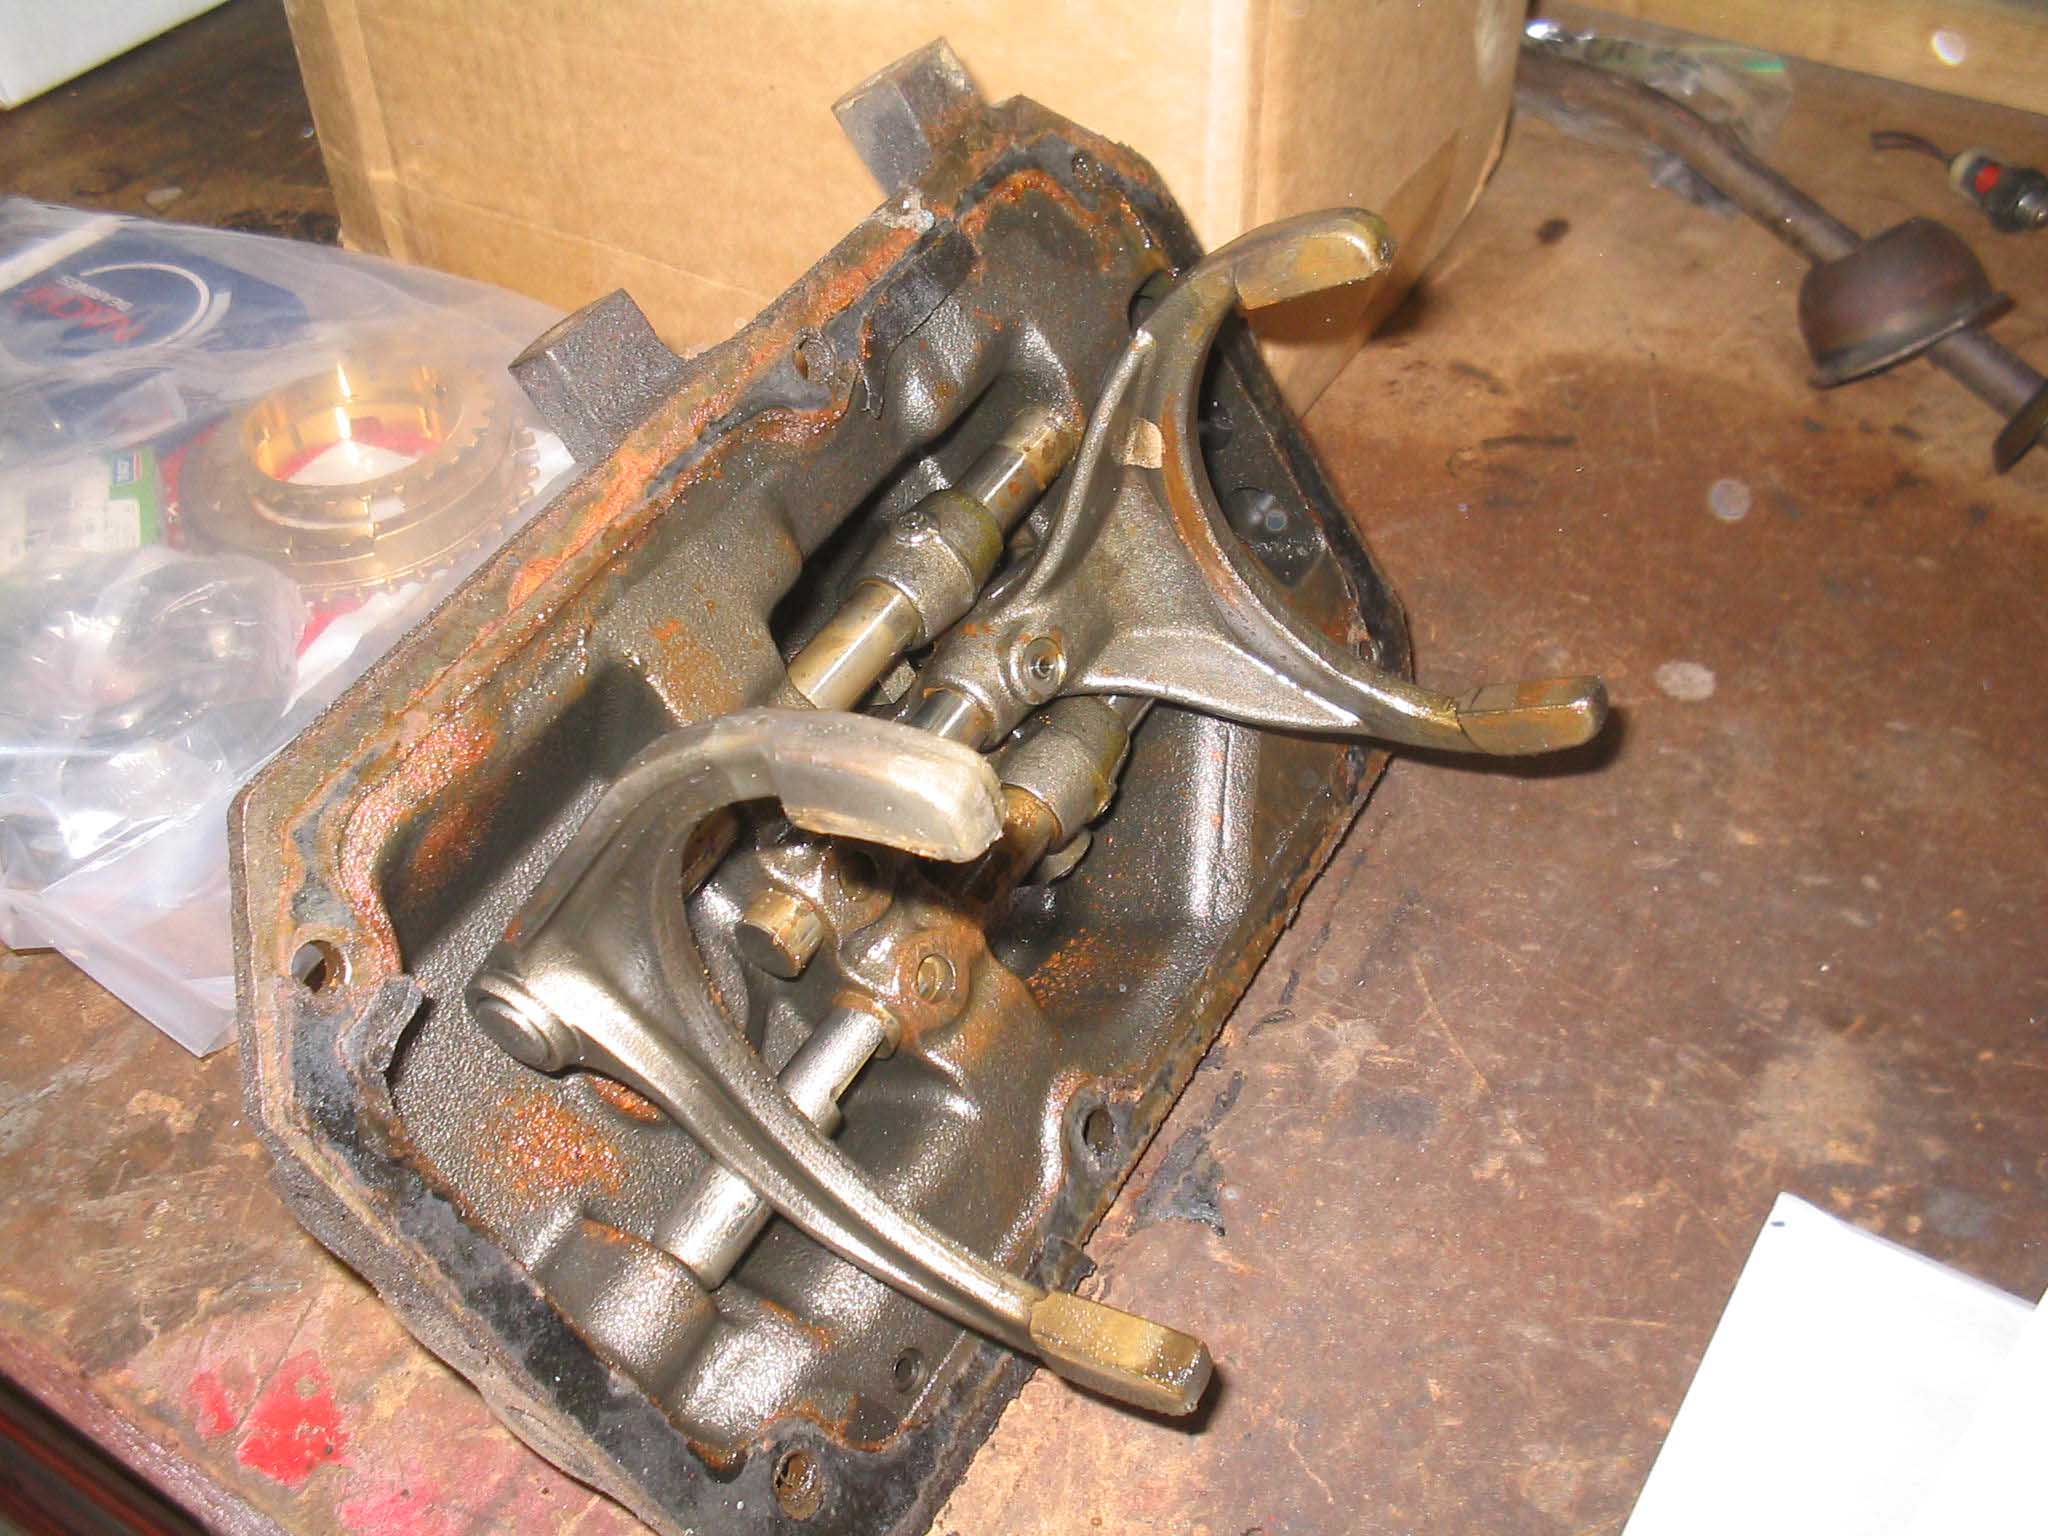
discrepancy there. To remove the top, you have to remove the reverse switch. Inspect the top to see what you
have. This one doesn't seem too bad. With the Top done, move onto the tail housing.
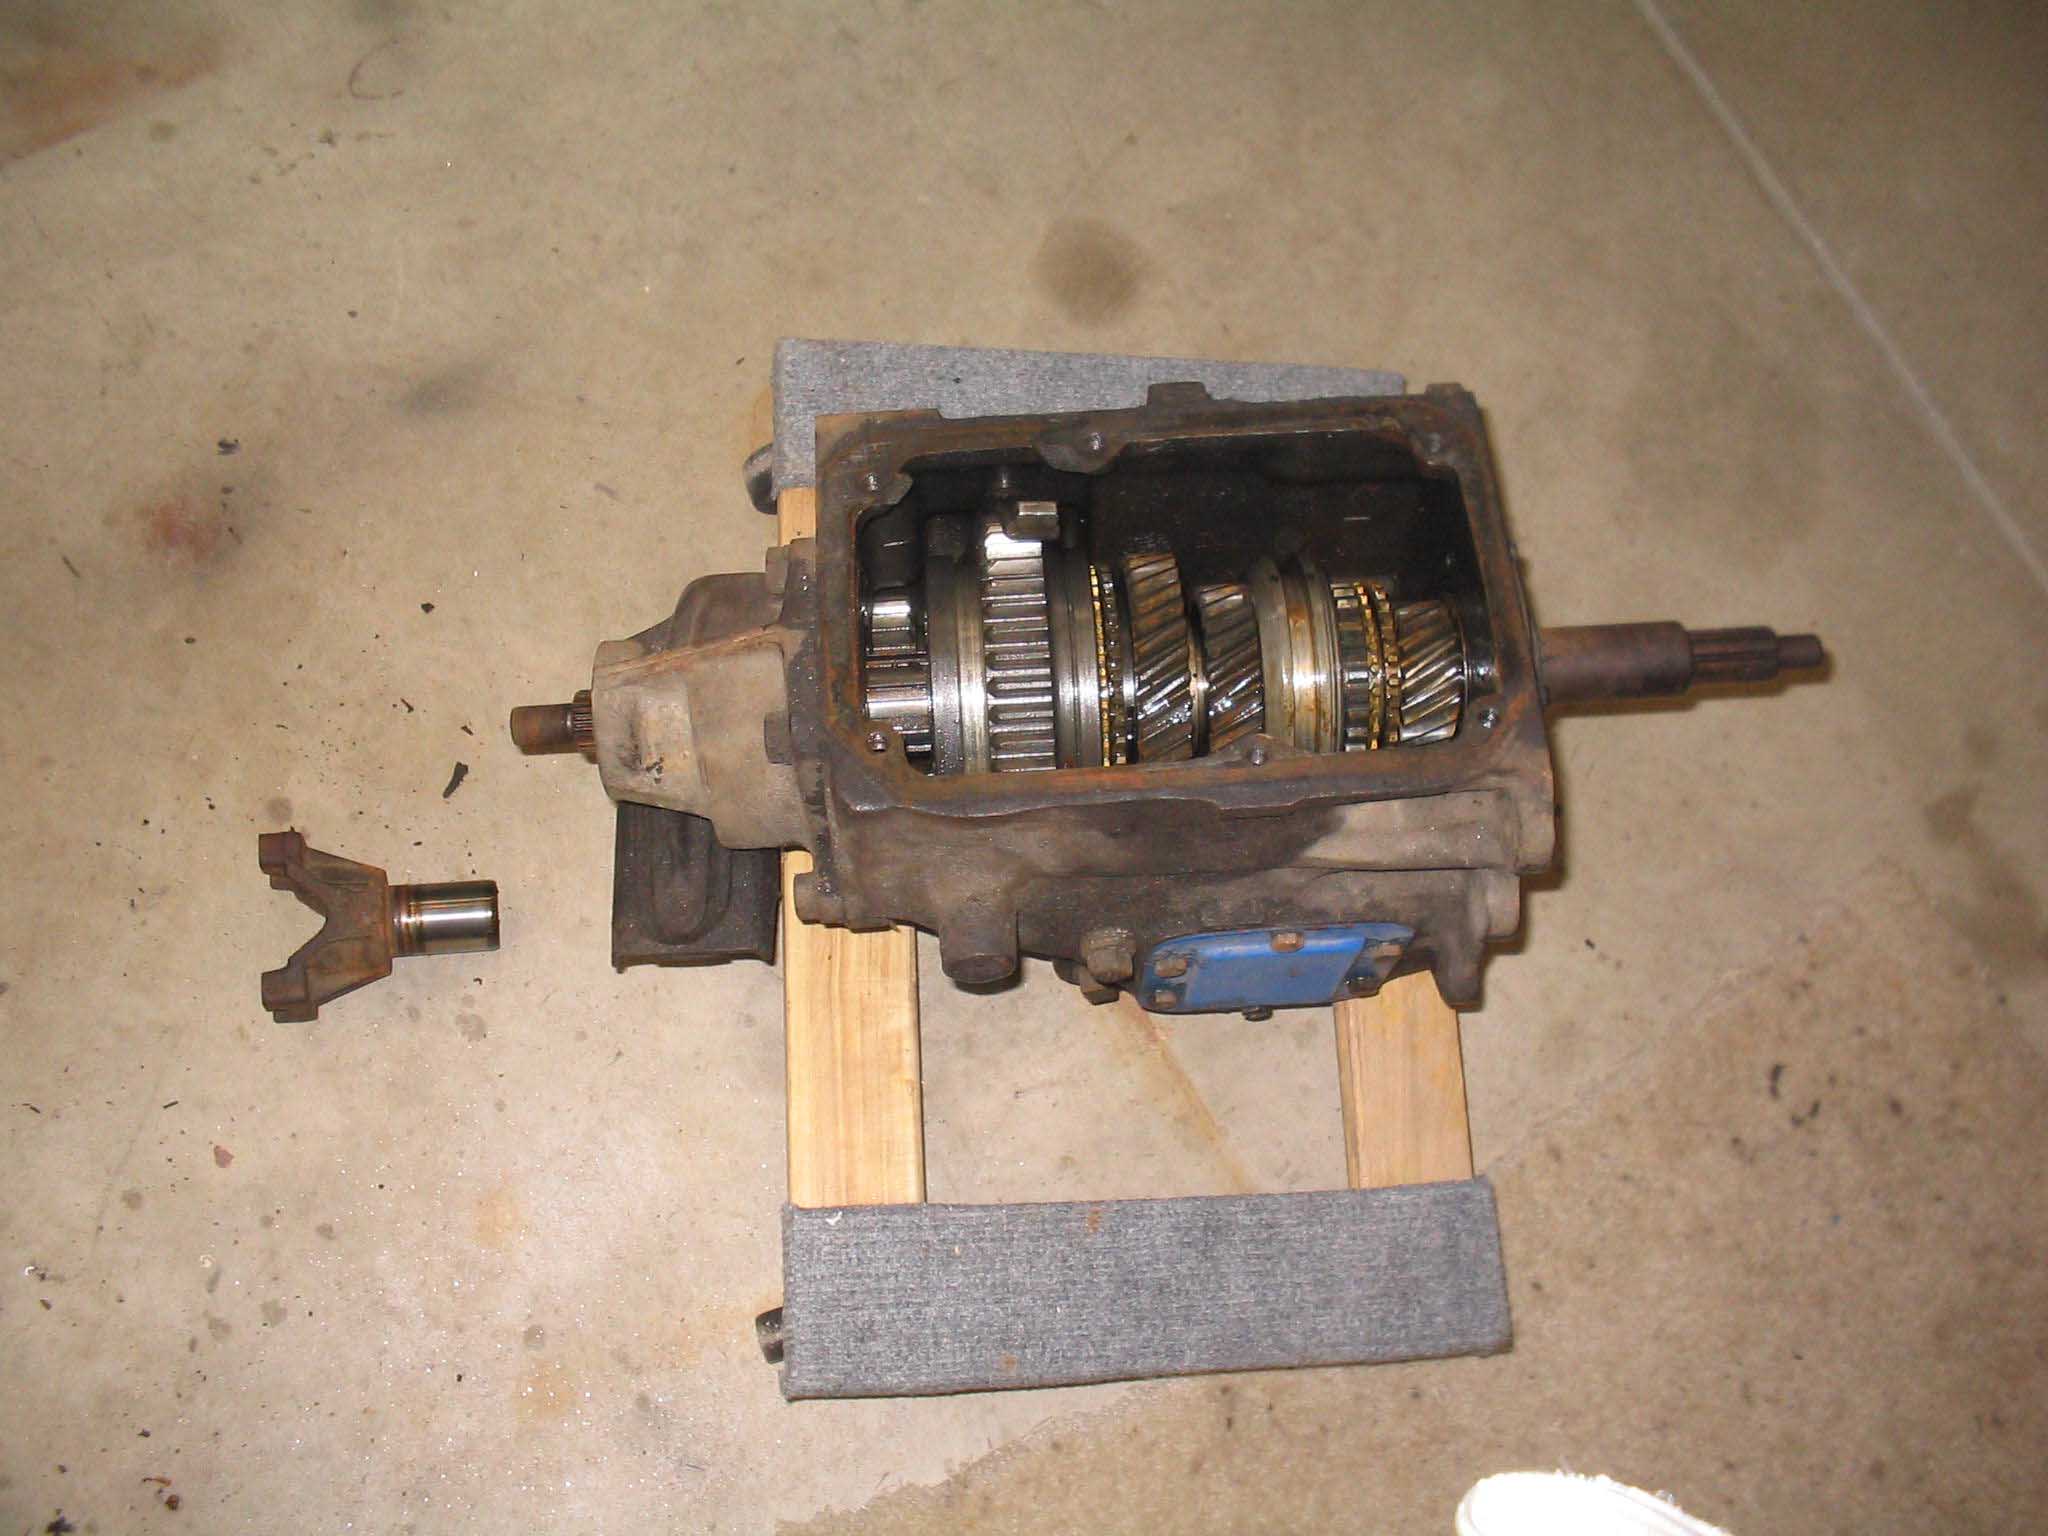
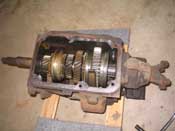
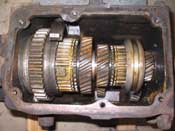
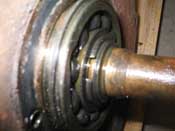
To remove this, you have to move the "big" gear, which is first gear back and the smallest one, which is fourth
forward to lock the output shaft. With this done, I used an impact wrench and a 1 1/16" 6 point socket to remove
the yoke nut. With the nut off, the yoke shaft slides out and you can remove the 4 bolts that hold the tail shaft
on.
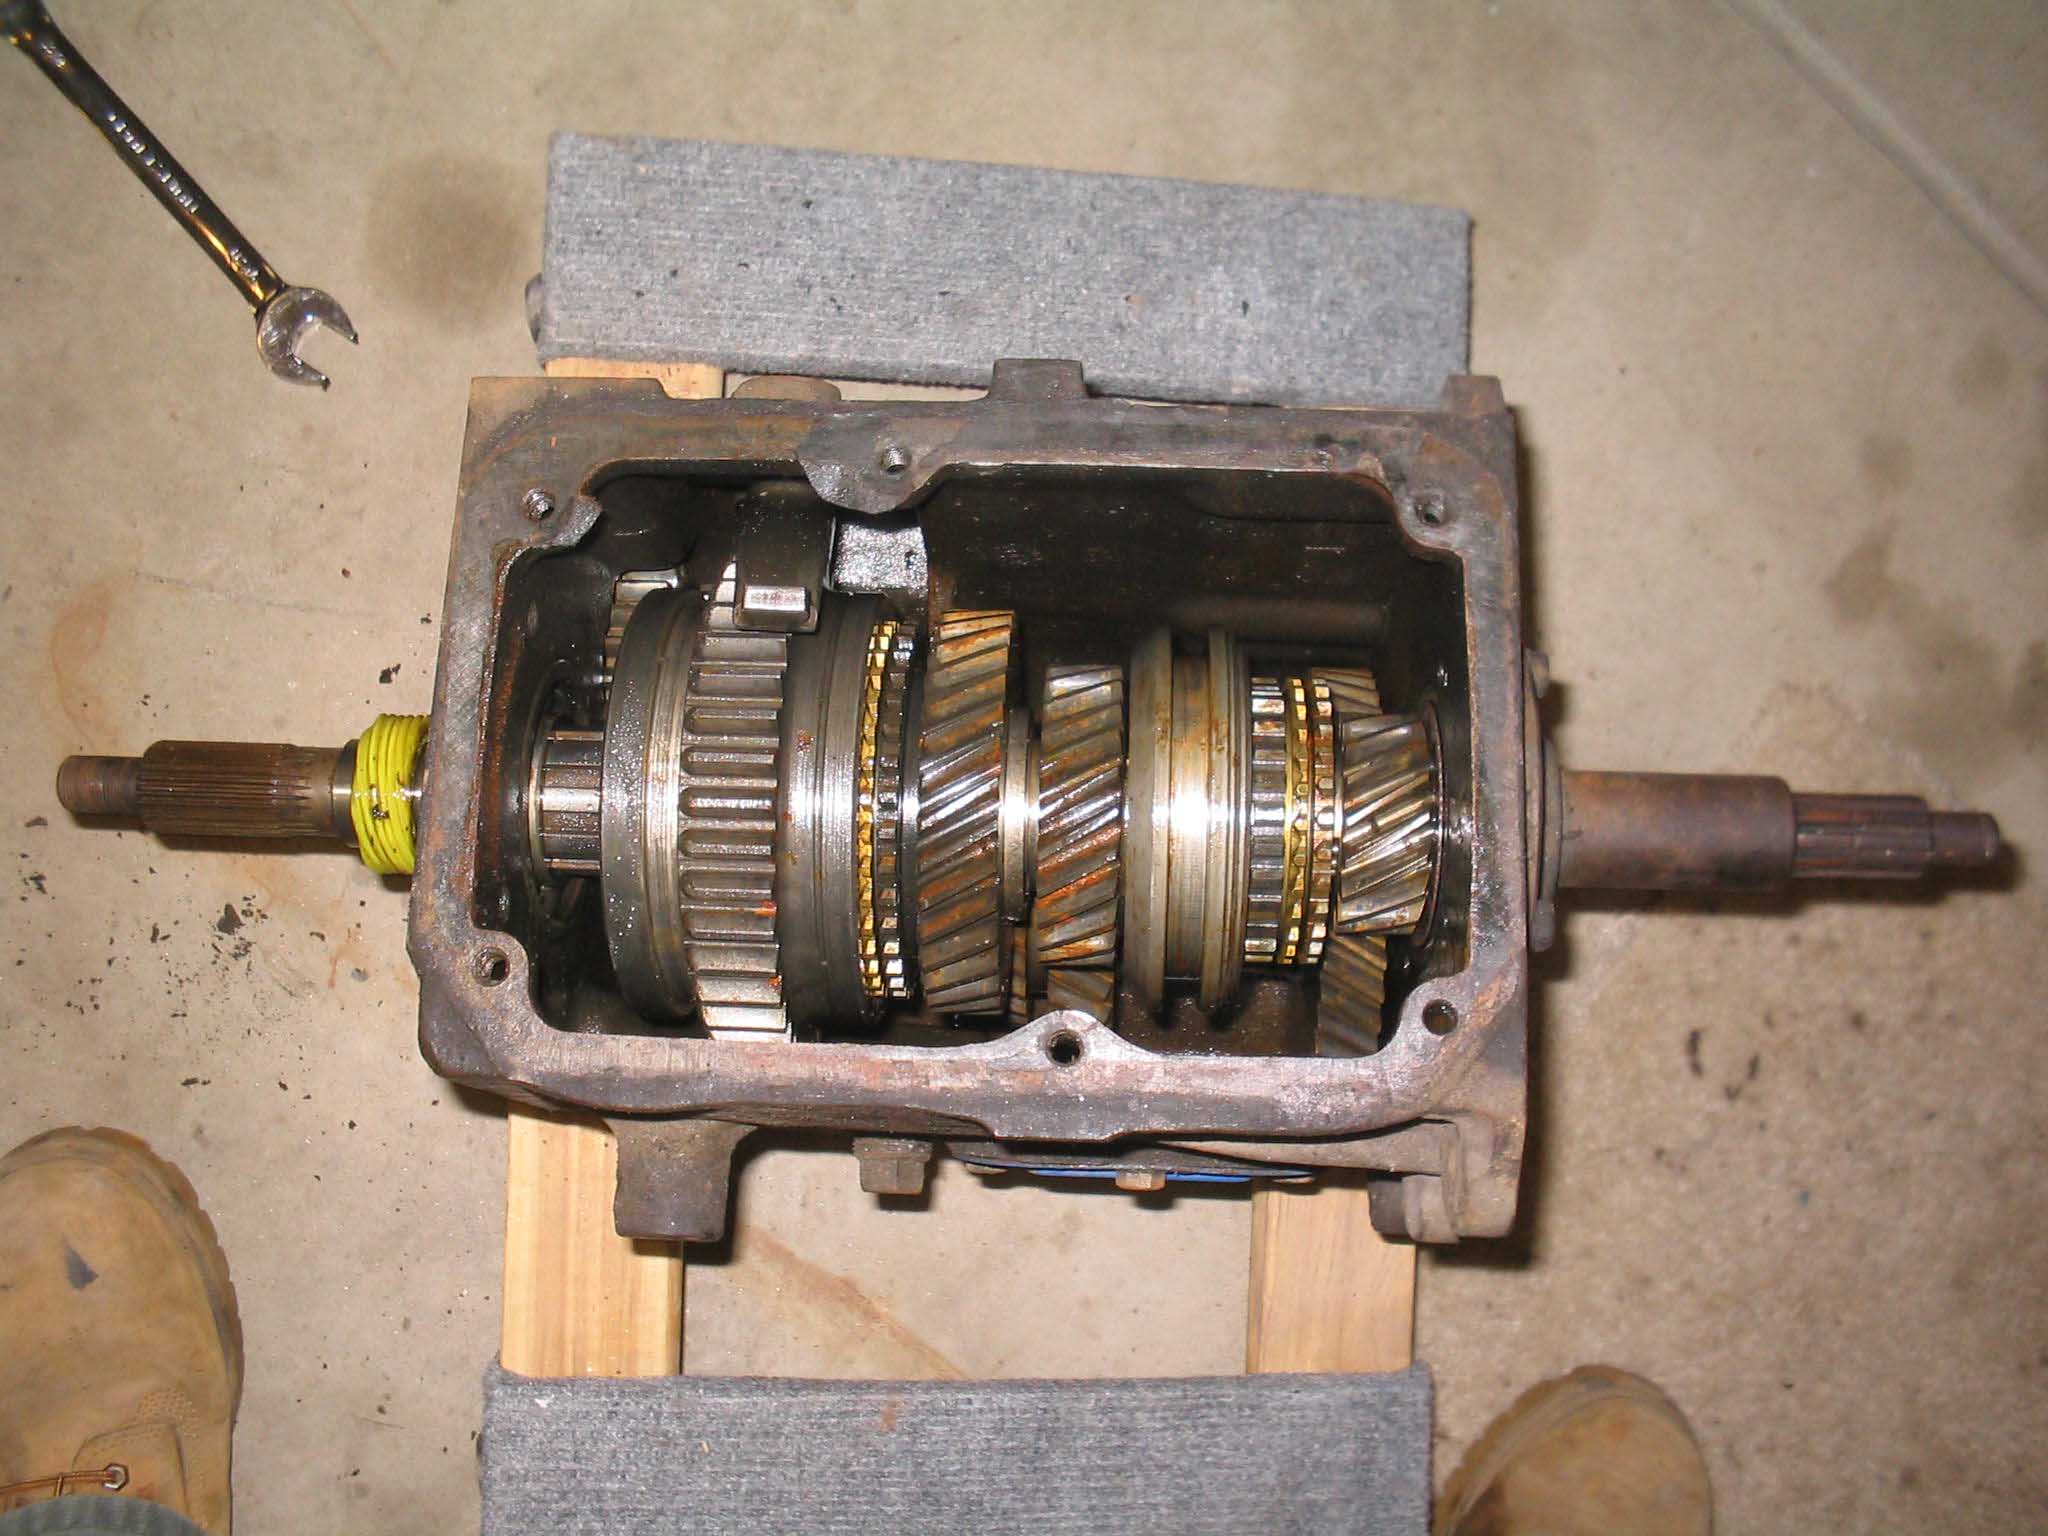
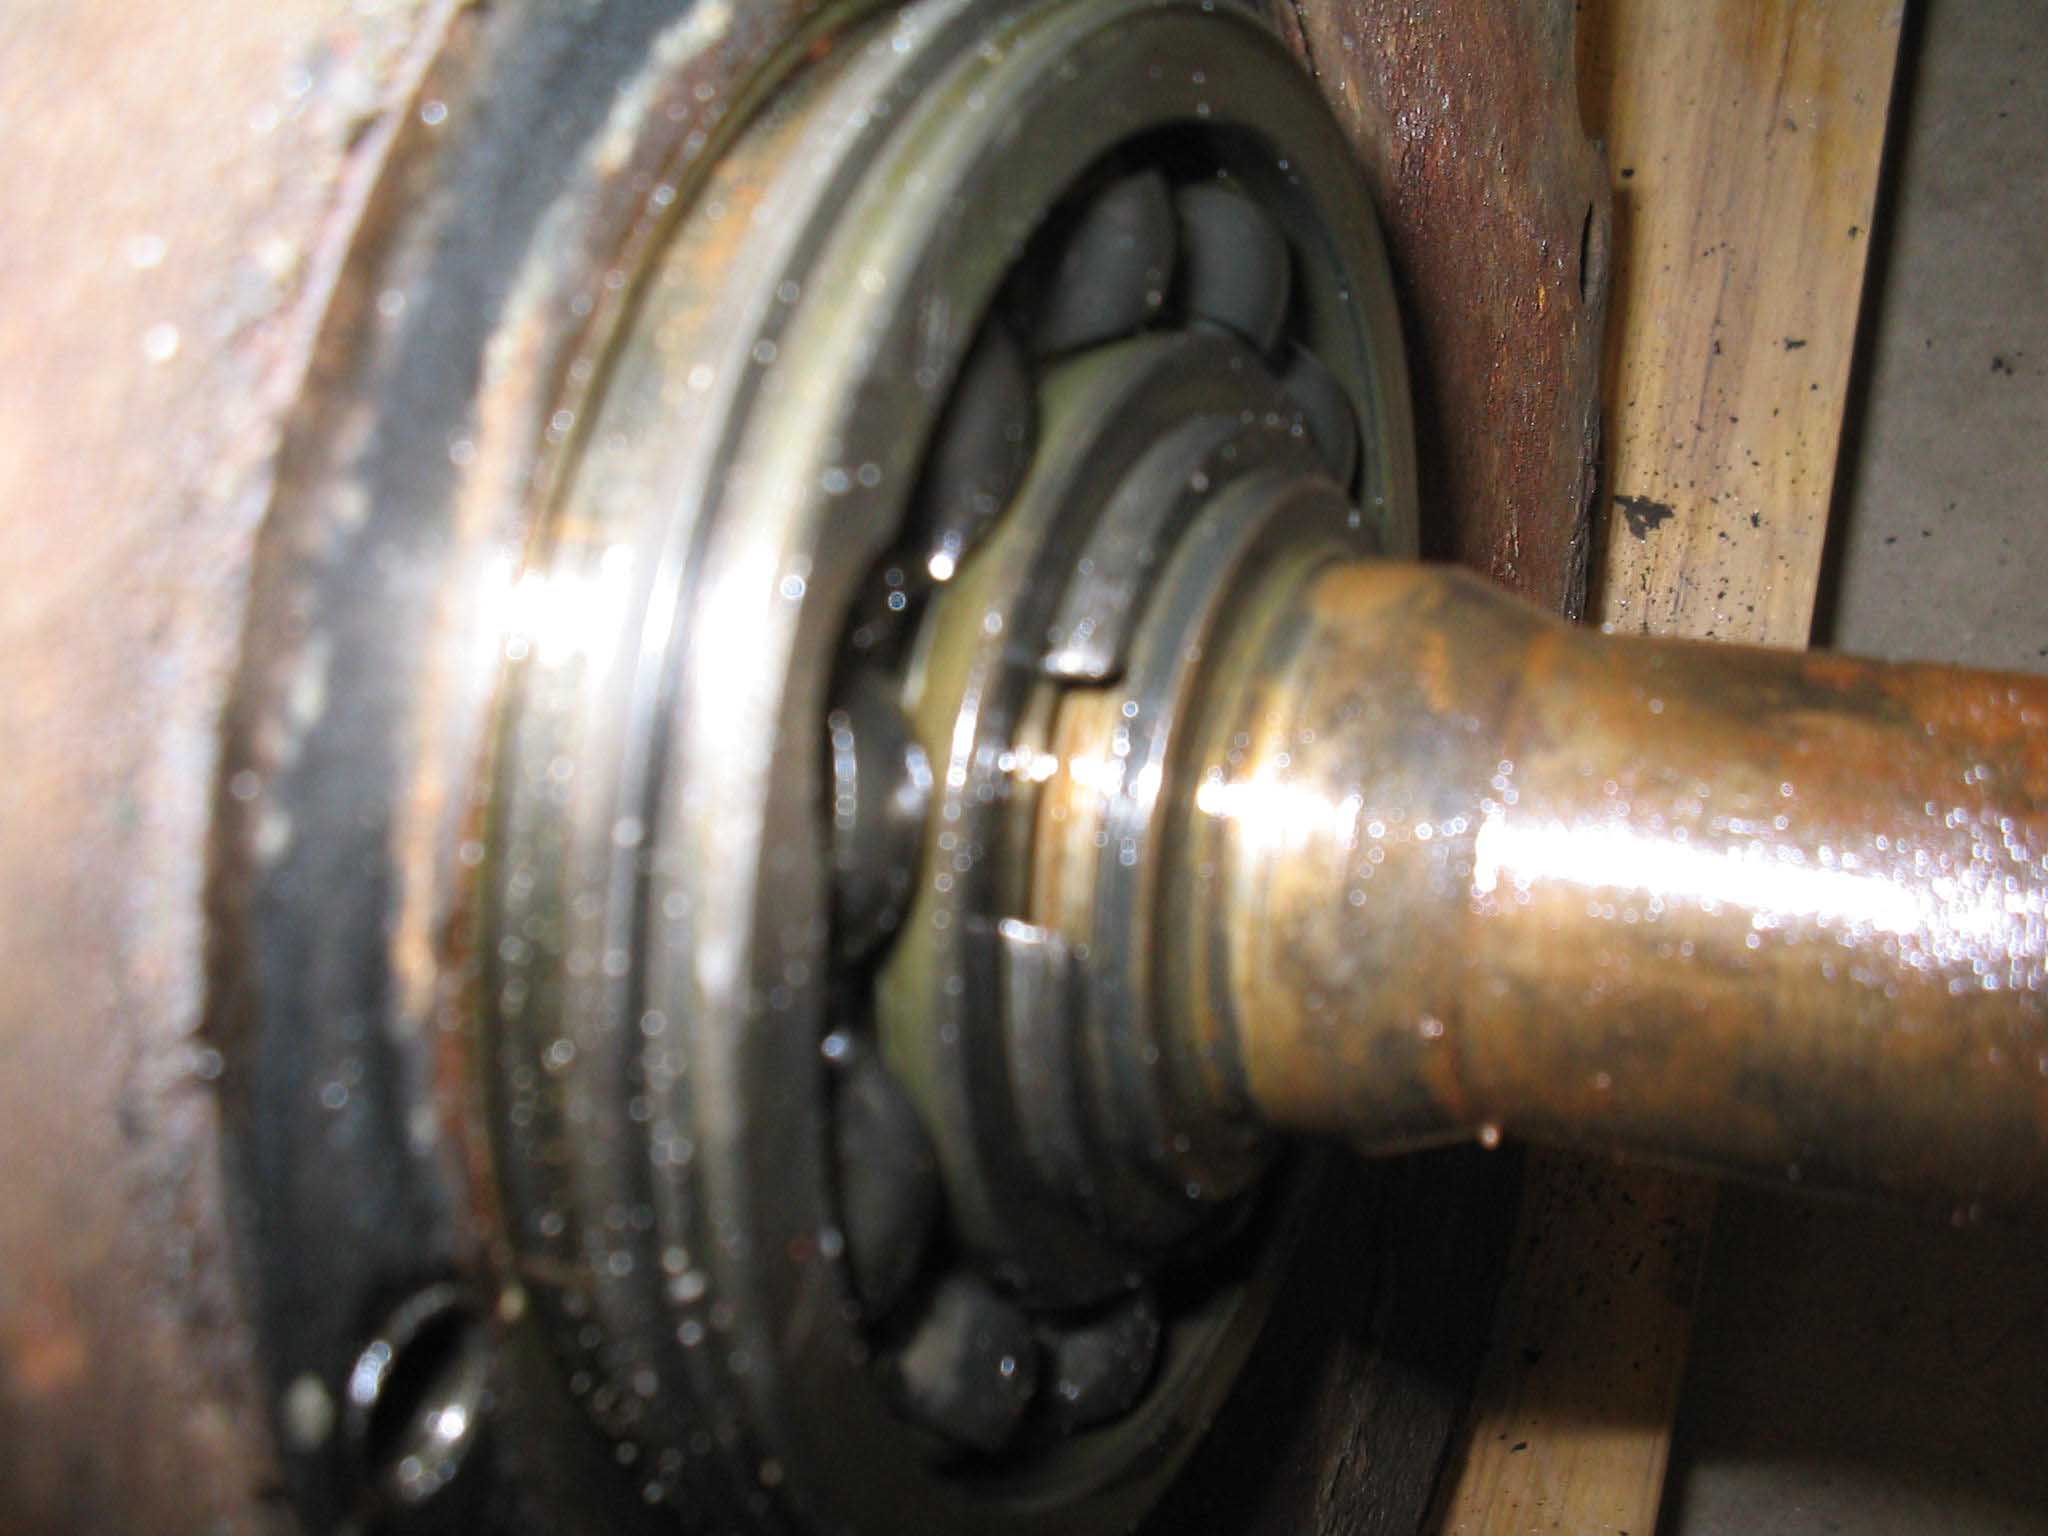
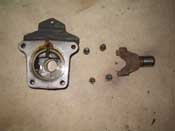
With the rear off, you move to the front of the transmission. Remove the 4 bolts that hold the input housing in
place. With it off, you will need to remove the lock ring that holds the bearings in place. This will be the
same in the front and the back of the transmission. I didn't have any lock ring pliers, so I am on my way to
Napa or some parts store tomorrow to get some.
cb (01/24/08)
|
| |
| << Previous |
Next >> |
|