| Project "Free Jeep" a.k.a Project "FJ" - part #24 |
| |
|
1
2
3
4
5
6
7
8
9
10
11
12
13
14
15
16
17
18
19
20
21
22
23
24
25
26
27
28
29
30
31
32
33
34
35
36
37
38
39
40
41
42
43
44
45
46
47
48
49
50
51
52
53
54
55
56
57
58
59
60
61
62
63
64
65
66
67
68
69
70
71
72
73
|
| |
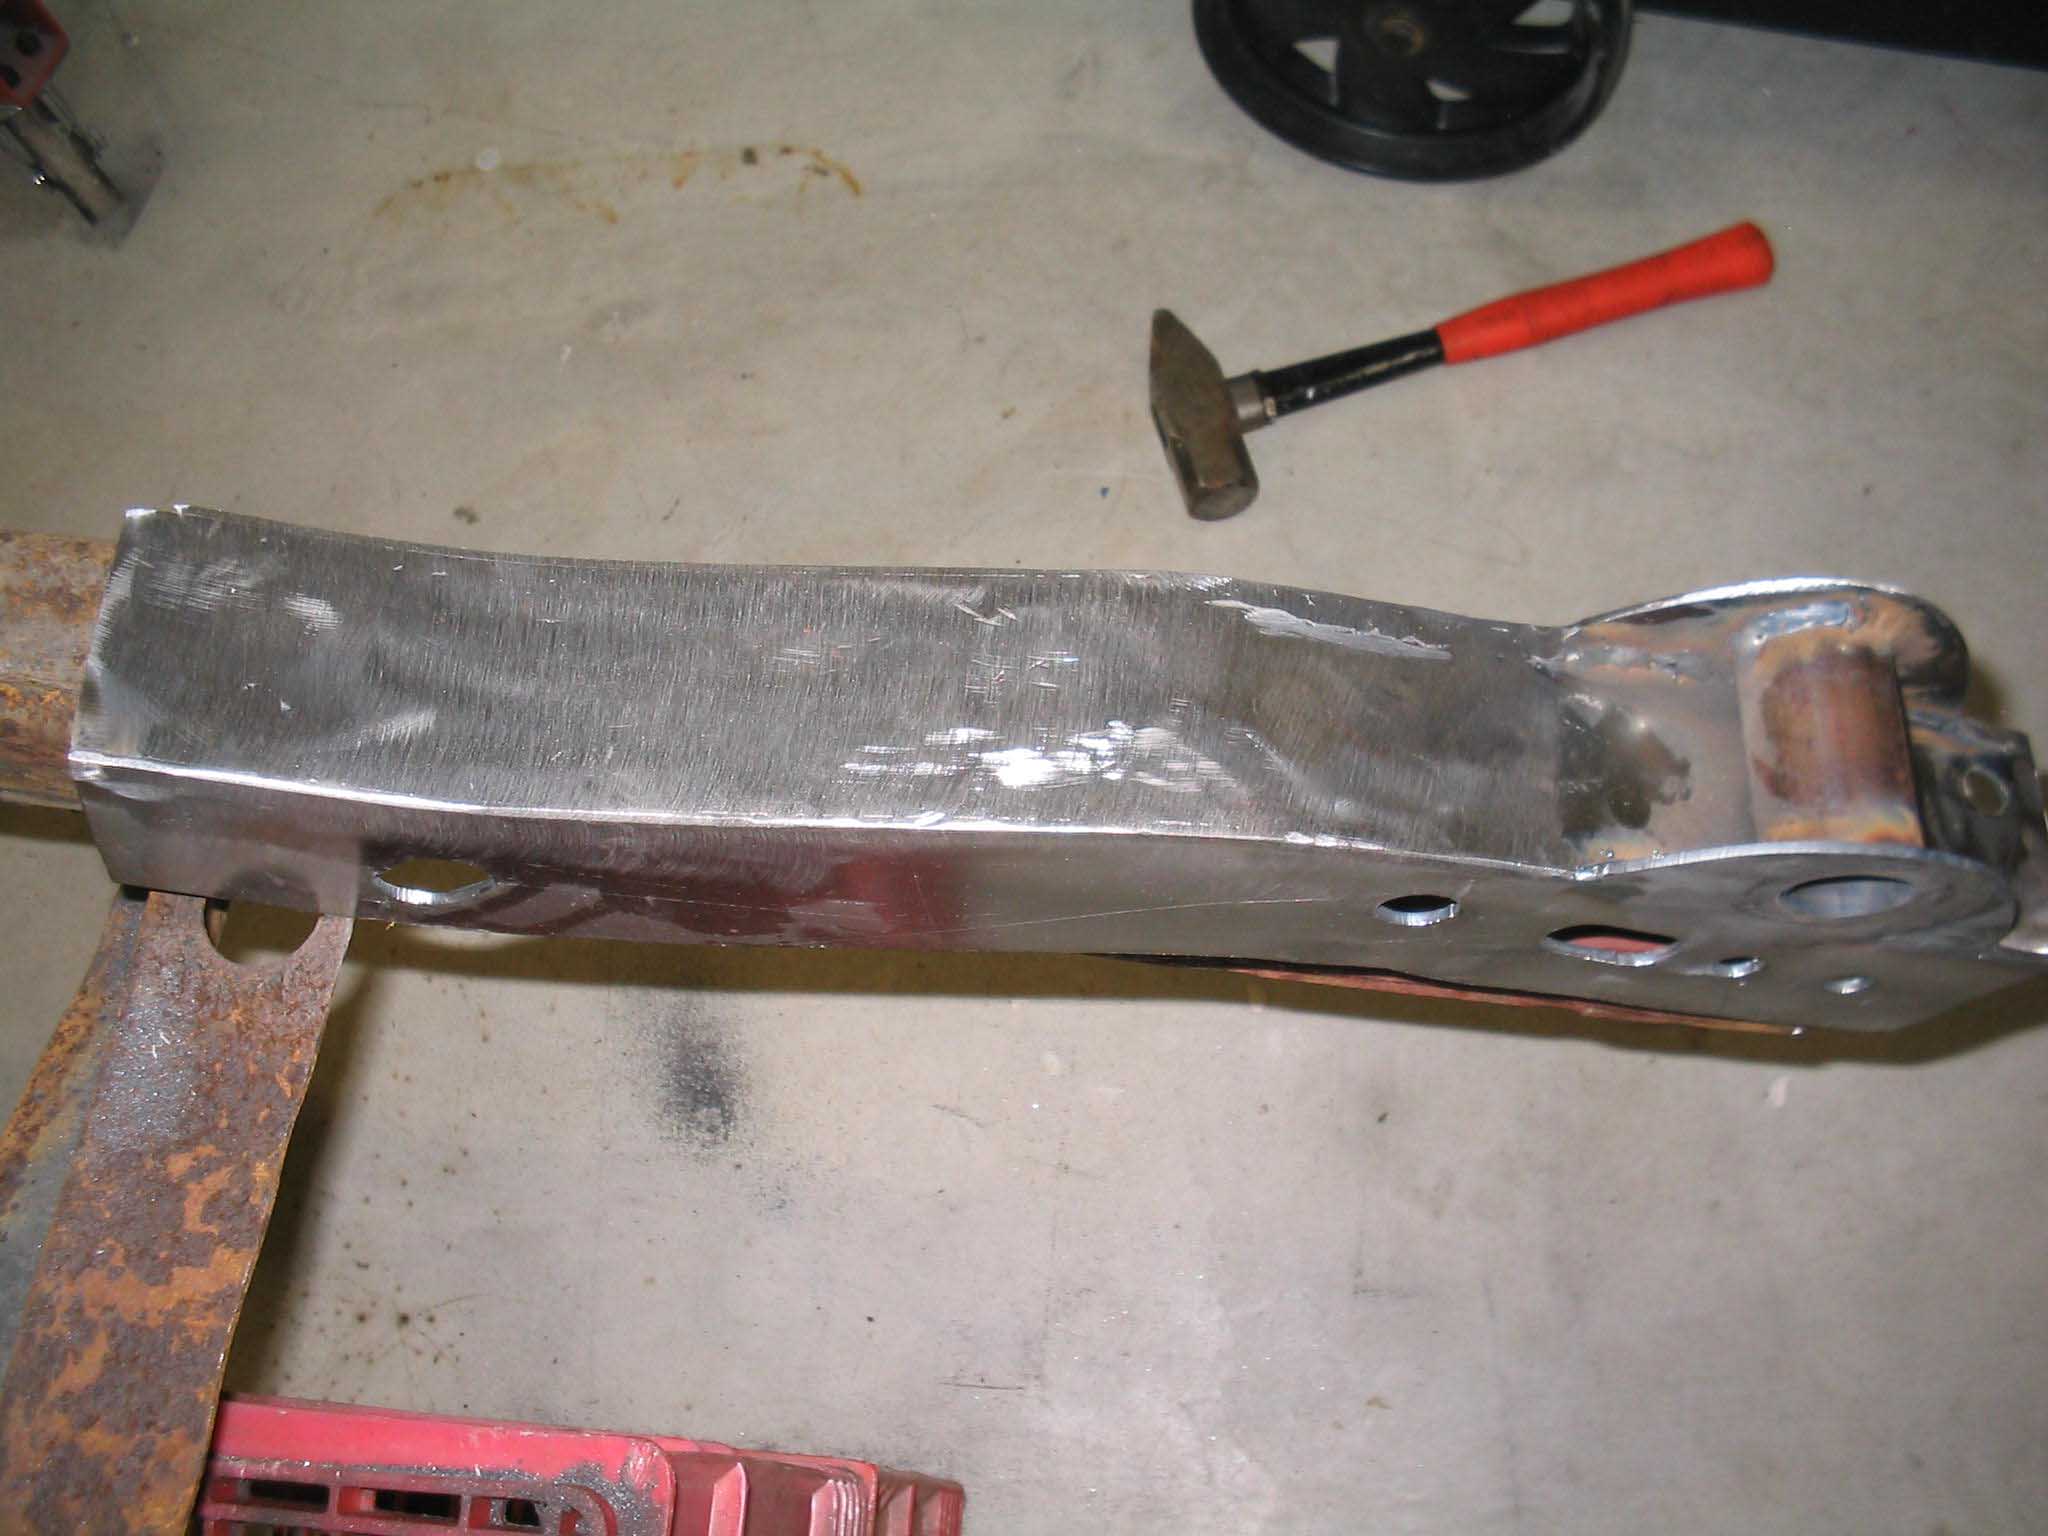
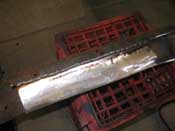
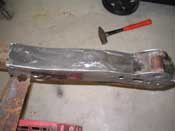
| (10/16/07) I had a few hours, so I got out to the garage to do a little bit of work.
In a previous post, I had stated that I got some frame repair caps from a place called
Auto Rust Technicians. I cleaned up the frame
horn a bit and put down a nice clean weld and then ground it smooth.
|
| |
|
|
|
|
| |
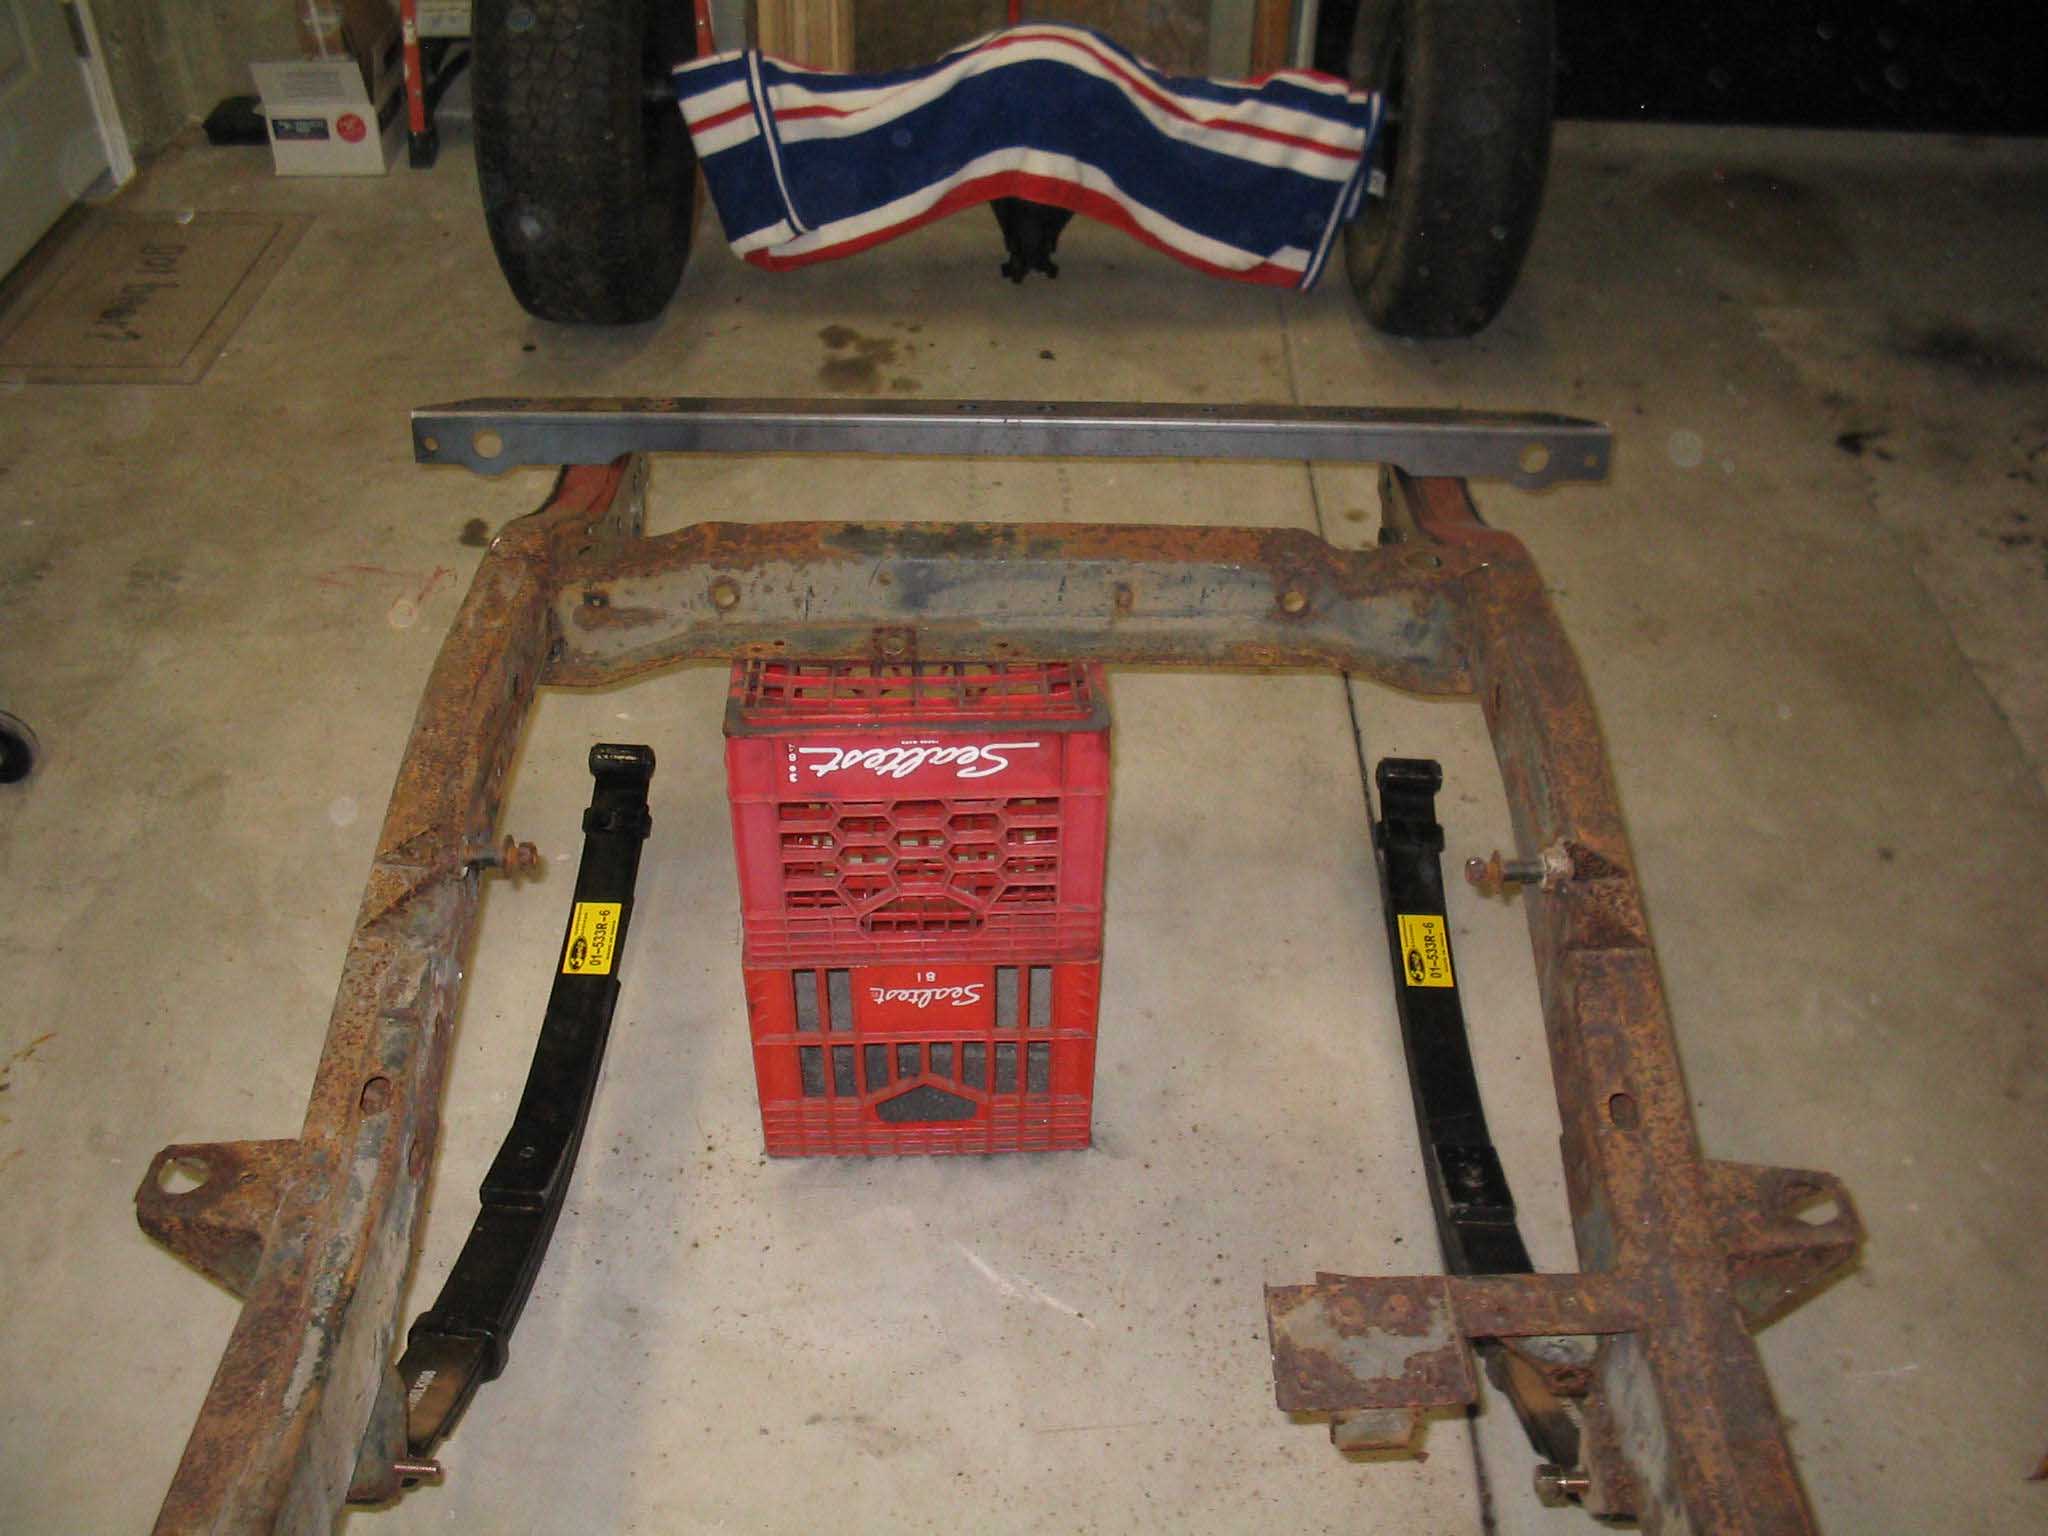
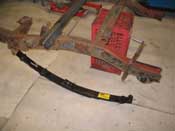
| I cut off the rest of the frame that was bad and then I was able to fit the frame
horn on the driver side. It is pretty level and where it needs to be. So, with a little more trimming and a
bit of grinding, I hope to weld it in over the weekend. That is of course after I get the other side done.
|
| |
|
|
|
|
| |
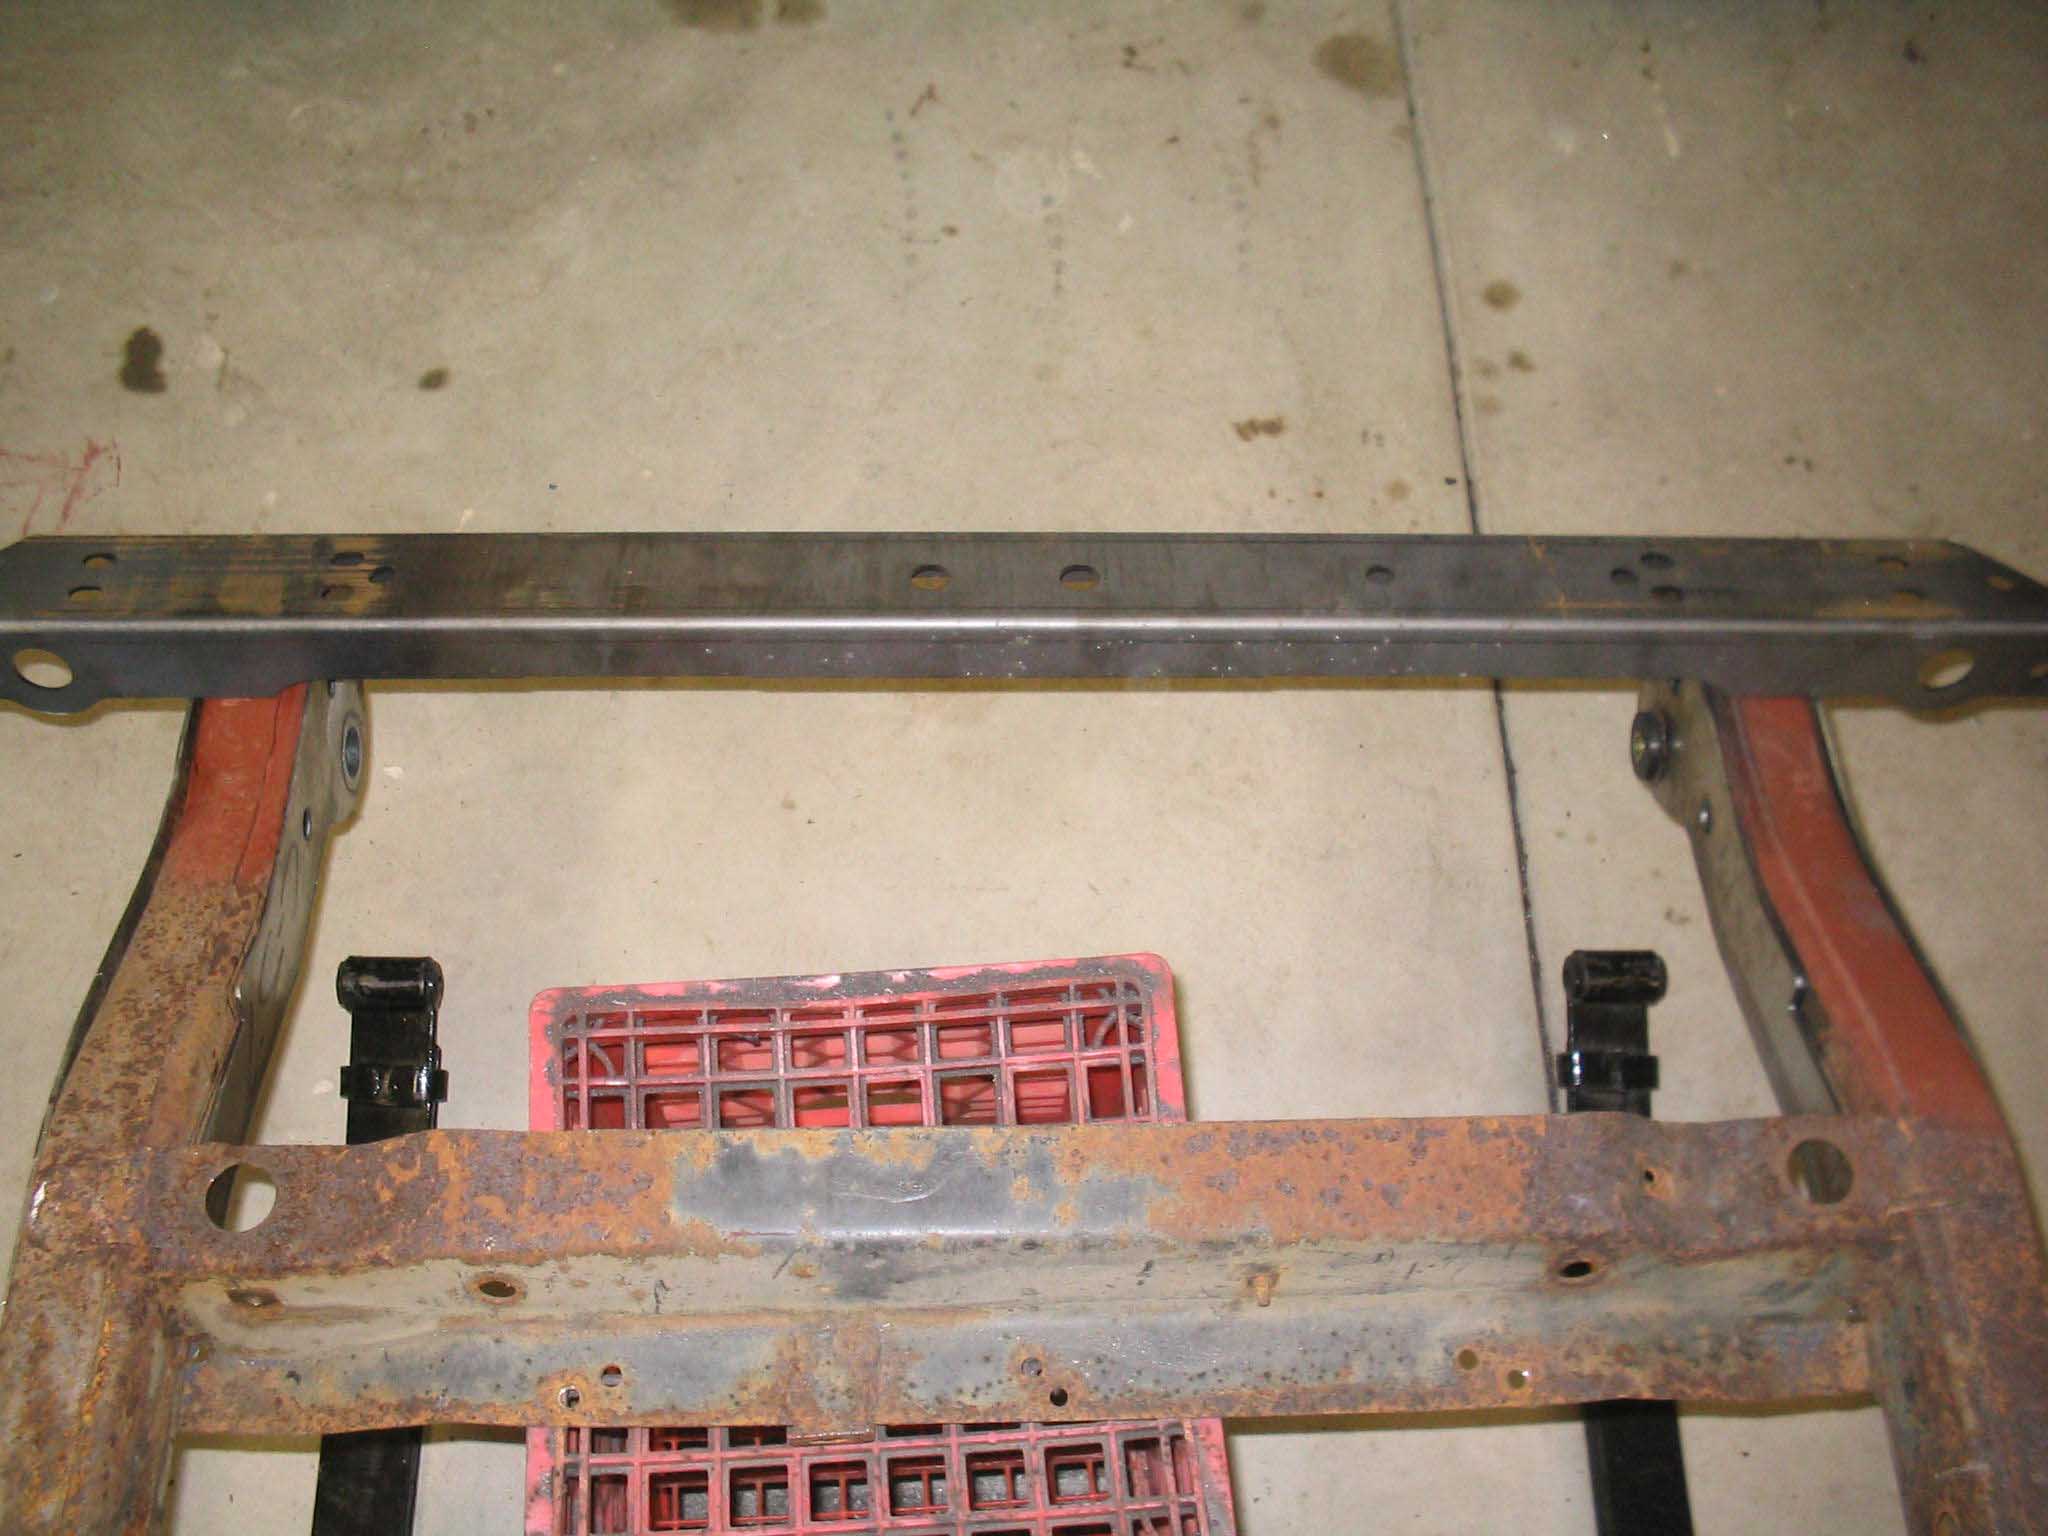
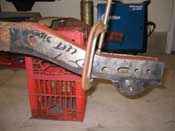
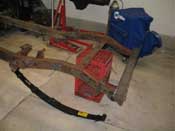
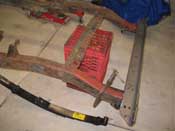
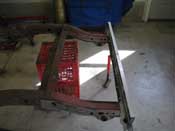
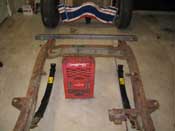
| (11.20.07) I was able to get out to the garage for a couple hours last night
and again today (after all the yardwork!). Basically I was able to get the rear frame horns cut off and I was
able to remove all the rusted out portions. With the NEW frame horns, I was able to get them in place and get
them ready to be welded in place.
|
| |

|

|
|
|
|
|
| |
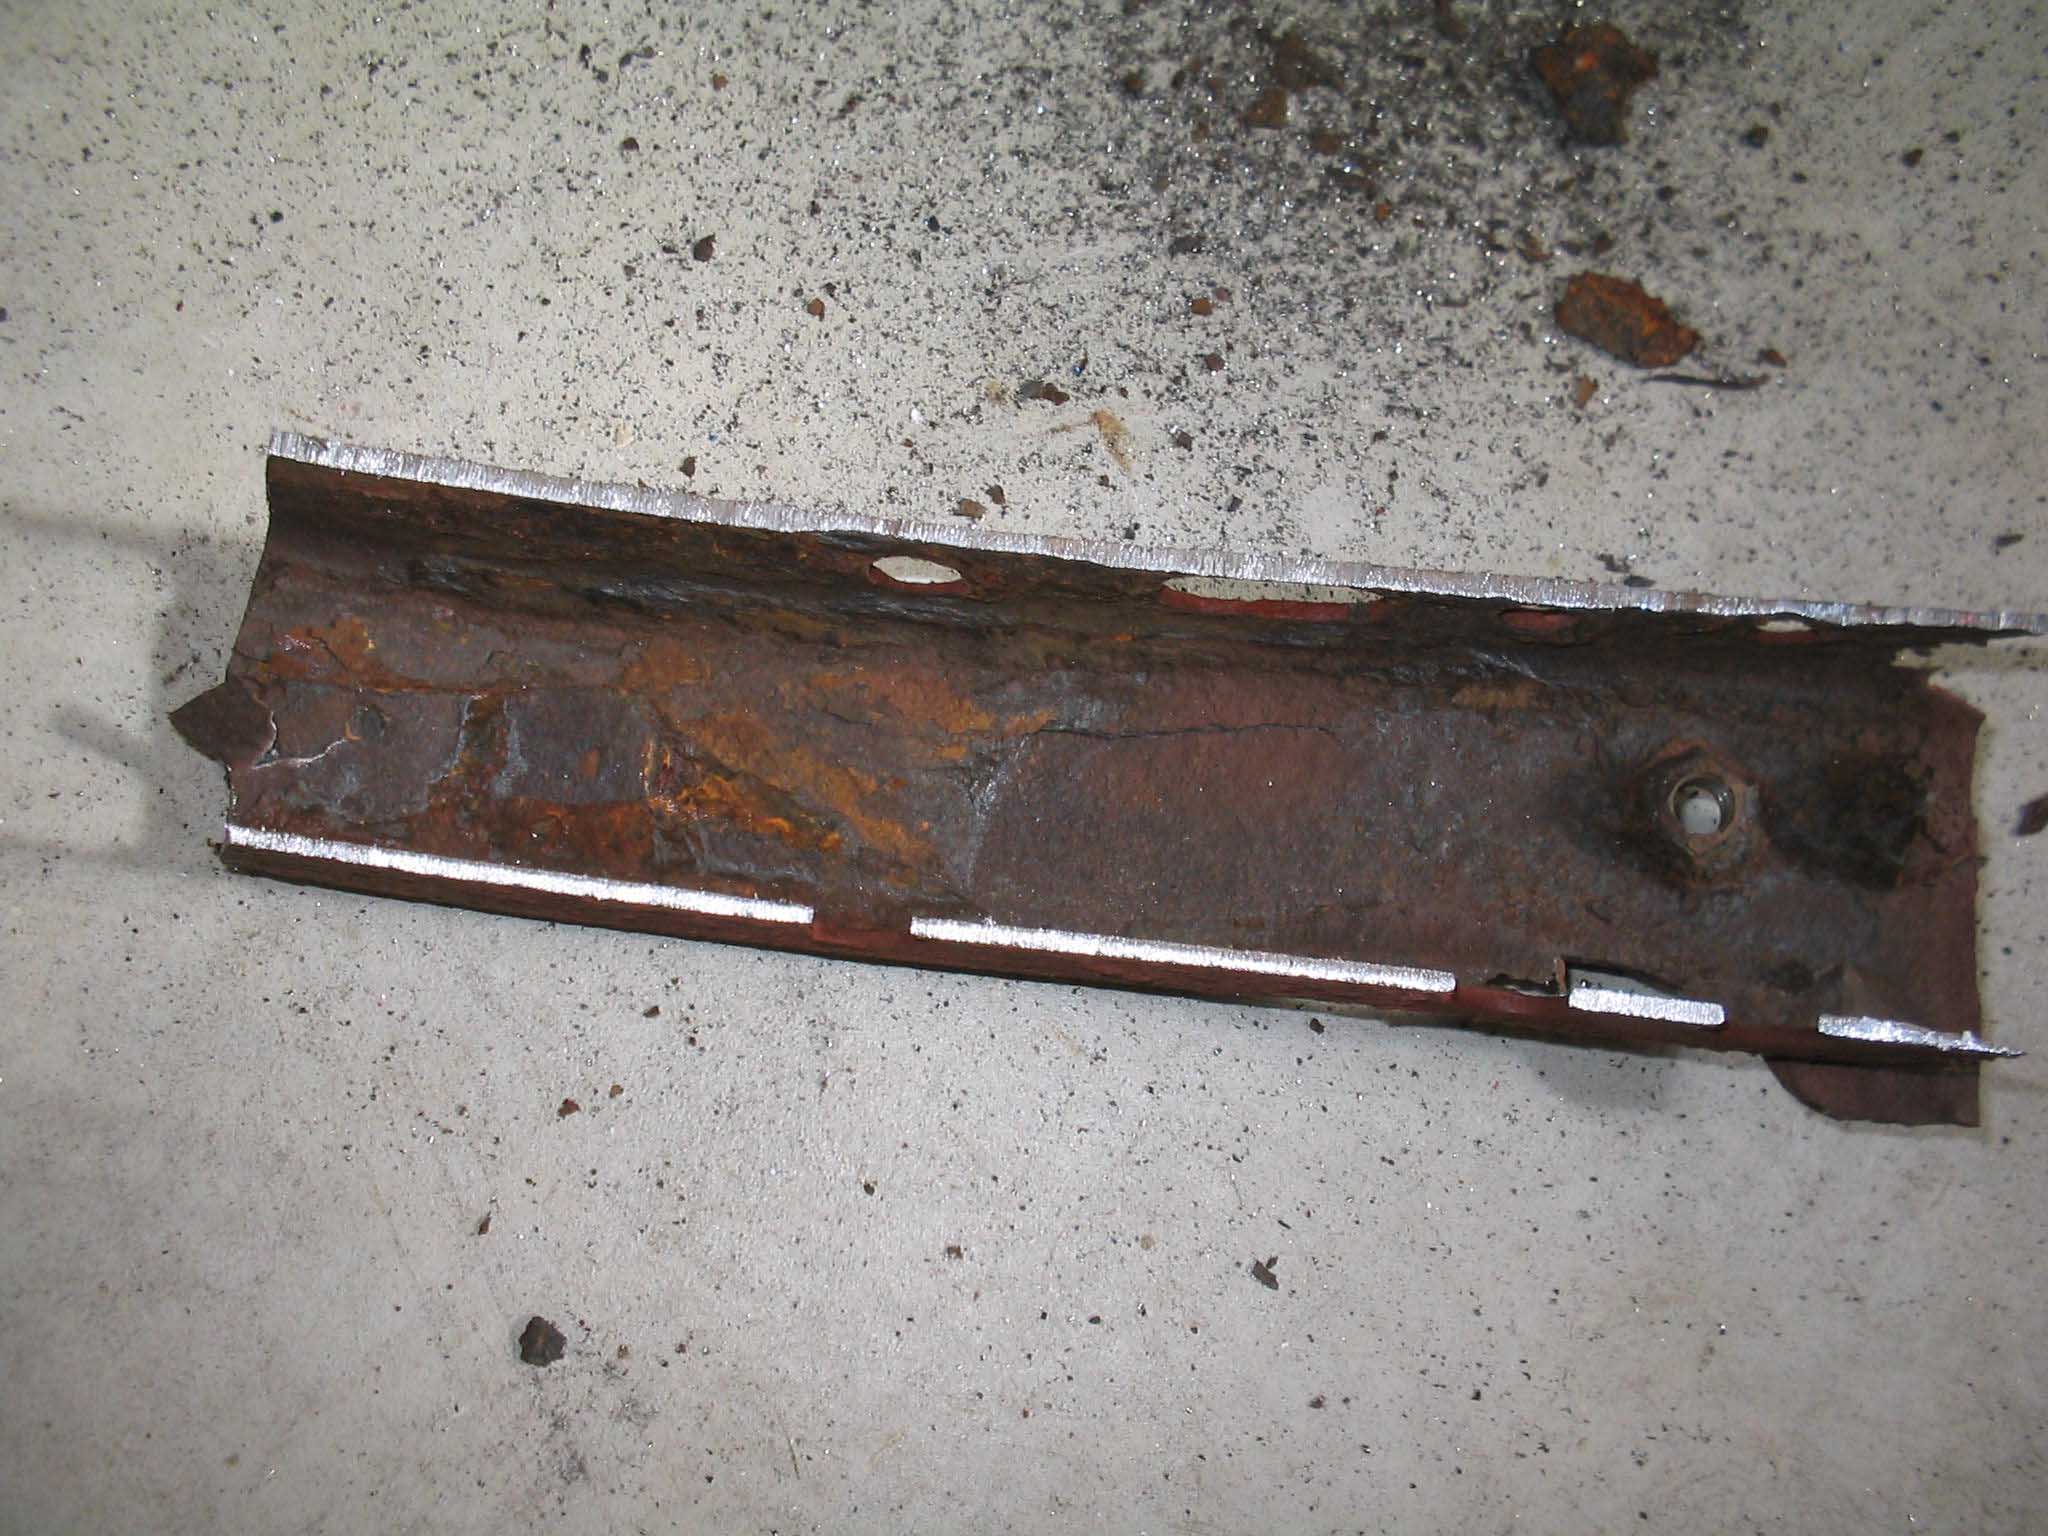
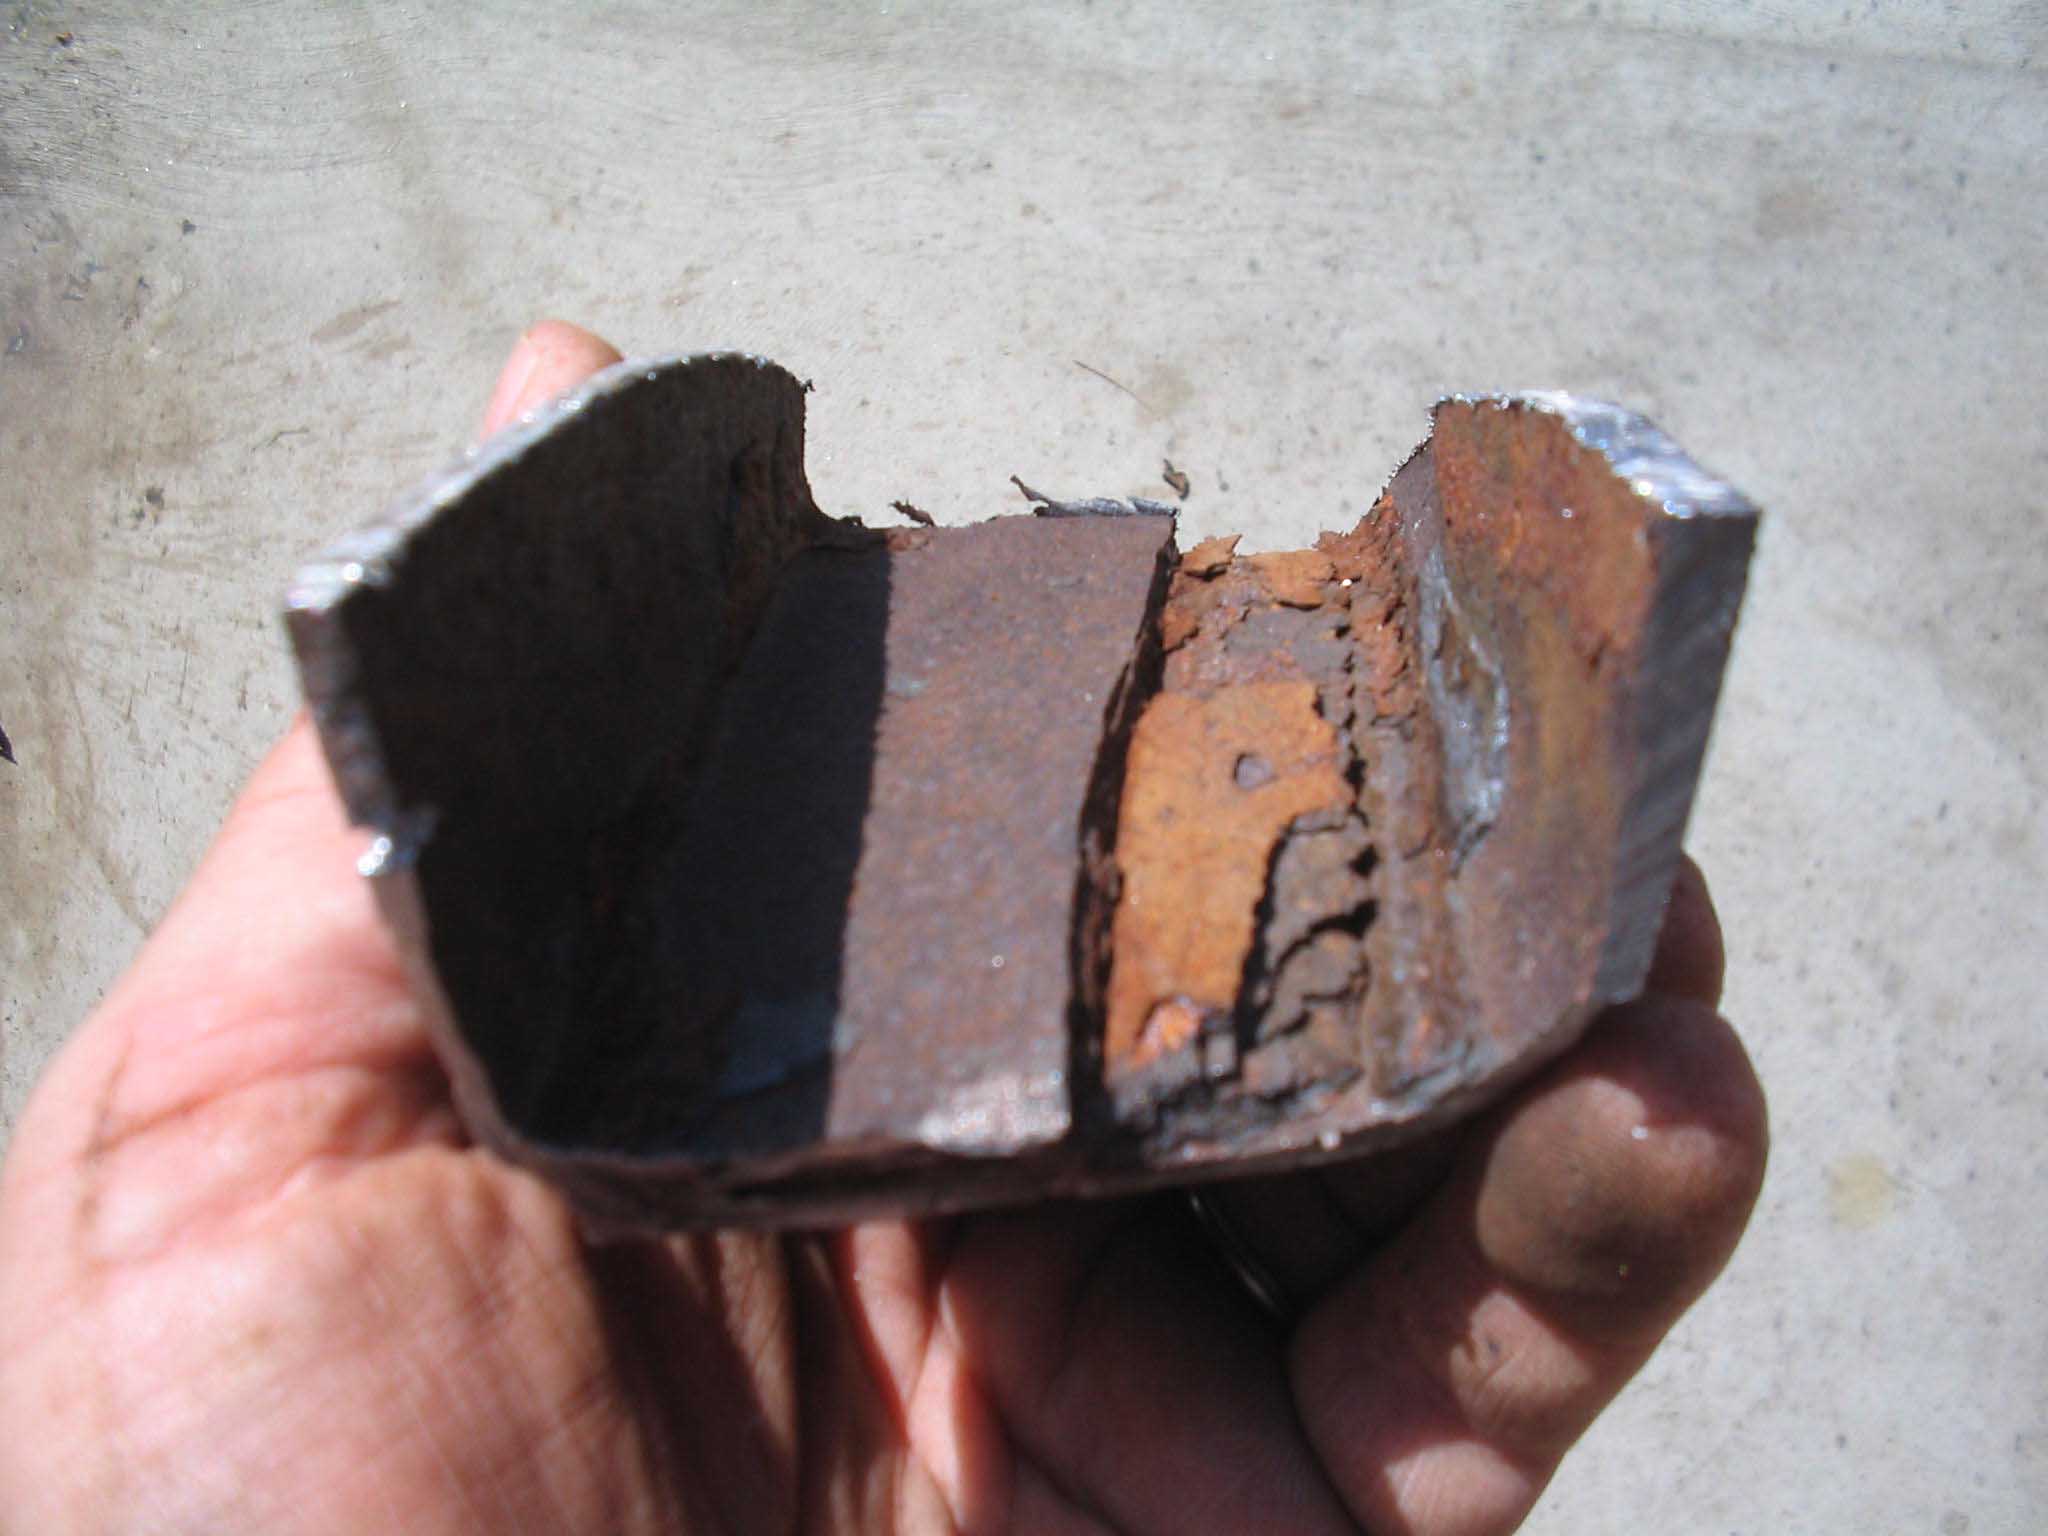
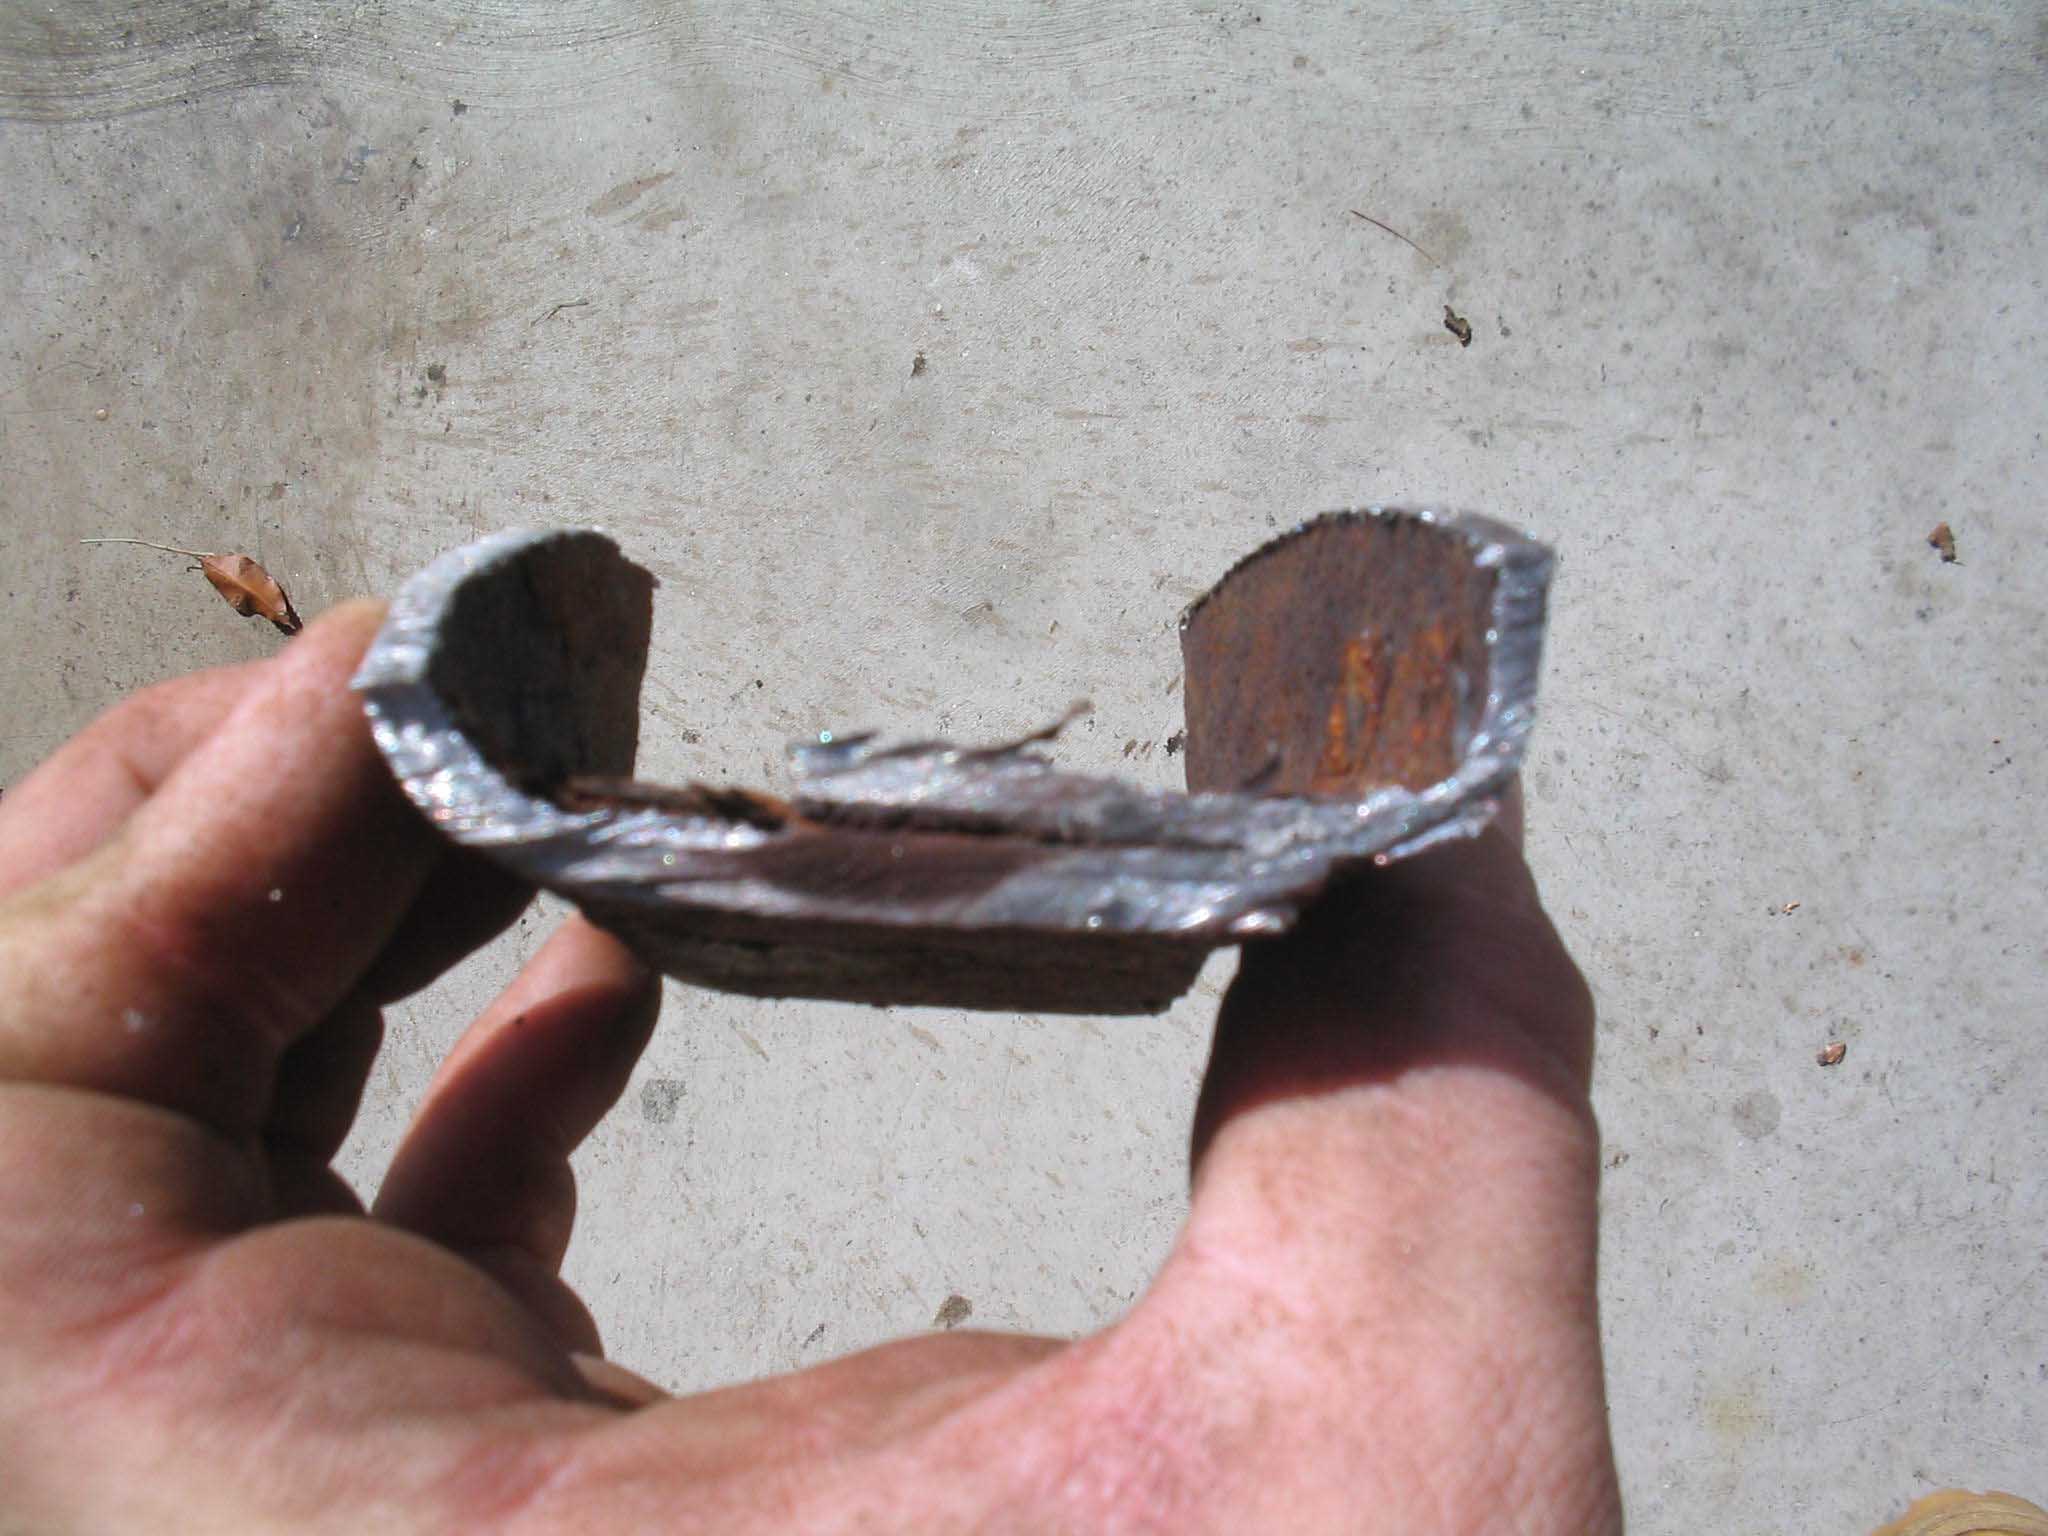
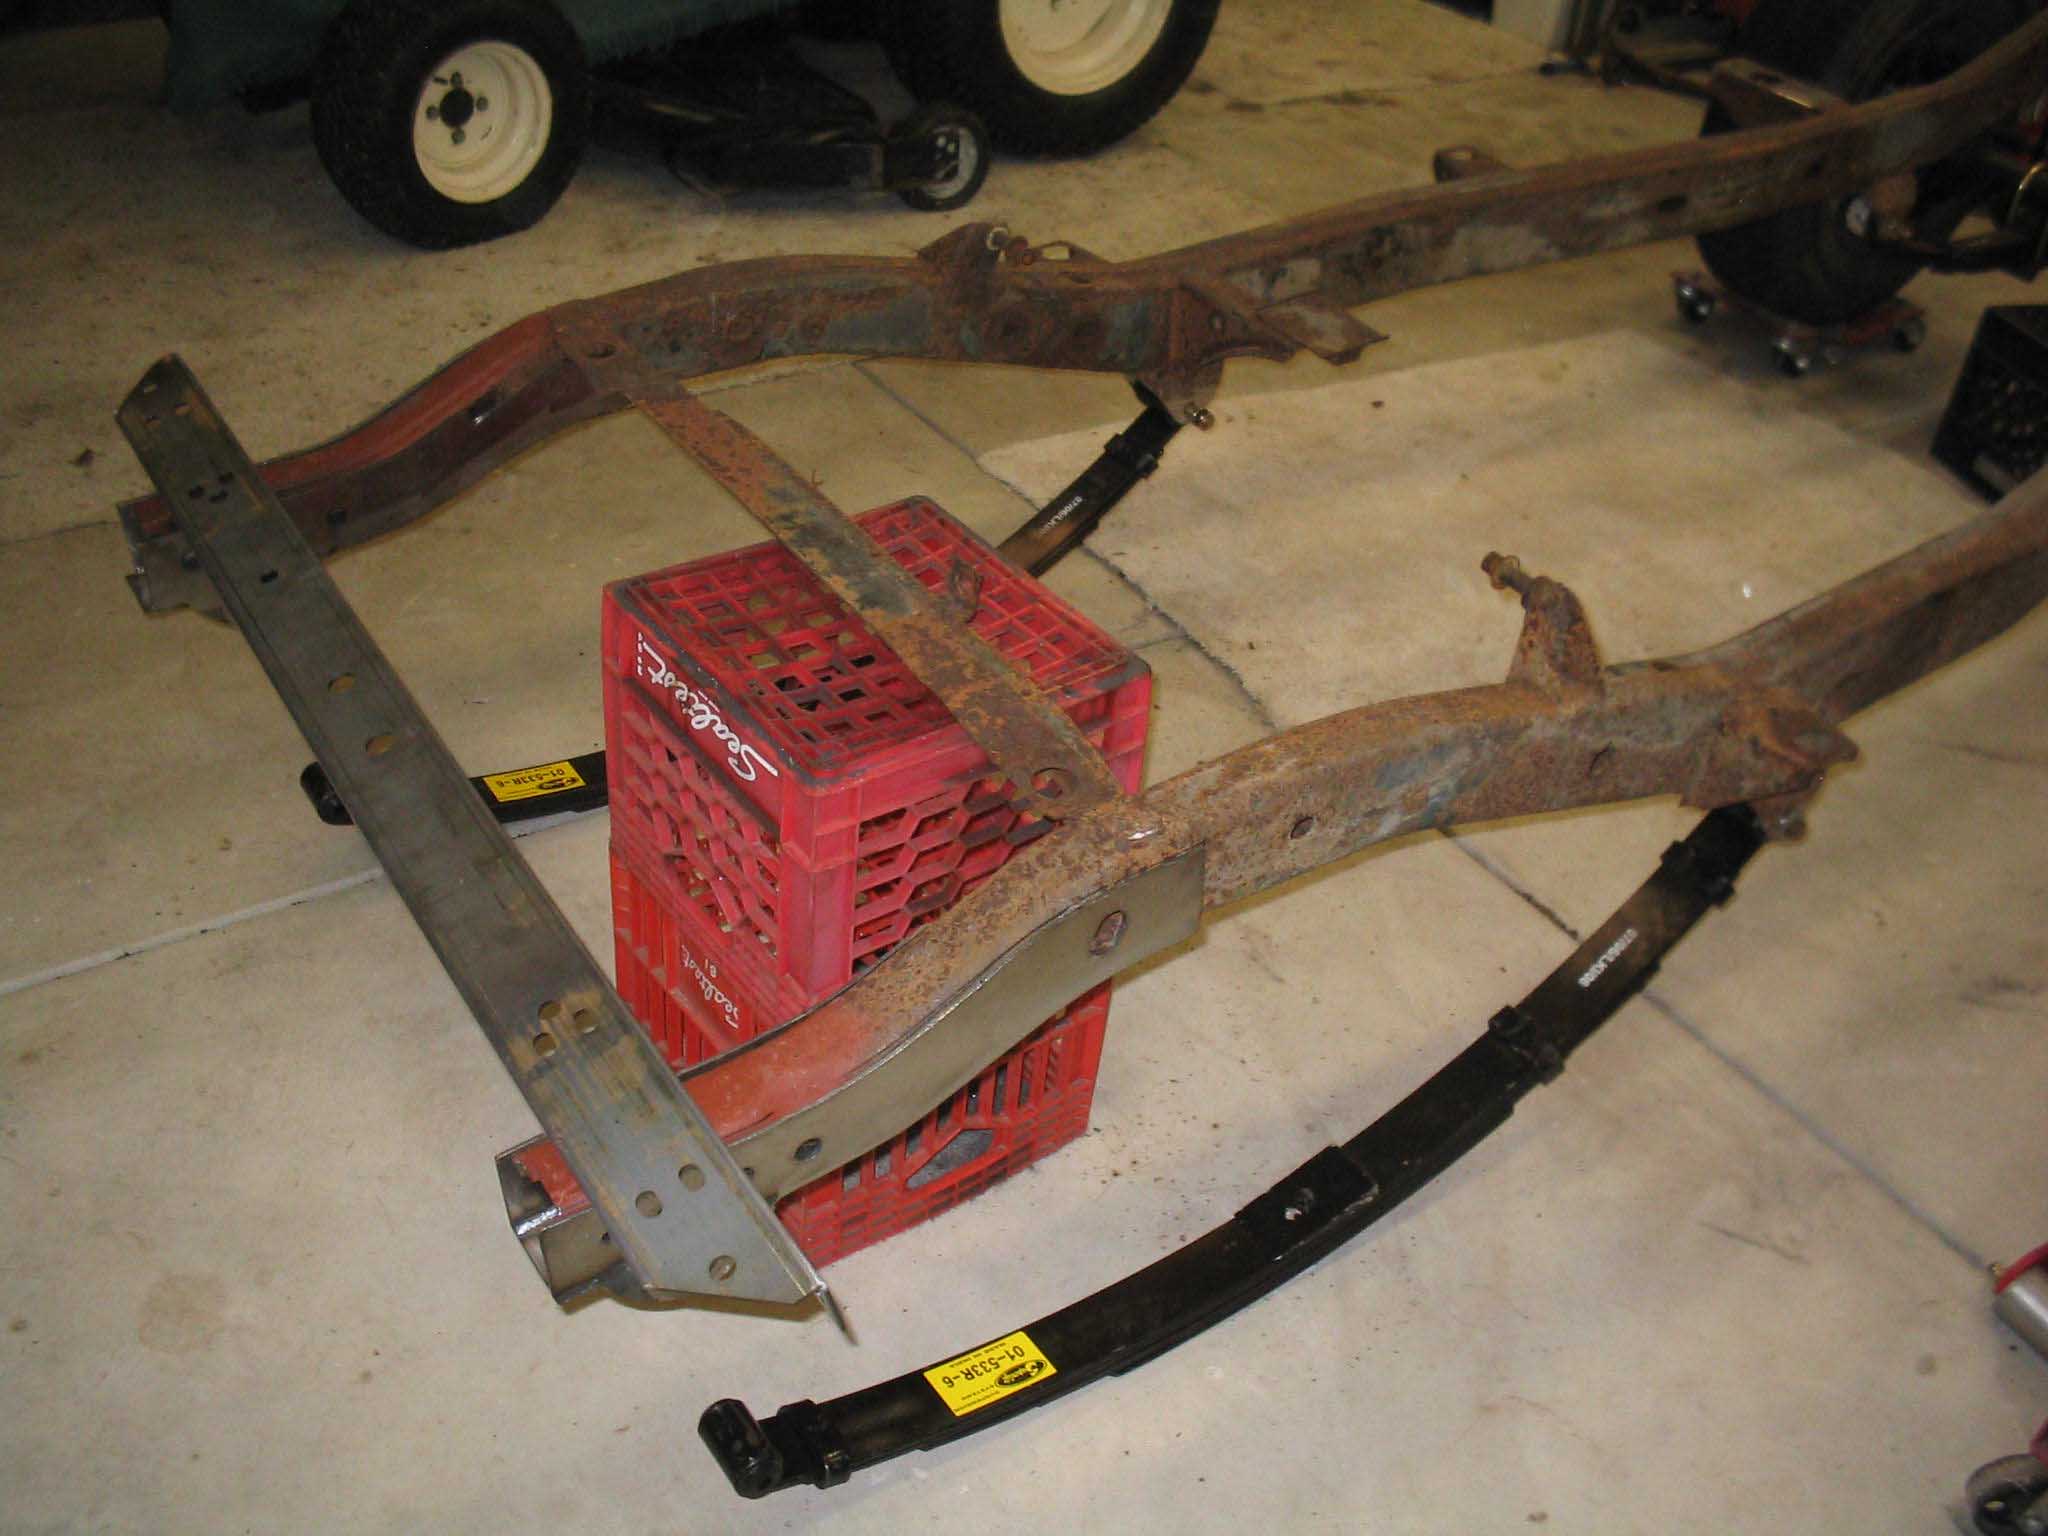
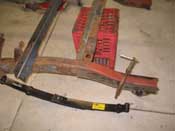
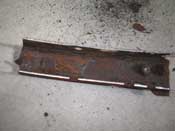
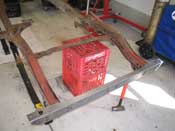
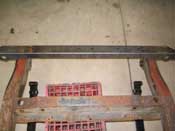
| As you can see, the part I cut off still had a considerable amount of good
steel, but the bottom was really in rough shape. Also, if you look at the other picture of the frame piece, if
you were ever wondering, Jeep frames are pieced together with 2 c-channels sandwiched together. So, when you
see some scale coming out of the holes at the bottom of the frame, it isn't really bad for the frame as you have
a lot of meat there, it is only when you can stick a screw driver through the frame do you have to start thinking
of removing the bad and putting in some good.
|
| |
|
|
|

|
| |
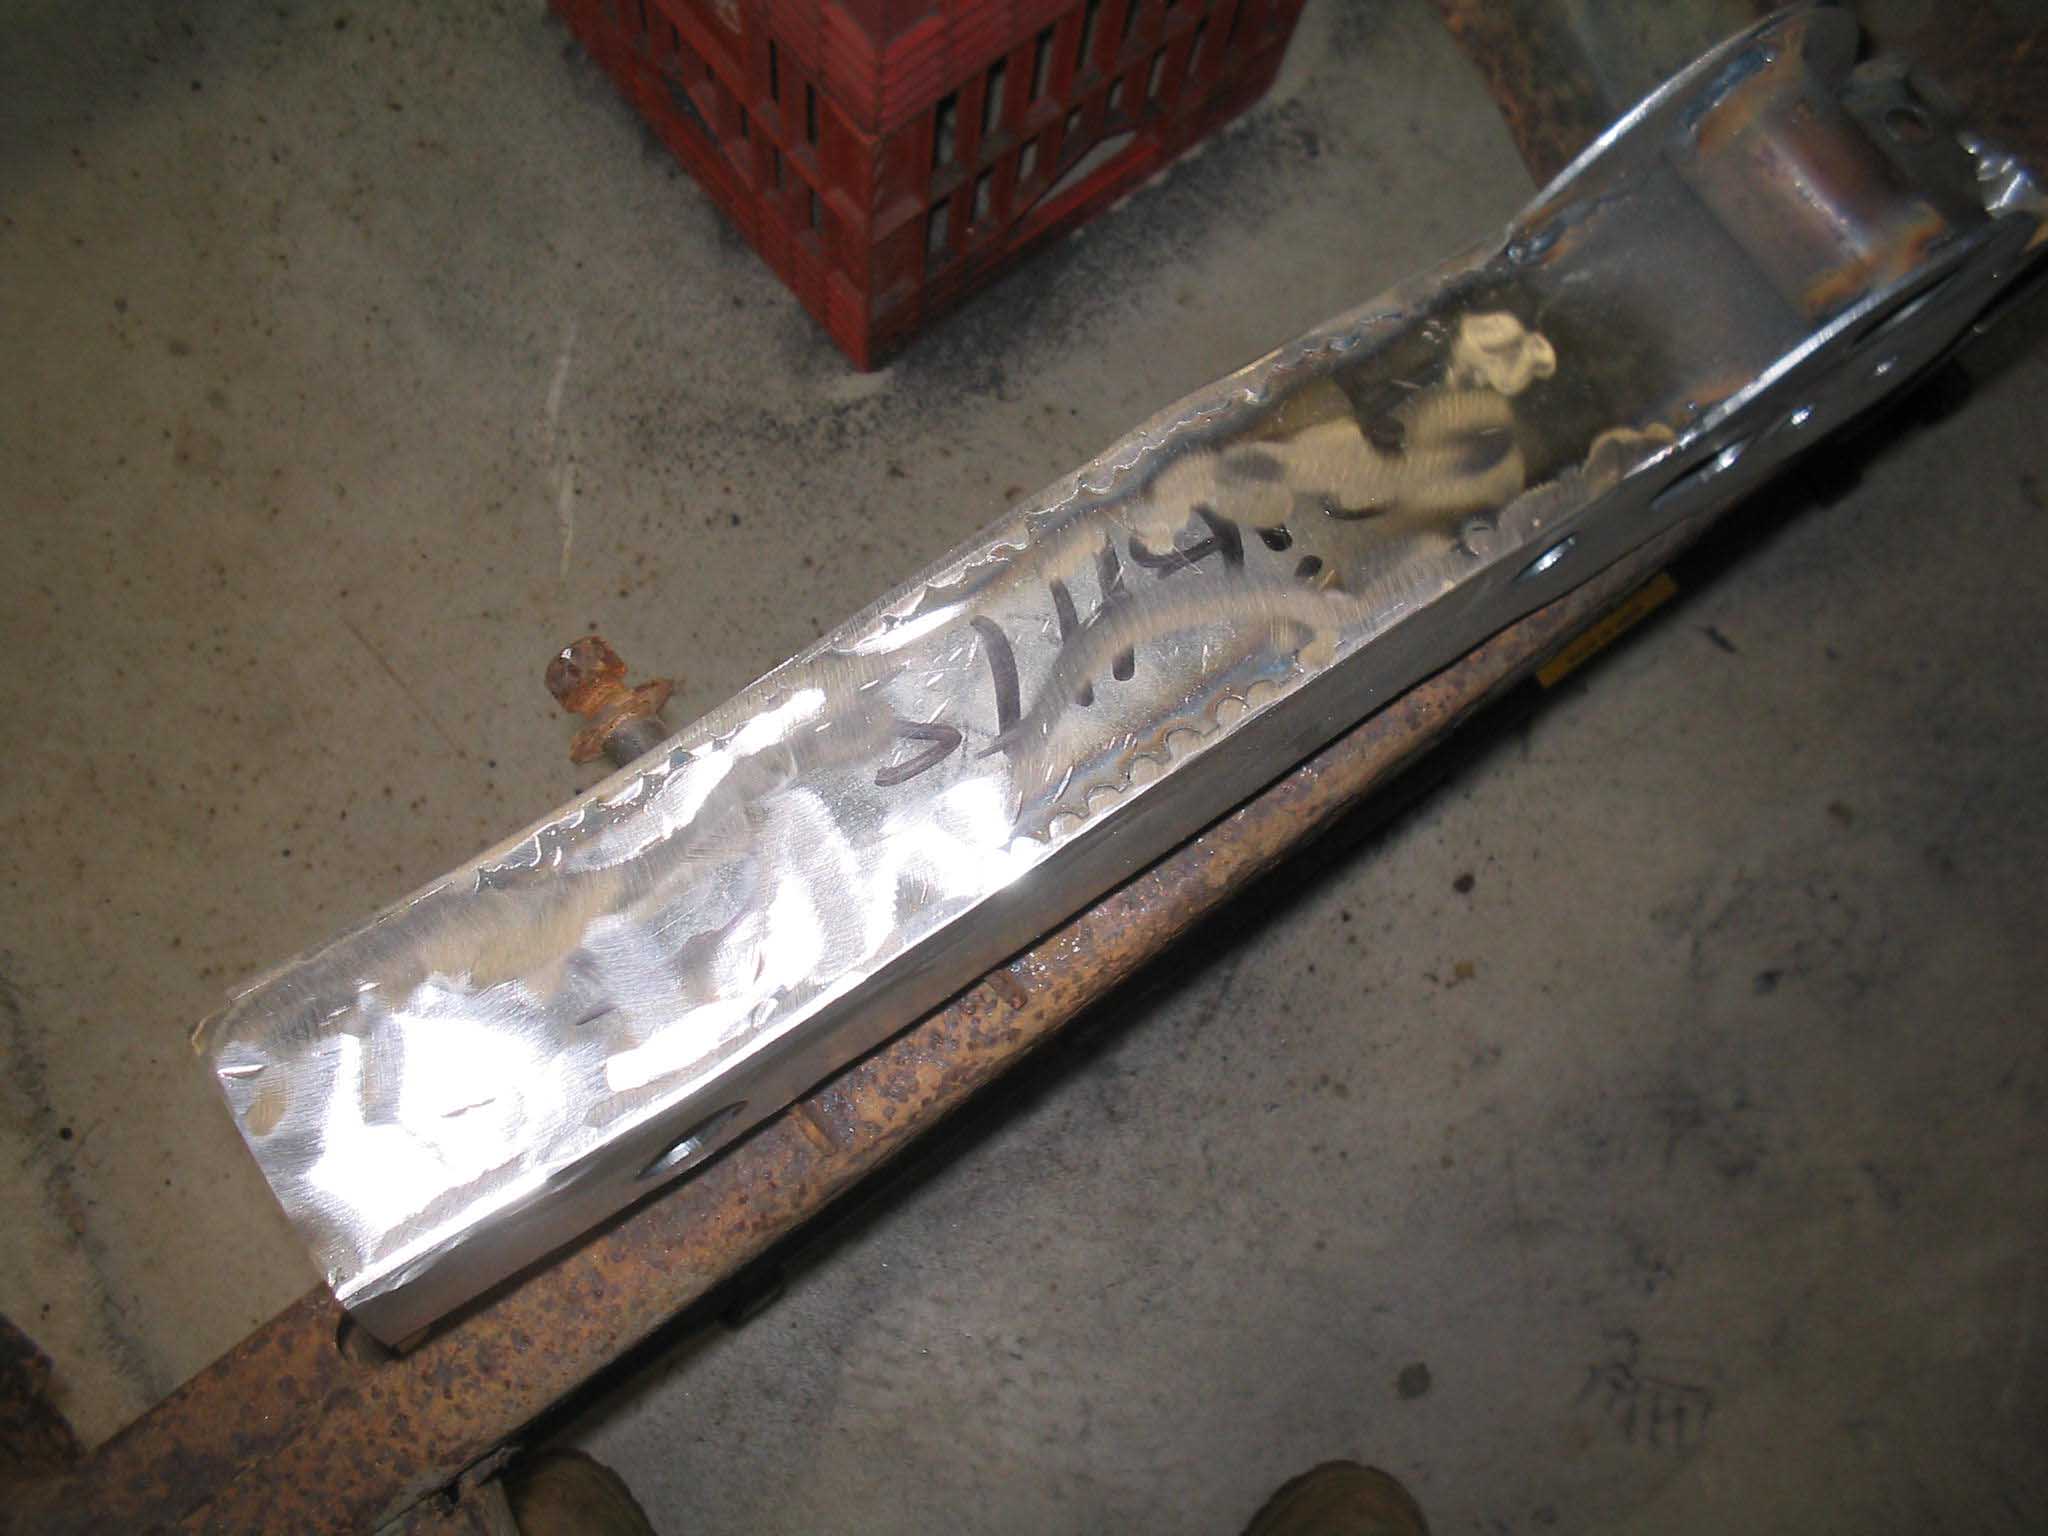
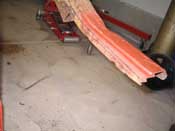
The new frame horns are tack welded on the outside. They are fully welded on
the inside. I wanted the outside to have a nice clean look from the underside, so I filled in where they didn't
and then smoothed it out... both frame rails are like that, so now I can sand down the frame and get ready for
tacking in the new frame rails and trying to be the rear end in place.
Prep work really takes the longest amount of time when you are doing this... the welding takes just a small
amount of time, the shaping, bending and making sure it is all level and even is what takes the longest amount of
time.
cb (10/20/07)
|
| |
| << Previous |
Next >> |